Escape Game: “The Blood-stained Mansion”
By IDAC CO., LTD.
Walkthrough:
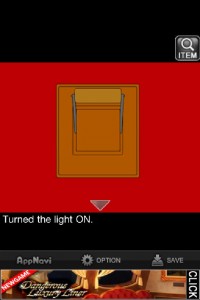
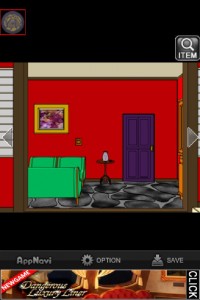
1. It’s too dark to see. On the right side is a light switch. Zoom in on it and turn it on.
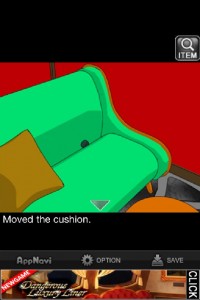
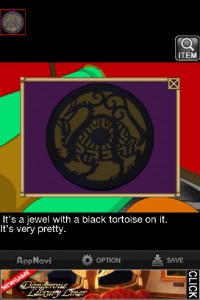
2. Now you can see. Lift up the pillow on the couch to find a Black Jewel with a tortoise picture on it.
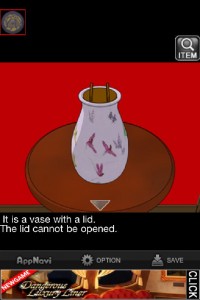
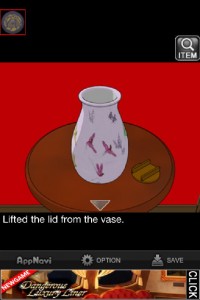
3. Zoom out so you can see a vase on a table. The lid is closed.
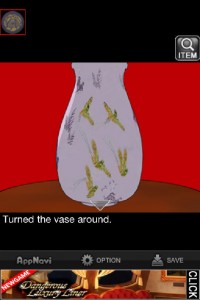
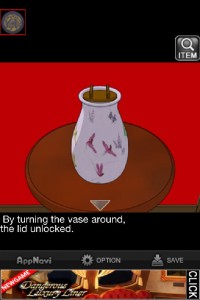
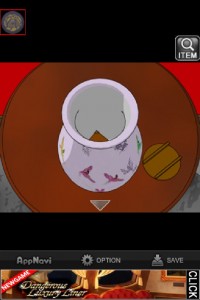
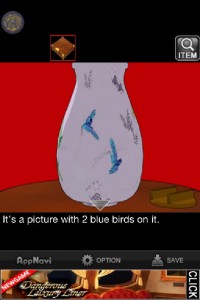
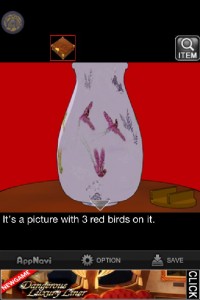
4. Turn the vase all the way around till you get back to the three red birds. Now the lid is open.
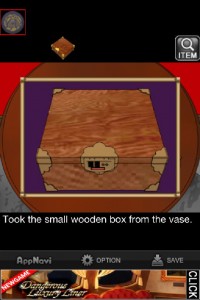
5. Lift the lid. Take the small box from inside the vase.
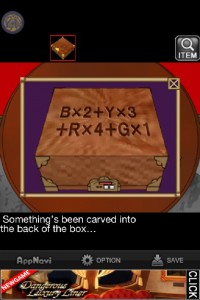
6. Turn the box upside-down to see the clue:
B x 2 + Y x 3 + R x 4 + G x 1
7. B is for Blue, Y is for Yellow, R is Red, and G is Green.
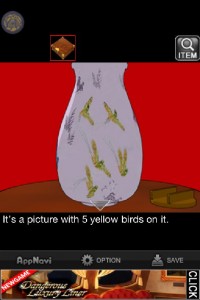
There were 2 blue birds, 5 yellow, 3 red, and 4 Green.
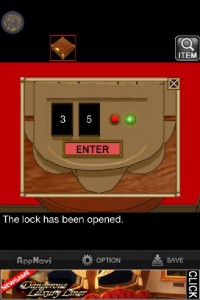
8. So, 2 x 2 + 5 x 3 + 3 x 4 + 4 x 1 = 35.
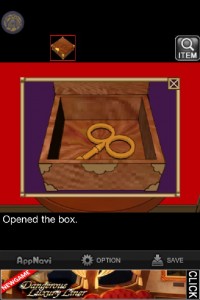
Put 35 into the keypad on the small box and press ENTER. Open it and take the clock spring from inside.
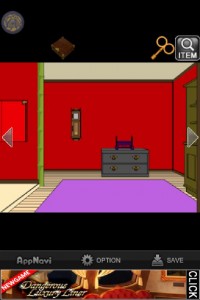
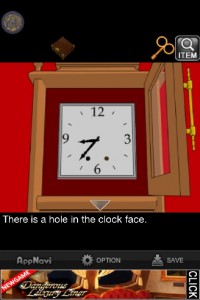
9. Turn right twice till you see a clock. Zoom in on the clock face. Open the door.
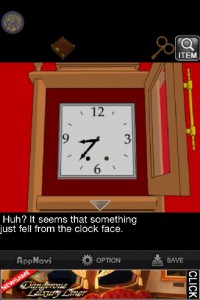
10. There’s a hole on the clock face. Insert the clock spring and it will turn. Tap the clock face again and it will tell you that something fell.
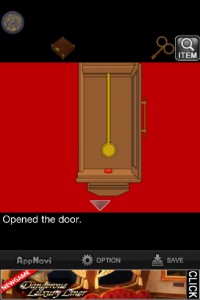
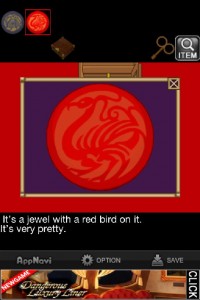
11. Zoom out so you see the whole clock. Then zoom in on the pendulum. Open the door and take out the Red Jewel, with a bird on it.
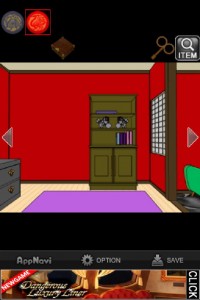
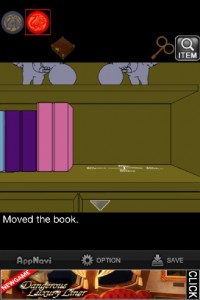
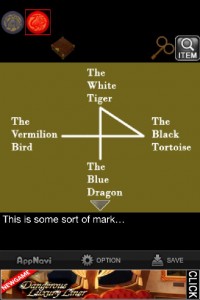
12. Turn right. Zoom in on the books on the bookshelf. Move them over to reveal a diagram.
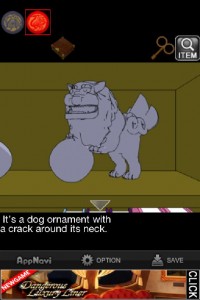
13. Zoom out and tap on the right dog statue. It has a crack around its neck.
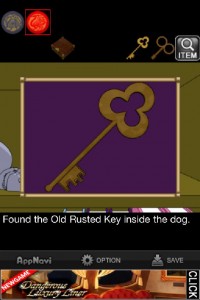
14. Tap on the head to remove it and take the key from inside.
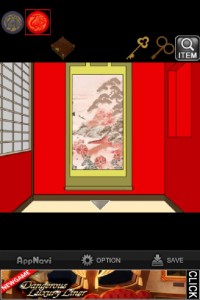
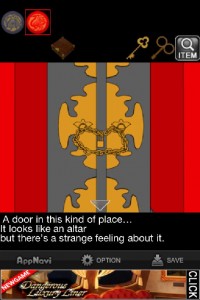
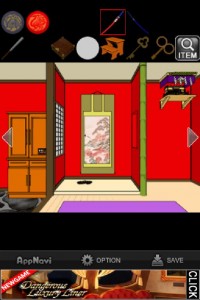
15. Turn right twice so you’re facing a hanging scroll. Lift up the scroll to reveal a padlocked door.
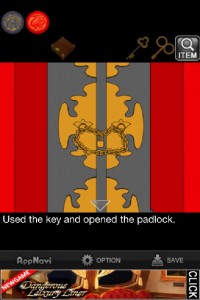
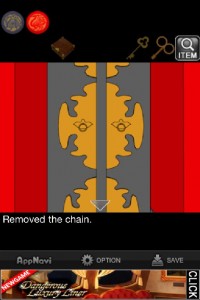
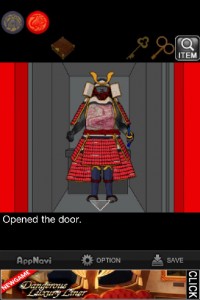
16. Use the key on the padlock and remove the chain. Open the door to find an armored figure.
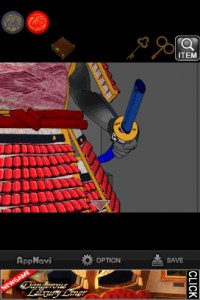
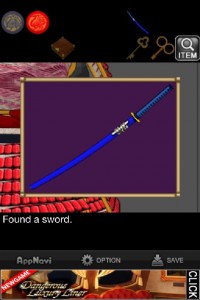
17. Take the sword from its left hand (your right).
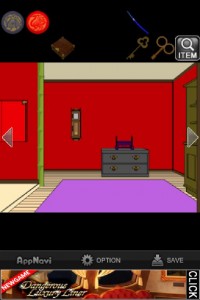
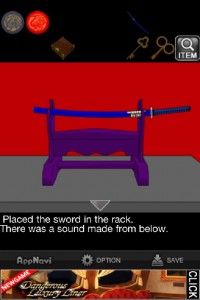
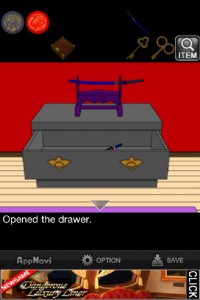
18. Turn right. Zoom in on the dresser. Place the sword on the sword rack. There’s a sound from below.
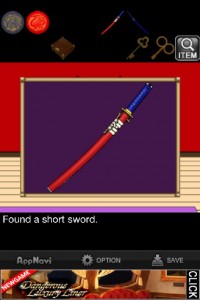
19. Open the top drawer of the dresser and take another sword from inside.
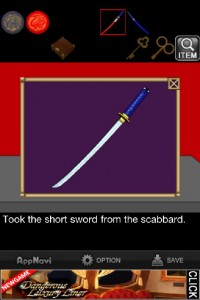
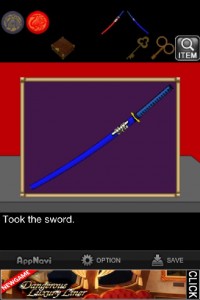
20. Remove the sheath from the sword. Also take the other sword off the rack.
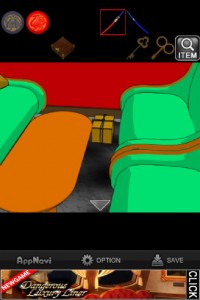
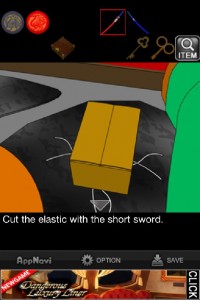
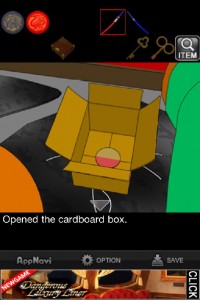
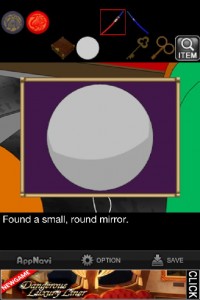
21. Go back to the couches. Tap near the top of the table to find a box tied up. Cut the box open with the sword and take the round mirror from inside.
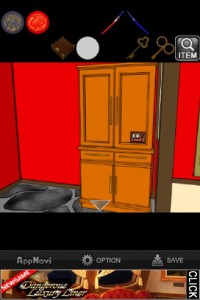
22. Turn to the screen with the hanging scroll. Zoom in on the furniture to the left of the scroll.
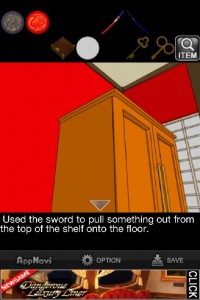
23. Tap on the top left corner and you’ll see something up there. Use the blue sword to knock it down to the floor.
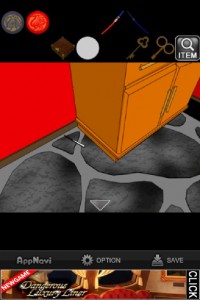
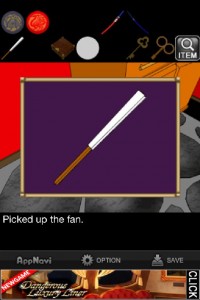
24. Zoom out then tap on the lower left corner of the dresser to pick up the fan.
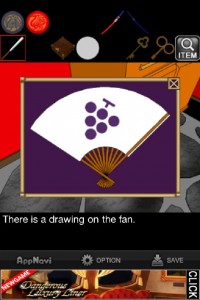
25. Open the fan to see a drawing of some grapes.
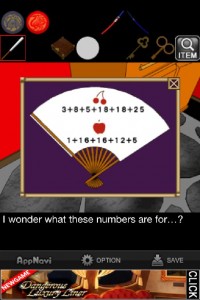
26. Turn the fan around to see another clue:
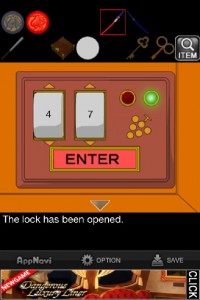
27. On the same piece of furniture, there’s a keypad. Put in 47 and press ENTER. (I’m not sure how to get this number — I used trial and error).
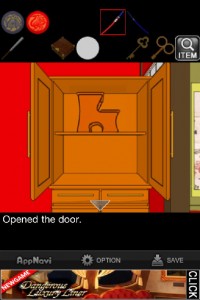
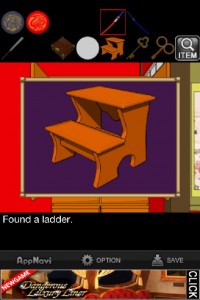
28. Open the cabinet and take out the step ladder.
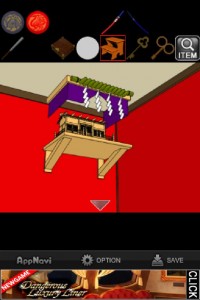
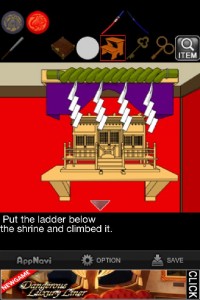
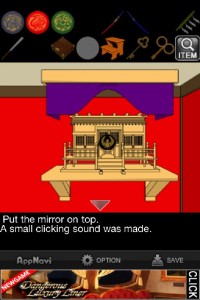
29. Zoom out and look to the right of the hanging scroll. There’s a shrine that’s high up. Use the ladder to reach it.
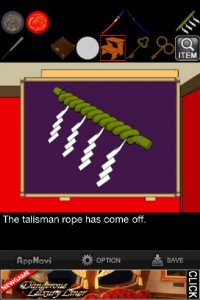
30. Tap on the green talisman rope at the top of the shrine and it will come off.
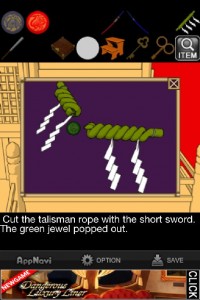
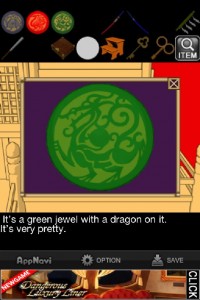
31. Use the sword to cut open the green rope and find a Green Jewel inside, with a dragon on it.
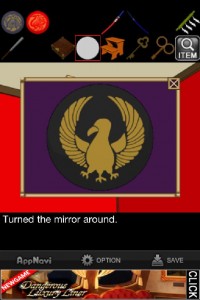
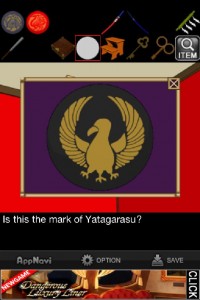
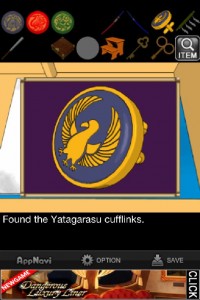
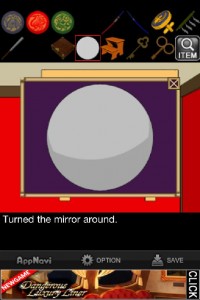
32. Turn over the round mirror you found earlier to to see a mark of Yatagarasu.
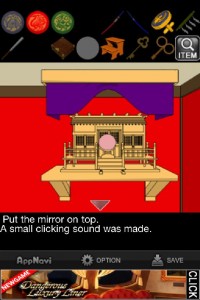
33. Place the mark of Yatagarasu on the front of the shrine.
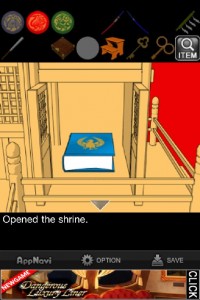
34. Zoom in on the right doors of the shrine and open them to reveal a book.
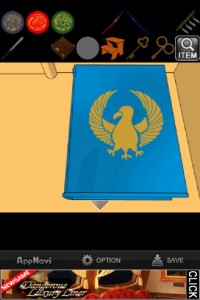
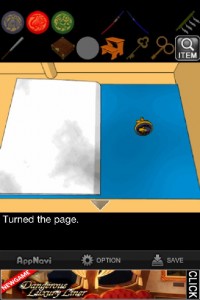
35. Read through the book and take the cuff link from the last page.
36. Take the mark back and turn it around so you see the mirror part. Place it back on the shrine.
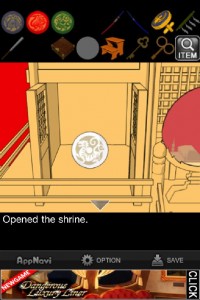
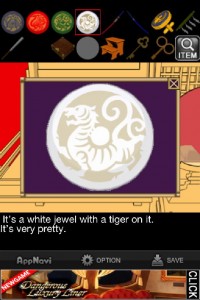
37. Now the left doors are unlocked. Open them and take the White Jewel, with a tiger on it.
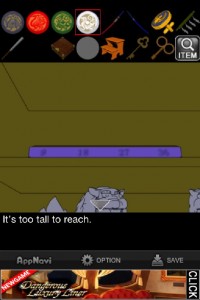
38. Turn around and face the bookcase again (with the dog statues). Try to reach the top shelf. It says it’s too high.
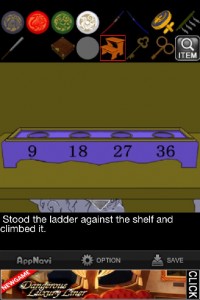
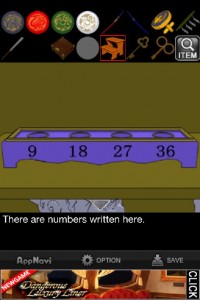
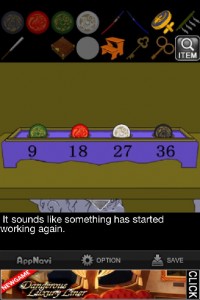
39. Use the ladder to reach the top shelf, with some numbers and slots in it.
40. Place the jewels in the numbered slots in this order:
Green, Red, White, Black
(Not sure why it’s this order — please let me know if you figure that out.)
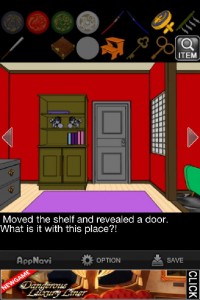
41. Zoom out and tap on the bookcase to move it to the left, revealing a door.
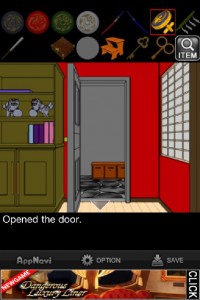
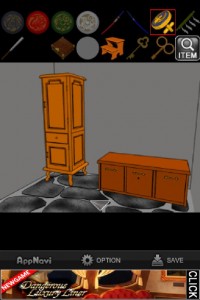
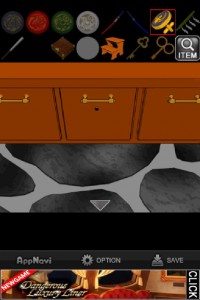
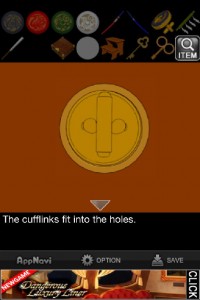
42. Open the door and walk in. Place the cuff link in the hole on the bench. Zoom in on it to twist it.
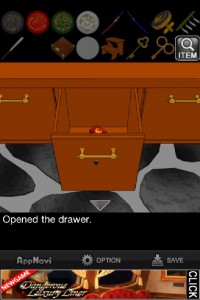
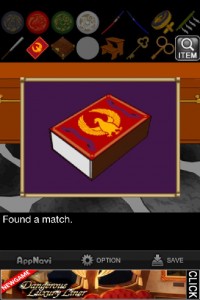
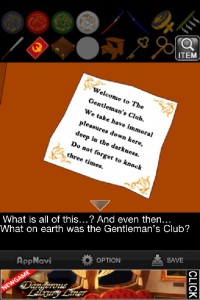
43. Zoom out and open the middle drawer to get a box of matches. Also read through the note inside the drawer. It tells you to knock three times.
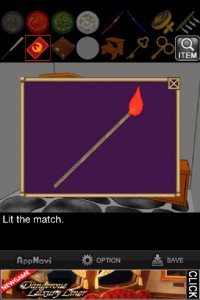
44. Open the box of matches and tap on the matches to light one.
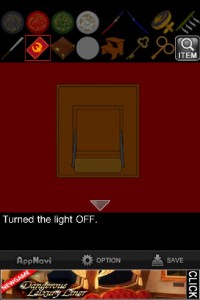
45. Go back to the couches. Turn off the light.
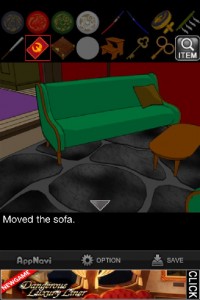
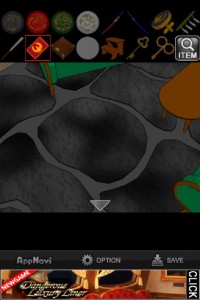
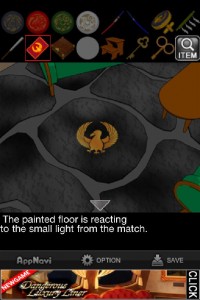
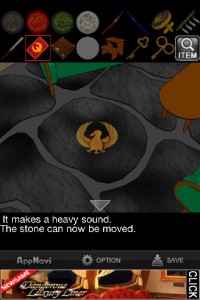
46. Move the left sofa and tap a few times on the floor with the match until the symbol of Yatagarasu appears.
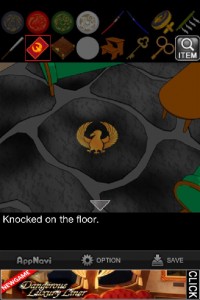
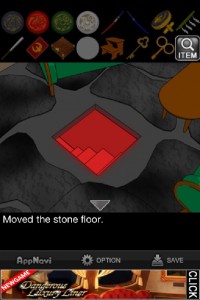
47. Knock three times on the symbol. Then move the stone to reveal a trap door and some steps.
Go down the steps and escape. Congratulations!

