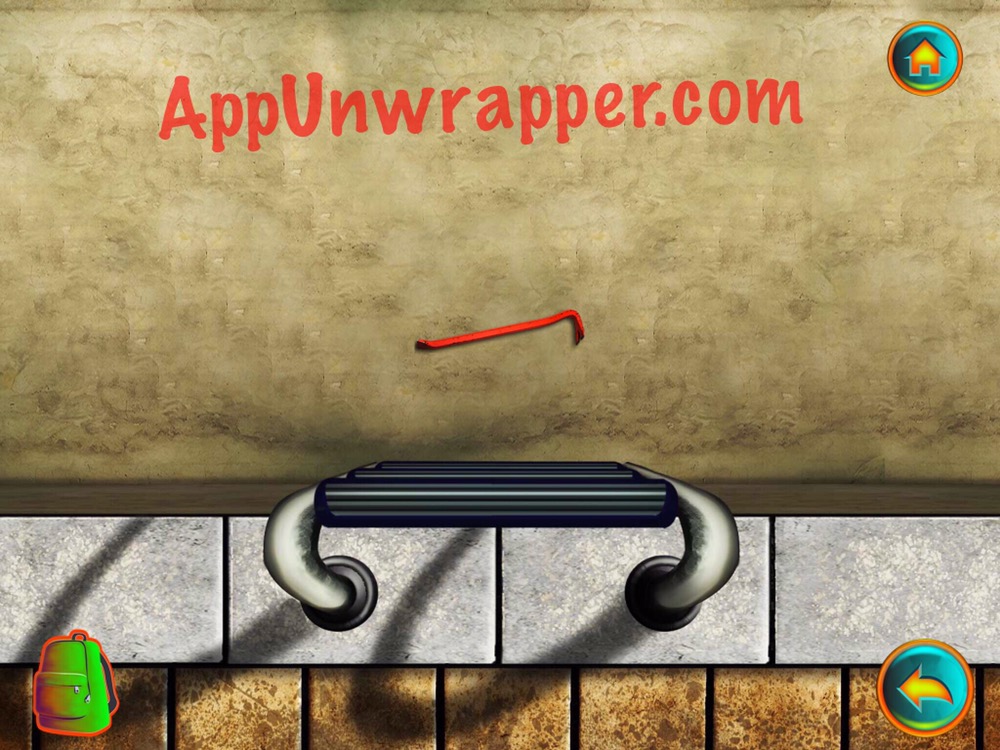
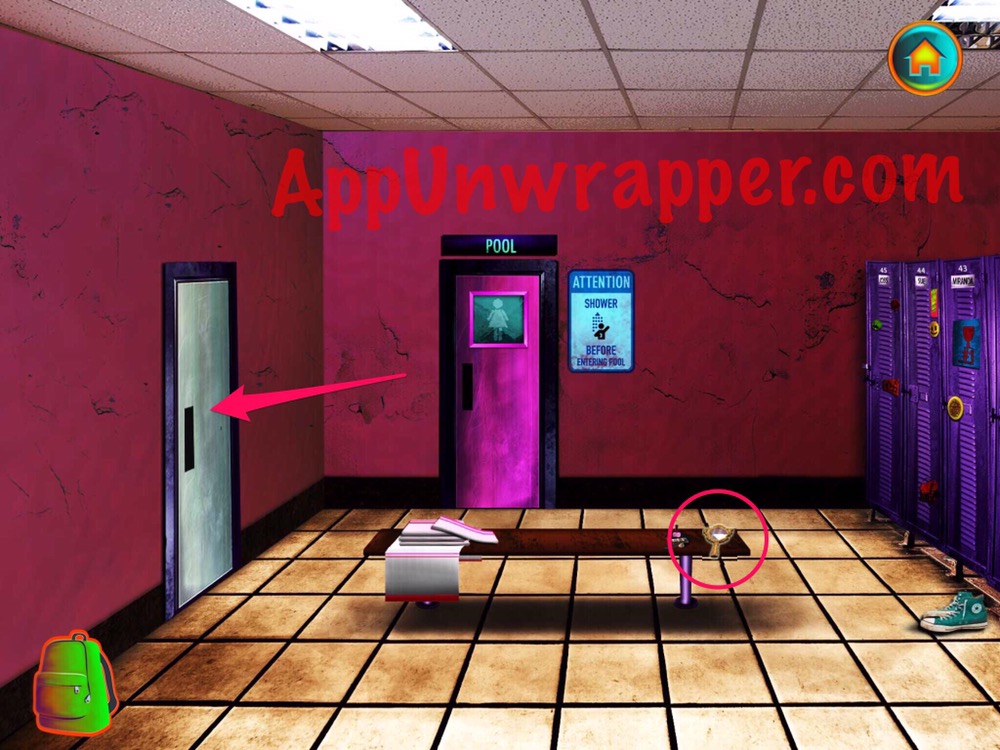
16. Go back to the pool and grab the crowbar from the drained pool.
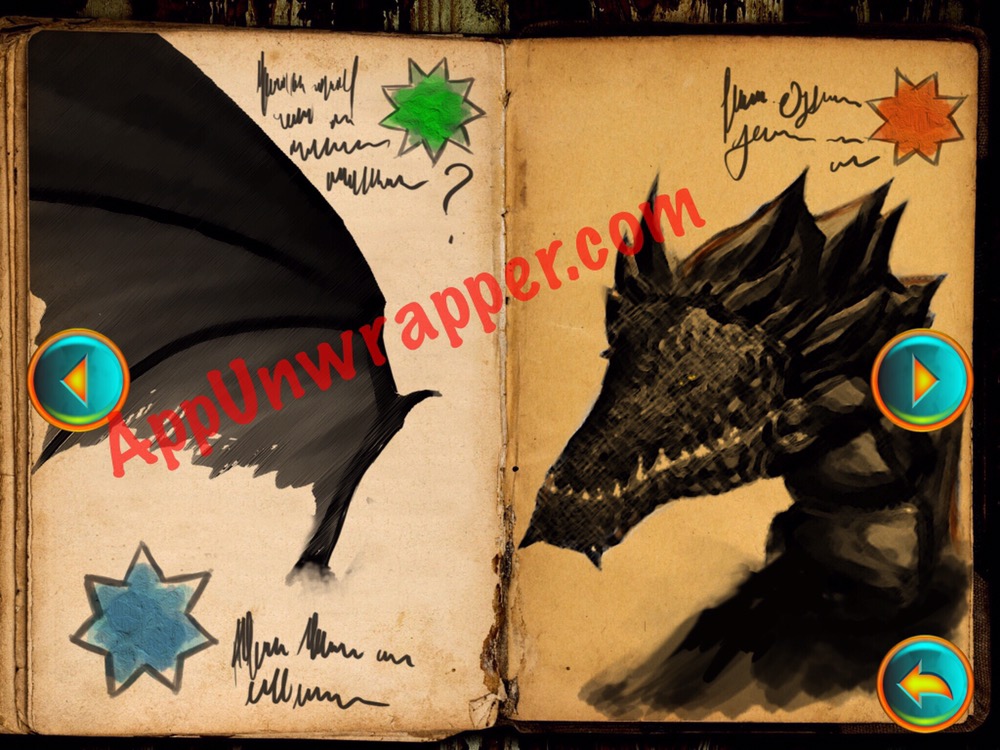
17. Go back to the locker room. Look at the clue in your journal with the dragon and stars. Use it to unlock Will’s locker. Just match the colors to the number of points the stars have. Once Will is out, he’ll give you a rose and ask you to give it to Miranda.

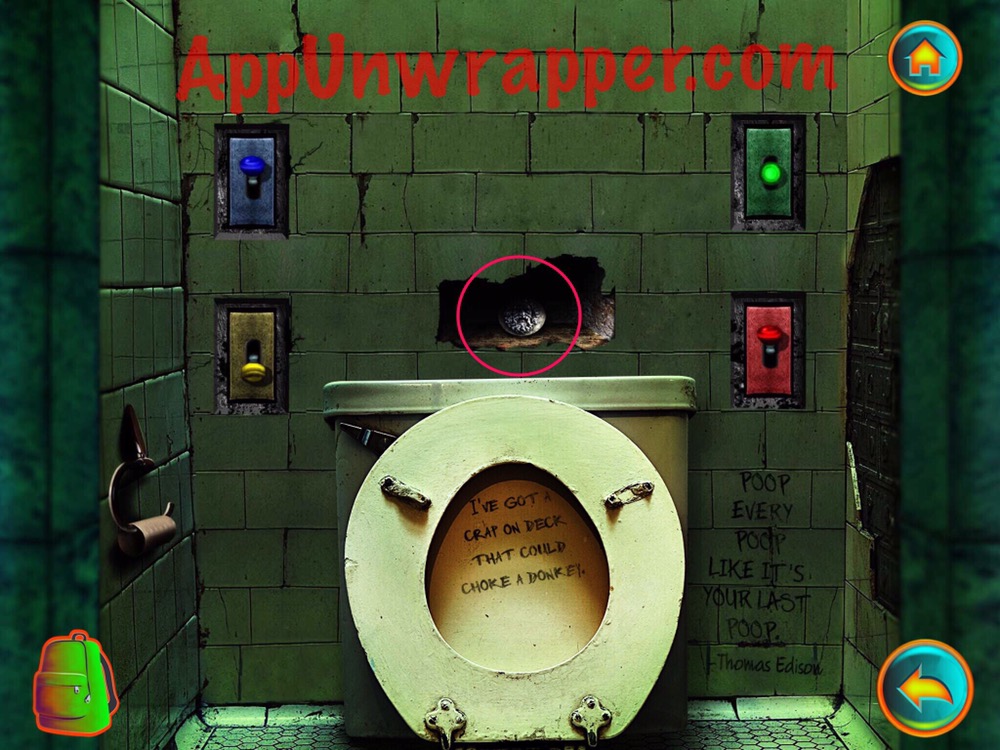
18. Go back to the men’s bathroom. Enter the left stall and use the bowling pins clue from your journal to figure out how to arrange the colored switches. Blue is up, yellow is down, green is center, and red is up. The toilet will move, revealing a hole in the wall. Take the Old Crest.
19. Go to the sink. A ghostly apparition will appear in the mirror. Turn on the hot water and some symbols will appear in the steam. Tap them to add them to your journal.

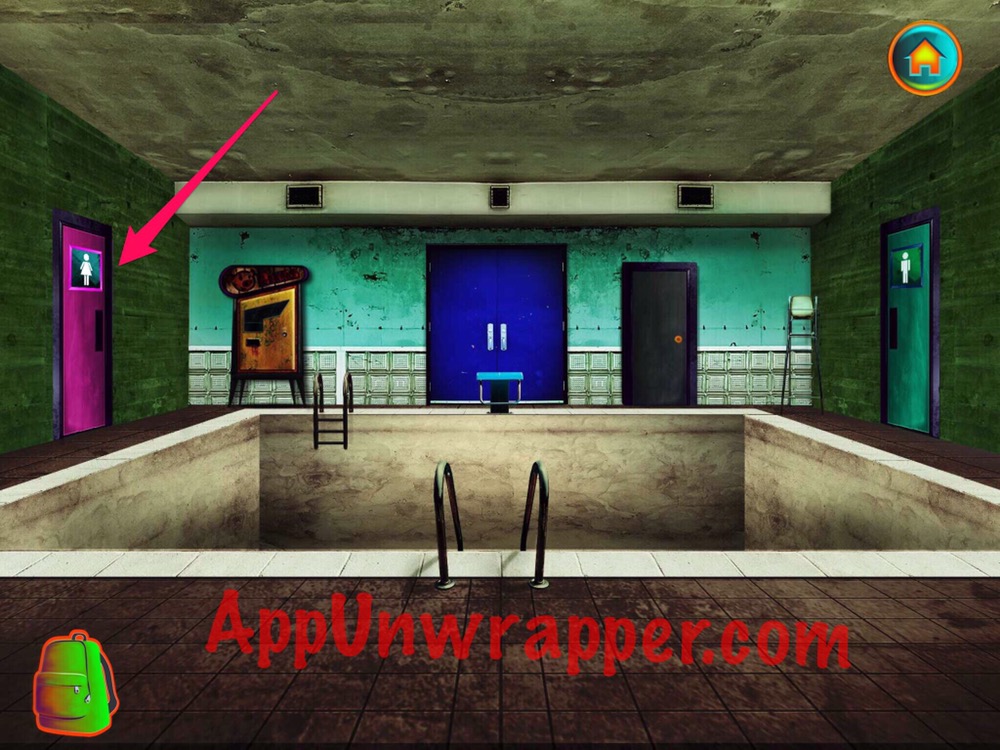
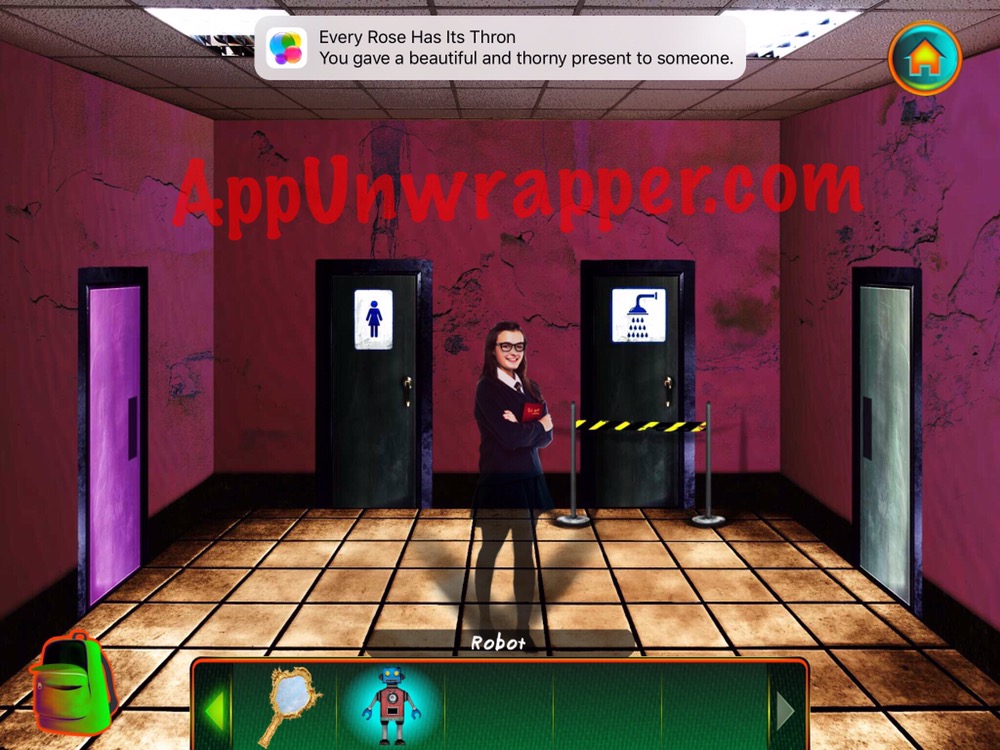
20. Go back to the pool and head left into the women’s locker room. Take the mirror off the bench and then head left through the white door to bump into Miranda. Give her the rose and she’ll give you a robot in return.
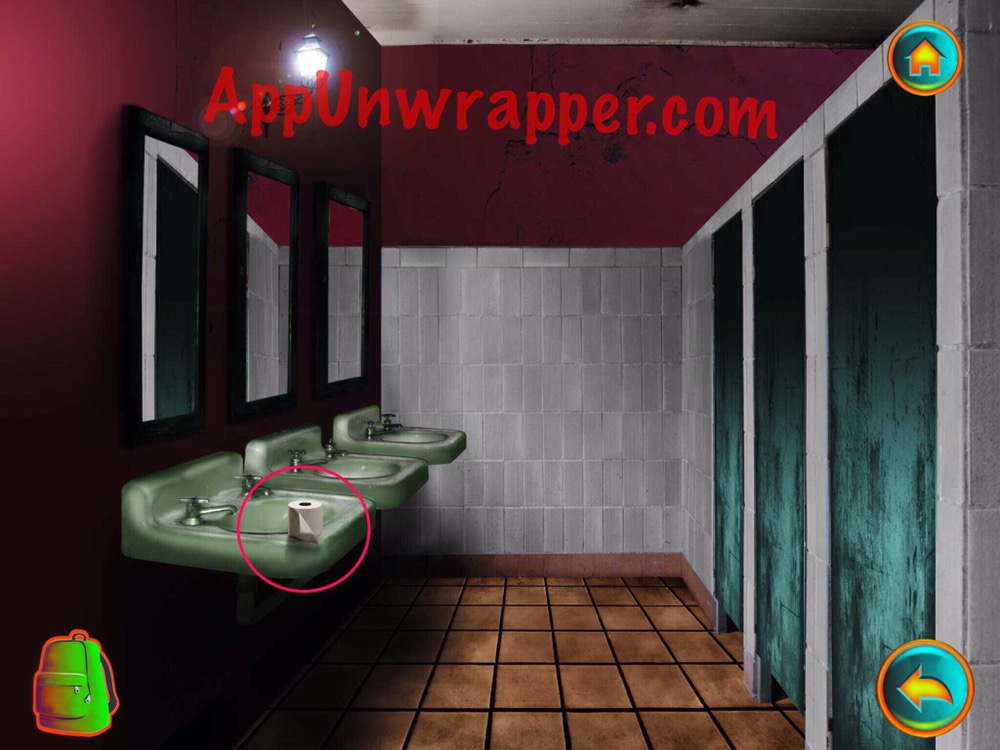
21. Miranda doesn’t let you go into the bathroom or lockers from here, so go back to the gym and head to the men’s room again. Will is in the middle stall and asks you to get him some toilet paper. Go back to the ladies’ room. Miranda is gone, so you can enter the bathroom and take the toilet paper. But she comes back after that.
22. Go back to Will and give him the toilet paper and then the robot. He’ll tell you to get the batteries from Miranda’s locker and give you a clue for your journal for how to open it.

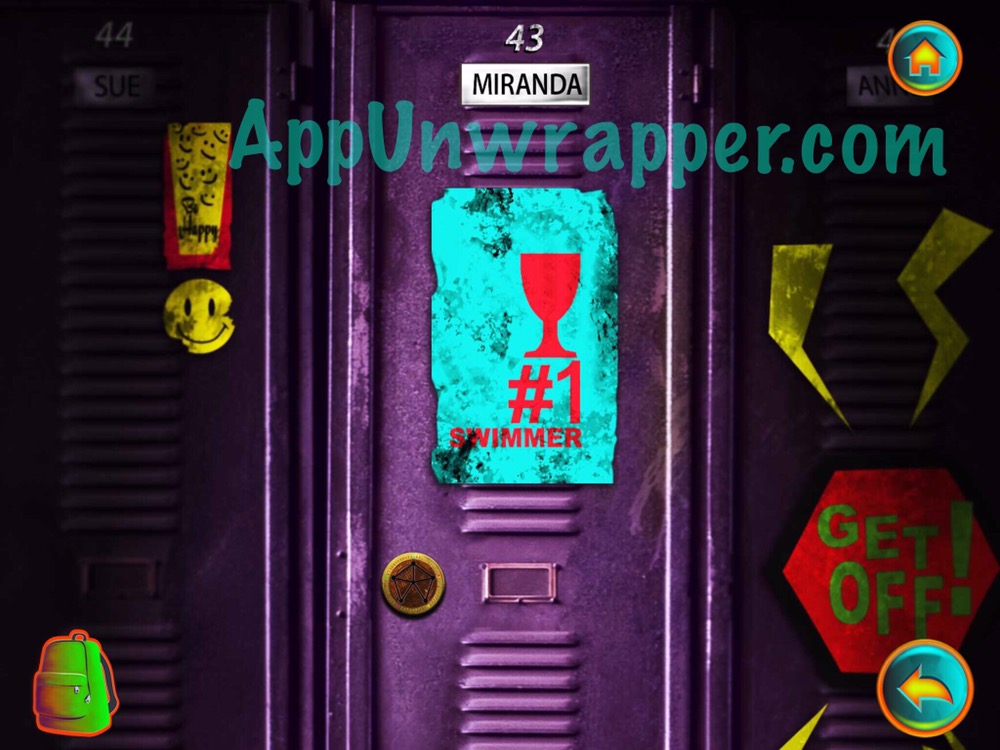
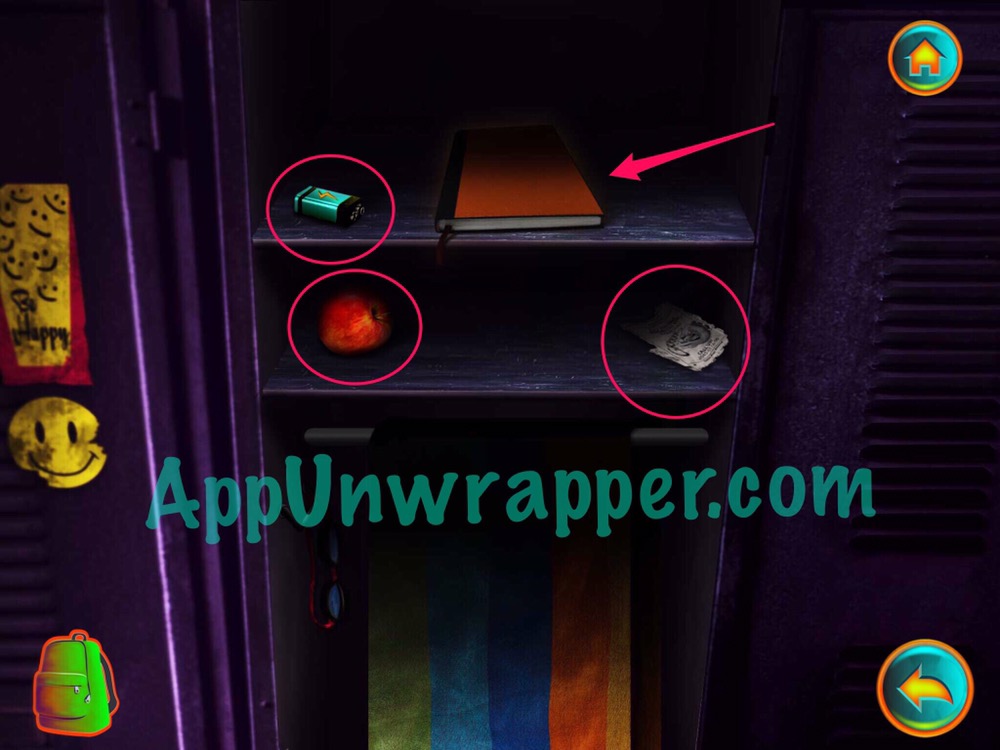
23. Go back to the girls’ locker room through the pool and use the hummingbirds clue to unlock Miranda’s locker. Take the batteries, which will automatically go into the robot. Also take the apple and newspaper clipping and read through her journal.

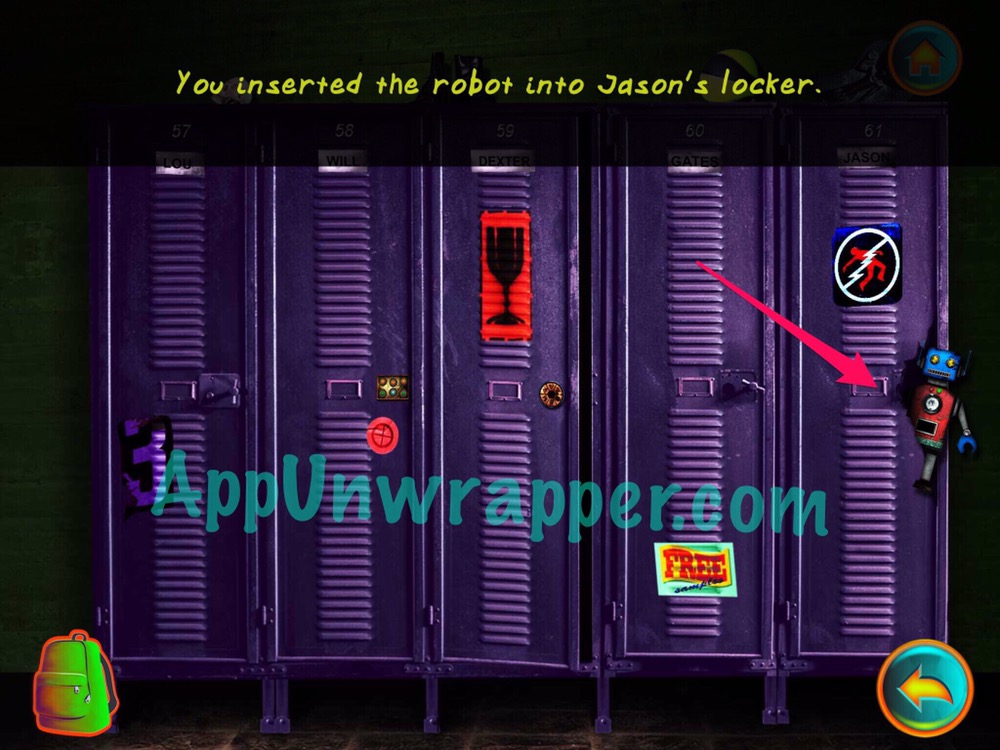
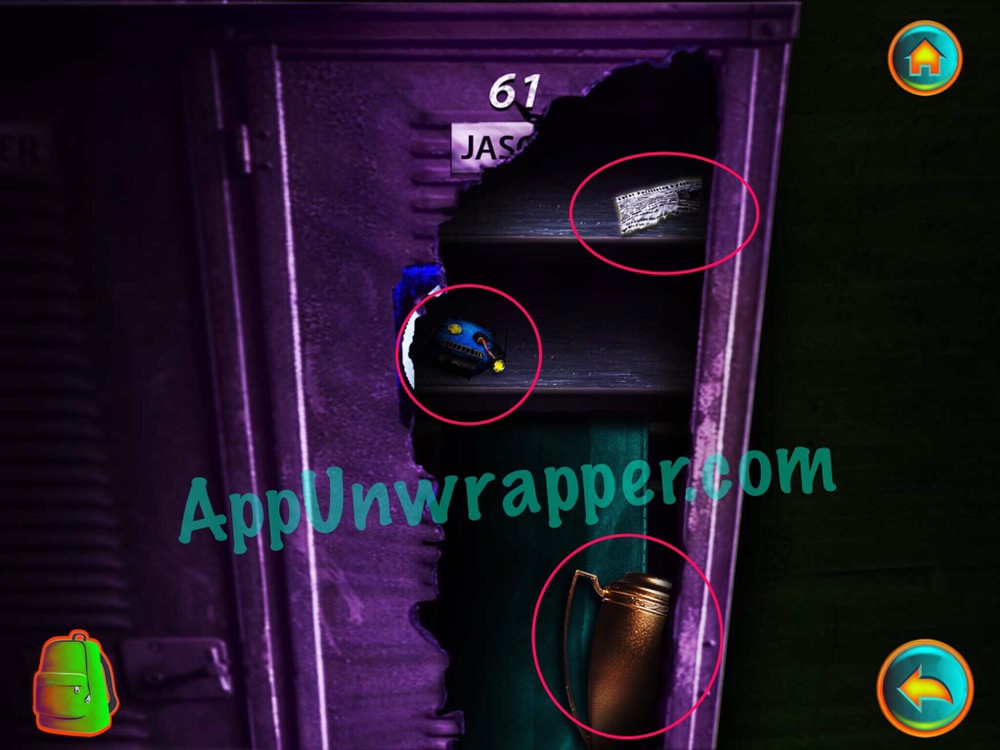
24. Go back to the boys’ locker room. First, look inside Will’s locker and take the Old Crest. Then, use the crowbar on Jason’s locker to make a hole in it. Stick the robot in the hole, then hide in Lou’s locker. The ghostly apparition comes back and breaks open the locker. Once he leaves, you can take the contents — the robot head, a trophy and another newspaper clipping.

25. Go back to the gym and place the trophy in the trophy case. A secret door will open! Go through.


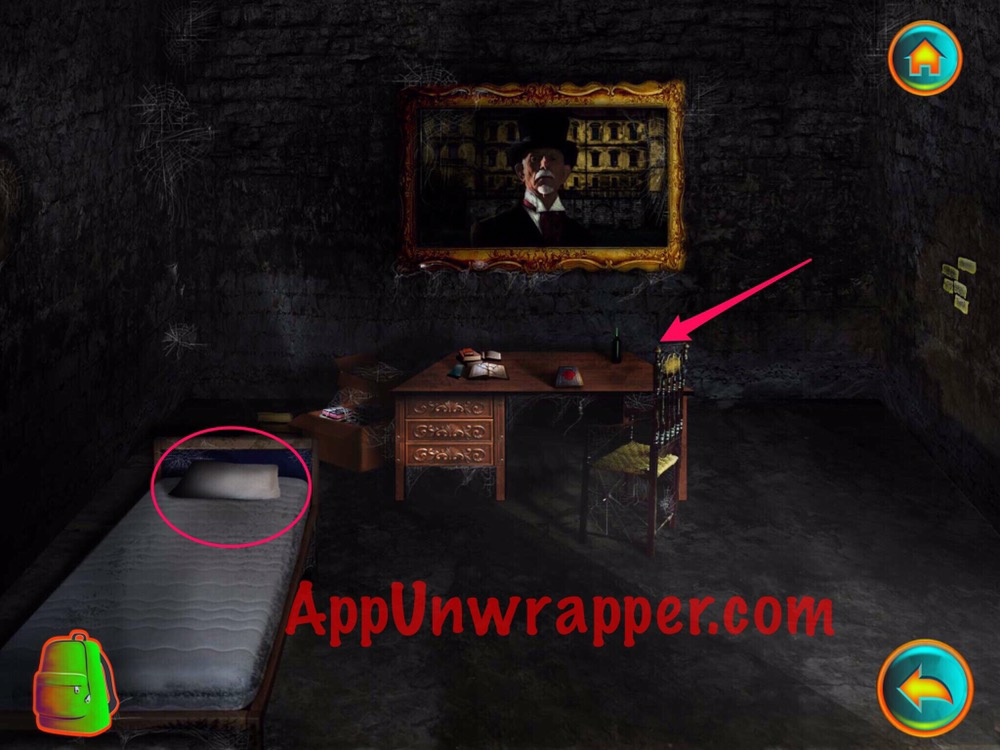
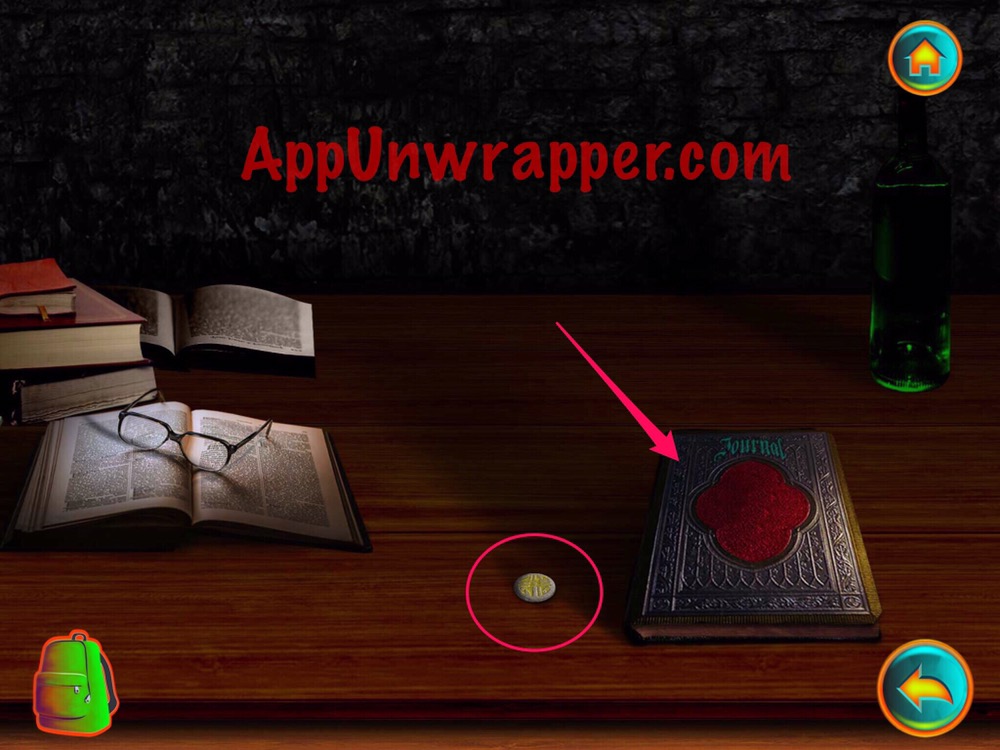
26. Grab the pillow from the bed. Also, take the coin from the desk and look through the journal.
27. Solve the painting puzzle. You need to tap the squares and change them all the the ugly version. Then a stairway will appear. Go up.

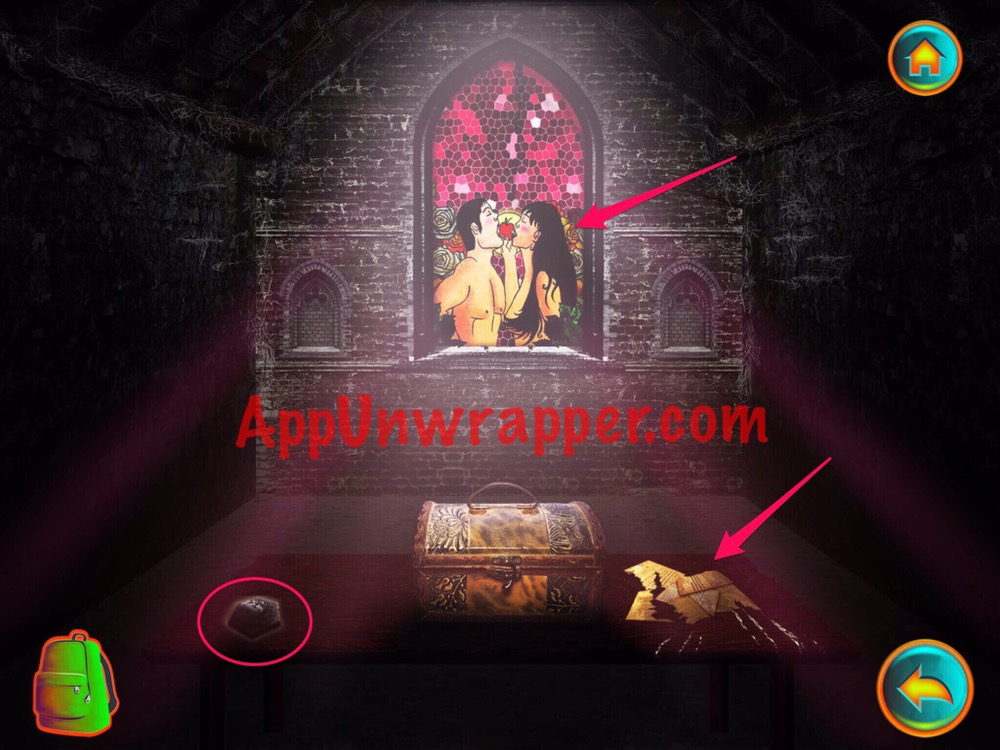
28. Tap on the stained glass window of Adam and Eve eating an apple to add it to your journal. Take the third Old Crest and look at the notes on the floor. The chest is locked so we’ll come back to that.
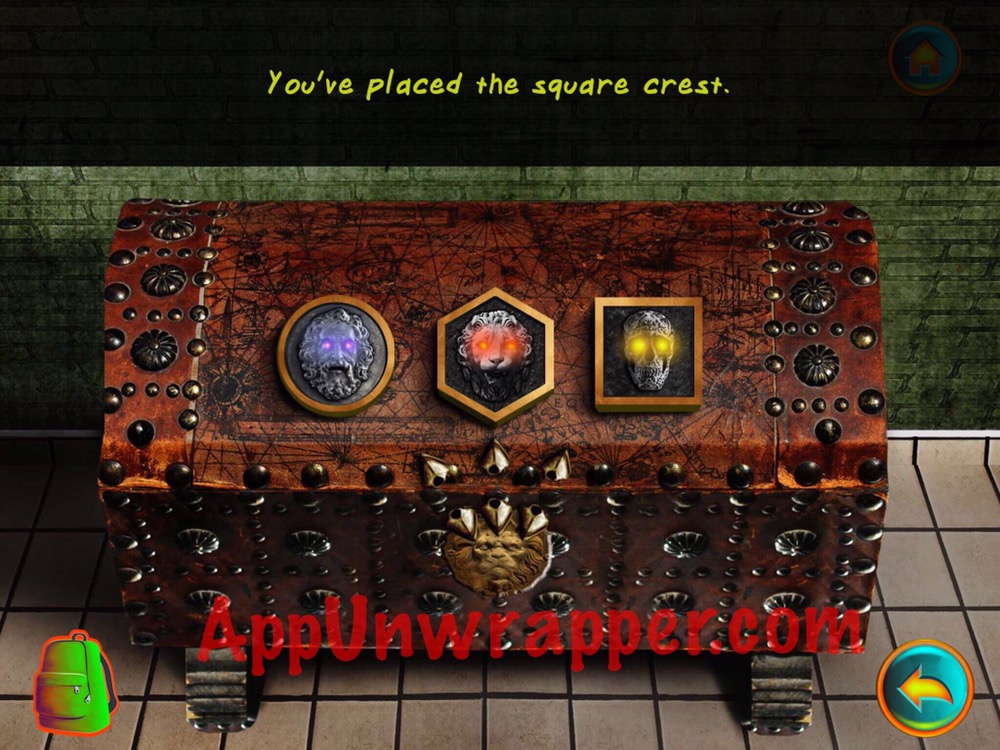
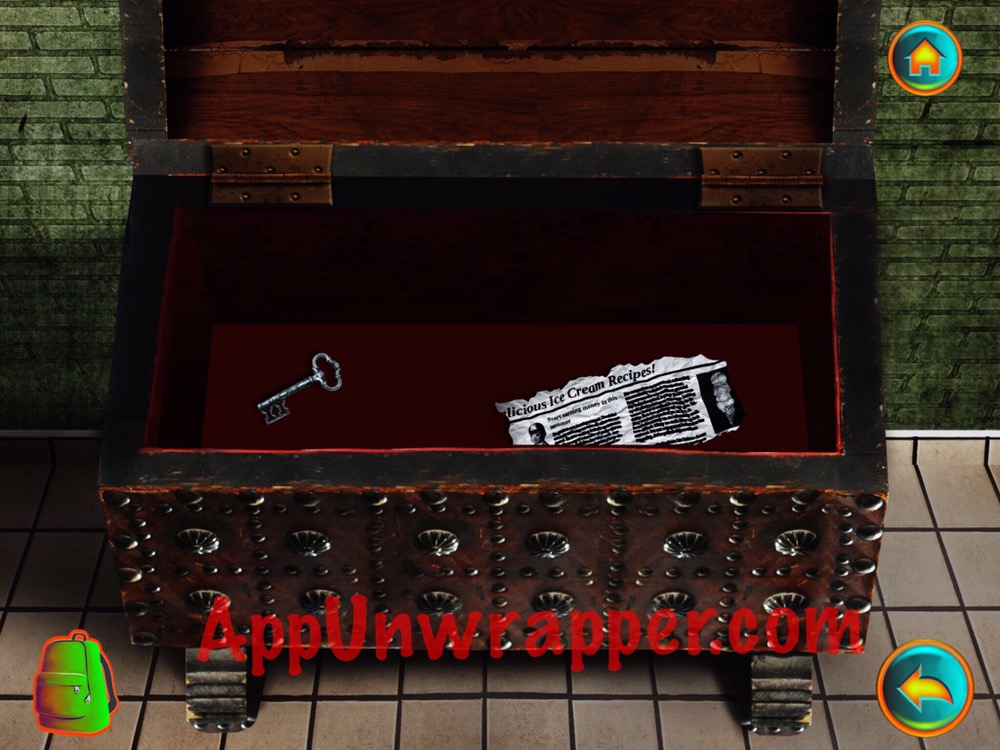
29. Go back down. There’s something else here, but we’ll come back to it. Go back to the room behind the orange door in the gym. Place all three Old Crests on the chest and take the silver key and final newspaper clipping.

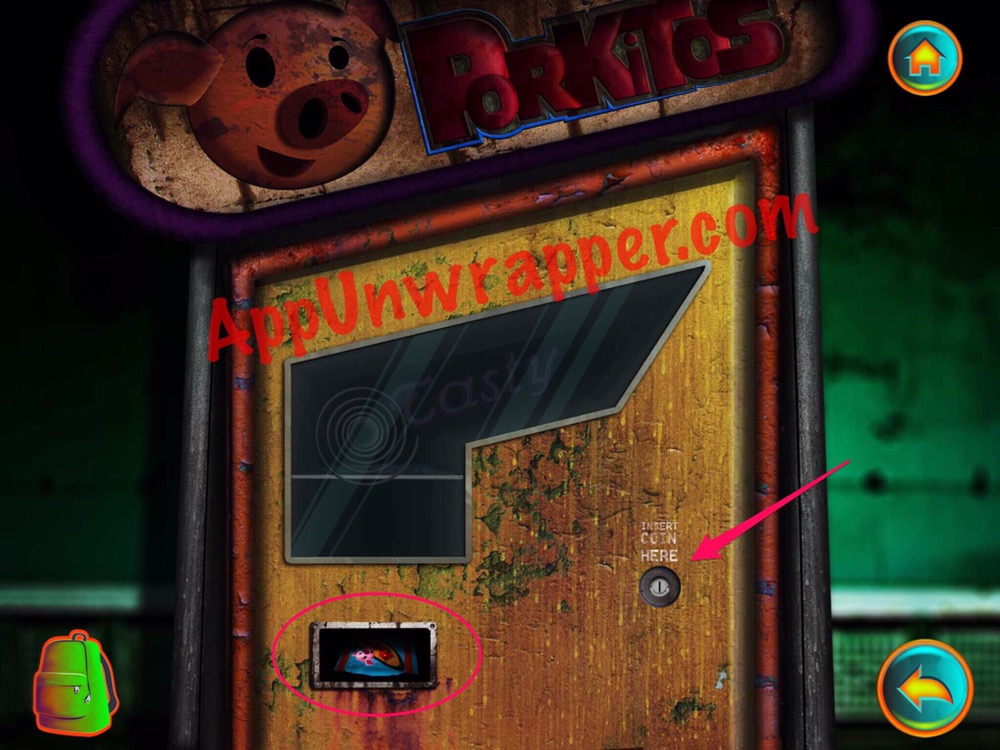
30. Go back to the pool. There’s a Porkitos vending machine. Use the coin to get a bag of chips.
Click on the little numbers below to continue to the next page or click here.
Great game! I was a tester and I loved it!
It will be hard waiting for the next episode, lol.
Yeah, that ending left me wanting more! 🙂
I’m having problems with the picture of the old man that we need to turn evil