Chapter 5, A Perilsome Thought:
You can watch my video walkthrough for Chapter 5 here or continue to my step-by-step guide below:
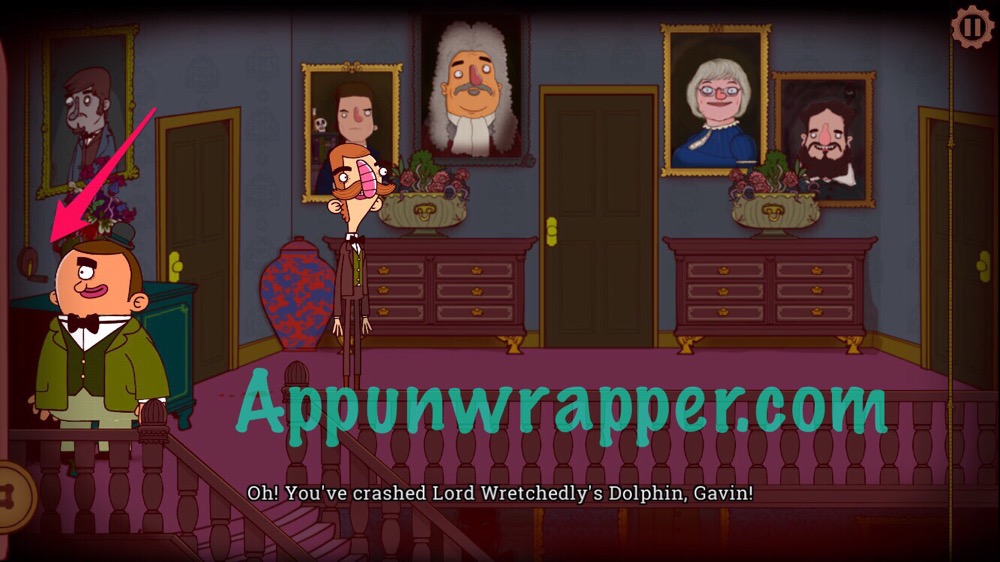
1. Gavin brings you tea, which you can drink if you want. Bertram will notice that his photos are missing! Leave the room.
2. There’s a lever off to the left. Have Gavin pull it to drop the white dolphin.
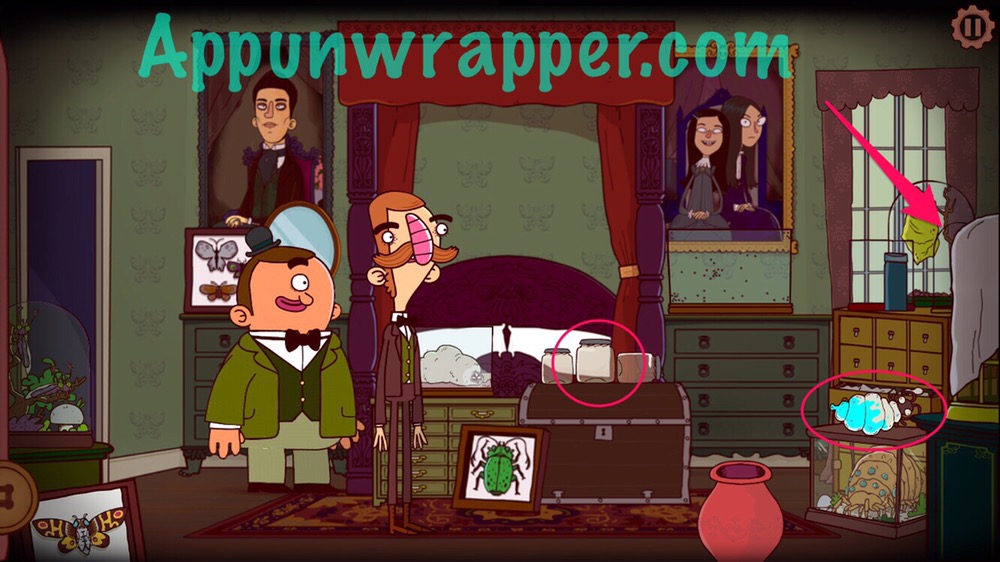
3. Head right into Professor Scuttleworth’s door. Pick up the empty jam jar and Mongolian glow maggot. Also, pull the sheet off the birdcage. Then leave the room.
4. Head through the left doorway to Lord Wretchedly’s room. Tap the painting to the left to reveal a secret passage to the attic. There’s a locked door there. We’ll deal with it later.
5. Head downstairs. Instruct Gavin to take the dolphin upstairs to your room.
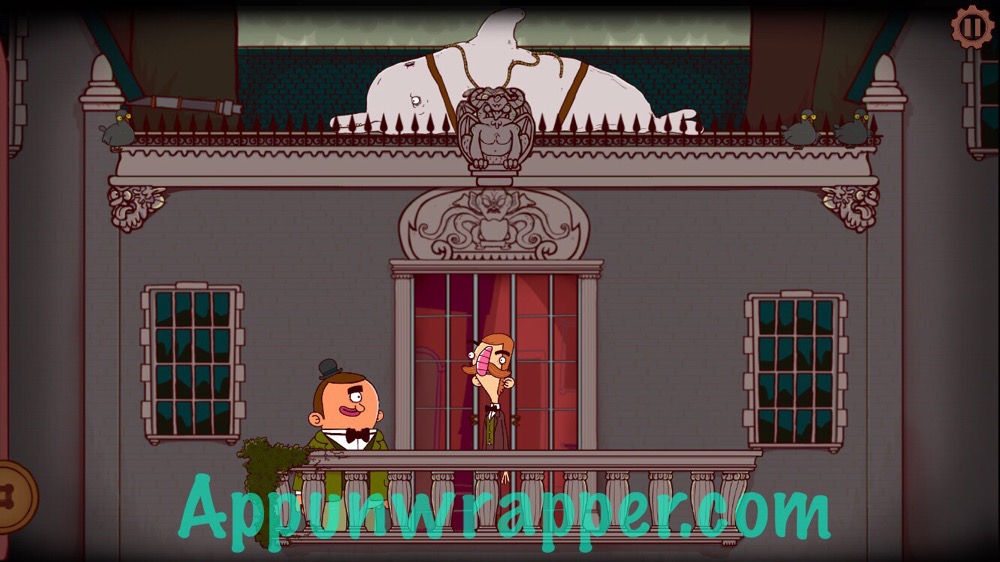
6. Have Gavin take the dolphin out to the balcony and then have him fling it onto the roof. Head back inside.
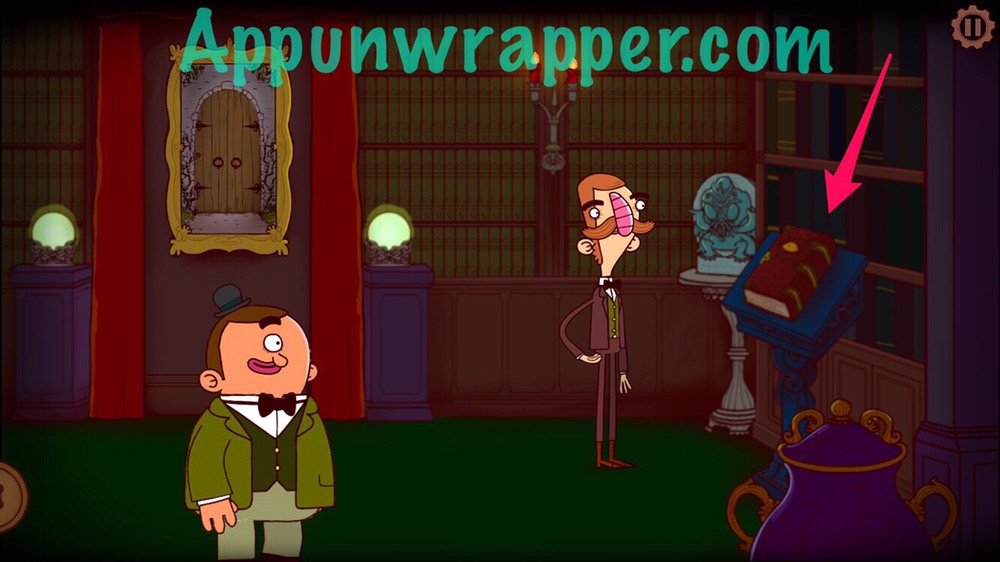
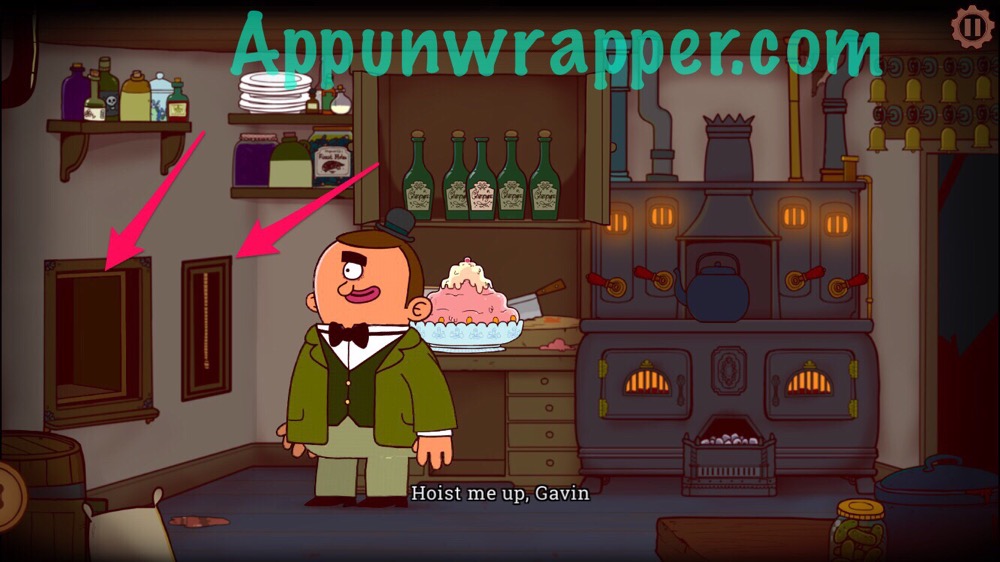
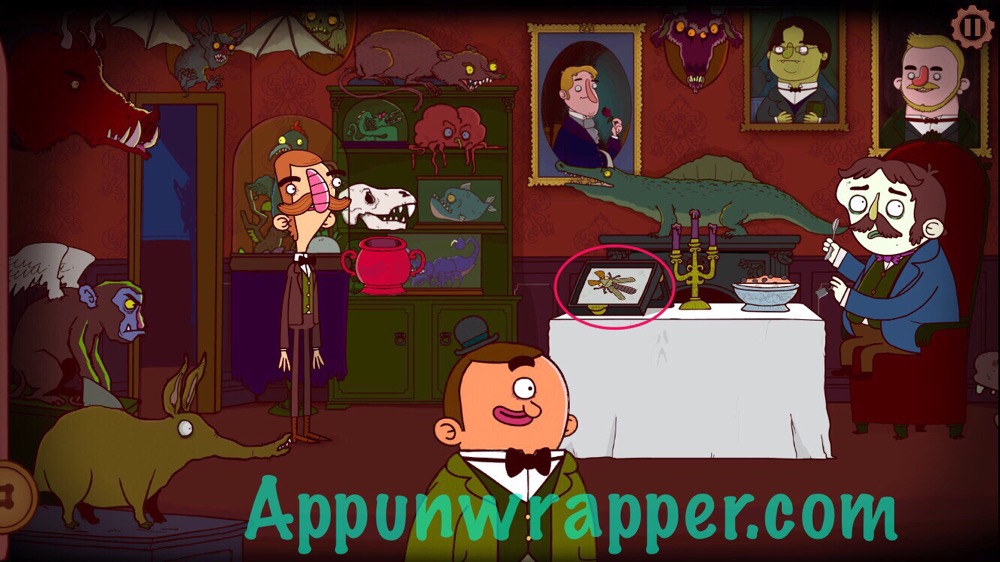
7. Go back downstairs. Head through the door to the left. Pick up the handkerchief and then open the Book of the Dead to the right to get your missing photomographs.

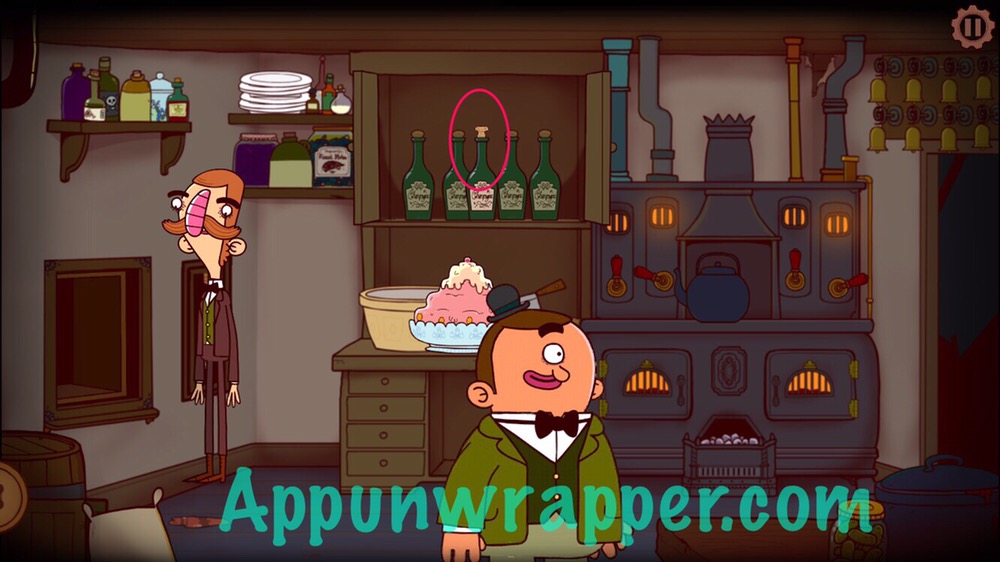
8. Head left to the kitchen to find Lord Wretchedly using the dummy waiter to send food up to the attic for someone…or something. Try to leave. Instead, Lord Wretchedly will leave the room and you’ll have more options. Open the cabinet and take the cork from one of the champagne bottles.
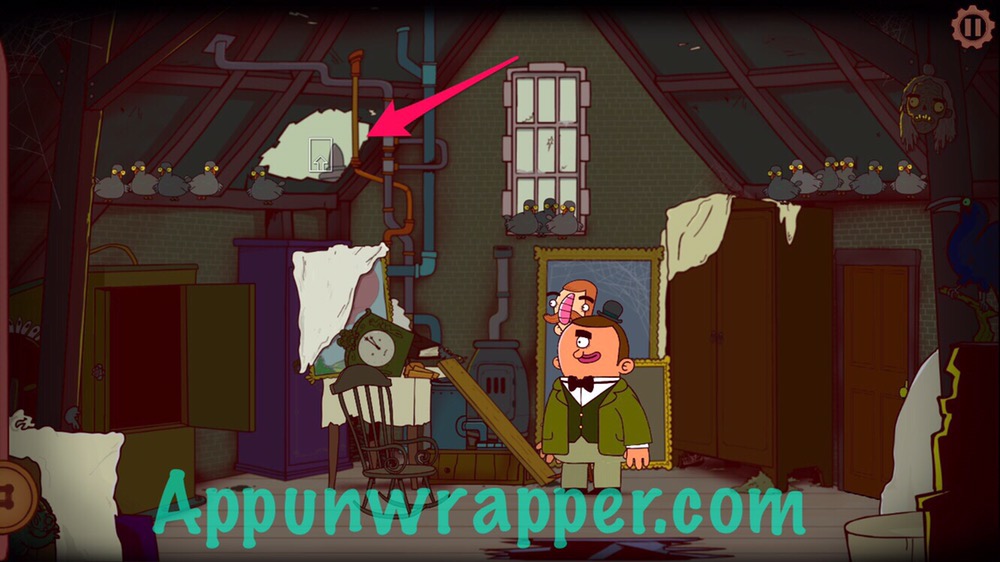
9. Climb onto the dummy waiter and have Gavin pull the cord to send you up into the attic. While you’re here, flip the switches on the heater so all of them look hot.
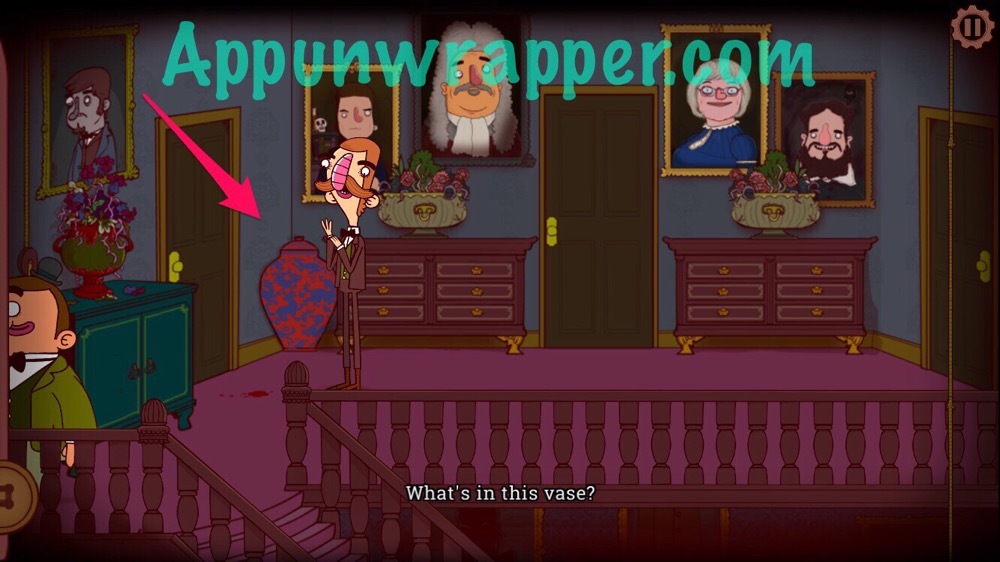
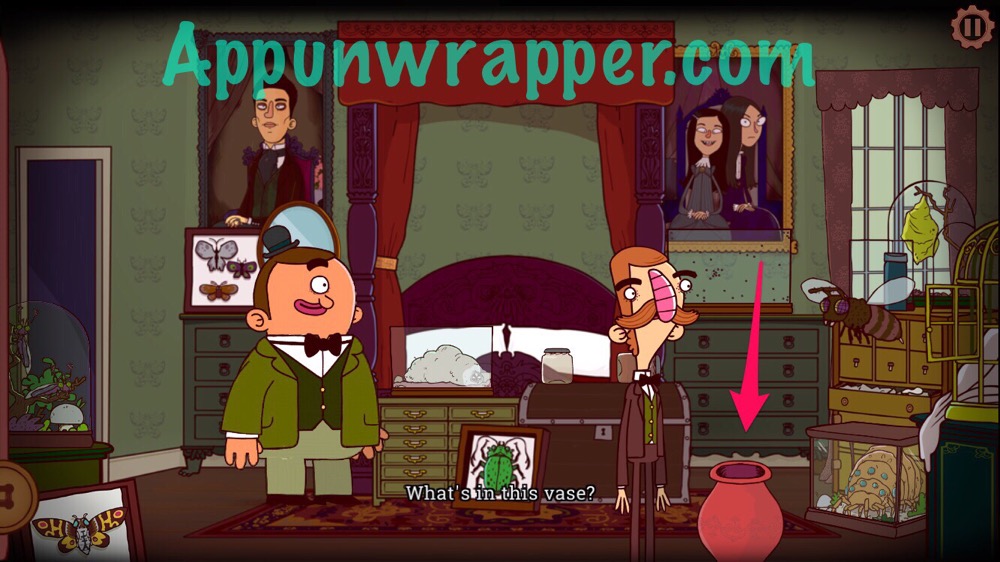
10. Talk to Mrs. Wretchedly. Tap on the door. She’ll tell you to find the key, that it’s probably in a red vase. But it will be in the last place you look, so you have to check all red vases. There’s one near the main door, another upstairs, another in Professor Scuttleworth’s room, and another in the trophy room. We’ll go to the trophy room last since we haven’t been in there yet. It’s the right door near the main entrance.

11. Take the boltcutter beetle from the table and talk to Professor Scuttleworth.
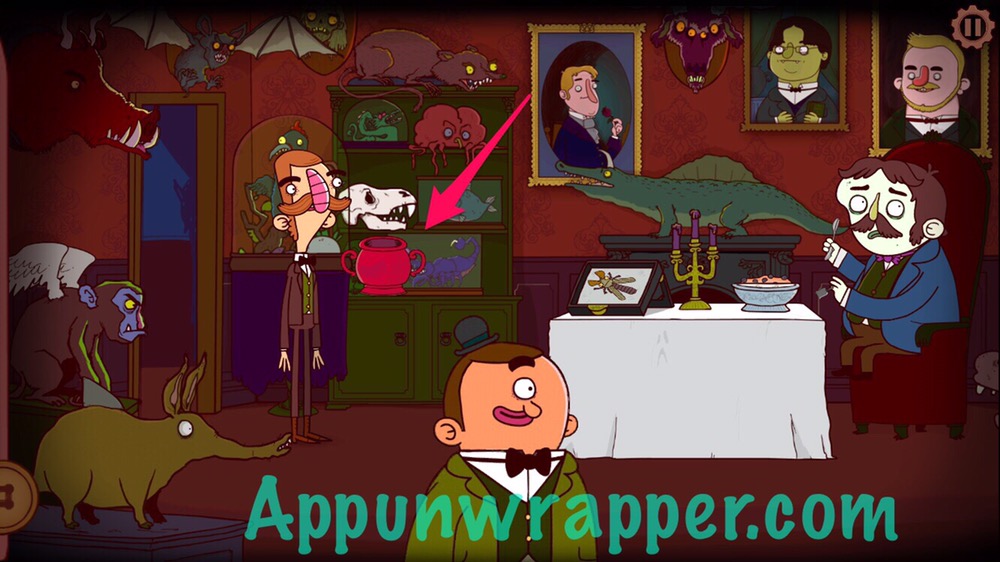
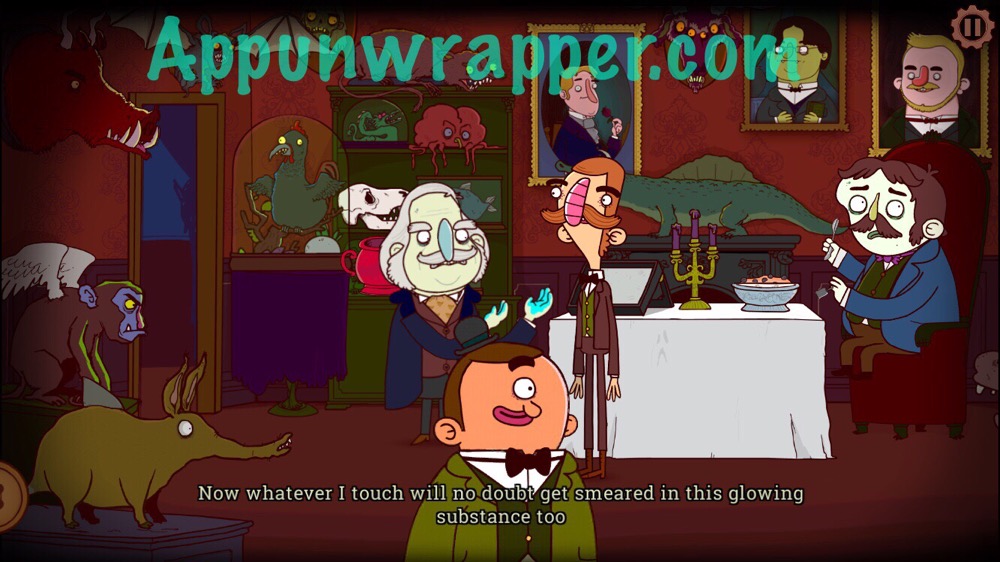
12. Keep talking to Professor Scuttleworth until he finishes his blancmange and rings for Lord Wretchedly. If you talk to Lord Wretchedly, he’ll disappear again and Gavin gives you a clue as to what to do — he’ll say, “To catch a weasel, you need the right grub.” So talk to Professor Scuttleworth again and this time, when Lord Wretchedly appears, give him the glow maggot before he leaves. Now anything he touches will get all glowy.

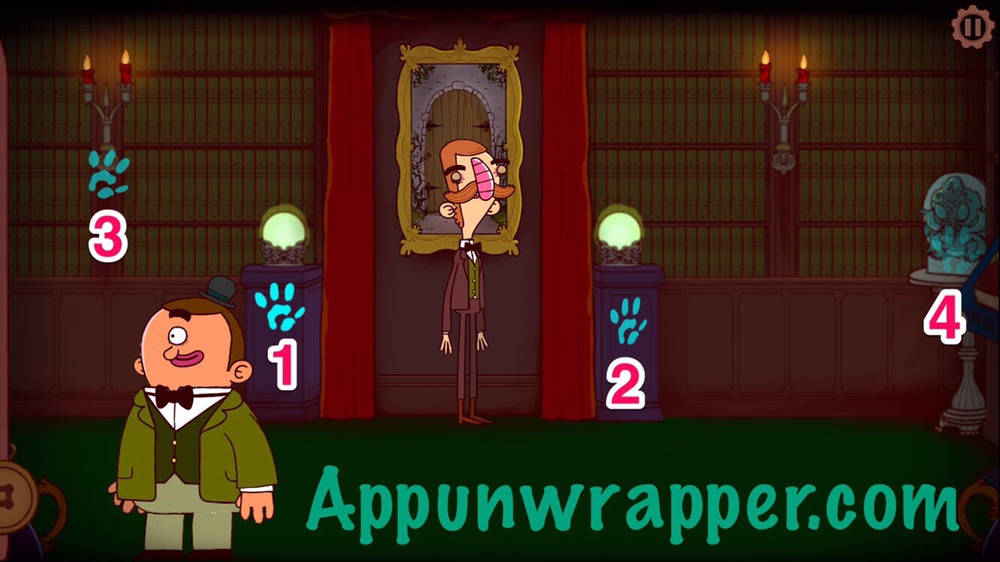
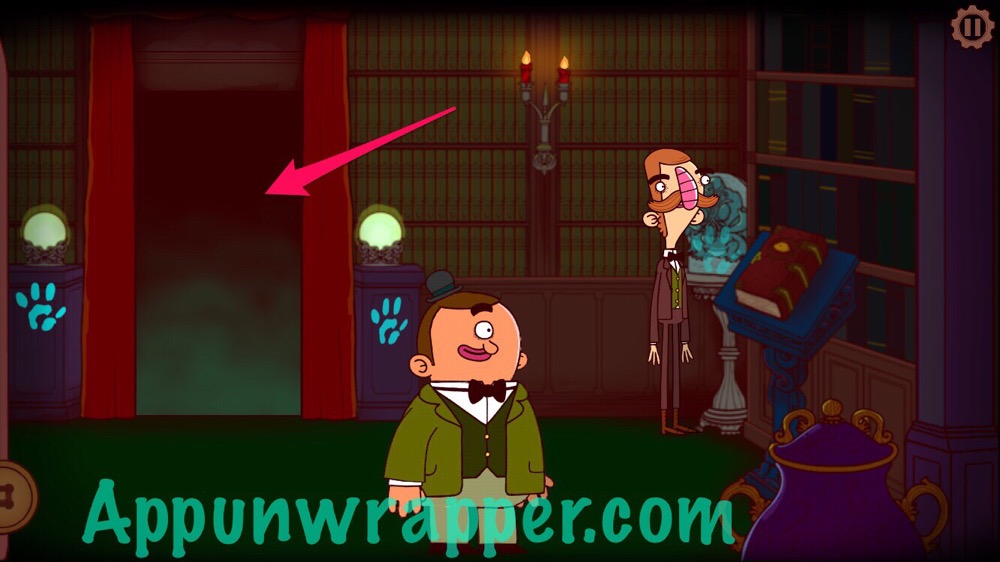
13. Go back to the library. Notice the glowing handprints. Find the brightest one and tap that item. Then look for one slightly faded and keep going till you get to the one that’s almost completely faded. A secret passage will appear! Go through.
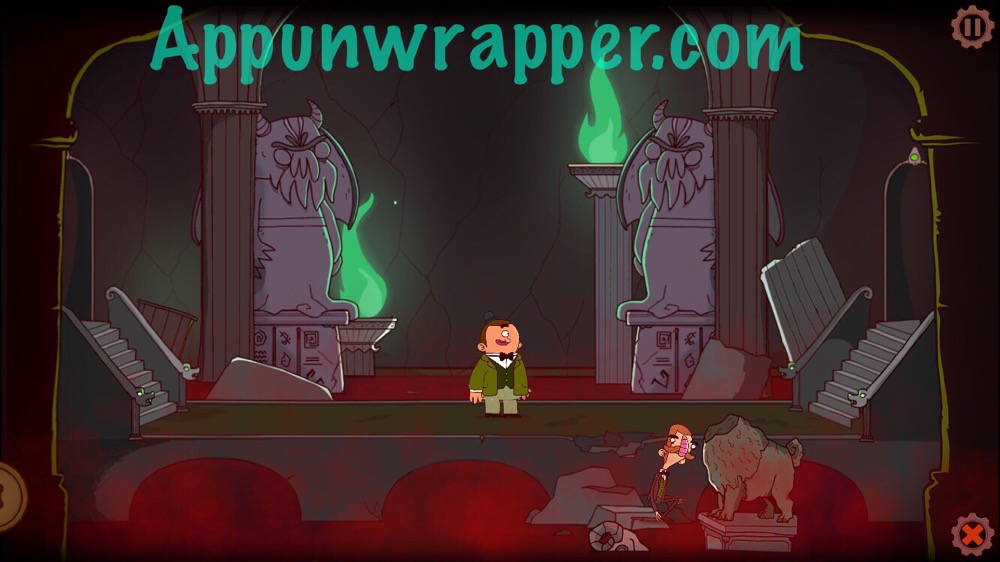
14. Dip the handkerchief in blood. Then continue on until you find Lord Wretchedly arranging some skulls in a shrine to Cthulhu.
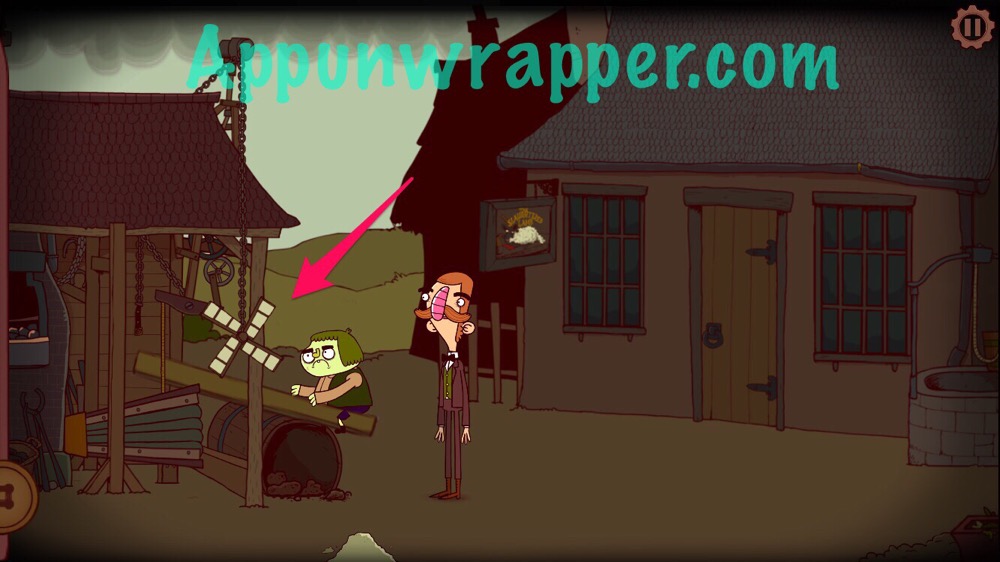
15. Leave the manor. Catch one of the screaming toads in your jam jar.

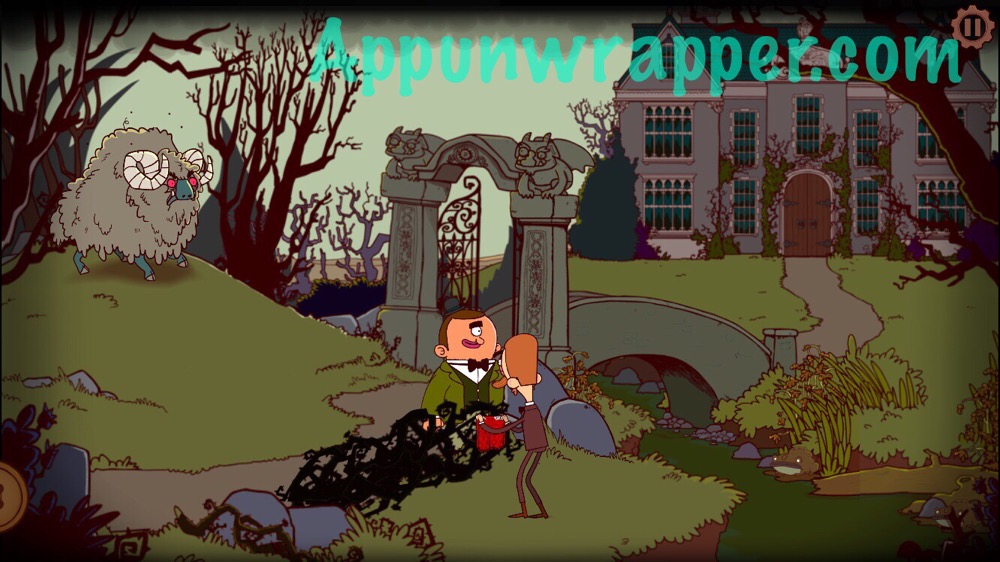
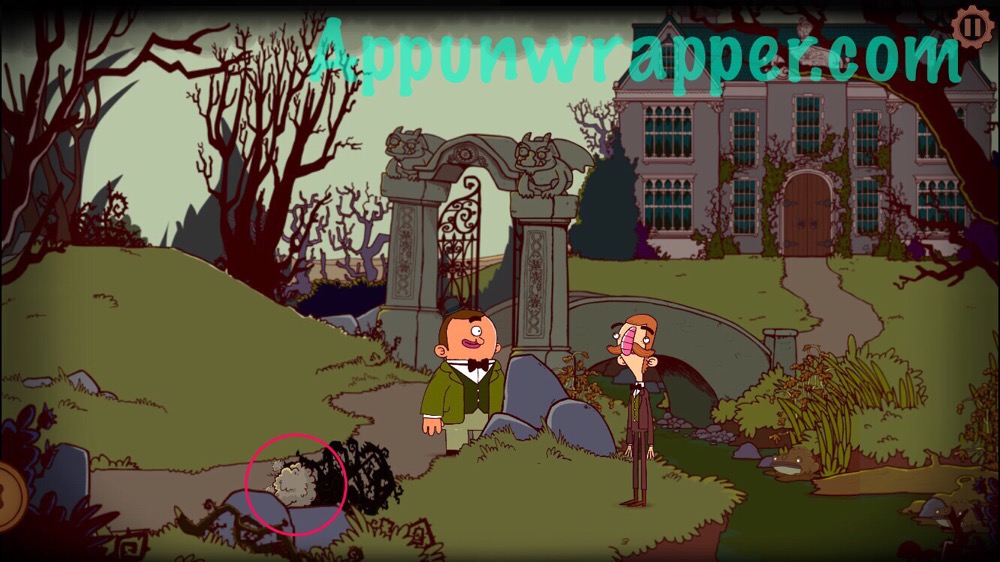
16. Walk to where Bertram is in the photo below. Ask Gavin to build a bramble barrier. Then use the bloody rag on the enraged ram. The ram will run into the brambles, leaving some wool behind. Take it.
17. Head left. Have Gavin push the old tree down so you can use it as a bridge. Head back to the village.

18. Give the wool to the yarn spinner and she’ll turn it into a rope for you.
19. While you’re here, use the boltcutter beetle to take the fan bear Little Wacksmith.
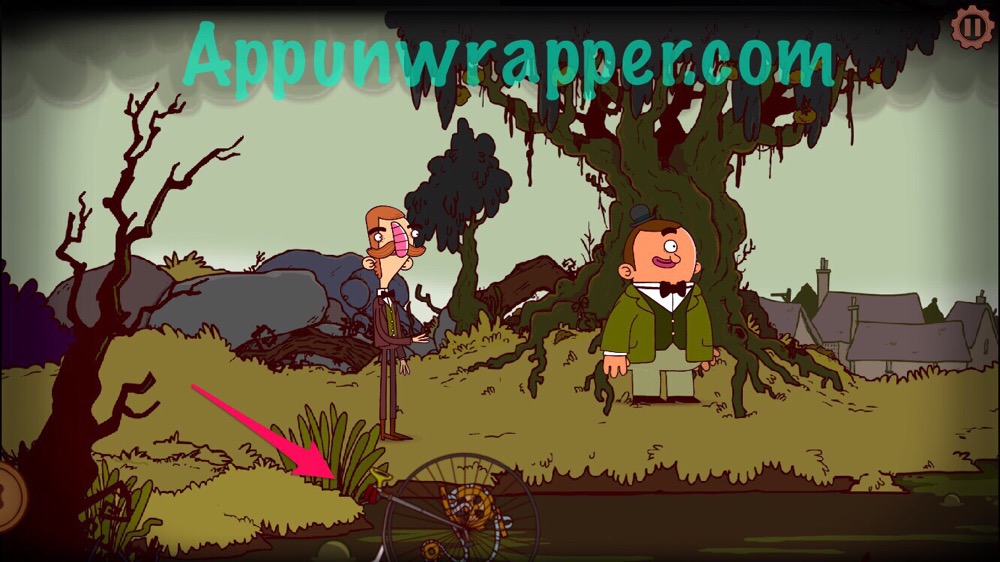
20. Go back to the apple tree. Use the rope to get the pedals and crank off the penny-farthing stuck in the swamp.
21. Go back to Wretchedly manor. Go upstairs to Lord Wretchedly’s room and use the key to unlock the door to the attic. Mrs. Wretchedly will leave, and you’ll now have access to the roof. Head up there.
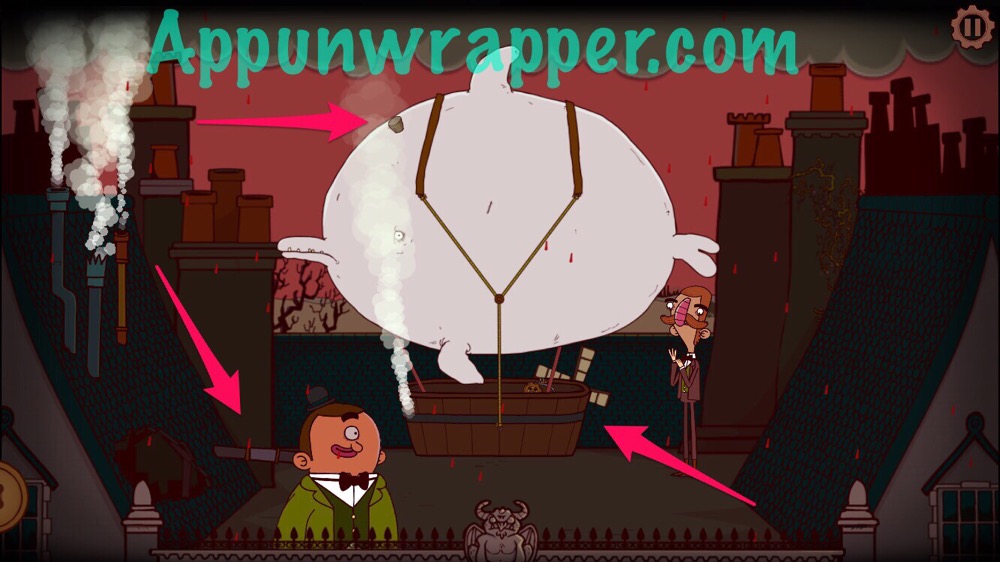
22. Plug the dolphin’s blowhole with the cork. Then have Gavin bend the pipe. If you turned on the heater fully when you were in the kitchen, hot air should pump out from the pipe into the dolphin, turning it into a hot air balloon. Add the pedals and fan to it. It starts raining blood!
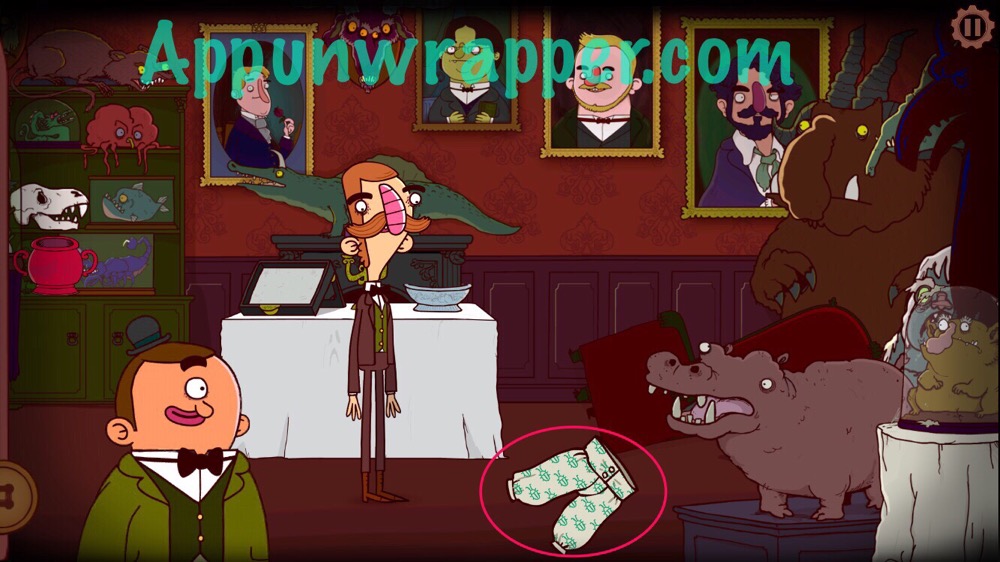
23. Go back to the trophy room to find Scuttleworth missing. Pick up his underwear.
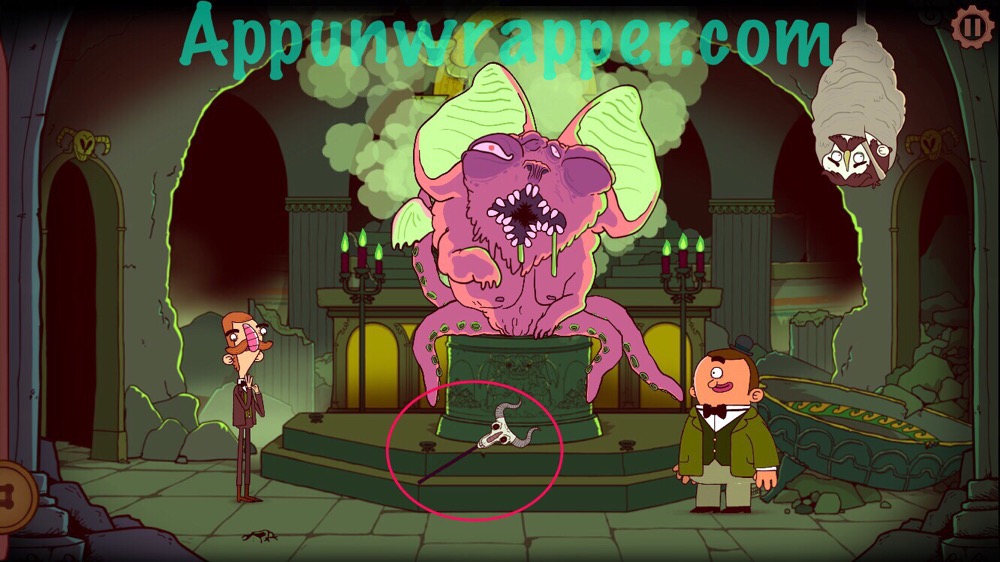
24. Go back to Wretchedly’s hidden lair to find the portal open and some weird bat-squid creature (octobat?) about to eat Scuttleworth. After Lord Wretchedly leaves the room, pick up the goat-headed staff he dropped.
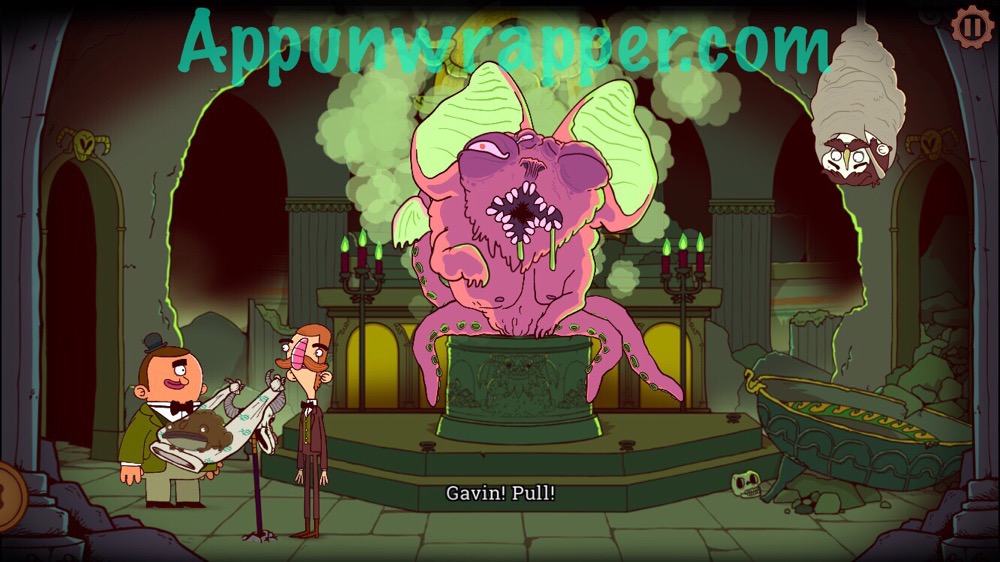
25. Combine the staff with the undergarments to make a slingshot. Insert it into the hole in the floor and then place the screaming toad in it. Have Gavin back and shoot it at the monster! Yay! We defeated him! Apparently, we leave Scuttleworth hanging there.
26. Head back to the dolphin hot air balloon. Ride it back to London.
Click on the little numbers below to continue to Chapter 6 or click here.

Why did u left the adventure here? I’m stuck with the goat and a some glowing fingerprints… Please help! T_T
Il faut juste aller sur la page suivante pour avoir la suite de la solution, Giny!
Thanks for the walkthrough! And kudos to you for supporting the game I noticed your name in the credits😊
Did anyone play this on their iPhone? It wonΓÇÖt let me get out from the picture of his chest.