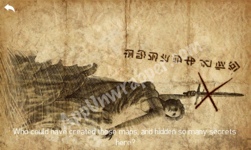
The new Vault of Tears update to Infinity Blade 2 brought with it the introduction of treasure maps. I’ll be posting all the treasure maps here as I find them, along with the locations of the treasures. This is a work in progress, so bear with me, and feel free to help out in the comments section. I’m still working on the Skycages update.
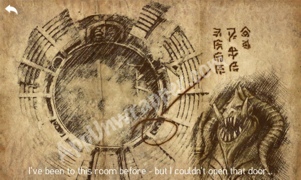
1. Victors Spoils Map:
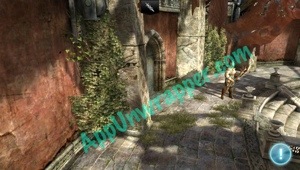
Go into the arena, and while you’re facing the second enemy (after the Wretch), turn to your right and tap on the door directly next to you. Your treasure will likely be an attack gem around +25.
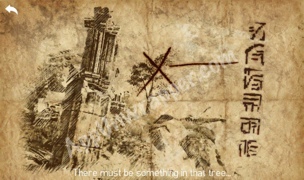
2. Worn Treasure Map
At the very start of a rebirth, you’ll see this tree. Tap on it to get a treasure (I got a Big Prize Wheel).
AppUnwrapper.com: Walkthroughs & Guides
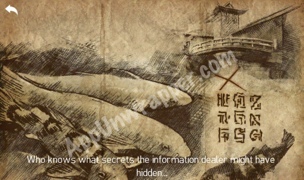
3. Wet Loot Map
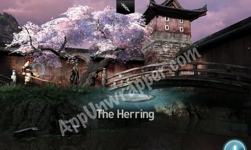
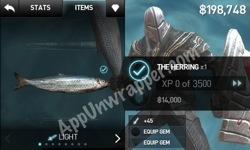
When you face Ronin, tap the water under the bridge to the right and you’ll find the Herring.
4. The Vile Map
The Vile set can be found as follows:
Sword: A new path opens up near the beginning of the rebirth. Follow it and try to pull the sword from the tree stump. It will turn out to be a monster. Defeat it and it will morph into a bigger and stronger one. Defeat them both to get the Vile Sword.
Armor: In the arena, climb up the tree. (If you don’t see a tree yet, you have to wait a few rebirths until it grows). Halfway up there will be a lair with a Gargap. Take his treasure to wake him up, then defeat him to get the Vile Armor.
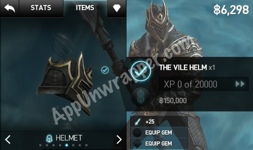
Helm: You need the Crown Map (shown further down the page) to get the helm.
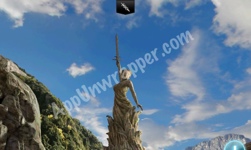
Shield: To the right of where you got the sword, there’s a statue of a woman holding a sword. Tap on it and if you have the Infinity Blade, you’ll be able to activate the statue. You’ll have to fight another enemy (of course) to get the shield.
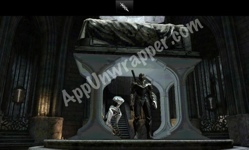
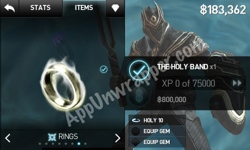
Once you have all four pieces of the Vile set (sword, helm, shield and armor), equip them in the Shrine (the room where you tap on the weapon icons to get special equipment). After you defeat the guardian, tap on the stone altar. Take the elevator down to get the Holy Band, which pretty much makes you a god. It has 10 Holy power, which does damage and heals at the same time (like leeching the enemy’s life source).
If you wear the entire Vile set, including the Holy Band, you get +30% chance to find rare items. You can also use the heavy or dual Vile weapons instead of the light.
5. Key Treasure Map
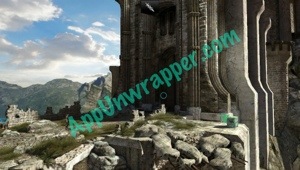
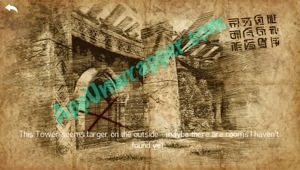
You’ll find it on one of the broken pillars at the top of the tower. Once you’re up there, look to the right and tap on this pillar to get a key (I got Medium).
6. Crown Map
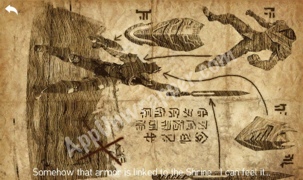
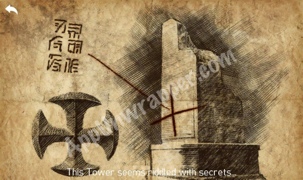
The drawing you see is carved into the stone in the area by the Stone Demon. Tap in the spot shown on the map and you’ll get the Vile Helm.
7. Dusty Treasure Map
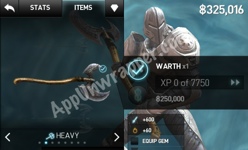
In the valley, to the right of where you get the Vile sword, there’s a statue of a woman with a sword. You need to tap on the sword the first thing you do when you get to the valley, or it won’t work! You’ll get the Warth from this map.
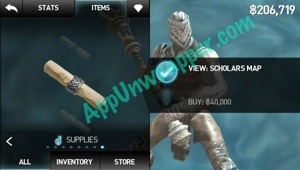
8. Scholar Map
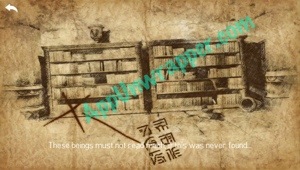
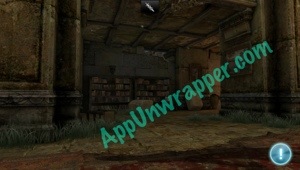
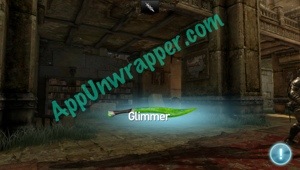
I won the Scholar Map through a Prize Wheel. It points to a bookshelf. It’s the second bookshelf you see (not the one where you open a chest).
Quickly tap the lower left corner and you’ll get a Glimmer.
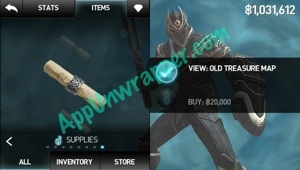
9. Old Treasure Map
I looted the Old Treasure Map from an unmarked treasure chest.
Near the beginning of your rebirth, after you cross the bridge, you’ll fight an enemy. After you defeat him, look to the right and tap where it shows on the map. You’ll get a Large Key.
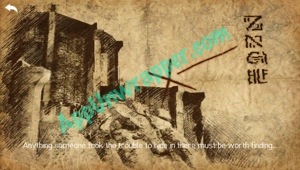
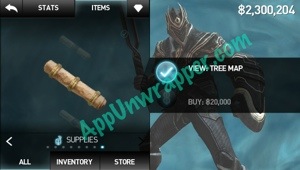
10. Tree Map
I looted the Tree Map.
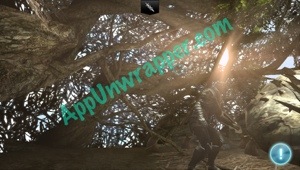
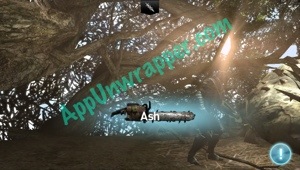
Climb the tree in the arena to the Gargap. Tap on the area you see on the map to get a random item. I got the Ash. Yay Army of Darkness!
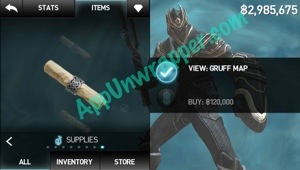
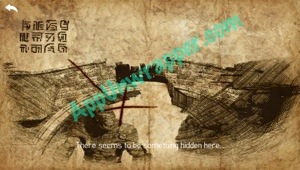
11. Gruff Map
You can buy the Gruff Map in the store.
After you defeat the enemy on the bridge, look around so you see the bridge the way it’s shown on the map, then click where the X shows. I got a gem from it.
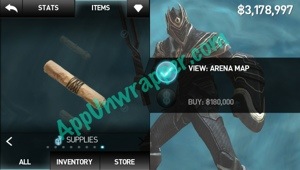
12. Arena Map
You can buy the Arena Map in the store.
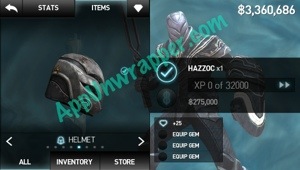
To get the treasure, enter the arena. Then turn around to face the enemy up there with you. Tap the door to the left of the enemy and you’ll get a Hazzoc, a pretty decent helm.
13.
Rare Defense Gem:
To forge the Rare Defense Gem (or Rainbow Defense Gem), which defends against all elements, you need to forge together a Light Defense Gem and a Dark Defense Gem, but neither can be bought from the store.
First, forge fire, ice, and water defense gems together (in that order) to get a Light Defense Gem. Then forge shock, poison, and wind defense gems together (in that order) to get a Dark Defense Gem.
Forge the light and dark defense gems together with any hexagon gem (in that order) to get the Rainbow (Rare) Defense Gem. Any hexagon gem will do, and a cheaper one will make the process go faster. So your best bet is using a cheaper one (even buying one) that you don’t mind losing.
The Rare Spectrum Gem is forged similarly to the Rare Defense Gem, but is quite costly to make. It gives you +500 spectrum damage, meaning that nothing except spectrum defense will block it, and users of spectrum defense take 1/10 of damage. To make it, forge together three +400 fire attack gems. Forge together three +400 ice attack gems. Forge together three +400 water attack gems. You should now have three +500 rare elemental attack gems. Forge them together in this order: Fire + Ice + Water (like the All Defense recipe).
The Rare Darkfire Gem is pretty much the same, but it’s made using Shock, Poison and Wind gems. Forge together three +400 shock attack gems. Forge together three +400 poison attack gems. Forge together three +400 wind attack gems
You should now have three +500 rare elemental attack gems. Forge them together in this order: Shock + Poison + Wind.
When used in a Solar Trans weapon, the gems have 10x their power (so 5000 instead of 500).
If 3 Rare Darkfire Gems are forged, the result is a Rare Darkfire Gem with +1000 damage, or +10000 damage on a solar-trans blade.
It will not work if the shock, poison and wind gems are not rare. If so, the end gem will not be a darkfire.
Both the Rare Spectrum Gem and the Rare Darkfire gem have a 10% successful effectiveness against bosses. The Solar Trans weapons make them very effective against the Deathless (bosses with All Defense) for +1000 spectrum or darkfire gems.
The main addition to the Skycages update is a locked room that opens with a Large Key. Keep in mind, each time you want to enter, you need another Large Key. So don’t go in until you’re strong enough and have everything you need for it. Behind that door, you’ll fight a gatekeeper who isn’t too tough to beat. But in order to access any of the enemies inside the “Skycages,” you’ll need three different weapons — the Infinity Blade, Nobel and Widow Shriek. These enemies have a *lot* of HP, hit incredibly hard, and have All Defense, so magic won’t work on them, including Holy. Make sure you’re prepared with a healing ring like the Dragoor Scale and plenty of gems to increase your attack, magic and health. And good luck!
The skycage on the left requires Nobel to be opened. Inside is the Petrified Noc.
The skycage on the right requires The Widow Shriek to be opened and inside is Xyloto.
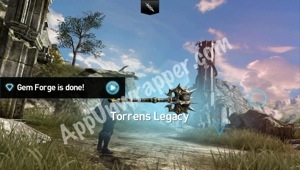
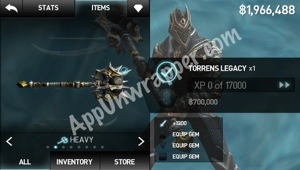
The skycage in the center requires the Infinity Blade to be opened. Inside is the Iron Hunter. When he is nearly defeated, he yields. You can then decide whether to spare or finish him. If you spare him, he’ll give you Torren’s Legacy in the next Rebirth. But if you don’t spare him, you will get the Hunter Mail. Obviously, spare him the first time you fight him. If you fight him again, though, finish him off. If you spare him again, you’ll likely hit a glitch.
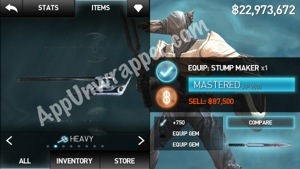
Torren’s Legacy is a pretty cool-looking weapon, and does some decent damage if you like heavy weapons.

