21. Go back to the scene with the mushrooms. There’s a tree with lots of holes in it. Use the corkscrew on the tree to make it bleed sap, then take the sticky sap.


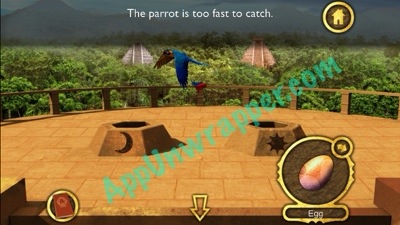
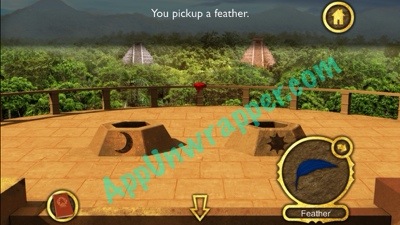
22. Go back to the Trial and Error door and go through. Tap on the parrot to scare it away. Place the sap where it was perched, then go back. Come back again, scare the parrot away, and take the feather stuck to the sap.


23. Go back to the garden scene. Pour the bucket of water onto the dried up tree so it will flourish. Take the fruit from the tree.


24. Go back to the Trial and Error entrance and go right to the Sun statue. Place the egg, feather and fruit in the slots and take the Golden Sun.


25. Go back and through the Trial and Error door and place the Golden Sun in the sun slot to create a portal to the red temple.

26. Tap the portal to go to the red temple, and turn right.


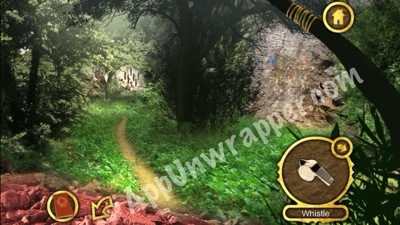
27. There’s a big bell if you continue right, but you can’t do anything there yet. Go straight instead, towards the forest. Take the vine/rope from the tree.
28. Look at the wall painting to get a clue for your journal.


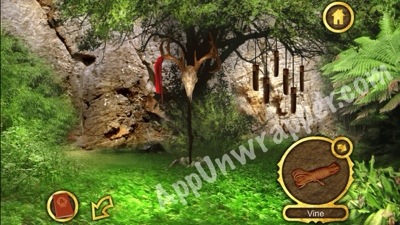
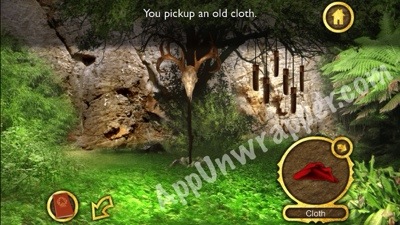
29. Continue along the path to the left and take the red cloth from the skull. Also notice the wind chimes hanging from the tree.
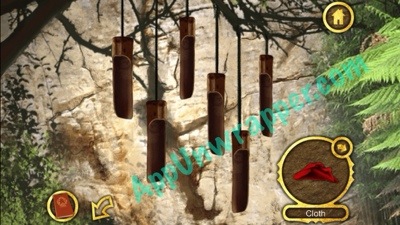
30. Ring the wind chimes in the order from the clue from the harp. It goes like this, based on length of the ropes. Go back a screen and a hidden door will open. There’s a spider web inside.


Click on the little numbers below to continue to the next page of the walkthrough.