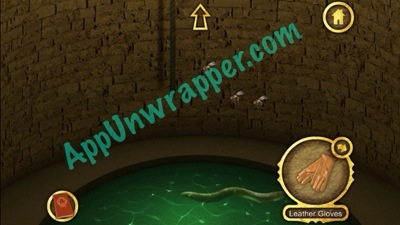
41. Go back to the crashed plane and use the small key to unlock the door. Go inside and take the leather cloves and empty pouch.


42. Go back down the well and use the leather gloves to grab the electric eel.
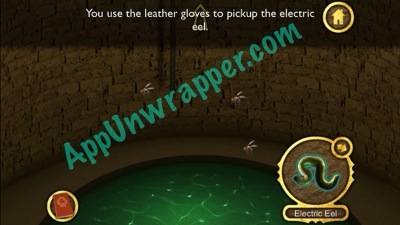
43. Go back to the red temple, to the room with the planets. Go through the right door and place the eel in the opening in the floor to work as a power source.
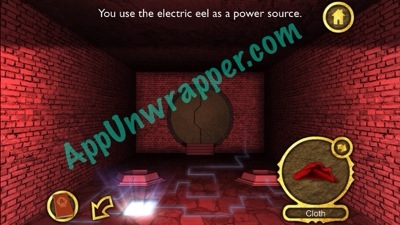
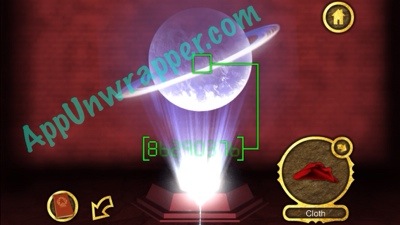
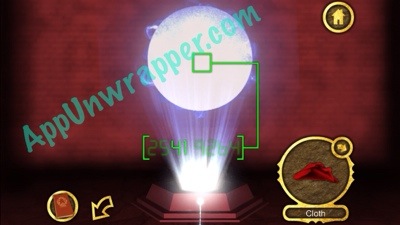
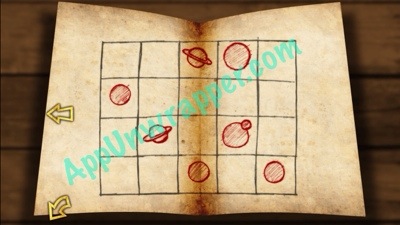
44. Examine the two planets in this room to complete the clue in your journal.
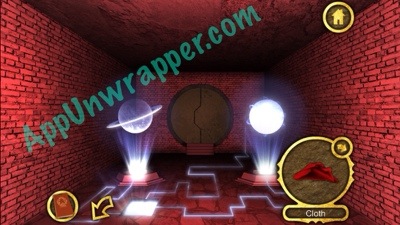
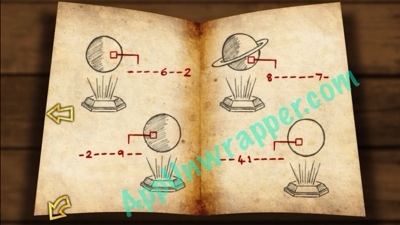
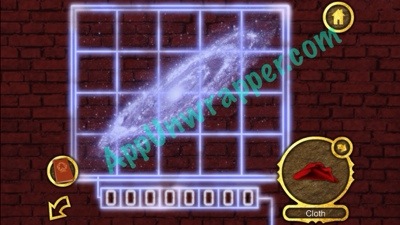
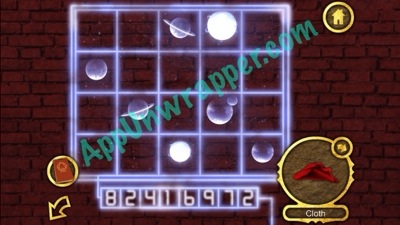
45. Go back to the big screen depicting the galaxy. Punch in the numbers at the bottom, based on the four clues to get another clue for your journal.
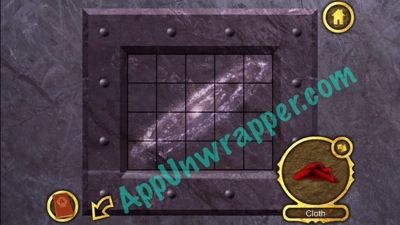
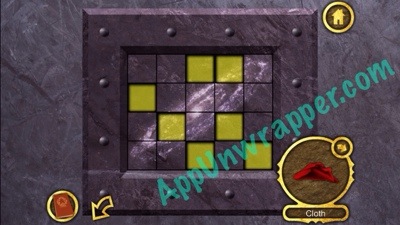
46. Go back to the blue temple and turn left again. Use the clue you just got to unlock the door here and go inside.

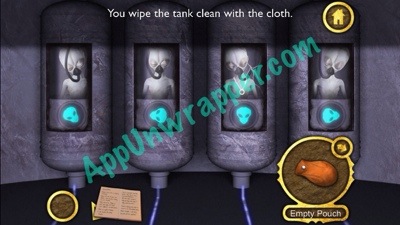
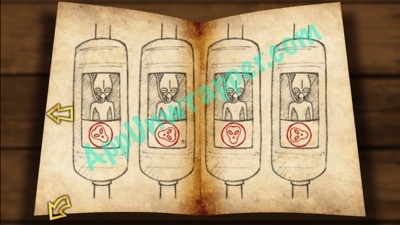
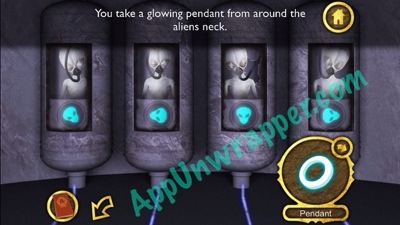
47. Use the rag to clean all four of the tanks to get a clue for your journal.
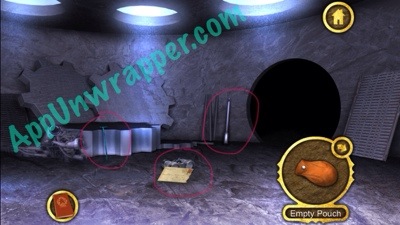
48. Go through the left door and take the letter, binoculars, hammer and metal rod.
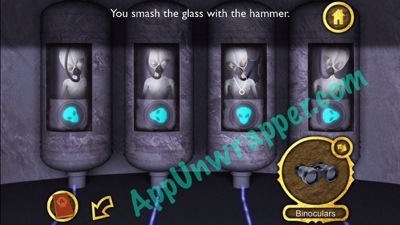
49. Go back to the four tanks and smash the third one with the hammer. Take the glowing pendant.
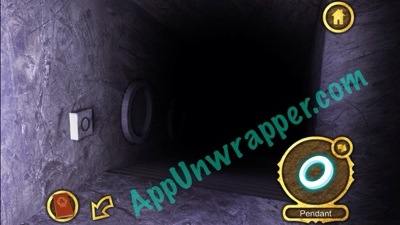
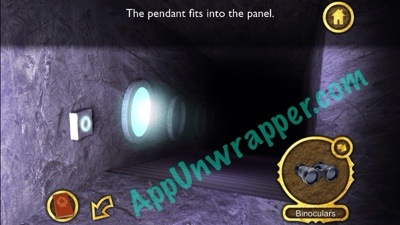
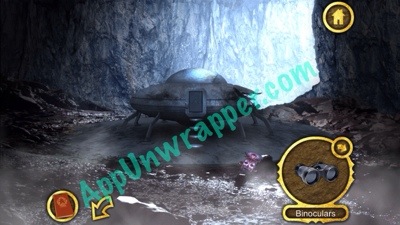
50. Go through the doorway on the right and place the pendant in the ring slot. Then head down to the UFO/spaceship. Take the bronze face mask.

Click on the little numbers below to continue to the next page of the walkthrough.