CastleAbra: A Dark Comic Fantasy
By: CastleAbra Studios
 [DKB url=”https://www.appunwrapper.com/Castleabra” text=”Download” title=”” type=”” style=”” color=”green” width=”” opennewwindow=”” nofollow=””]
Walkthrough:
Looking for part 1 of how walkthrough?
Looking for part 2 of the walkthrough?
91. Go back to the room where the gryphon was and take the sleep staff.
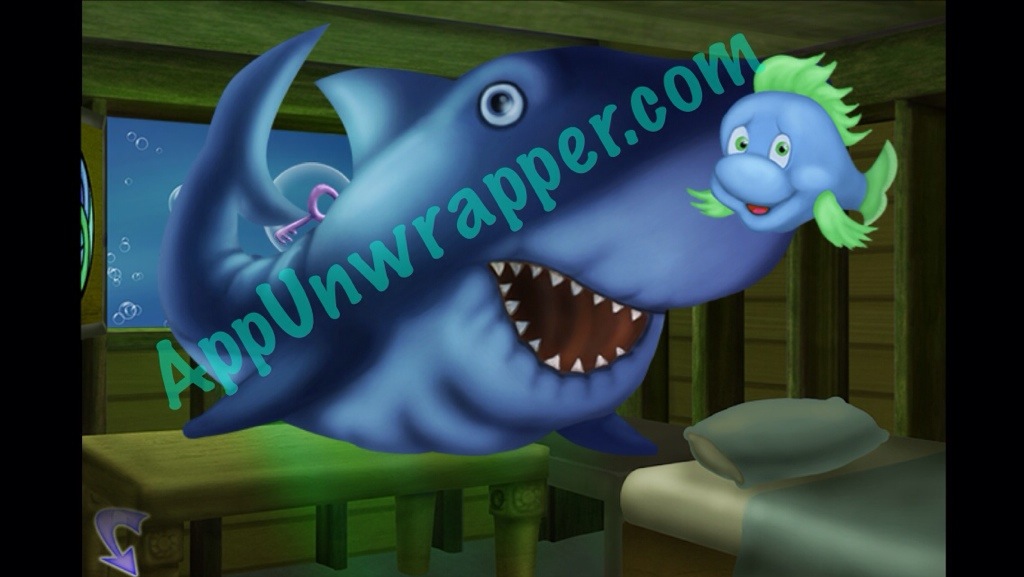
92. Go back underwater to the shark and let the fish out of the tank. The shark will eat him and let you have the skeleton key.
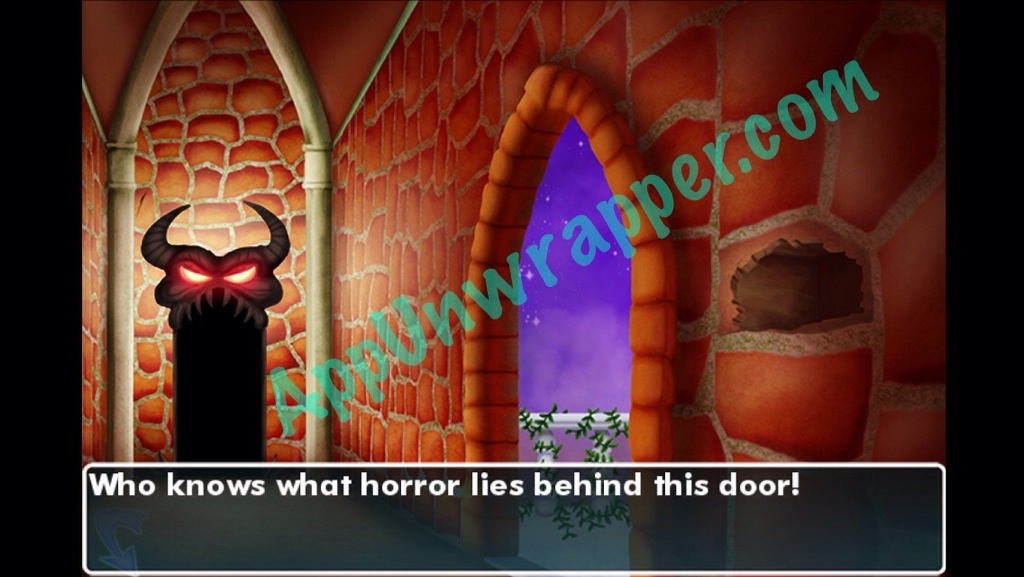
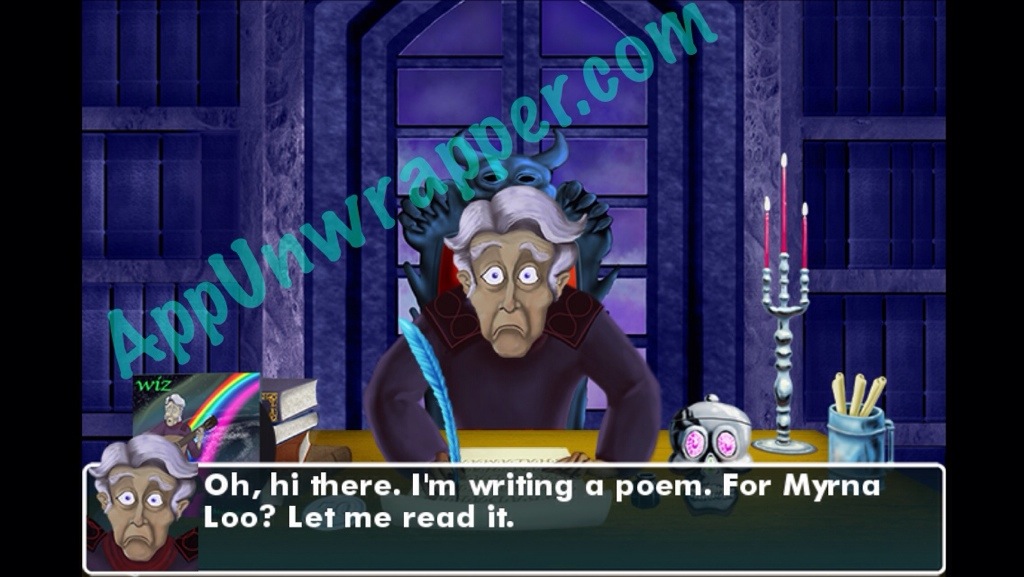
93. Go to the room with the locked “evil” door and use the skeleton key to unlock it. Wizardo is inside, writing a poem. He needs you to help him finish it.
94. Go back to the mirror and Valentino will talk to you again.
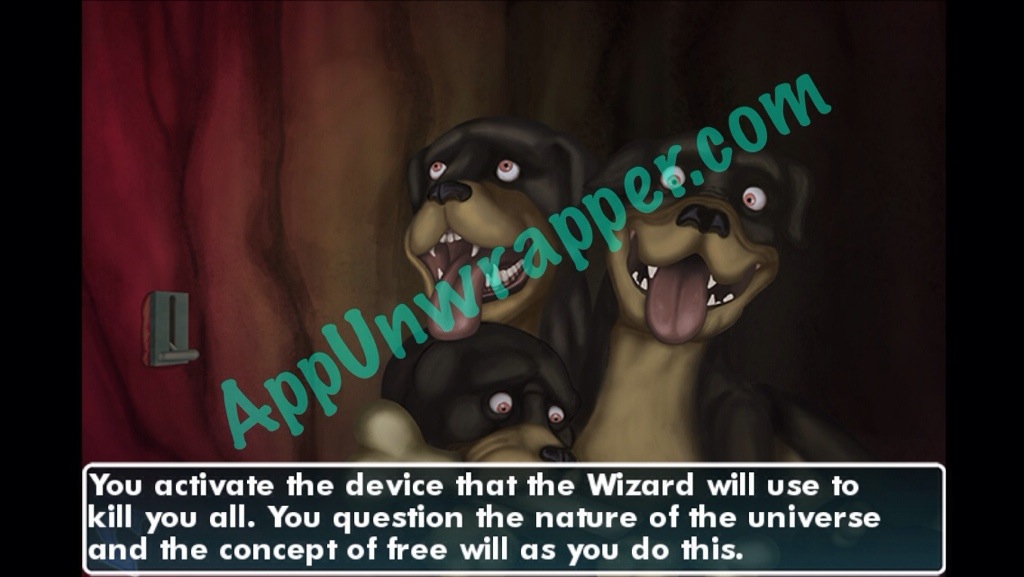
95. Go back underwater and use the sleep staff on the three heads so you can take the wooden wedge.

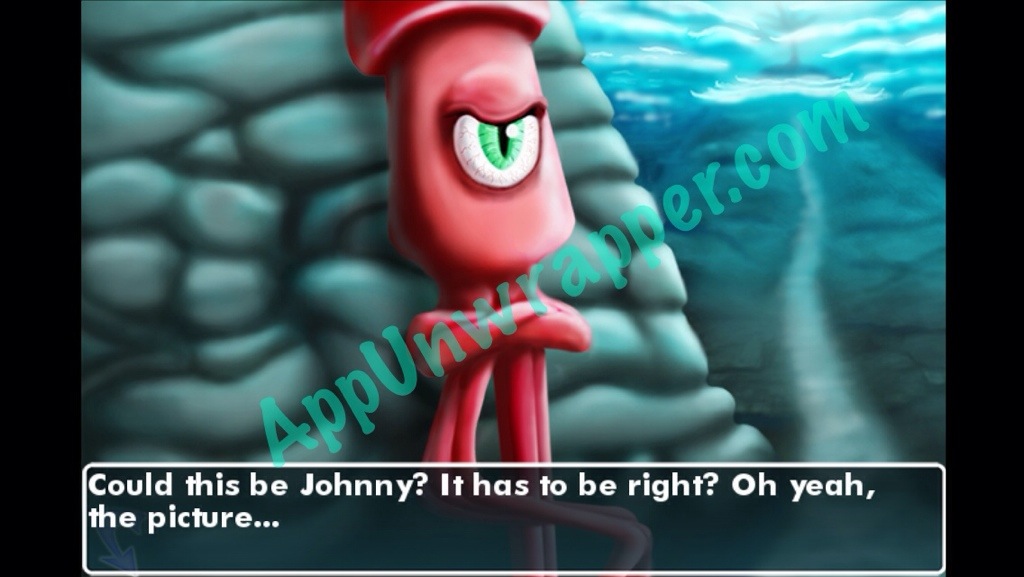
96. Continue on and you’ll see Johnny the squid.
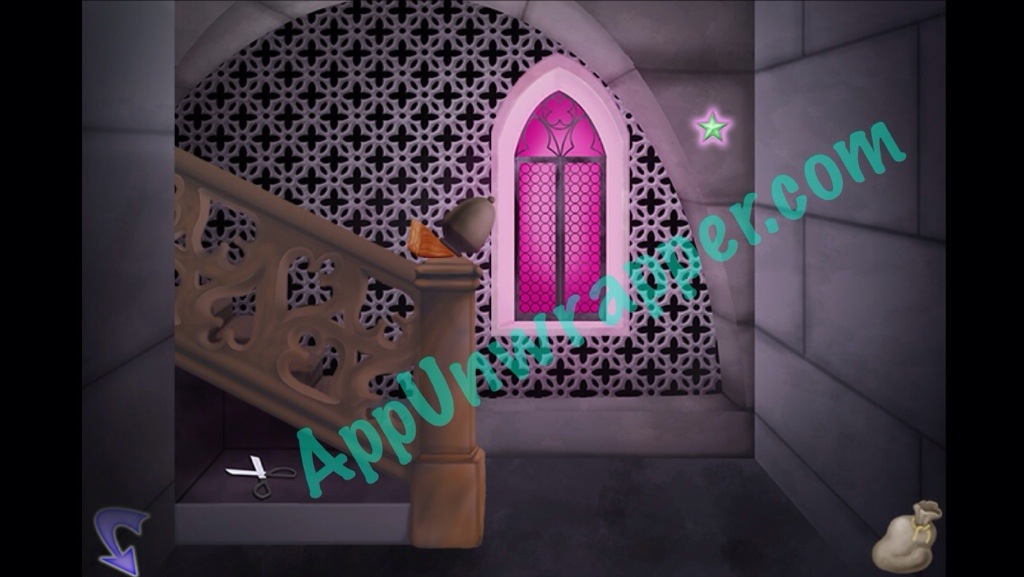
97. Go back to the staircase before the princess’s door and use the wooden wedge on the top of the bannister to get the scissors.
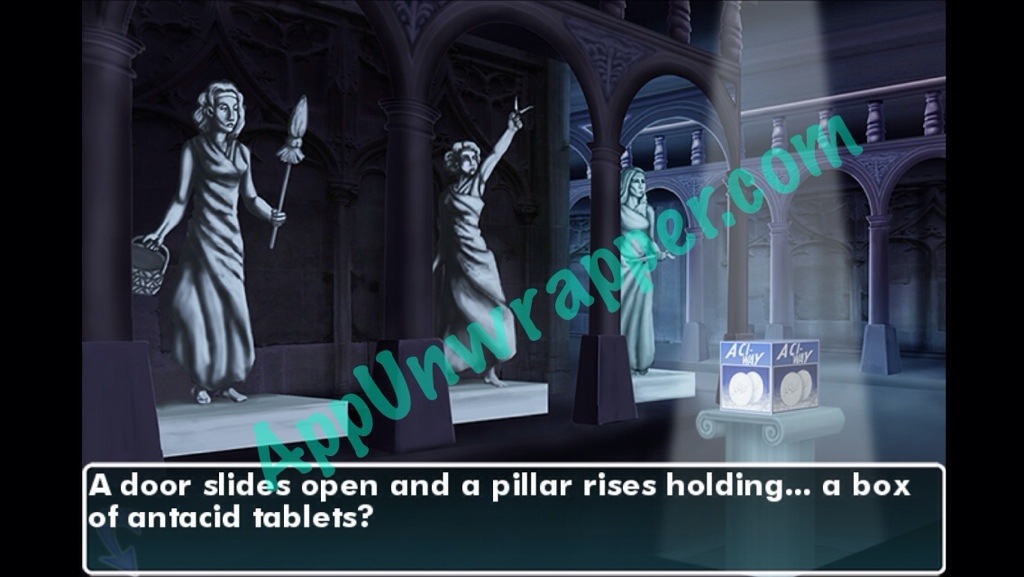
98. Place the scissors on the middle statue here to get the antacid tablets:
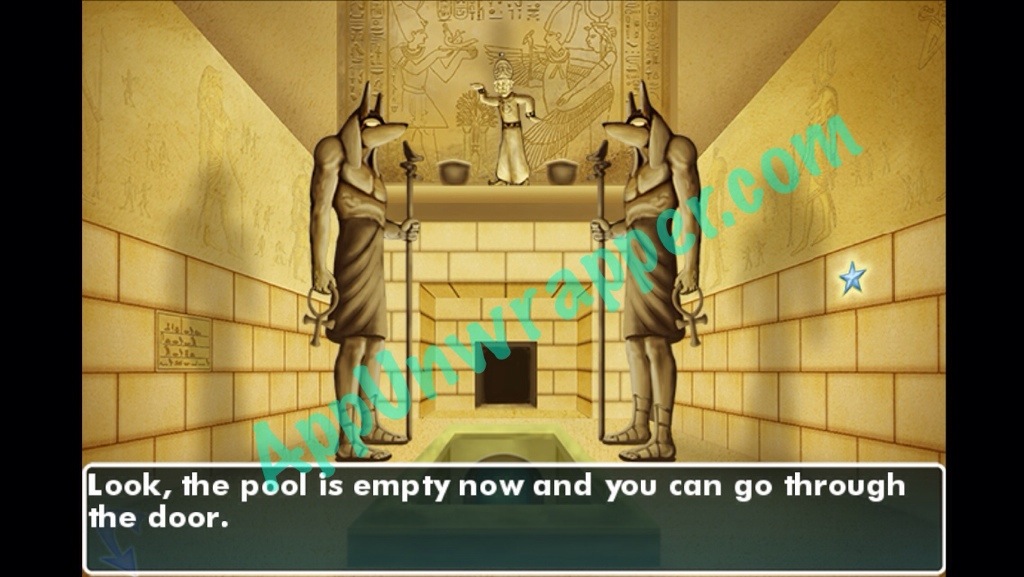
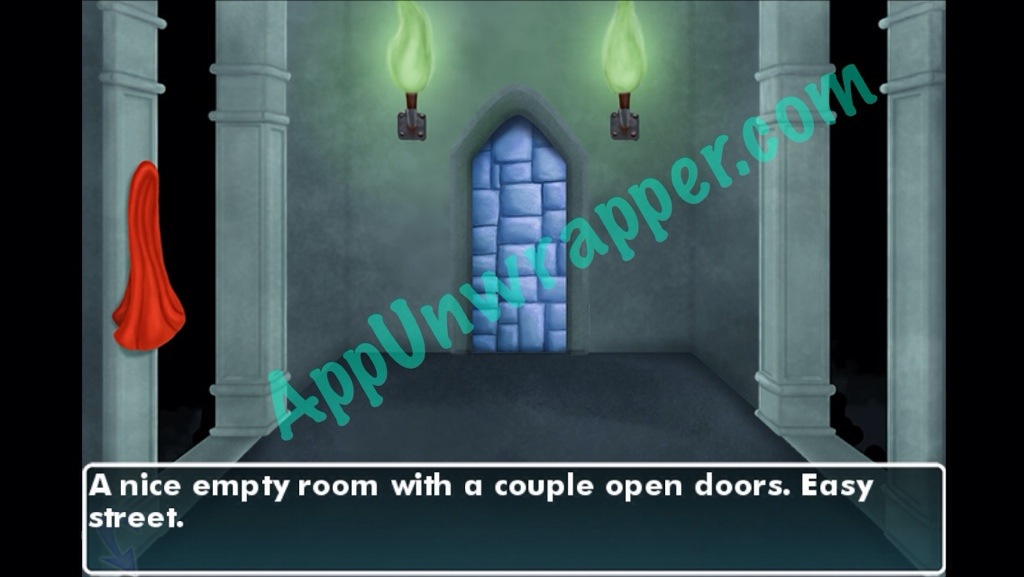
99. Go to the room with the acid pool and use the antacid on it. Now you can go through the door. Take the red cape. You can’t do anything else here yet.
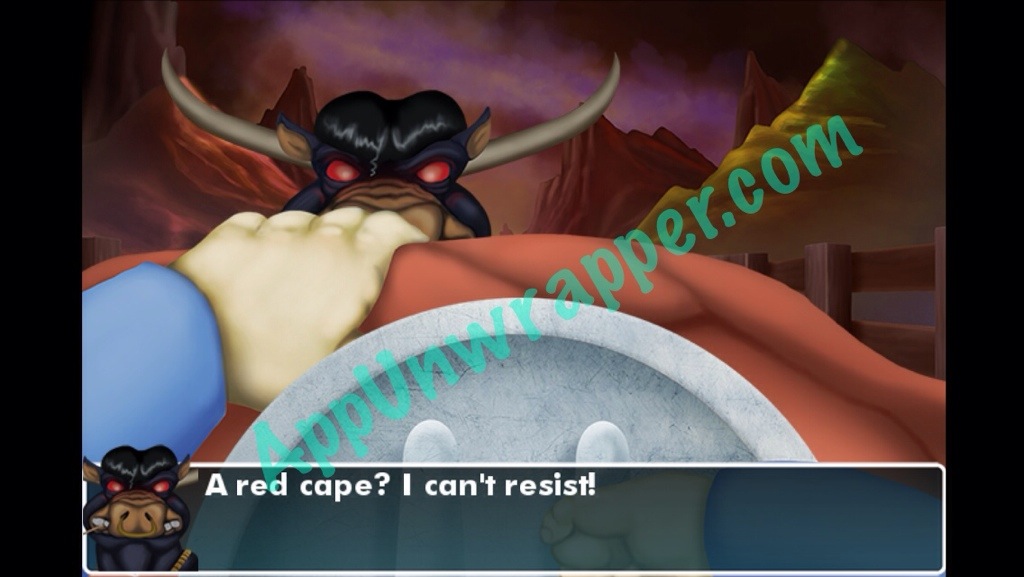
100. Go to the bull and first use the shield on him. Then use the red cape on him. He’ll run at it and then decide to leave.
101. Talk to the harpy (or unicorn — whichever you freed) to get the princess key. Then use it to unlock the princess’s door. Take the book and the stamp collection.

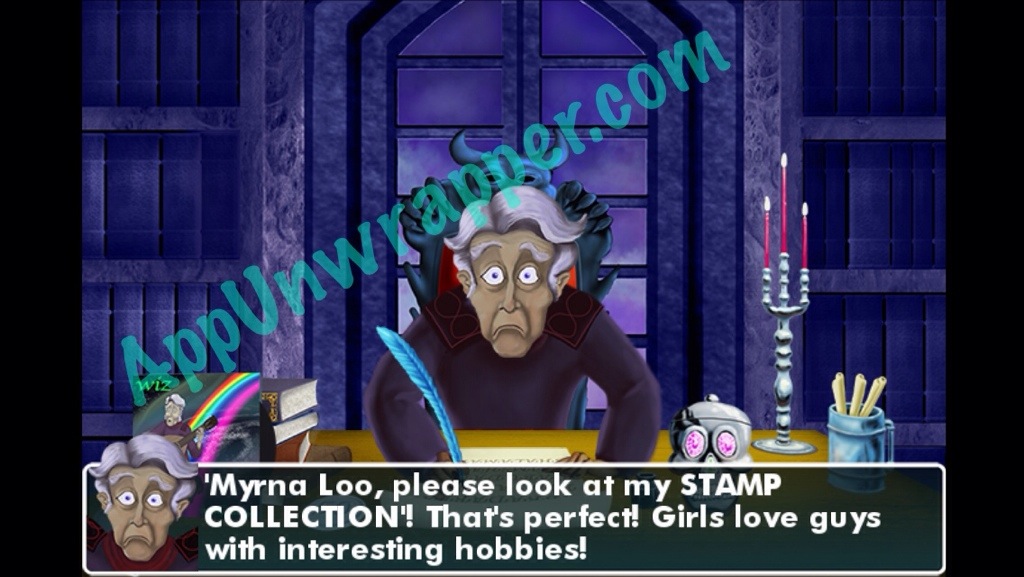
102. Give the stamp collection to Wizardo.
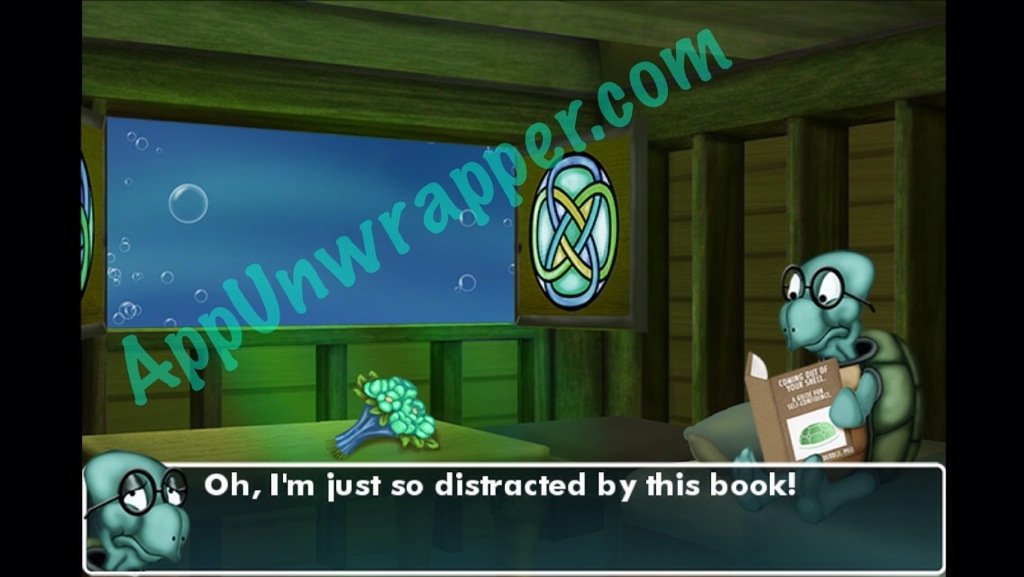
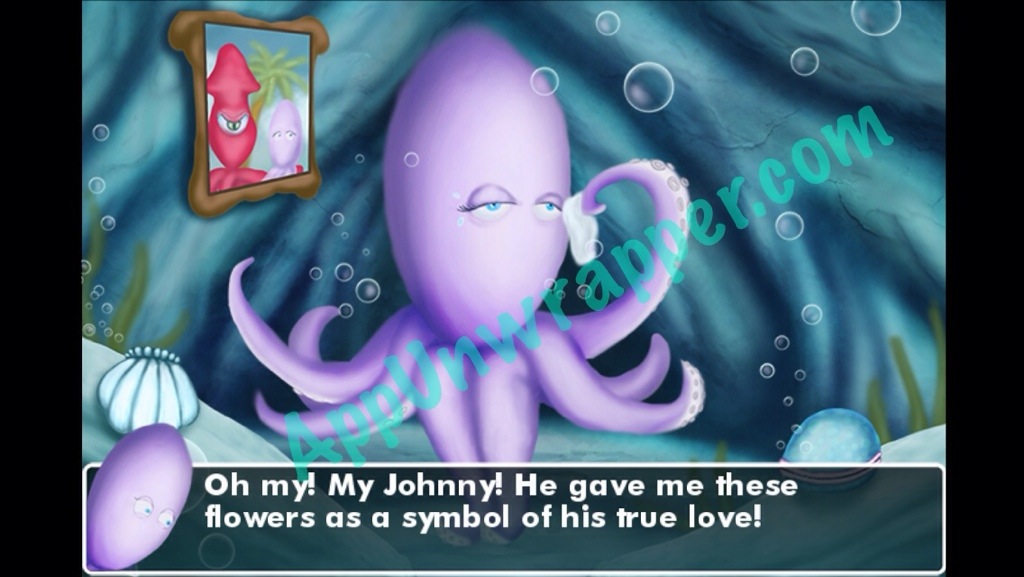
103. Give the book to the turtle, and take the flowers while he’s distracted.
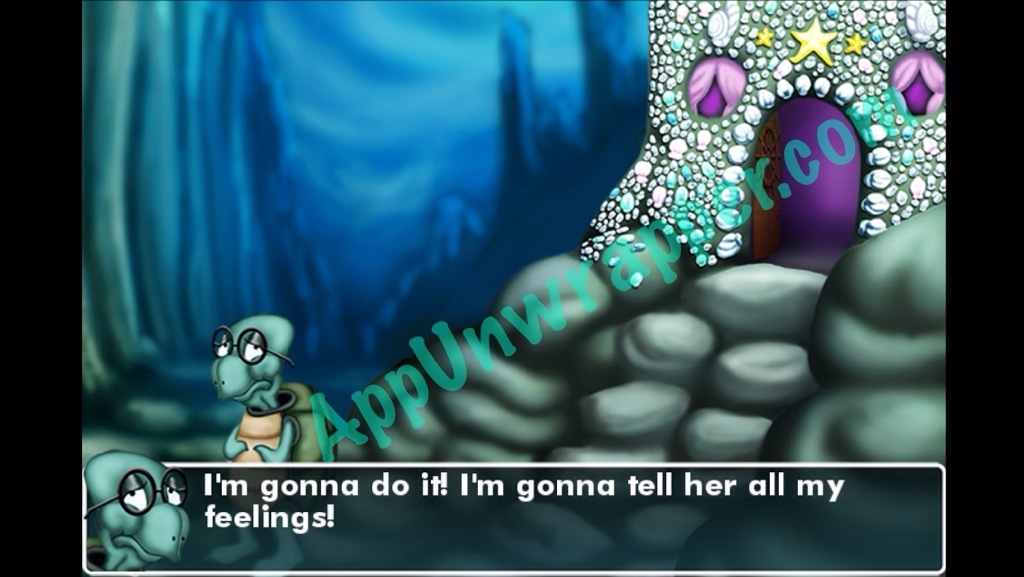
104. Give the octopus the flowers and then take the pink pearl from her. Give the pearl to the turtle and he’ll get the courage to go speak to her.
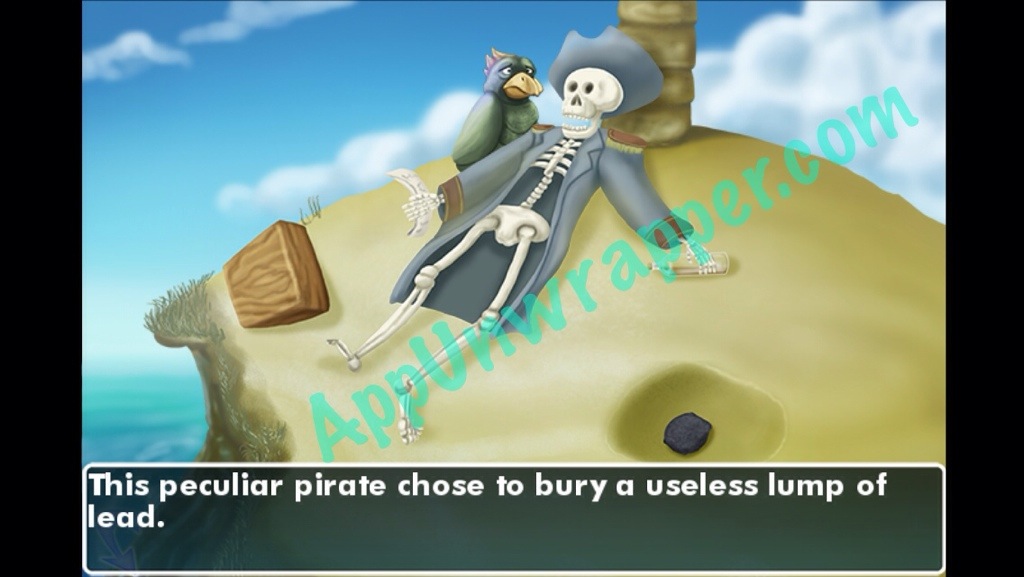
105. Tell Johnny the squid and he’ll leave to beat up the turtle. Now you can pass him. Use the shovel to dig on the X and get a lump of lead. Also, take the bigger wooden wedge.

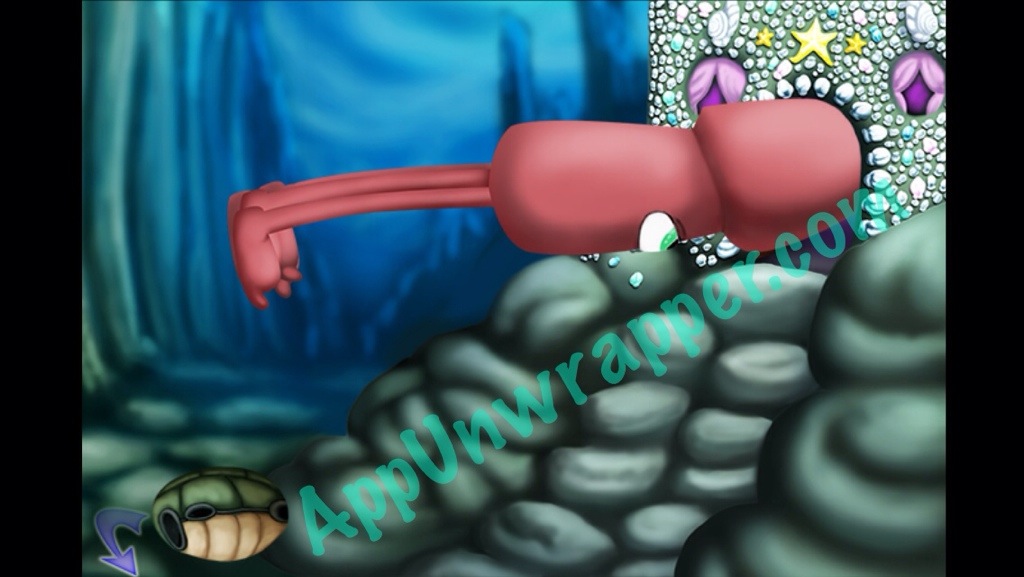
106. When you go back to the octopus’ place, Johnny will be there and profess his love.
107. Go back to the wheel that lifts this door and place the wedge in it. Now the door stays open and you can see the dragon.
108. Go back to the princess’ door and Wizardo will be there. He goes in and notices she’s missing.
109. Go to Wizardo’s desk and take the record and the 20-cent coin.
110. Use the coin on the vending machine to get the sunglasses.
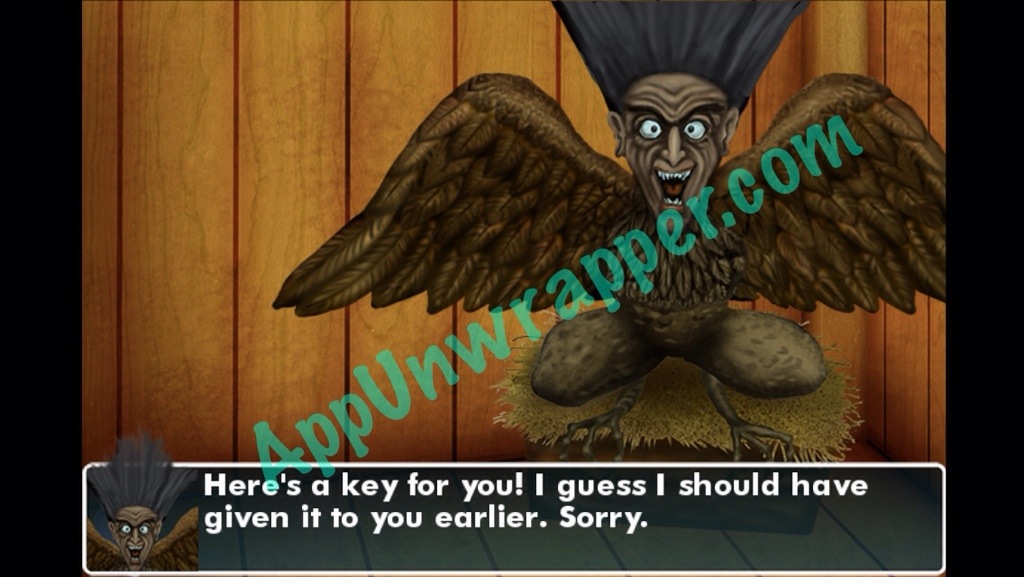
111. Use the record on the record player to get the raven to drop the ray gun for you.
112. Go back under the acid pool and put on the mirrored sunglasses. Now medusa will get bored with you and leave. Go right and use the wiz buck on the soda machine to get a can of soda.

113. If you continue on, there’s a statue. Go back and take the left door to see Cerberus, the three-headed dog.
114. Go back to the frog and use the ray gun on him to shrink him. Take the bottle of mead.
115. Use the mead on the big gnome and he’ll leave. Go inside the gazebo and take the alchemy key.

116. Use the alchemy key to unlock the door to the alchemy room (next to the one that leads to the princess’ room). Take the two sandbags.
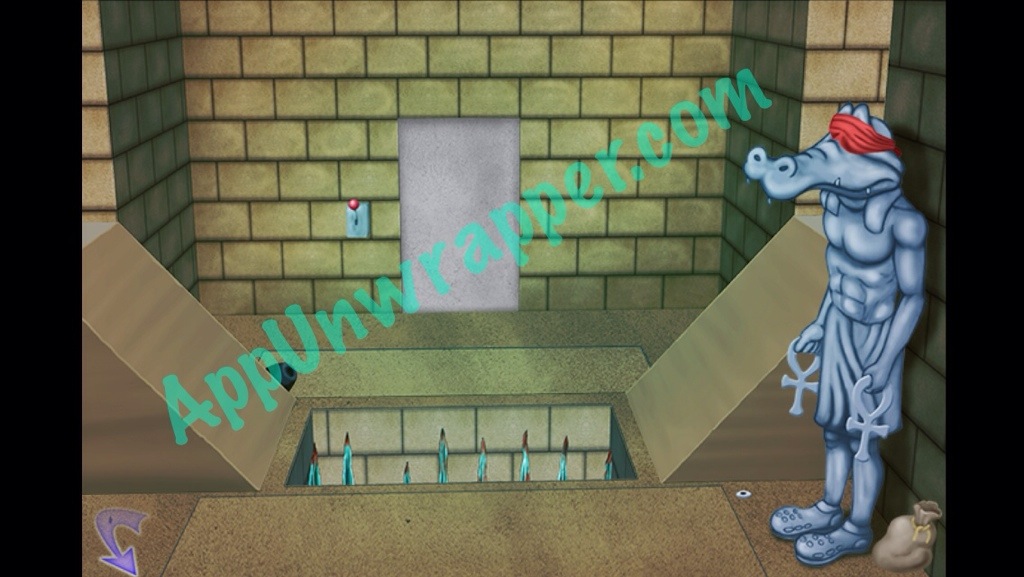
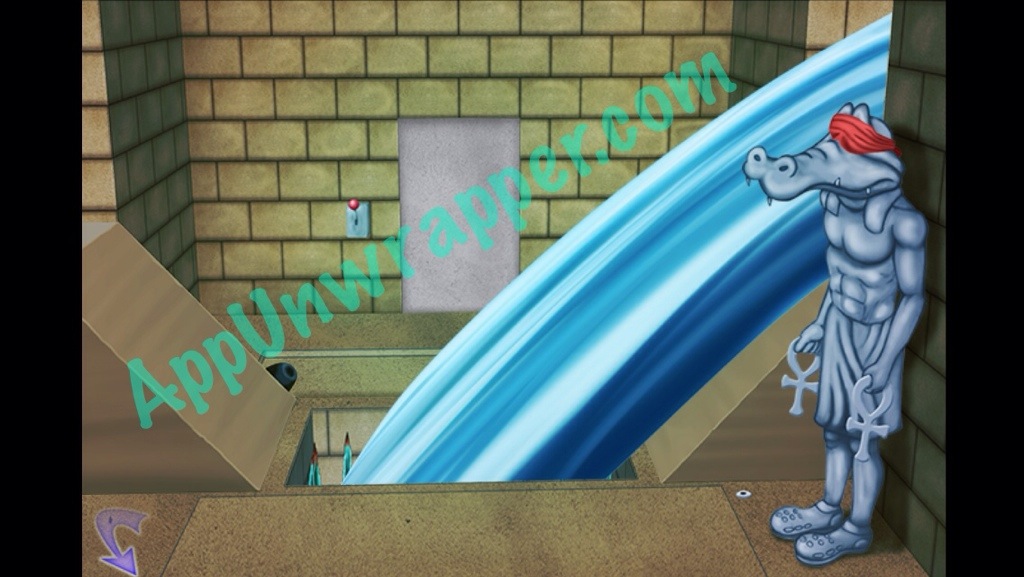
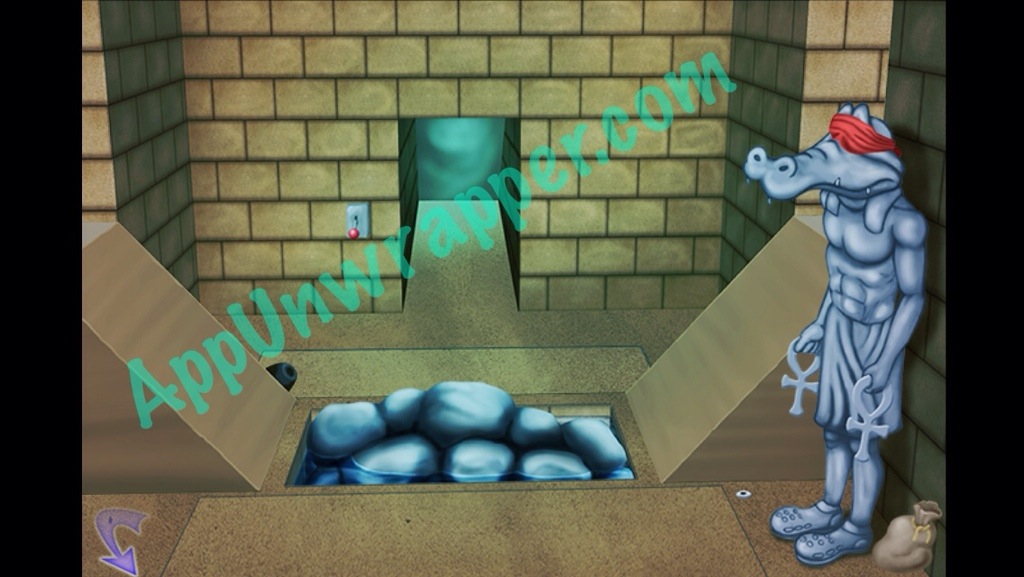
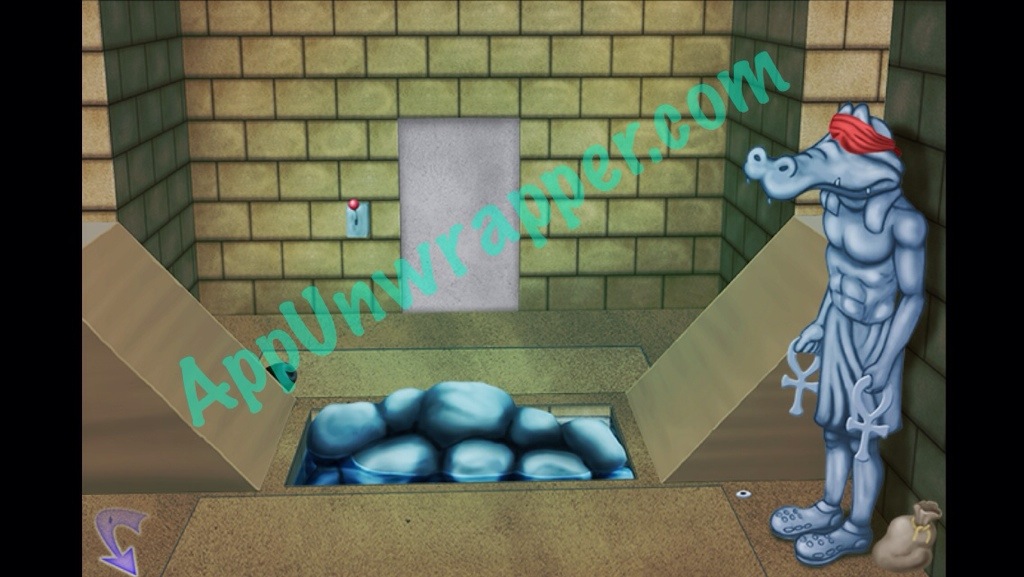
117. Go back to the Egyptian room and to the Crog god. Throw one sandbag on the middle to get the trap door to open, revealing spikes. Then throw the other sandbag towards the back to get the water flowing into the hole. Then press on the mechanism towards the front to get the rocks to fall. Now, flip the switch and enter.

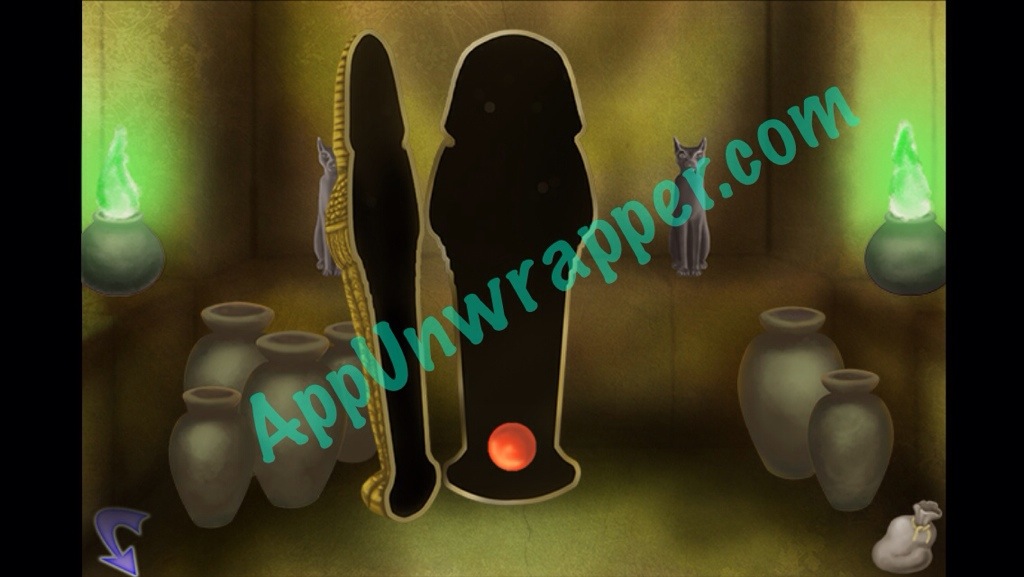
118. Open the sarcophagus. Wizardo’s inside. He’ll run off and you can grab the other orb/eyeball. Leave but make sure to close the door before you exit the trap room.
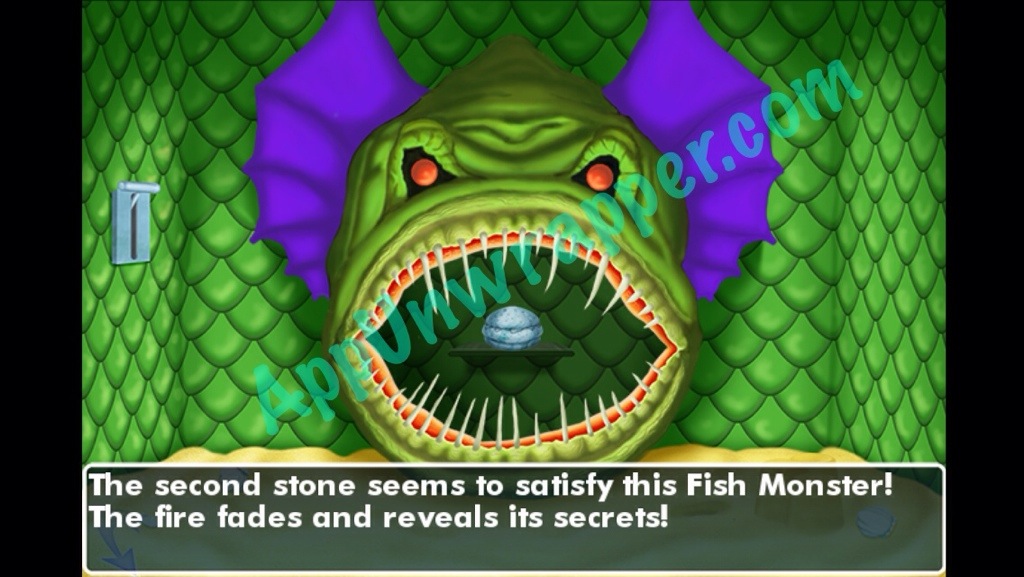
119. Go back to the scaly green monster and place the other orb in his eye socket. Now you get a stone hamburger.
120. If you haven’t done so yet, take the feather from the knight’s helmet (by the vending machine).
121. Give the marble/stone hamburger to the lion statue to get the lab key. When you go back, the princess will stop you and then the wizard will appear.
122. Use the lab key to open the lab door. Take the beaker/vial.
123. Give the feather to the statue behind the soda machine to get the scroll.
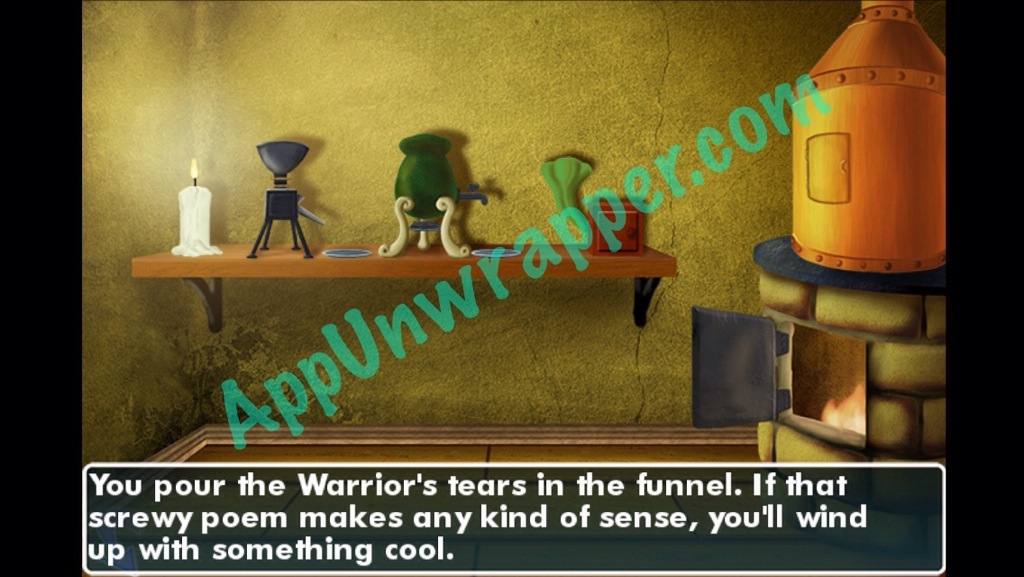
124. Read the scroll (love letter) to the Wooden Warrior to make him cry. Fill the vial/beaker with his tears.

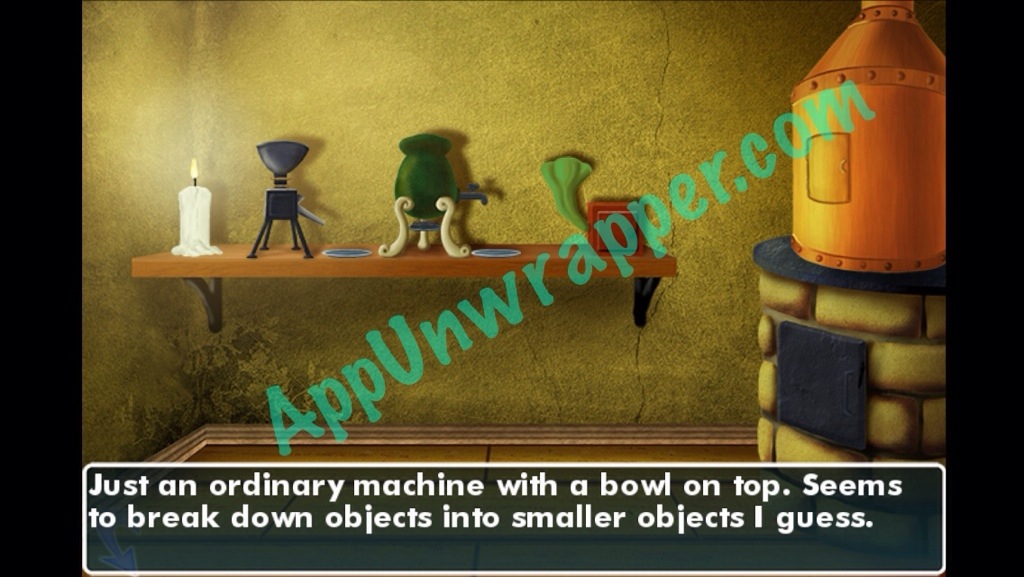
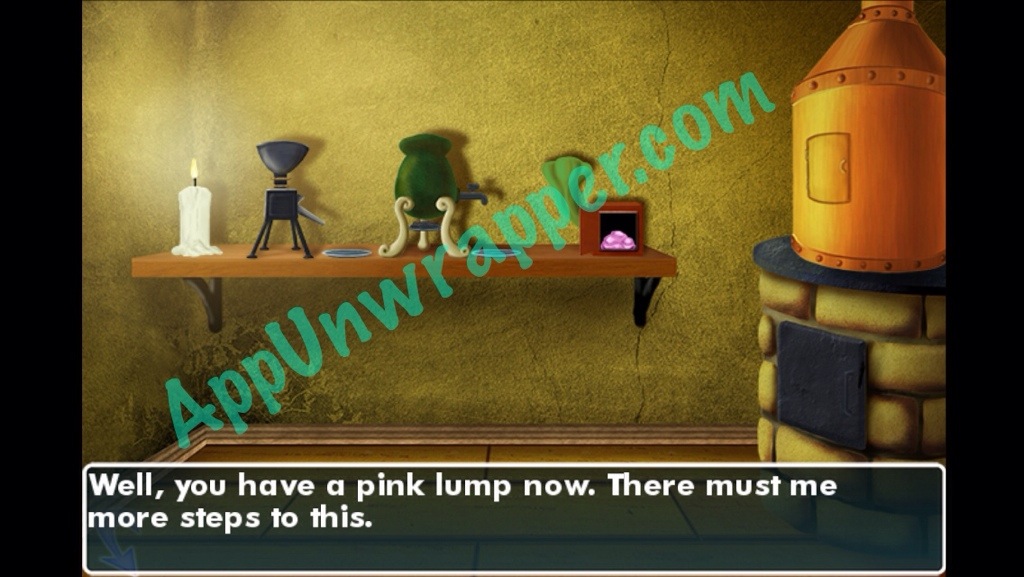
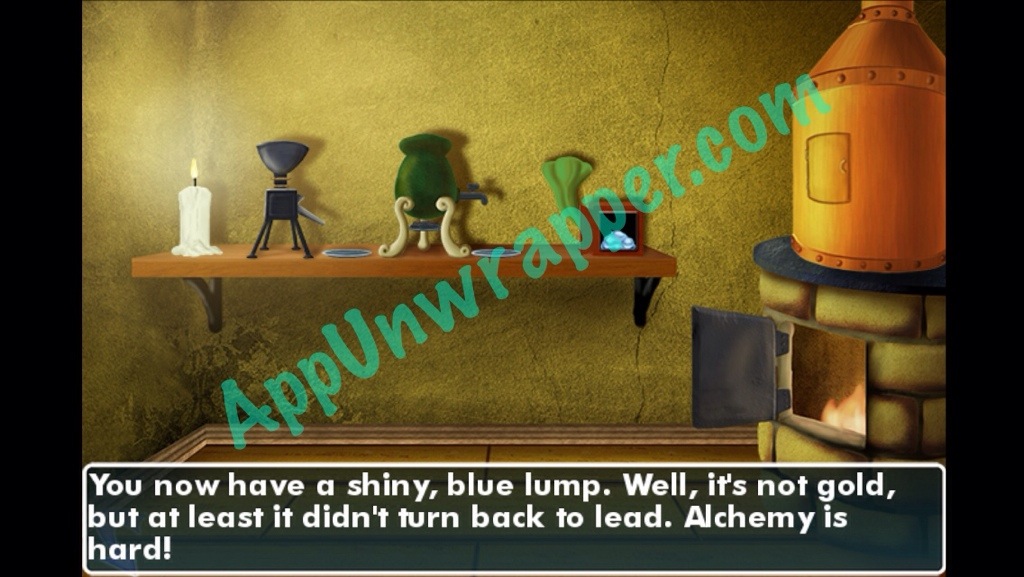
125. Go to the alchemy room. Put the lead in the left machine, then take it out and put it in the middle one, then the right. You should have a pink lump now. Put it through the first two machines again. Put it in the third and then add the warrior tears. It will come or blue. Put it in the oven and you’ll get gold.
126. Give the gold to the dragon and take the emerald.
127. Go back to the lab and place the emerald in the machine. Now you have to foil the wizard’s plan!
128. Once the emerald is in the machine and the wizard turns in on, flip the left switch. Then flip the right switch. Then tap on the princess so she talks to you. Wait until the exact moment the wizard thinks the machine worked and then grab the emerald. If you do it at the right time, it won’t work and he’ll run off sulking. If you mess up, you’ll just have to keep starting over.
129. Go to Wizardo’s office and talk to him. He’ll decide he wants to kill everyone. Feel free to take the booze and the photo after he leaves.
130. Head to the main hall. The door to the tower is now unlocked. Go in and a pirate ghost will stop you. Head back to the island with the dead pirate and talk to the parrot. He’ll fly off.
131. Go back to the tower and talk to the pirate. The parrot will appear and the pirate will leave.
132. Continue up the stairs. If you try to take the knitting needles, the grim reaper will appear. You die of a heart attack.

133. Go back to the mirror and talk to Valentino. Then turn around and get the medallion of courage from the Chief.
134. Use the medallion of courage on yourself and face death again. He’ll leave and you can take the knitting needles. If you go up to the top, the wizard asks you to flip a switch to turn on his machine.
135. Combine the knitting needles with the fates’ yarn to make a magic carpet. Use the magic carpet to get across the gap in the room with the hole in the floor.

136. Tap the dinosaur skeleton, then take the long bone. Give it to Cerberus. Take the rose (it will turn to wood) and flip the switch.
137. Give the rose to the statue behind the soda machine and she’ll give you a dragon tear.

138. Go up to the top of the tower and throw the dragon tear. A dragon will appear and attack Wizardo.
139. Take Wizardo’s staff. Run quickly, as the castle is collapsing. Head to the stable and use the staff on the unicorn so you can get past her and escape.

Congratulations! You completed the game!
OMG! No way could I have done this without a walkthrough!
I lost count on how many times I died – more like died of laughter!
Thanks!