Escape the Hellevator!
By: Fezziwig Games (Adrian Woods)
 [DKB url=”https://www.appunwrapper.com/Hellevator” text=”Download” title=”” type=”” style=”” color=”green” width=”” opennewwindow=”” nofollow=””]
Walkthrough:
Looking for the walkthrough for Chapters 1-3?
See our Escape the Hellevator review.
Chapter 4, Burn Baby Burn:
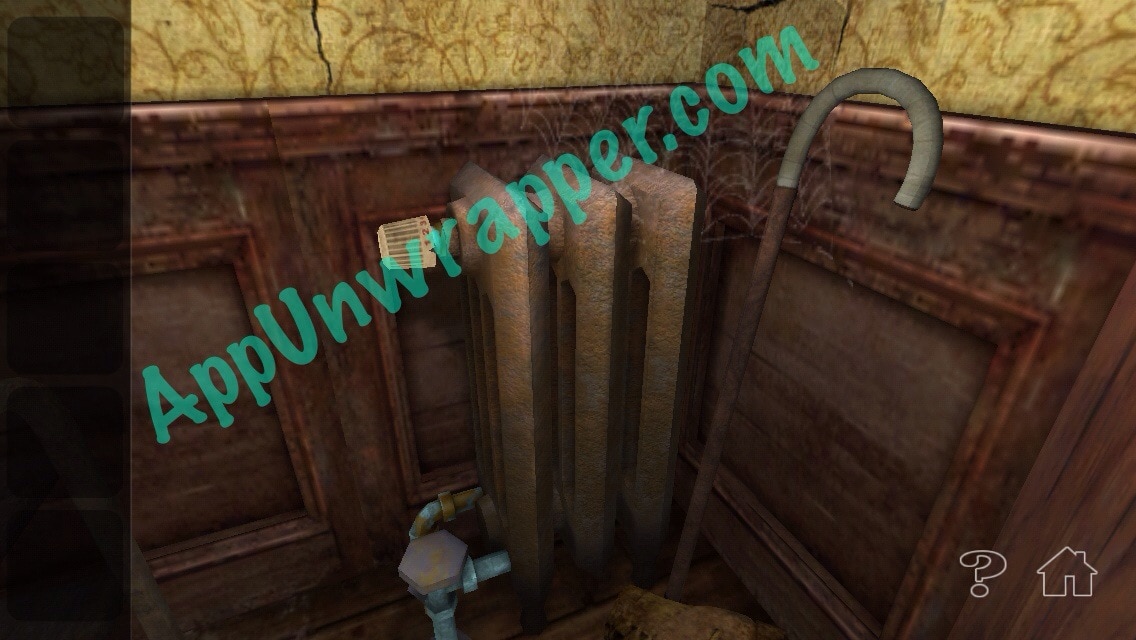
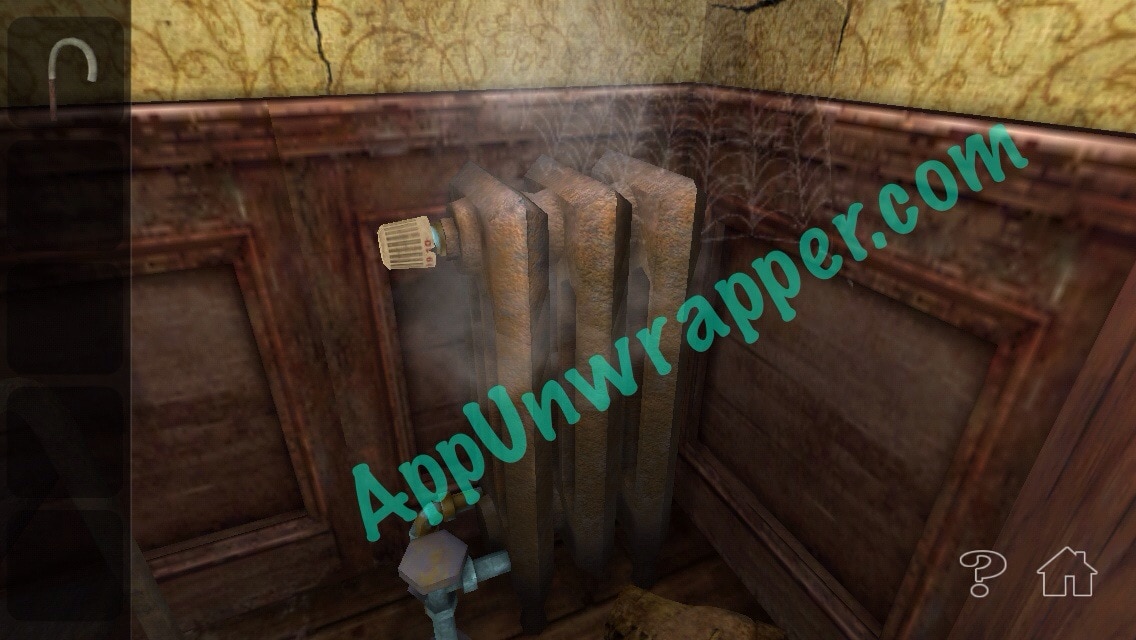
1. Pick up the cane by the radiator. Then turn the radiator knob to turn it on.
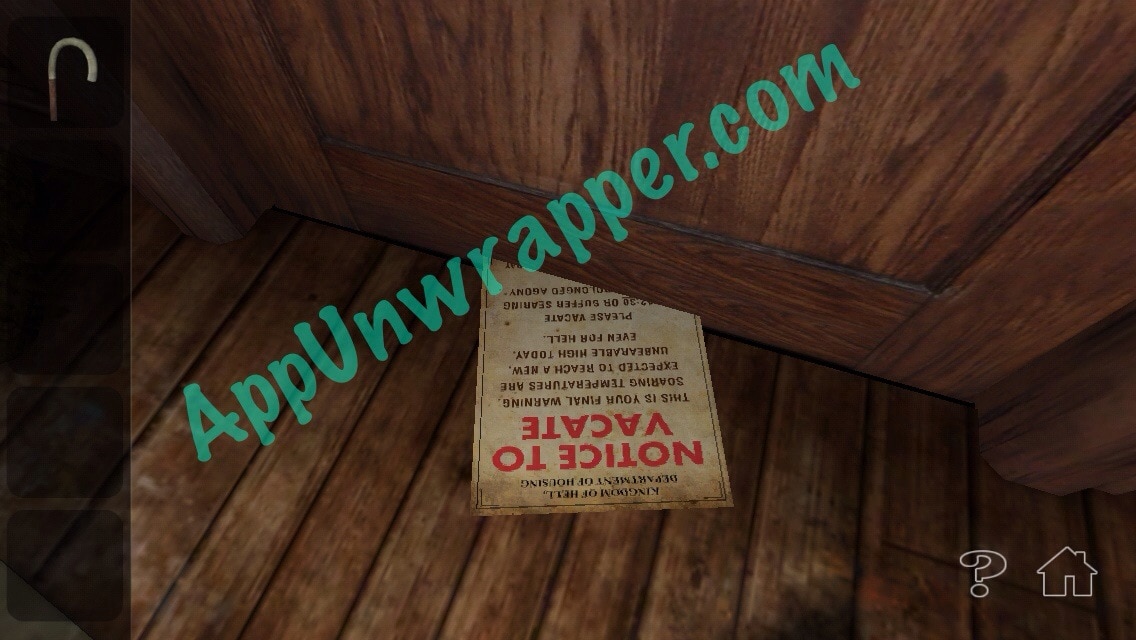
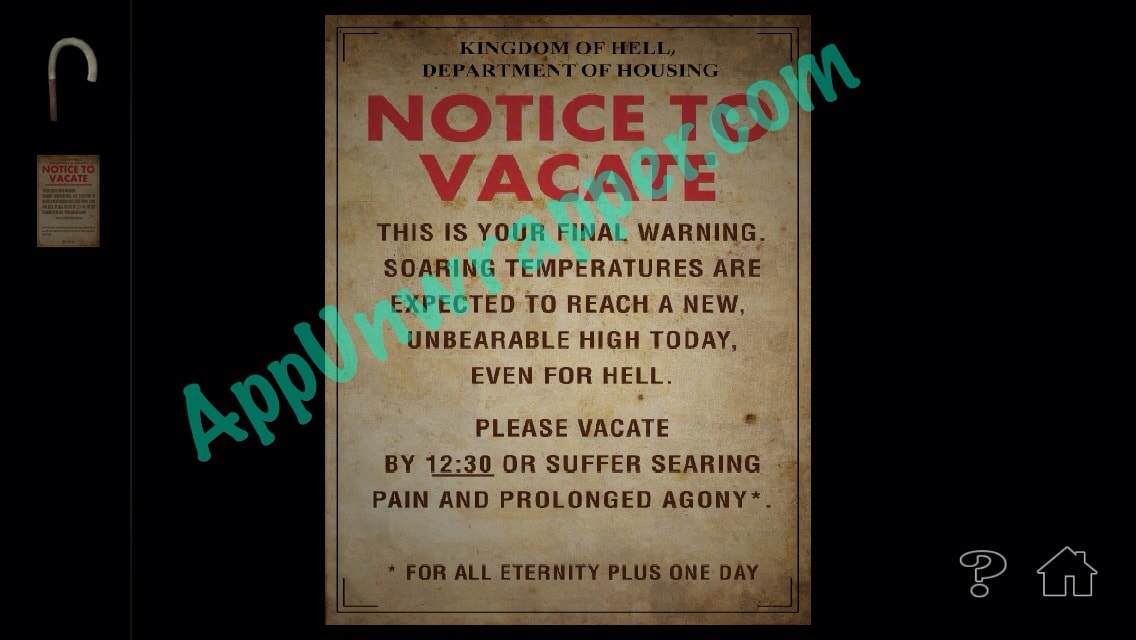
2. Pick up the eviction notice by the door and read it. Make note of the time on it.
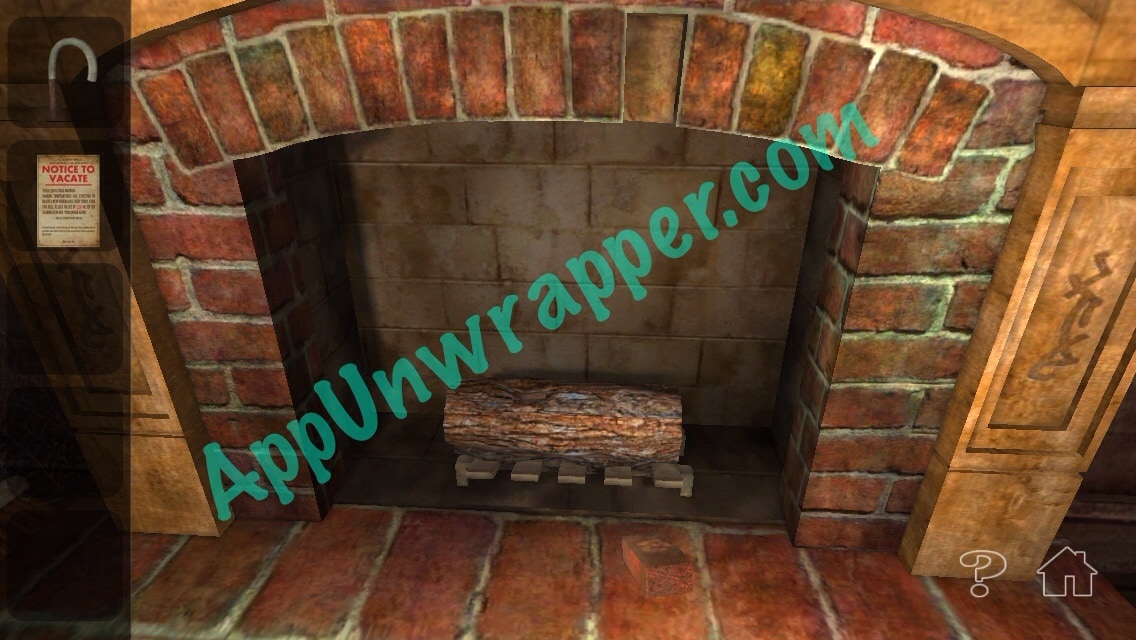
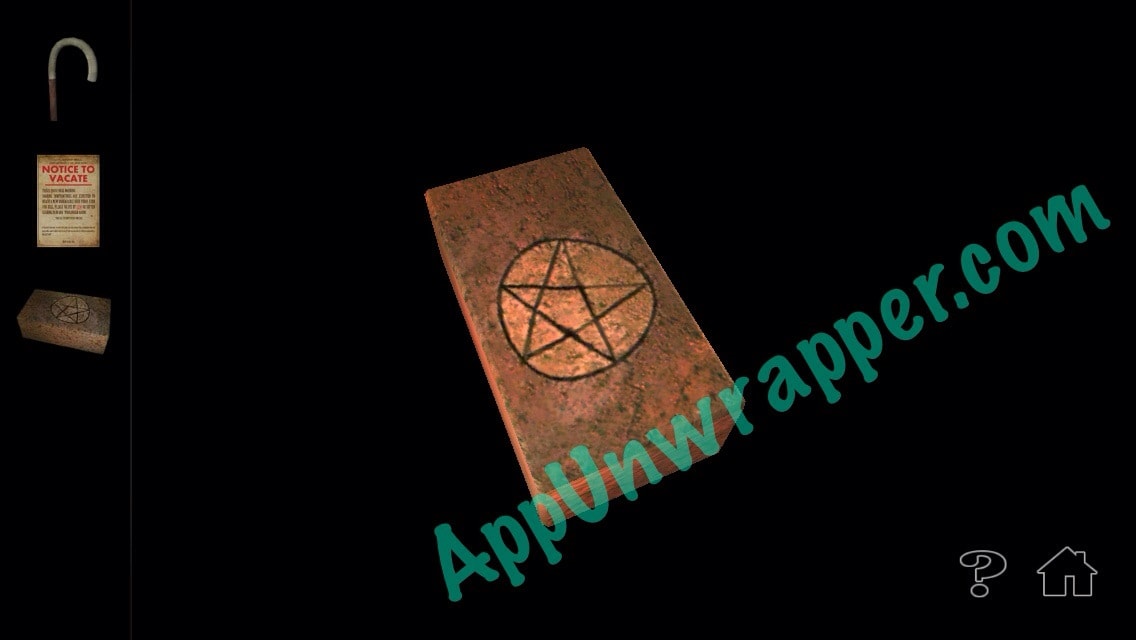
3. Go to the fireplace and tap the brick with the pentagram on it until it comes loose. Pick it up.
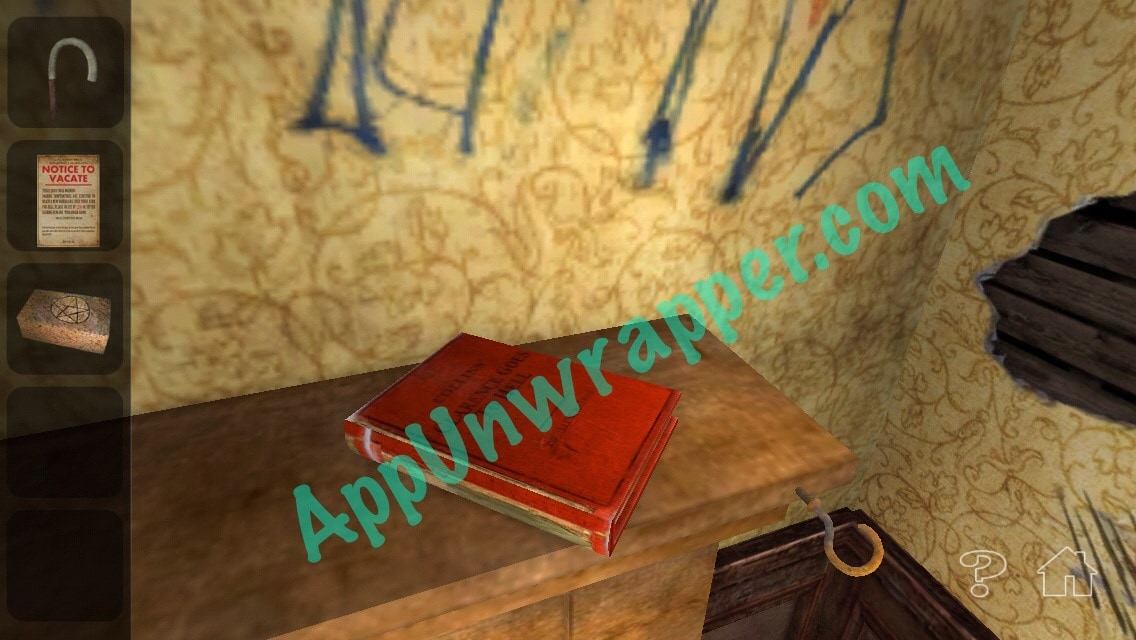
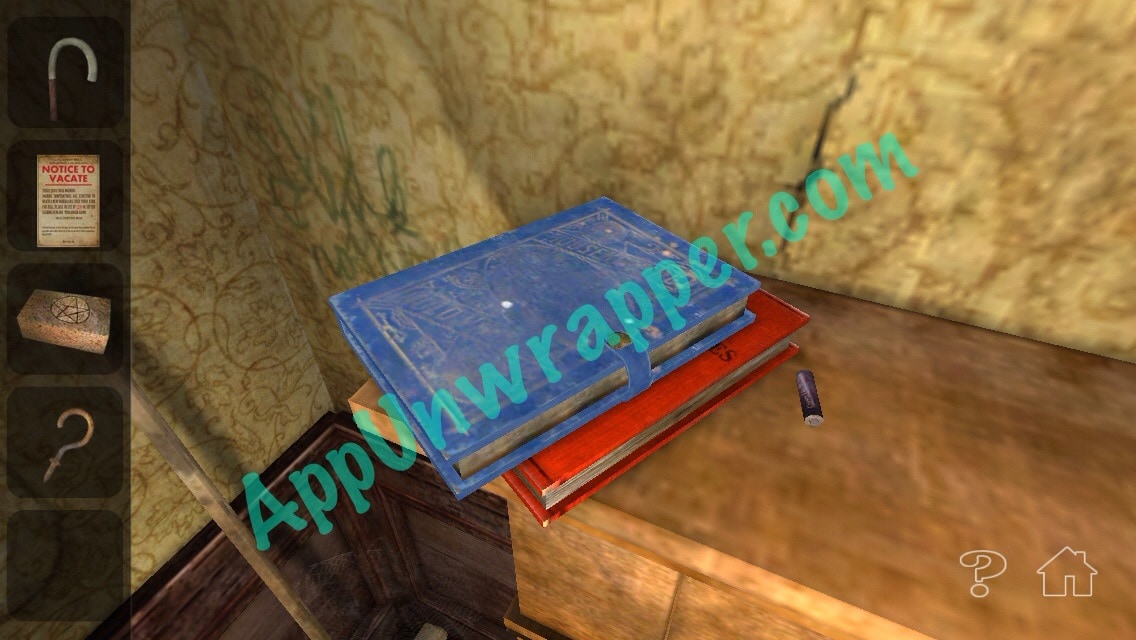
4. Knock off the photograph on the mantelpiece above the fireplace. Then unscrew the hook and take it. Look at the other side of the mantelpiece and pick up the battery.
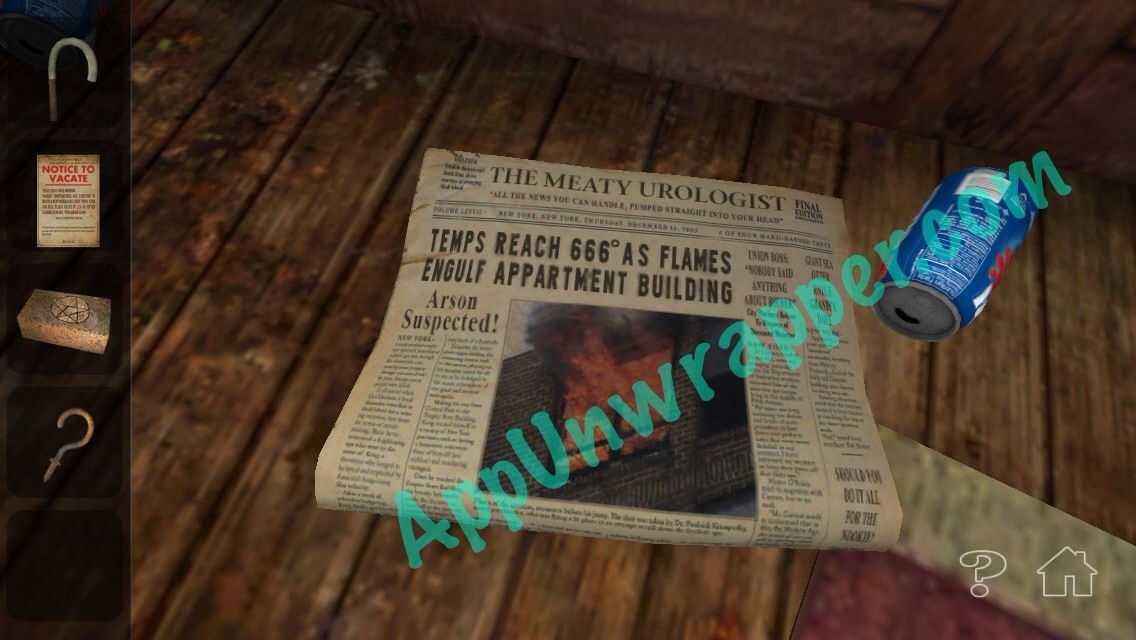
5. Look at the newspaper on the floor and notice the number “666.”
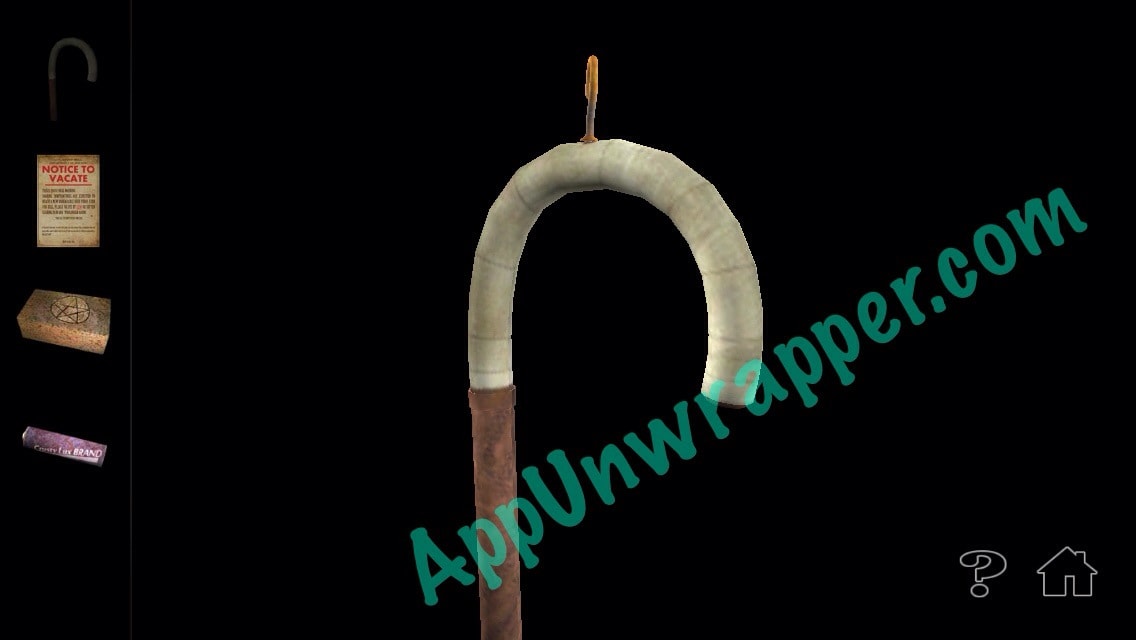
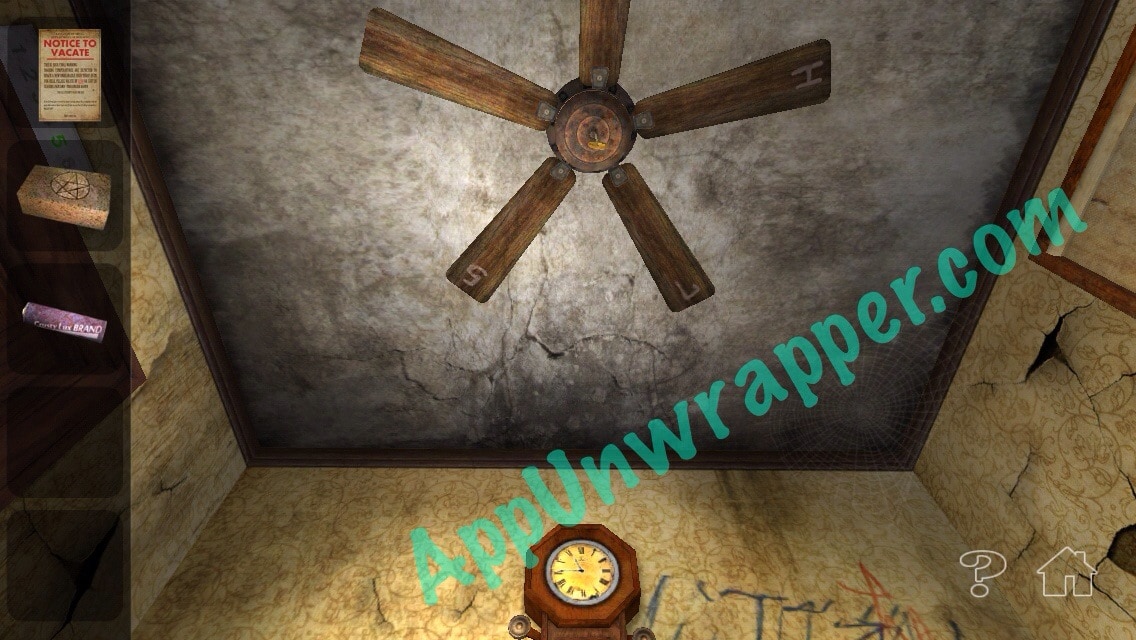
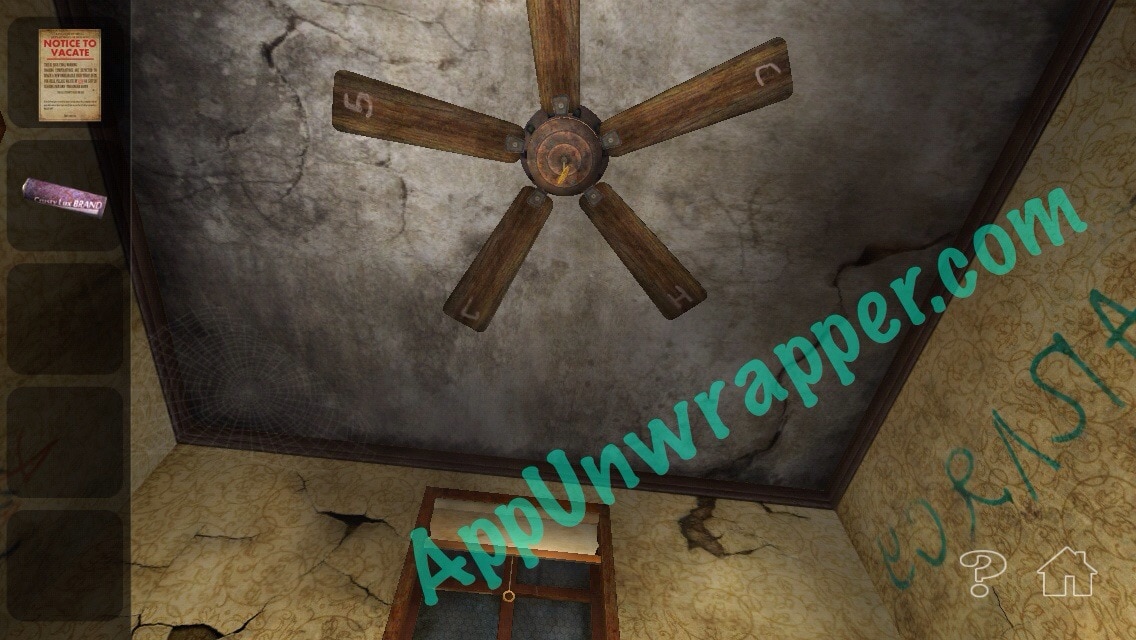
6. Attach the hook to the top of the cane. Then look up at the fan and use the the cane/hook to reach the string. The fan will slow down. You can now see that it says “CH75,” or Channel 75. We’ll need that later.
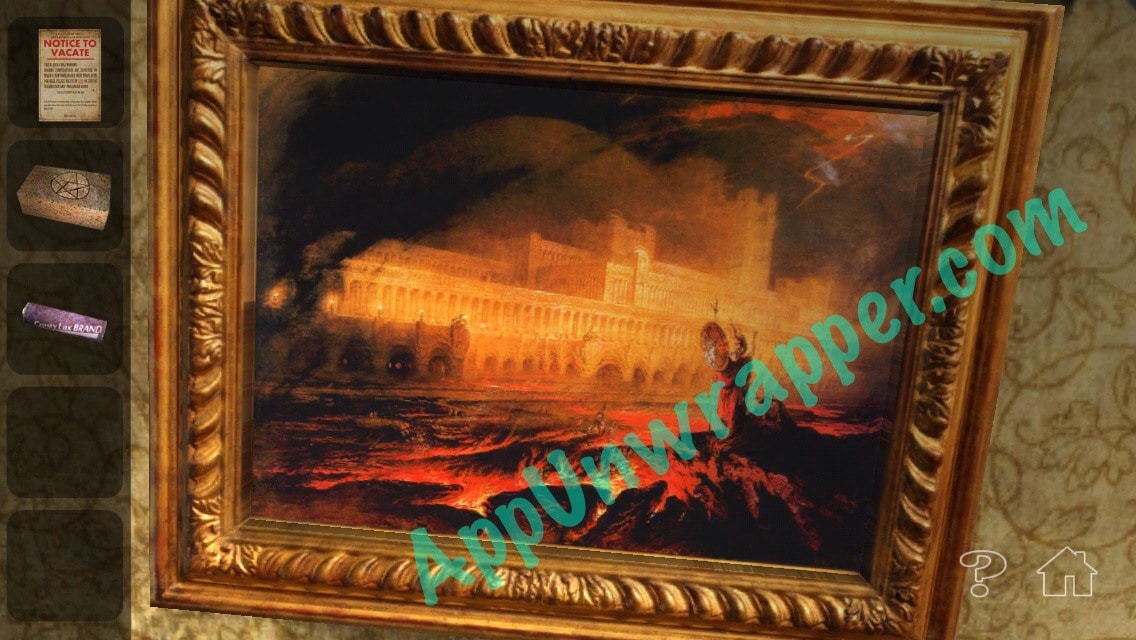
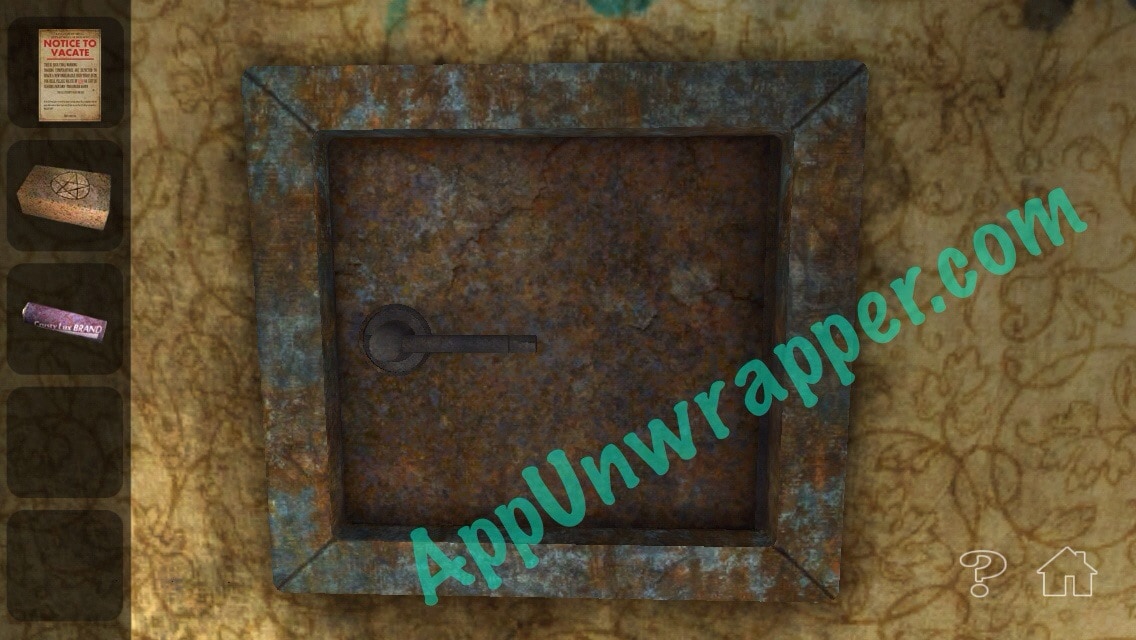
7. Remove the painting from the wall to see a safe behind it. We can’t happen it yet, though.
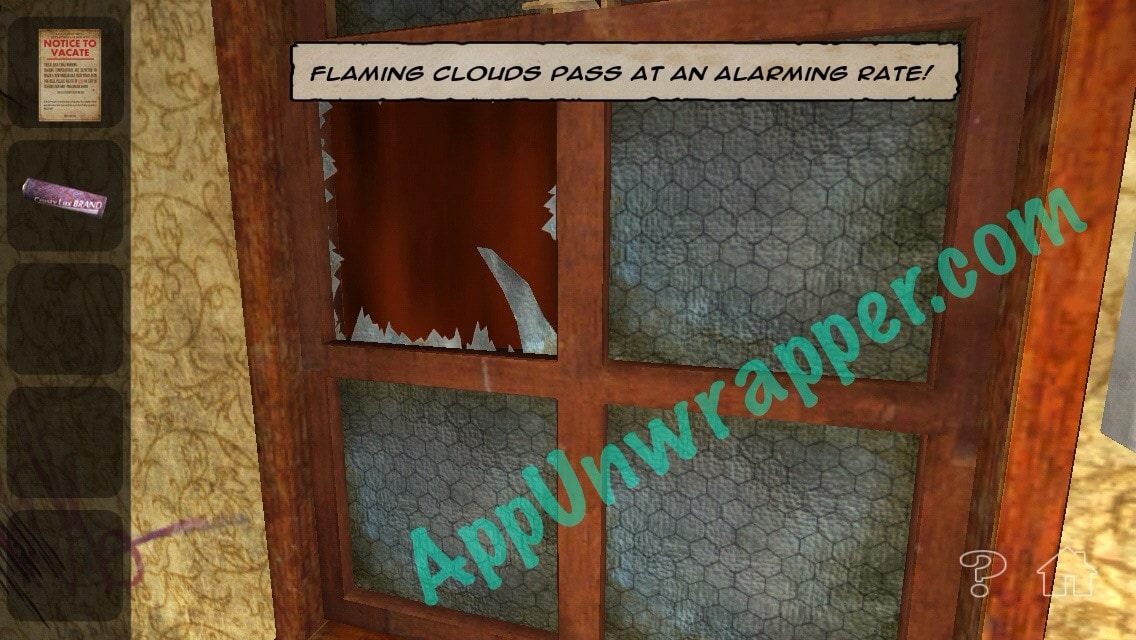
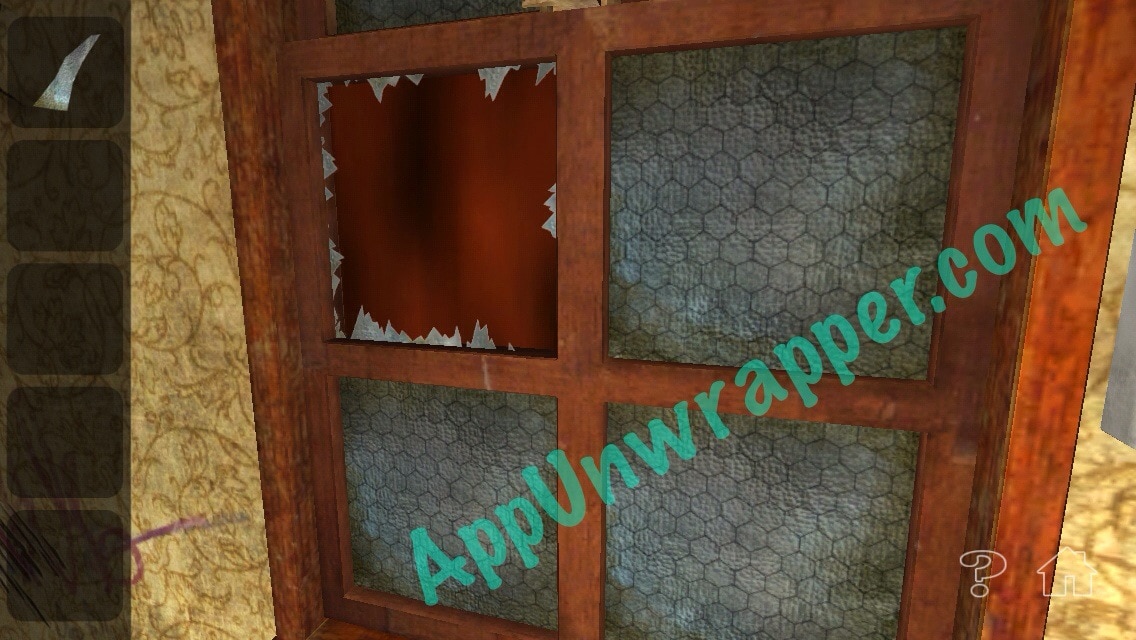
8. Go to the window. Open the shade and break the glass with the brick.
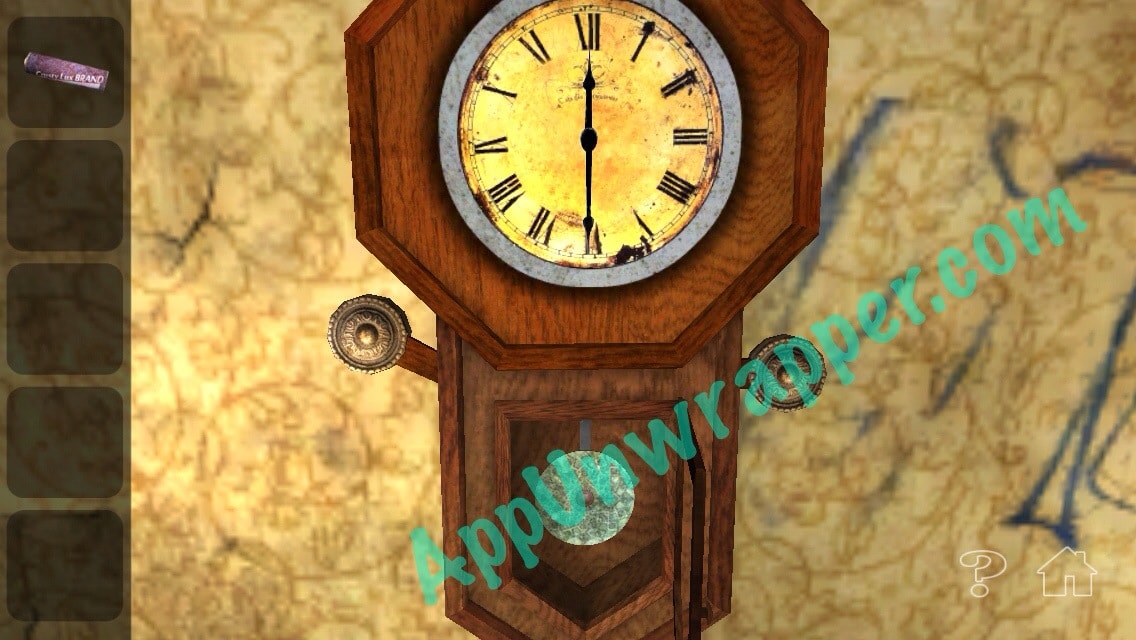
9. Go to the clock. Remember it said 12:30 on the eviction notice? Set the clock to 12:30 using the two levers, then take the pendulum.
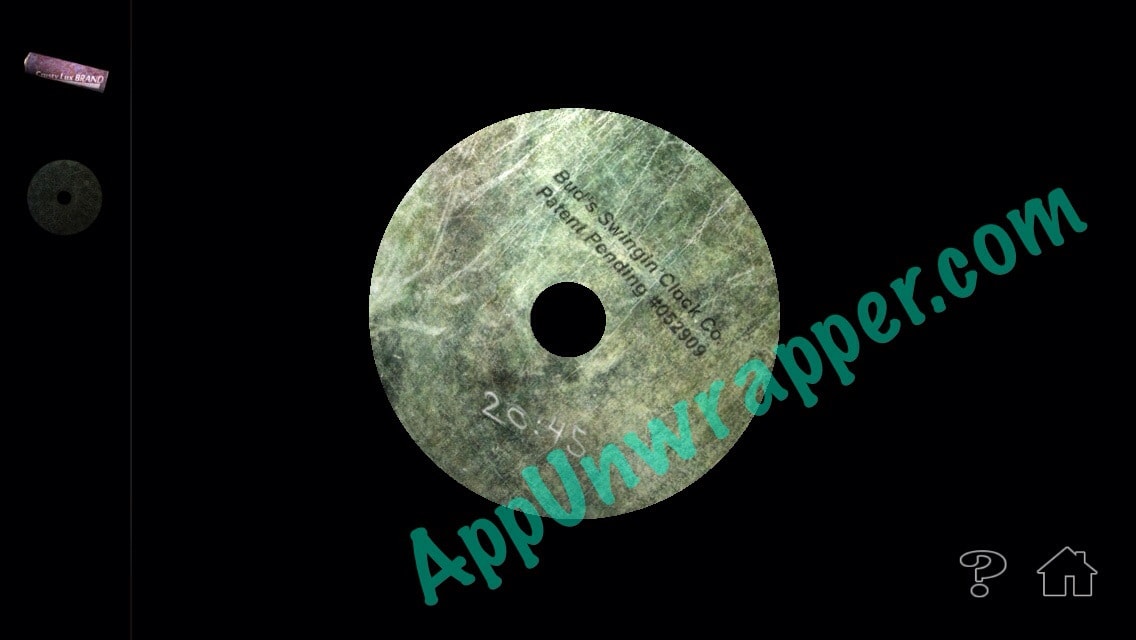
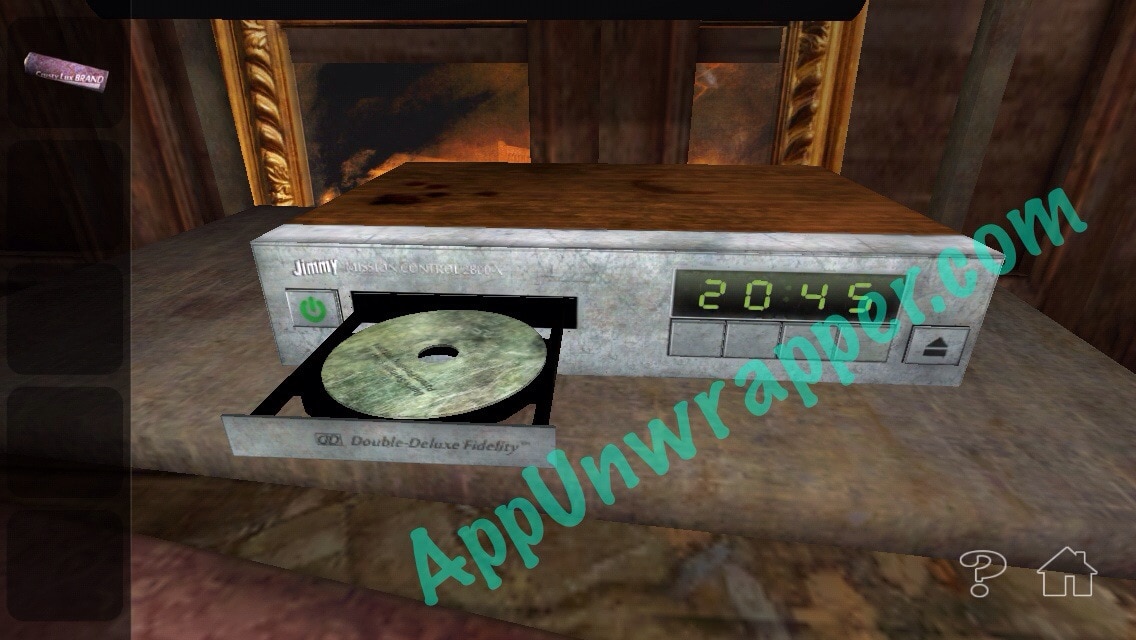
10. Look at the back of the pendulum. It tells you the numbers to set on the DVR player. Press the power button and then the eject button. Place the pendulum/disc inside and set the numbers to the ones on the disc.
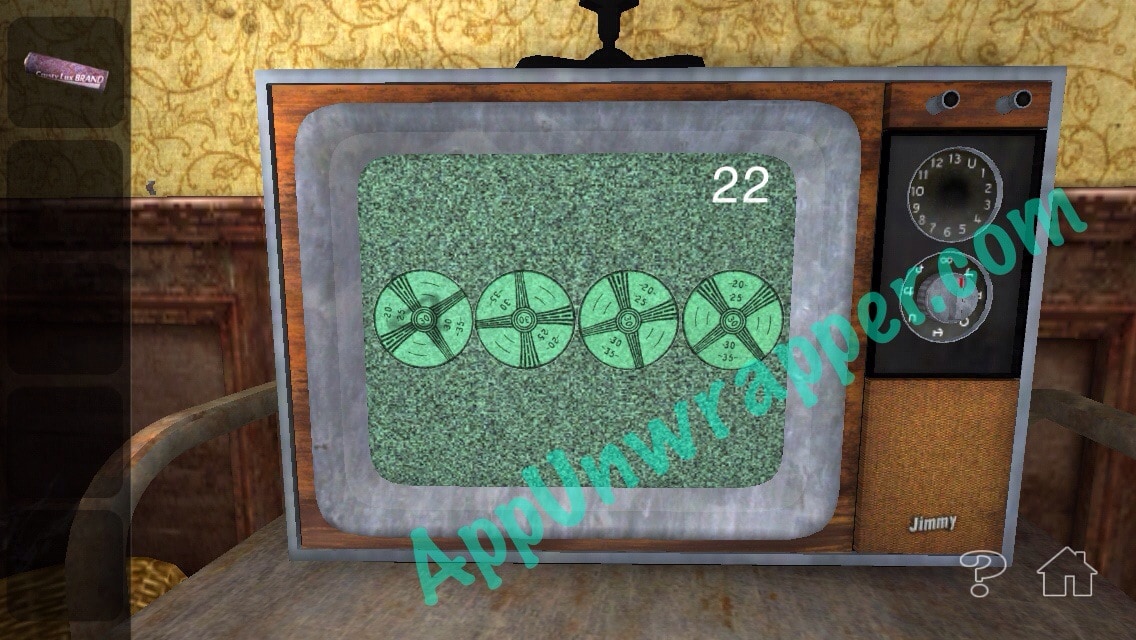
11. Some weird symbols show up on the TV screen. Notice that they move if you tap them. They move even faster if you tap them really fast. And when they soon really fast, numbers appear on them. Make note of the numbers. I got “4536.”
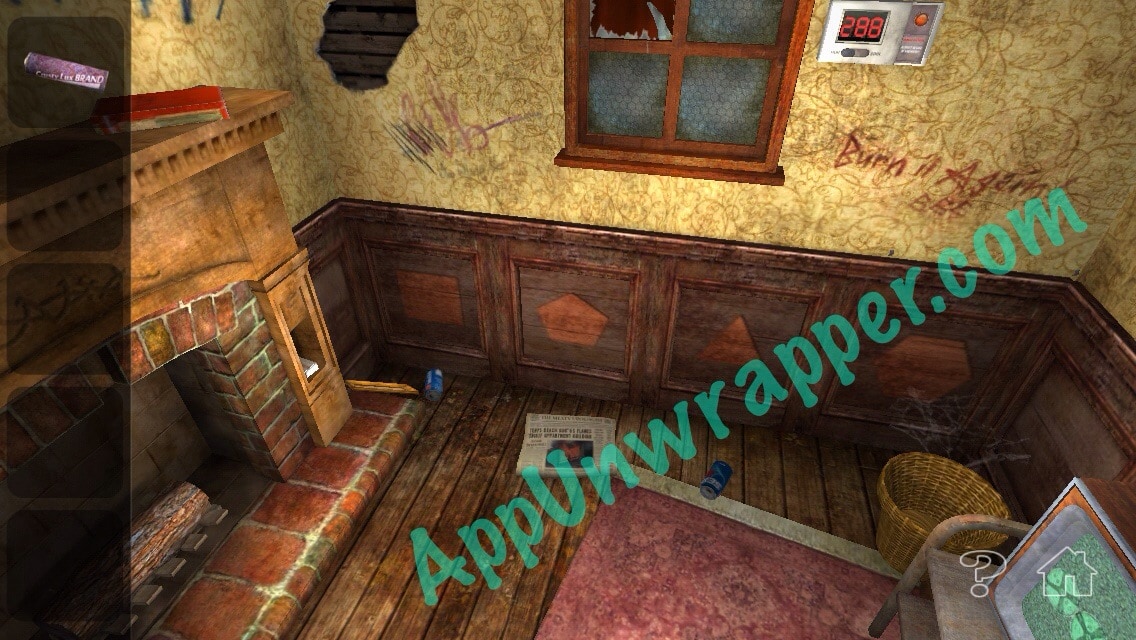
12. Notice that there are four panels on the wall that change if you touch them. There are four possible shapes, each with a different number of sides. You want the sides to match the number from the TV (4536), like so: Square, Pentagon, Triangle, Hexagon
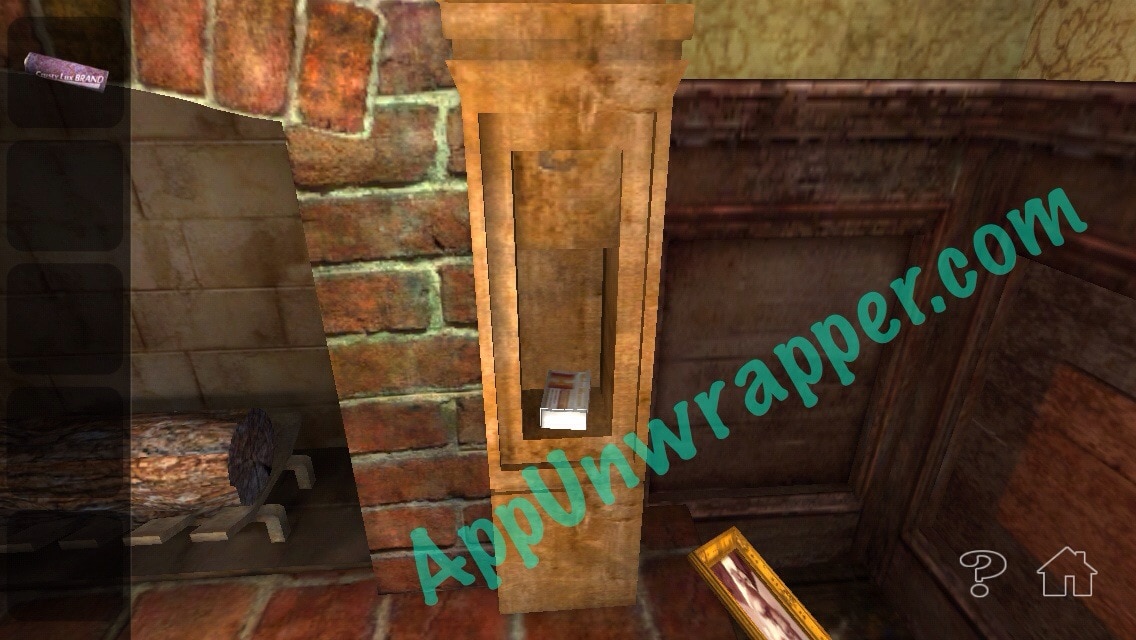
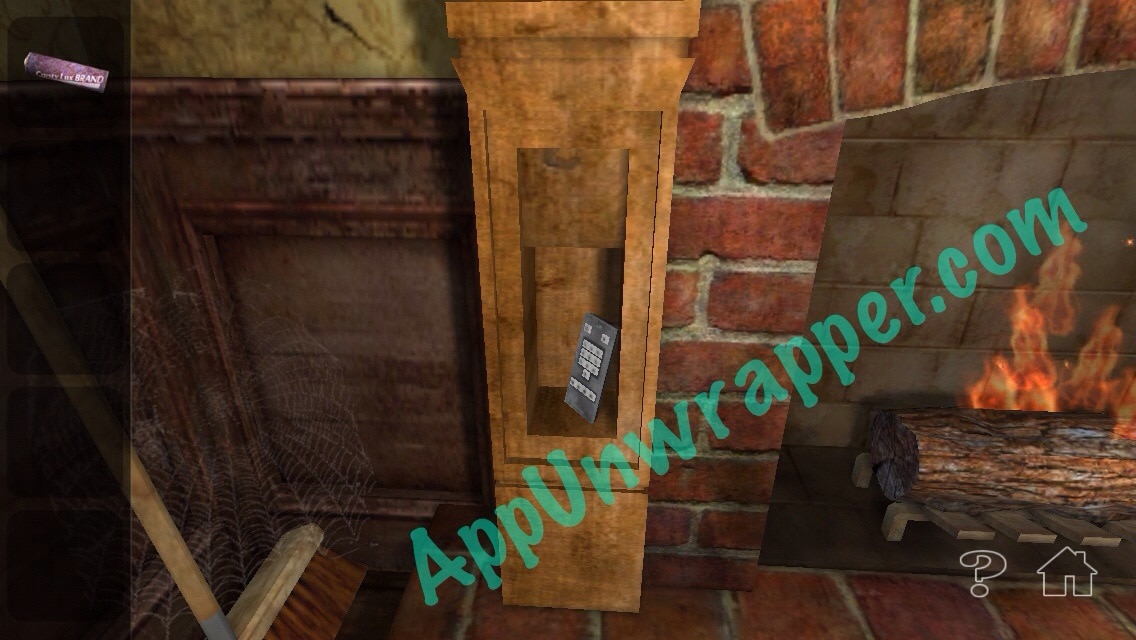
13. Two panels on the sides of the fireplace open up. Take the matches and the remote.
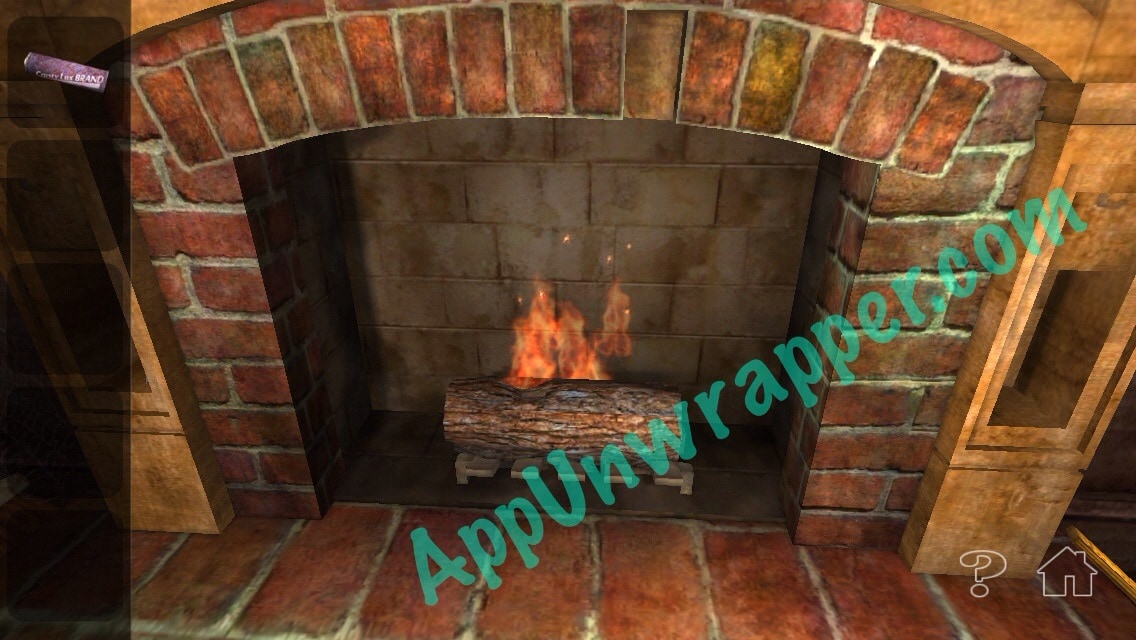
14. Open the matchbox and take the match out. Light it on the box and then throw it into the fireplace.
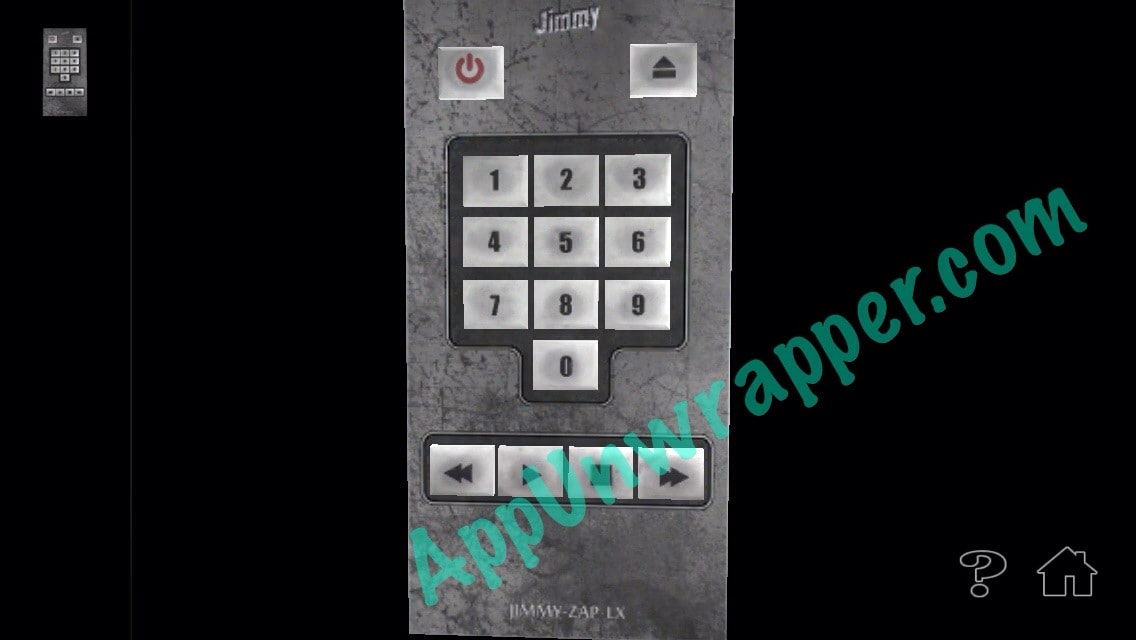
15. Turn the remote around and place the battery inside. Then press the 7 and 5 to change the channel to 75.
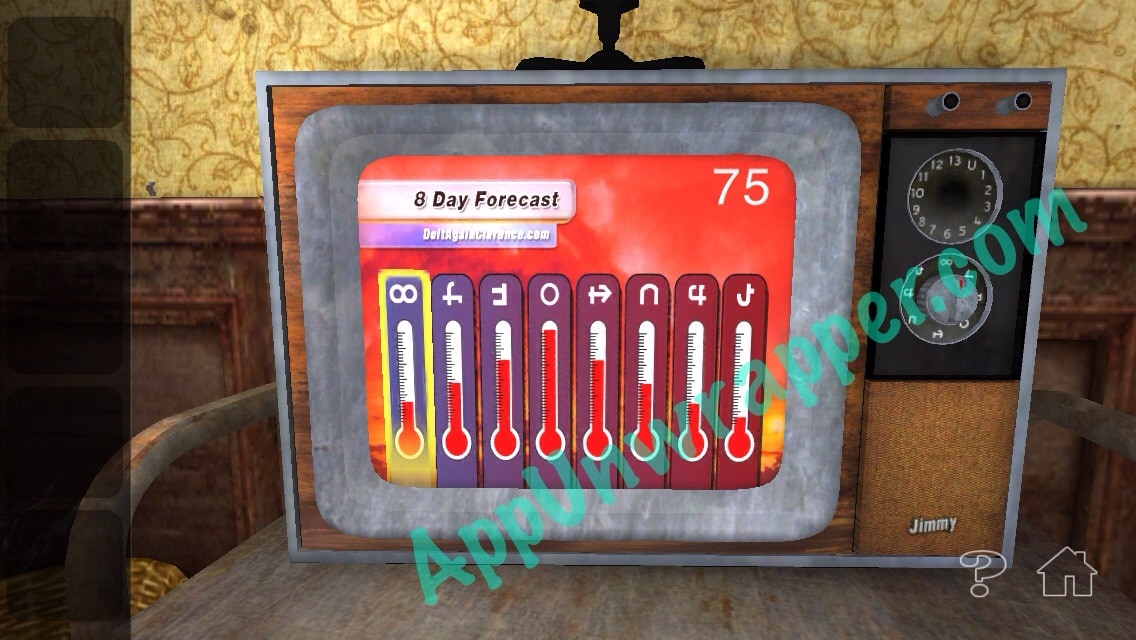
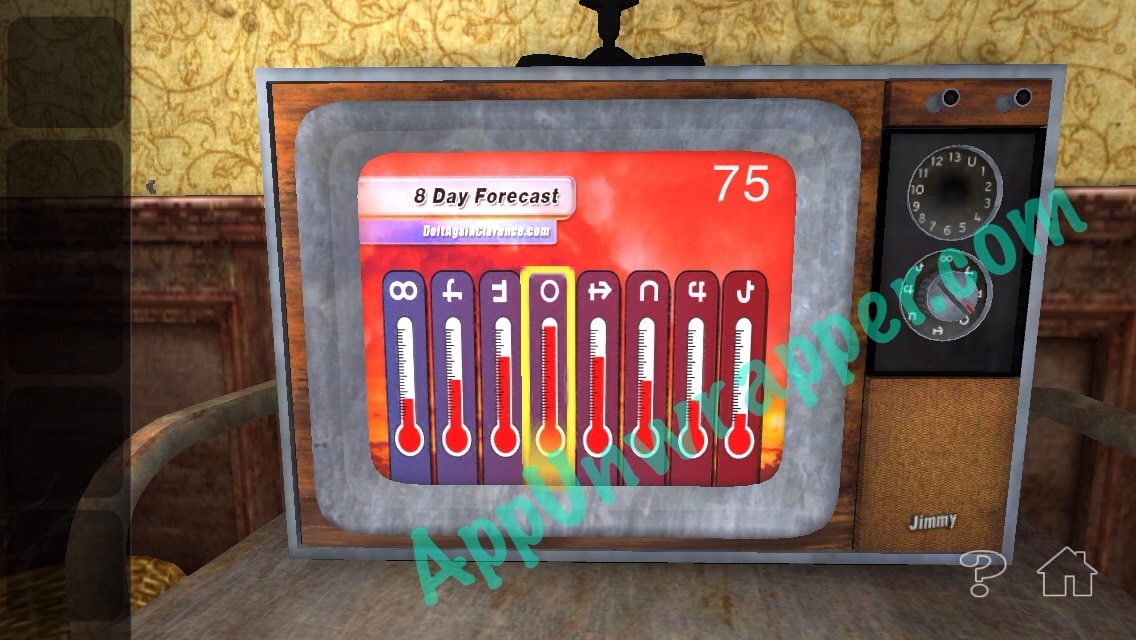
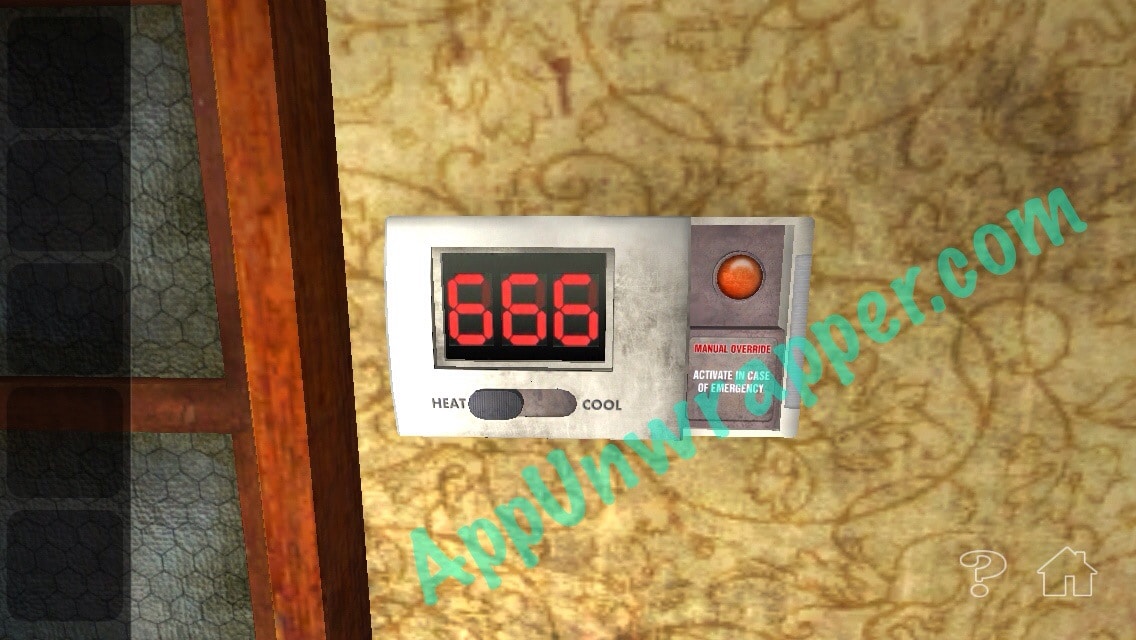
16. You want to get the room as hot as possible. So tap the TV screen until the hottest day is highlighted. Then go to the thermostat and press the emergency button.
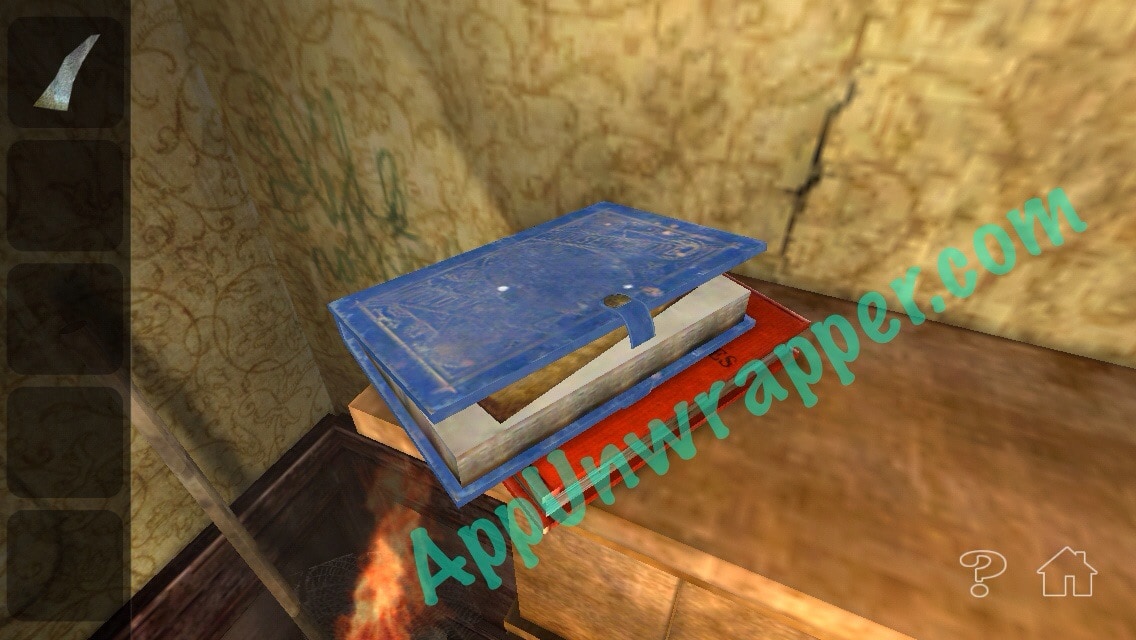
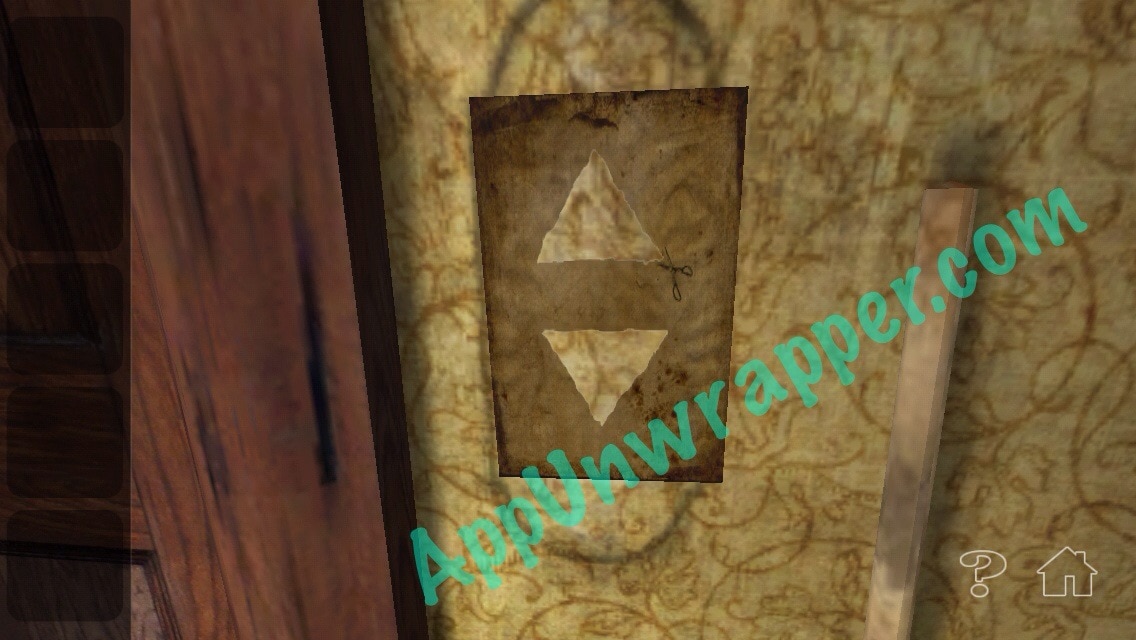
17. Take the broken glass from the window. Use it to cut open the leather book on the mantelpiece. Take the paper from inside. Then use the glass to cut the triangles out.
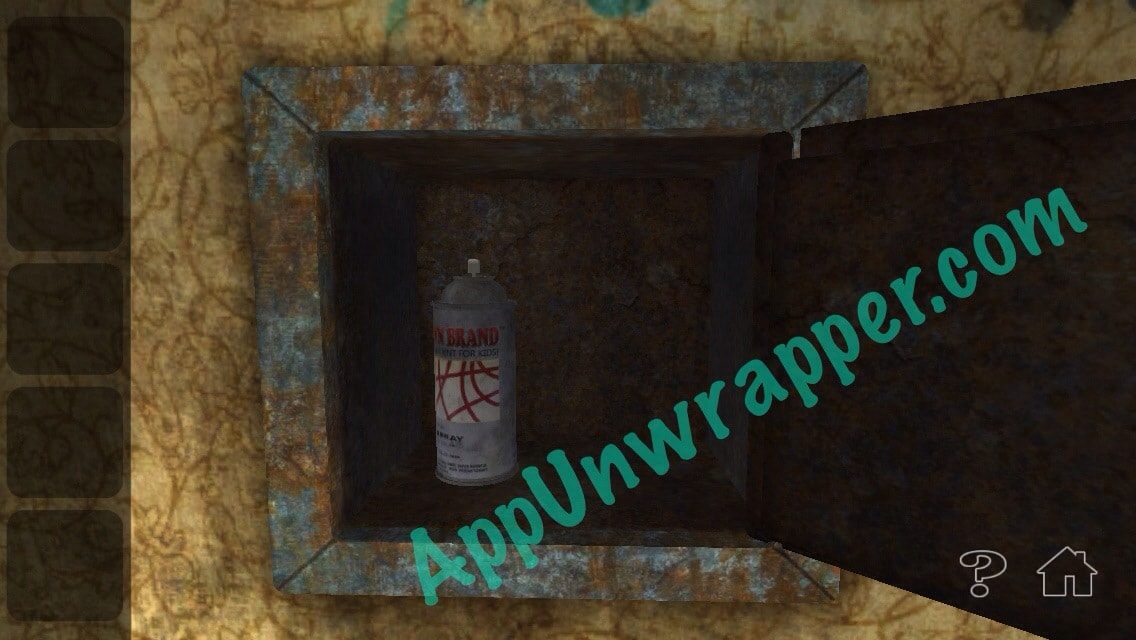
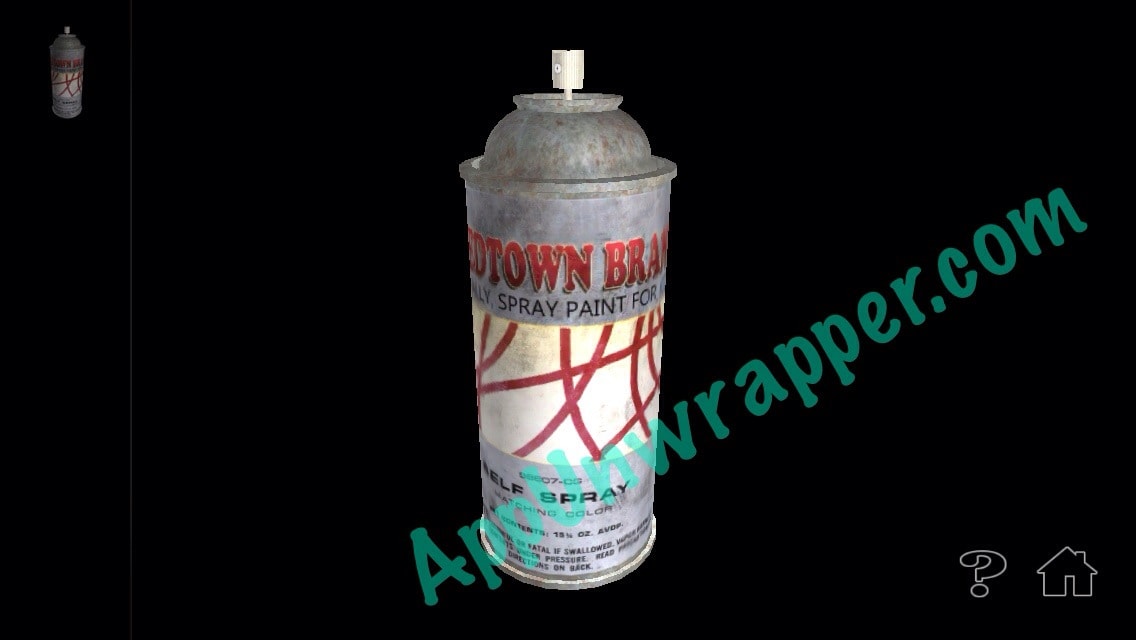
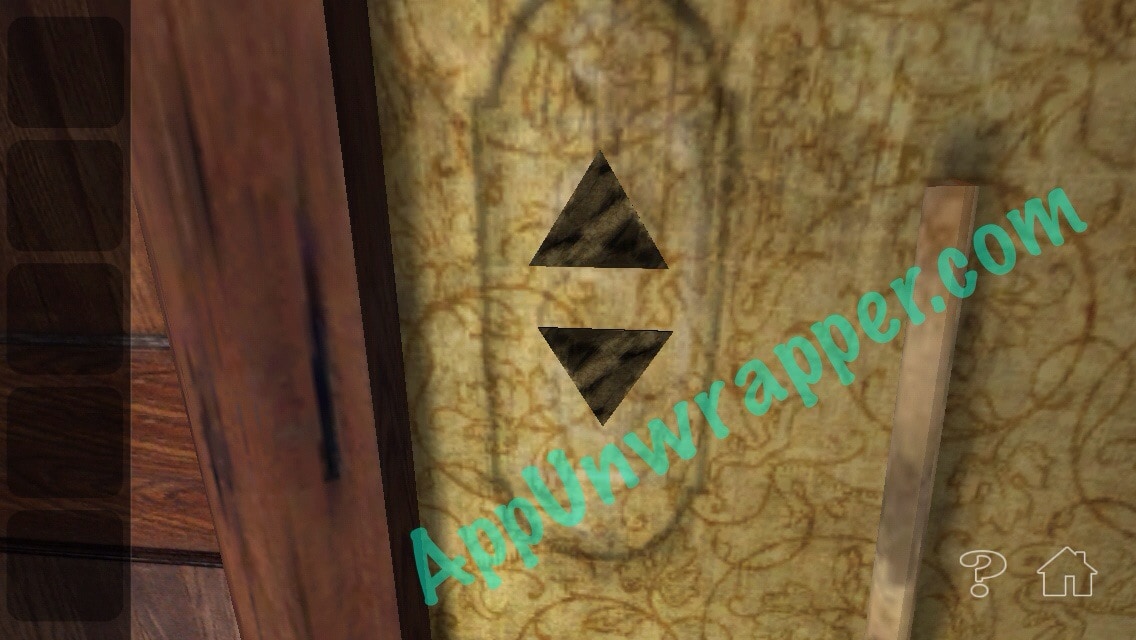
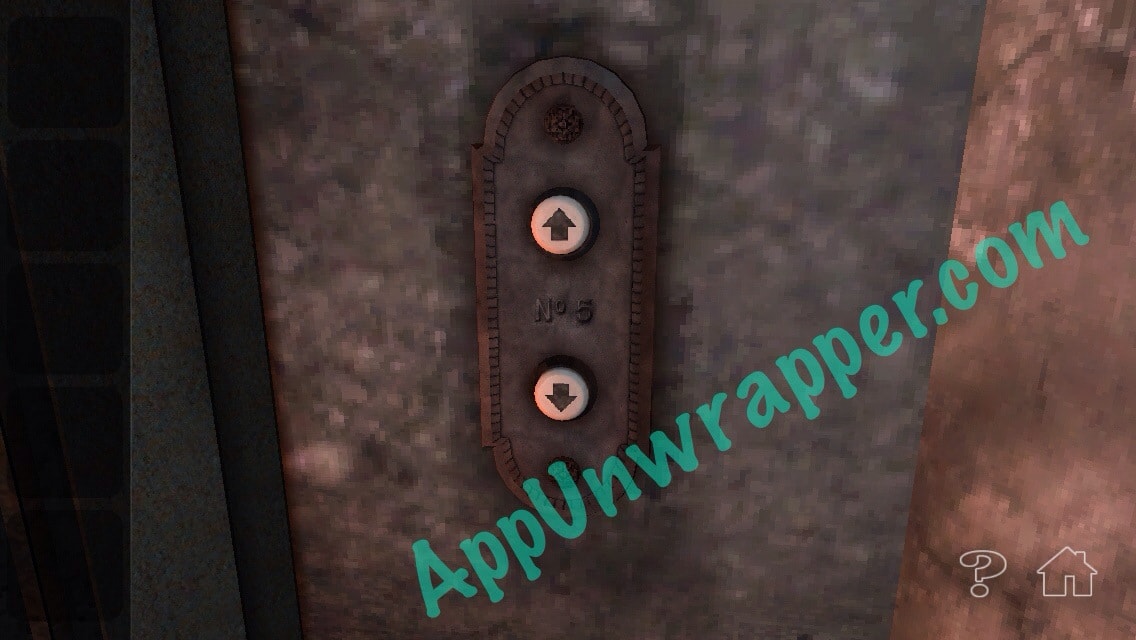
18. Get the can of spray paint from the now-open safe. Place the paper with the triangle cutouts by the elevator and spray it black. Then press the down button to escape!
Chapter 5, Basement of Terror!:
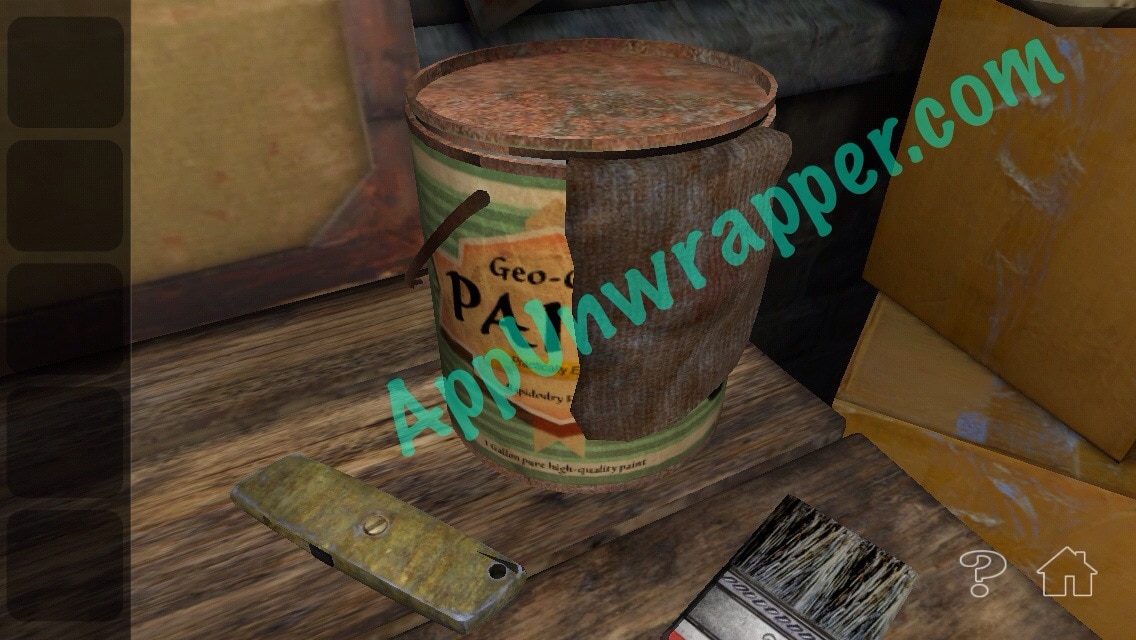
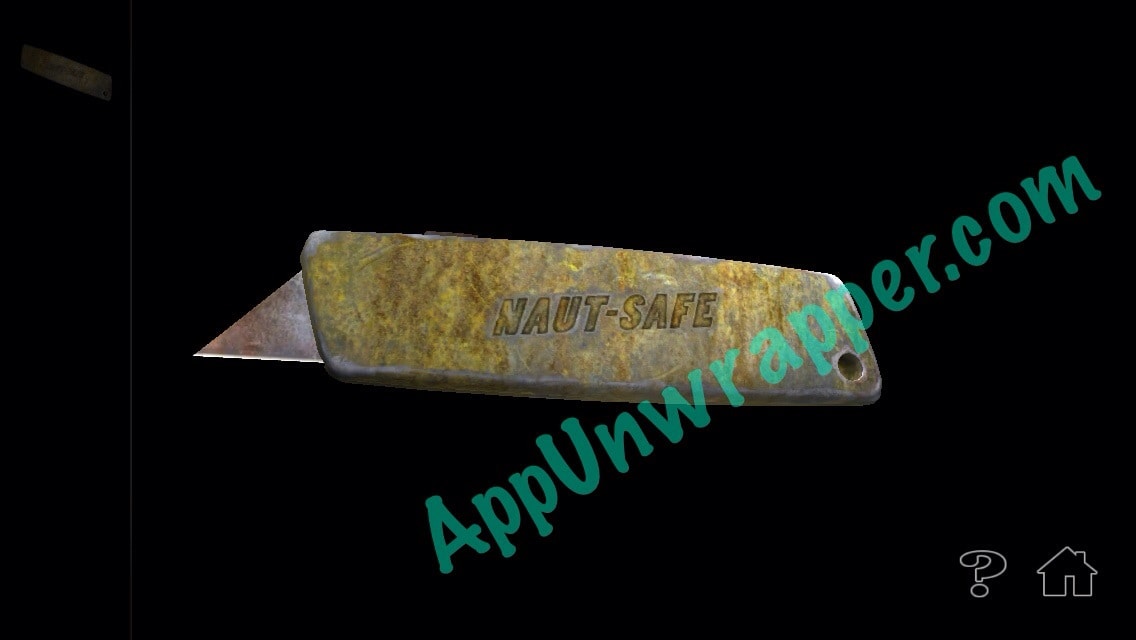
1. Pick up the cutter next to the paint can. Look at it and push the blade out so you can use it.
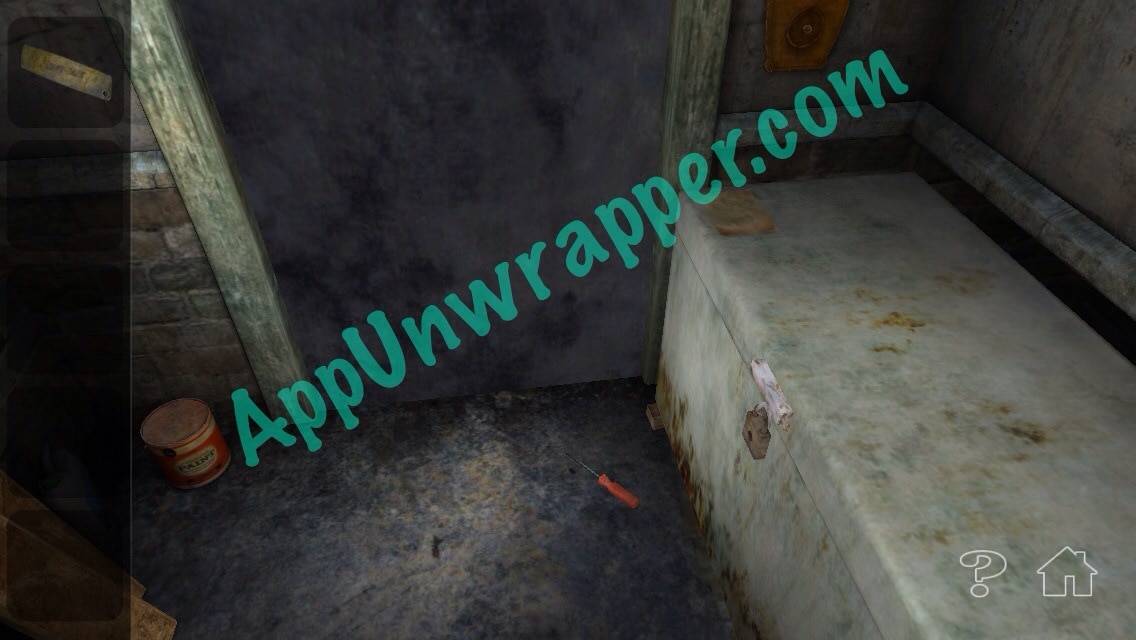
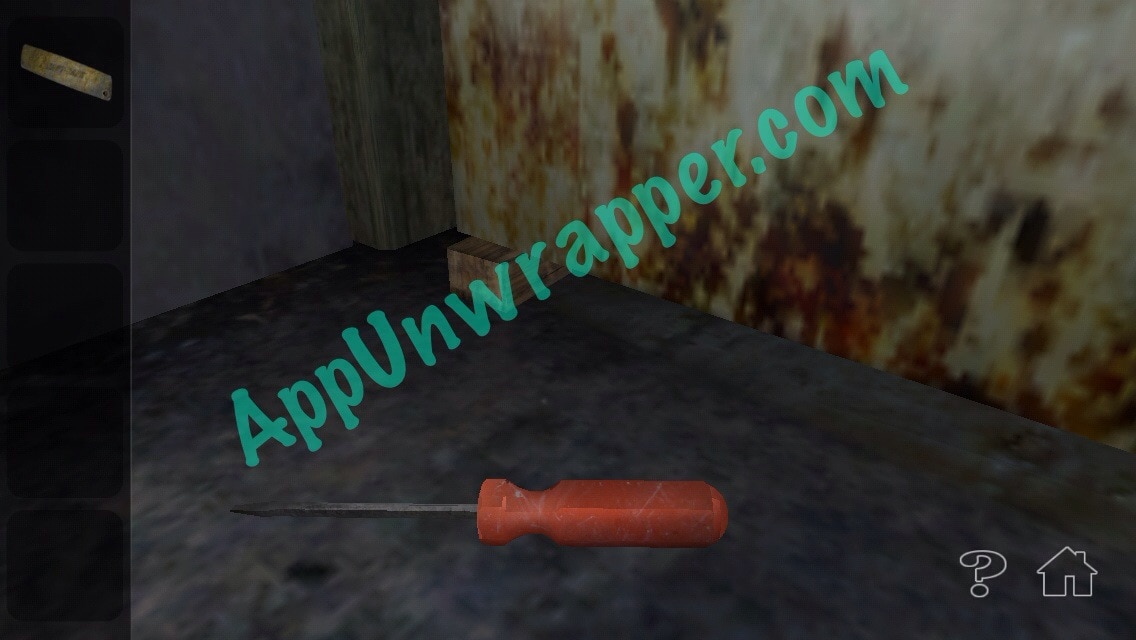
2. Pick up the screwdriver from the floor.
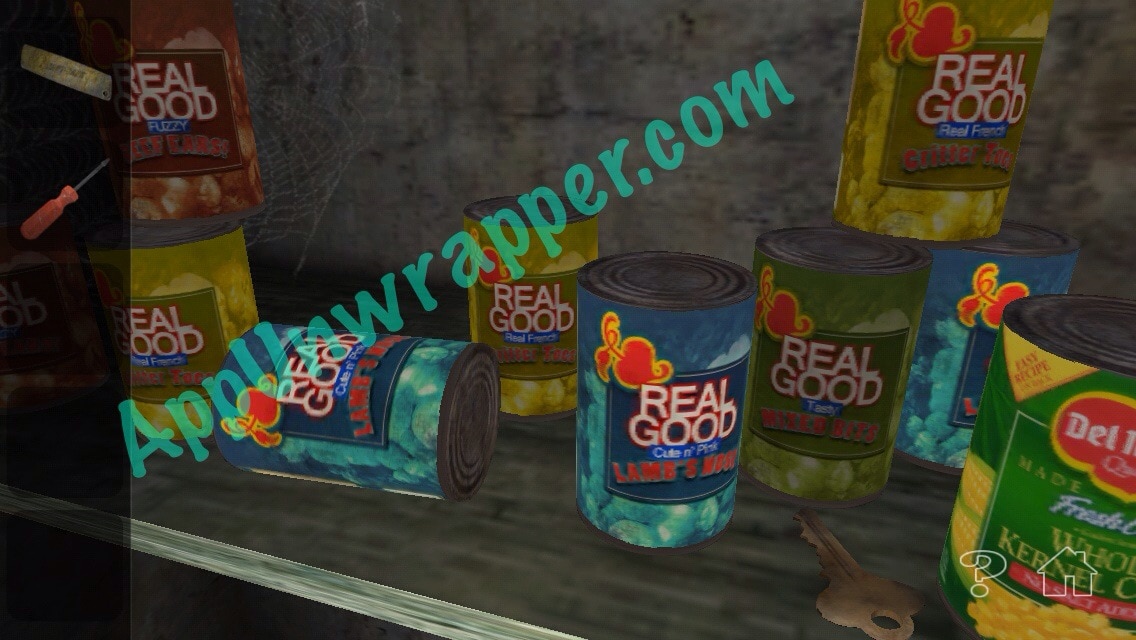
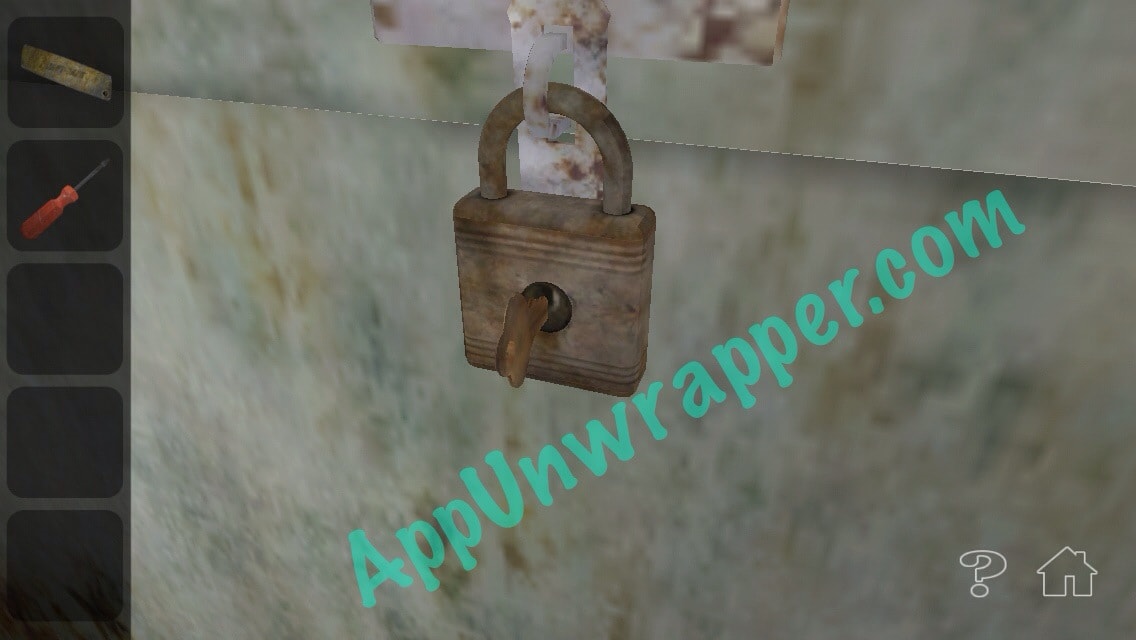
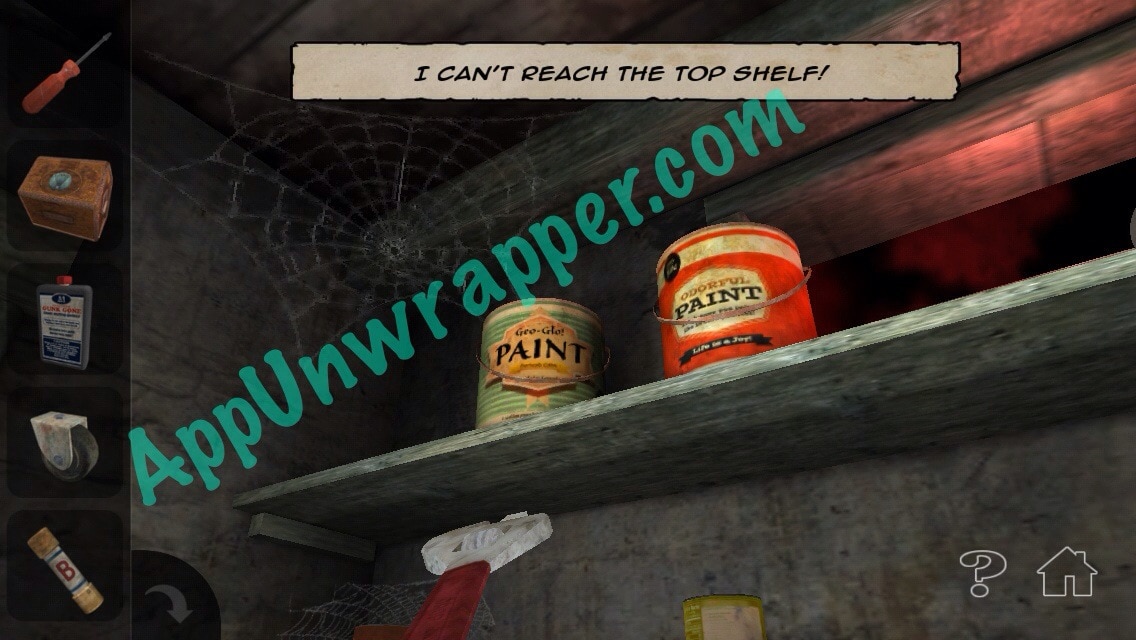
3. Look up on the shelf and move one of the cans to find a key. Use the key to unlock the freezer.
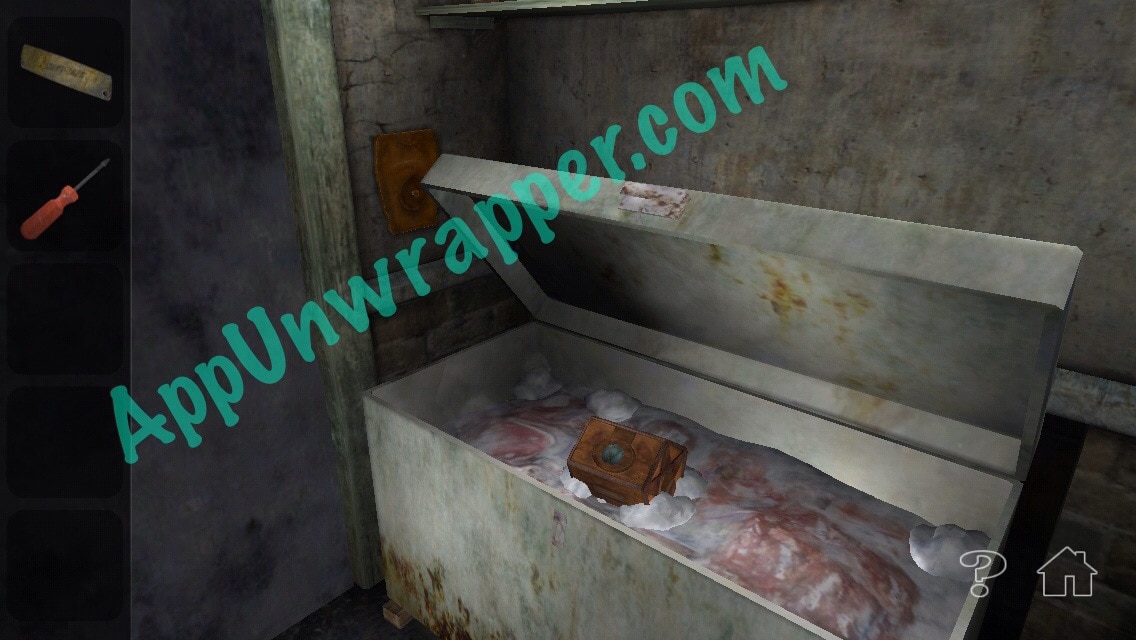
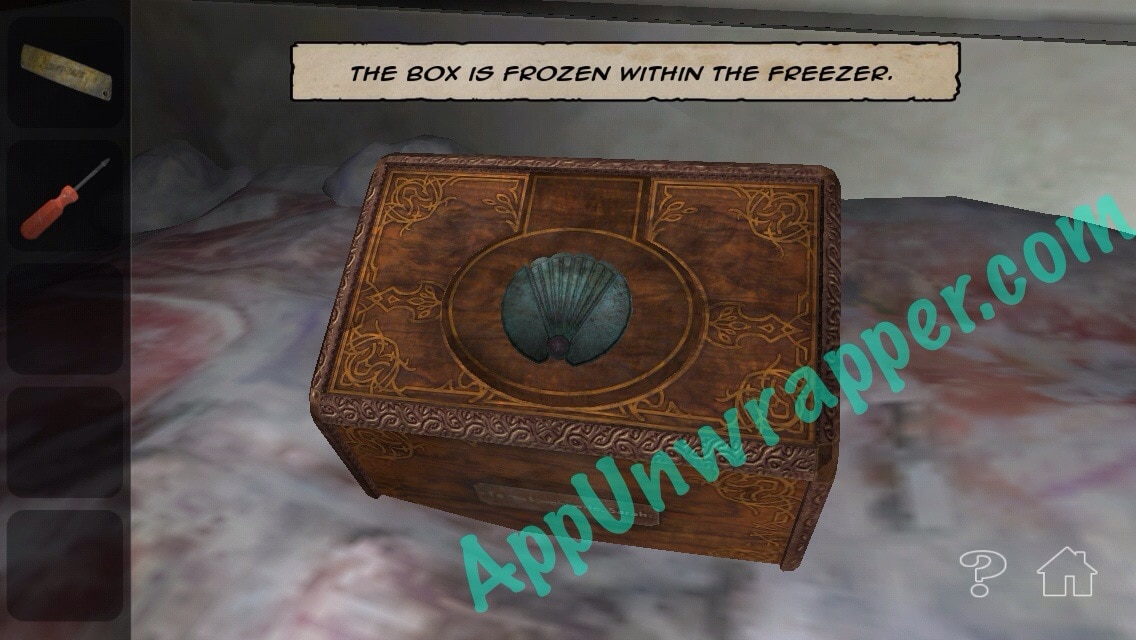
4. Open the freezer. Use the screwdriver to chip away at the ice and free the box.
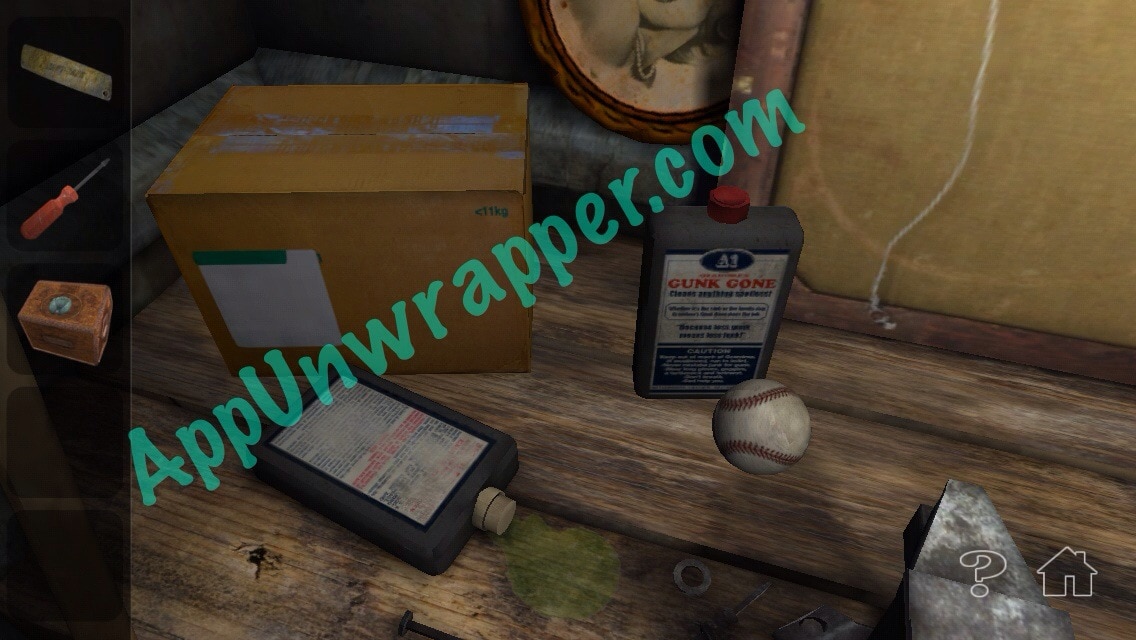
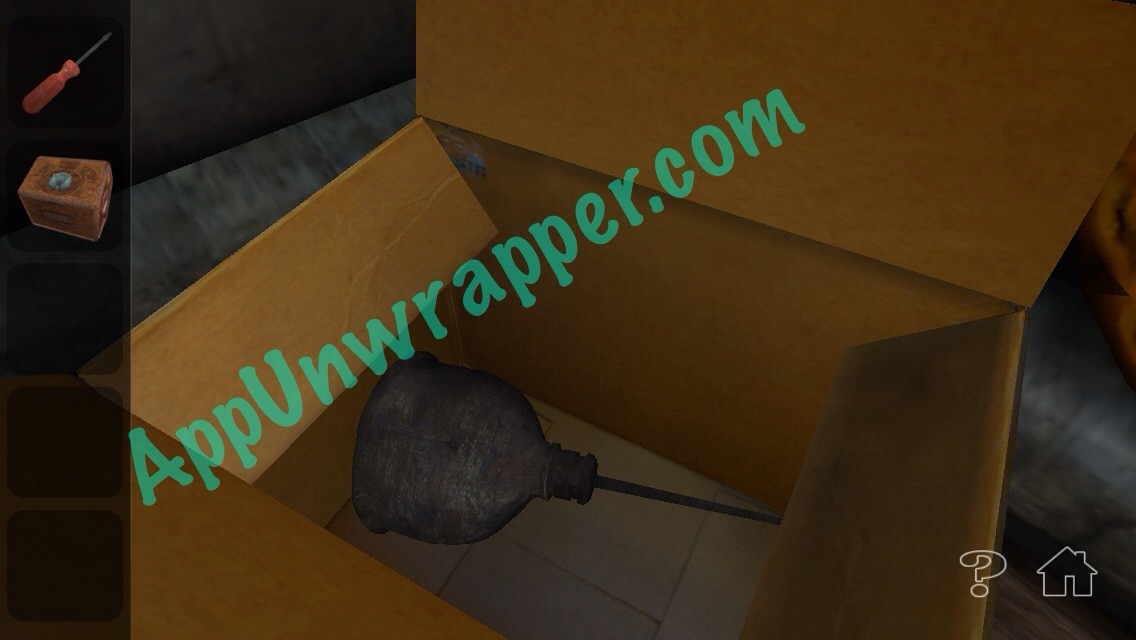
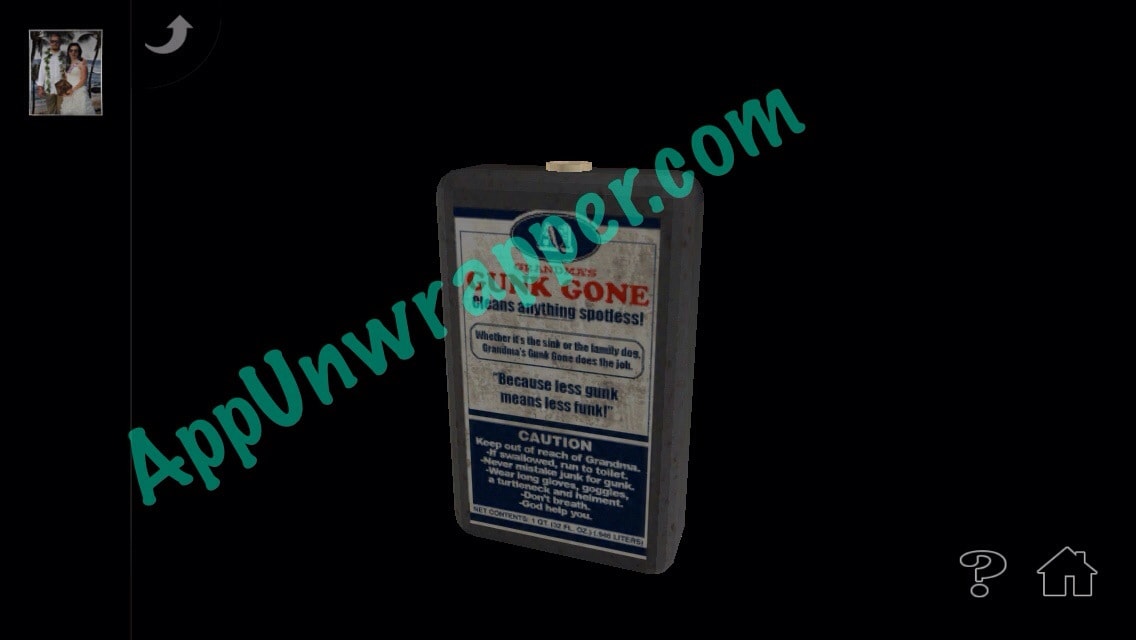
5. Use the cutter to open the box on the table and take the oil can from it. Also, take the Gunk Gone and the baseball.
6. Use the oil an on the vice grip to get the wheel.
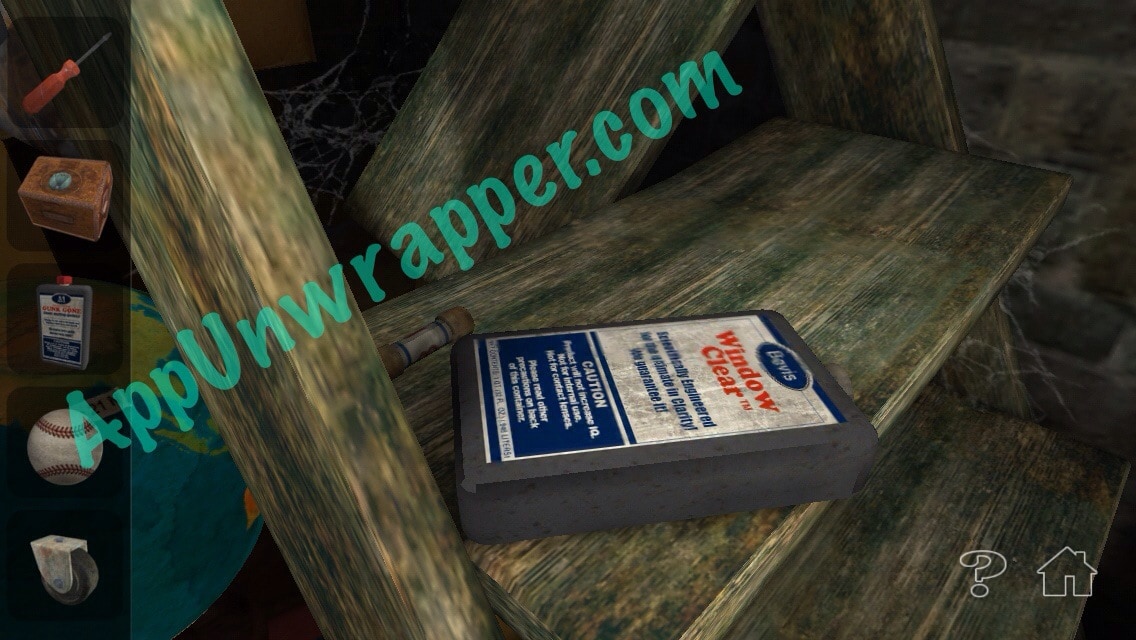
7. Look on the ladder by the Window Clear for a fuse. Pick it up.
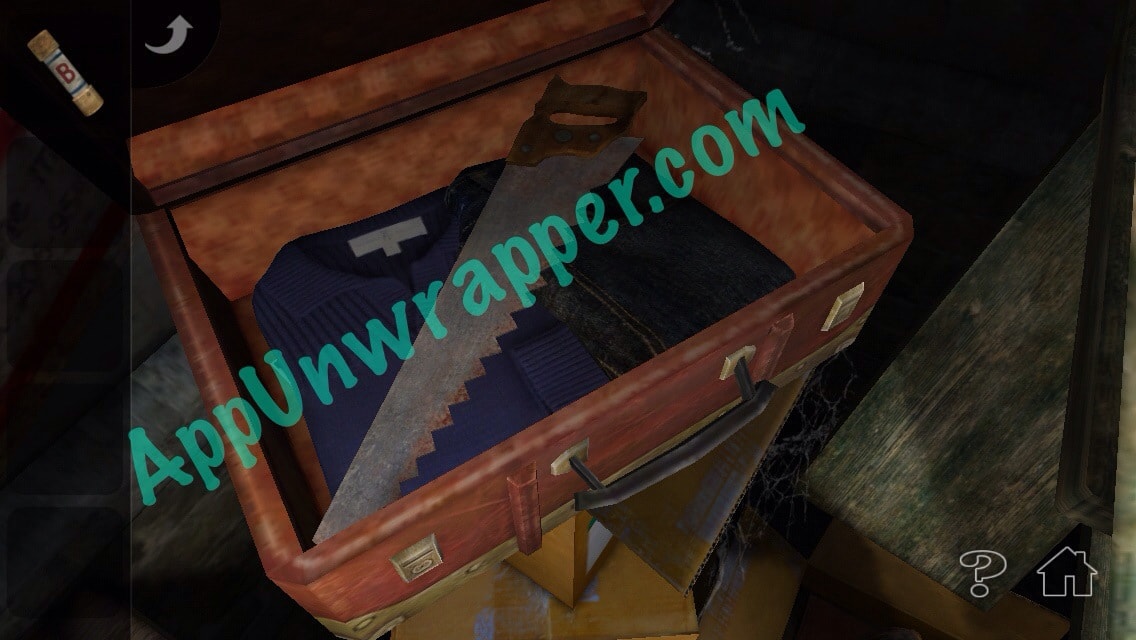
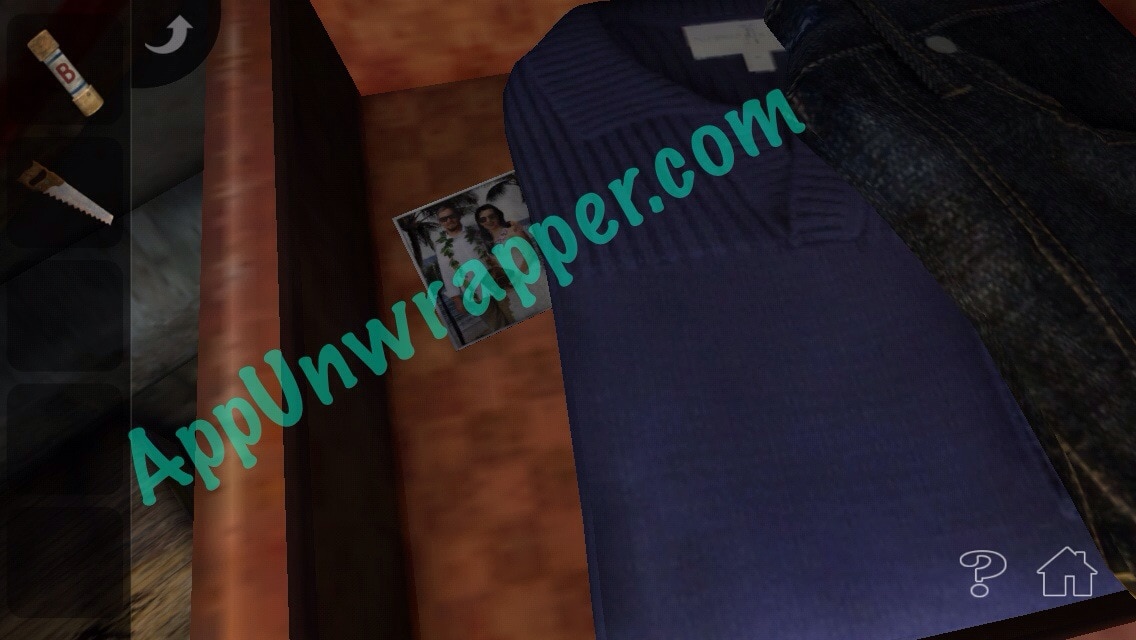
8. Open up the suitcase and take the saw. Also, find the photo under the sweater. Look at the front and back.
9. Use the baseball to knock the wrench down from the higher shelf. Then get it from the floor.
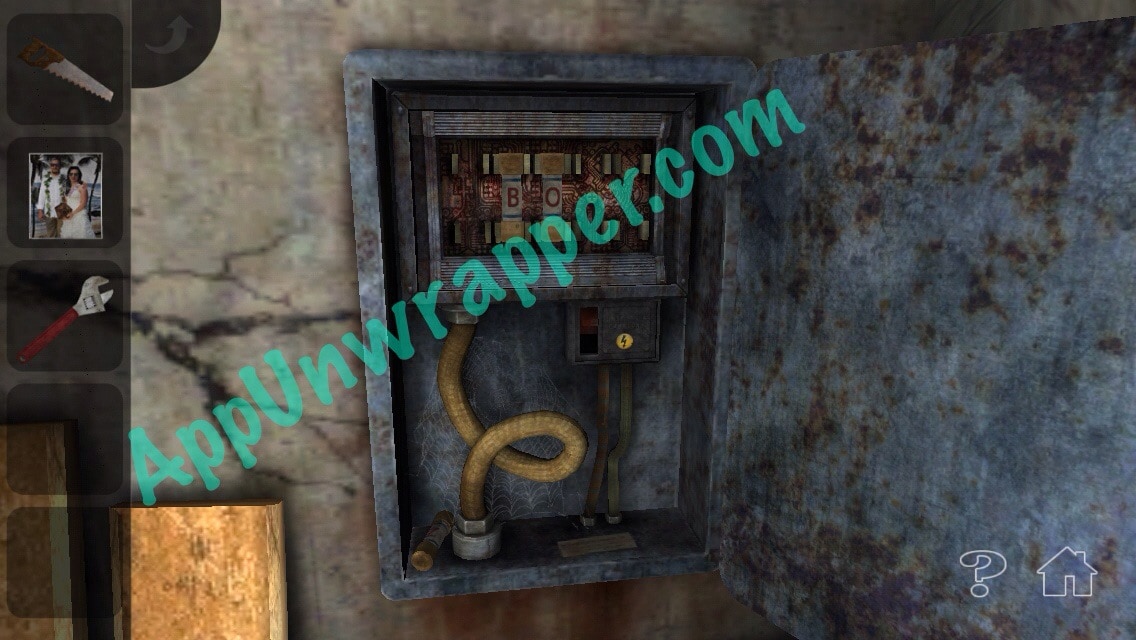
10. Open the fuse box. Take the fuse lying in there.
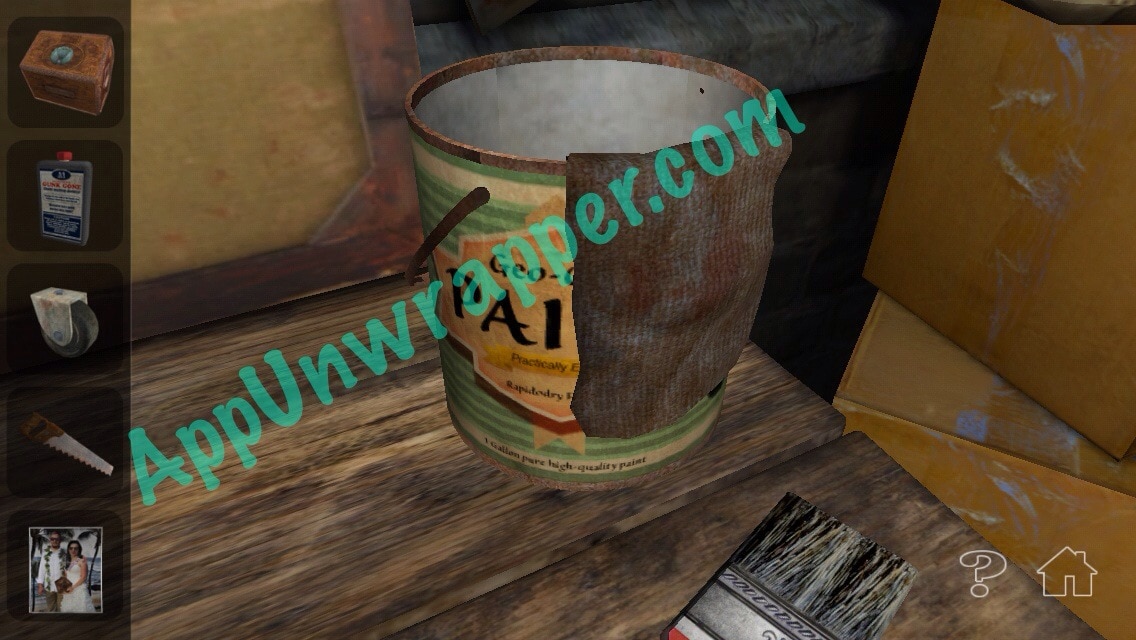
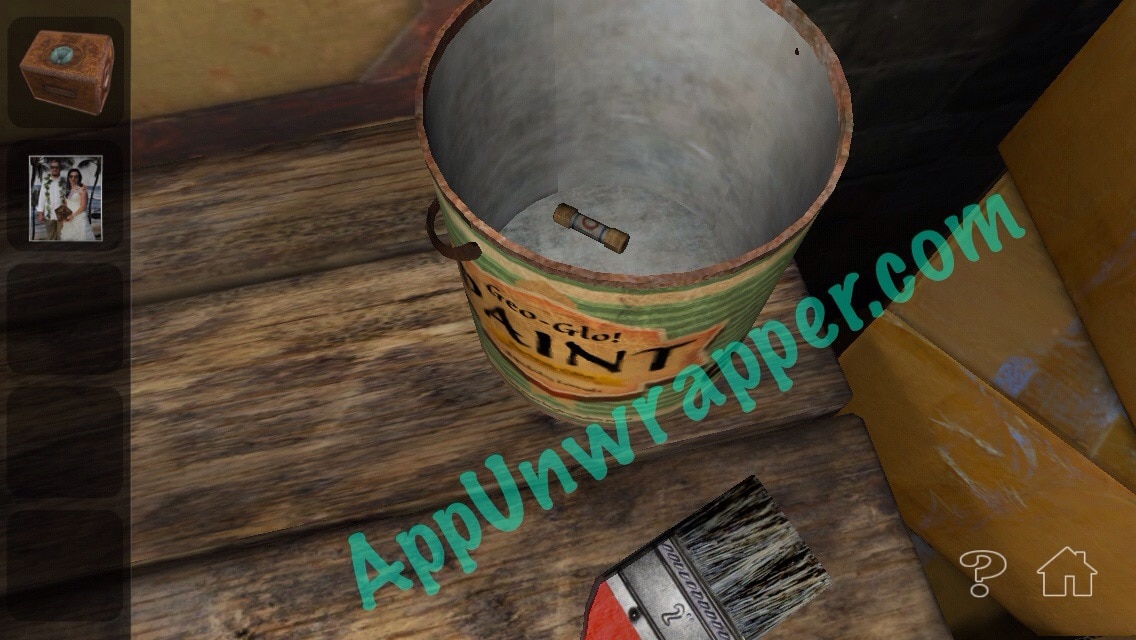
11. Use the wrench to open the bottle of gunk gone. Then pry open the paint can with the screwdriver. Take the rag and fuse from inside.
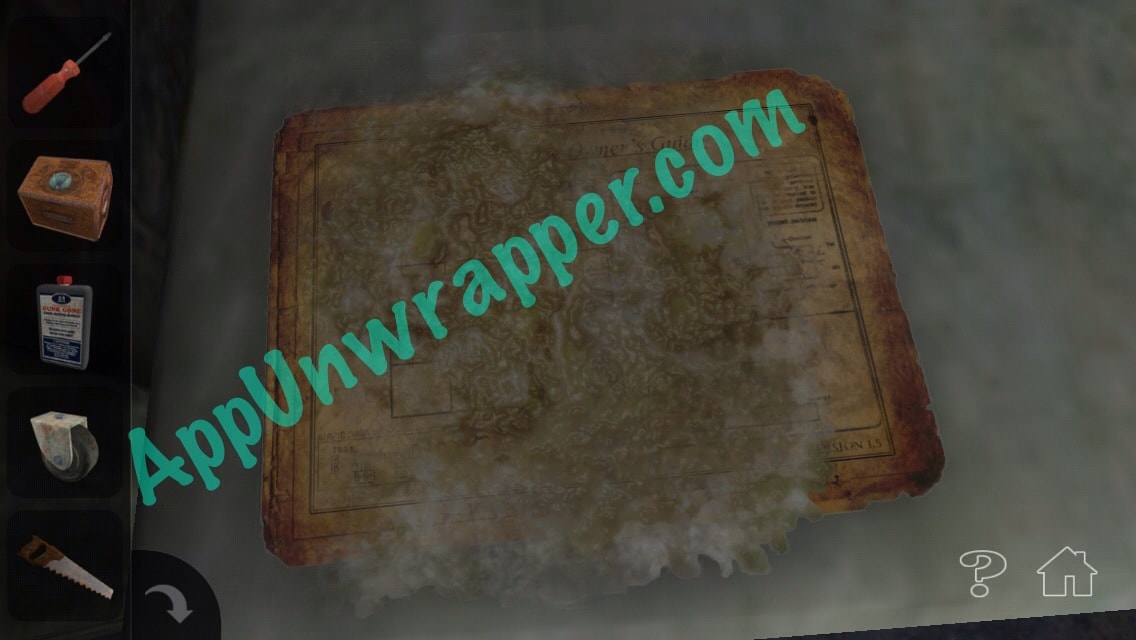
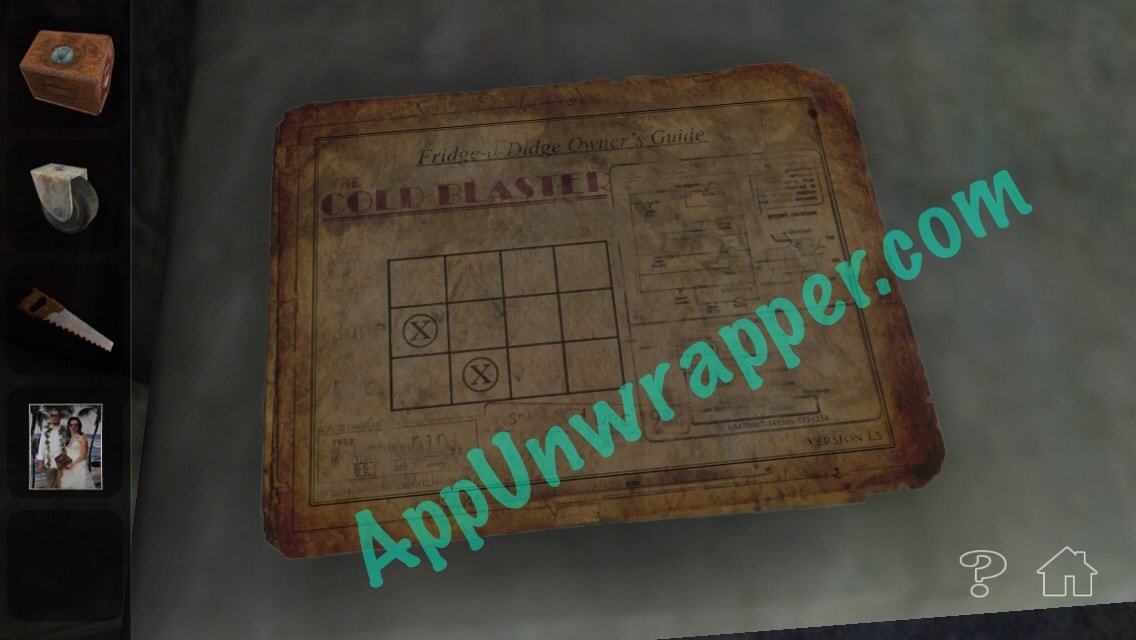
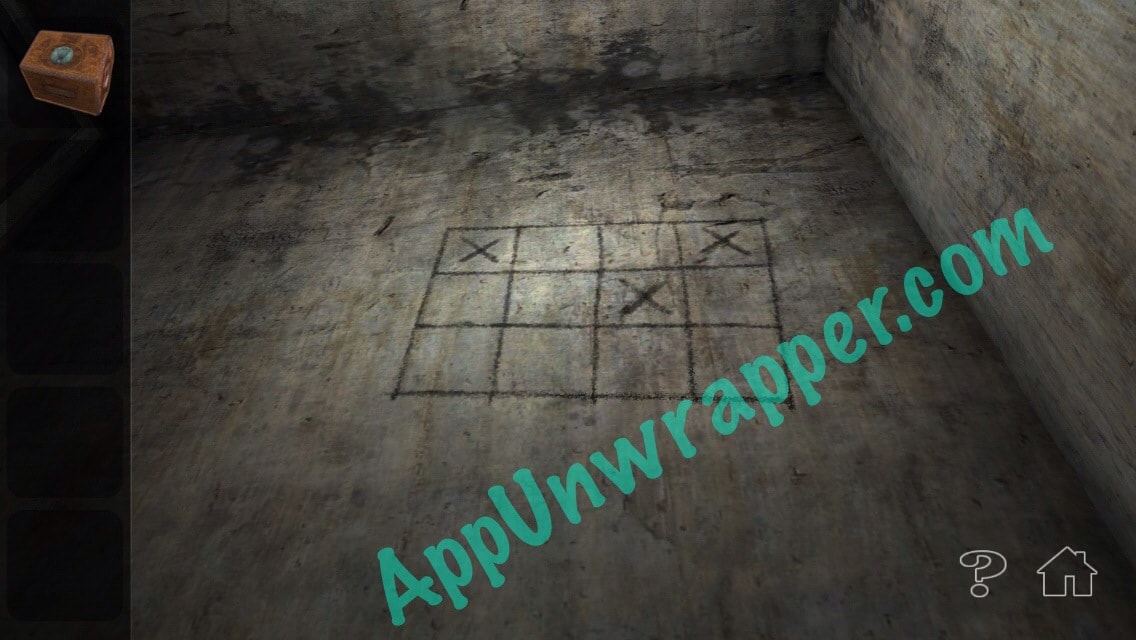
12. Use the Gunk Gone on the rag. Then use the rag to clean off the sticky stuff on the freezer cover. You’ll see a grid with two X’s on it.
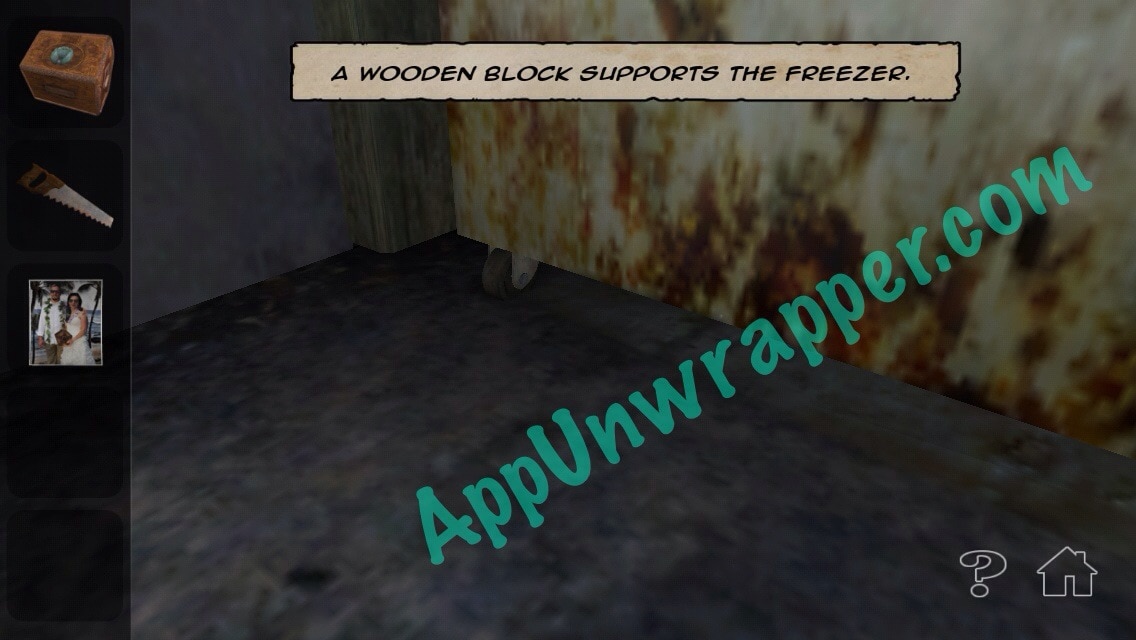
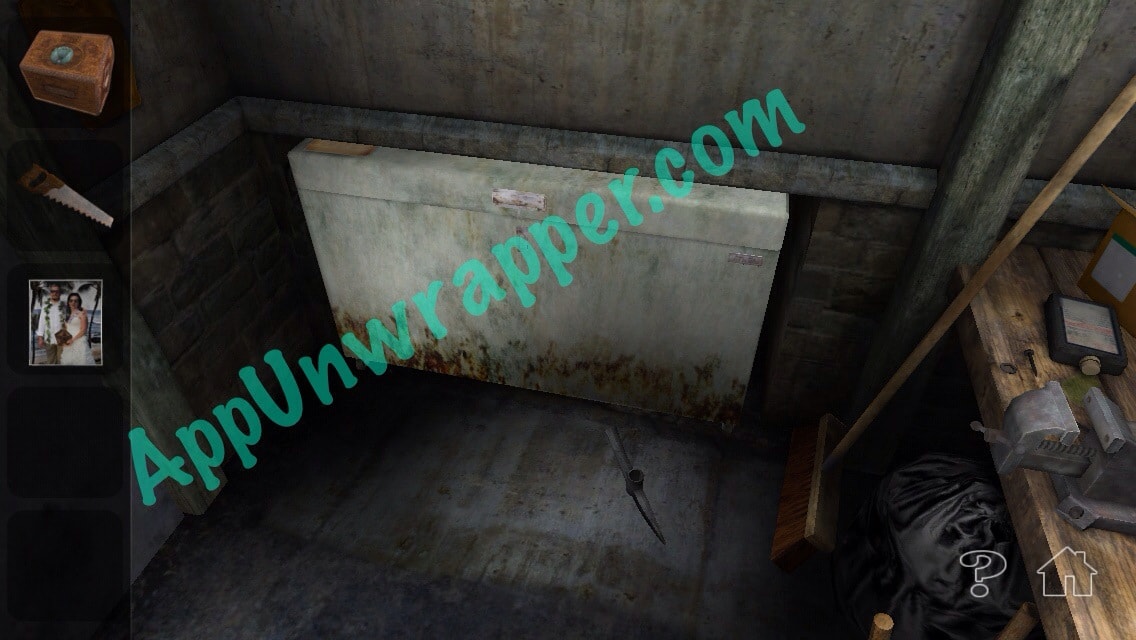
13. Look under the freezer and you’ll see a wooden block supporting one of the corners. Replace it with the wheel.
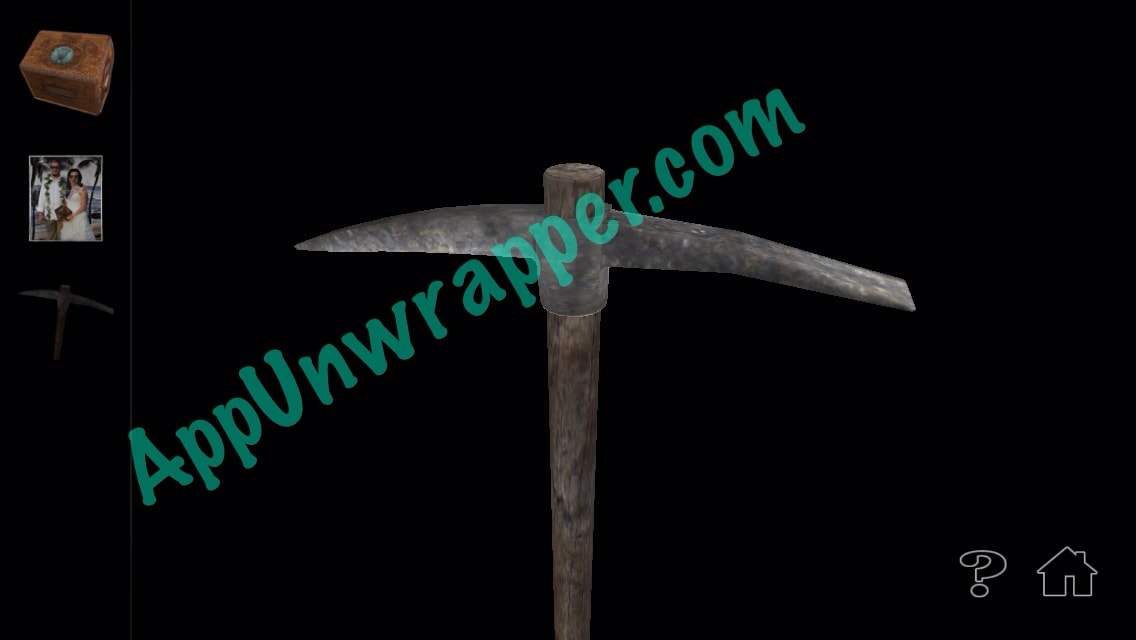
14. Push the freezer into the wall and take the pickaxe head.
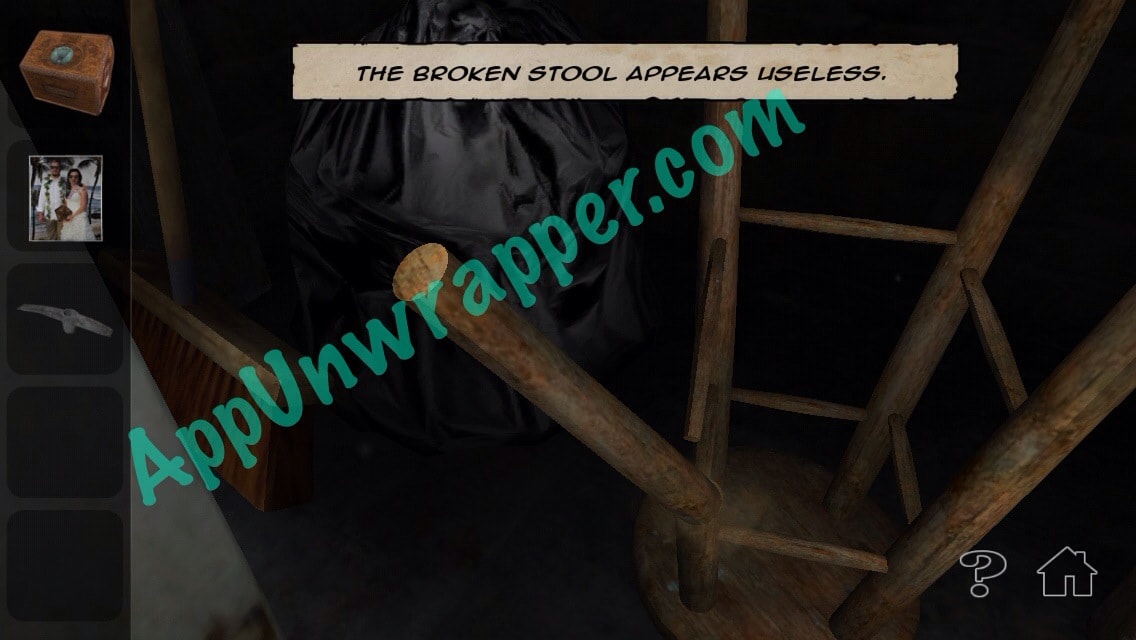
15. Use the saw on the stool and take the leg. Combine the leg with the pickaxe head to make a complete pickaxe.
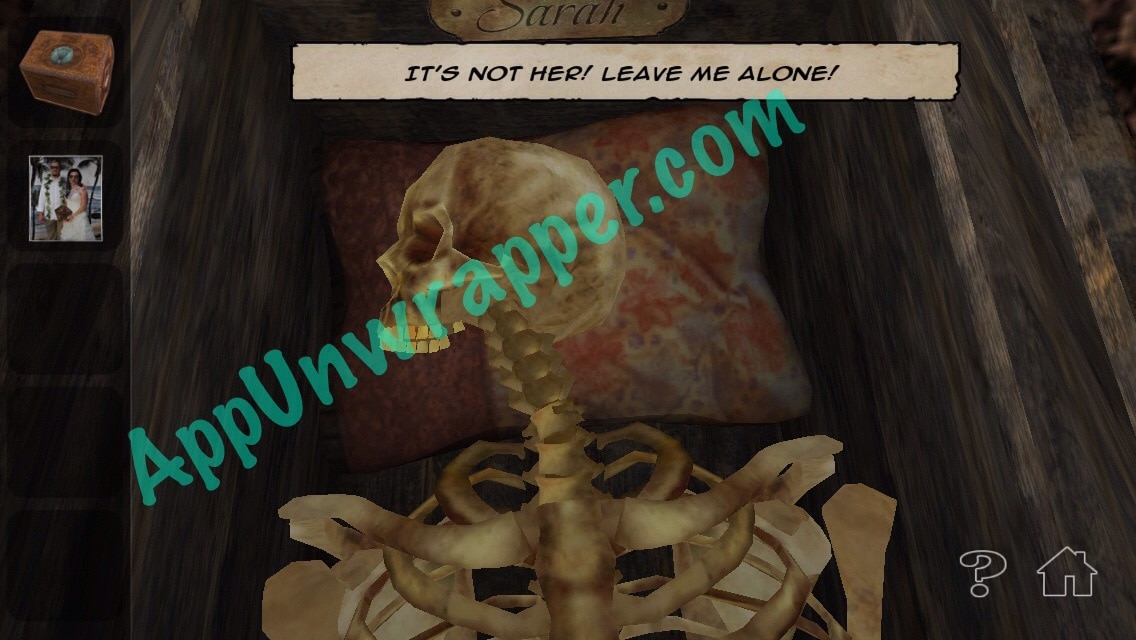
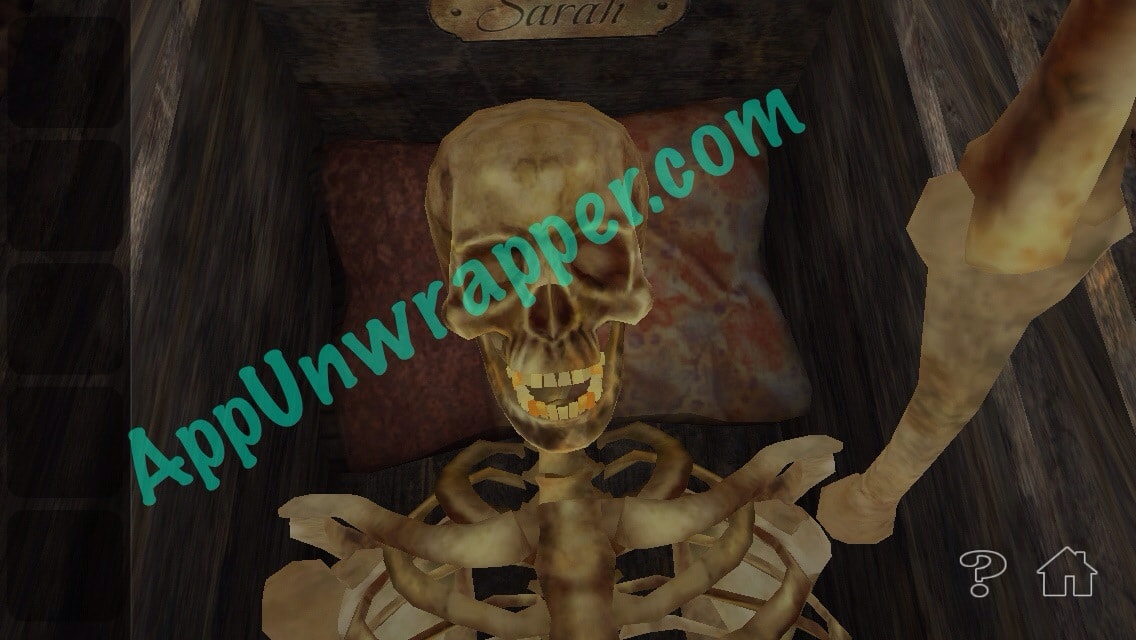
16. Use the pickaxe to break the floor under the freezer. There’s a skeleton burning there, with a nameplate that says “Sarah.”
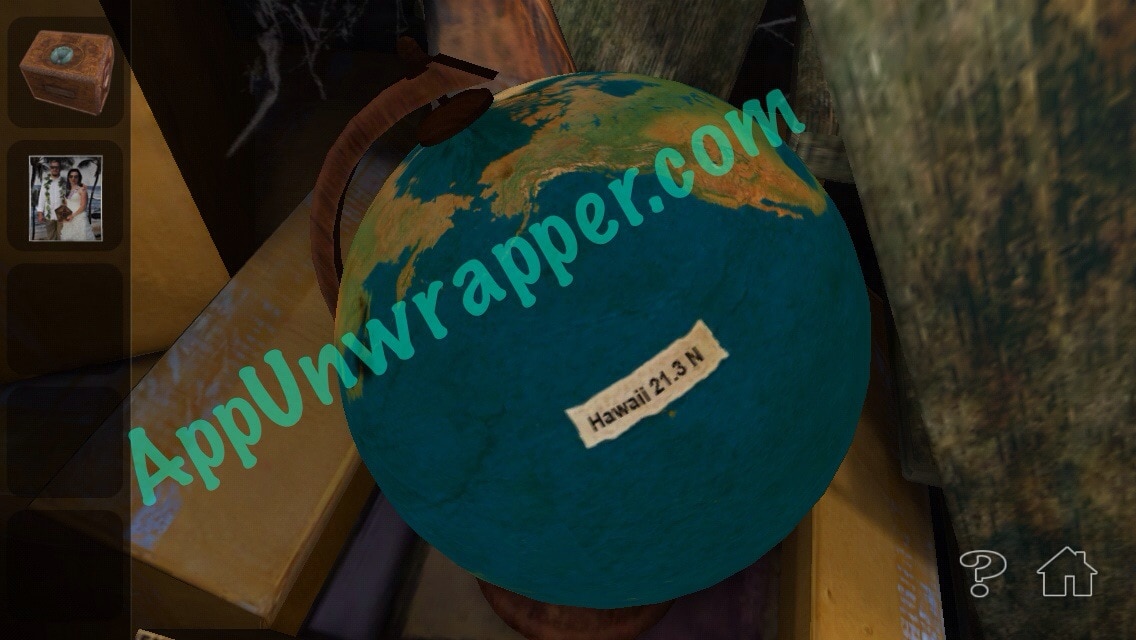
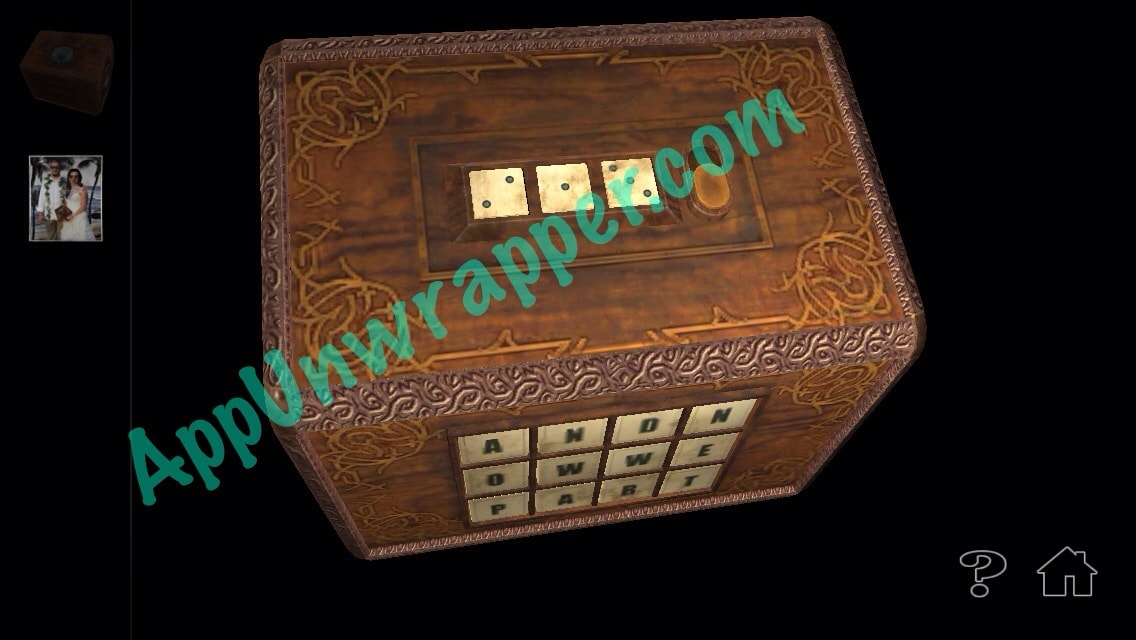
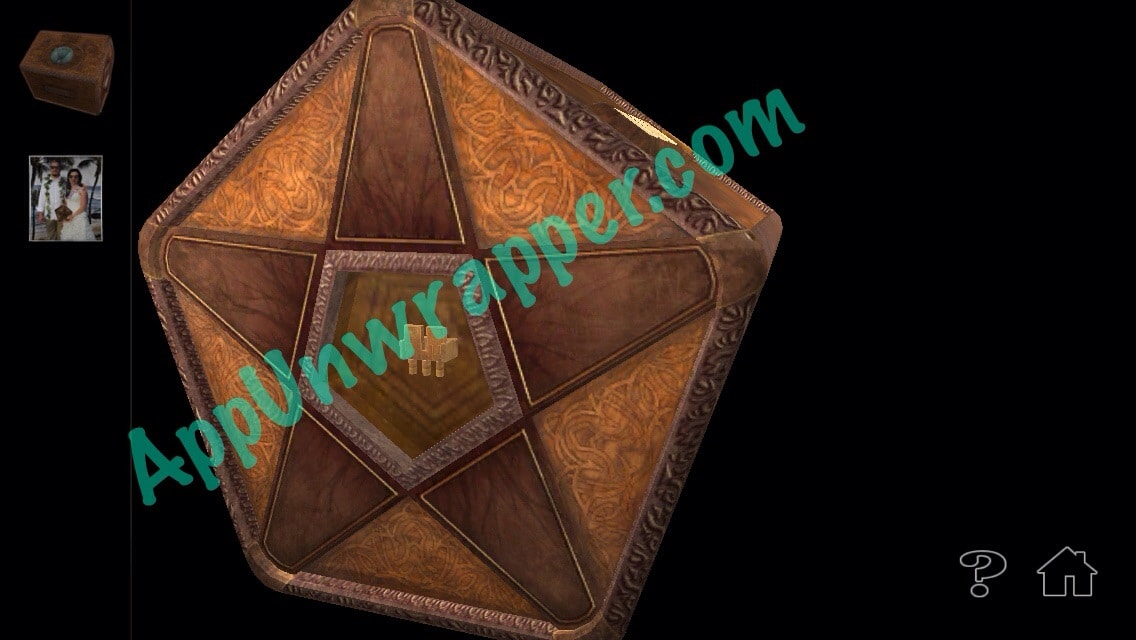
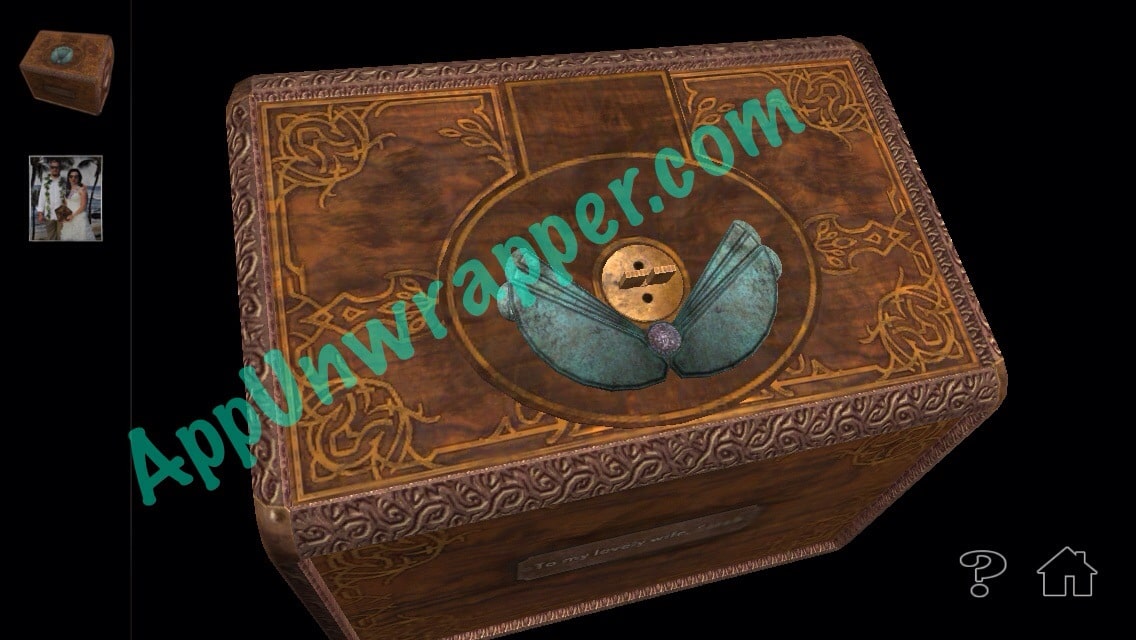
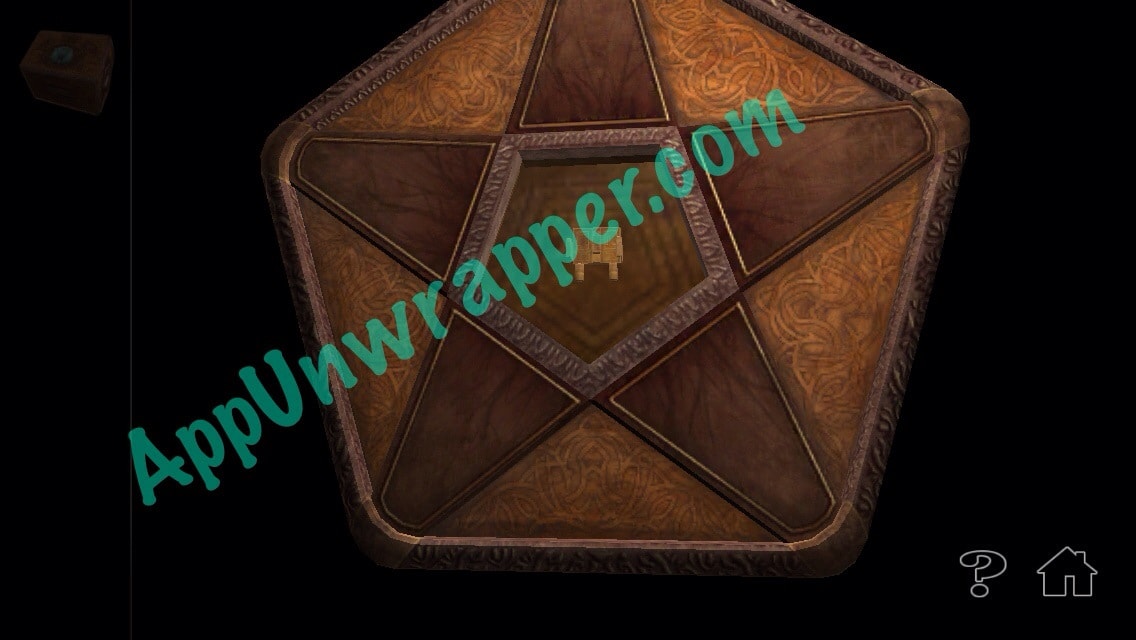
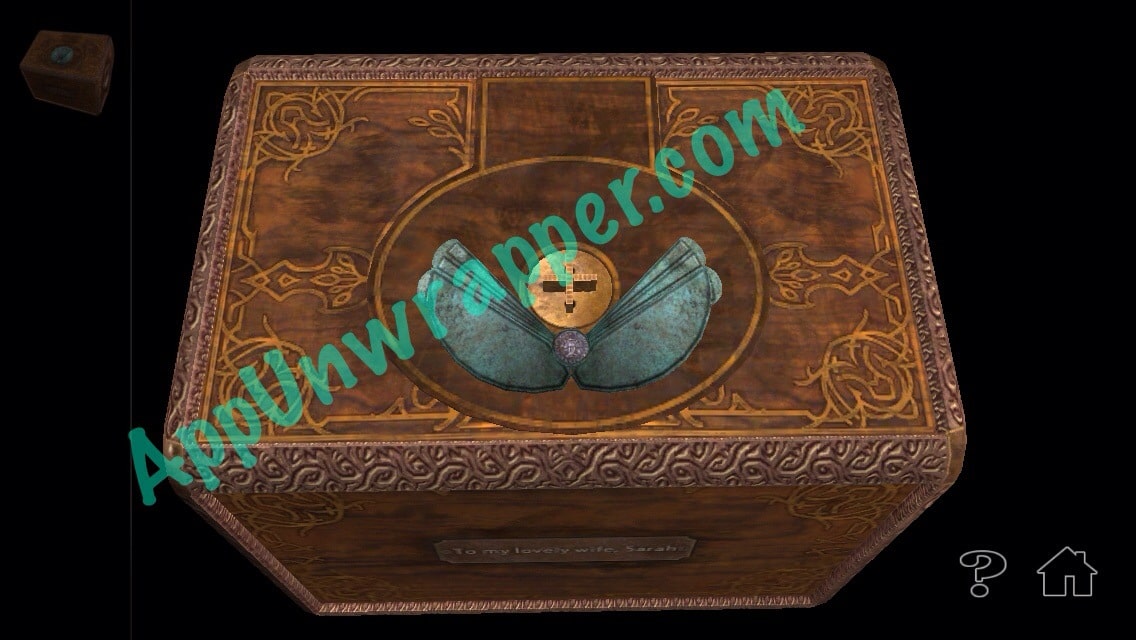
17. Let’s start working on opening the box. The photo is from a vacation in Hawaii. Look on the globe for the coordinates (21.3). Change the dice on the box to 213 and take the piece from the end. Place the piece in the holes of the insect on one of the sides.
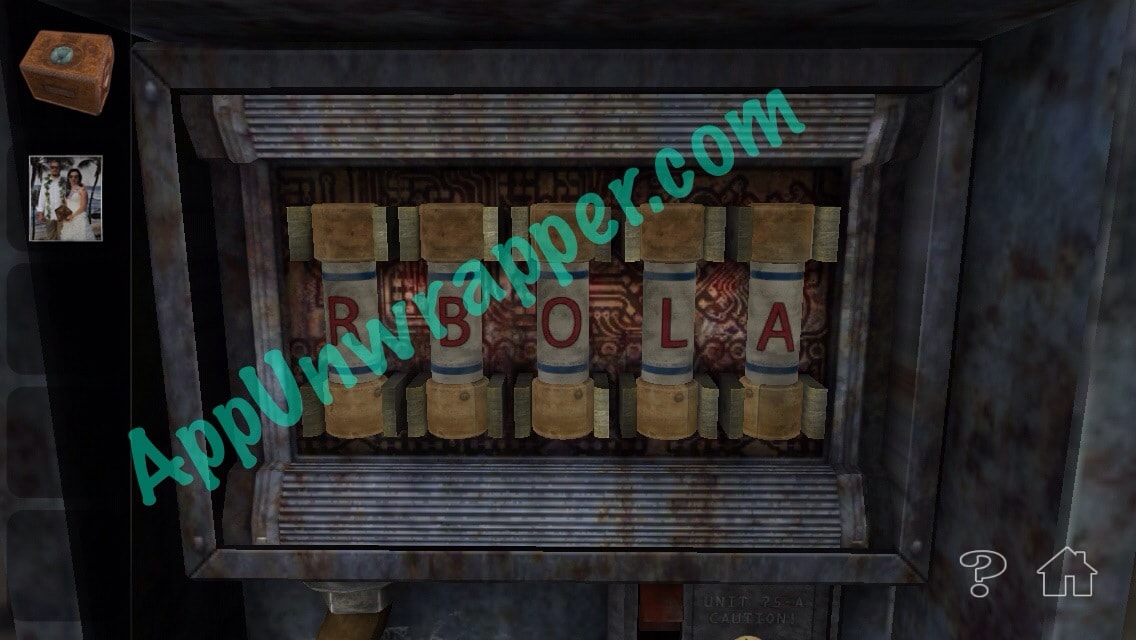
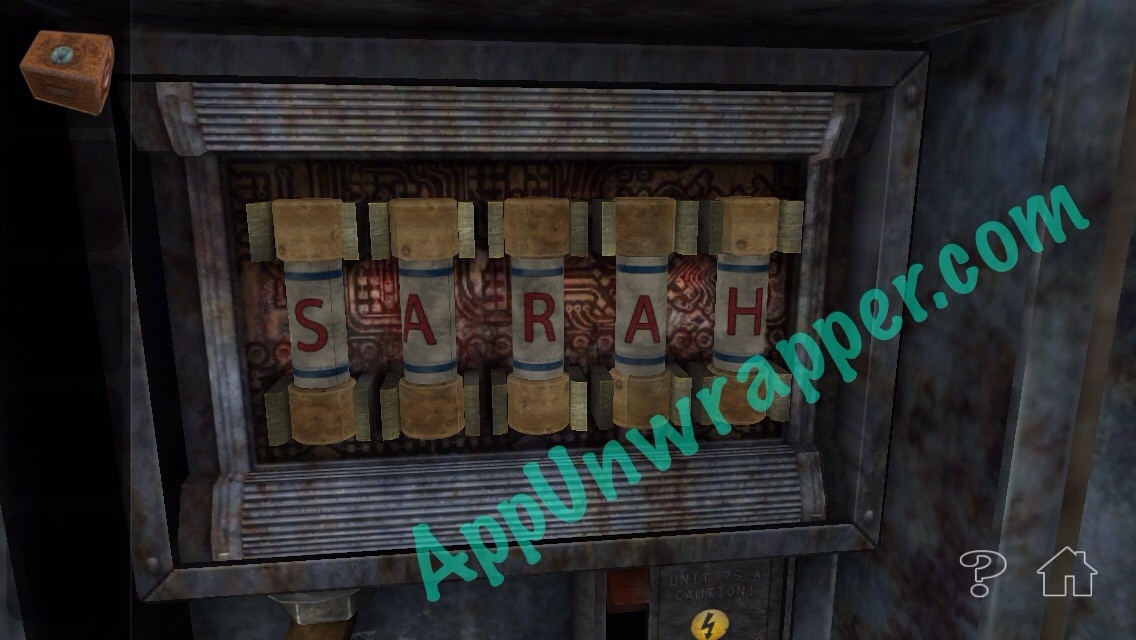
18. You now have all the missing fuses. Place them in the fuse box, then rotate the letters and move them around so they spell out “SARAH.”
19. Turn on the light switch near the fuse box. Then go up the ladder and look at the grid on the wall.
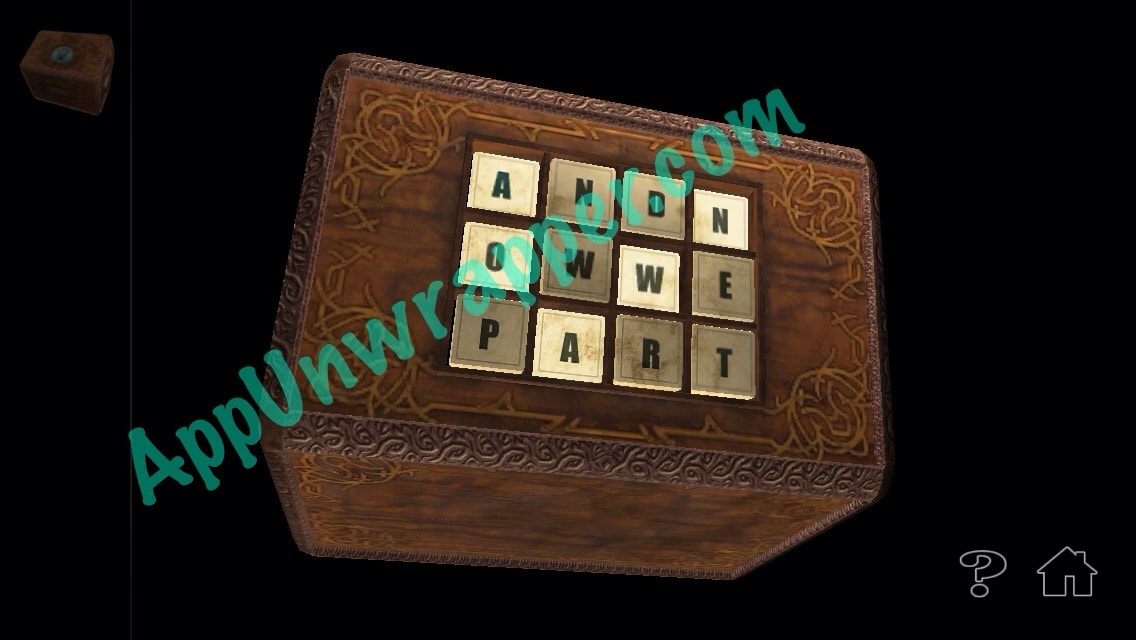
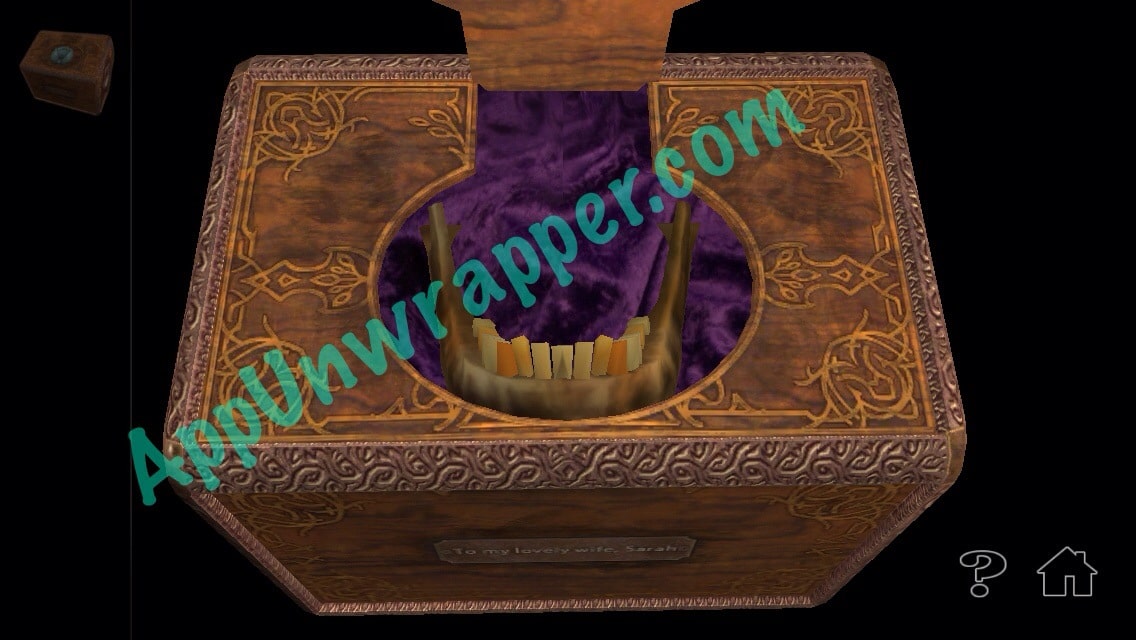
20. Look at the X’s on both grids, and press those letters on the box. Take the piece from the other end and place it in the holes of the insect. Take the jawbone from it.
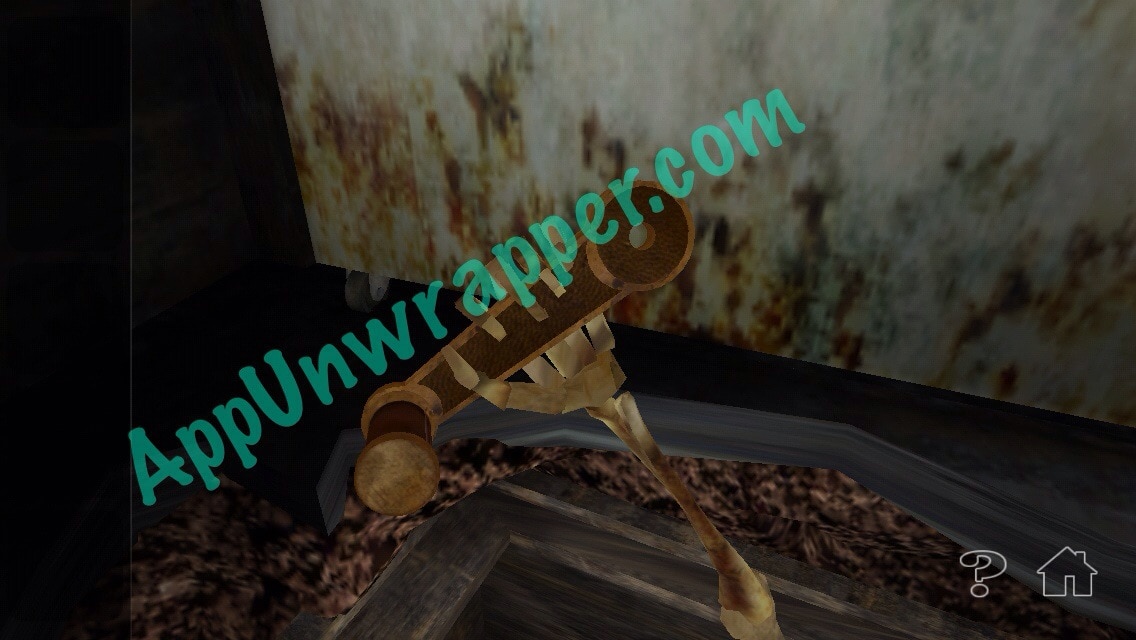
21. Place the jawbone on the skeleton. Then take the metal crank from her hand.
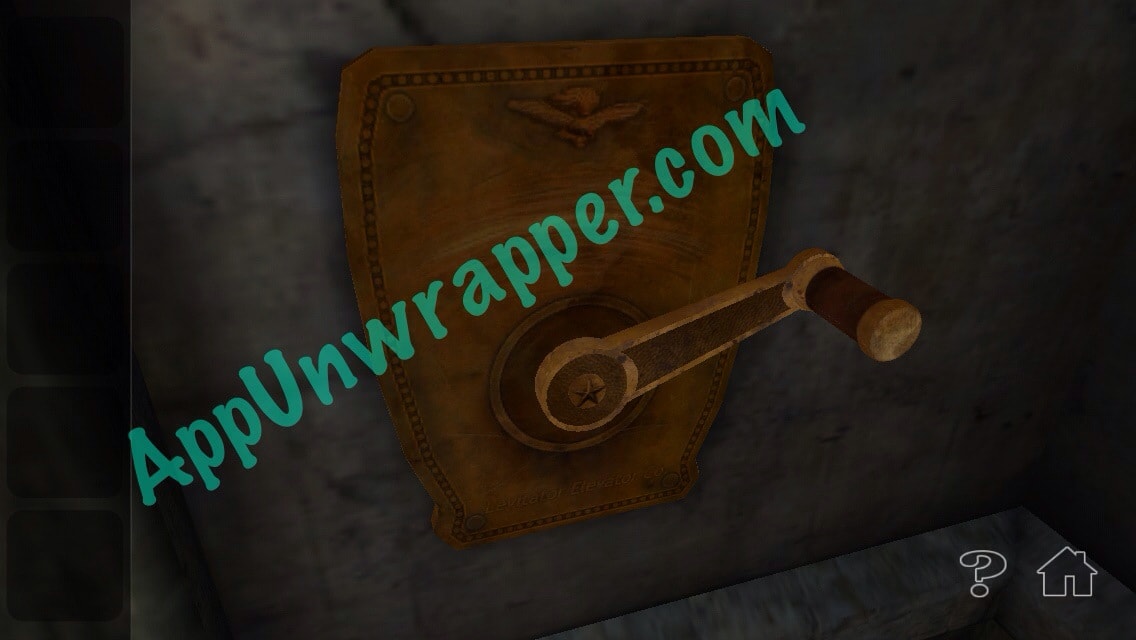
22. Place the crank on the metal piece by the door and escape!
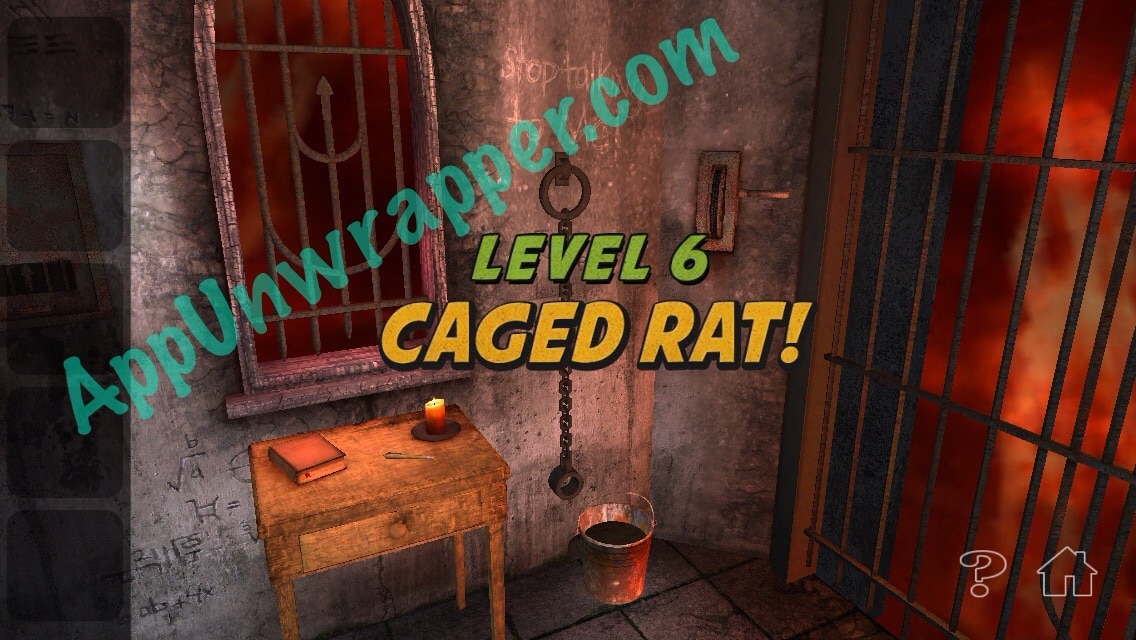
Chapter 6, Caged Rat:
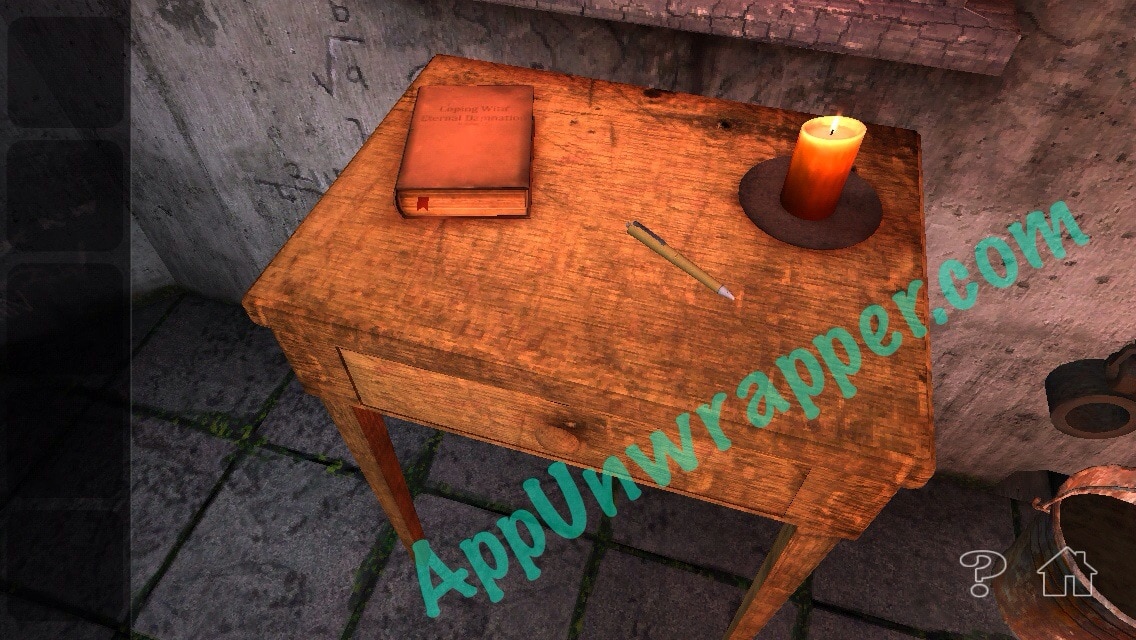
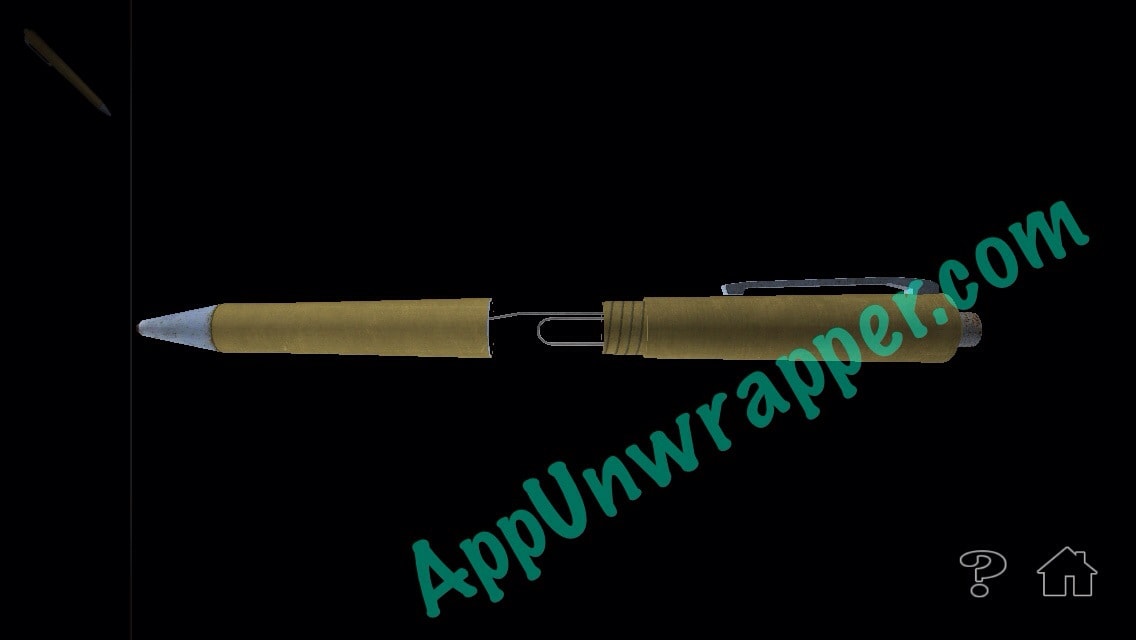
1. Pick up the pen from the table. Open it up and take the paperclip.
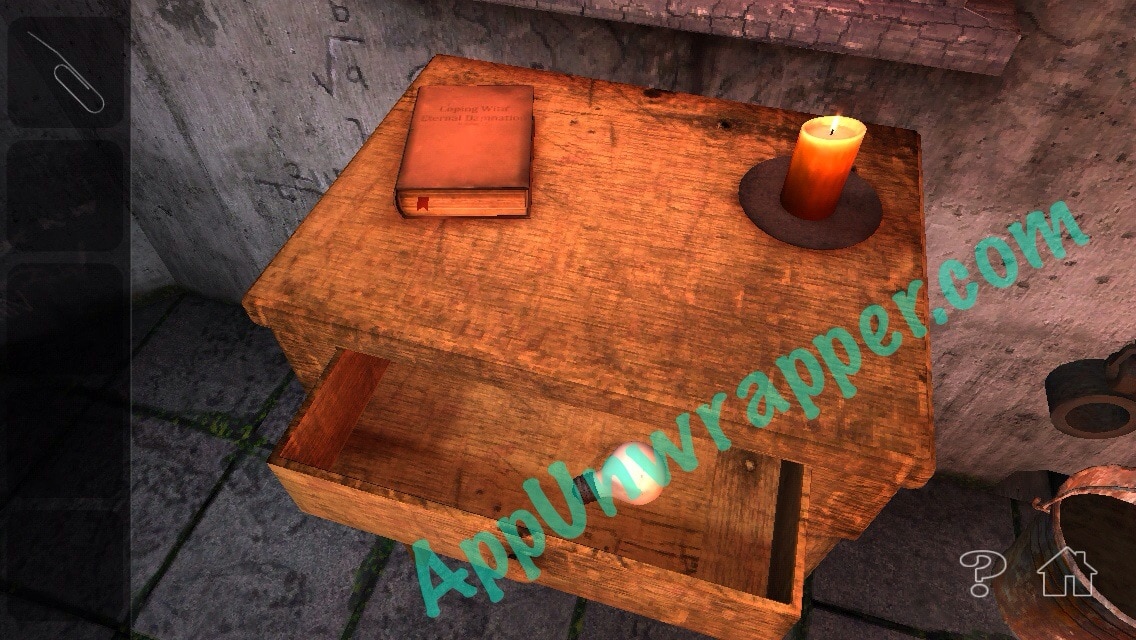
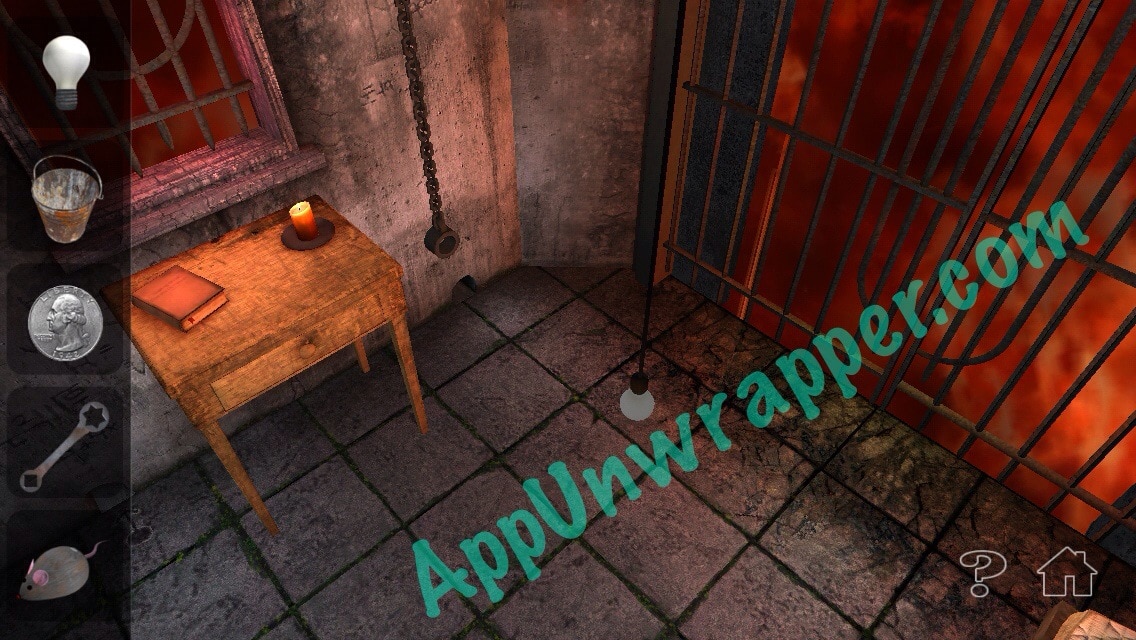
2. Open the drawer and take the lightbulb.
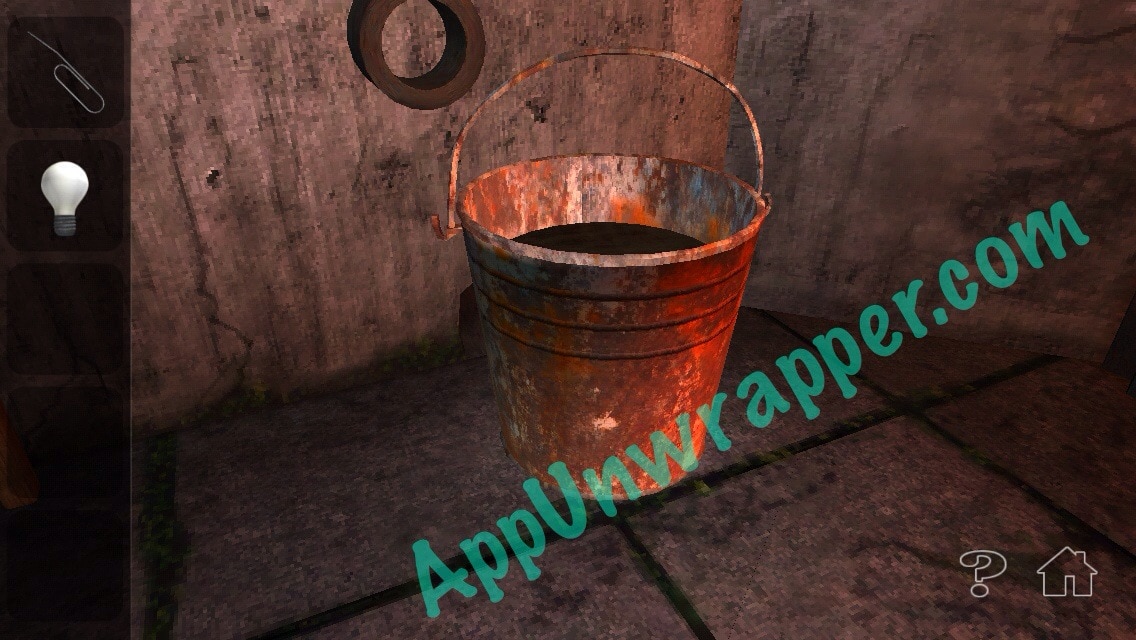
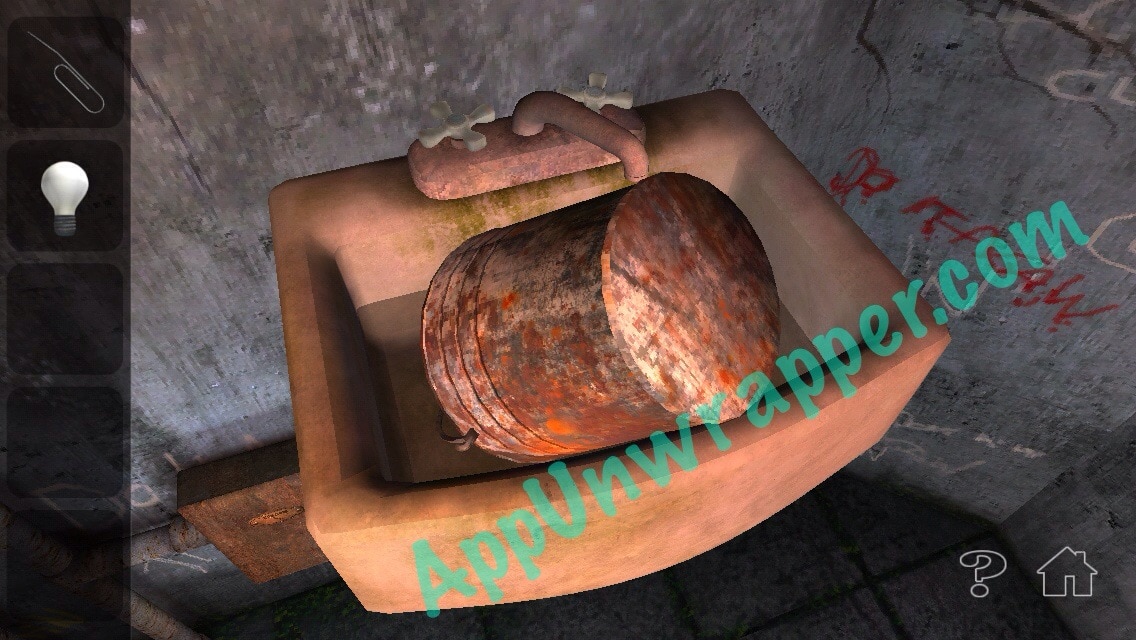
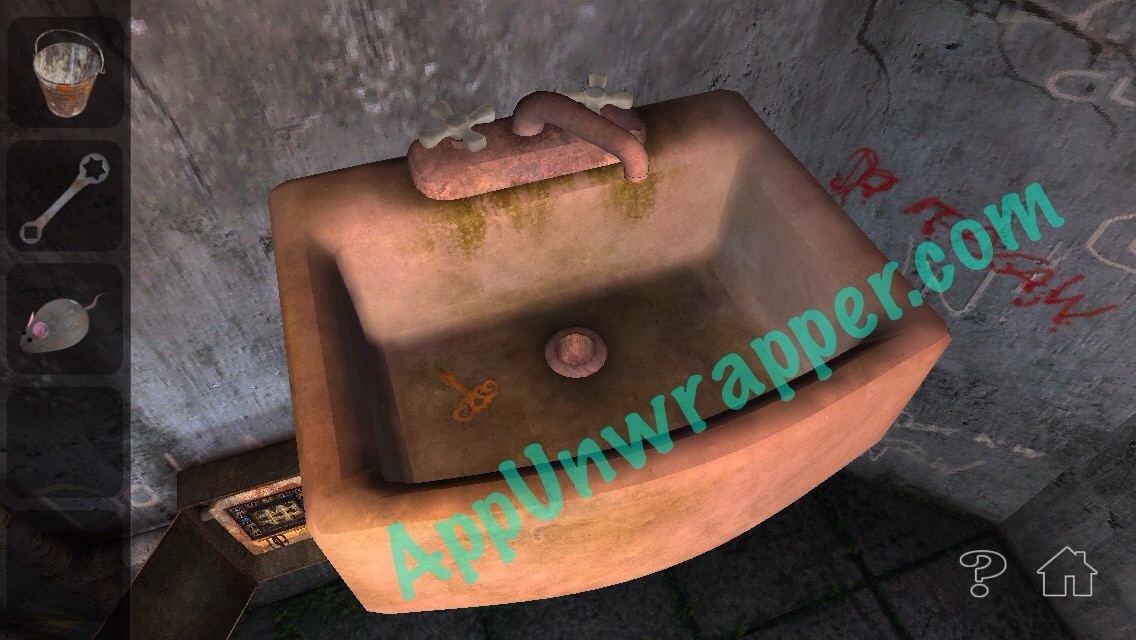
3. Pick up the bucket of I-don’t-want-to-know-what and empty it in the sink.
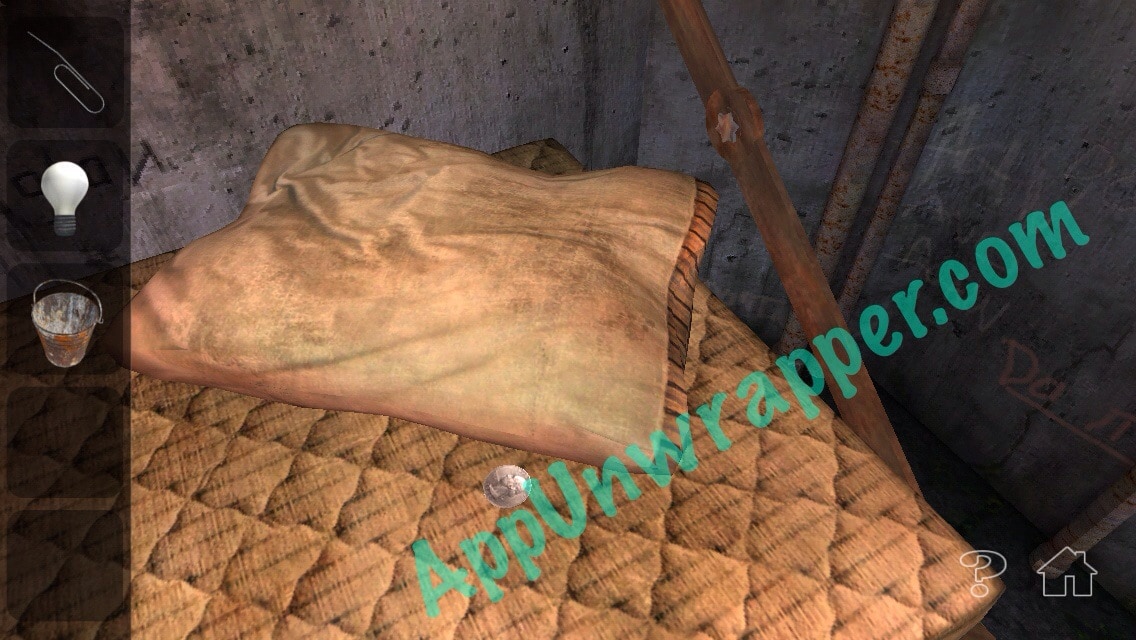
4. Move the pillow on the bed and pick up the quarter.
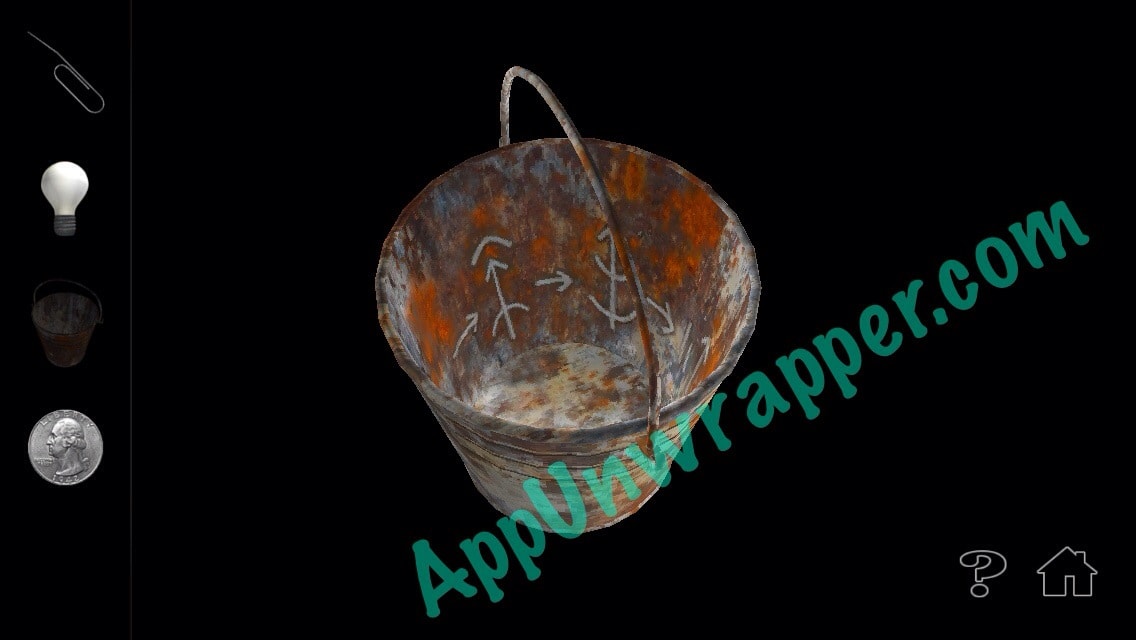
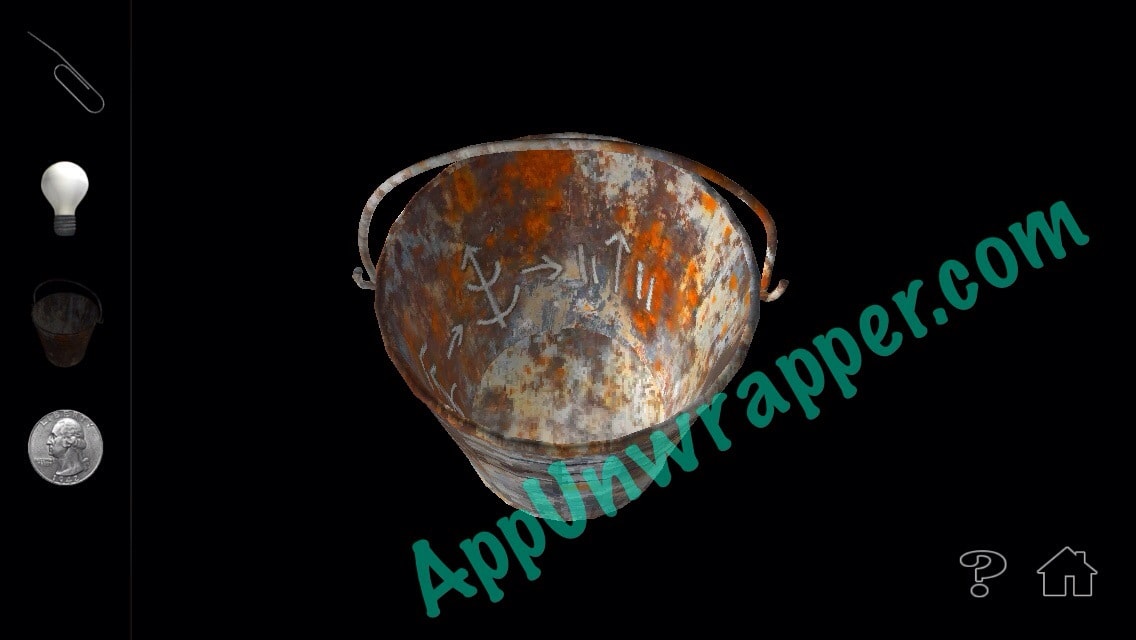
5. Look inside the bucket and turn it so you see all the markings.
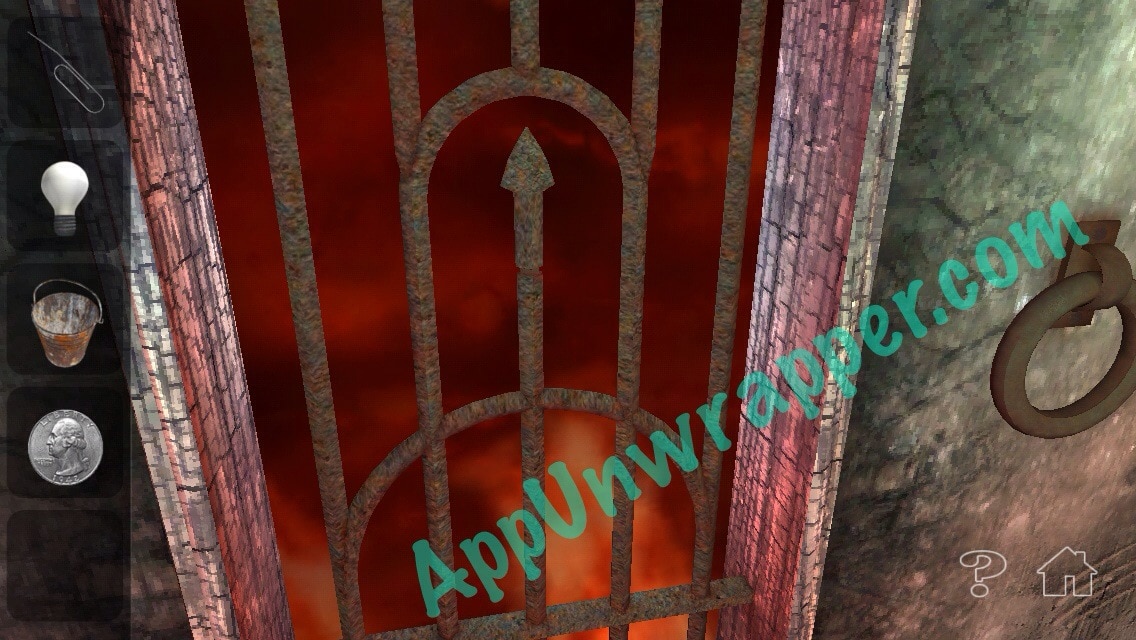
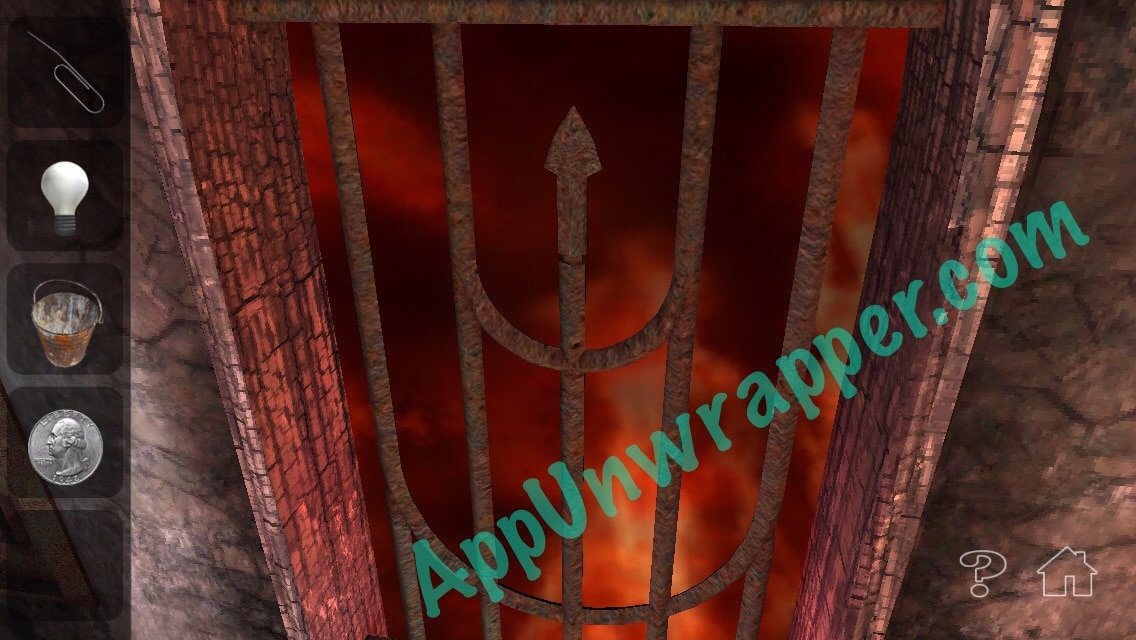
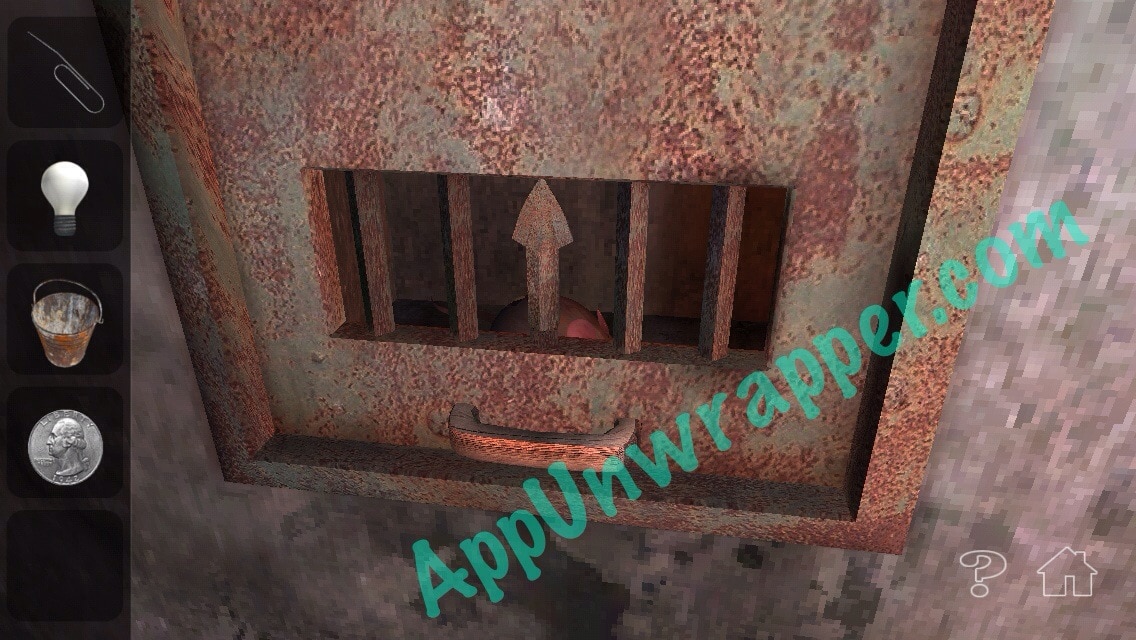
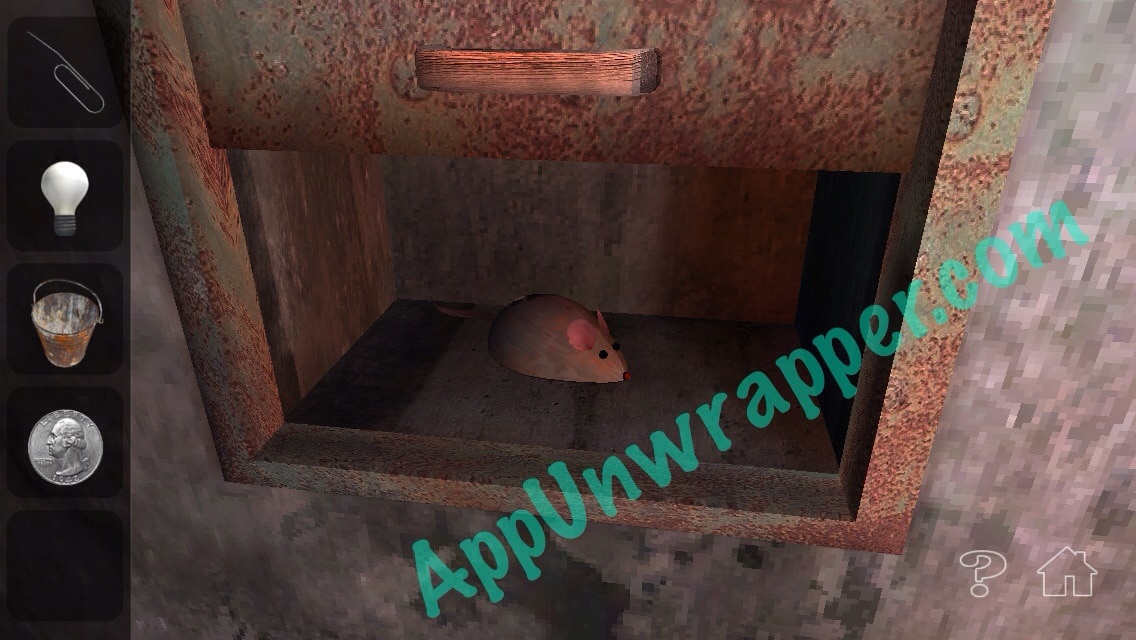
6. Look around the room for those three objects depicted in the bucket and tap the arrows in that order, like so:
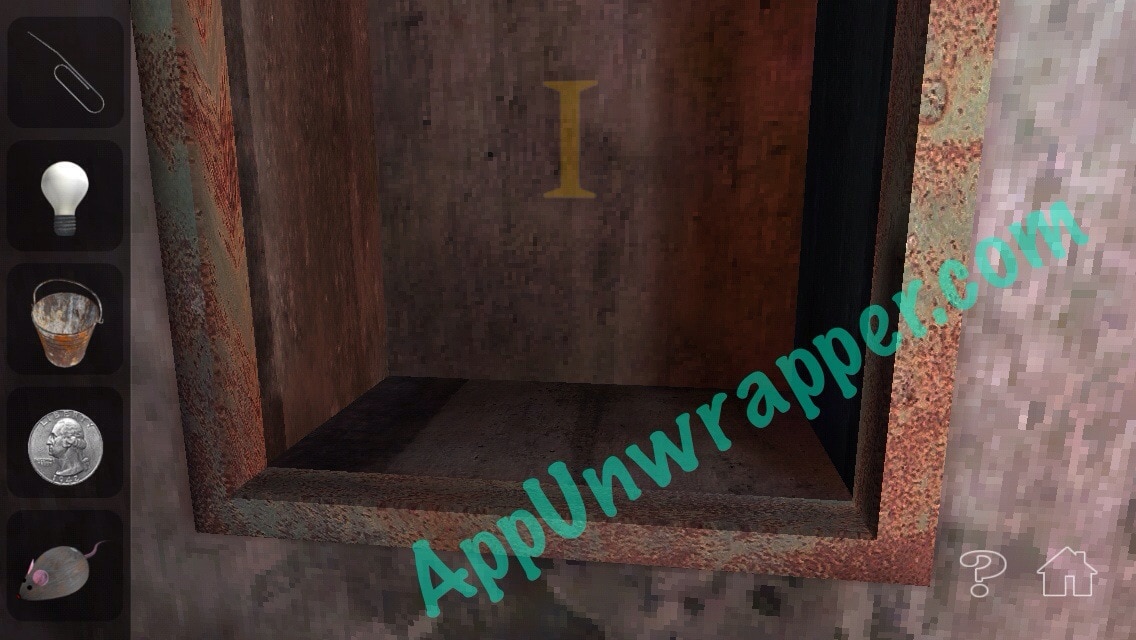
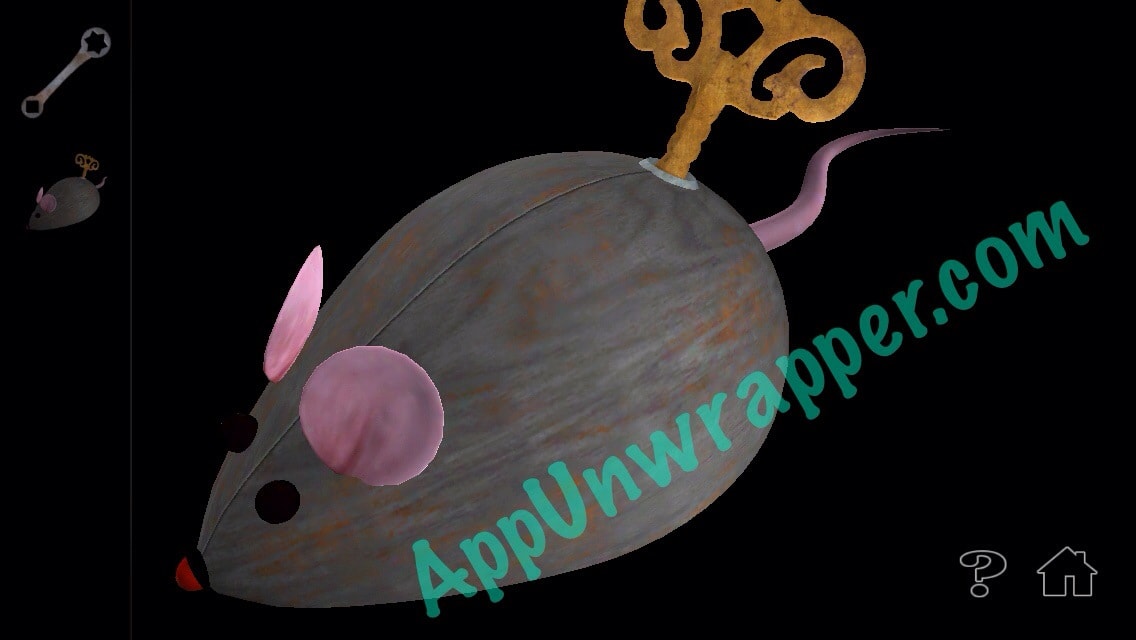
7. The last one will open up, revealing a wind-up mouse. Take it. Also, notice the yellow “I” or “1” inside.
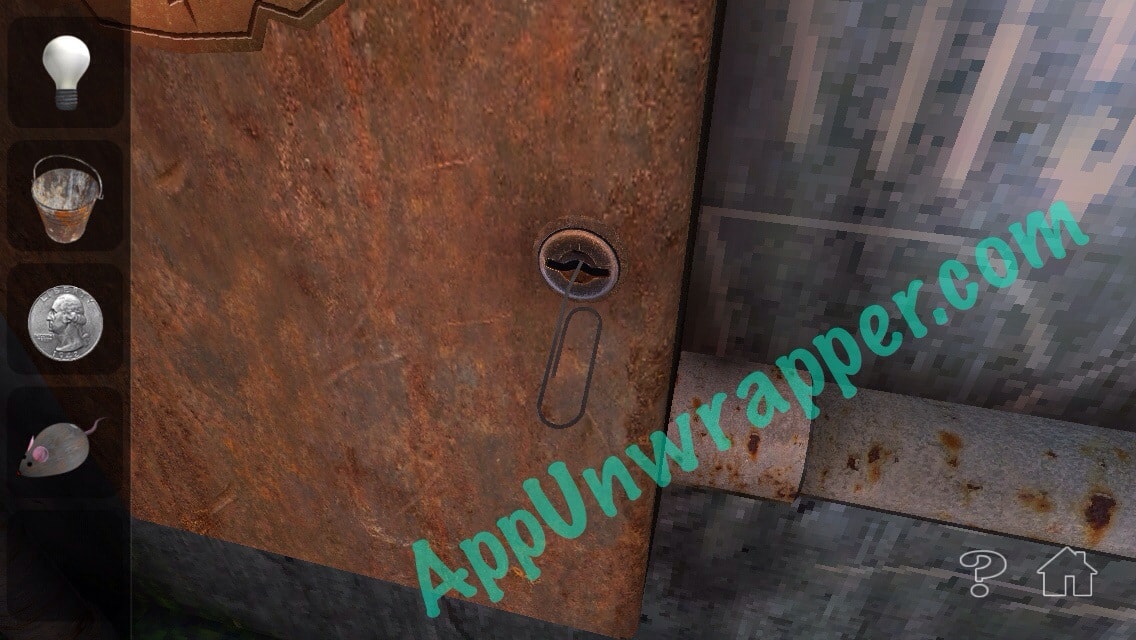
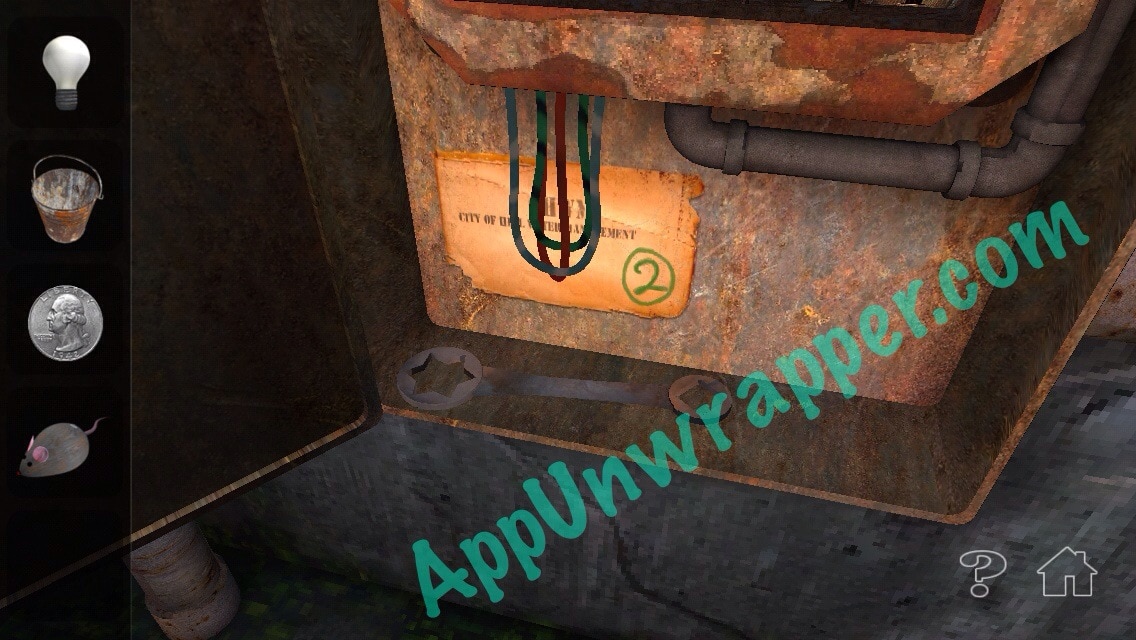
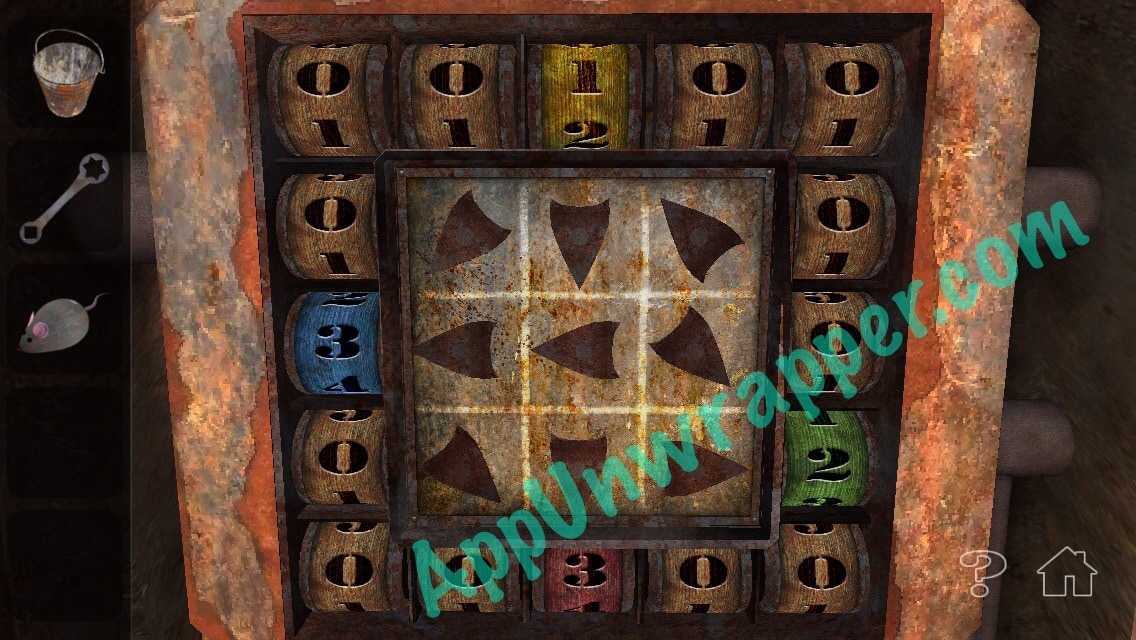
8. Use the paperclip to unlock this panel. Notice the green “2” at the bottom and take the wrench. We can’t solve the puzzle inside yet, so we’ll come back to it later.
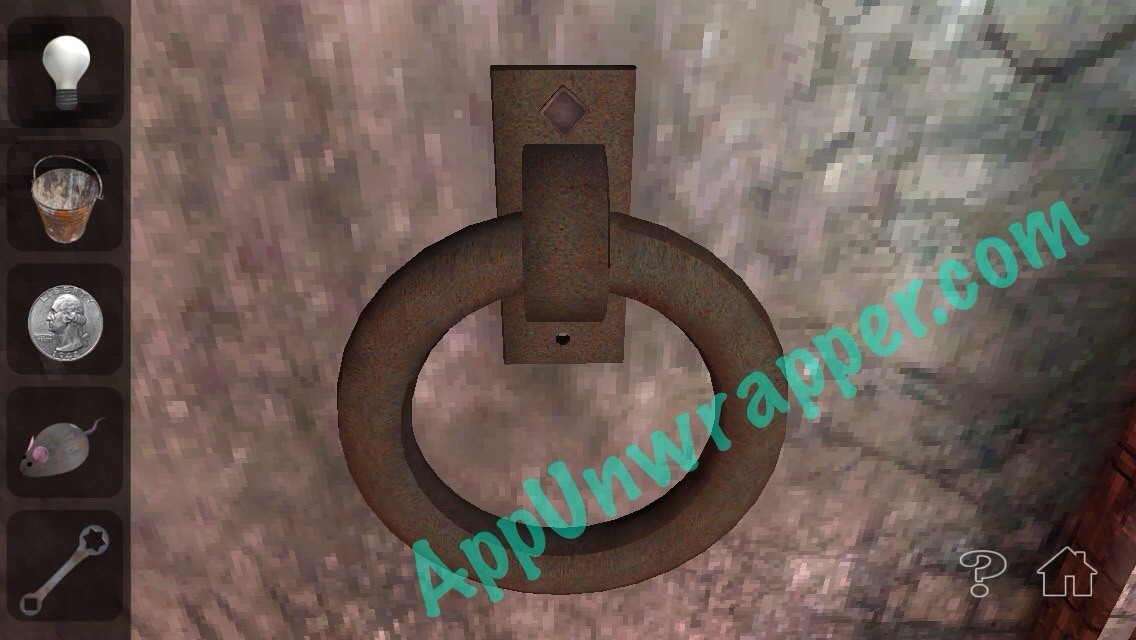
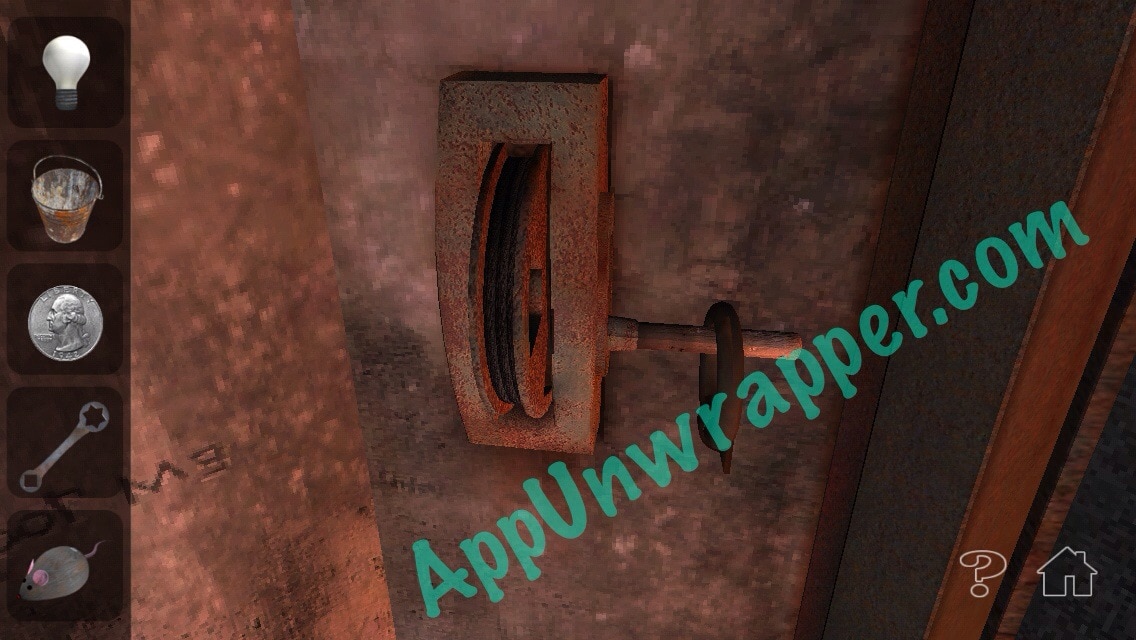
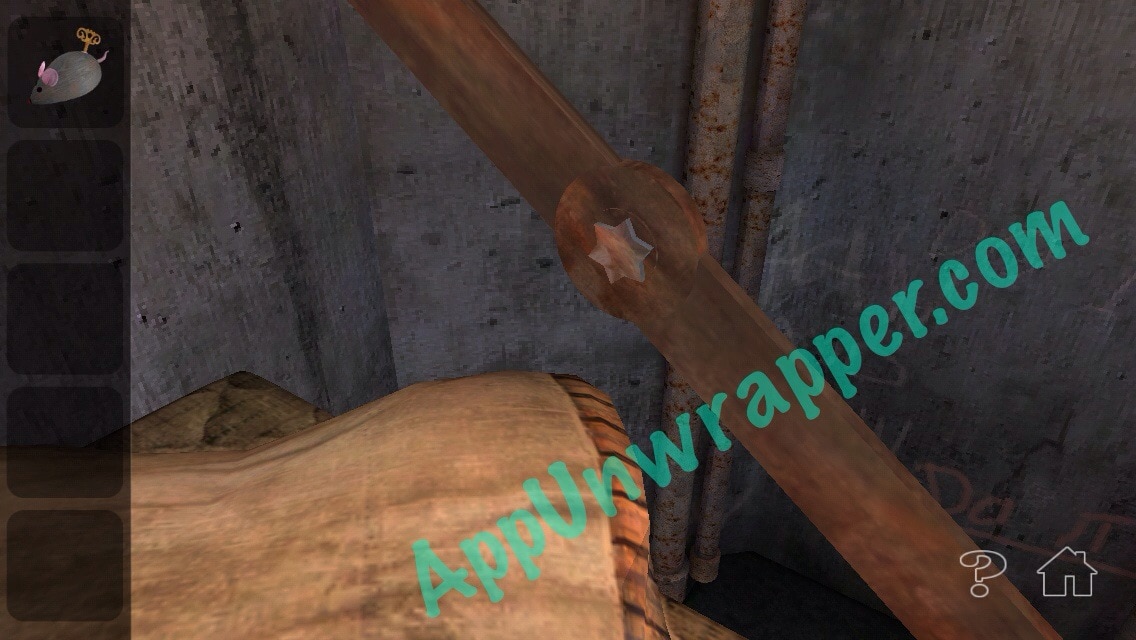
9. Use the wrench to remove the metal ring from the wall. Then place the ring on the lever by the gate to weigh it down.
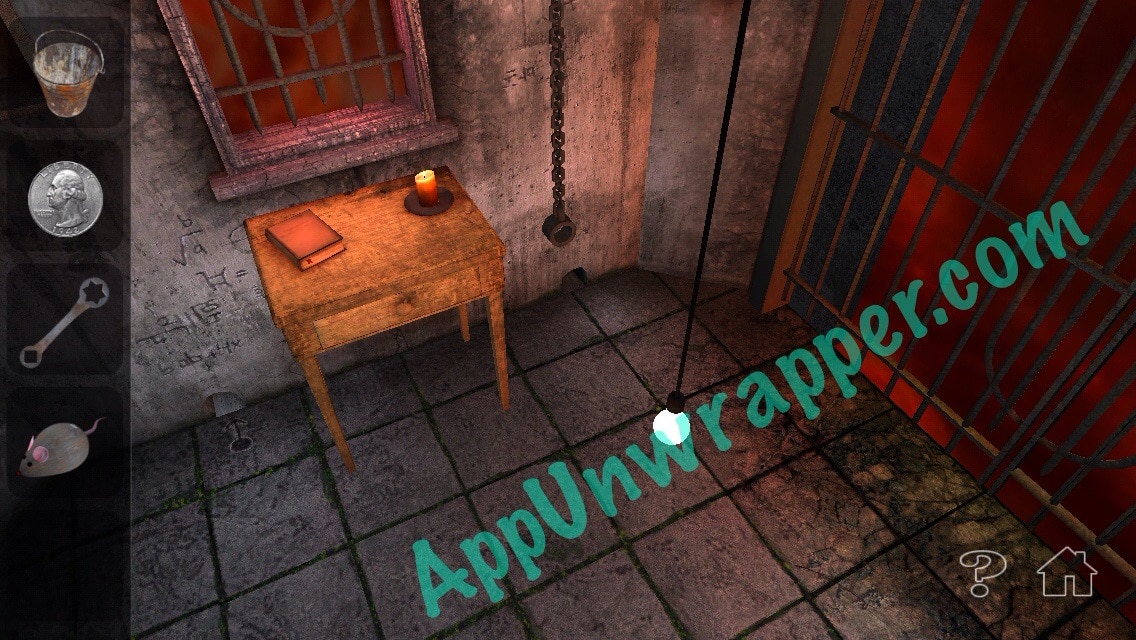
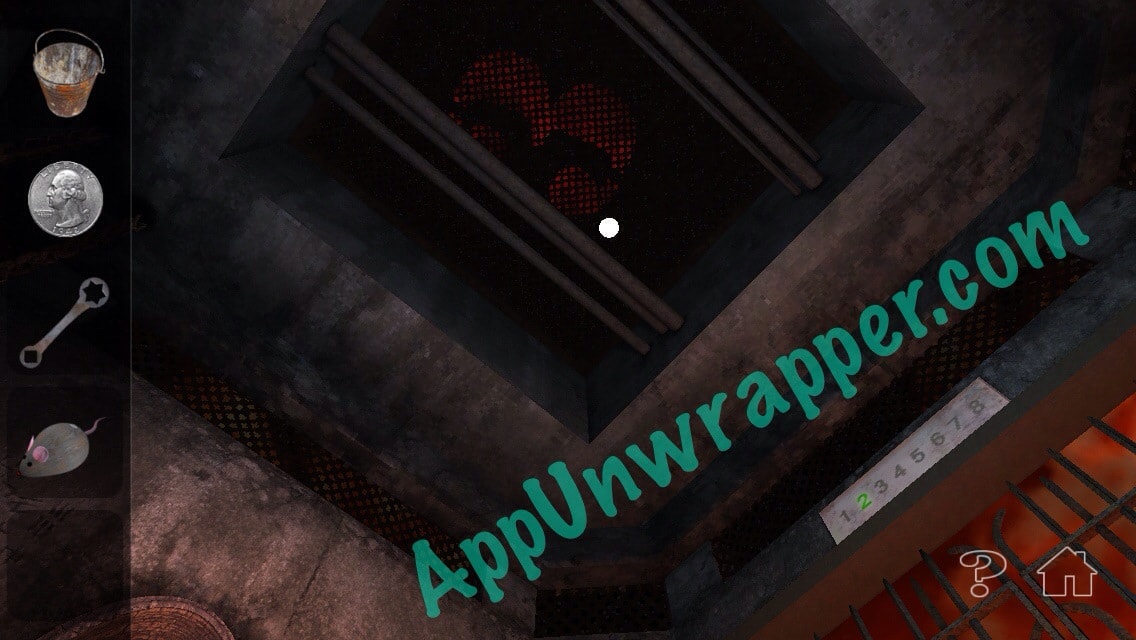
10. The burned out bulb will lower down from the ceiling. Swap out the bulb with the new one, then remove the metal ring from the lever. Look up and notice the red “3” on the ceiling.
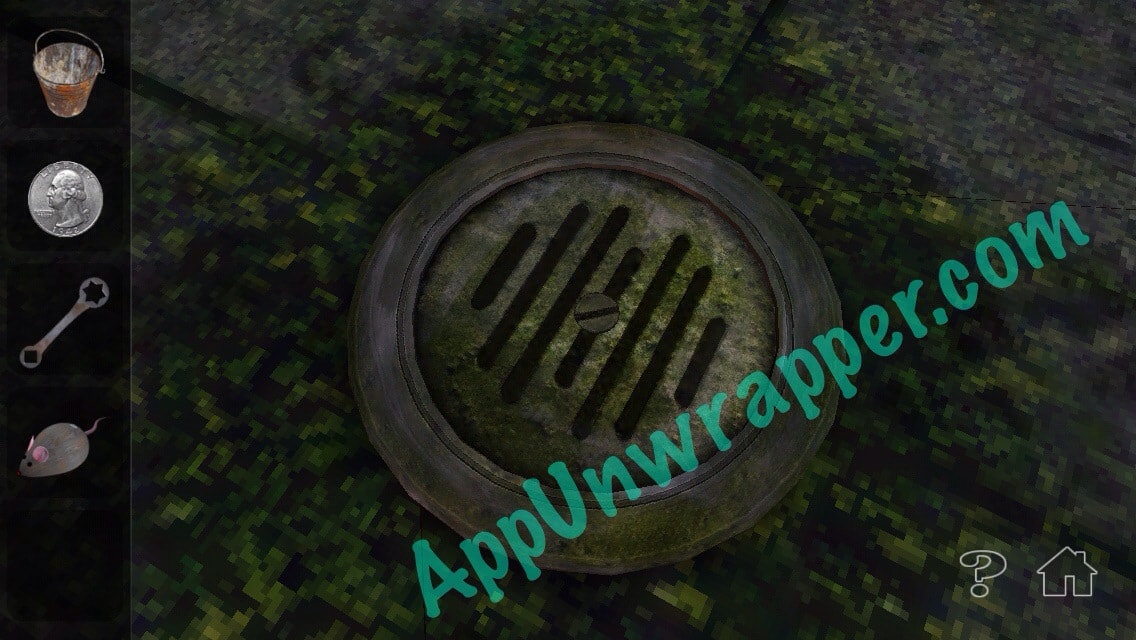
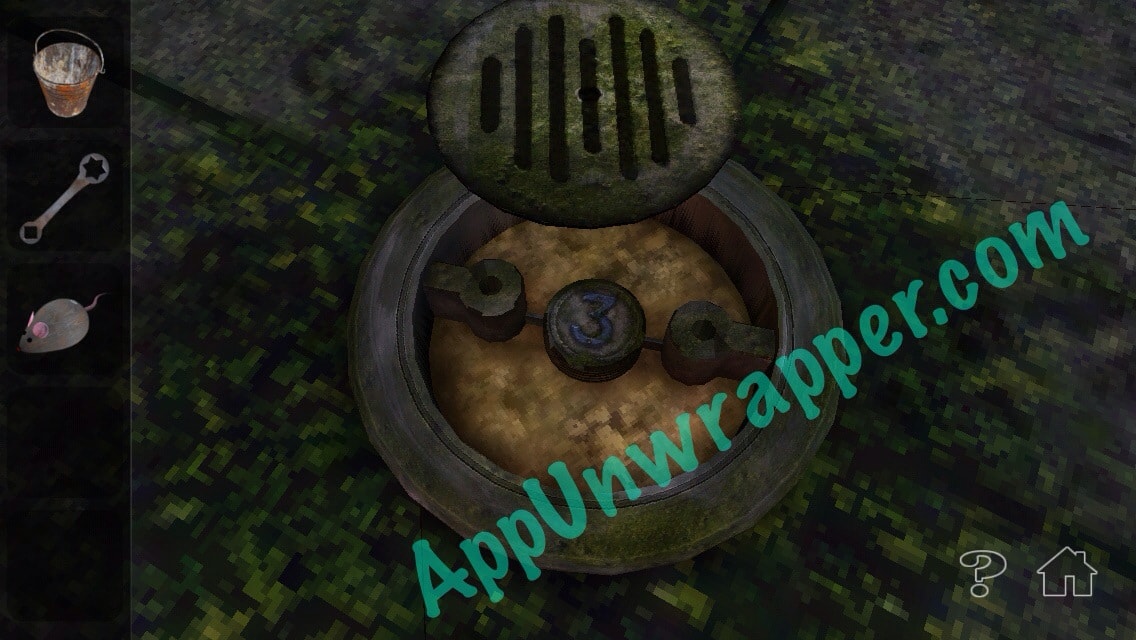
11. Zoom in on the drain/grate on the floor. Use the quarter to unscrew it and notice the blue “3.”
12. Now you have all four numbers. Go back to the panel and solve the puzzle by pointing 1 arrow at the yellow piece, 2 arrows at the green one, 3 at the red and 3 at the blue. The water(?) will drain from the sink. Take the gold wind-up piece and place it on few mouse.
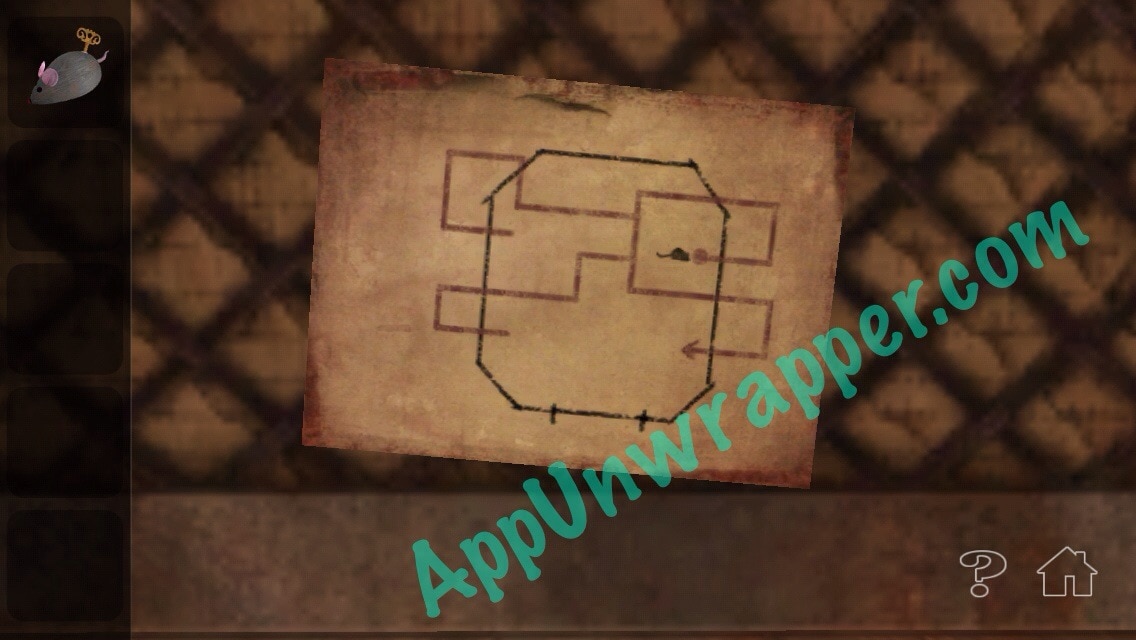
13. There’s a bolt in the wooden piece holding the bed up. Tighten key with the wrench, then push the bed against the wall. Notice the map attached to the bottom.
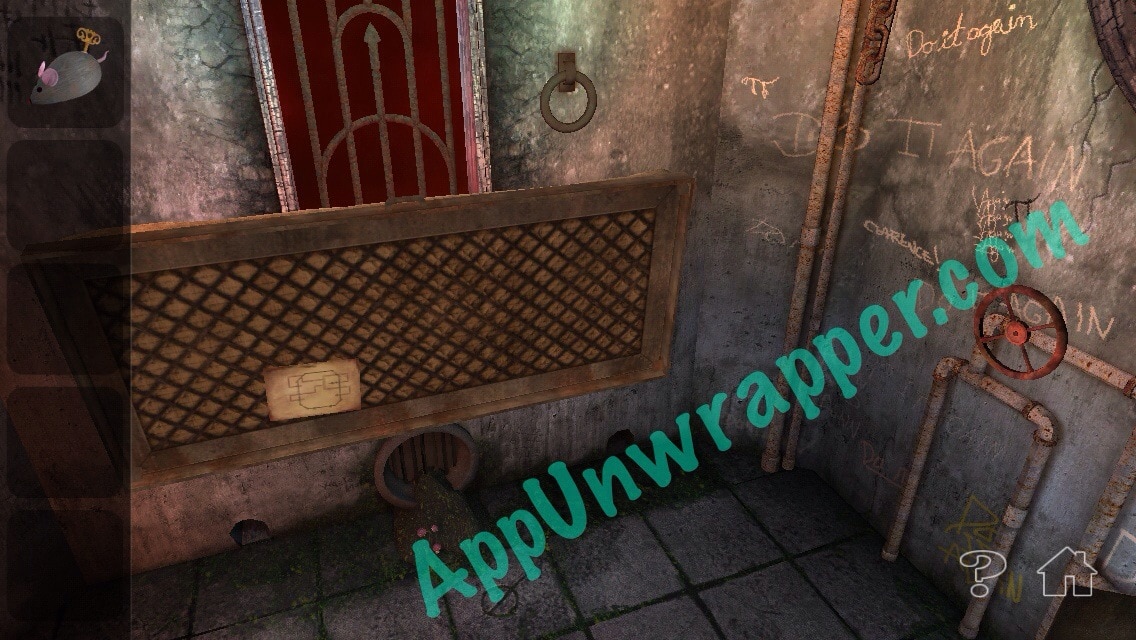
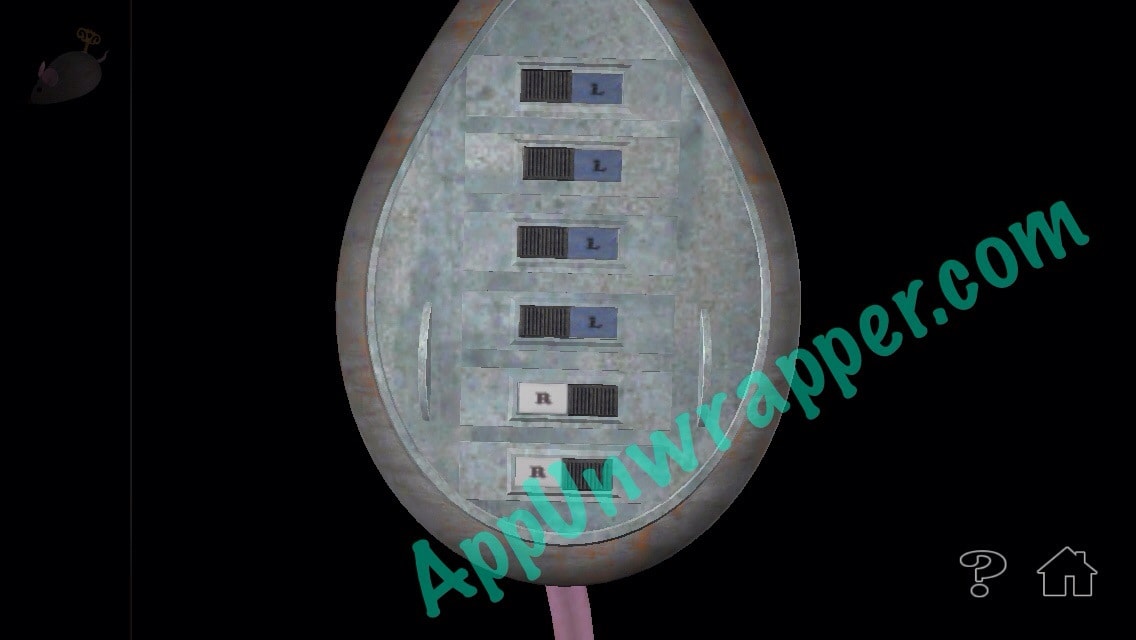
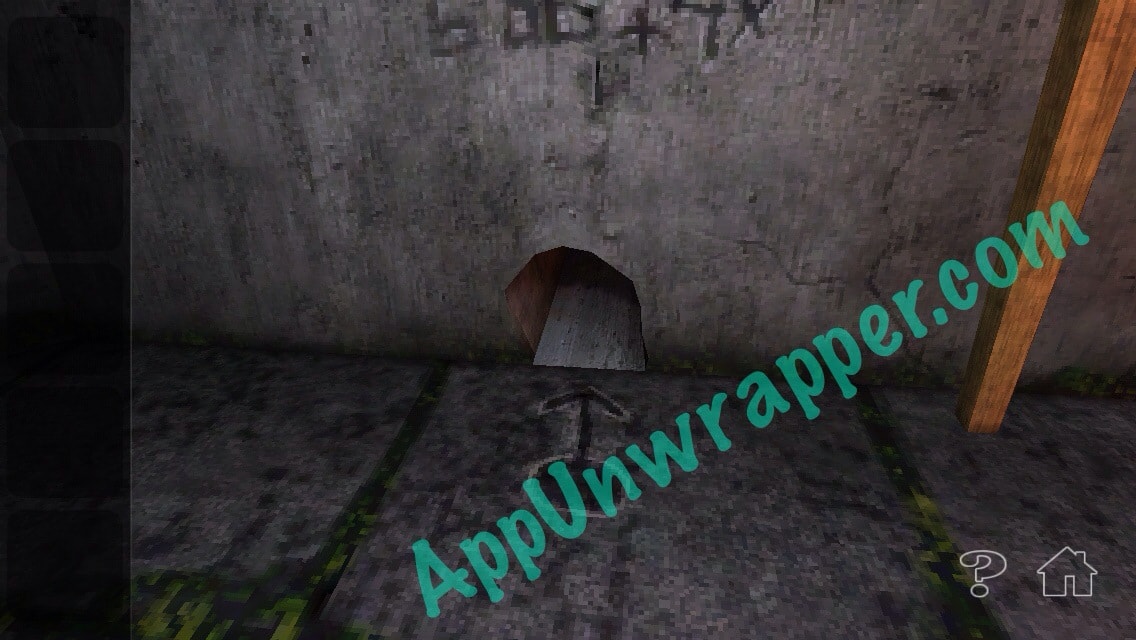
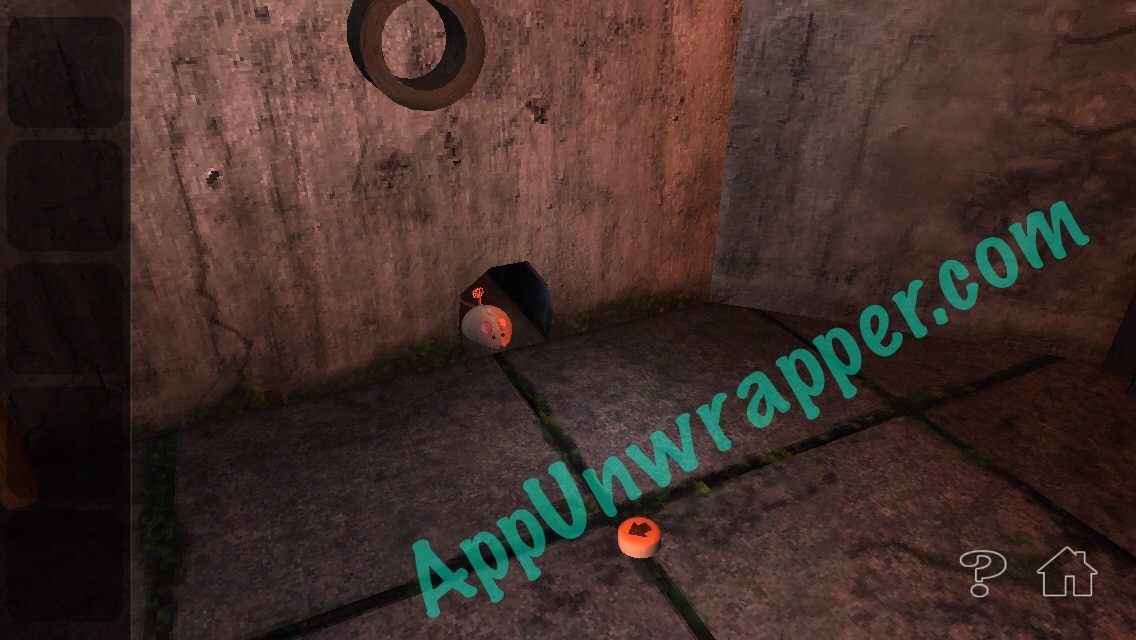
14. Look at the map and figure out how the mouse would need to move in order to come out of the hole that has an item in it. Turn the mouse over and adjust the toggles to say L, L, L, L, R, R. Then place the mouse down in front of the hole with the arrow. It should come out the hole on the other side of the desk.
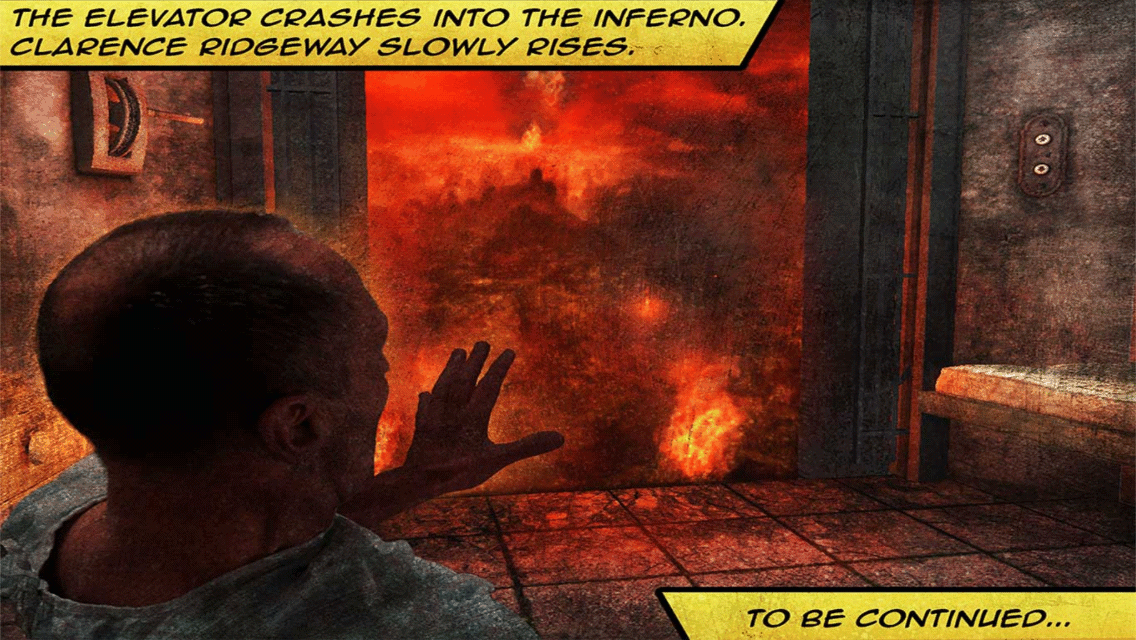
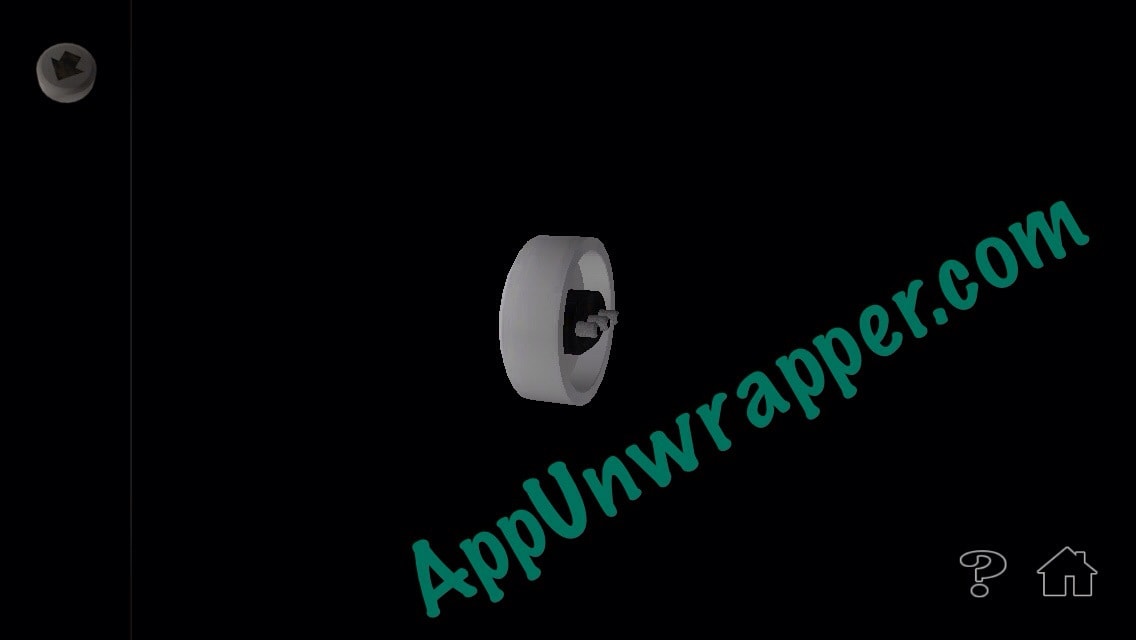
15. Pick up the elevator button and place it in the control panel. Press the down button and watch the end of part 1.
This is the end of the game for now, but stay tuned for the Part 2 walkthrough when it’s available.
If you liked this game, try The Silent Age or these other room escape and adventure games.













A big thank you for your blog.Thanks Again. Fantastic.