Escape from LaVille 2
By: Gabriele Pellistri (Destiny Glove)
 [DKB url=”https://www.appunwrapper.com/LaVille2″ text=”Download” title=”” type=”” style=”” color=”green” width=”” opennewwindow=”” nofollow=””]
This is a complete step-by-step walkthrough guide for Escape from LaVille 2. If you haven’t played Escape from LaVille 1 yet, you can find our walkthrough for that here.
Walkthrough:
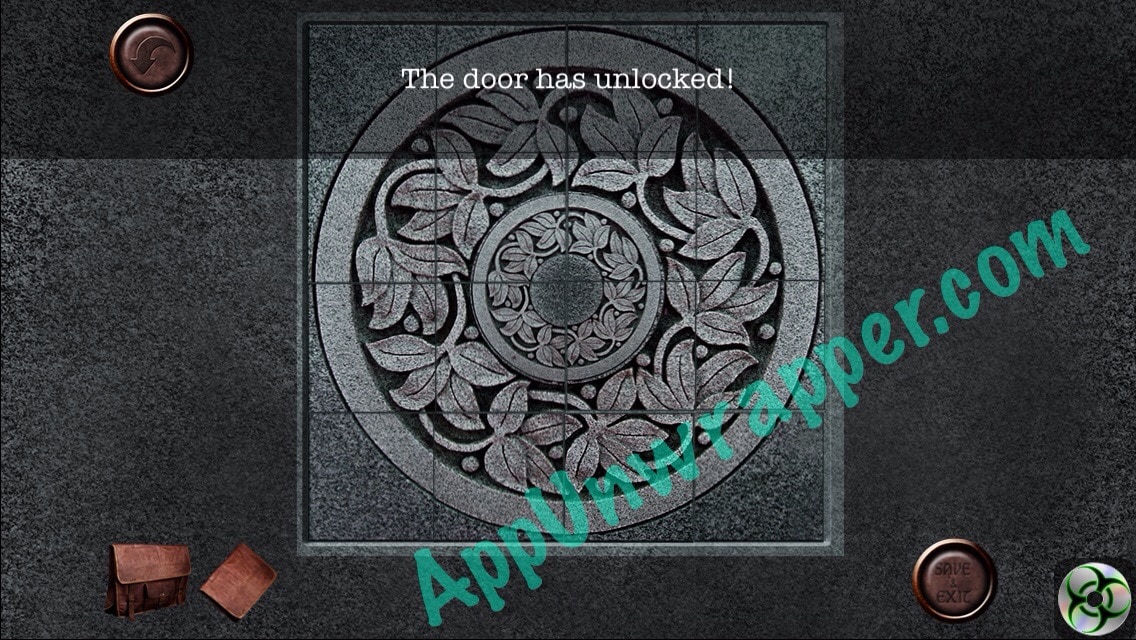
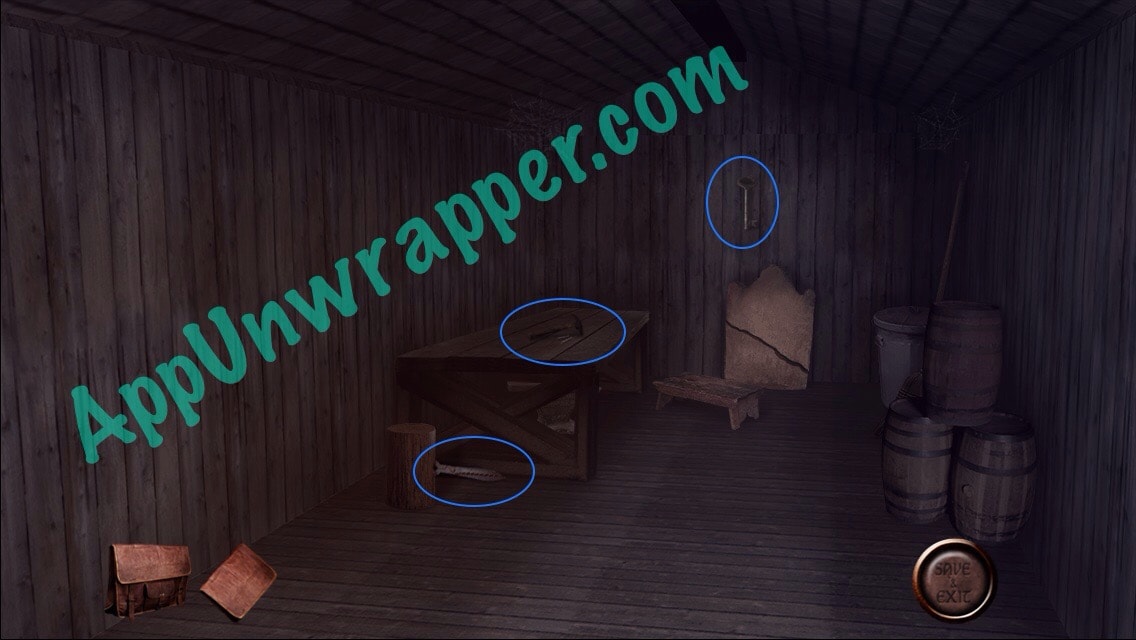
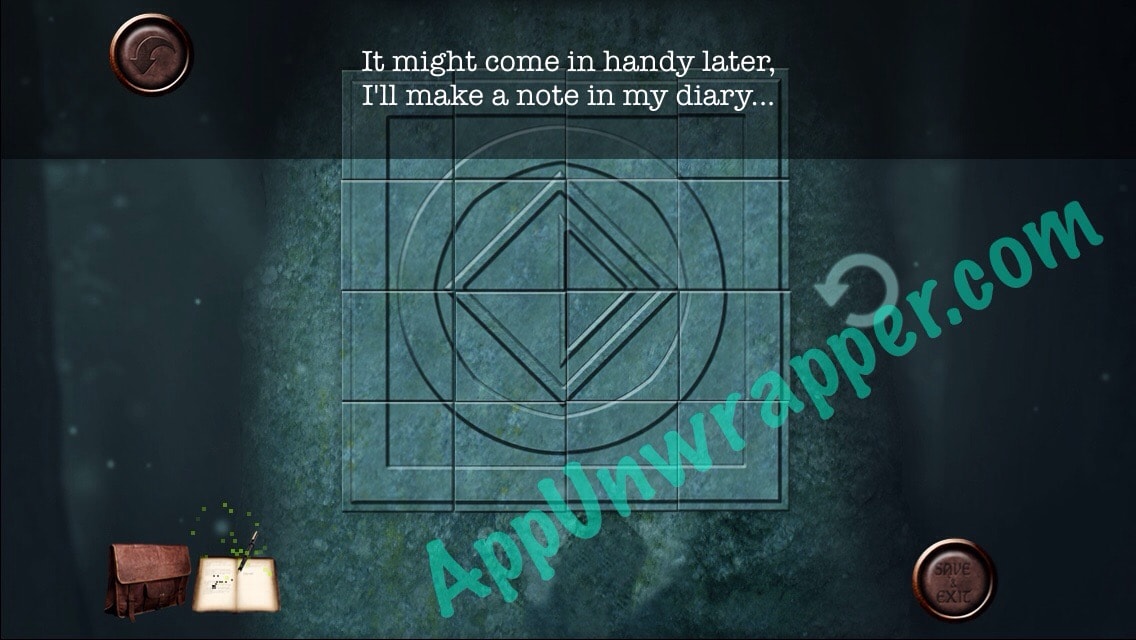
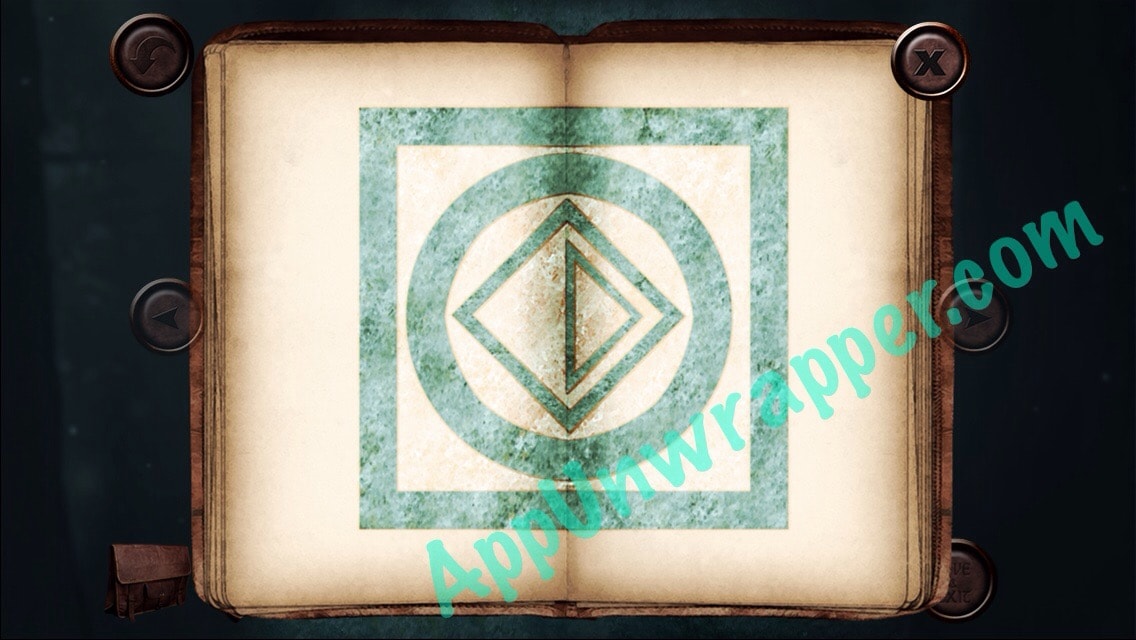
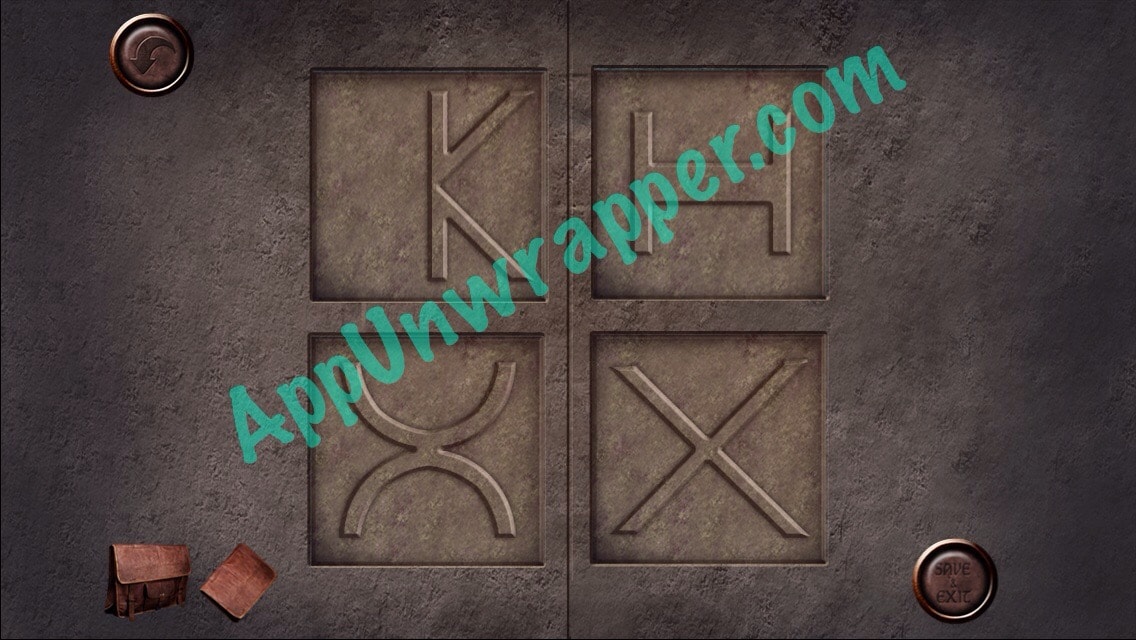
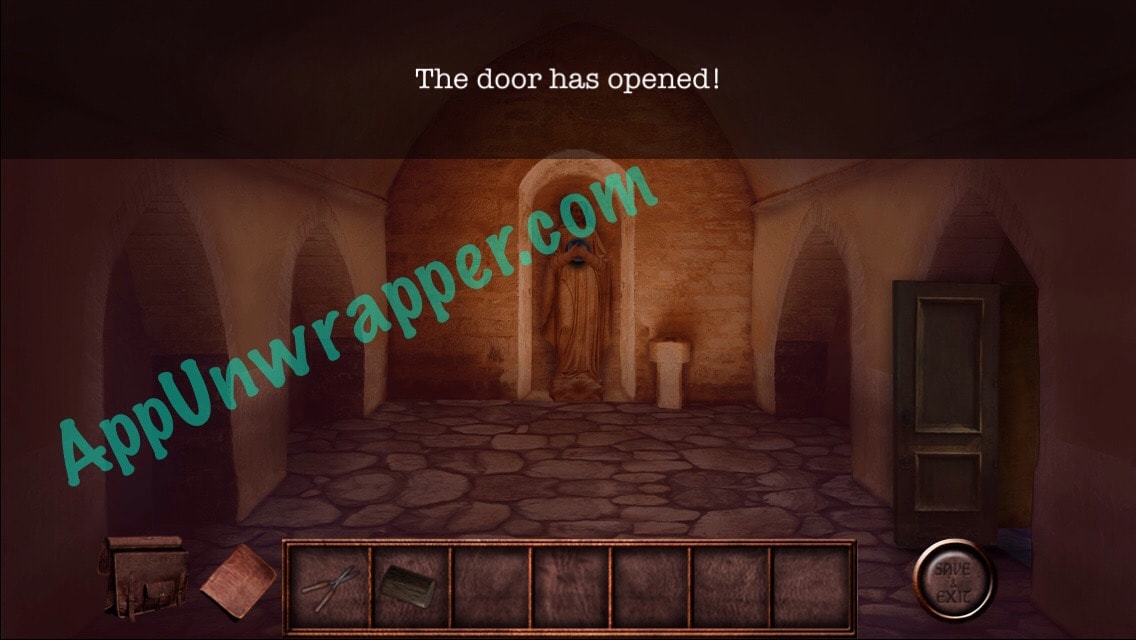
1. Head to the cemetery. Solve the rotating tiles puzzle to open the door to the shed. Then take the shears, big key and hammer.
You can also watch my video walkthrough here:
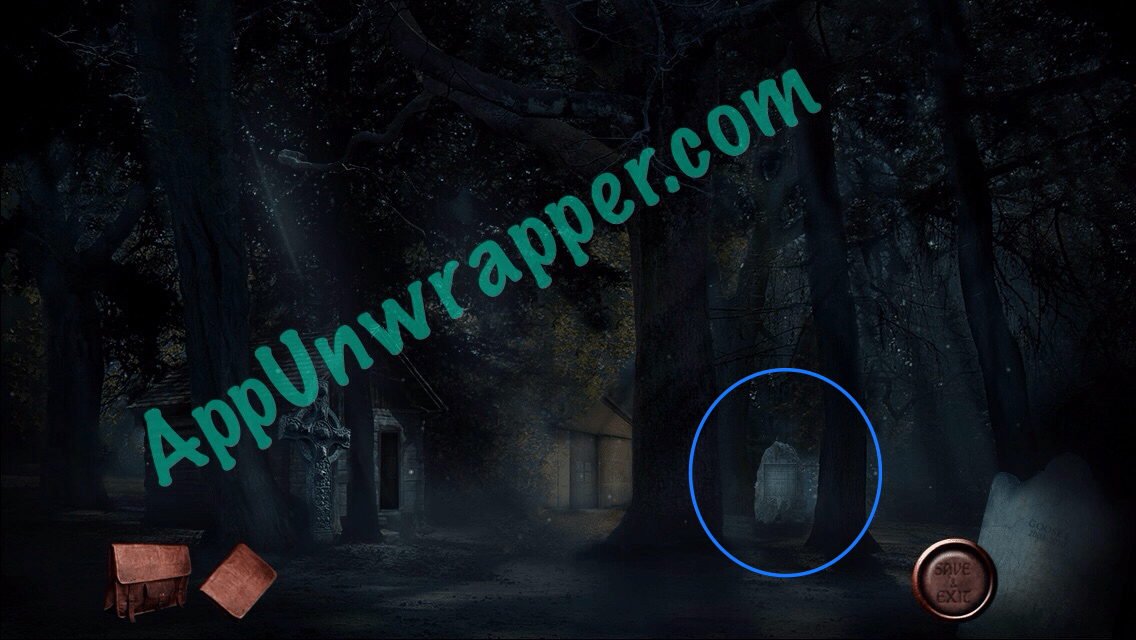
2. Leave the shed and tap on the gravestone to the right. Swap the tiles to get a clue for your journal.
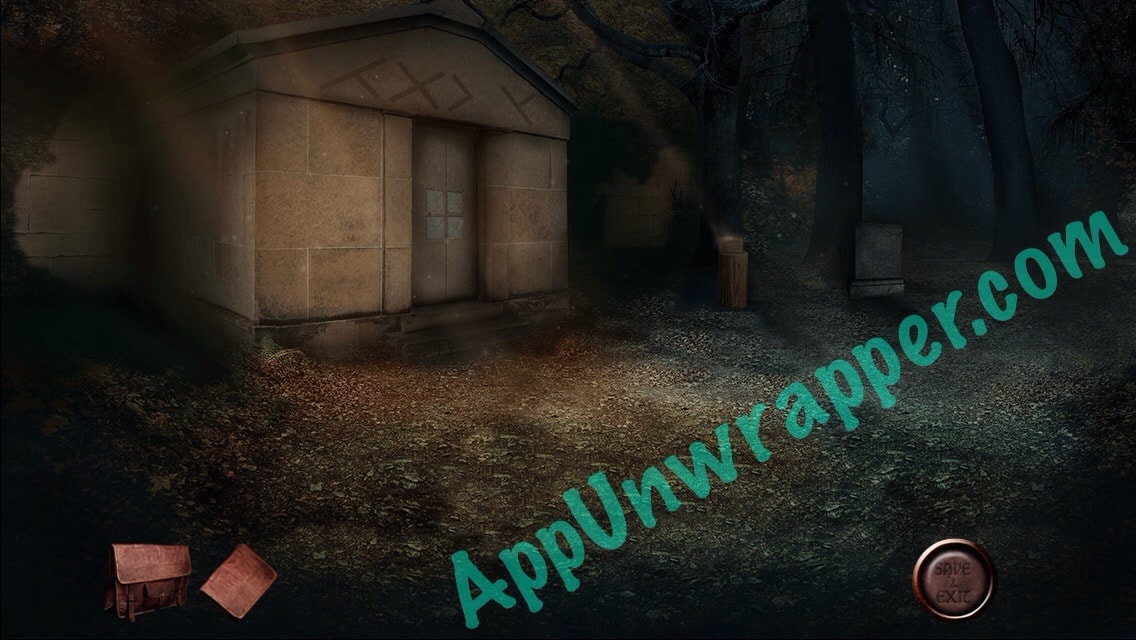
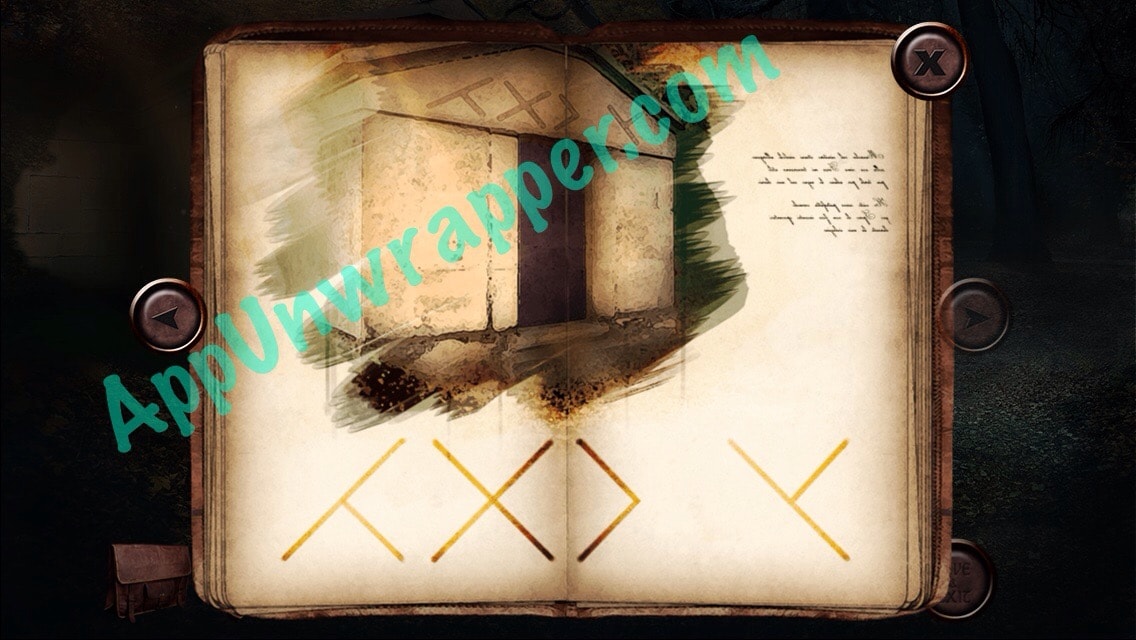
3. Go to the other building and tap on the writing to get a clue. The door has symbols that we still need a clue for. We’ll come back to it later.
4. Go back to the sign that points to the cemetery and head straight. There’s a door bolted shut. Use the hammer to remove the nails and go inside.


5. Use the big key to open the door to the right. There are some bells in here, but we need a clue for them. We’ll come back later.
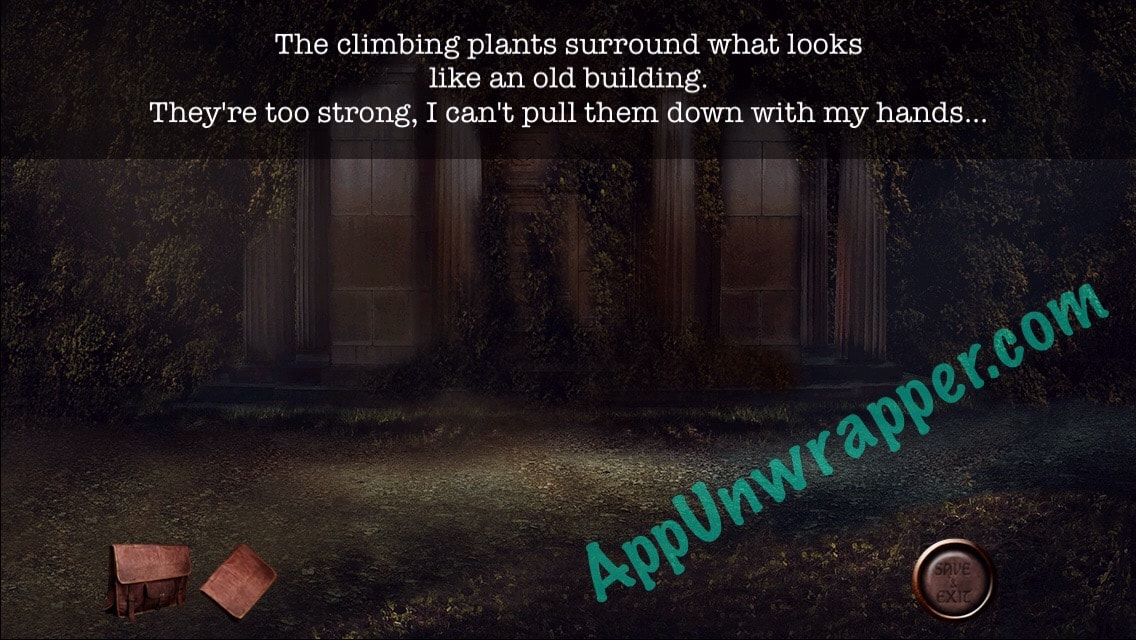
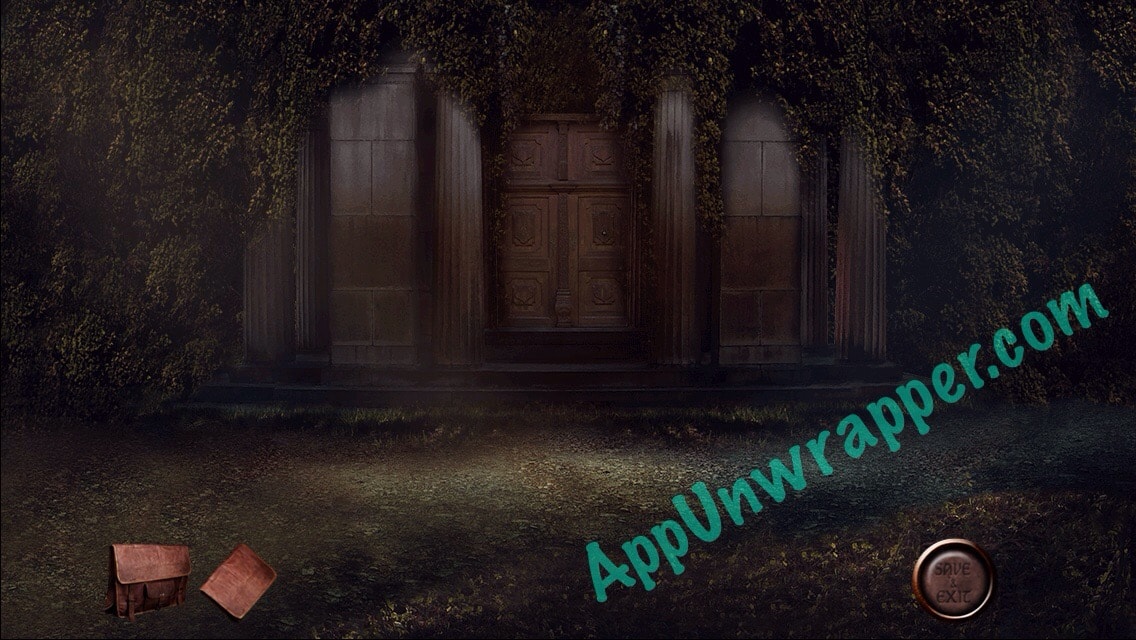
6. Leave the building. Head right, following the sign that says “Emerald Safe Boxes.” Use the shears to cut through the vines. There’s a mechanism on the door that we’ll have to come back to later.

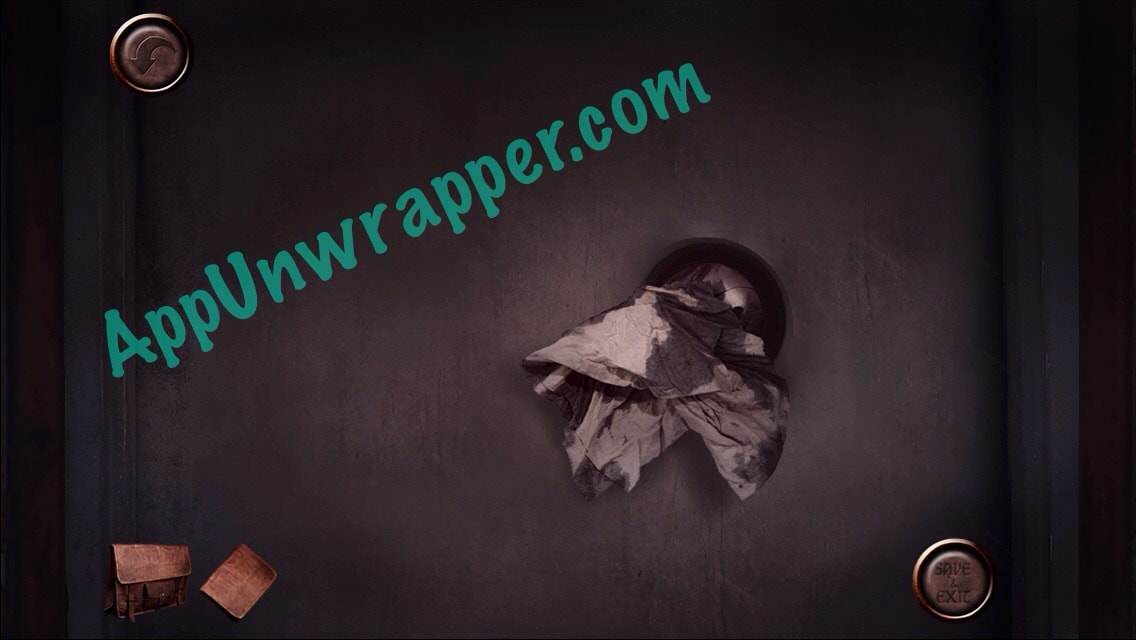
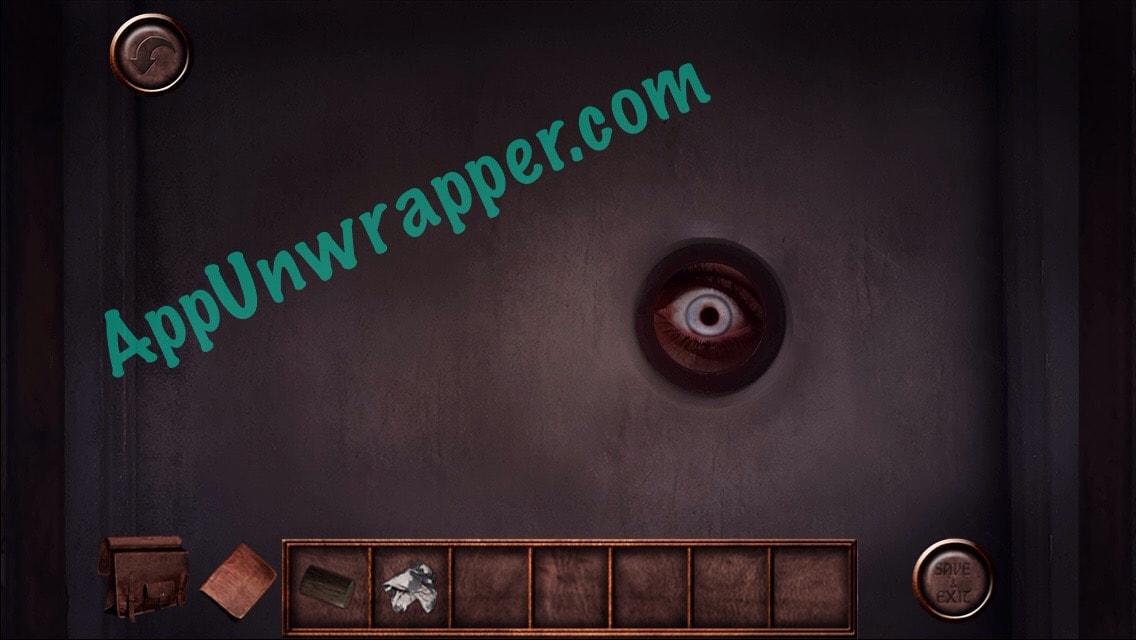
7. Continue right until you come to Emerald Safe Boxes. Go to the door and take the cloth. There’s an eye looking at you!

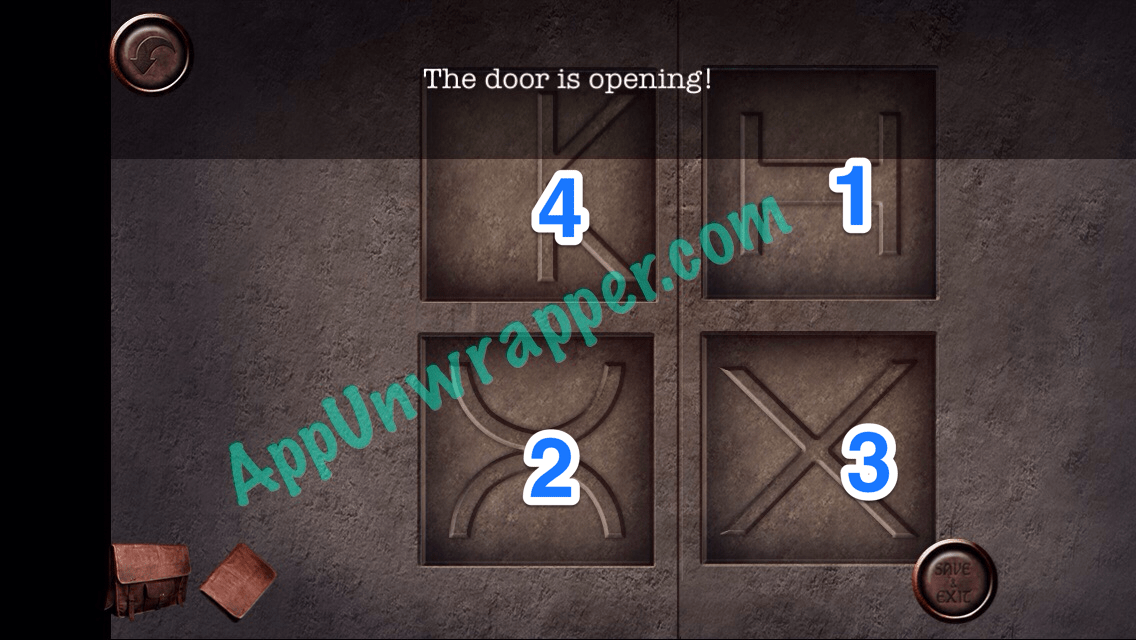
8. You can open this door by pressing the buttons in this order. The clue for it is from the gravestone. You need to cut it in half and then join them back together. A bit strange, but that seems to be it.

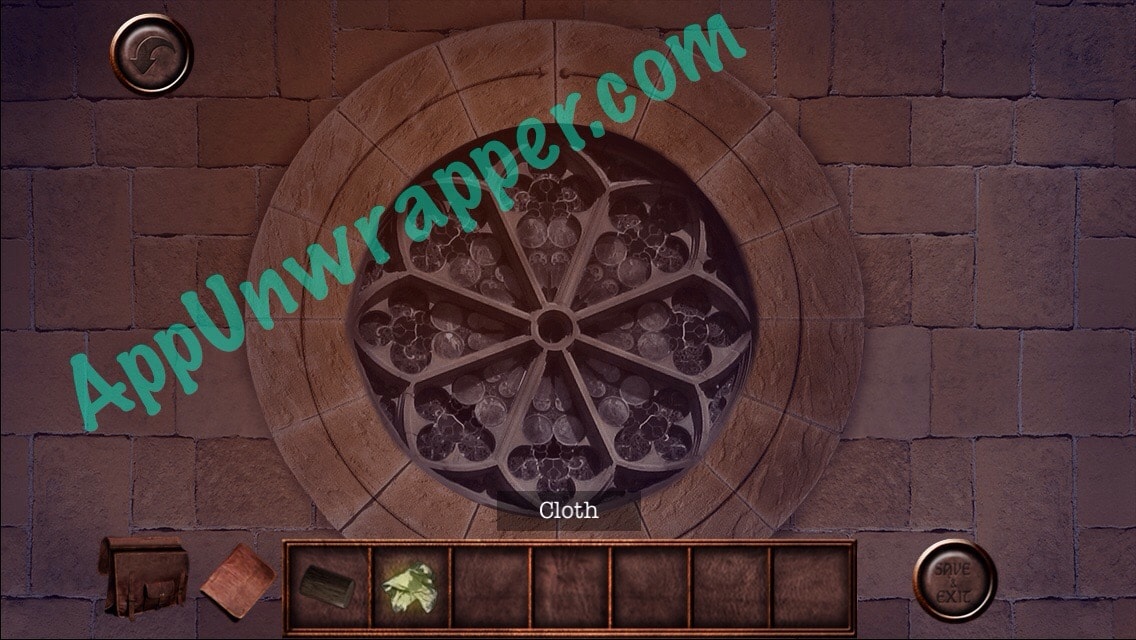
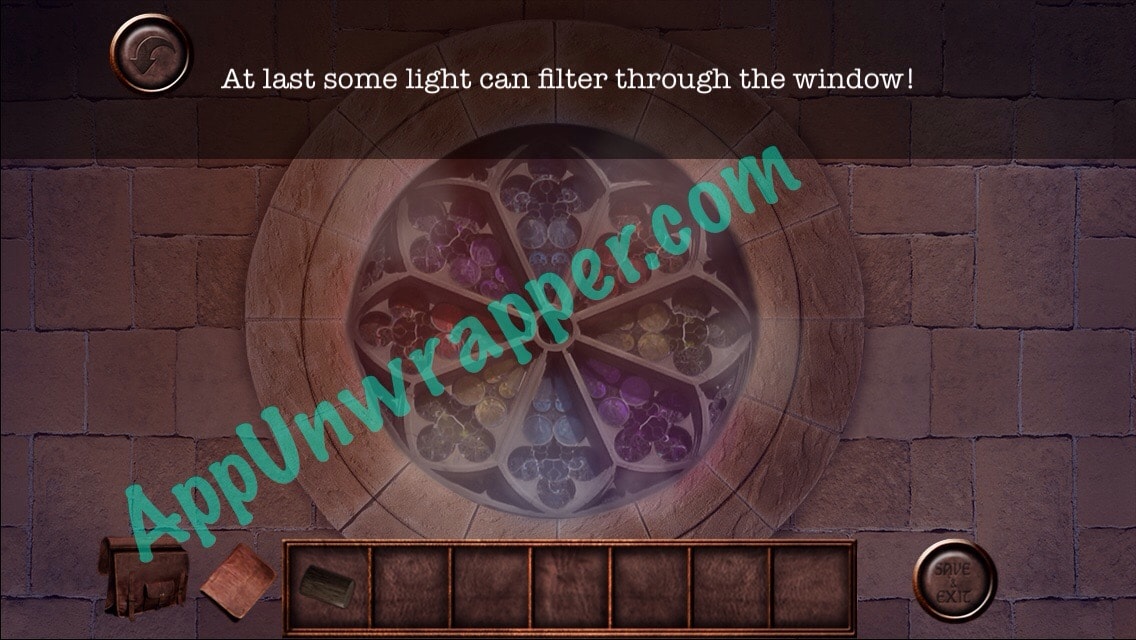
9. Go inside. Use the cloth to wipe down the window and get a clue for your journal.
You might also like Shadowmatic.
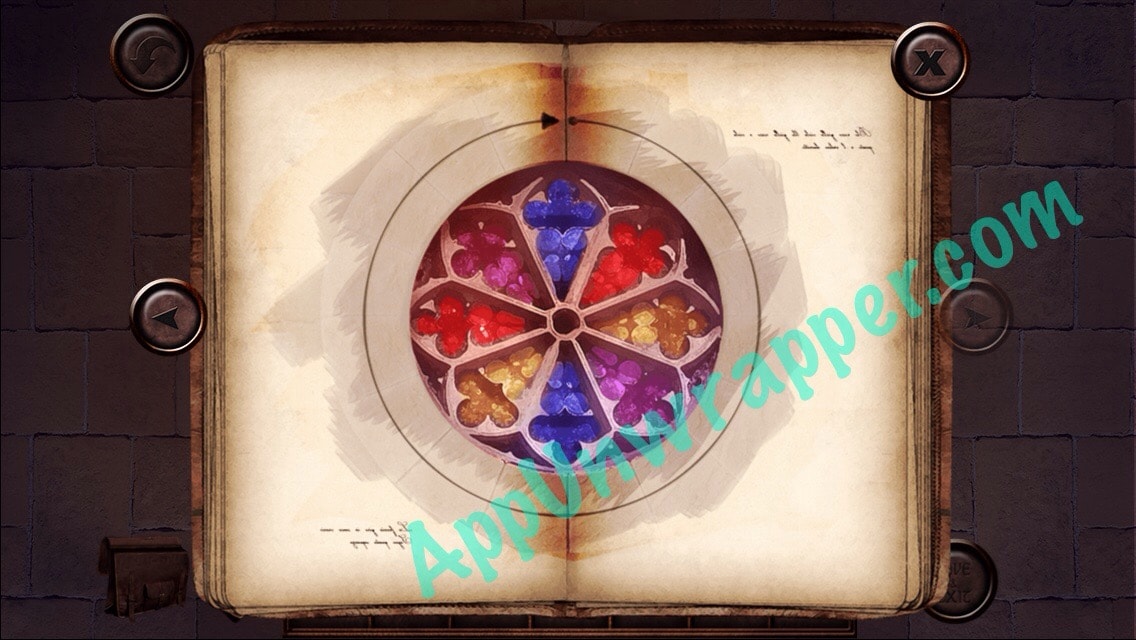
10. Go back to the room with the bells in it and play them in the order shown in the stained glass window. Follow the sequence in the photo below. You need to do it fairly quickly, or it will reset. When you’re done, the microphone to the right will open up and you can get a gear.
11. Go back to this door and place the gear in the mechanism to open the door. Go inside.

12. Look at the book on the shelf to get a clue for your journal explaining Morse Code.


13. Go back to the Emerald Safe Boxes and go up the stairs. Ring the bell in Morse Code for “OPEN” to unlock the door. Just hold the bell longer for the dashes. It goes like so:
14. Go inside. Open the left door and head through to the kitchen. Open the cupboard and get a paintbrush.

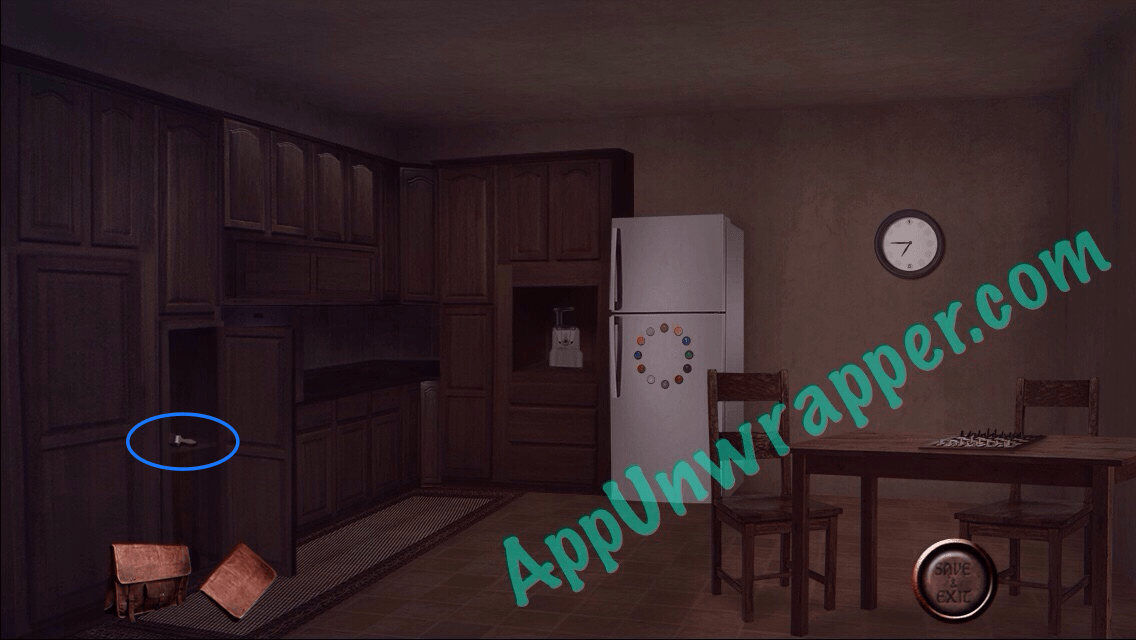
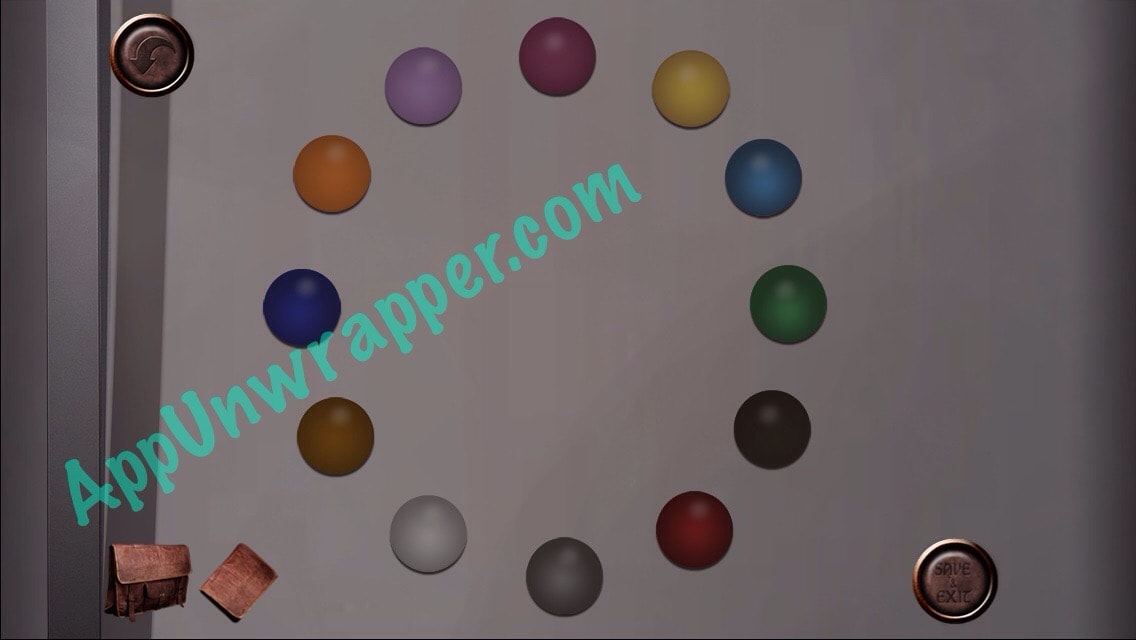
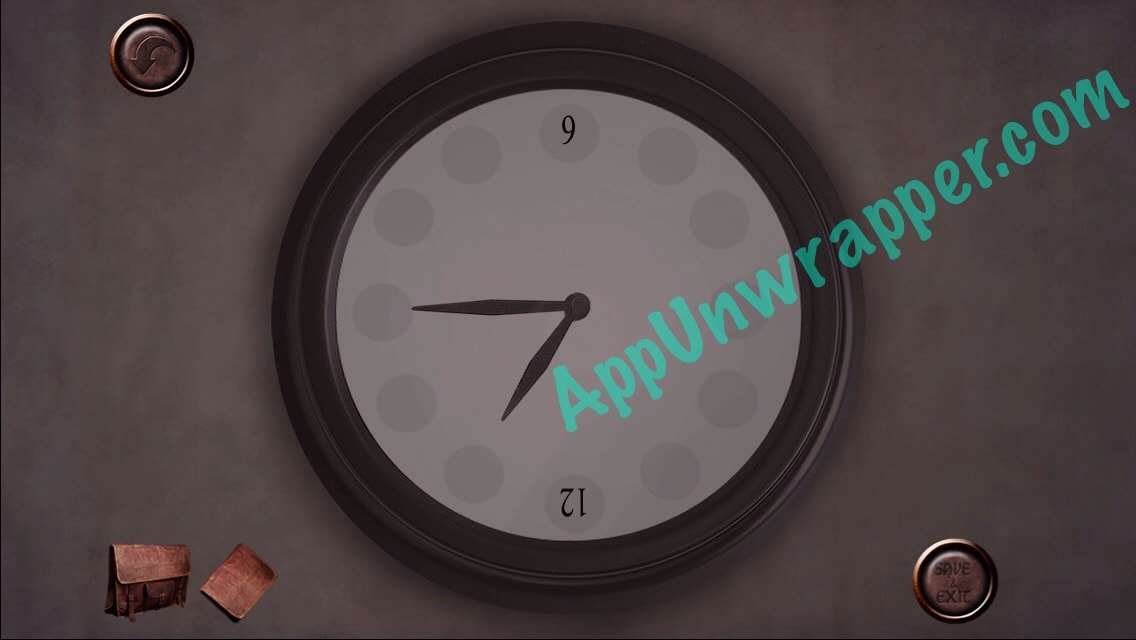
15. Look at the clock and the fridge to get two clues for your journal.
16. Take the knight chess piece from the chess board. Then head back out. Tap on the horse head painting and place the chess piece on the little + to the right of it. It will open, revealing a safe and a torn photo. Take the photo.


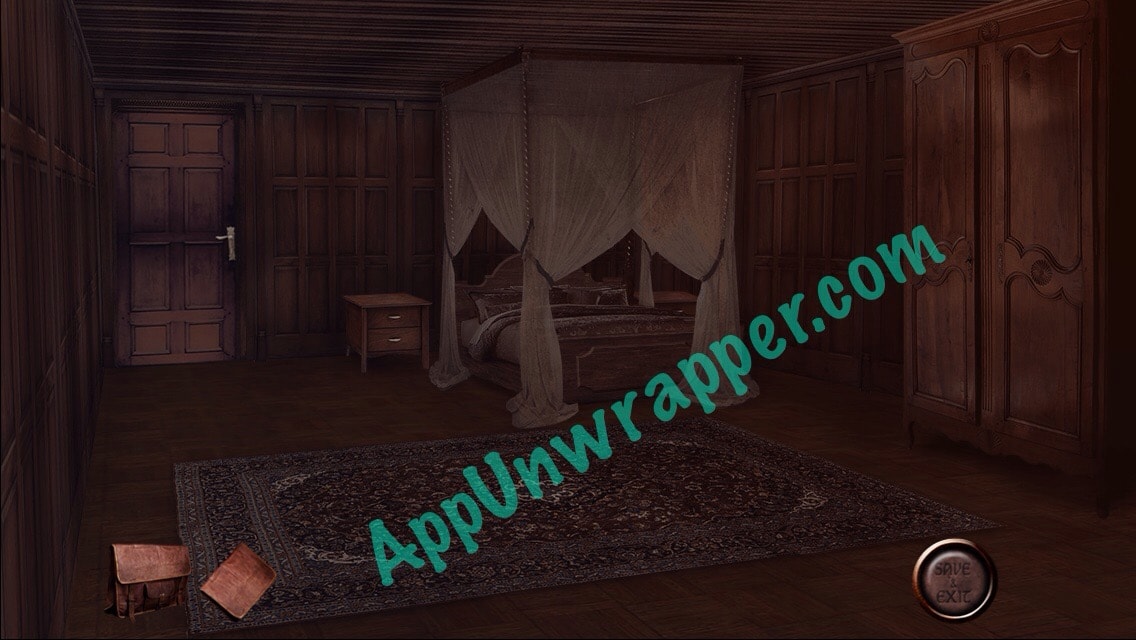
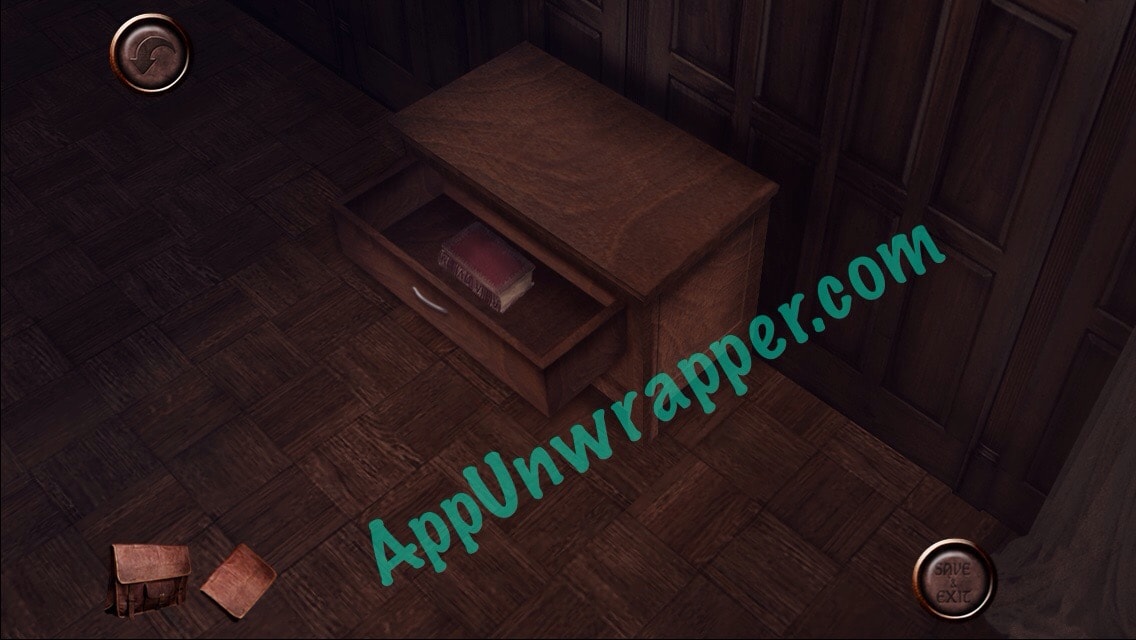
17. Open the right door and head into the bedroom. Open the drawer of the night table and take the small key from the book.

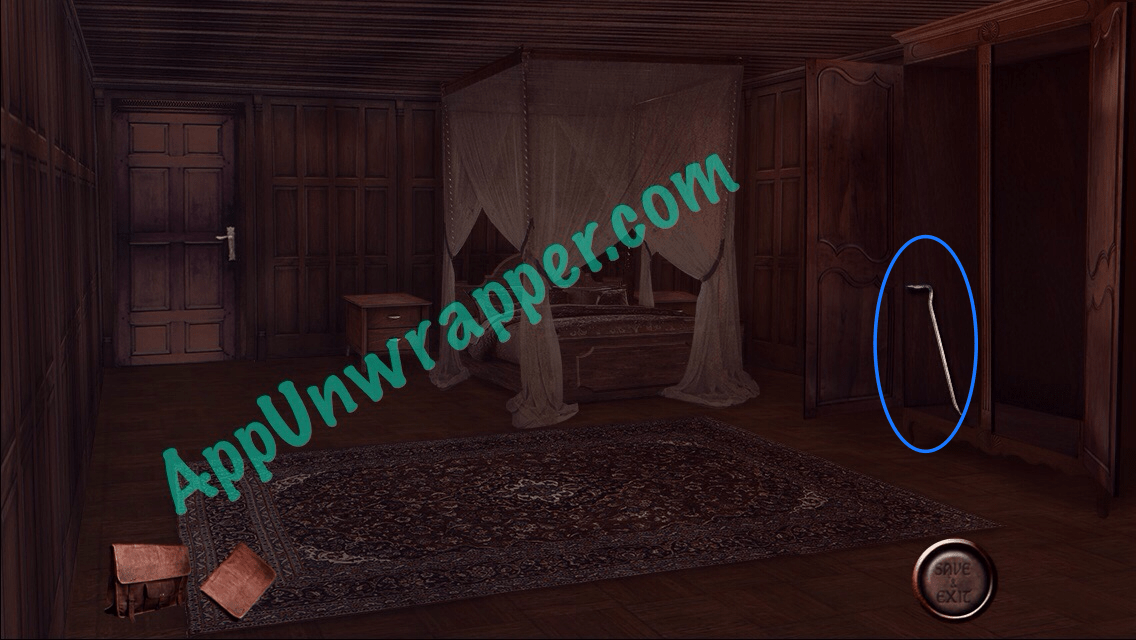
18. Open the closet and take the crowbar, or Jemmy. Open the door to the left and head into the bathroom.
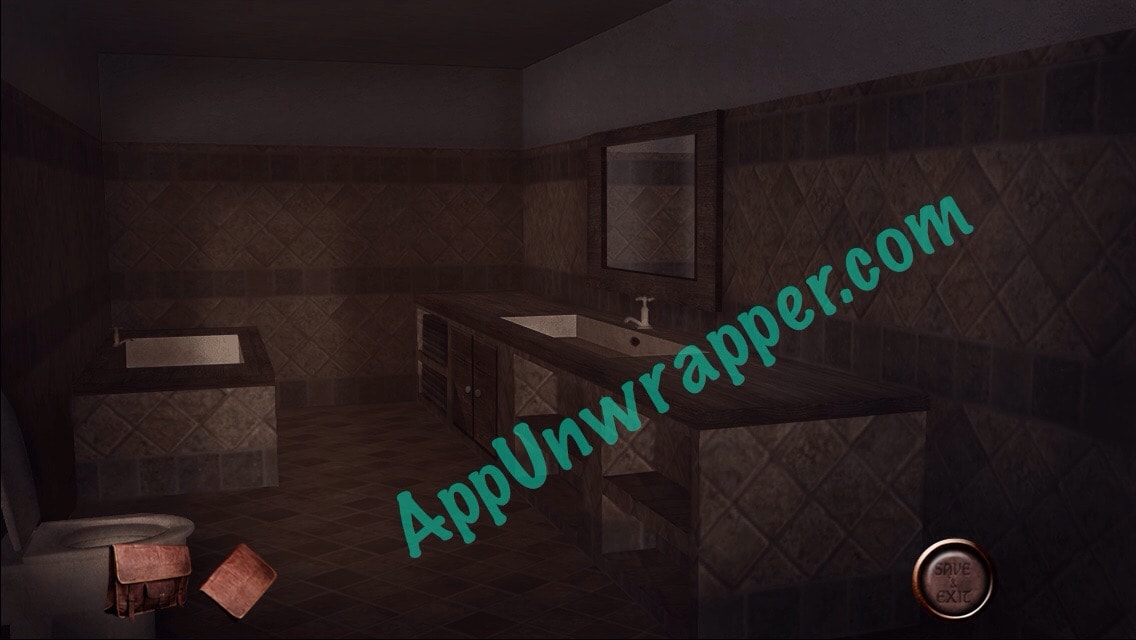
19. There’s a locked cabinet with two colored knobs. Look at the clock clue and the fridge clue. Turn the clock right-side up so the hands point to 1 & 3. Then look at the fridge clue and find the colors where 1 & 3 would be. It’s yellow and green. Change the knobs to yellow and green and it will open. Use the small key to open the iron box and get a photo.


20. Go back to the living room and place the torn photo and the other photo in the picture frames on the mantel above the fireplace. Then get another clue for your journal. You could also place the log in the fireplace if you’d like.
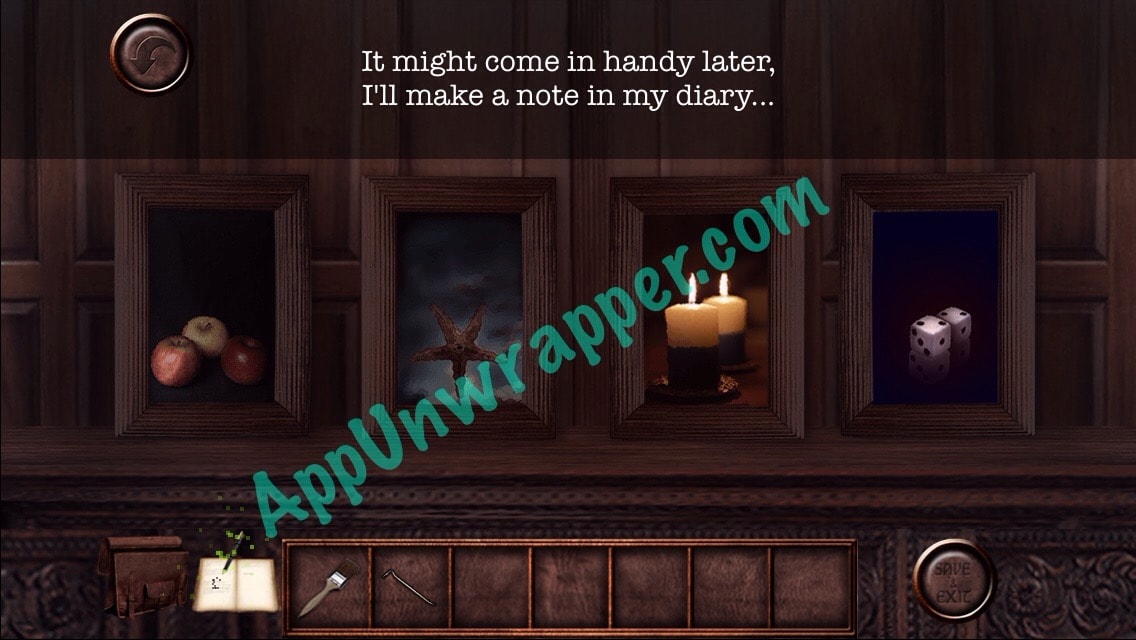

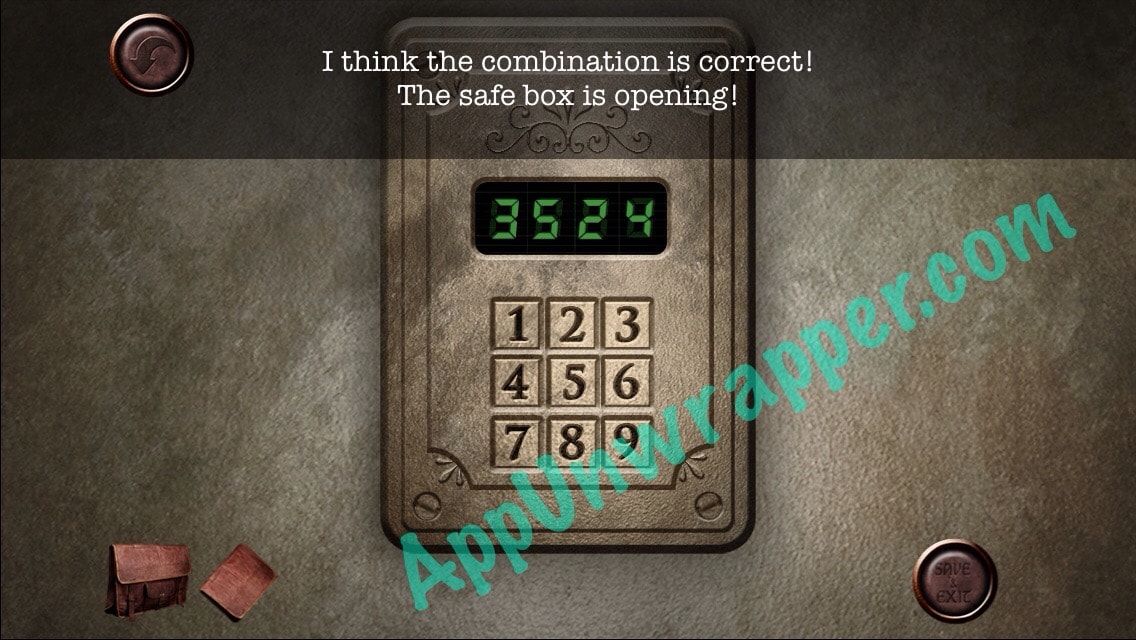
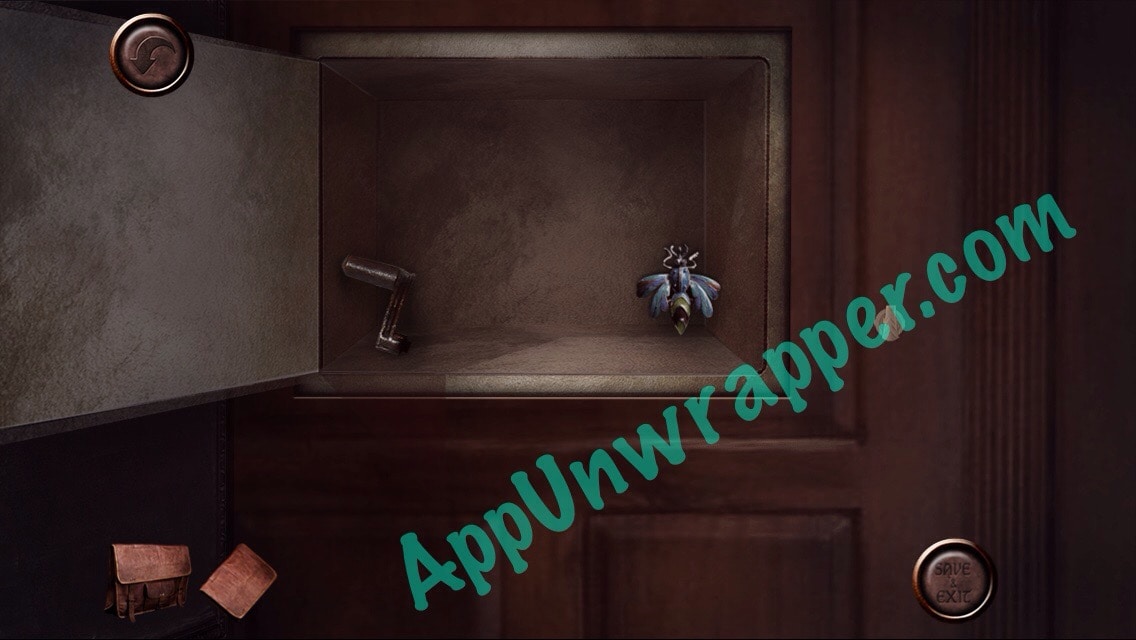
21. Use the clue from the photos to open the safe. Then take the jewel and the handle from inside.
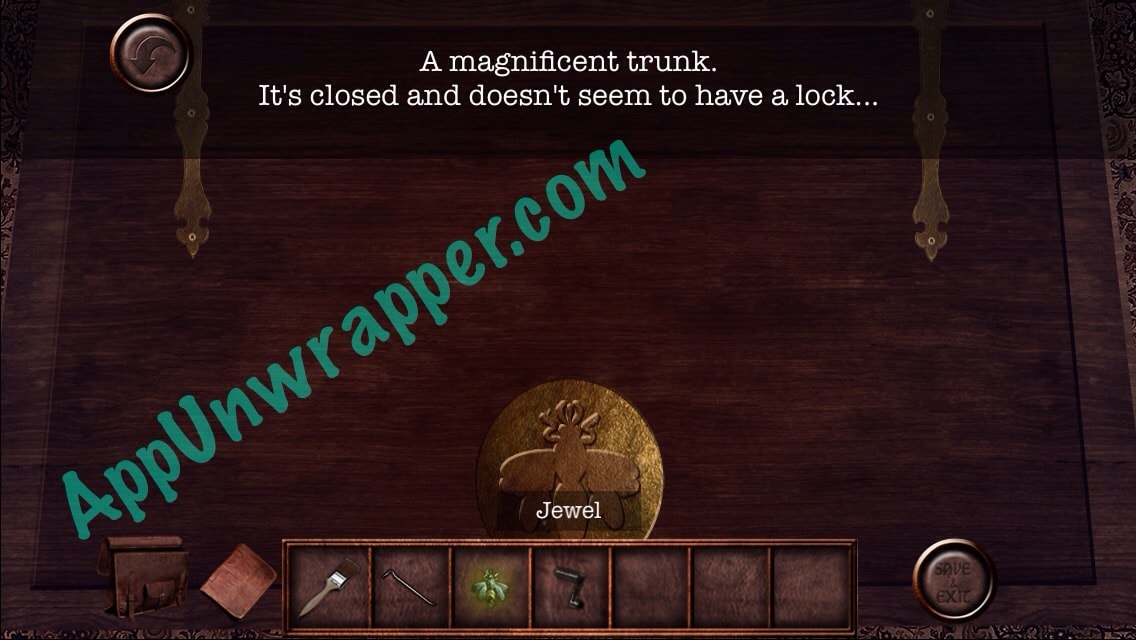
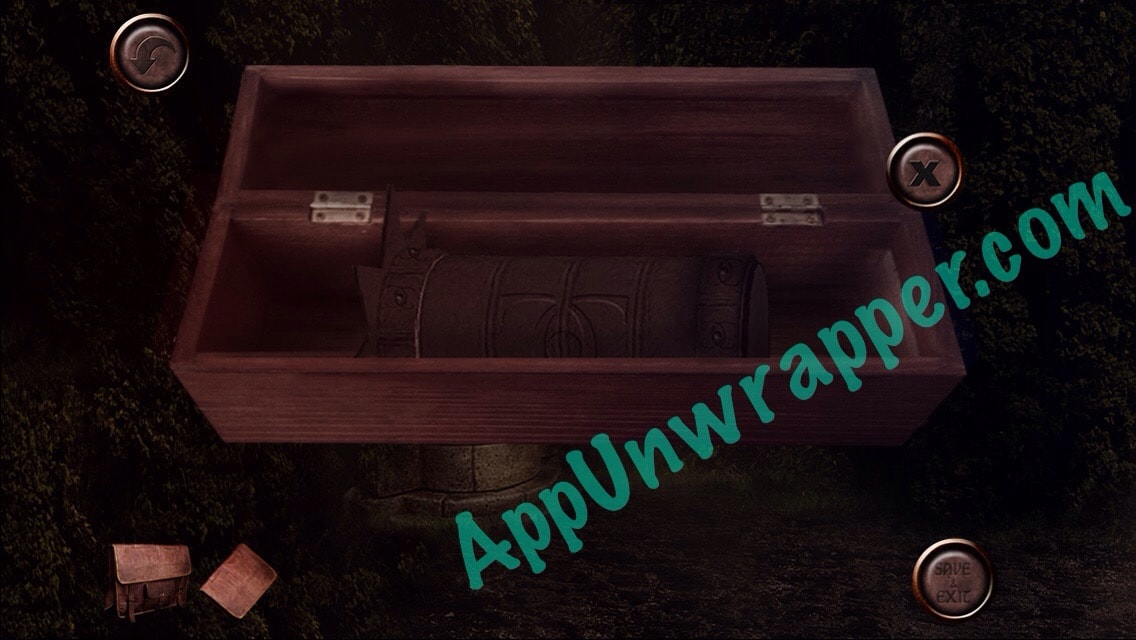
22. Use the jewel to unlock the trunk in middle of the room. Take the golden key and the bucket from inside.

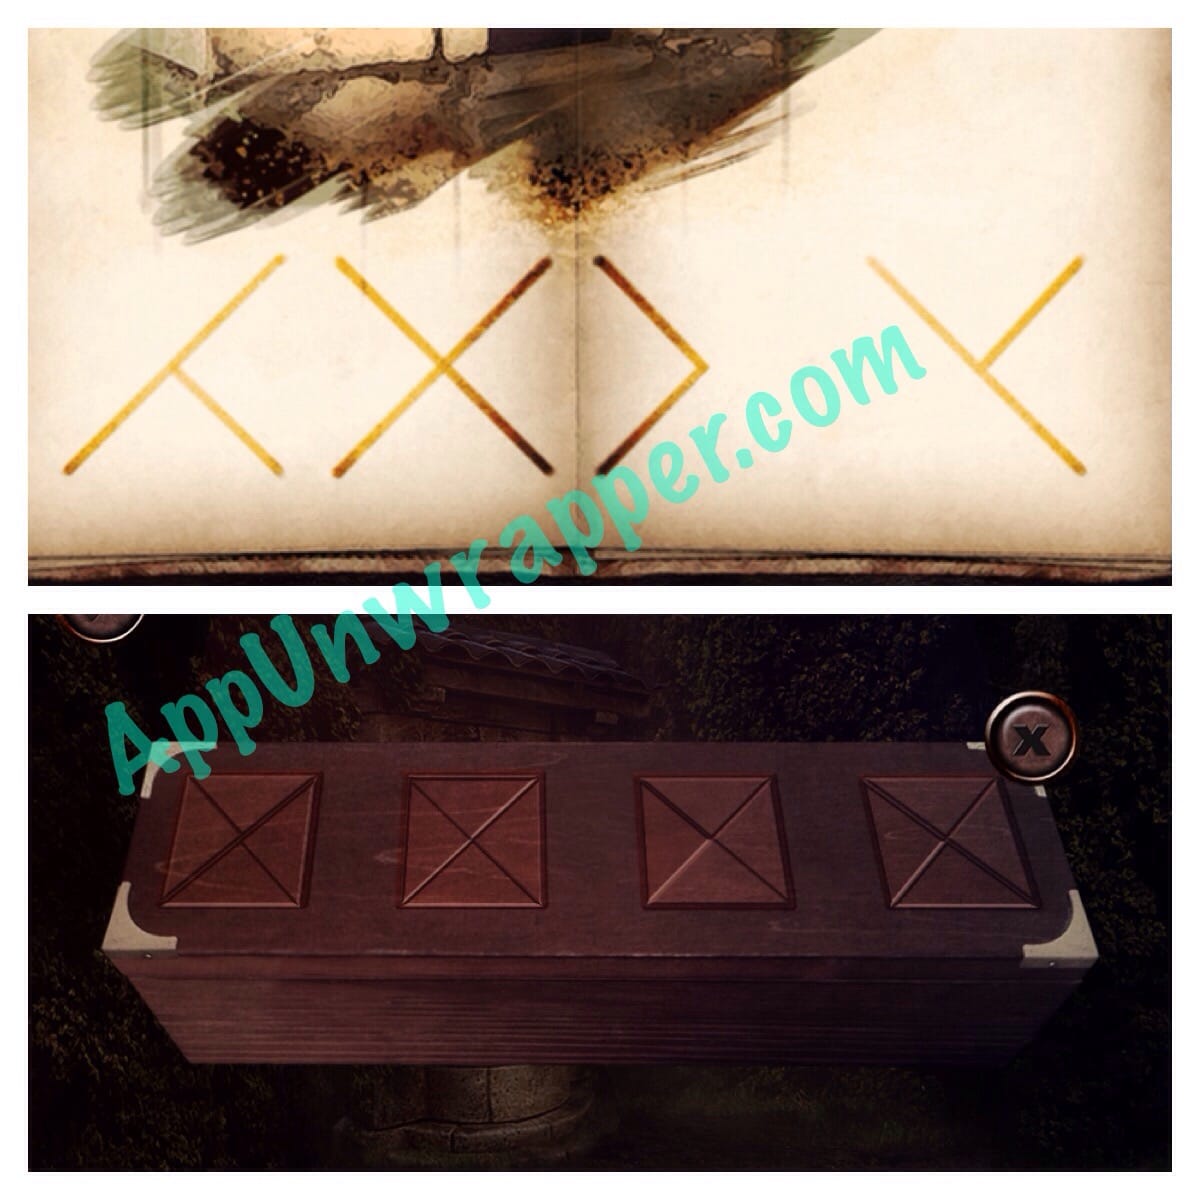
23. Go to the well and place the bucket and handle on it. Lower the bucket and it will bring up a puzzle. Use the clue from earlier to solve it and get a stone cylinder. You can copy the image below, but one last one needs to be inverted.

24. Go back to this room and use the key to unlock the drawers. Take the matches and sheet of paper.

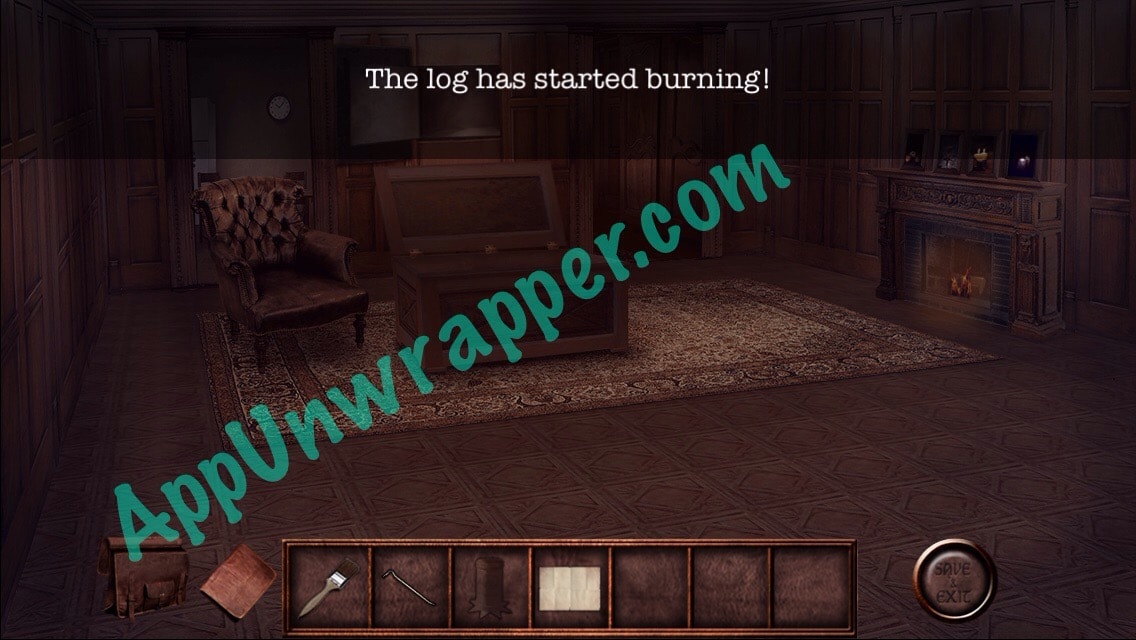
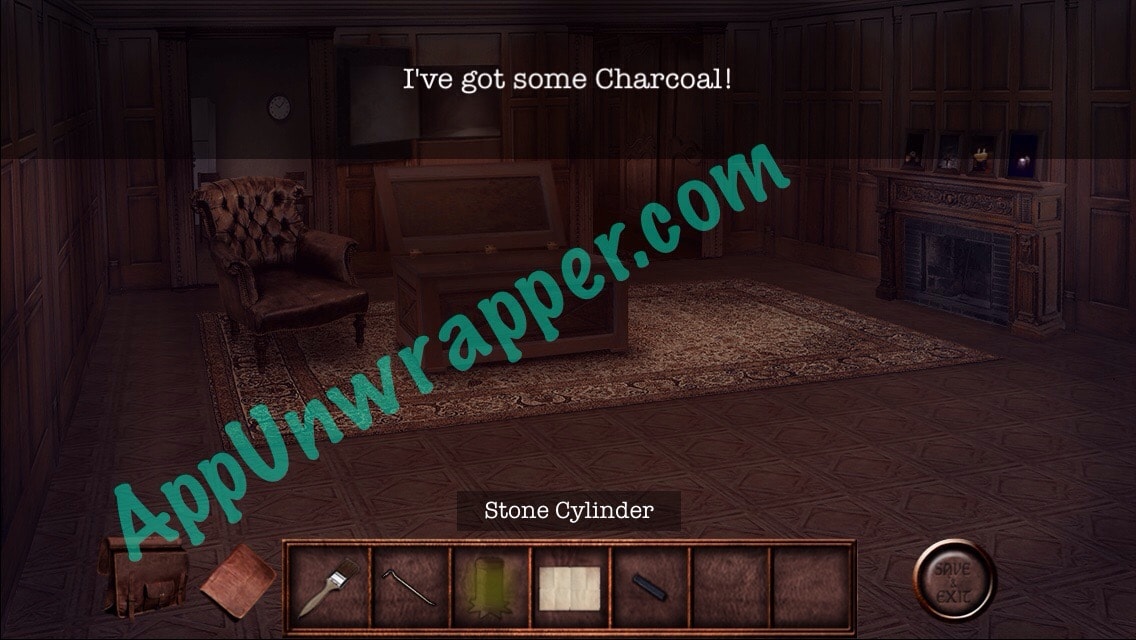
25. Go back to this room and light the log with the matches. Then take the piece of charcoal.
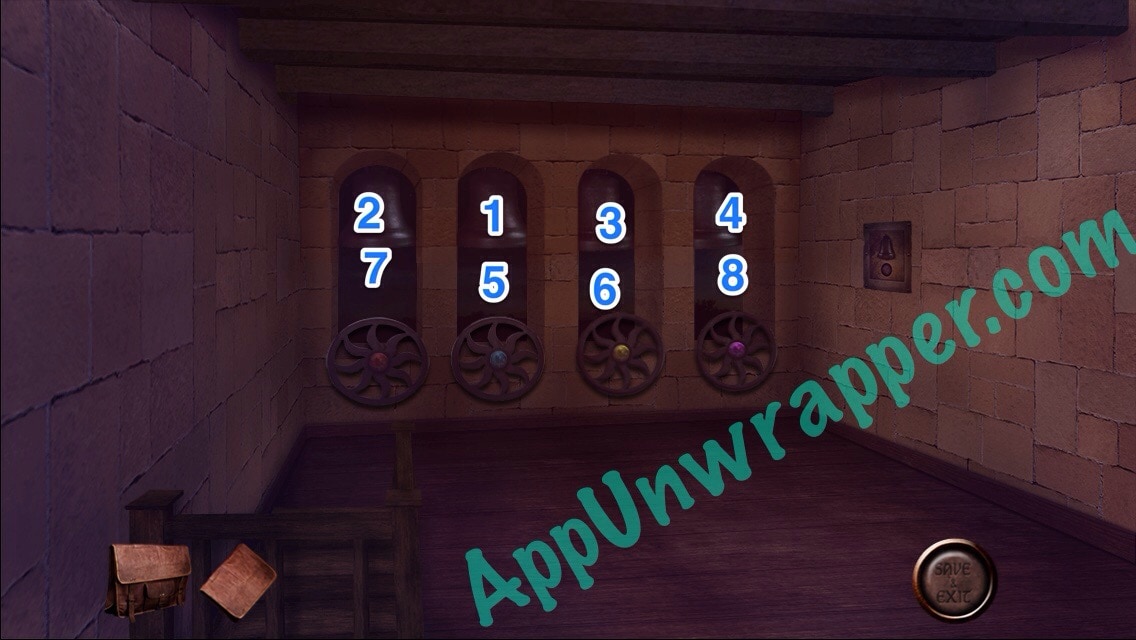
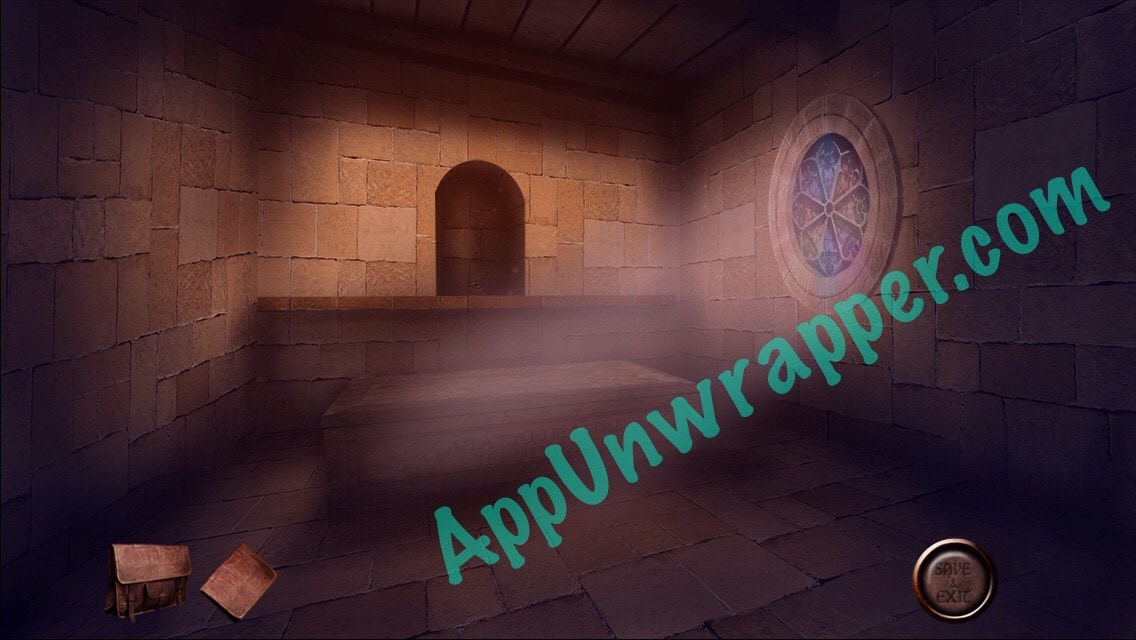
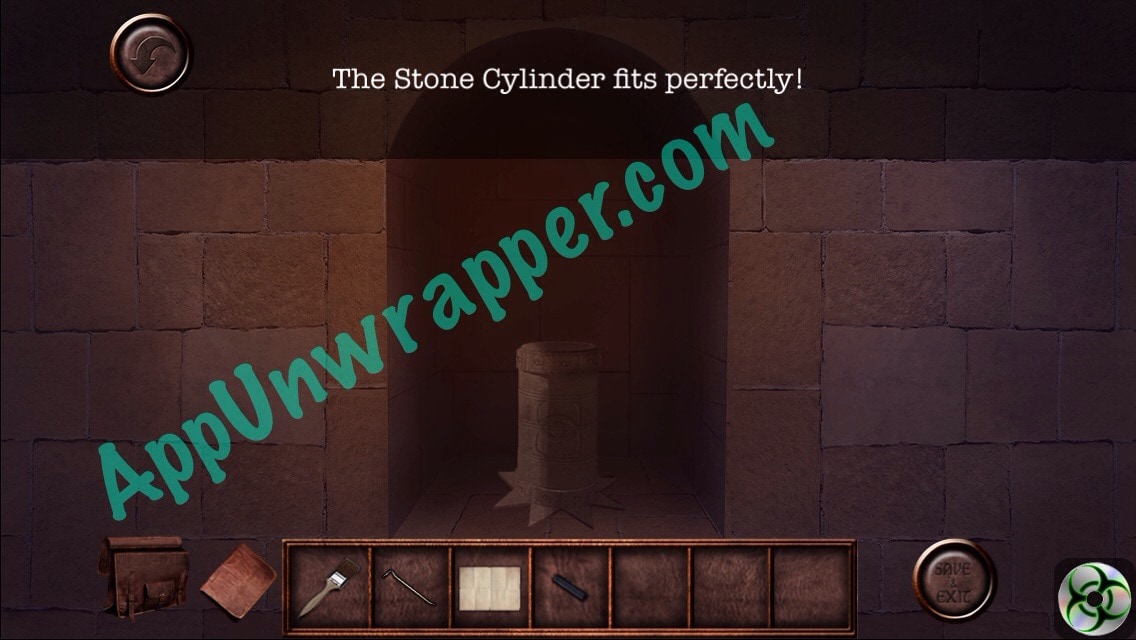
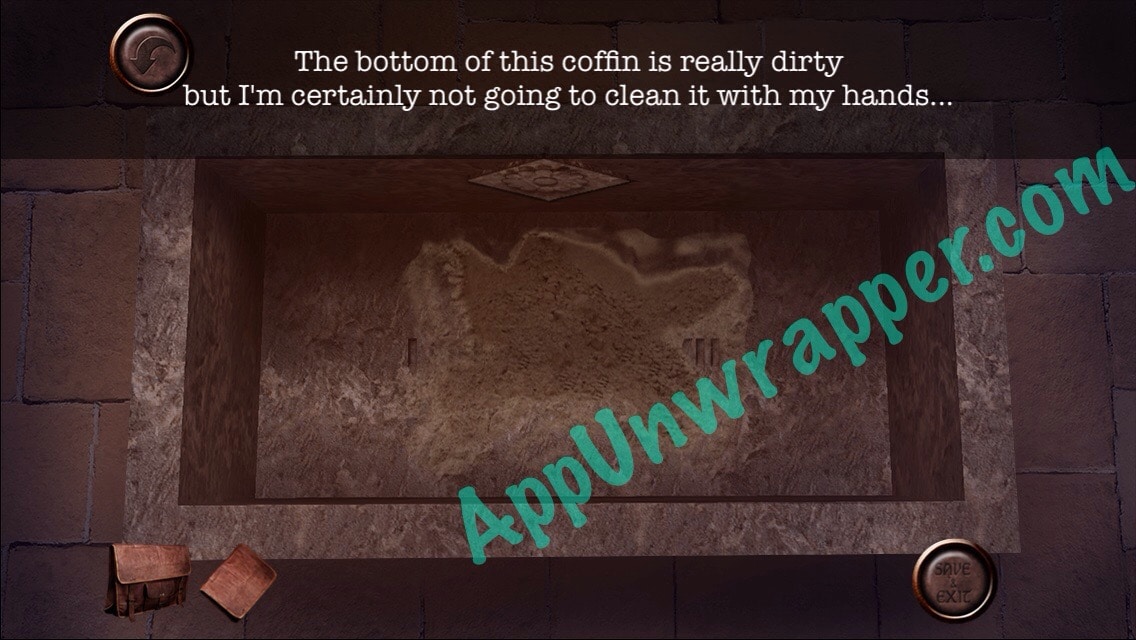
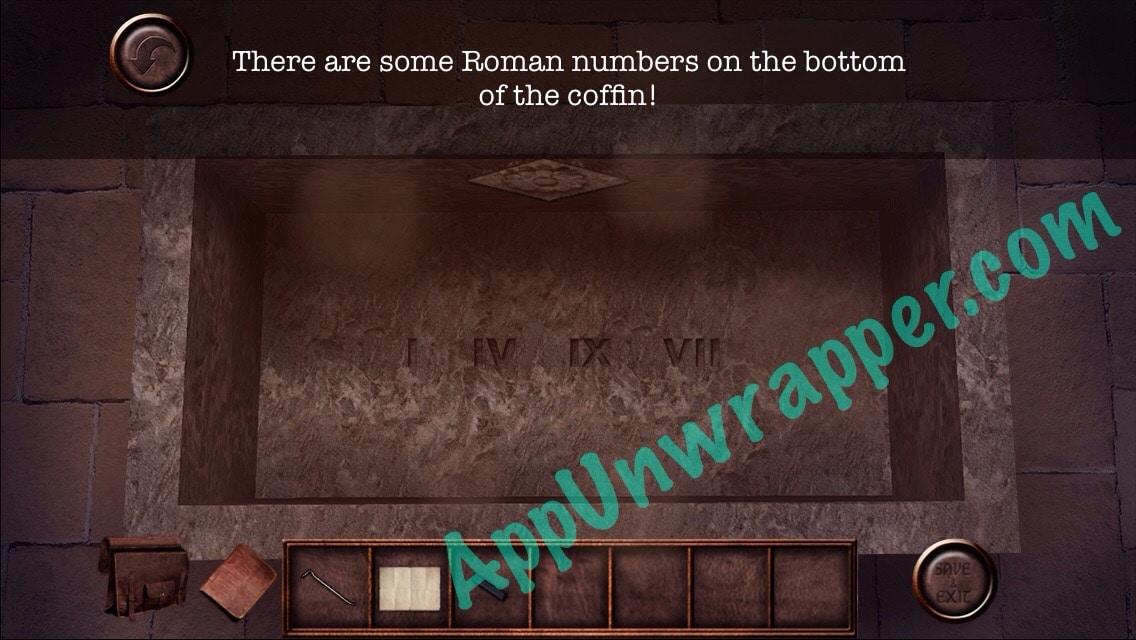
26. Go back to this room and place the stone cylinder in the niche/alcove to open the coffin. Then use the paintbrush to brush away the dust, revealing some Roman numerals. Add them to your journal.

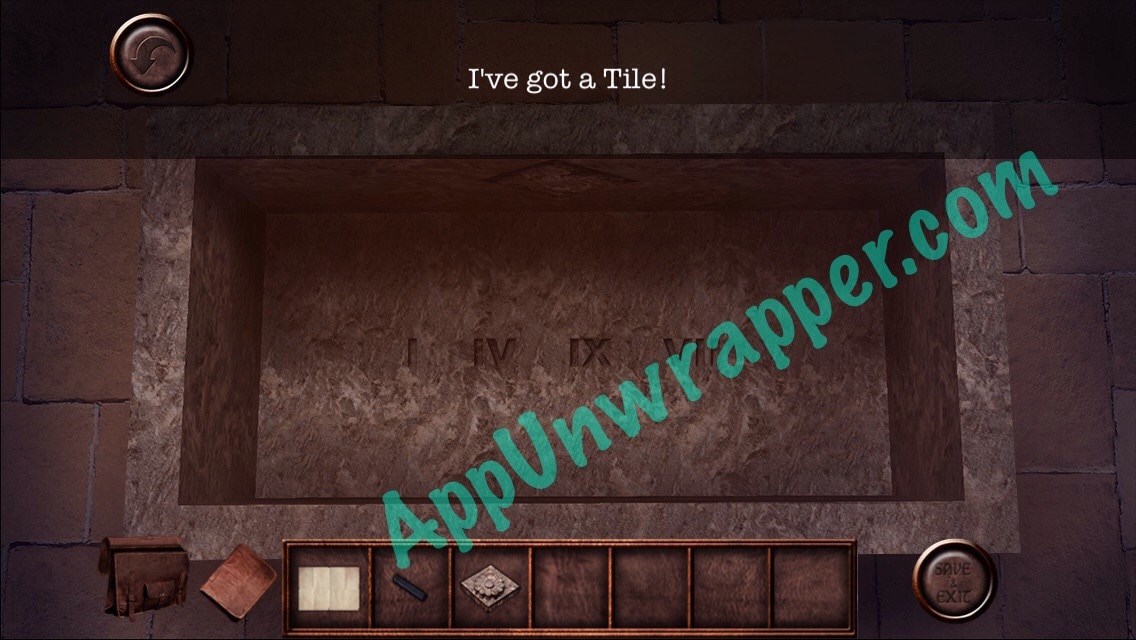
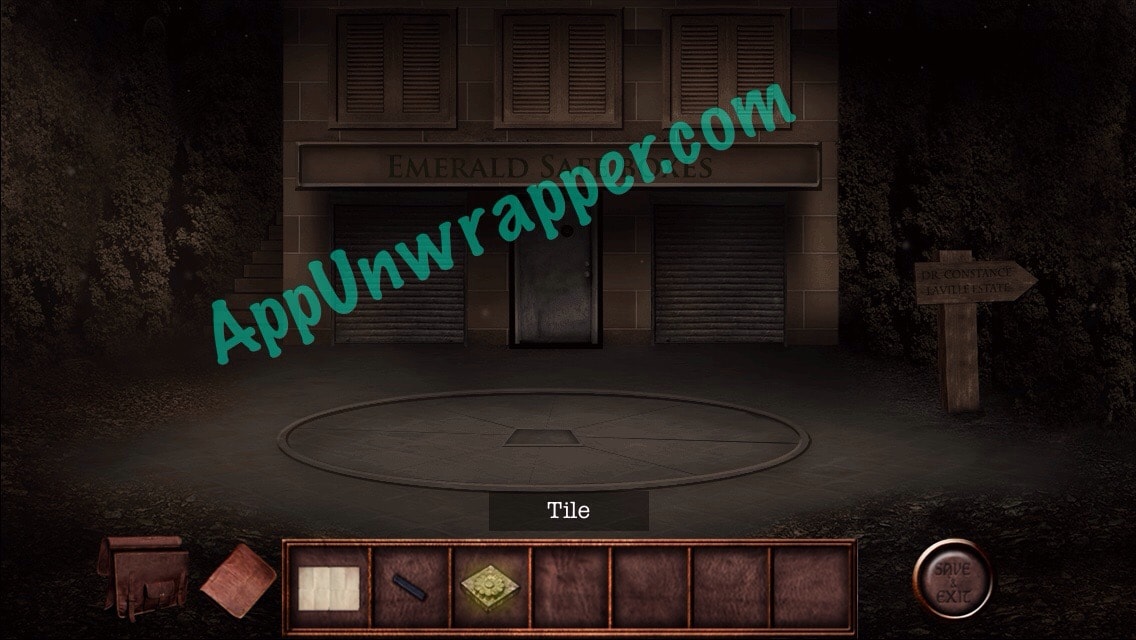
27. Use the crowbar to get the tile from the coffin. Then go back to the Emerald Boxes and place it in the slot in the ground. Go down the stairs.

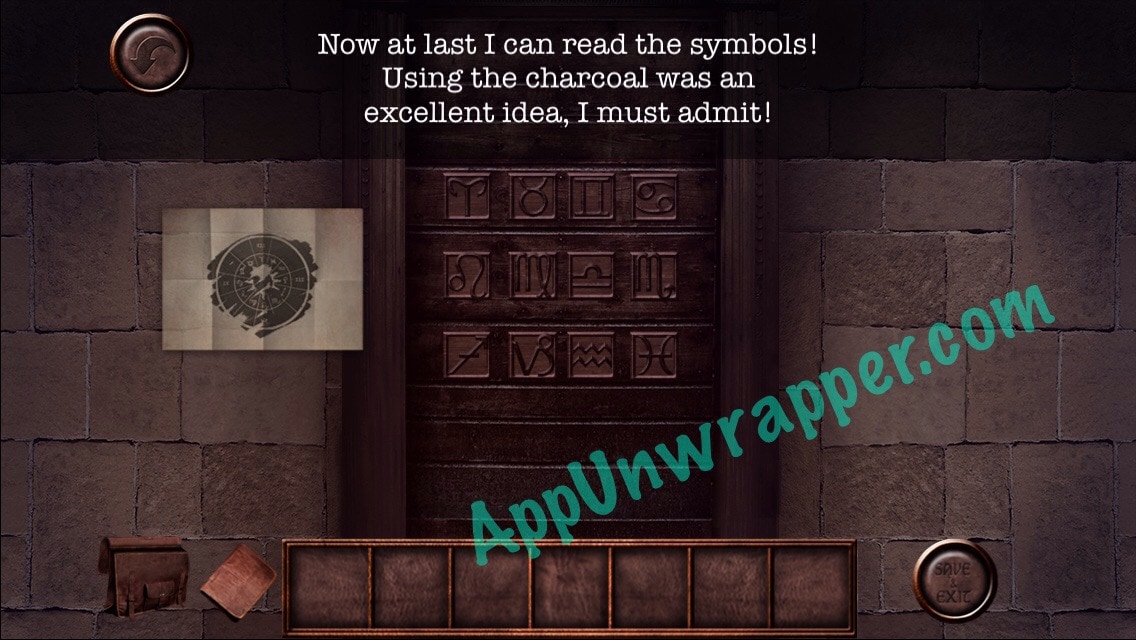
28. Place the paper on the etching to the left of the zodiac signs. Then use charcoal on it so you can see what it says. Match the Roman numerals to the zodiac signs on that paper and then press those four buttons, like so:


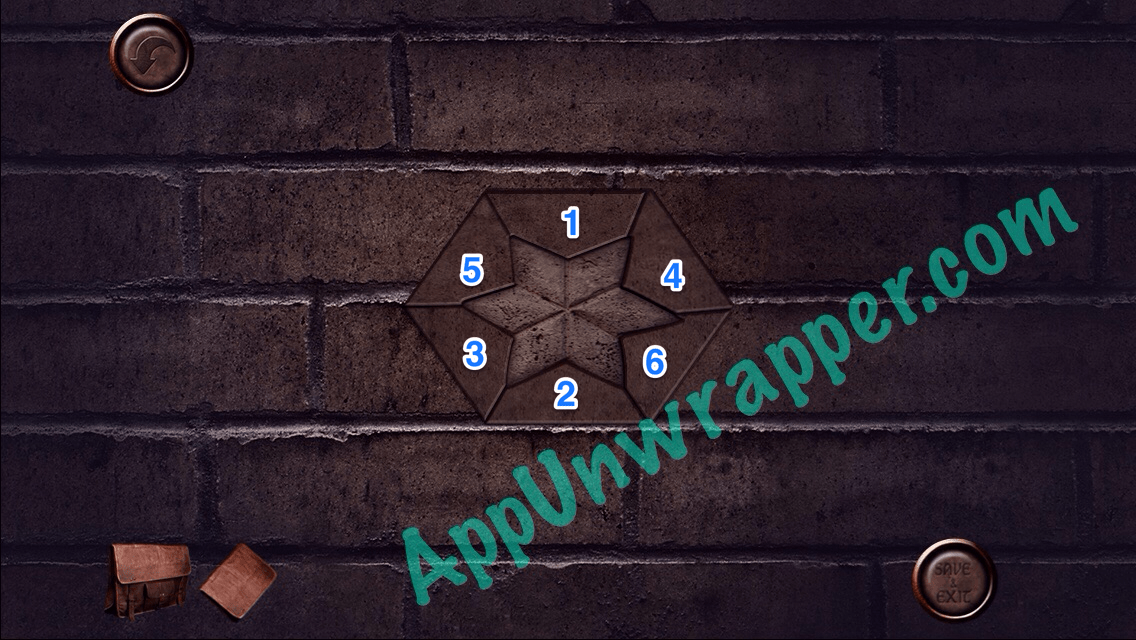
29. Go through the door. There are some frogs and a star at the end. Press the bricks around the star in this order to get the star:
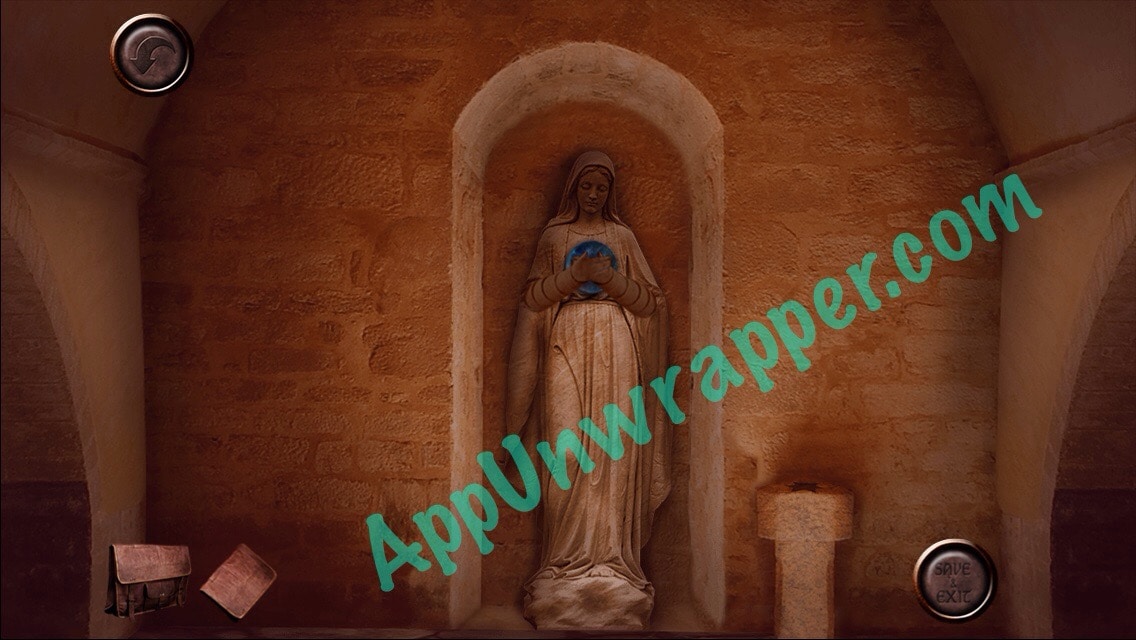
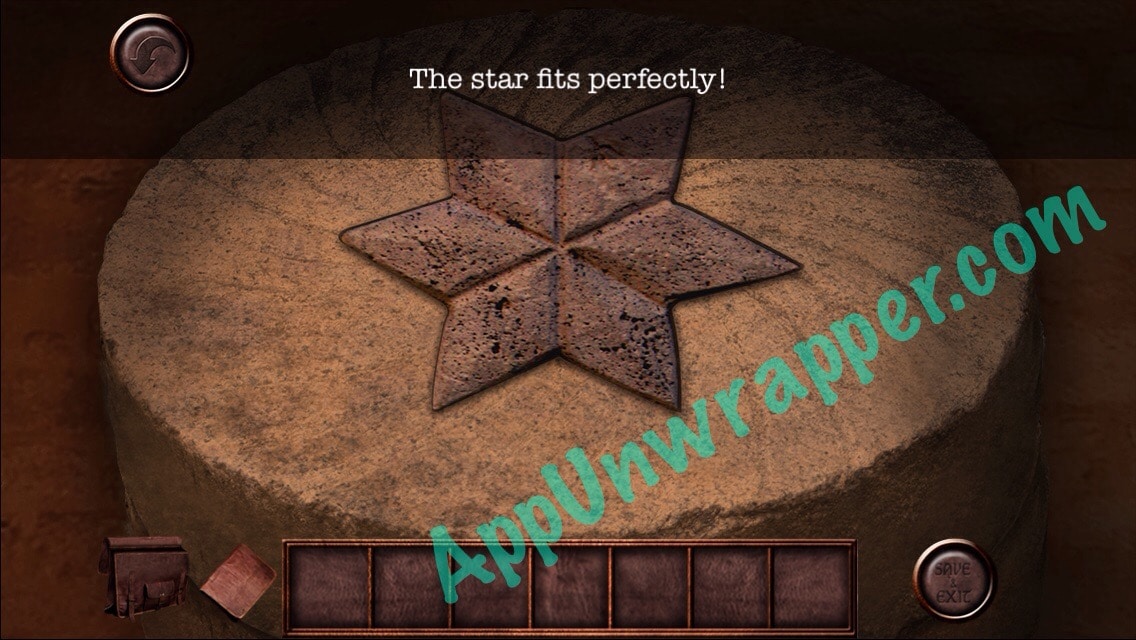
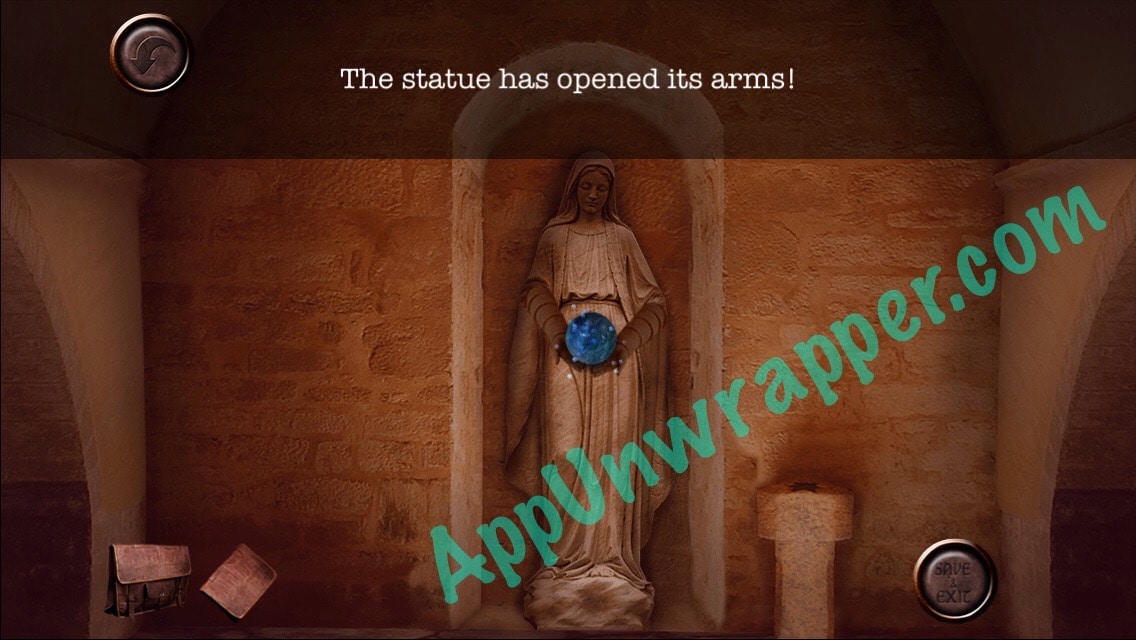
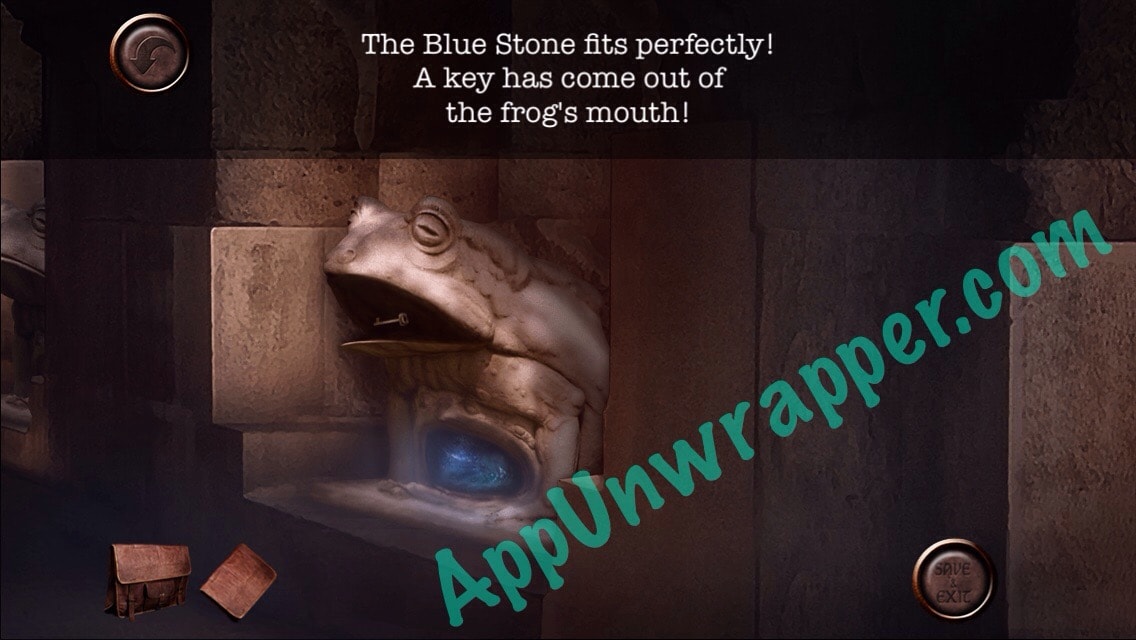
30. Place the star in the slot next to the statue and get the blue orb. Then place it in the frog’s mouth and get a key.

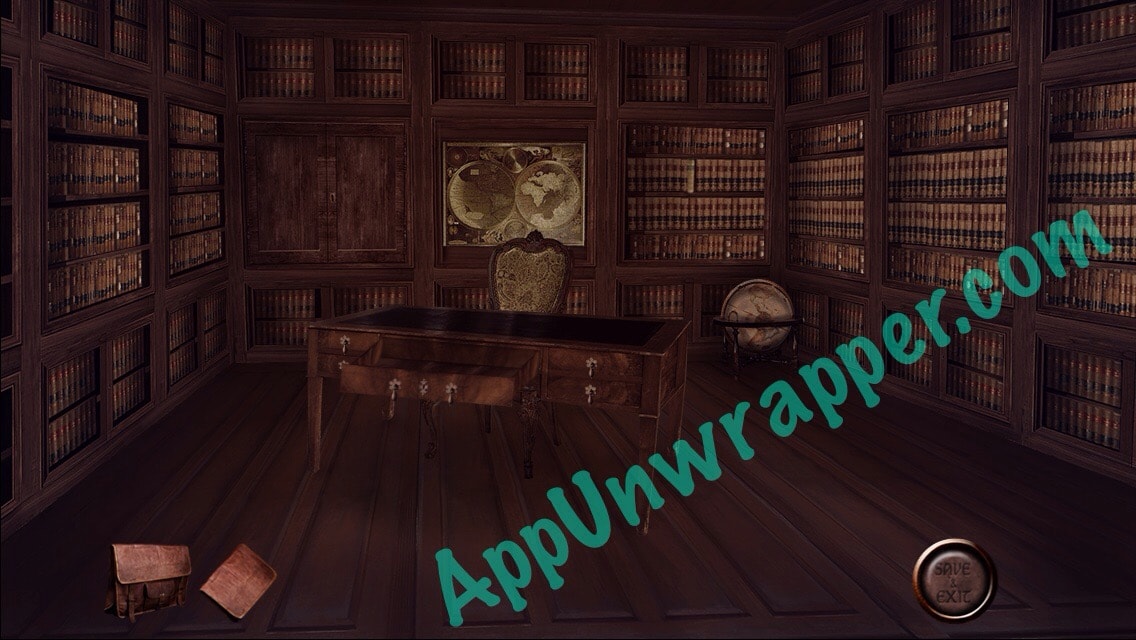
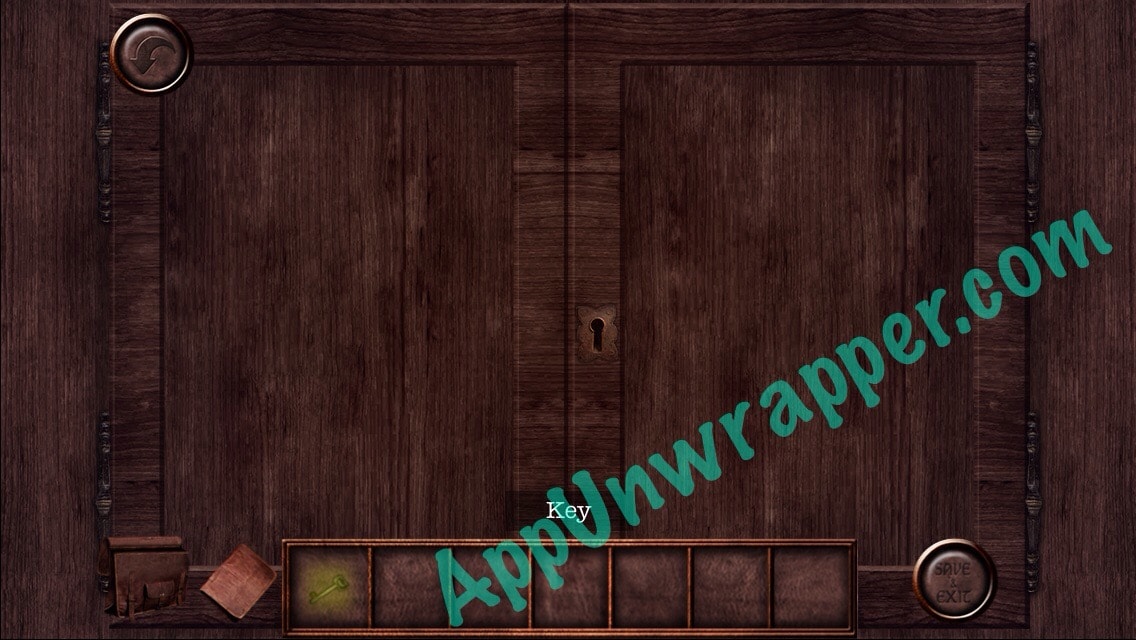
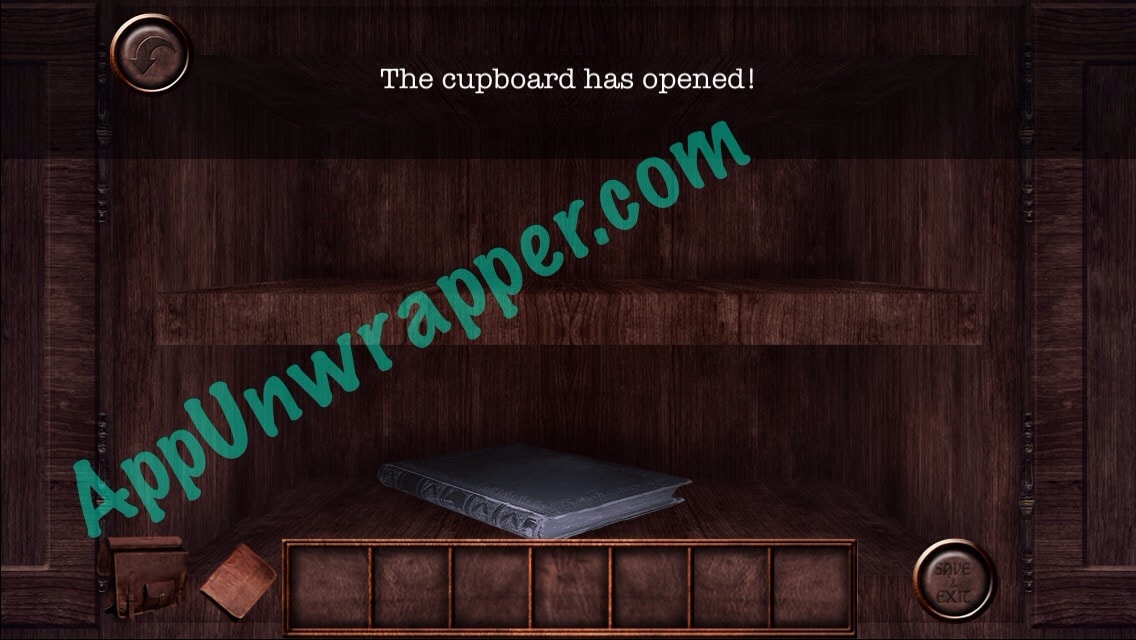
31. Go back to this room and use the key to unlock the cabinet. Get a clue from the book.
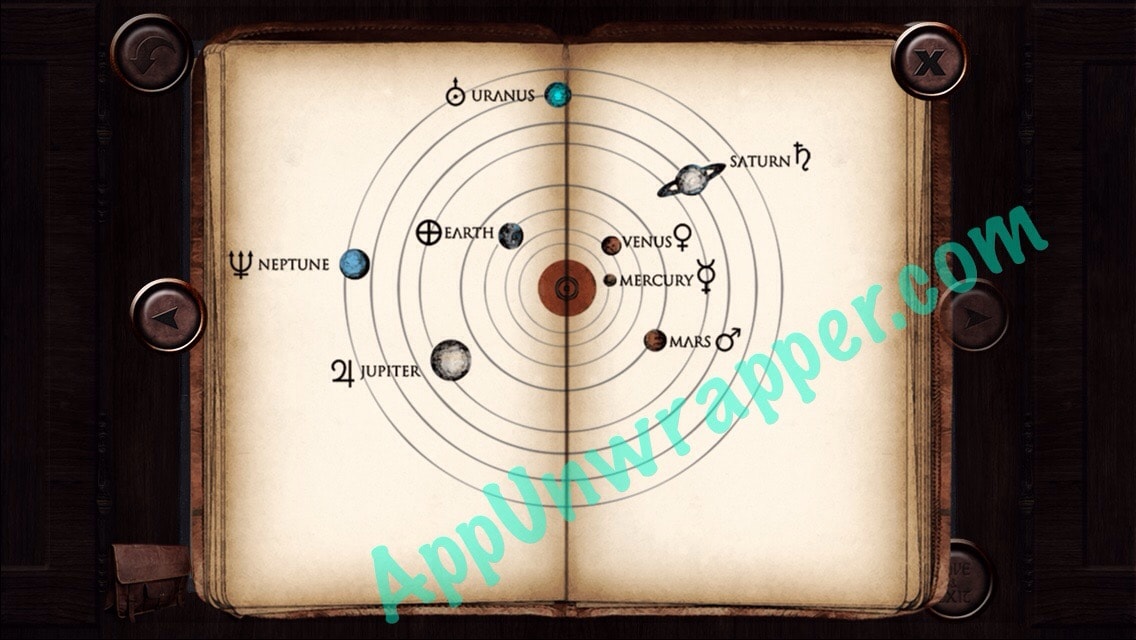
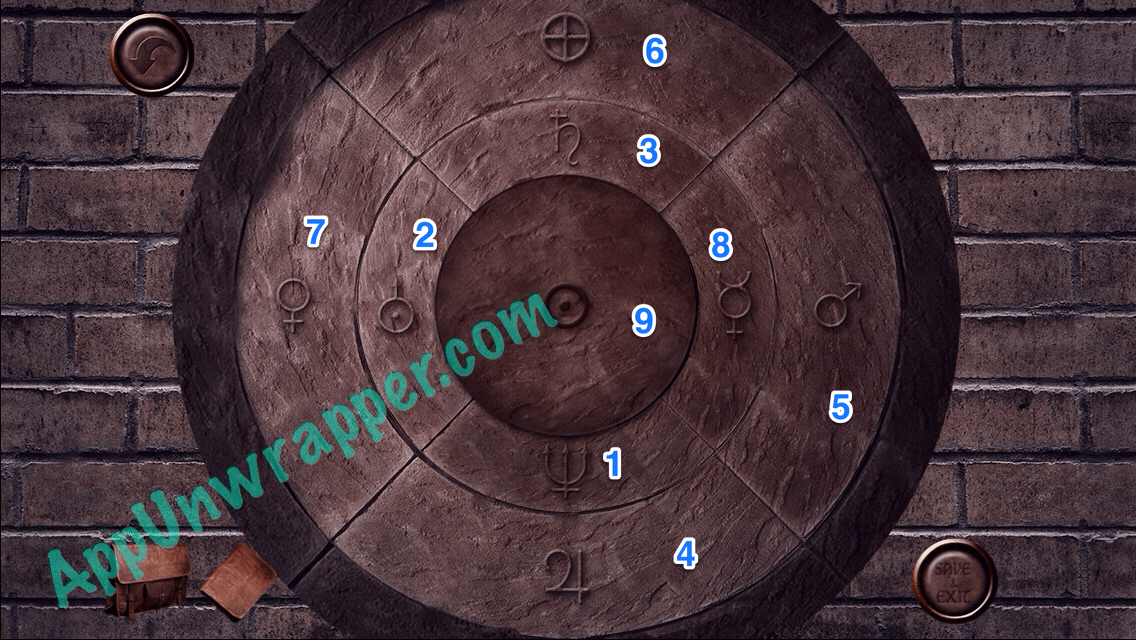
32. Go back downstairs and through the hole in the wall. Press the buttons on this wall in the order of planets farthest from the sun going inwards.
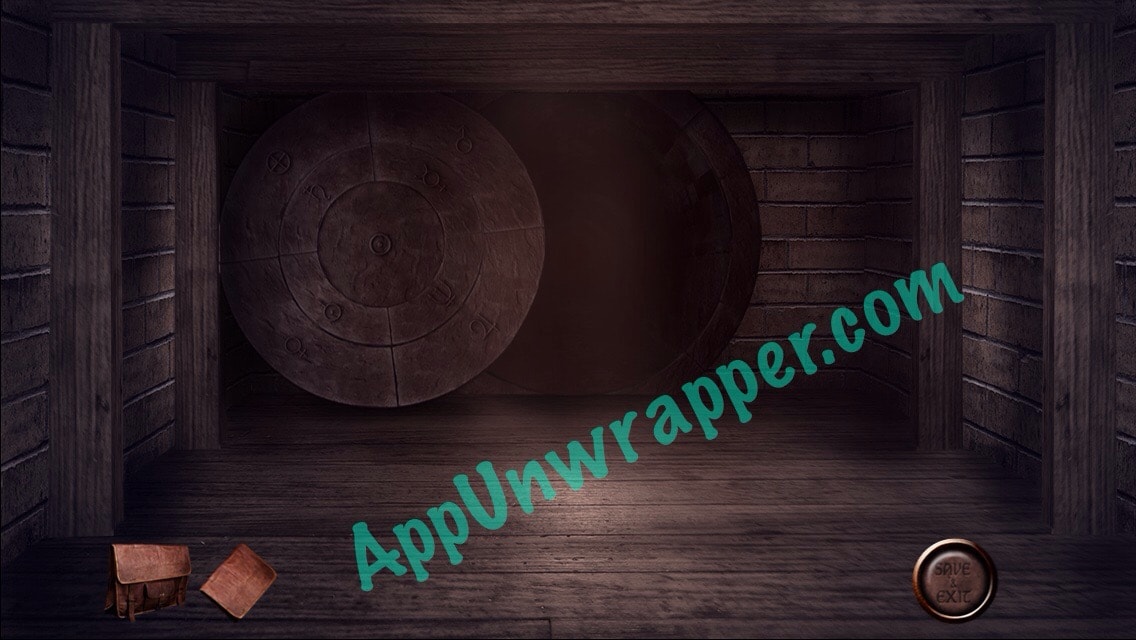
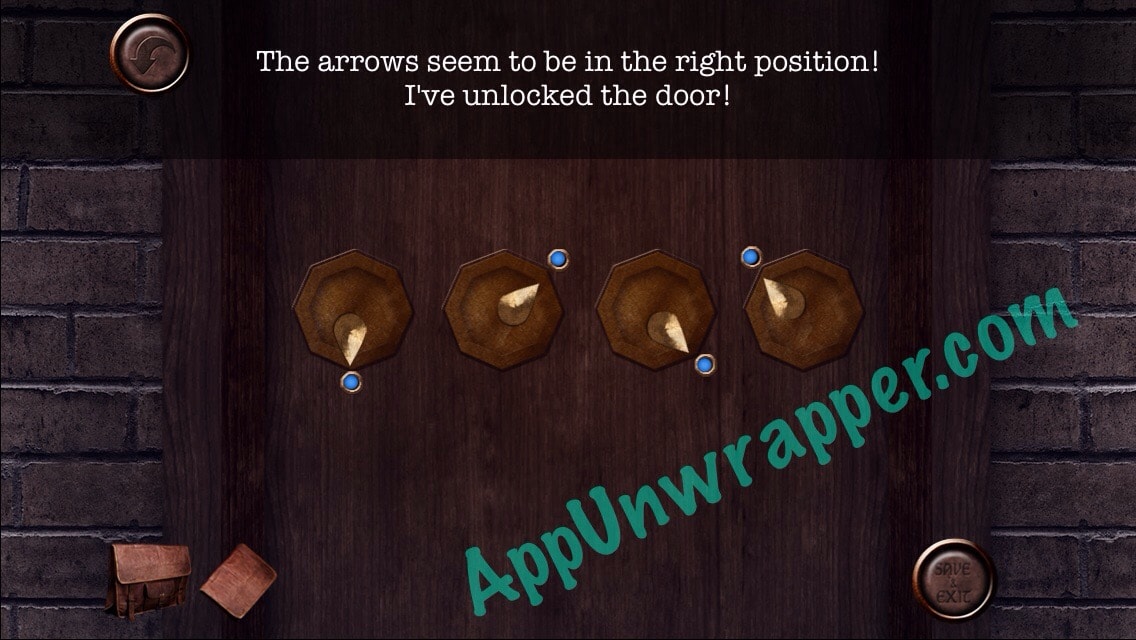
33. Go through and solve the four dials puzzle. Then go in and find Detective Campbell. Pick up the glass, the shovel and the syringe.

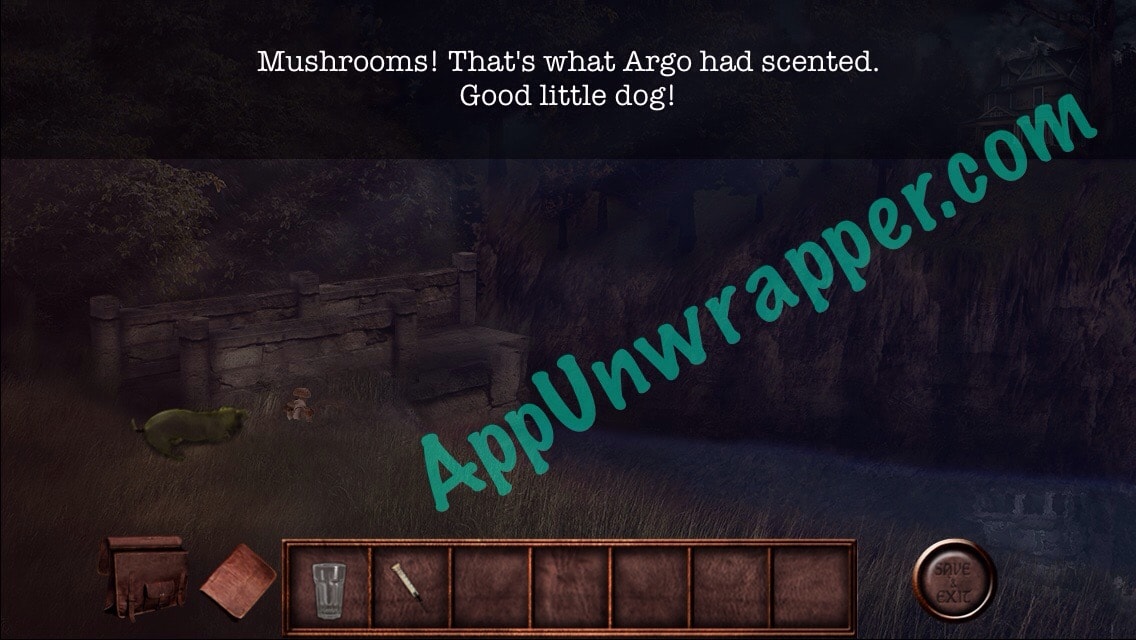
34. The dog (Argo) leaves. Follow him to the bridge. Use the shovel to dig where he’s sniffing. Grab the mushrooms.
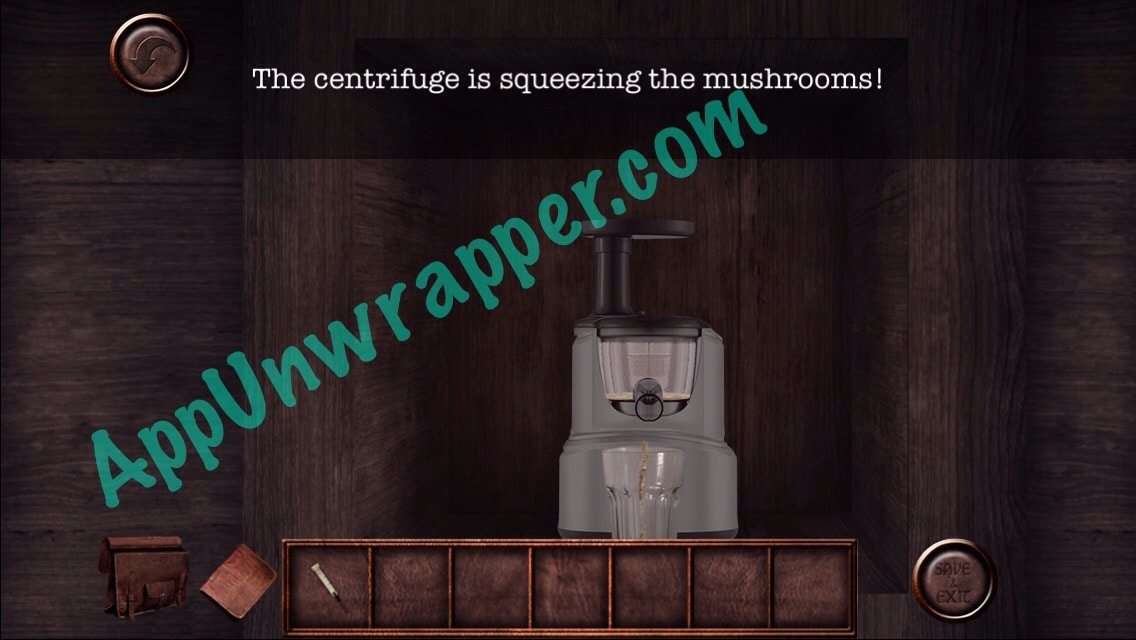
35. Go back to the kitchen and place the cup by the juicer (centrifuge) and then put the mushrooms in the top. Take the cup of mushroom juice.

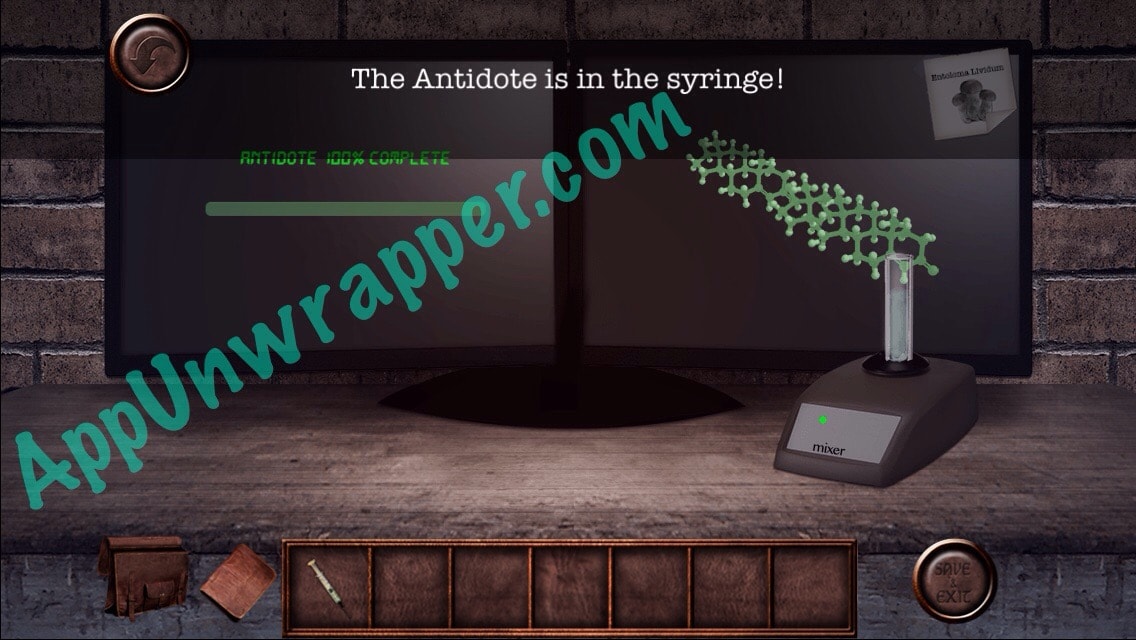
36. Go back to Campbell. Pour the juice into the antidote and put some in the syringe. Then inject both Campbell and Argo with it.
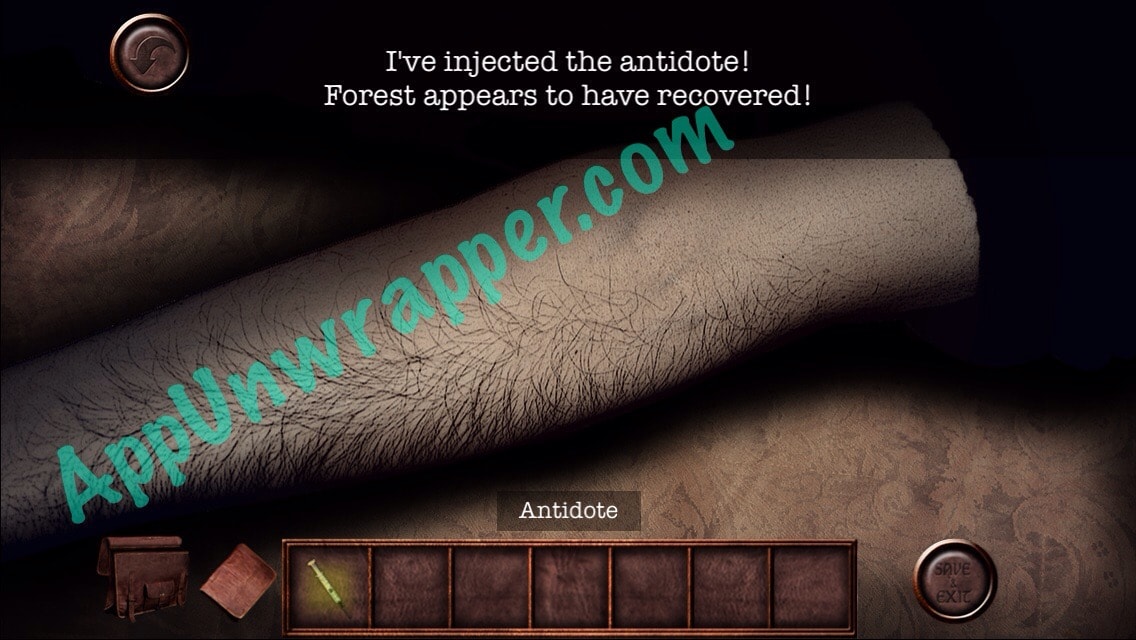
Congratulations! You completed the game! Make sure to check out Part 1 if you haven’t yet. You might also like Adventure Beyond Time and The Impossible Room.


Need the combination for the safe….I know the 4 pictures gives a clue but i’m having a time figuring the numbers…are the colors on refrigerator a clue as well?….Need help. Love the game.
can someone tell me what the sequence on the four symbols is. I am stuck and cant get any further
Working on that myself. Trying to figure out if another clue is needed to solve it.
I finished the game just now.. Maybe I can be of help?
If you mean the zodiac signs, you should correlate the Roman numerals as laid out on the board (like a clock) and enter the corresponding signs.
If you mean the mantel piece photos, you should count what’s visible in each.. But beware that the game doesn’t work unless you’ve seen them in place. That’s what stomped me for the morse code riddle. Two hours then I had to google and found this post.. Thank god. Turns out you need to learn morse in the study first 😉
Thanks. Figured that out since. I just got down to the frogs and the star in the wall. Now I’m not sure what to do. I assume I need that star to get the blue orb from the statue, but I don’t see how to do that.
What do you mean with the zodiac signs? I Don’t understand
It’s in my walthrough now. 🙂 I’m almost done, just currently stuck.
Still no idea how to get that star out. Can you throw me a hint?
Never mind!
Oh nice, Good luck. It’s where I’m stuck too,
There’s also a locked cabinet still, but don’t see a key anywhere for it.
Me neither, Still what zodiac signs did you press? I can’t see
I numbered them in one of my photos.
Still can’t see unfortunately,
Can you please tell me which ones?
You can’t tell from my photo? I’ll try also circling them on the charcoal page.
Nope can’t see,:/
I uploaded the wrong photo. Oops! Fixed now. Sorry about that!
Thank you Thank you so much,
🙂
Where is the Hole in the Wall ???
I can’t get through the cemetery door with the given sequence of symbols… Helppp. :((((
What isn’t working for you?
Thanks! Another game finished! Love happy endings!
I cant figure out the code to open the safe…….helllppppppp!!!!!
Pingback: Adventure Escape: Murder Manor (Mystery Room, Doors, and Floors Detective Story!): Walkthrough Chapter 9 | App Unwrapper