The Lost Fountain
By: MediaCity Games
 [DKB url=”https://www.appunwrapper.com/LostFountain” text=”Download” title=”” type=”” style=”” color=”green” width=”” opennewwindow=”” nofollow=””]
This is a complete step-by-step walkthrough for The Lost Fountain by MediaCity Games. Feel free to ask for help in the comments section.
I will use the letters of each area (seen in the map) to help direct you to the right place. For example, if I want you to go to the Area A – Deep Jungle, screen 21, I’ll say A21. B is Archaeological Site, C is Mystic Swamps, D is Lost Ruins, E is Swamp Ruins, and F is Risky Mountains.
Walkthrough:
Looking for part 1 of the walkthrough?
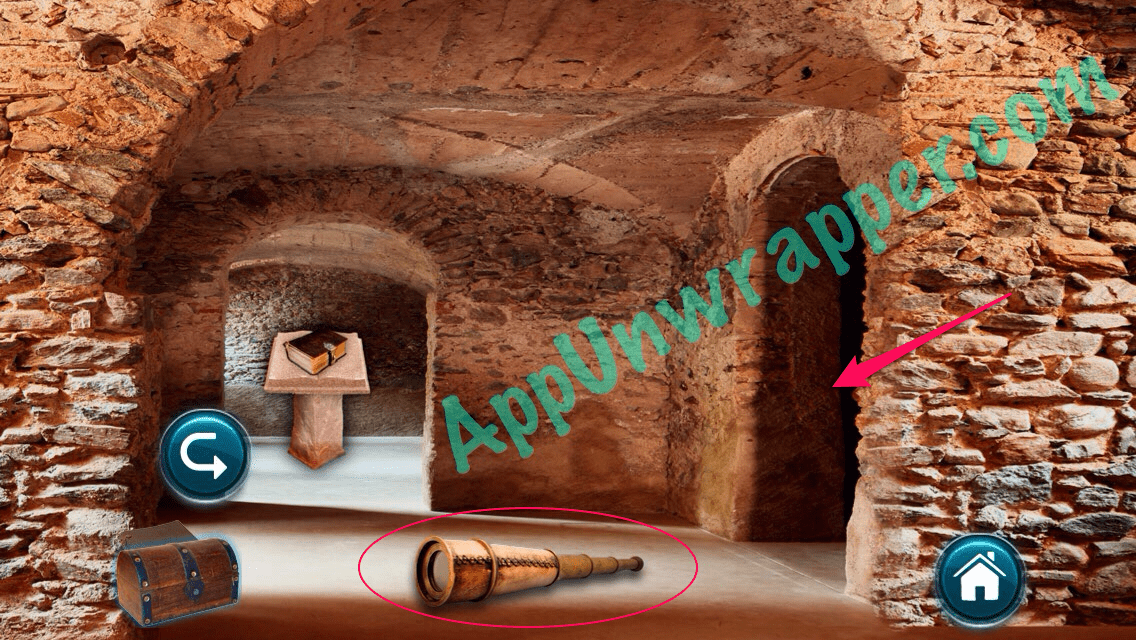
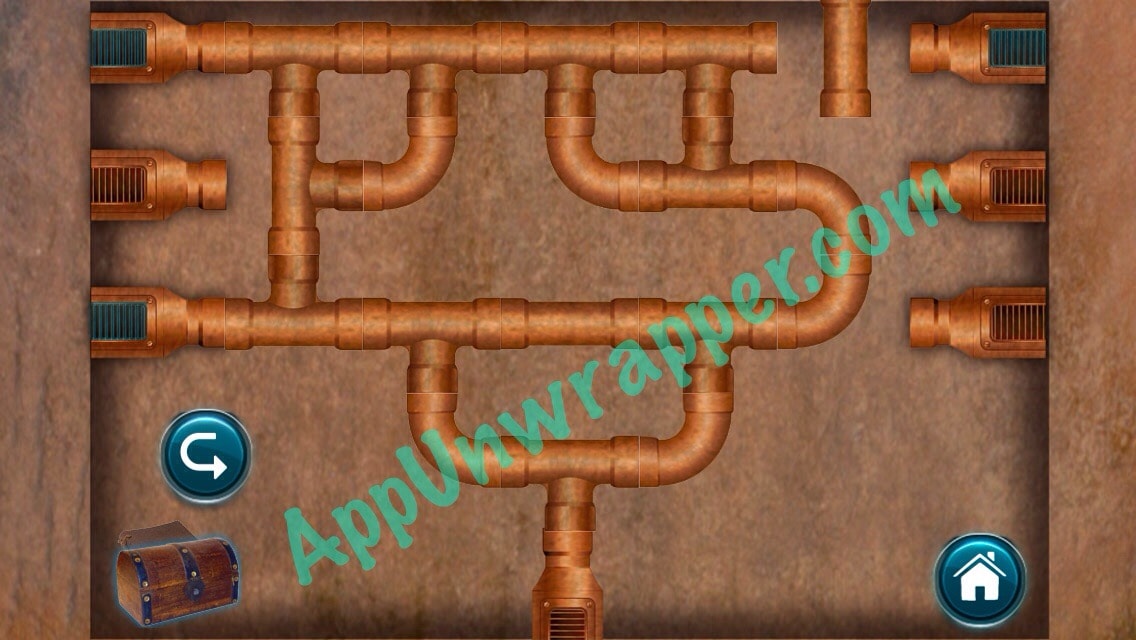
44. In E16, pick up the telescope and go through the right doorway to E17. Solve the pipes puzzle by connecting them all with no gaps. You can use the photo below, but one pipe to the left needs to be rotated. You will be shown the water draining around the temple.


You can also watch my video for this part of the walkthrough here:
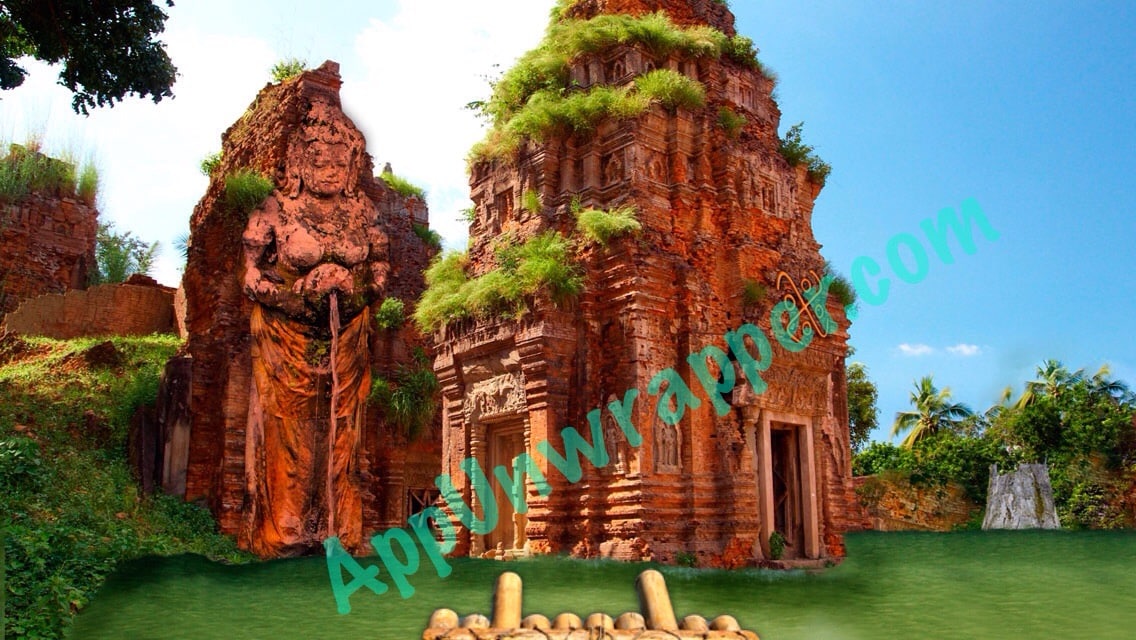
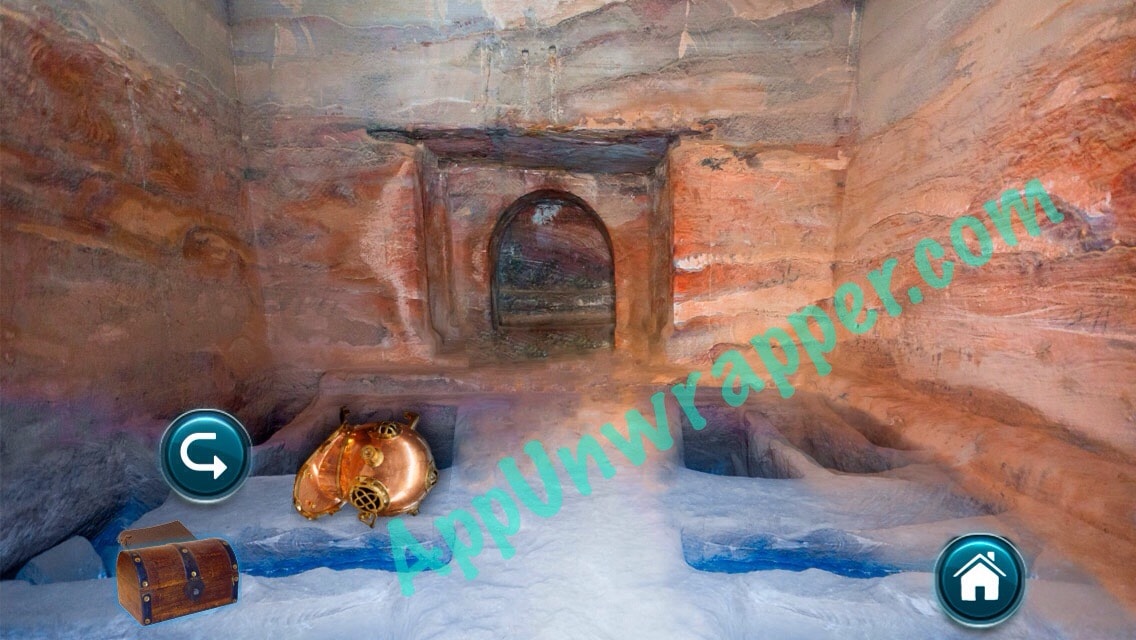
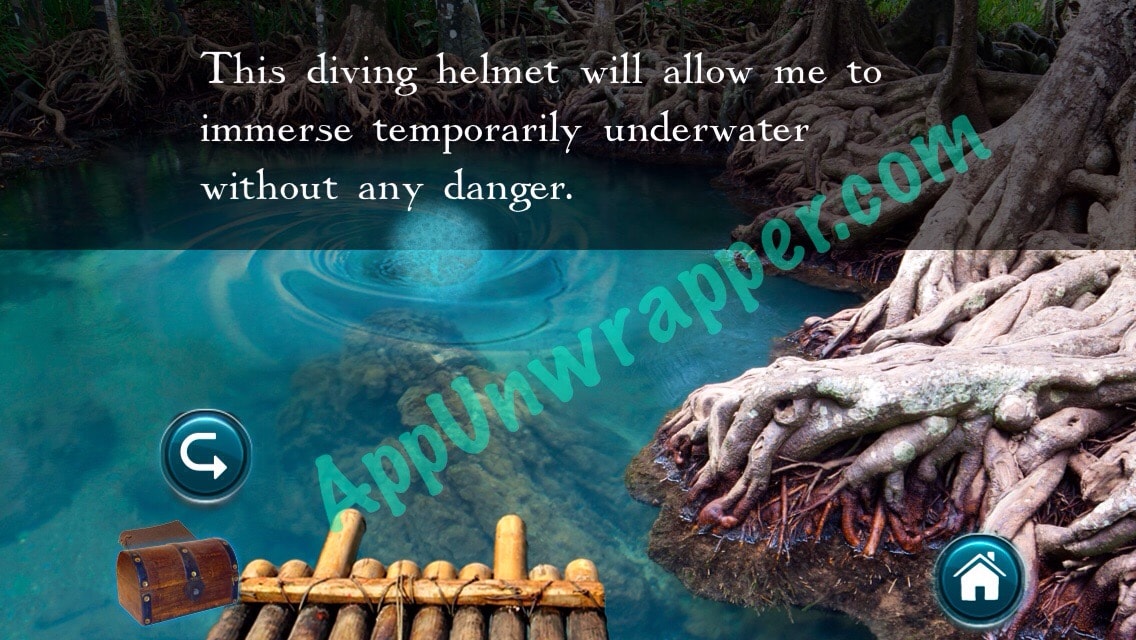
45. Go back to the temple at the center of C1. Go through the right door to C7. Use the crowbar to move the wooden column and then take it. Go through to C8. Pick up the diving helmet.
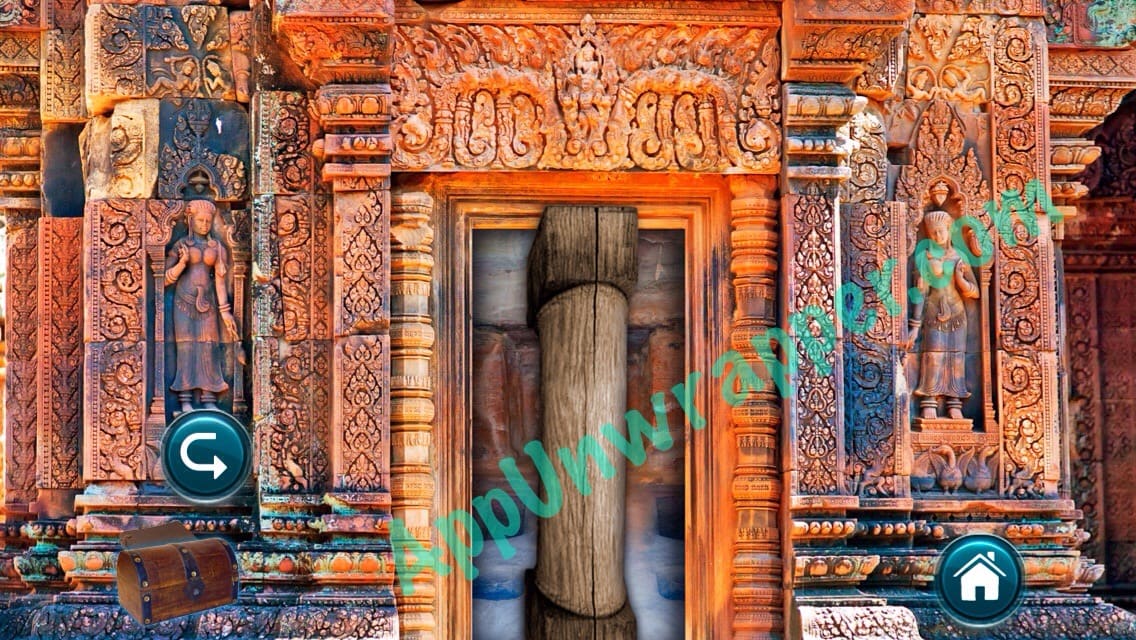
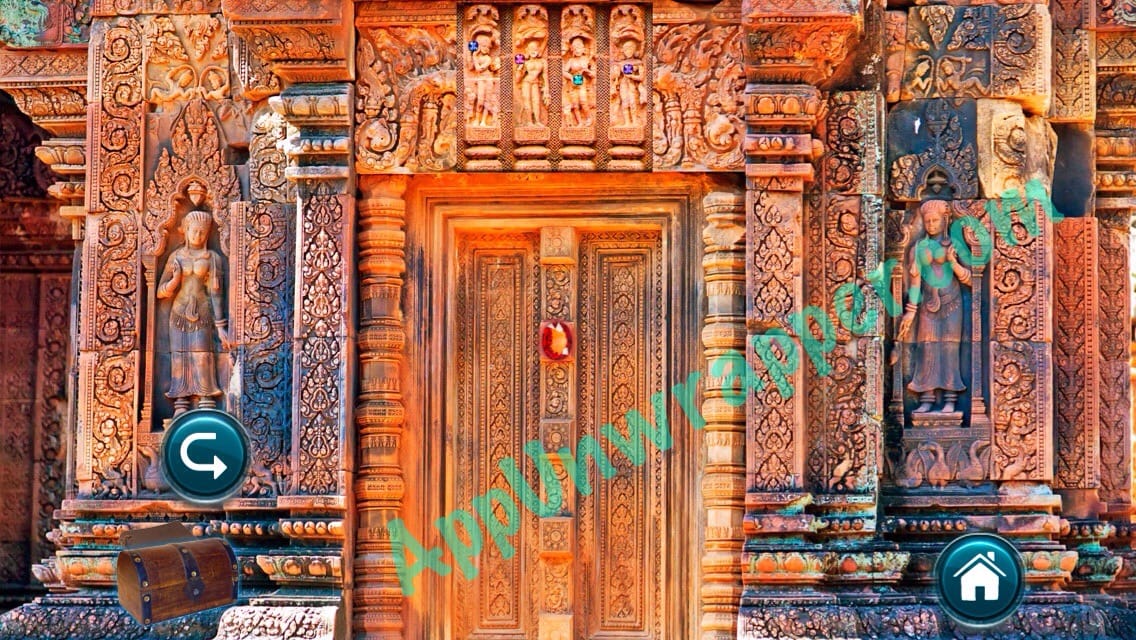
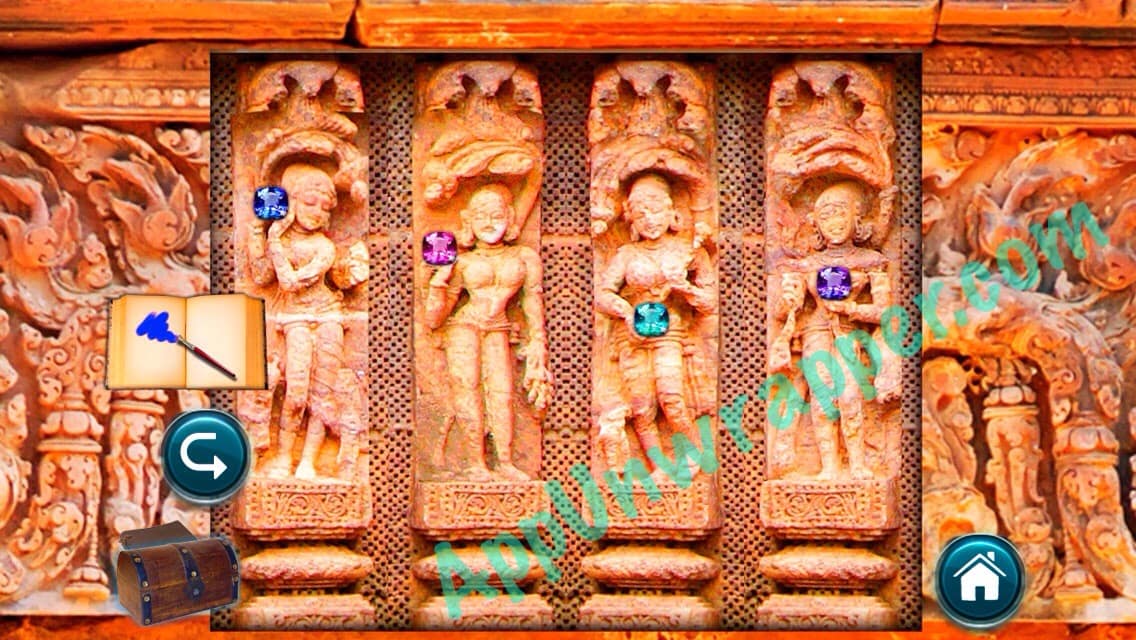
46. Leave and tap on the left door. Use the knife to get the red gem off the door and tap on the figures above the door to get another clue for your journal.
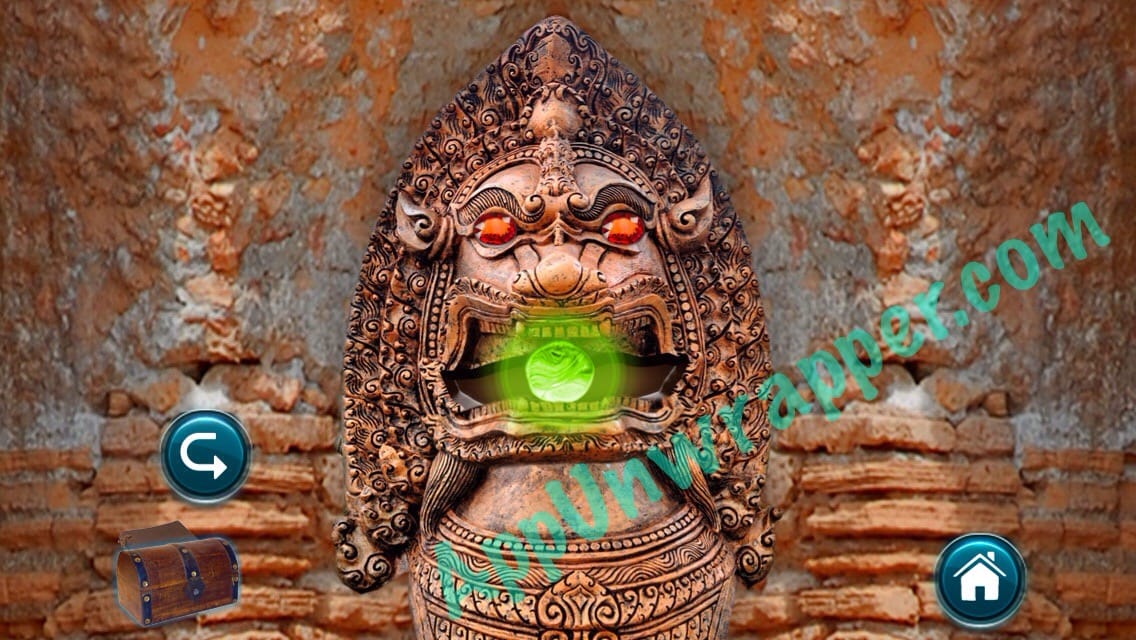
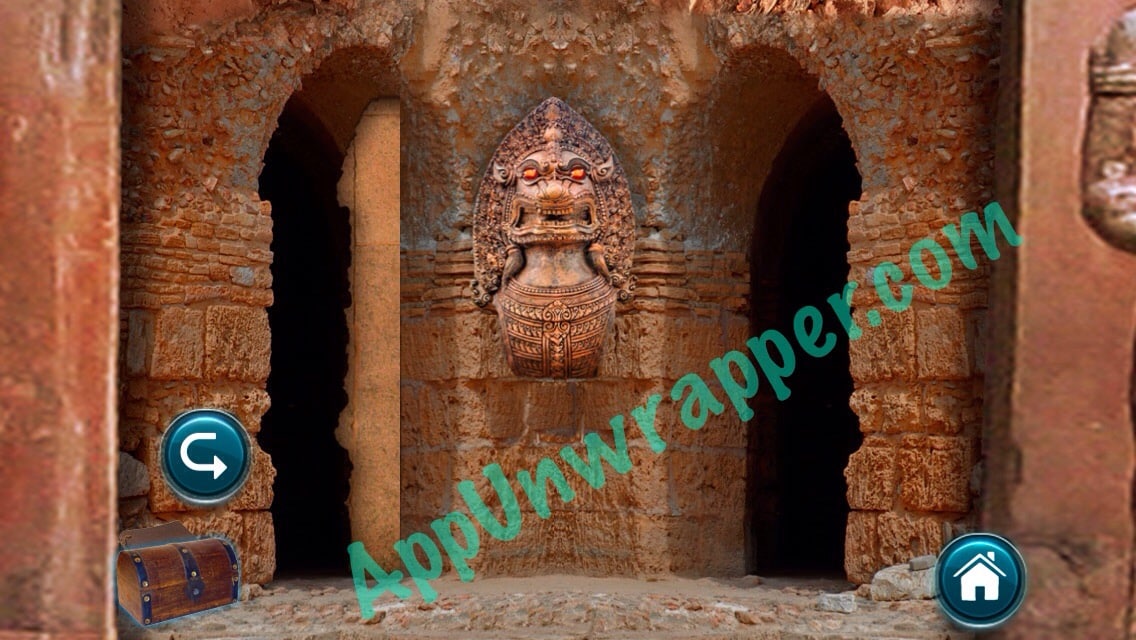
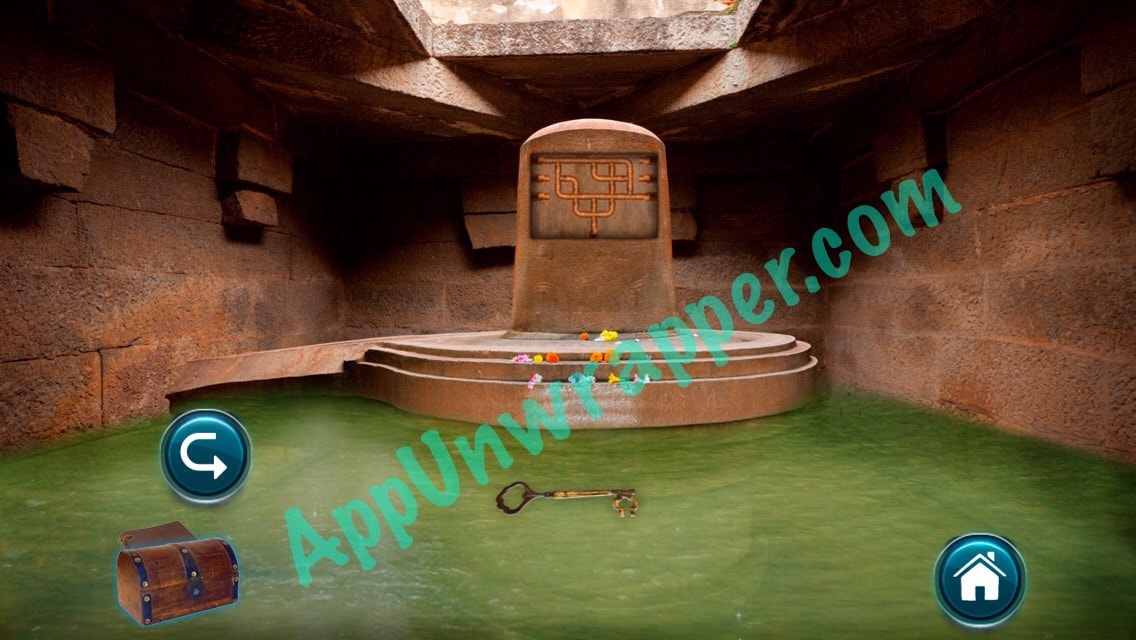
47. Go back to the lion head at E14. Place the red gem in the left eye socket and take the green orb. Go through the left door to E22 and through the left doorway to E23. Solve another pipes puzzle (my photo below just needs the piece on the right rotated) and the water will drain from the area in the Lost Ruins. Take the wooden key that floats up.
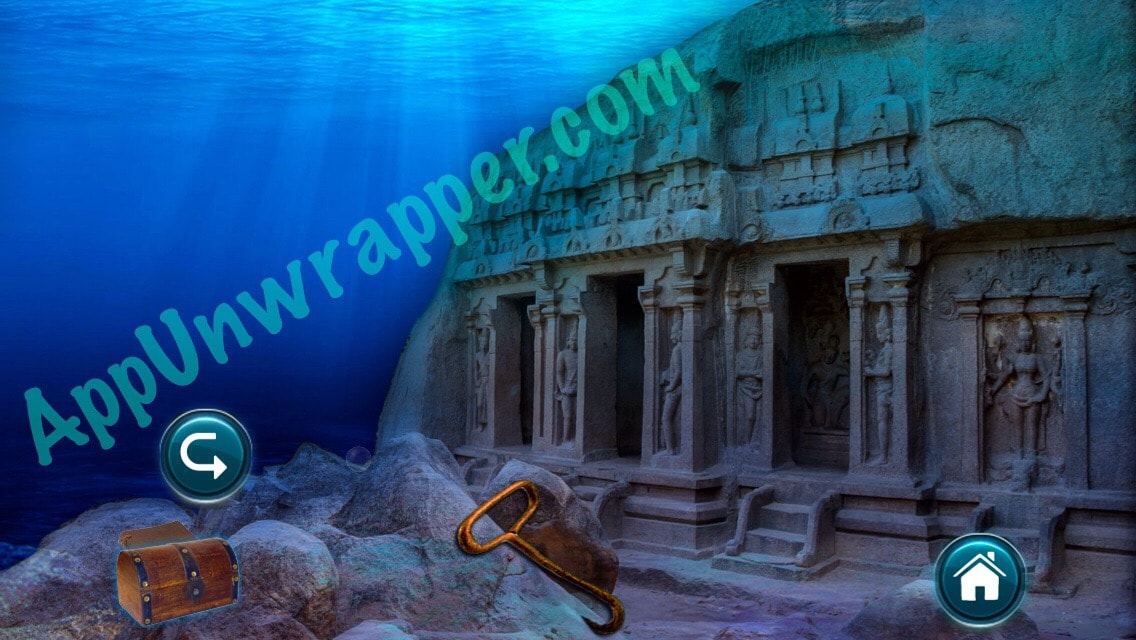
48. Go back to C16 and tap on the stone object with a red eye on it (C17). Use the red glasses on it to see a clue. Then go back to C16 and right to C20. Use the diving helmet to go underwater to C21. Pick up the hook.
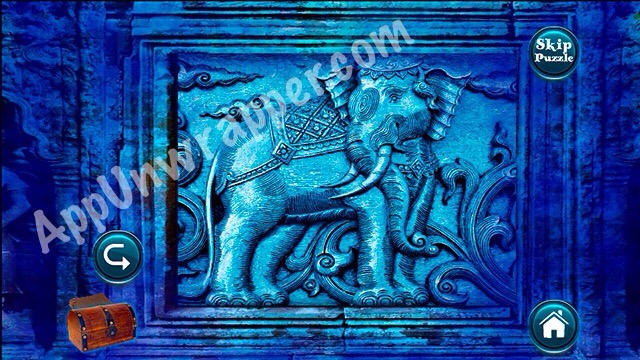
49. Tap on the door to the right. There’s a puzzle here, where you have to swap the tiles to make an image of an elephant. The catch is, you’re on a timer because you have to go up for air after a certain amount of time. Luckily, you can skip this puzzle if you’re having too much trouble with it.
You might also like Panmorphia.
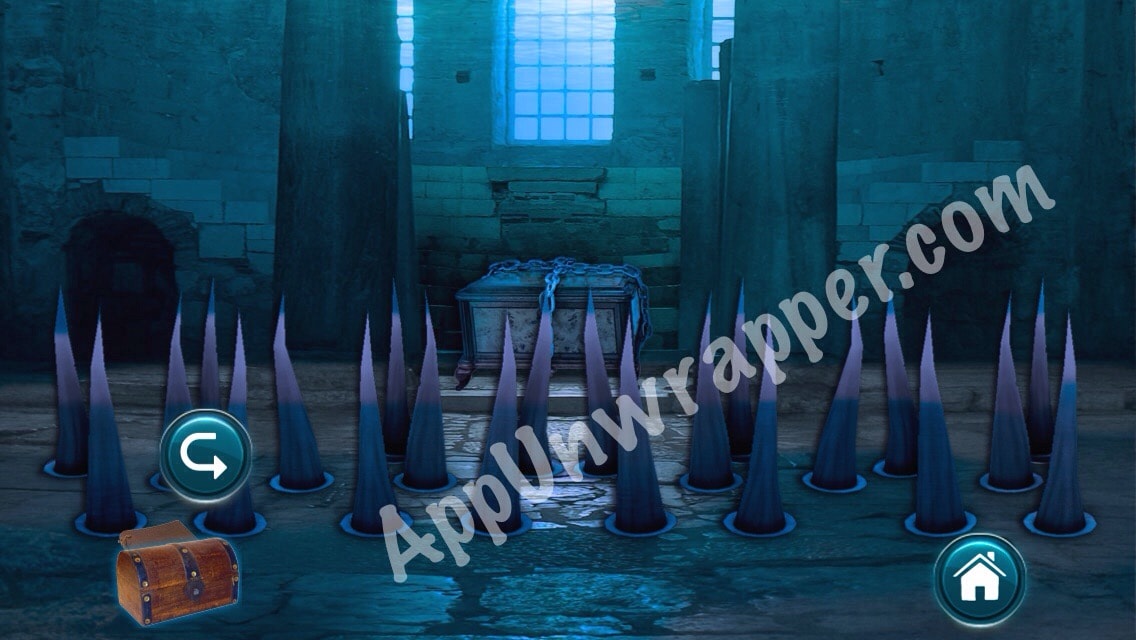
50. Go through to 23. There’s a trap! We’ll have to come back to this later.
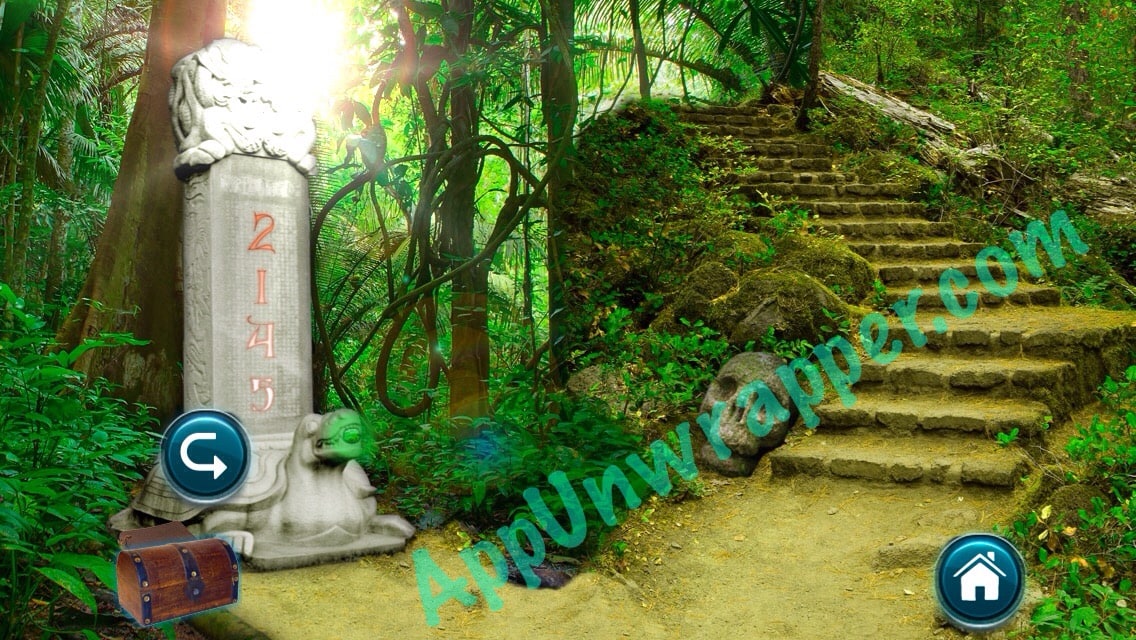
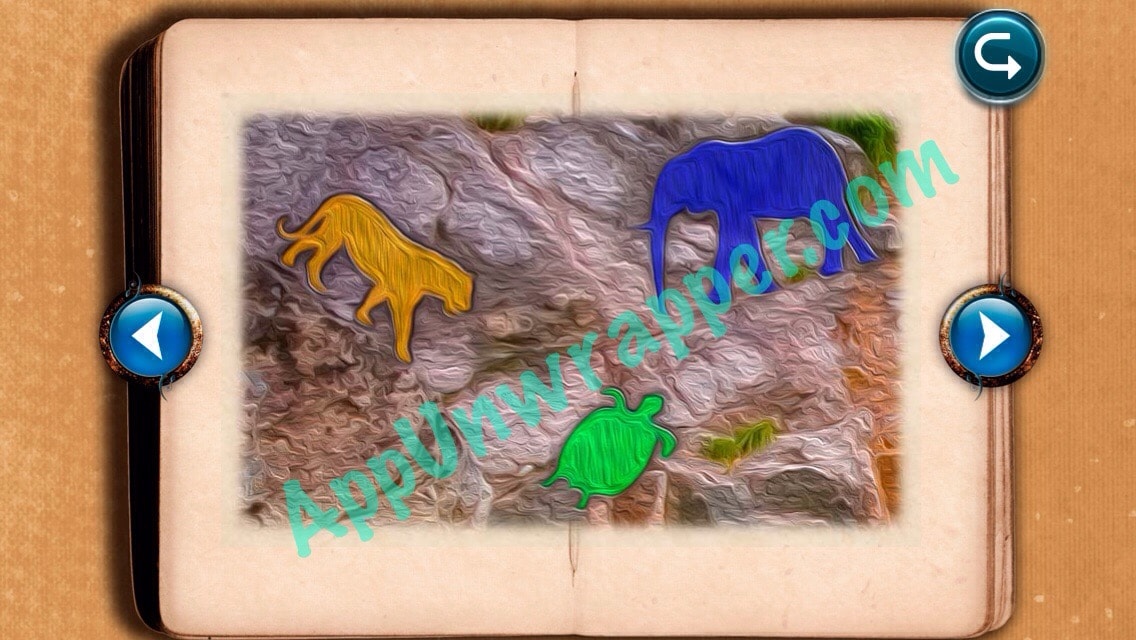
51. Go back to A3 and place the green orb in the stone turtle’s mouth. Part of the statue will extend, giving you another clue.
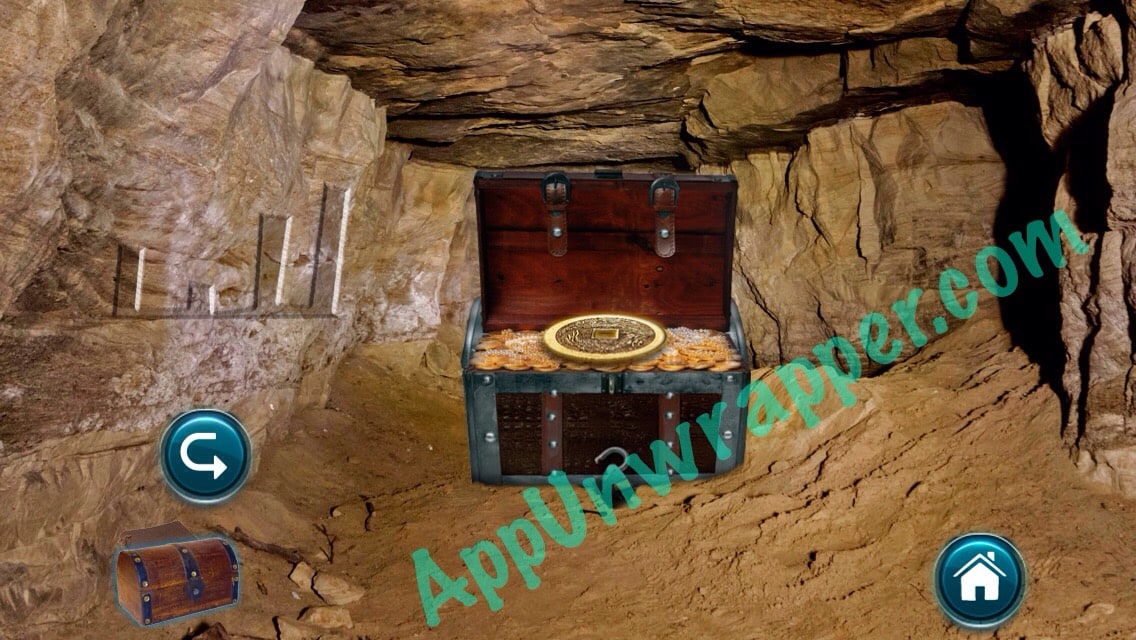
52. Go back to B22 and use the wooden key to open the chest and get the golden medallion.
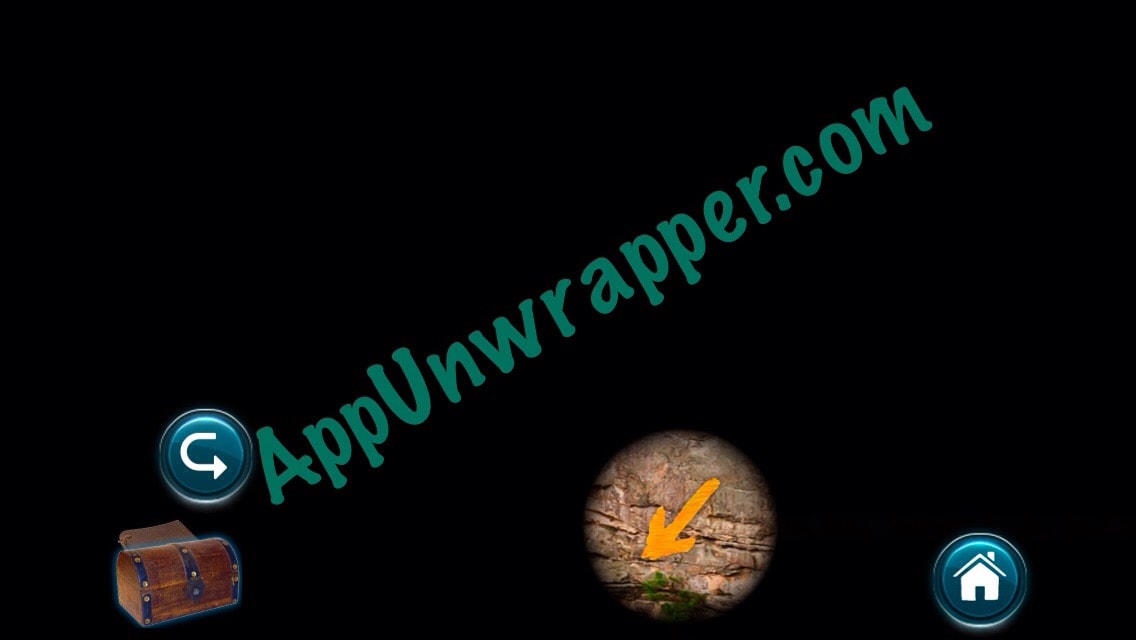
53. Go back to D11 and place the telescope on the stand. Move it around to find three arrows. Make sure to tap each arrow so they get entered into your journal.


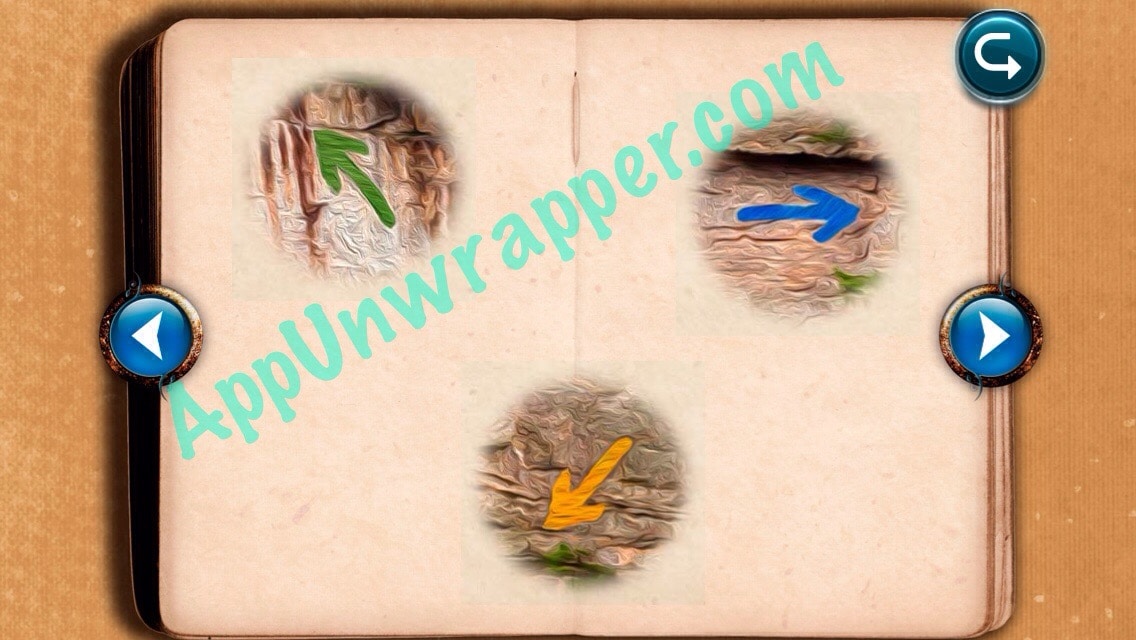
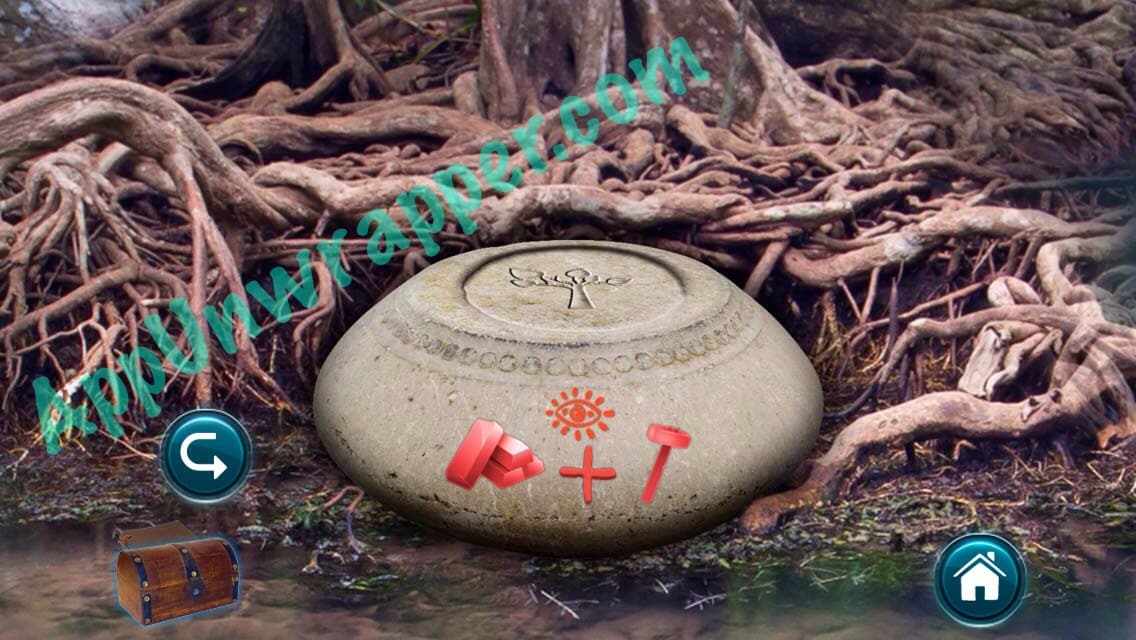
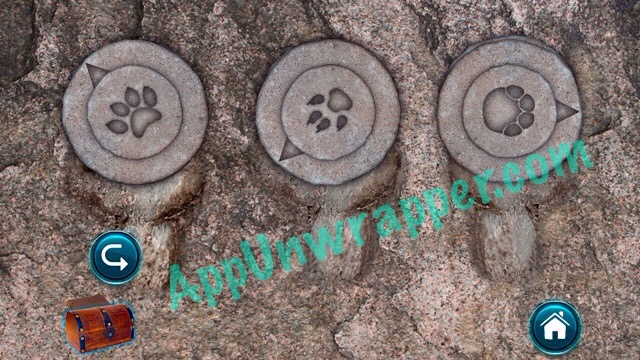
54. Go back to the hidden area behind the mossy rock (A12) and use the arrows plus the animal paintings from the cave wall to unlock the chest. Grab the gears and the small key.
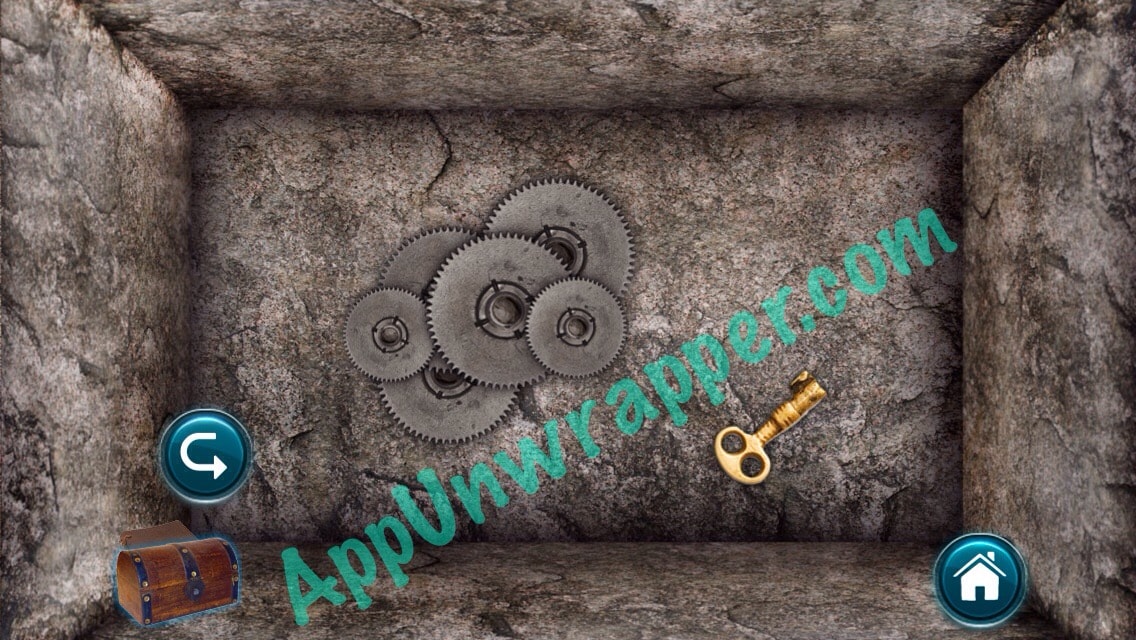
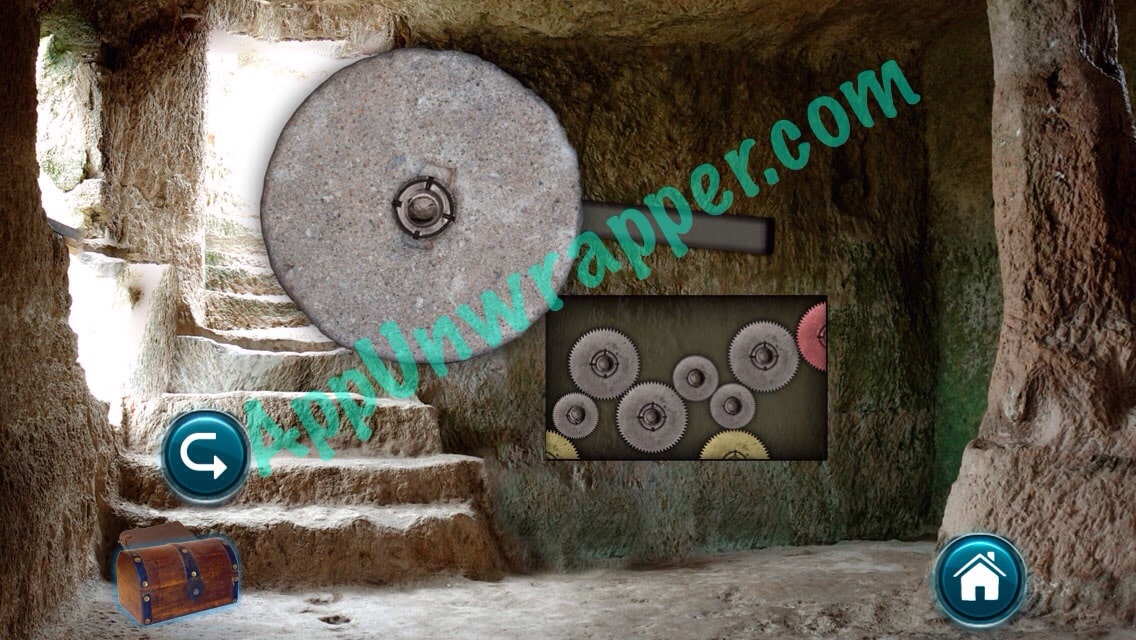
55. Go back to A8 and walk through the mouth to A9. Use the crowbar to open the panel. Now you have to arrange all the gears you got so they activate the mechanism that opens the door.
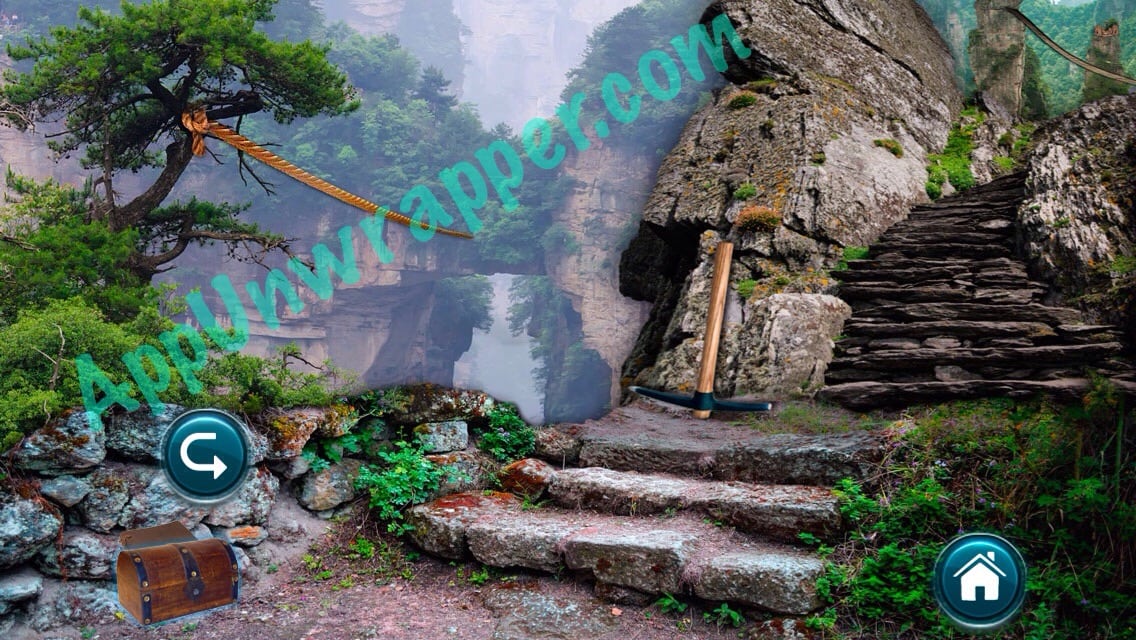
56. Go through the door the Risky Mountains F1 and grab the pickaxe. Also, place the hook on the rope hanging above.
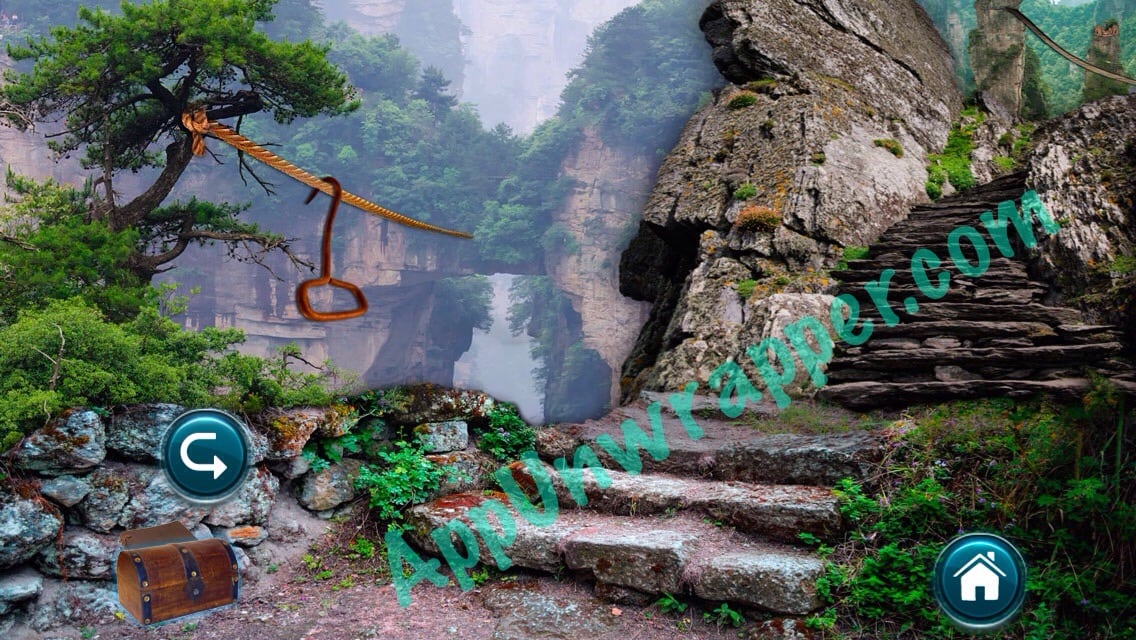
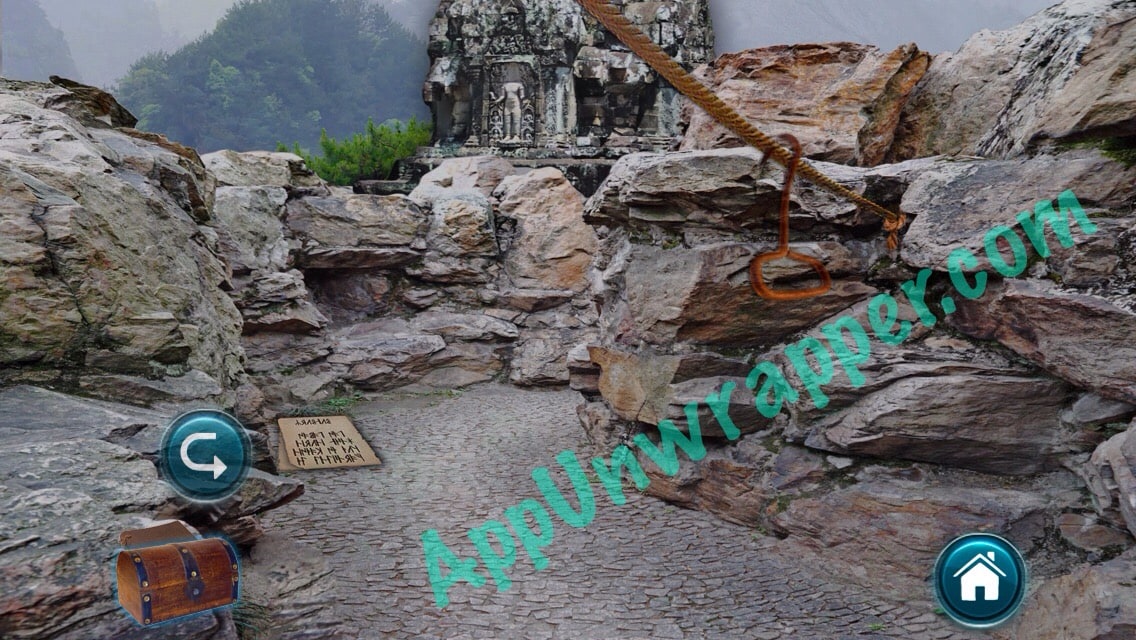
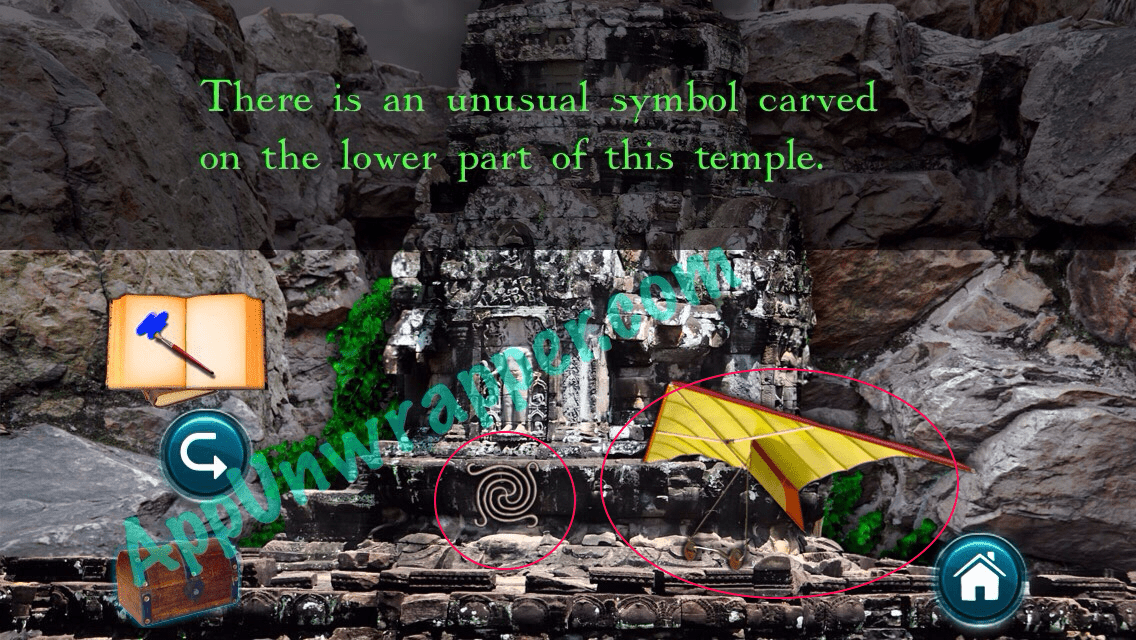
57. Use the hook to slide down the rope to a new area (F2). Read the Day 7 note on the ground. Then tap on the temple to go to F3. Take the hang glider and tap on the symbol on the temple to get another clue for your journal. You can continue to F4, but there isn’t much you can do there right now.

hello. I’m stuck at pipe puzzle. Walkthrough Part 4 (44)
I did exactly same as you shown photo but water won’t draining at all.
no reaction.
I wonder if there are any soulution for it.
The pipe that’s connecting the middle vent all the way to the left needs to be switched so it’s not connected. Everything else in the picture here is right. Only the 2 blue should be connected