The Lost Treasure Island 3D – Escape Adventure Puzzle Game
By: Jeffrey Canavan
This will be a walkthrough guide with hints, tips and tricks for the iOS and Android game The Lost Treasure Island 3D by Jeffrey Canavan. It’s a work in progress, so please bear with me. Feel free to ask for help on the comments section.
Walkthrough:
Note: I recommend using the glowing circles to travel distances. Just tap them to move ahead. It’s much easier than walking.
1. Find the letter in a bottle and read it.

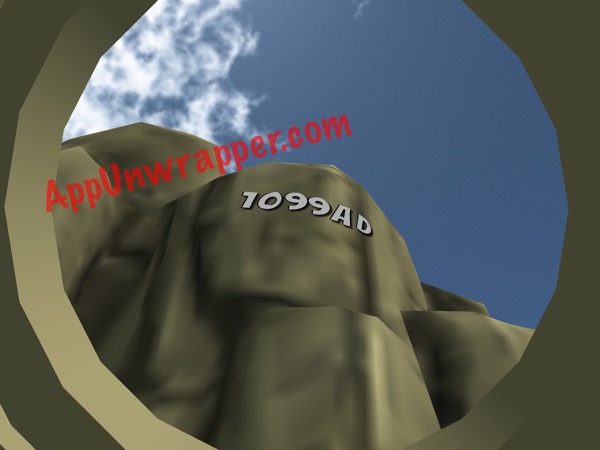
2. Find the telescope. You can see the jaguar through it. Tilt it upwards to see “1099 AD” written on a cliff side.
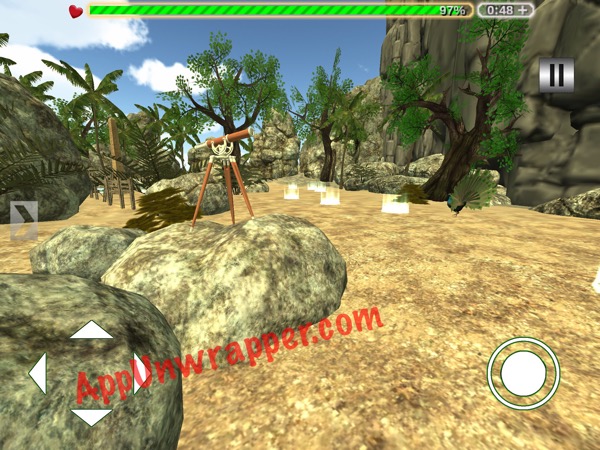
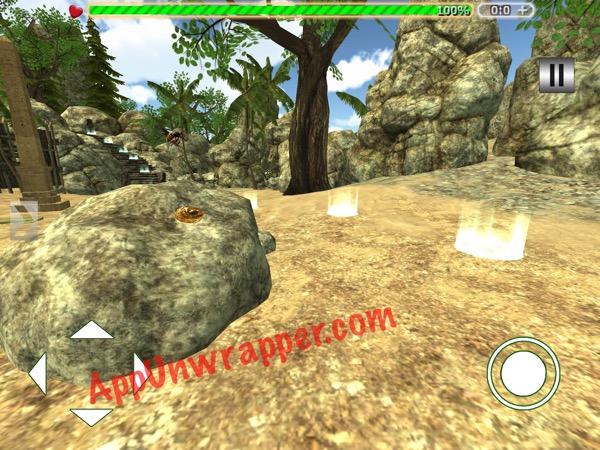
3. There’s a coin on a rock nearby, but there’s also a bee by it. If you get stung, you’ll get injured and need to heal. Same goes with getting close to the jaguar. So ignore the coin.
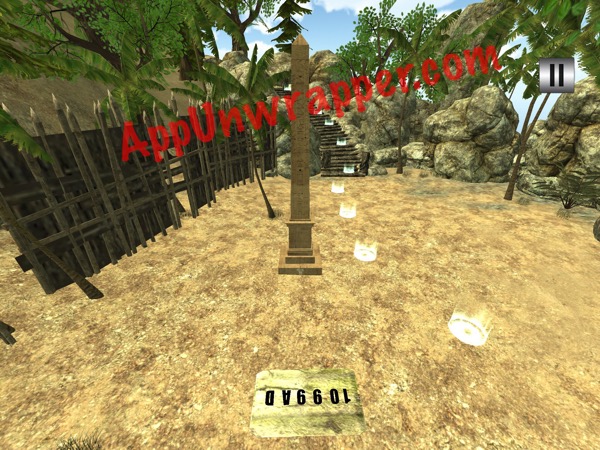
4. Continue on to an obelisk. Press the three buttons at the base separately and it will etch out “1099 AD.” Same clue as before.
5. Continue on. Be careful of this puzzle — it’s a trap. The numbers on the left are worn with age and need to be pressed in a specific order. If you choose the wrong stones, arrows will shoot you from the right side. There are two places to find the answer to this. The Tall Stone Obelisk before this puzzle and the telescope both have the answer, which is the year Γò¼├┤Γö£├ºΓö¼├║1099Γò¼├┤Γö£├ºΓö¼├æ. So press 1, 0, 9. Then wait for the 9 to rise back up. Press it again. When you take the book, you’ll fall through the floor.
6. As you’re falling, pay attention to the “TAP” commands and tap the circles to minimize the damage you take.
7. When you land, find your way to the chest and the pedestal. There are worn buttons on the chest where the keyhole should be. Inside is a letter and a gold coin. The gold coins can be used to open hints or speed up your healing. The second puzzle is a drawer, which opens when you slide the corner which looks different. Inside are two gold coins.
8. The door is is locked and doesn’t have a keyhole. You also don’t have a key. The door is opened by examining the stones surrounding the door. One stone is different on the right side, and if you press it in, it will open the door.
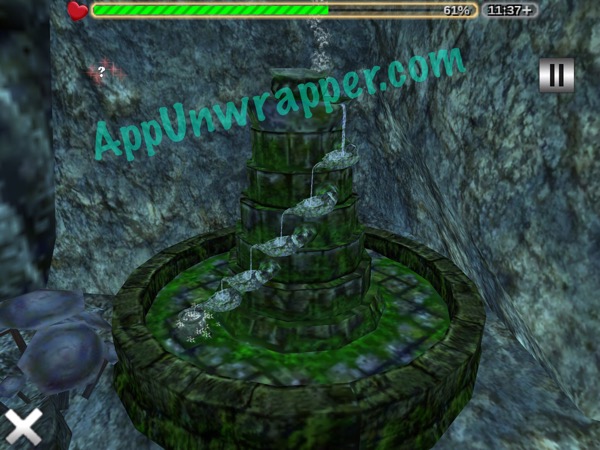
9. In the next room is a green fountain. Press the green man stone above the fountain to start the water running. Then slide the cups so the water flows downward to the left into the cup. When the cup is filled with water, it opens a pressure plate which opens the door. There’s also a lever in the room. Turn on your sound (or wear headphones) and then pull the lever. There’s also another letter in the room.
10. Go through the door to the next room. As you enter, there are two large crossbows. They are on your left and right. Tap each. When you are in back of each one, you will notice that the circle aims the device. You must move them until they are aimed at the key and turn green. Then fire the crossbow. Do this for both of them to shoot down the two keys. Once you shoot down the keys, go find them. This should be done fast because the bats will attack you. You can usually repel the animal attack by tapping on them. One you get to the end, use one of the keys to open the door.
11. There will be 3 puzzles before this bridge. The one on the left is a puzzle box that comtains a few gold coins. The black and white box on the left contains a gem. Then cross the bridge. Watch out for the caltrops, which are like spikes. If you run into them, they are everywhere, they will hurt you.
12. At the end of the bridge if a box. Open that for the ax. Beyond this is a door should be opened to go to the next room. But you need a key to open it. There are curious objects in this room, including a telescope.
13. To the left of the bridge is a cave. Look at the floor! You will find a free coin. Some rooms have free coins in the stone and floor. So, donΓÇÖt forget to look around while walking. If you hit the spider (tap him) he will go away.
14. The key to open the door is found under the bridge. There is a light path near the door that goes uder the bridge. Follow it and be careful.
15. Beware of the volcanic steam — it is a gas that will kill you. And watch for the volconic scorpions. You can try to run on the far right or left side to go down the path. At the end of this is the key. Pick it up and head back to the door.
16. See the locked wall in the left side of the chest?You should unlock this wall first before you go to the next room. There is hidden tunnel that you might have missed behind you. Go back and look for it. In this hidden cave, you will find an ancient battery that gives you a clue when you turn it on Γò¼├┤Γö£├ºΓö¼├║TRUTHΓò¼├┤Γö£├ºΓö¼├æ and Γò¼├┤Γö£├ºΓö¼├║VERITASΓò¼├┤Γö£├ºΓö¼├æ And there is a lever which must be pulled to open the wall. Once you complete both, the wall is open. There are other interestring objects here, that can be explored. Beware the green man face — it is a terrible trap.
17. Once you get to the lava field, you should have the compass from a previous puzzle. If you use it, it will show the magnetic path that will safely take you through this. The arrow will point to the direction you should travel. If you do not have the compass, look at the path carefully, and if you experience pain by taking some direction, try a different direction.
18. You should complete the previous puzzle to open this door. If you get near it and did not complete the earlier round wood table puzzle, the door will close.
19. This door will open when you solve the water puzzle. The pedestal has a CRYPTEX on it. The word used to unlock this was discussed earlier, TRUTH. This will unlock the wall and your progress will be saved.
20. The pendant to open the wall is within one of the puzzles within this room.
21. Solve this puzzle on the right, to stop the gas. The solution is written on a stone nearby.
22. Stand in that second G letter on the floow and take the leap of faith to cross the chasm. You will reach here. Congratulations. You will now be placed outside where the enxt part of your adventure begins!