Adventure Escape: Framed for Murder (A Mystery Room and Crime Solving Detective Story!)
By: Haiku Games
This is a complete step-by-step walkthrough guide with hints, tips, tricks, solutions and answers for the iOS and Android adventure game Adventure Escape: Framed for Murder (A Mystery Room and Crime Solving Detective Story!) by Haiku Games. Feel free to ask for extra help in the comments section.
Looking for FRAMED by Loveshack?
Walkthrough:
Chapter 1 | Chapter 2 | Chapter 3 | Chapter 4 | Chapter 5
Chapter 4:
You can watch my video for Chapter 4 here or continue below for my step-by-step guide:
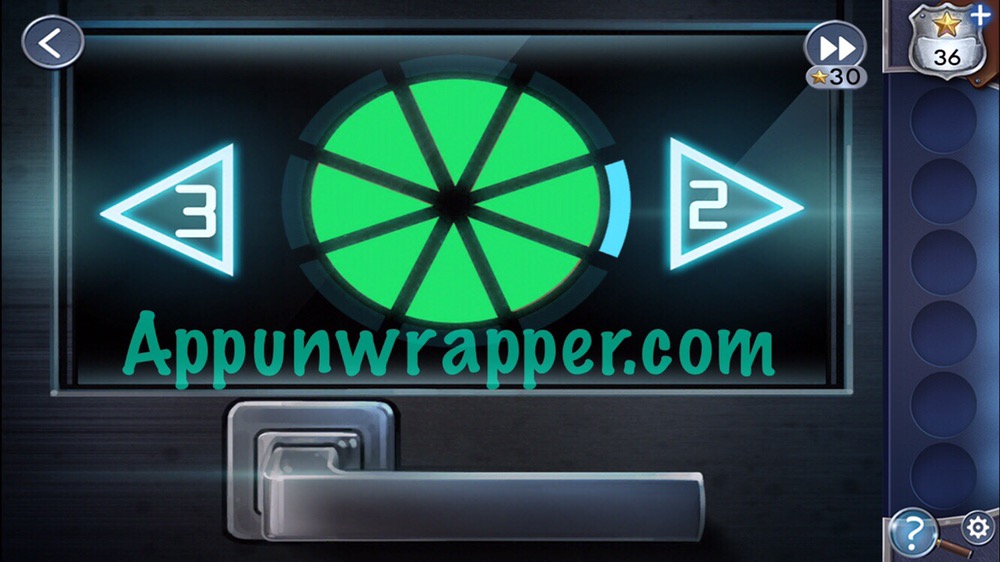
1. Go back to the security office. We need to look at the vandalized painting. Tap on the door. There’s a weird lock here. You need to turn all the pieces green. The right arrow changes changes the piece 2 away clockwise. The left arrow changes the piece 3 away counter-clockwise. So this is how to do it. Press Left, Right, Left, Right, Left, Left, Right. The door should open.
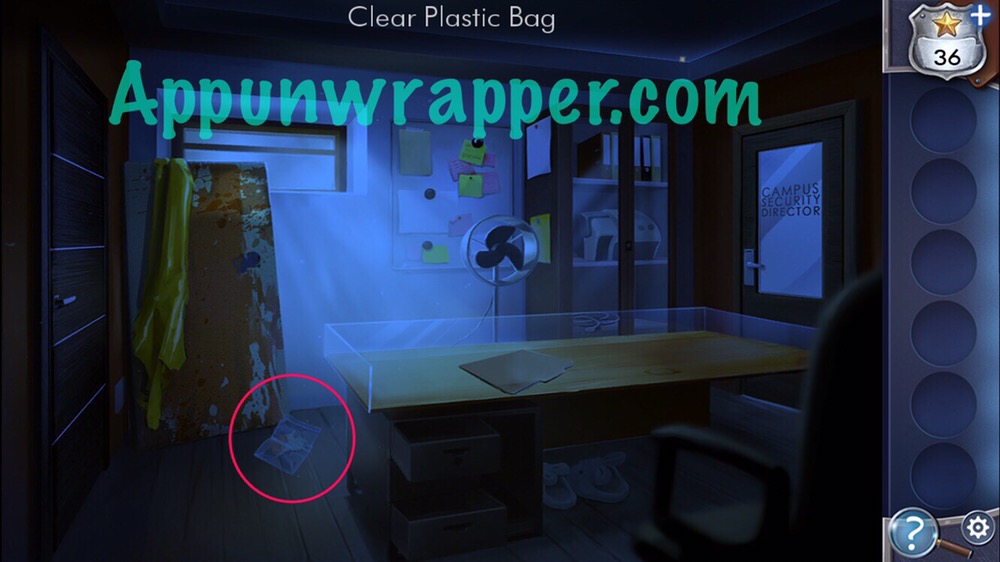
2. Go inside. Open the two drawers and take the utility knife blade and clear plastic bag. Use the blade with the utility knife on the desk, then take the knife. Use the knife to cut off a piece of the painting. Throw the clear plastic bag over it and pick it up.
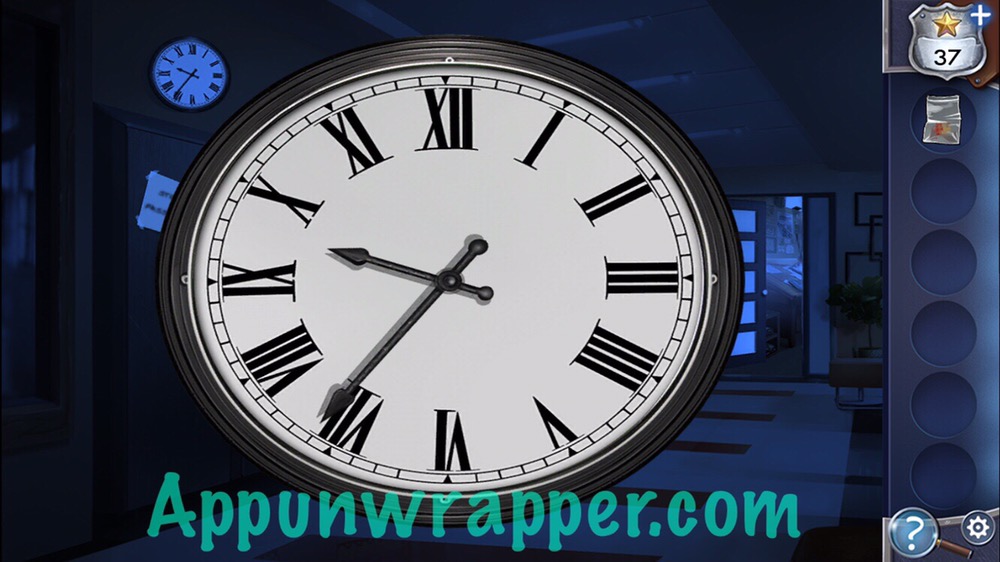
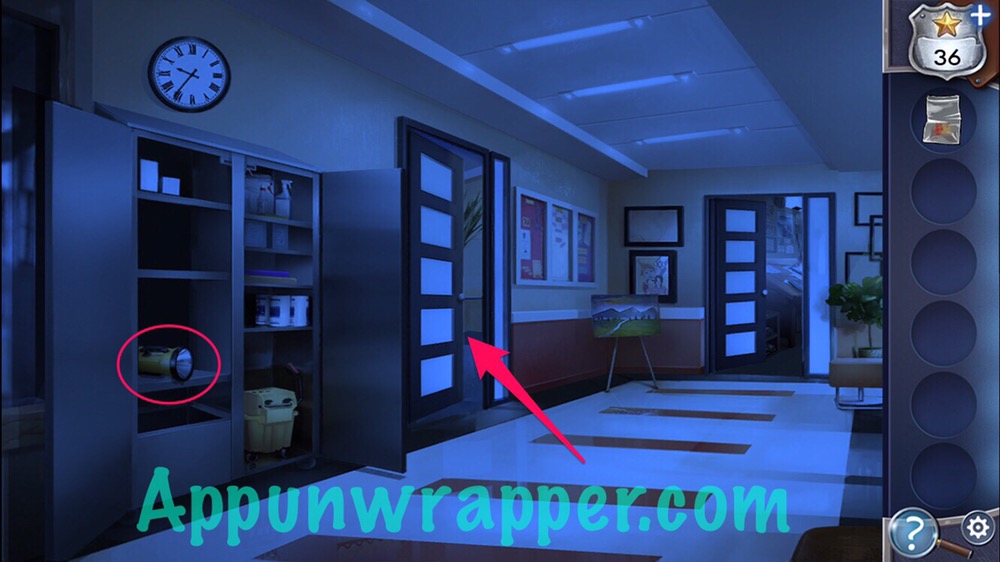
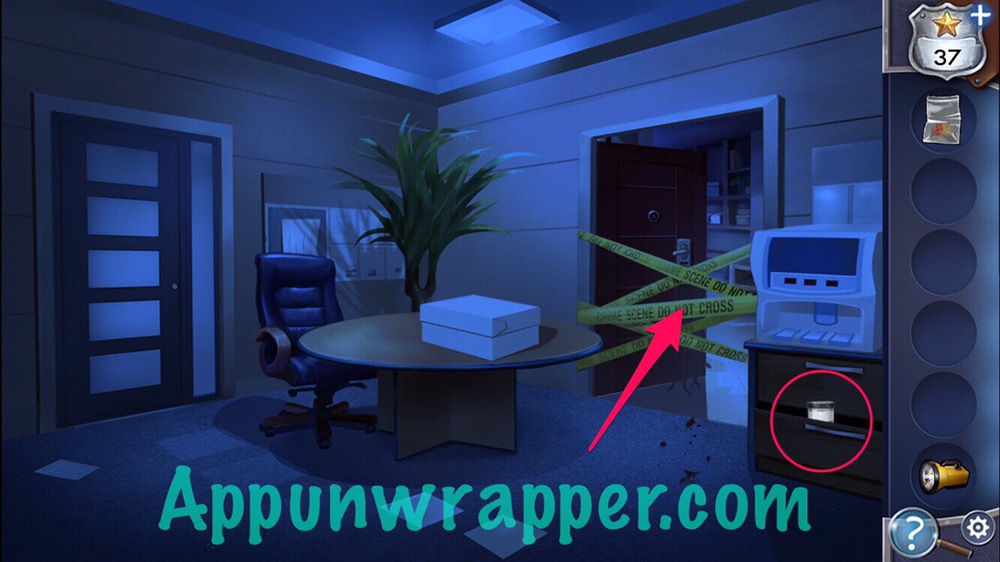
3. You’re back by Sylvia’s office now. The password for the closet lock has been changed. Look at the clock. It’s showing 9:36. But 0936 doesn’t work on the lock. So try 24-hour mode, since it’s nighttime. That would make it 21:36. Enter 2136 on the lock to open the closet. Take the flashlight. Then go through the left door.
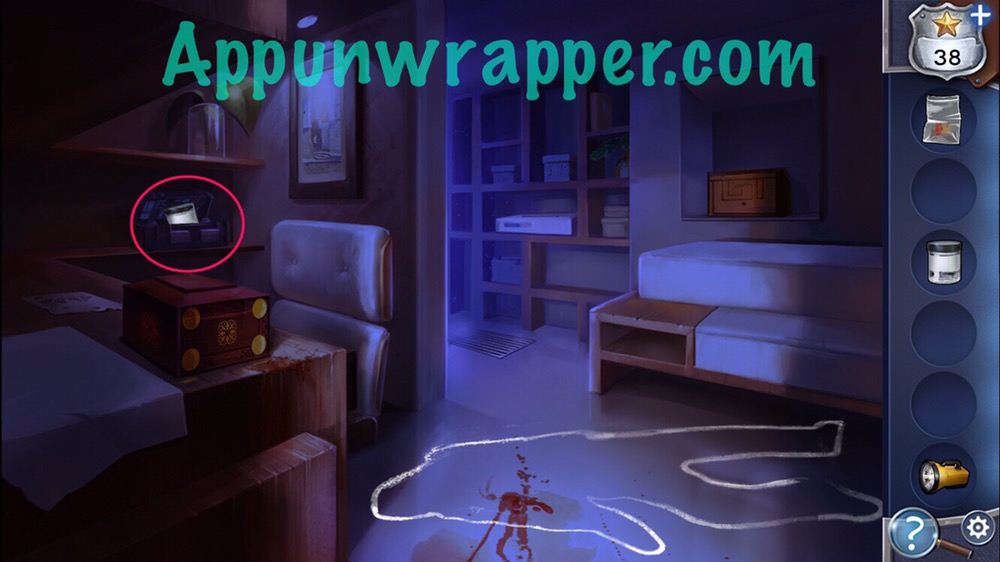
4. Open the drawer and take the evidence container. Then go through the next door and open the box to the left to get another evidence container. Go back to the hallway.
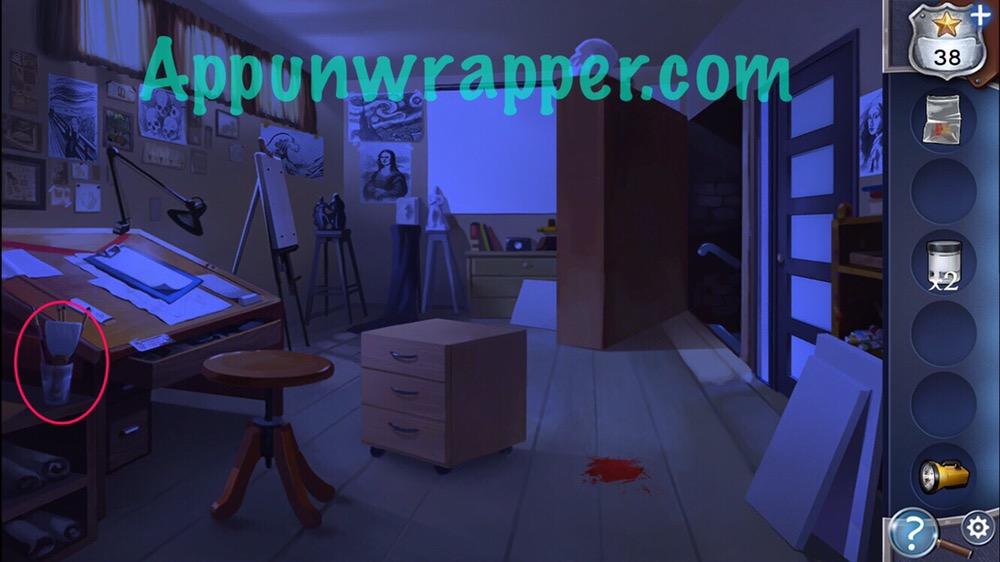
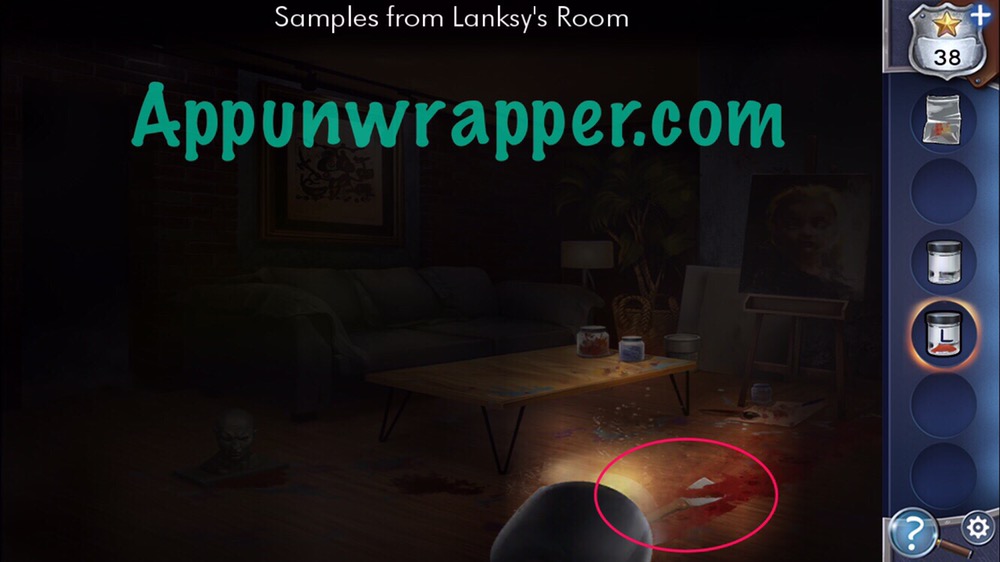
5. Go through the door to the art room. Pick up the paint scraper and use it on the dried blood on the floor. Then collect it in an evidence container.
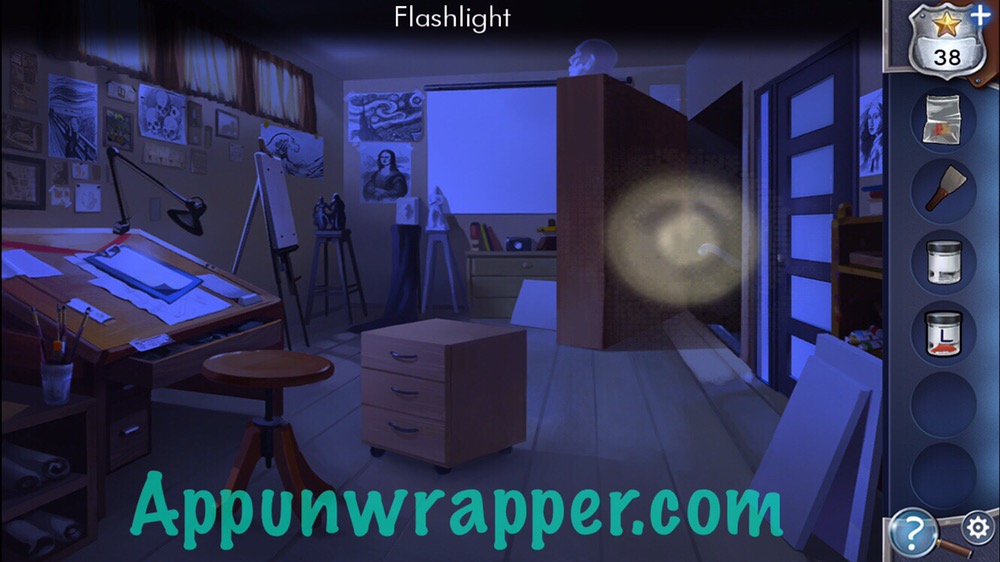
6. Use the flashlight on the secret passage and go downstairs.
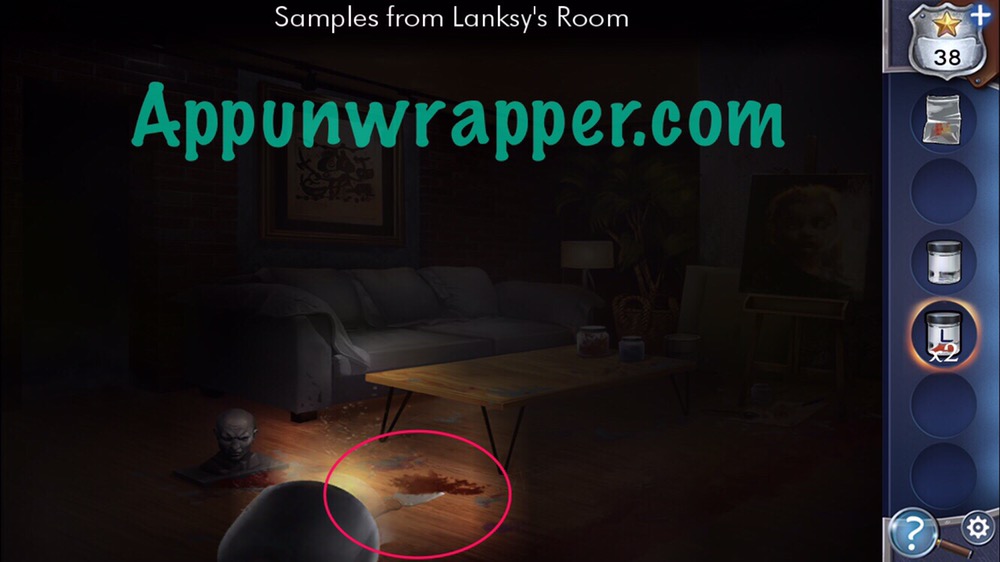
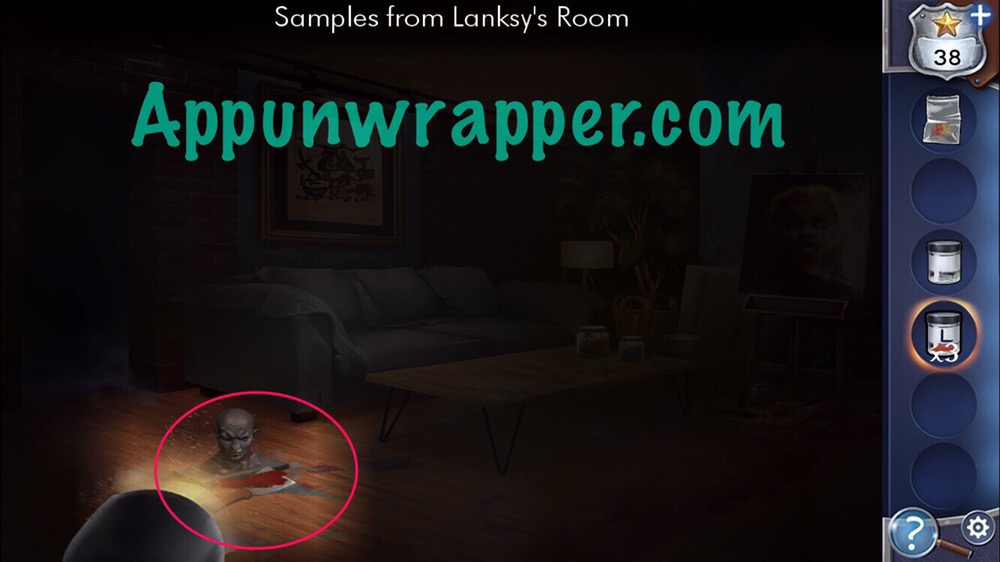
7. Collect three more Lansky samples here into the same evidence container, then go back up.
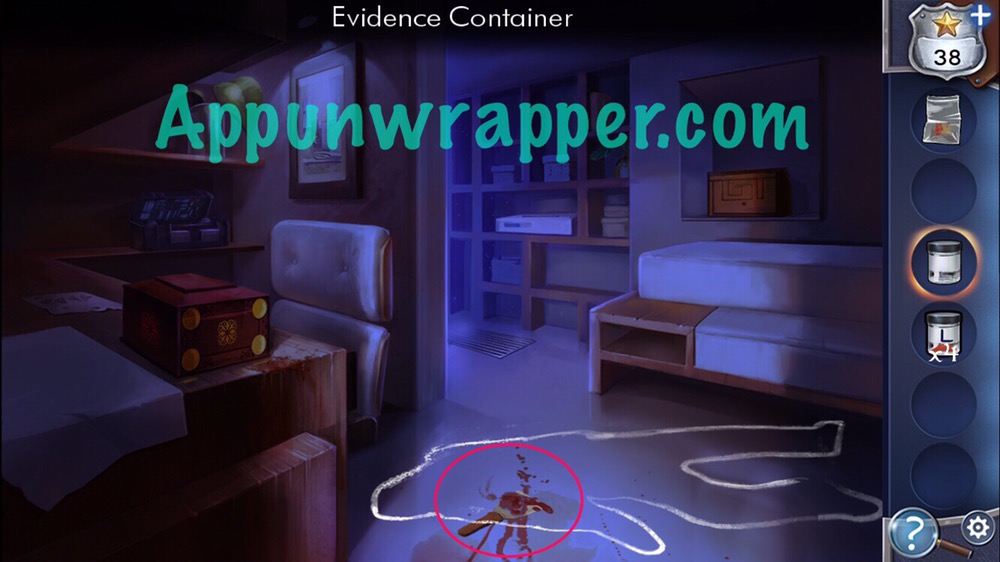
8. Go back to the crime scene. Use the scraper and second evidence container to collect a blood sample.
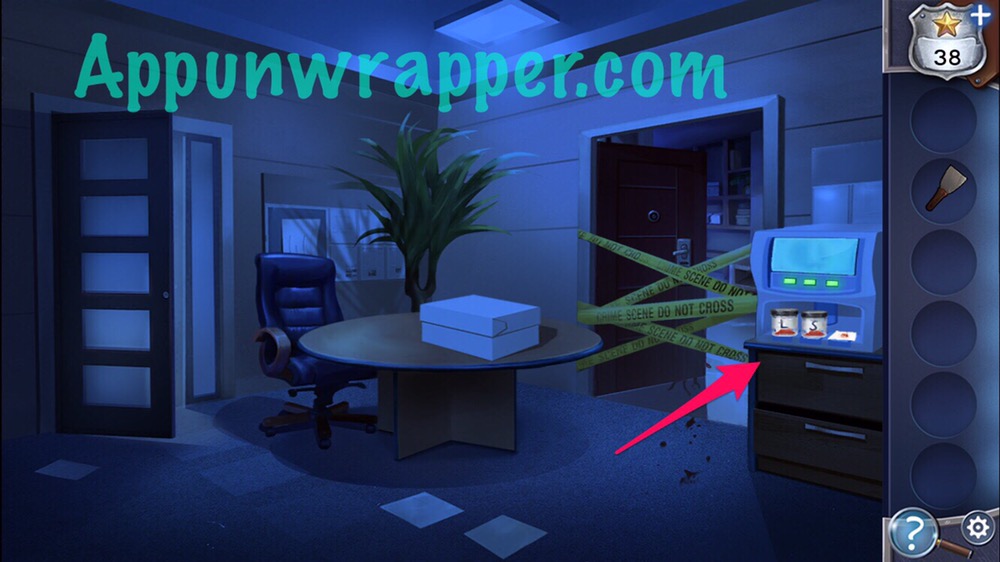
9. Go back and find the machine that can test the samples. Add both evidence containers and the painting sample. Time to solve another puzzle! This time, use the filters to sort the molecules into the correct beakers. Each filter shows what kind of molecules will go to the right or to the left. Drag a filter to put it in place. Tap a filter to remove it. Press the Filter button on the top funnel when you’re ready to purify the sample. Some of the rules don’t make sense to me, like why the color circles don’t seem to go by the same rules as the bars. The gray bars represent number of molecules, though. I have the solution below.
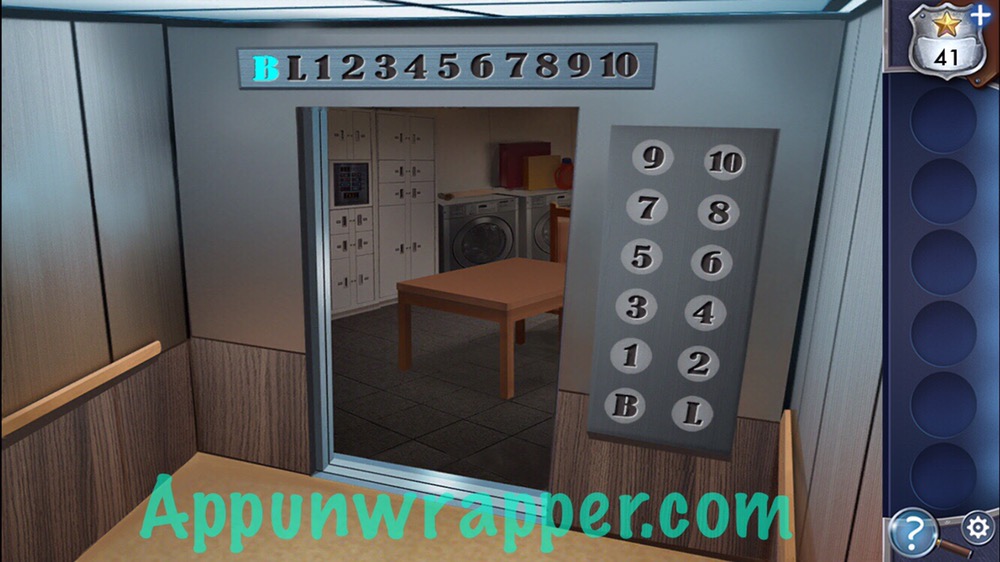
10. Go back to the dorms. It’s dark. Go into the elevator and press B for the basement. You can now access it.
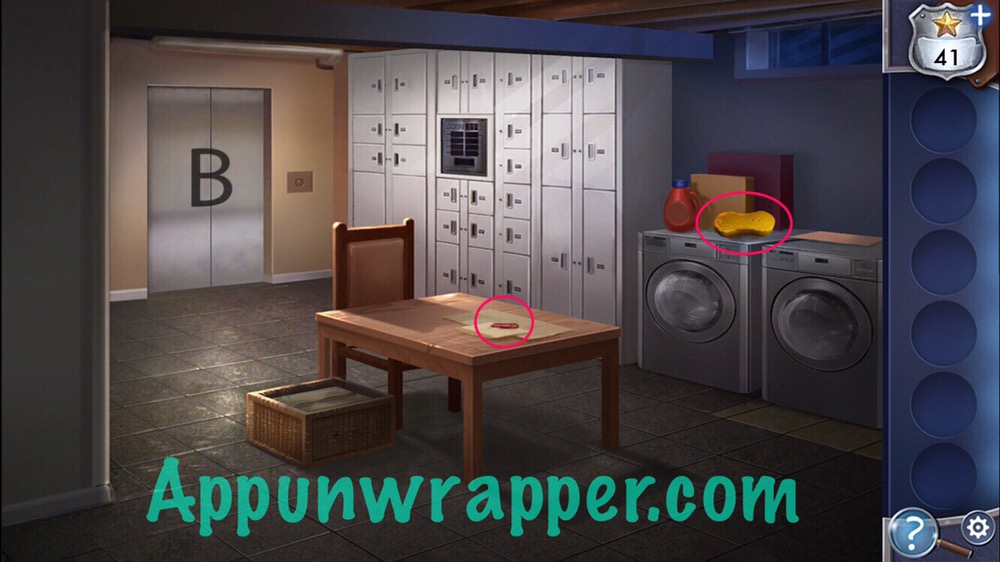
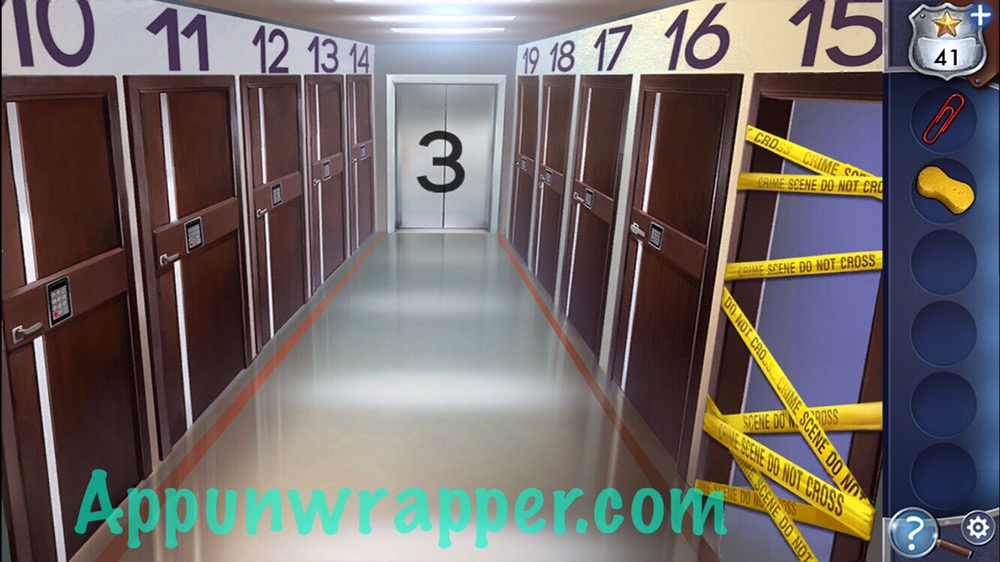
11. Pick up the sponge and paperclip. You need information about Caesar’s locker before you can open it. So go back up to the third floor and to room 15, Caesar’s room.
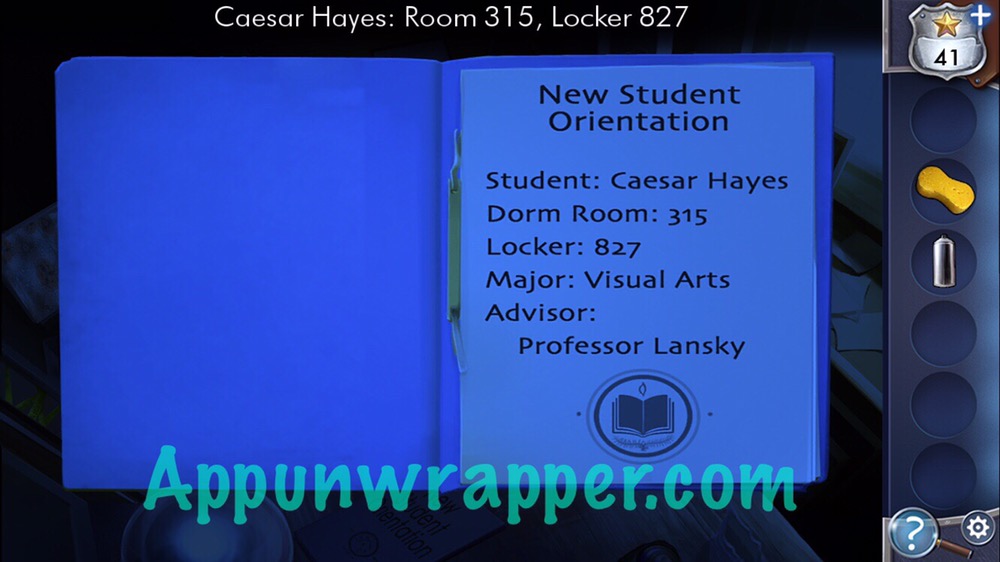
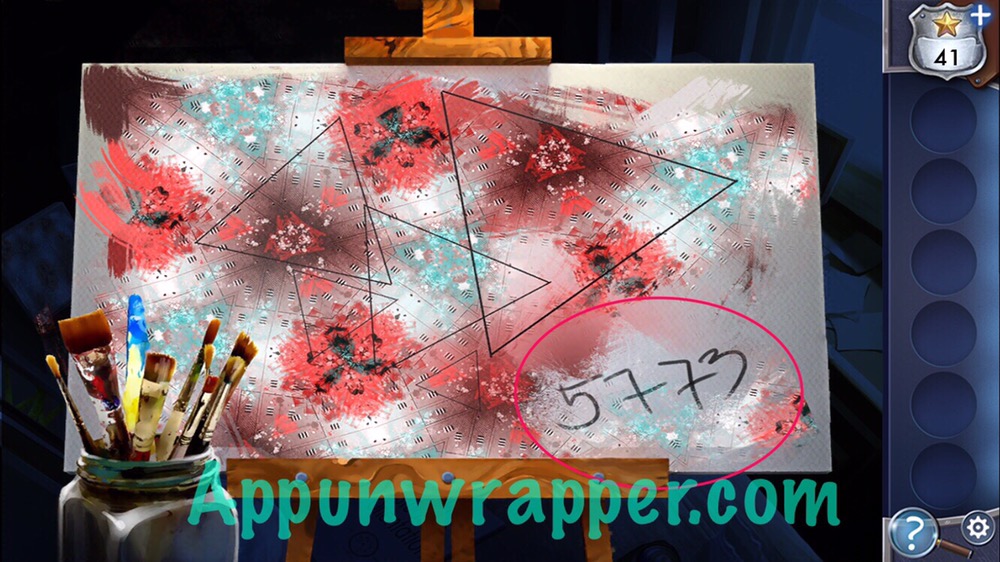
12. Use the paperclip with the paint thinner bottle and then take it. Look through Caesar’s New Student Orientation file. It tells you that locket number is 827. Also, pull off the covering to reveal the abstract painting in the corner. Spray paint thinner on it and use the sponge to reveal the numbers 5773.
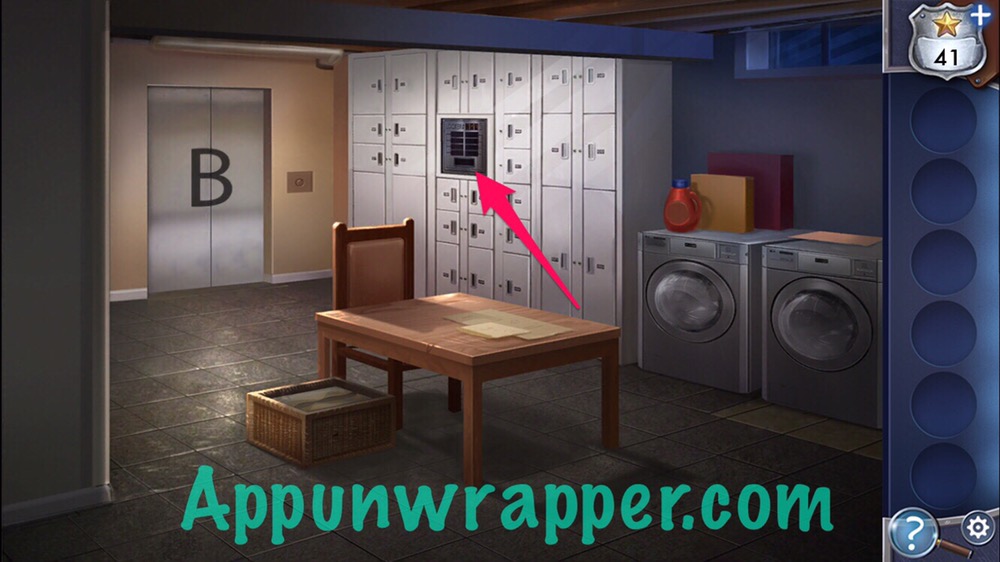
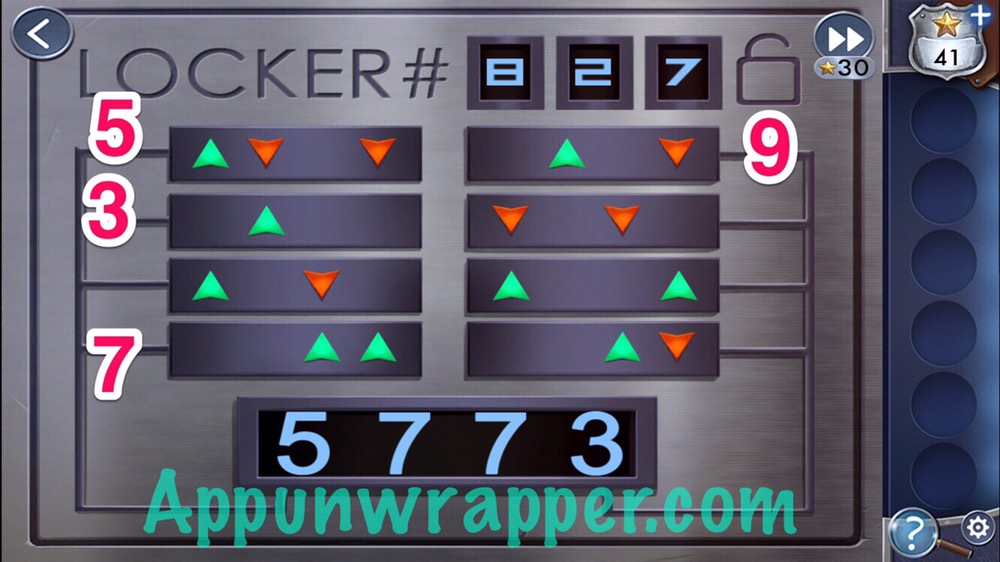
13. Go back to the basement and zoom in on Caesar’s locker. Enter his locker number, 827. Now we need to use the weird arrow buttons to enter 5773 as the code. Just tap the buttons the numbers of times shown in the photo below. Then a locker will open, revealing a map.
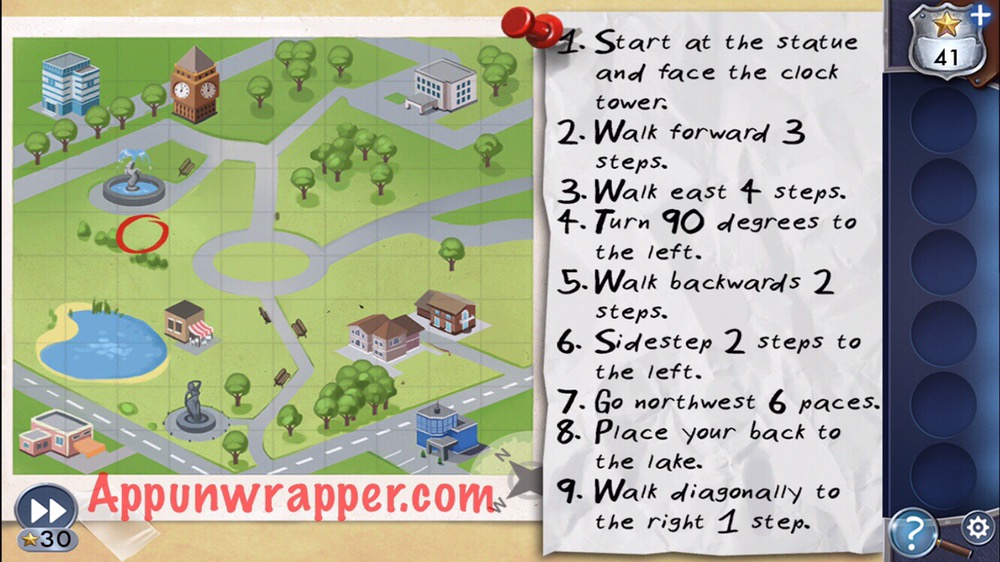
14. Follow the directions on the map to find Caesar’s stash. Notice the compass at the bottom — North is not pointing up. Once you have the right spot, double-tap on it to search it. I circled the correct spot below.
And that’s the end of chapter 4!
Click on the chapter you need below or click here to continue to Chapter 5.







Ummmm….. Yeah, I don’t think this is right…. I followed everything it said, but my game is saying that the sample is still too small, even though I have all three….
there is 4 samples
Wrong wrong steps
I got it! On the filter, The circles are size! Nothing to do with color.
Round ones are SIZE and COLOR. For DNA machine.
Round rings are SIZE and COLOR. (DNA machine)
I attempted to enter the locker combination before watching your video. Any idea of how to get the combination back to zero so that I can follow your steps? Thank you!
Never mind! The game took me back to the beginning of the chapter bc the app was closed too long.