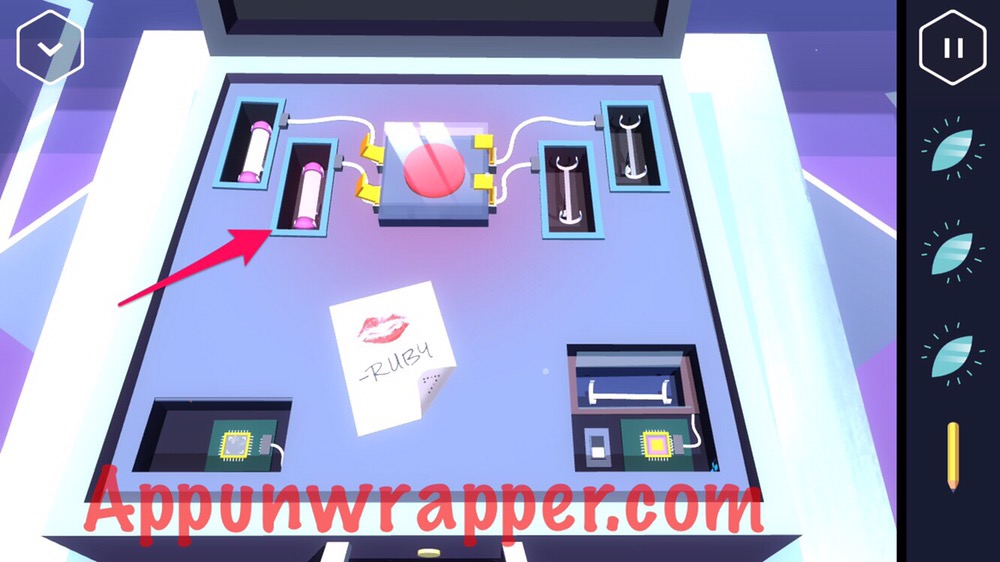
16. Go back to the lever and grab the pink key. Then pull the lever up again and use the tiny key in the pink keyhole to get another glowing object.
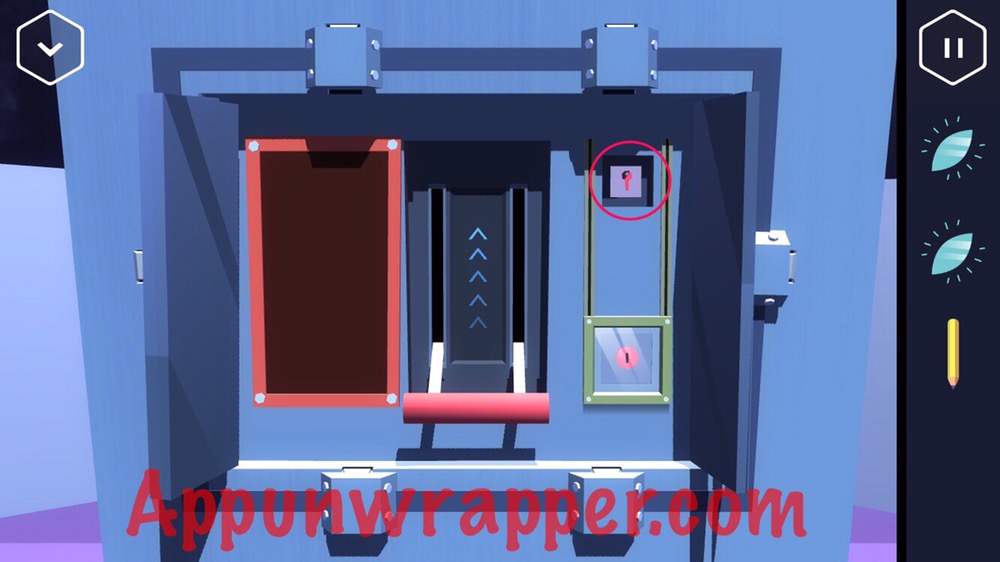
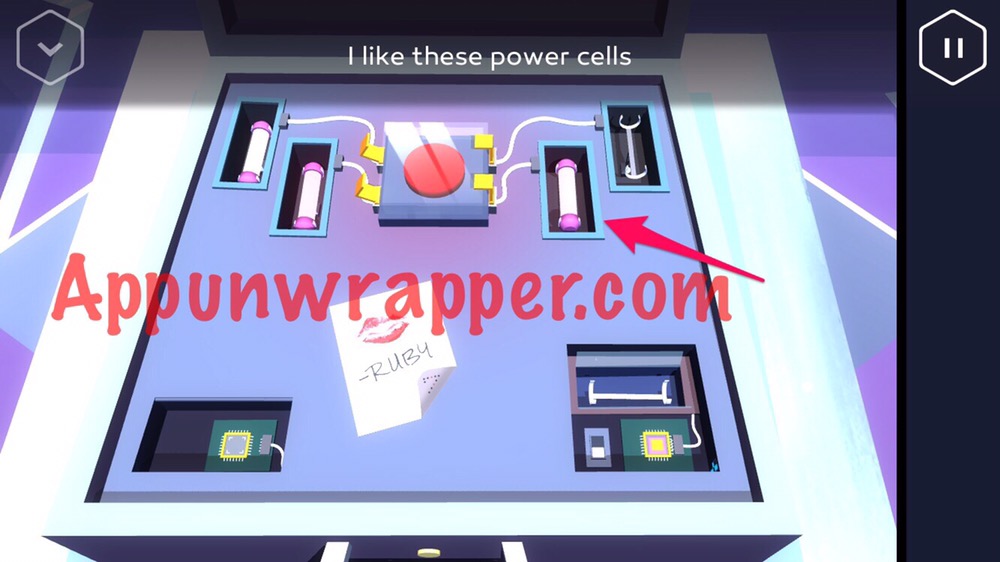
17. Go to the plugs on the wall and reverse the pattern. Then pull the lever back up. Rotate the crank again and the 7 pattern will light up on the screen, unlocking the case holding the second power cell. Take it and add it to the other one by the big red button. Two down, two to go!

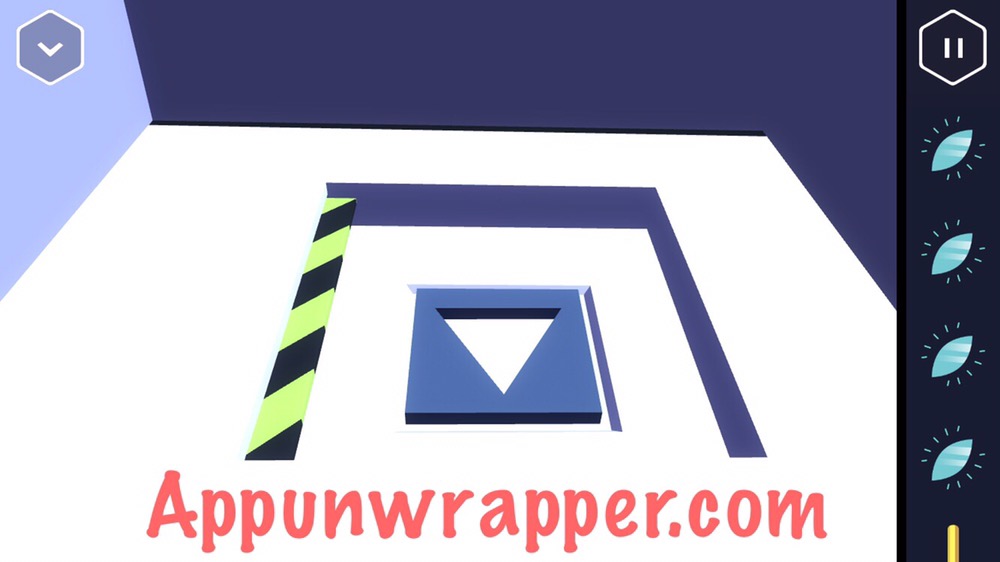
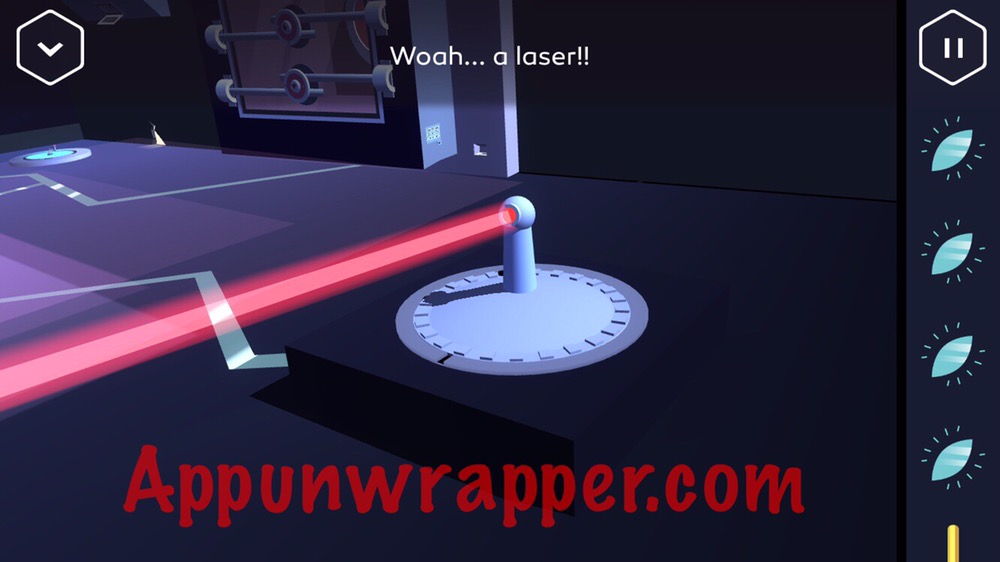
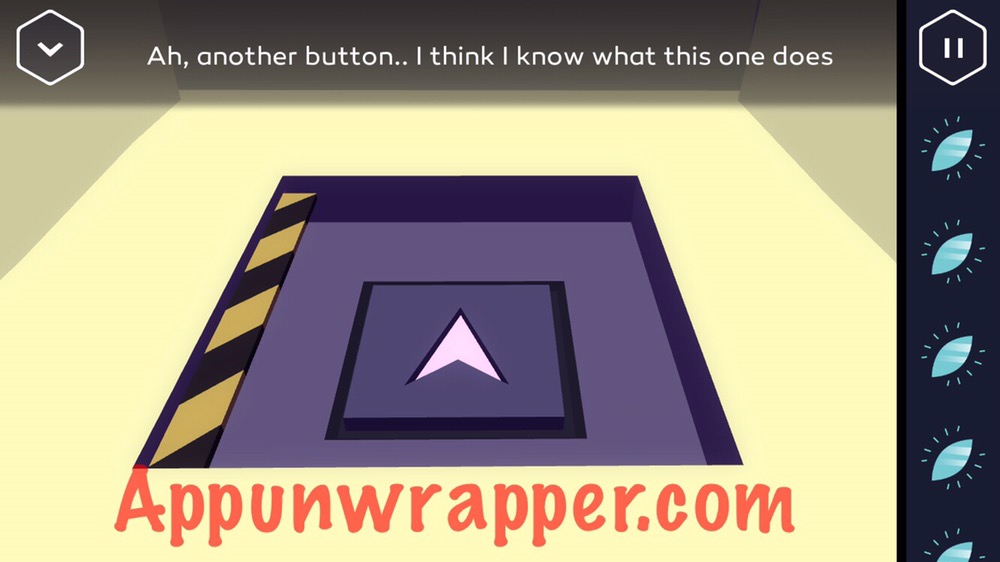
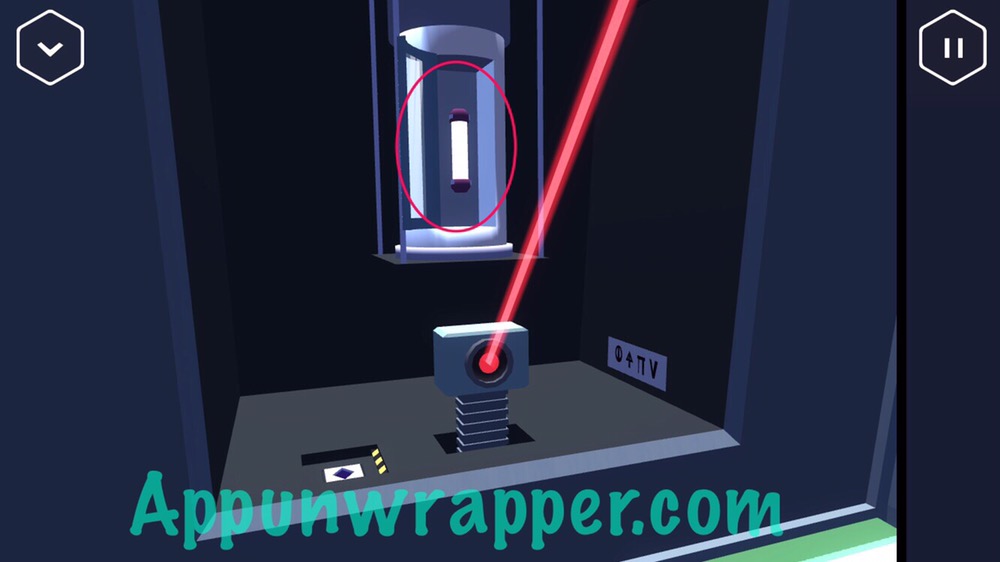
18. Look in the corner here for some symbols and numbers. There’s a little slider below them. Slide it to the right to open a small panel and get another glowing object. Also, tap the yellow-and-black striped panel to reveal a triangle button. Press it to reveal a laser!
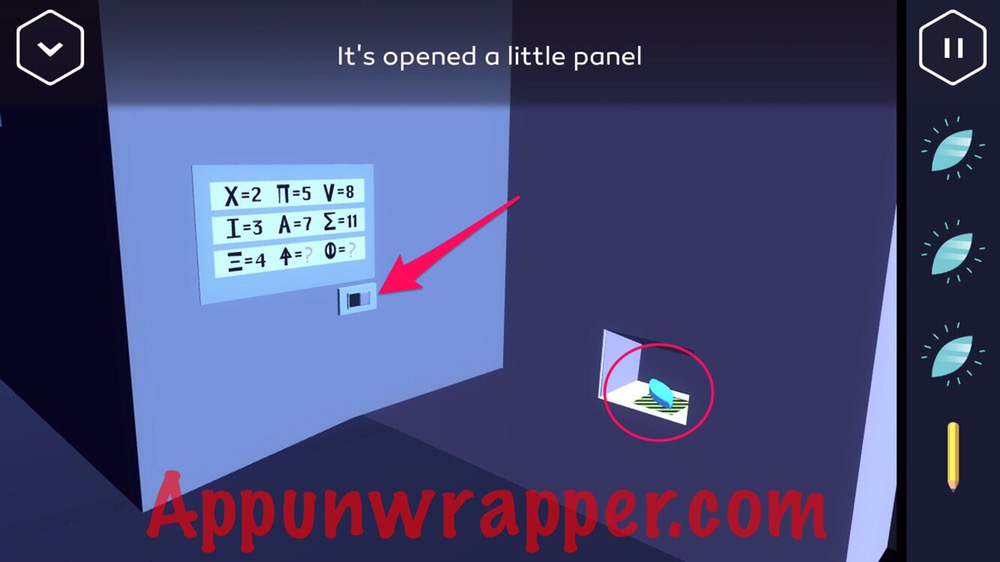
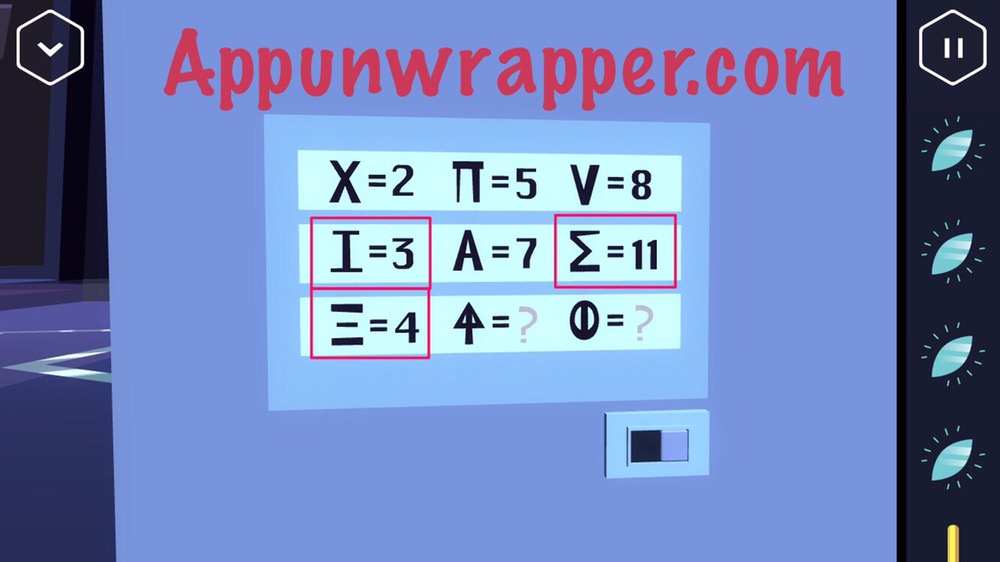
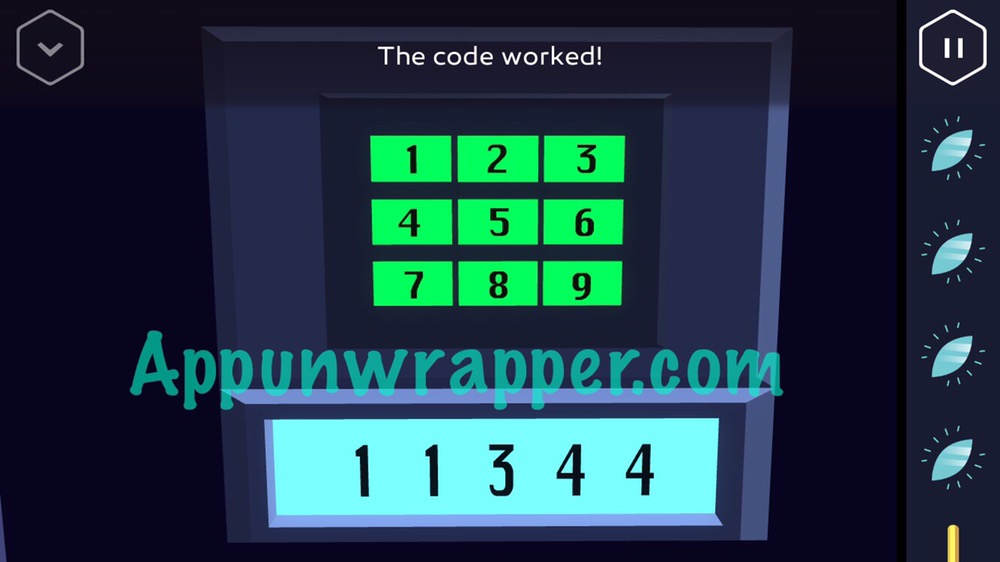
19. Go back to the symbols and numbers and look at the clue on the security camera again if you need to. Find those symbols and translate them to numbers. It’s going to be different each game, so you’ll have to figure this one out yourself. Mine translate to 11344.
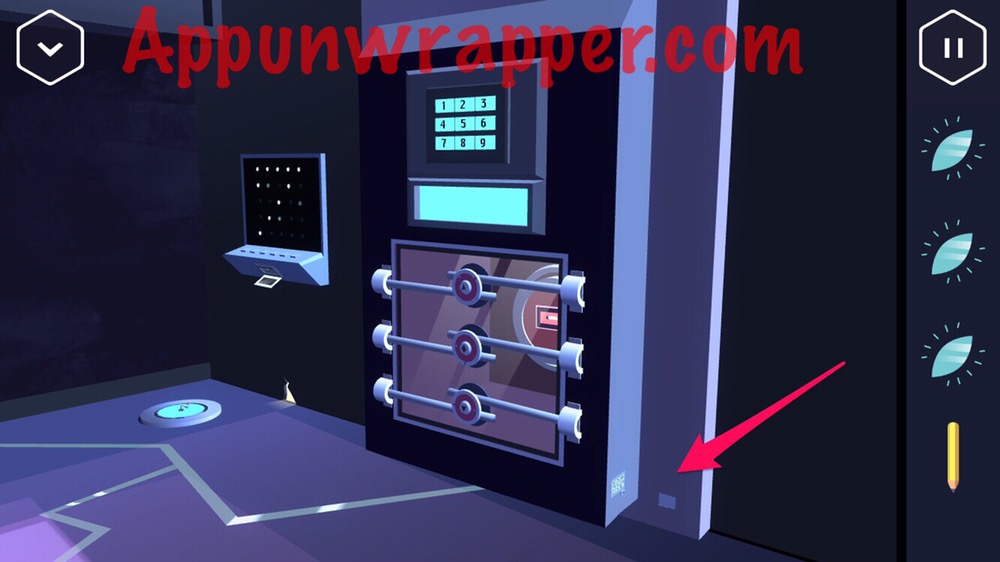
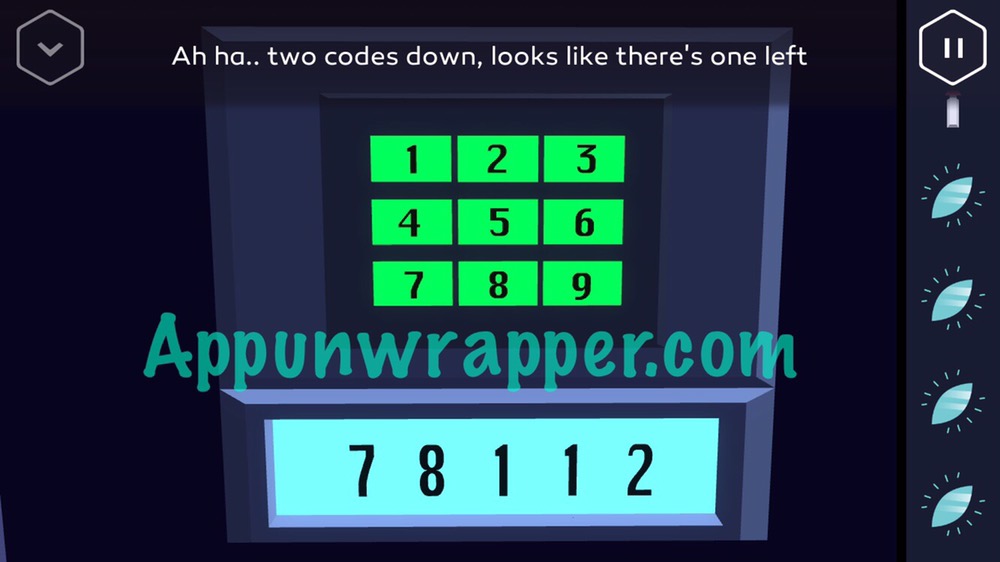
20. Head over to the big number pad on the wall and plug in the 5-digit sequence you got. The first of three locks will open below it.
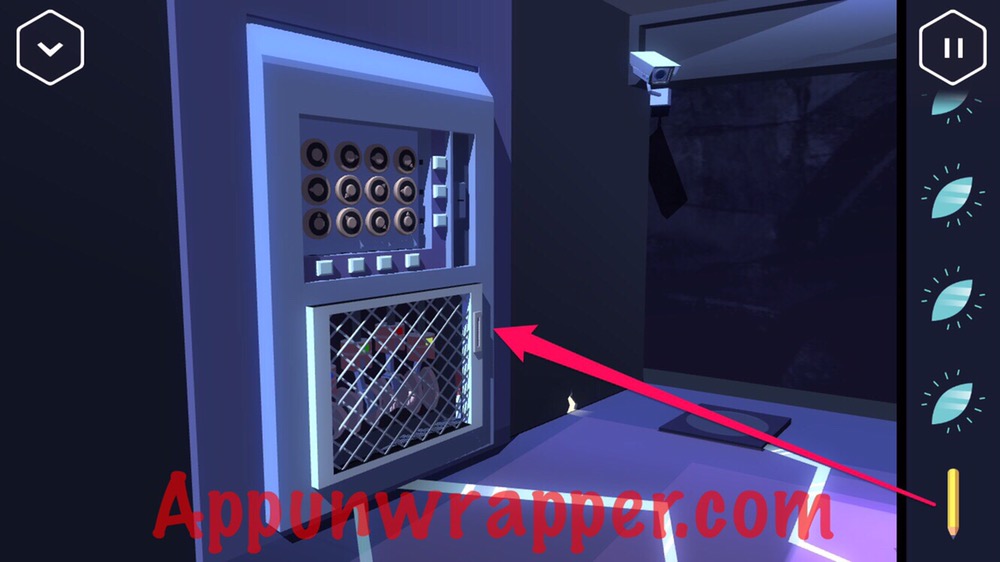
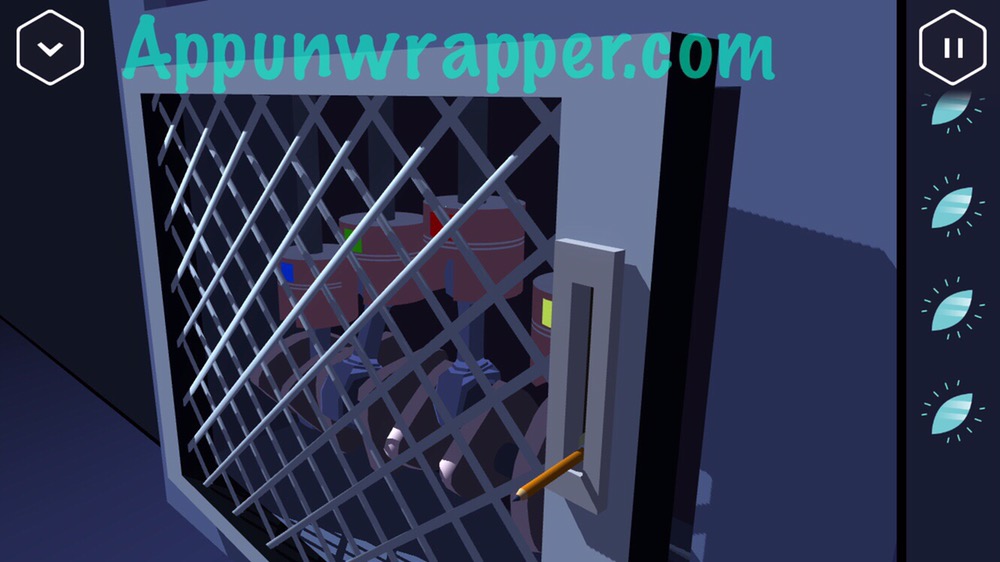
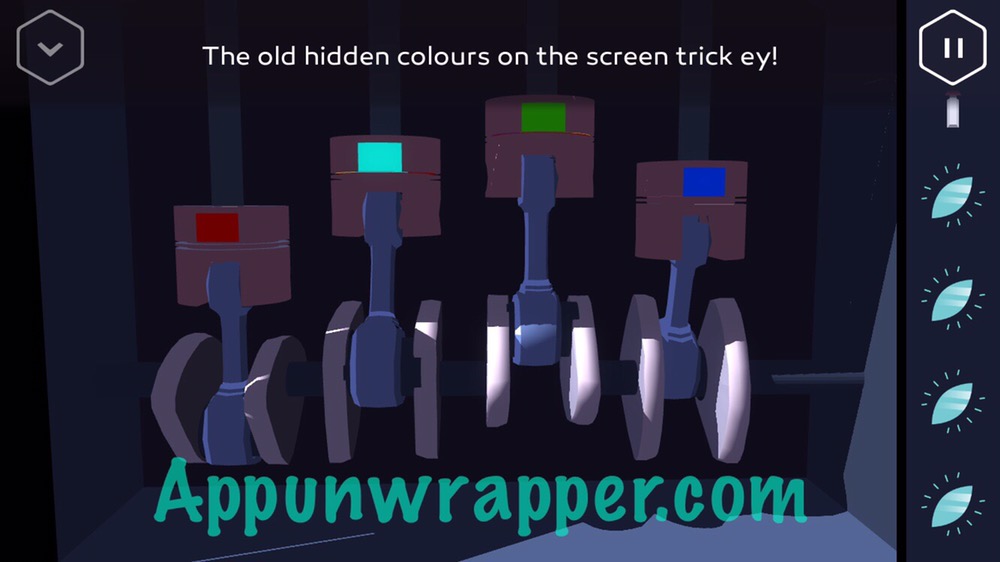
21. There’s a gate on the left wall, with a little slot on it. Insert the pencil and pull it down, using it as a lever. Open the gate. Take the chisel. There are four pistons with colors on them and they aren’t firing.
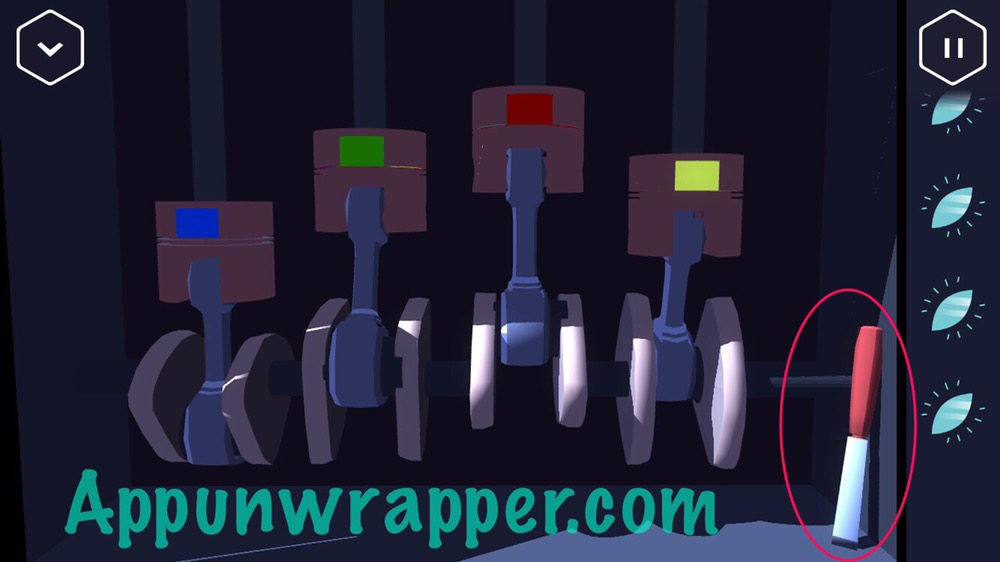
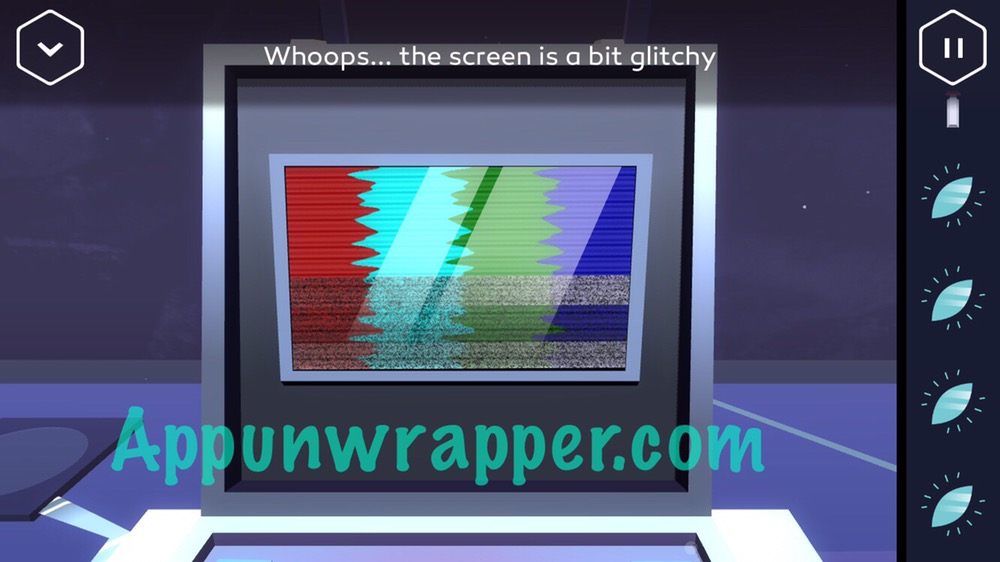
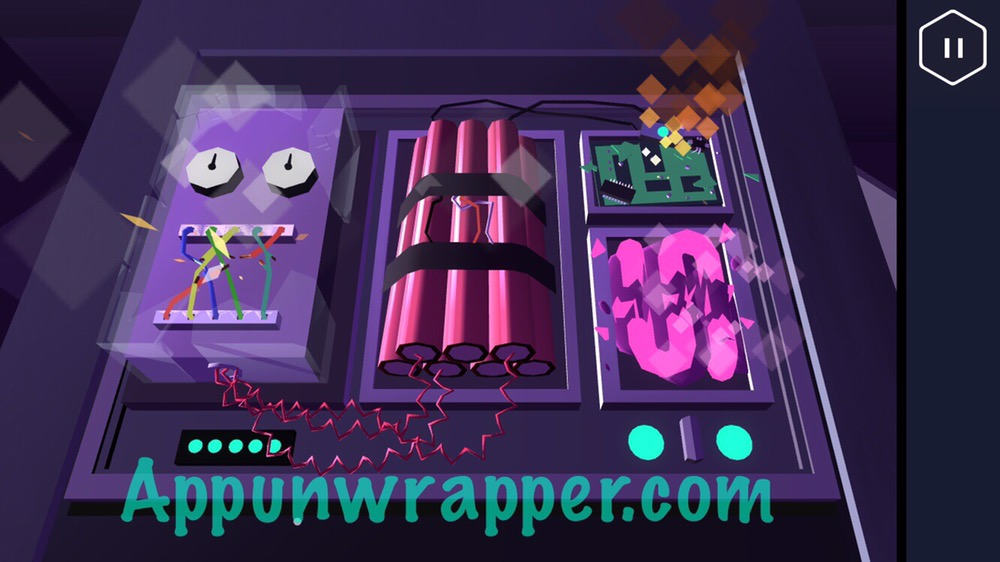
22. Go to the screen that’s showing you the bomb on the bridge. Tap it and it will glitch up. There are four colors on the screen. Match the pistons to those colors to activate them. It goes red, turquoise, green, blue.
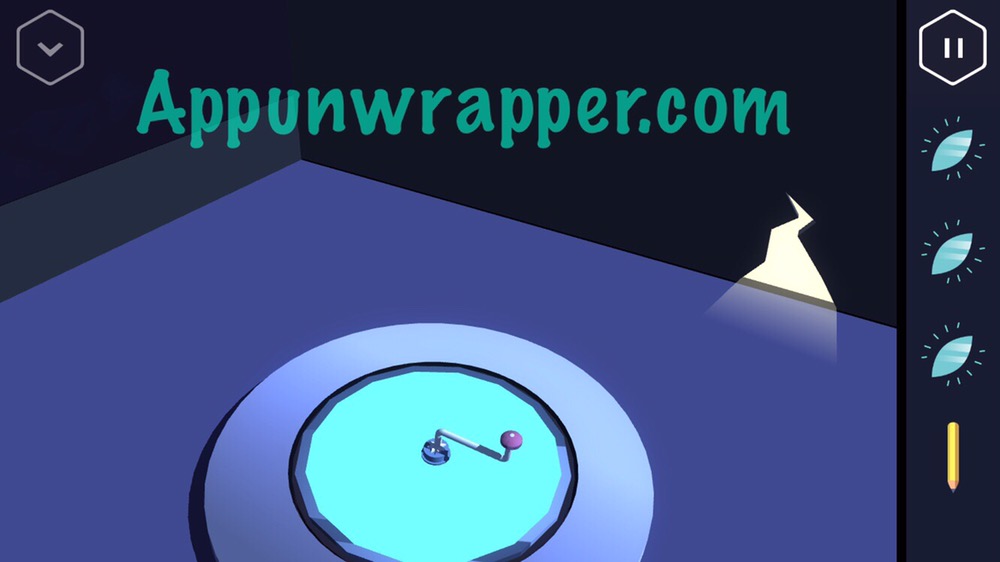
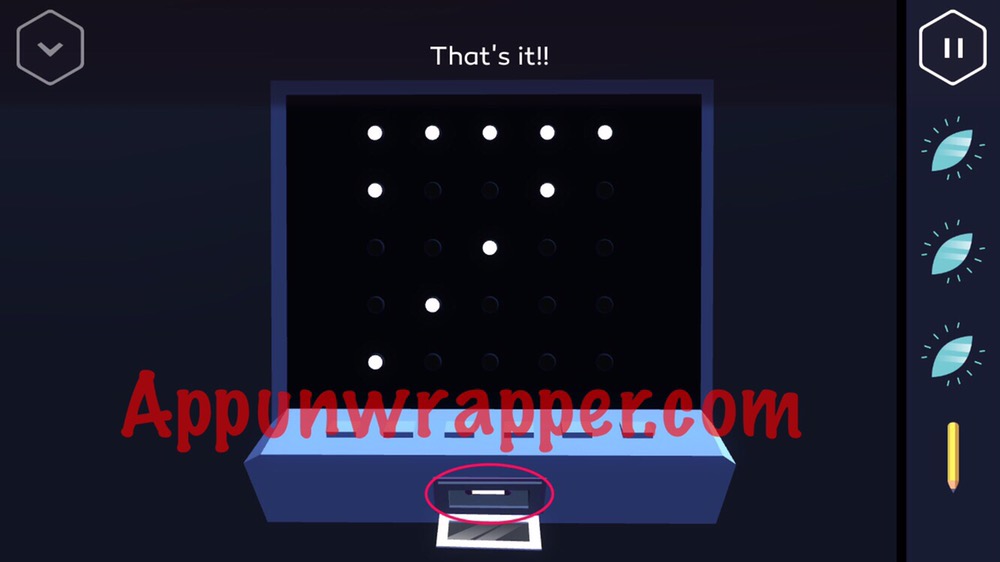
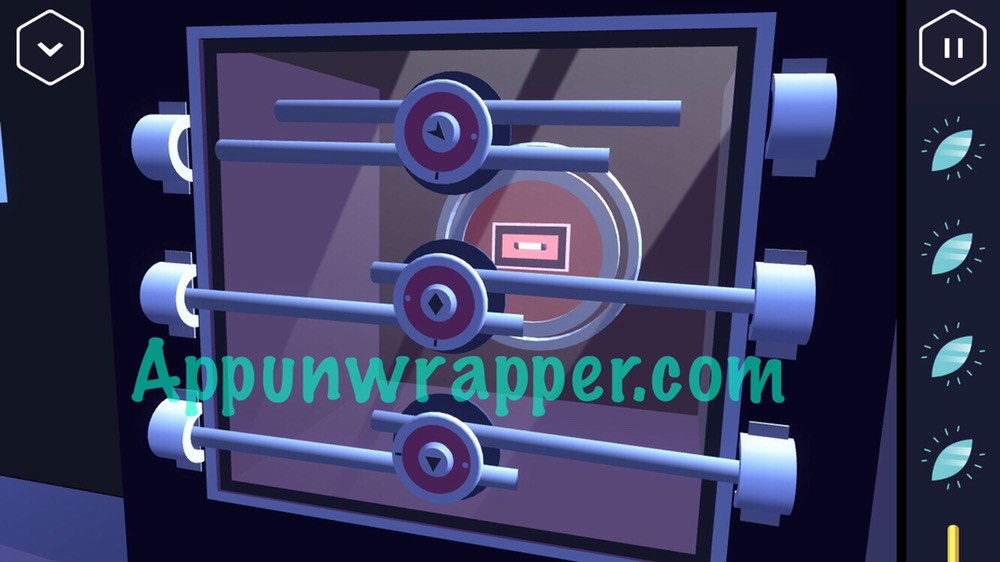
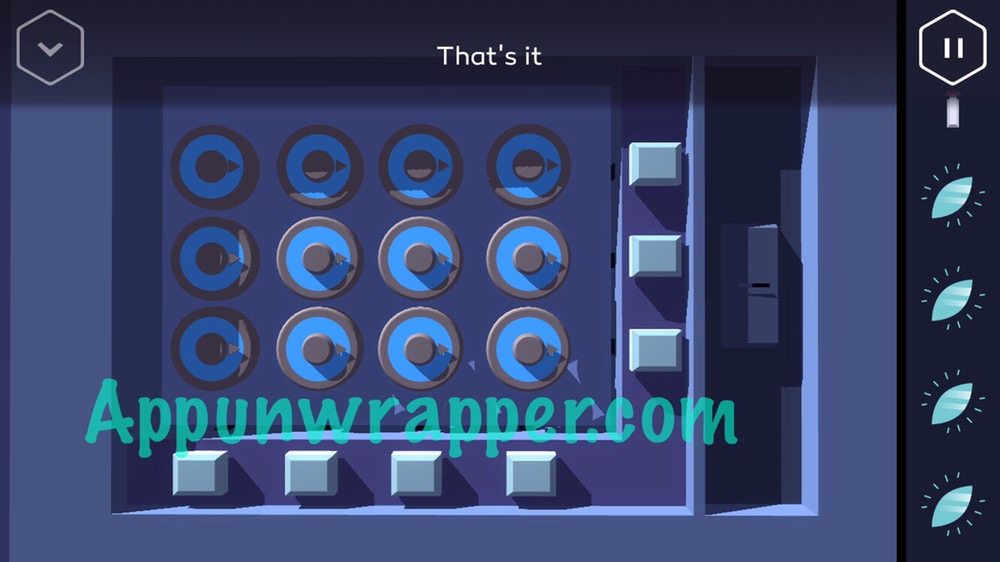
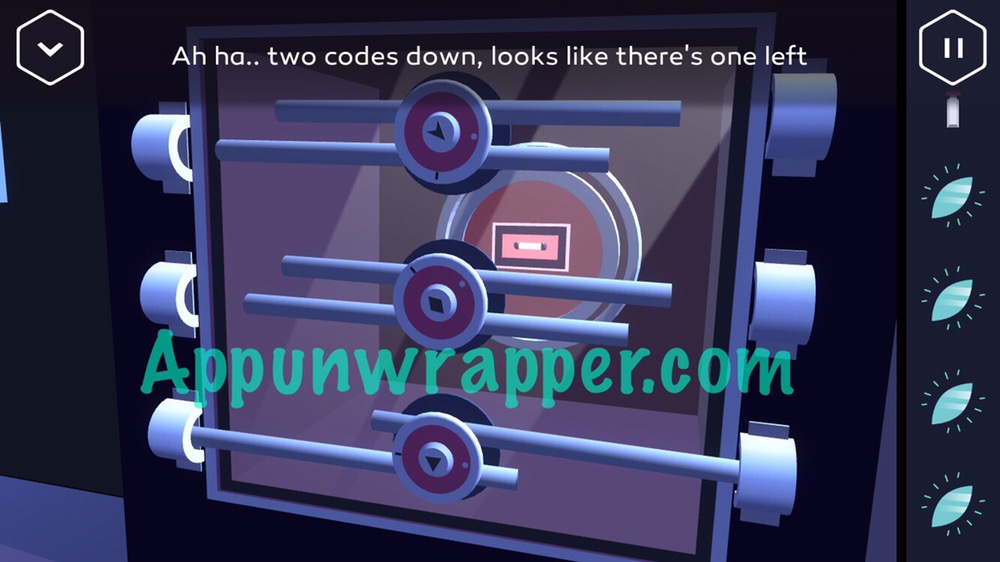
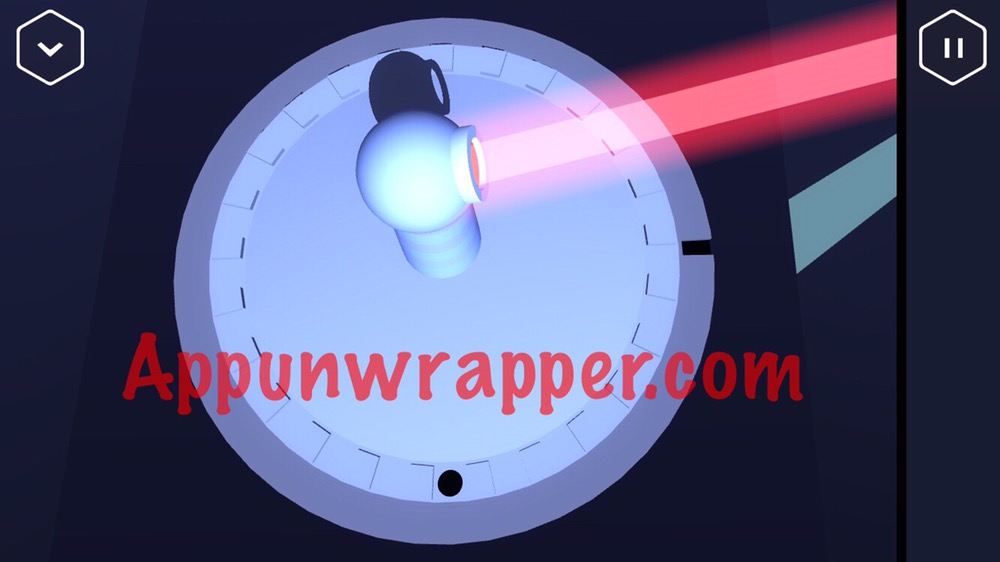
23. Now there’s a sort of mini game in which you have to hold the buttons to pause one row or column at a time. The idea is to get all the dials pointing in the same direction. It looks trickier than it is. Once they’re all lined up, they’ll glow blue when they point right together. A ticket will print out with four more symbols on it. Again, it will likely be different each game, but mine translates to 78112.
24. Head back to the big number pad and enter the numbers you got. Another lock below will open.
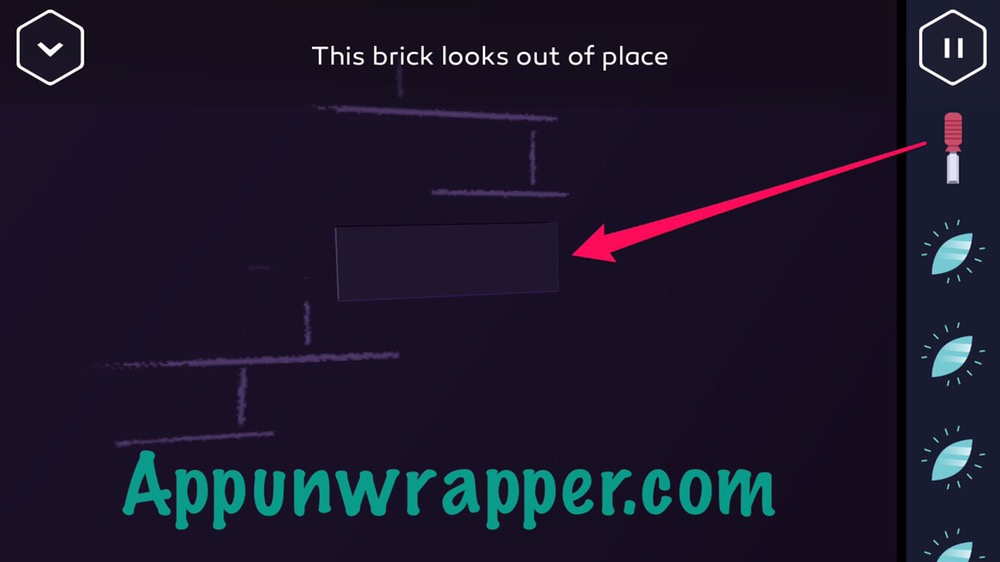
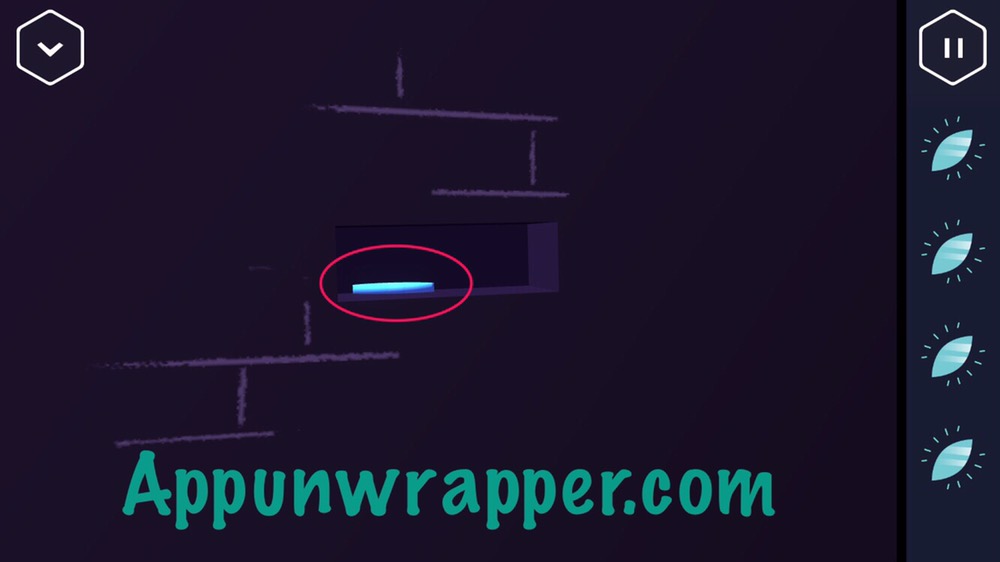
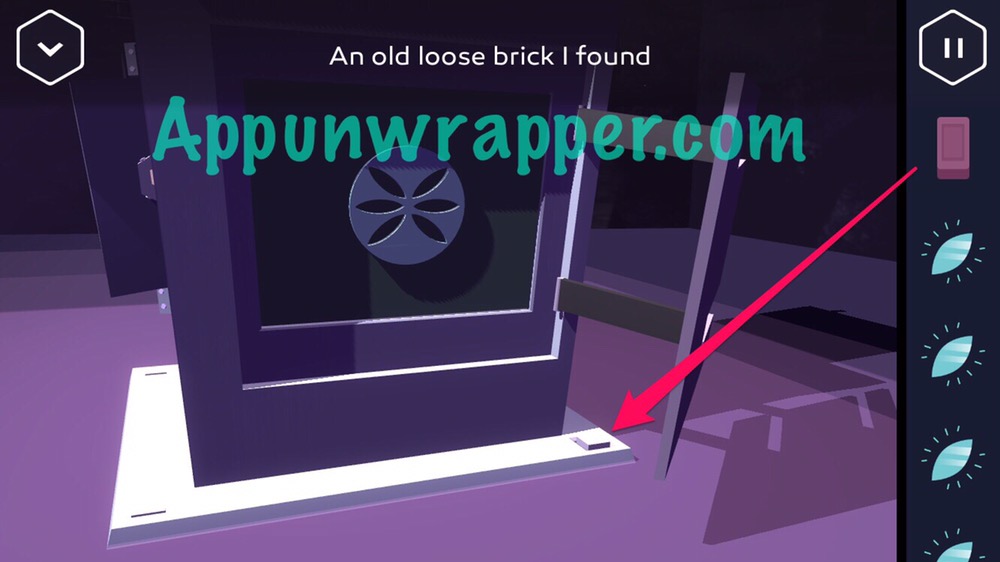
25. Pull the big lever up again and look at the left wall. There’s a loose brick. Use the chisel to remove it. Grab the glowing object from the hole and the brick from the floor.
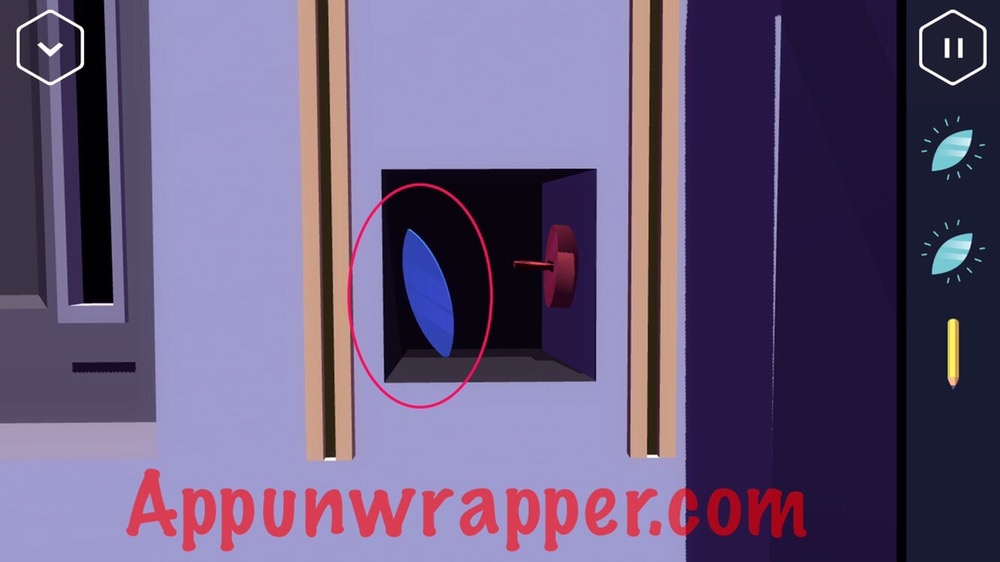
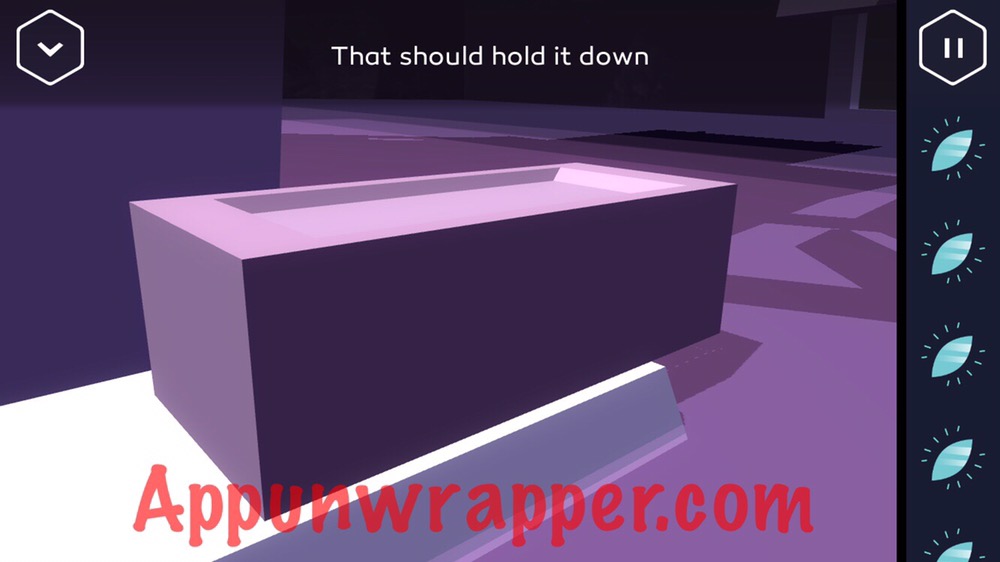
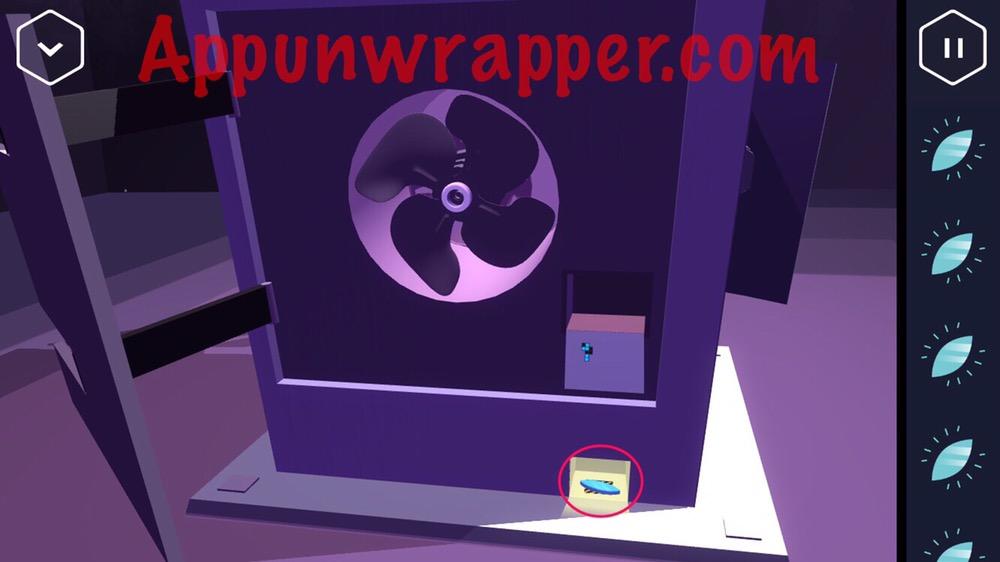
26. Go to the right of the pedestal. Notice a little button. If you press it, a little panel near the fan opens, but it closes before you can get to it. Place the brick on the button to hold it down. Now you can get the final glowing object from the panel and press another button to reveal the second laser.
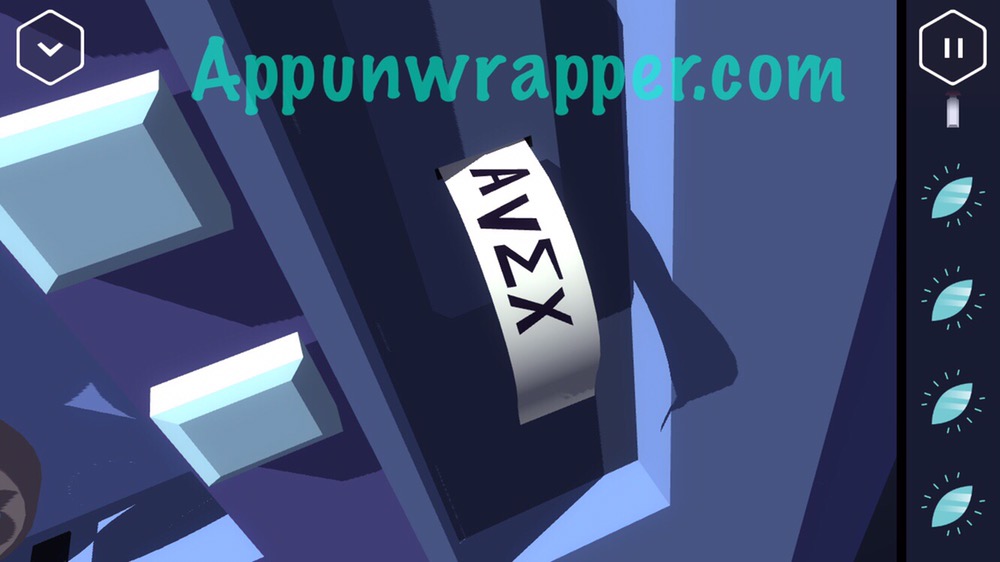
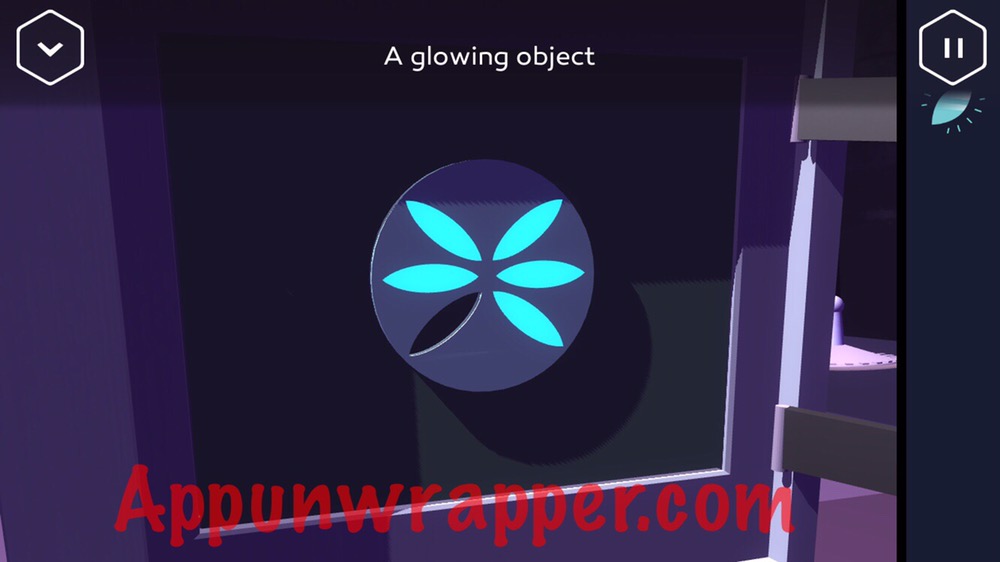
27. Place all six glowing objects in the slots to the right. Some more symbols will be revealed, as well as another laser button and some little thing that pops up when you press it.

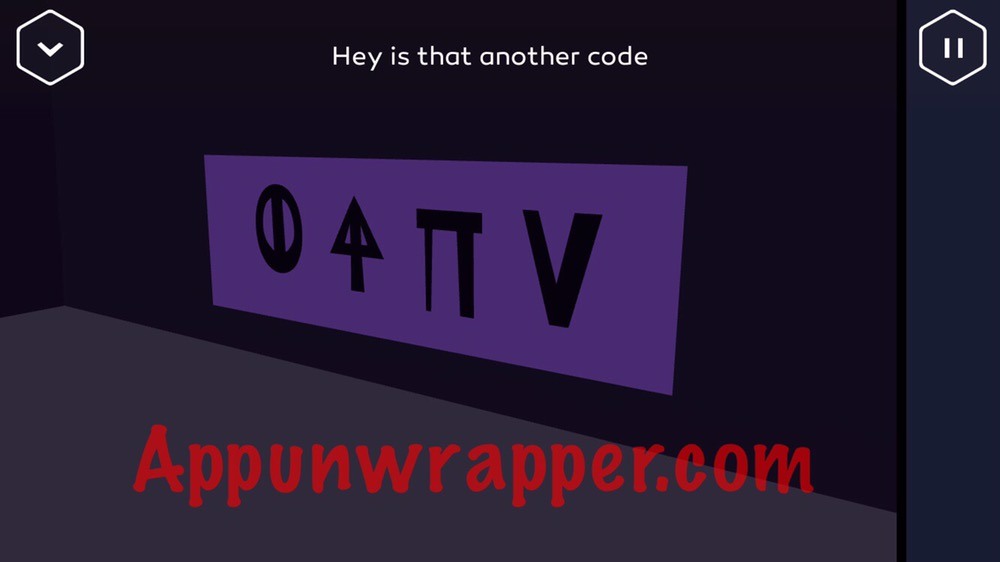
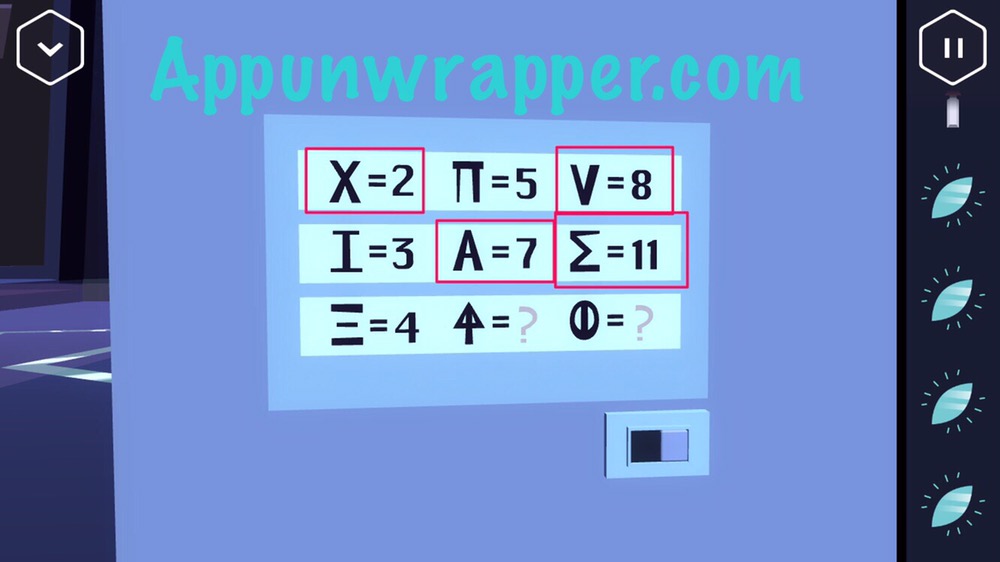
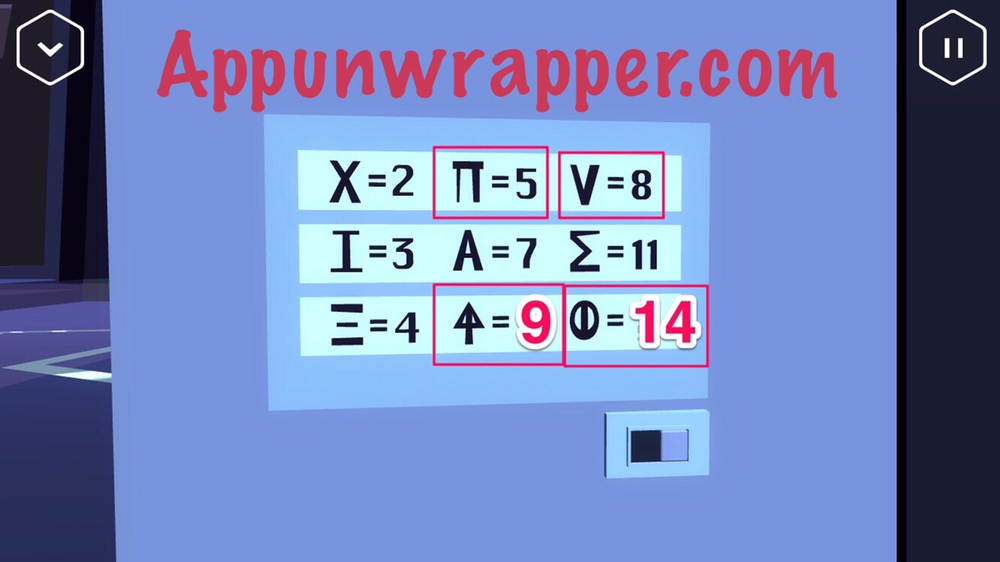
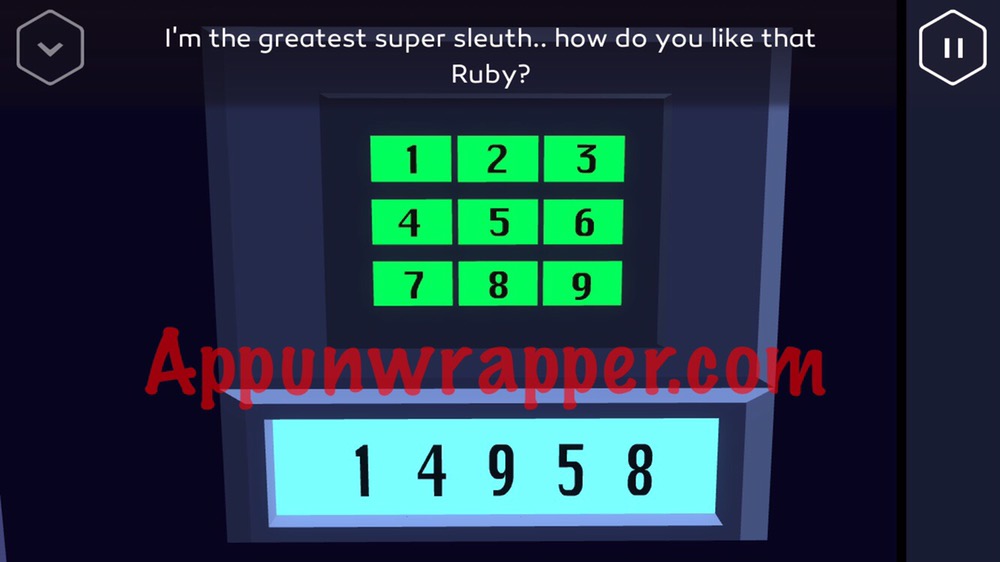
28. Pull the lever down again. Before you can get the last code, you need to figure out what those two symbols are that have question marks. There’s a pattern to each column of numbers. The first column is 2, 3, 4. So you just add 1 to get to the next. The second column goes 5, 7, and then add 2 to get 9 for the last one. The third column goes 8, 11, and then add 3 to get 14 for the last one. Now you can translate your symbols into numbers. For me, it’s 14958.
29. Punch the numbers you got into the big number pad to open the final lock below and get the third power cell.
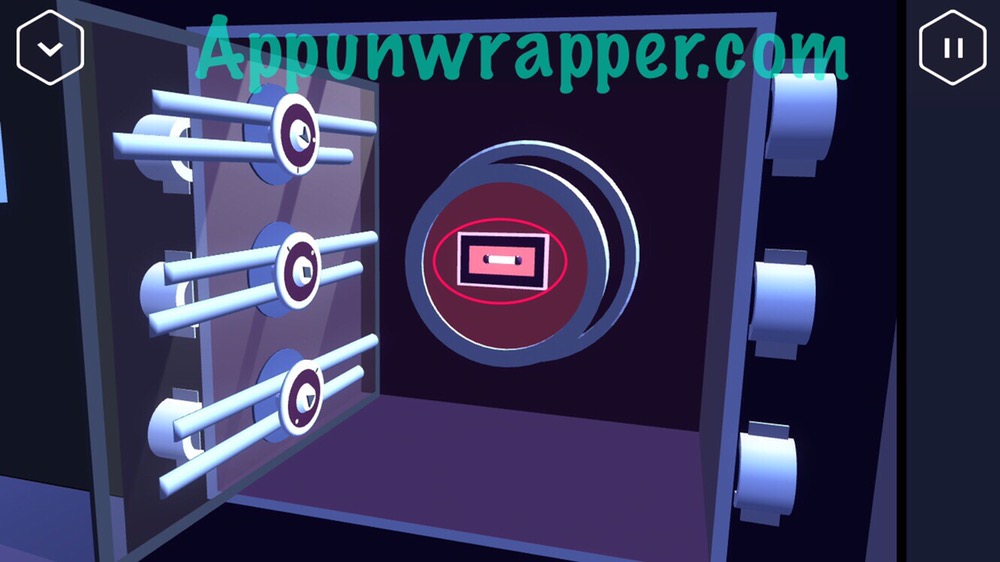
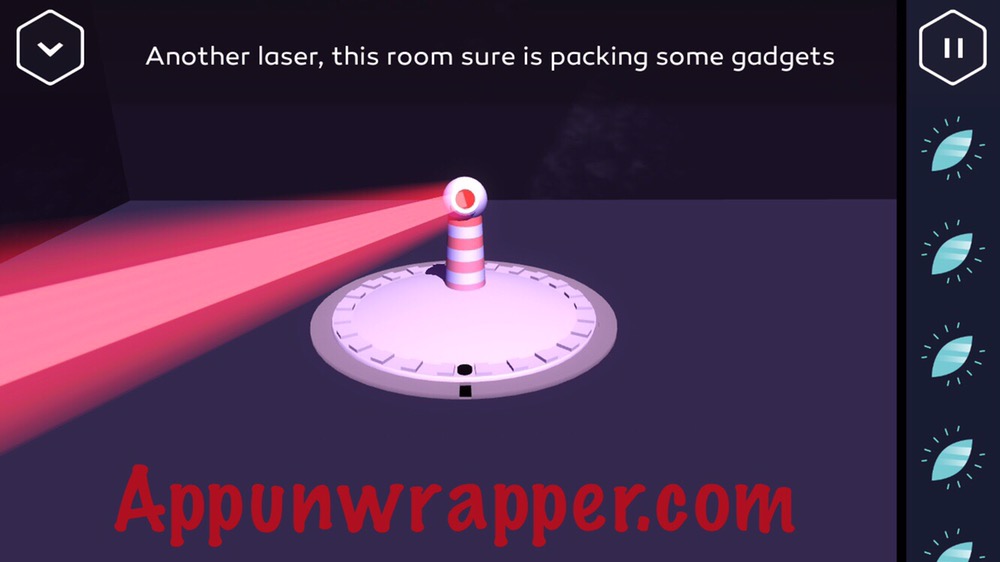
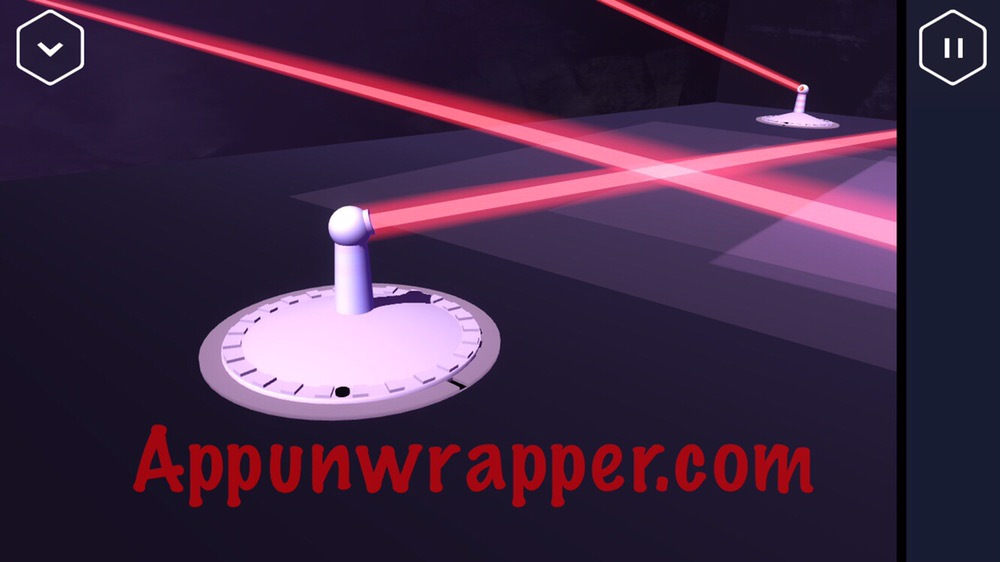
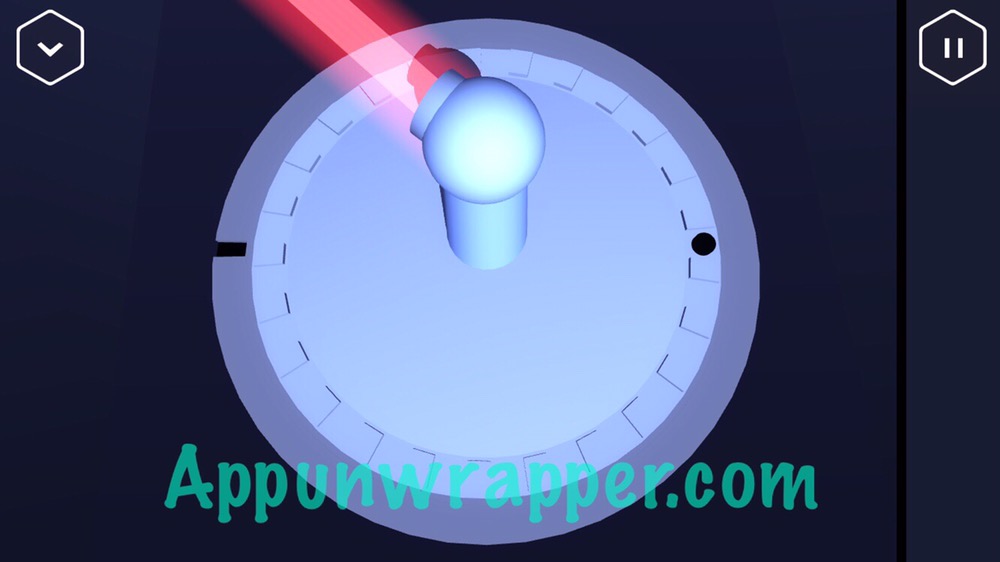
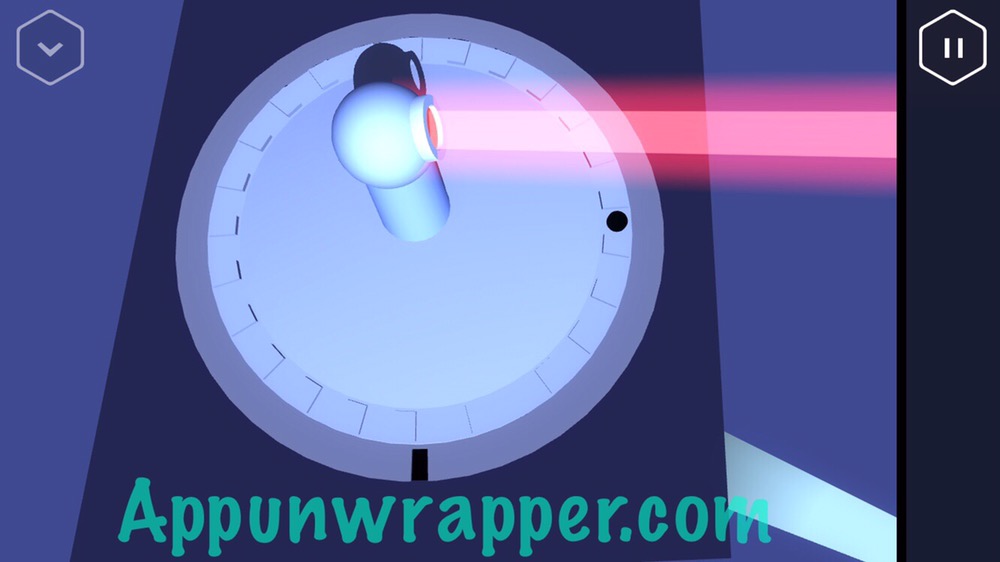
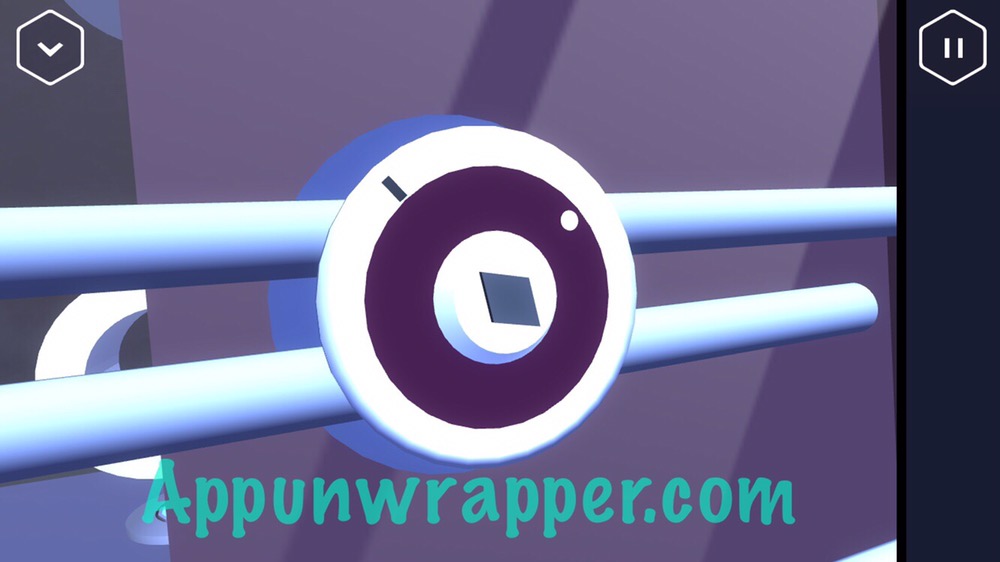
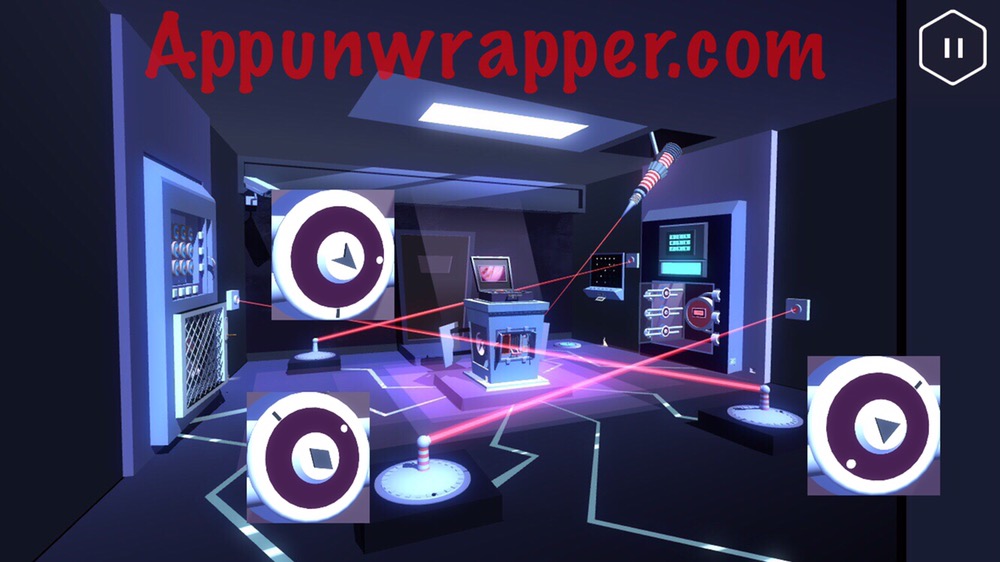
30. There’s only one power cell left, and the trick to getting it lies with the three lasers. You need to look at those three locks. They have the same shapes as the buttons that activated the lasers. Notice that each laser has a dot that moves around when you rotate the disc. Rotate each one so it matches the corresponding lock. Work on the triangle first, because it’s the laser to the right. The one in the back is the arrow, and the one in front to the left is the diamond.


31. Another laser will descend from the ceiling and unlock the last power cell. Insert the fourth power cell, press the big red button and see what happens!

32. And the final bit before the end of the chapter is to just tap at the bomb in front of you until everything breaks and sparks fly. Then watch the ending of the chapter!
Congratulations! You completed Chapter 3 of Agent A! Now continue to Chapter 4, A Narrow Escape!

Thanks for the great walkthrough! The most difficult puzzle for me was the last one with positioning the rays for the last piece of glass.
thats interesting coz i got the last piece from laying the brick on that block to keep sliding door open ; still fiddling with lazers and that pretty spots ! live this adventure
Notice
brilliant
IΓÇÖm having a hard time getting the laser receivers to become visible. What am I missing
The last code dont work…
That’s because the games have different codes you have to work them out
I think there’a a major bug in the Game…
I placed the crank handle in the socket first and now I am not able to place the little lights
in the panel anymoree BUT I’m not able to remove the crank handle either!
Aaaaaaah!!! What the f***?!? 🙁
The second power cell didn’t open when I turned the crank
Ya it keeps changing
There is no lever
The backwards seven wonΓò¼├┤Γö£├ºΓö£├╗t work… halp pls?
For me either!! It keeps changing every time!! Did anyone else have a similar problem??
what do you mean? just drag and drop the pins
HavenΓò¼├┤Γö£├ºΓö£├╗t had that problem… Maybe ensure youΓò¼├┤Γö£├ºΓö£├╗ve done the right shape and used every pin?
I havenΓÇÖt had the problem either
Having that problem now. Every pin I drop it just says “that didn’t work”. I saw a keyhole in the floor in front of the “holes” but I haven’t got/can’t find a key to fit it. Super frustrating
SOS IΓÇÖve found all the clues but canΓÇÖt get to the second power cell, is it because I didnΓÇÖt respect a certain path? I did get the lights reordered, moved to the spy room, turned that crank the wheel got bluish, to then try to grab the power cell but the little trap wonΓÇÖt open, itΓÇÖs been days IΓÇÖm stuck going back and forth between the two rooms repeating this operation. In the meantime IΓÇÖve found other clues and a 3 cell but I need to get the 2 out! What am I doing wrong?
dont stop turning the crank……
I cant get the mouse to get the key when i have done what it said SOOOO many times
ensure the mouse is peeking out when you leave it.
I think itΓÇÖs a great walkthrough, but not always clear. IΓÇÖm driving myself mad trying to get the lasers in position, and I donΓÇÖt even know if thatΓÇÖs what IΓÇÖm SUPPOSED to do. Could you consider making a YouTube channel like this? I would watch it often. I donΓÇÖt want to be negative, IΓÇÖm just frustrated. If anybody could help with the lasers part, I would really appreciate it! Thank you!
I already have videos for the entire game. TheyΓÇÖre embedded in the walkthrough.
I have the same number grid and so I did 14958 and it didnt work
I have exactly the same grid, the code is not 14958 I know that because I tried it, it’s getting annoying now as its impossible for me to progress
THANKS A LOT !
I got the code from blue circle light up machine and the one where the lasers at where’s the other one?
I versed my brother doing who can do it faster and he never knew I used this website and cheated lol
Hello, could you help me with the mini game part I donΓÇÖt know how to lock the things without having to let go to get to another part
Help! IΓÇÖve lost the mouse! I pulled the leaver to early and now canΓÇÖt get the key from the mouse!!
Pull the lever back and try again
I’m not quite sure if that’s happened to me, but I have, also lost my mouse 🐭🐭🐭🐭🐭🐭🐭
I don’t get 11 lol
Help , I pulled the lever before I got the key from the mouse, managed to close the lever but the mouse is no longer in the holes, how do I proceed.
Pull the lever down and look for the mouse opening on the left. Not right side. The Mouse will give you the key.
Half of the stuff didn’t work! I did exactly what he/she/they/them said to do and it didn’t do anything