Level 1 | Level 2 | Level 3 | Level 4 | Level 5 | Level 6 | Level 7 | Level 8 | Level 9 | Level 10 | Level 11 | Level 12 | Level 13 | Level 14 | Level 15 | Level 16 | Level 17 | Level 18 | Level 19 | Level 20 | Level 0 + Coordinates
Level 13:
You can watch my video for level 13 including all three letters or see my step-by-step guide below:
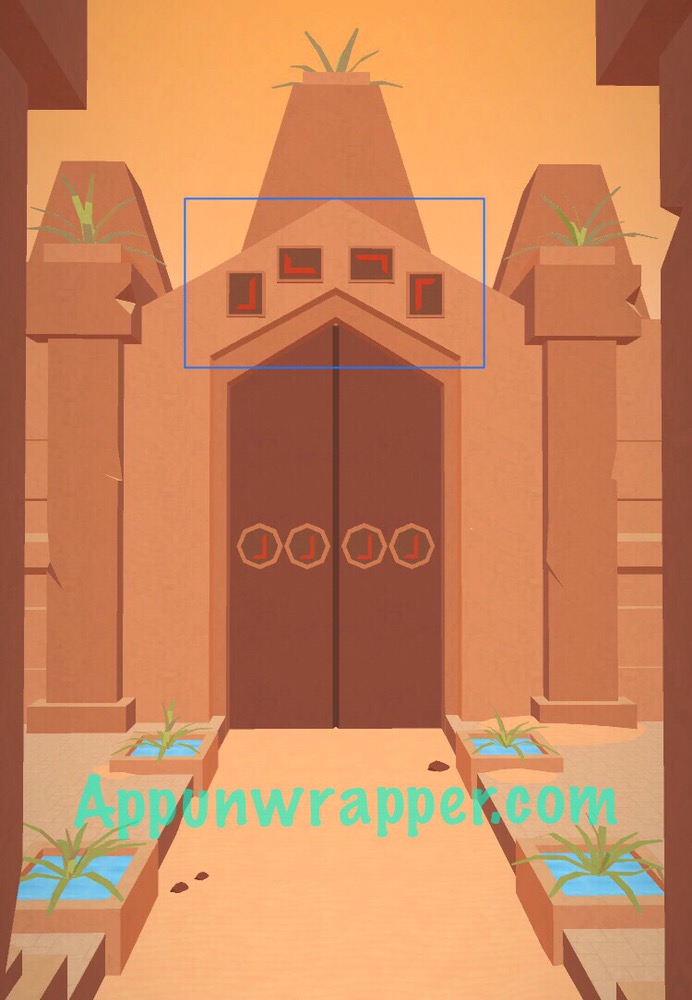
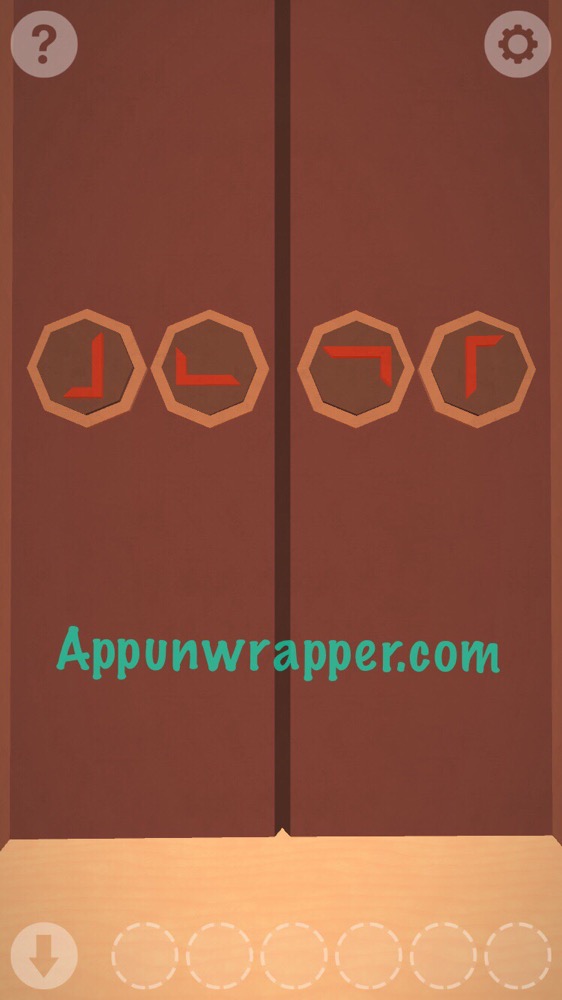
1. Look at the L shapes above the door. Then rotate the ones on the door so they match the directions above it. Go through.
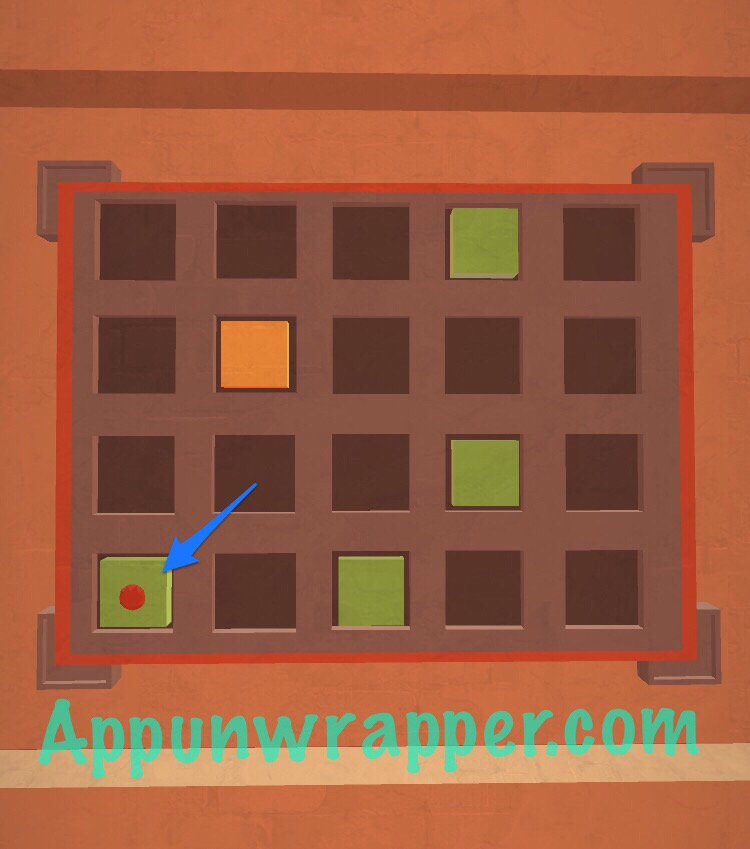
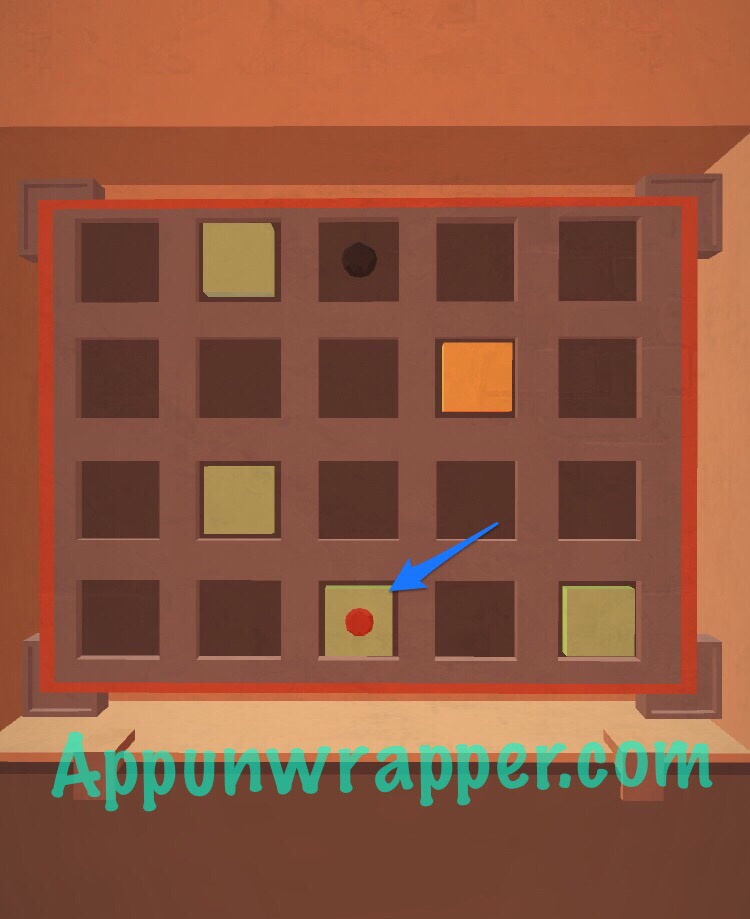
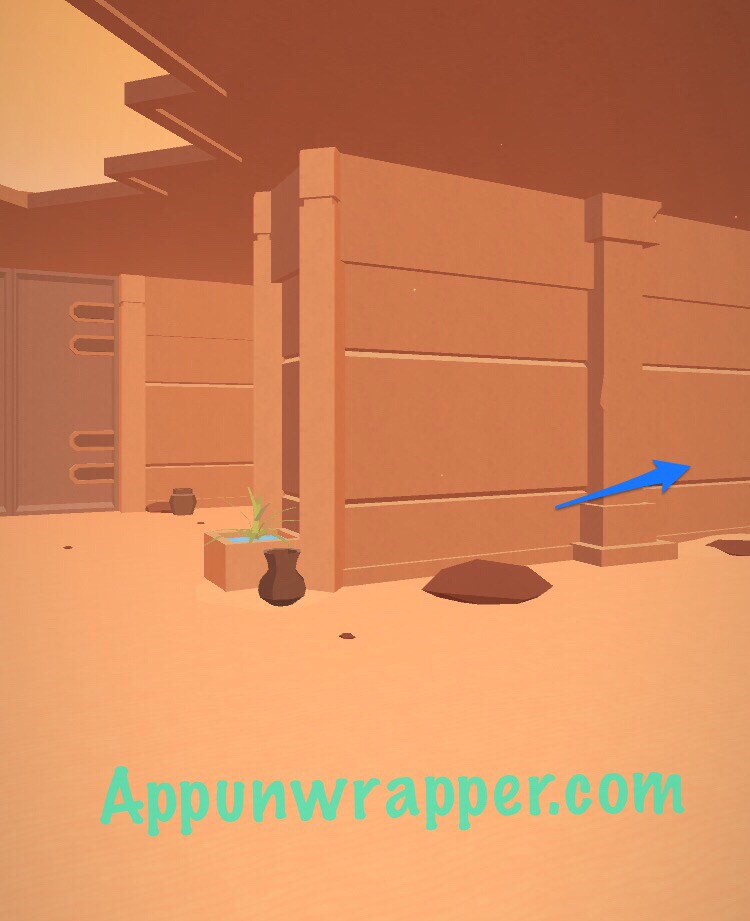
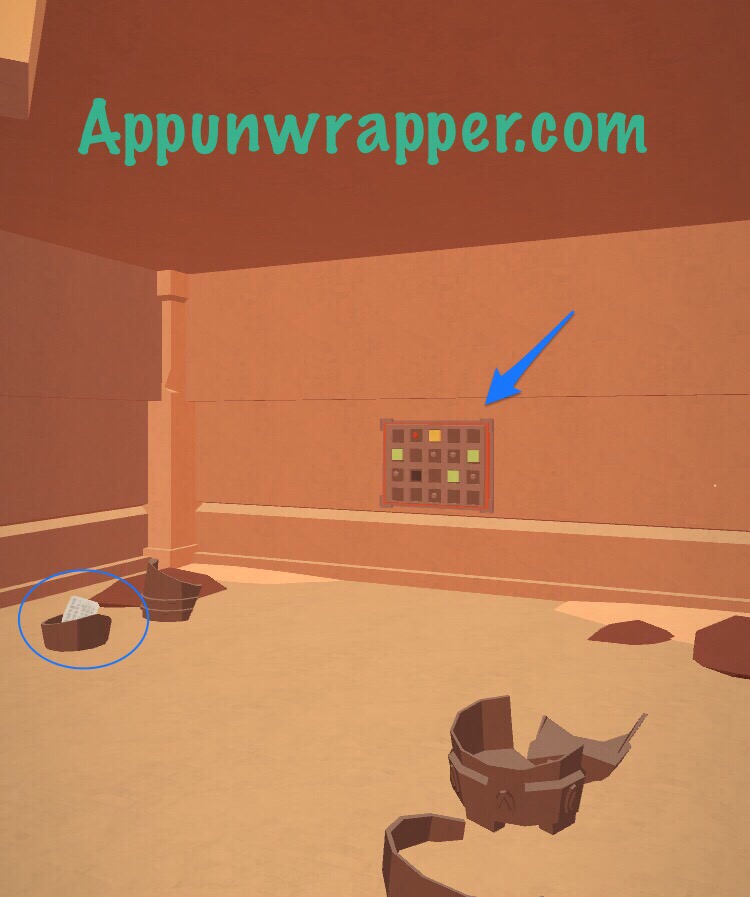
2. Turn to the right and press the green buttons until one of them lands on the red dot. The pattern here is the L. When you press a green button, another one will appear in an L shape away from it, like a knight moves on a chess board. So you can plan out your moves this way. Press the red dot and the square should turn yellow.
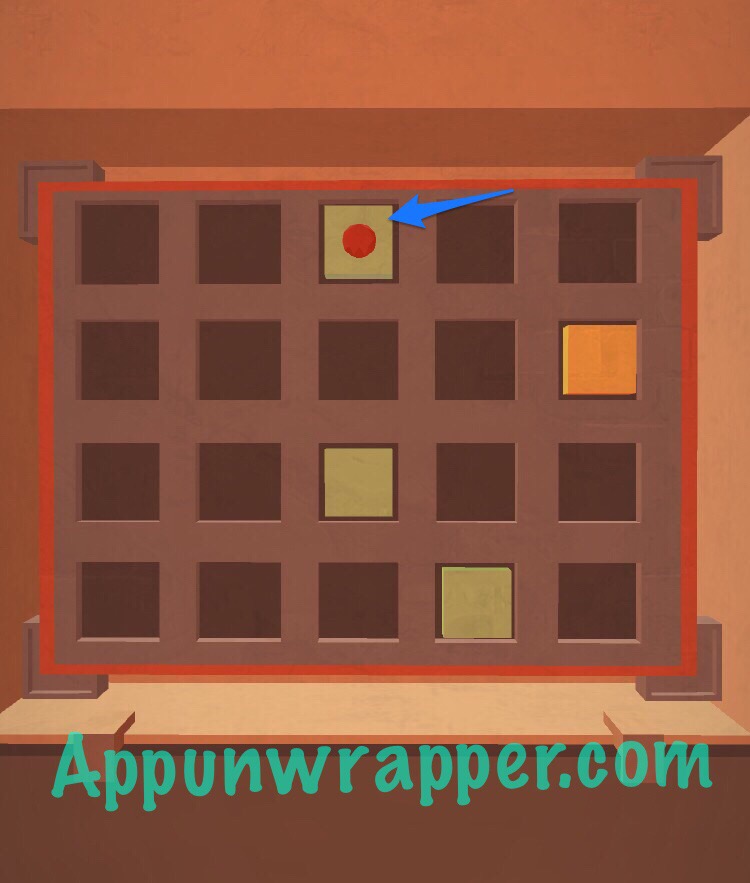
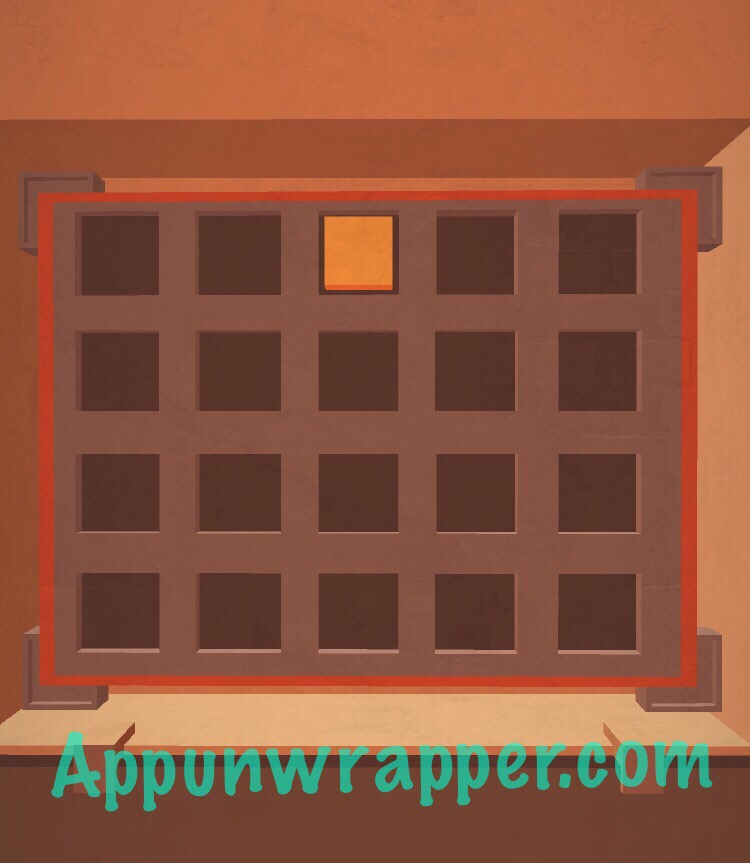
3. Turn to the left wall and do the same thing. Only this time you have two dots to deal with.
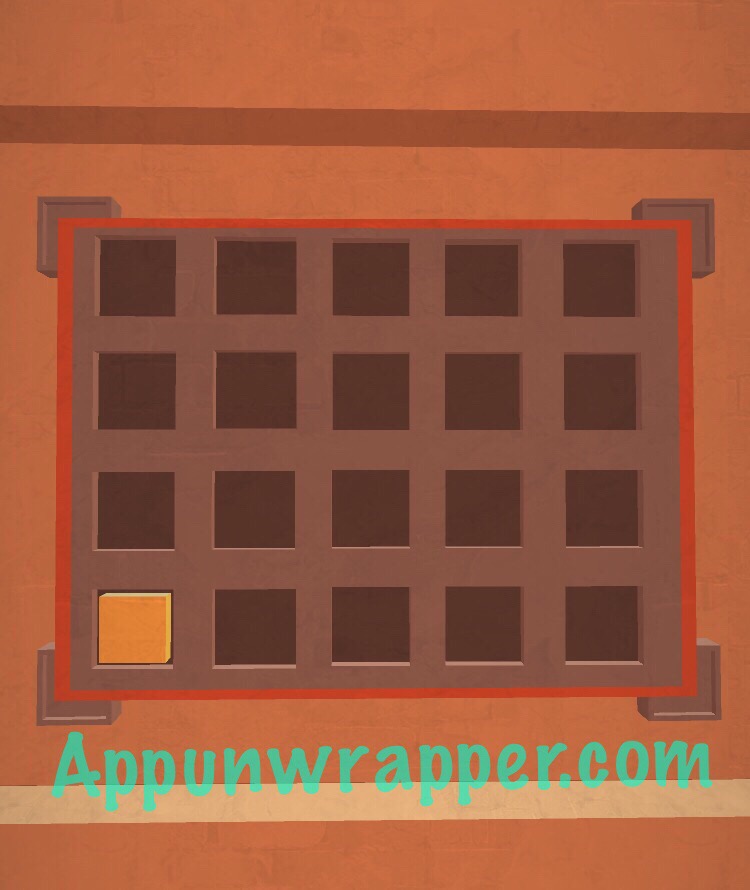
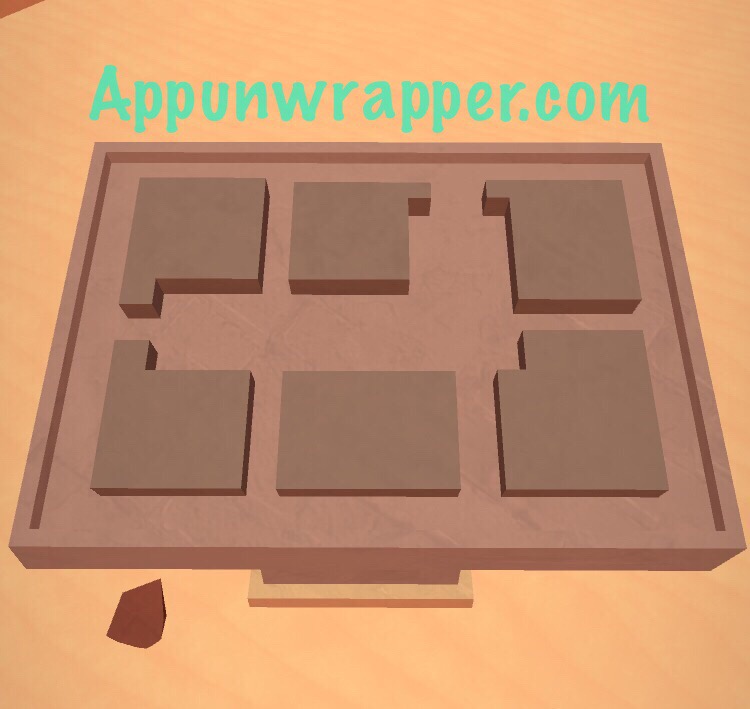
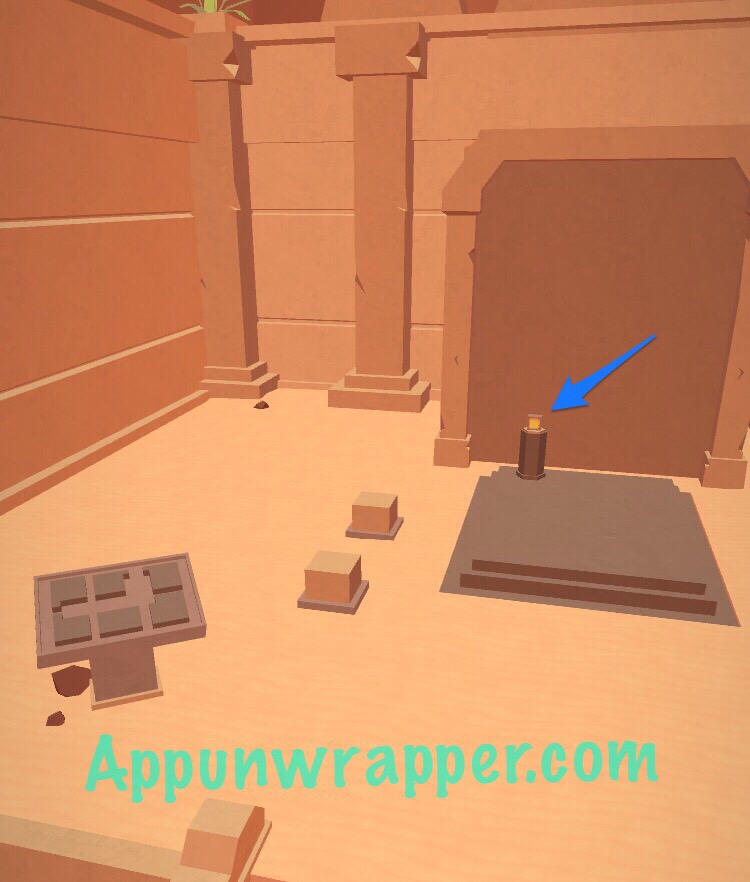
4. Cross the bridge and solve the puzzle to the left. You need to line up all the pieces so the outline is a clean rectangle. The empty space will form a sideways L. It should look like this:
5. Press the button that appears. An elevator will take you down.
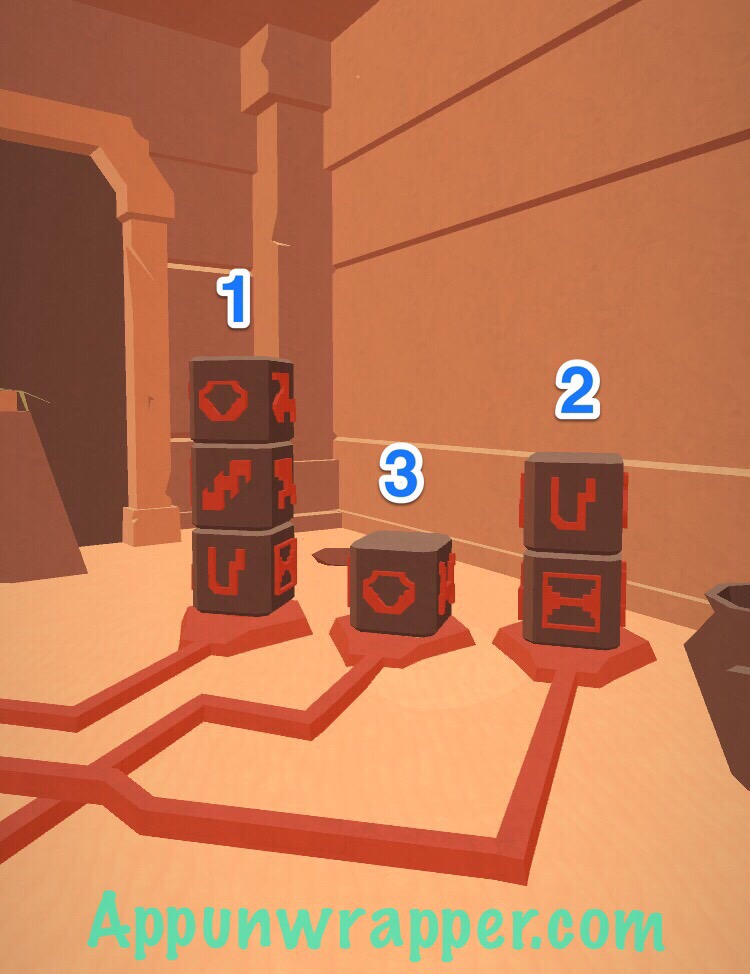
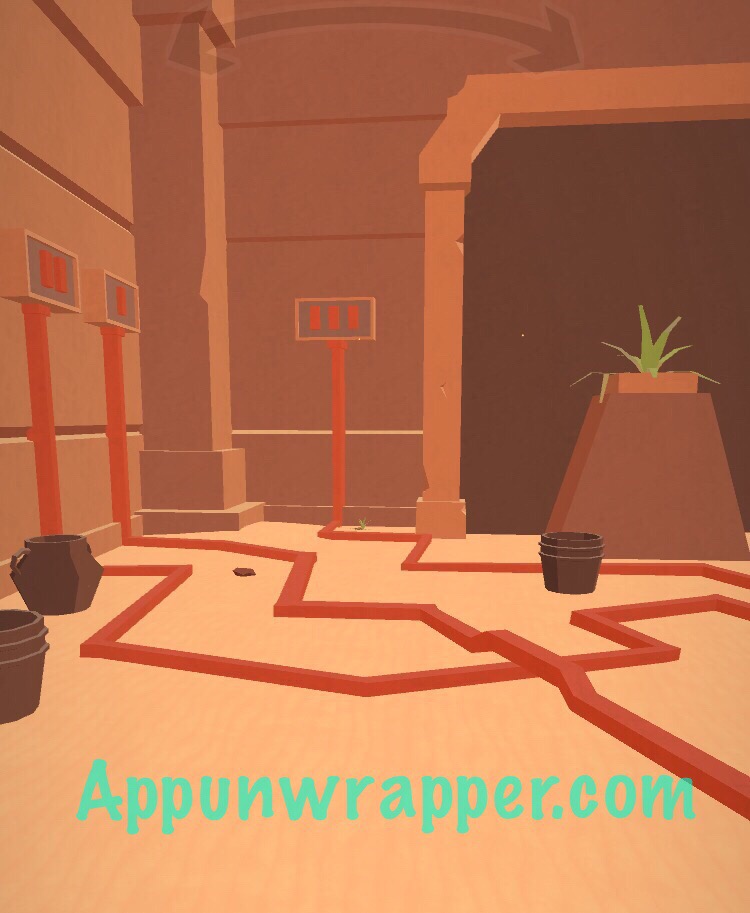
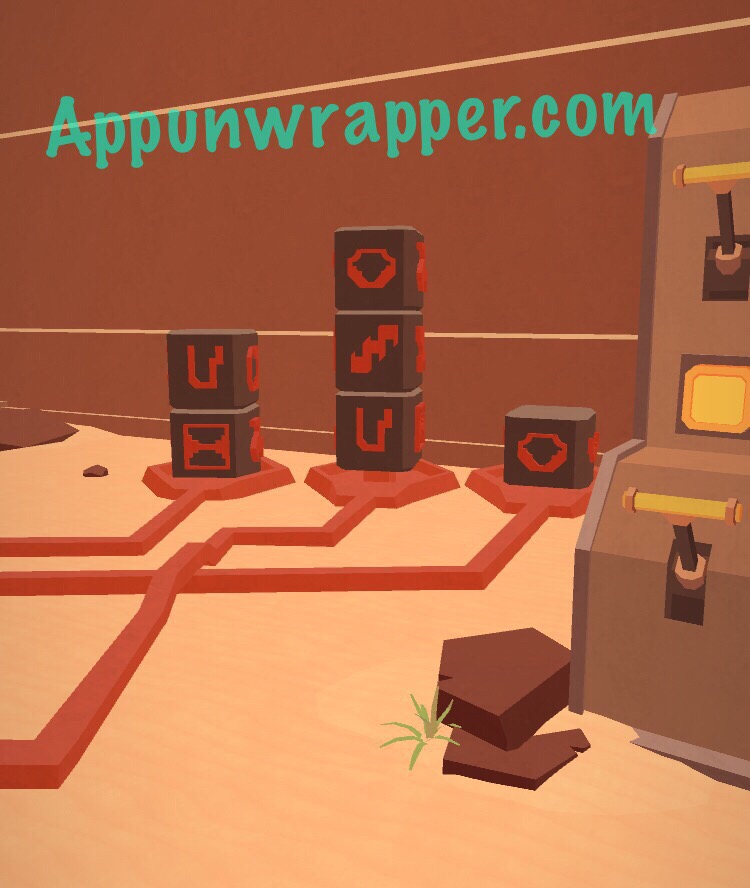
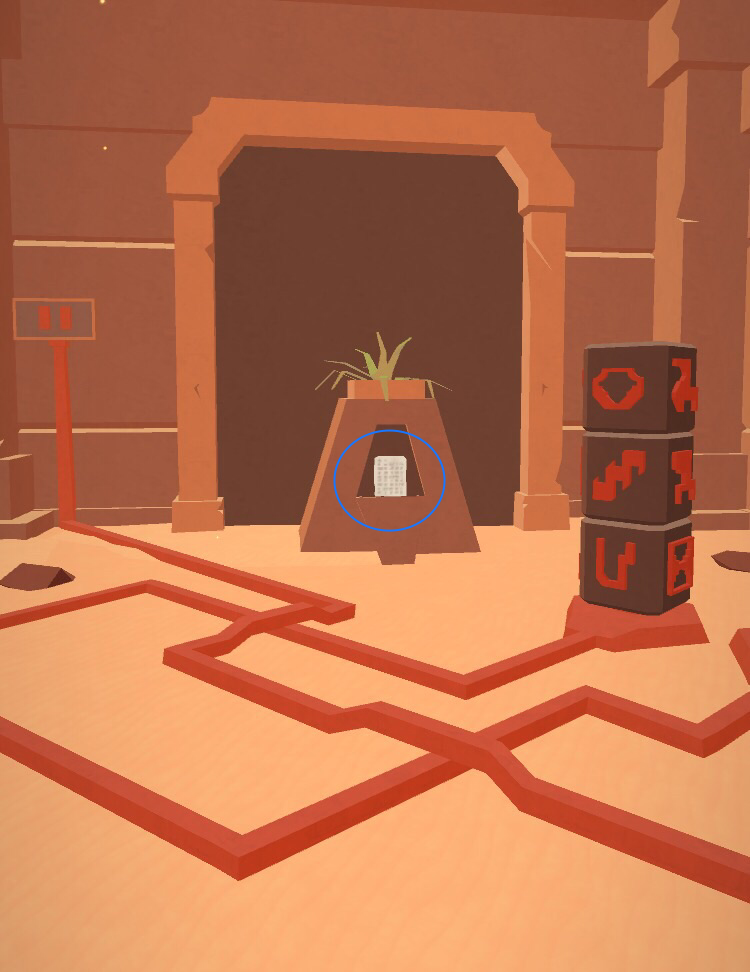
6. Turn left and make note of the three pillars of symbols. See which numbers the connect to. It goes 1, 3, 2.
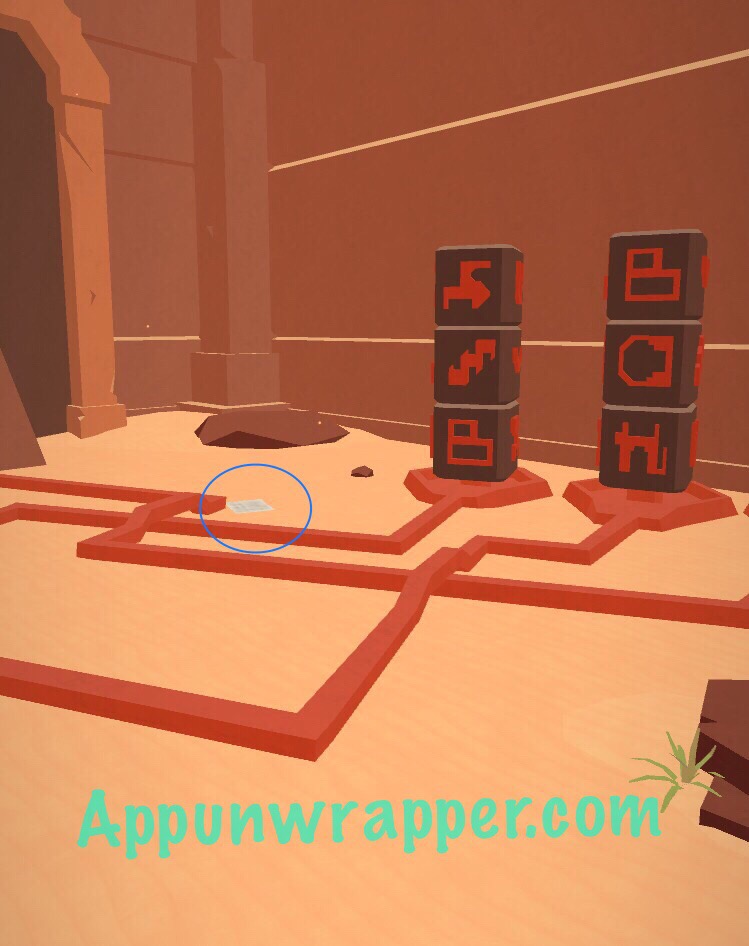
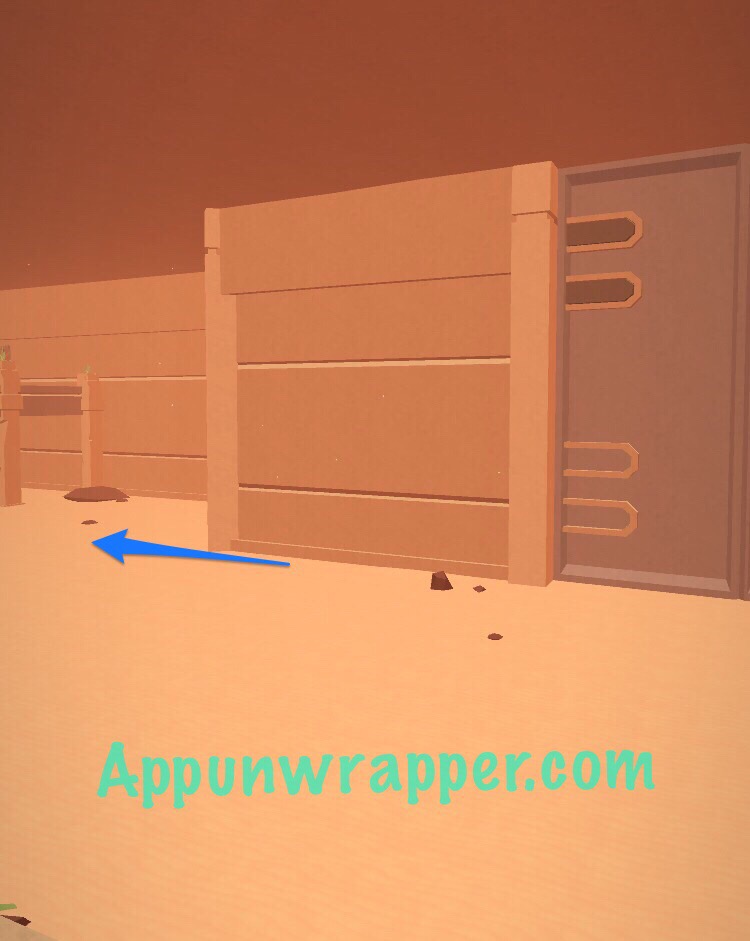
7. Go back and right. Pick up the letter.
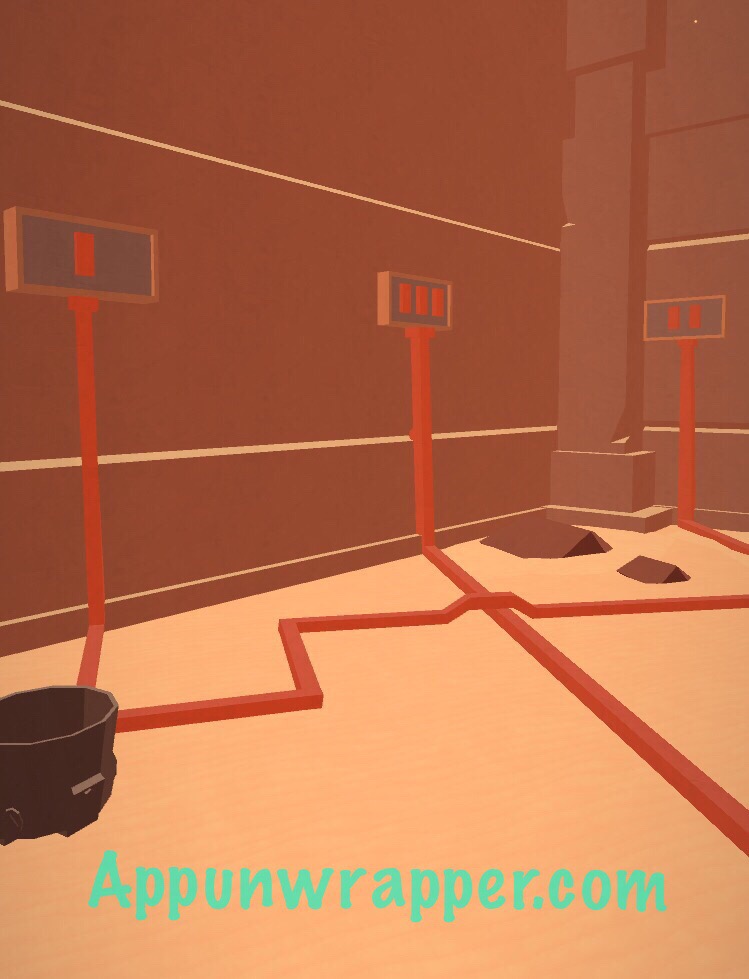
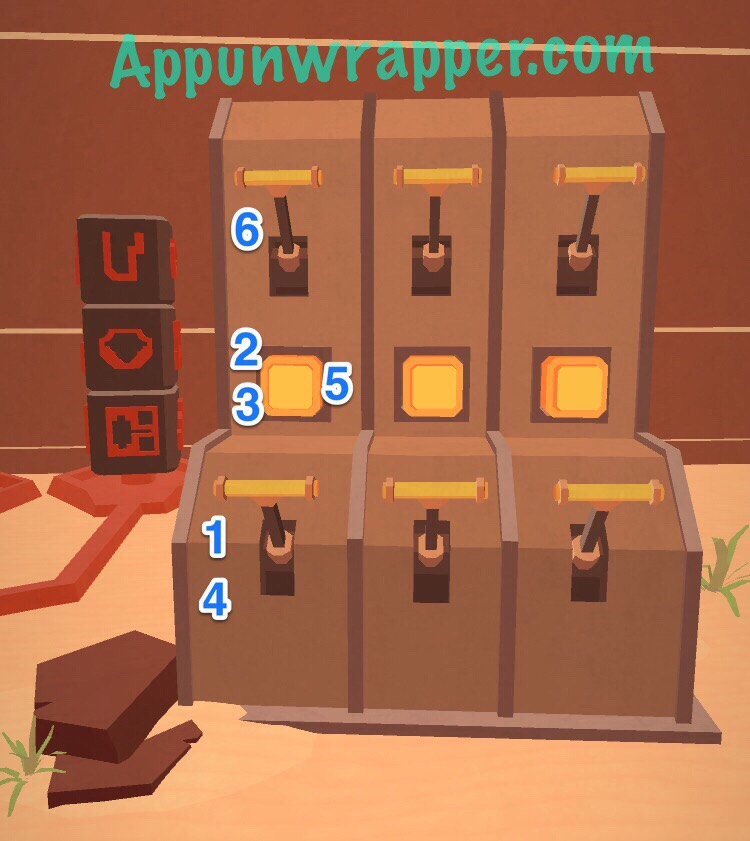
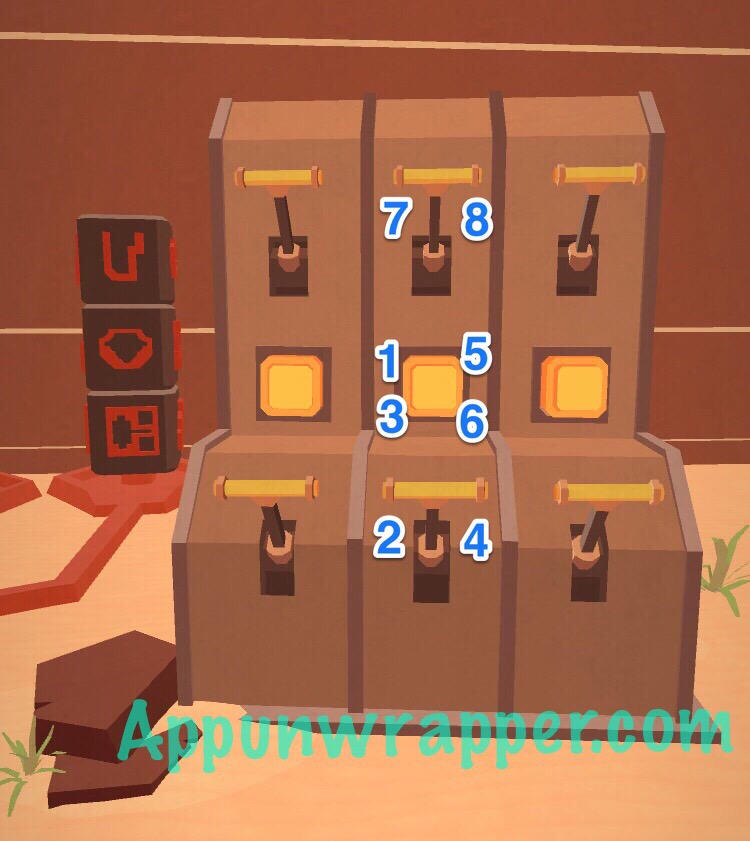
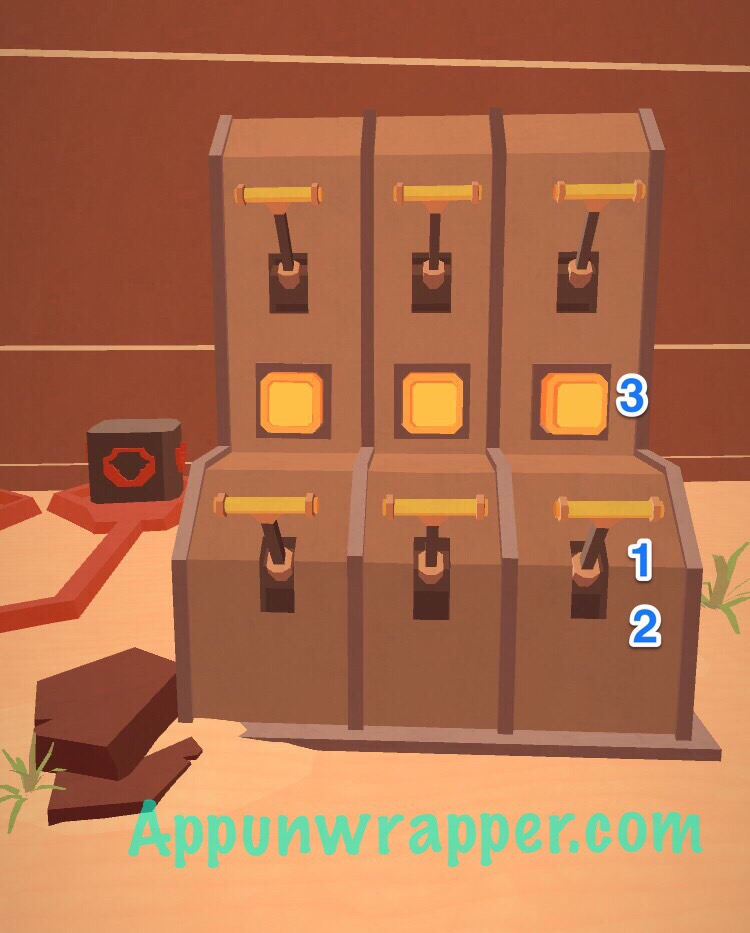
8. For this next puzzle, you need to change the symbols on the pillar so they match the ones from the left side we just saw. The order is different here, though. It goes 2, 1, 3. So this is what you need to do. The levers control the three columns. The top one raises the pillar one segment and the bottom lever lowers it one segment. The button rotates the bottom segment of the pillar.
9. So for the left one (2), first pull the lower lever down. Press the button twice. Pull the lower lever down again. Press the button once. Then last, pull the top lever once. Now it should match the the pillar from the left side of the room.
10. For the middle pillar and middle levers, you need to match it to pillar 1 from the left side. So first, press the button. Then press the lower lever down. Press the button once. Press the lower lever down again. Press the button twice. And last, pull the top lever up twice. It should now match the pillar from the left side of the room.
11. And for the final pillar, 3, pull the lower lever down twice and press the button once. One of the latches on a door in the distance will open.
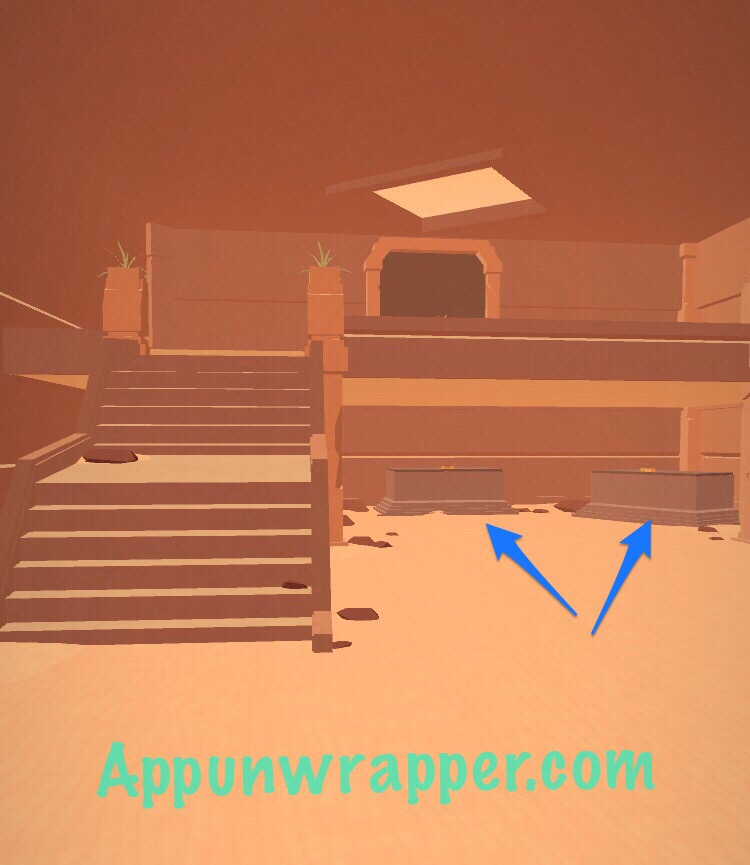
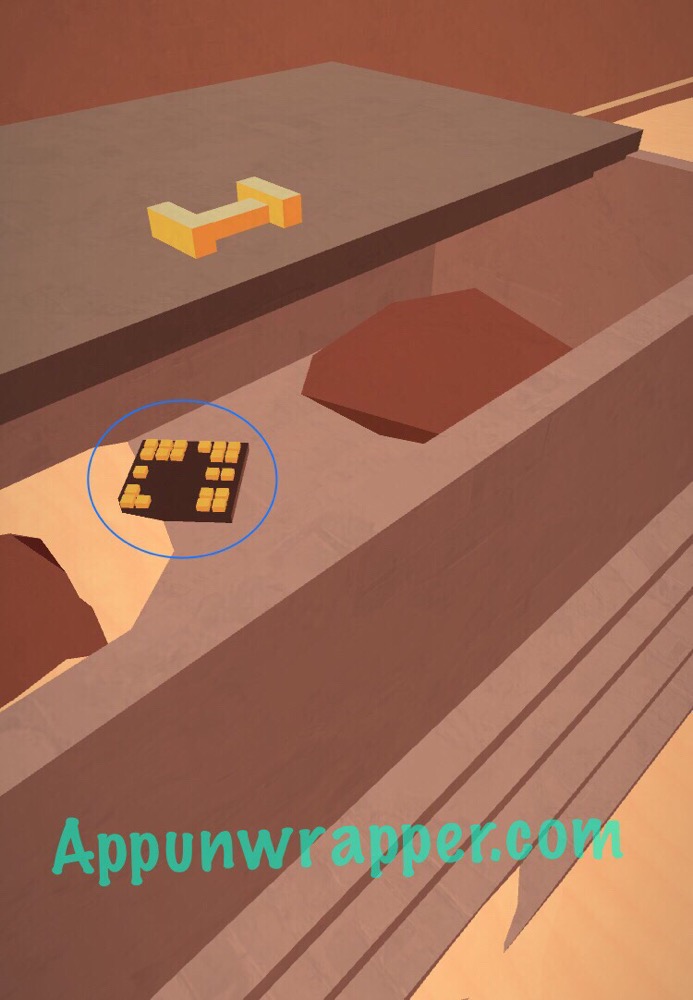
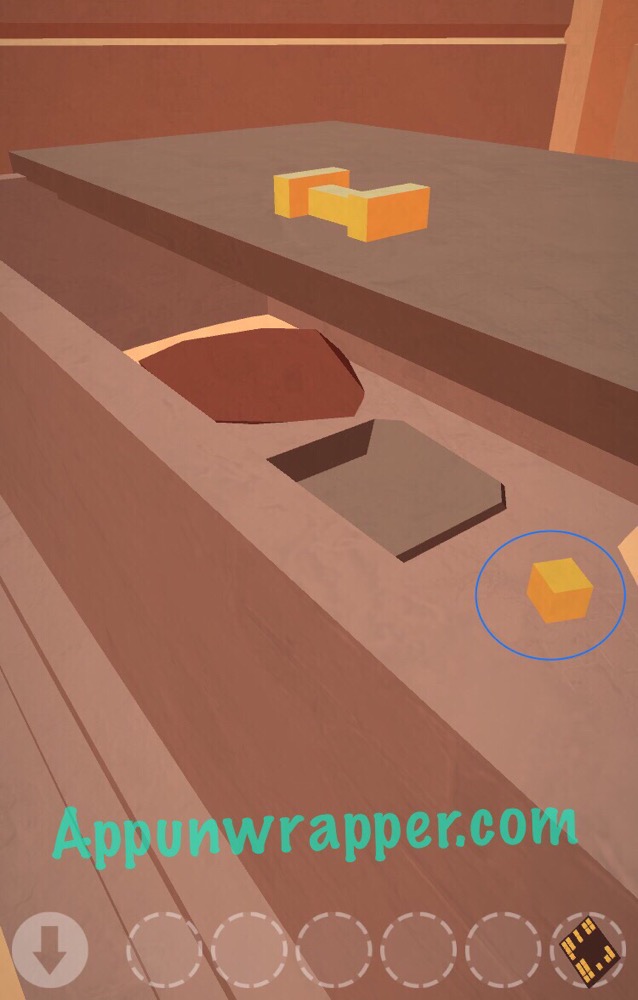
12. Go back, straight ahead and then left. Open the three coffins. Take the tile from the middle one and the yellow cube from the right one.
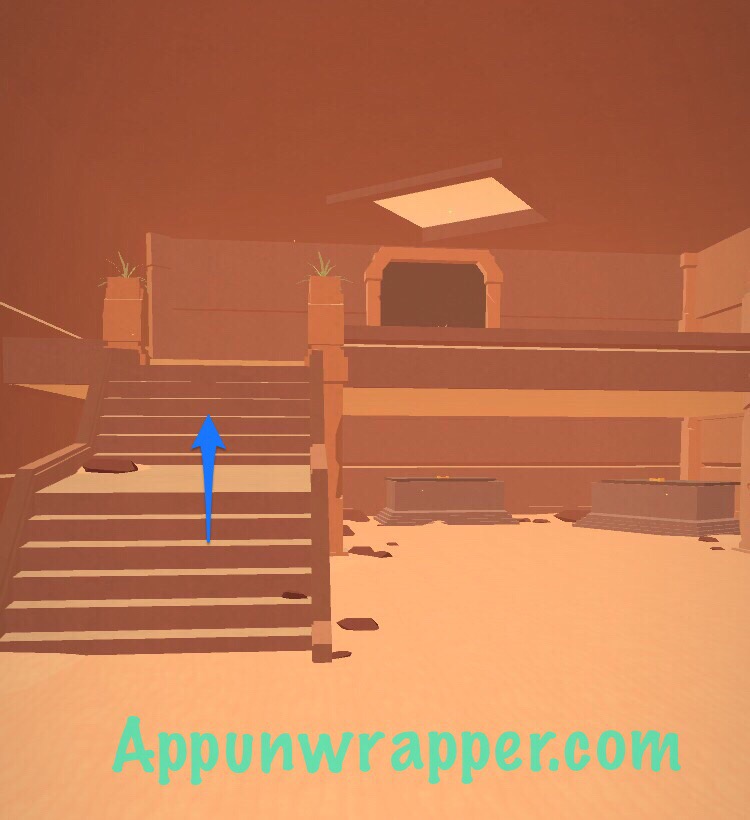
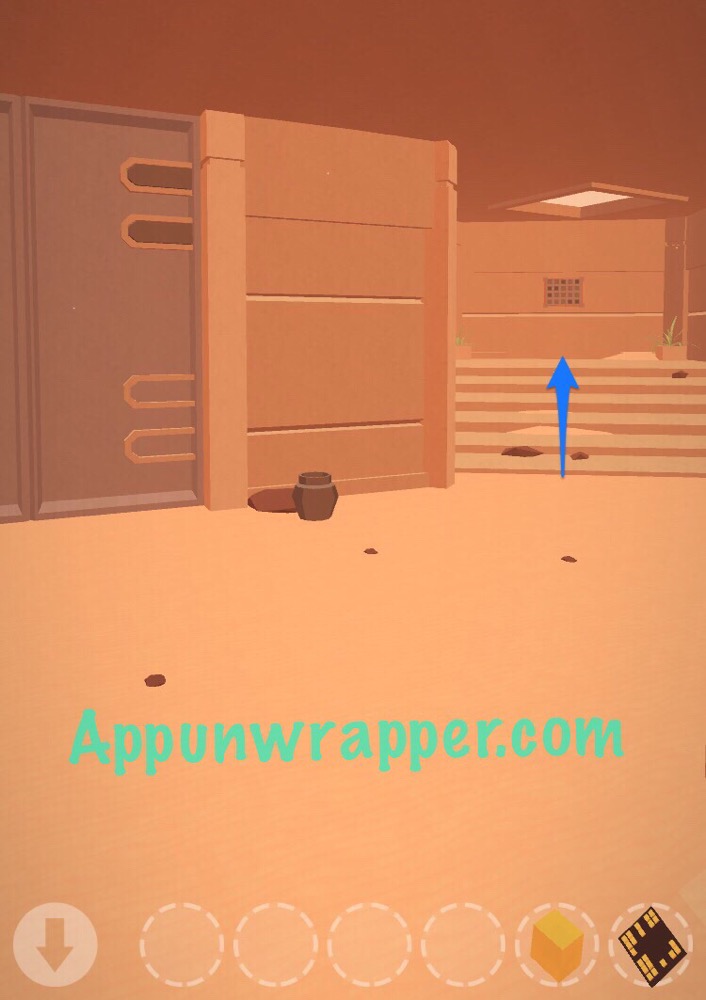
13. Go up the stairs. Break the jars and pick up the letter. Then solve the puzzle on the wall like you did the others. Another latch will open on the door.
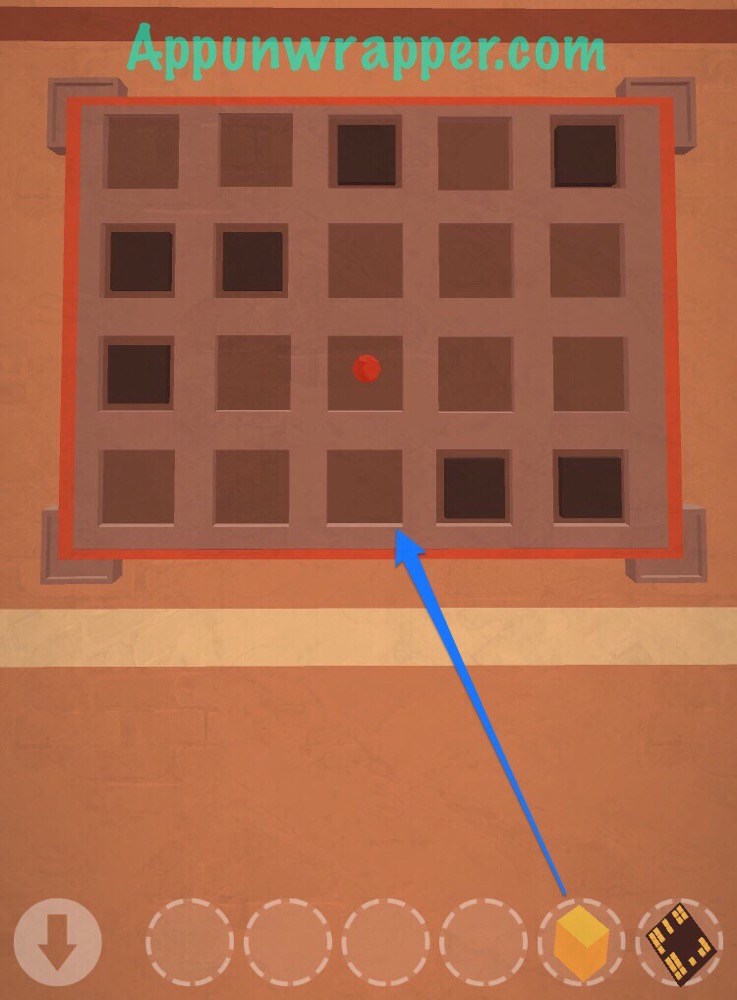
14. Go back and this time head right. Place the yellow cube into the puzzle on the wall and solve it to unlock the final latch and open the door. Don’t go through the portal yet!
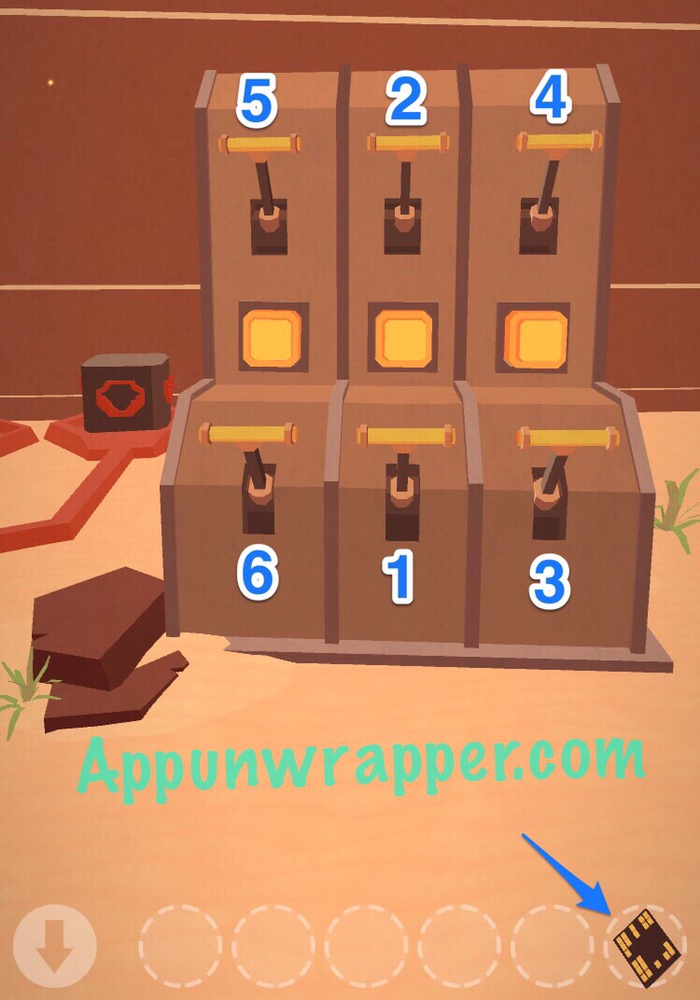
15. Go back to the levers. Notice that the tile in your inventory has dots on it, going from 1 – 6. It’s telling you the order to pull all six levers. Do so and then go fetch the last letter from the left side of the room.
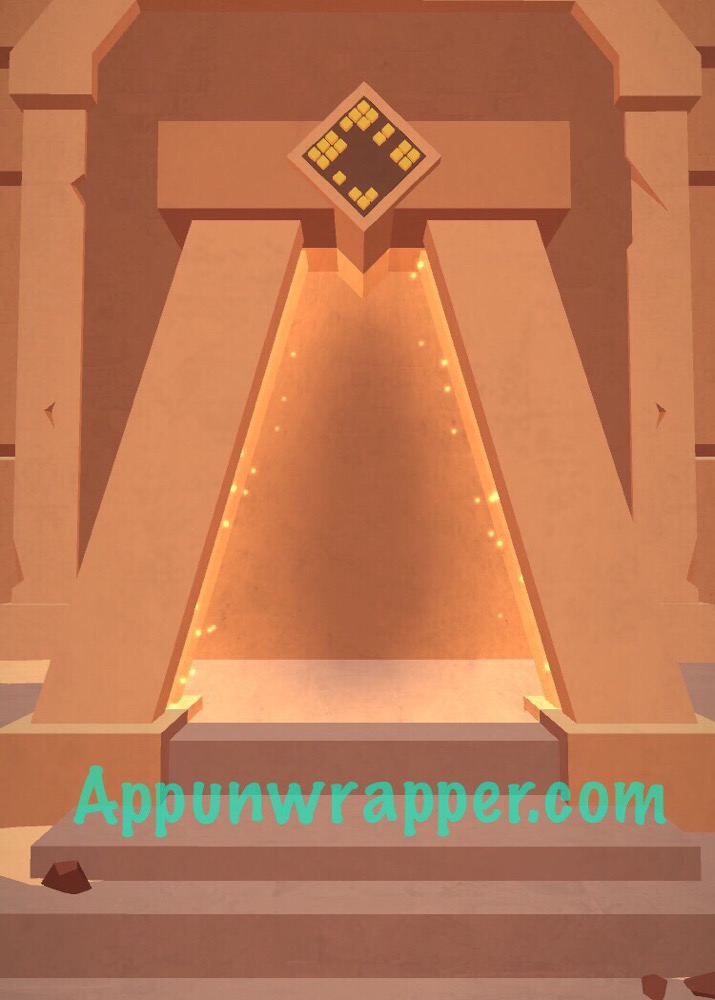
16. Go back and through the open door. Place the tile on the portal and complete level 13.
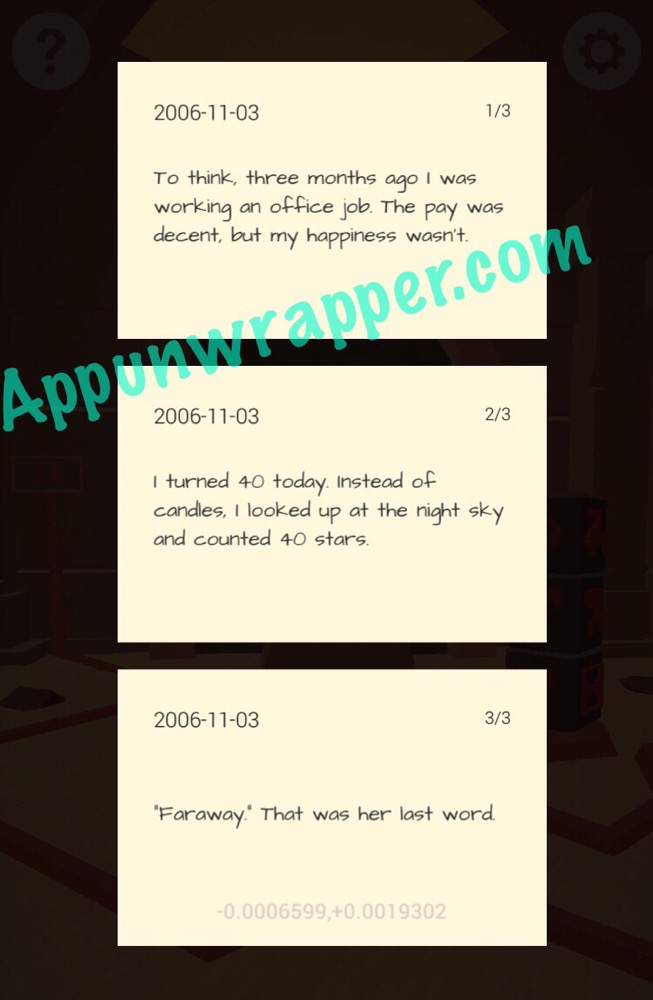
And these are all three letters or notes from Level 13:
Click on the little numbers below to continue to Level 14 or click here.
Level 1 | Level 2 | Level 3 | Level 4 | Level 5 | Level 6 | Level 7 | Level 8 | Level 9 | Level 10 | Level 11 | Level 12 | Level 13 | Level 14 | Level 15 | Level 16 | Level 17 | Level 18 | Level 19 | Level 20 | Level 0 + Coordinates

Where is the end of 8?!
Still working on the walkthrough. Please bear with me!
Ok thanks
Did you finish Level 9 yet?
Not yet. Will work on it more tomorrow. Was working on other walkthroughs and reviews.
I finished it. Just need to work on the walkthrough for it.
Hi. Where do I find the 3 letter in level 14?
If you need help with the explanation of the triangl puzzles in level 15 (especially the last one), let me know.
For level 15 point 12, there is an easier solution:
-1 = -4 +5 -2
WHen using a hint in level 0 Some of the jars dissapear
Oh? I didn’t even try that. Hmmmm…
How did you use a hint there? I don’t see the option.
I was able to get the hints working on my iPad, but for some reason there’s no option on my iPhone.
It just shows me cracks in all the jars. Could it mean that you need to break every jar in the game?
Okay, so this is what i found out so far… I’m not sure if this is just a glich, but i do feel like there is more to the hidden level then just to destroy jars…
Start any level and use a hint, then leave to the main menu. Enter level 0 and then use another hint. Watch the results!! I noticed that using a hint at the start of each level will offer a different result in level 0. Some will dissapear jars (1,4), whereas others will add walls and “glitched” mountains (8, 9, 10, 11, 13, 15, 16 ,17). I found level 6 to be most intersesting because a hole in the ground appears. What I think is happeneing is that the actions of hints from the levels are being carried over and then duplicated to level 0. Im not sure if this is progress or not but it seems to be very interesting?!! Perhaps we just need to duplicate the right hint actions over to level 0?? This seems like it would take forever to try every possibility. Hope this helps! Keep me posted
Where are you at AppUnwrapper? You’re suppose to have this figured out by now ?
Can you confirm what I wrote is accurate or do I just have a broken iPad?? Most likely it’s only a glitch but I’m not discarding just yet.
Very interesting game. Still no clue what to do in the secret level or how to use the coordinates.
Let me know if you do!!
Do you think there’s any significance to the gate block on the opening screen of the game? I’ve tried to find a place to input it, like you do with all the other gate blocks in the game (I’ve tried the 25-block grid in level 1, and the rotating pipes in level 16), but I can’t seem to find a spot for it. Thanks for the walkthrough!
I considered that, too, but I can’t think of any place it could work. The 25 buttons wouldn’t be enough because the design is too intricate to fit on it.
Thank you! I was having trouble finding the 3rd letters in the levels.
🙂
Thanks you so much for the walkthough!! I can’t believe how much effort you put it it, a video and tons marked up screenshots with explanations! And thank you for the letters too. Thank you very much!
Thank you so much for the walk through. I was having problems finding the third letters too I’ll be curious what you find in the hidden level. All I can see is jars to break too.
Re level 0 hints; could it try to show us a specific order to break the jars? (No idea what these “weird” hints are trying trying to show)
I’d hate to need to use the walkthrough for all 18 levels – can the game be completed without the “3rd” letters on each level?
I can then go back later and find the missing ones without glueing myself to your walkthrough. (Which I thank you for whole-heartedly!)
Thanks!
The letters are part of some bonus stuff. You can absolutely complete all 18 levels and then go back and look for any letters you missed after.
If you use a hint in level 4 right before you pick up the final key block, a pillar in level 0 will shine bright (like it becomes enabled). Not sure the significance of this find but it is something different.
Don’t use the portal after the hint, just exit out to the main menu. Otherwise the pillar won’t become enabled
I noticed while I was watching the walk through for level 0 that the hint in level 0 seems to repeat the action that the hint you previously watched does. For instance, if the first action in the regular level hint is to zoom in on part of the map, then the first action in the level 0 hint will be to zoom in. That’s not the case for each level, which is why you only saw the random walls appearing sometimes, and you had several “boring” hints. The walls you saw appearing were just the broken jars being zoomed in on. I too wonder what would happen if you broke all the jars in the regular levels? Just some food for thought 🙂
I was taking a look at the coordinates independently before finding this walkthrough and I noticed that all the coordinates for levels 2-18 are very small and only the second half of each pair ever breaks the 0.01 mark. So I had the idea of multiplying each pair by 1000, believing that the first numbers never reached 0.01 because latitudes only ever have 2 digits while longitudes can have 3. Sadly, the map results still don’t point to any particular locations and don’t form any pattern but they end up a lot more spread-out this way.
My personal opinion is that all of the coordinates excl. the ones from the final note are too small by a factor of 1000. I went through the process of multiplying them all and looking up the points but they didn’t make a pattern or point to anything meaningful when I tried that either.
(If another comment by me pops up saying the same thing I apologize, I didn’t see it in my browser upon refreshing the page.)
I am making what I think is progress on level 0. Note that there’s that nice tile floor. I’ve got some graph paper and am making a map of jars. I have three hypotheses: 1. The coordinates when layed out on the grid will tell you what pots to break. 2. Perhaps the pots will form a 7×7 grid, in which case I could break them in the pattern given by the tile on the intro screen. 3. Perhaps mapping the broken pots in the hints you discovered will be interesting somehow. I’ll let you know what I discover!
Have you found anything for the bonus level yet?
So I might be totally grasping at straws here, but here’s something I found. If you plug in the coordinates of the first 17 levels on Google Maps, be sure to switch the view from “map” to “satellite”. On the map there is nothing, but on the satellite view you can see that the coordinates are all on a small island/group of islands, possibly underwater. I can’t find any info on named/inhabited islands that far west in the Gulf Of Guinea, but the coordinates are DEFINITELY intentionally put on the island/group of islands.
This island has a name and even a wikipedia page: Null island. It’s also fictional and completely unrelated to this game. Sorry.
This is the best walkthrough I have ever come across! I don’t know why 99% are without audio. Yours’ is perfect! Thanks a million!
I don’t think the coordinates at geographic lat/lon coordinates (with the possible exception of the final one). Begin at 0,0, and then plot a vector along each new coordinate, and you get a chart that looks unmistakably like one of the portals (omitting the final coordinate pair which are obviously on a different scale and do appear as possible geographic coordinates):
https://docs.google.com/spreadsheets/d/1Uj2jAzF87urFsAIoDRKOXCQdnAIcniUWBDf2UIKZyFo/
No idea if this is related to “Level 0”.
I tried following the coordinated by tapping the same pattern on the home screen’s portal, but didn’t observe anything unusual. Tried swiping the whole thing also with no effect.
When I open level 0 it shows literally nothing. Just the desert-like background. Maybe it is because I broke all the things in every level?
Same here
Same. Just blank desert background. I’m pretty sure I broke everything I saw as well lol
metoo,maybe when you break all the jars in the level1-18 ,the level 0 will change to the desert-like background?
Nah i finished all the levels with all pots and bothing happends
i don,t understand how to play and win level 4 but now time i watched your video and then i can win and understand how to play , thanks for sharing with us,
I have an idea of what level 0 is about. The level 0 contains all the jars in the game. Like what you have demonstrated, level 0 shows the positions of the remaining jars to be cracked in the level which you just entered.
RE: #6 of Level 18: AARGH!!
Taking a coffee break. This is a tough level 🙁
🙁
# 18 in Level 10 = I know long long short short short long long.
But I’ve pressed this on all 3 machines and no letter? What am I doing wrong please? BTW, I did finish level 18. just going back through for the missing letters 🙂
Sorry – I remembered you make videos and just watched the video and found #3 letter 🙂
Yay!
Was my text walkthrough wrong?
No – I was just confused – this was the first time I had to press the teleportation square. You said to press but not what and I never thought of the obvious. I watched the video and felt stupid.
However, I finally did figure out that I didn’t have to do all the level – just find where to put the ‘code’ for the last letter.
I love Faraway2 with the camera! OMG! How wonderful!
I am on Level 8 and for the life of me I can’t get the laser to reflect off the triangle! I have adjusted both many times but the triangle still passes through the laser without reflecting…what am I missing?
Same here, the laser just goes through the triangle. It doesn’t break off….
I had this problem. I had to restart the level and that time it worked. The second time I didn’t play around with the gadget the diamond goes in until I placed the diamond. I don’t know if that mattered.
I think it’s just a bug.
Stuck at initial screen of level 6 (iPhone 5). Cannot move anywhere – waz up?
The only thing I see on level 0 is plain desert.
Me too
Of one take the coordinates not as places on a map but as movement after the previous place a pattern emerges looking a bit like the gates at the end of each level with the last point pointing straight down from it.
what do you mean?
So I think I figured out the coordinates. Anadolu (mentioned in one of the early clues) is the Turkish name for Anatolia. The notes also mention something starting at a place that is from around 9000 BC. That can only be Gobekli Tepe. Gobekli Tepe is at 37╬ô├╢┬╝╬ô├╗├ª13Γò¼├┤Γö£├º╬ô├╗├┤23Γò¼├┤Γö£├º╬ô├╢├⌐N 38╬ô├╢┬╝╬ô├╗├ª55Γò¼├┤Γö£├º╬ô├╗├┤21Γò¼├┤Γö£├º╬ô├╢├⌐E according to Wikipedia. If you assume that is what 0/0 is in the coordinates then the final coordinates (when adjusted) becomes -16.5558212 -68.6116683. Check it out on Google Maps and you are now right at Tiwanaku – another ancient monolith/structure like Gobekli Tepe. And not so coincidentally, Faraway 2 is in the Jungle (a la Bolivia)…
Brilliant! I think you’ve solved the coordinates.
Sooo… My theory is that the easter egg, which you call level 0, is how developers tested if the code worked properly, and the giant pot pieces and wierd stuff like that are glitches _ they fixed them but first they recorded them and added them to the app.
Also, can you make walkthroughs of the new bonus levels? And what happens if you smash the pots?
WHERE is letter #2 on level 4? It wasn’t there either times I played it.
I just can not get the mirror lined up in level 8. Every time I get anywhere near the mirror, the beam of light just gets scattered. Scream
uuuuuuuuuuuum how do you open the hatch?
like in level three?
In level 8, is there a trick to lining up the laser with the diamond? No matter how I move them, it never reflects; it just makes sparks.
I’m stuck on lvl 18, on the light puzzle on the left, no light seems to be coming out of the usual thingies…
Oop nvm I just didn’t move the latch enough-
Can not open hatch on Level 3. Followed walkthrough exactly and it doesn’t work. Please advise.