The Office Quest
By: Deemedya INC
This is a complete step-by-step walkthrough with hints, tips, tricks, answers and solutions for the second chapter of the iOS and Android point-and-click adventure game, The Office Quest by Deemedya INC. feel free to ask for extra help in the comments section.
Chapter 1 | Chapter 3 | Chapter 4
Walkthrough:
Chapter 2:
Level 1:
You can watch my video for Chapter 2 Level 1 here or continue below to see my step-by-step walkthrough:
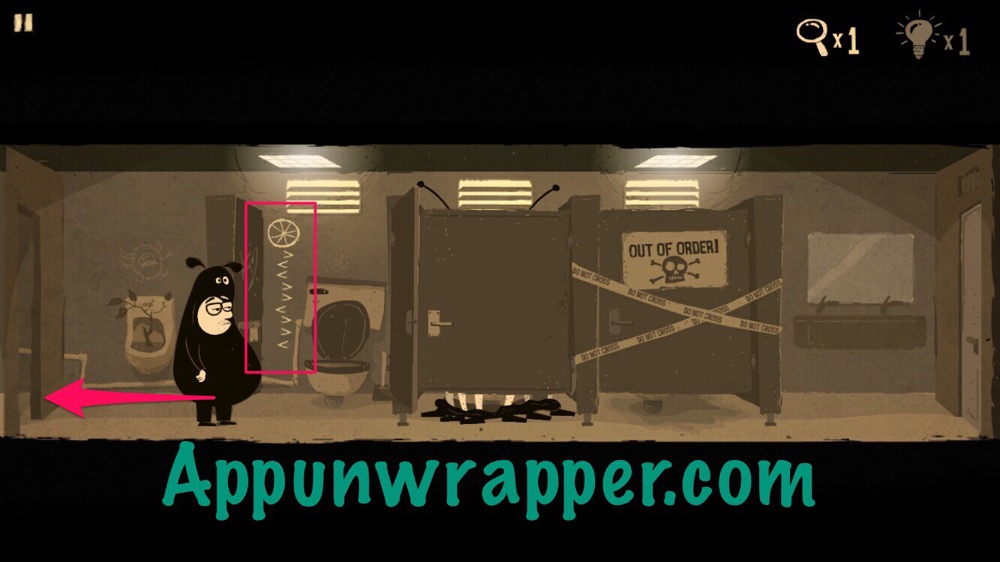
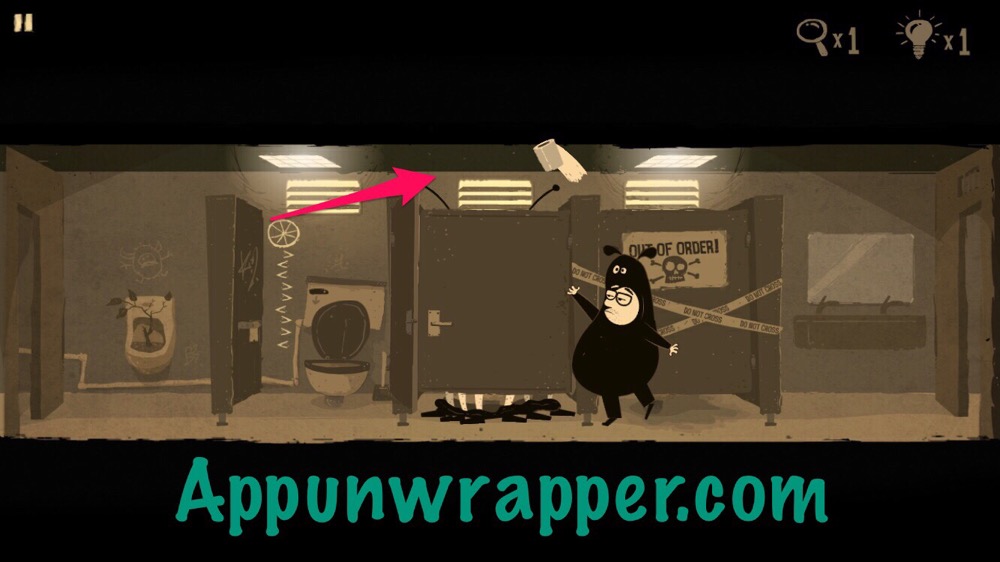
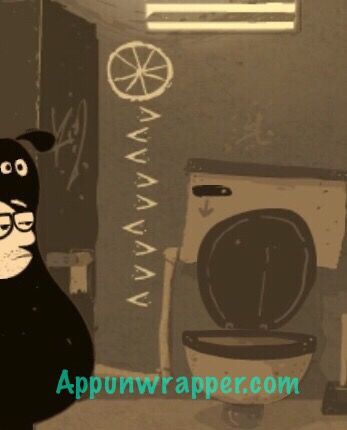
1. You’re in a bathroom. Knock on the middle stall. They ask for toilet paper. Open the door of the left stall and notice the writing on the wall. It’s a clue that we’ll come back to. Head left.
3. The red light goes through the air vent. Turn on the water for the bathroom. If you try to open the vent, he decides he needs a screwdriver.
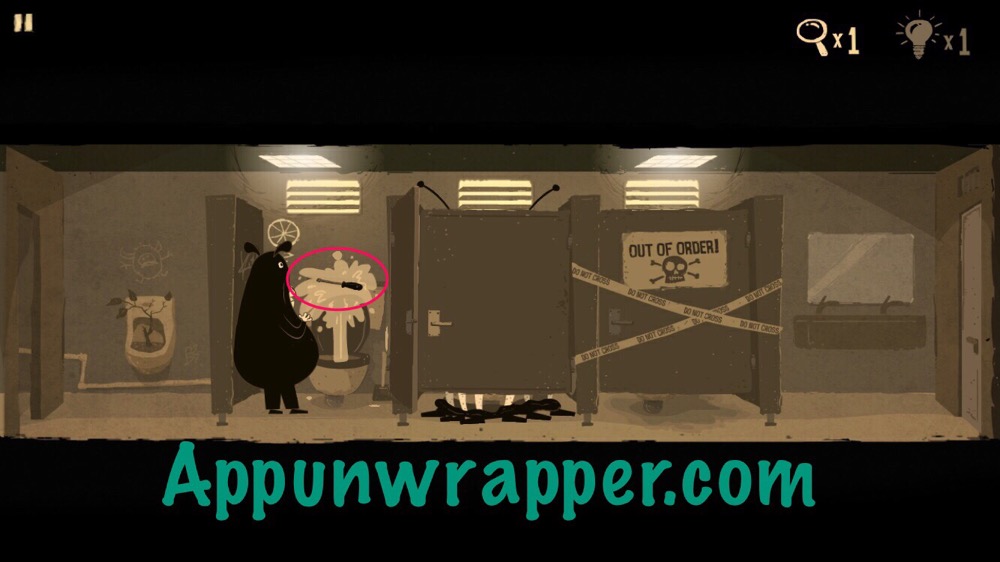
4. Go right again. Flush the toilet and quickly grab the screwdriver before it drops back down. Head left again.
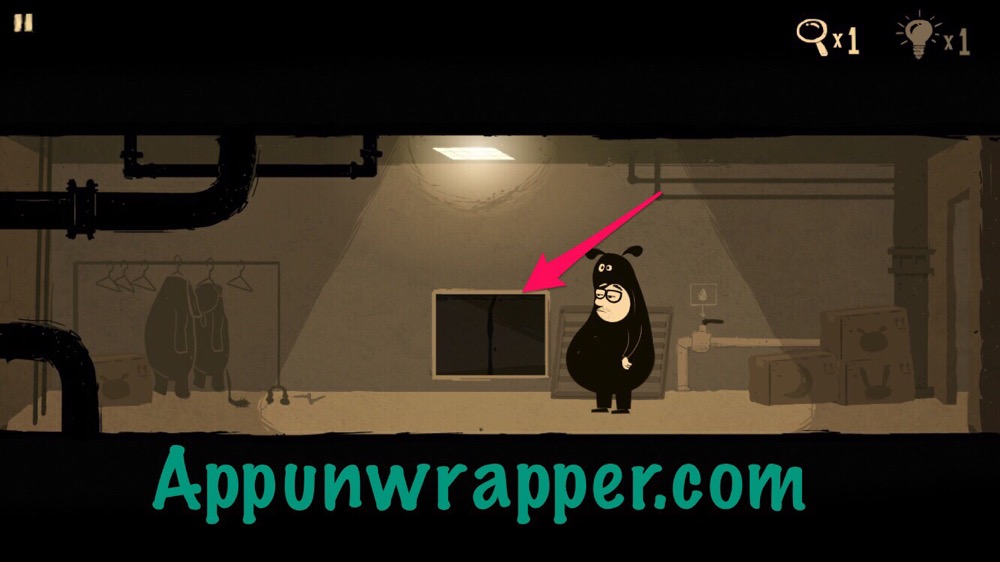
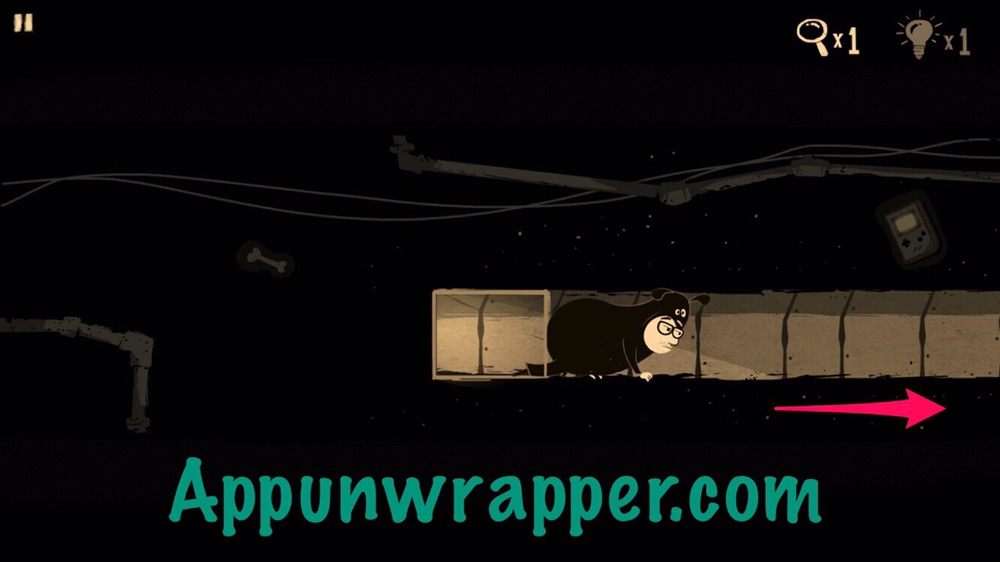
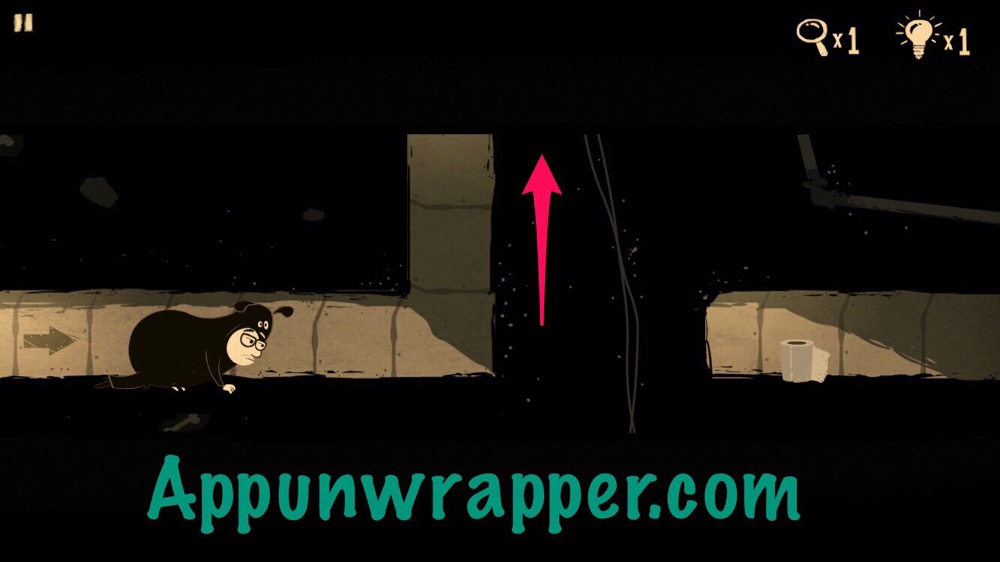
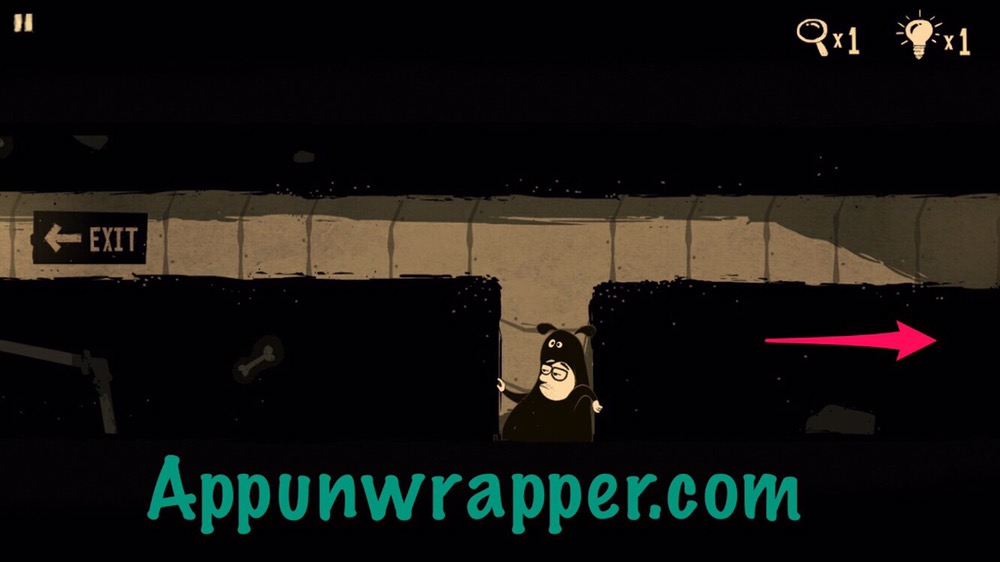
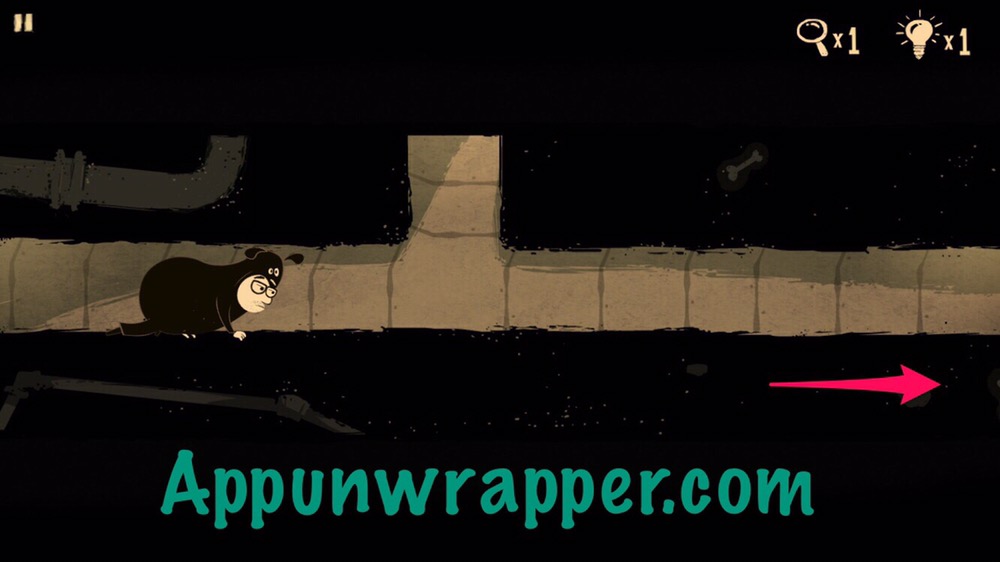
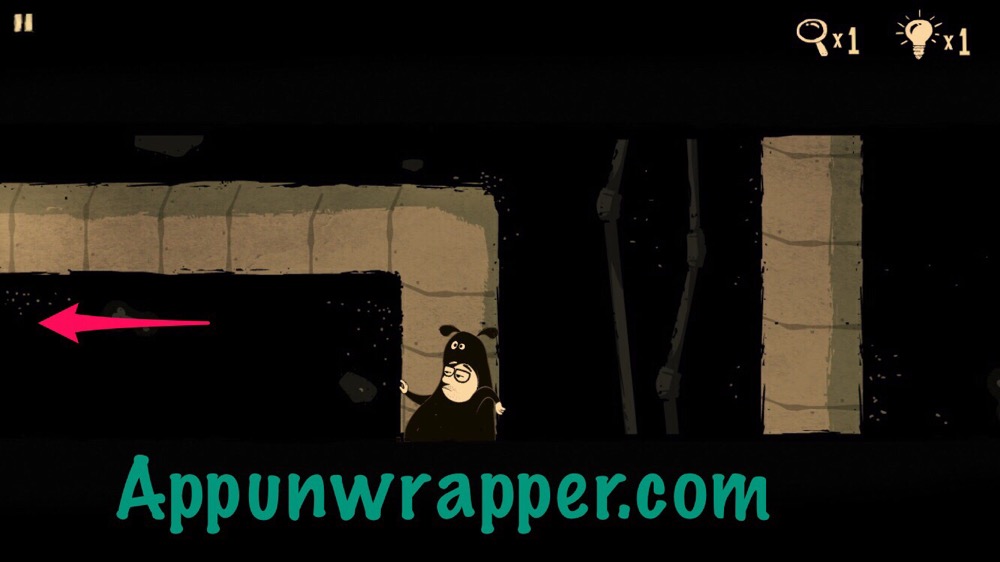
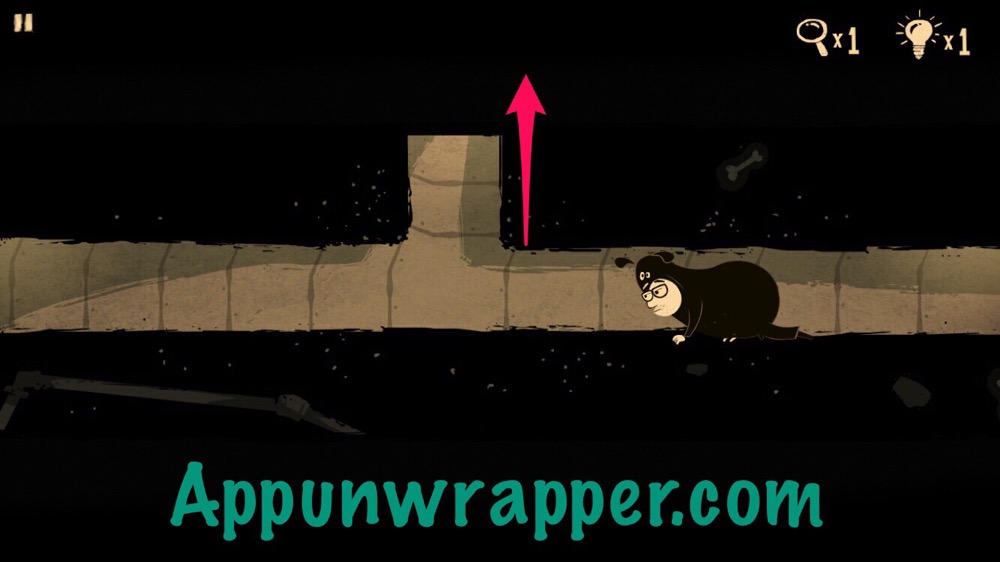
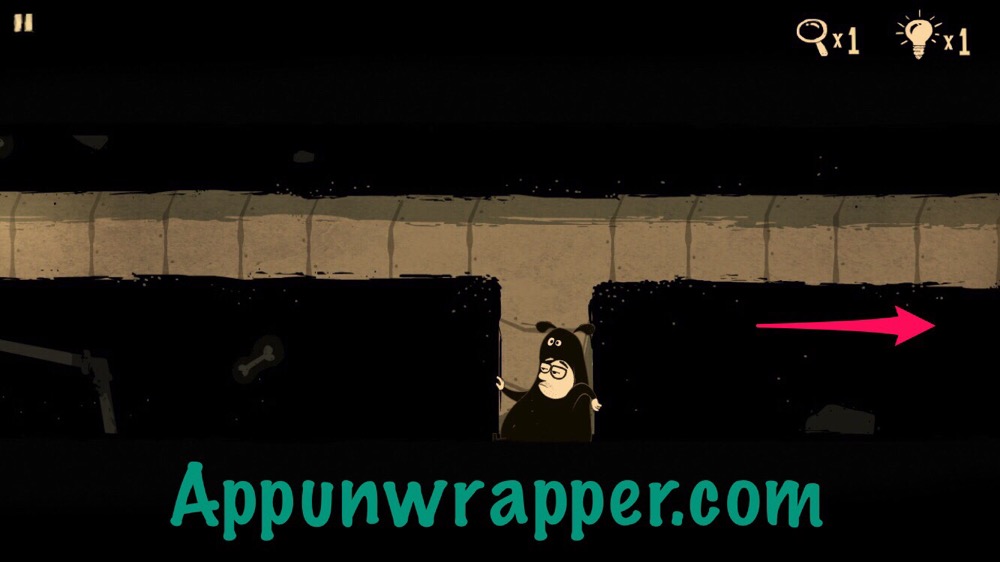
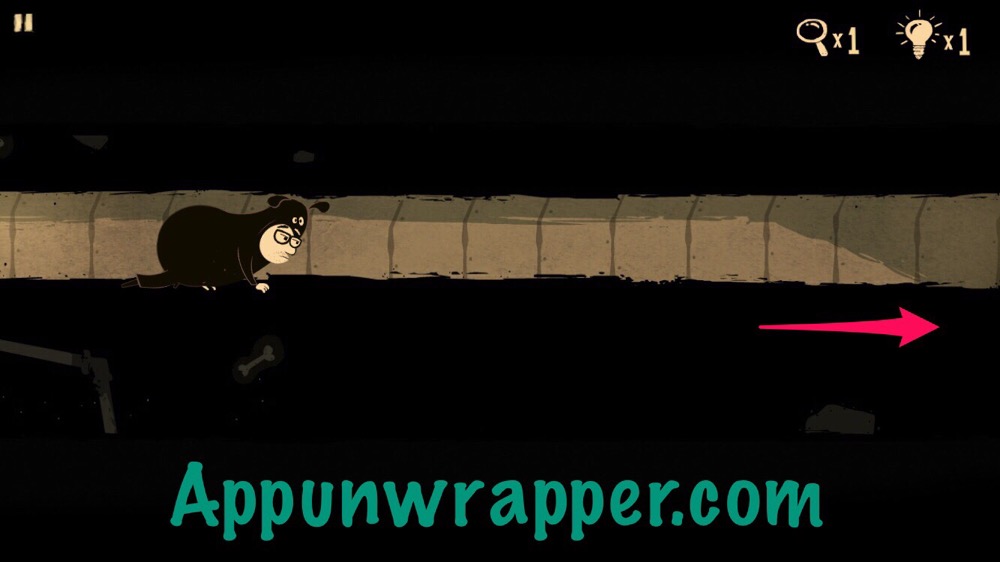
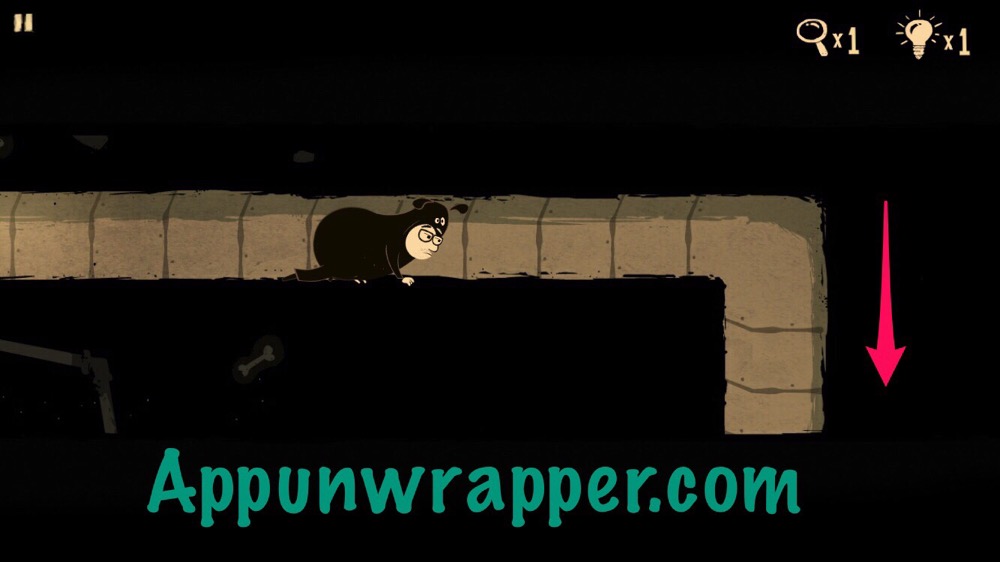
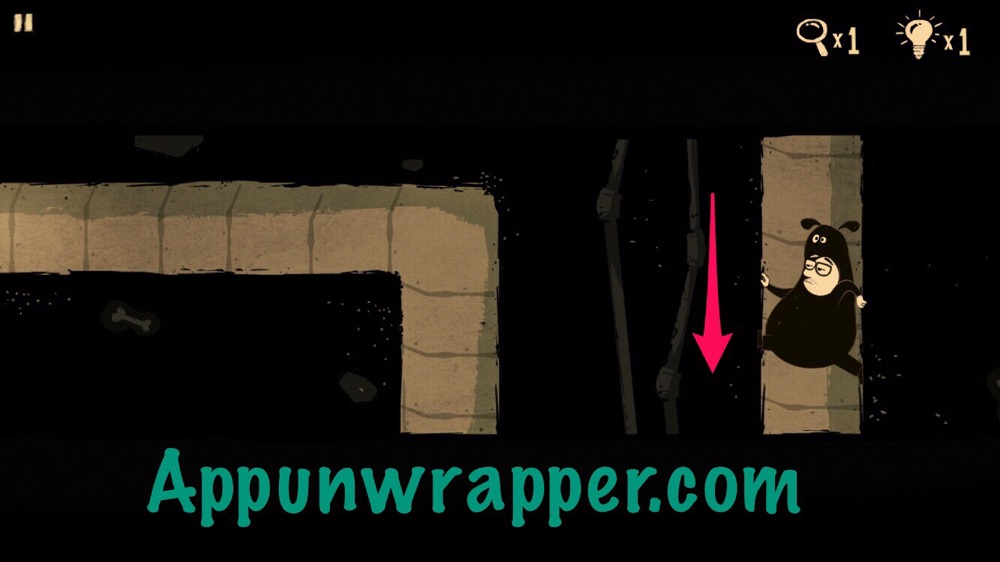
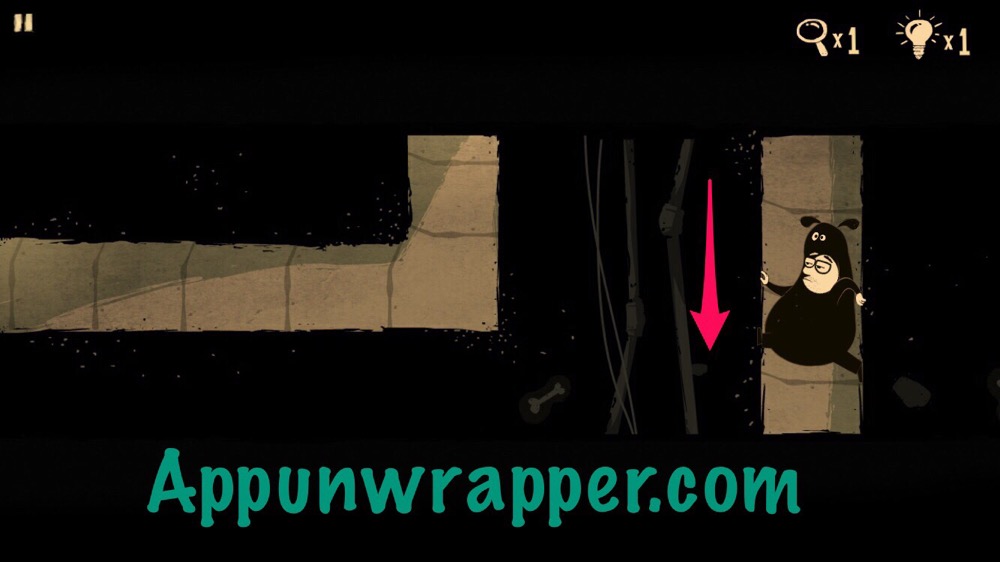
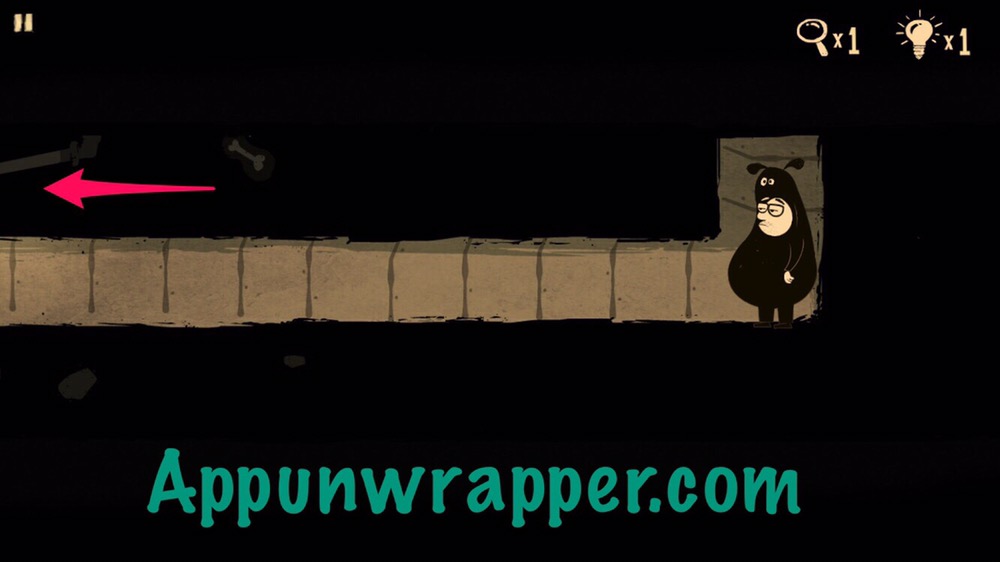
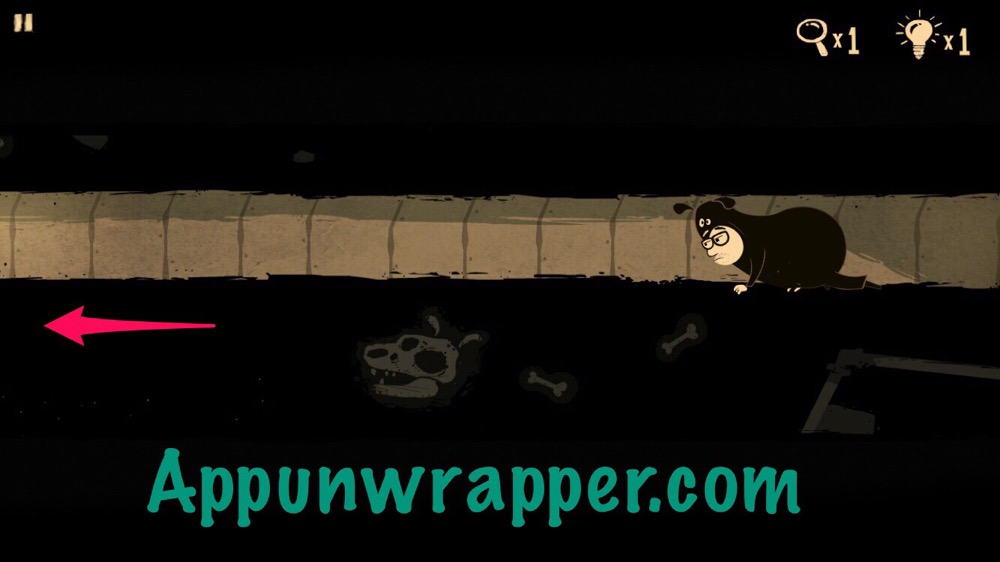
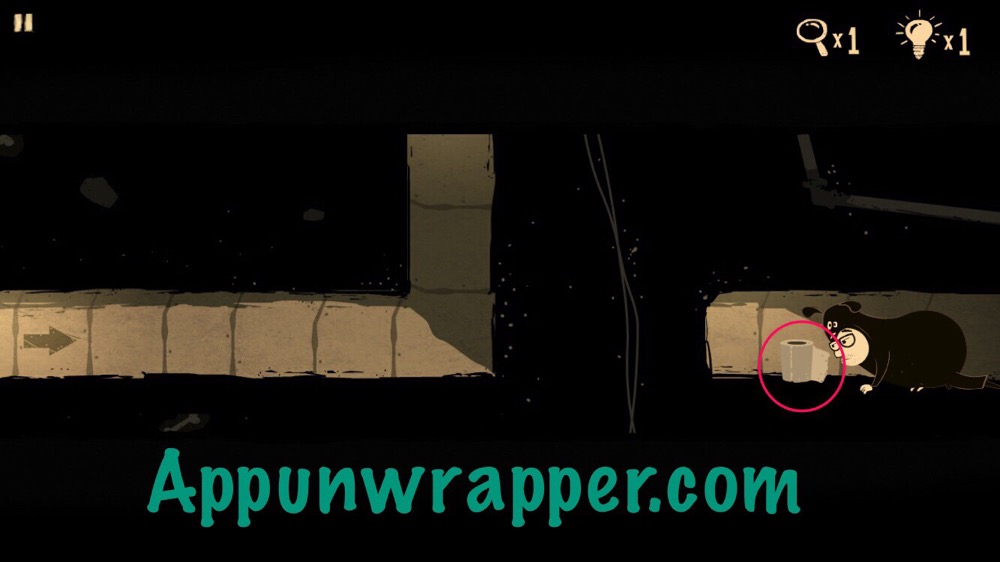
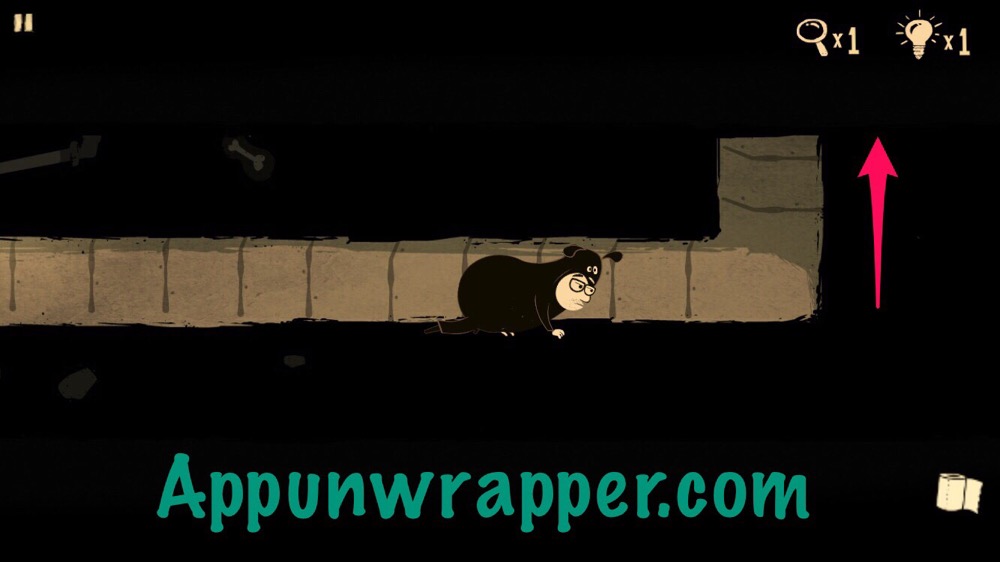
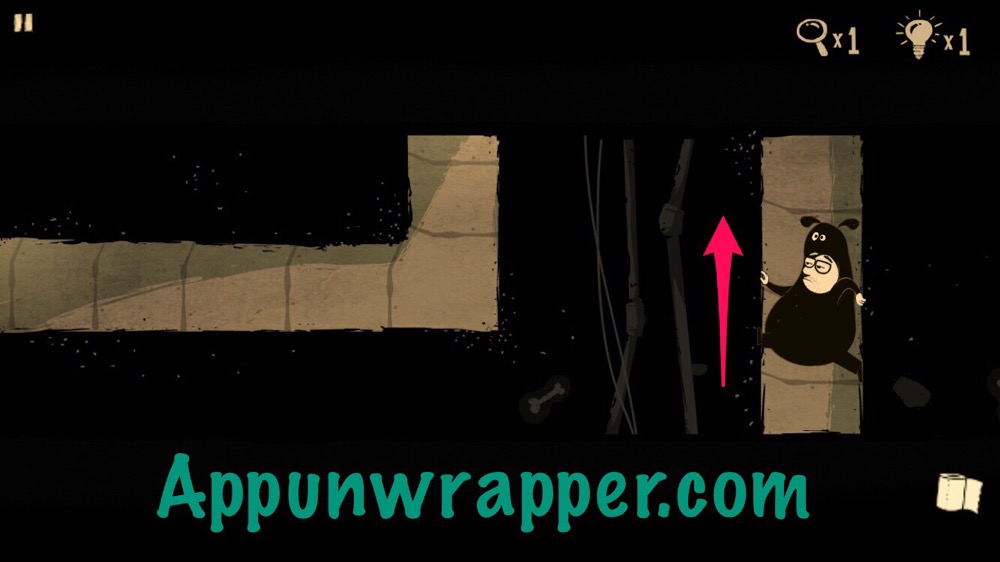
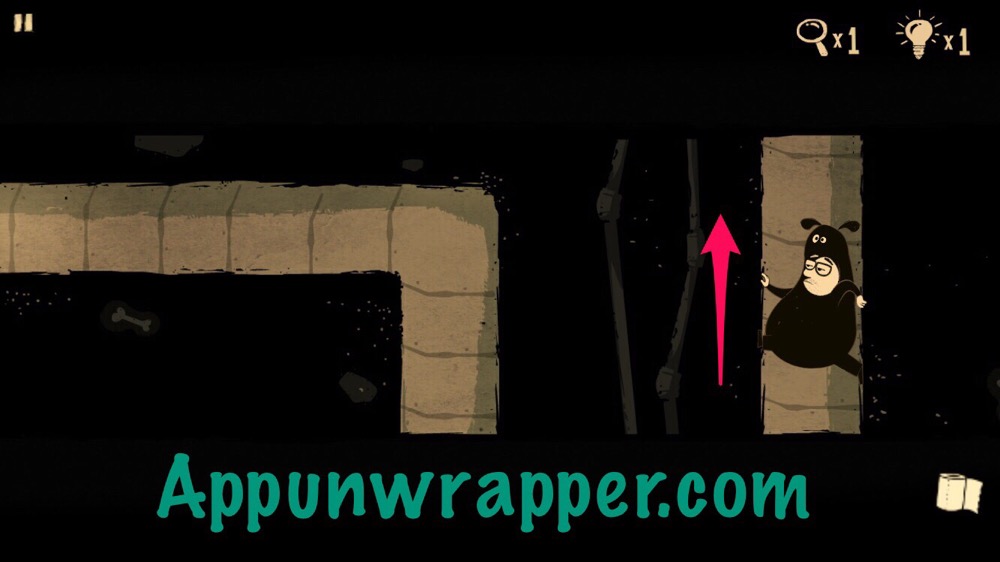
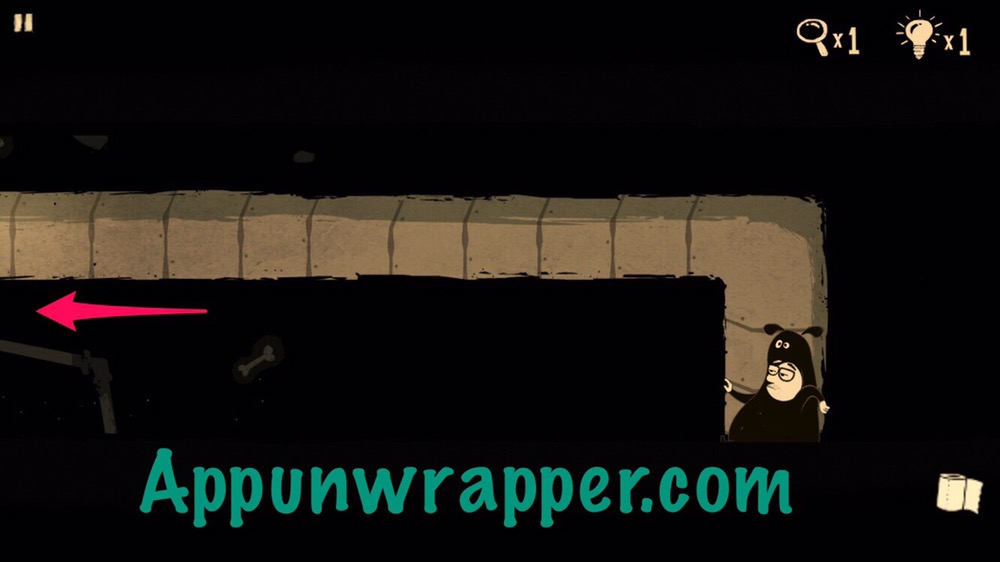
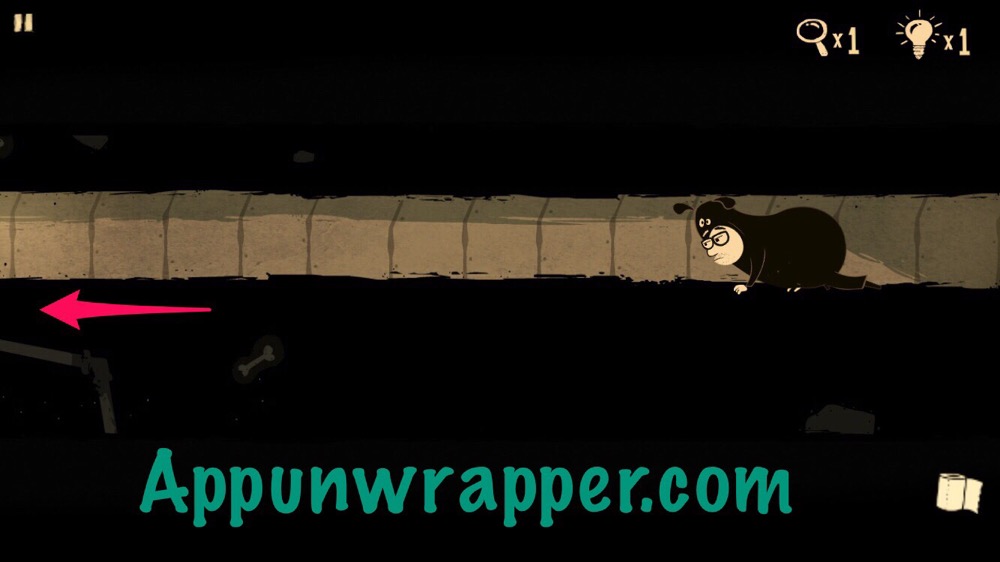
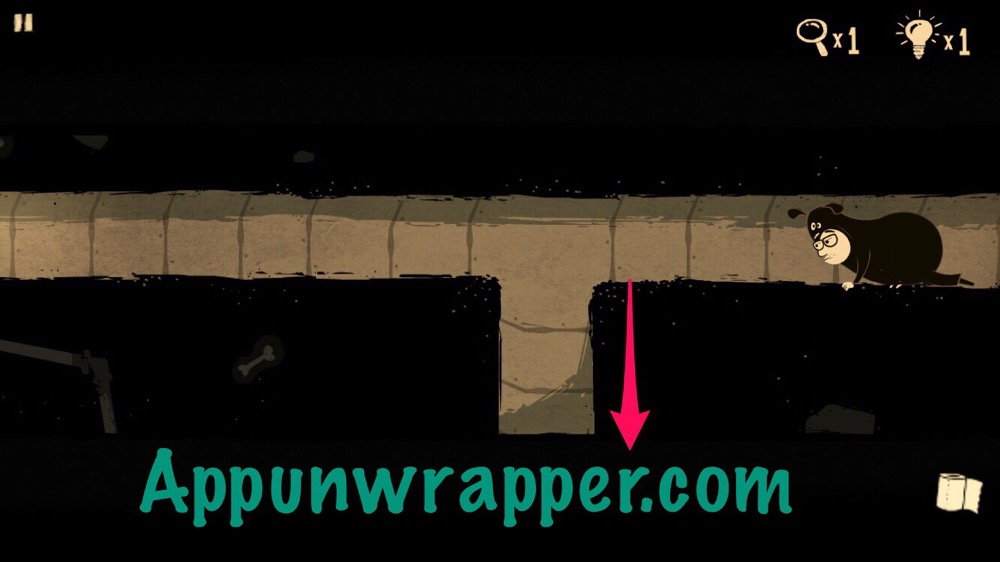
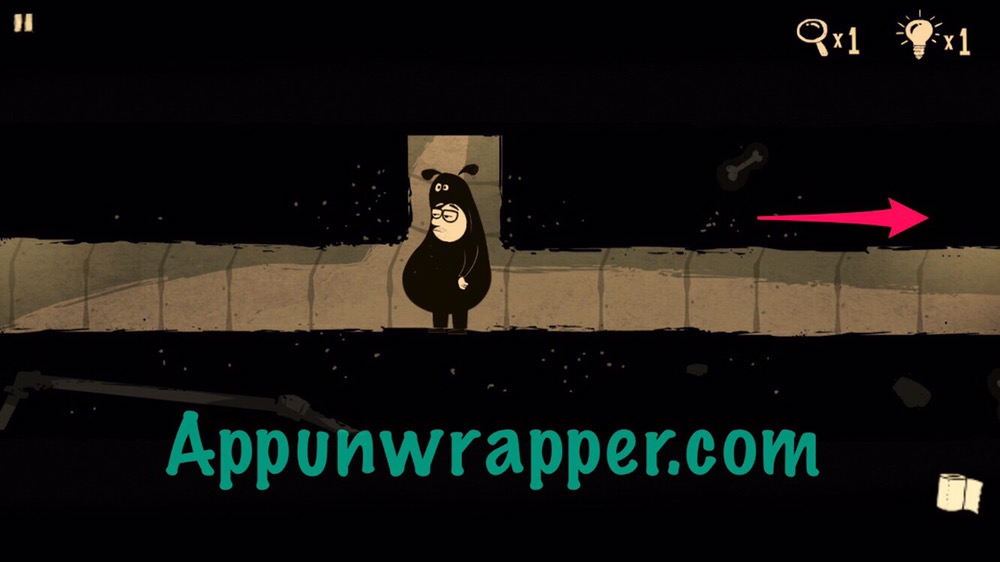
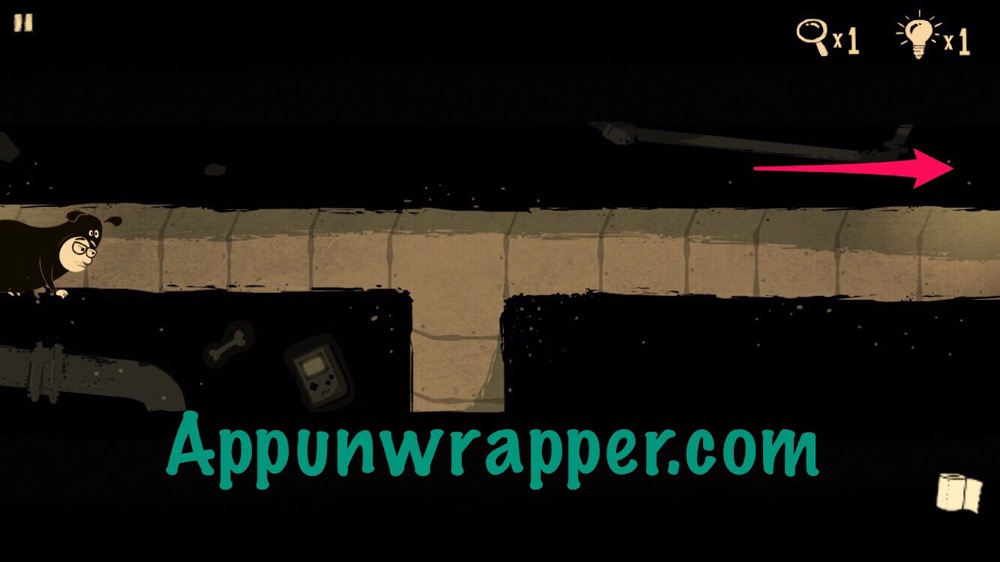
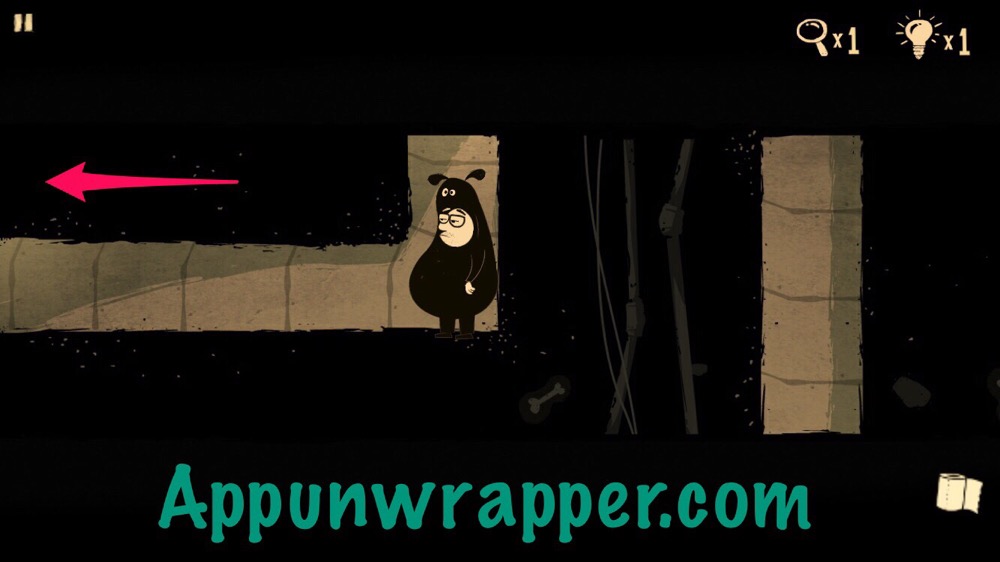
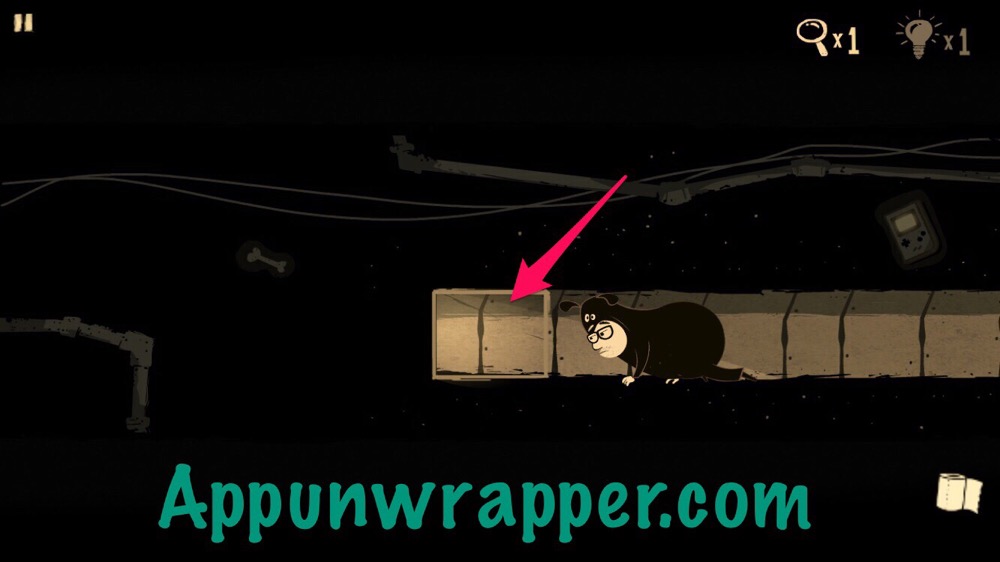
5. Use the screwdriver to open the vent and crawl through. Follow the light to the right and up. Then right, right, up, left, left, up, right, right, down, down, down, left, left, and then pick up the toilet paper.
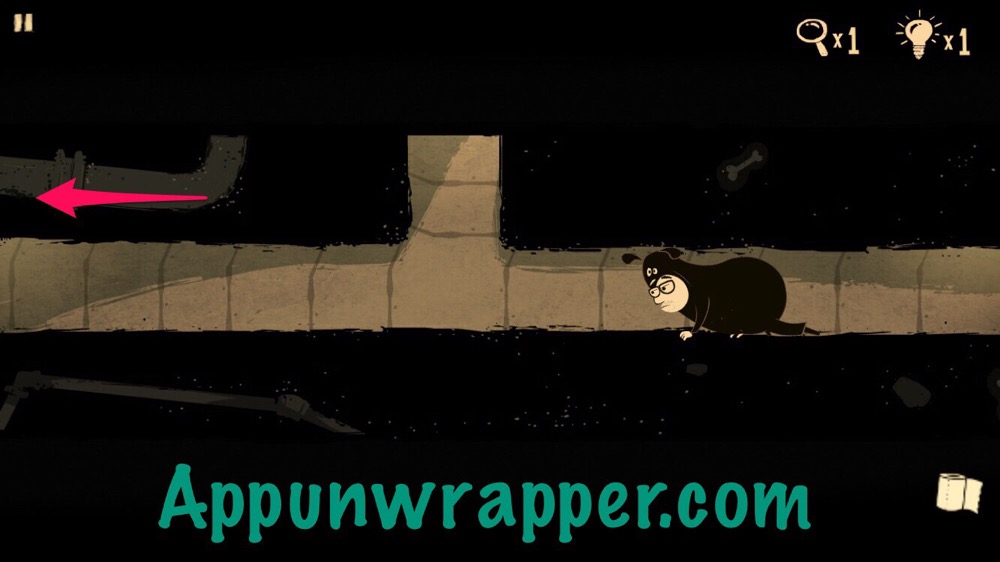
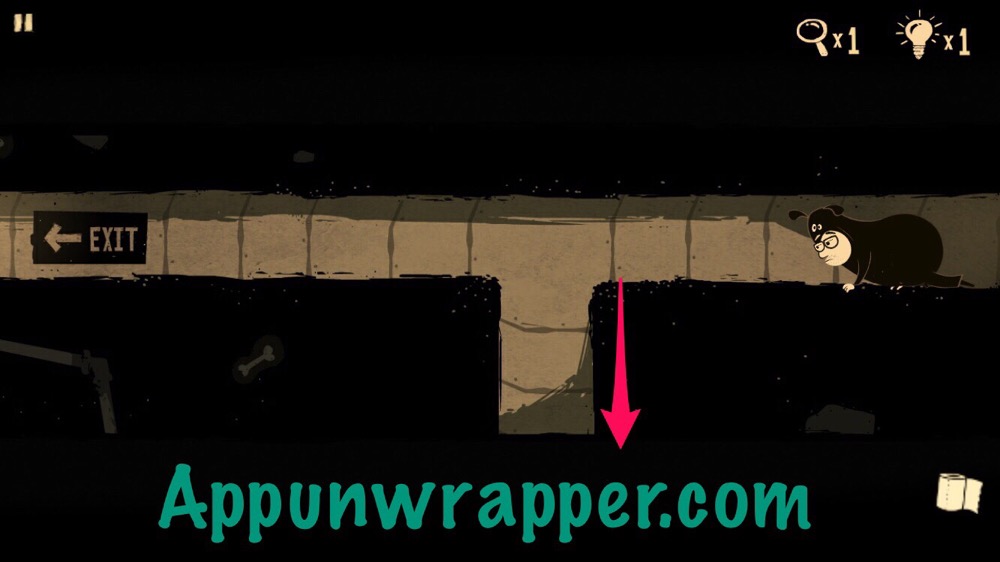
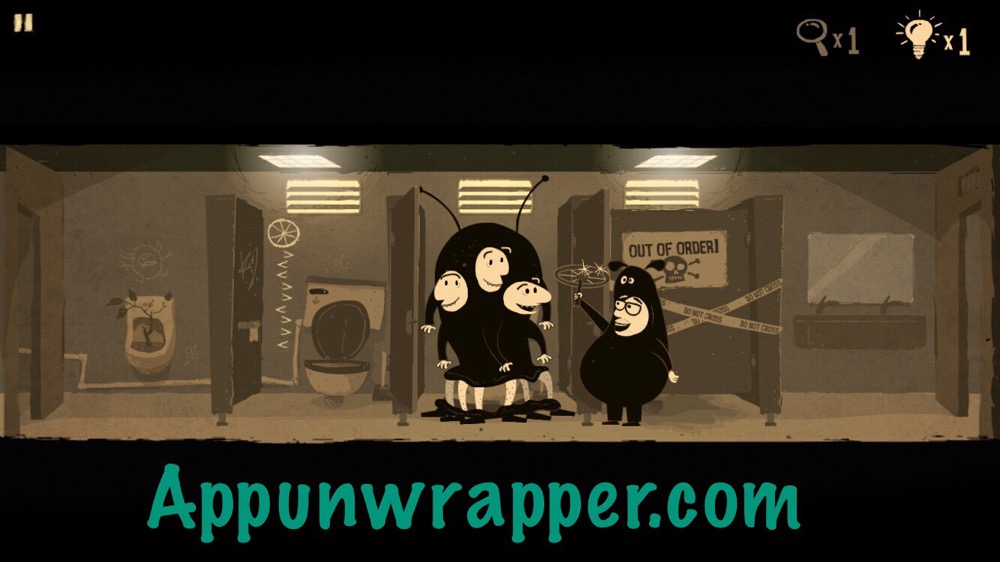
6. Retrace your steps — right, right, up, up, up, left, left, down, right, right, down, left, left, down, and left. Exit through the vent and give the toilet paper to the three-headed man in the stall.
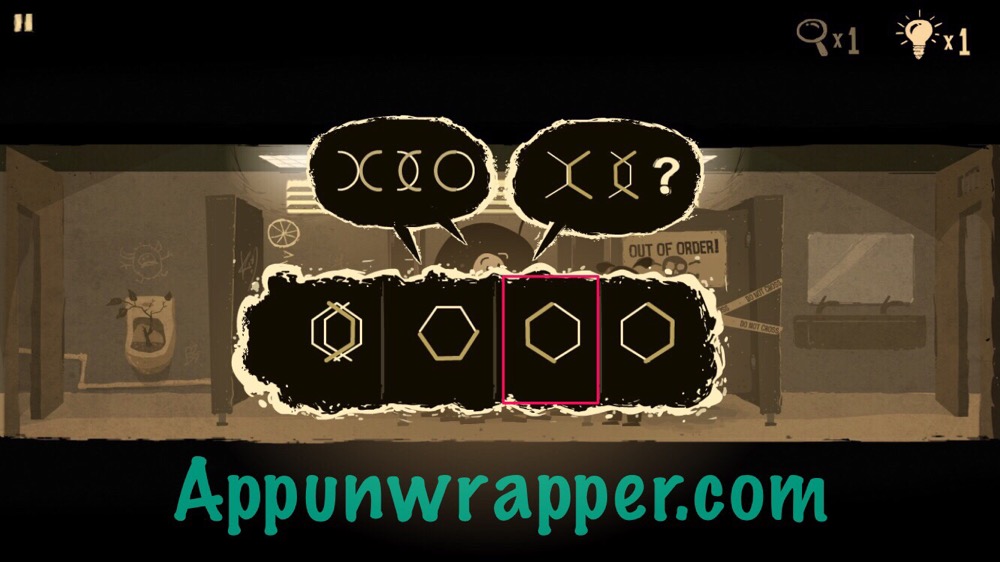
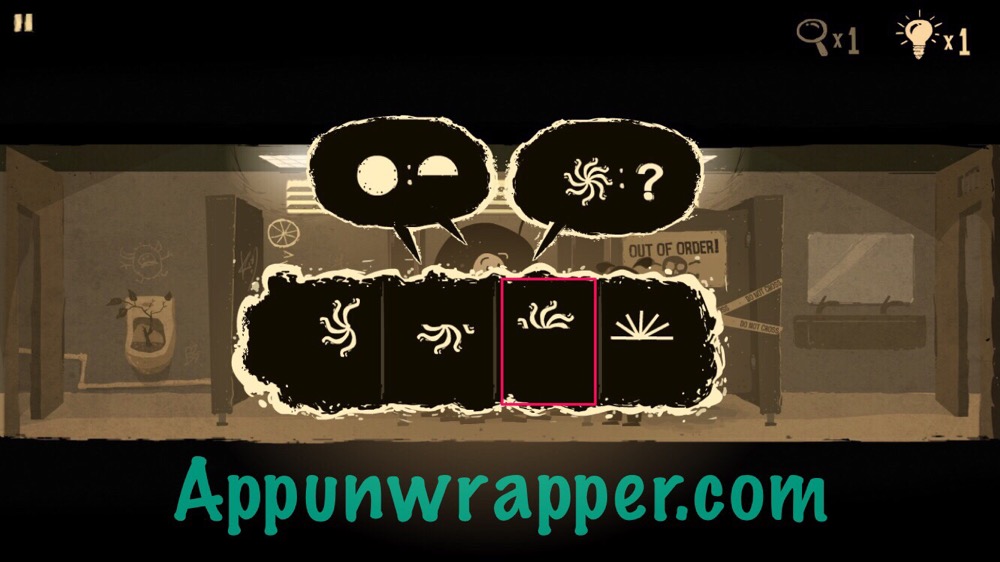
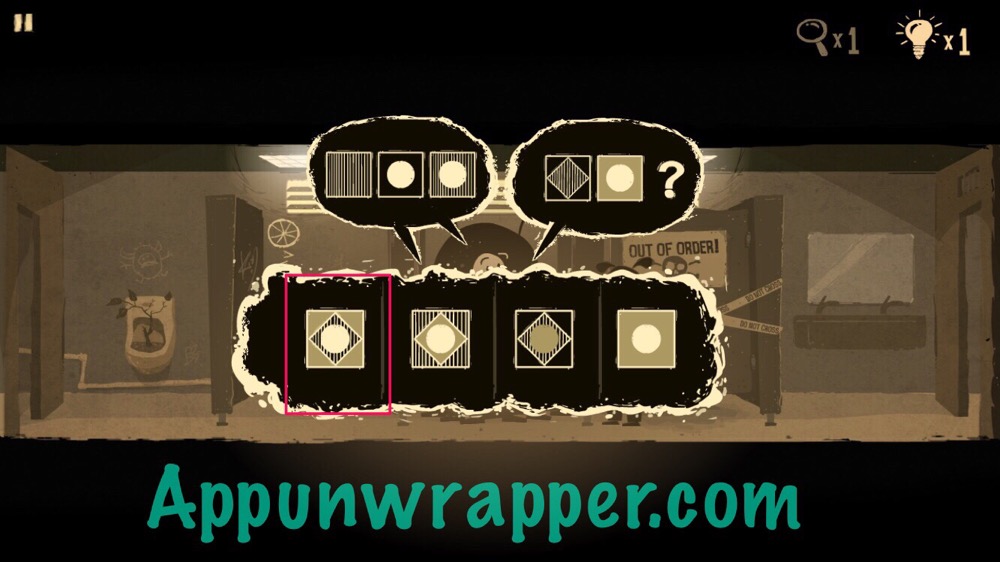
7. They ask you to solve riddles. The questions seem to change each game or even if you get any wrong, so I might not be able to help you with all of them. But the answers to the ones I got are below. Once you get four questions right, they’ll give you the wheel.
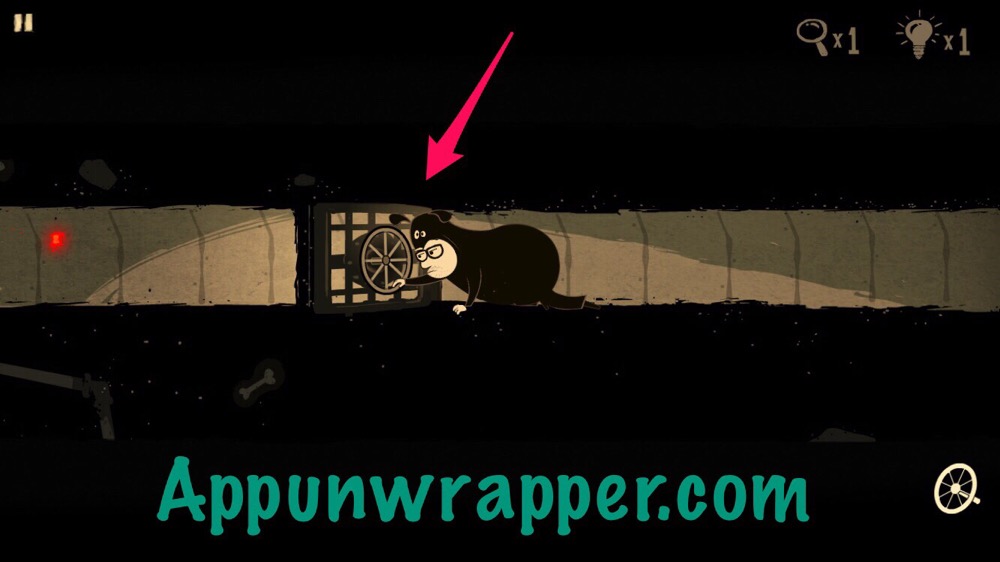
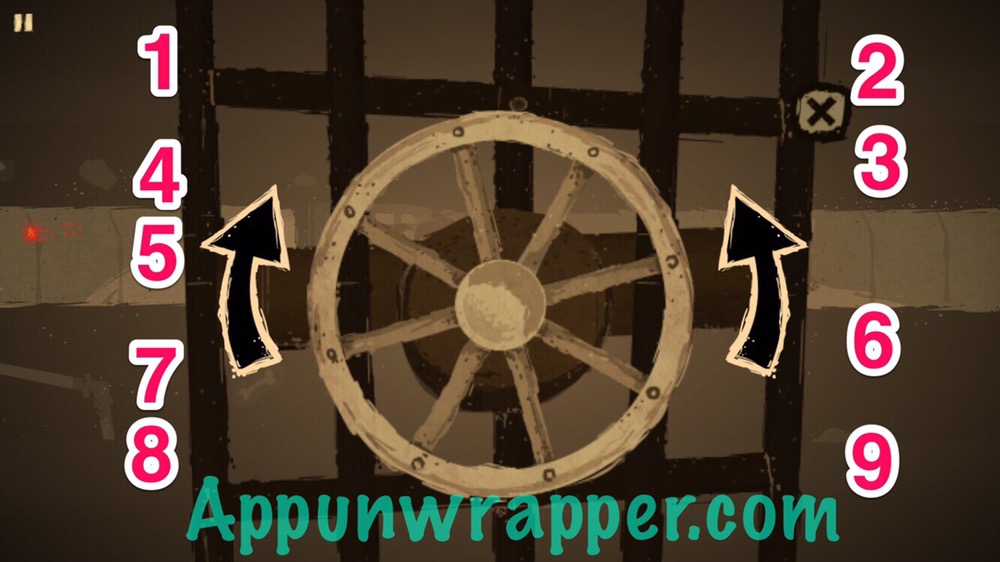
8. Go back through the vent and this time go right, up, and left to the exit. Place the wheel on the grate and then use the pattern you saw on the bathroom wall. Since the arrows actually move it the opposite direction than the side they’re on, tap them in this order: LRRLLRLLR. Go through.
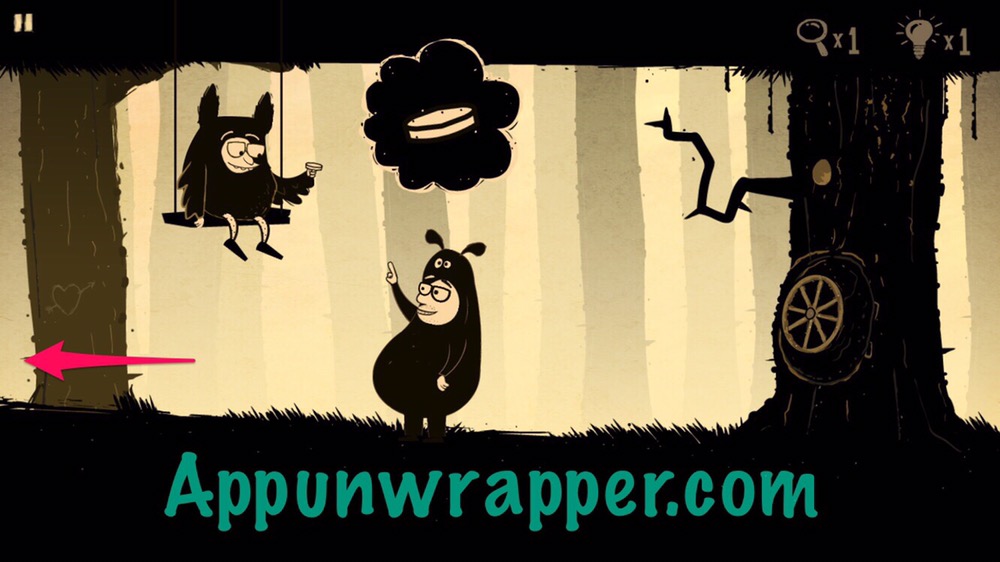
9. Ask the owl guy for his coin. He refuses. Head left.
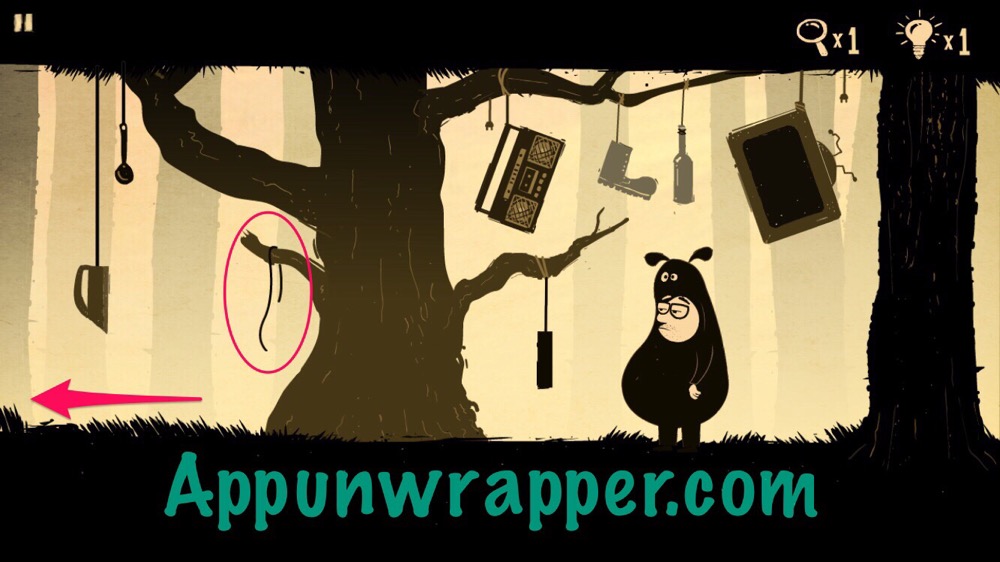
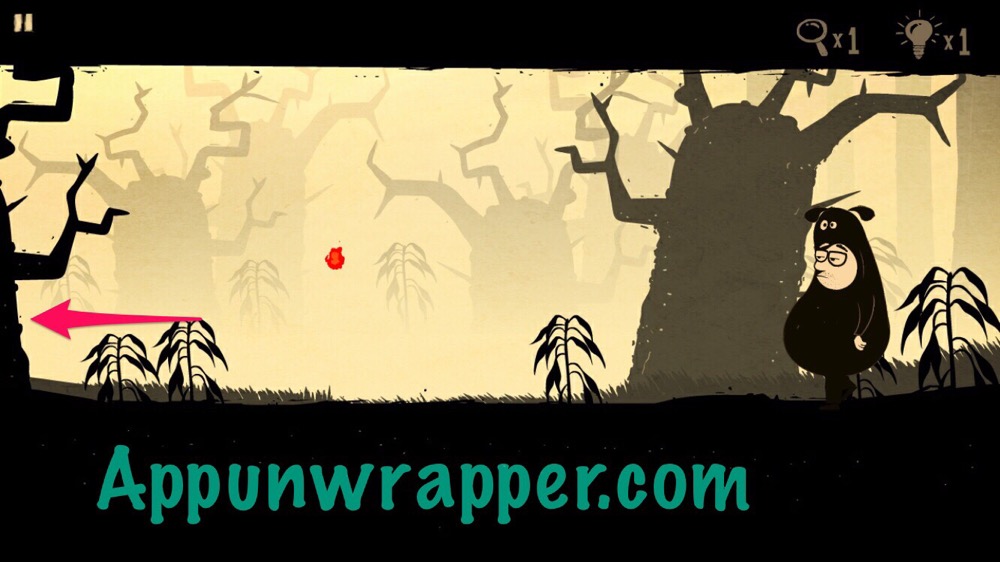
10. Take the string/rope and head left.
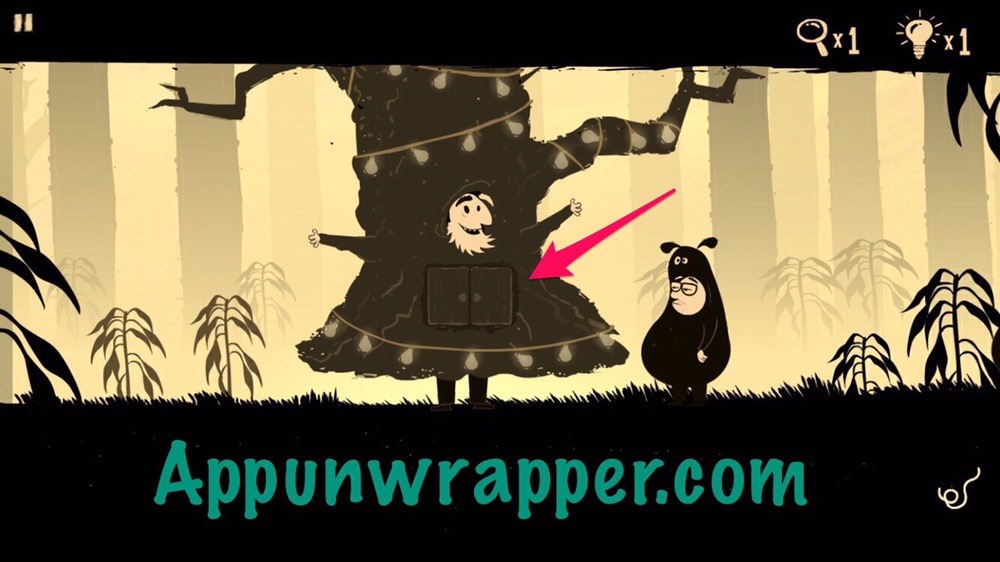
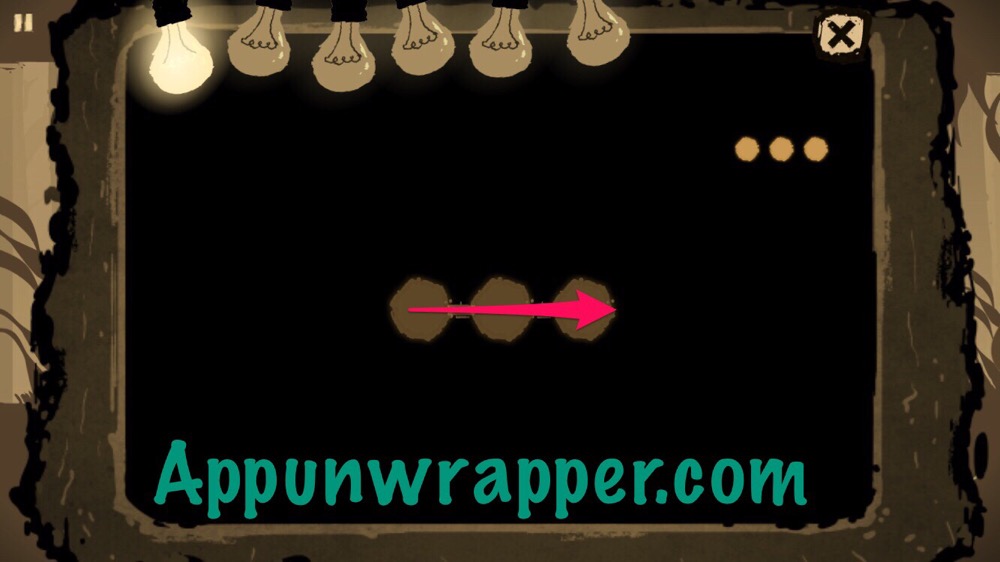
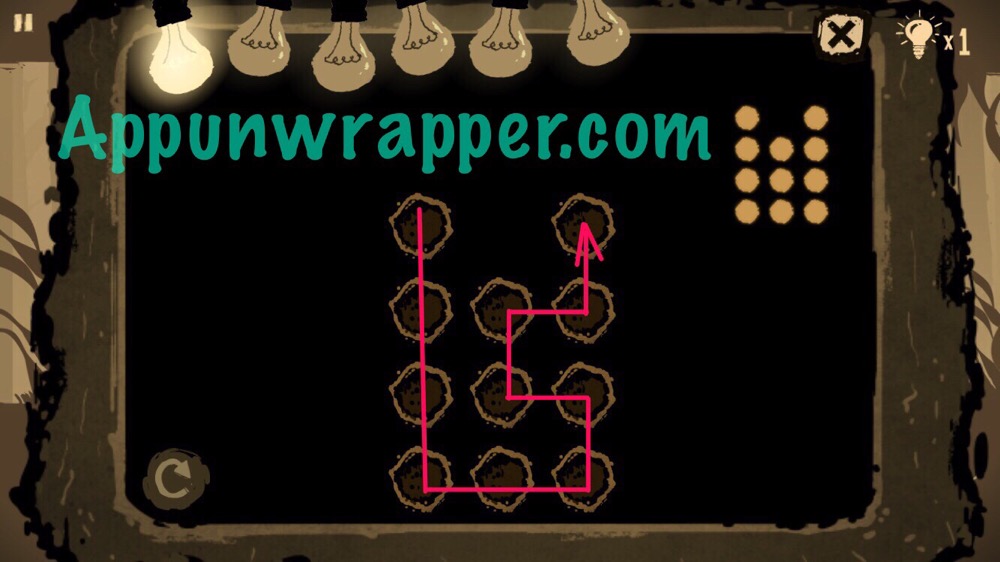
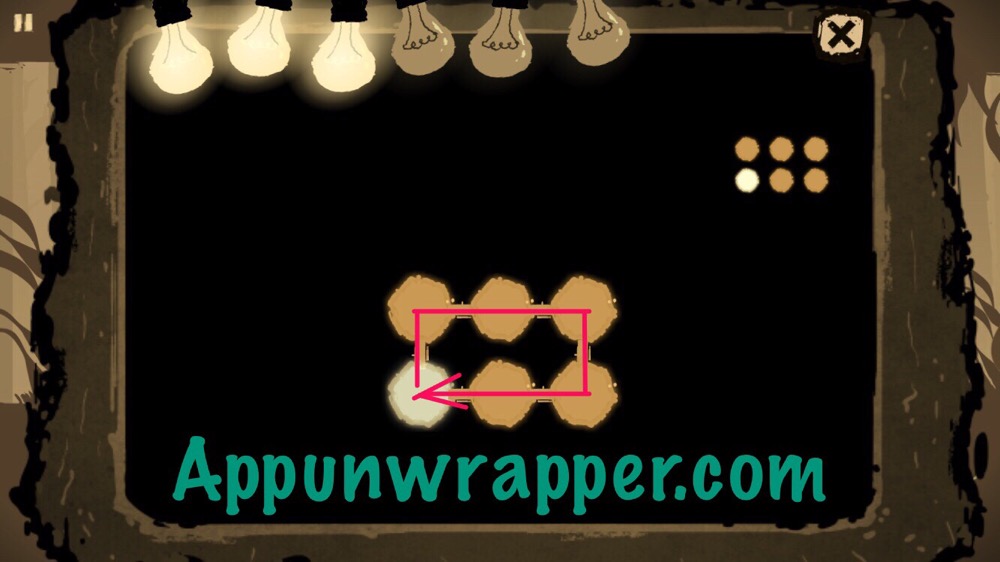
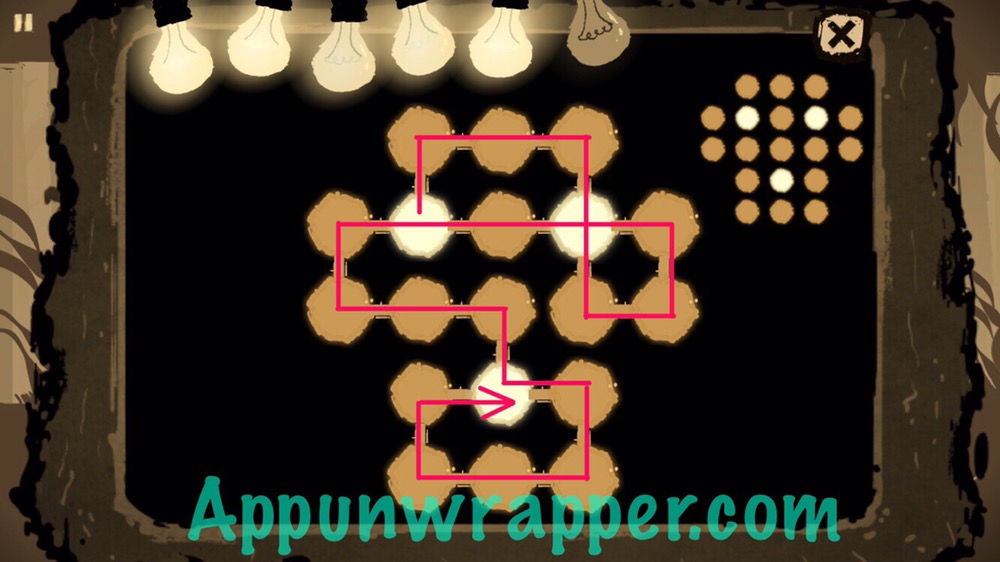
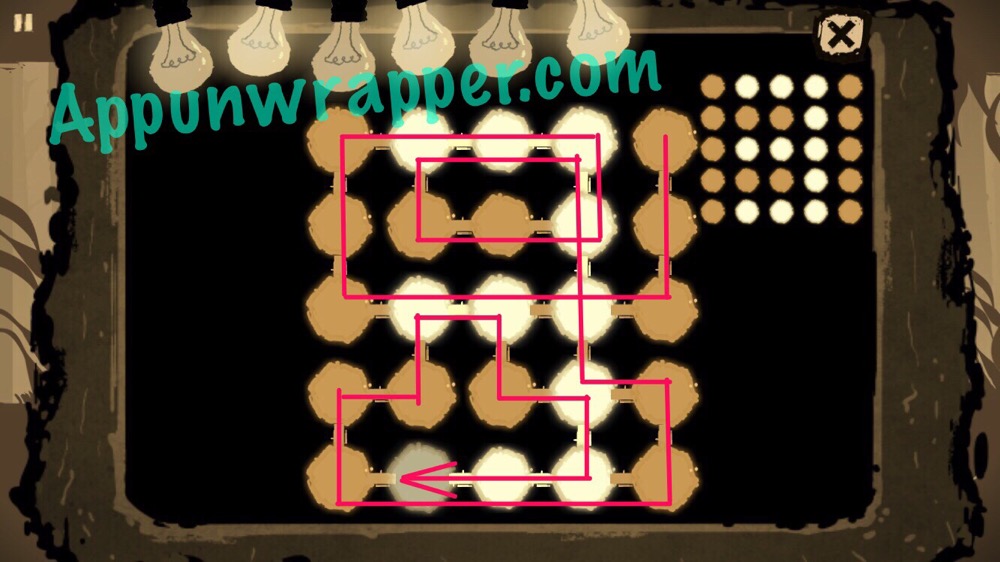
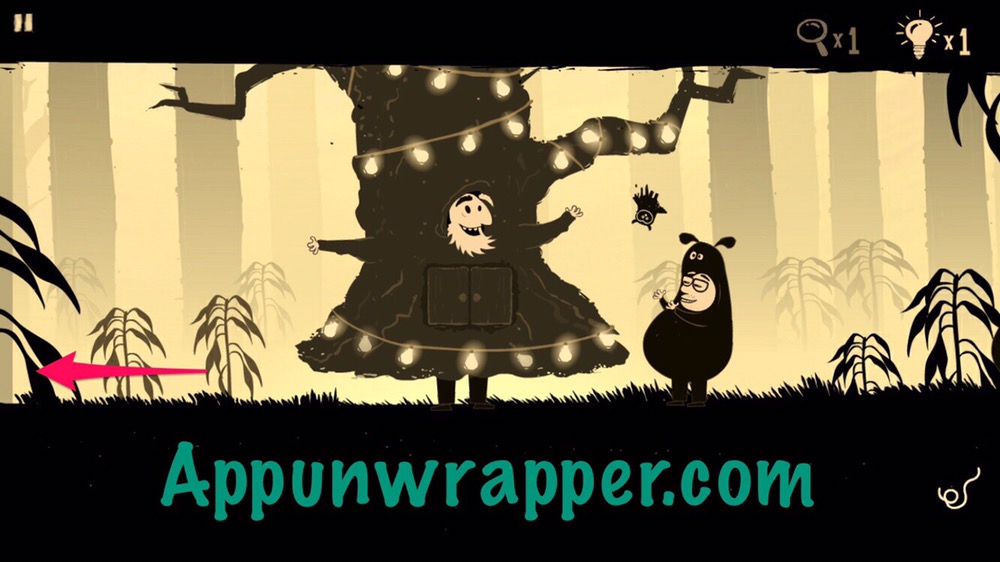
11. Play the puzzles inside this tree person. For the first few, you need to connect all the lights in one sweep. The next ones need to follow the pattern shown in the corner. You make a spot white by going over it twice. He’ll give you the owl after you complete all the puzzles. Head left.
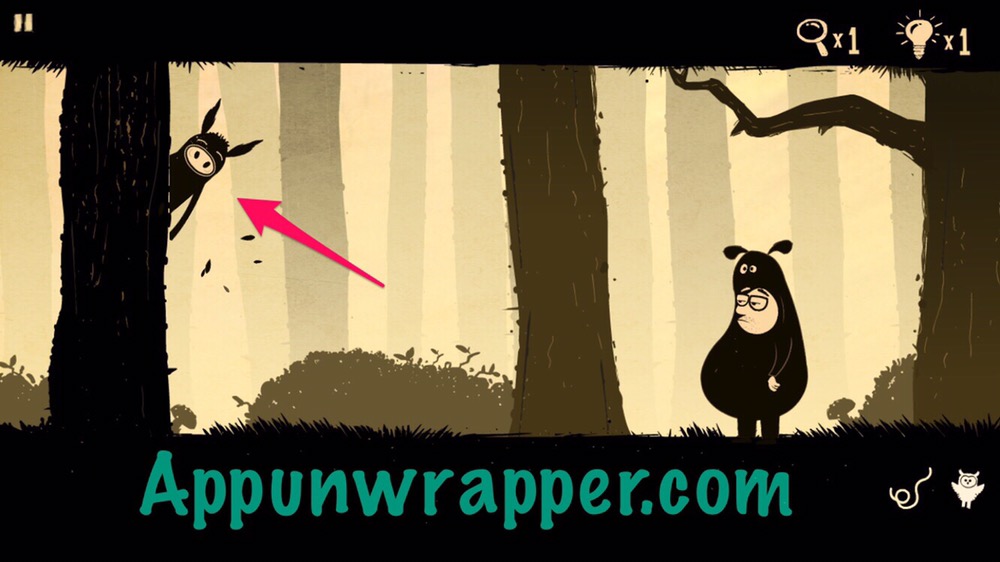
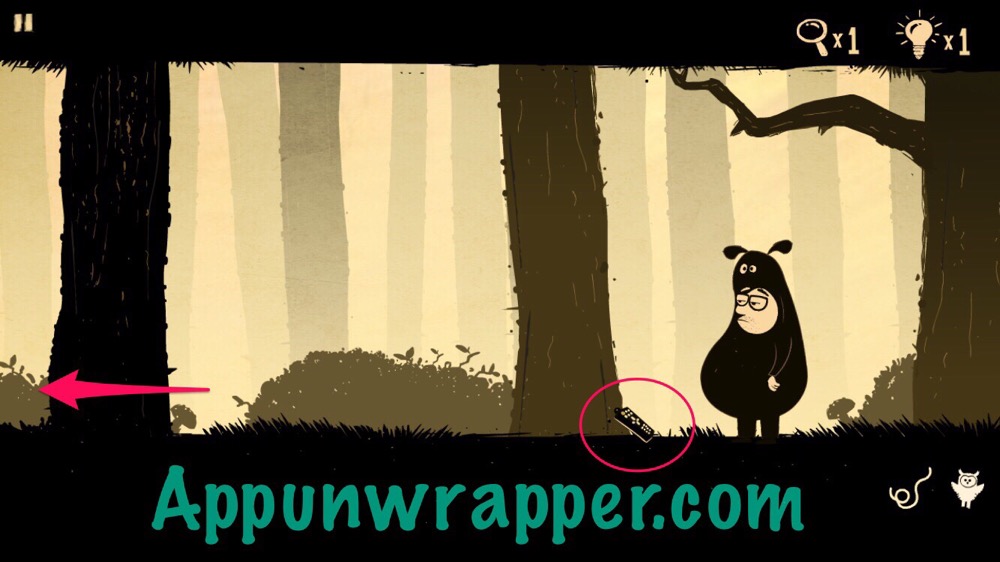
12. Tap the donkey when he pops out to make him drop the TV remote. Pick it up. Continue left.
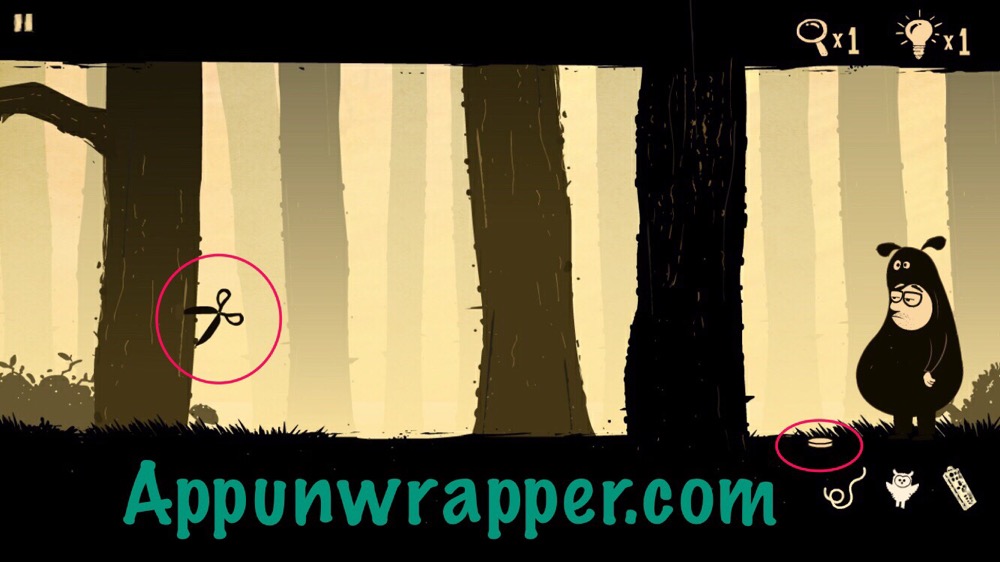
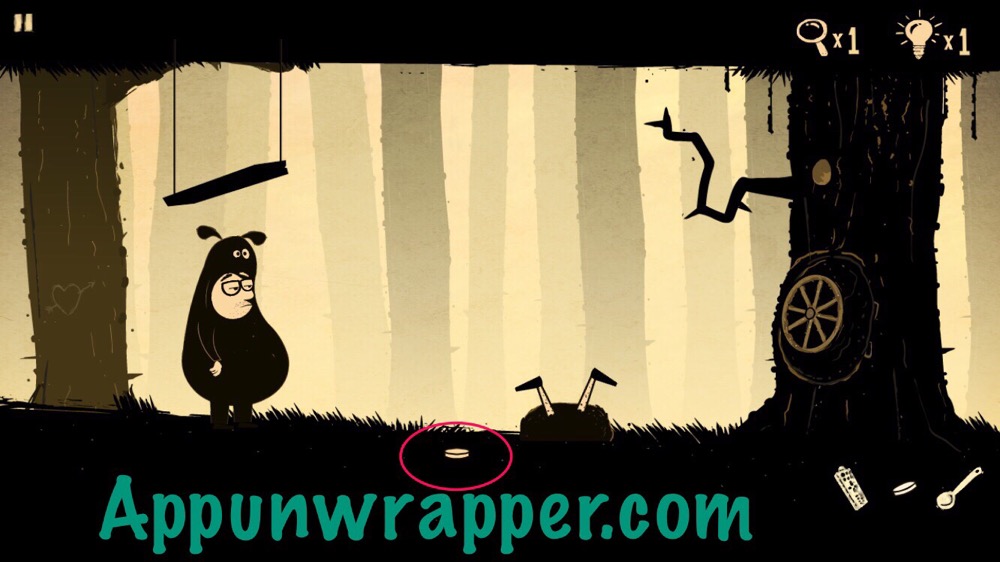
13. Pick up the coin and shears.
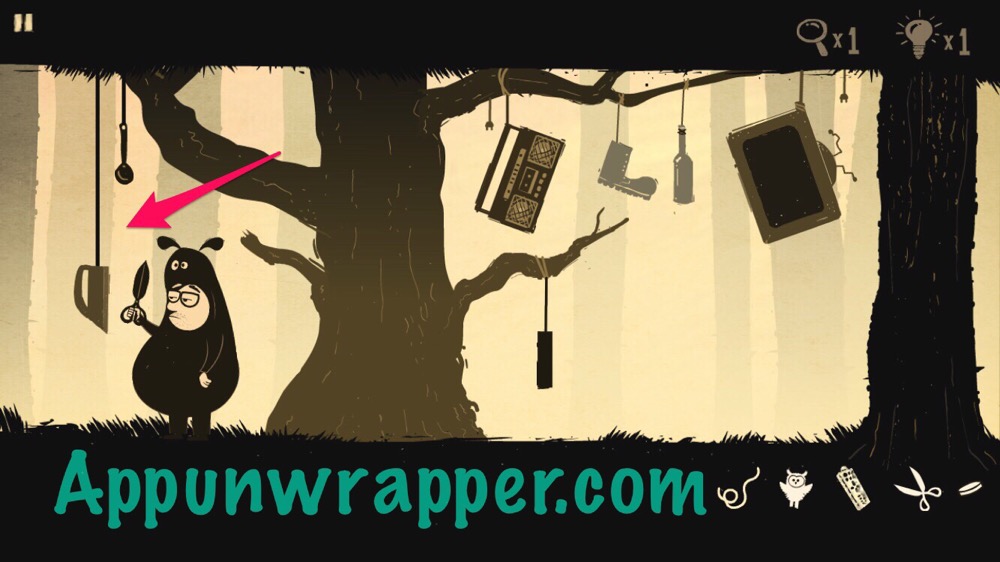
14. Go right three times back to the appliances. Cut the iron down to get a spoon.
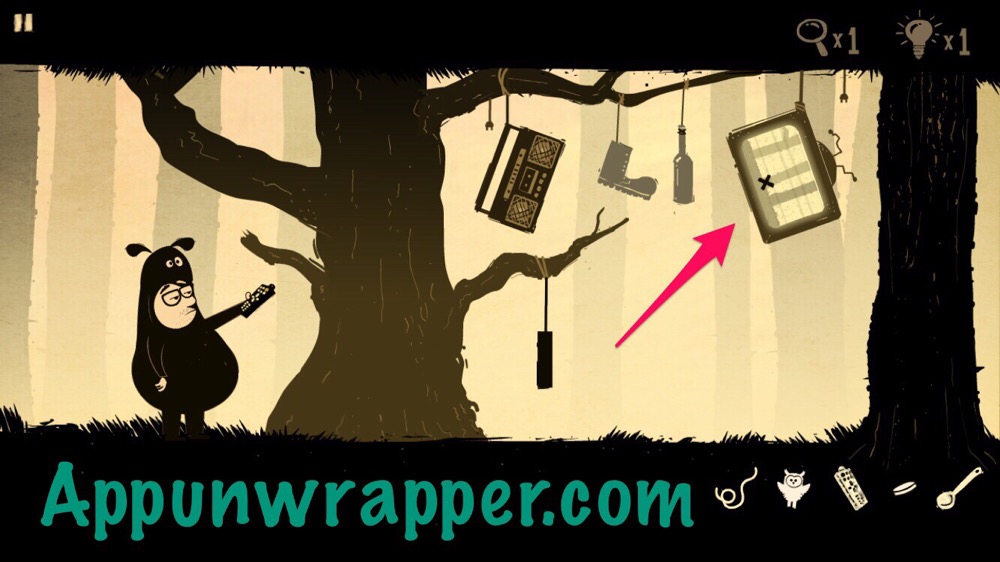
15. Use the remote with the TV to get an image of an X below a middle tree.
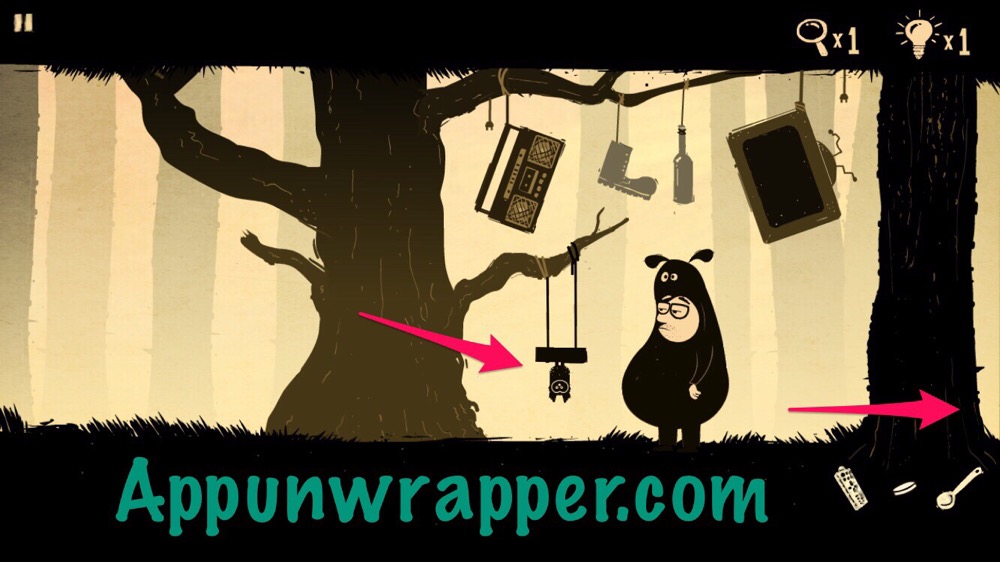
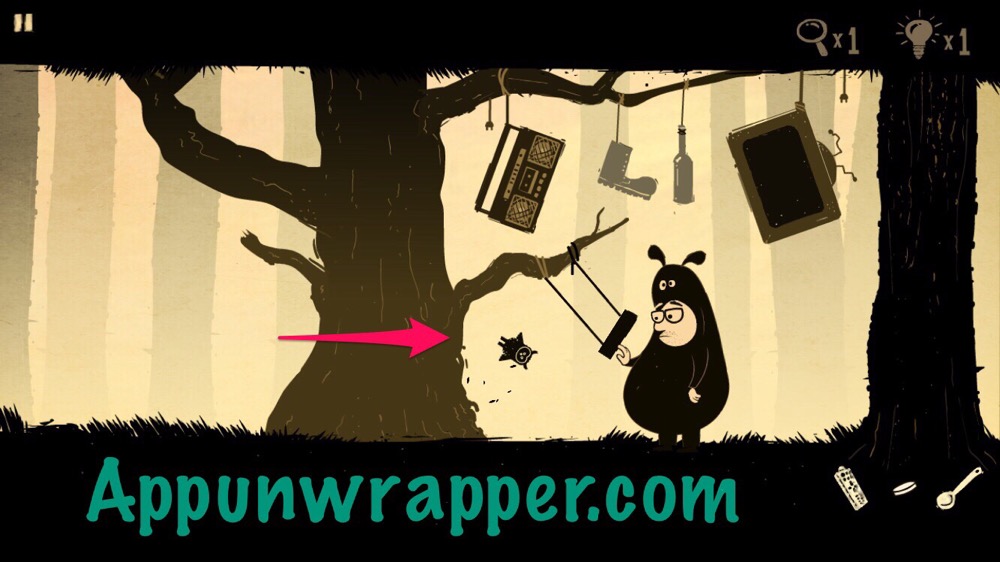
16. Use the rope to fix the perch/swing. Place the owl on the perch and push him so he’s upside-down.
17. Go right again and the owl man will be upside-down. You still can’t get the coin from him, though.
18. Go left again and push the owl one last time. Then go right and get the coin from the ground.
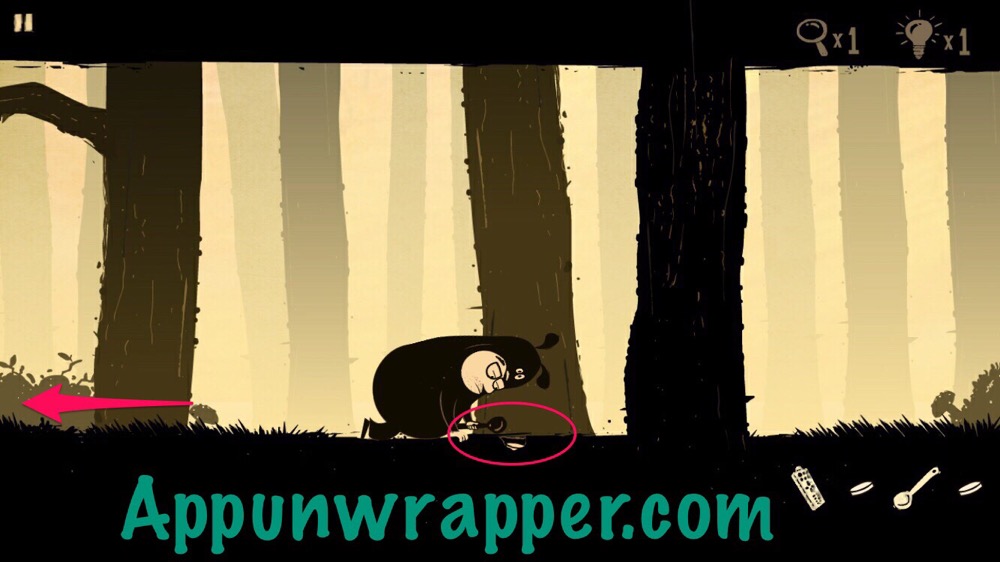
19. Go left until you see three trees. Use the spoon to dig under the middle one for another coin. Head left.
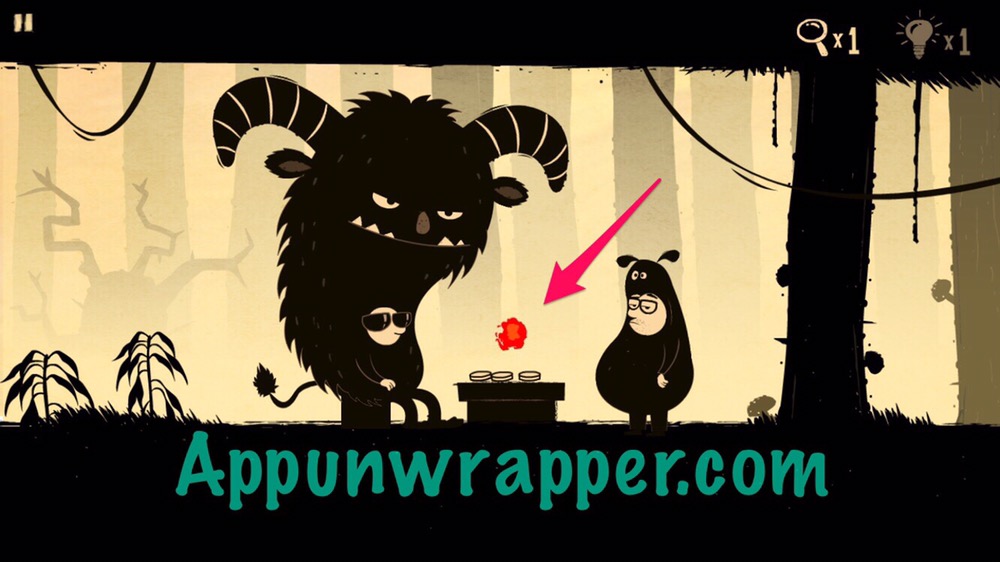
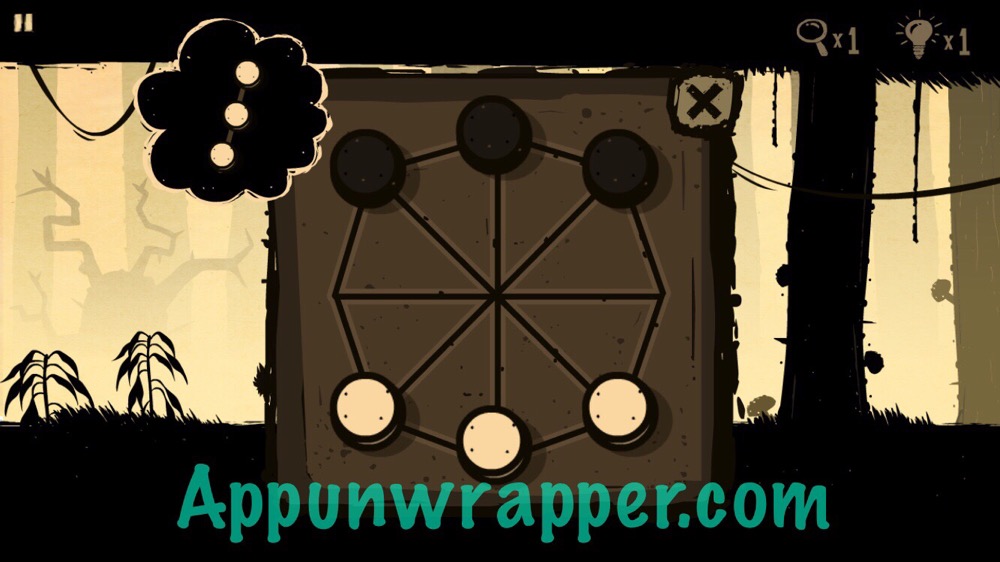
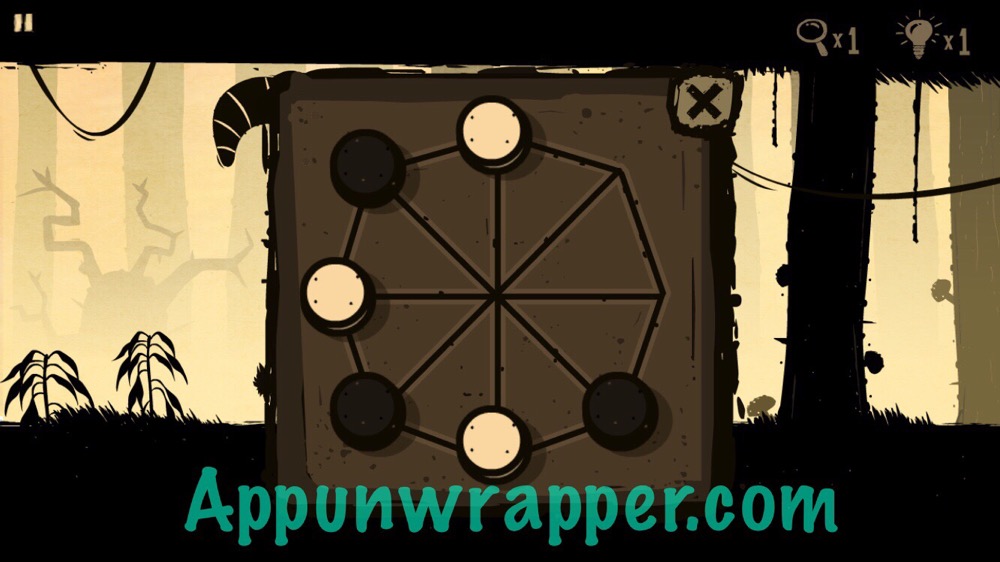
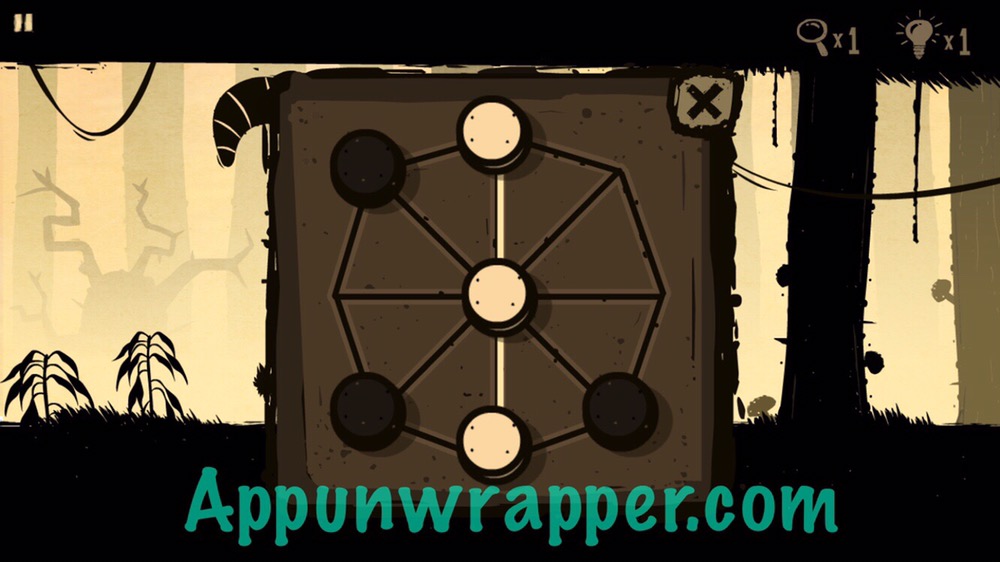
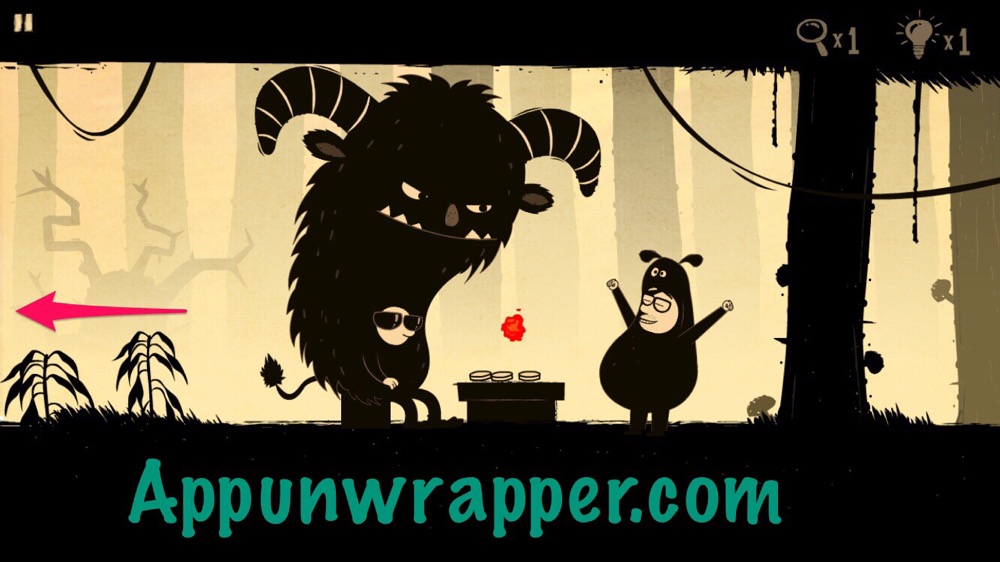
20. Time to play a game against this weird monster dude. You need to make a line of white pieces, kind of like Tic-Tac-Toe. Once you win a game, head left after the red light.
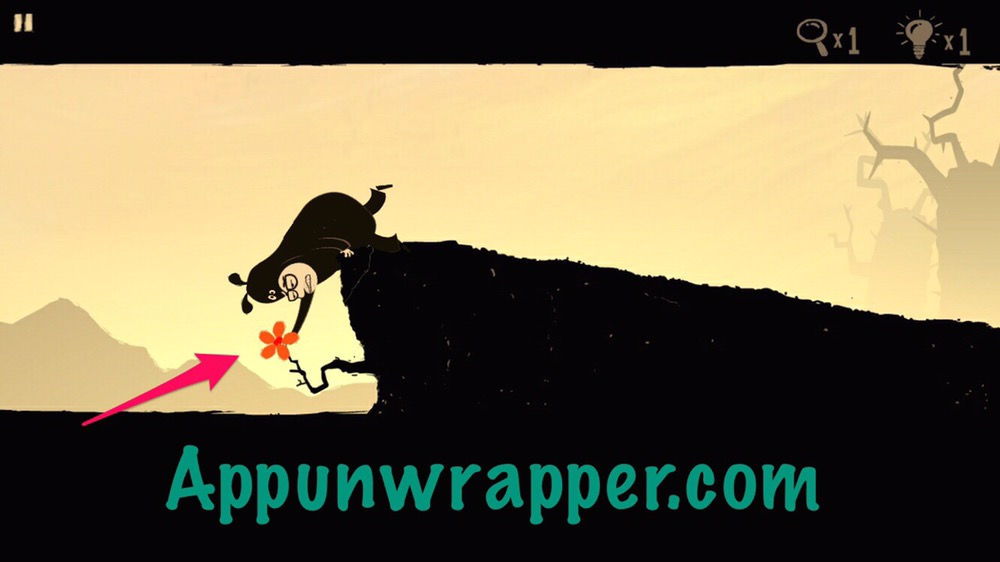
21. Head left again to follow the red light and pick the red flower.
Level 2:
You can watch my video for Level 2 here or continue on to my step-by-step guide.
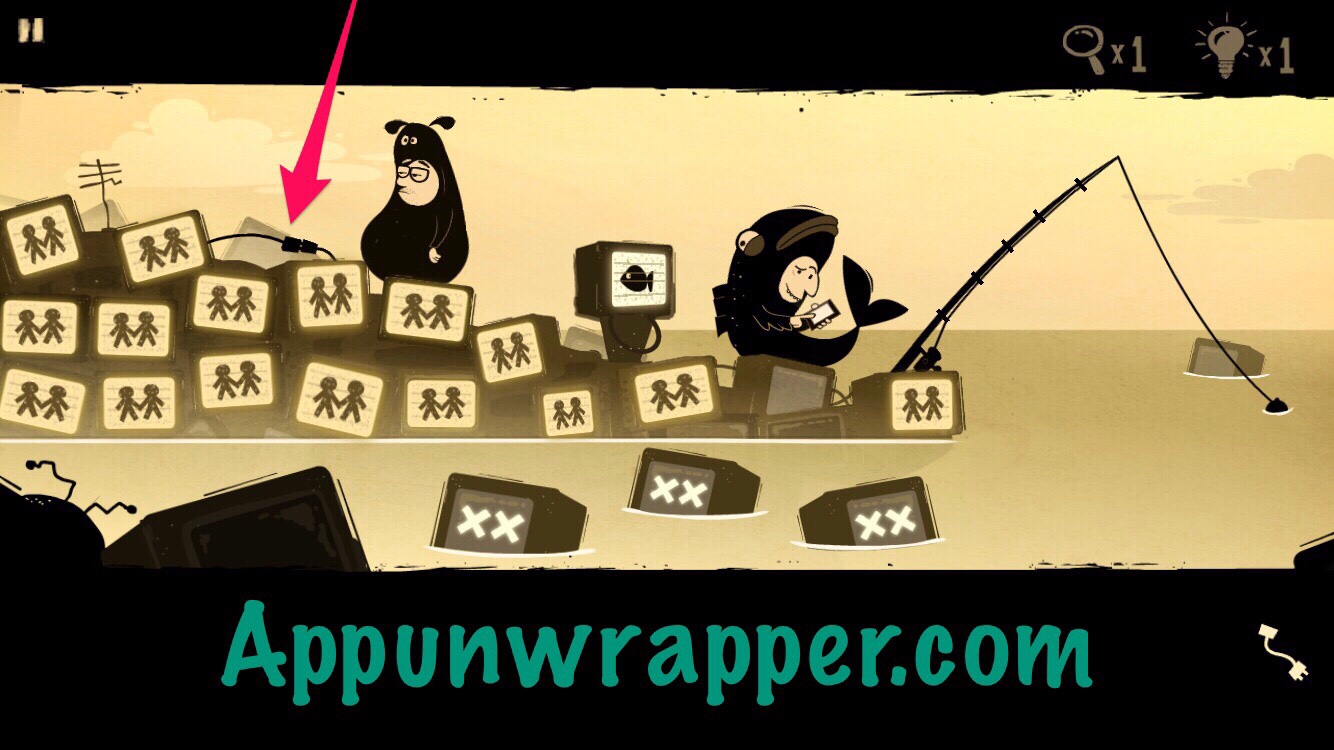
1. Some new content was added to this chapter. Just keep in mind that any progress you make from here won’t be saved until you complete the chapter. Pick up the cable.
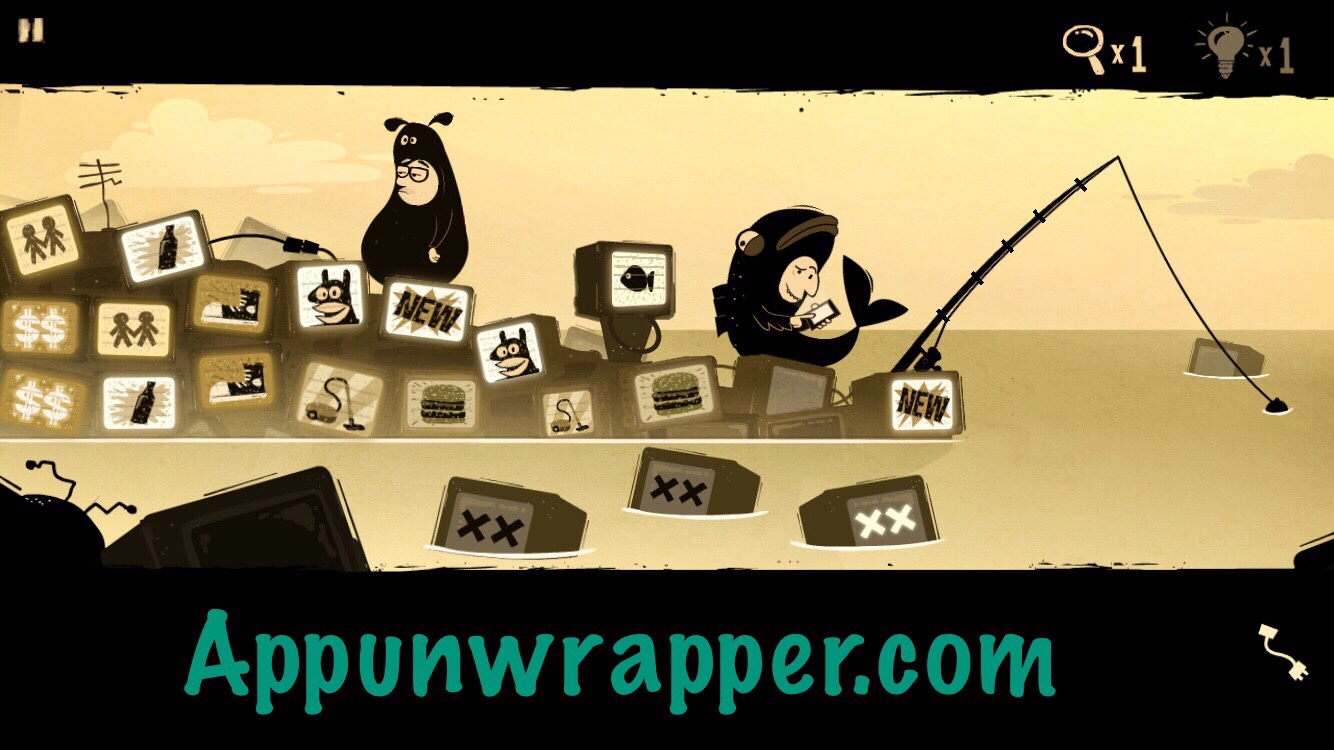
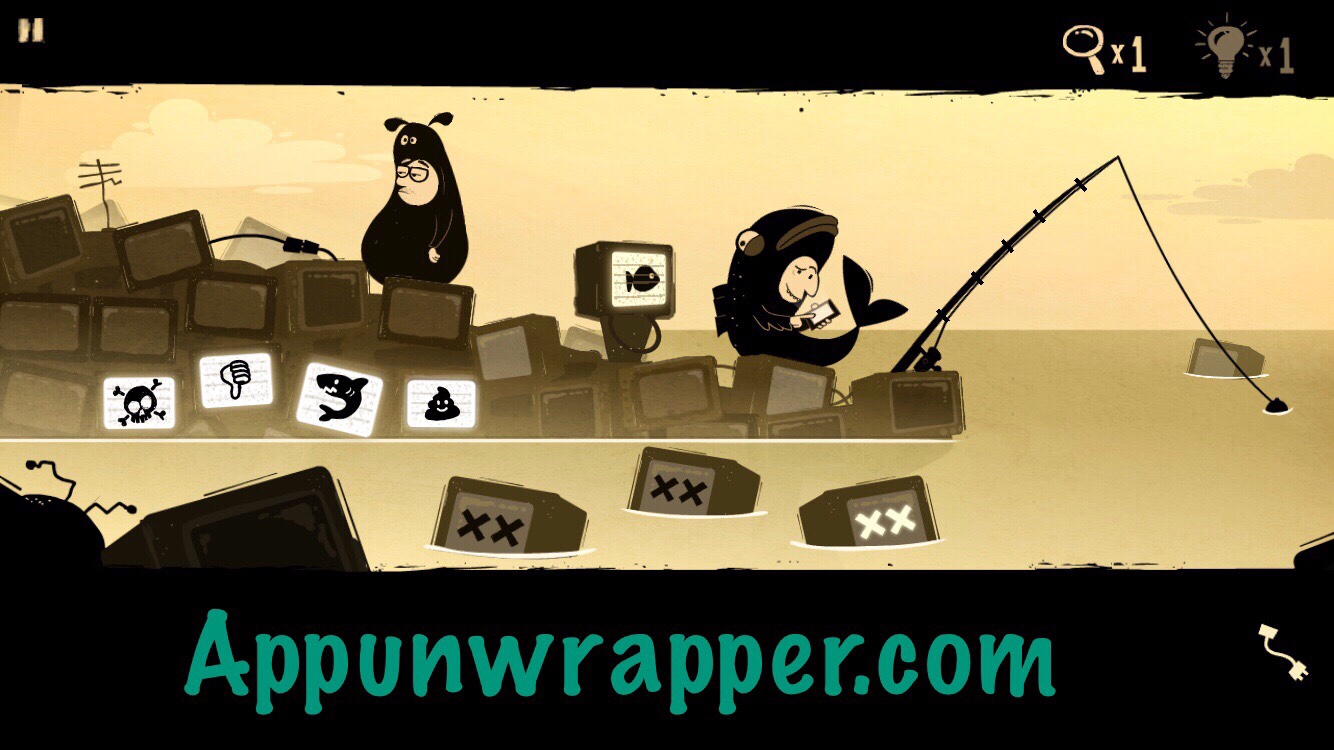
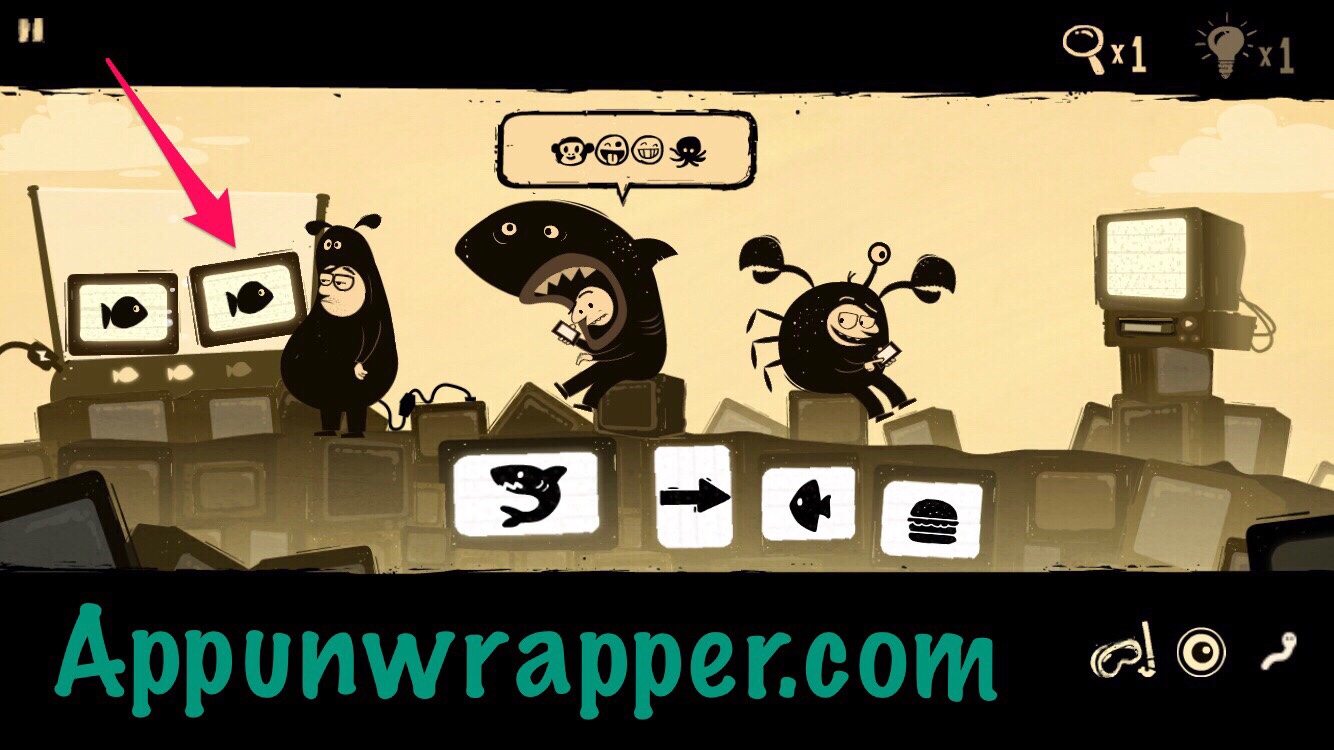
2. Plug the two cables together to turn on all the TVs. You now have to do an annoying memory game. Sigh. Once you get it, four symbols will appear — a skull, thumbs down, a shark, and poop emoji. There’s also a fish on the screen off to to the side, but ignore it for now.
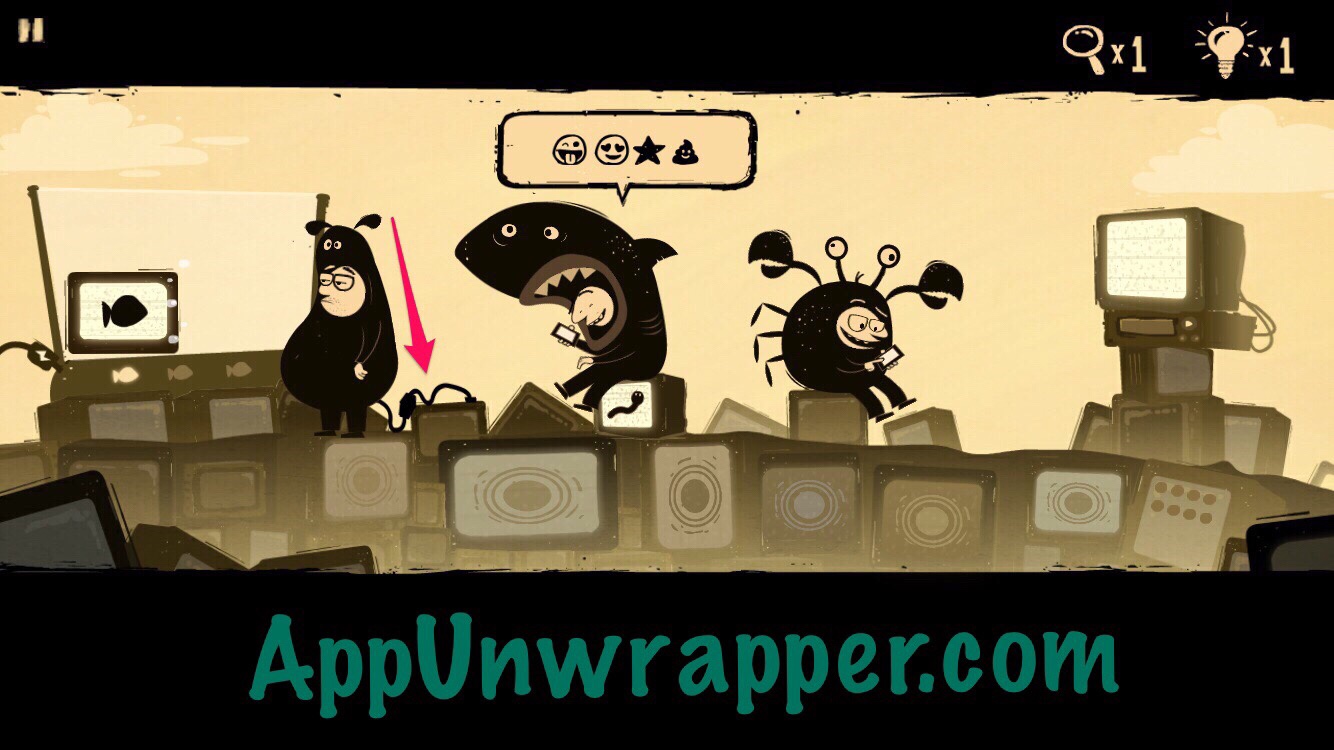
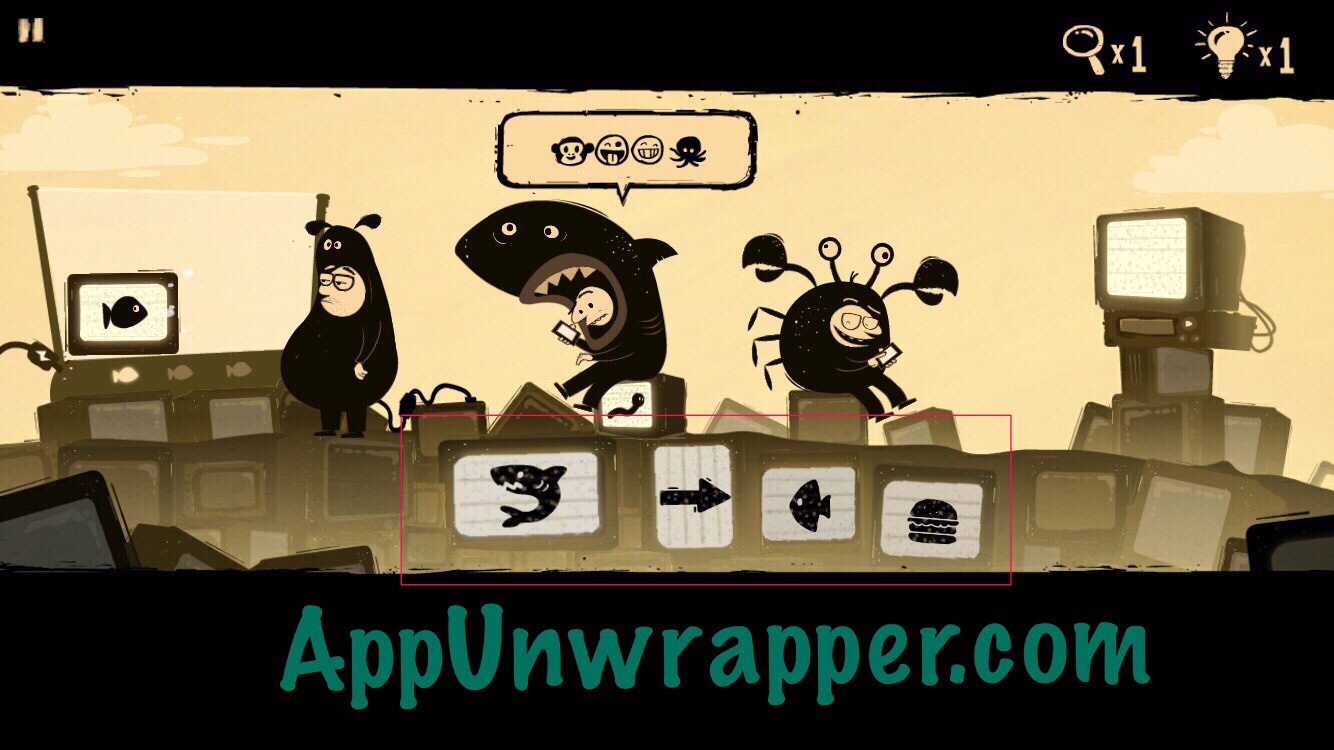
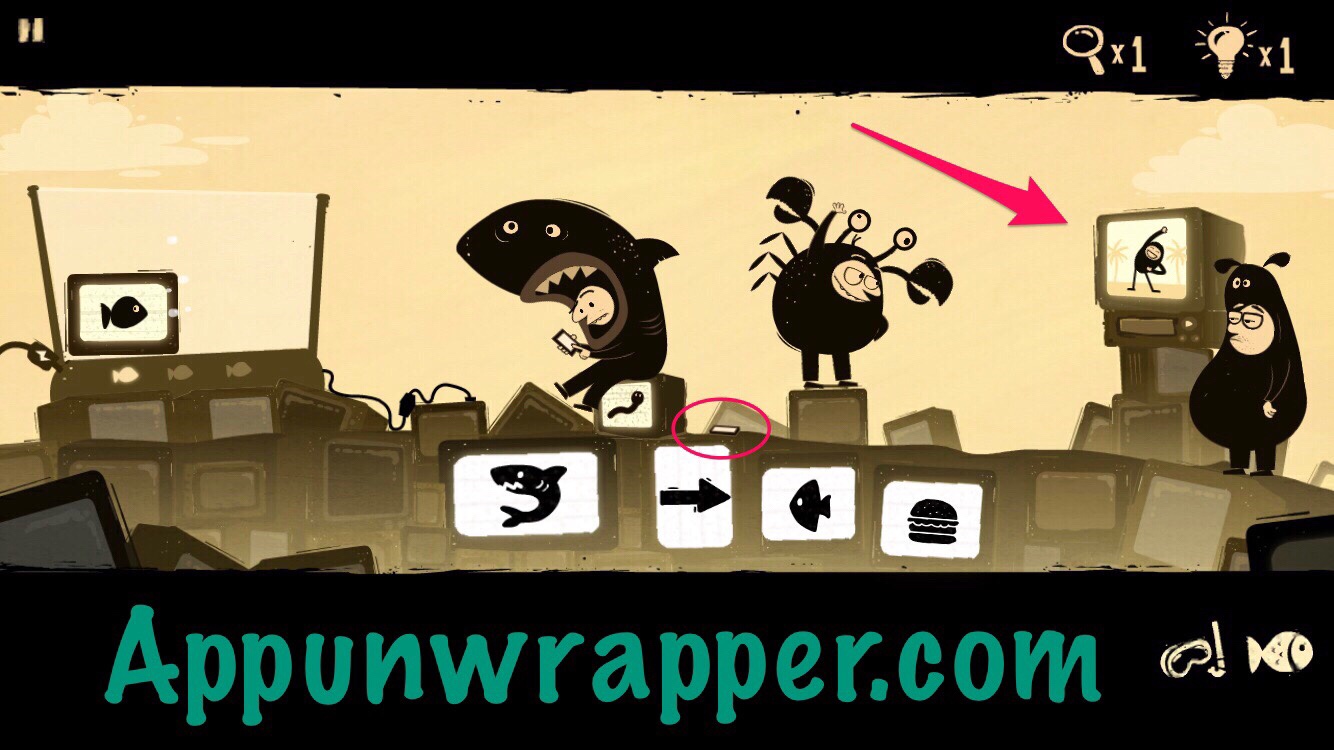
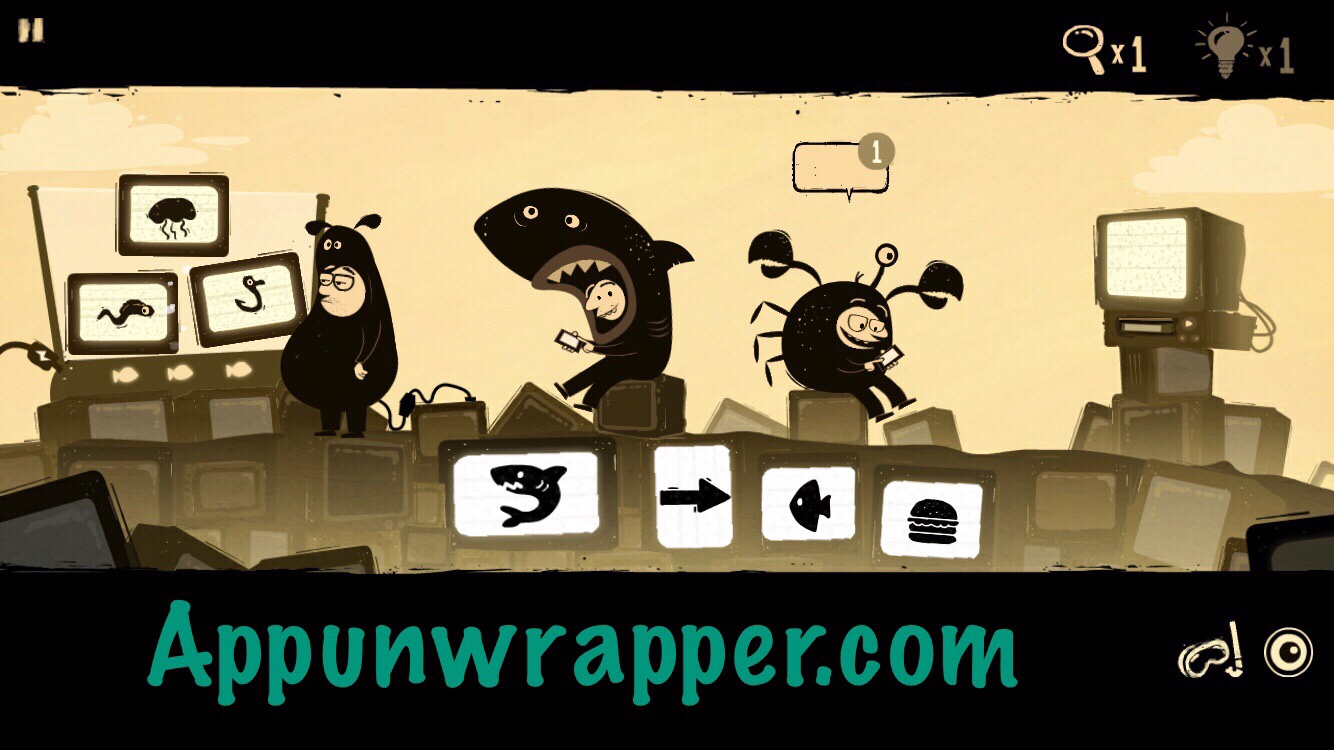
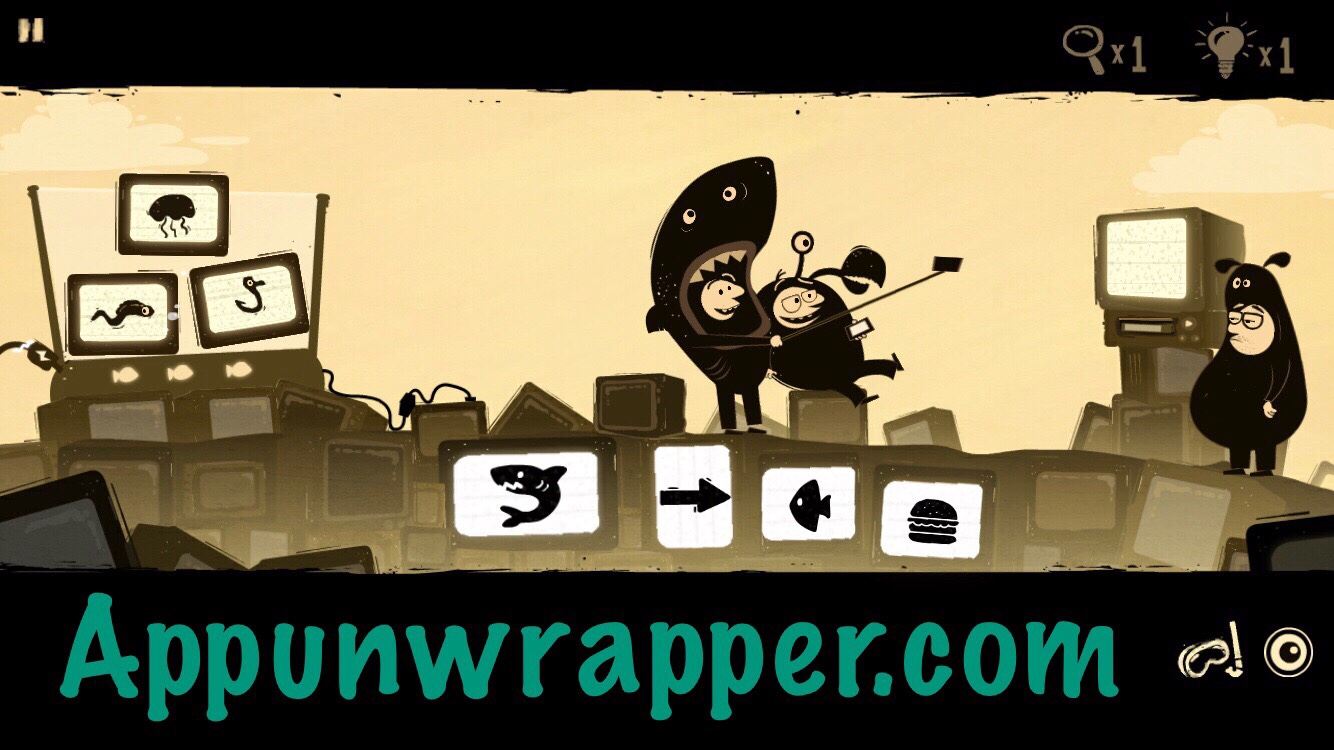
3. If you go left, there’s two guys texting each other. Plug in the cable to the left of the shark guy. You now have to play a Simon game, copying the sequence of lights. If you mess up, you have to start from scratch. One light is added each item you get it right, so you can keep a record of the pattern if your memory isn’t so great. I like to number the TVs and then write down the order in which they flash. There should be eight flashes on the last sequence. Now you should see four emoji on the TVs: shark, right arrow, fish, burger.
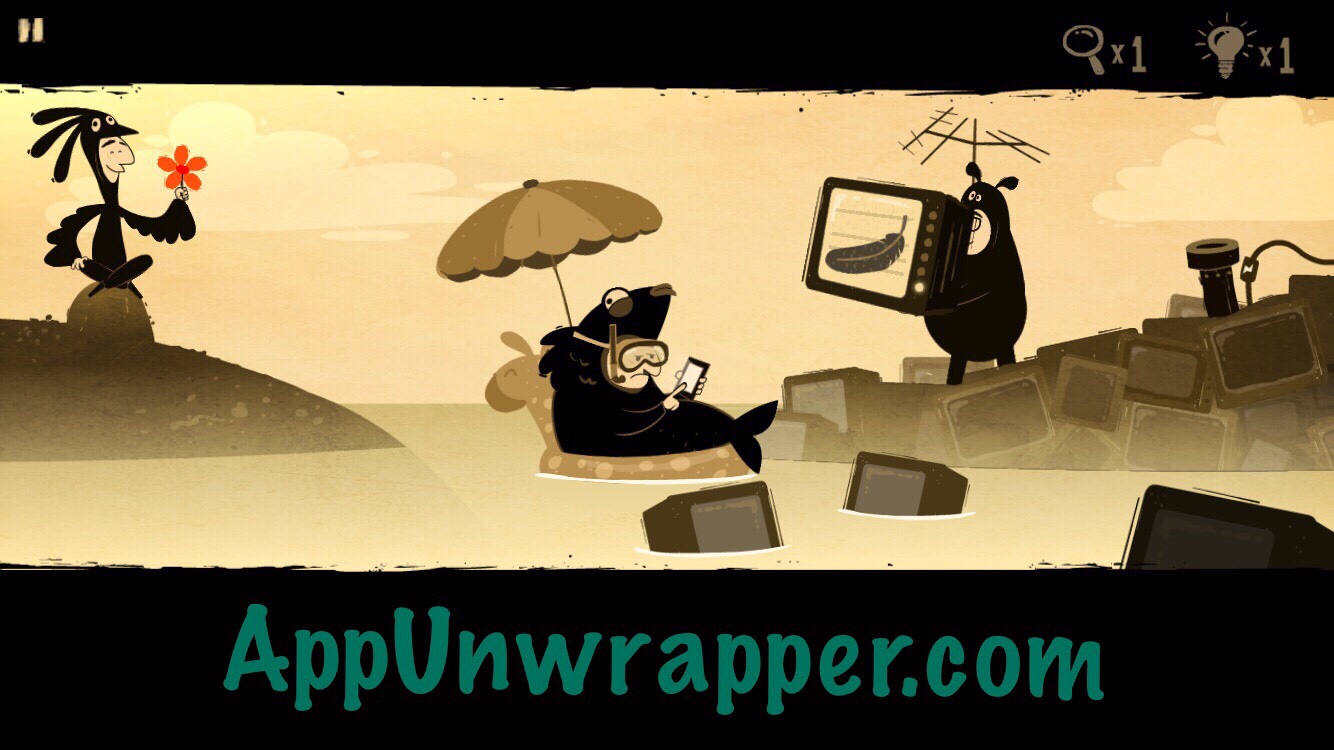
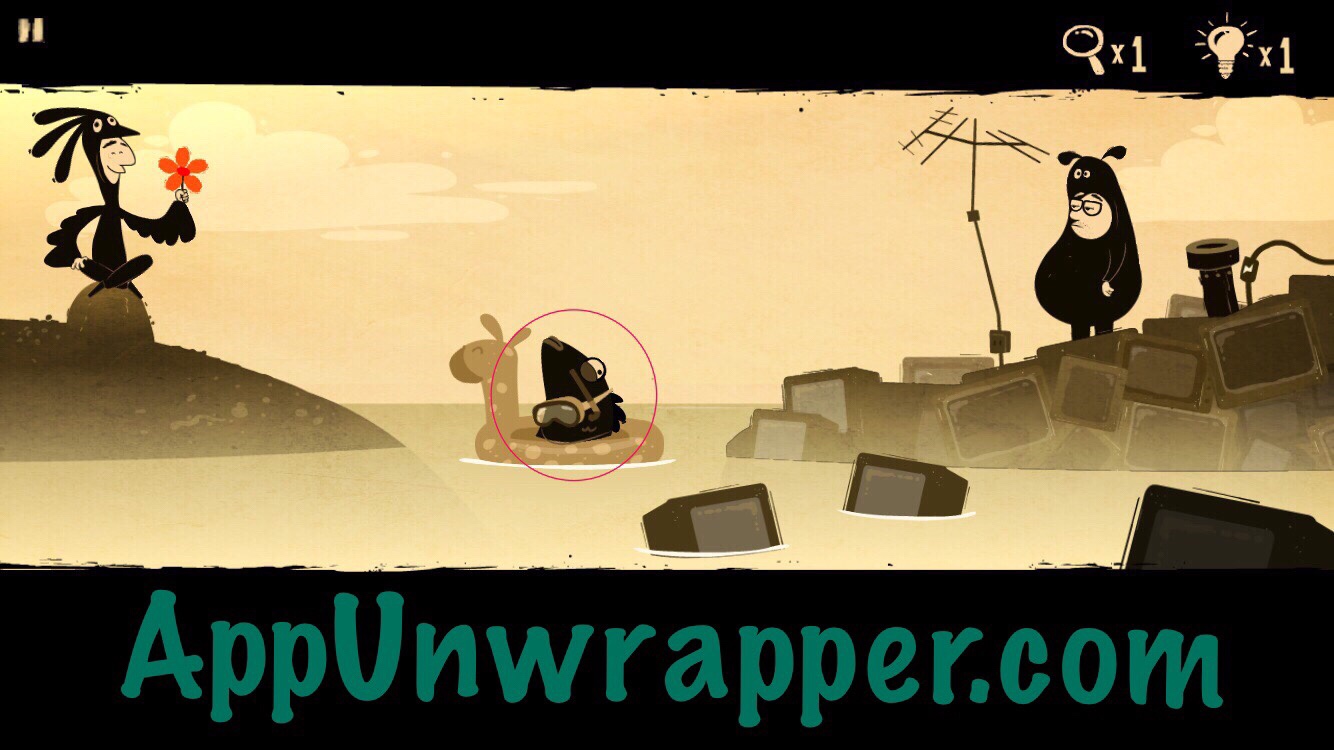
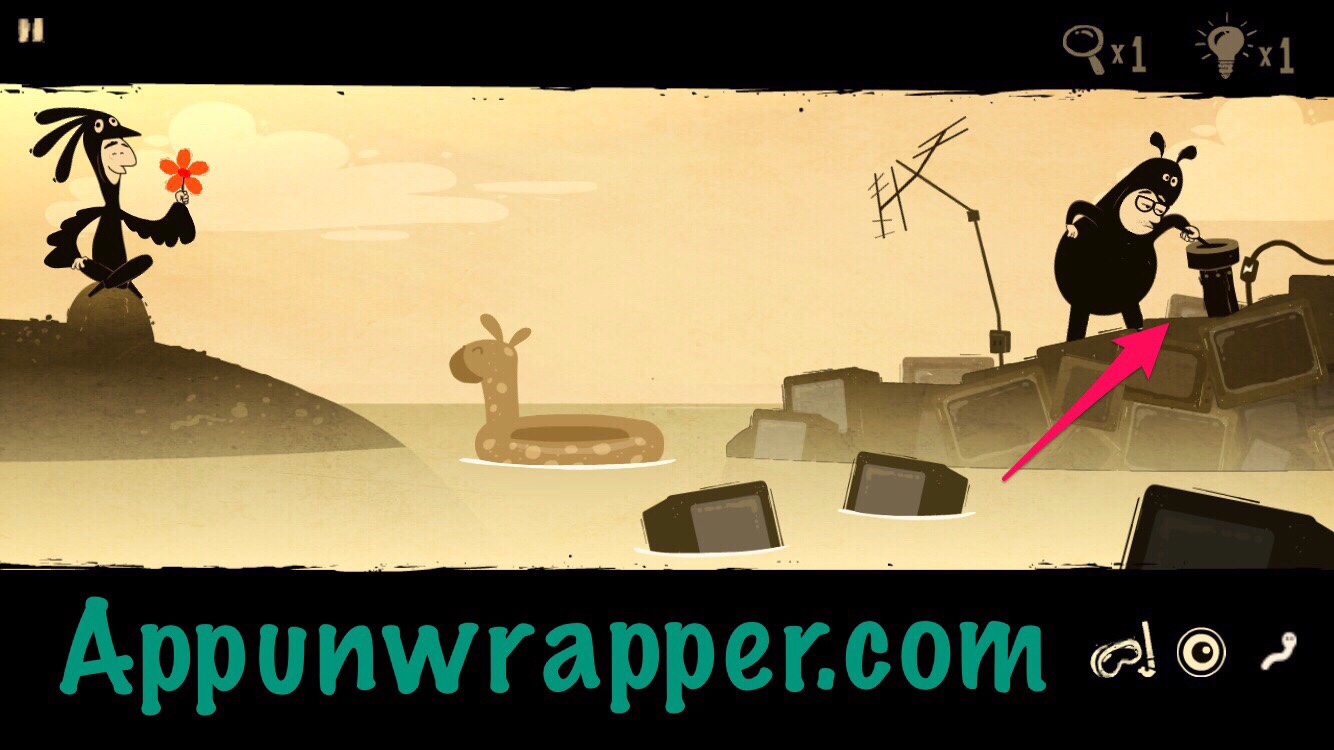
4. Head left and plug in the TV in front of the lounging guy. Adjust the antenna until you see a feather on the screen. Throw the TV onto him.
5. Grab the scuba gear from the raft.
6. Head back right twice. Use the scuba gear to go underwater.
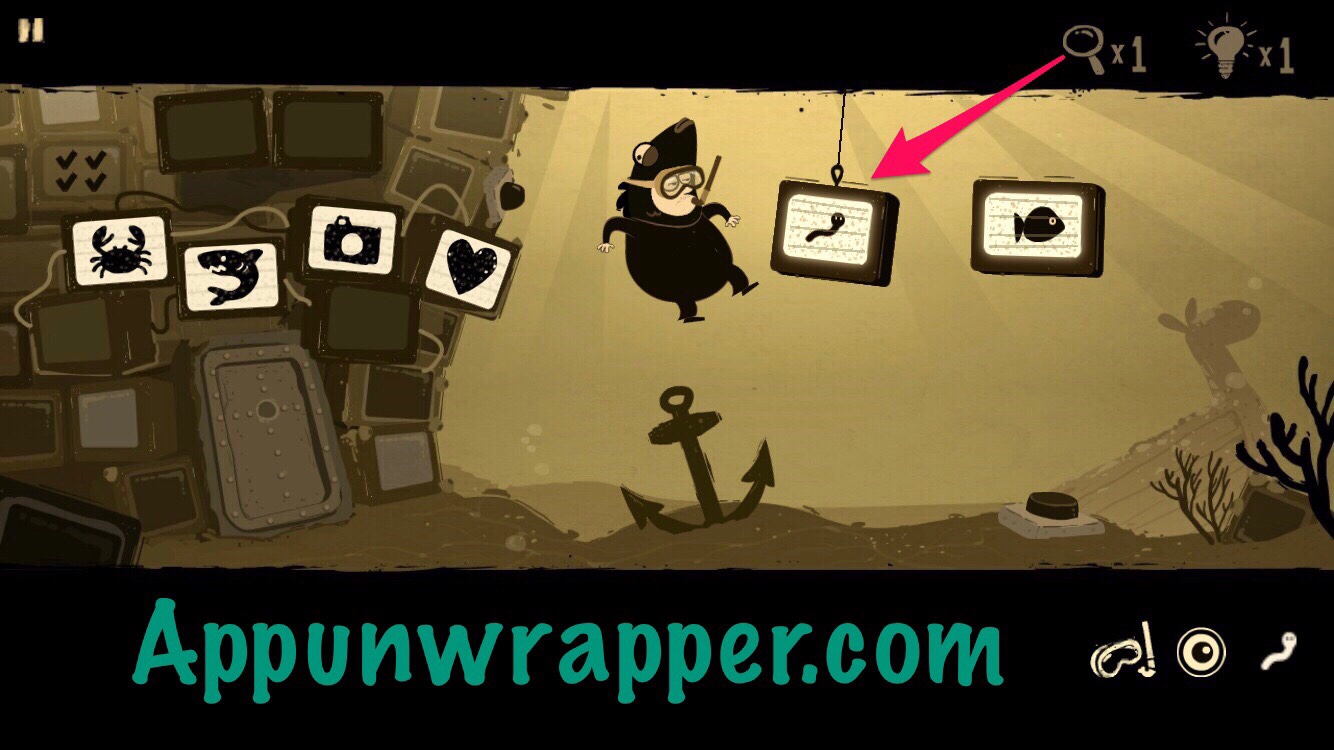
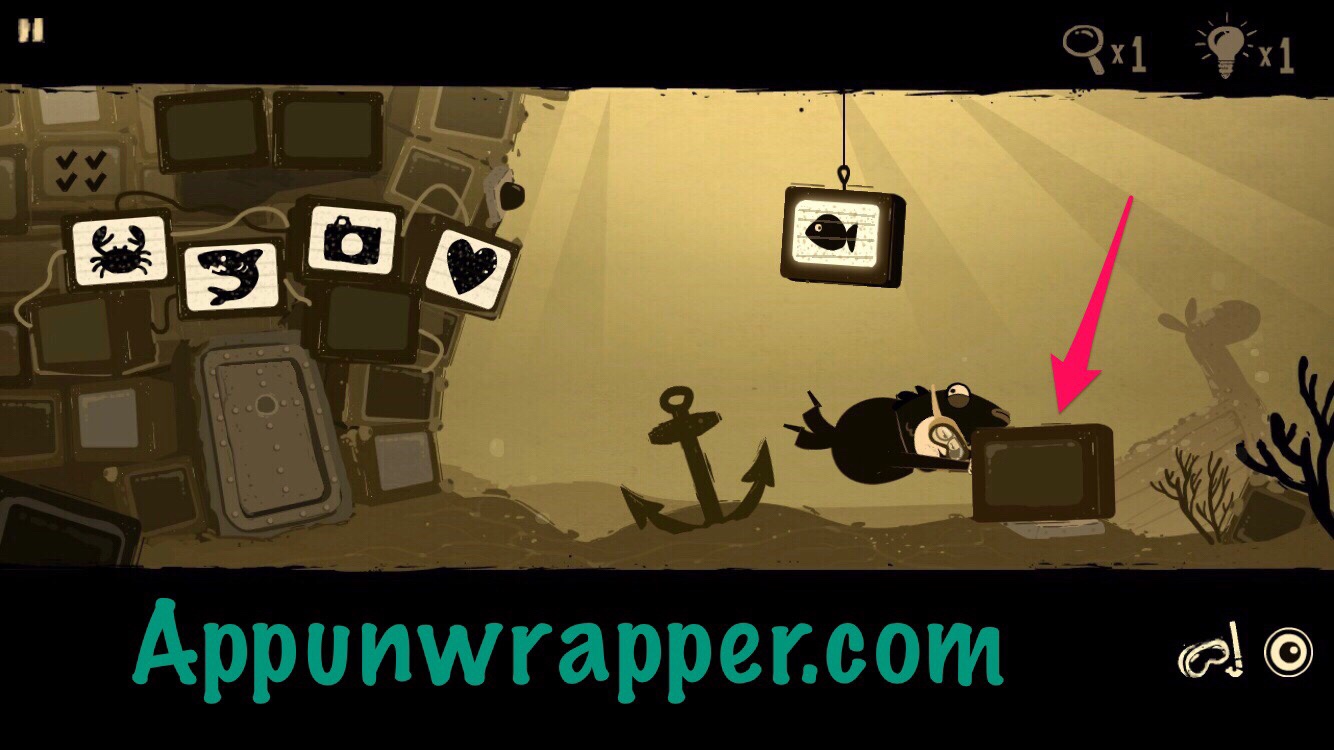
7. Grab the VHS tape and attach the hook to anchor. Then, press the button to turn on the TVs and play the mini game. You’ll be given two images that are related to each other and you need to choose two other images that relate to each other in the same way. You need to get it Right four times in a row. When you finish, you’ll see four more emoji: a crab, shark, camera and heart.
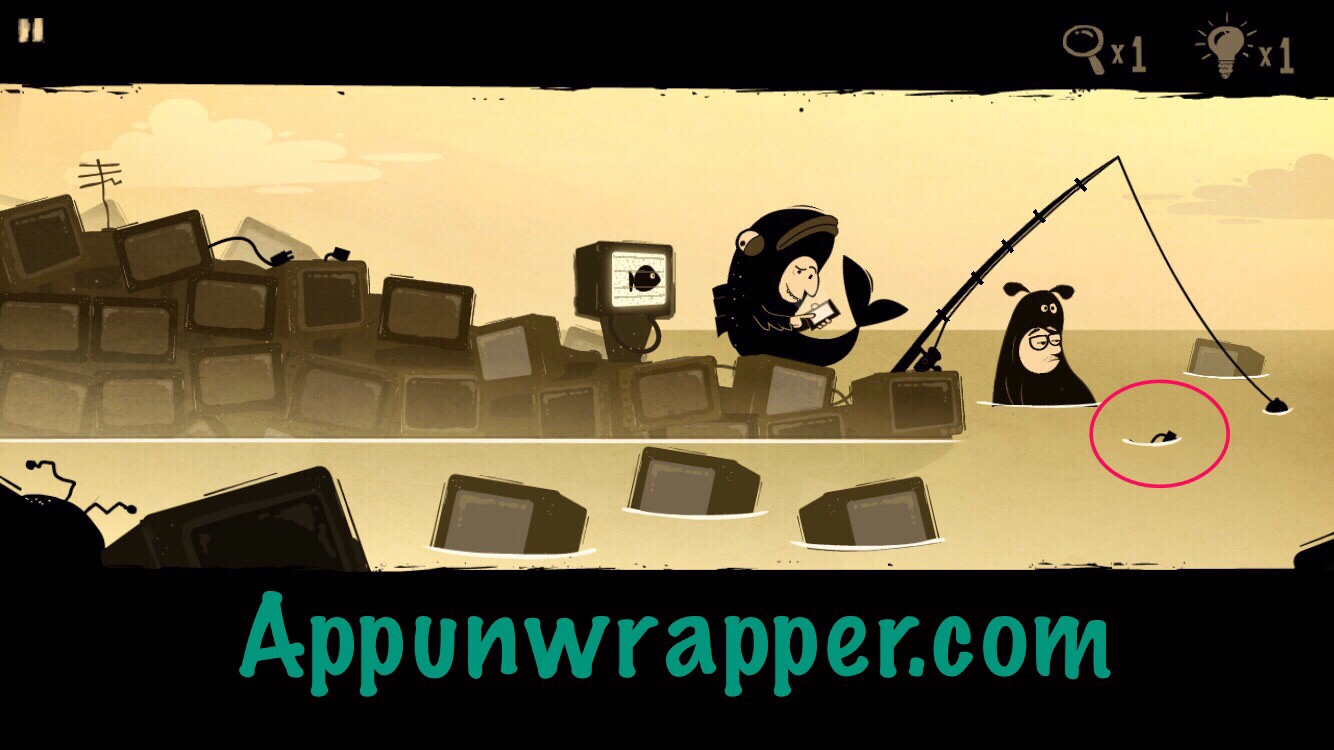
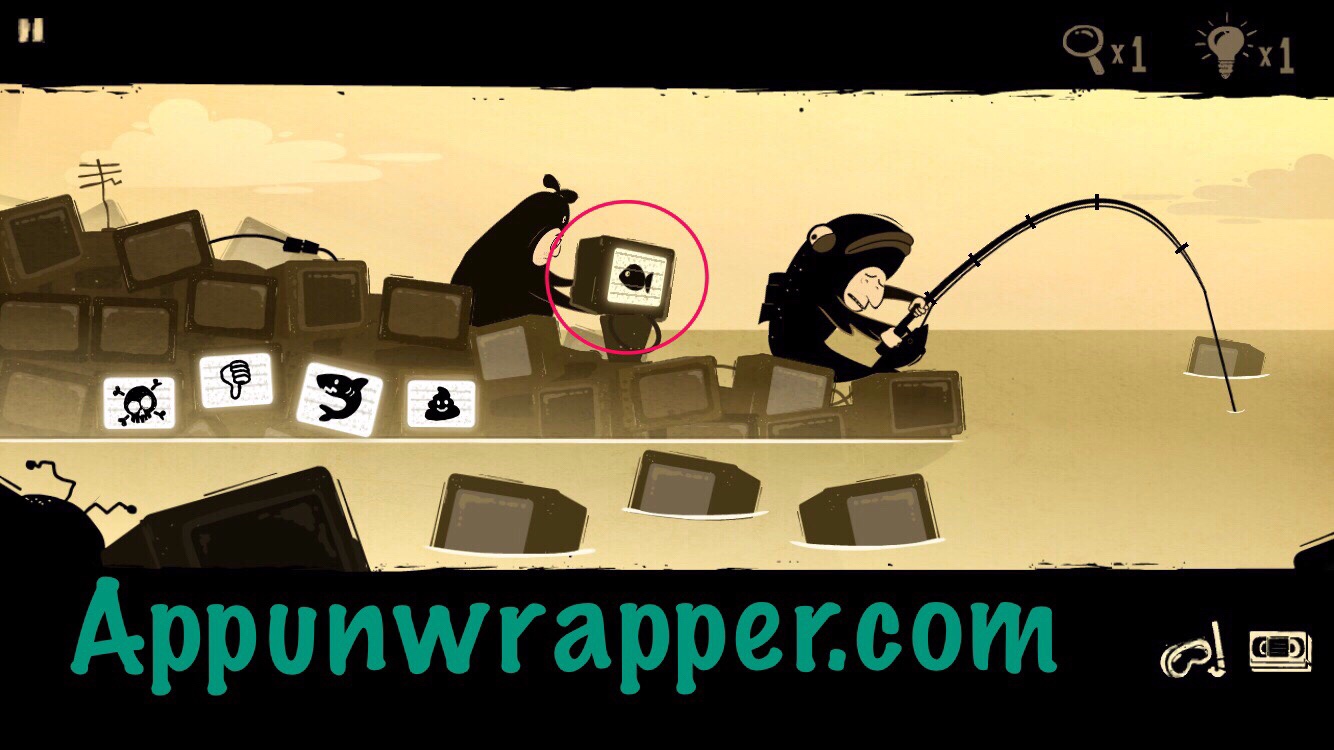
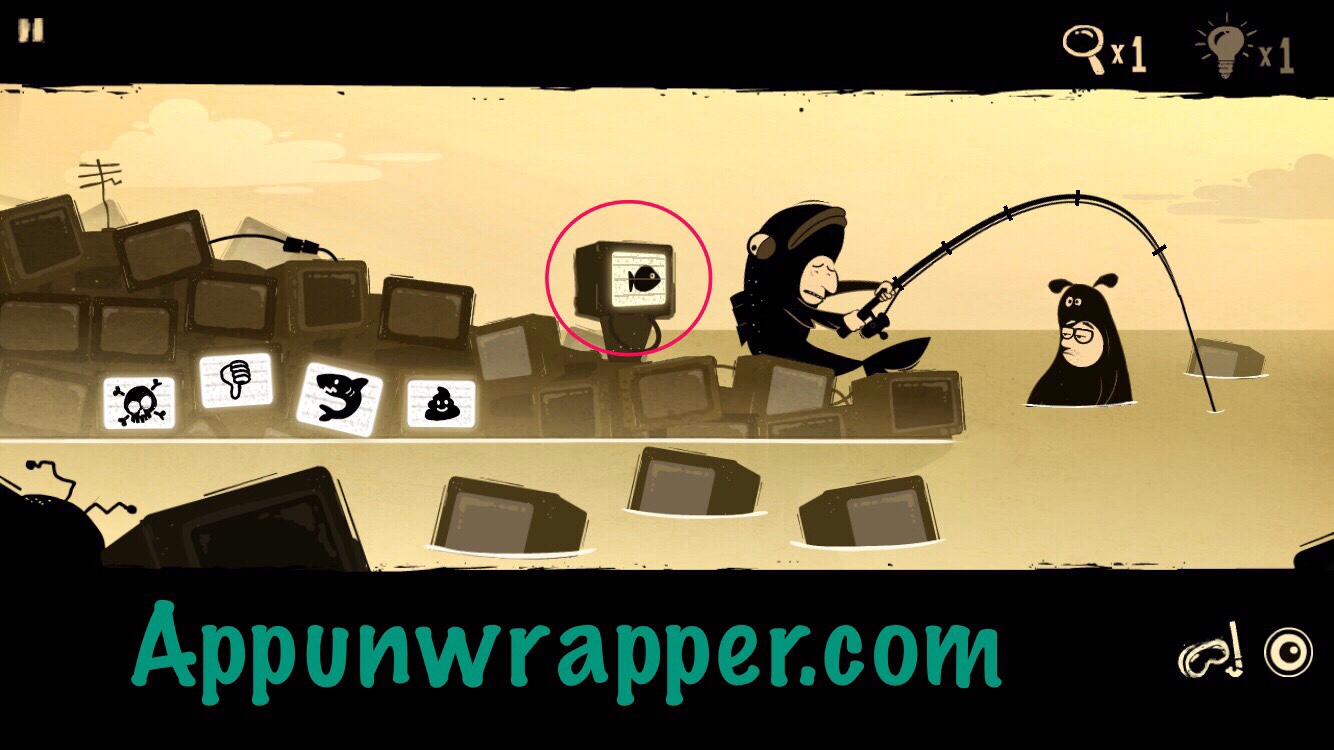
8. Swim back up and tell the fisherman he has a fish in his hook. He’ll try to reel it in, and while he’s distracted, you can grab the TV next to him.
9. Head left. Insert the VHS in the VCR. The right crab guy will get distracted and drop his phone. Pick it up.
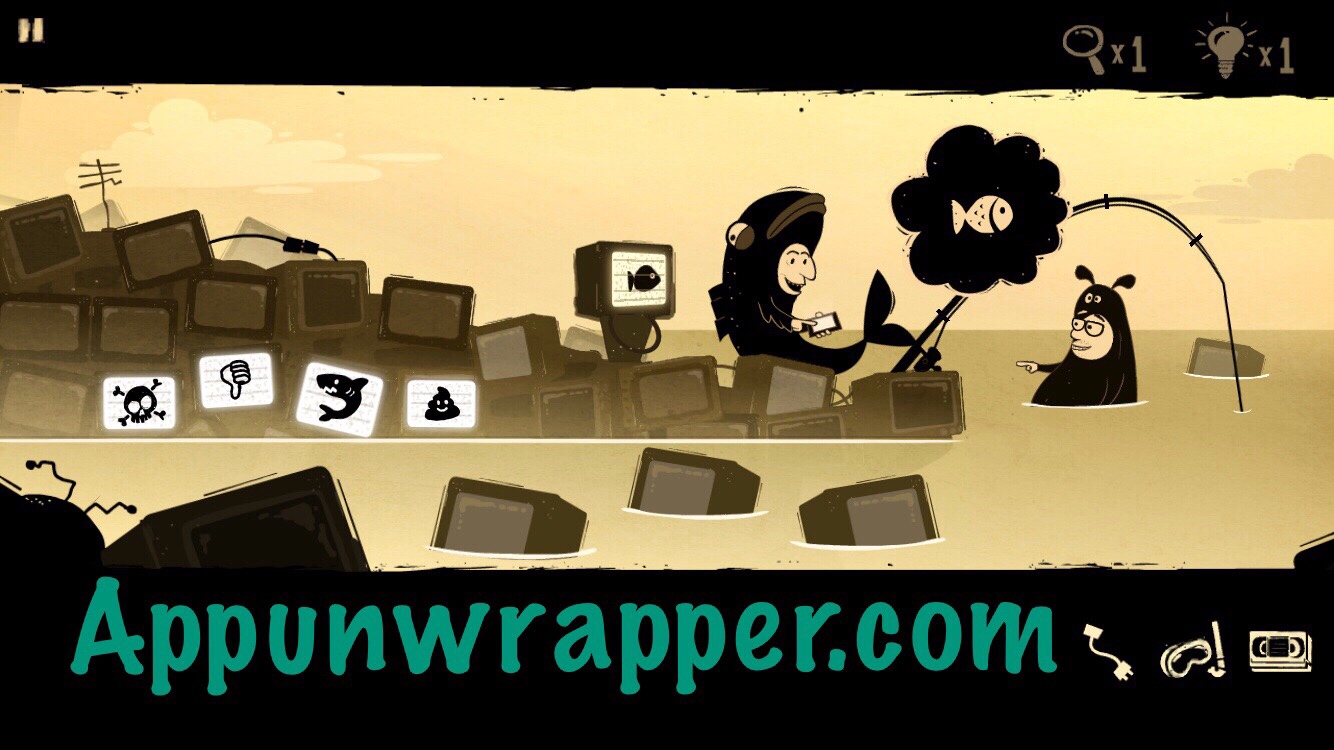
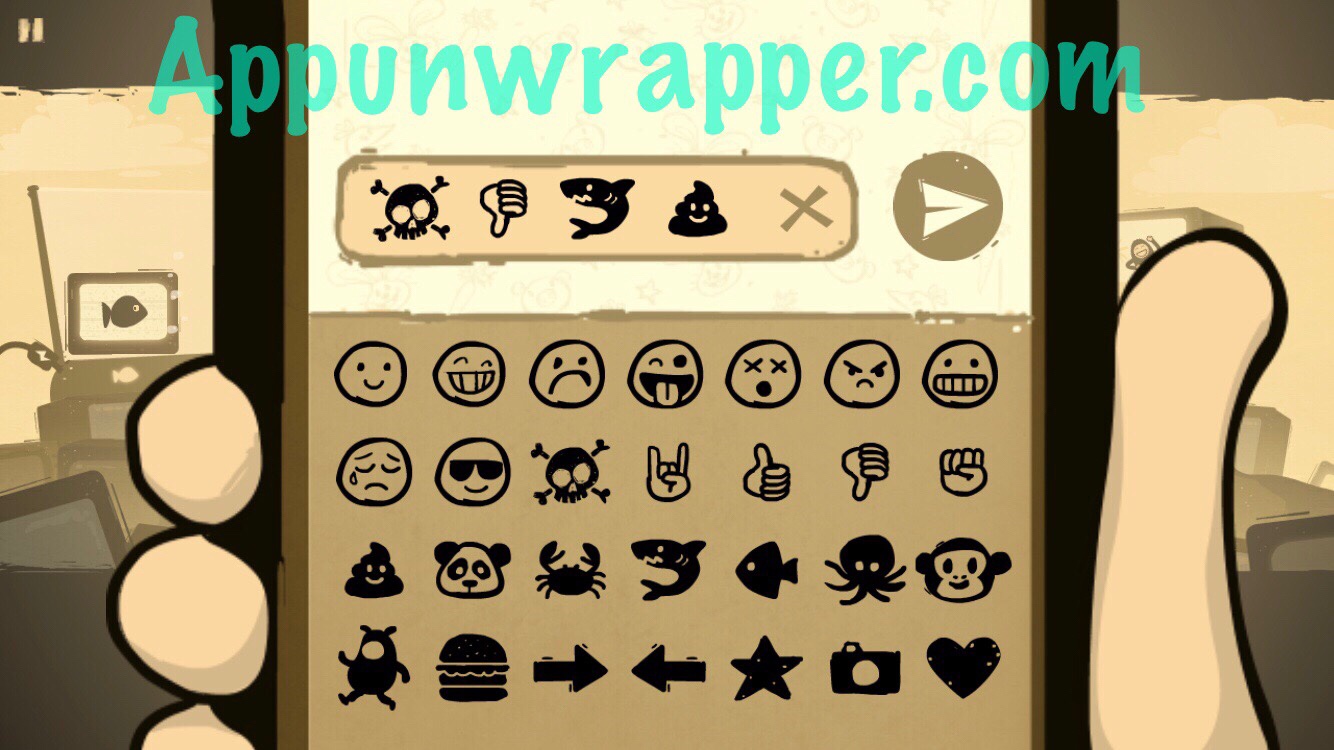
10. Type in the first set of emojis: skull, thumbs down, shark, poop. The shark guy will get angry and hit the crab. Pick up his eye.
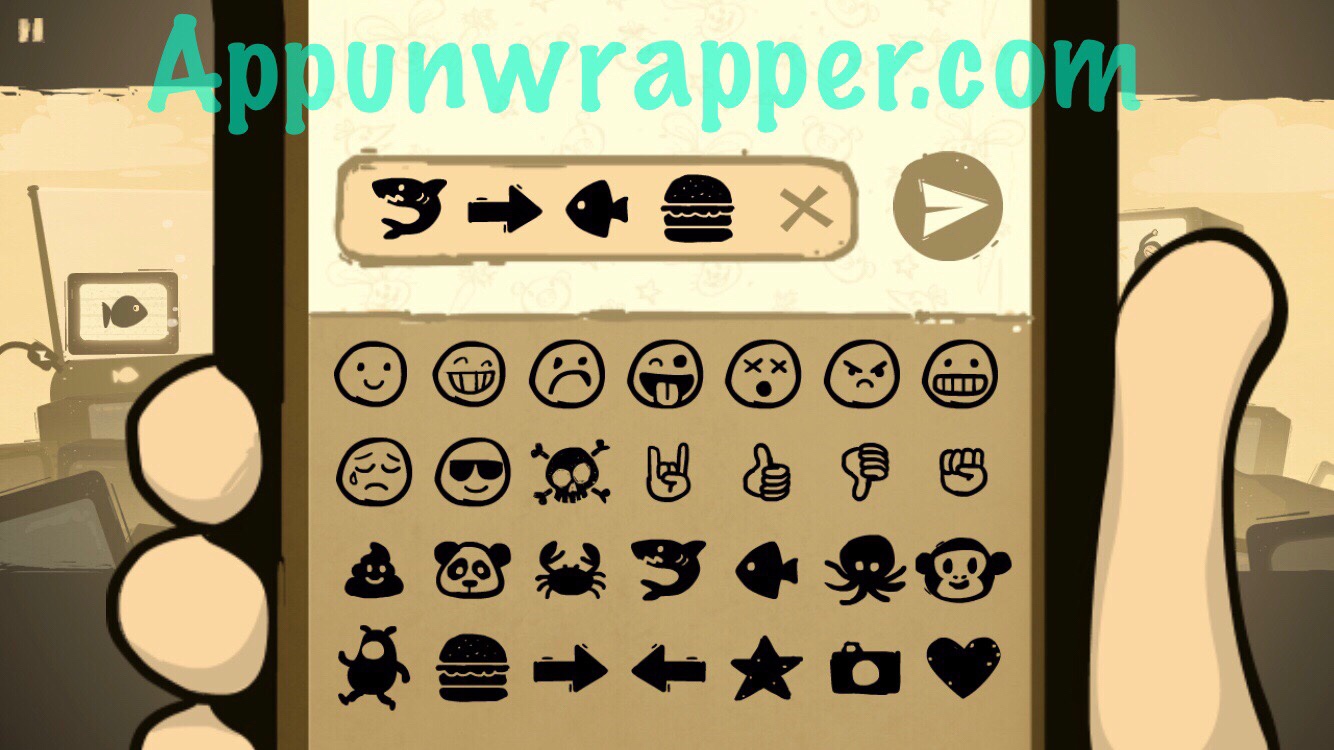
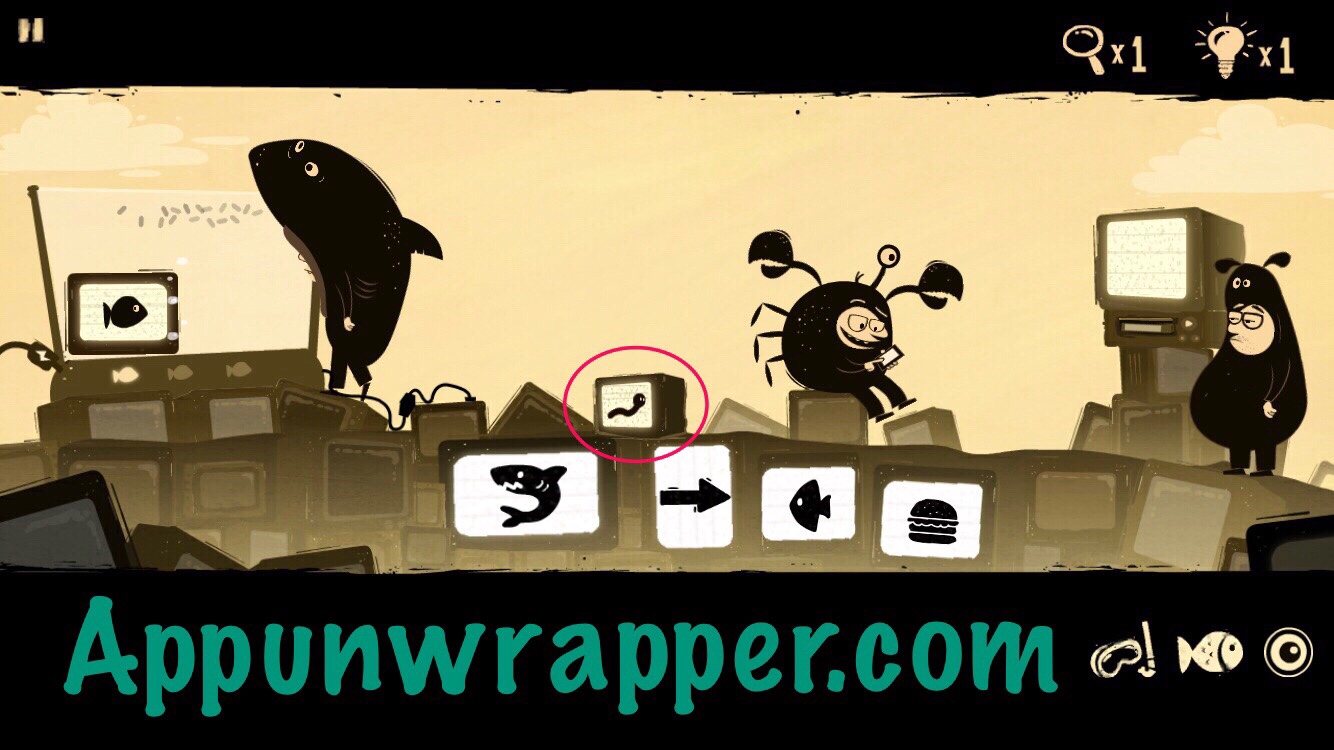
11. Use the tape to distract the crab guy again and take his phone. Enter the second set of emojis: shark, right arrow, fish, burger. Shark guy will start feeding the fish. Grab the TV he was sitting on. It has a worm on it.
12. While you’re here, place the fish TV with the other one in the tank.
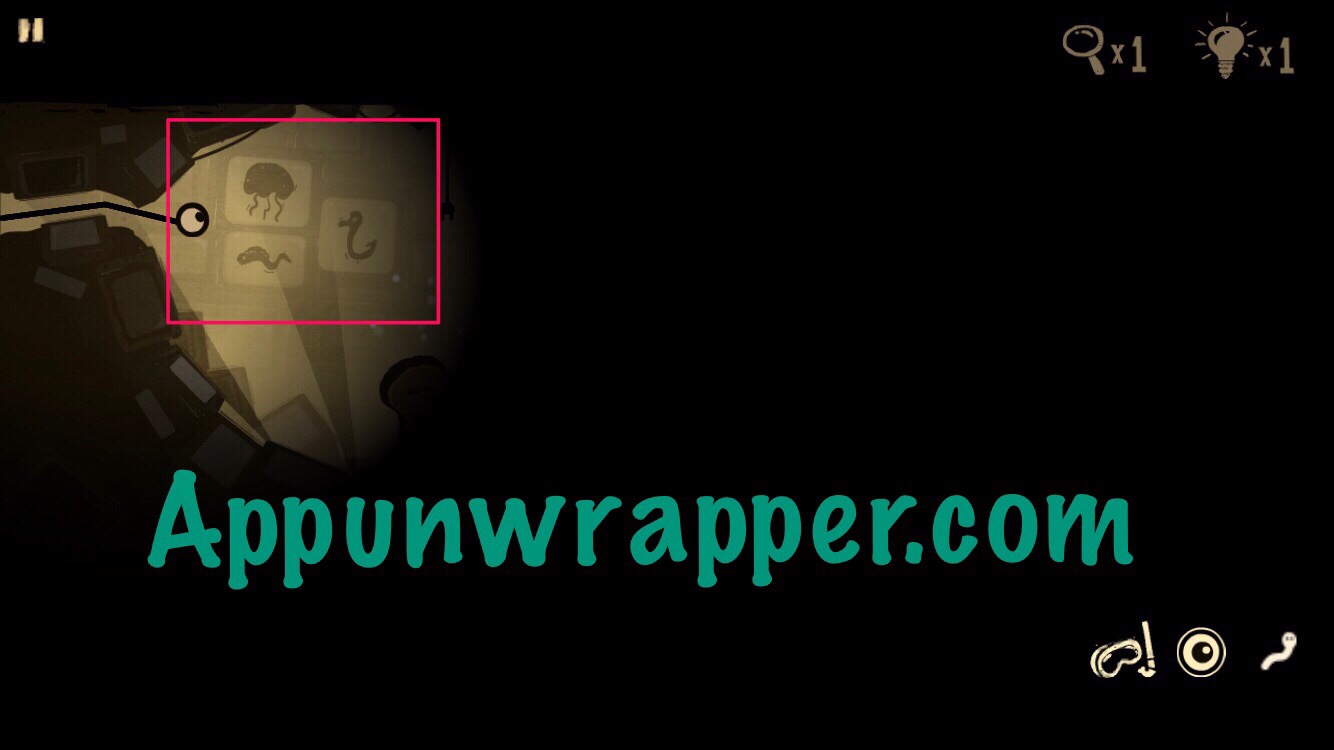
13. Go left. Use the eye to look down the pipe to the right. Make note of the three emoji on the wall.
14. Head all the way back right and jump in the water again. Remove the hook from the anchor. Place the worm on the anchor and the fish will leave its TV to join the worm’s TV.
15. Push the TV onto the button and go through the door. You can turn on the light here, but you won’t be able to get to the guitar yet. So leave.
16. Go back up and tell the fisherman to pull his line in. He’ll pull up the fish TV! Go back down and attach the hook to the anchor. Go back up and tell him to reel it in. Now you can take the third fish TV!
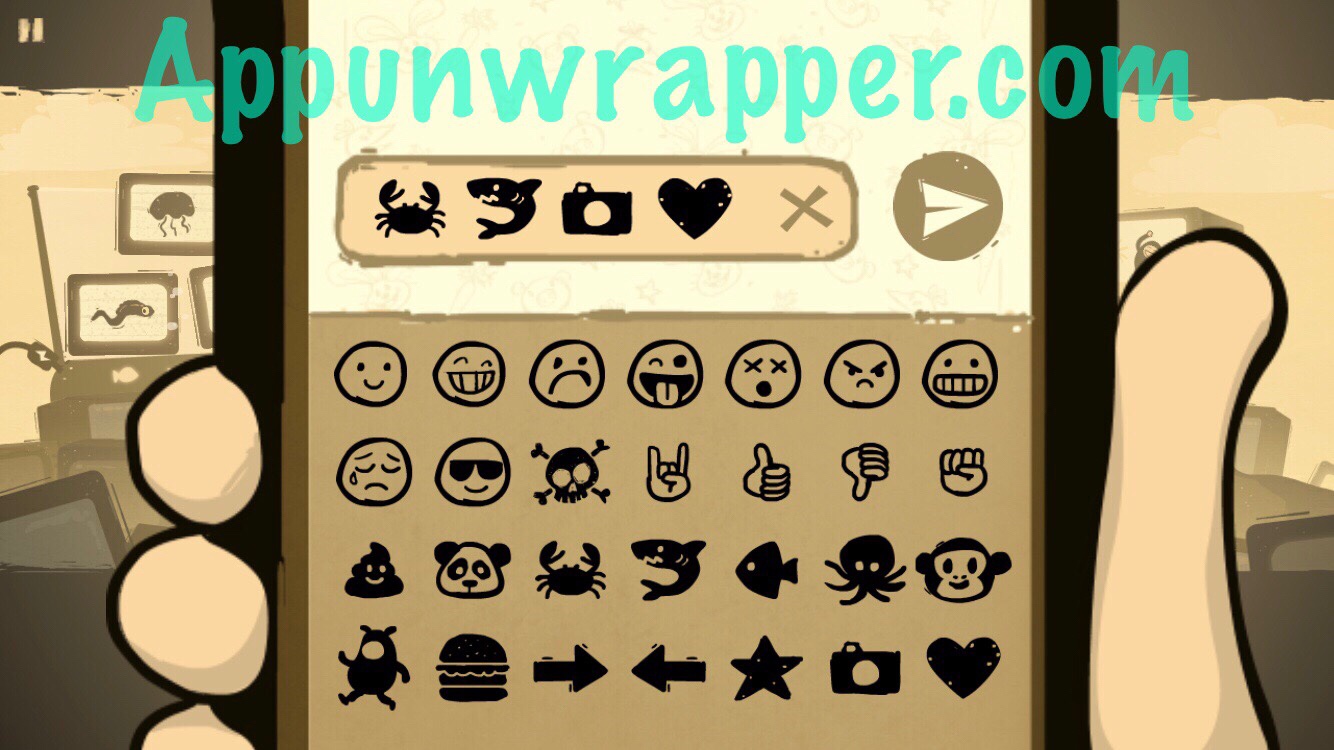
17. Head left. Add the third fish TV to the tank. Change the symbols to what you saw on the wall. This puzzle is a bit dumb because it doesn’t really work quite like they think it does. Distract the crab guy again and take his phone. This time, enter the last set of emoji: crab, shark, photo, heart. The shark guy will take a selfie with the crab guy and the fish tank will be in the background, so you get a mirror image, I guess? But not quite, because they’re still in the same order, just looking the opposite way? Anyway, do it.
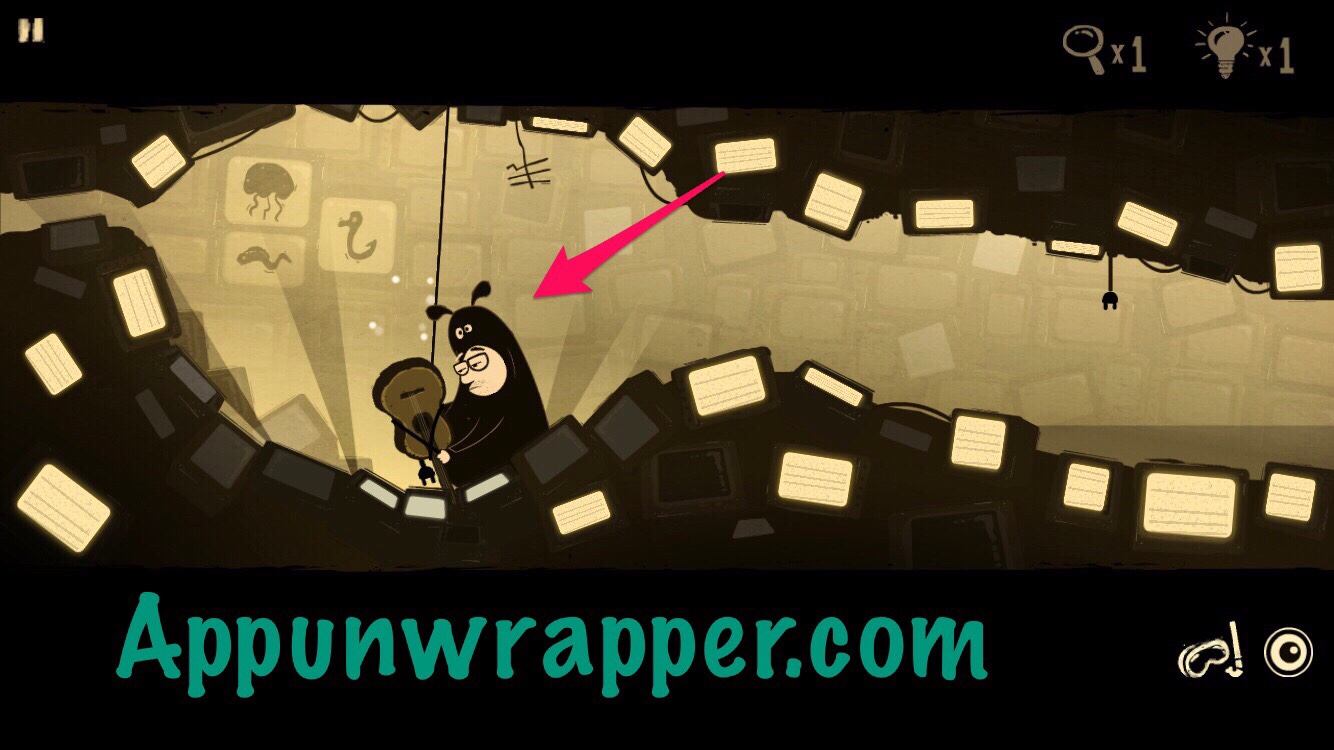
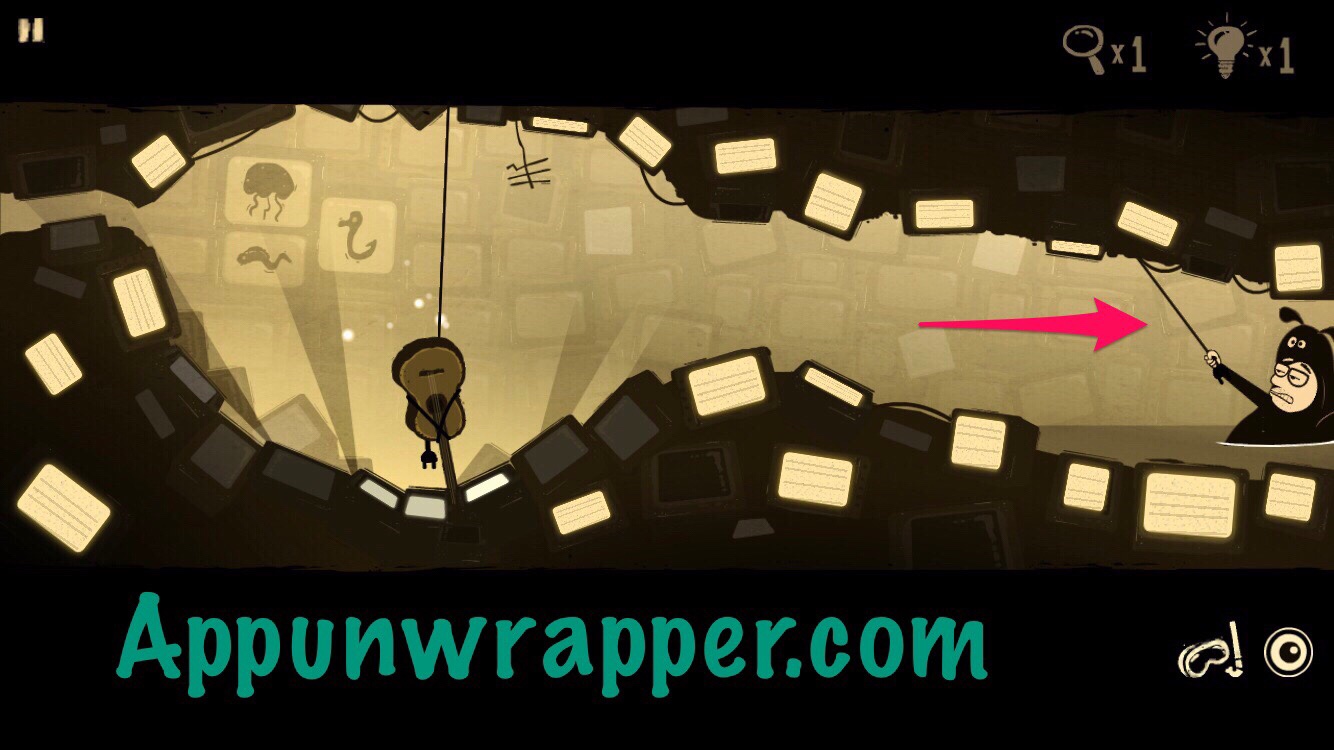
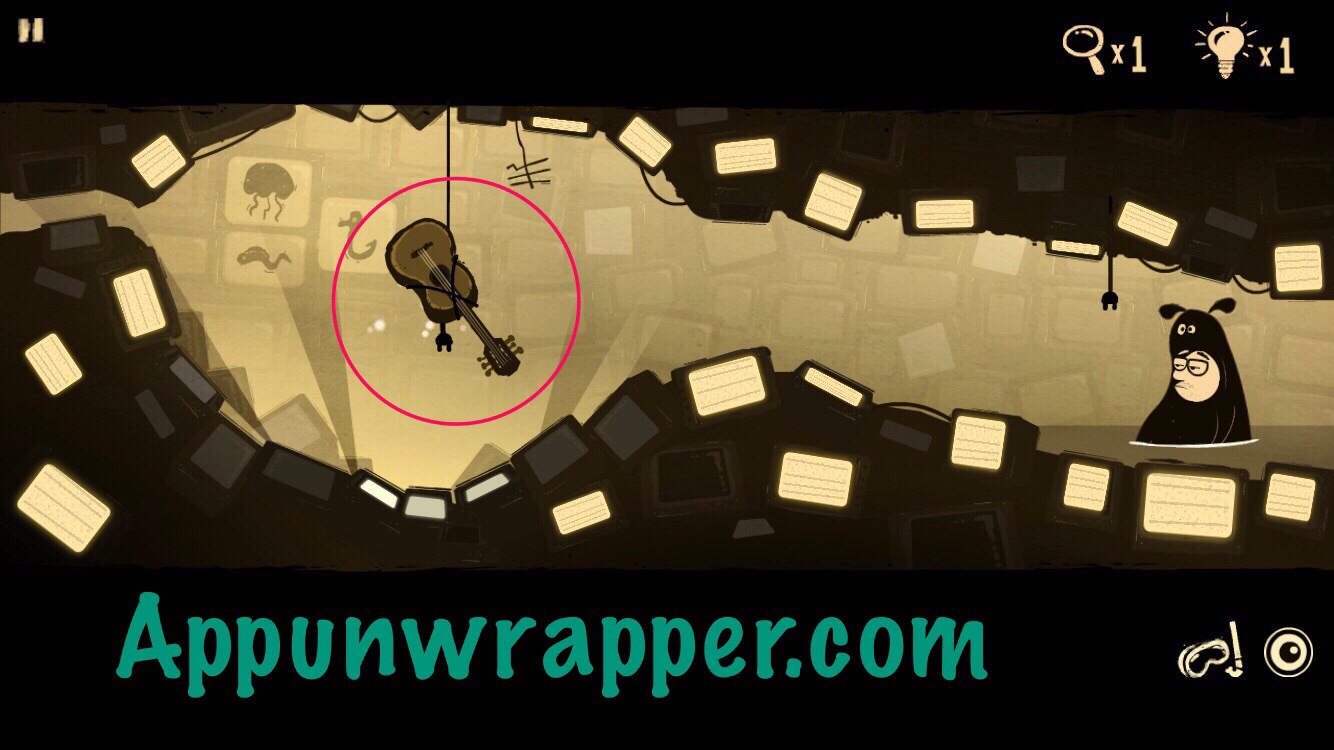
18. The fish tank should be electrified now. Head right and go underwater again. The monsters by the guitar will be gone. Tie the cable to the guitar and then pull the right cable to lift the guitar up. Take it.
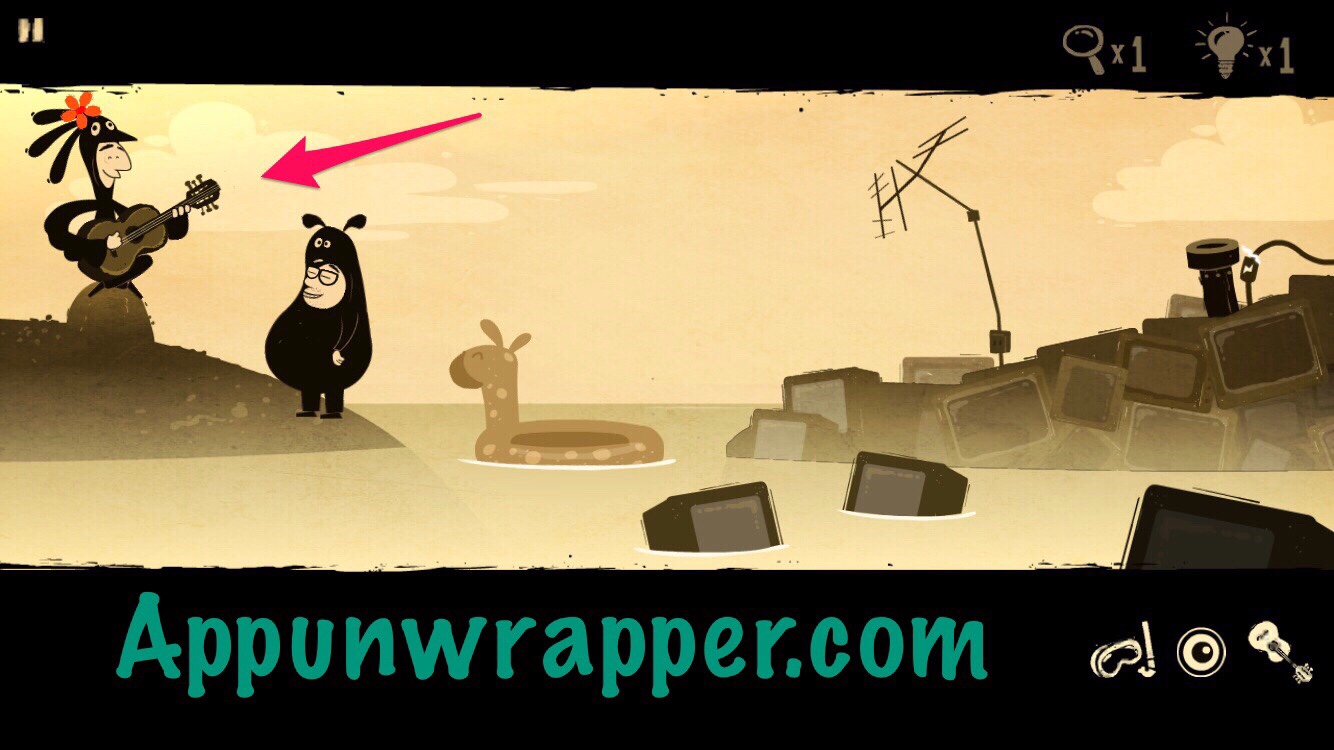
19. Head up and all the way to the left. Hand the guitar to the guy holding the flower and complete Chapter.
Congratulations! You completed that very annoying Chapter 2! For another 2.99, you can play Chapter 3. Continue here for my Chapter 3 walkthrough.



















Thanks!
ItΓò¼├┤Γö£├ºΓö£├╗s not a very good game. IΓò¼├┤Γö£├ºΓö£├╗m not inclined to finish it. 🙁
When i try to type the emojis they never come out what i type. I click the poop and a panda shows up