61. Go back to Scene 25 and add the three metal tiles to the puzzle and solve it. Then take the arrows.
62. Go back to Scene 27. Use the crowbar to remove the planks to the left and then head through to Scene 28.

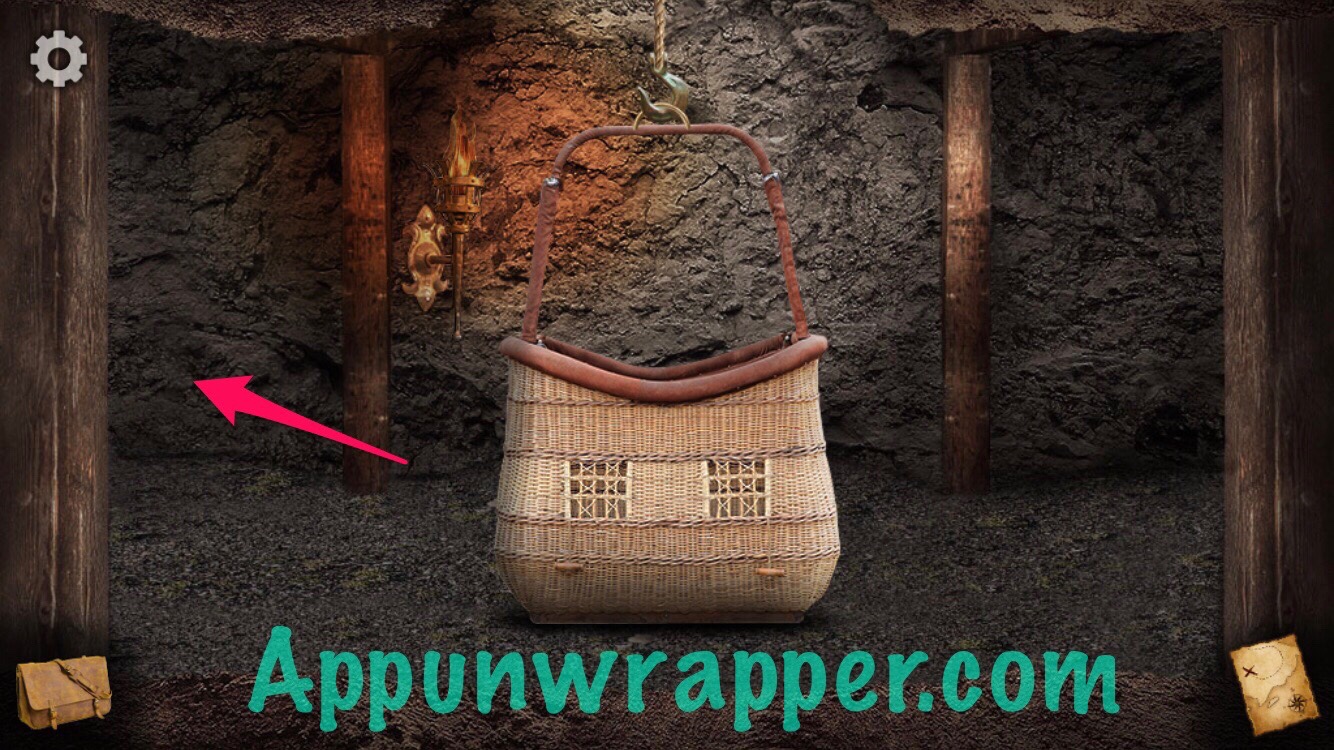
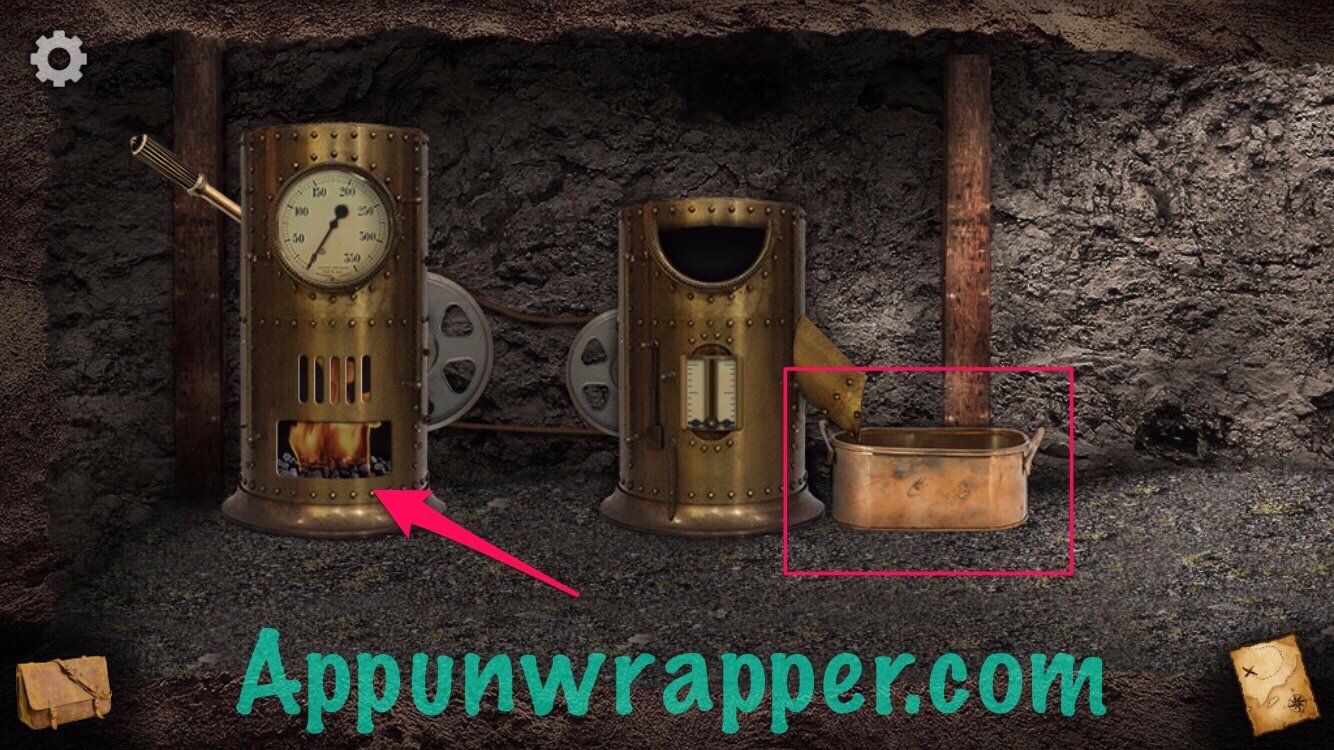
63. Look inside the brass pot and take the gold medallion. You can also use the matches to light a fire in the rock crusher, but we don’t have any rocks to crush at the moment.
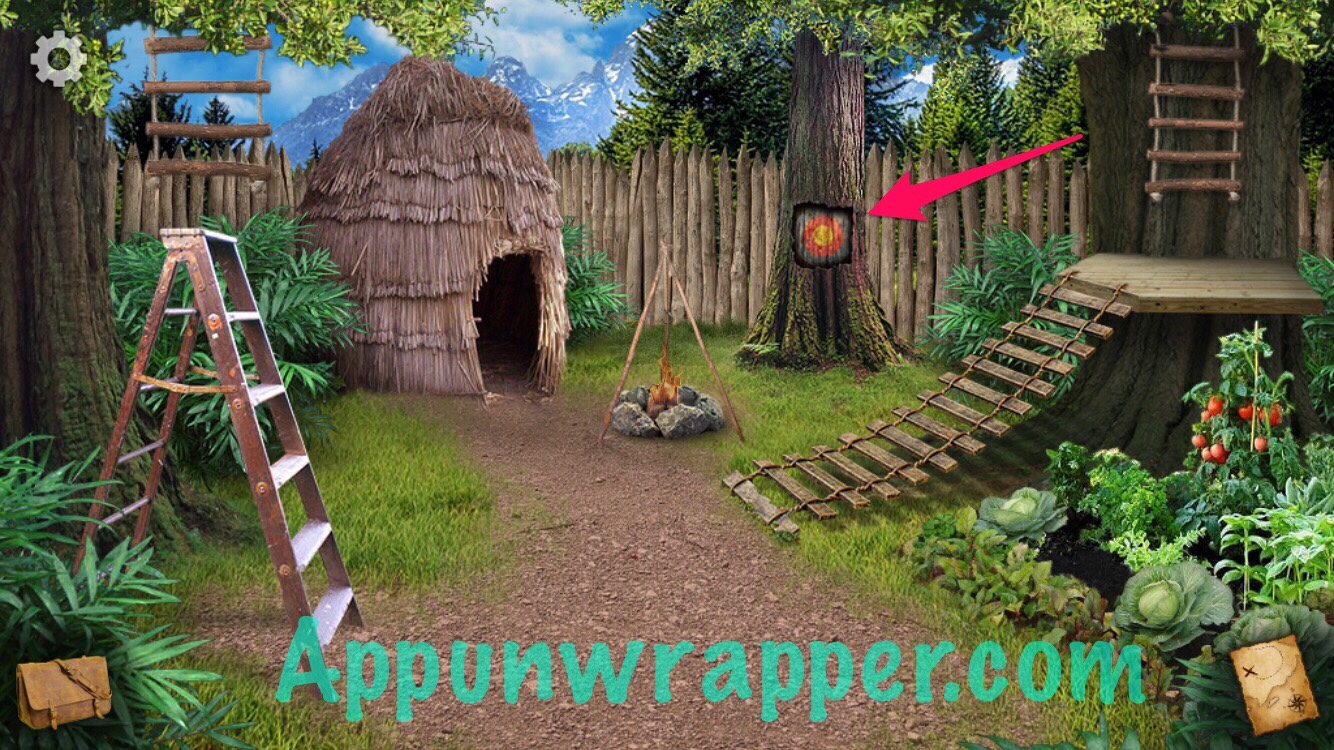
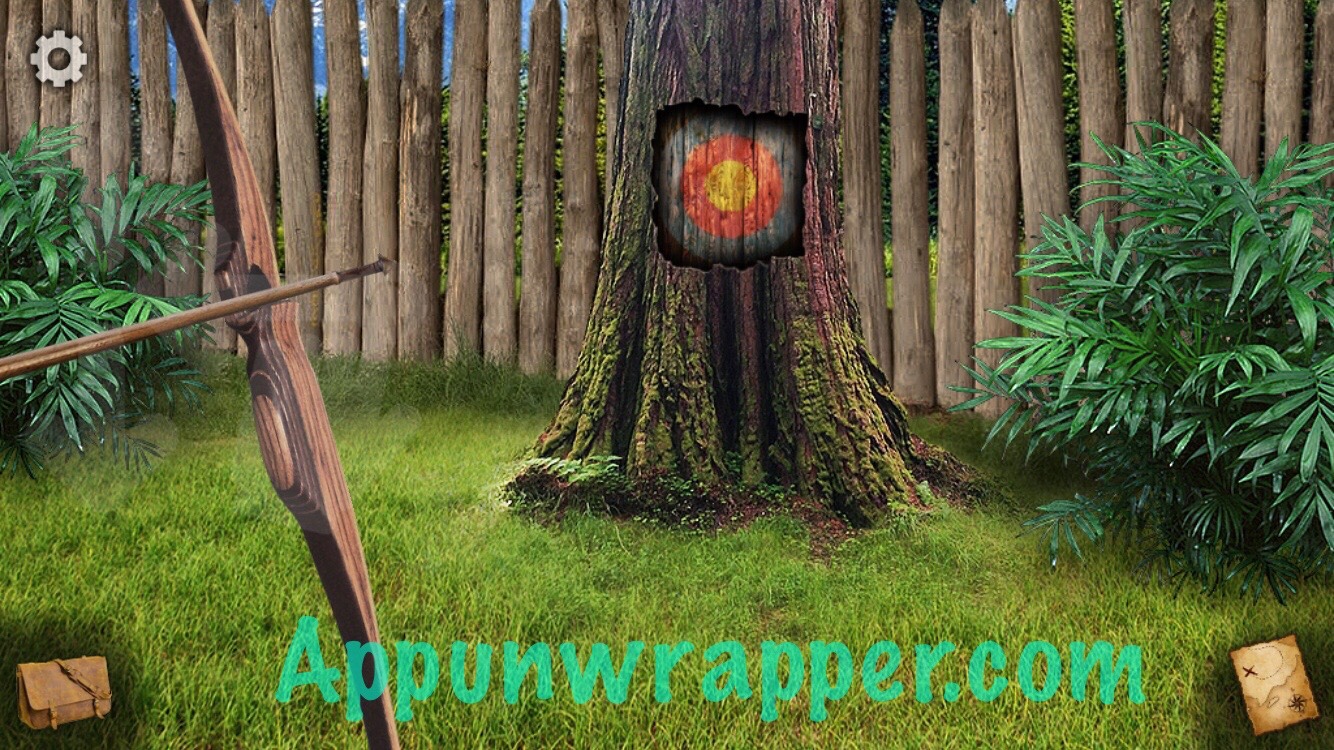
64. Go back to Scene 37 and zoom in on the target. Use the bow and arrows with it and then shoot an arrow at the target to open the panel. Take the brass disc, golf ball and chalk.

65. Go back to the hut at Scene 39 and add the battery to the machine. We’re still missing something.
66. Go back to Scene 41 and use the magnet to find a steel key in the straw.

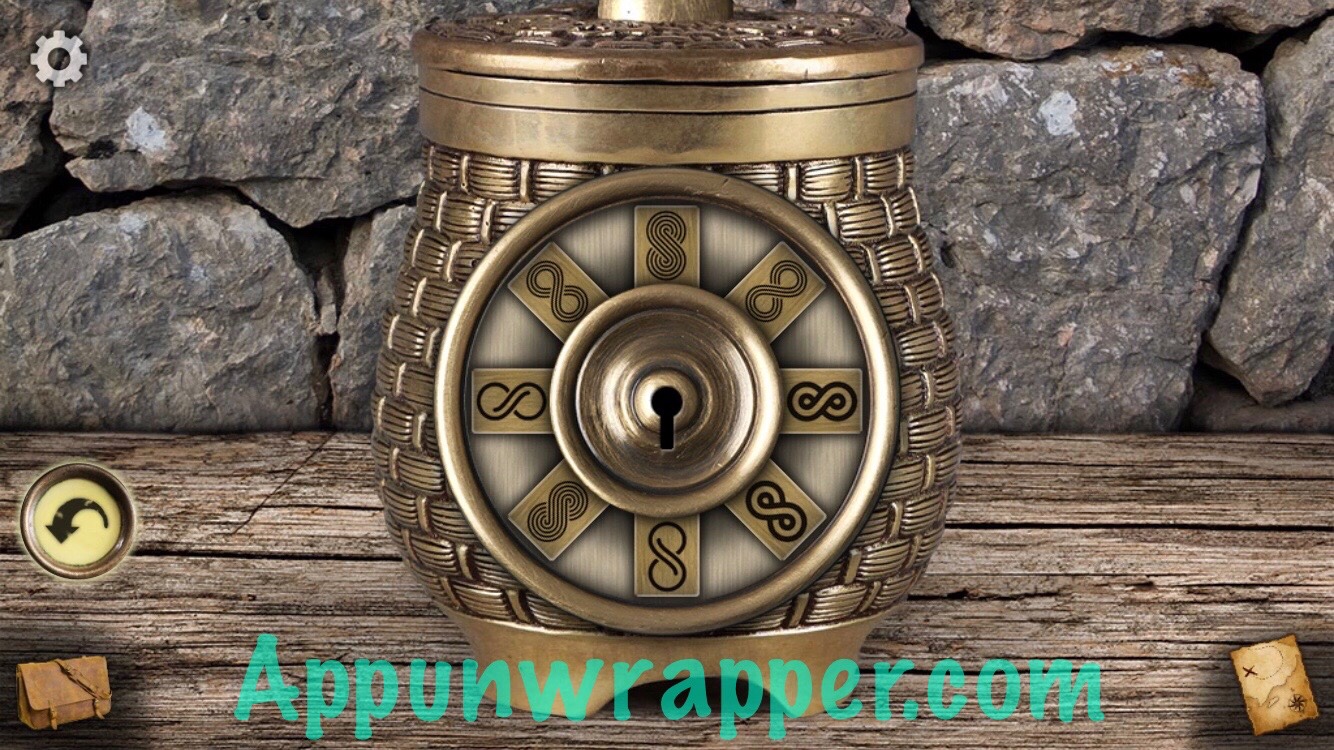
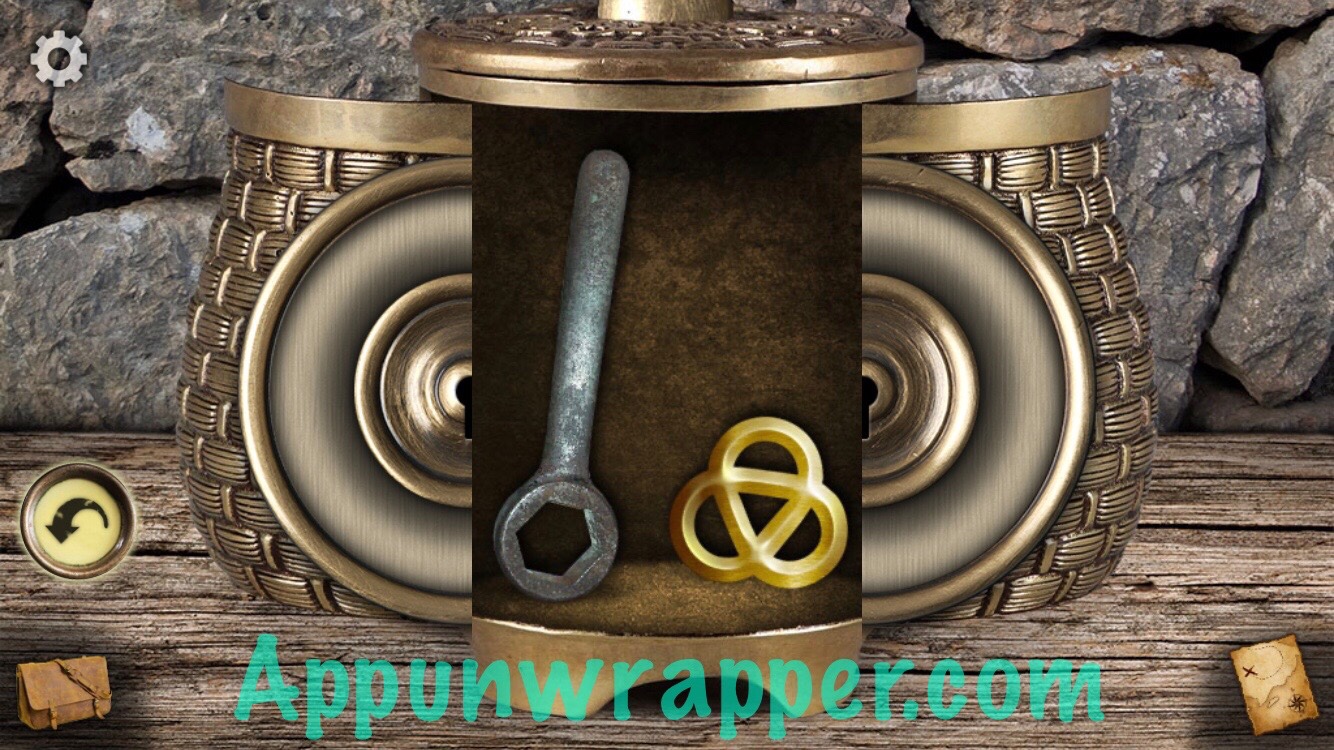
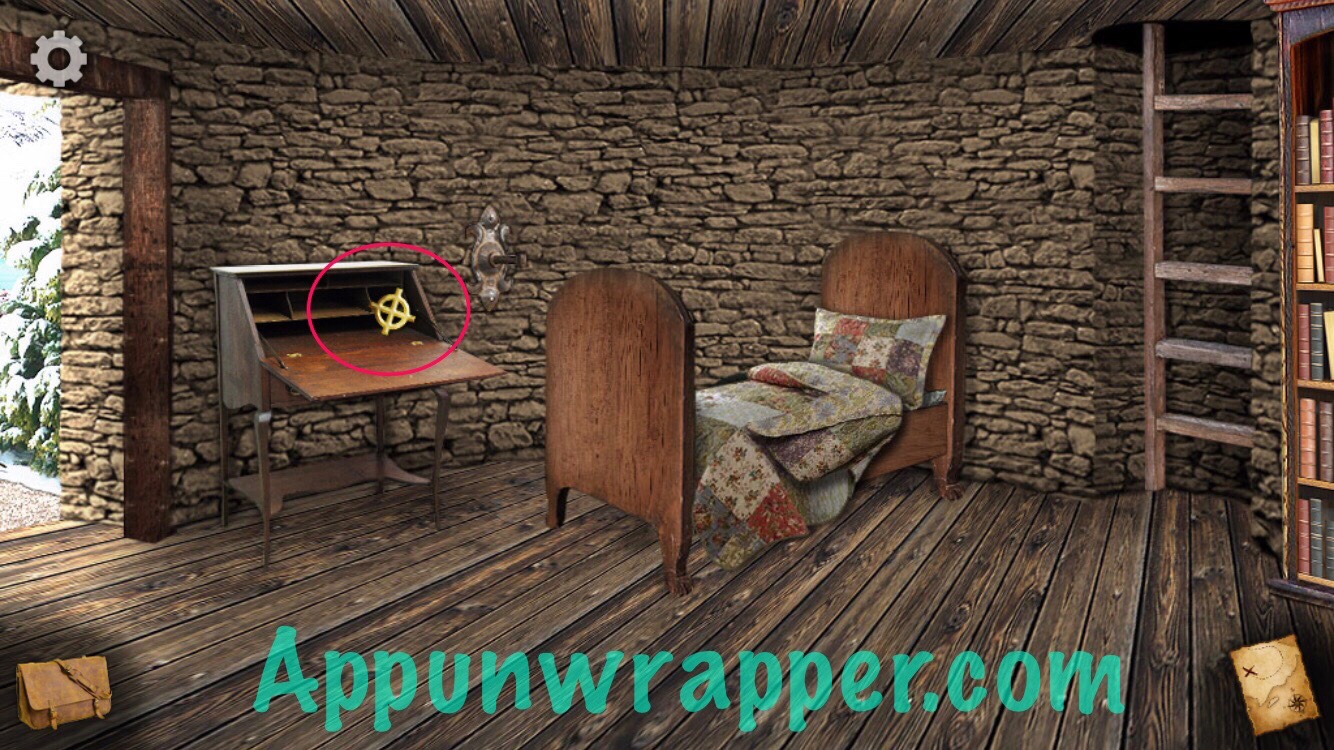
67. Go back to Scene 17 and use the steel key to unlock the urn. Then solve the memory puzzle to open it. Take the wrench and gold medallion from inside.
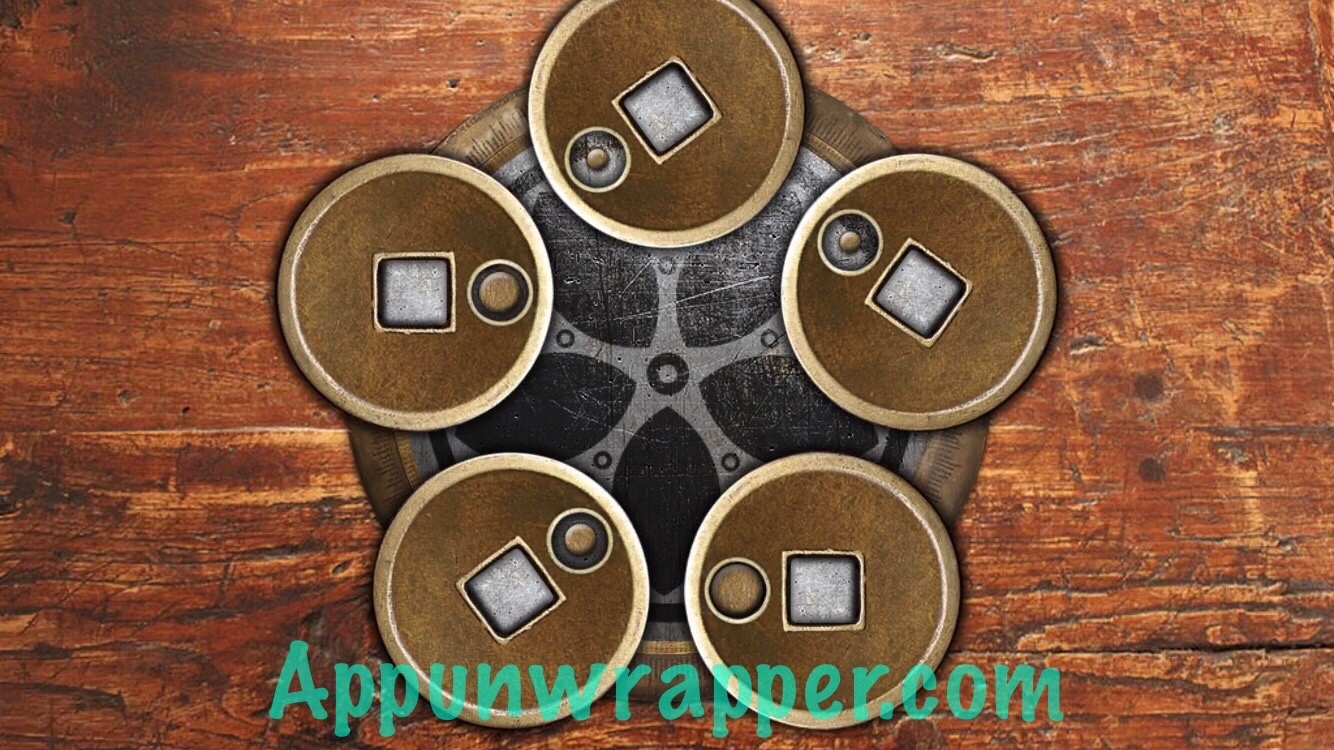
68. Go back to Scene 10 and add all five brass discs to the chest. Use the clue from Scene 41 to solve the puzzle. Take the wood board with carvings from the chest. Take out the wooden board and look at it.
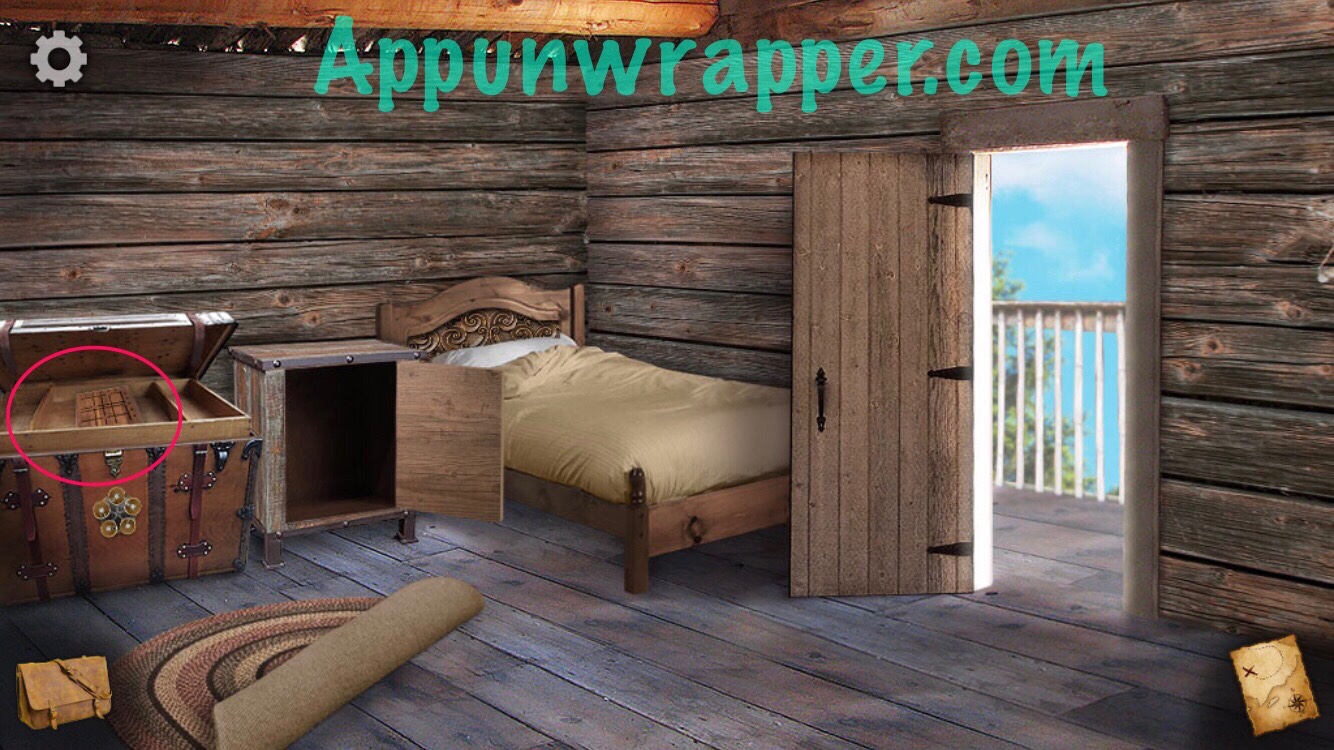
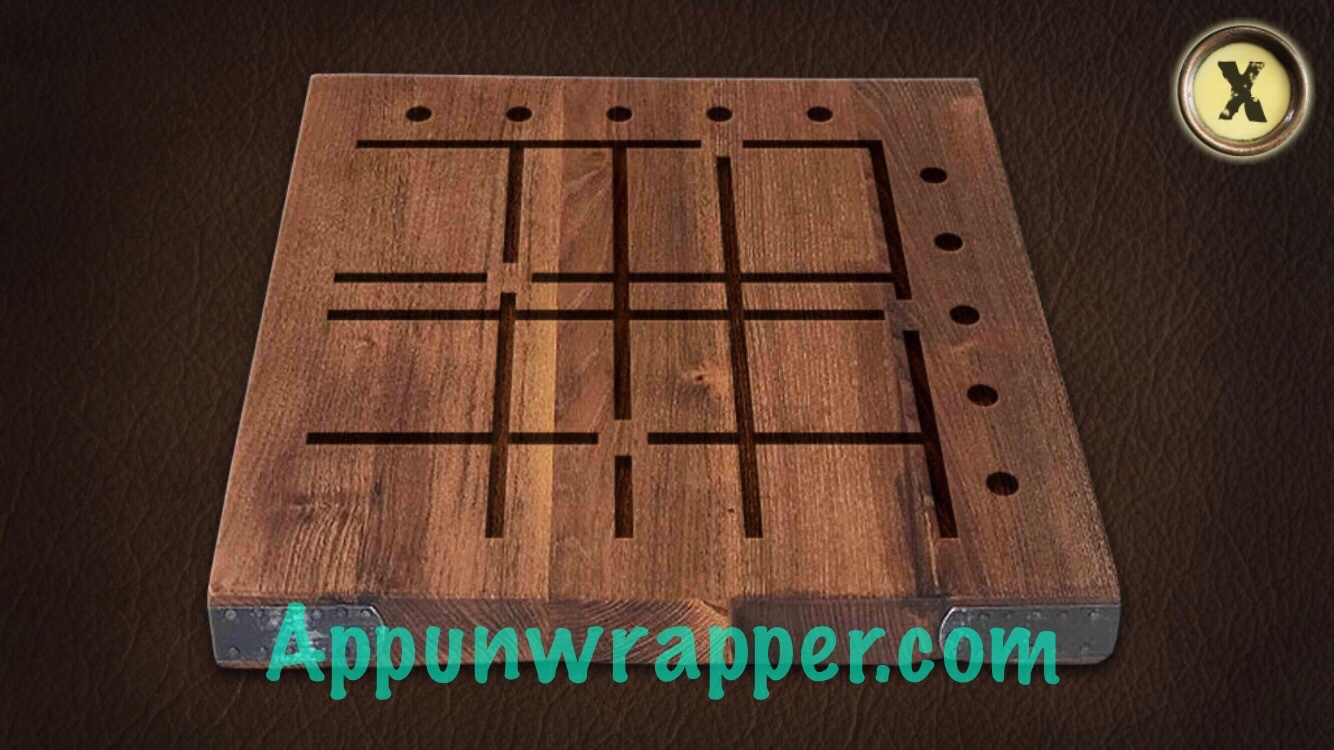
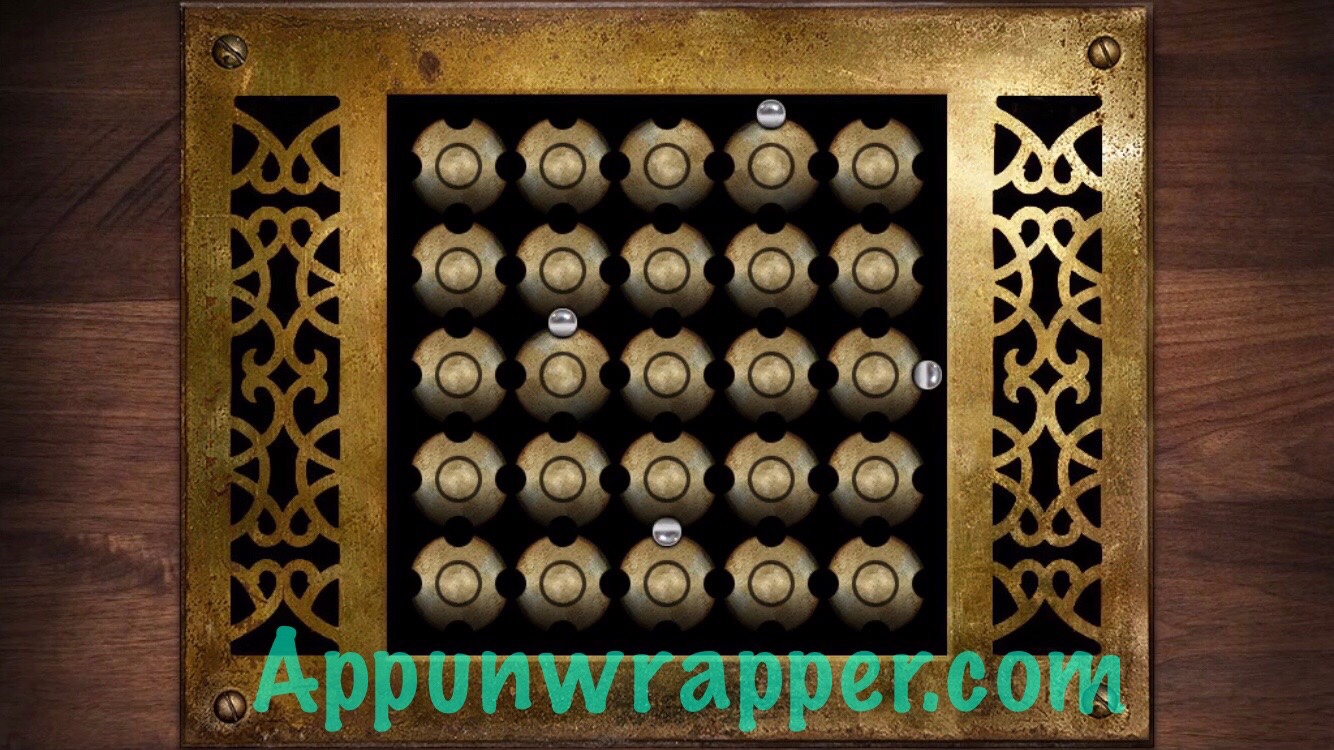
69. Go back to Screen 19 and use the wood board to solve the puzzle. You need to move the small glass marbles to the spots where there are blank spaces on the board. Then take the gold medallion from inside.
70. Go back to Scene 40 and place the three gold medallions in the slots. Then press each button and make the ball land in the center. Then take the chalk board and look at it.

71. Go back to Scene 39 and add the wrench and golf ball to the machine.
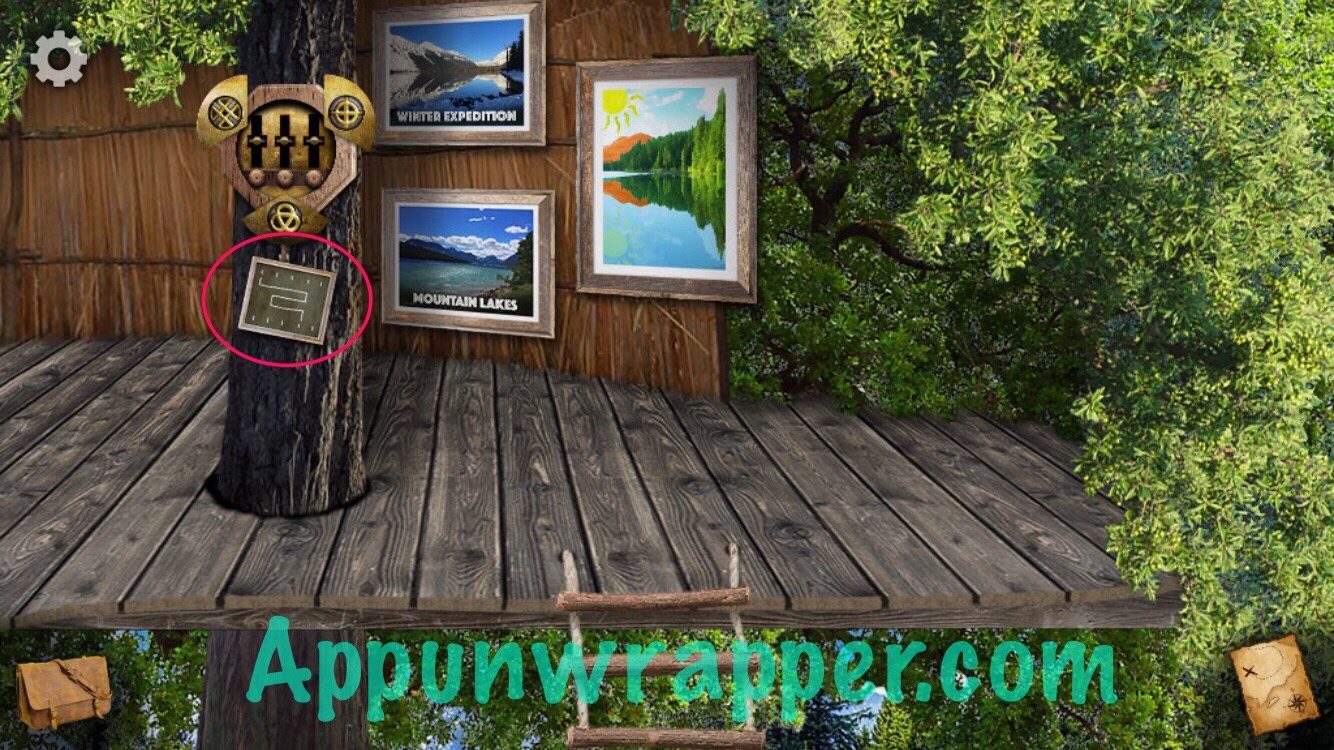
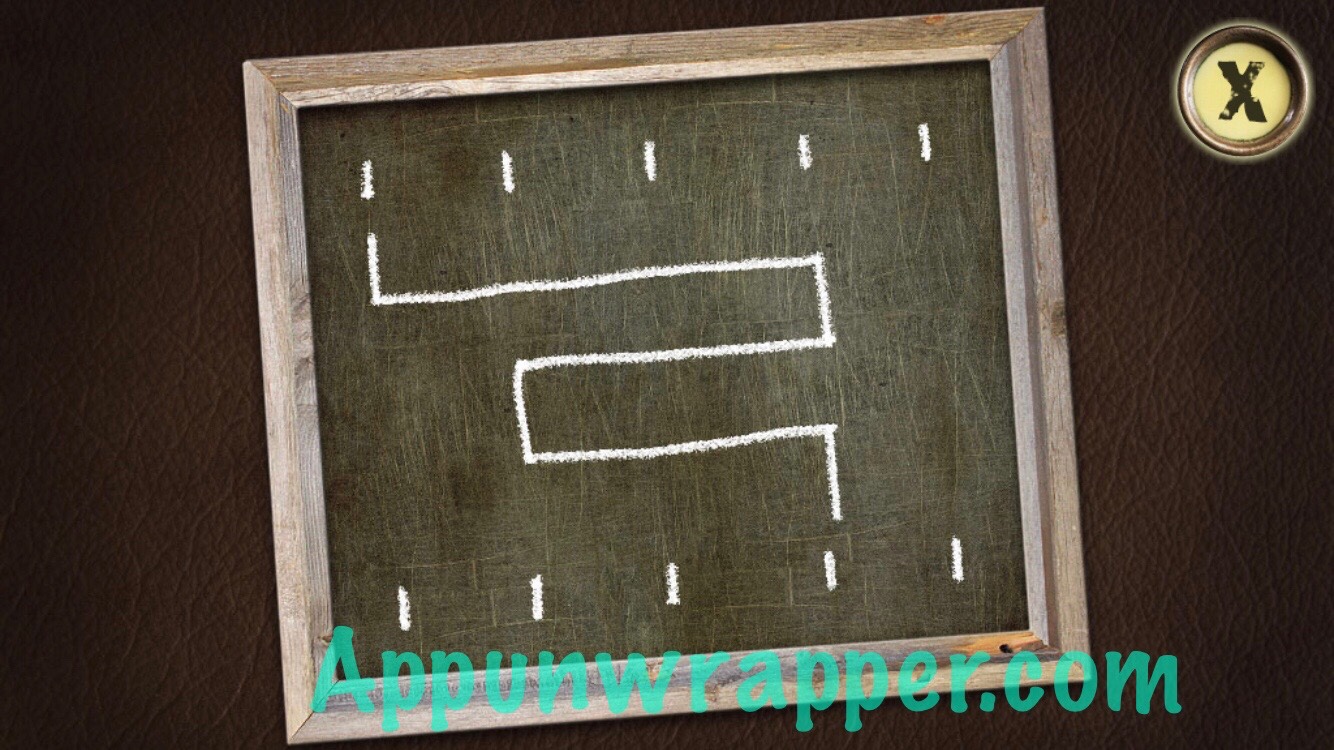
72. Go back to Scene 43. Zoom in on the faint etching to the right and then use the chalk on it to reveal a clue.
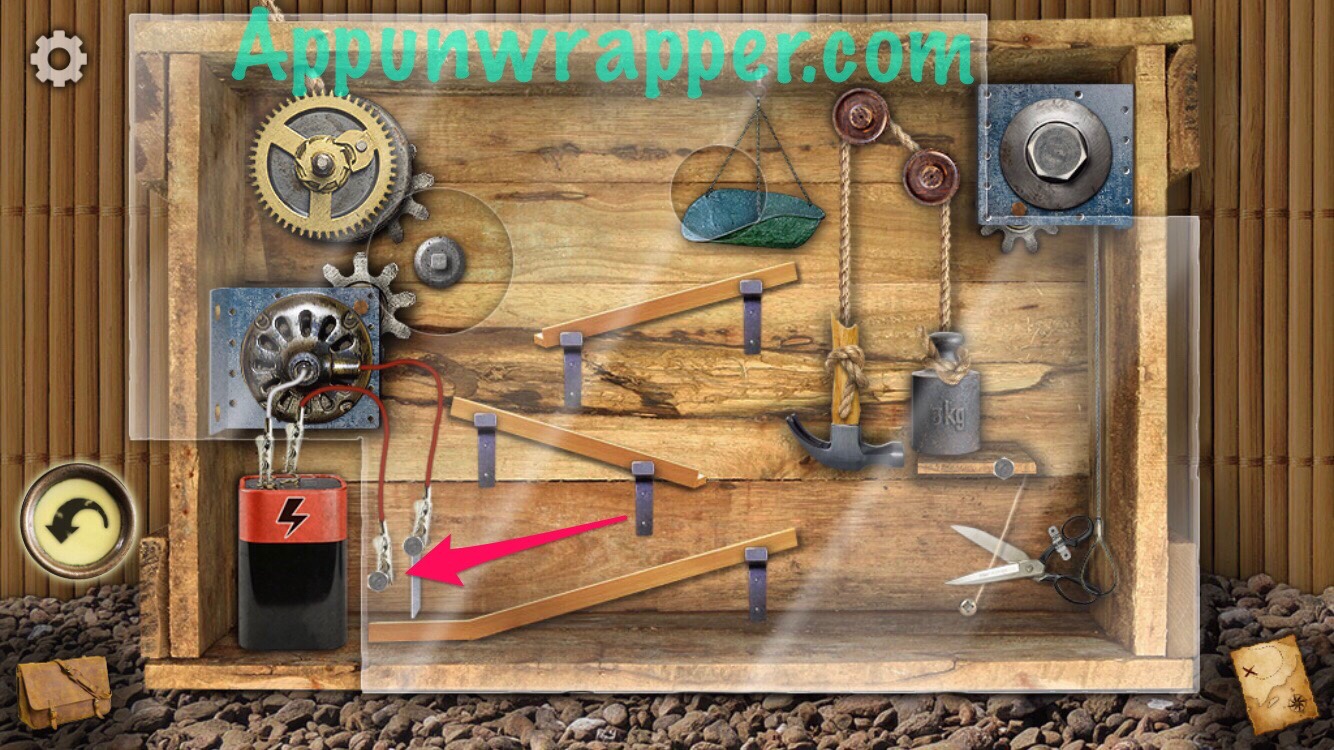
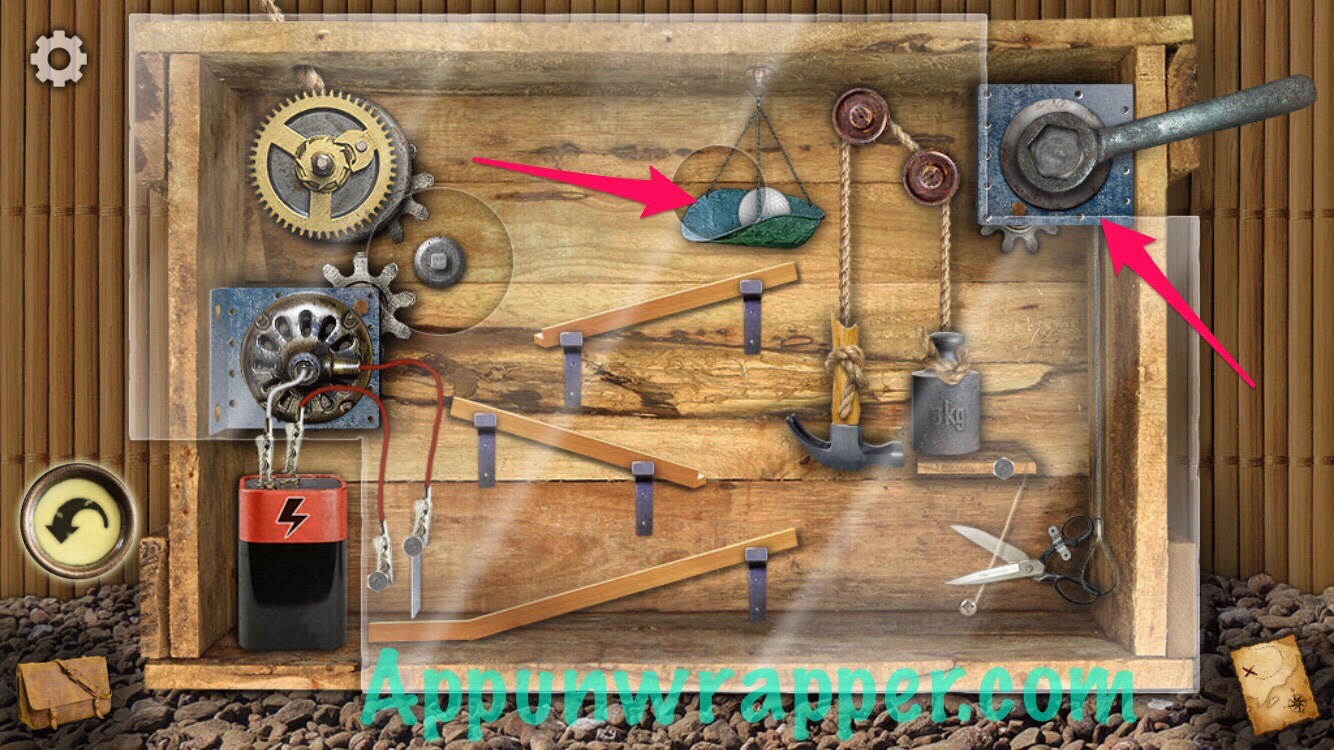
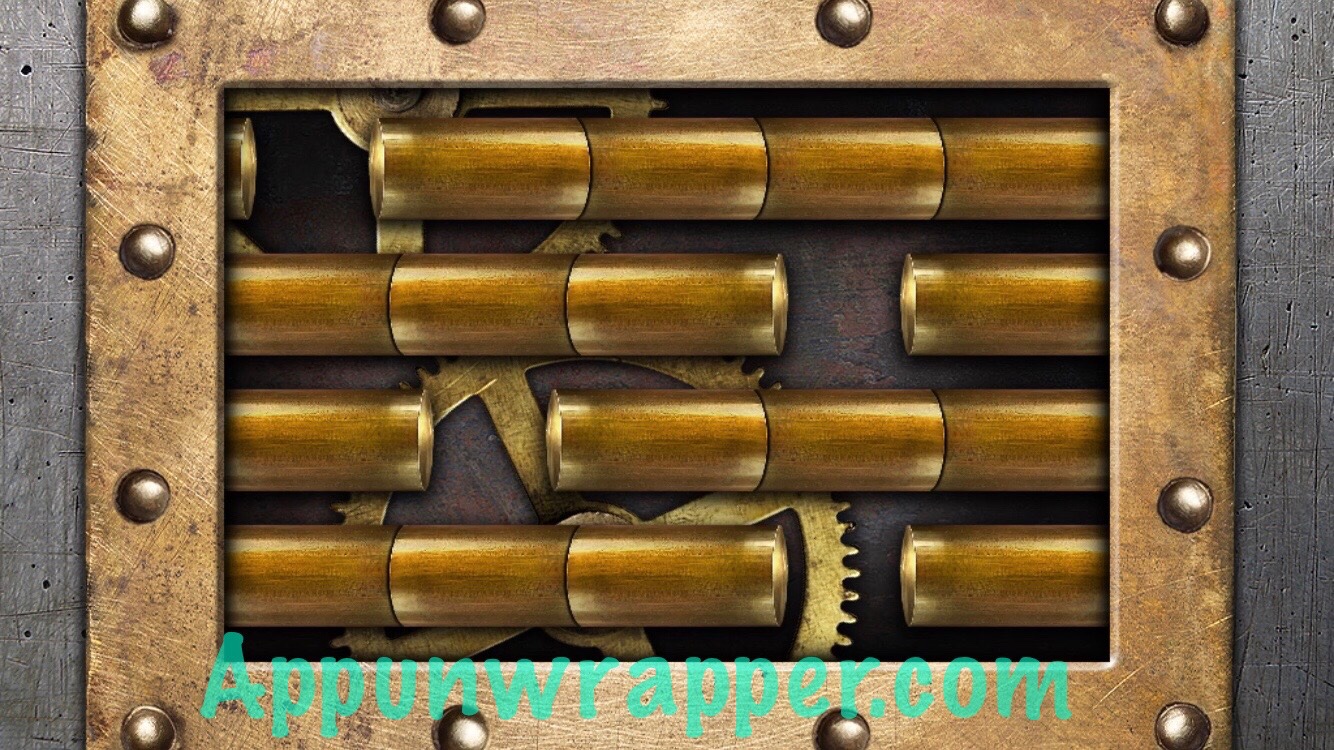
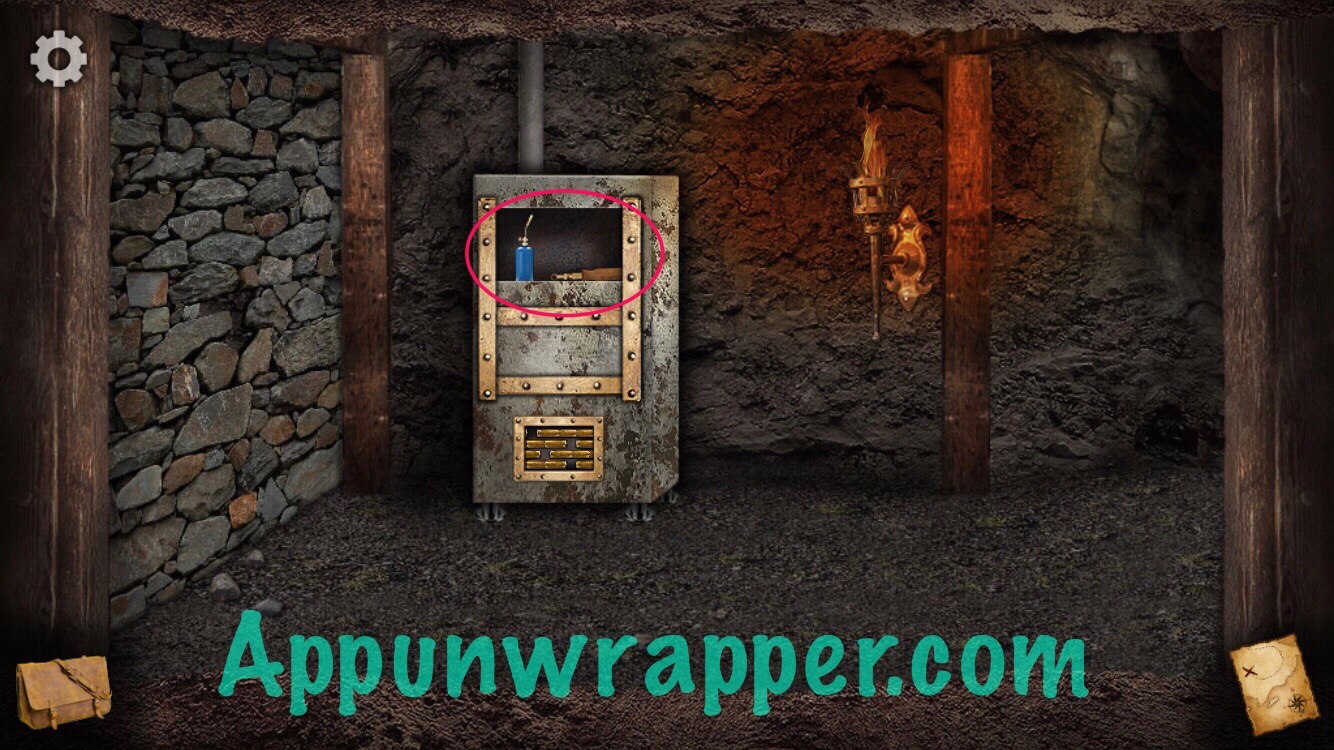
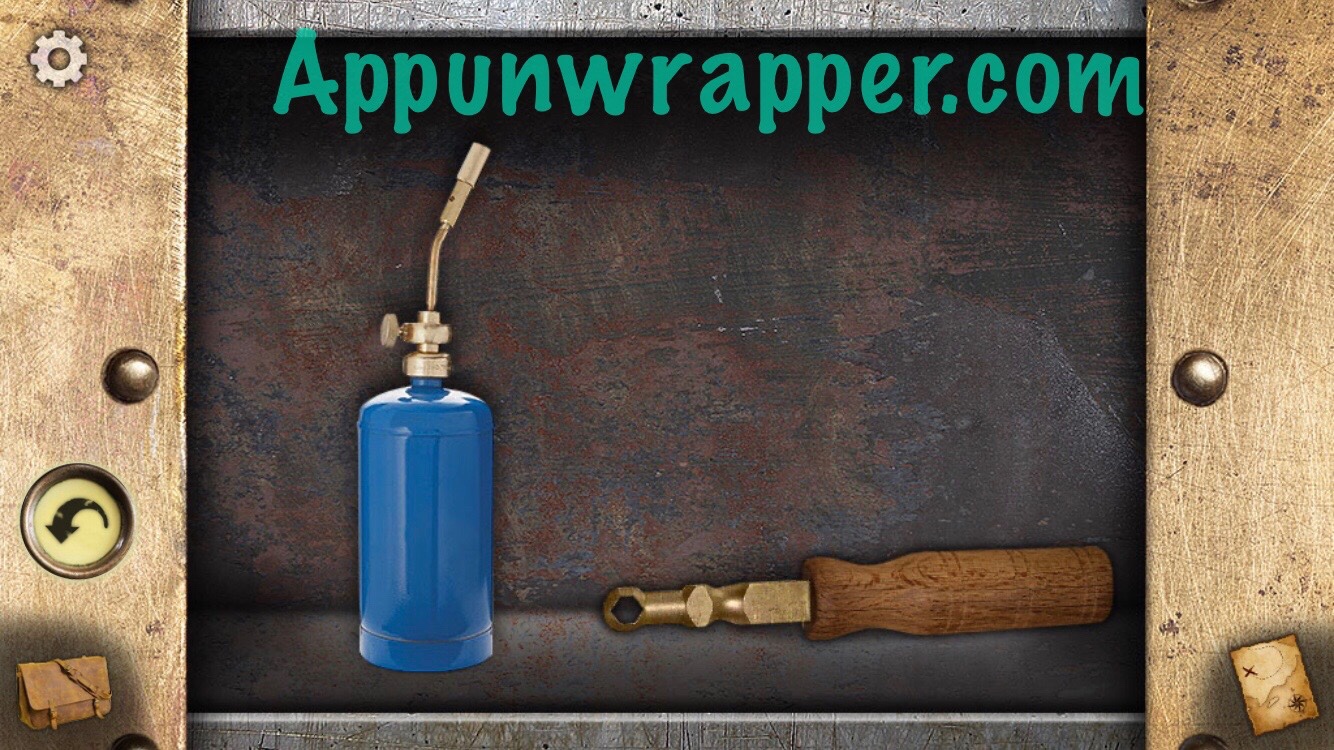
73. Go left to Scene 44 and use the clue from the chalk board to solve the puzzle at the bottom of the machine. Then take the propane torch and wooden handle.
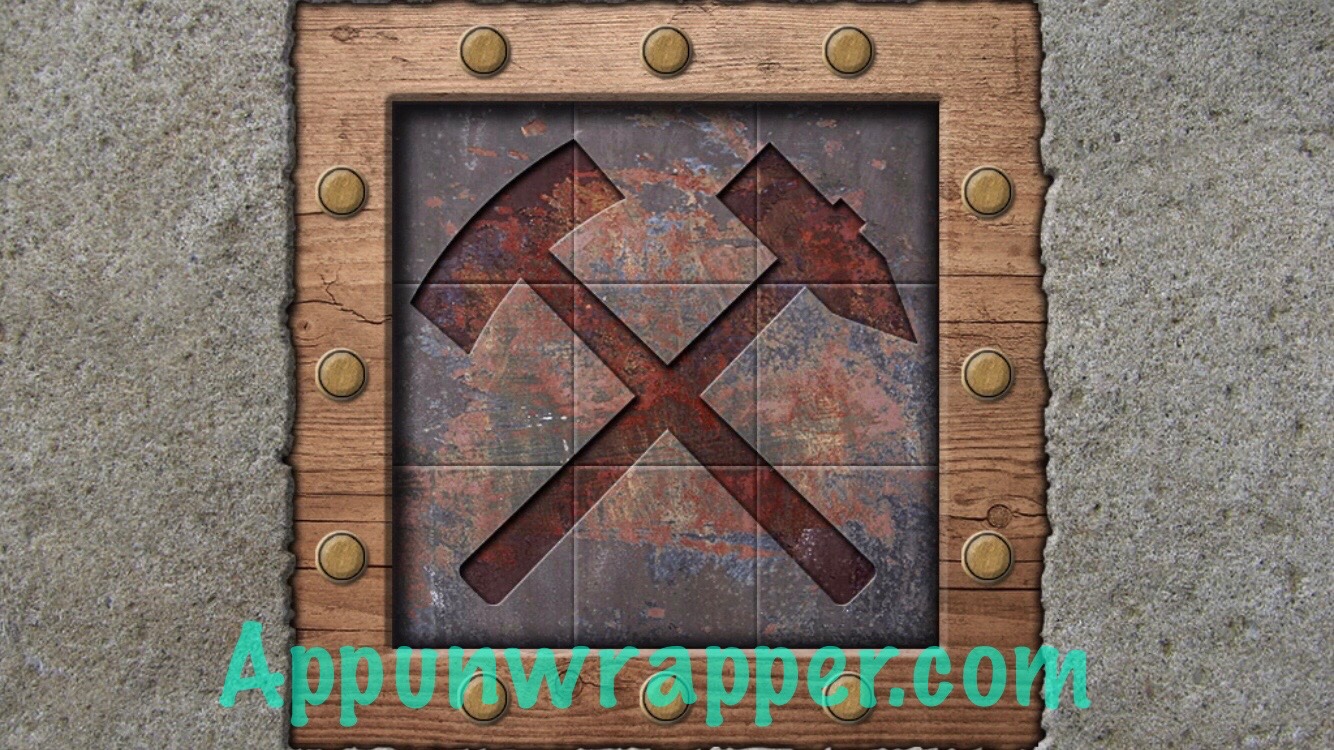
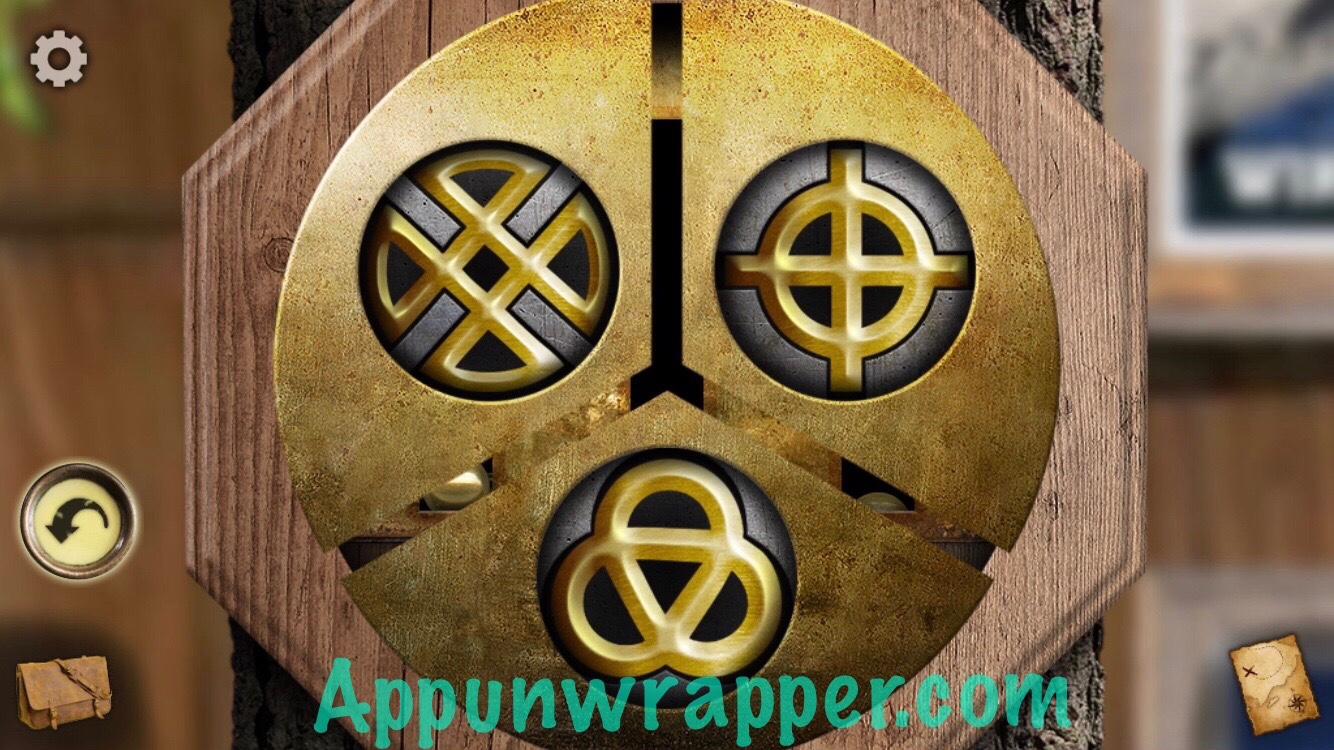
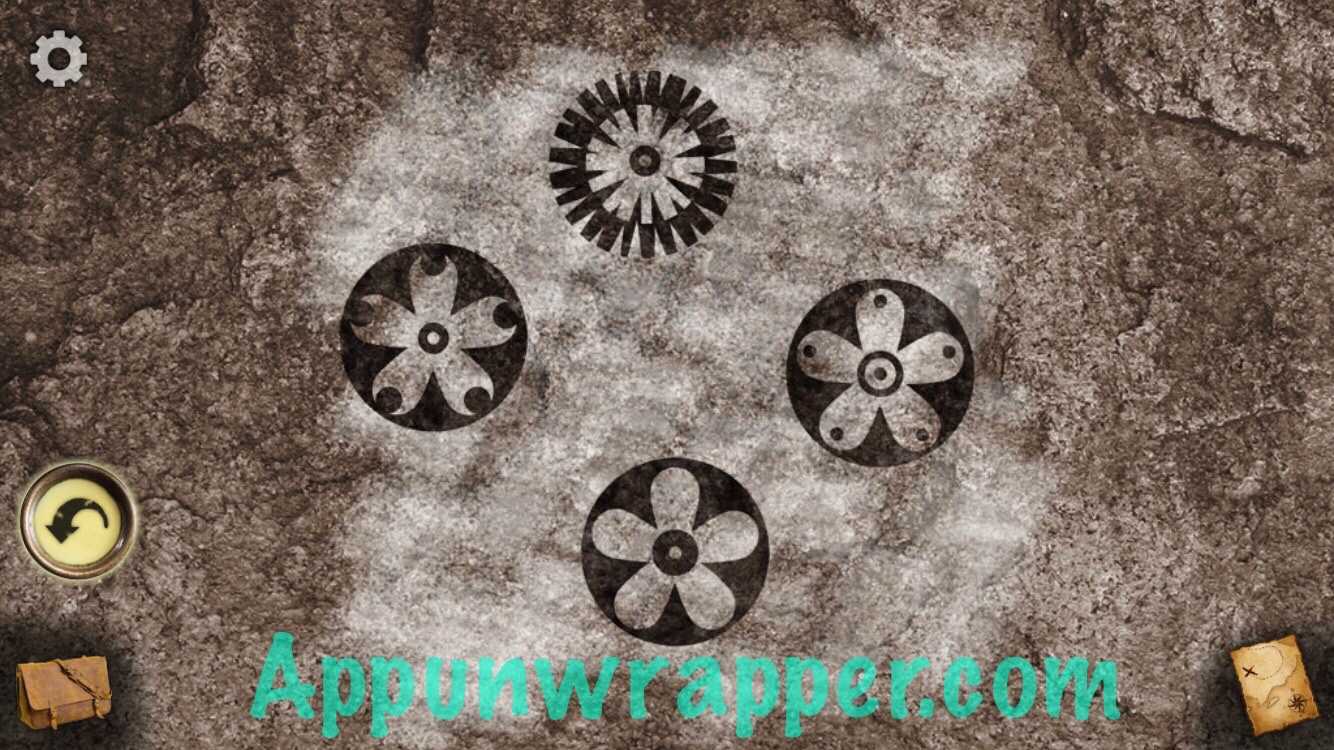
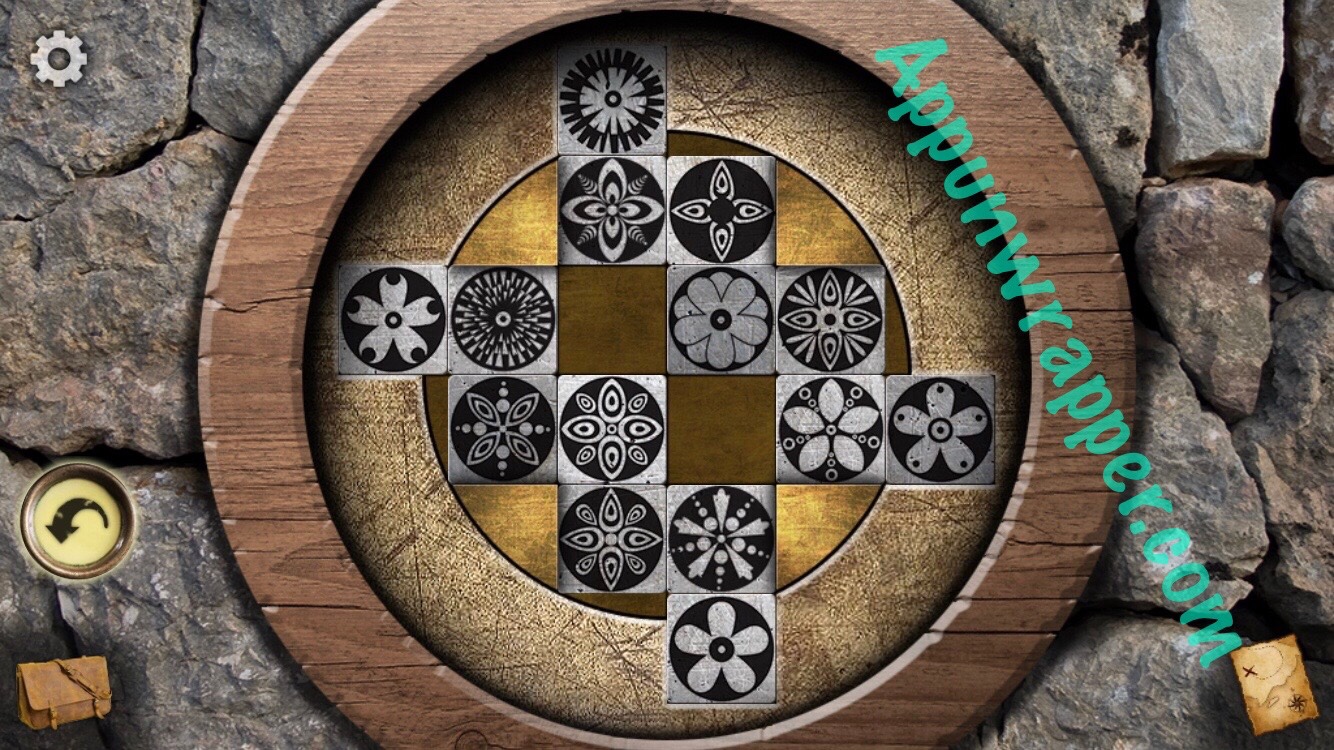
74. Go back to Scene 24 and use the clue you found at Scene 23 to solve the puzzle on the wall. You need to get the four symbols into the squares around the edges. Those tiles work differently, because they swap with the tile next to them. Then take the small gear.
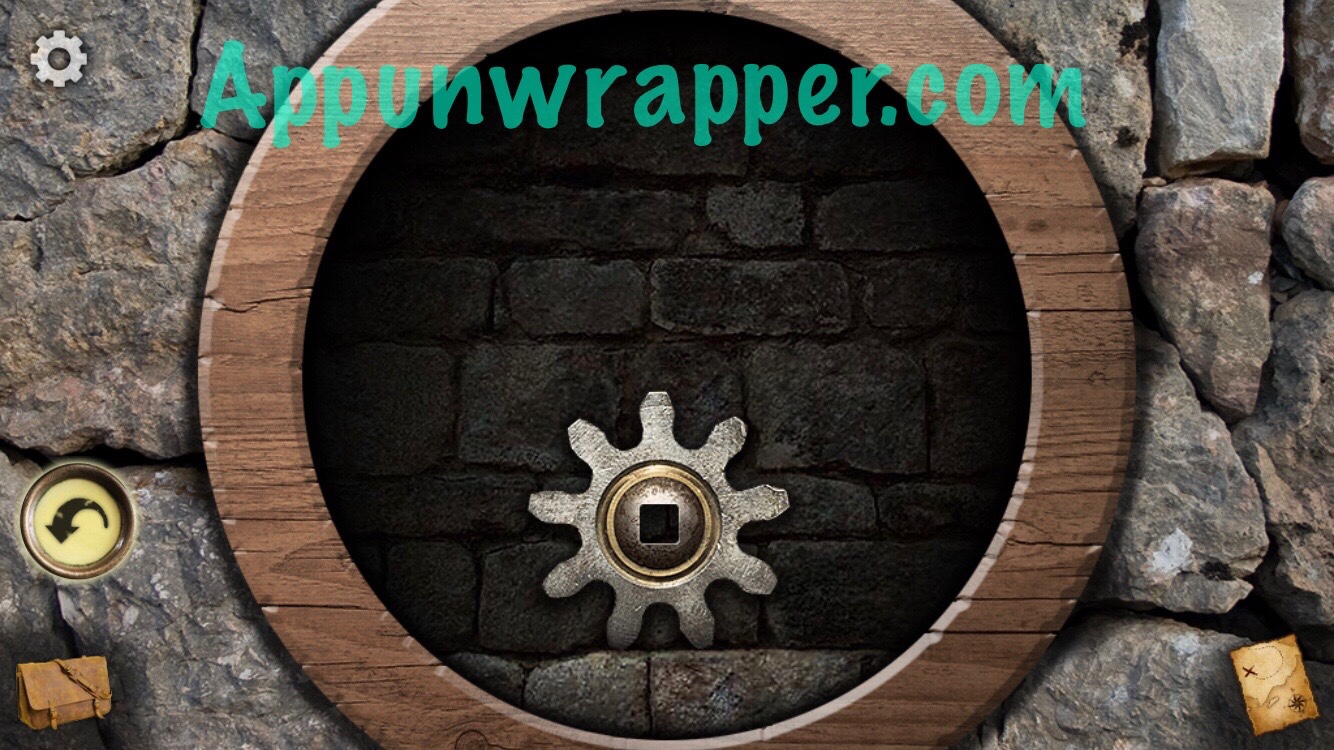
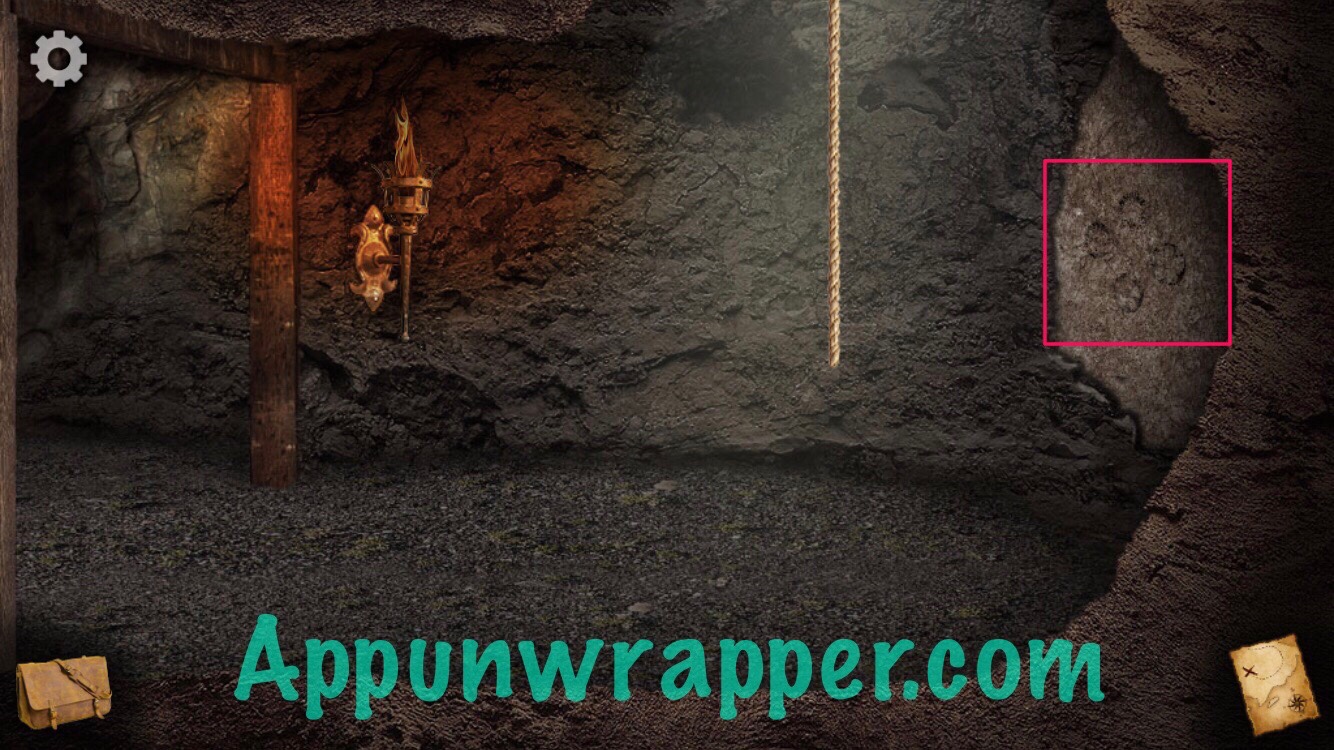
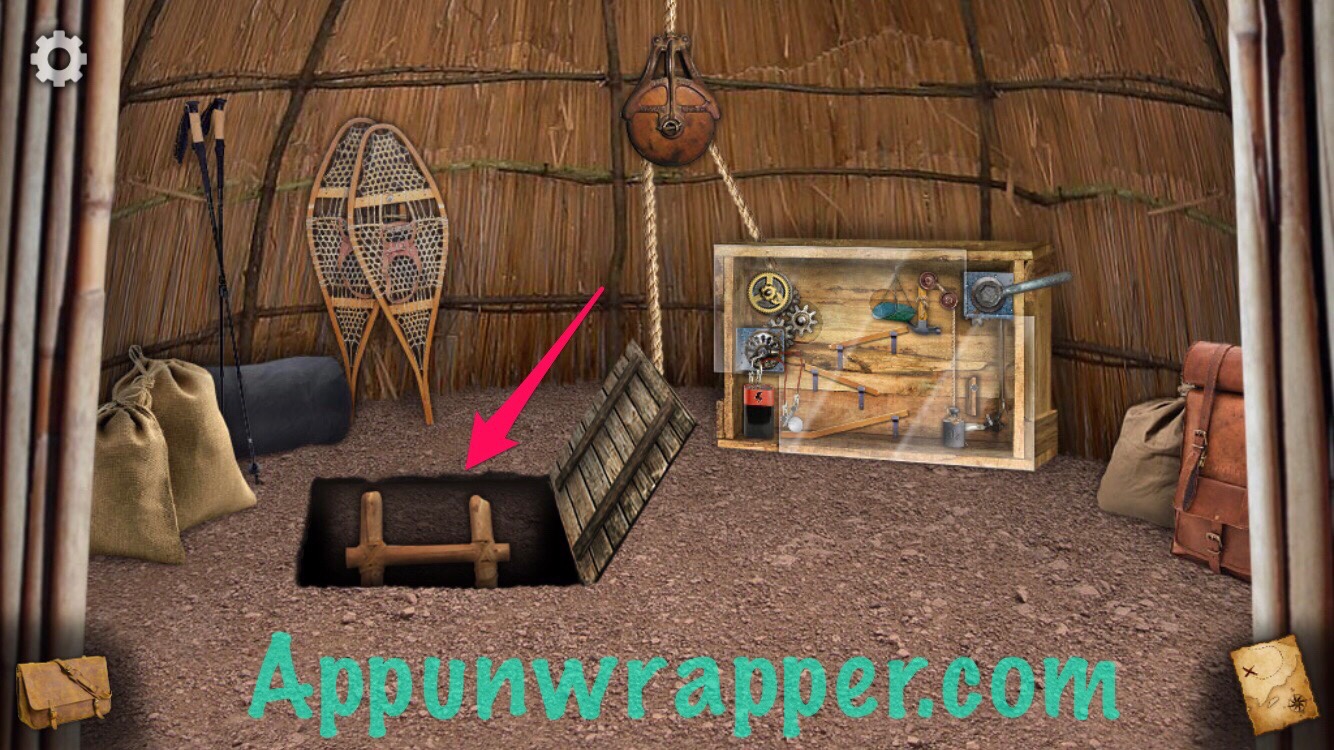
75. Go back to Scene 39 and add the small gear to the machine. Pull the wrench/lever three times and the machine will pull the door open. Climb down the ladder to Scene 45.

Click on the little numbers below to continue to the next page of the walkthrough or click here.
Awesome! Thank you!!
Finished this in a day. Very simple and not worth the money to be honest.
You can only finish this in one day if you use this walkthrough. Otherwise it would take at least two weeks…
Step36, open the gate by moving handle to left so the vertical goes up. Insert ΓÇ£long support beamΓÇ¥ found in the mine. Then move handle right so horizontals open. Step through to next scene.
What say you
The walkthrough ends at step 43. Do you have the rest of the game walkthrough?
Hi have you found the rest of the walkthrough,I can’t
The walkthrough stops at step 43. Where is the rest?
Hiyah, Step 41, I assumed it meant line up the image so the outer ring has 4 stripes and 2 stripes each over 1 stripe.
WhereΓÇÖs the rest of the walkthrough?
Did anyone find the rest of the Walkthrough?
Did you find where the rest is?
use rope in scene 42
Cena 24 como resolver?
Cena 24 como resolver
Step 41 on page three says that there is a picture below to show the solution for the door problem. However, there is no picture. How do you solve the IIII/I and II/I puzzle? The camera picture clue on the game is no help at all.
Should be fixed now. Sorry about that!
.
Thank you so much for all your time and effort in presenting this website. It is amazing :).