Adventure Escape: Haunted Hunt
By: Haiku Games
Haiku Games is back with yet another free Adventure Escape game, this time called Haunted Hunt. You play as a shapeshifter named Moira who can turn into all different animals. Here I’ll be helping you get through Chapter 6 of the game with a step-by-step walkthrough guide including all puzzle answers and solutions. Feel free to ask for extra help in the comments section.
See my other Adventure Escape guides.
Walkthrough:
Chapter 1 | Chapter 2 | Chapter 3 | Chapter 4 | Chapter 5 | Chapter 6 | Chapter 7 | Chapter 8
Chapter 7:
You can watch my video walkthrough here or continue below for my step-by-step guide.
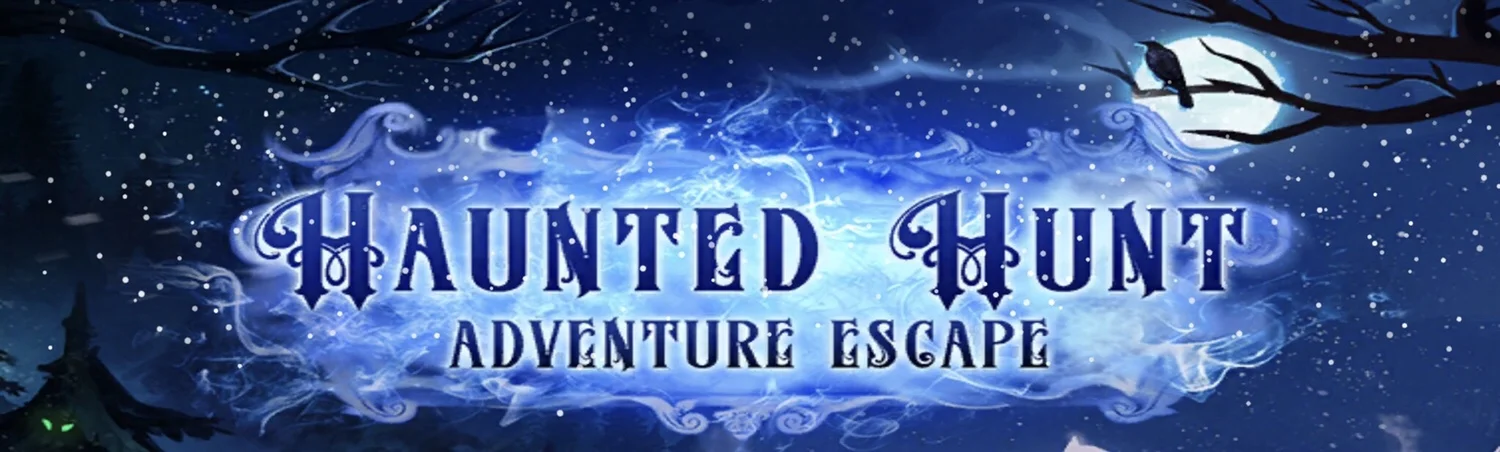
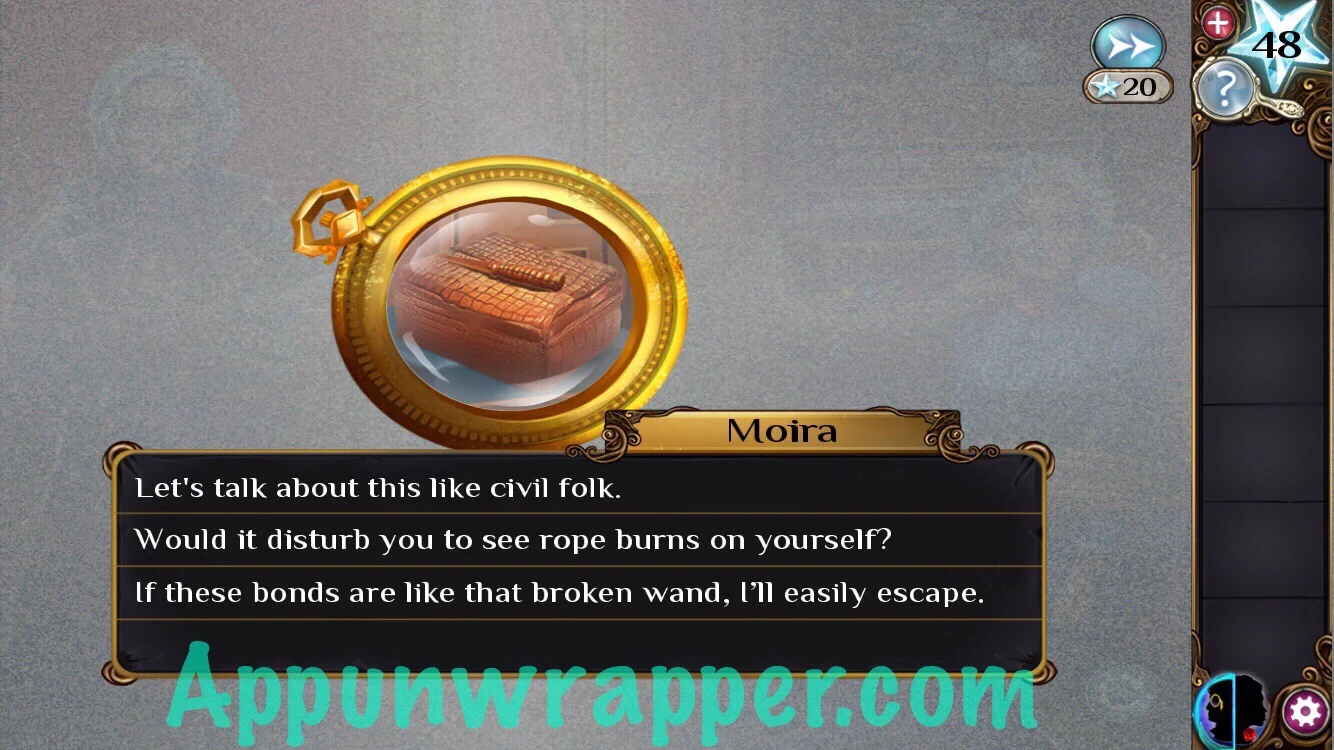
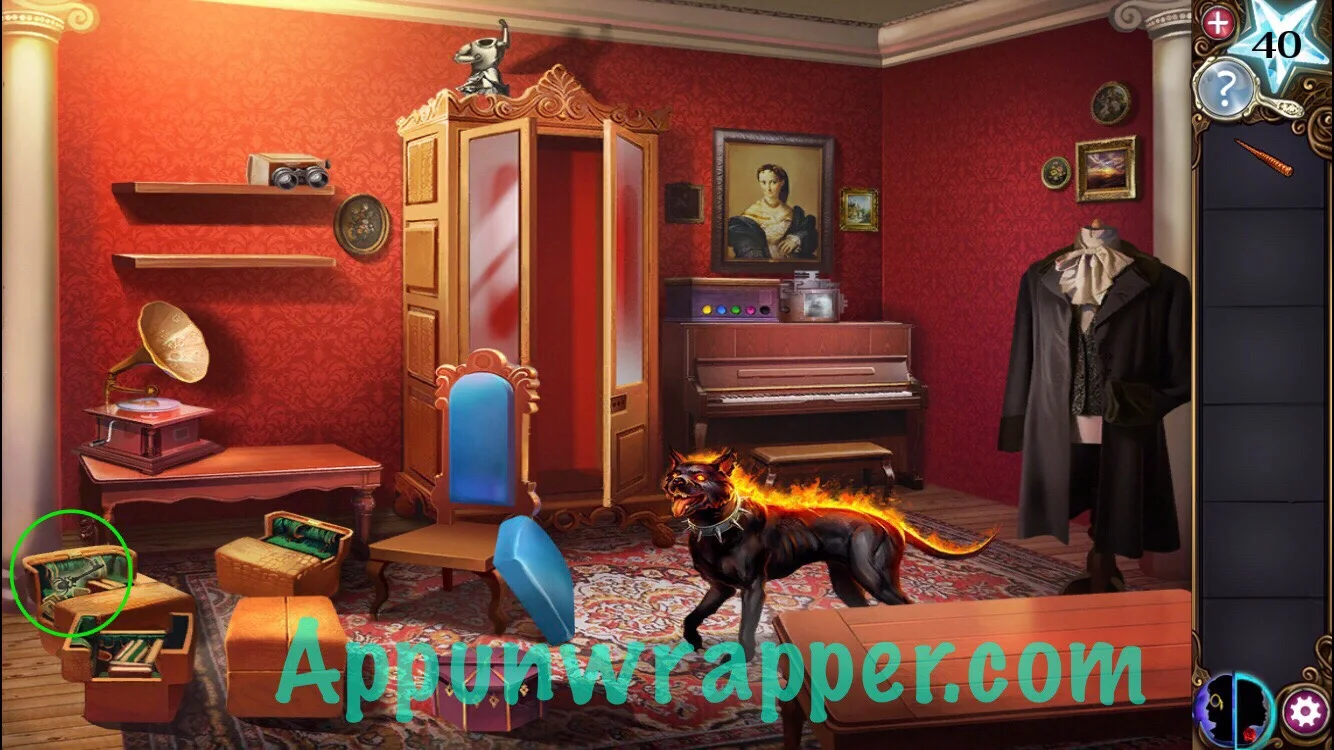
1. There’s a lot of dialogue here. Euphemia has tied Moira up and wants to hunt her down for sport. You need to get her to come closer to you so you can grab the dog whistle around her neck. When you finally have the chance to make a decision, instead shapeshift into Euphemia. Then, move the monocle around to different objects and tap them to get new dialogue options. Tap on the suitcase and the box with colored gems on it.
2. Now you have a lot more dialogue options. For the first question, choose “If these bonds are like that broken wand, I’ll easily escape.” She’ll move closer.
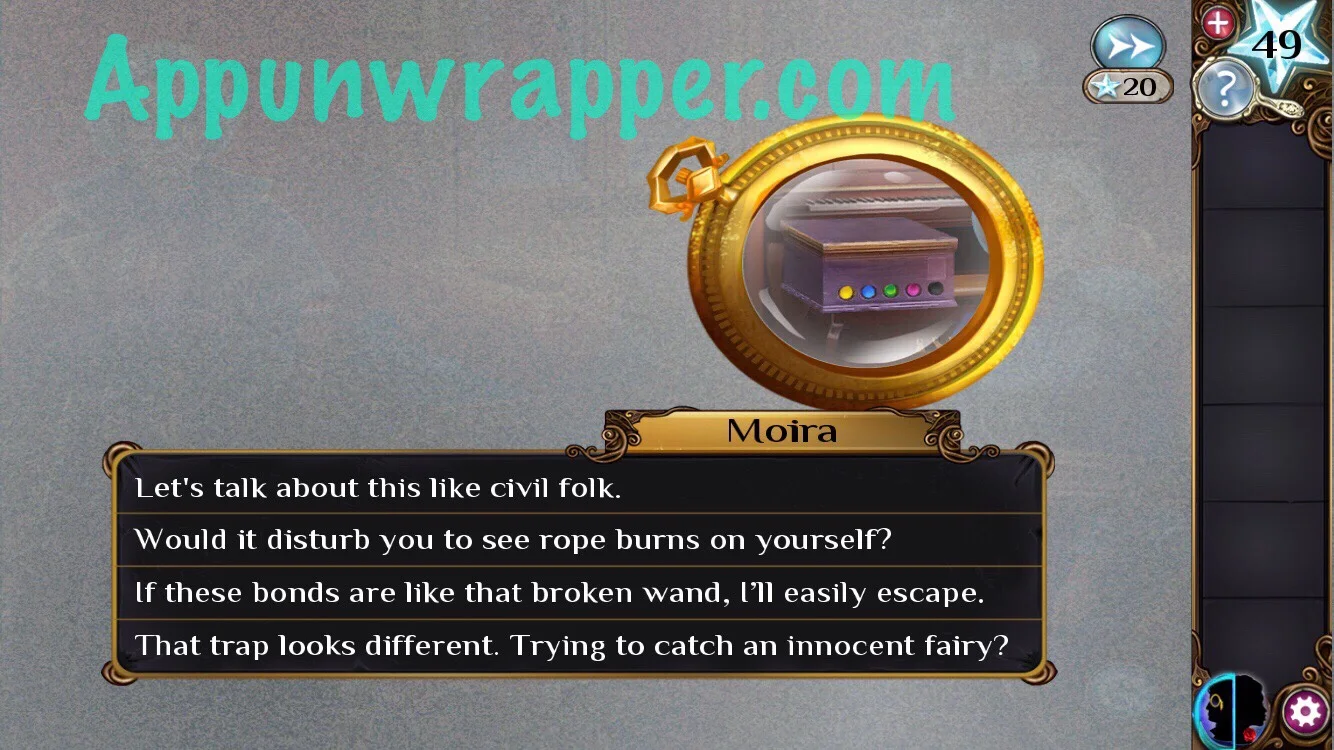
3. Shapeshift again and find the magic trap. Tap it to get another dialogue option.
4. Now to choose the right questions. First, choose “I can outrun you. It’s taking you forever to fix that trap.”
5. Next, choose “You’ll have to hunt me again here if you don’t secure the bonds.”
6. Next, choose “So you disapprove of Otto’s broken practices?”
7. Next, choose “You’re right. His wealth is an illusion of security.”
8. Next, choose “Let me try finding your personal demon.”
9. And last, choose “Nothing.” Now she’ll move close enough so you can take the dog whistle from her and summon Beezle the hell hound to help you!
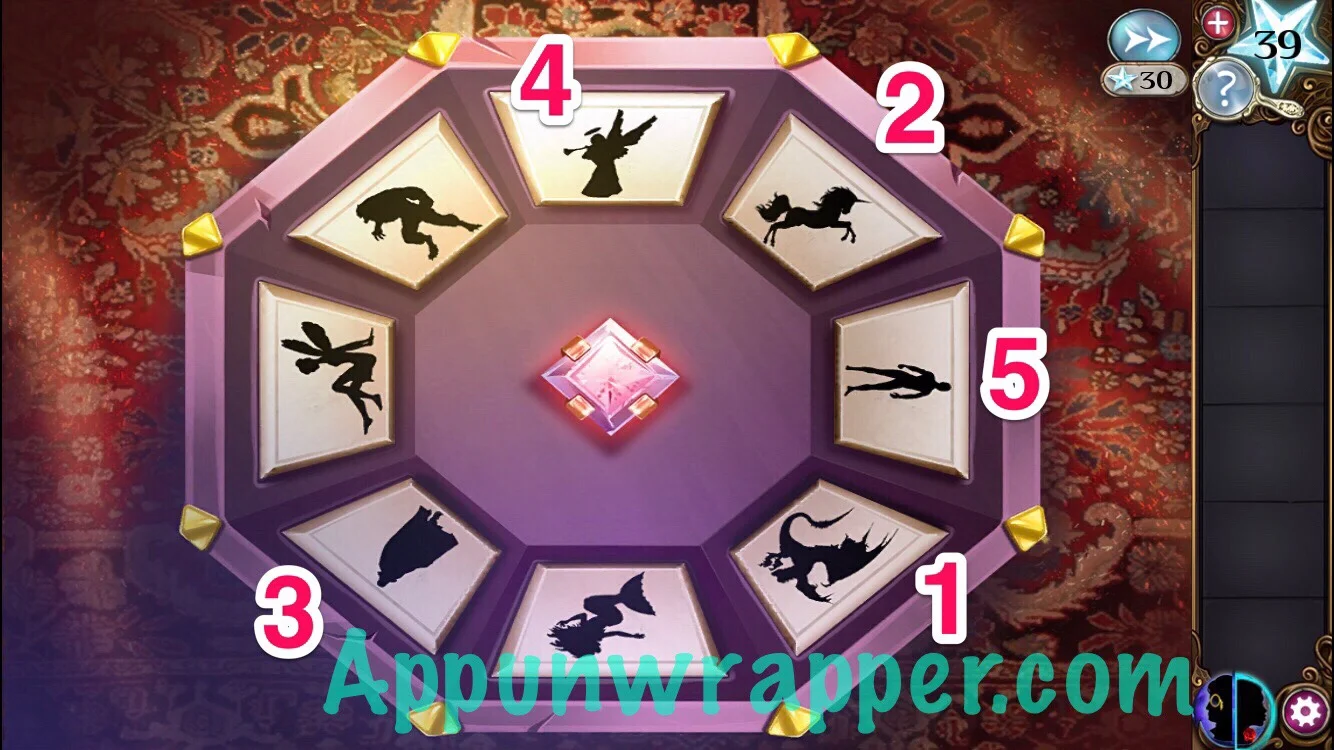
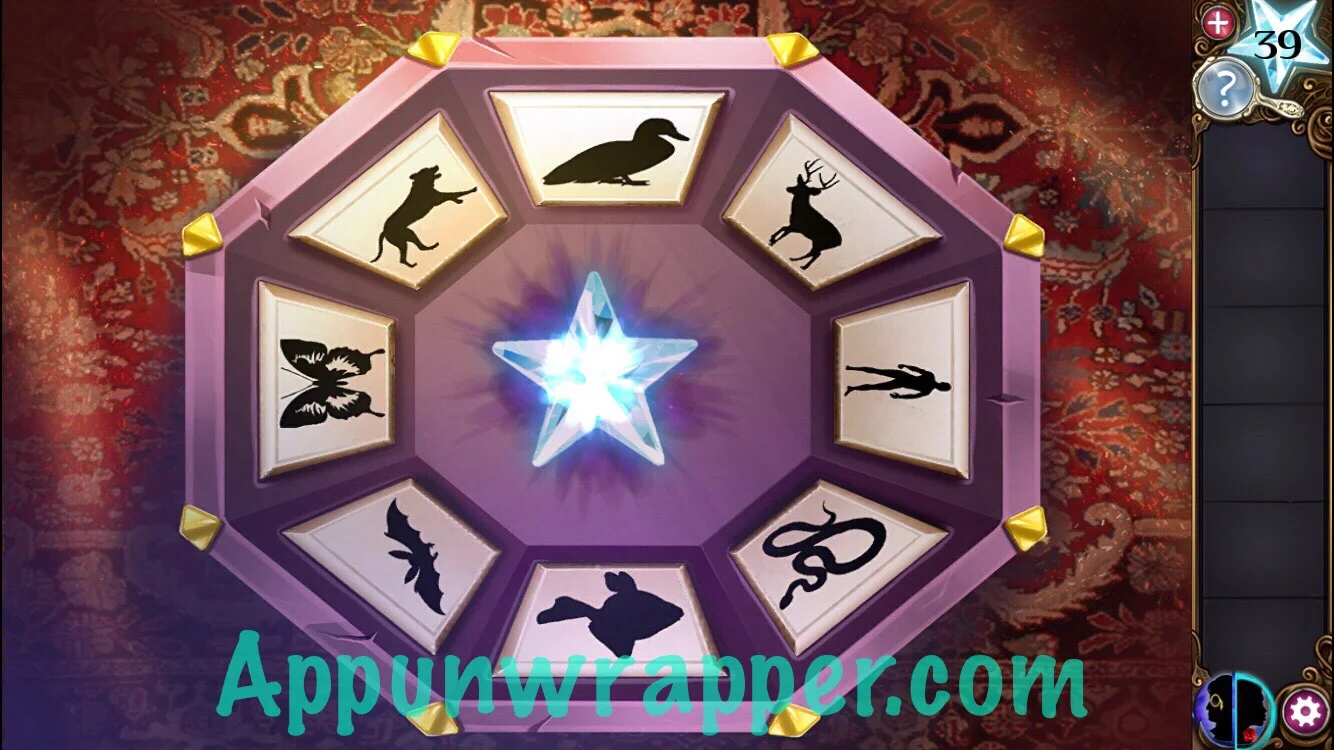
10. With this next puzzle, you need to tap the supernatural creatures to turn them all into natural creatures. You can use Euphemia’s lens to see how they all affect each other. Tap them in the order shown below. You’ll trap Euphemia in the box!
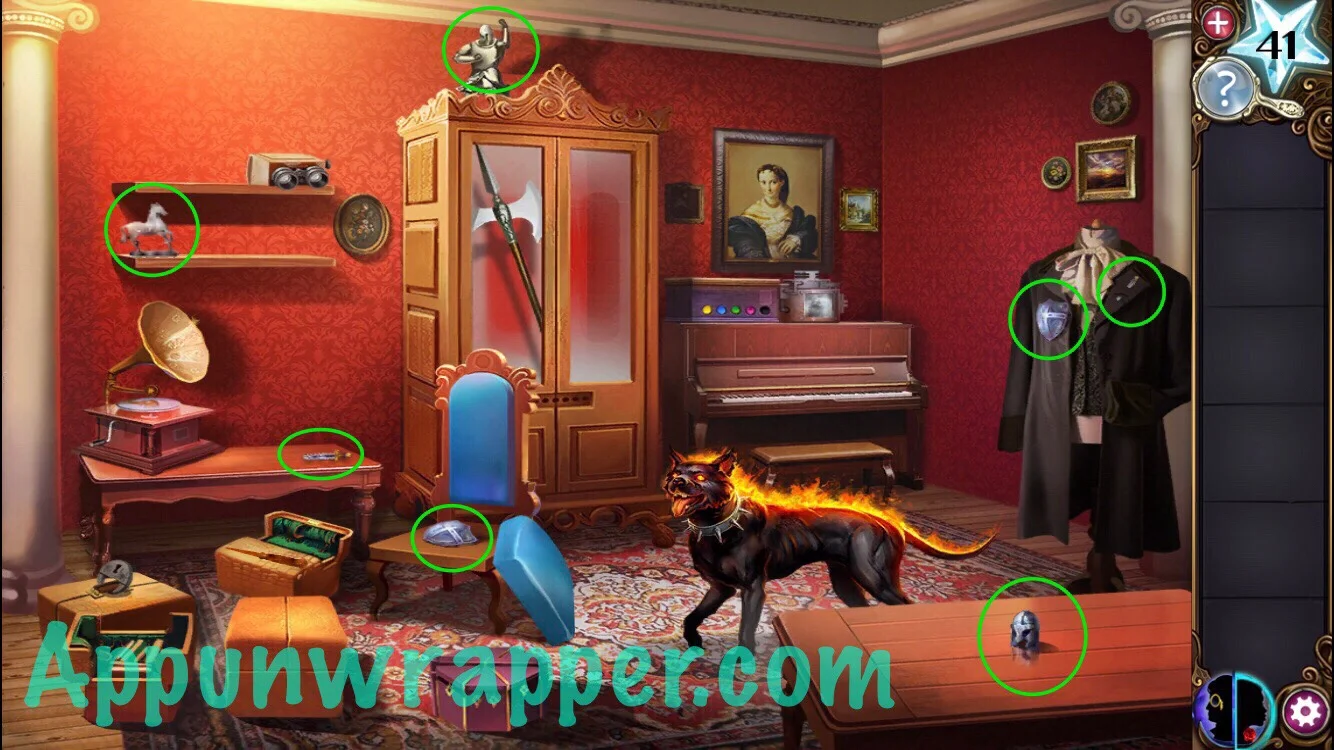
11. Find the two miniature shields, two miniature helmets, two miniature swords, and a miniature horse.
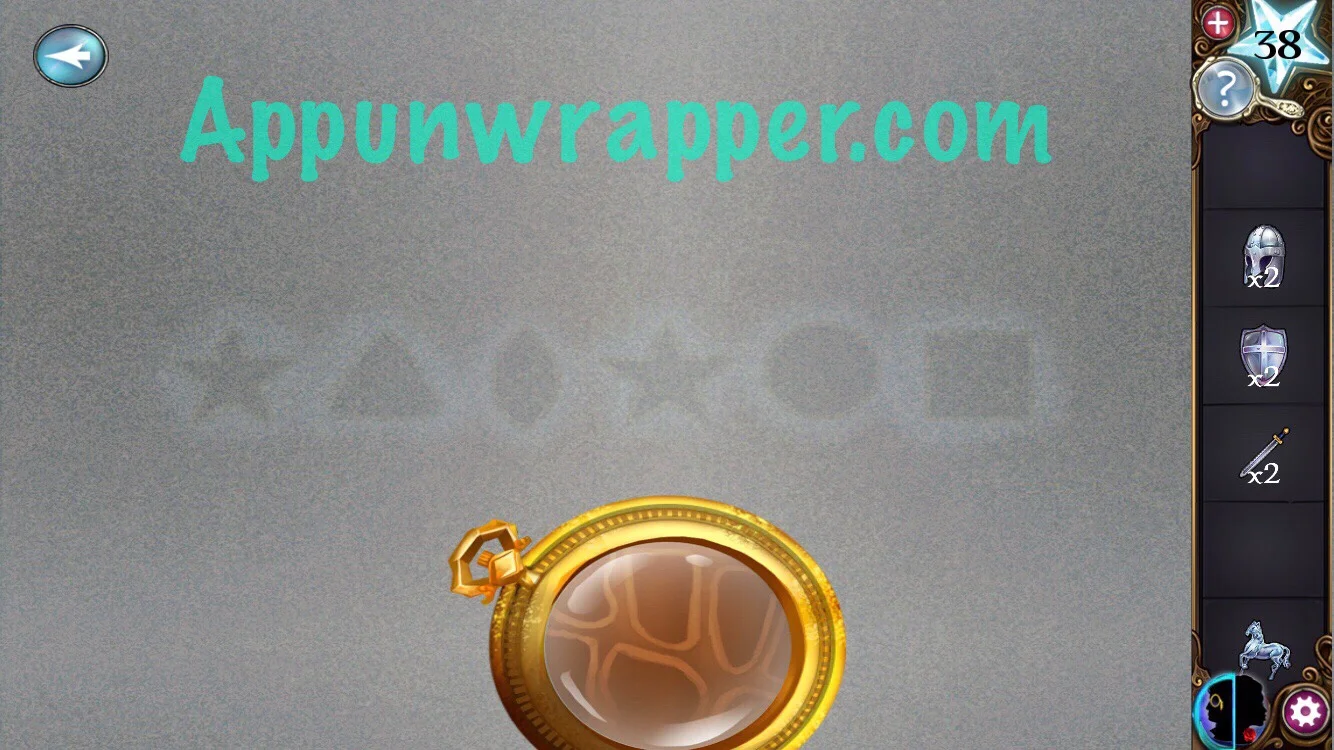
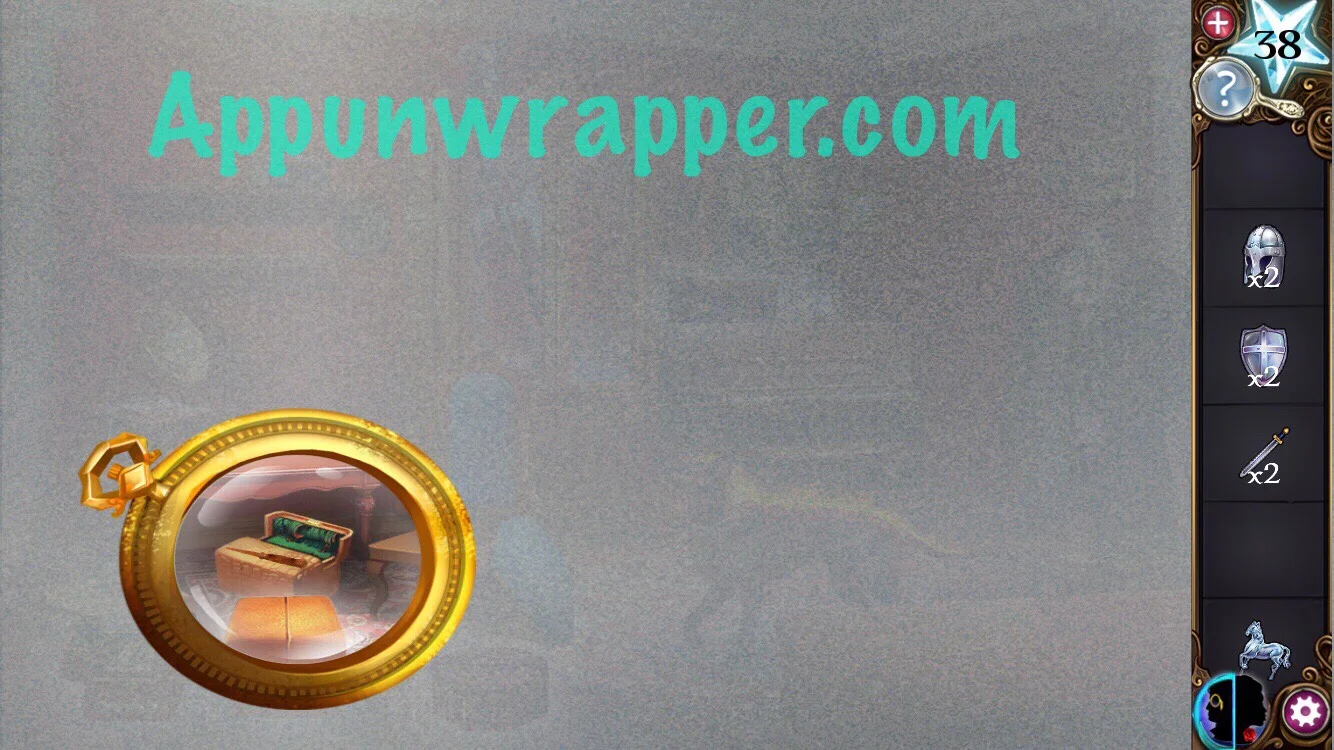
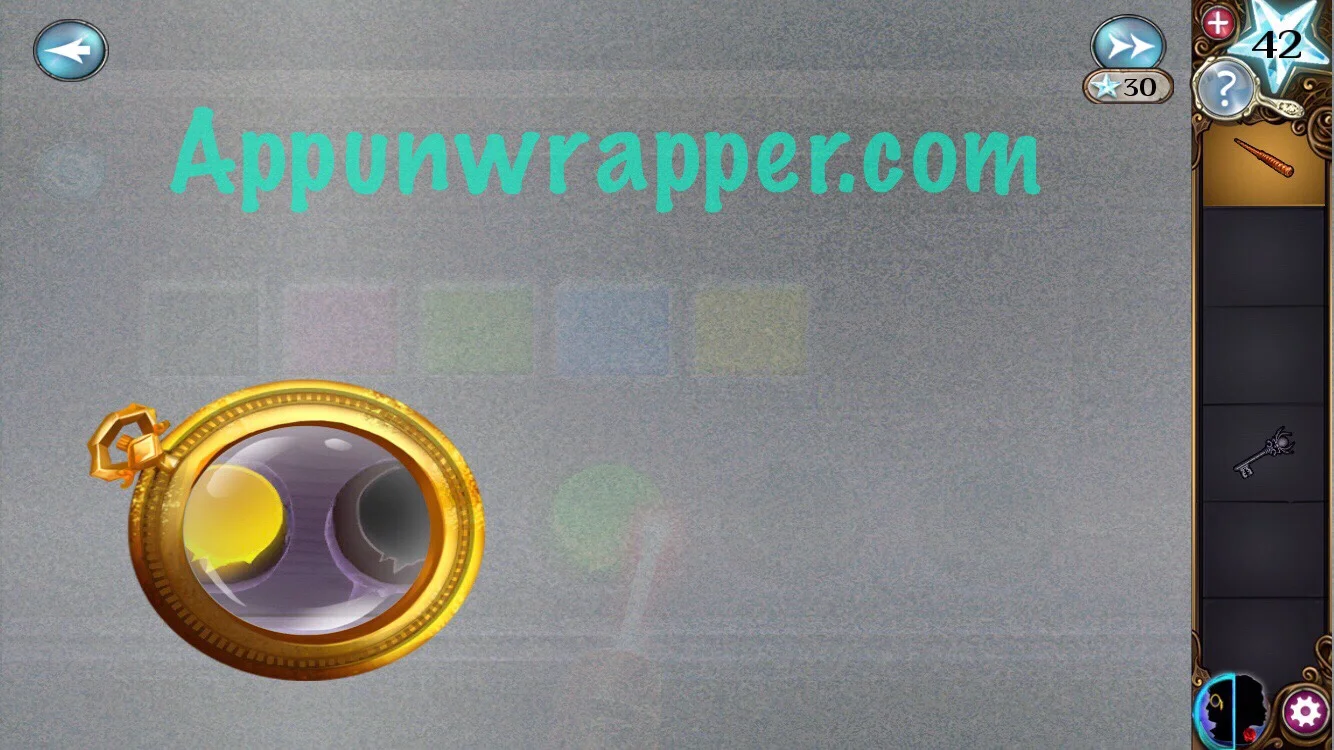
12. This chapter is a bit annoying. I’m not a fan of Euphemia’s monocle and the way it forces you to see through a tiny window. Anyway, start by using the monocle to inspect this case in the lower left corner that I highlighted here. You can faintly make out the shapes even without the monocle.
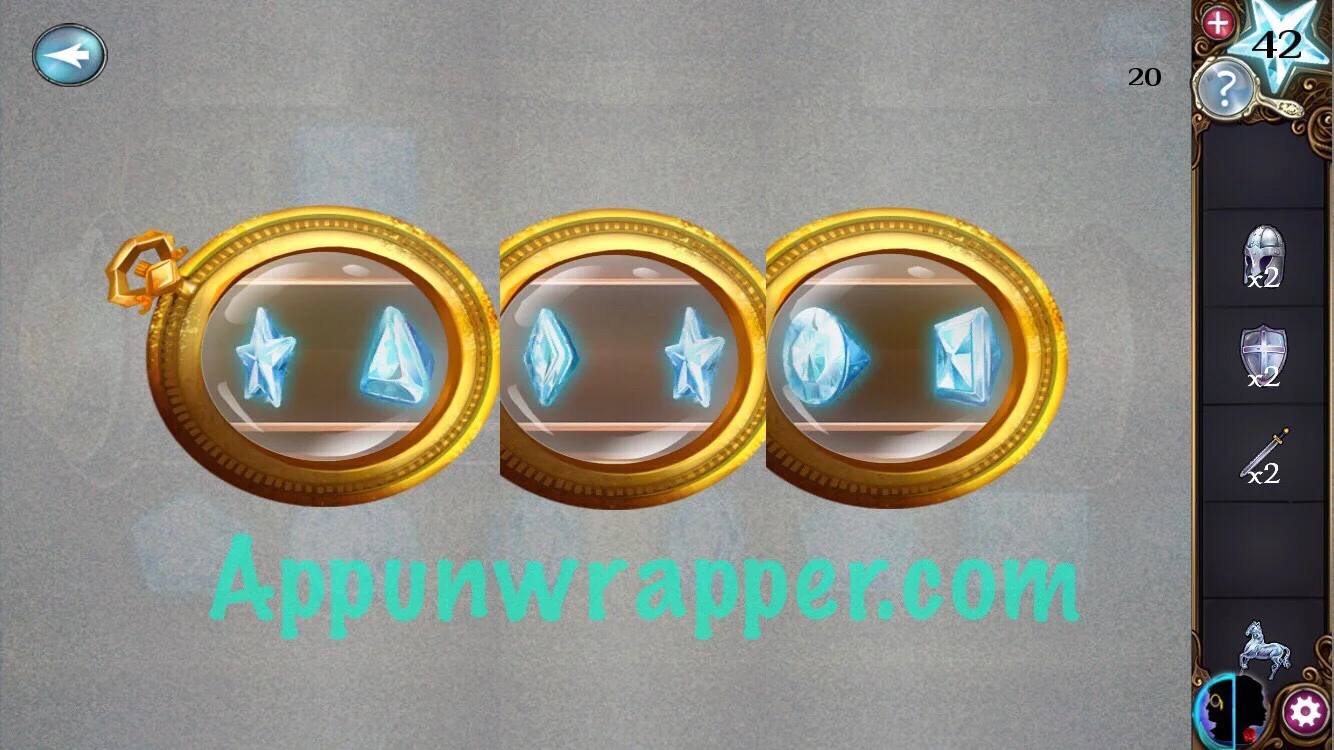
13. Now, inspect the other case that matches it. There’s a wand on top of it. You need to select the gems to match the pattern you saw on the other one. It goes star, triangle, sideways eye, star, circle, square. I can’t really get a screenshot of it because of the monocle, I photoshopped it together. Take the beam wand.
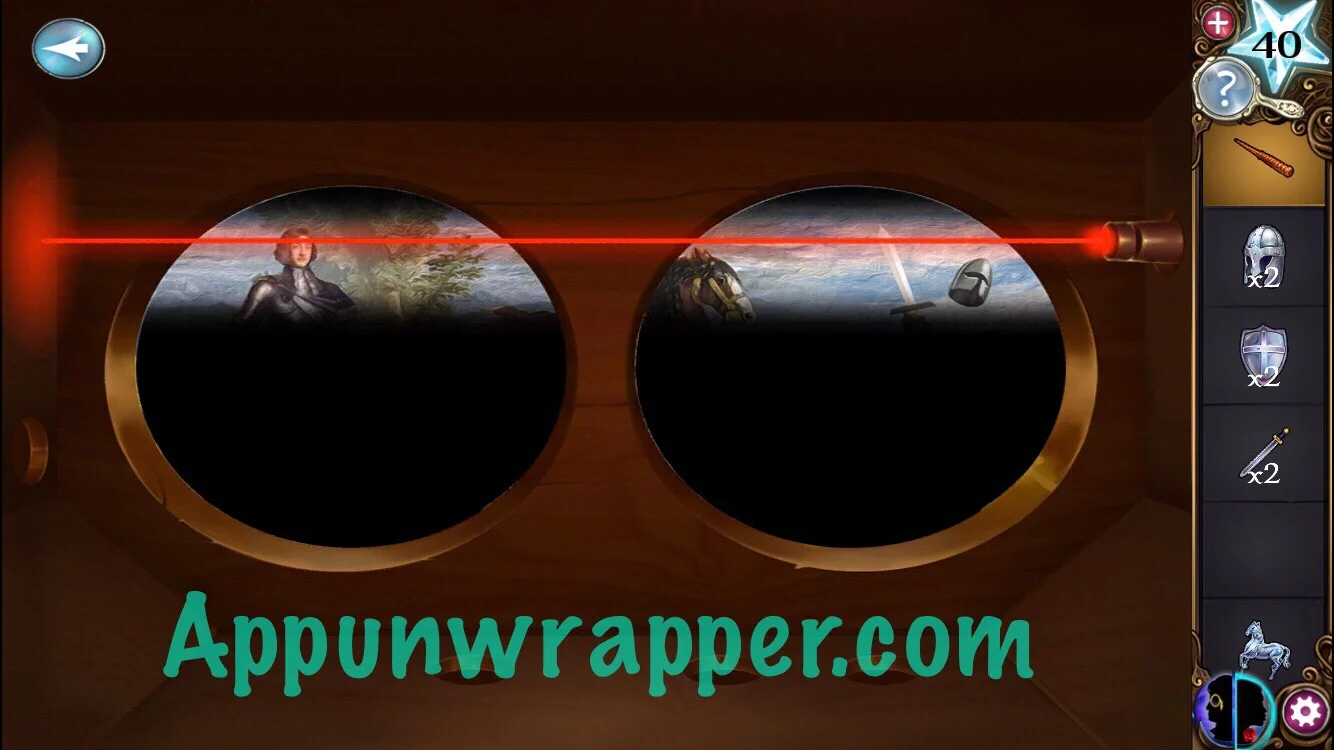
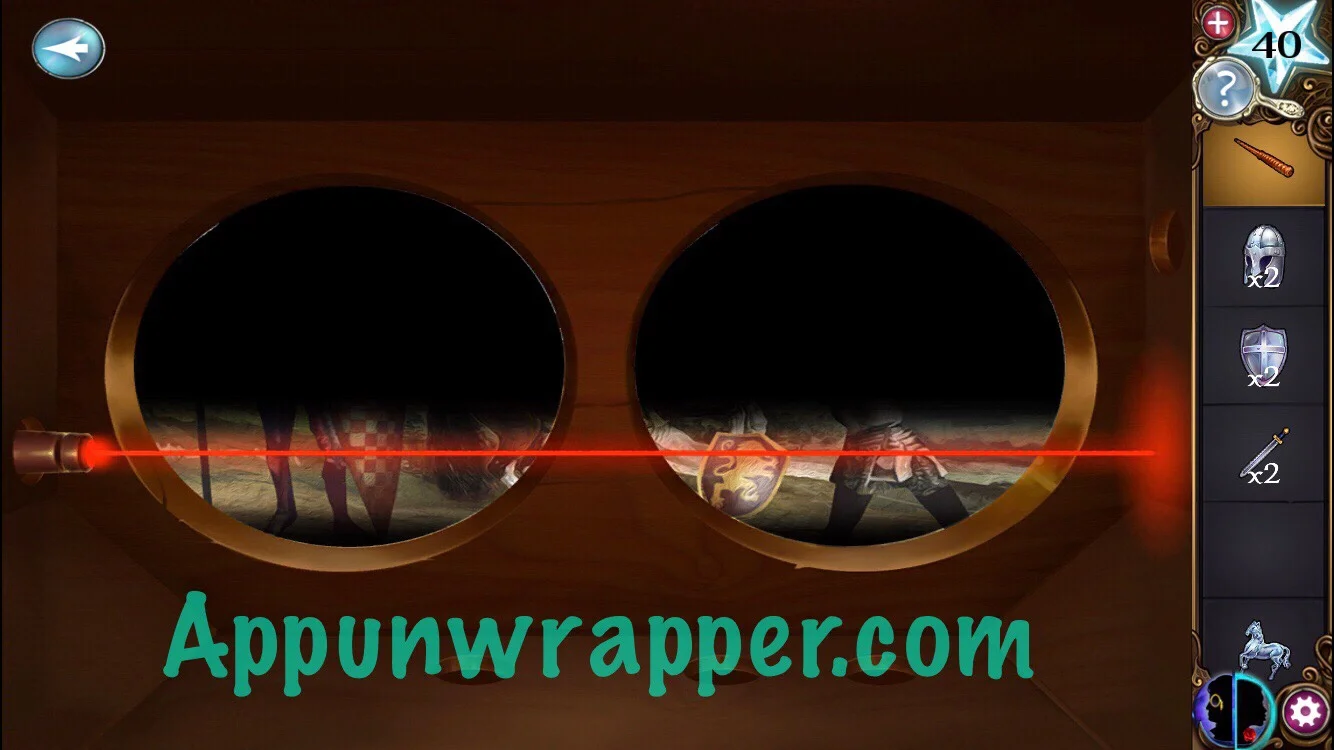
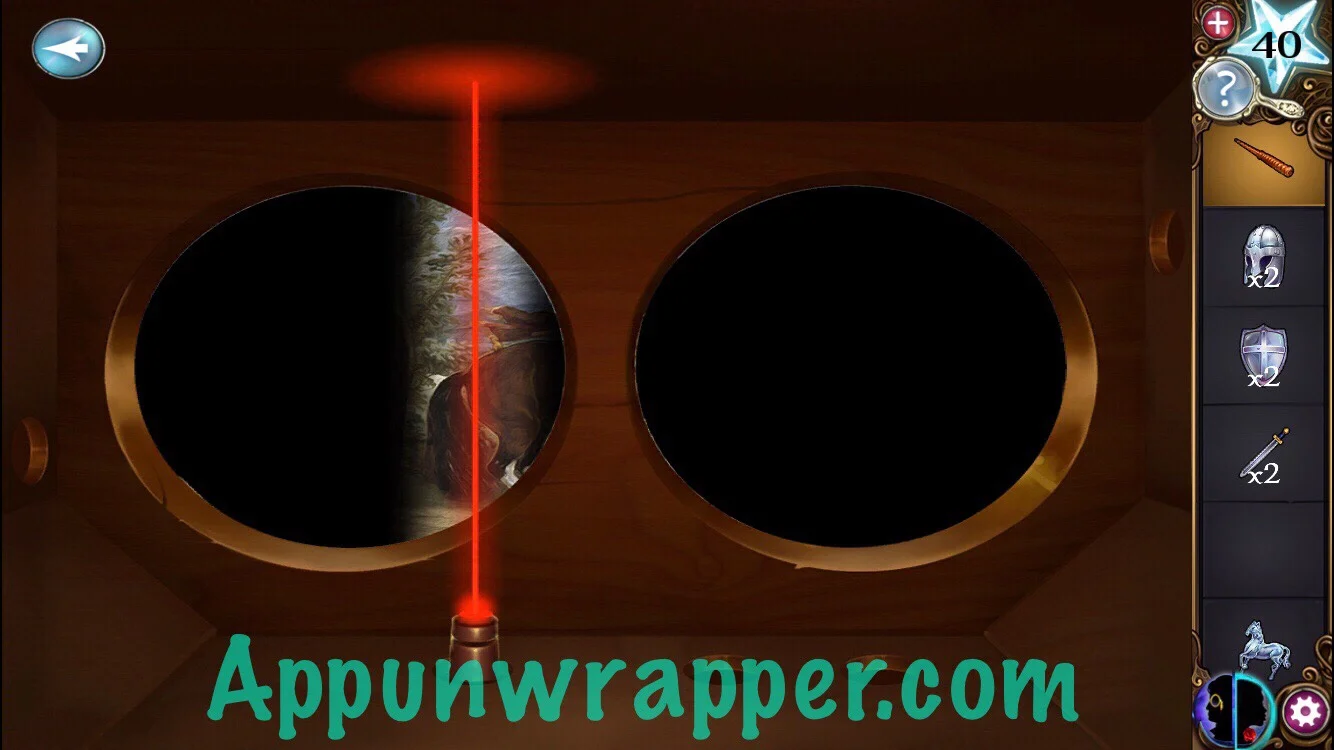
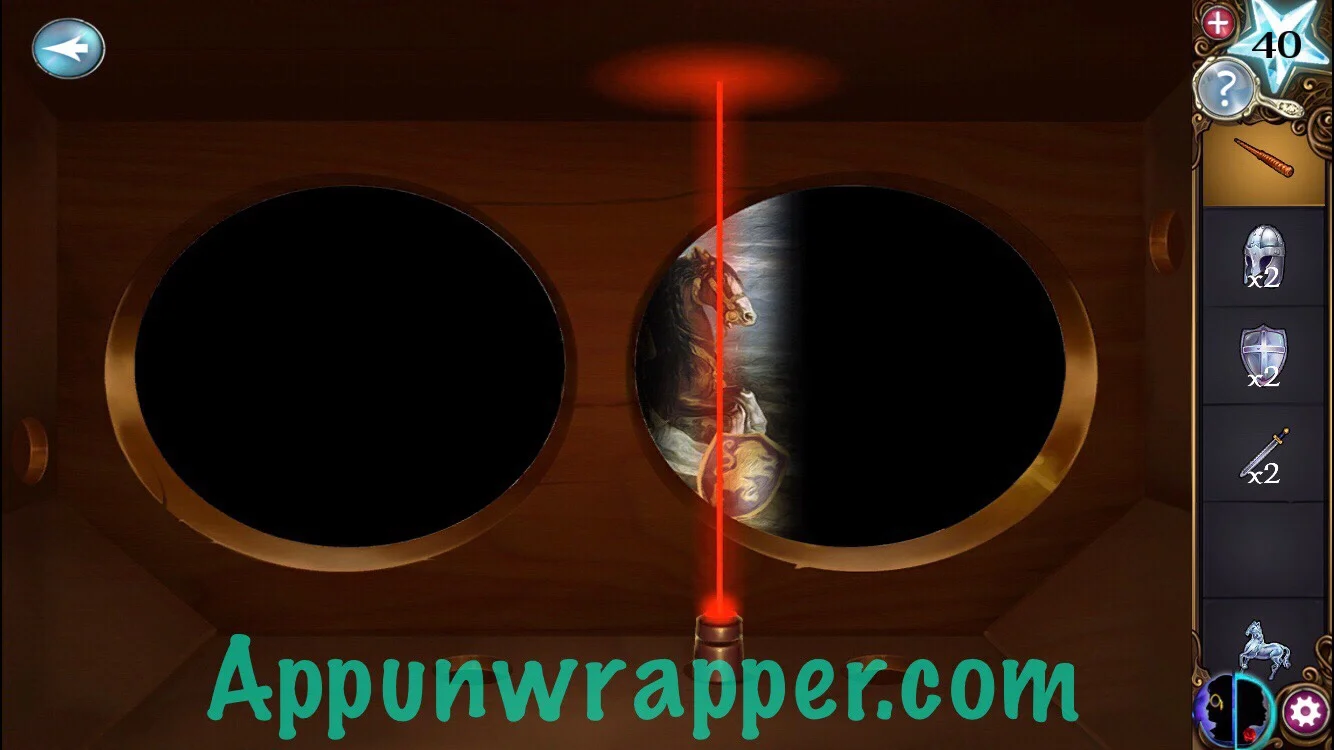
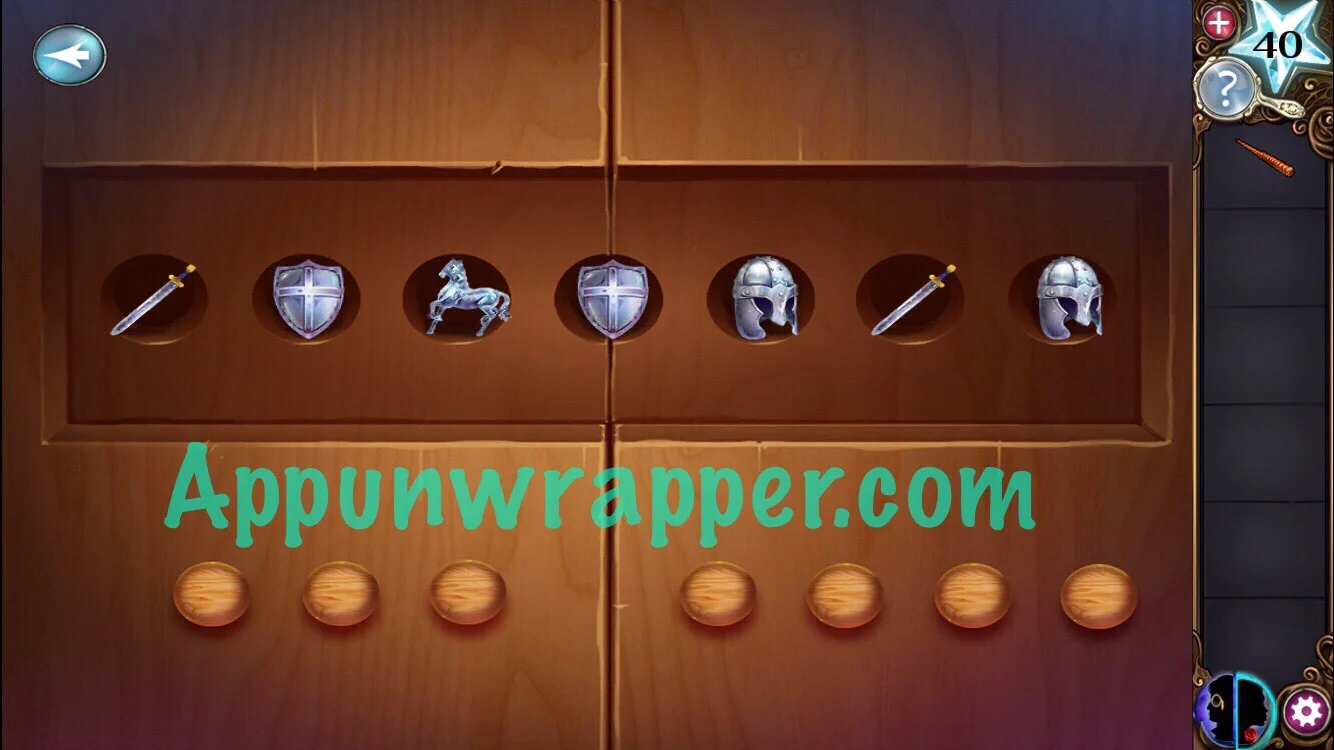
14. For the next puzzle, we’re going to use the beam wand to figure out the order to use all the miniature shields, swords, etc. find the device that lets you look through it to see an image. Use the beam wand in the different holes to see each section of the image. Then, use that info to place the miniatures in the glass case housing the halberd. It goes: Sword, Shield, Horse, Shield, Helmet, Sword, Helmet. Take the halberd.
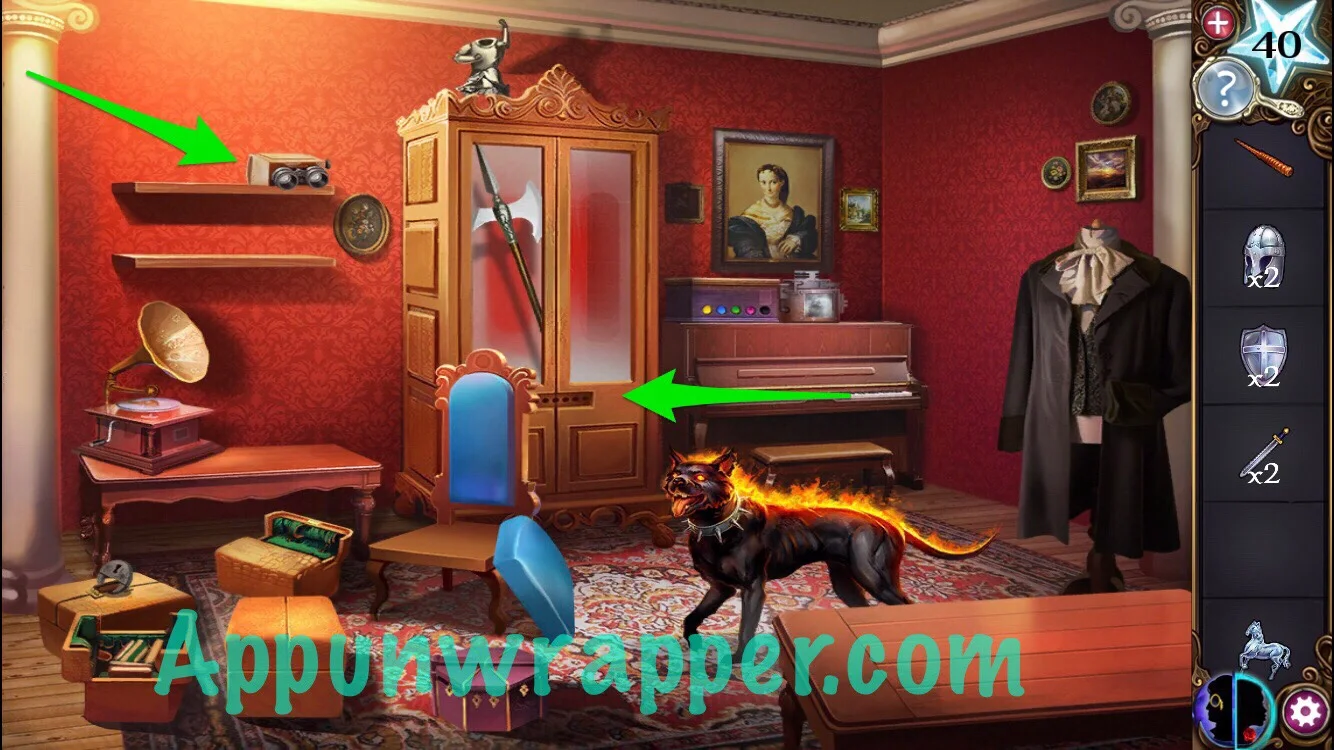

15. Use the halberd to break the lock on the box to the left and take Euphemia’s Key.
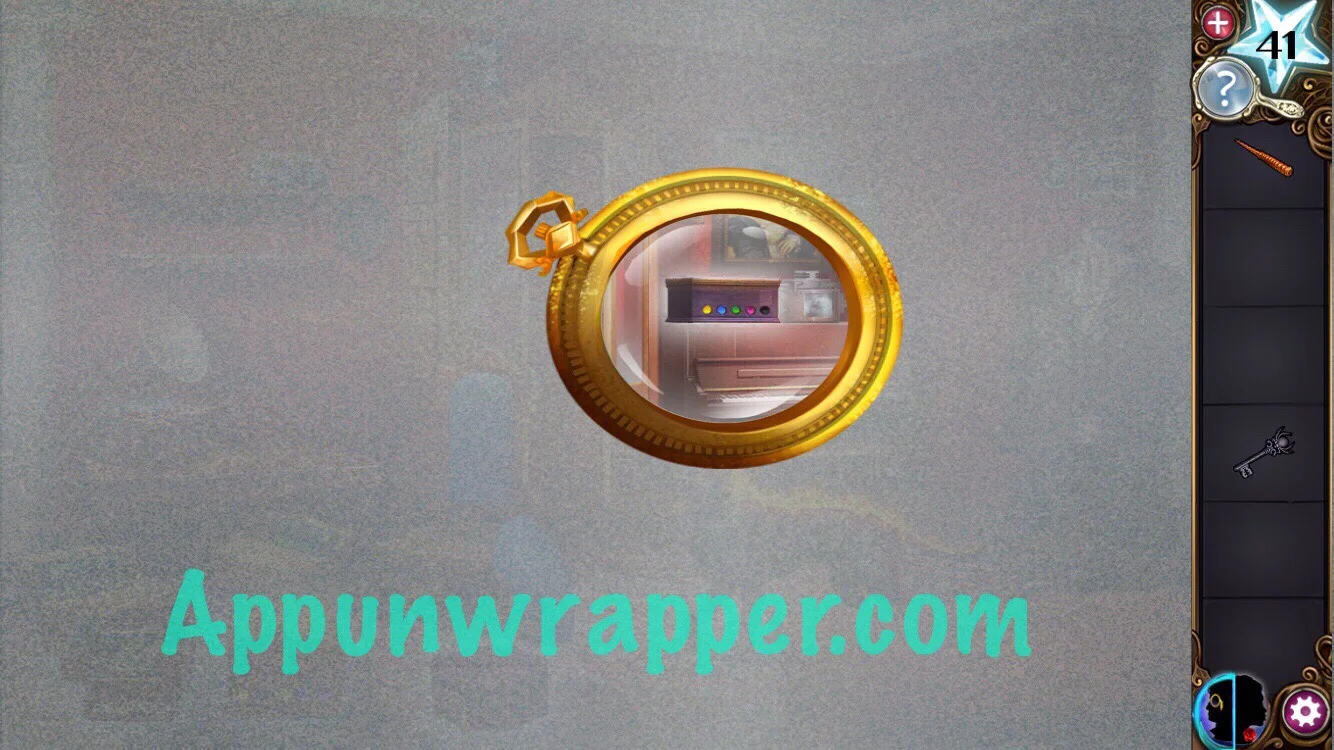
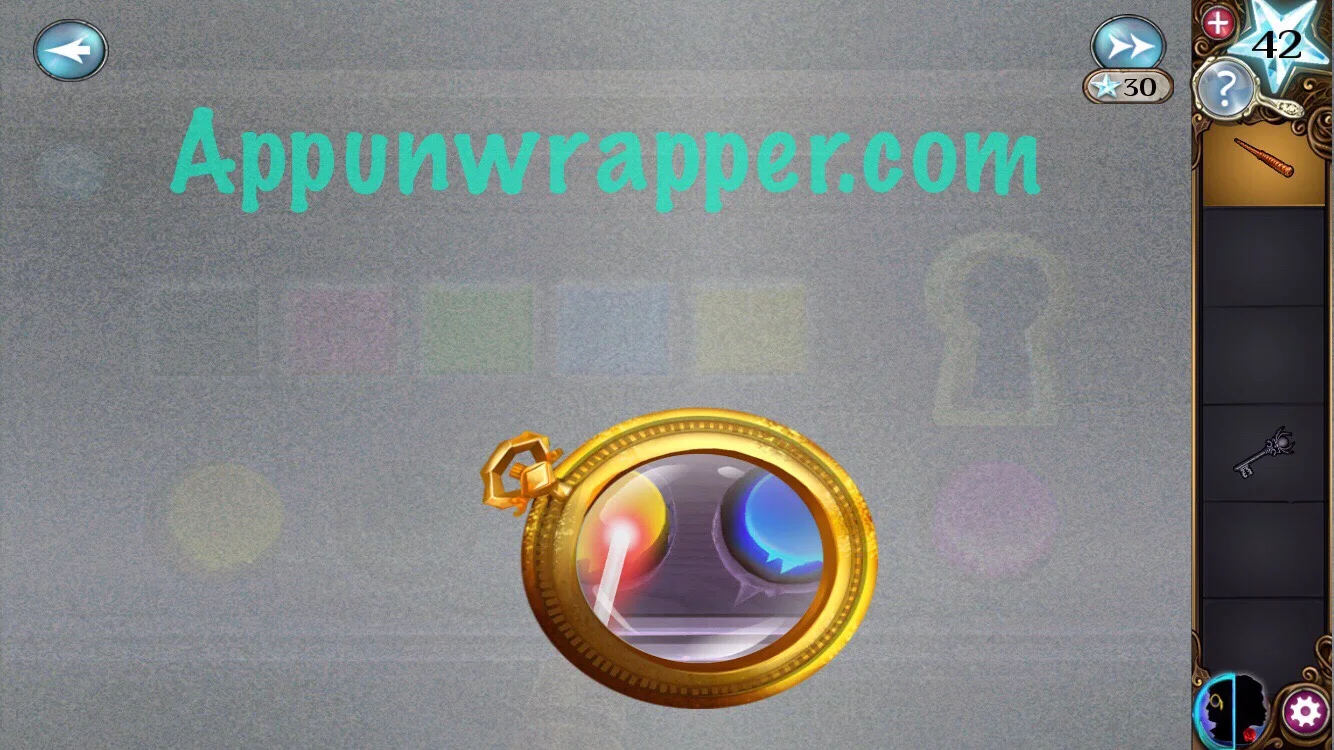
16. This next puzzle is a little annoying. First, use the monocle to see a clue on the ottoman. Notice the colors of the stars — Yellow, black, yellow, blue, pink.

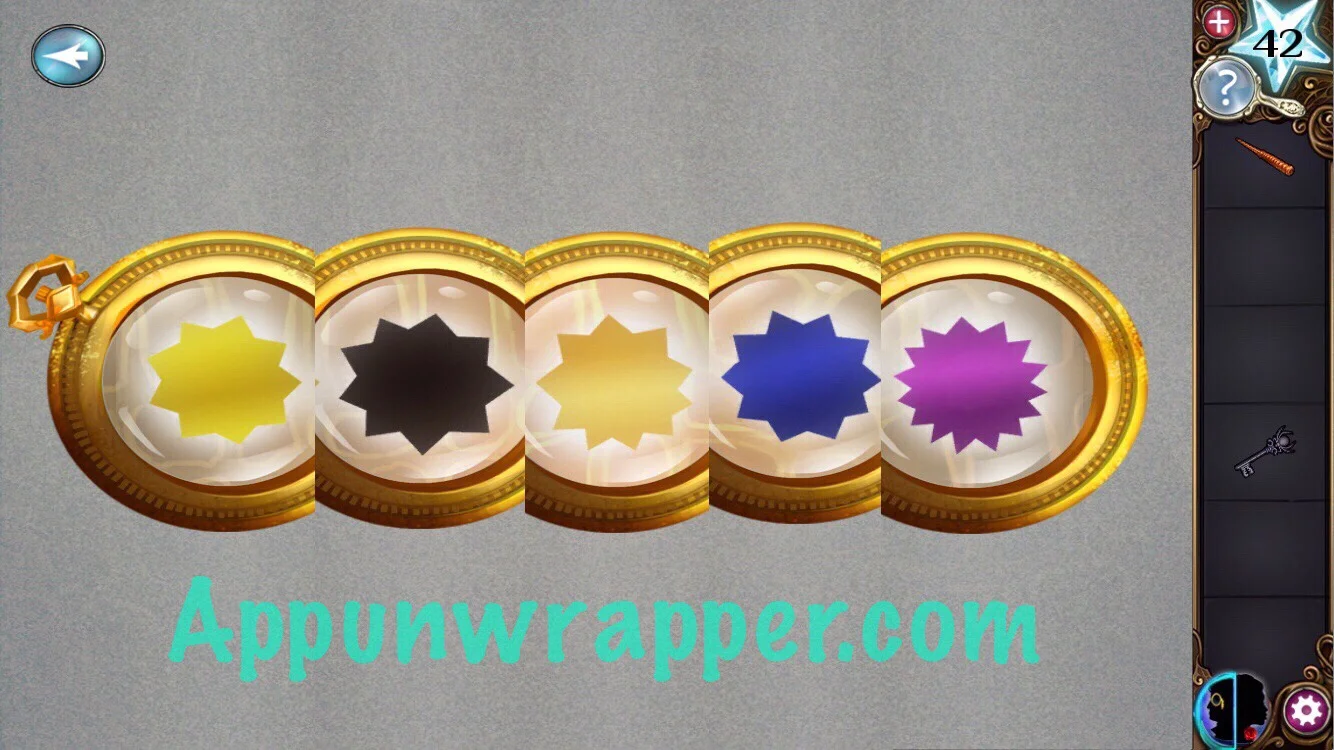
17. Tap on the box with colored squares on the outside. Again, equip Euphemia’s monocle. You need to use the beam wand to shine a laser on each circle and change the color. The catch is, you can only change the color by first moving it to another circle, so you basically have to change two colors at once. In the end, they need to match the colors from the ottoman — yellow, black, yellow, blue, pink. The squares tell you the order than the colors change in. I’ll try my best to walk you through this, but you can also watch the short video below. Start by alternating between the first two circles to make the first one yellow. Then alternate between 2 and 3 until the second one is black. Then, move on to the last one and alternate between the last two until the last one is pink. Then, just go back and forth between number 3 and 4 until 3 is yellow and 4 is blue. A keyhole will appear!
17. Use Euphemia’s key in the keyhole. Go through the open door and complete the chapter.
Congratulations! You completed Chapter 7! Click here for the Chapter 8 walkthrough.
I only have two options in dialogue box so I can’t choose the other and continue this game
You have to tur to Euphemia and click in the surroundings to get more options
IΓÇÖm also having problems with only having 2 of the 3 options show up, on every question! Therefore itΓÇÖs IMPOSSIBLE to advance in this game because the old lady wonΓÇÖt move forward. Why in the world, Haiku, would this be going on? IΓÇÖve never had problems with your games, but this is an obvious BUG! Got any Raid to kill it?
You have to use the monocle to tap on the boxes. Watch the video or read the page.
I still do t understand how the laser shows the order of the pieces. Like the first 4 look like helmet, sword, shield, shield. Nothing explains this
Pon primero el laser en horizontal arriba: ves que el primer caballero no tiene casco.
Ahora el laser en horizontal abajo: ves que el caballero lleva a la izq una ESPADA y en la otra mano un ESCUDO.
Pasando el laser por los huecos verticales verás que después sigue un CABALLO, otro ESCUDO, un caballero con CASCO y ESPADA y otro CASCO volando.
Ese es el orden.
Ya no hay opciones de diálogo; hablan entre las dos mientras la cazadora se va acercando ella sola
Por otro lado, el rompecabezas de los colores se puede hacer sin el monóculo puesto y así es más fácil mover el láser
When I was talking to Euphemia, it just automatically talked for me. And I agree with you about the monacle. The monocle is just stupid.
I want to say two things. When you play in the AE Mysteries-app (this mysterie is new in it), you:
1. can’t choose dialogue options, so steps 1 – 9 don’t make sense. (Euphemia automatically comes near you so you can whistle)
2. don’t have to shapeshift into Euphemia to see the colours in the illusion puzzle (final puzzle).
Yeah, it looks like they’ve taken those steps out of the game and not replaced them with anything. The chapter is SUPER short now :/
Thank you so much for these guides. I used to grab what ever google brought up, but the time you take to break it all down? You get 5 stars, 100%