The Birdcage
By: Kaarel Kirsipuu (Pine Studio / KeyCube)

The Birdcage is a new mystery puzzle game by Pine Studio, the makers of the Faraway series. It’s in 3D like The Room series, but you have to help birds get out of cages that are a little like puzzle boxes. With this walkthrough, you’ll be able to find solutions for all the Goldfinch Pack puzzles. Feel free to ask for extra help in the comments section.
Walkthrough:
Levels 1 – 5 | Levels 6 – 10 | Levels 11 – 15 |
Goldfinch Pack:
You can watch my walkthrough video for Levels 6 – 10 here or continue on for my step-by-step guide.
Level 6:
1. Zoom in on the door and take the silver gear. Grab the gem and turn left to get another gem. Turn the knob to get another gear.
2. Continue left and add a gear to the others and pull the lever. Grab…another lever? Also, take the gear back.
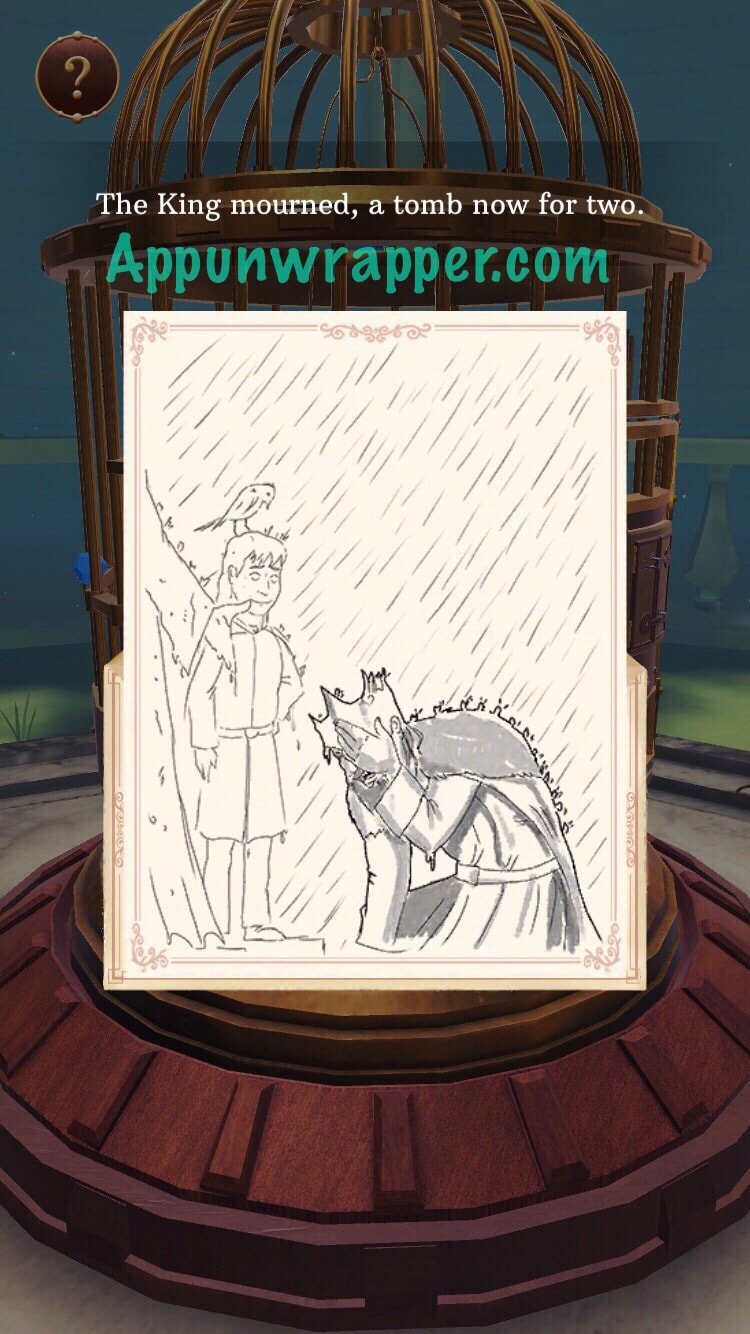
3. Continue left and pick up another gem and the letter.
4. Continue left and place both gears down and pull the lever to get a key. Remember to take both gears back.
5. Continue left and place both gears down. Pull the lever to get a rubber band. Don’t forget to take both gears back.
6. Continue left to the door. Place both gears, the rubber band, and the lever down. Pull the lever to reveal the keyhole. Use the key to unlock the door and release the goldfinch.
Level 7:
1. Grab the gem. Head left and grab another gem and the letter.
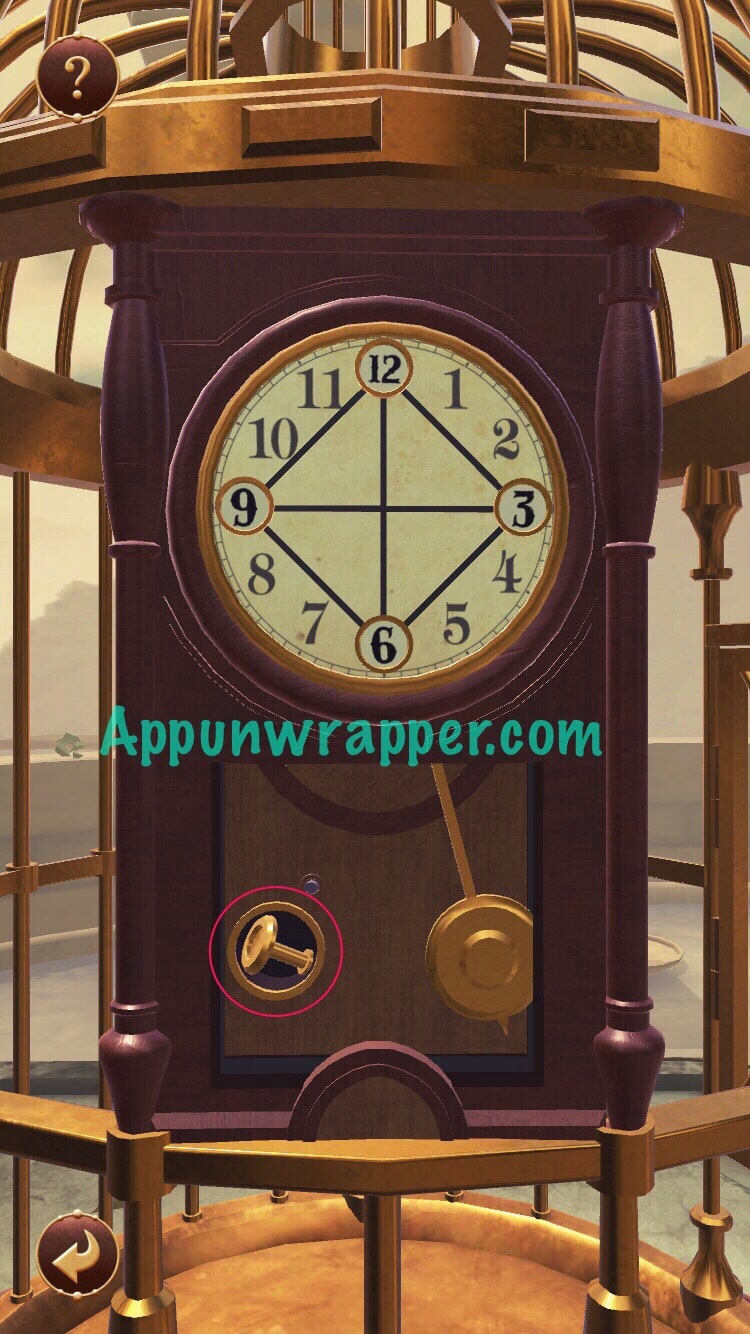
2. Solve the clock puzzle by moving the 3, 6, 9 and 12 to the correct spots. Then take the knob.
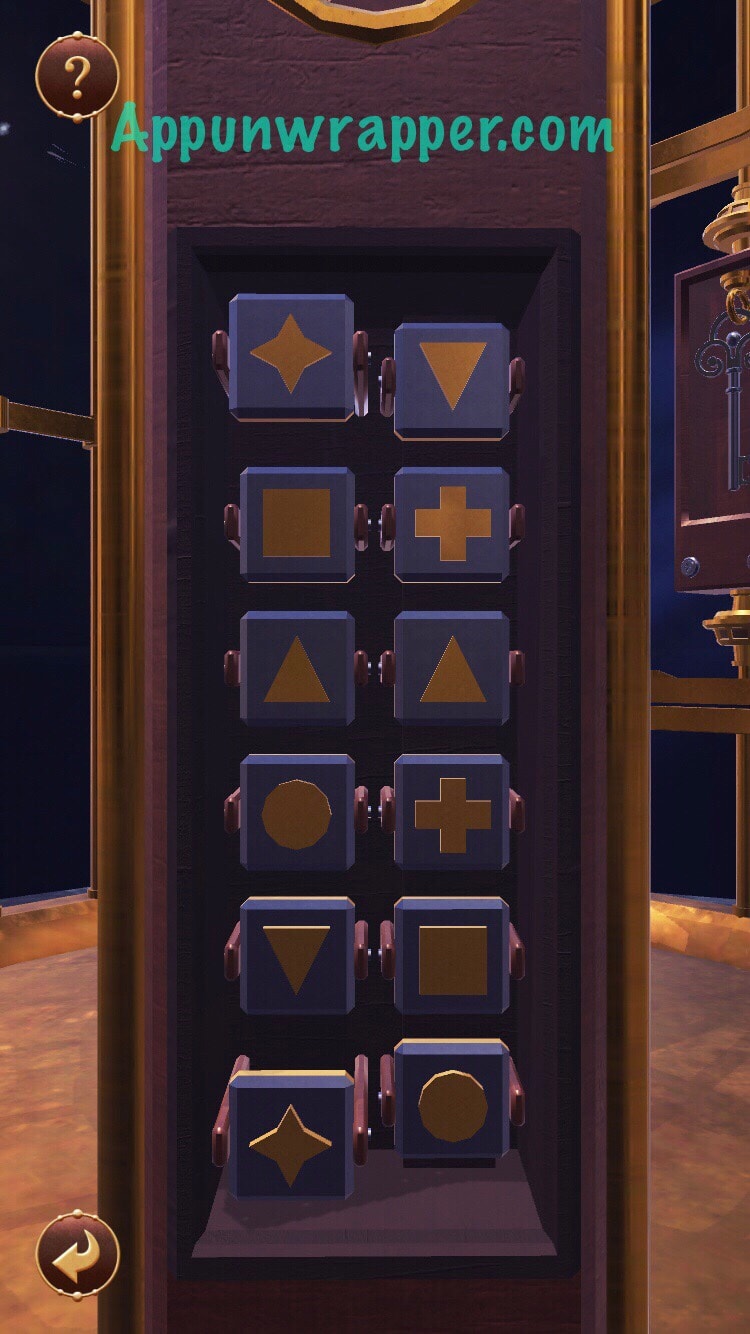
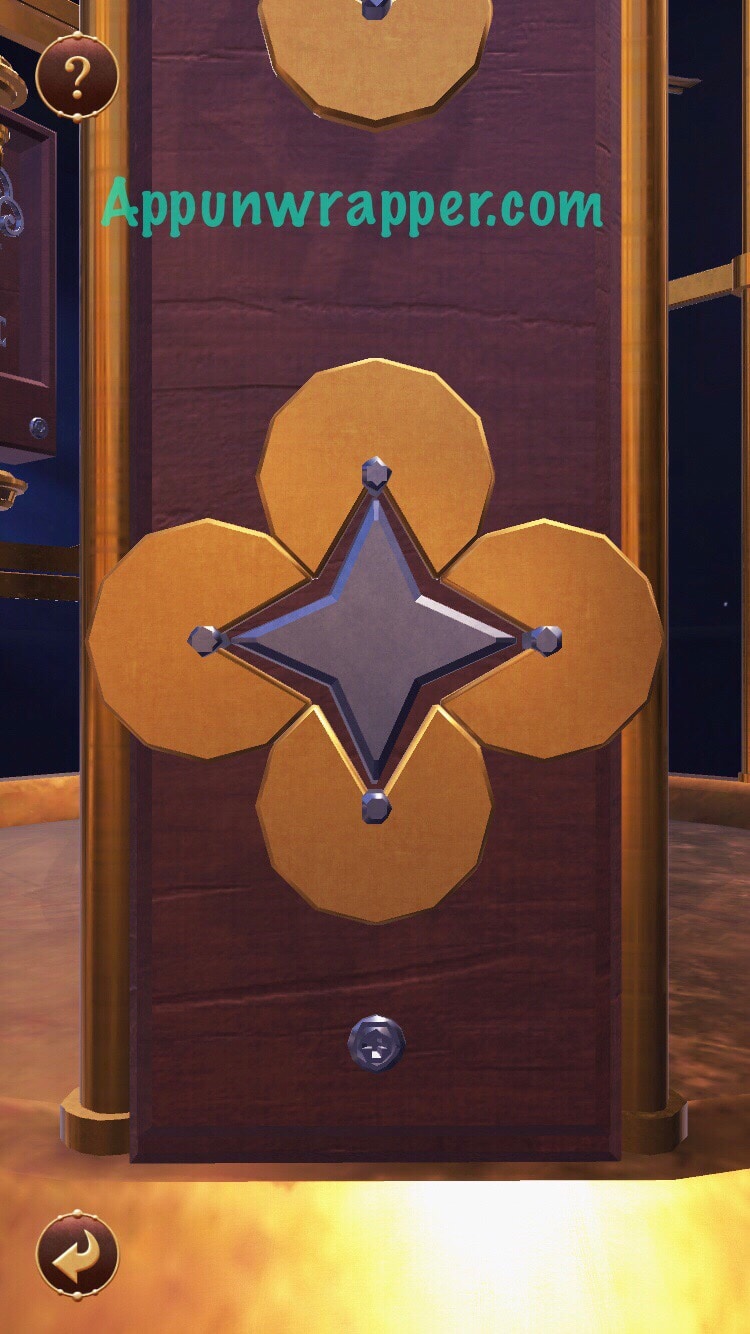
3. Keep going left and get the third gem. Keep going left until you come across a circle split into wedges. It’s a trial-and-error puzzle. Just press the buttons in the order shown below. Take the star piece from the middle.

4. Go right and place the star piece in the circular slot and get the key.
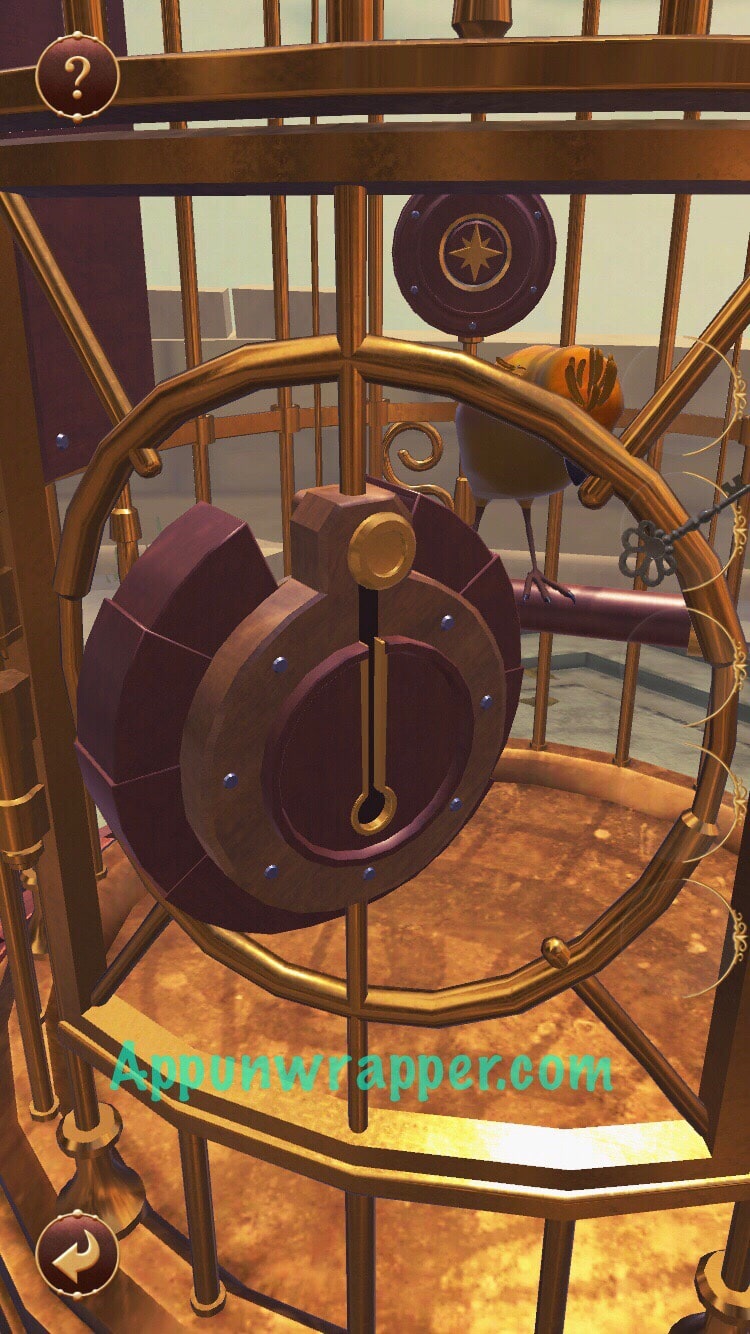
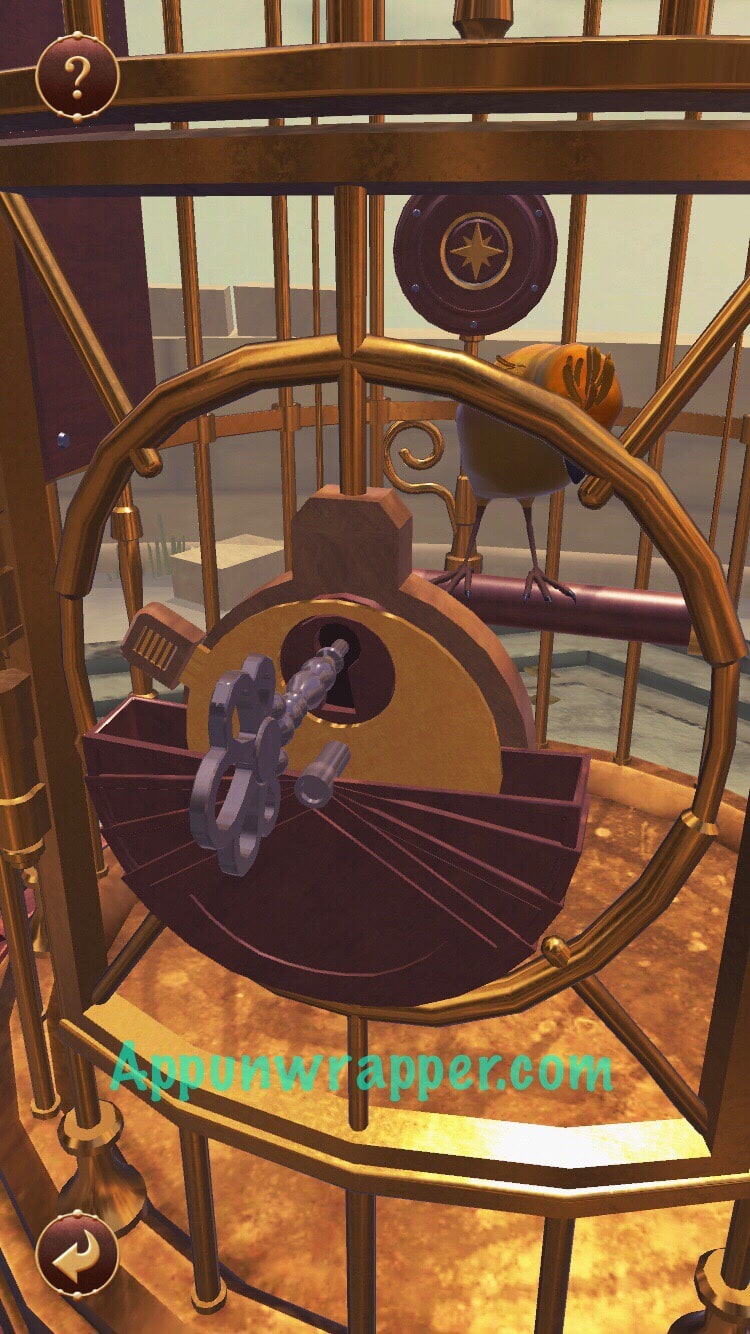
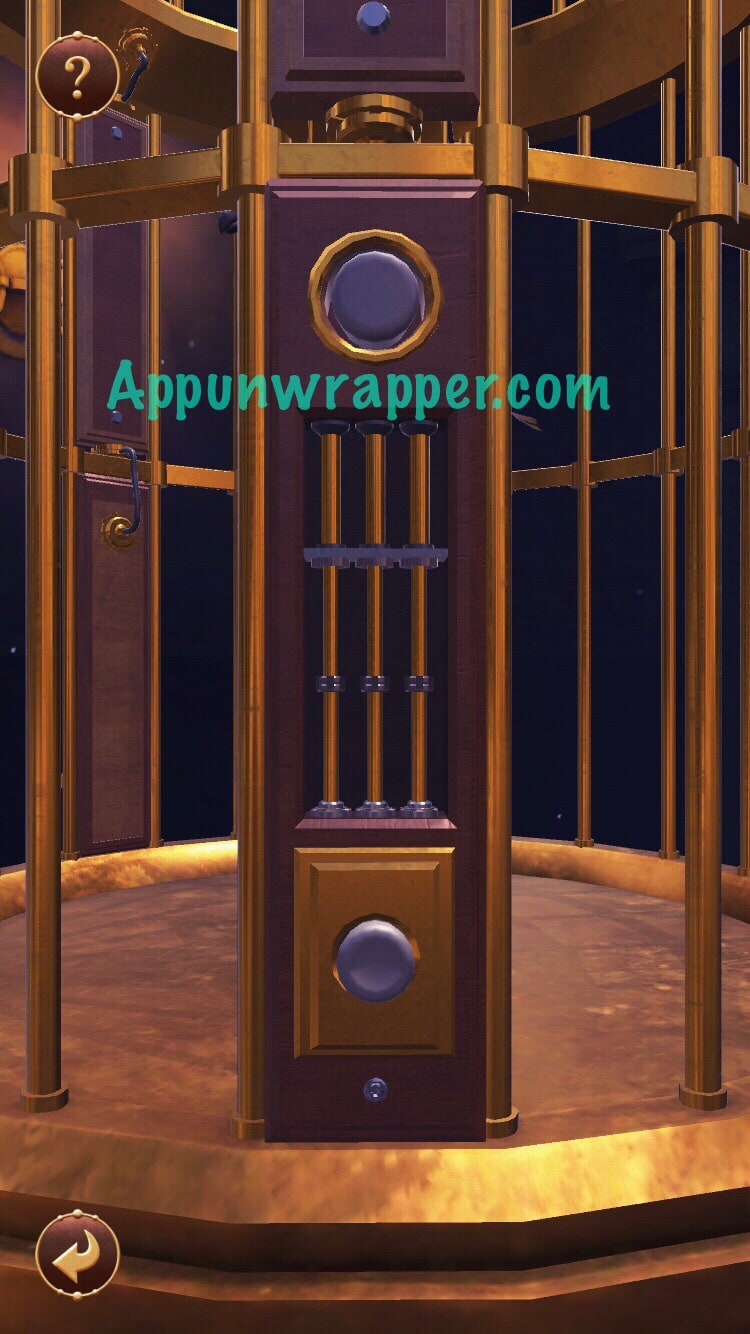
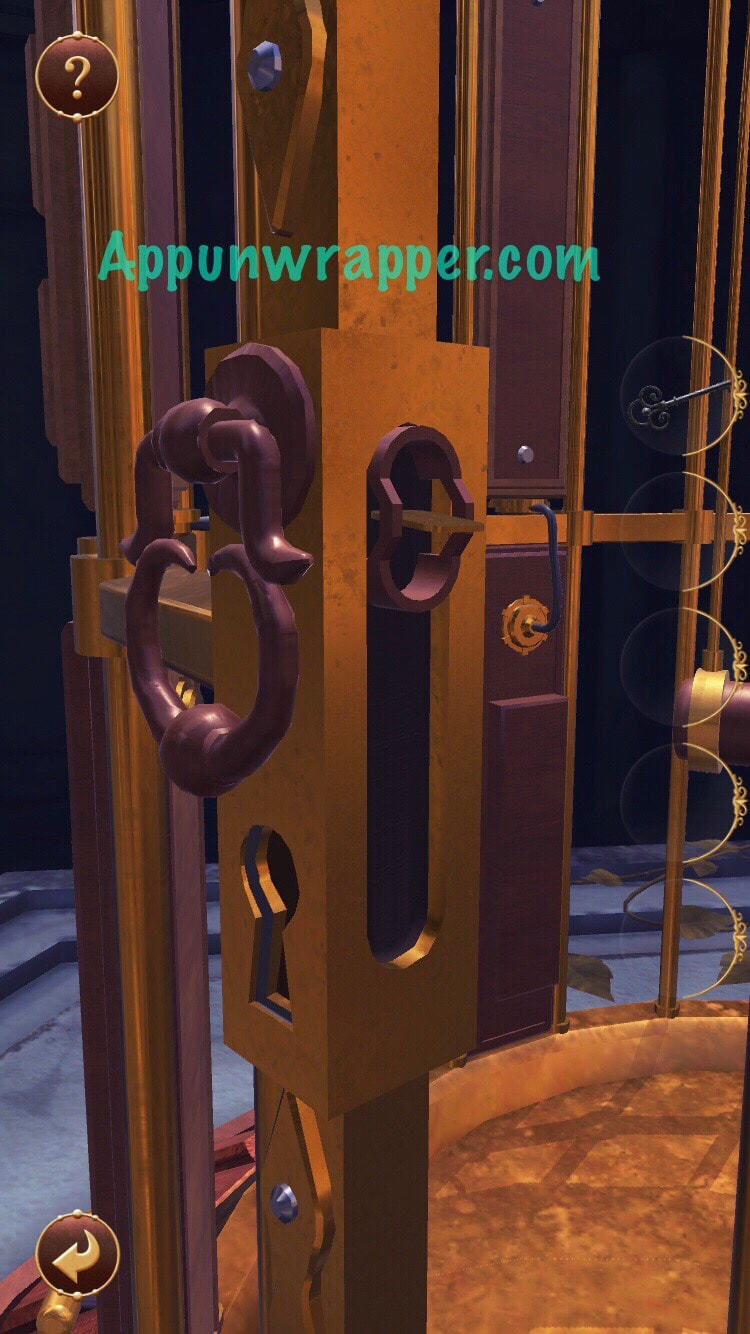
5. Head to the cage door. Rotate the center piece so it lines up with the rest and insert the little knob. Slide it up. Then, rotate the next piece so the opening lines up with the keyhole. Use the key to unlock the door and set the bird free.
Level 8:
1. Grab the gem to the right. Head left and grab the letter.
2. Look down to see a lever. Pull the lever down to reveal a big button. Press it and notice the star has a yellow border. We’ll come back to that later.
3. Continue left and get another gem.
4. Continue left and play the memory game. Press the big button to reveal more shapes. Notice the Diamond has a yellow border.
5. Continue left and get the third gem. Keep going left and solve the rotating discs puzzles and press the button. This time the triangle is highlighted.

6. Continue left and solve the next puzzle. Basically, press the button as soon as the two bars meet. Keep doing it and then press the new button that appears. This time the square is highlighted.
7. So now we have the four shapes, but the question is how to translate those into letters. The answer is the lens! Find it to the left of the cage door and move it to one of the sets of shapes. Pull it down to the one that’s highlighted. The first you can access is the star, and it says O.
8. The next one is the diamond and it says H.
9. The next one is the triangle and it says D.
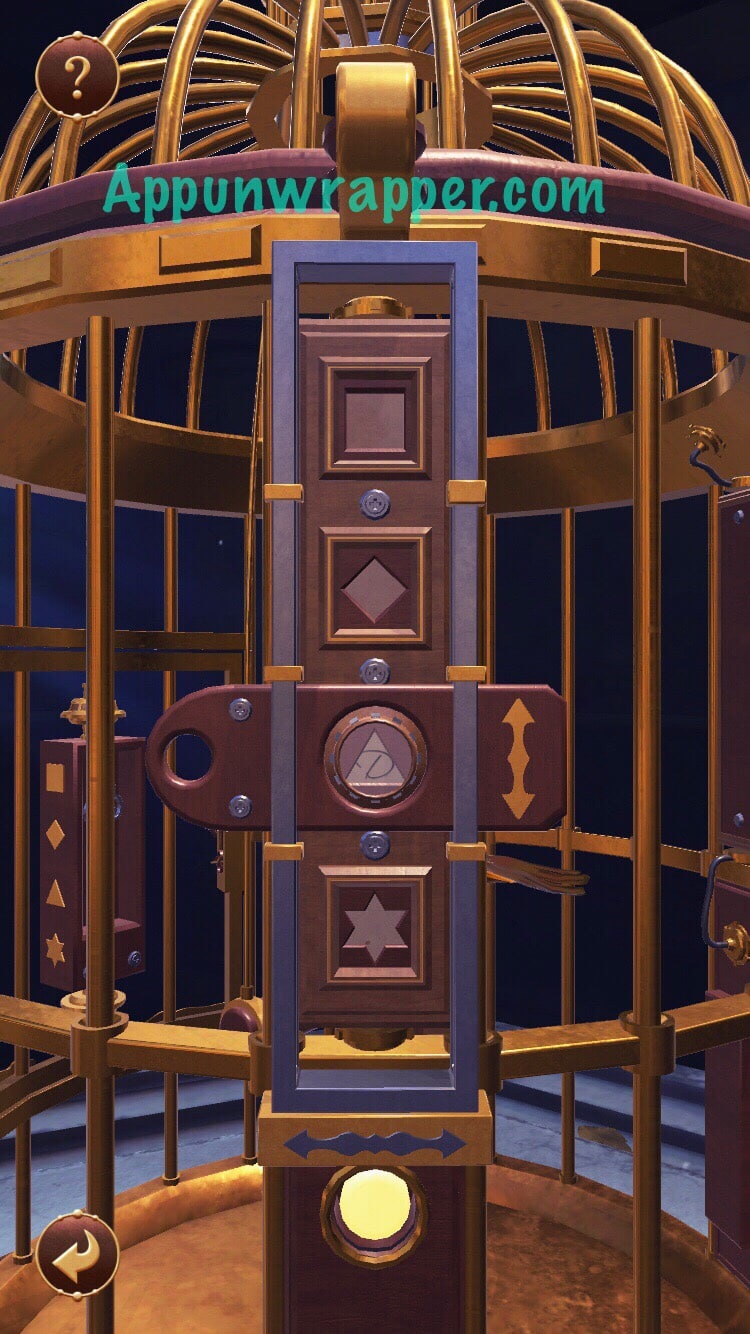
10. And last, the square says A.
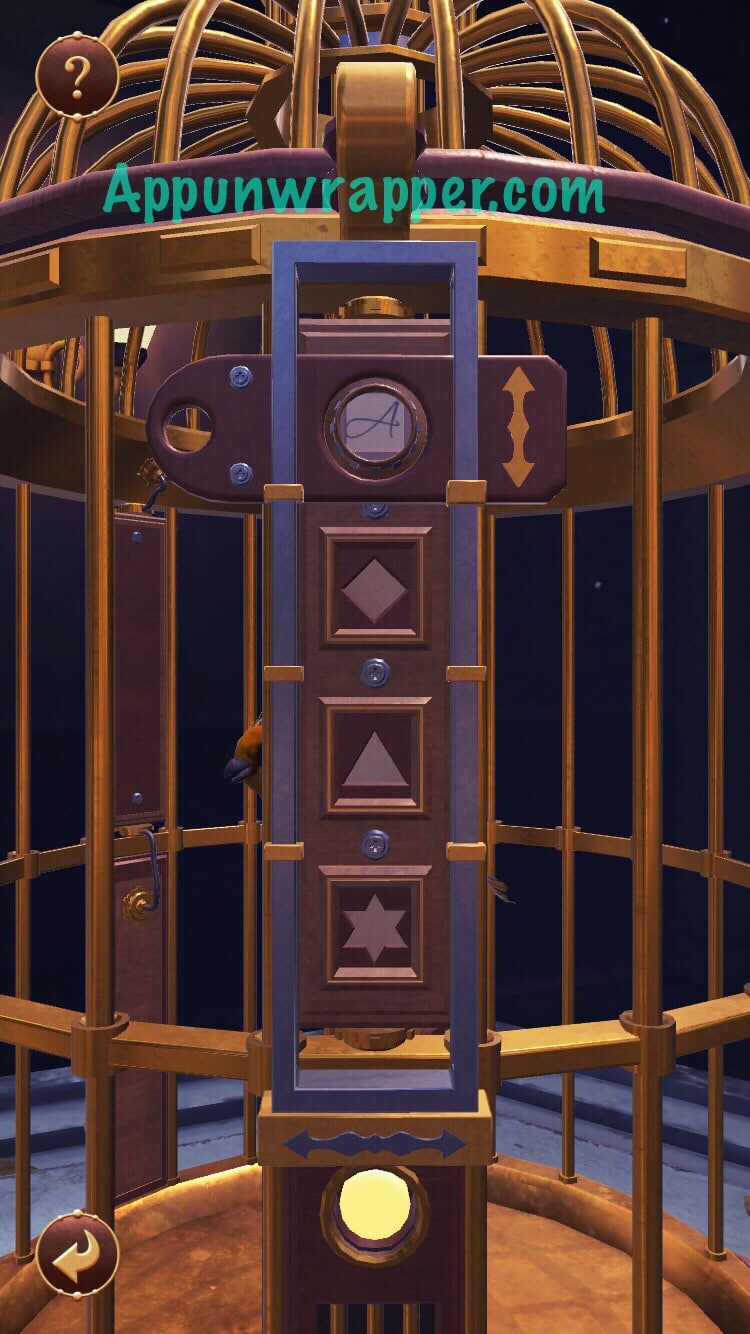
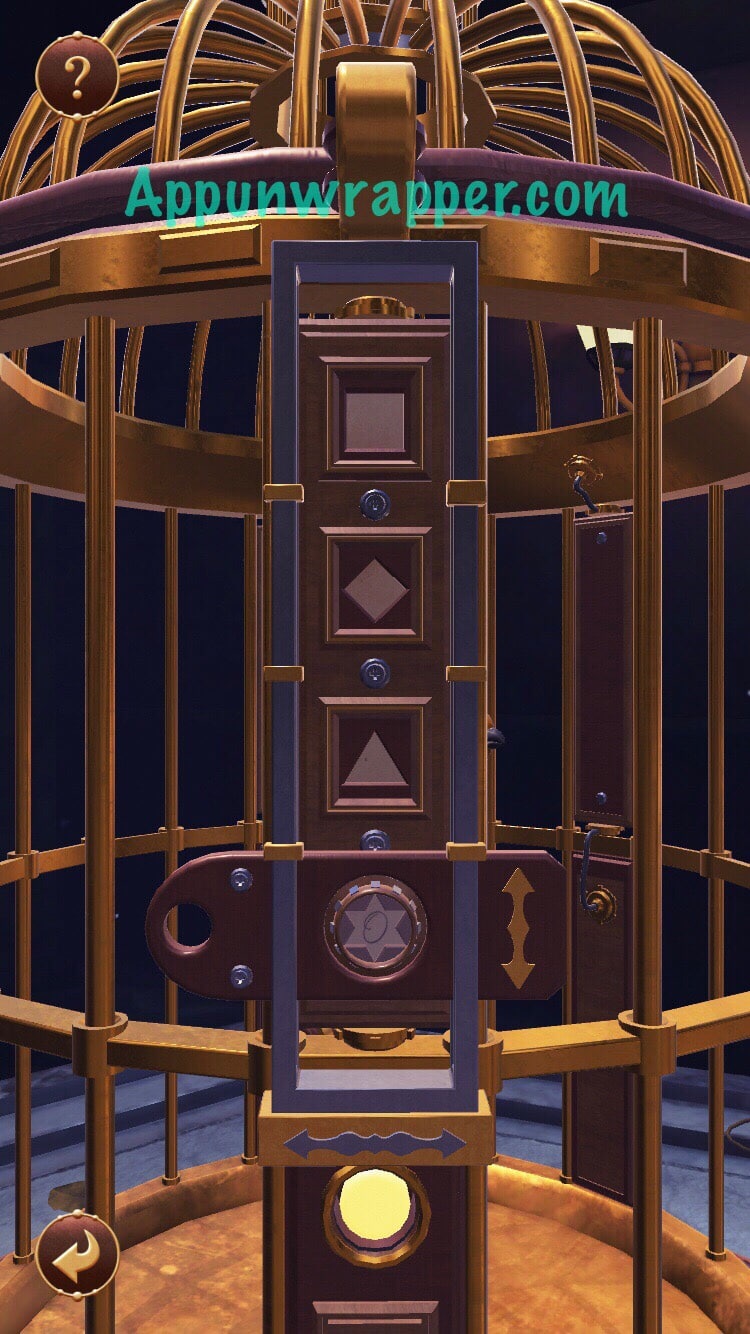
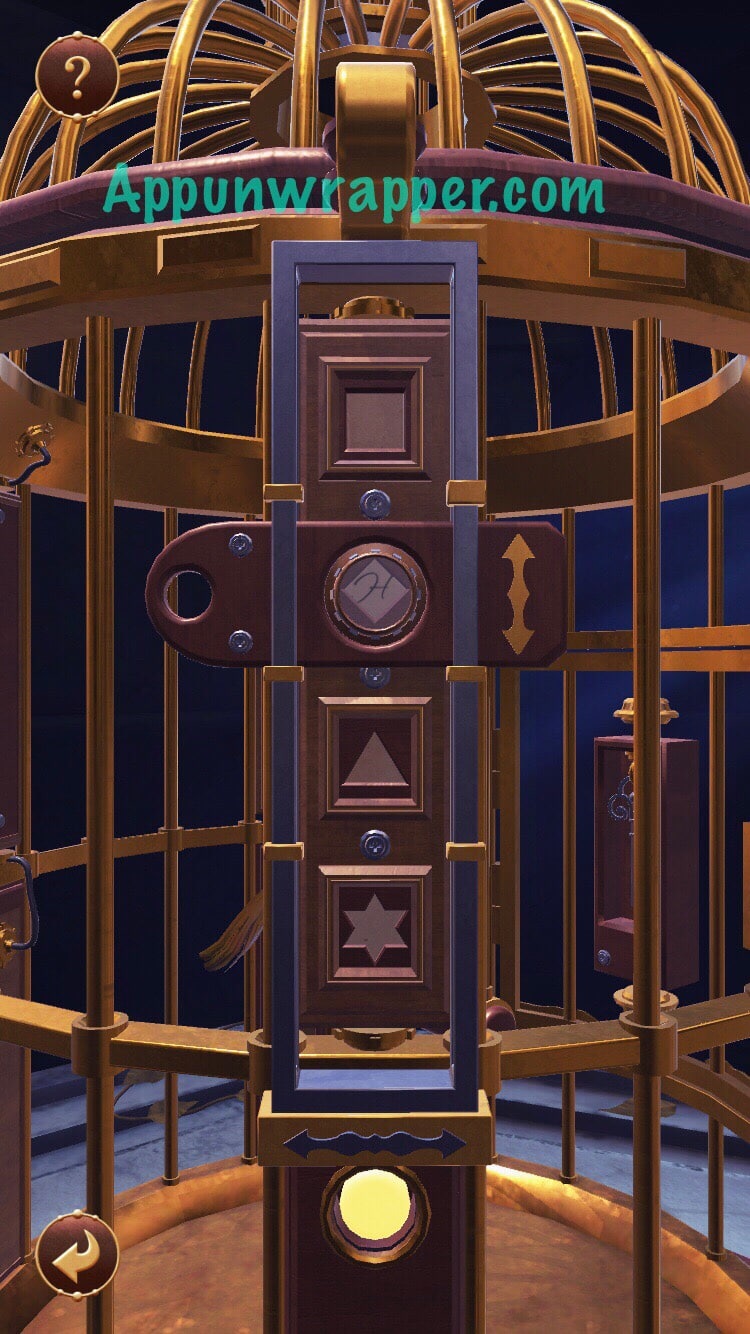
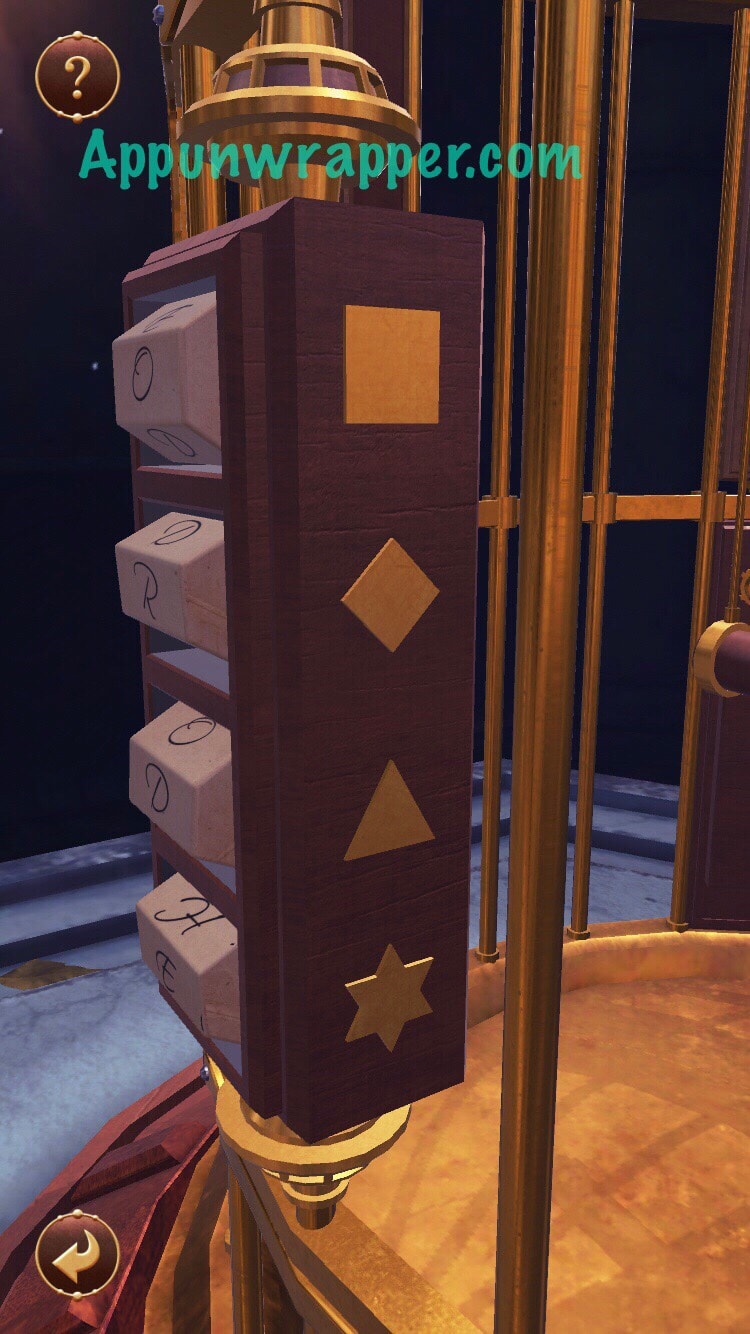
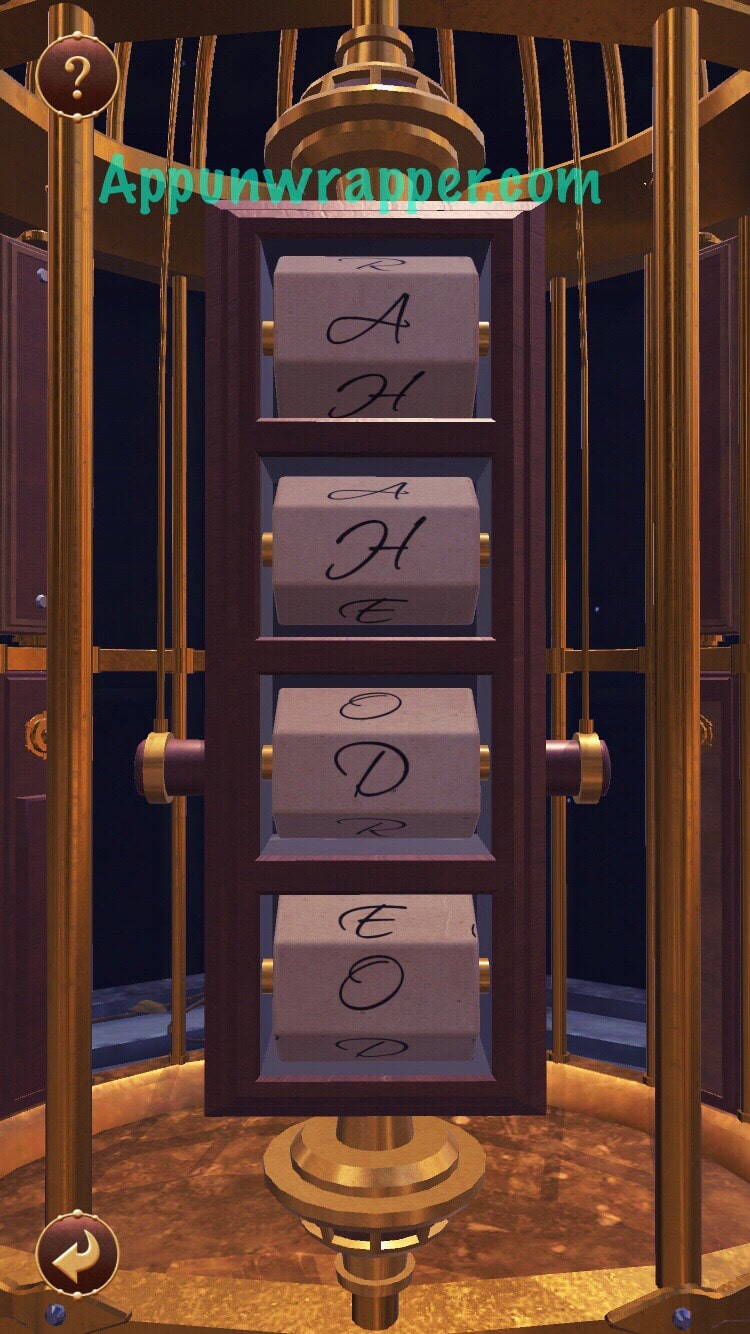
11. Now, head to the rotating letters. Notice there are shapes on the side — square, diamond, triangle, star. So put the letters you found in that order and you get AHDO. Change the letters to those and take the key.
12. Head to the keyhole on the door. Before you can use the key, you need to get the little piece on the inside to go up by spinning it. Then use the key to unlock the door and set the bird free.
Level 9:
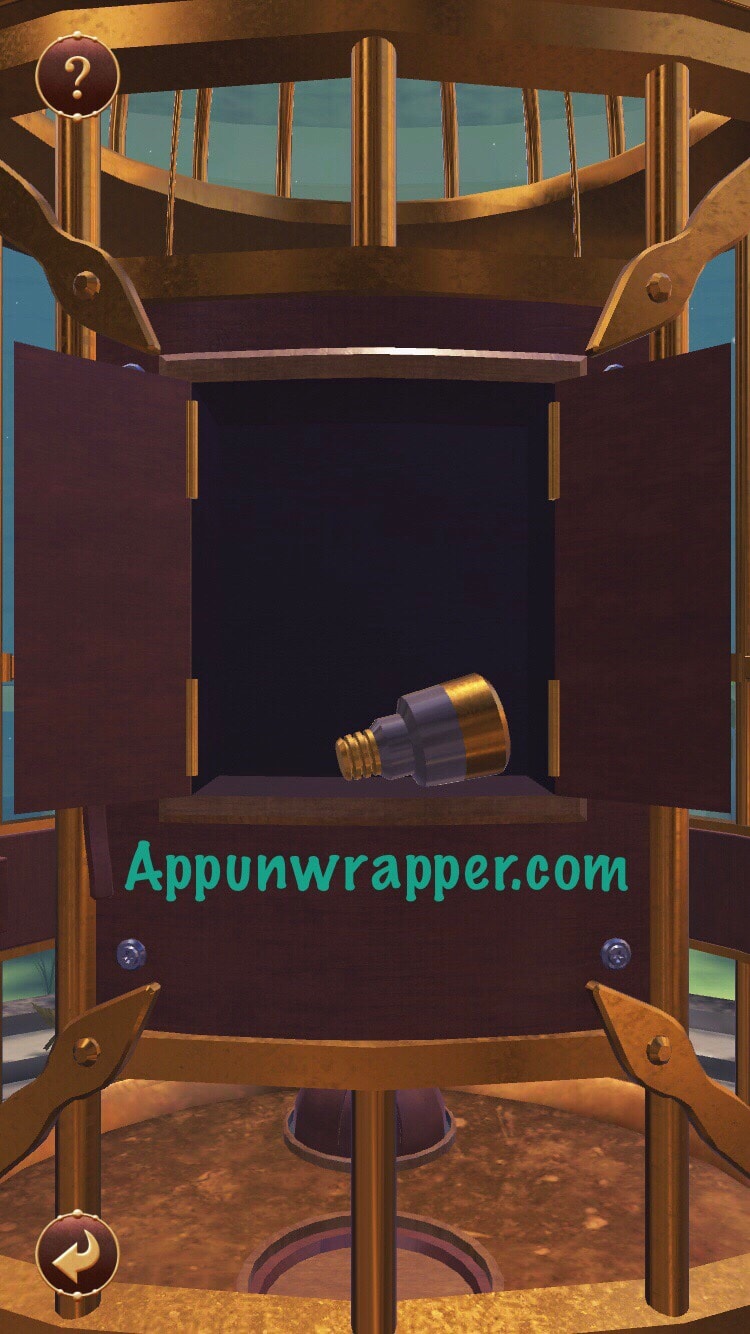
1. Zoom in on the cage door. Slide the pieces out and open the doors to get a fuse.
2. Grab the gem. Head left and grab the letter.
3. Continue left and get another gem. Continue left and open the door to get another fuse.
4. Continue left and get another gem.
5. Continue left and open the two doors to reveal the rest of the fuses. Place the two new fuses in there and turn the switch to ON.

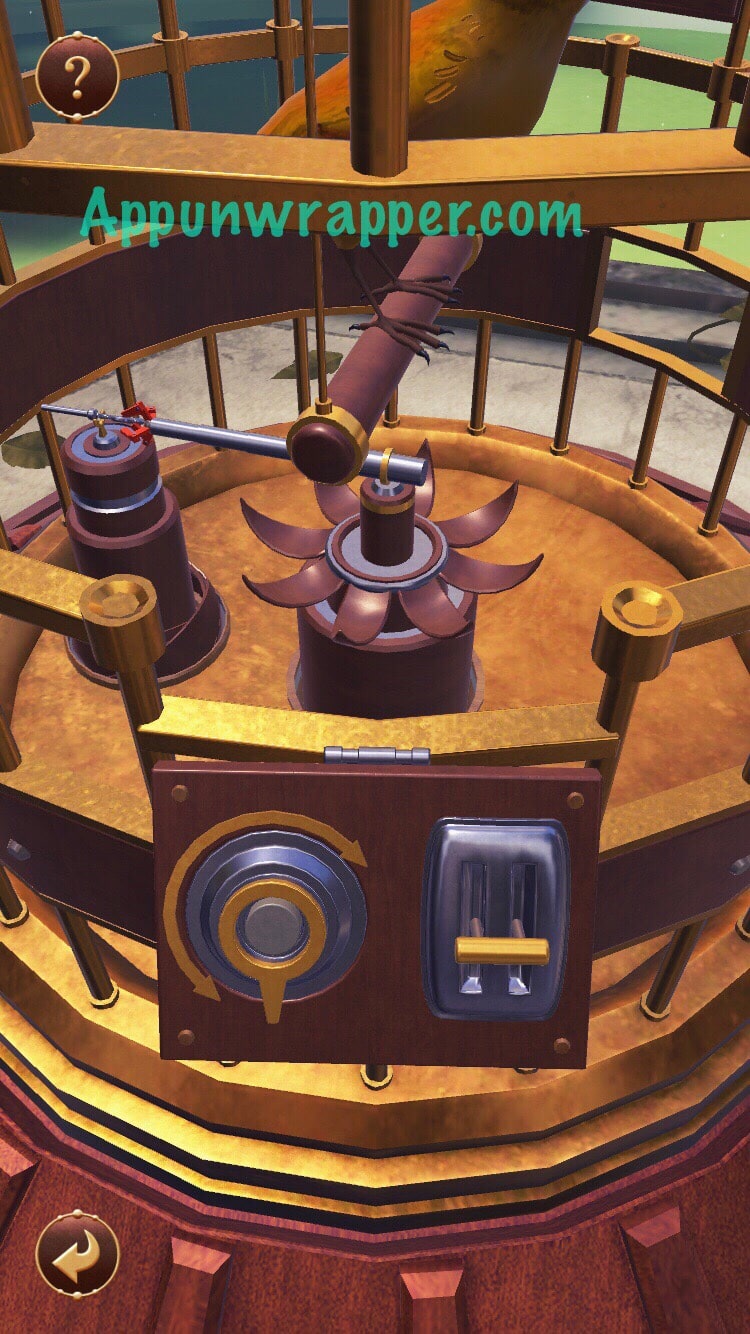
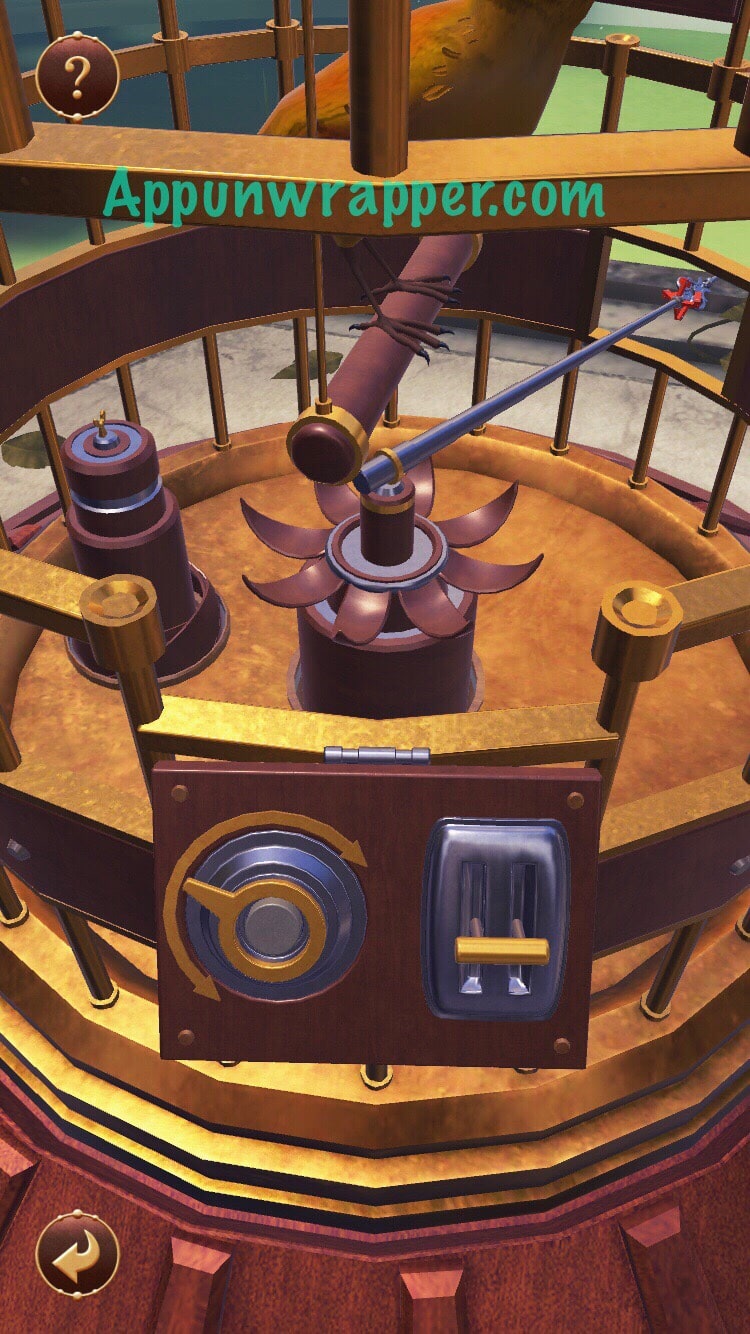
6. Head left and pull the lever down. You’ll now have a dial and a lever than control a grabber inside the cage. Use the dial to rotate and the lever to extend. Then, press the button in the middle of the dial to grab the key.
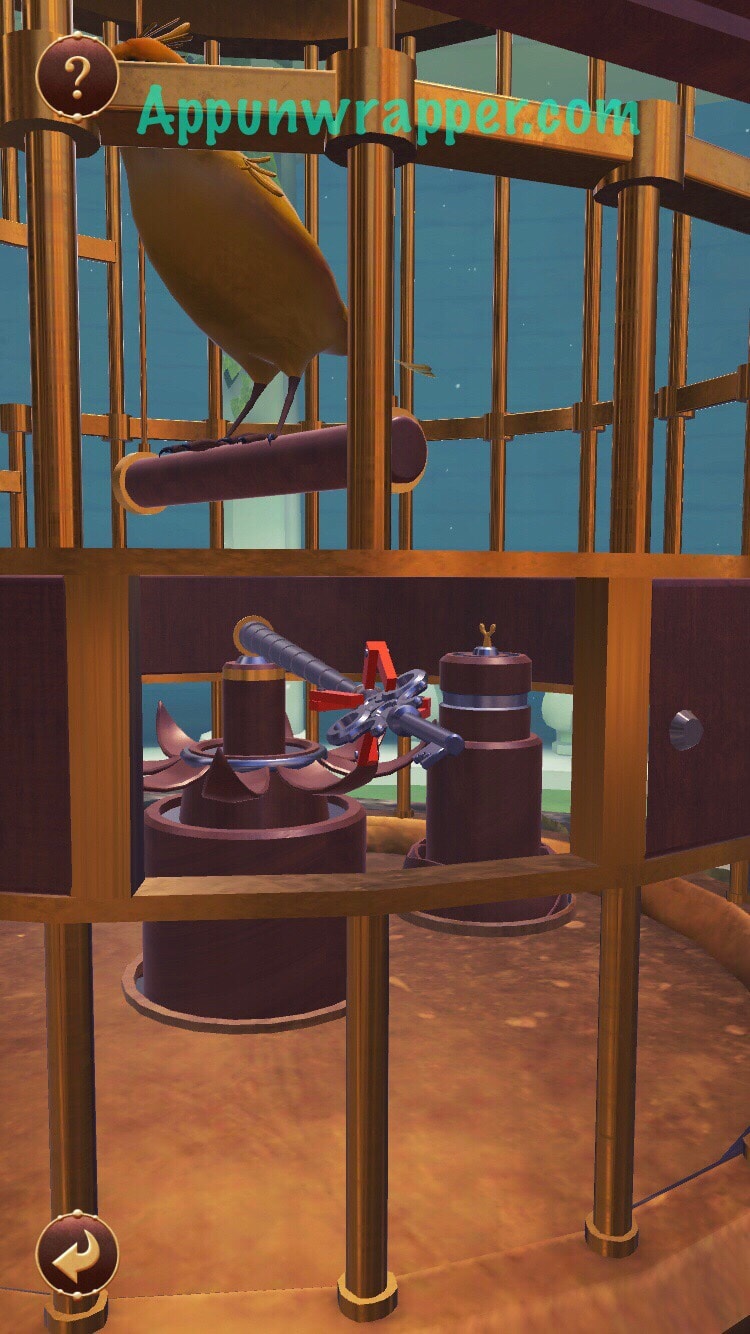
7. Now, rotate the grabber so it lines up with the hole on the other side and extend it so it pushes out of the cage. Go around to the other side and grab the key.
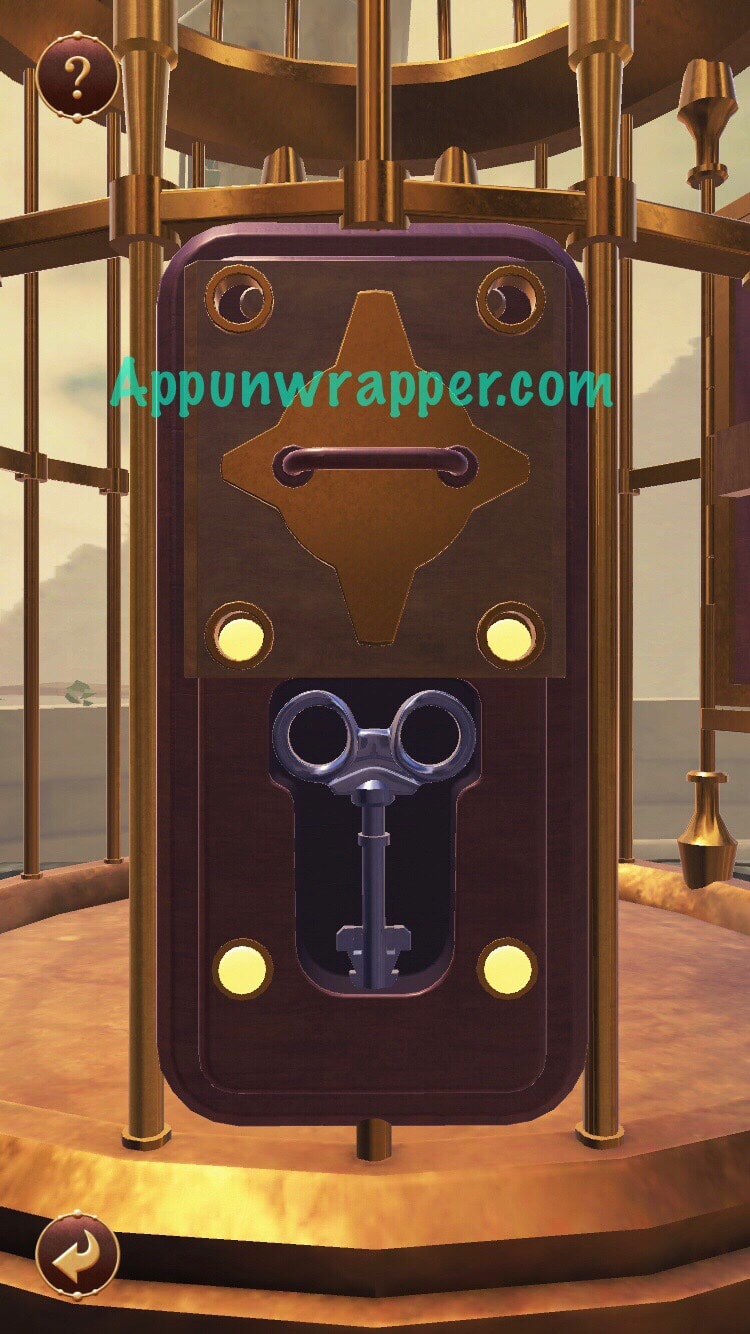
8. Head to the cage door. Pull the two locks aside and then use the key to open the door and free the bird.
Level 10:
1. Head left and grab the gem.
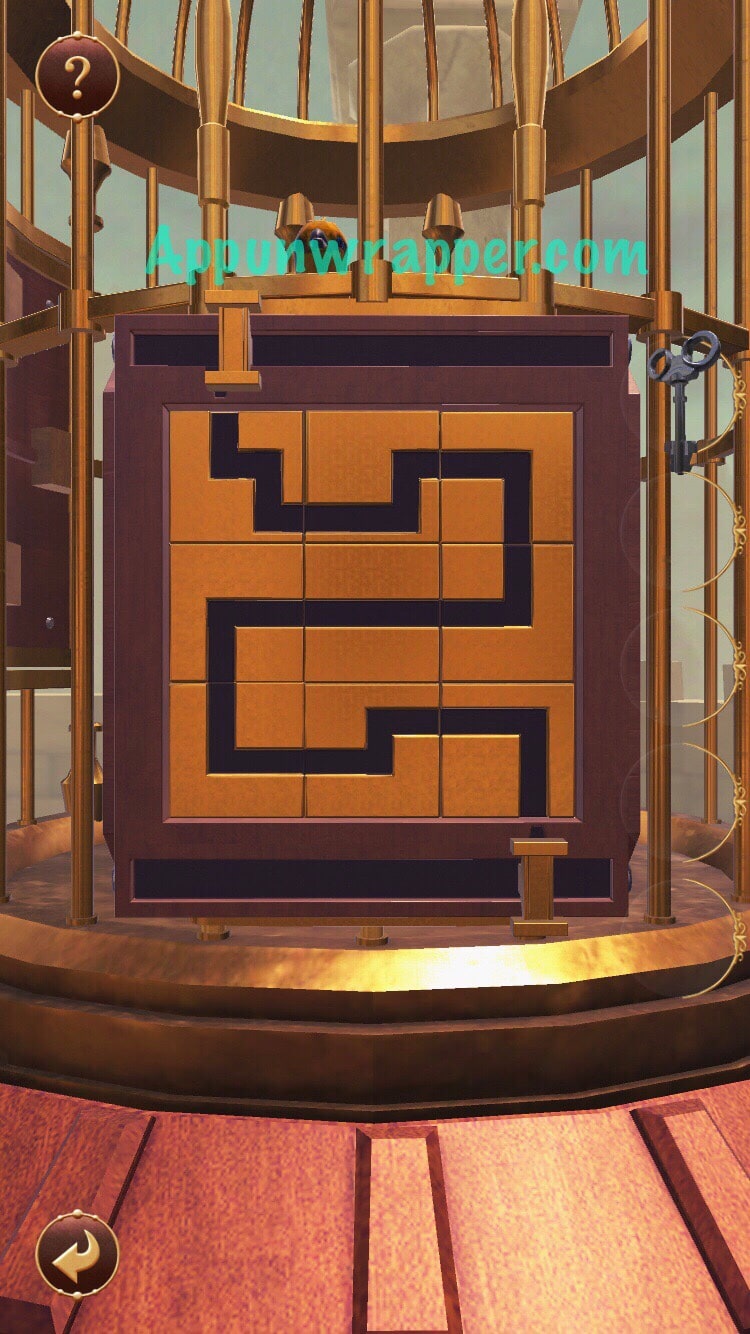
2. Continue left and solve the maze puzzle. Then. Press the four buttons and pull the handle up. Grab the key.
3. Continue left and grab the gem. Continue left and grab the last gem and the letter.
4. Solve the rotating tile puzzle and then line the two sliders up with the exits of the maze.
5. Next, rotate the dial to reveal some shapes and take the center dial. Notice the shapes go in this order: square, circle, triangle, diamond.
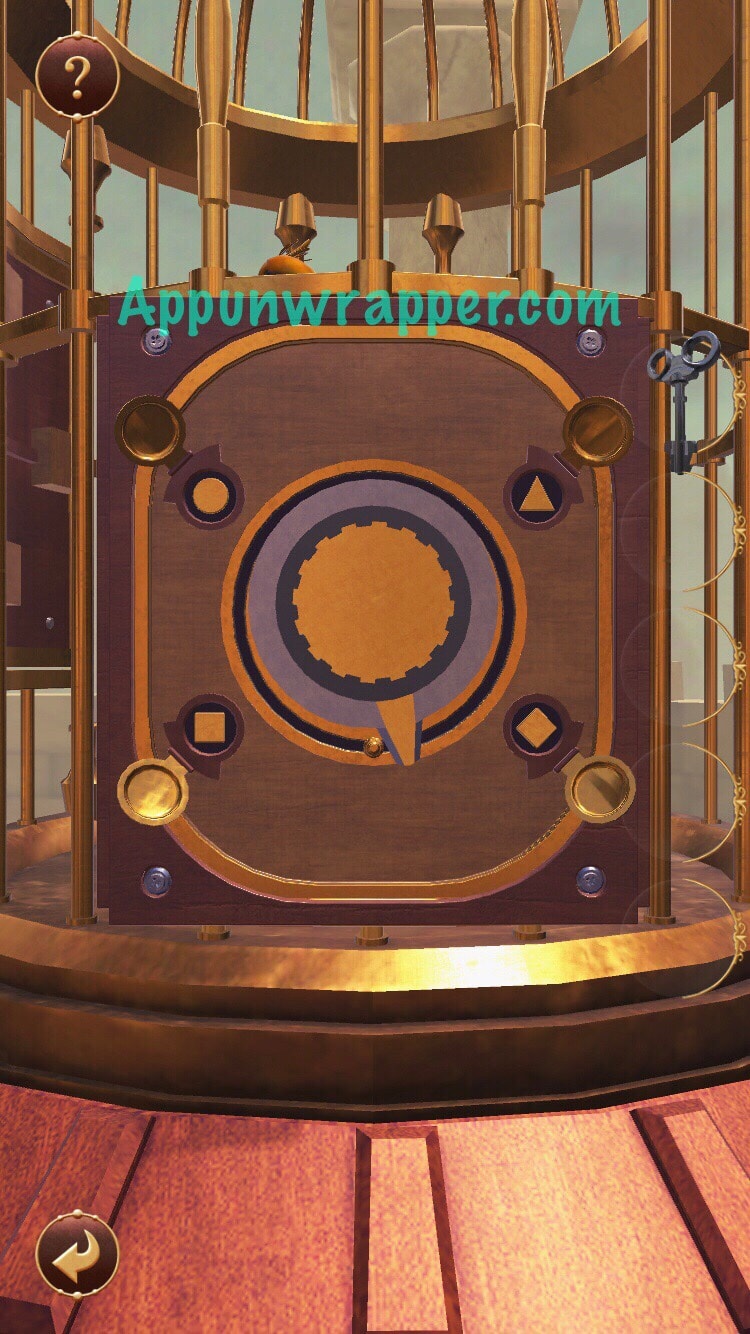
6. Go to the cage door and place the dial down in the center. Press the square, then the circle, then the triangle, then the diamond.
7. Use the key to unlock the door and set the bird free.
And that’s the end of the goldfinch pack!


How are you supposed to complete level 24 and 25 in the Dove pack?