Returner Zhero
By: Fantastic, yes
Returner Zhero is the sequel to the gorgeous sci-fi mystery game, Returner 77, by Fantastic, yes. Once again, you’re on an alien spaceship, solving puzzles and unraveling the mystery. Oh and trying to save the human race. The puzzles can be tricky at times, so here I’ll be helping you out with a step-by-step walkthrough guide, including videos. Feel free to ask for extra help in the comments section.
Walkthrough:
Chapter 1 | Chapter 2 | Chapter 3 | Chapter 4 | Chapter 5 | Chapter 6 | Chapter 7 | Review |
Chapter 3, The Heart:
You can watch my video for Chapter 3 here or continue below for my step-by-step guide.
1. Head towards the flowers. Turn to the left and solve the puzzle on the wall.
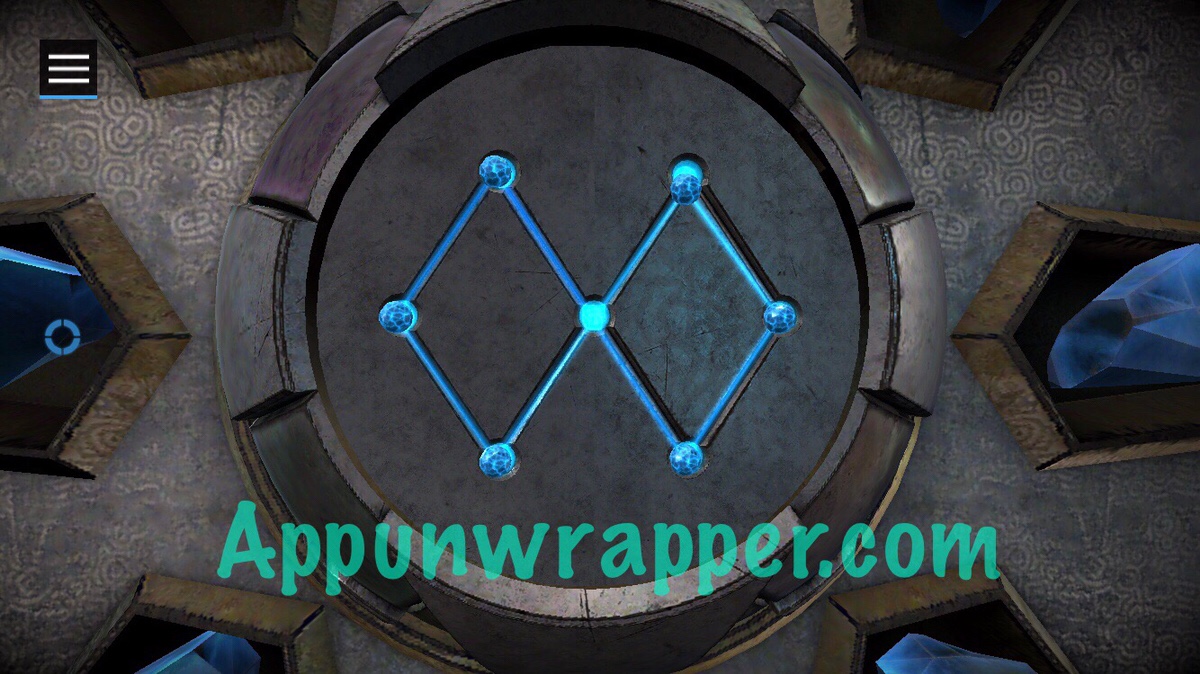
2. Follow the blue crystal flower. Spin each of the discs in opposite directions so the crystals all fold forward. Then tap and hold the glowing blue center to shoot a beam out and break through the wall.
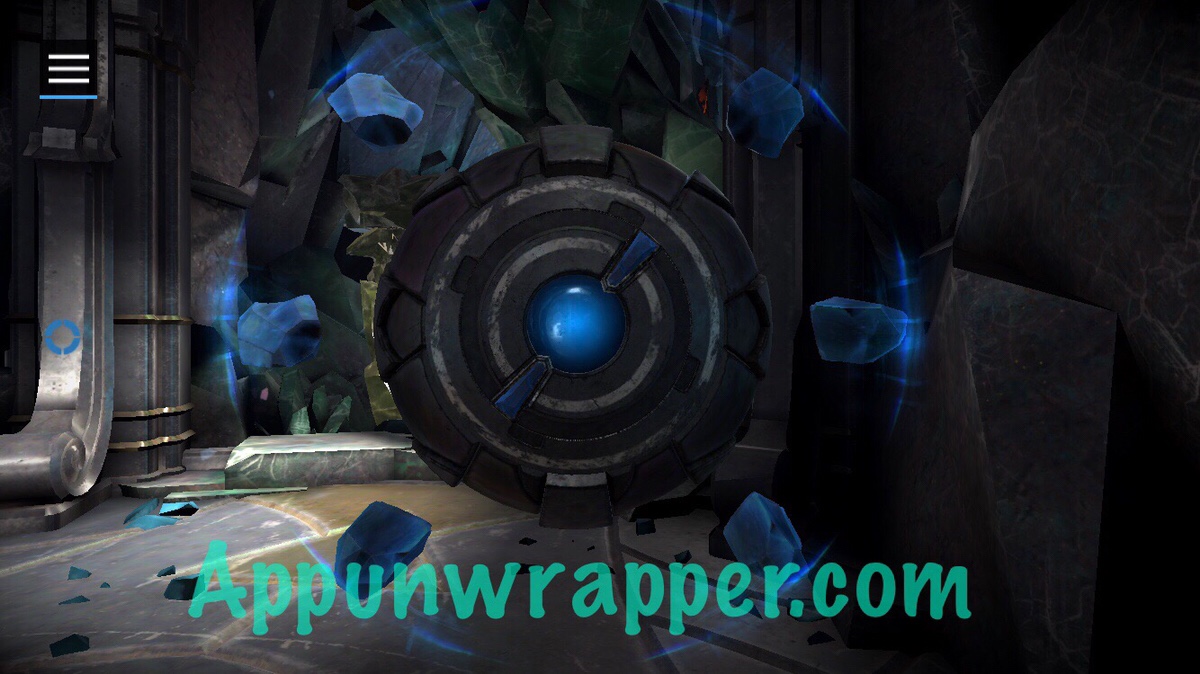
3. Continue on and use the laser again. Then continue on.
4. Walk straight ahead and touch the blue glowing spot. Then follow the blue particles back down the hall.
5. Again, touch the blue spot. Look around to see six symbols. I recommend taking a screenshot of them. Then zoom out to get back to the normal view.
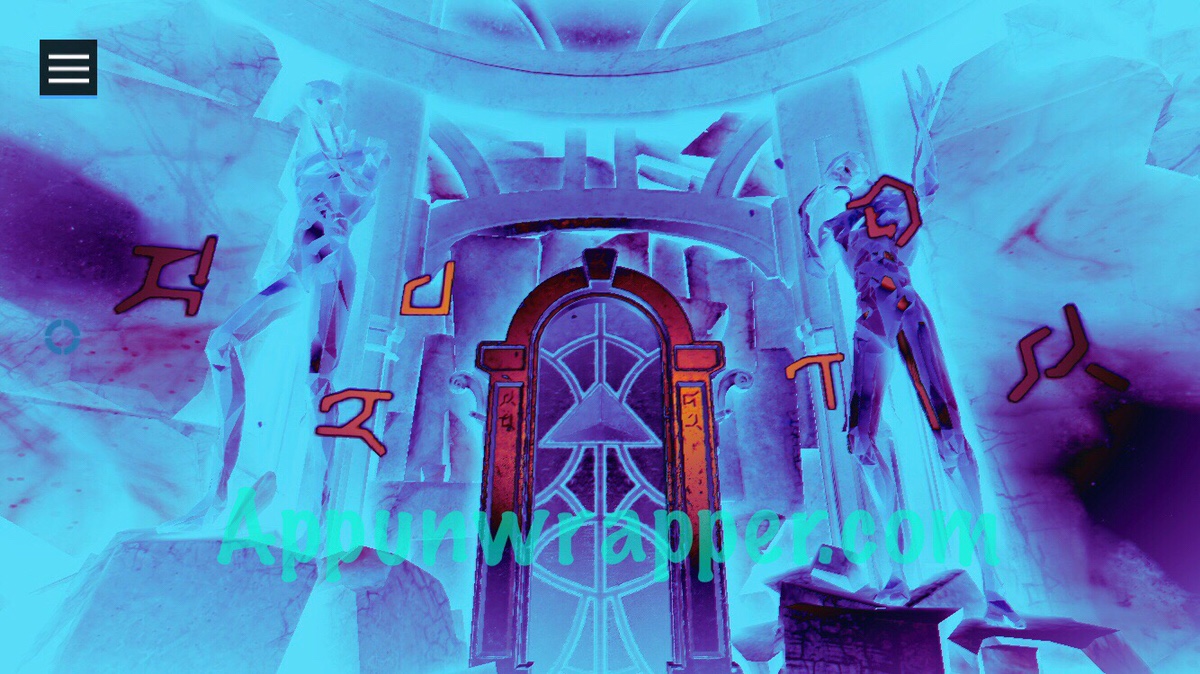
6. Turn to the left and pull the three symbols you saw on the left into the center. Then press the central button. Then do the same on the right side.
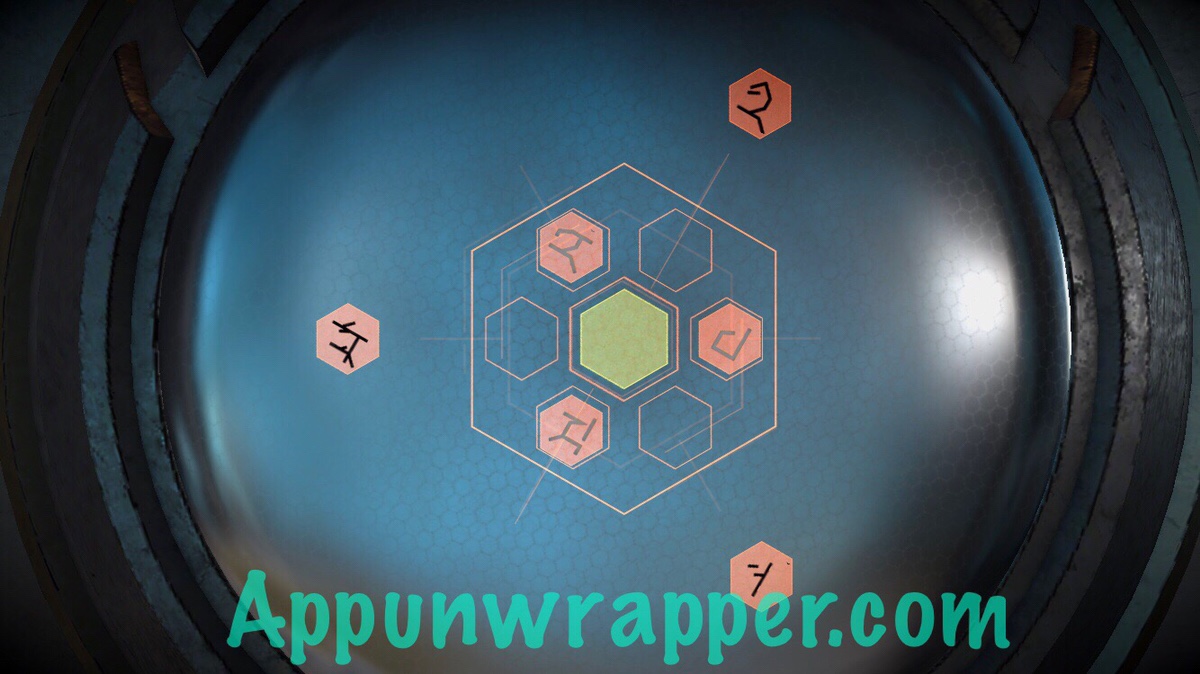
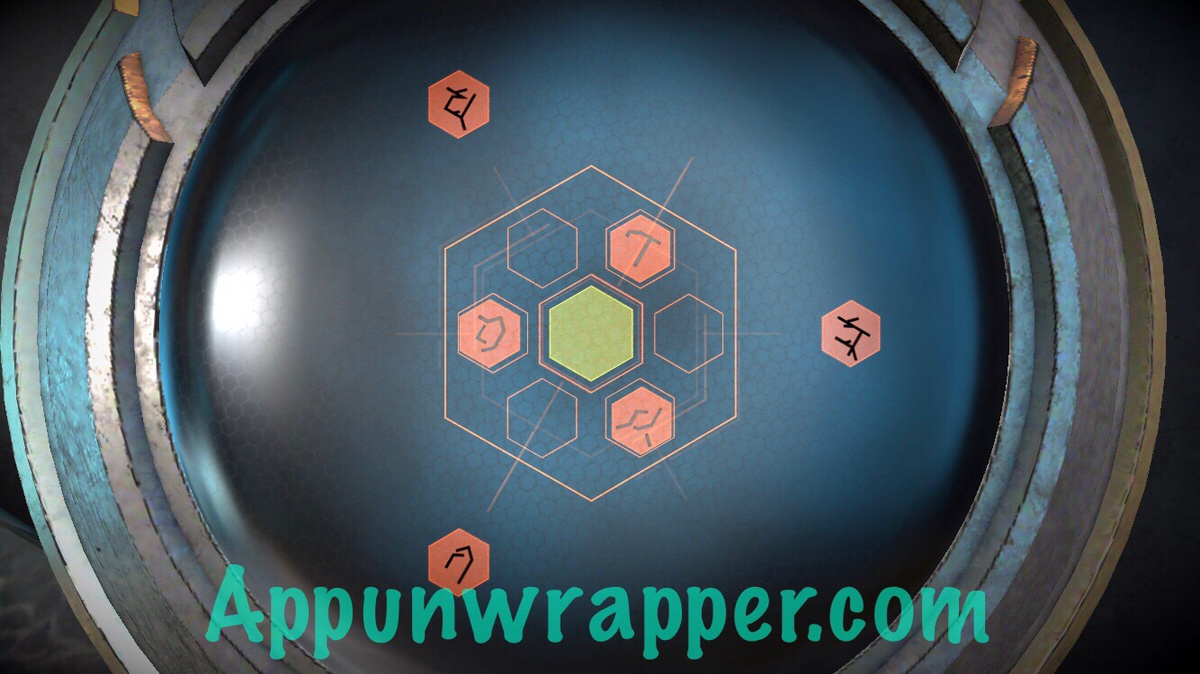
7. Go through the door that opens. Solve another few orange puzzles like before.
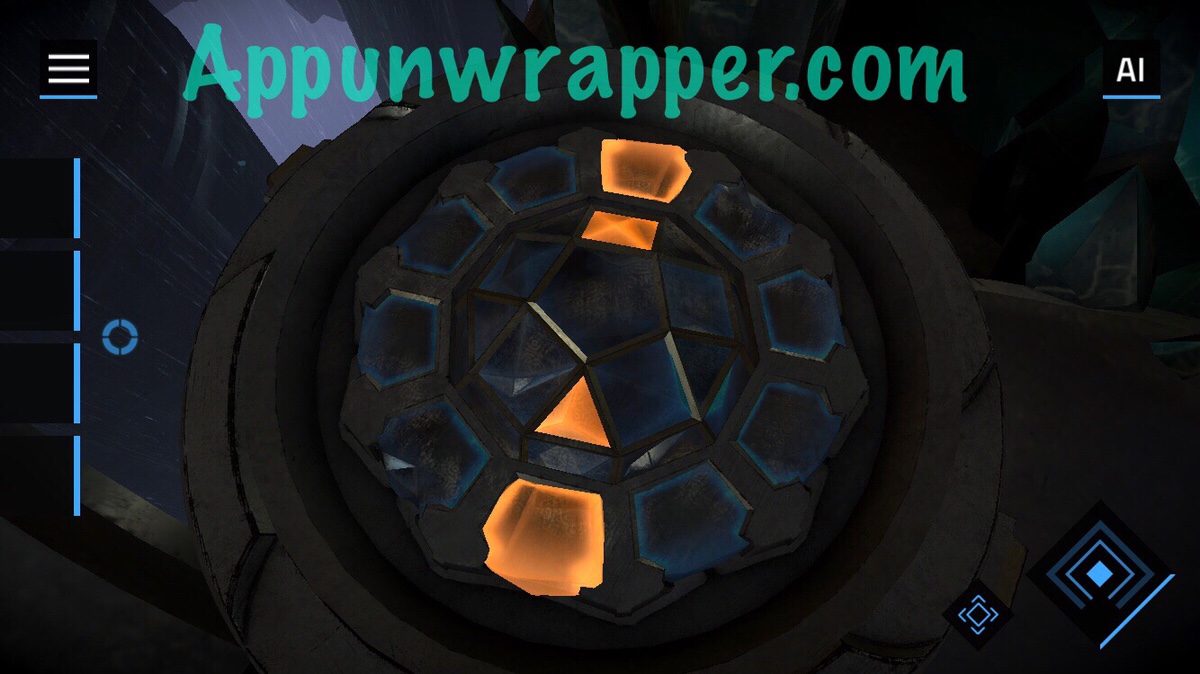
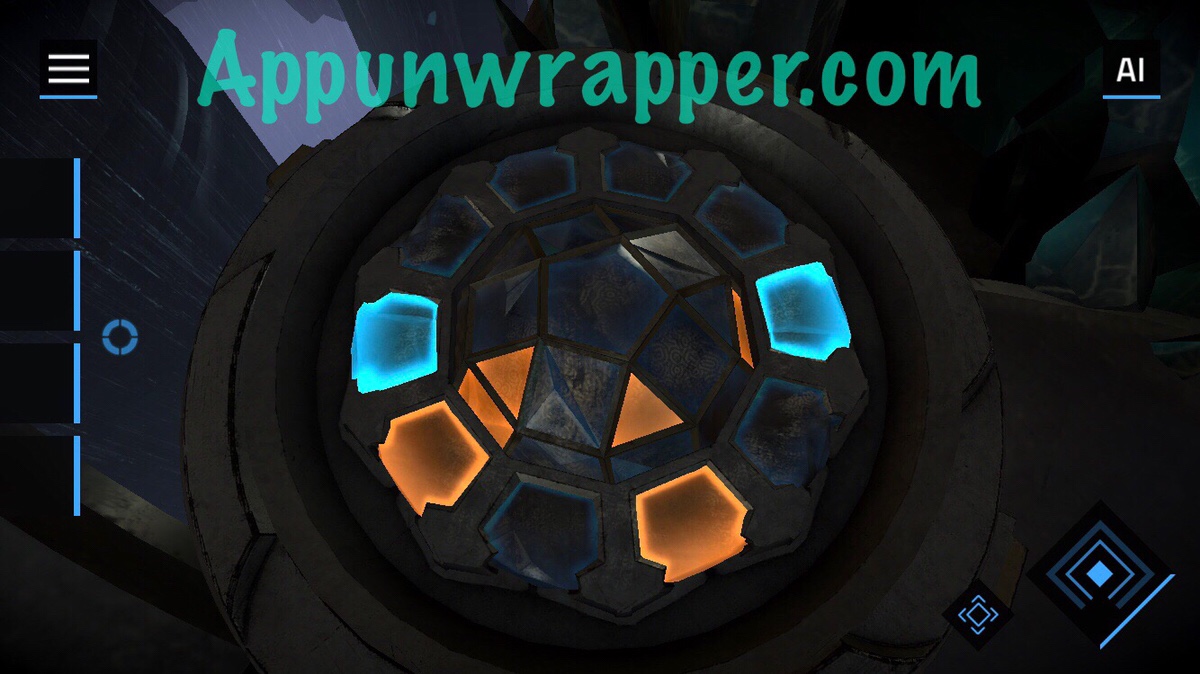
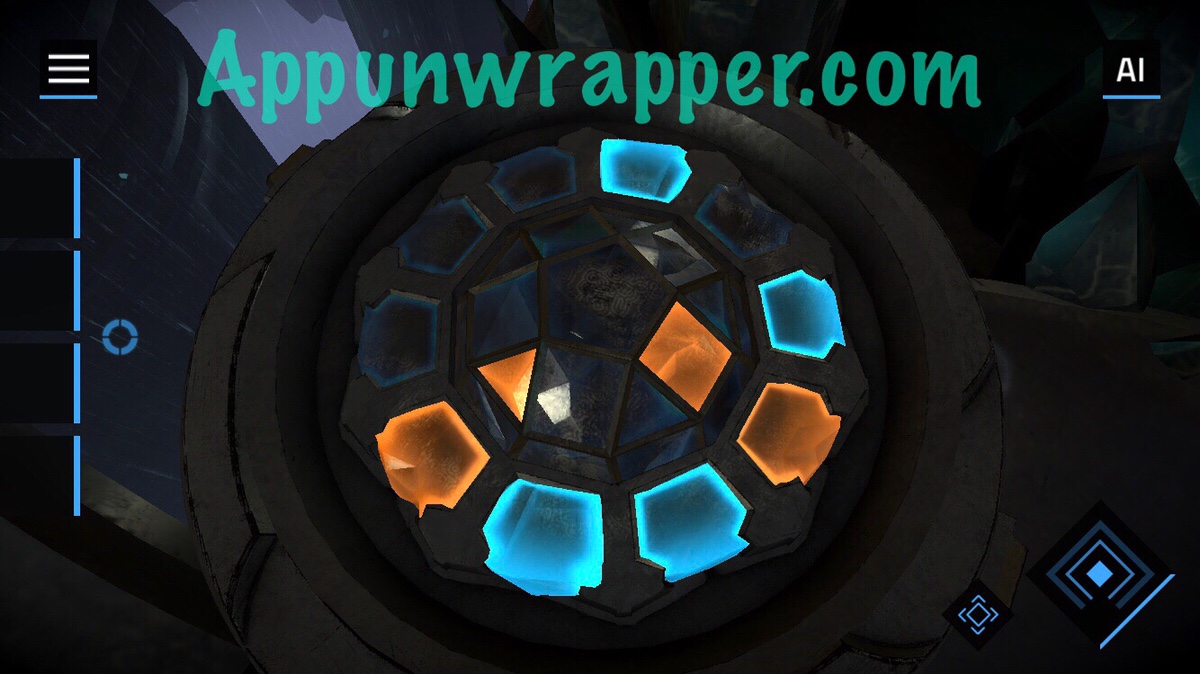
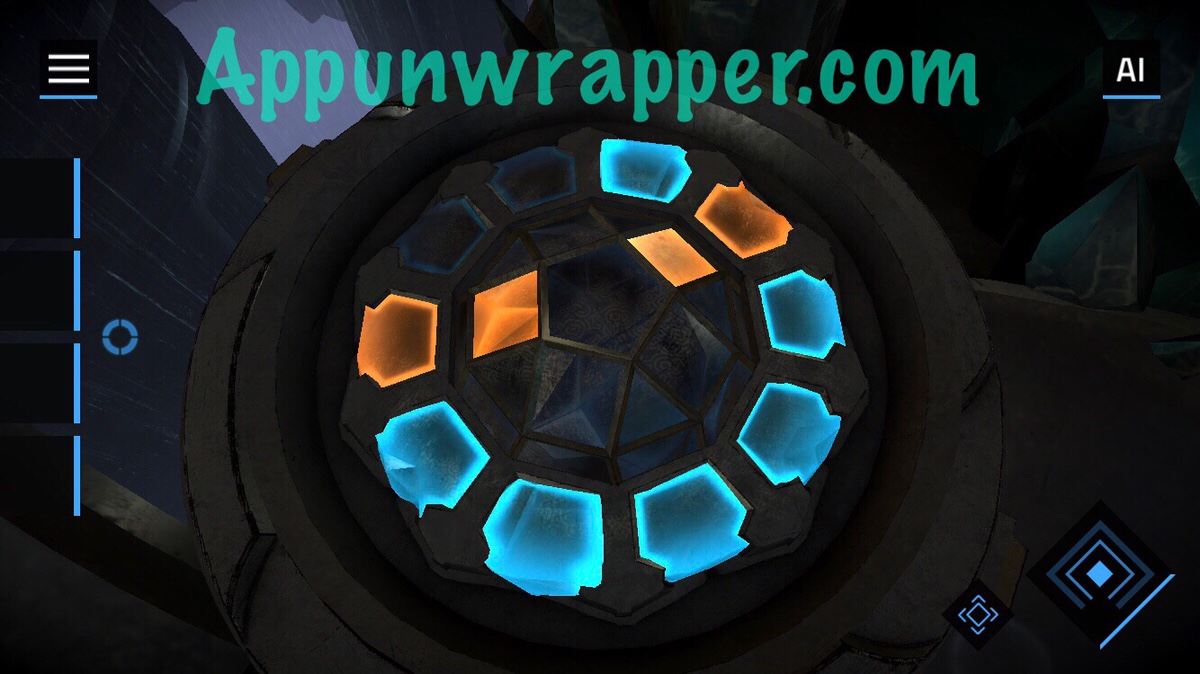
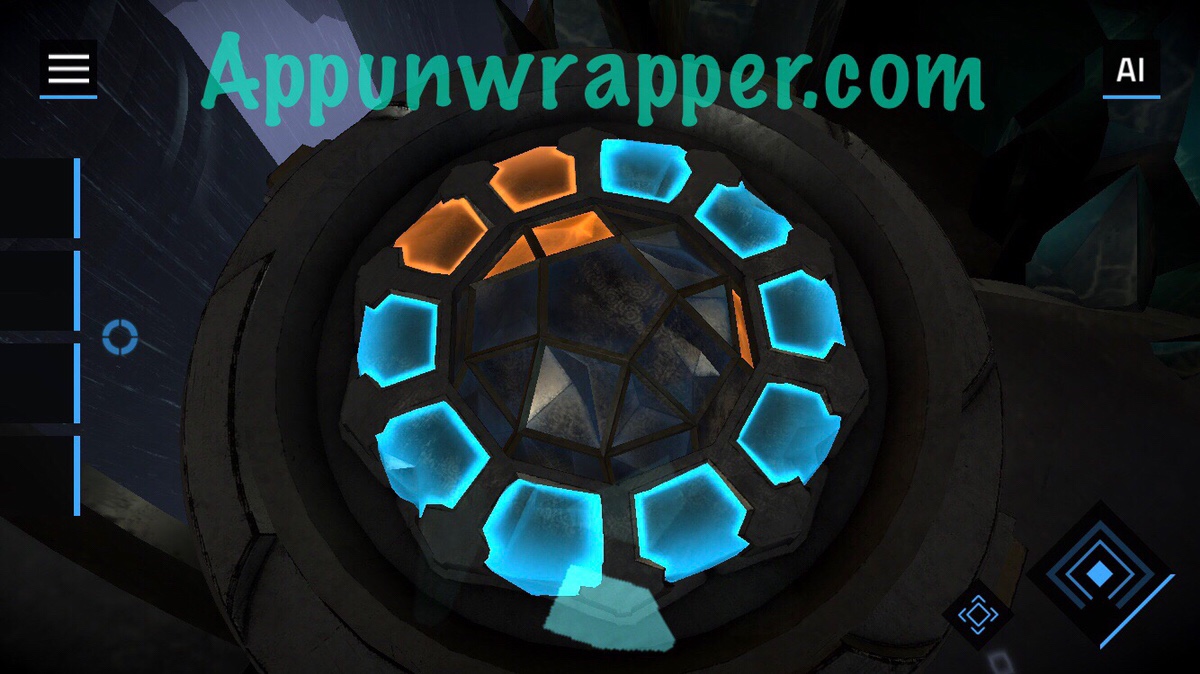
8. Cross the bridge. Walk to the edges of the room and use the zoom feature to look around and find three symbols on the structures around you.
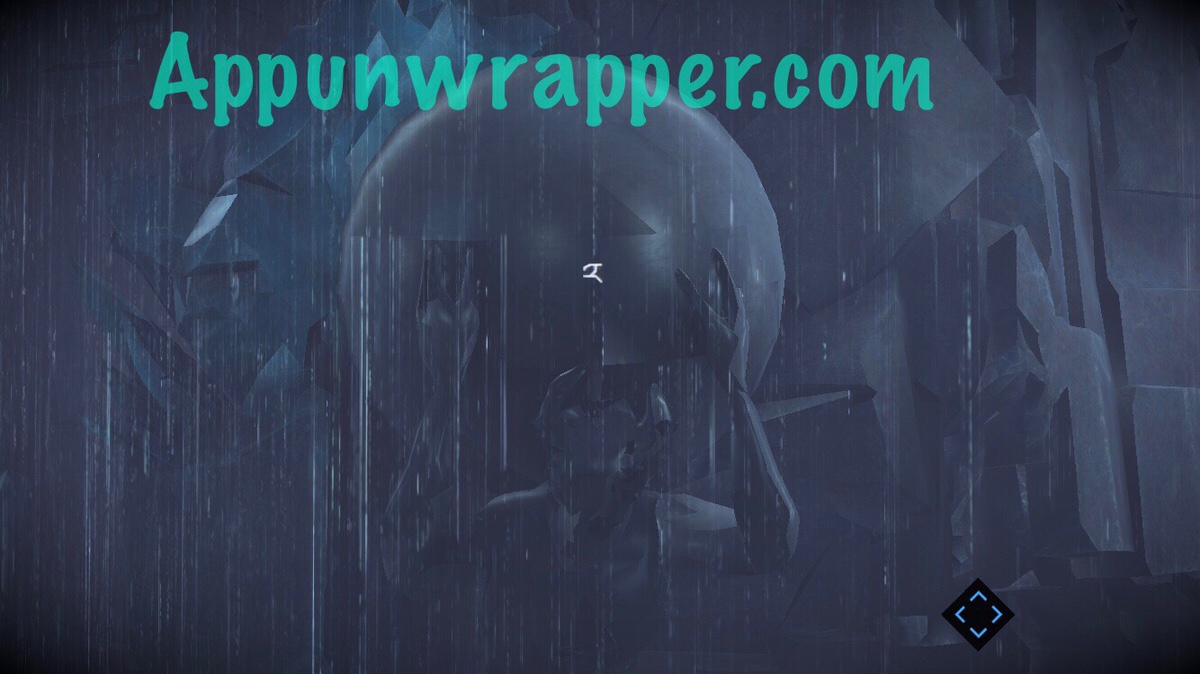
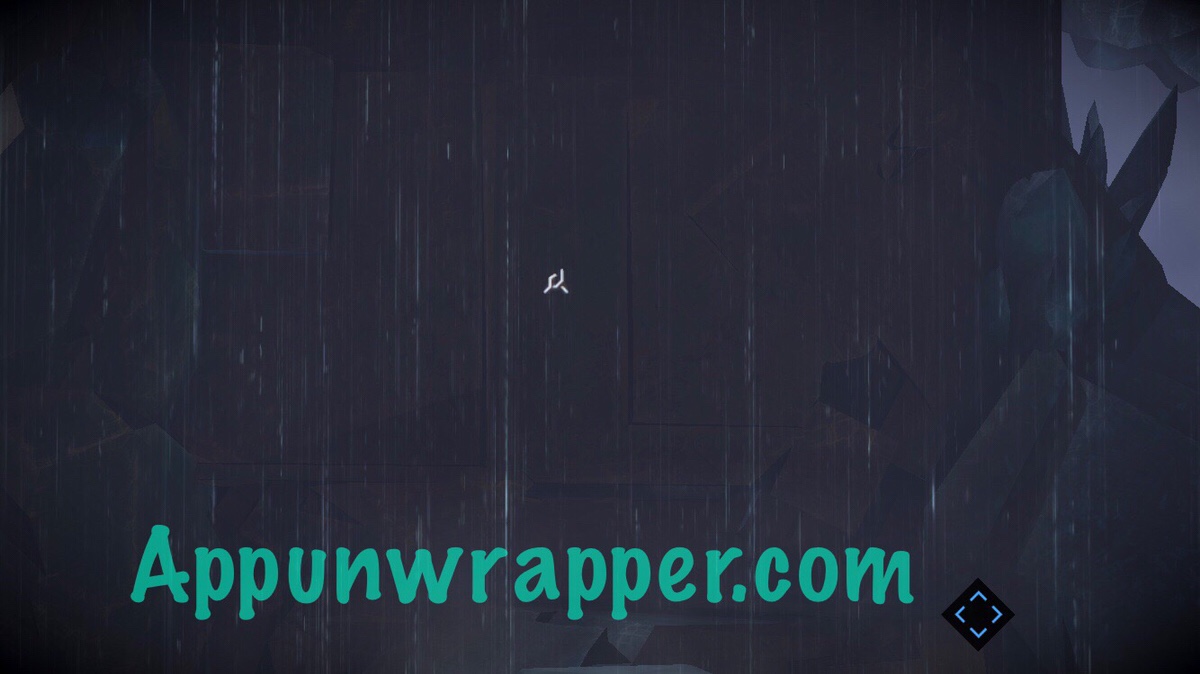
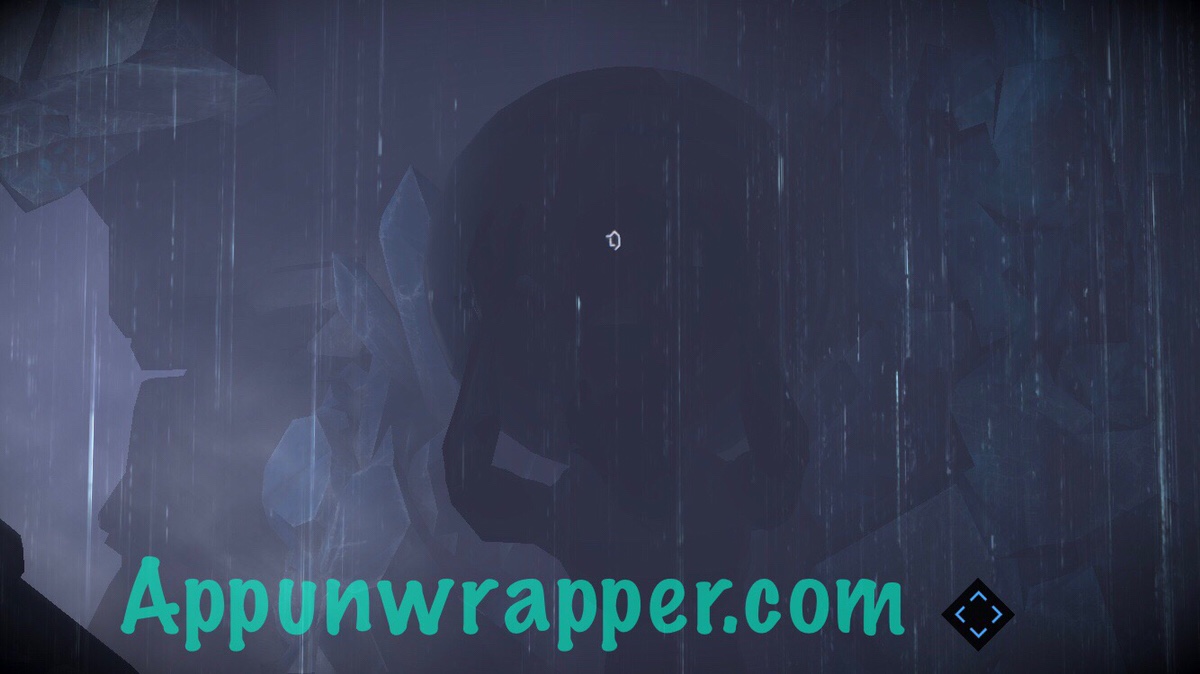
9. Now, step up to the dome in the center and change the rings to match those three symbols you saw.
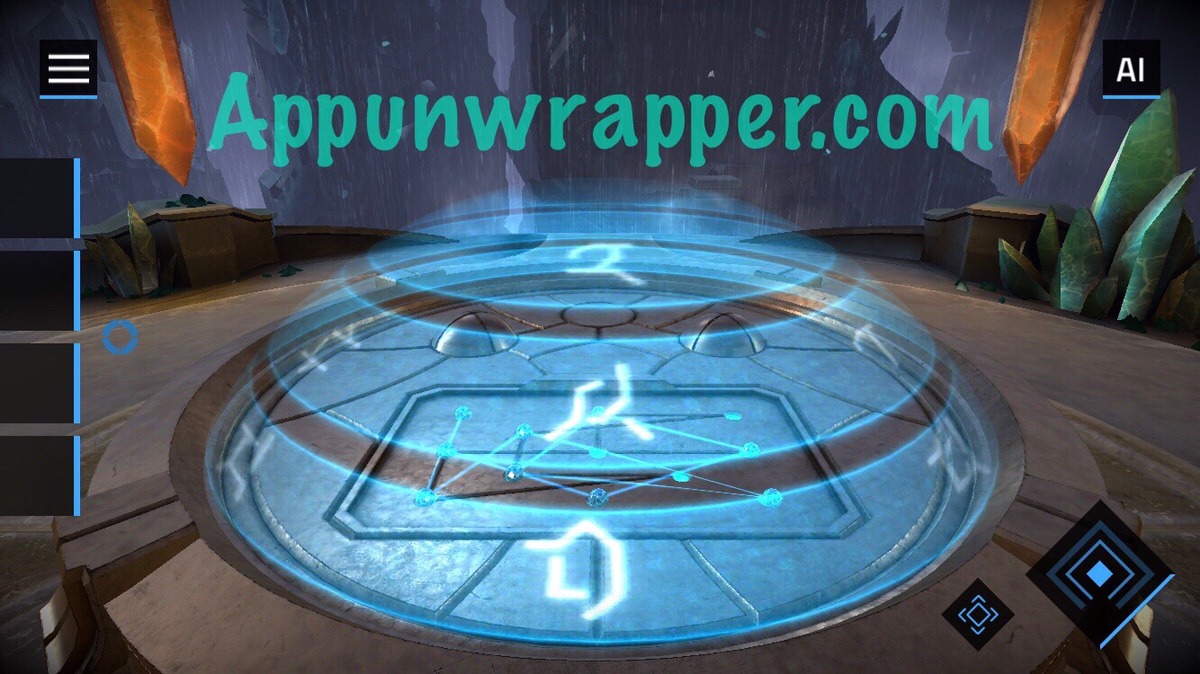
10. Now, solve the puzzle underneath and take the two orbs.
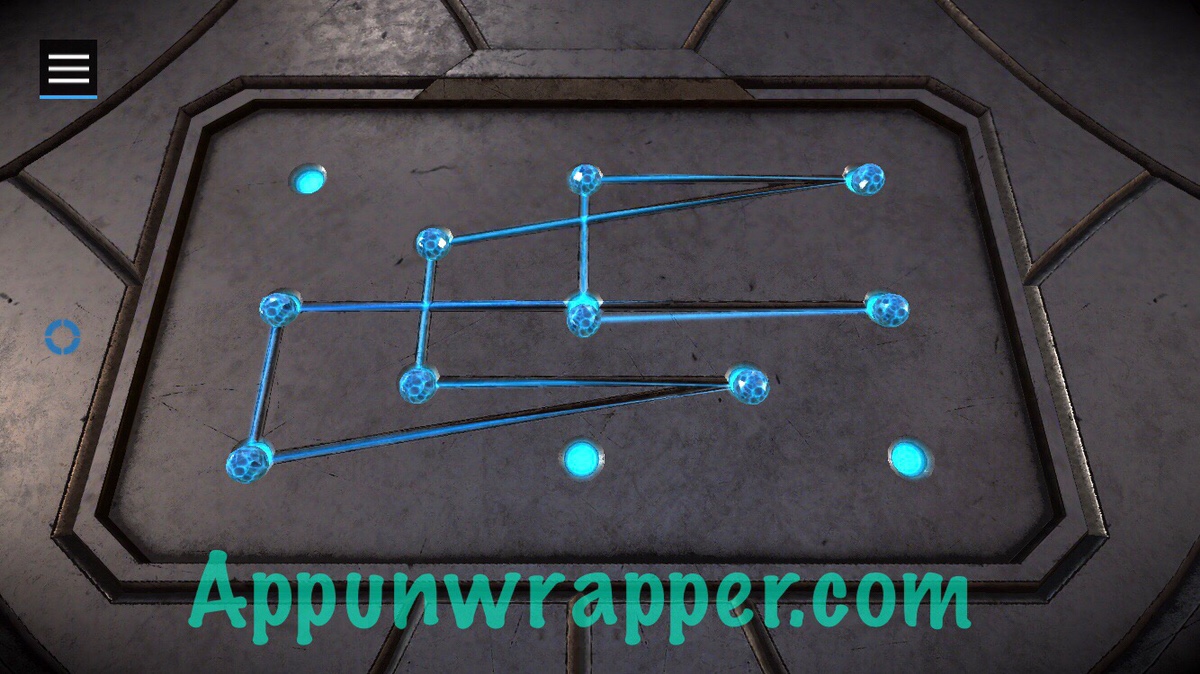
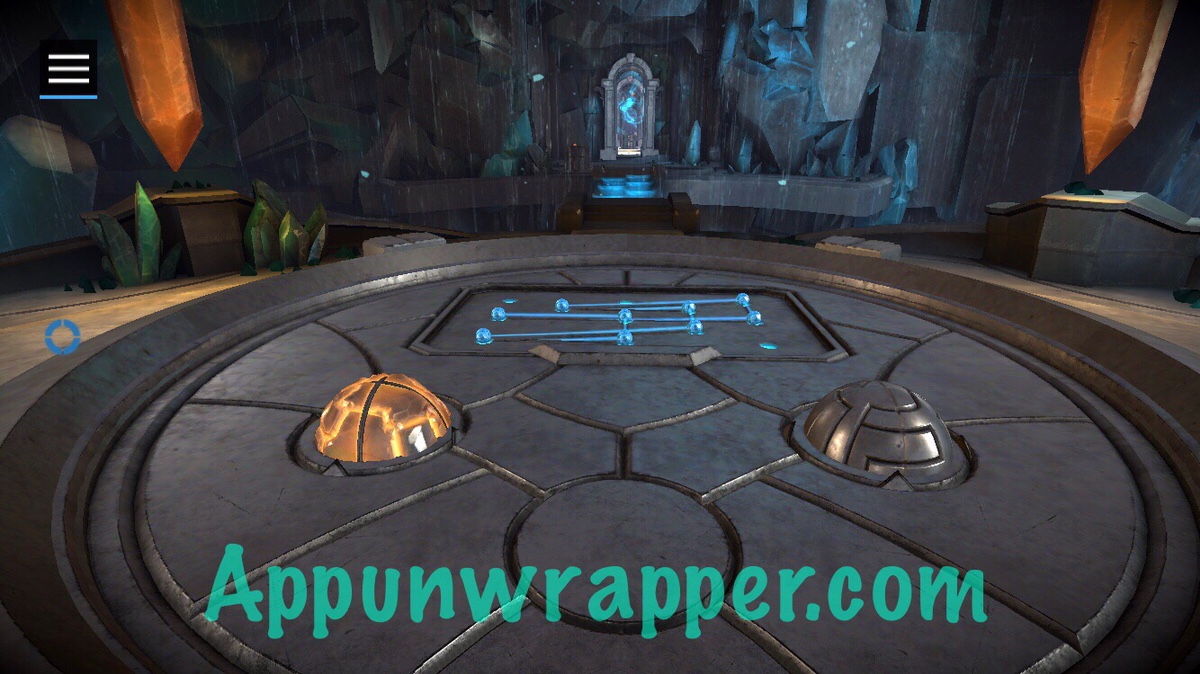
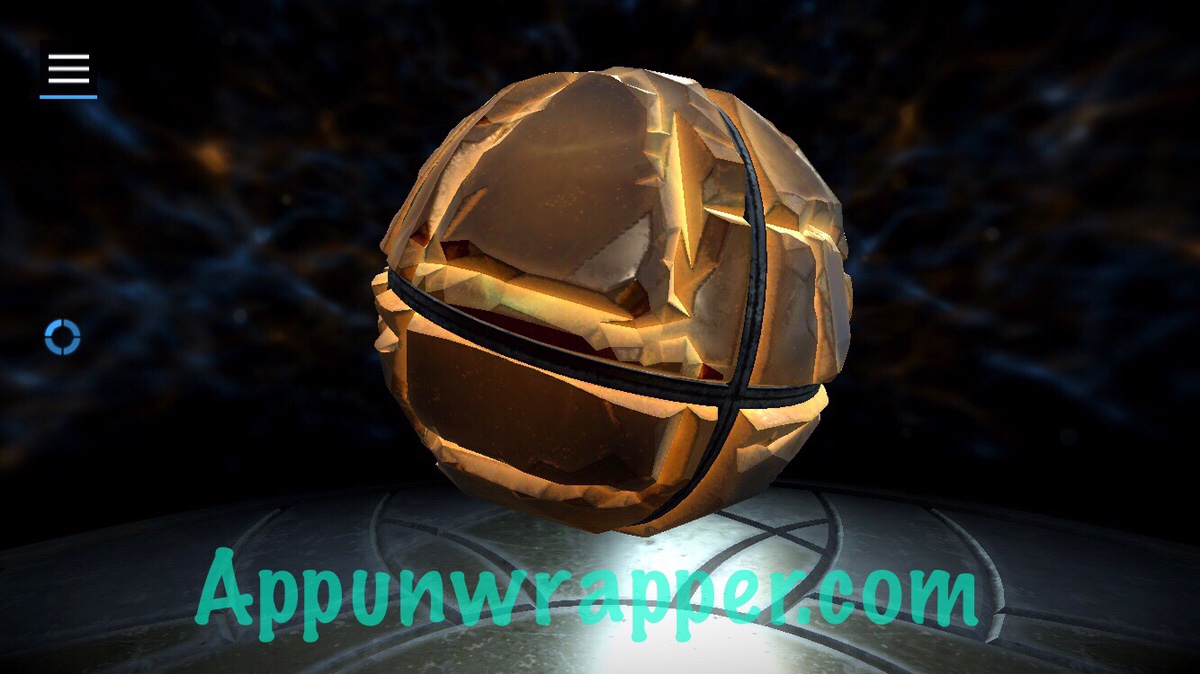
11. Head over the left bridge and place the golden orb in the slot. Solve the puzzle by tapping to rotate each piece until they form a continuous pattern. Sorry, screenshots don’t help here. Use my video if you’re stuck.
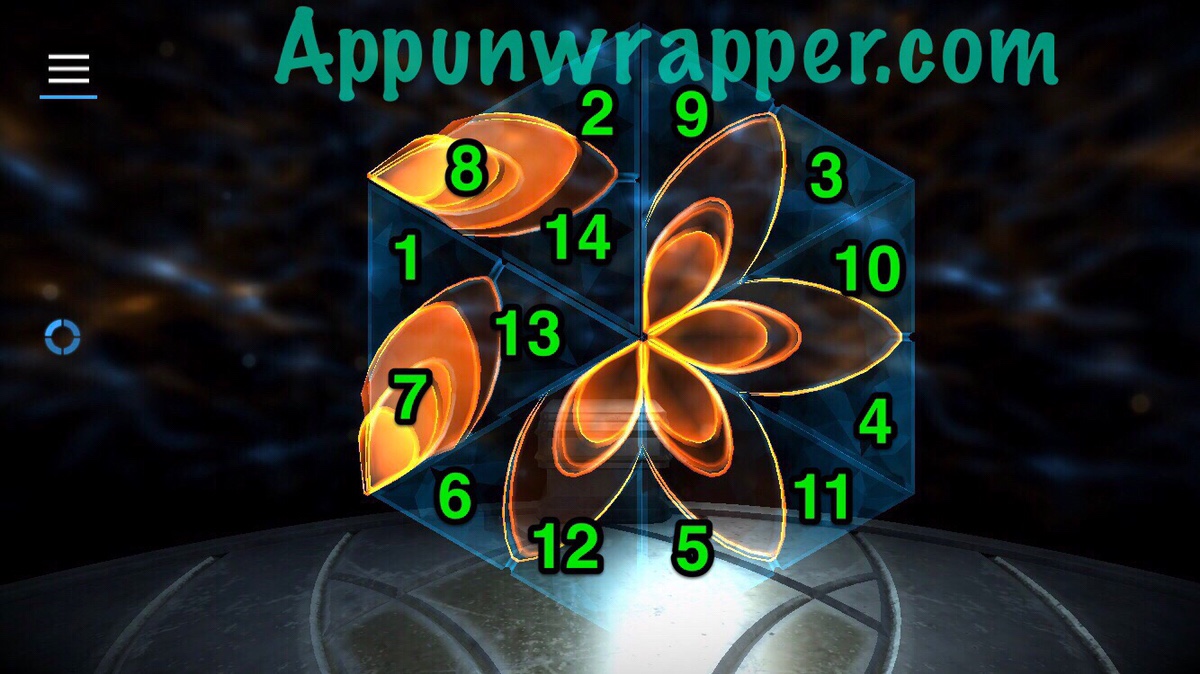
12. Now solve the flower puzzle. You can follow my directions below.
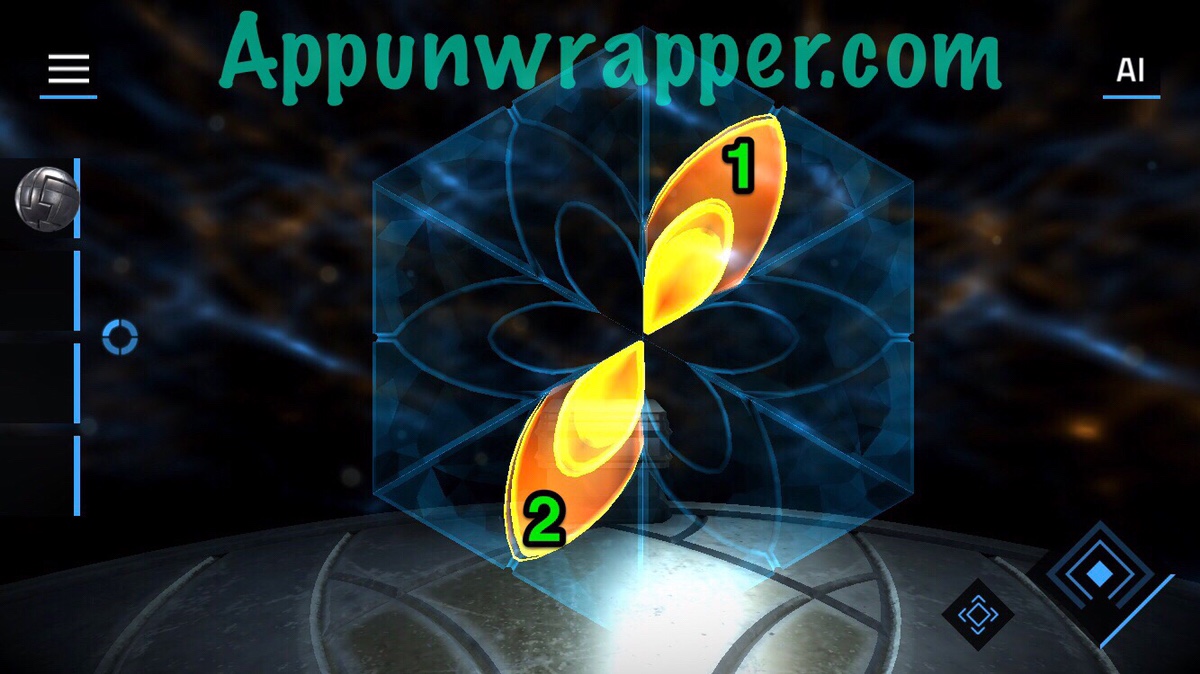
13. Now solve the next flower puzzle. It’s much easier. Then take the triangle half.
14. Now, let’s head over the right bridge. Place the silver orb in the slot and solve the puzzle.
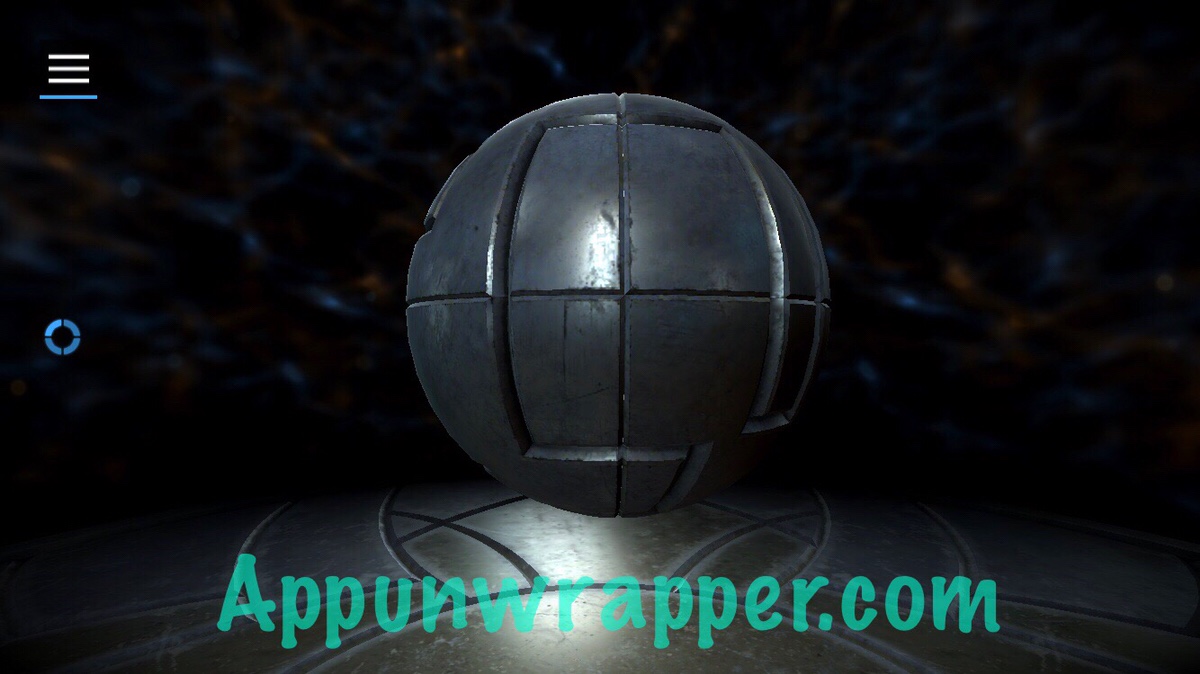
15. Solve the next flower puzzle.
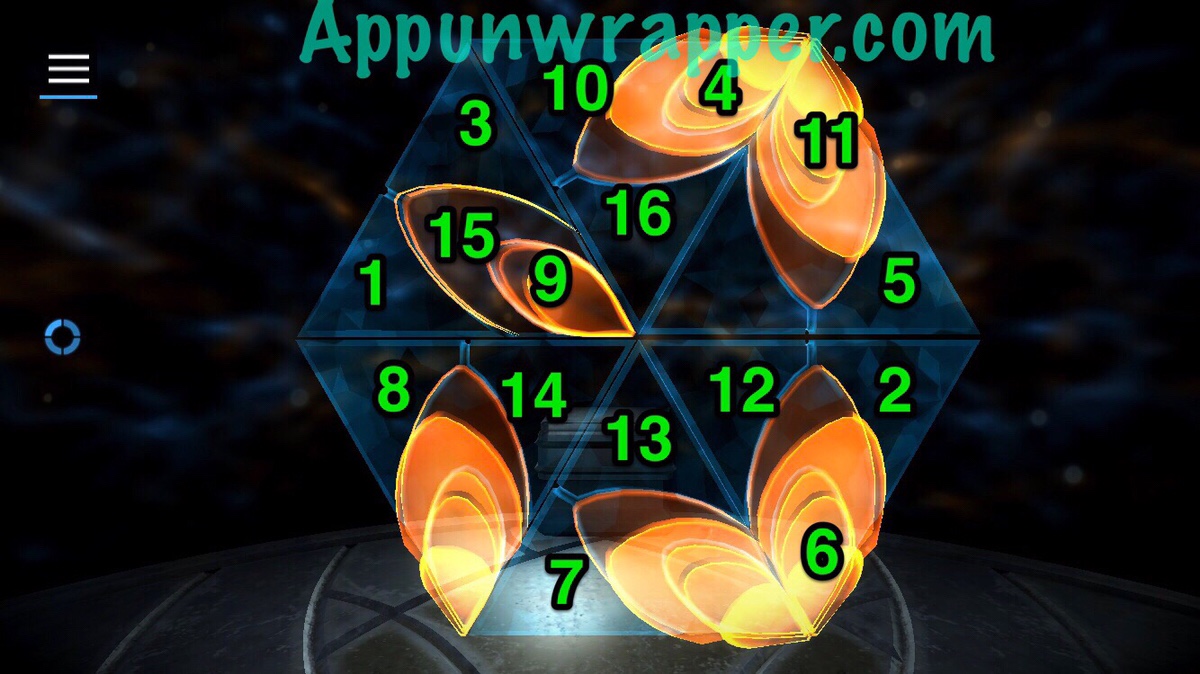
16. For the next puzzle, you need to slide the pieces around and move the correct symbol to the bottom. Keep going until you’ve used all the symbols. Again, take the half triangle.
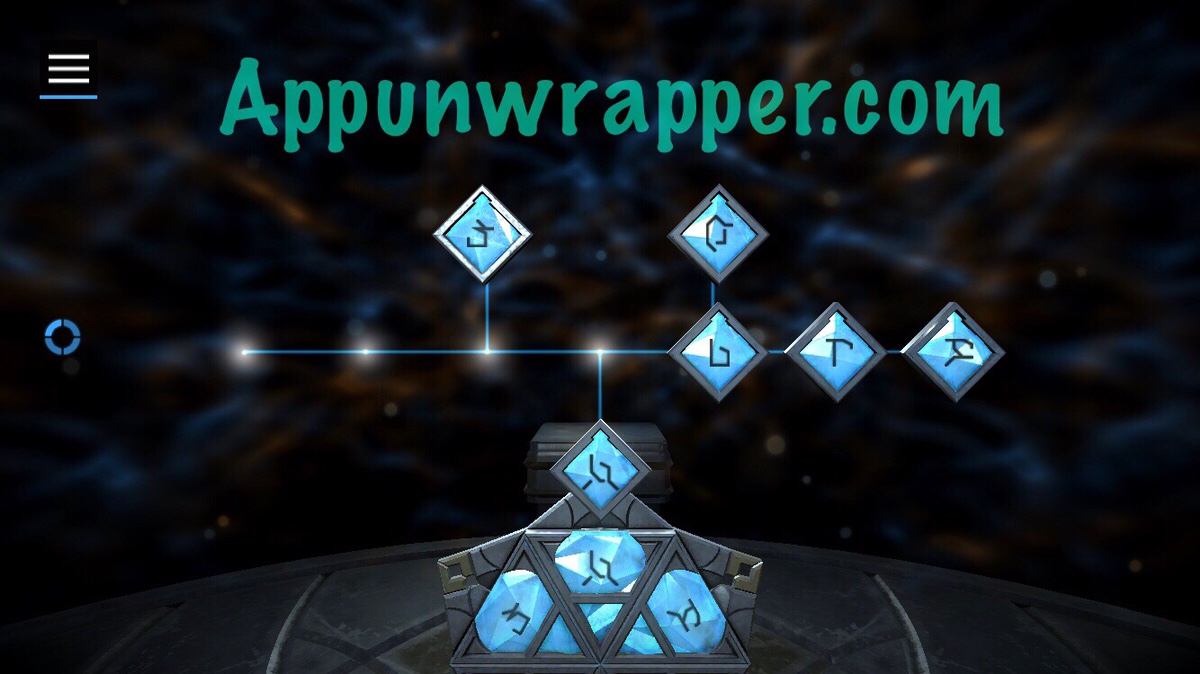
17. Now you need to backtrack a bit. Follow the particle trail for a room or two and then look to your left. There’s a somewhat hidden room here.
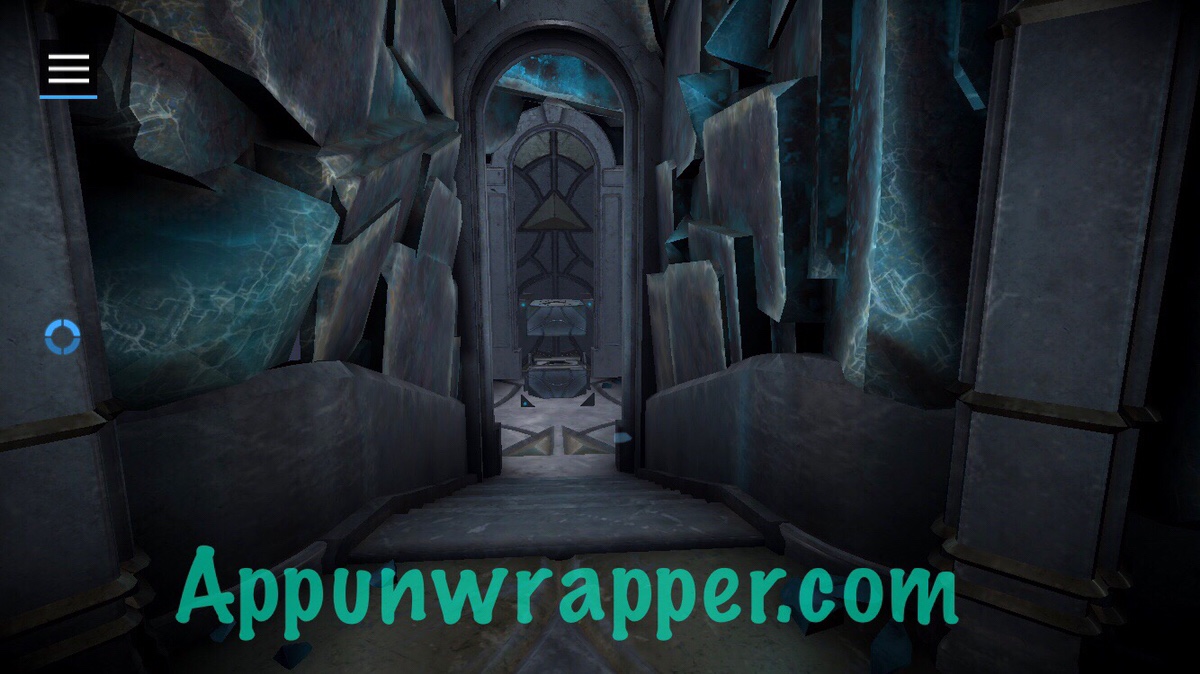
18. Place the two triangle halves inside the cube and slide them together. Then close the top of the cube. Next, you need to tap each corner of the cube to light up all the lasers. Then it will fly off. Follow it!
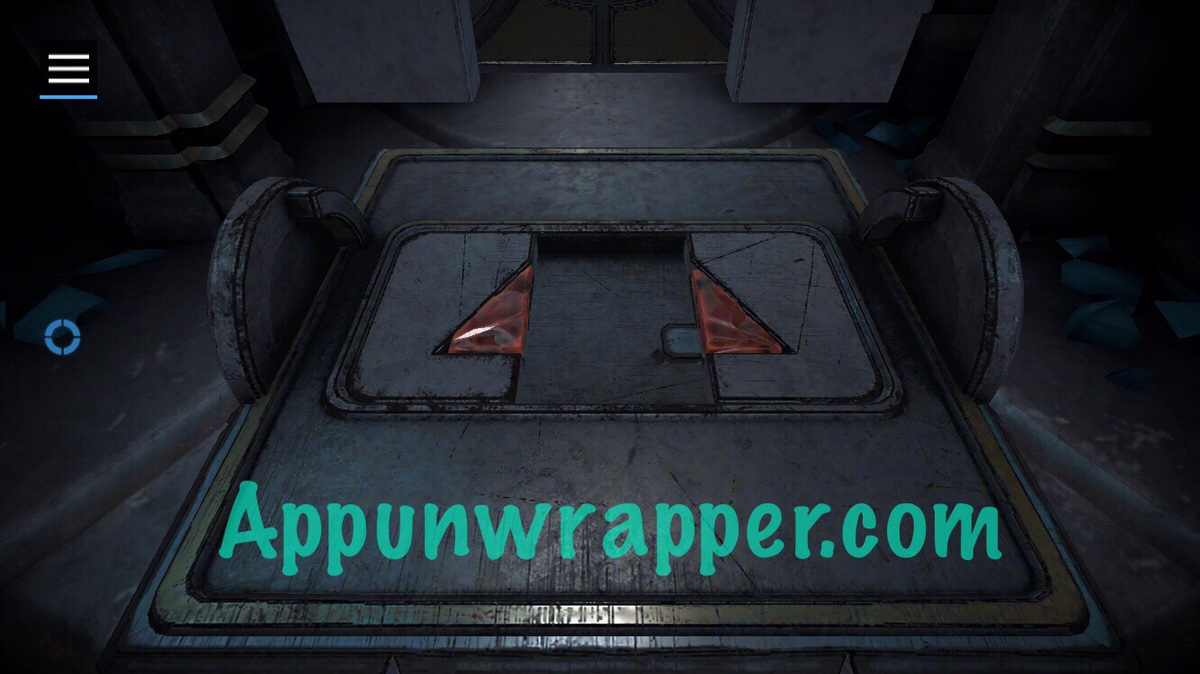
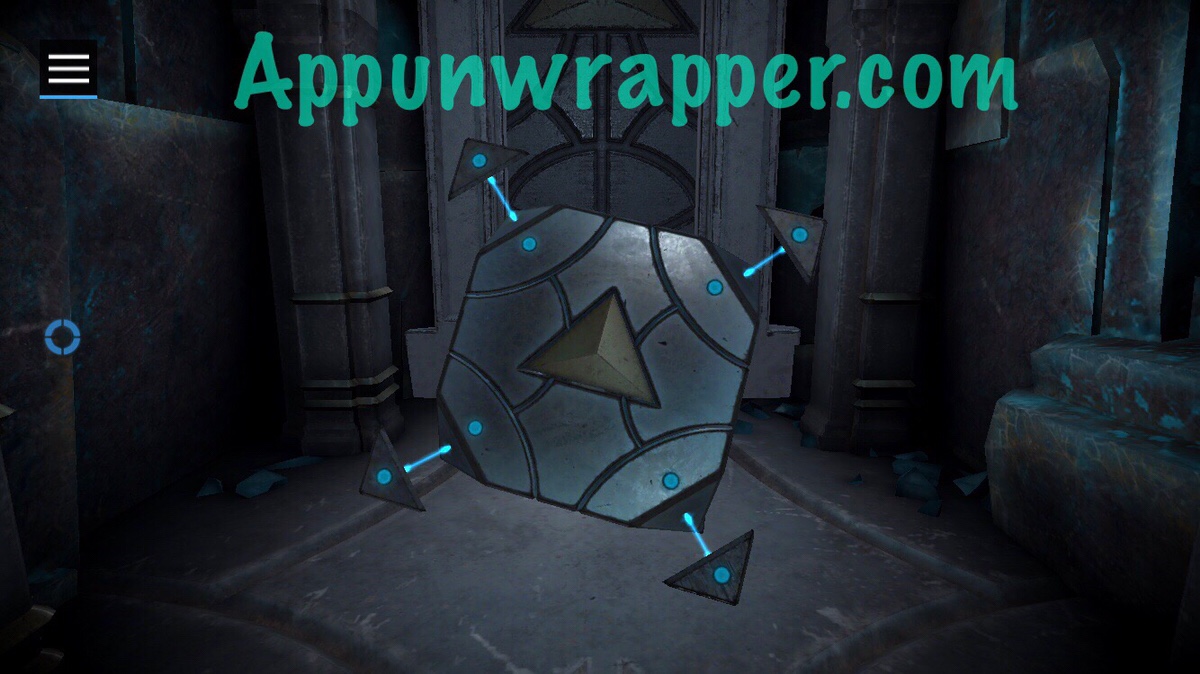
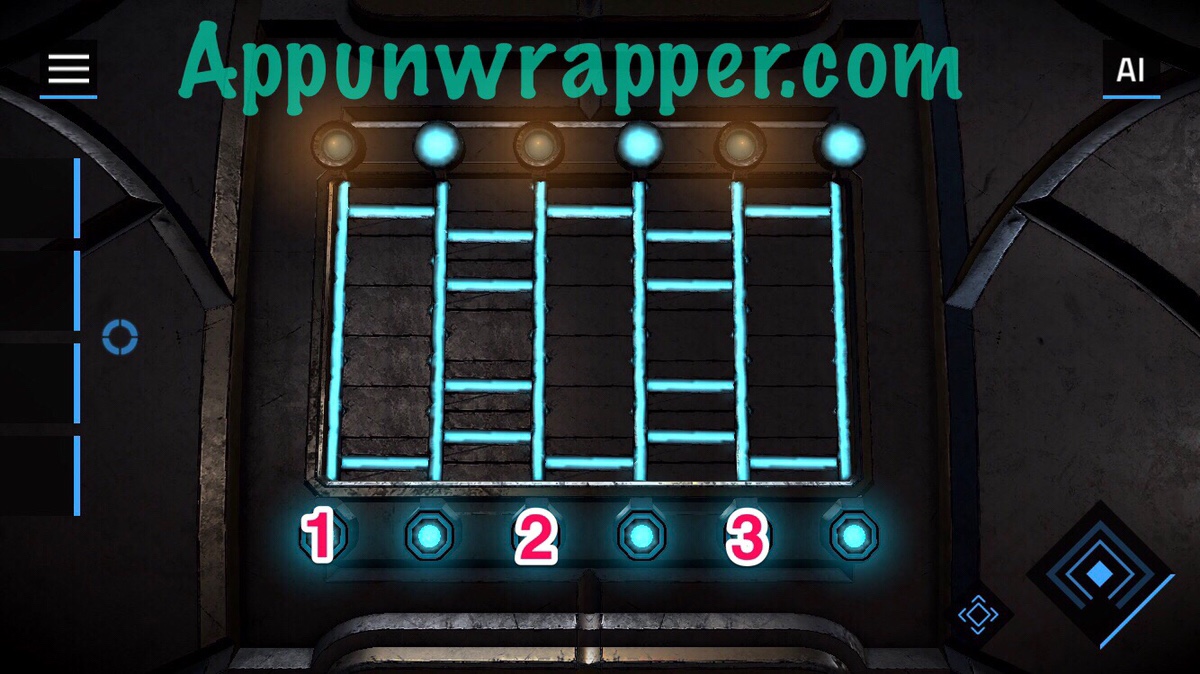
19. Solve the puzzles here. You need to tap the right buttons at the bottom to make the light travel up to the unlit bulbs. You can follow my order if you’re stuck. The left one goes 1, 3, 5.
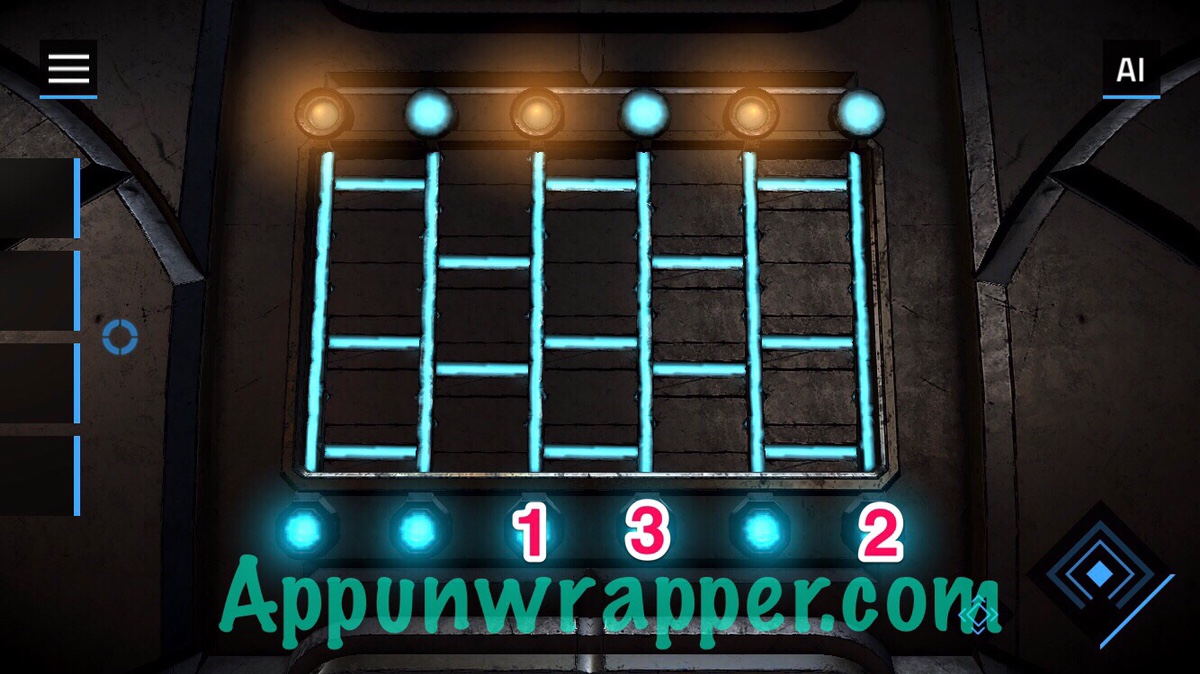
20. The right one goes 3, 6, 4.
21. Now, press the blue button, then solve the center puzzle.
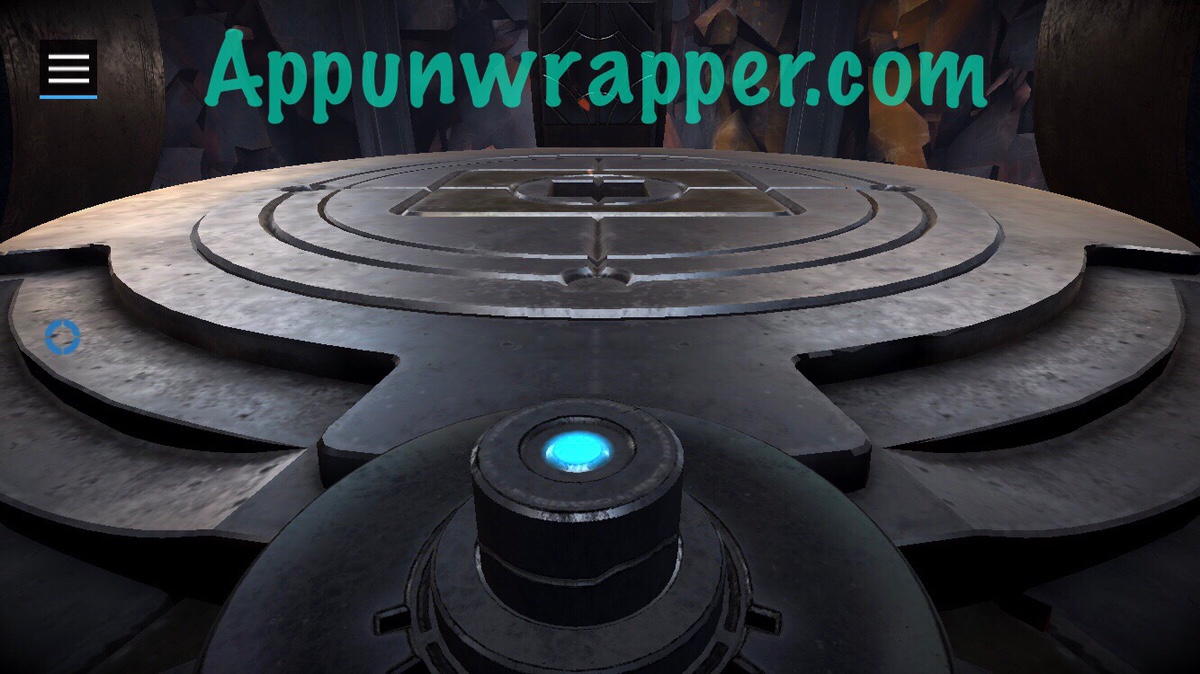
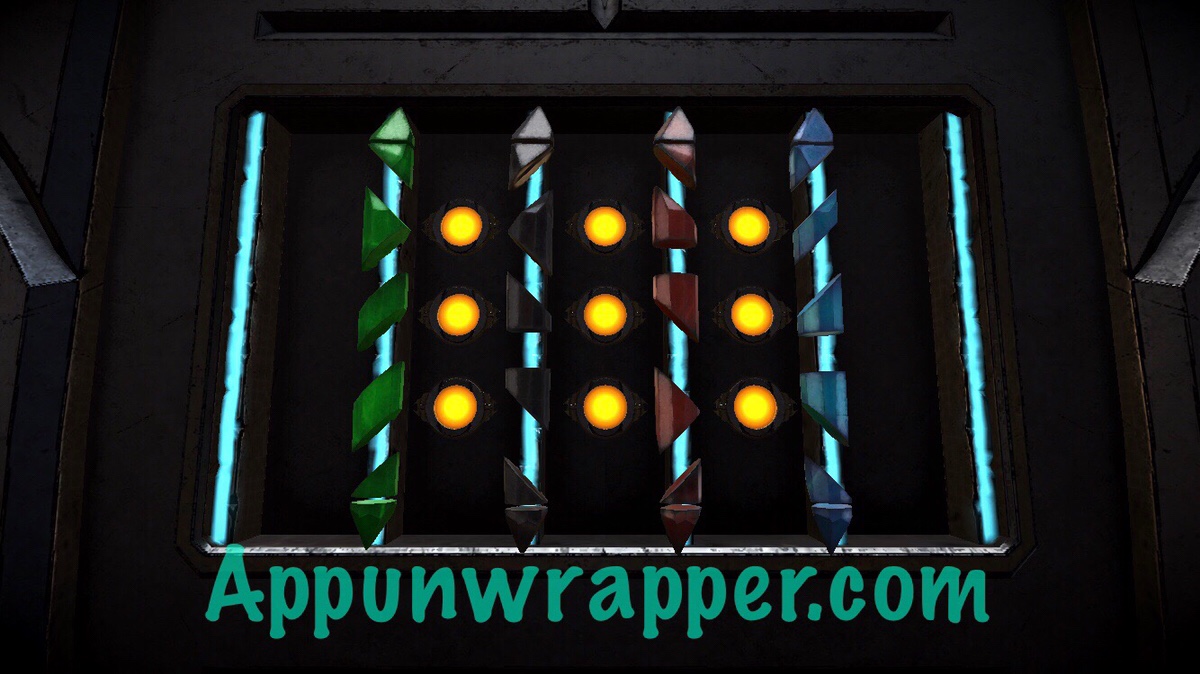
22. Press the blue button again and then take the alien heart.
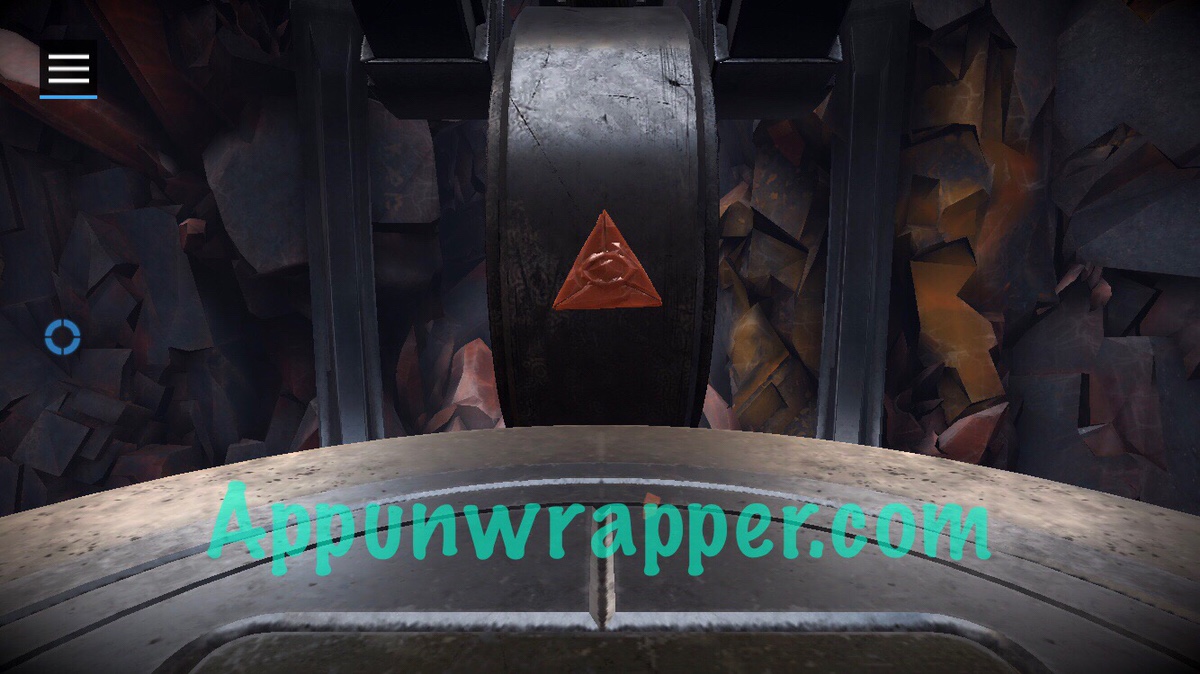
23. Now you have to backtrack all the way back past the flowers to where the particle mist started. And that’s the end of Chapter 3!
Click on the chapter you need below to or click here for the next part of the walkthrough.
Chapter 1 | Chapter 2 | Chapter 3 | Chapter 4 | Chapter 5 | Chapter 6 | Chapter 7 | Review |



Anyone else having issues when dragging the symbols into the middle? Would be part 6. of The Heart here. They symbols are all the same. So I see the symbols On the wall I need to drag when i touch the glowing ball. But when I get to the 6 symbols they all look the same ? Am I being stupid or is my game off? Do I need to make the symbols on the walls using the same symbols making them into specific shapes? I watched your walkthrough video and unless they updated it then mine is bugged. Wish I could send a screenshot of what IΓÇÖm seeing.