Gone Home
By: Annapurna Interactive / Fullbright Company
I never expected the original walking simulator, Gone Home, to come to iOS devices, even thought I wanted it to so badly. Yet, here we are at the end of 2018 and I’m playing it on my iPad from the comfort of my couch. It feels really nice on a touchscreen, but there are some settings you may miss. So I’m going to offer some suggestions here for the iOS version to make it an even better experience.
Controls:
When you first press PLAY, the game explains the controls with this handy infographic. It shows you that the left side is the joystick and the right side is the camera. In the upper left corner is your inventory. Below that is the CROUCH button, which allows you to see under beds or inside low cabinets. Upper right is settings and below that is the LOOK CLOSER button. This allows you to examine an item you’re holding and spin it around. You can also use this button to zoom in on small text in your environment.
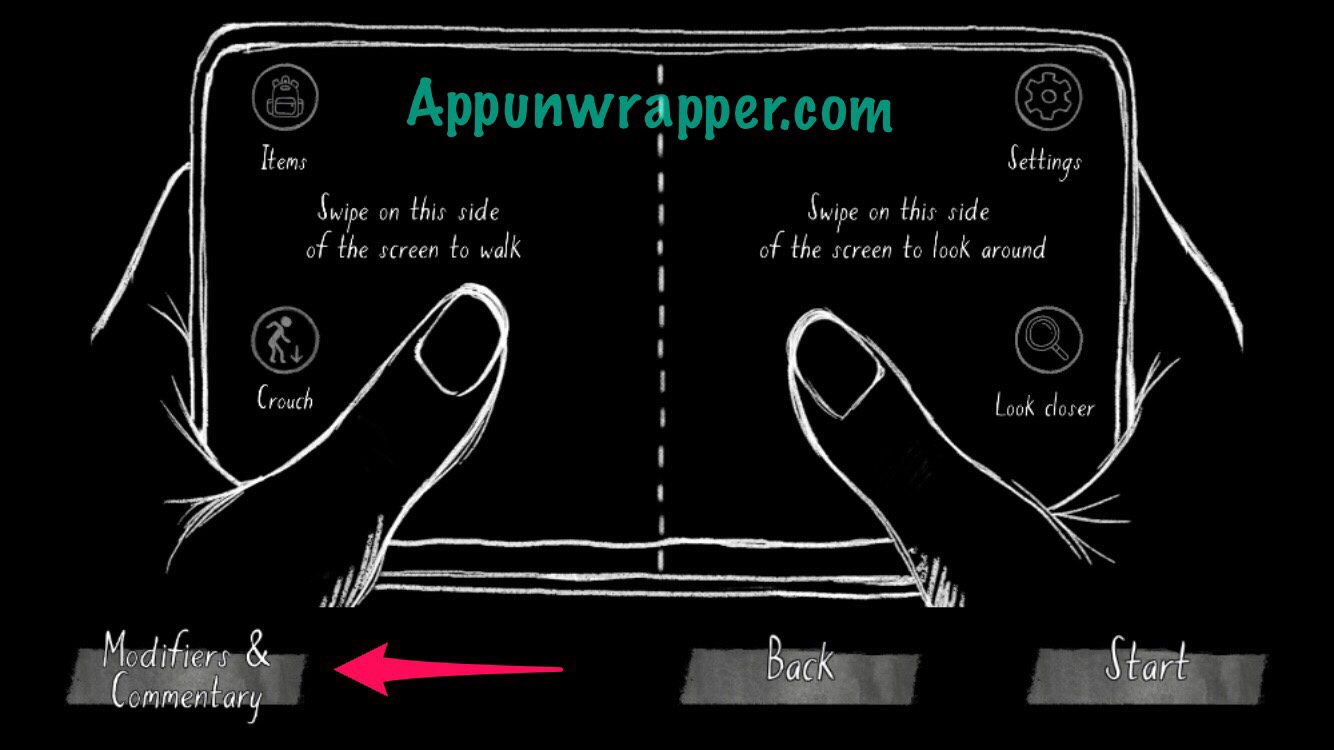
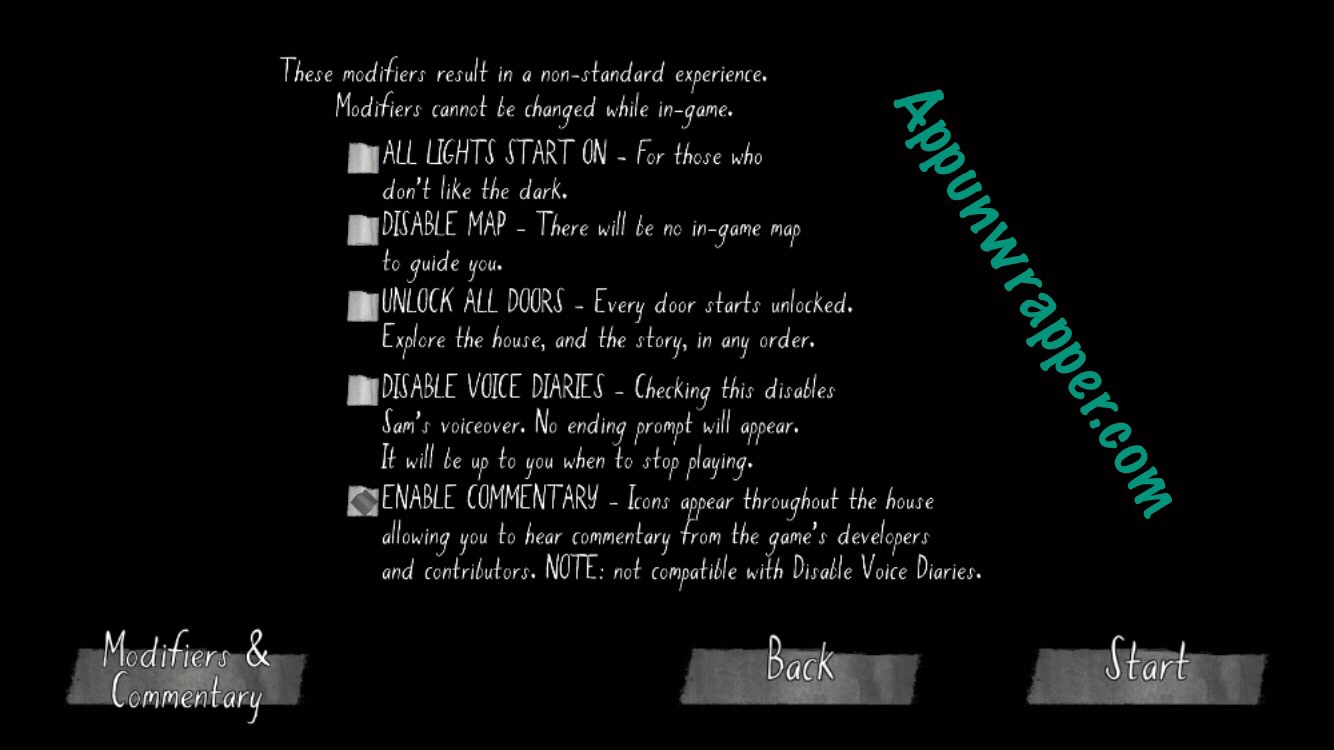
Before pressing START, click on MODIFIERS & COMMENTARY to access quality of life features such as unlocked doors and lights already turned on. This is also the only time you can turn on commentary. As of this writing, these options are unavailable once you’ve started a game. Settings found here:
ALL LIGHTS START ON
DISABLE MAP
UNLOCK ALL DOORS
DISABLE VOICE DIARIES
ENABLE COMMENTARY
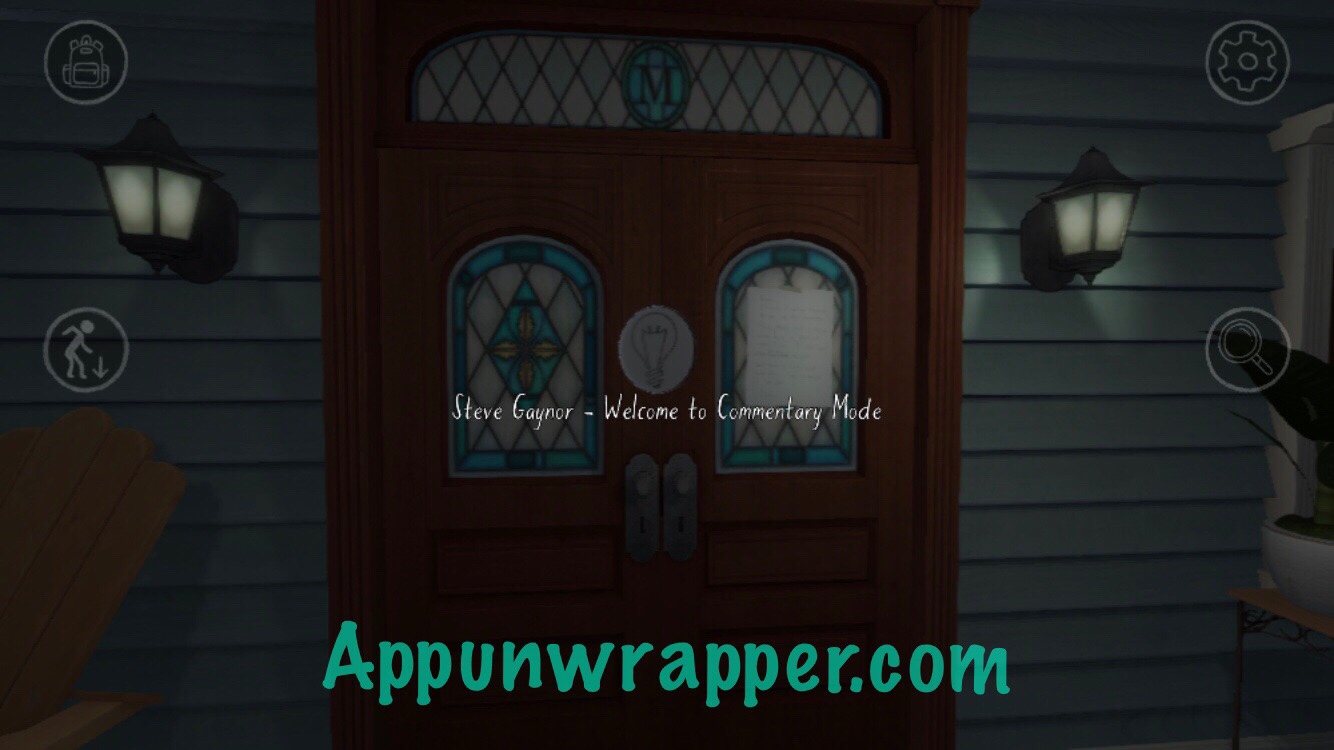
I should mention that the commentary can be a bit distracting if you’re playing for the first time. They appear as little spinning coins above objects. And once you start playing one, there doesn’t seem to be a way to stop it. So you may want to just play without the commentary on your first playthrough.
Once you’re satisfied with those options, press START.
While playing, use the camera to focus the reticule on an item and then tap anywhere on the screen to interact with it. This means opening/closing drawers/doors and picking up objects.
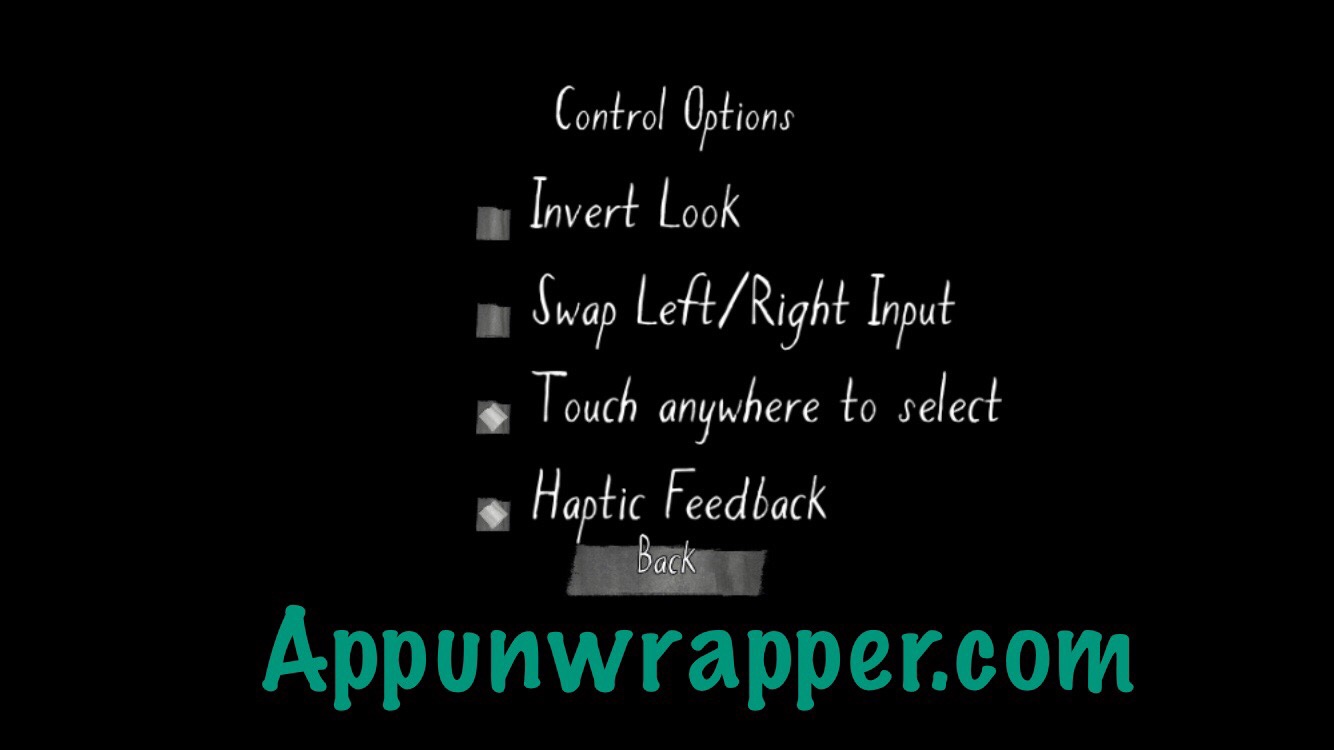
You can go into settings and CONTROL OPTIONS at any time to invert the camera, swap the left/right input, or turn on haptic feedback on iPhones. You can also turn on TOUCH ANYWHERE TO SELECT. I like this setting because it allows you to tap an object to interact with it instead of having to use the reticule. It feels much more like a touchscreen adventure game this way.
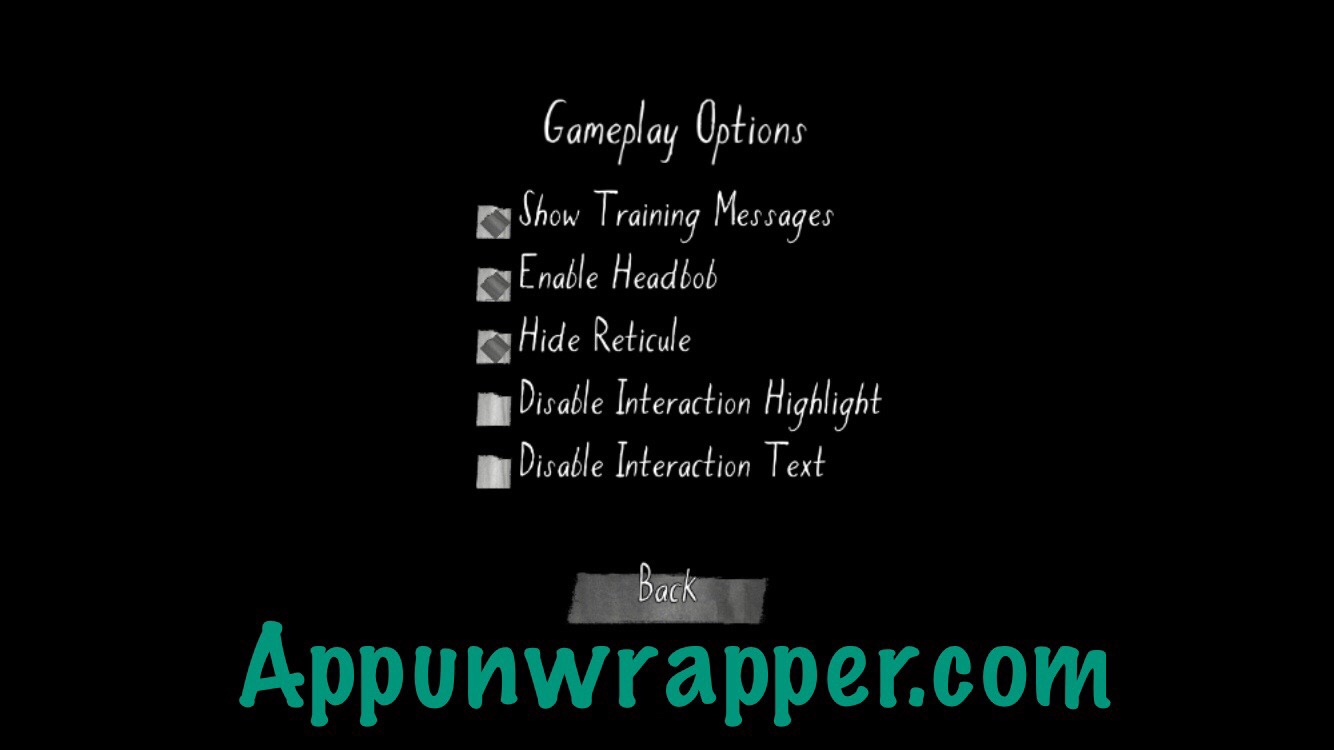
In the GAMEPLAY OPTIONS, you can turn off SHOW TRAINING MESSAGES if you don’t want any help getting to know the controls. You can also enable/disable the HEADBOB. But this is the setting I really like — HIDE RETICULE. I find that dot distracting, so I shut it. But I recommend turning on TOUCH ANYWHERE TO SELECT as mentioned above. That way you don’t have to worry about where the reticule is. You can also DISABLE INTERACTION HIGHLIGHT and DISABLE INTERACTION TEXT. I actually prefer the game without the interaction text, but I couldn’t find any reliable way to put objects back in their place without it. If you don’t mind just dropping/throwing objects, feel free to turn off that setting.
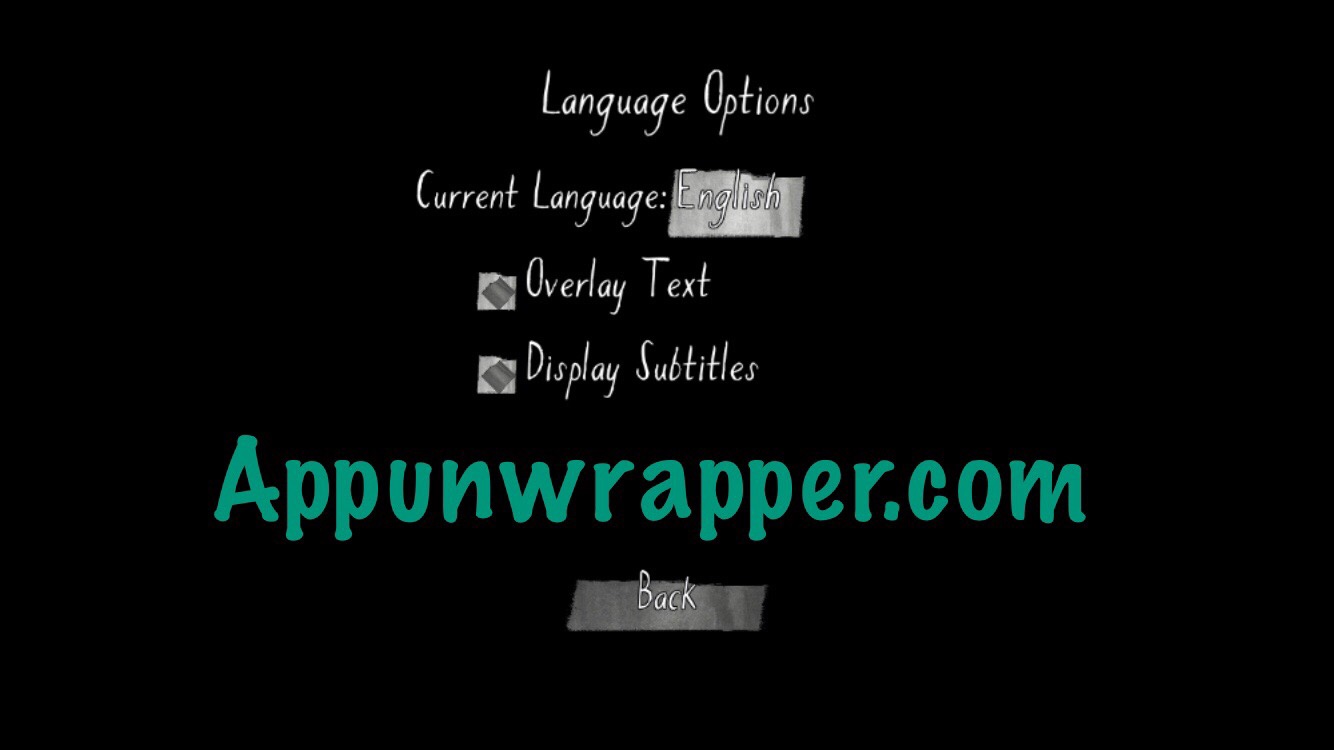
In the LANGUAGE OPTIONS, you can change the language and turn on SUBTITLES or OVERLAY TEXT. This is helpful for those who have trouble hearing the journal entries or reading the handwritten notes.
Walkthrough:
There aren’t many puzzles in the game, as the game is mostly about exploring, reading notes, and listening to journal entries. But there are a few things that are locked behind small puzzles.
– To get inside the house, open the cabinet to the left and look under the Christmas duck for the key. Once you have the key, the front door will unlock for you automatically.
– The combination for the file cabinet is found inside a book in the library. It’s pretty hard to miss, but the code is 0451.
Gameplay Videos:
Part 1:
Part 2:
Part 3:
Part 4:
Part 5:
Part 6:
Part 7:
Part 8, The End:
Weird Doors:
More coming soon!


