Veritas
By: Glitch Games

Veritas is the latest puzzle adventure game from Glitch Games. You wake up in a locked room without any idea how you got there. It turns out you’re in a facility called Veritas Industries, though you can’t remember much. You need to solve puzzles and make your way from room to room to figure out what’s going on. It can be tricky, so this walkthrough guide will help you if you get stuck. Feel free to ask for extra help in the comments section.
Walkthrough:
Prologue + Chapter 1 | Chapter 2 | Chapter 3 | Chapter 4 | Chapters 5 6 7 8 9 | Notes & Journal Entries
Prologue:
You can watch my video for the Prologue and Chapter 1 or continue below for my step-by-step guide.
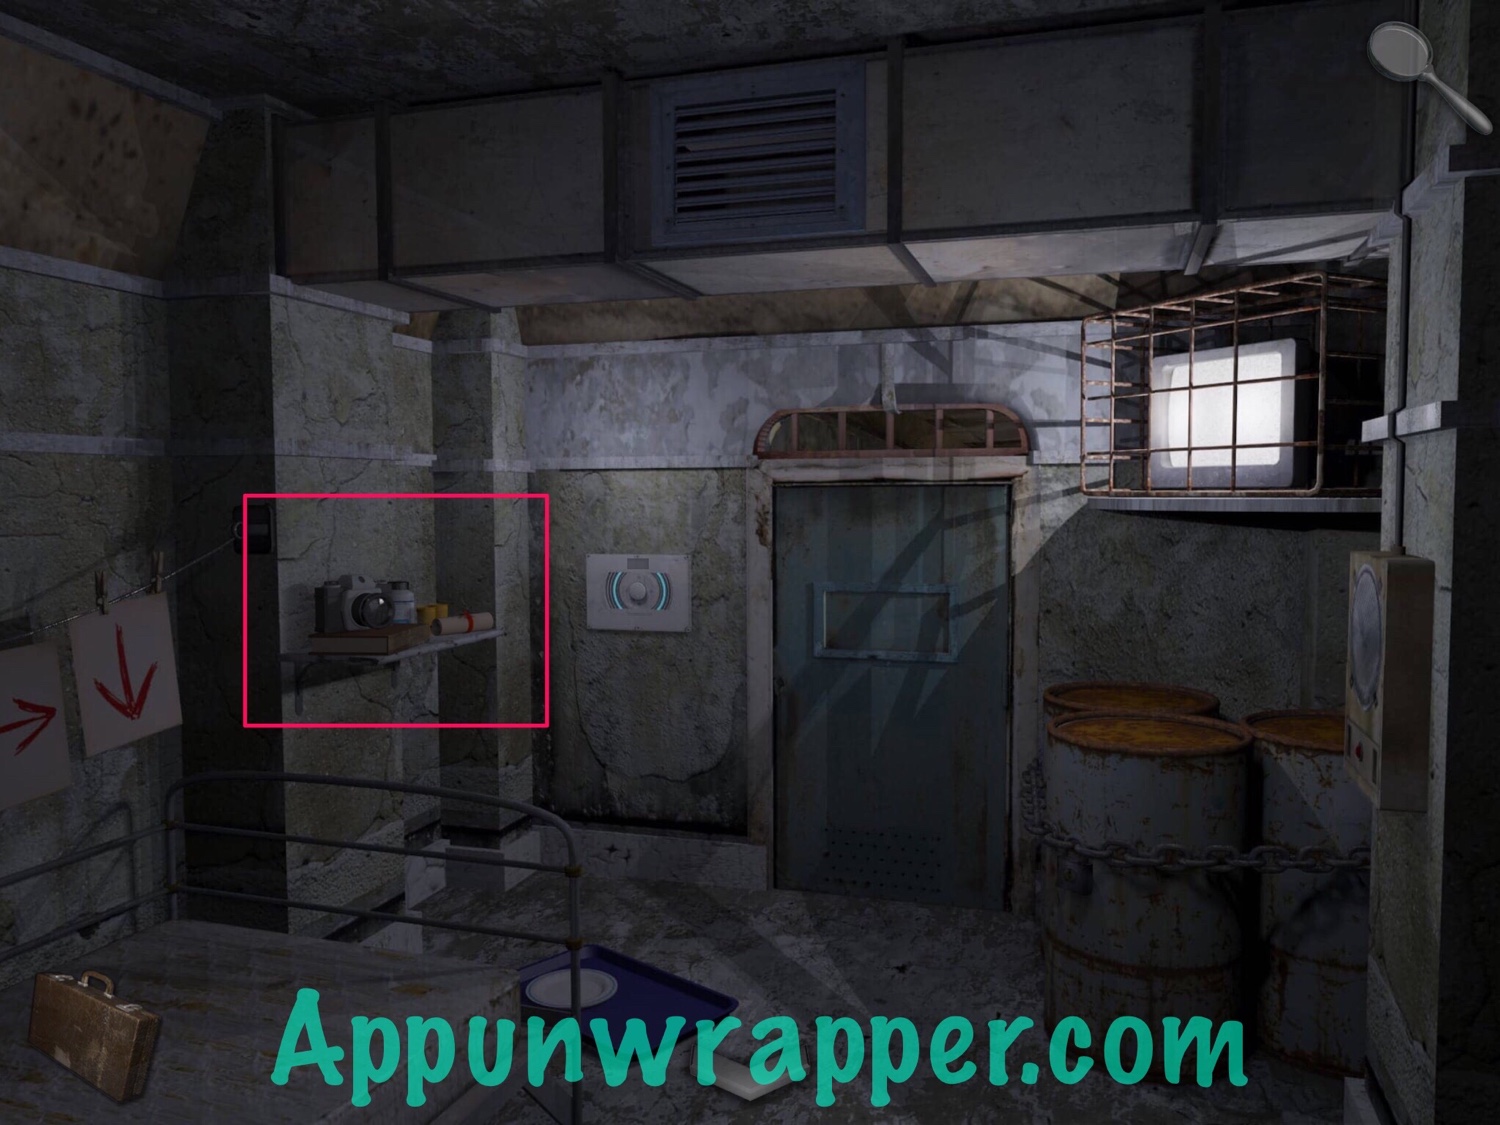
1. You wake up in a locked room. First off, pick up the camera from the shelf in front of you and look at the scrolled-up note. It’s number 16/16 and from Christina.
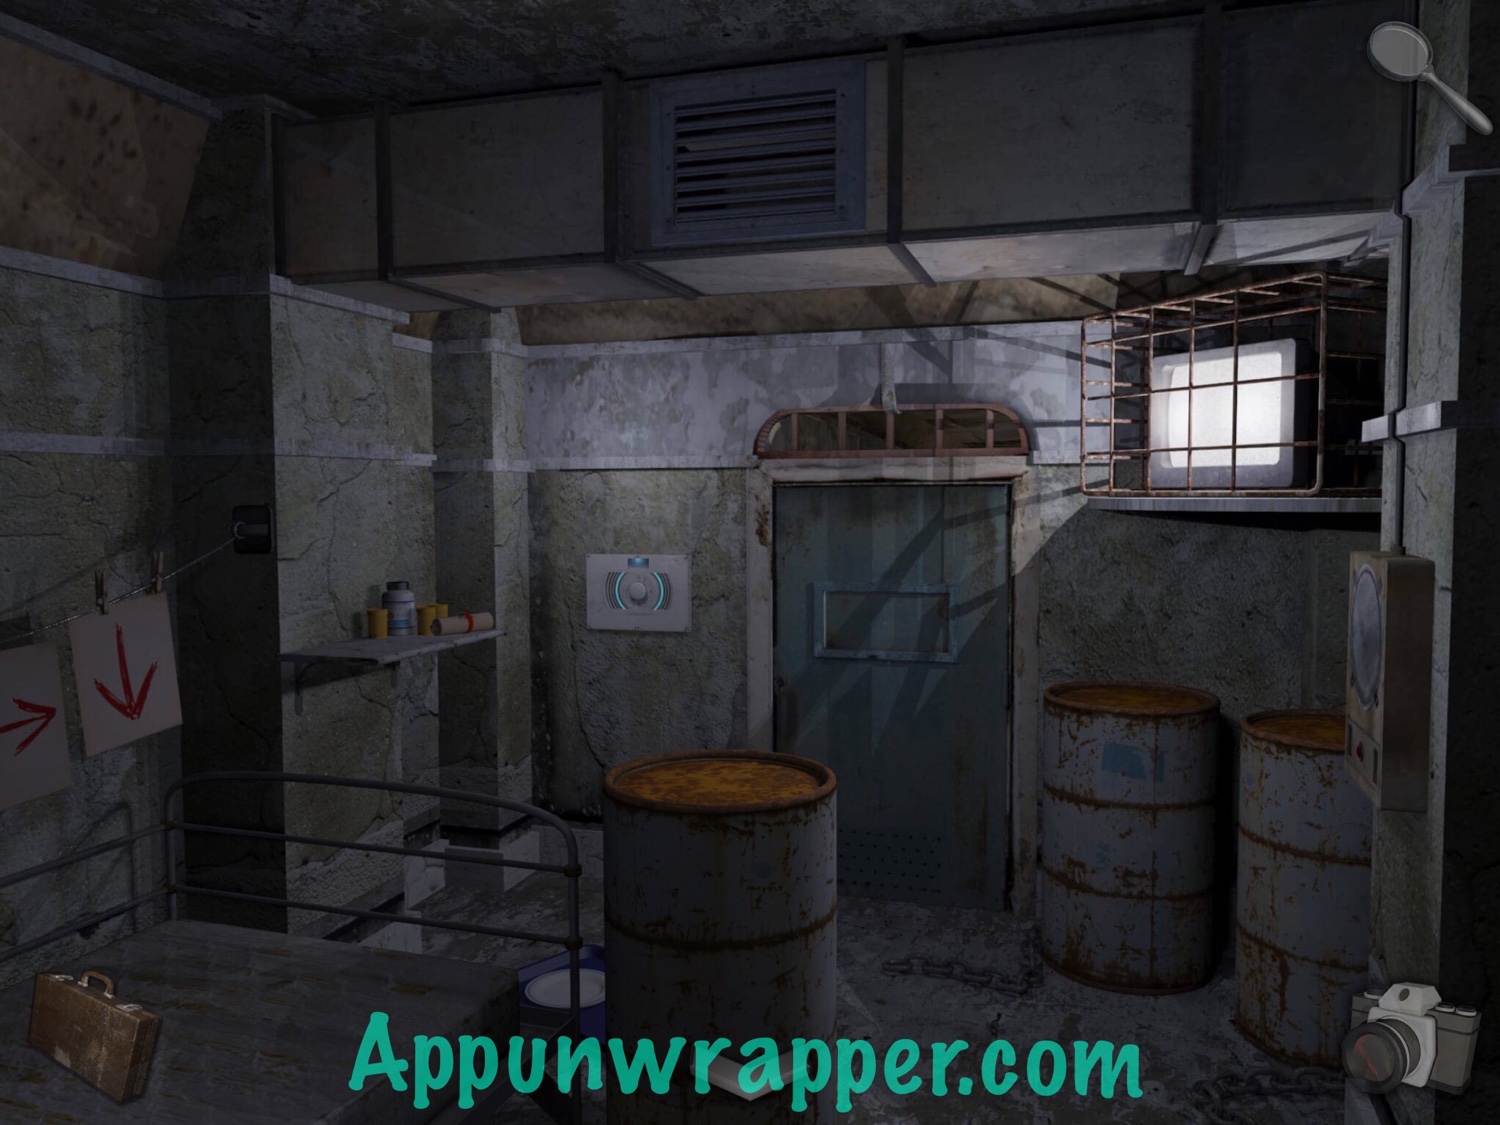
2. Go back and then look at the arrows on the wall to the left. Use the camera to take a photo of them. Also, look at the INSOMNIUM poster on the wall to get some weird flashback. And notice the NEW YORK poster on the floor. It’s not a clue, but it is part of the story.

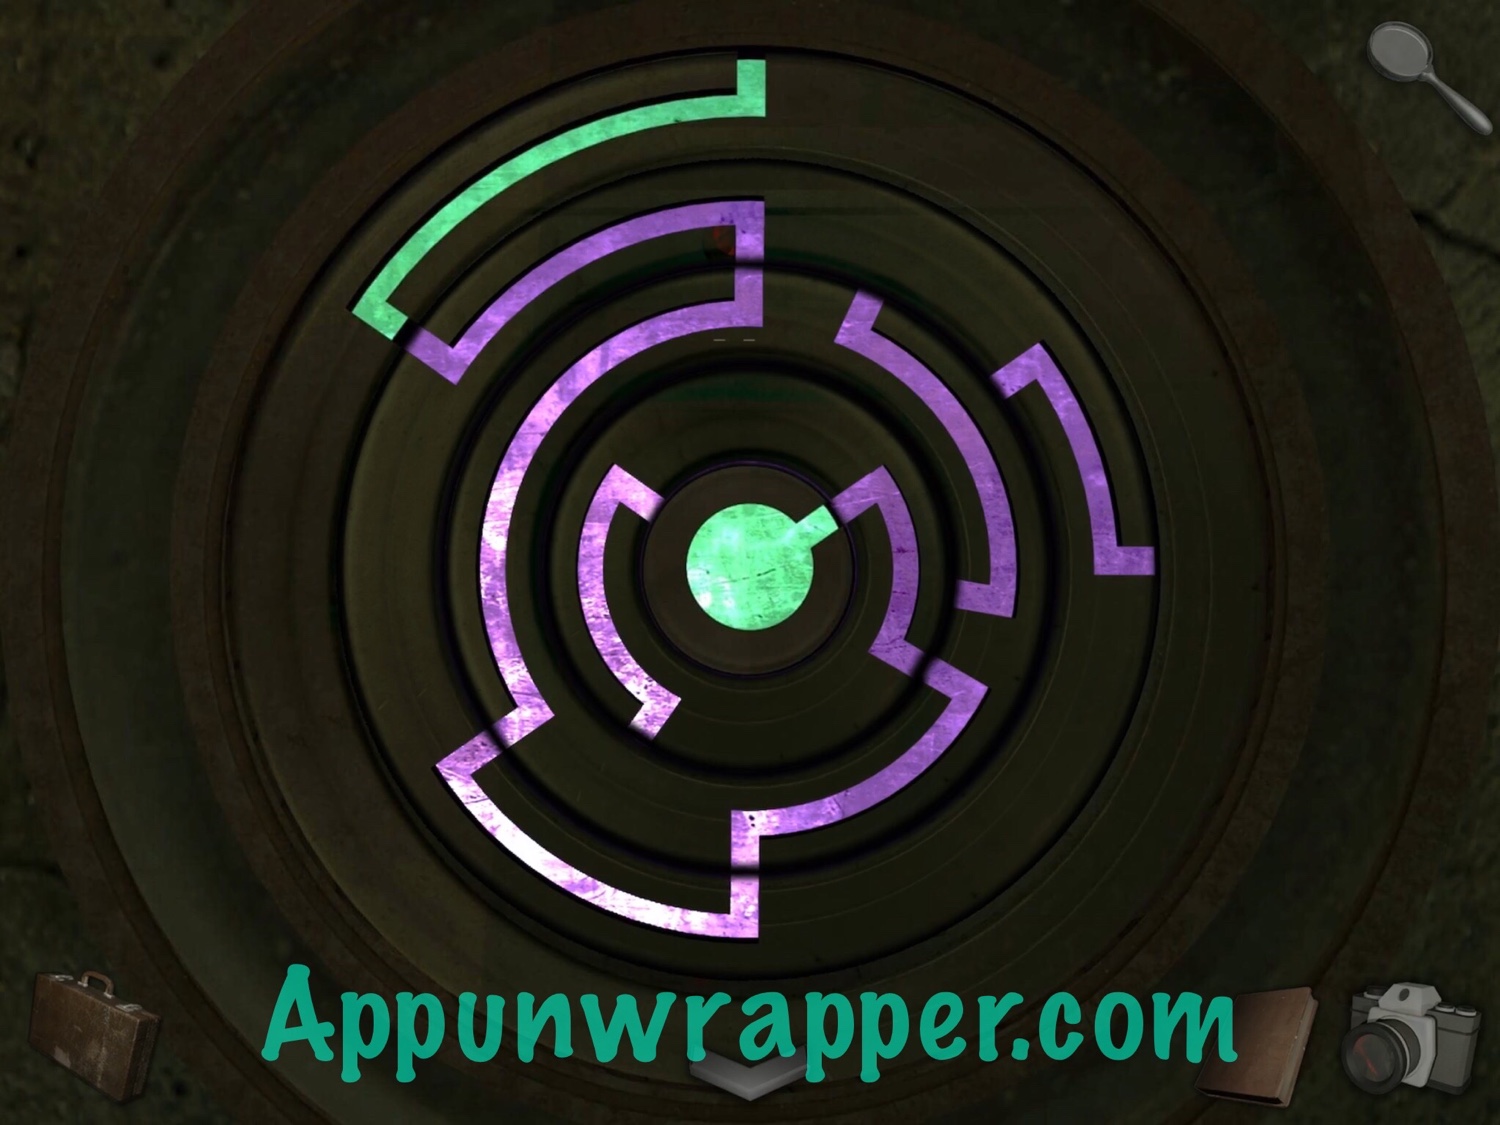
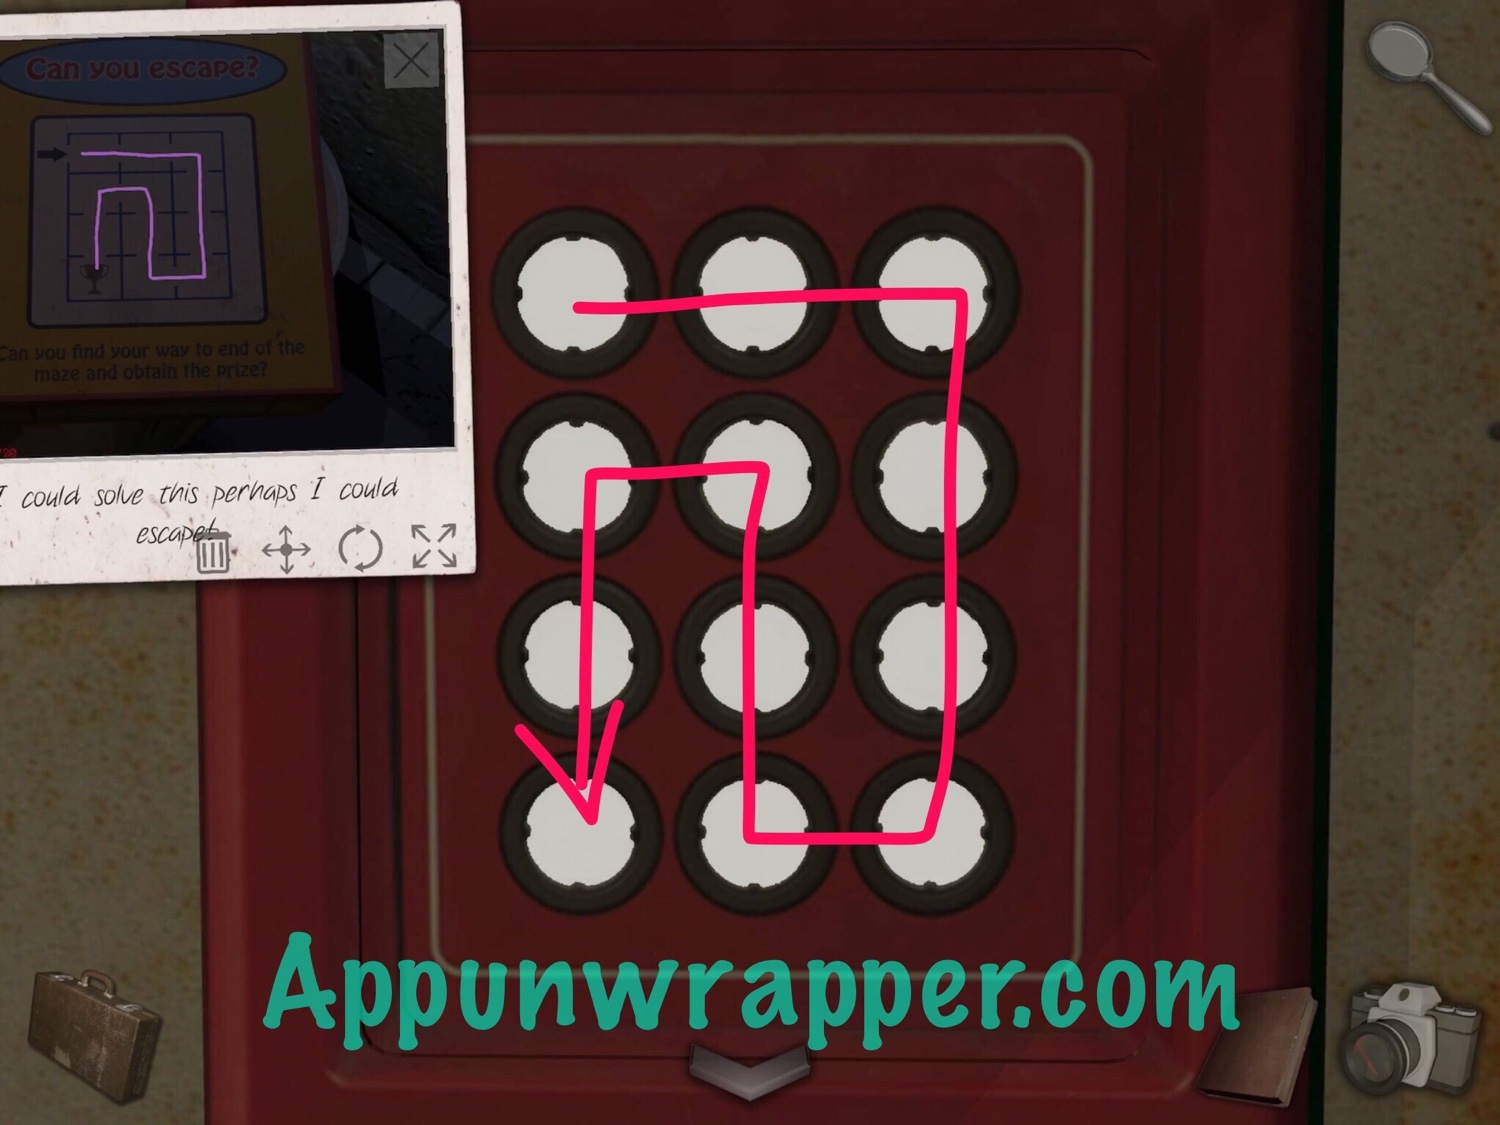
3. Solve the maze puzzle on the wall, as shown below. Then take the screwdriver and read note 15/16.
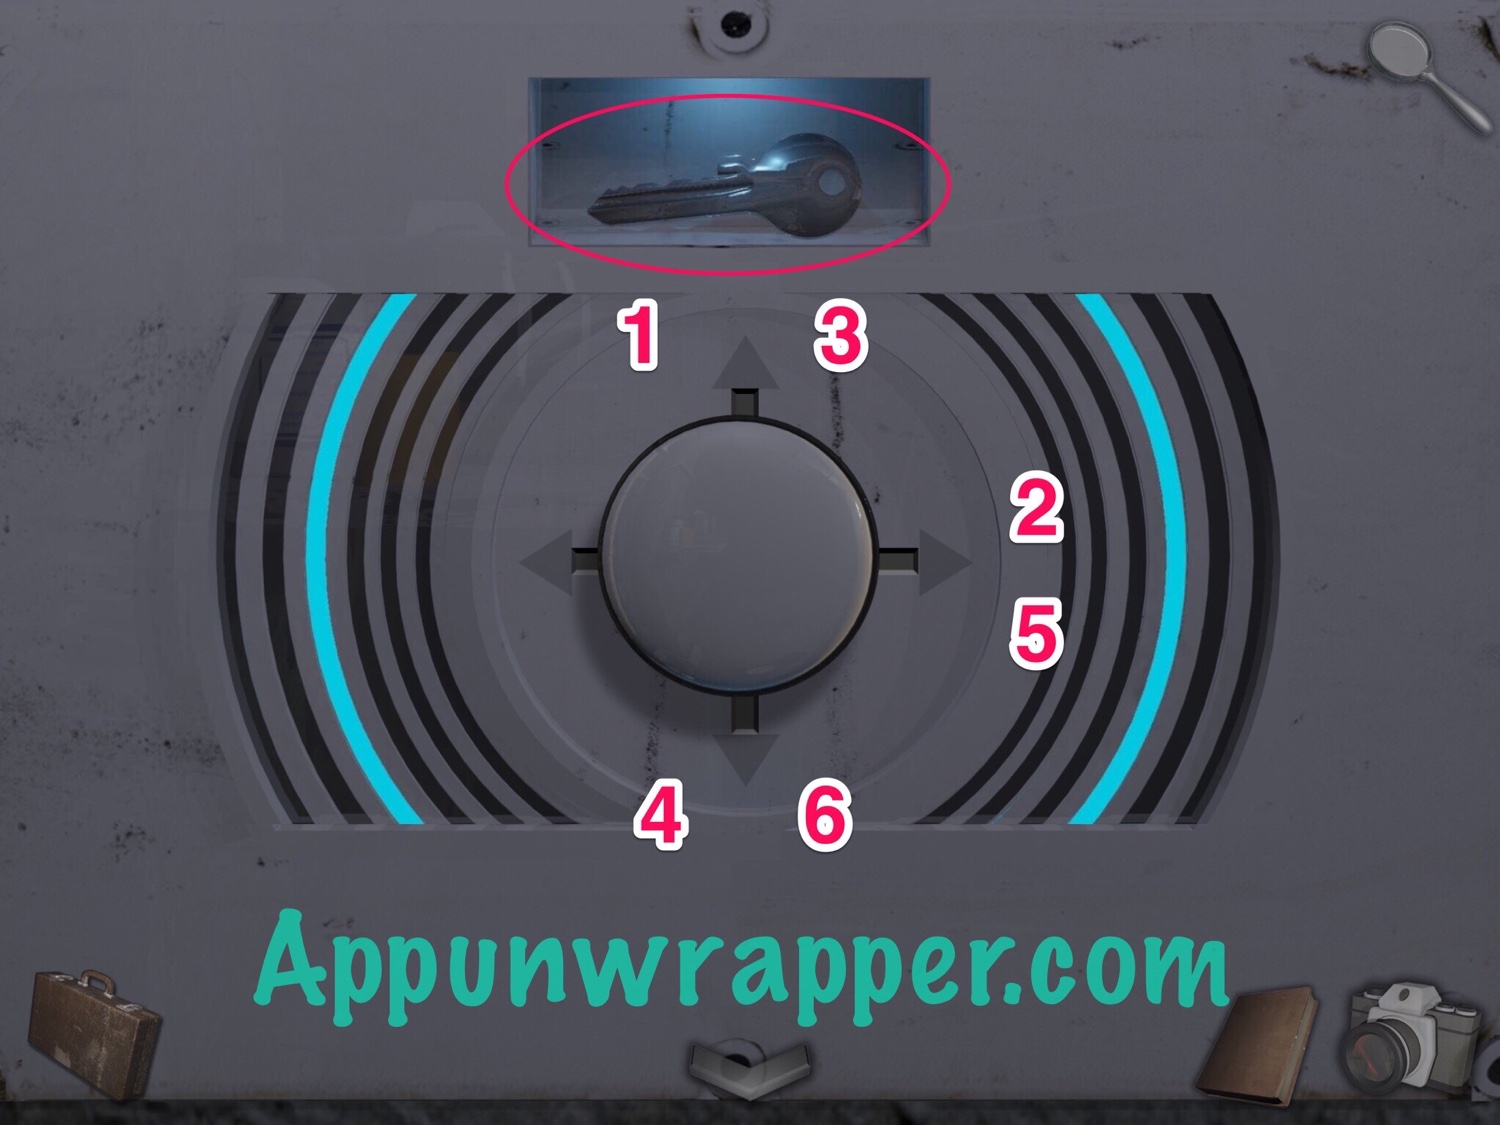
4. Face the door again. Notice the handle to the left of the door with the blue moving lights. Remember the arrows you saw? You should have a photo of them. Follow that order and pull the handle like so:
Up, Right, Up, Down, Right, Down.
Then pick up the padlock key.
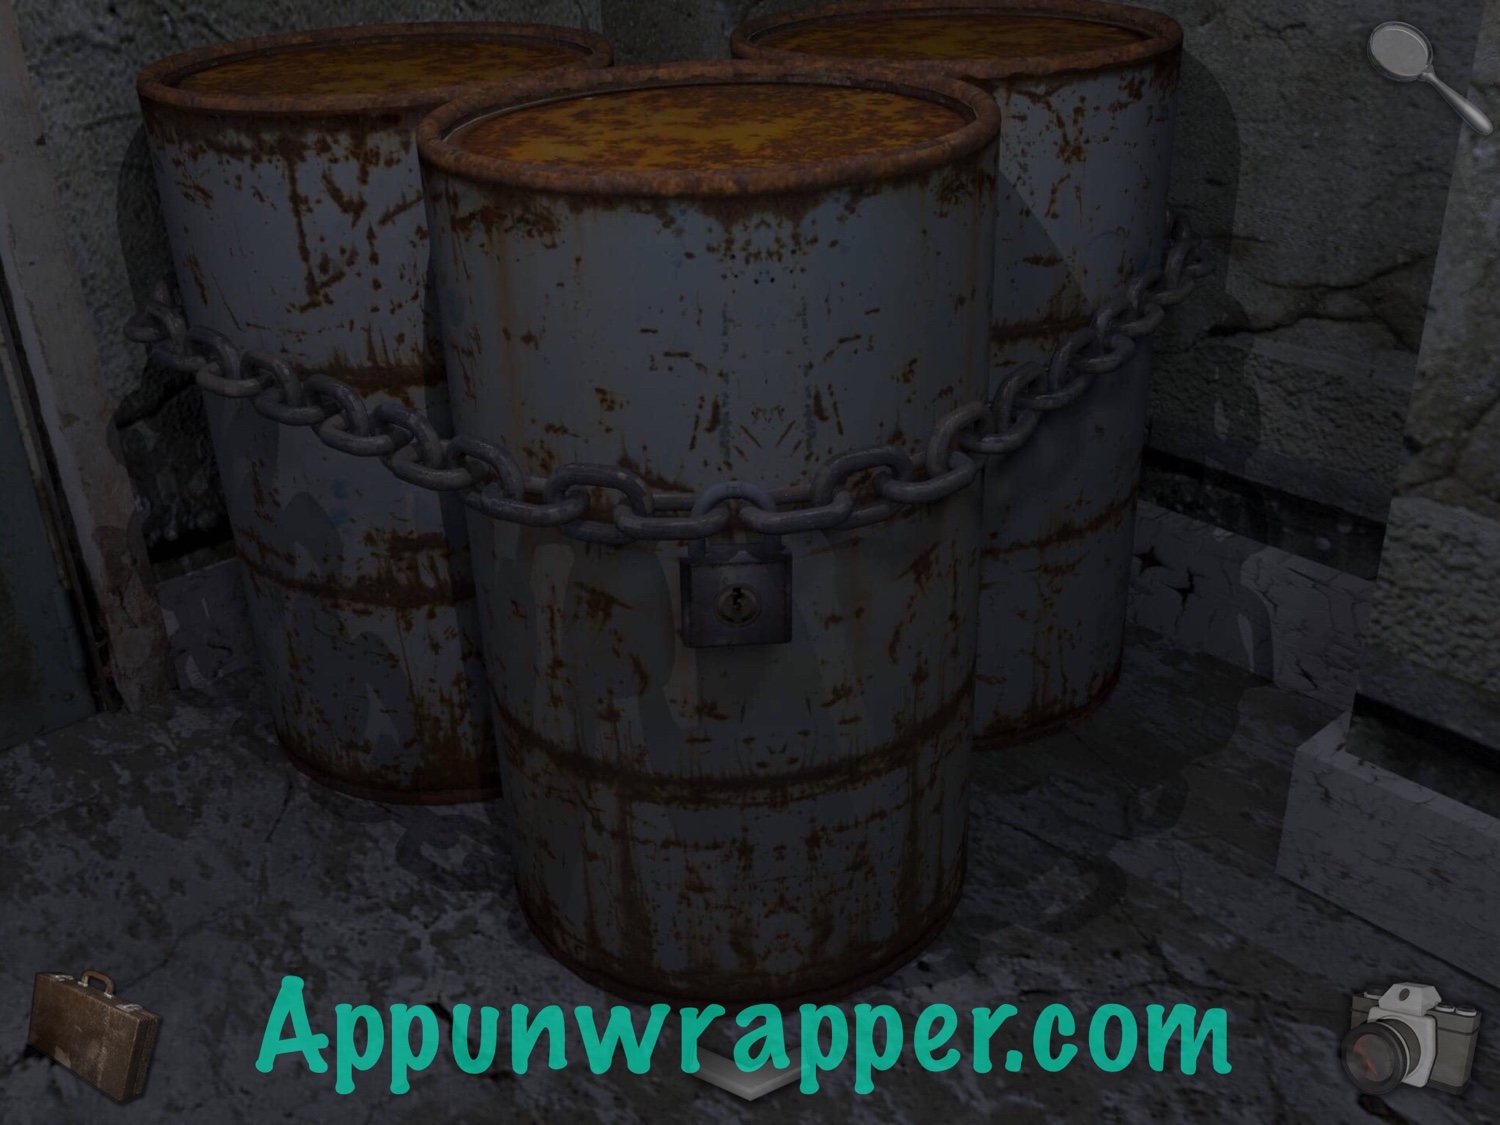
5. Use the padlock key to unlock the chain around the oil drums. Pick up one of the drums.
6. Place the oil drum on the floor in front of the door. Then use it to reach the vent above the door. Use the screwdriver to open the vent and climb through.
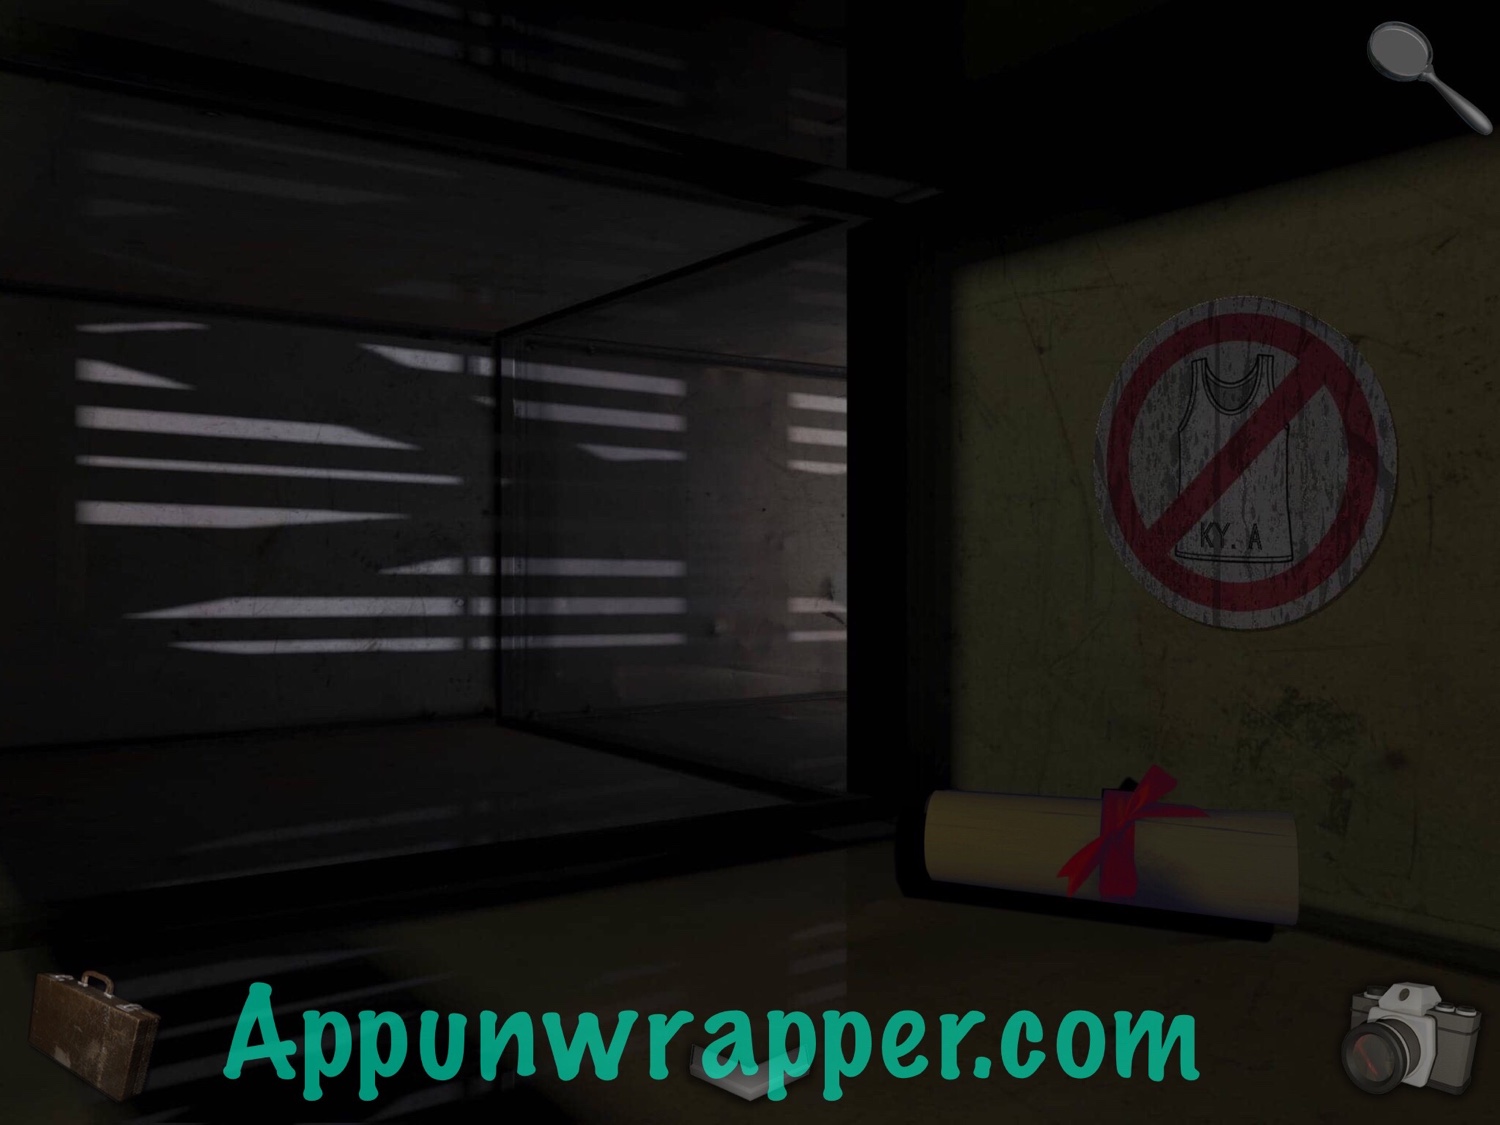
7. Notice the sticker that says….no undershirts? Also, read note 14/16.
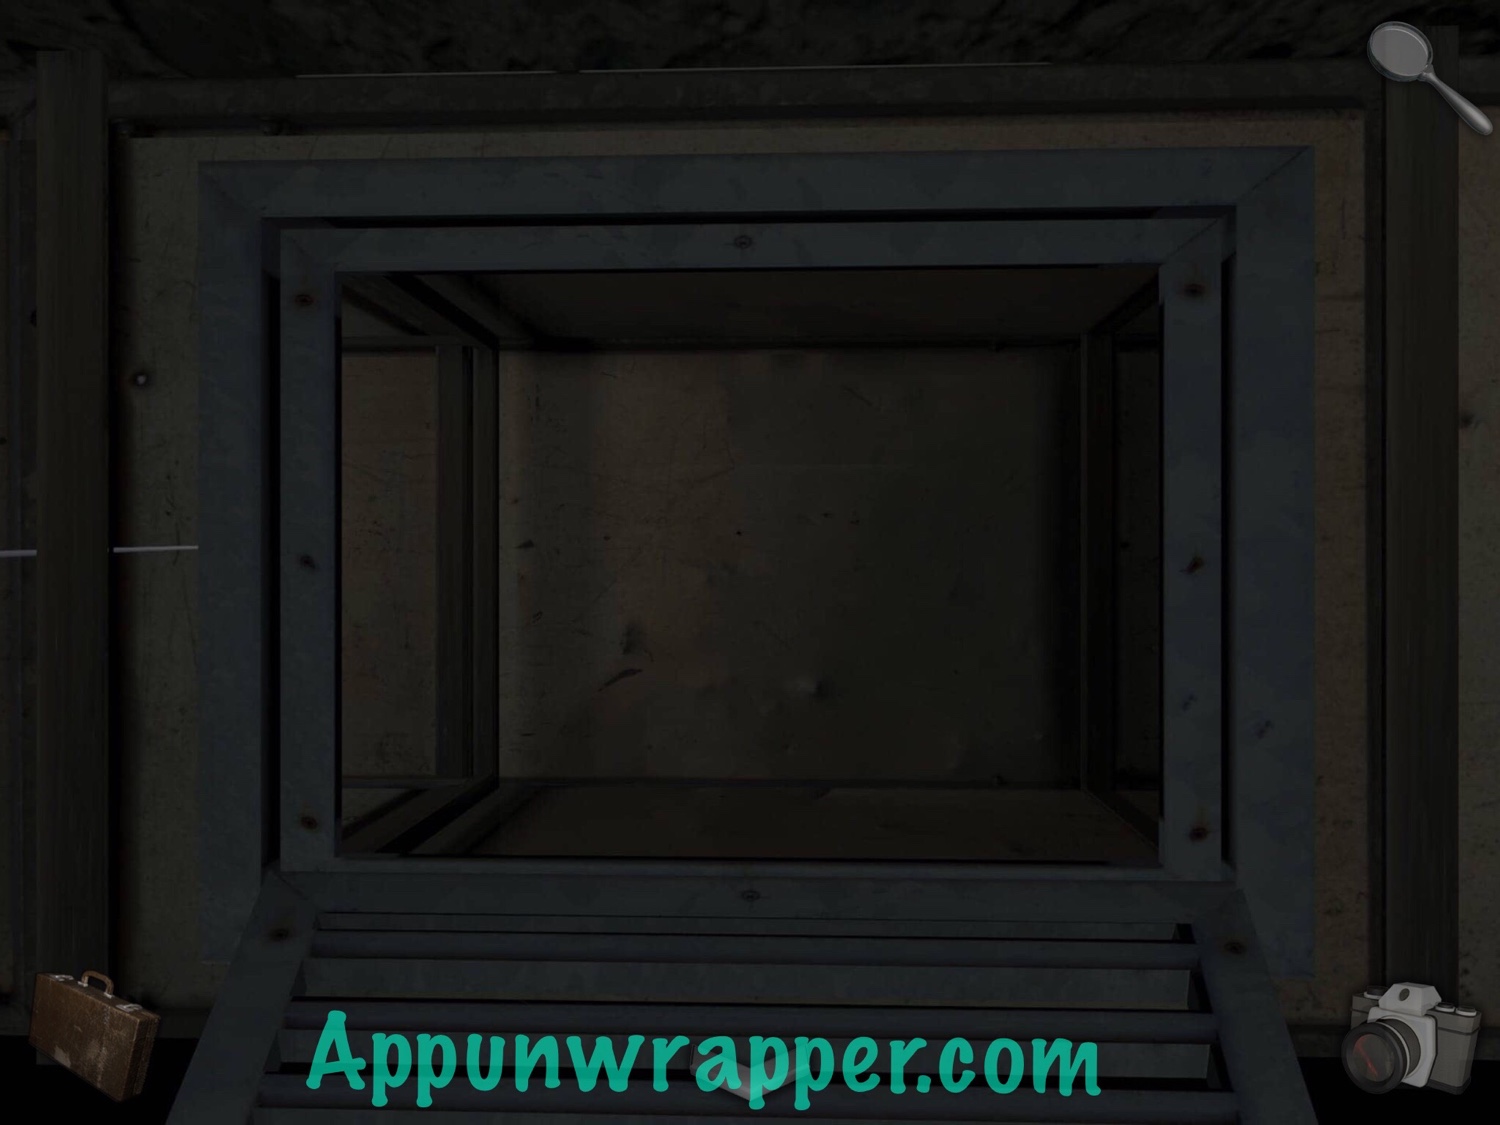
8. Continue ahead. To the left is a fan with some fishing line behind it, but you can’t stick your hand in while the blades are turning. So continue straight.
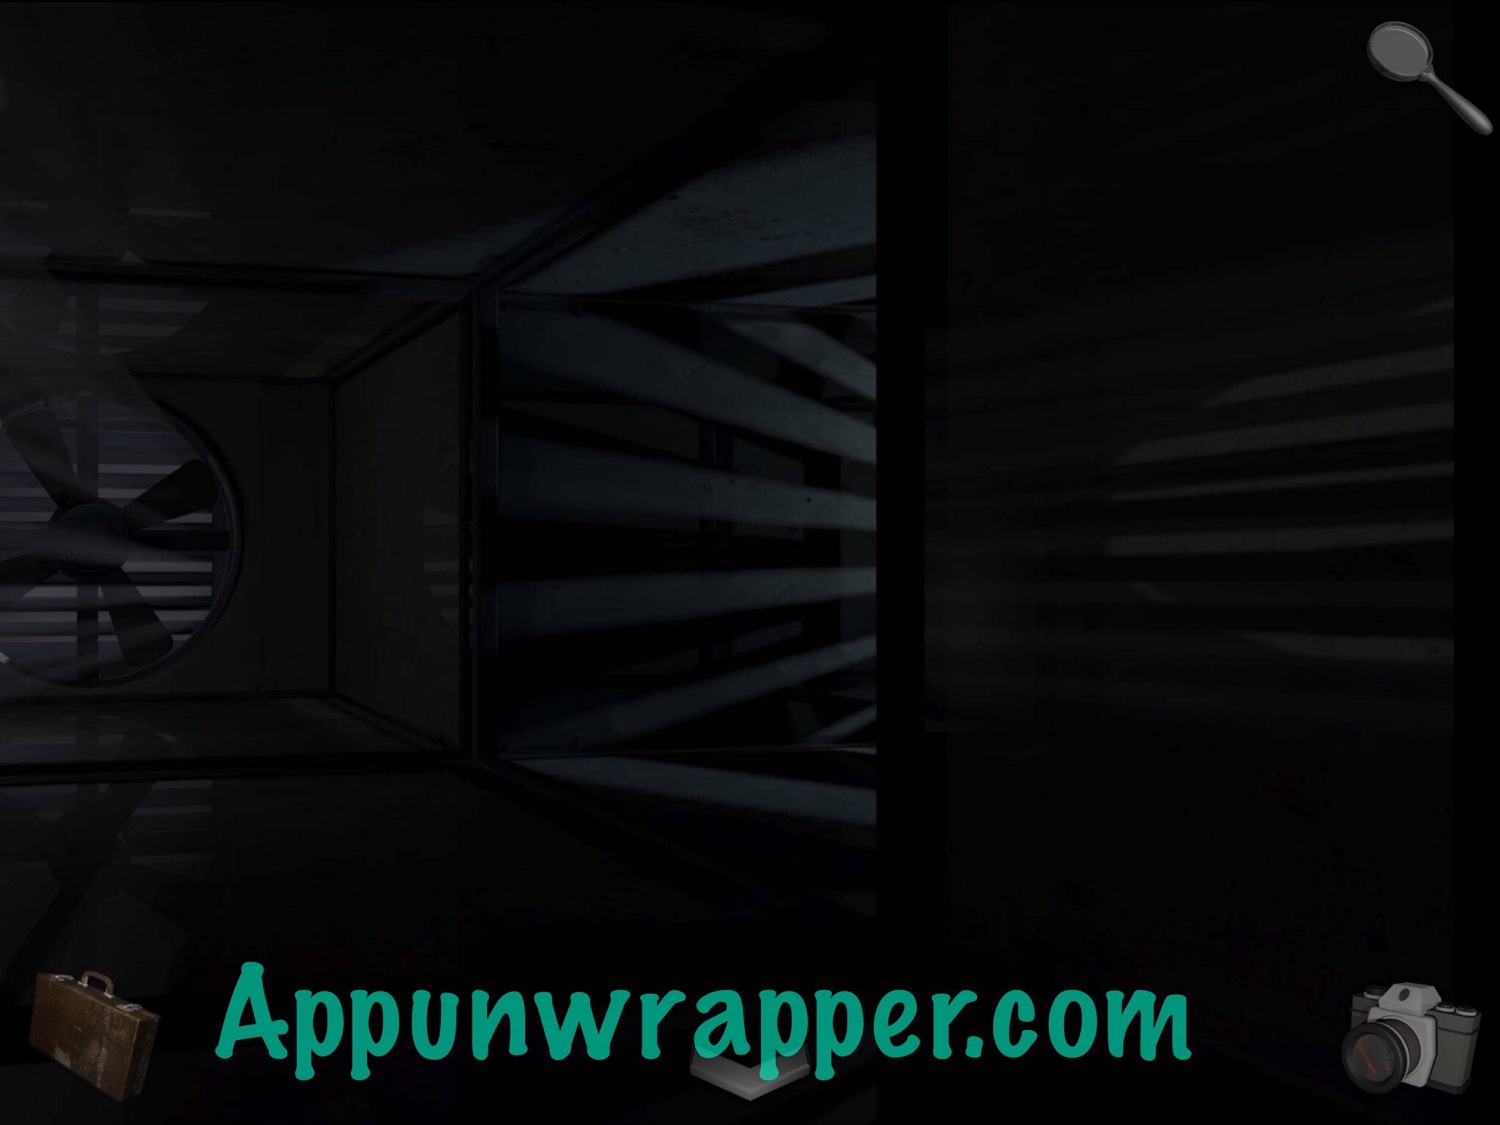
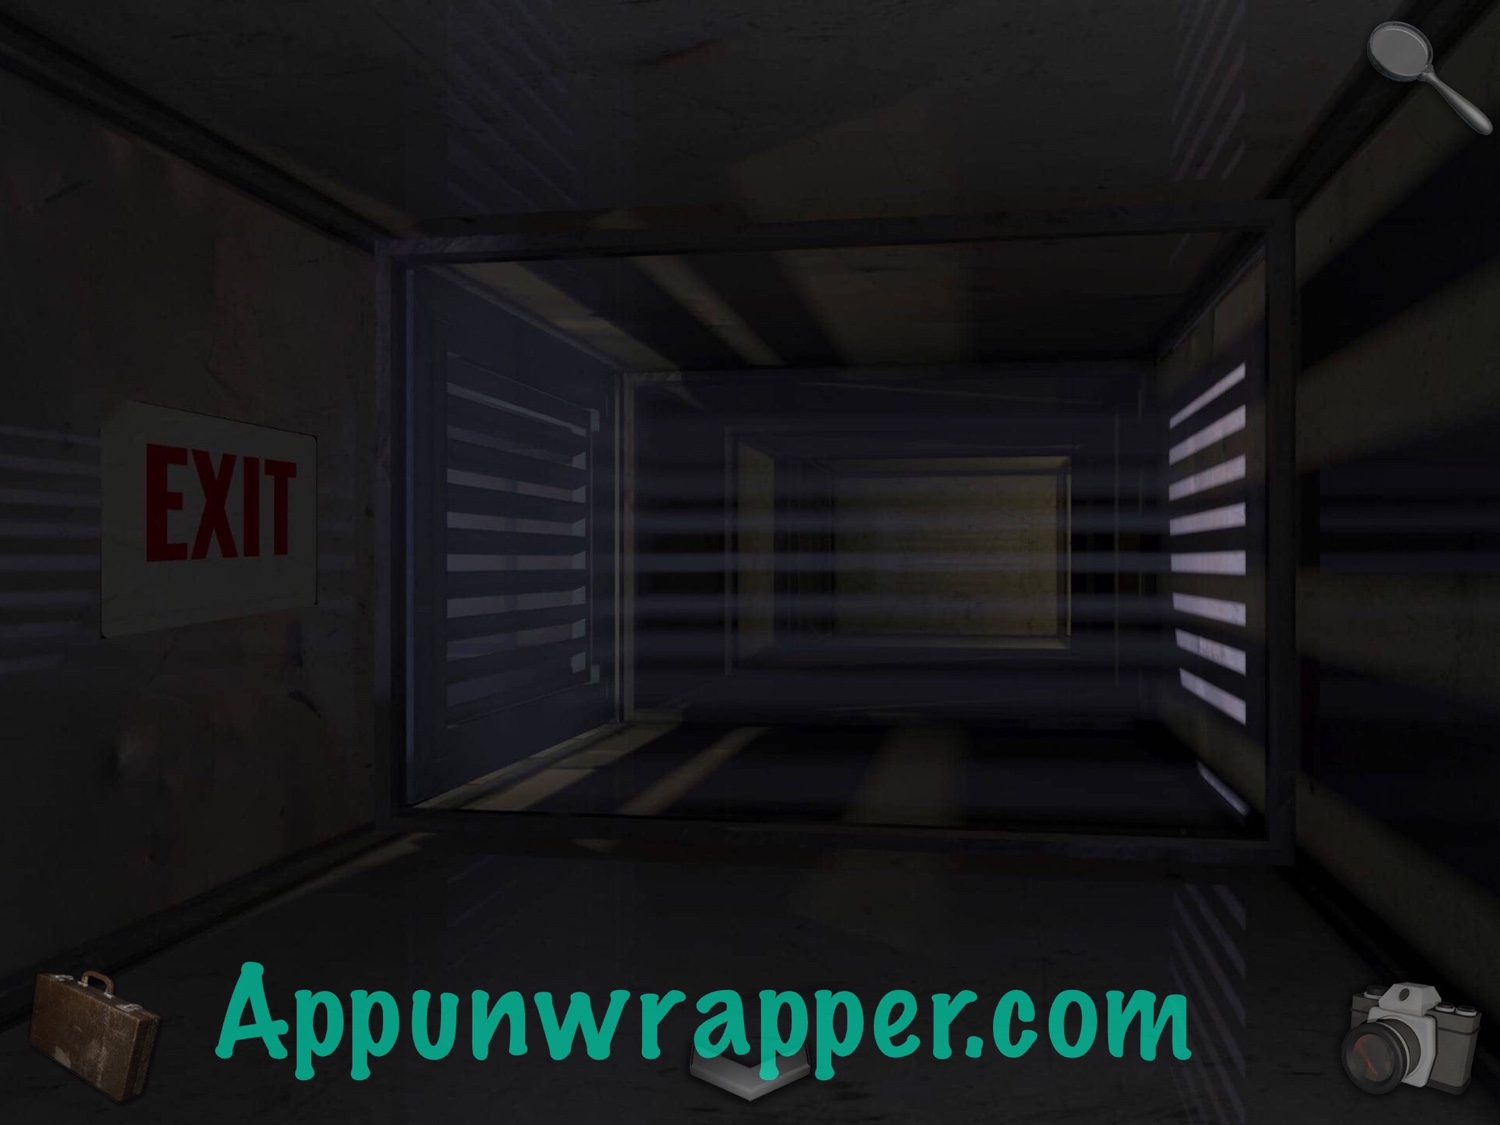
9. There’s a vent next to the EXIT sign. Push it open and go through to another area and the start of Chapter 1.
Chapter 1:
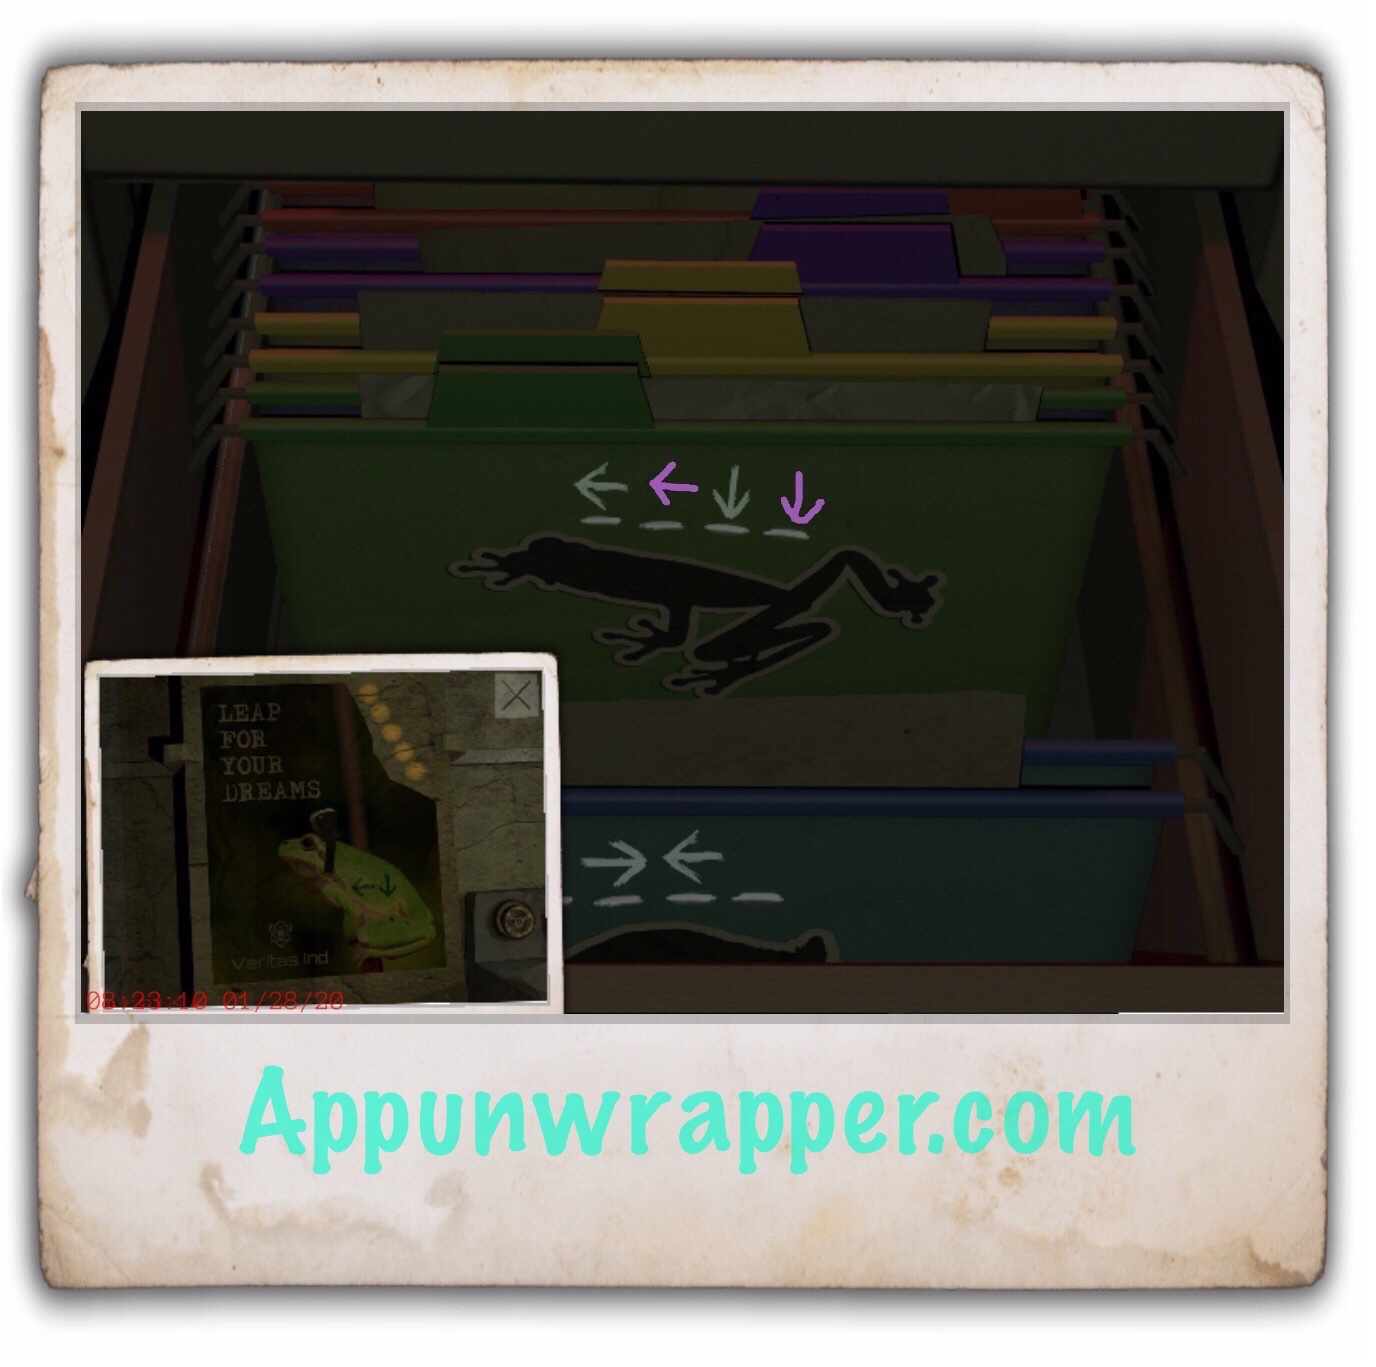
1. Enter the room labeled 2. Read note 13/16 on the bed, as well as the journal. Take a look at the frog poster on the wall and tear off the corner to reveal a clue. Here are 5 dots and two arrows. Take a photo of it.
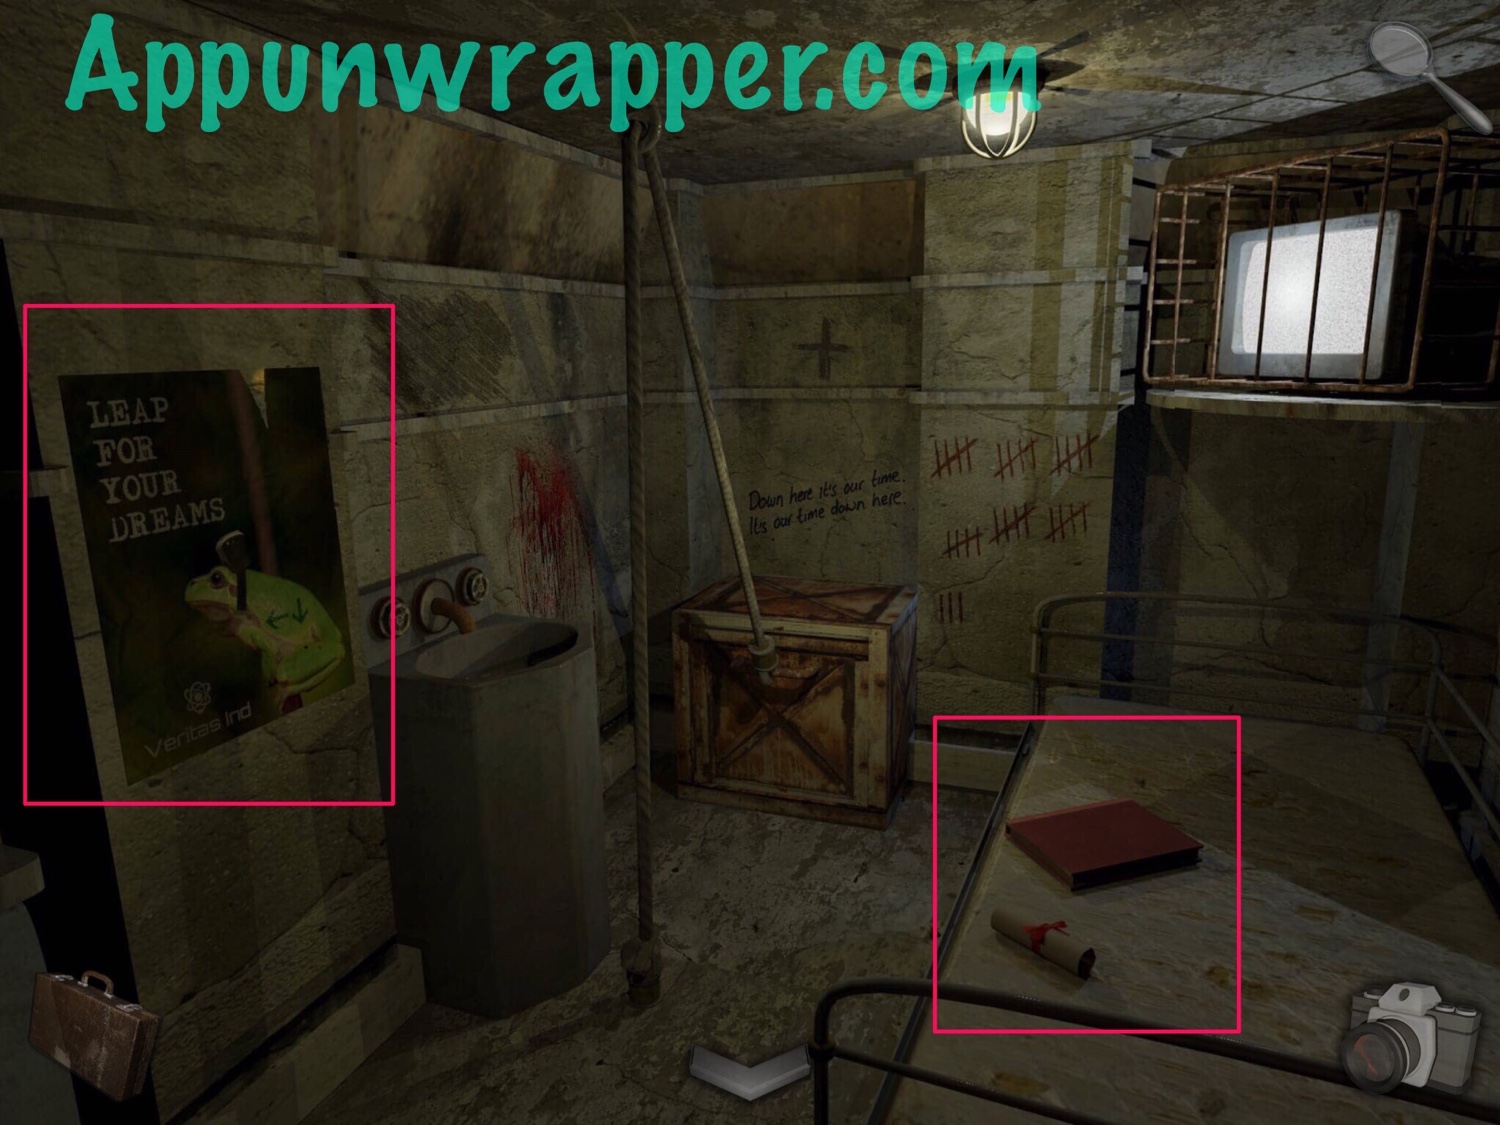

2. Look inside the sink and notice the words SHOOT ME! Use the camera to shoot a photo! The flash will brighten the sink and show you a coin stuck in the drain. We can’t get it now, so we’ll come back for that and other things in this room later.

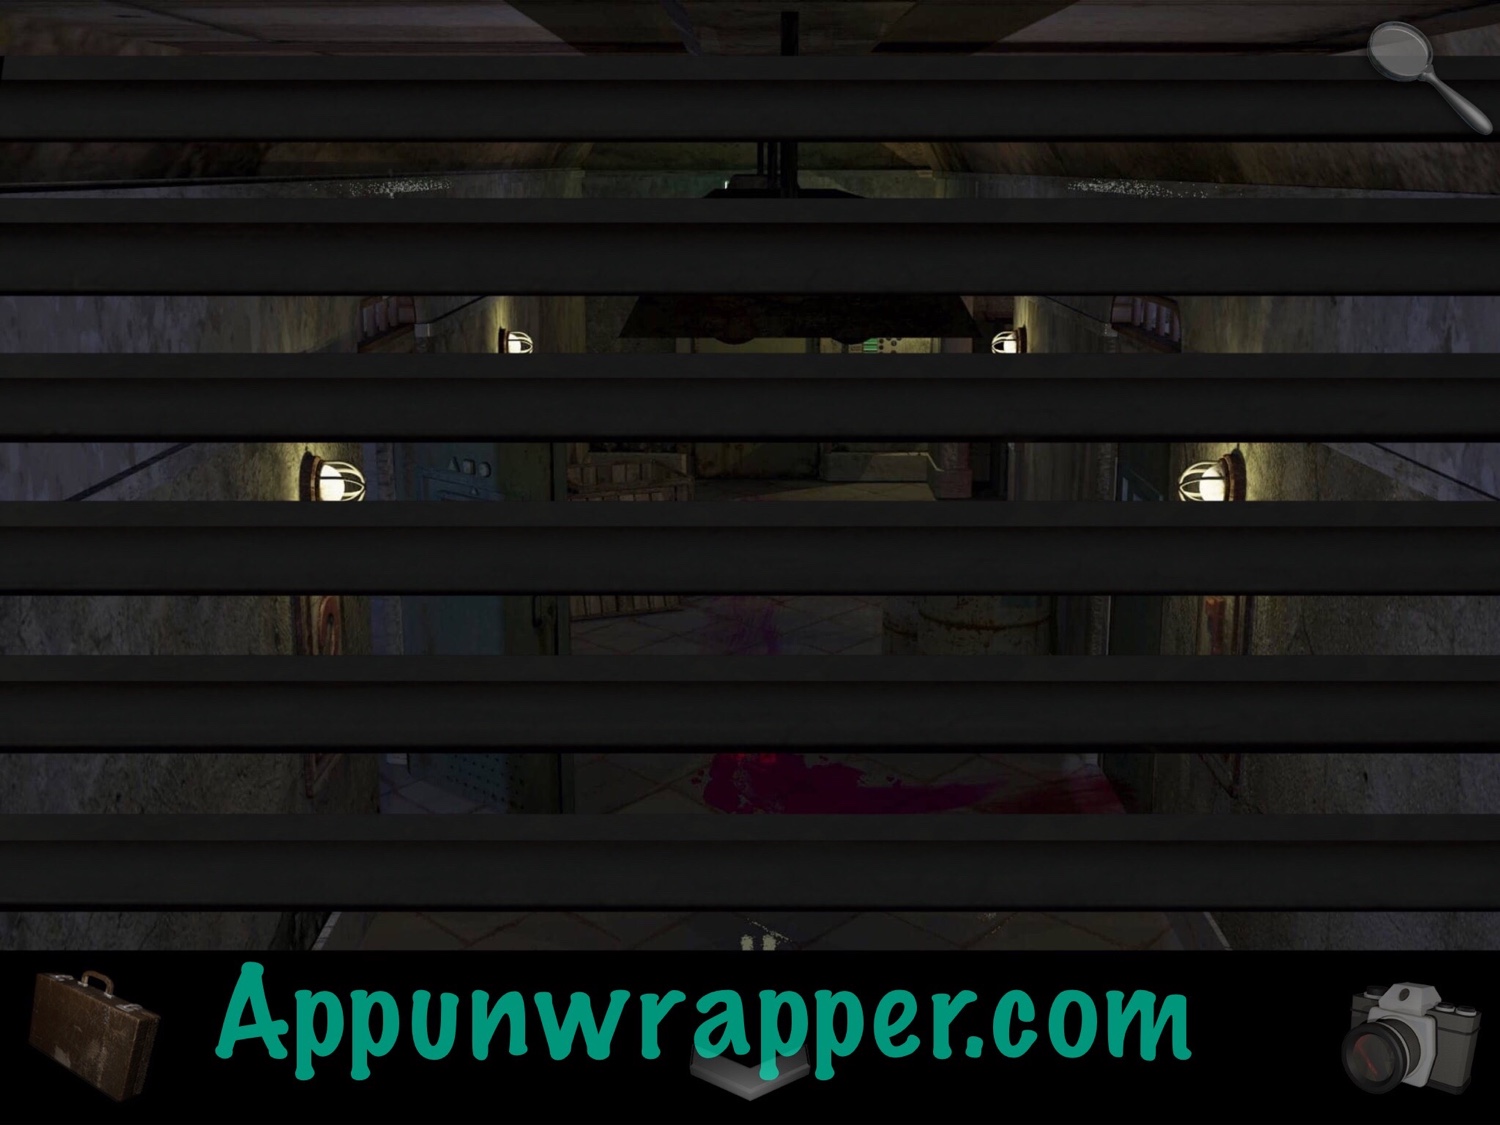
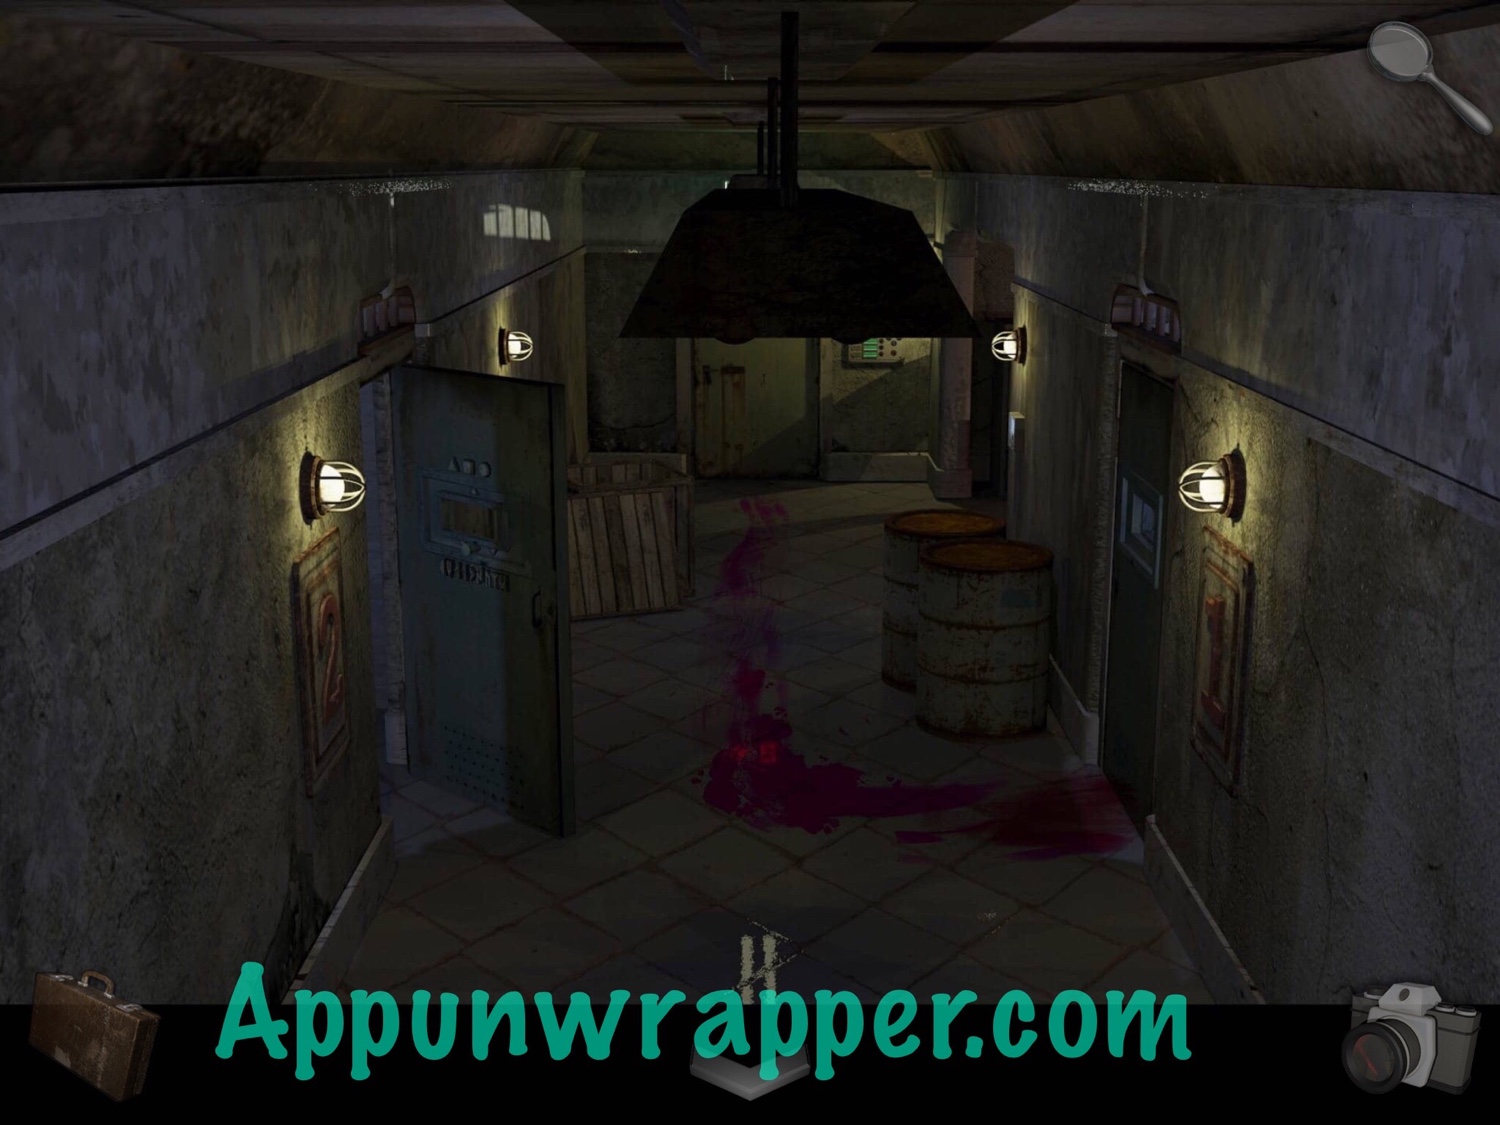
3. Leave and follow the trail of blood towards the elevator. The fan control panel is here. Head to it and turn off the fans.

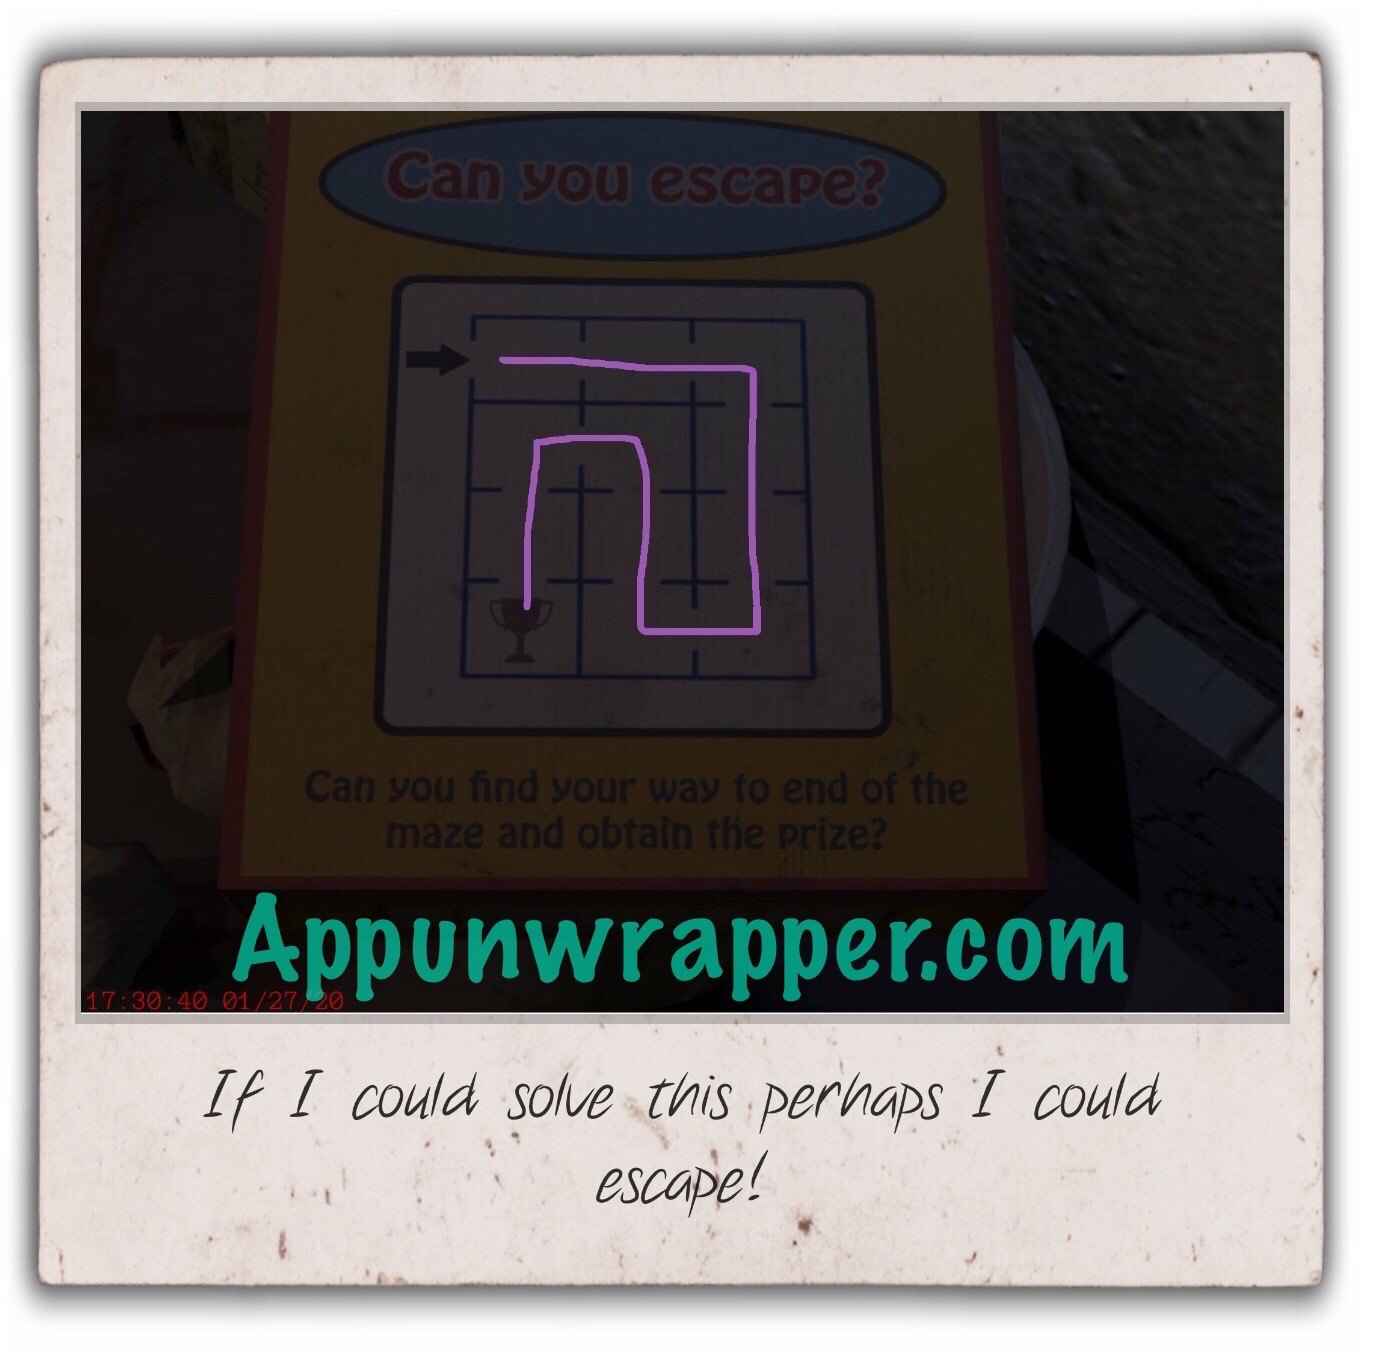
4. Continue ahead to the front desk area. There’s a lot to do here. First, look through the trash can to the right and look at the back of the box of cereal. Take a photo of it and use the drawing tool to solve the maze.
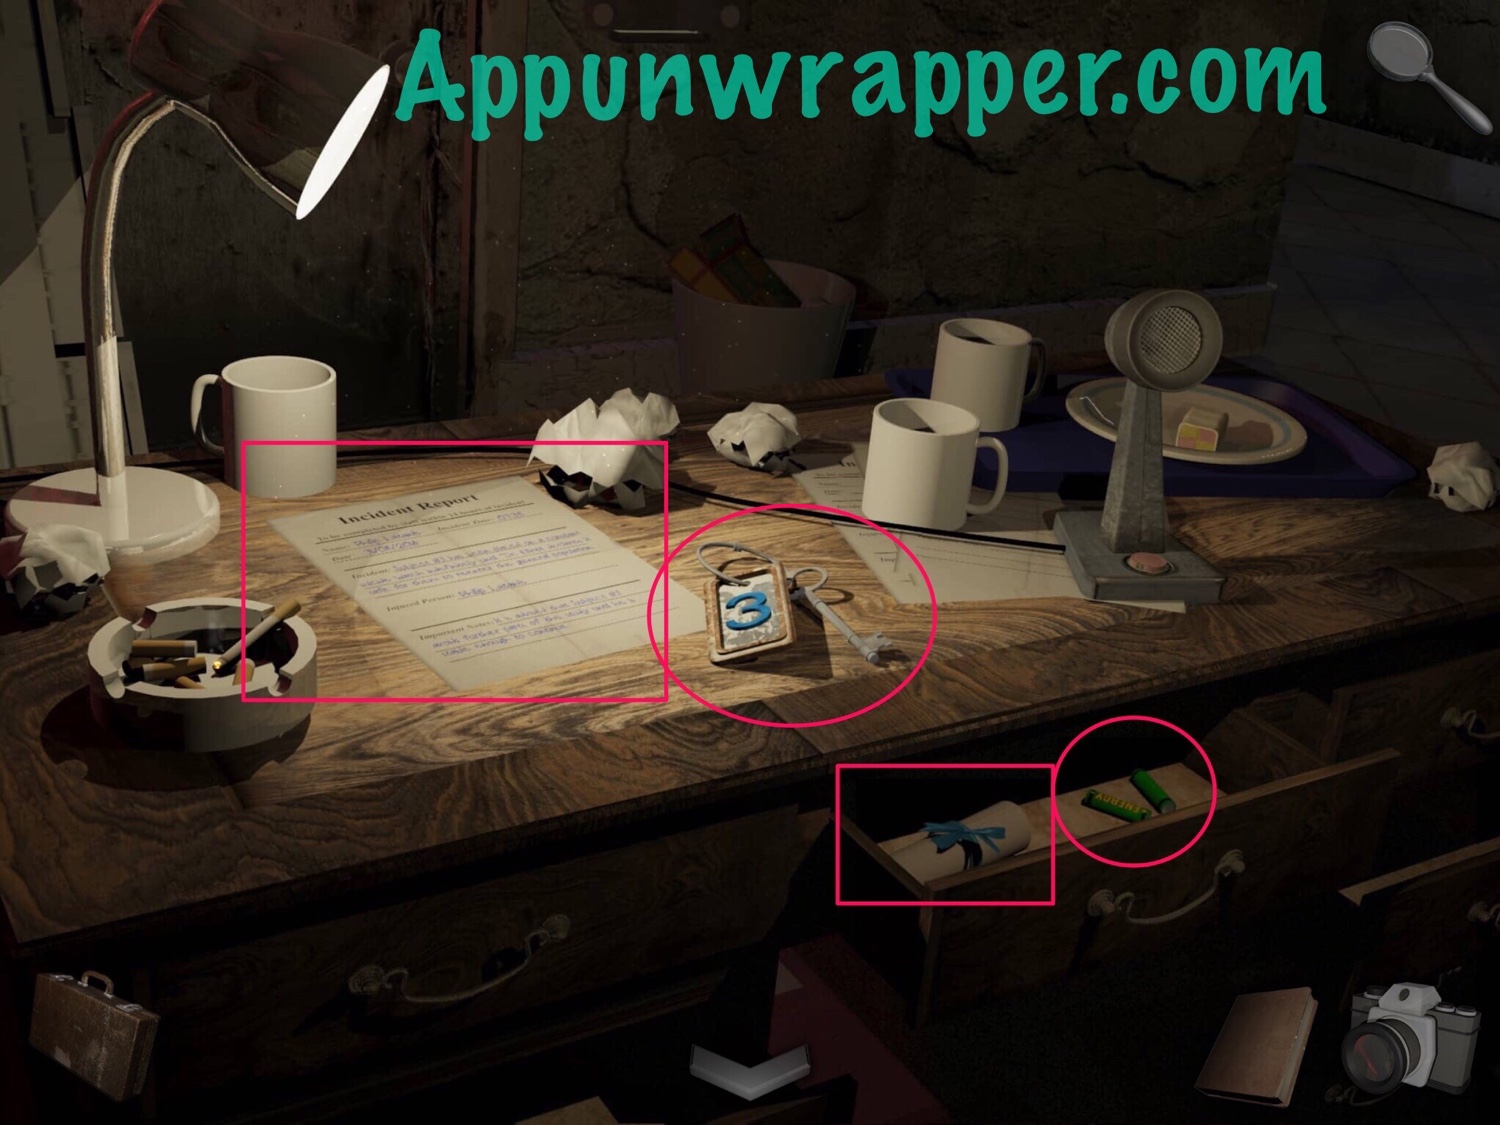
5. Take a look at the desk. Pick up the #3 key and look at the document on the desk. Open the drawer and take the batteries. Also, read note 11/16.
6. Now, tap on the red panel on the wall. Look at the photo of the maze from the cereal box and copy the pattern with the buttons. Then take the magnet from inside and read note 12/16.
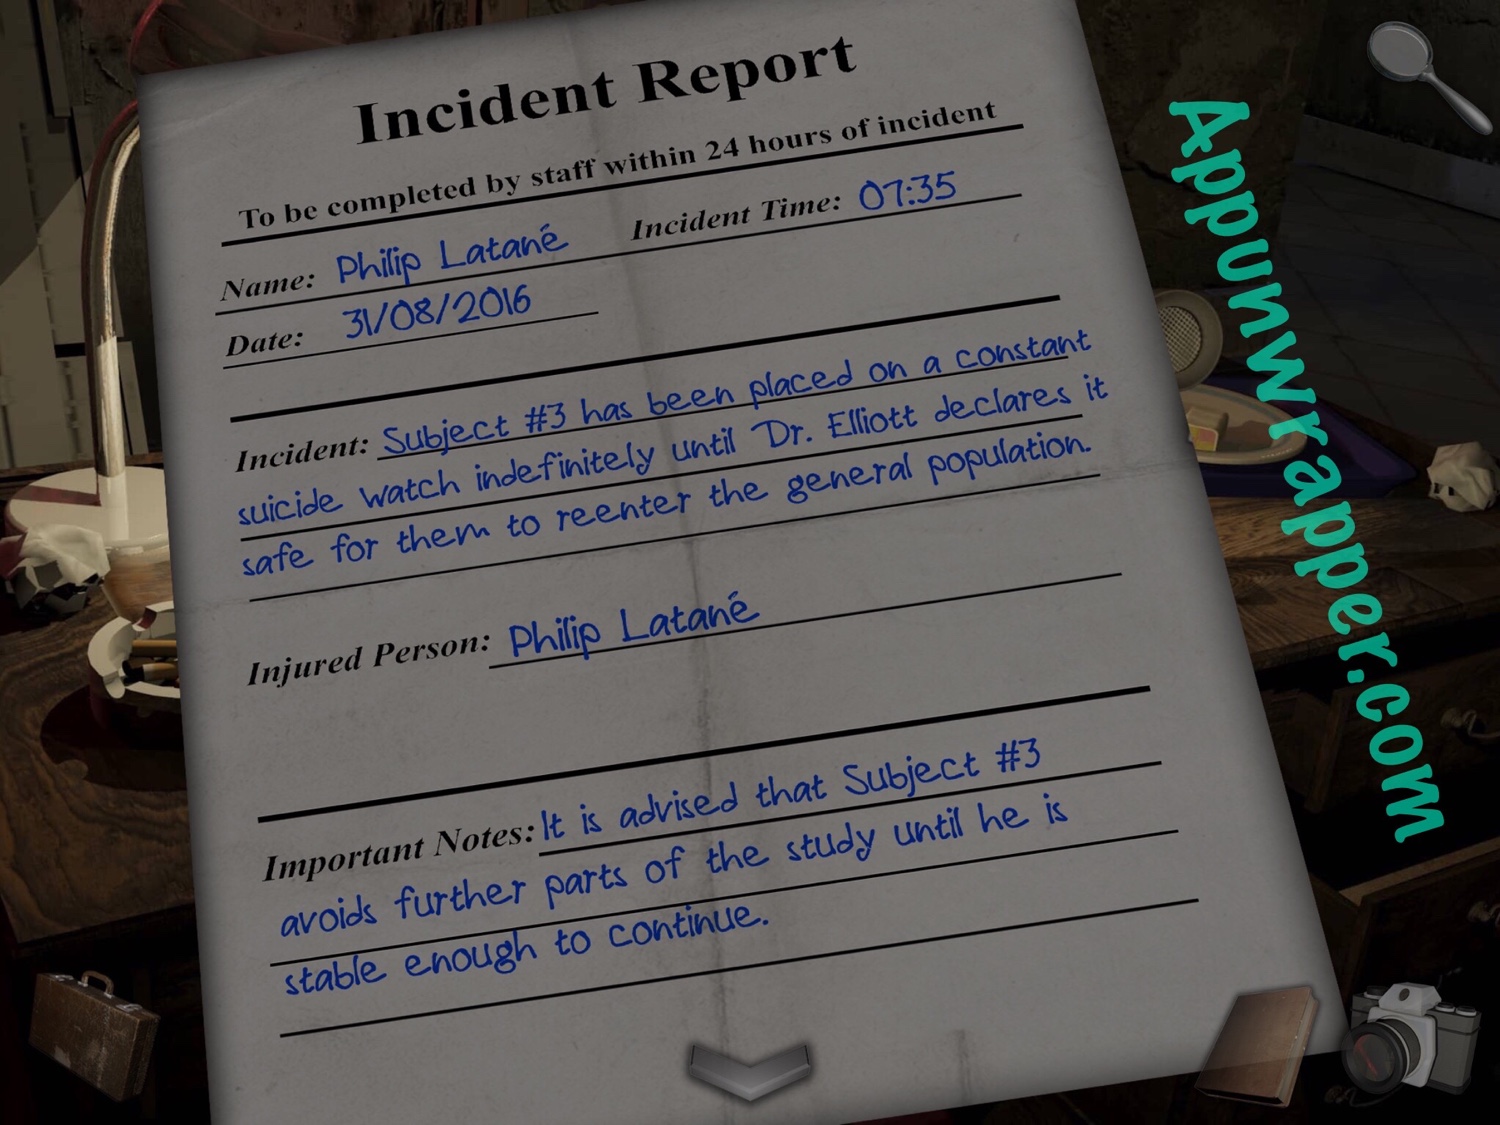
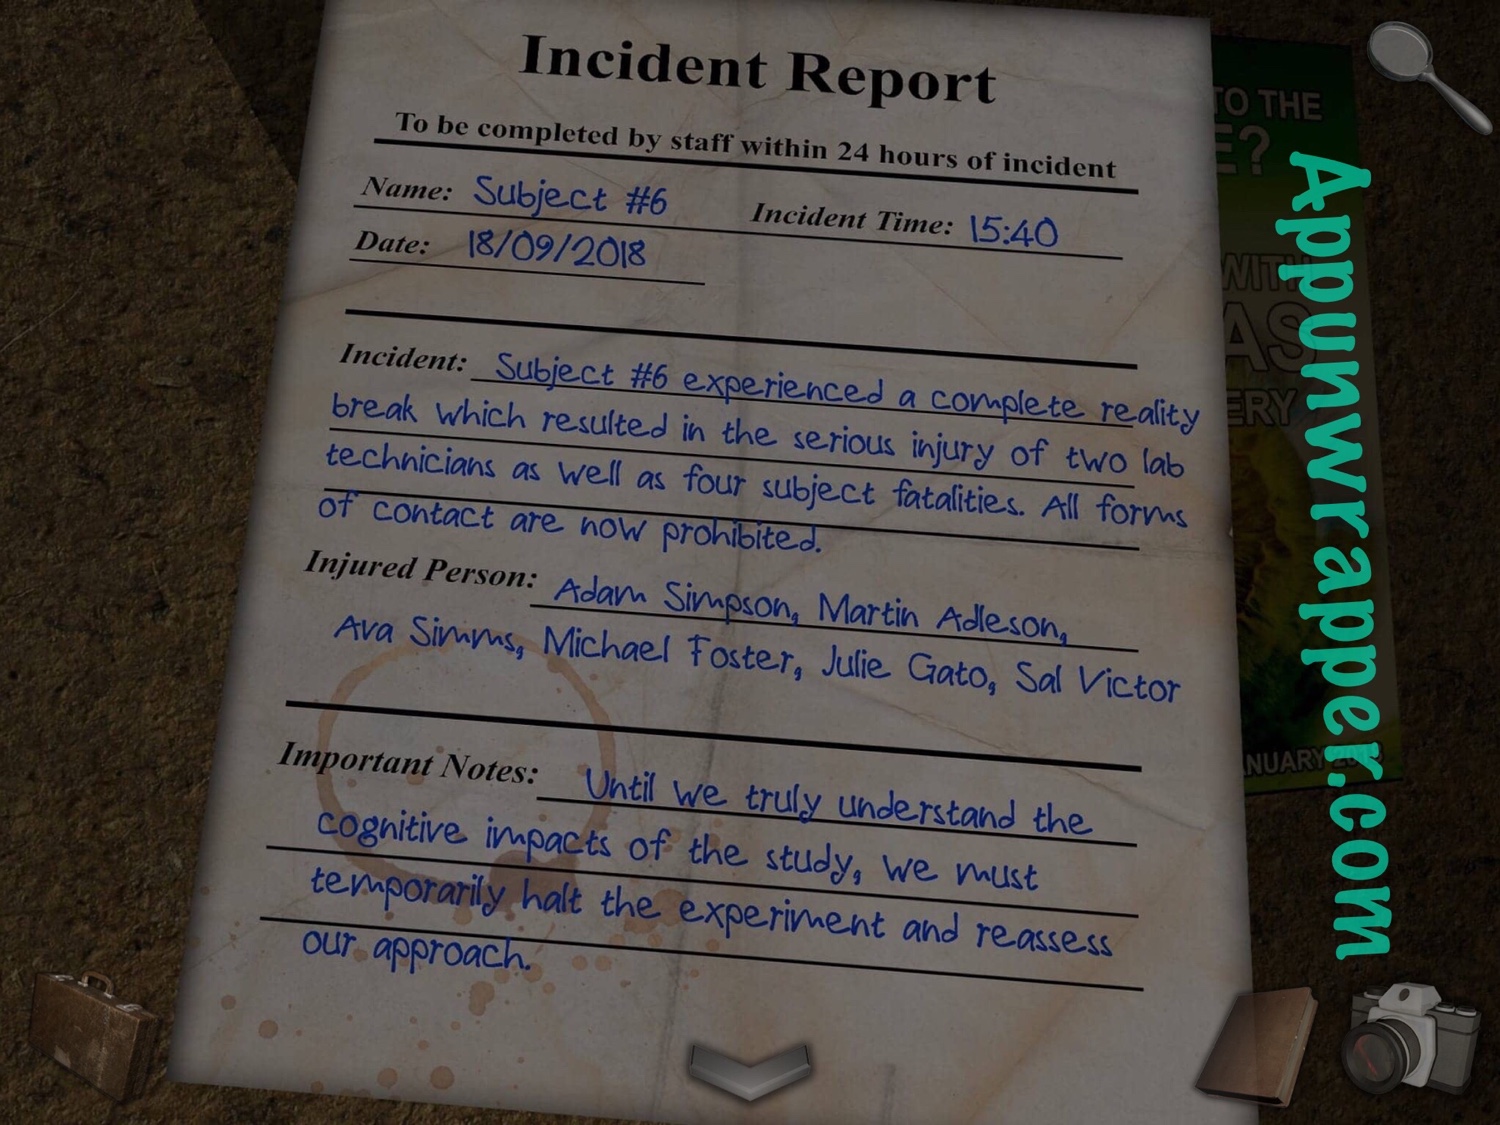
7. Look at the incident report and the eye surgery flyer on the bulletin board. There’s also a poster on the bathroom door.

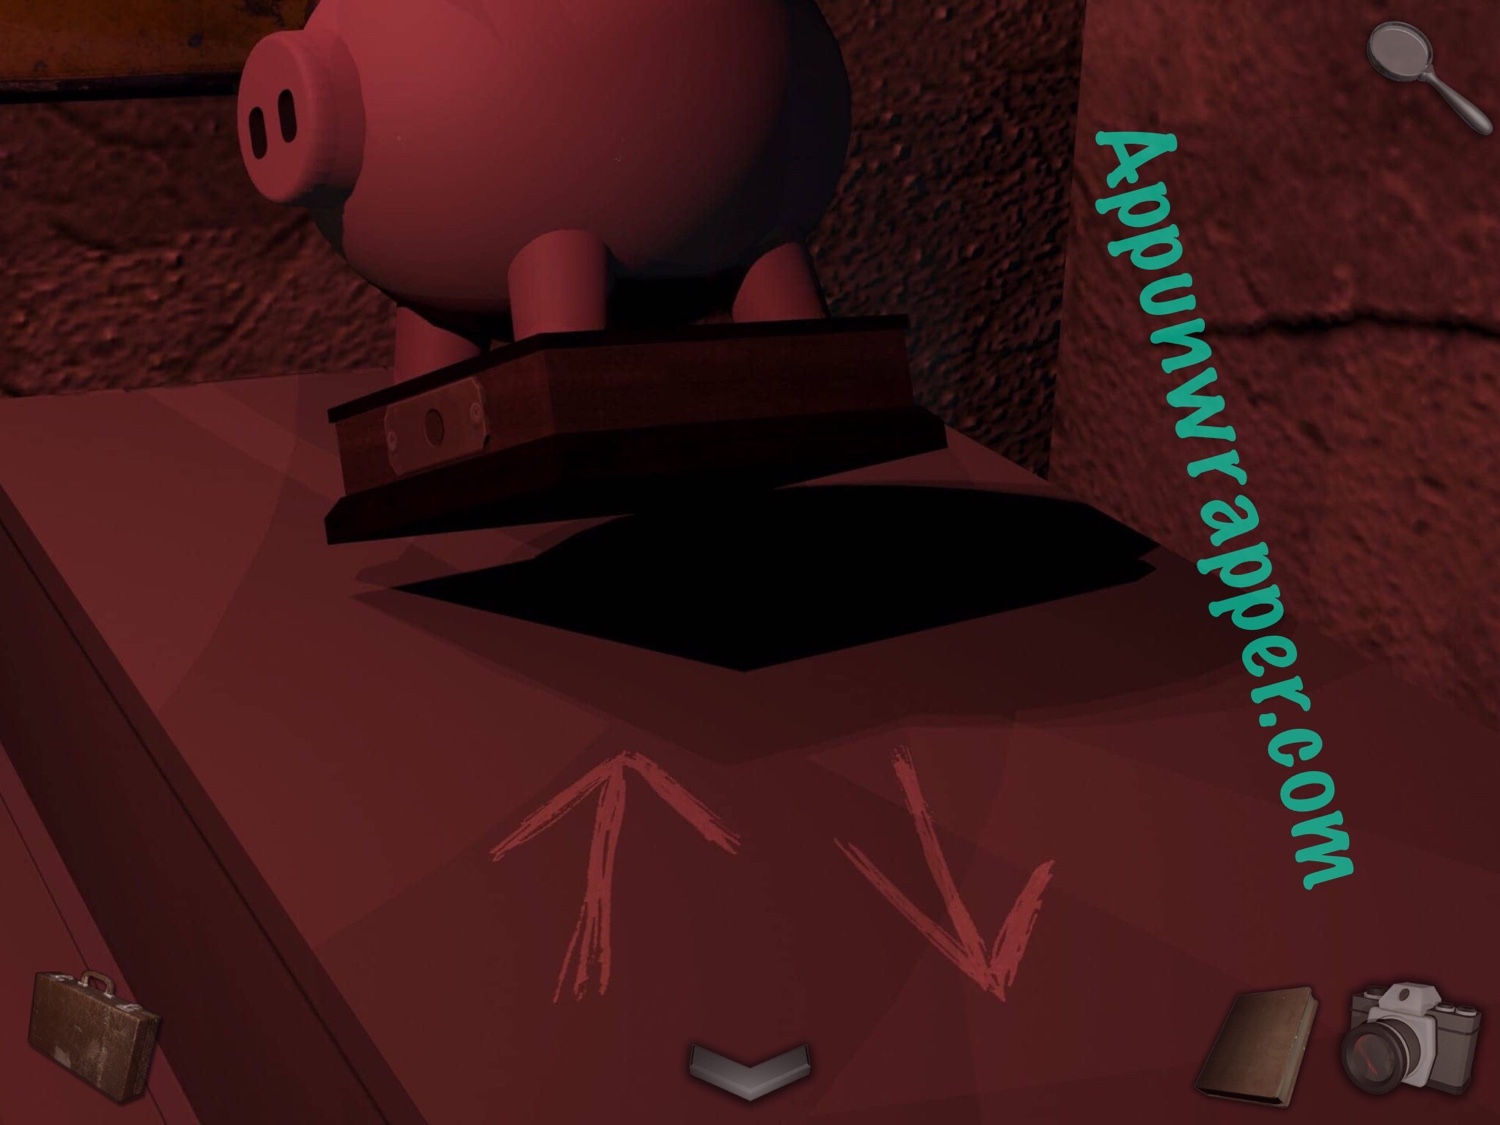
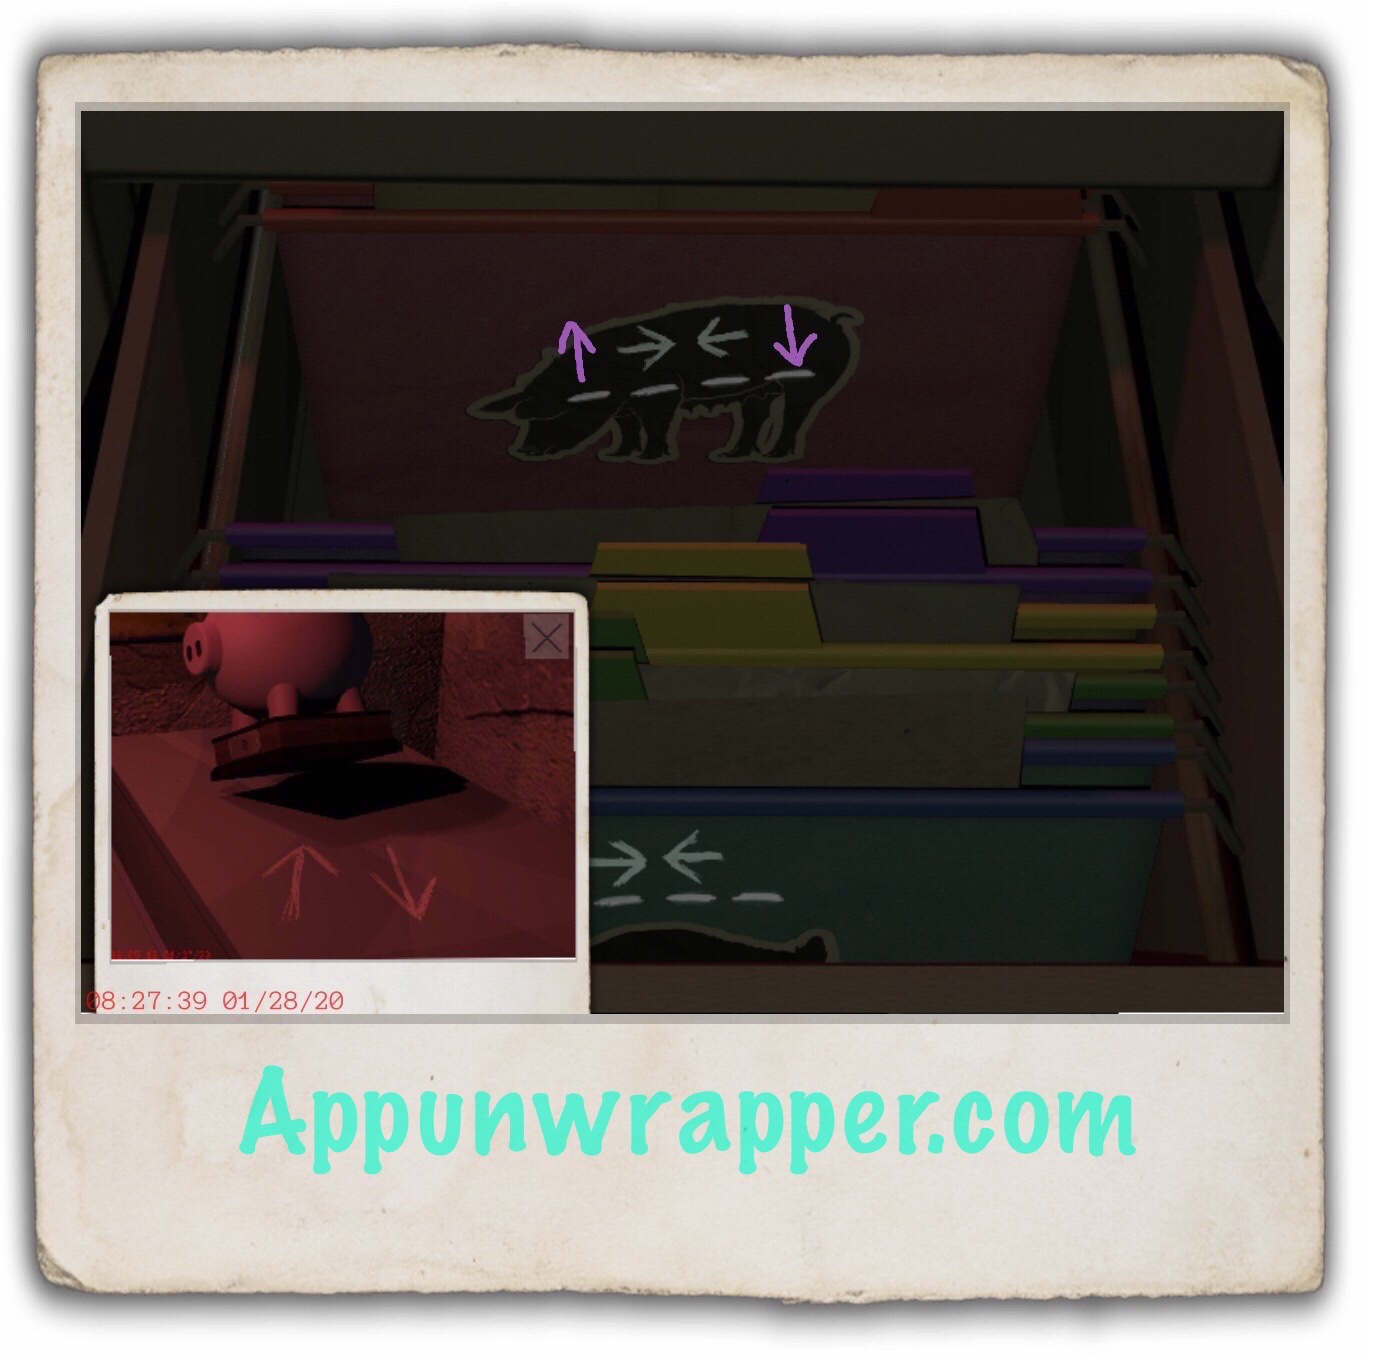
8. Look at the piggy bank on top of the filing cabinet. There’s one dot on the front. Lift up the pig to see two arrows. Take a photo.
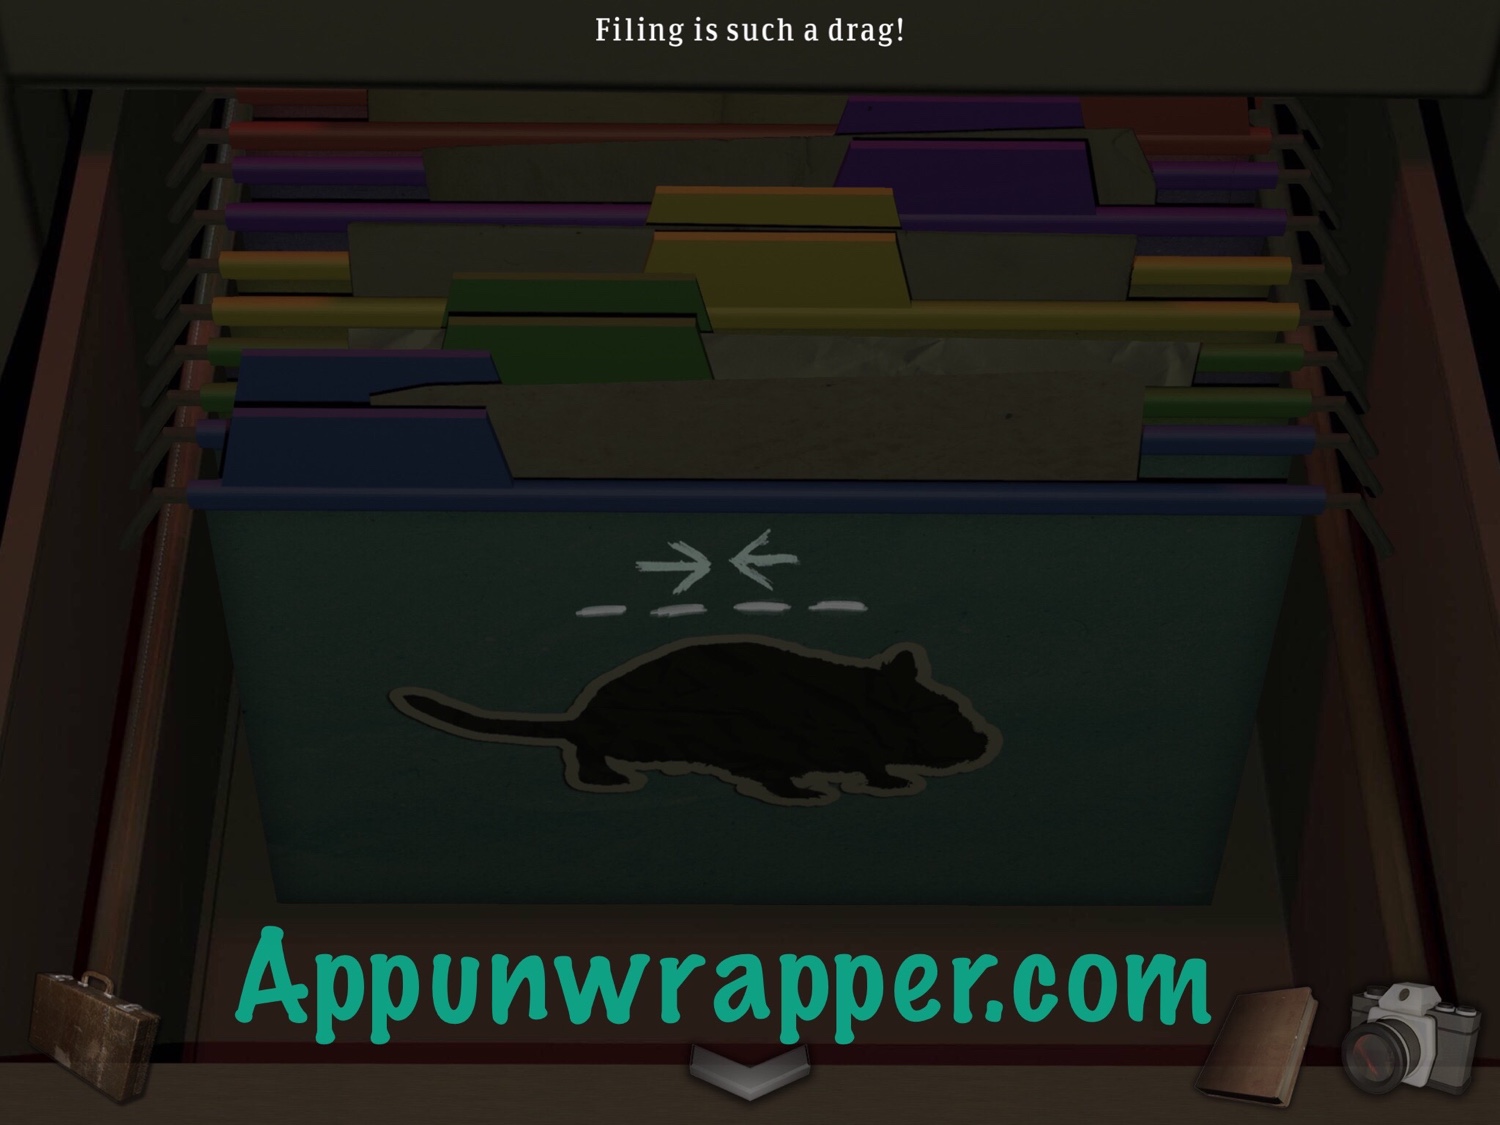
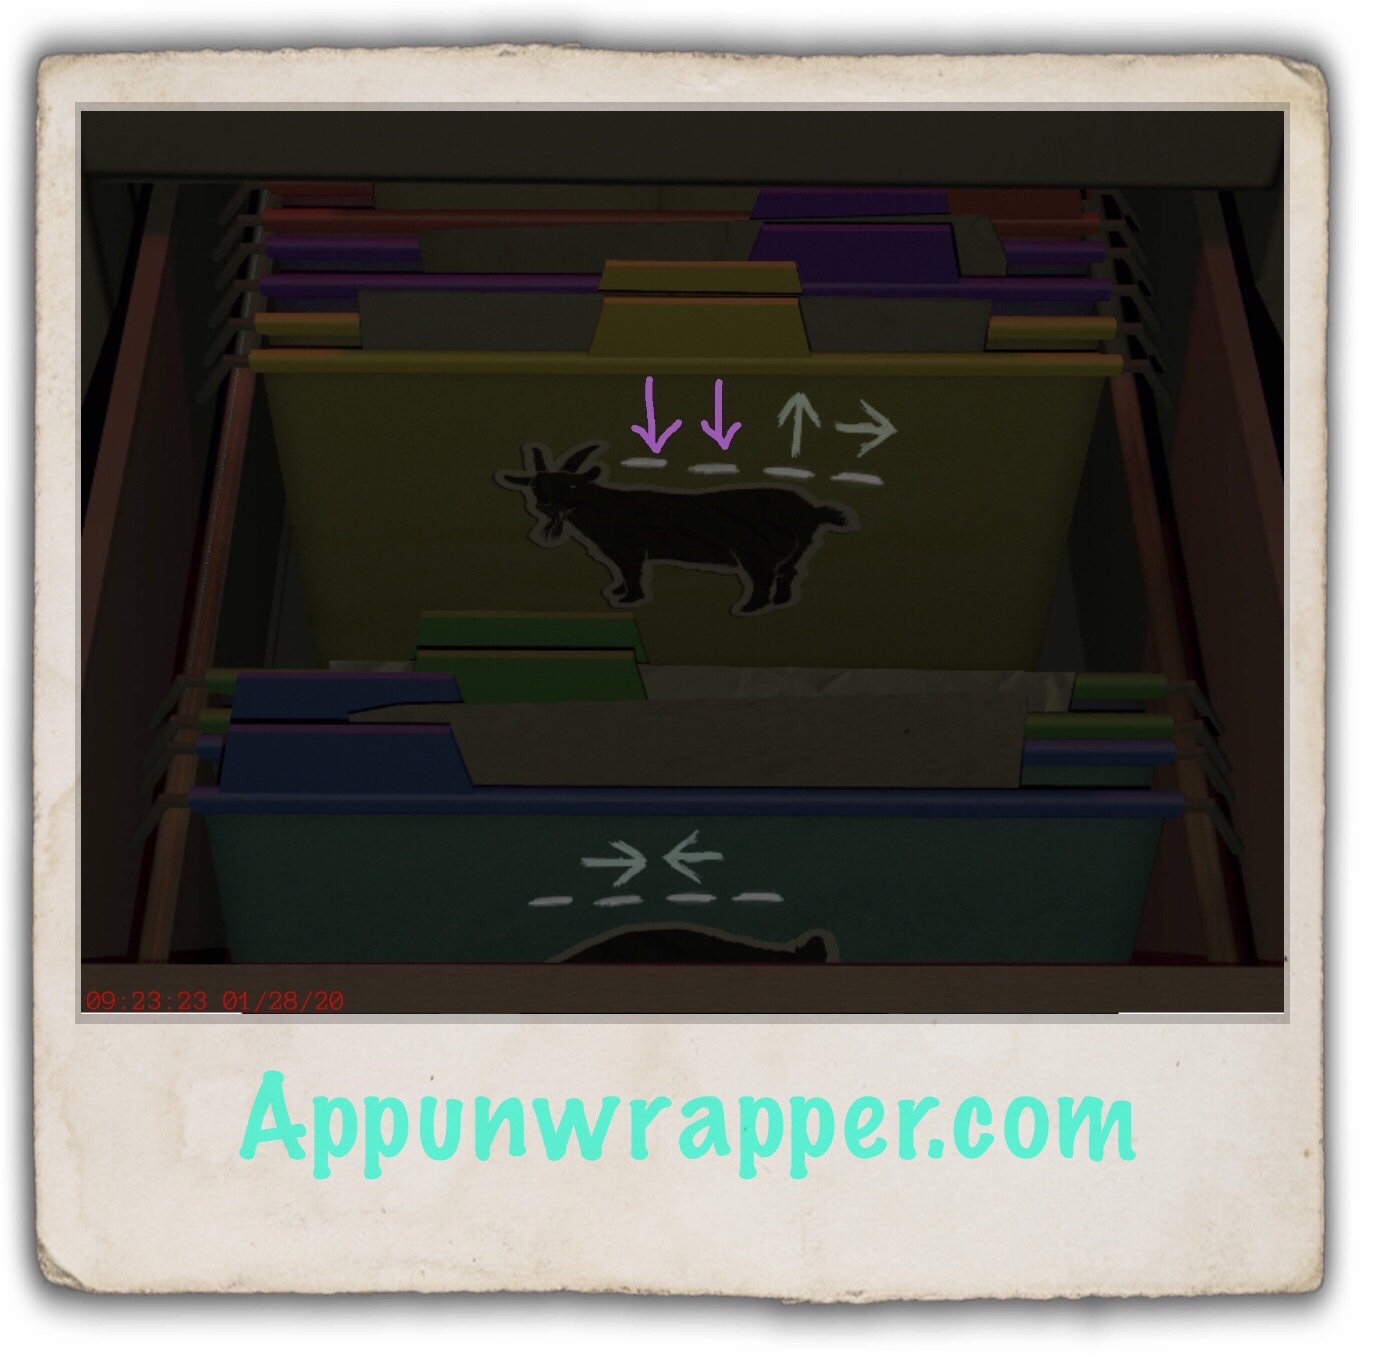
9. Open the drawer in the filing cabinet. Notice the clue that says, “Filing is such a drag!” It’s telling you to drag the folders around to see them better. Do so and take photos of the rat, frog, goat, bear and pig files. They’re each clues. So far, we’ve seen two animal clues around the place — the frog poster and piggy bank. But let’s wait until we have all five to start using the clues.
10. Go back and use the #3 key to unlock the door for Room 3. It’s where you came from, so it just gives you a shortcut back there. While here. Climb back into the vent. Now that the fan is off, you can grab the reel/spool of string.

11. Combine the magnet and the string to get a magnet on string.

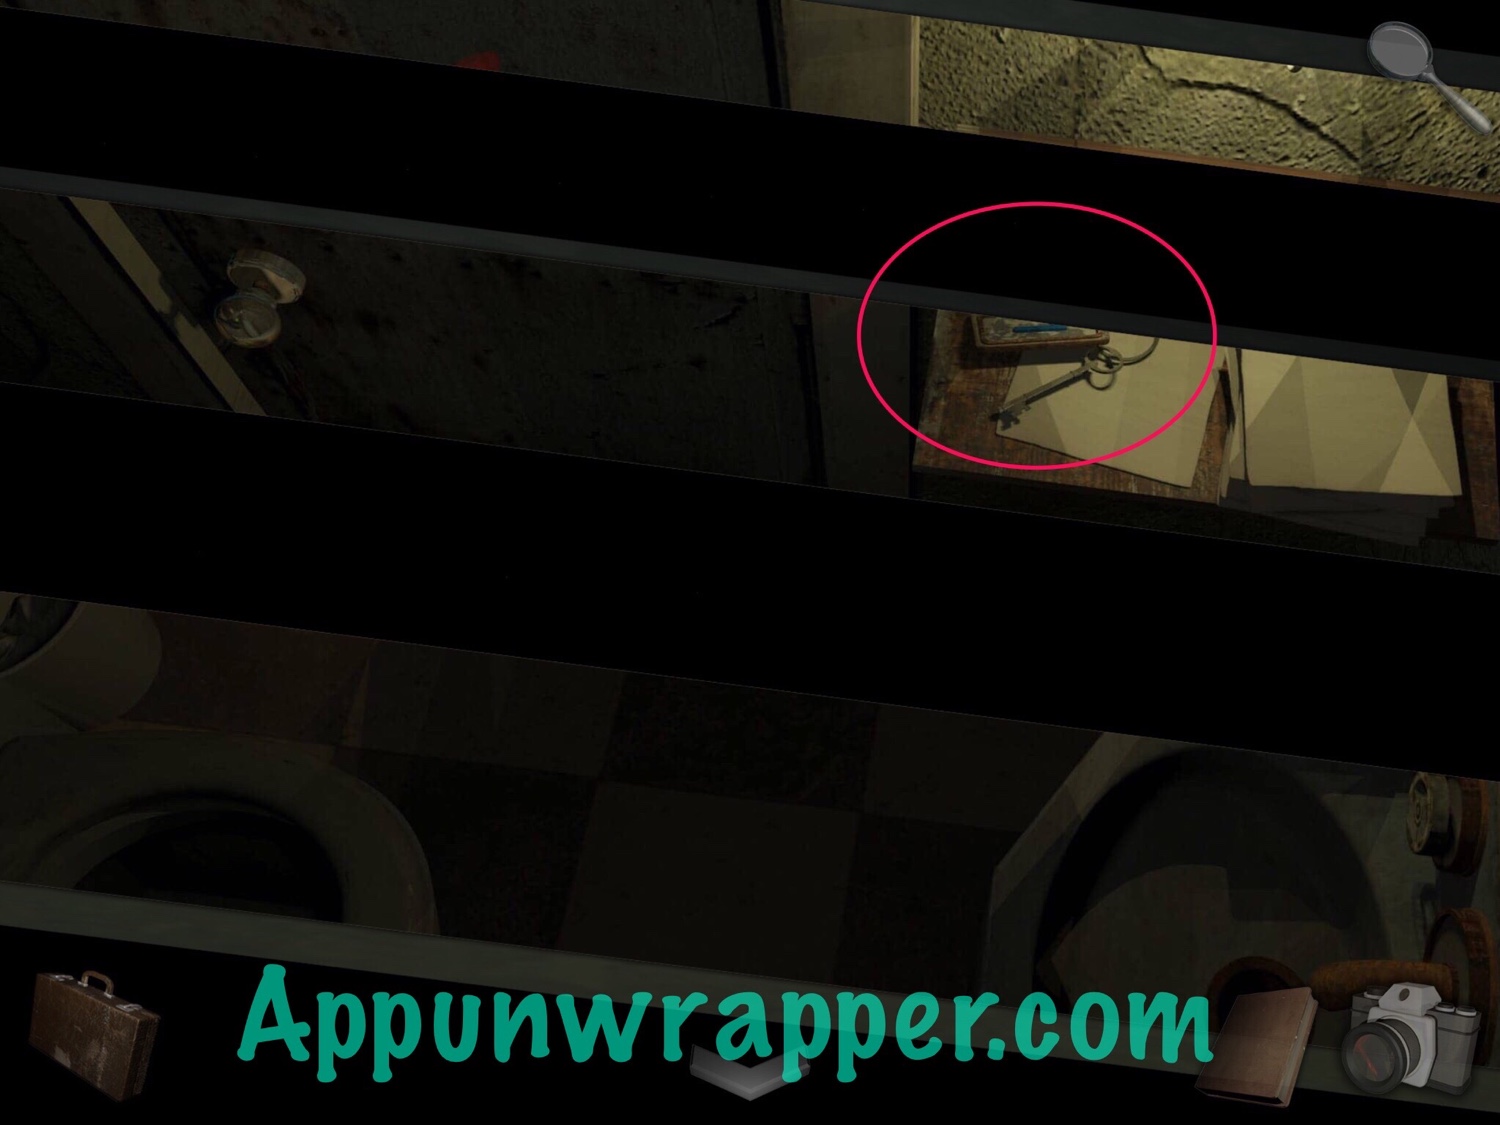
12. Continue on inside the vent, past the exit. Head in the direction of the next fan. On the way, stop at the vent facing down. Drag the screen up and down so you can see the key. Then use the magnet on string to grab it. It’s the #1 key!
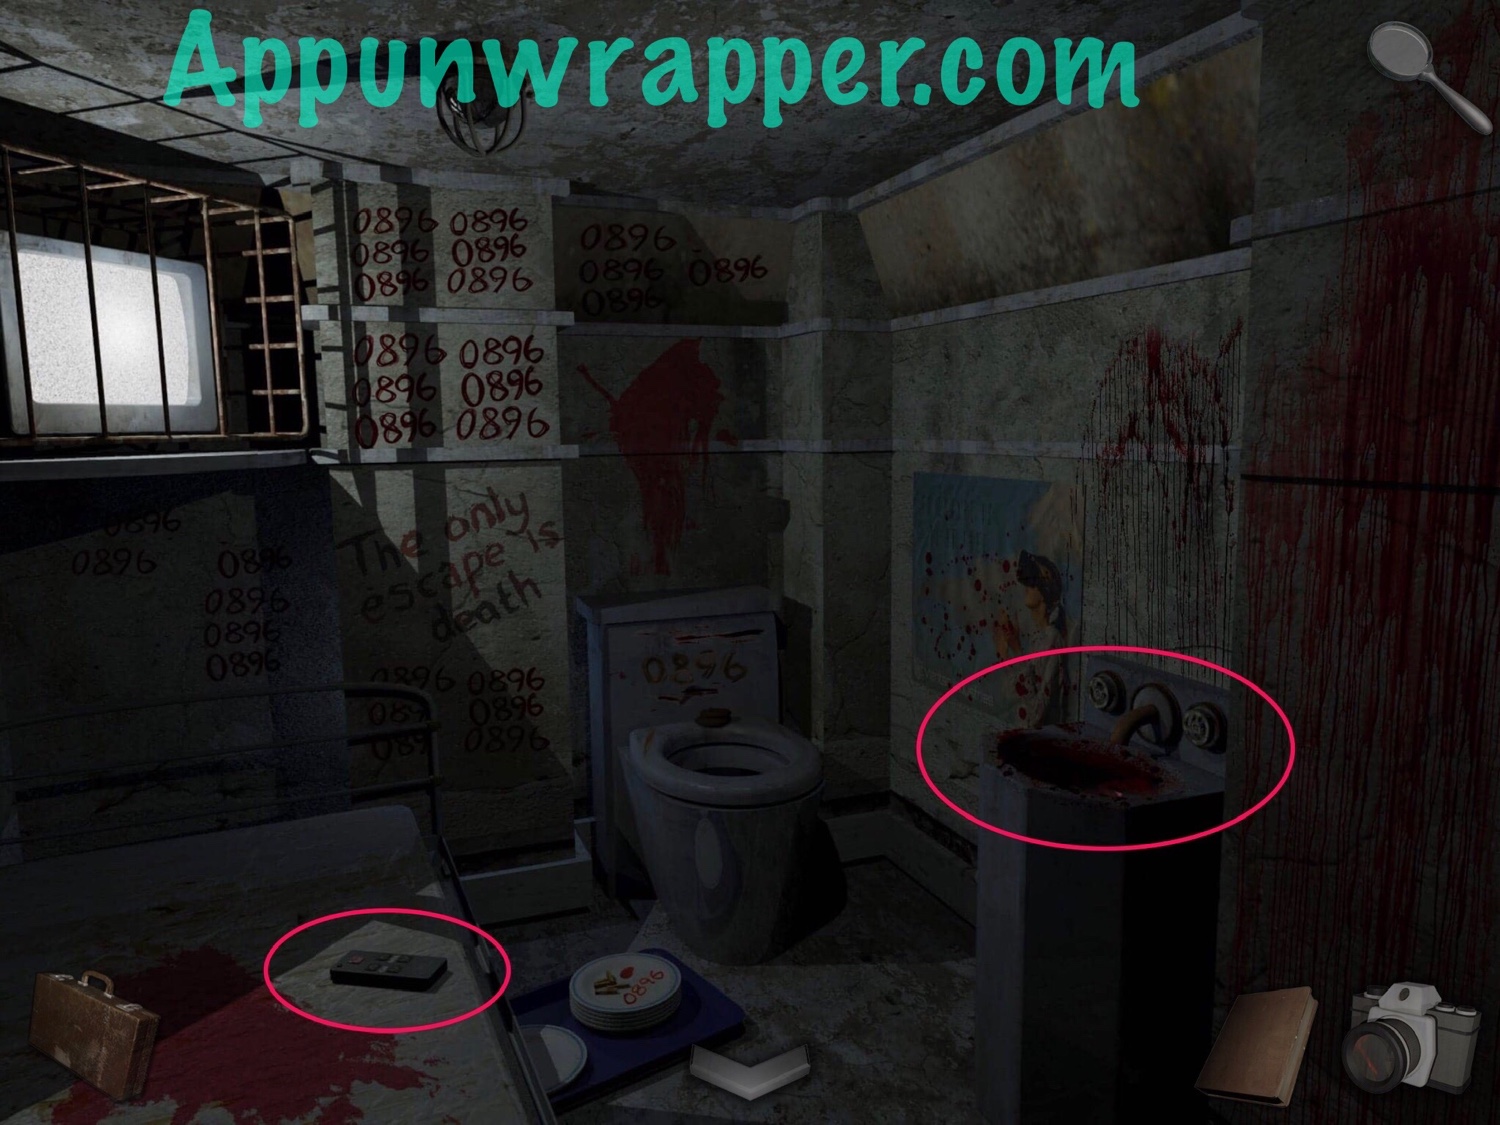
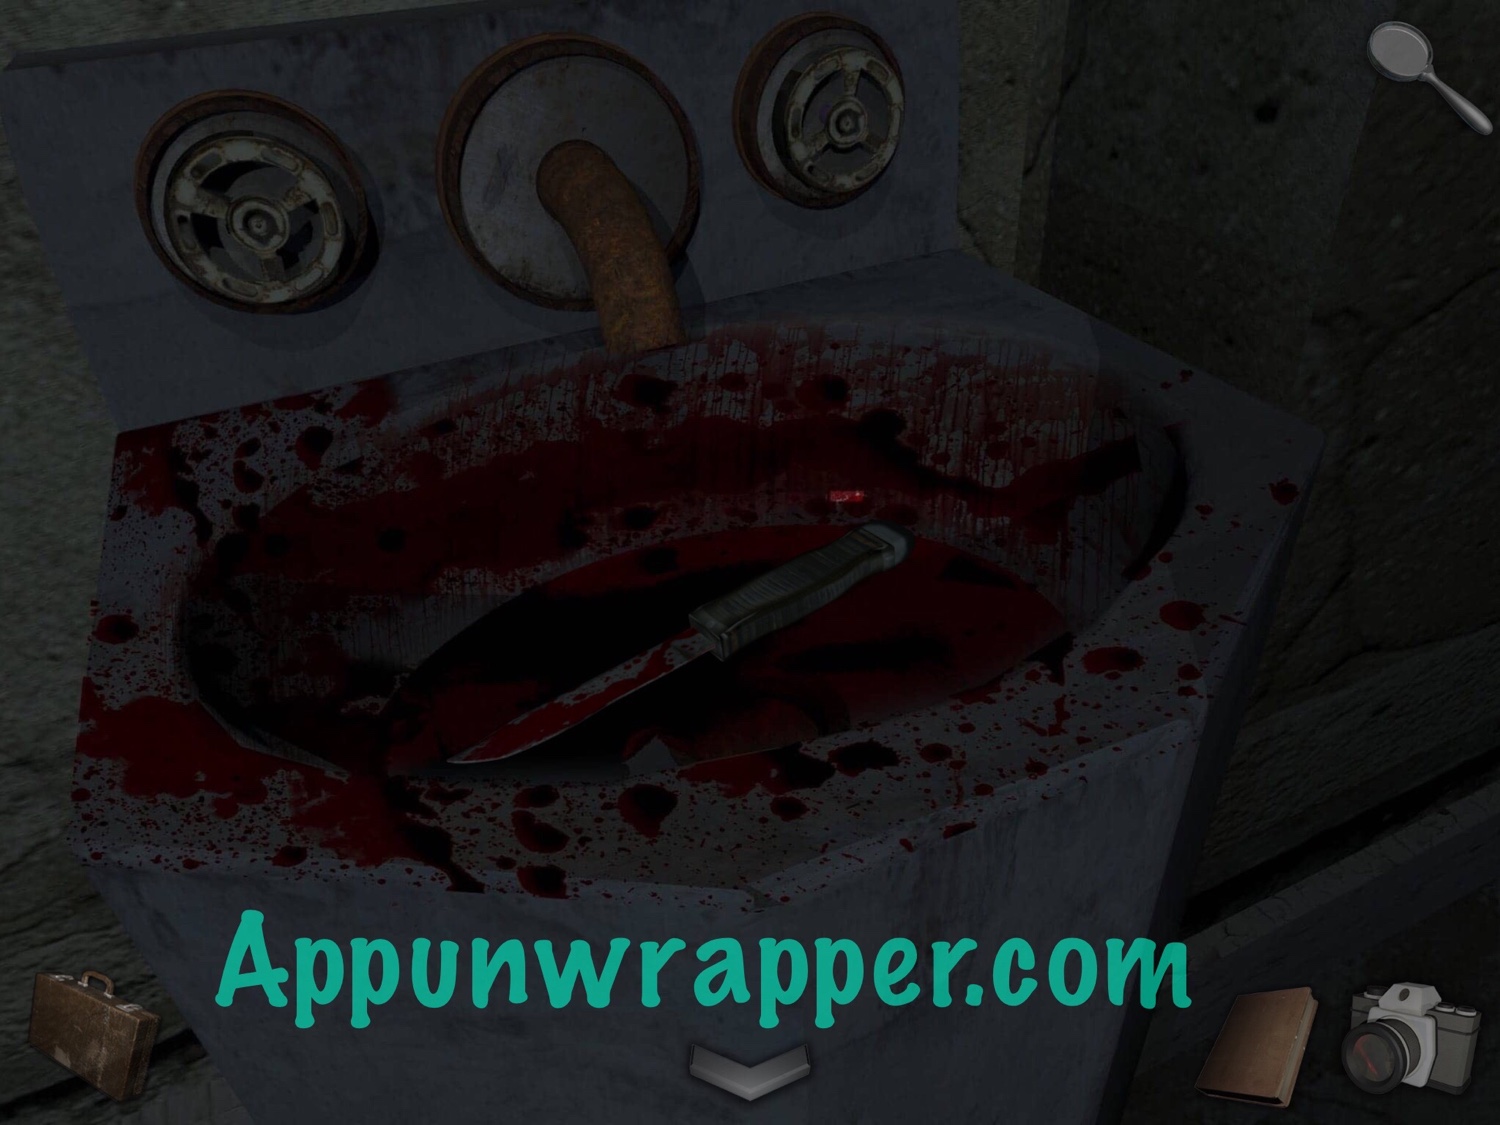
13. Now go back through the vents and go out through the exit. Use the #1 key to unlock the door to Room 1 and go through. Notice the numbers 0896 all over the place. Pick up the remote from the bed and the bloody knife from the sink. Also, notice the poster on the wall.
14. Combine the batteries with the remote to replace them and get a working remote.

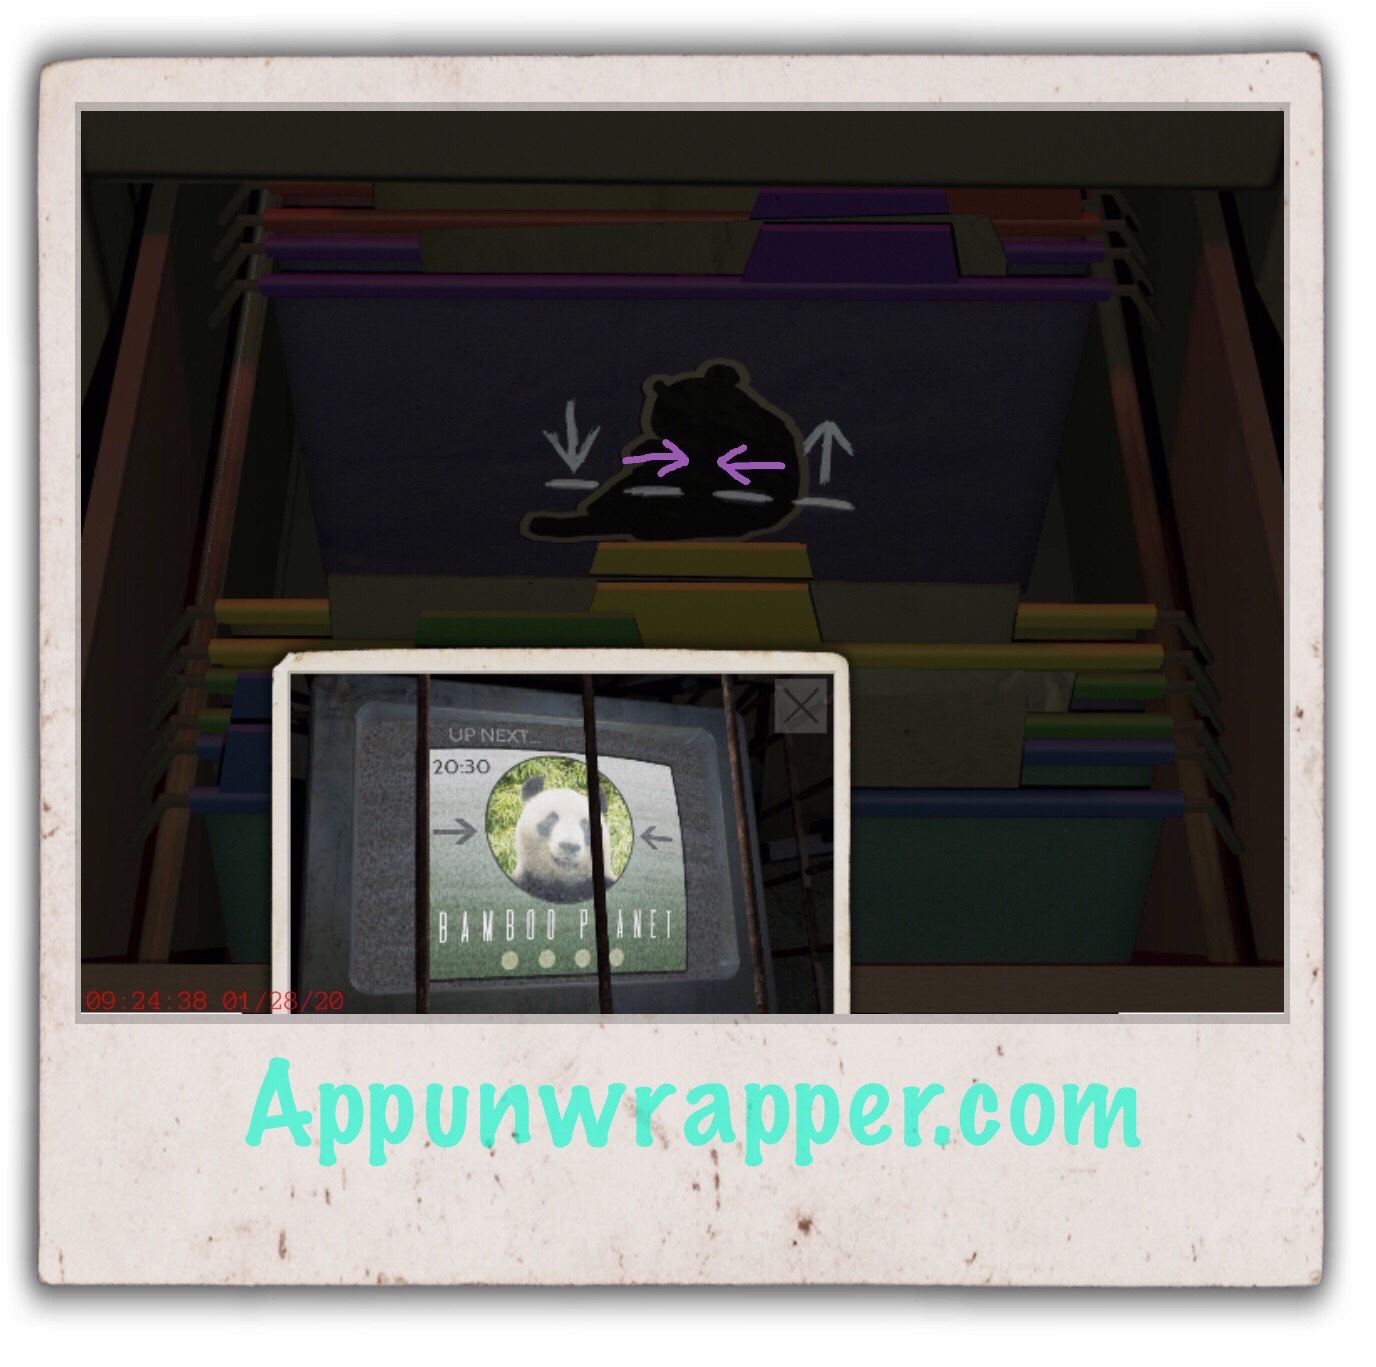
15. Use the remote on the TV. Notice the arrows clue with the panda. There’s 4 dots and 2 arrows. Take a photo.

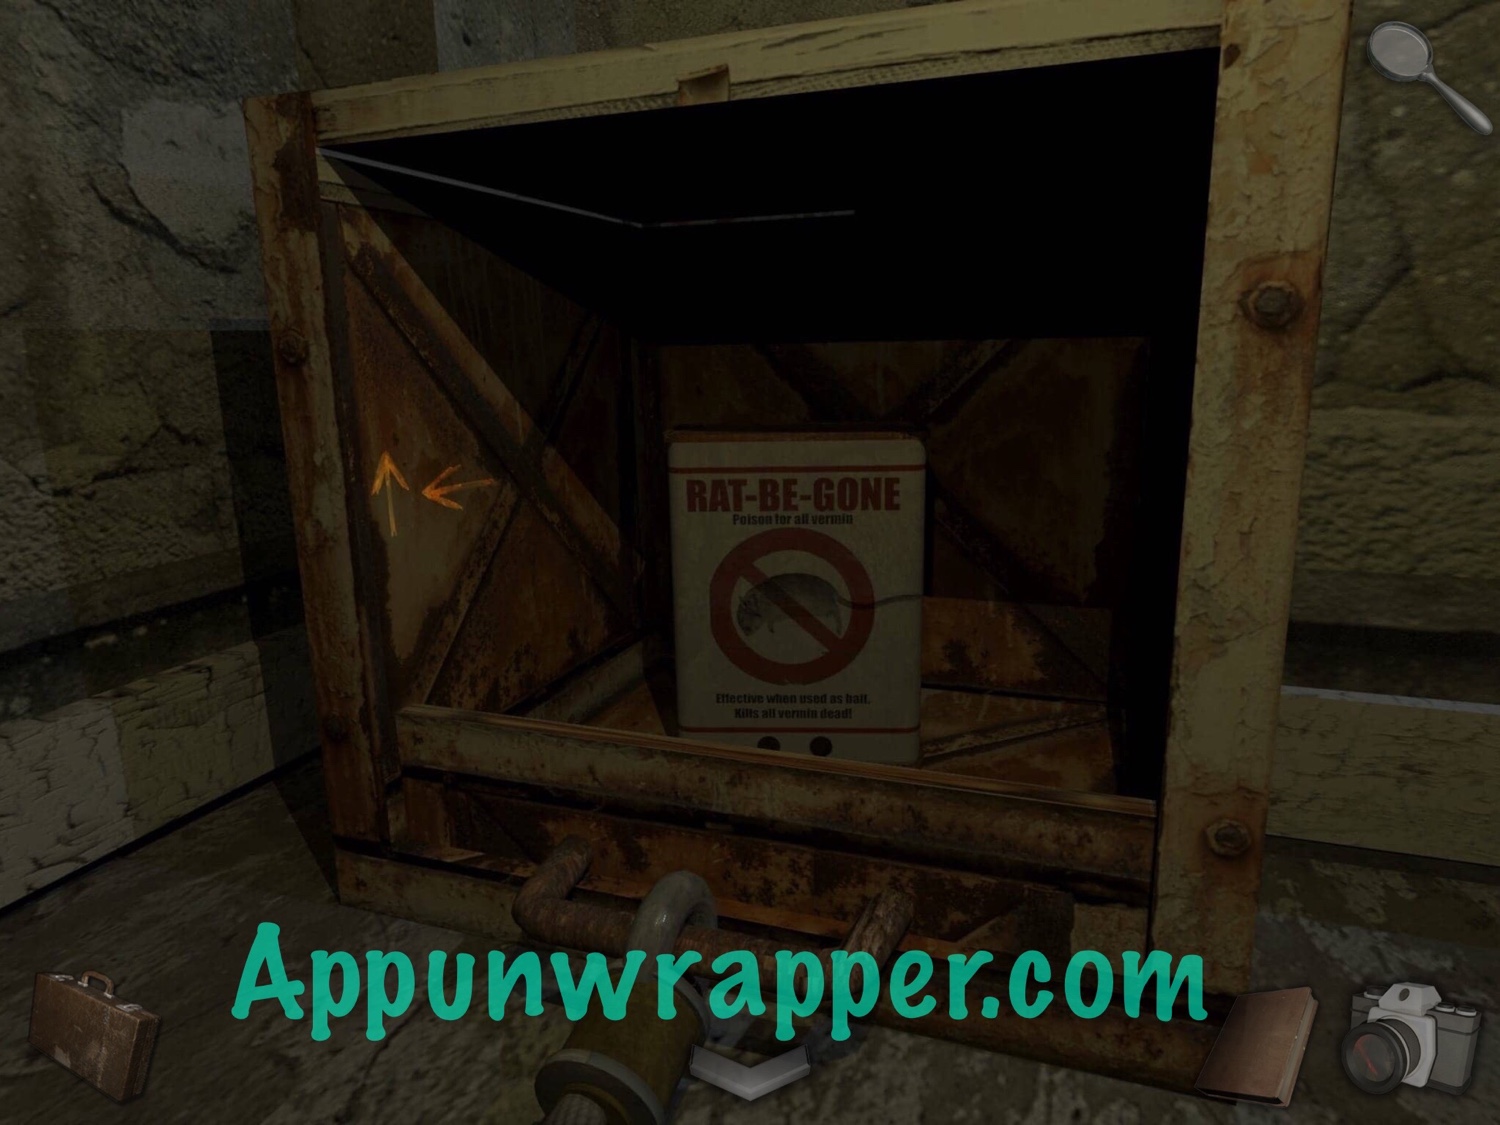
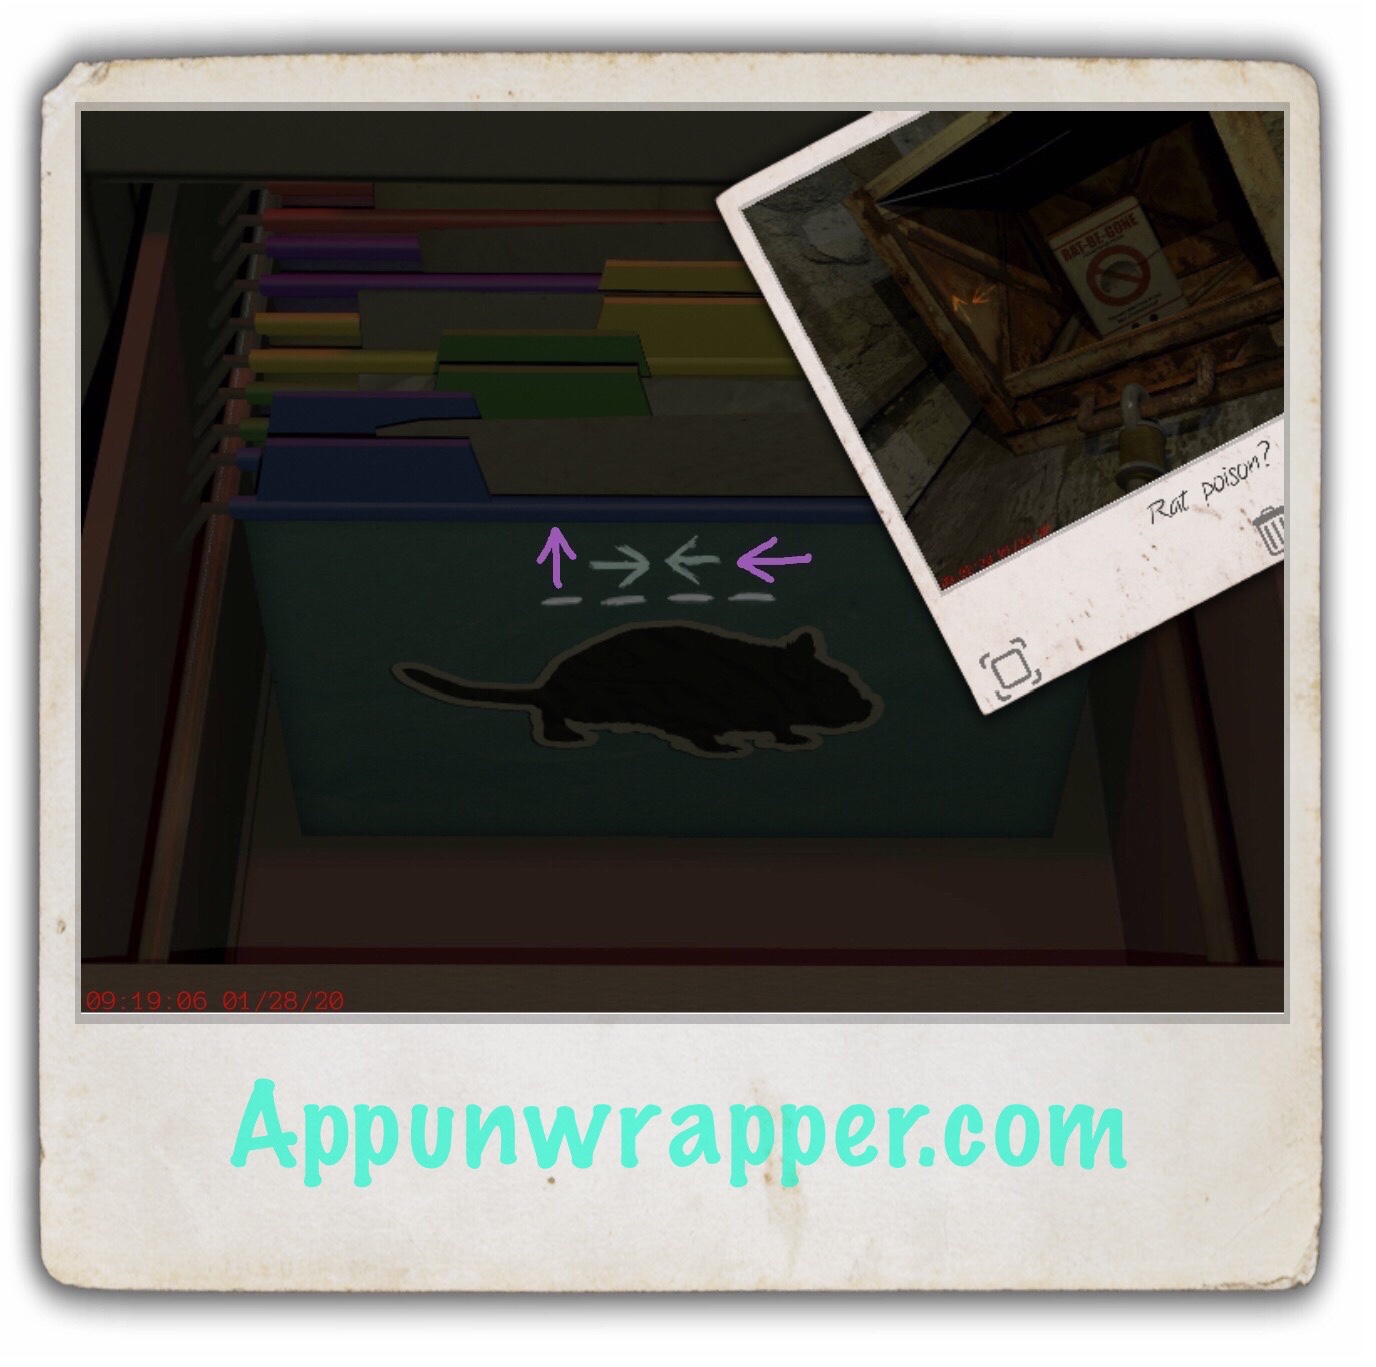
16. Go back to Room 2 and use the knife to cut the rope. You’ll then get some rope added to your bag. Look at the rat poison inside for another clue. There’s 2 dots and 2 arrows. Take a photo.
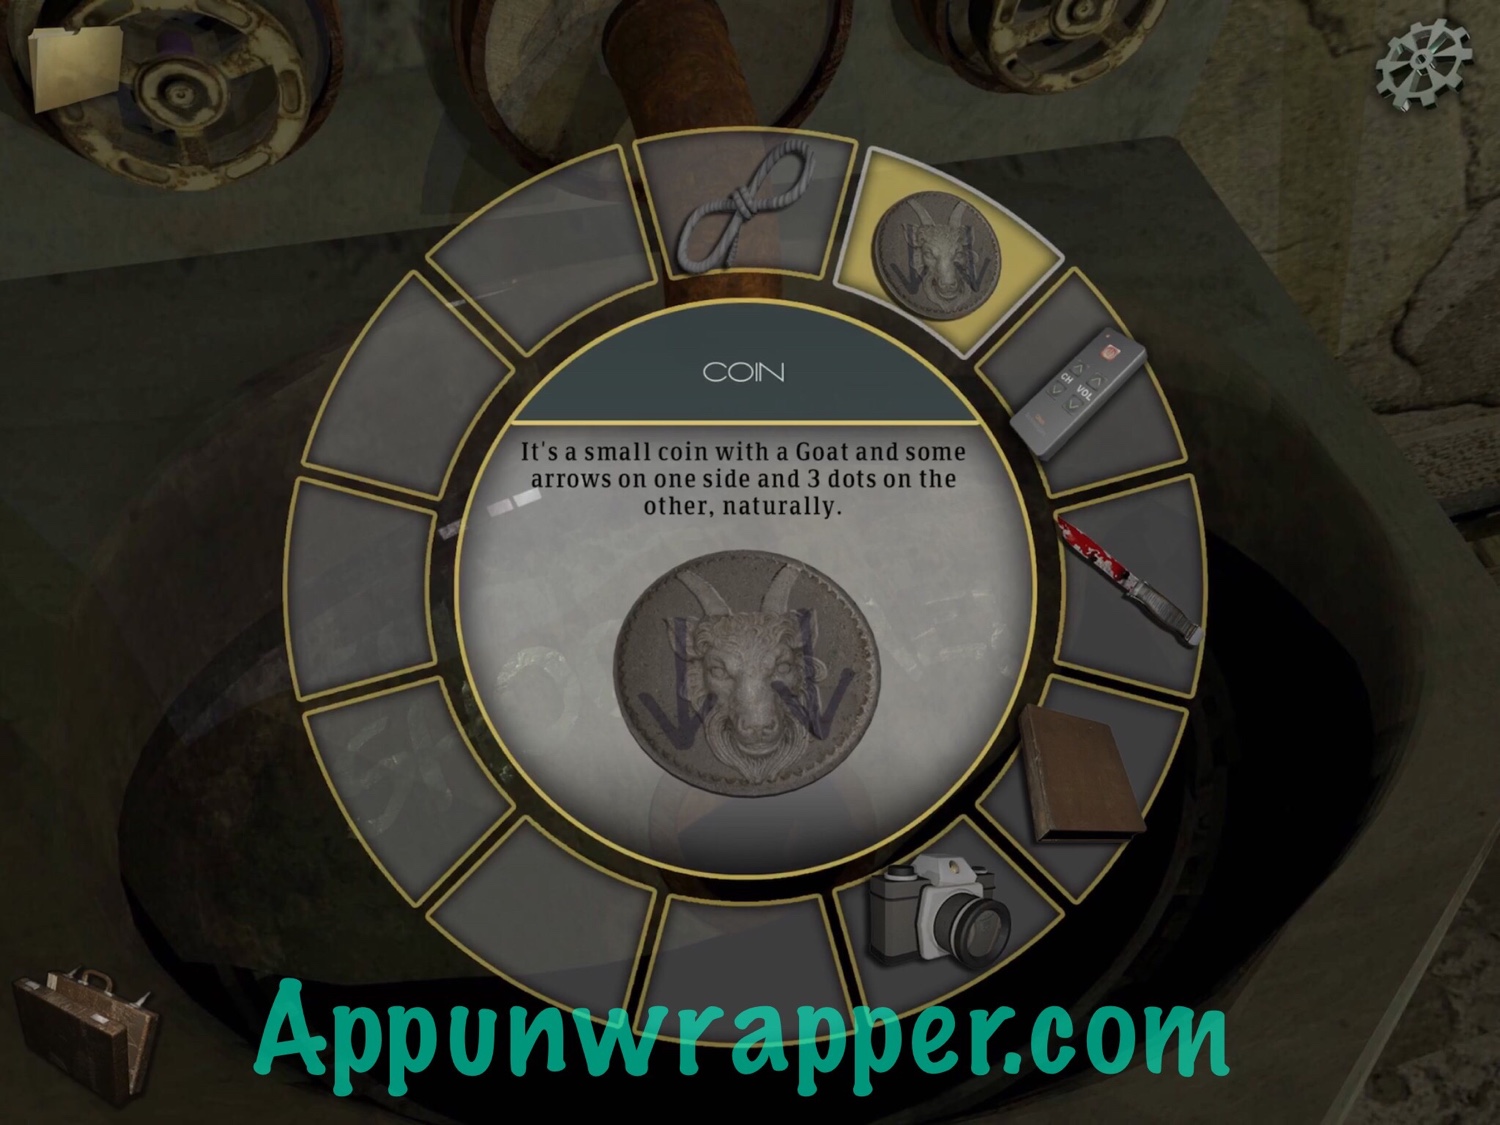
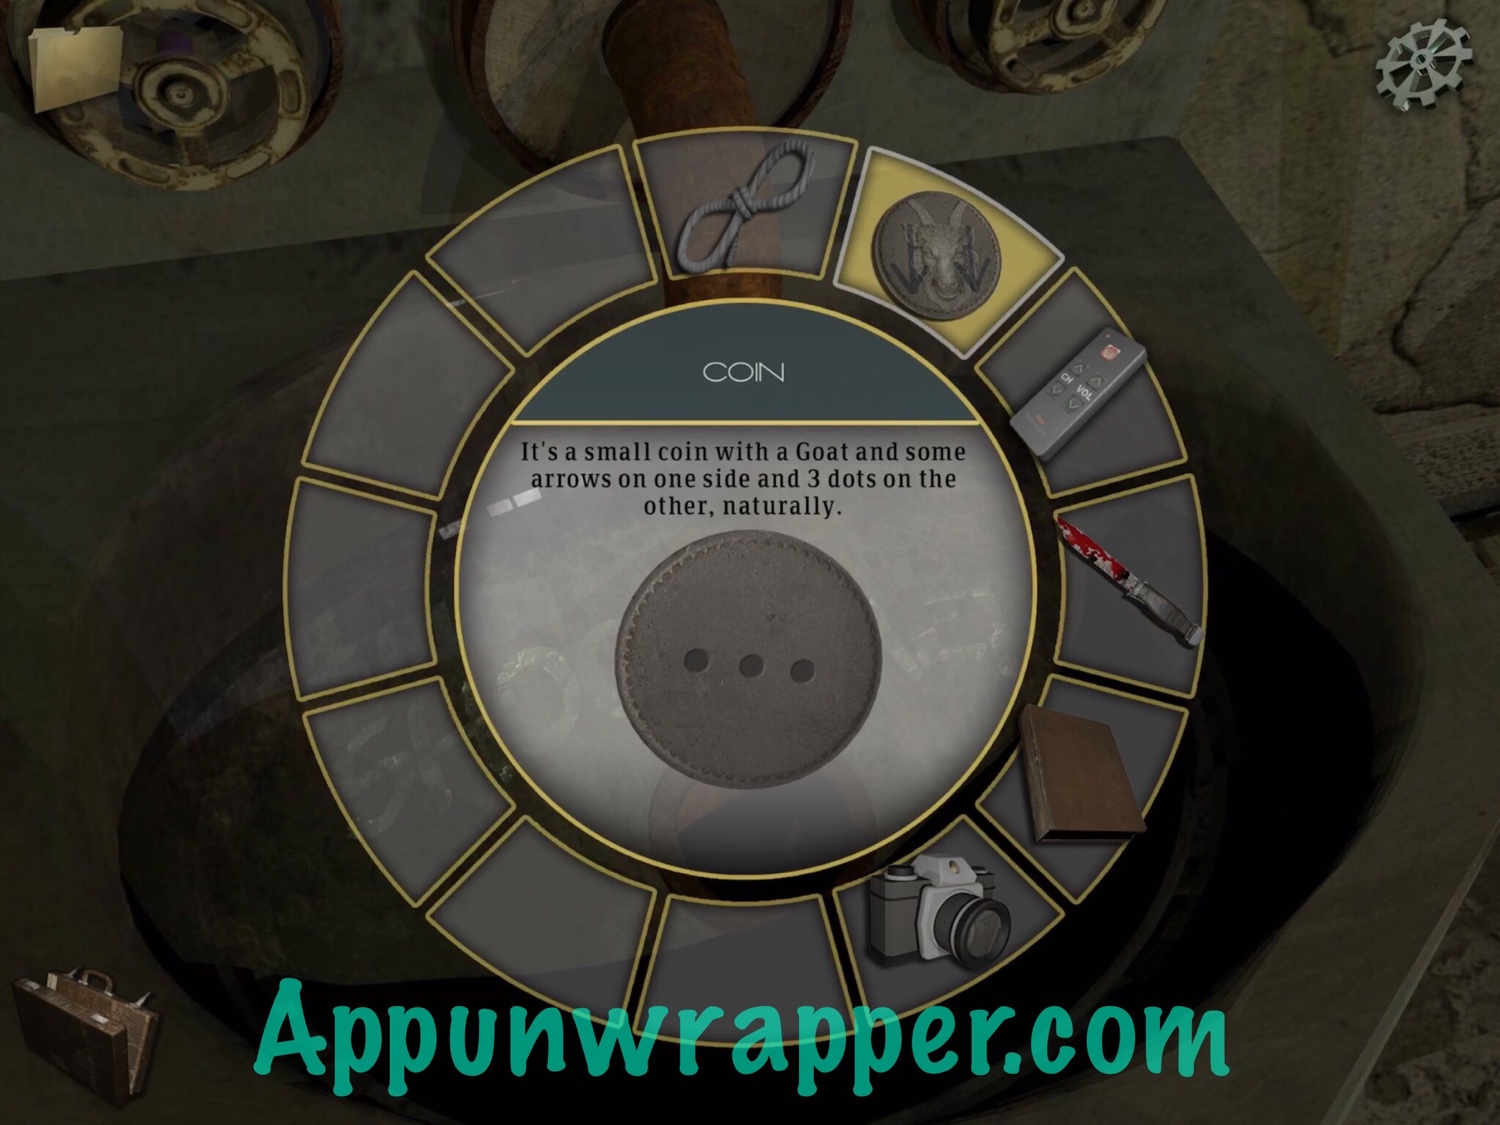
17. While here, use the magnet on rope to get the coin from the sink. Take a look at it in your bag and notice there’s a goat head on it, 3 dots and 2 down arrows. Now we have all five animal clues!
18. Go back to the filing cabinet and take out the clues for each animal. Let’s go in order, starting from 1 dot — the pig. Take a photo of the file and then use the drawing tool to fill in the arrows from the piggy bank.
19. Next is the rat. Use the clues from the rat poison.
20. Next is the goat. Use the clue from the coin. It’s two down arrows.
21. Next is the panda bear. Use the clues from the TV.
22. And last, use the clues from the frog poster to fill in the frog’s arrows.
23. Now we have all of them. Head to the big door near the front desk. Use the clues from the folders to enter the correct arrow sequences on lock panel. Be careful, as it’s easy to mess it up. Enter the arrows for the animals in this order:
Pig – Up, Right, Left, Down
Rat – Up, Right, Left, Left
Goat – Down, Down, Up, Right
Panda – Down, Right, Left, Up
Frog – Left, Left, Down, Down
It should look like this:
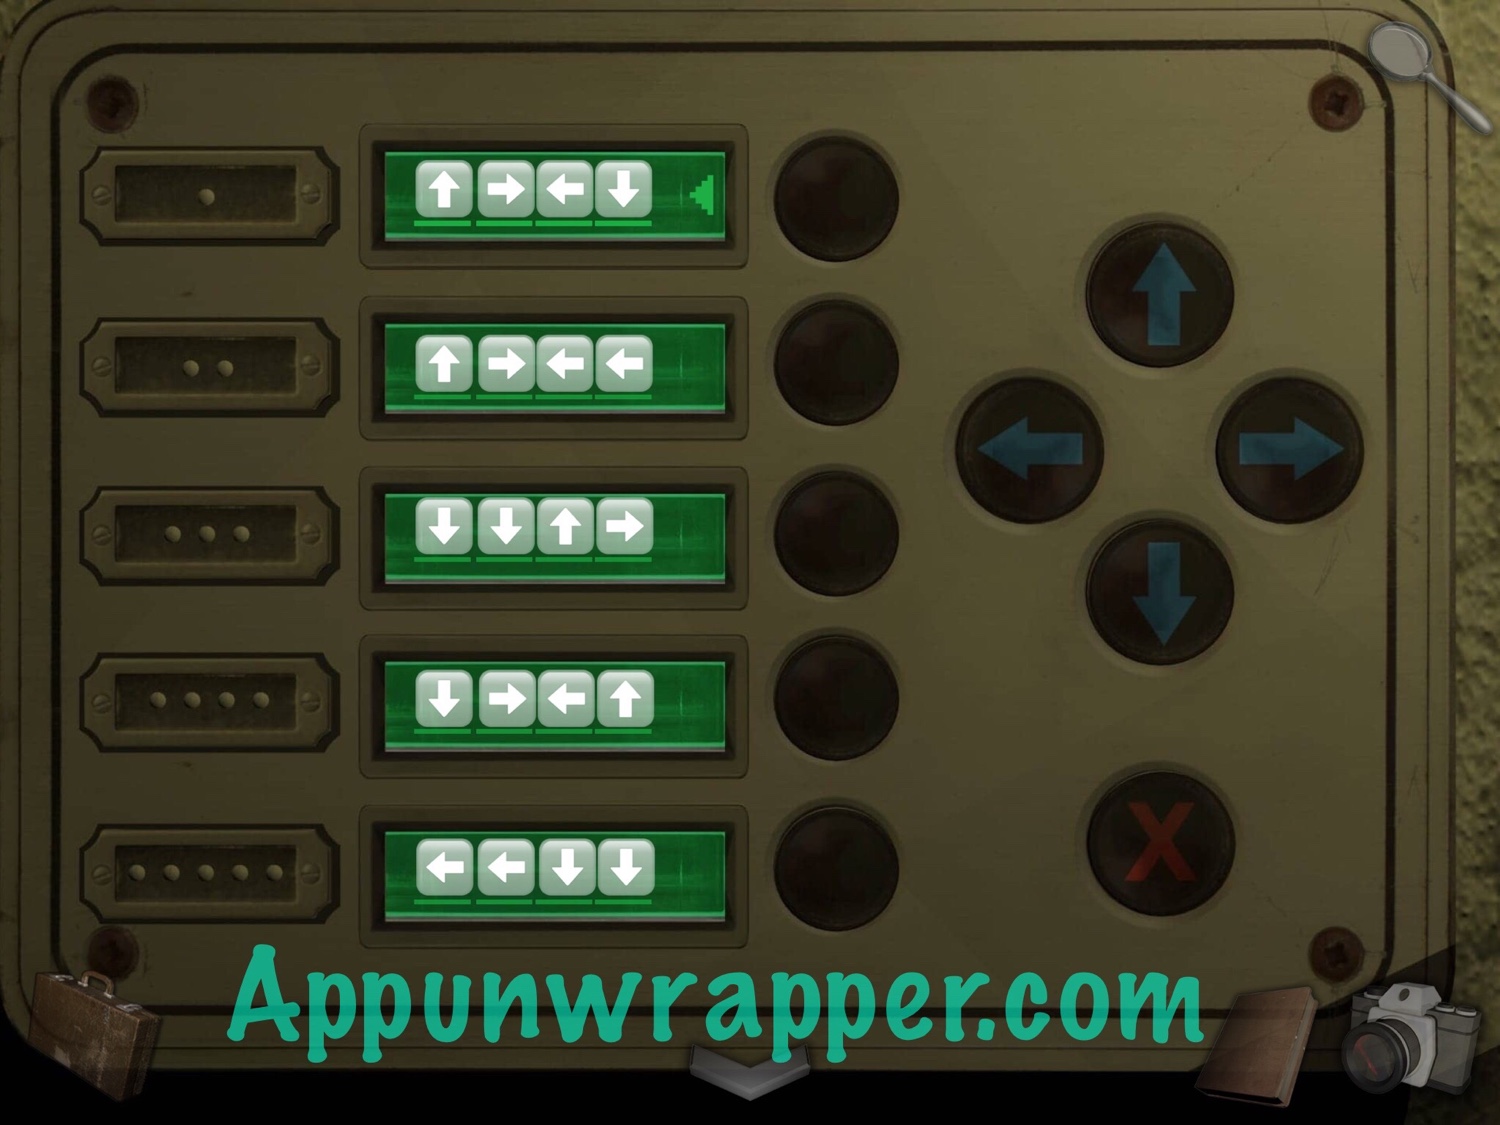
Go through to complete Chapter 1!
That’s all for Chapter 1! Click here to continue to Chapter 2 or choose a chapter below.
Prologue + Chapter 1 | Chapter 2 | Chapter 3 | Chapter 4 | Chapters 5 6 7 8 9 | Notes & Journal Entries


Can’t use the magnet in step 17 because it is lost after step 12.
I got this on my second attempt at playing. (first time the backup didn’t save) There’s no option but to start again and make sure you use it in the vent before the sink. If you don’t, you’ll get to chapter 4 and realise that you can’t go any further.
I’ve reported this bug and after starting a third time I had the exact same issue later on with the knife disappearing.
I’m not willing to start the game a 4th time.
I’m stuck at the animals/arrows door code. If doesn’t work and I’m wondering if is a bug. The indicator arrow for which code I’m about to enter keeps skipping rows and the stars reappear even though I’ve deleted them with the x. 🙁
ItΓÇÖs glitched for me, too. Nothing happens when I enter those arrow combinations, and the stars stay. And sometimes when I try to enter the arrow code, it enters it on the wrong row, even when I select the button by the row I want.
It seems to be completely broken. I entered all 5 codes correctly, and it says ΓÇ£The keyboard is not connected to the door.ΓÇ¥ wtf??? After all those damn arrows???