The Almost Gone
By: Happy Volcano / Playdigious

The Almost Gone is a puzzle adventure game from Happy Volcano and Playdigious with a really unique control scheme. Each scene is a diorama, and you can rotate it to see it from different angles. The idea is to look for items and clues to unlock doors and progress through the game. This walkthrough guide should help you if you get stuck. Feel free to ask for extra help in the comments section.
Walkthrough:
Act 1 | Act 2 | Act 3 | Act 4 | Act 5
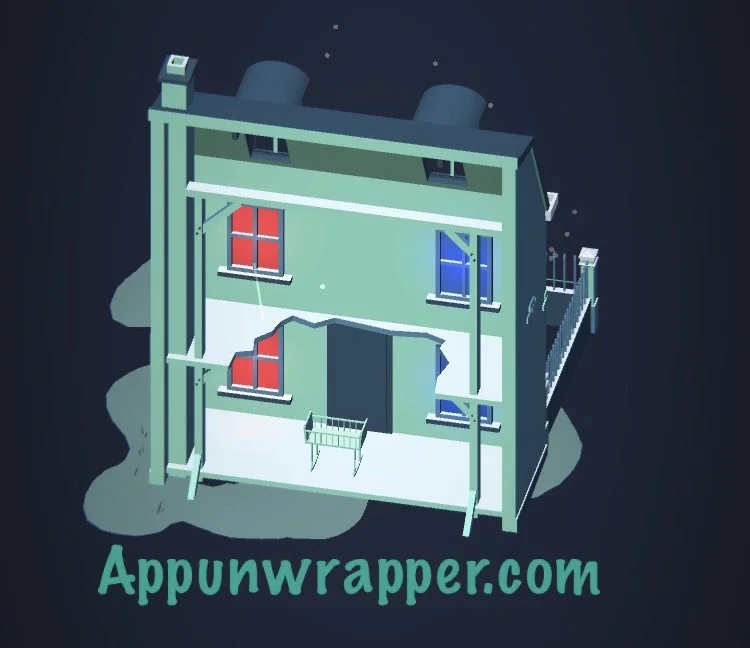
Act 2, The Suburbs:
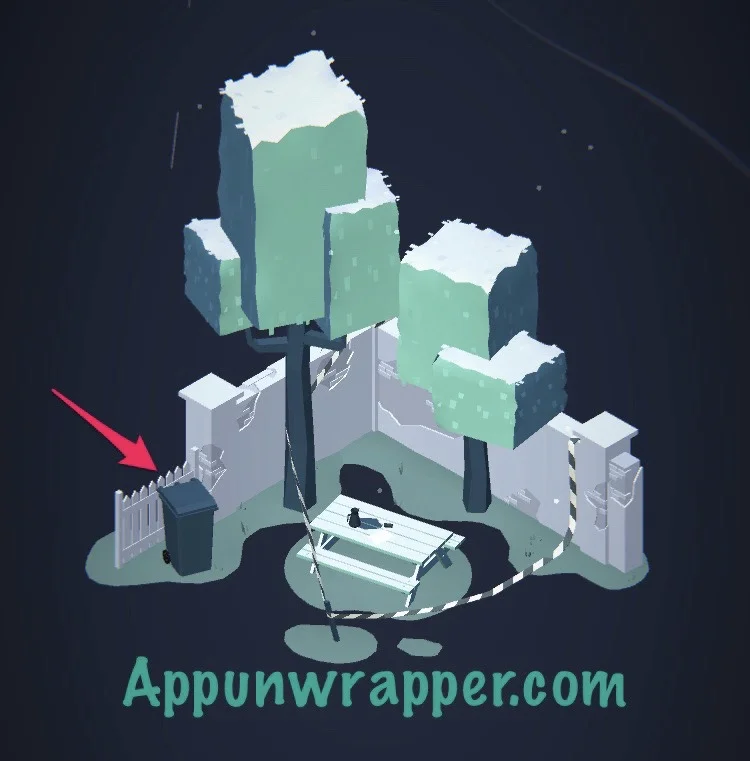
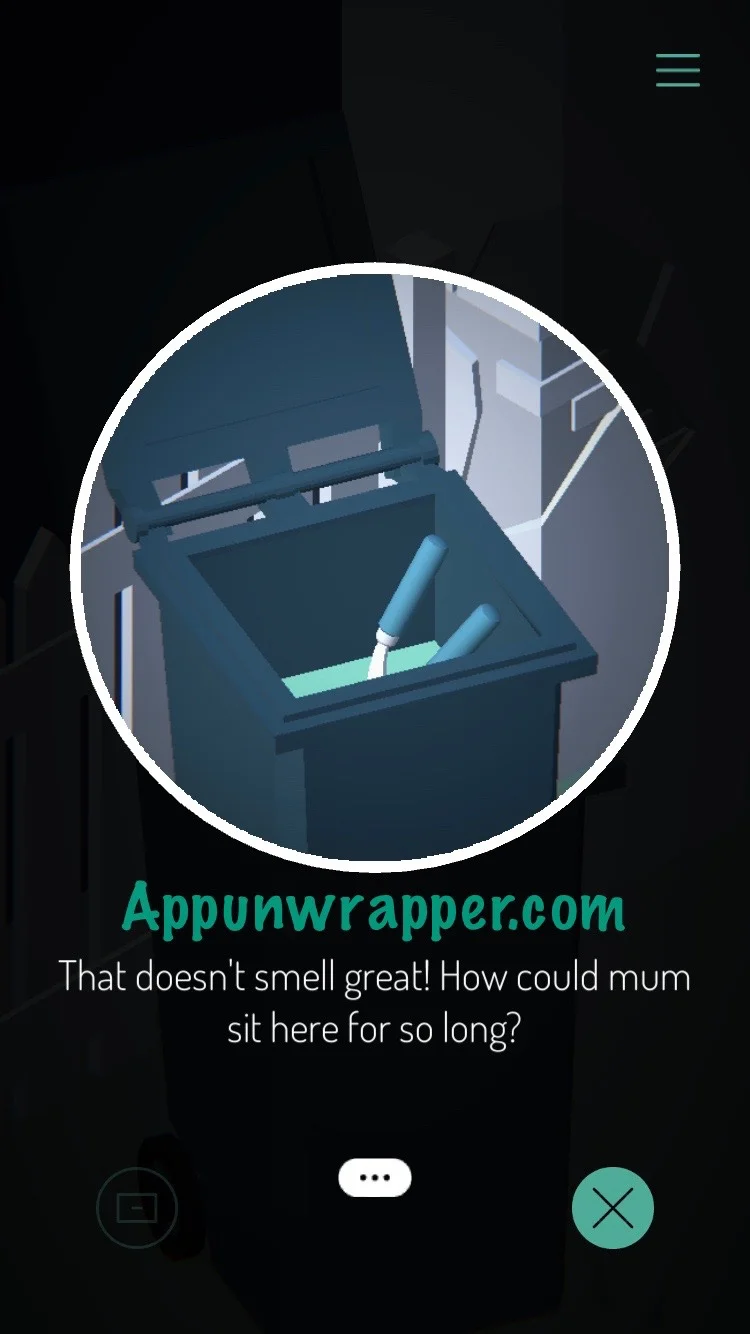
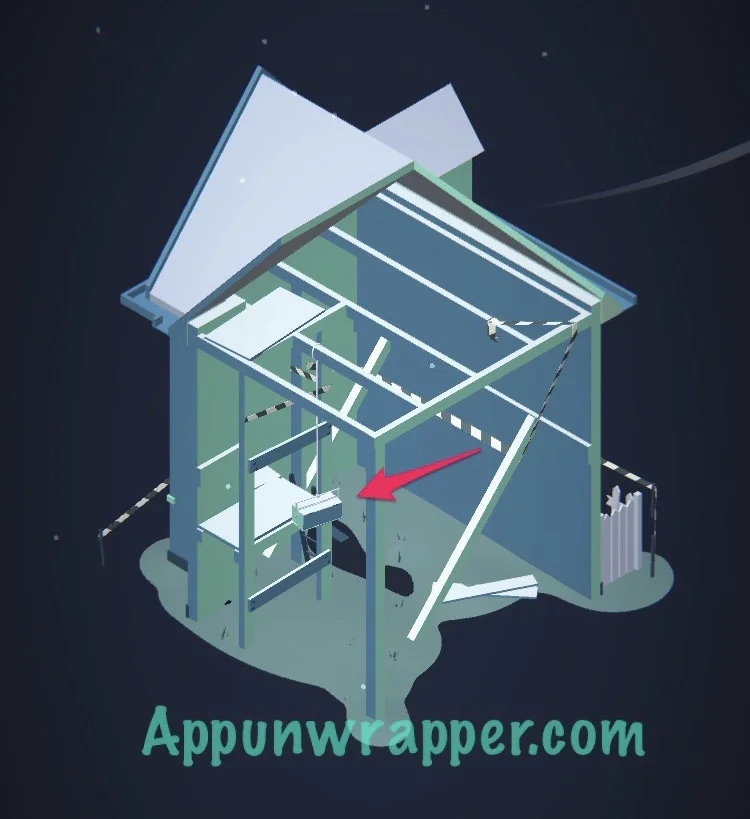
1. We’re in front of a fake house. We can’t do anything here yet, so swipe to move to the backyard with the picnic table. Open the trash can and take the shears.
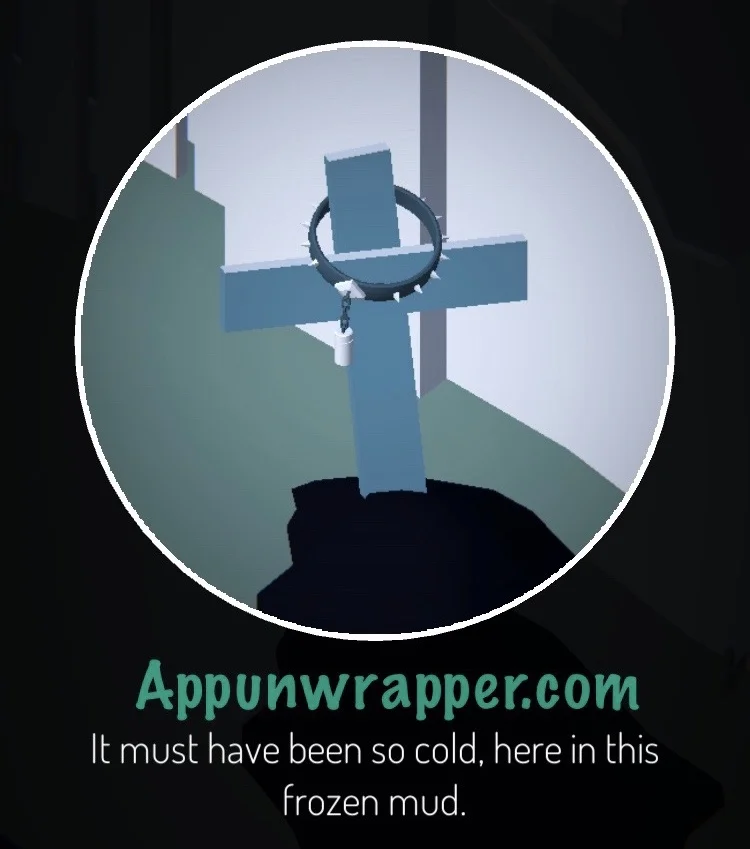
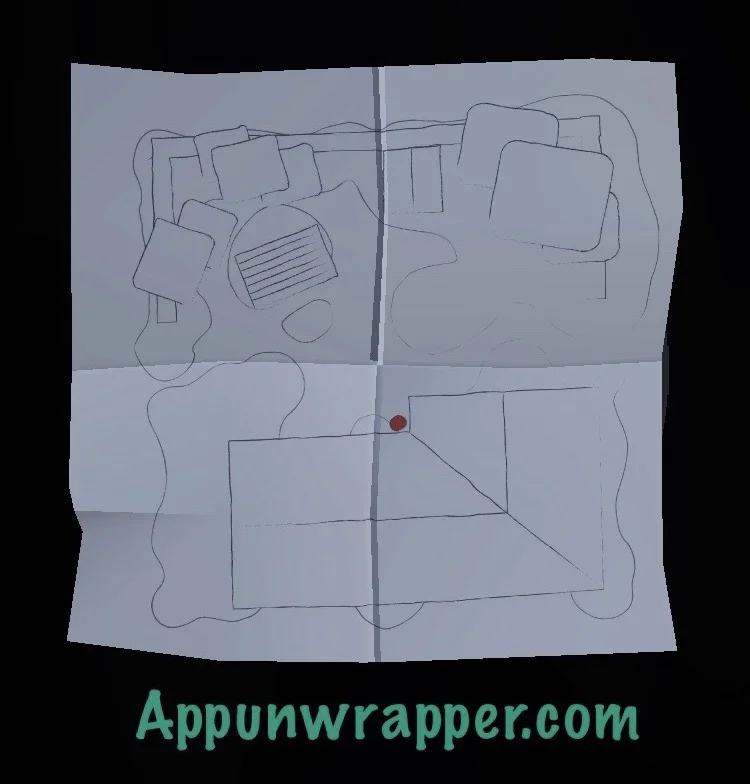
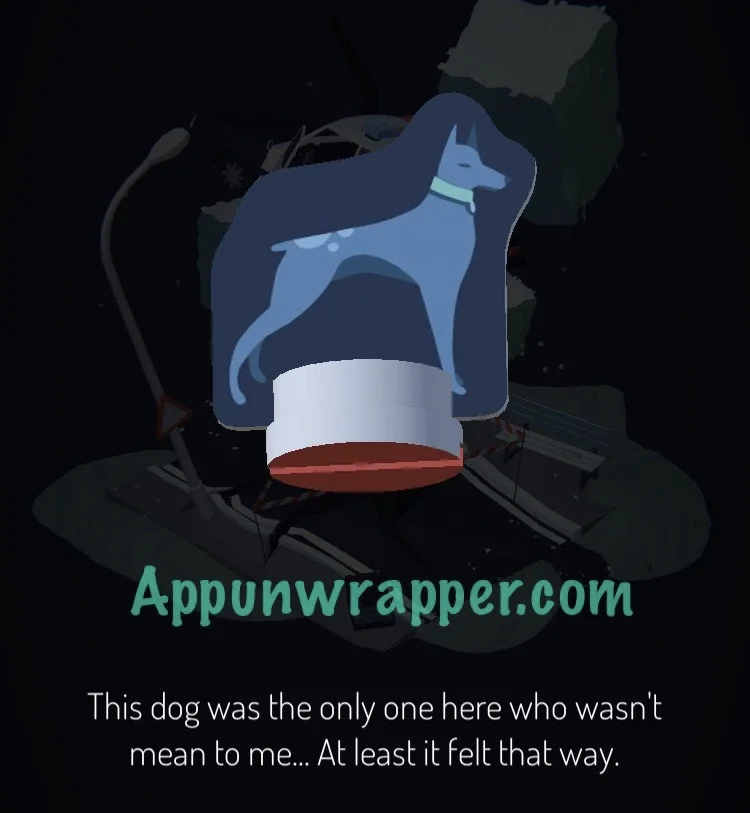
2. Continue to the next screen. Rotate the camera until you see a dog grave. Zoom in on the dog collar and open the tube to see a sort of treasure map.


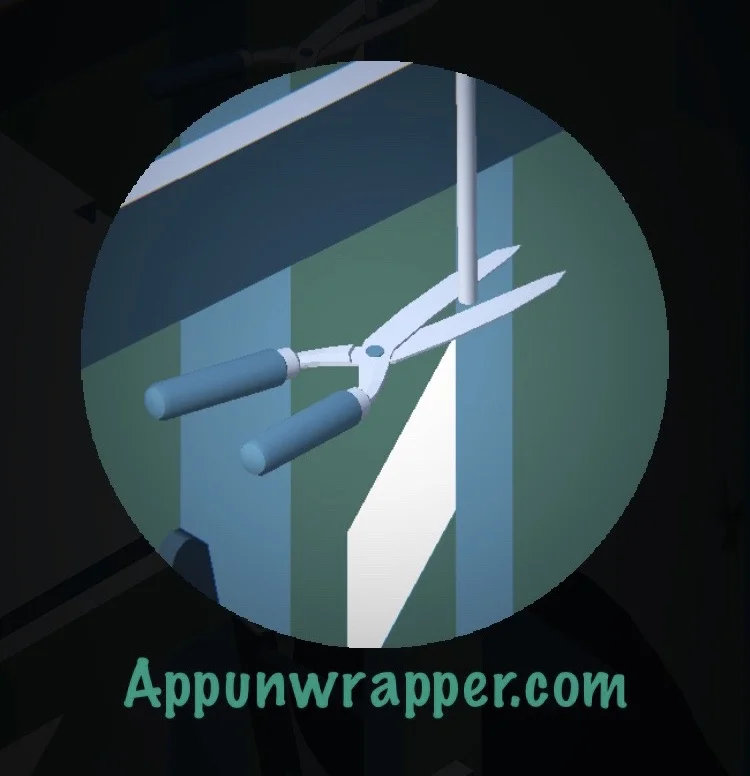
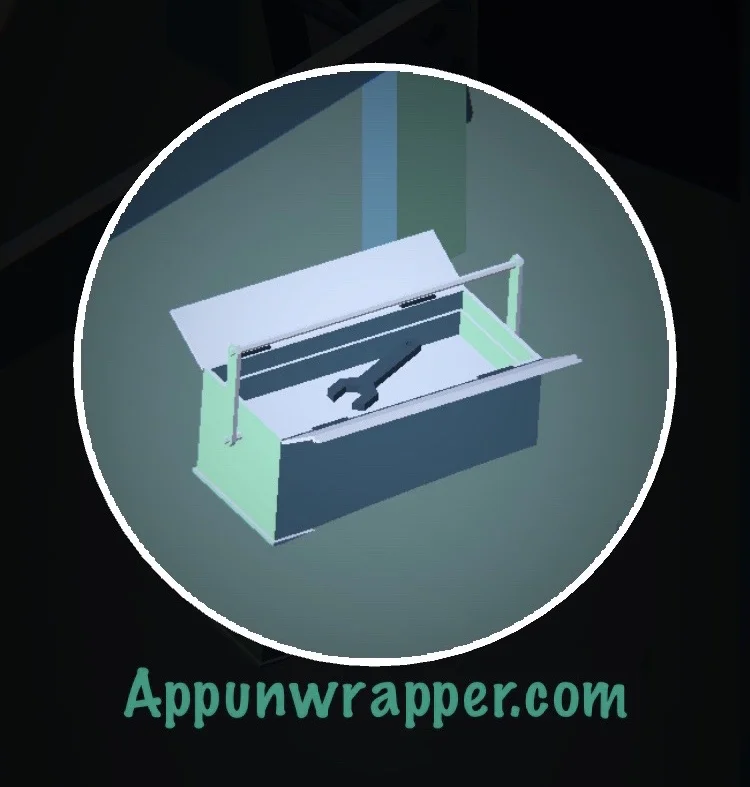
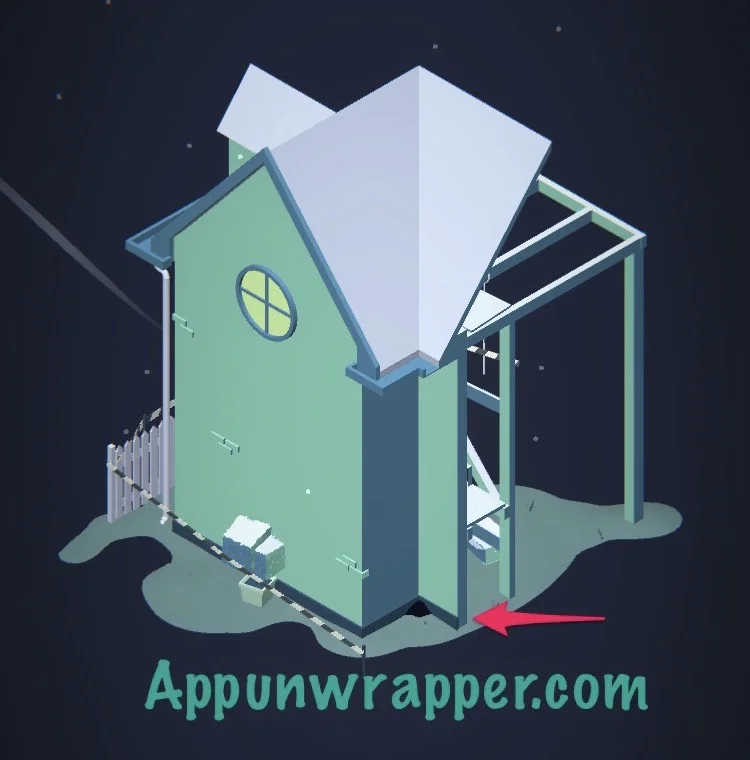
3. Continue on to the next screen. Use the shears to cut down the hanging toolbox. Then take the wrench from inside.
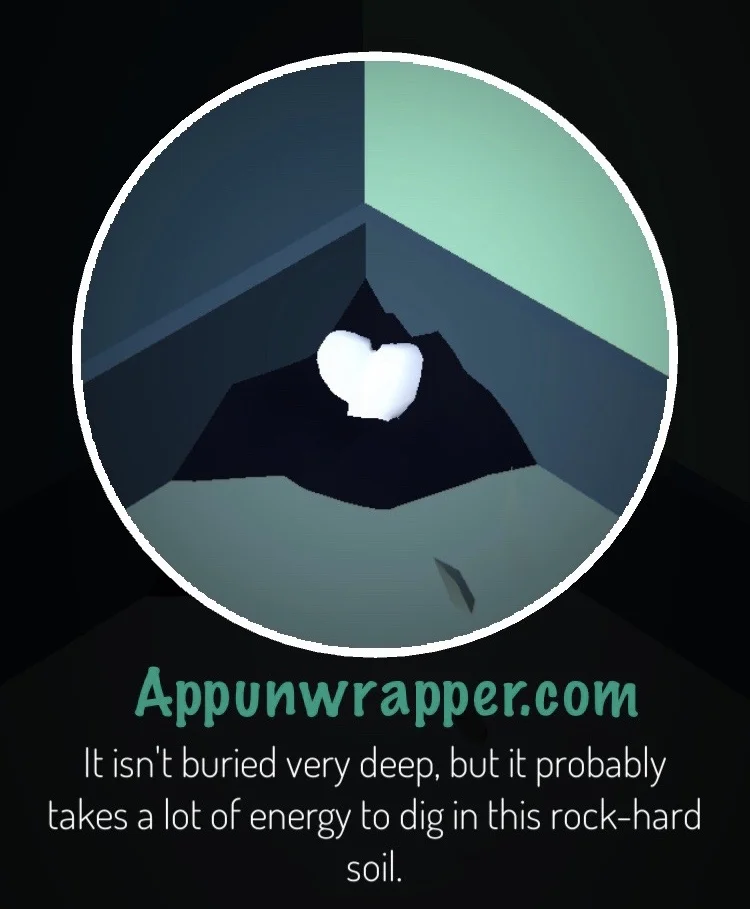
4. While here, turn around to the outside of the house and zoom in on the black spot of dirt where the treasure map pointed to. Use your hands to dig up half a bone.
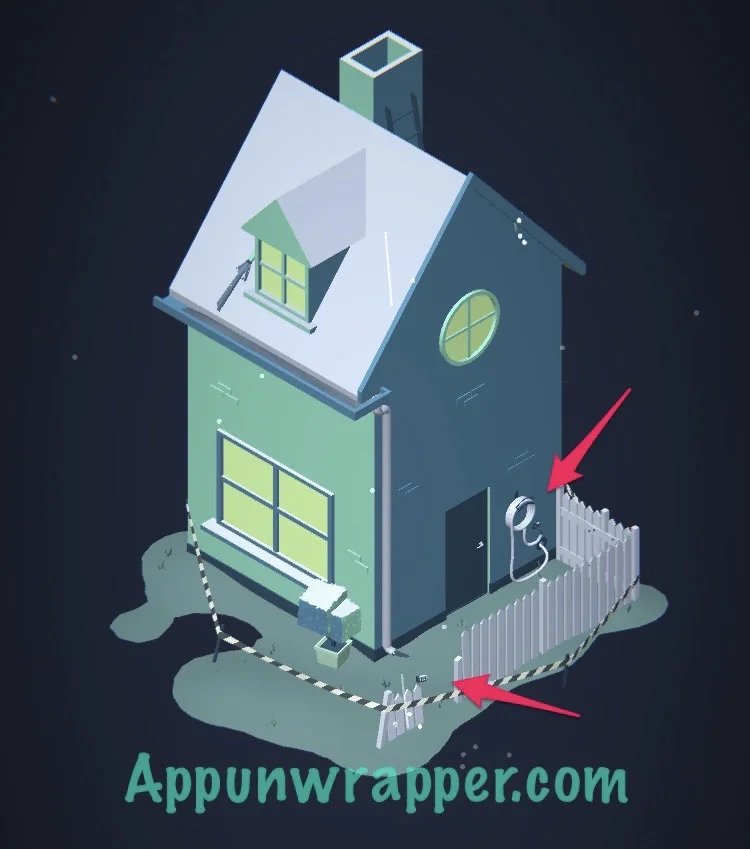
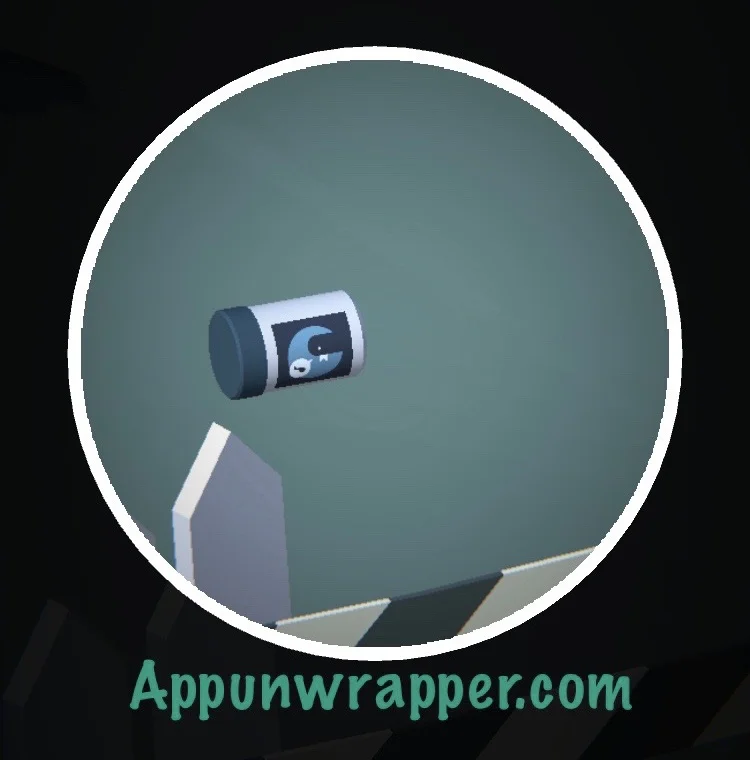
5. Go back to the the first screen, the other half of the house. Zoom in on the hose and use the wrench to turn on the water. Then pick up the bottle of bird feed.

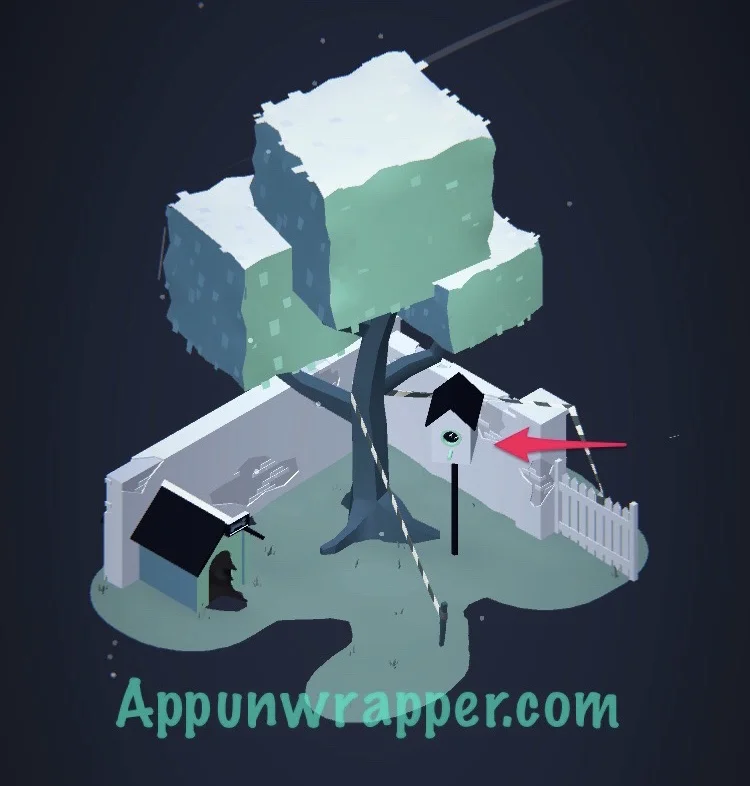
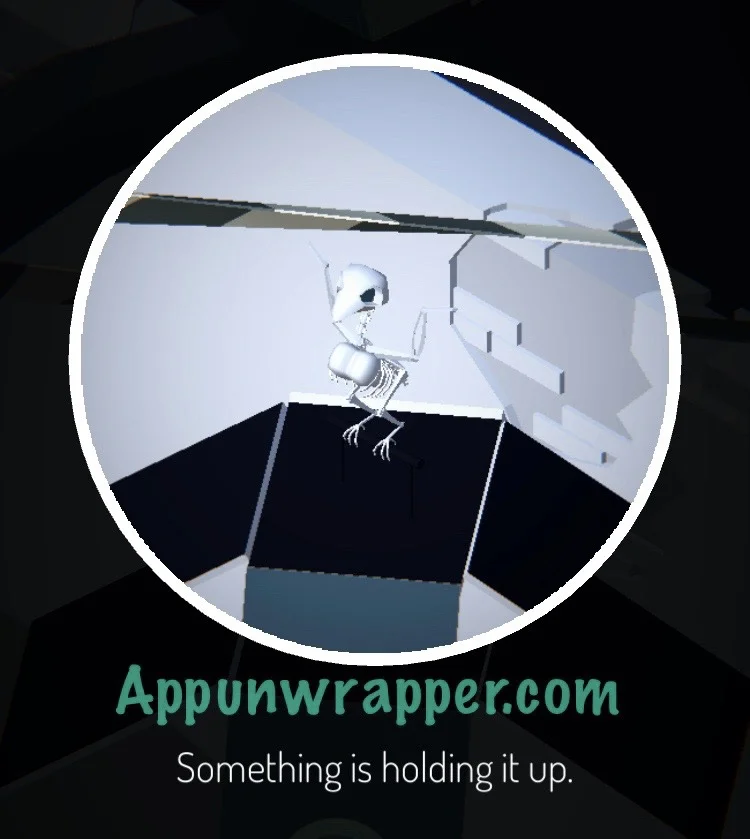
6. Go back to the scene with the doghouse. Use the bird feed on the birdhouse and it will fall apart, revealing a bird skeleton. Take the half bone holding it up.
7. Now we have both halves of the bone. Place them in the slot by the doghouse to complete this area and move on to the next.

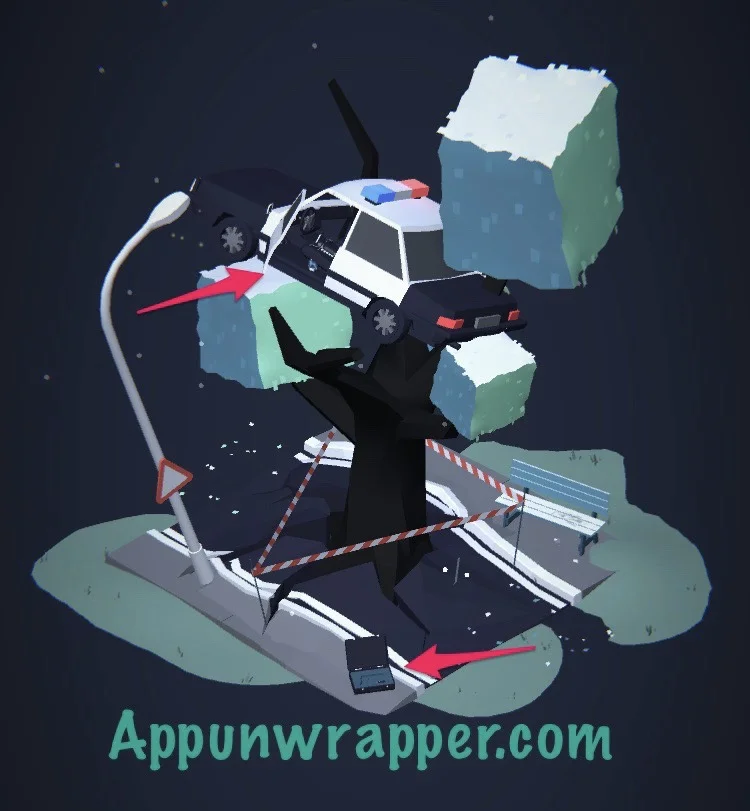
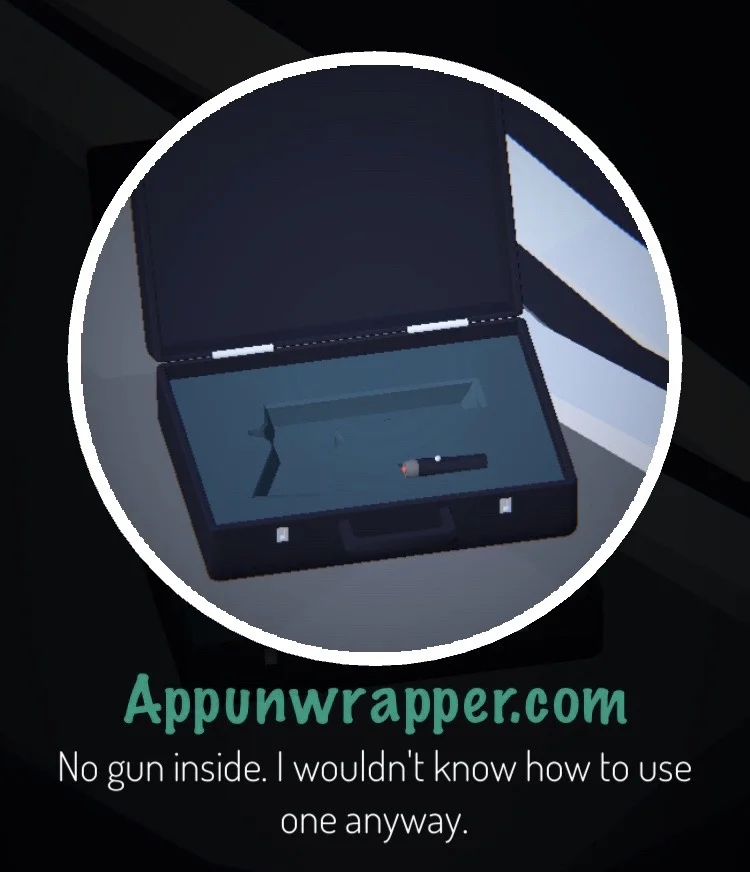
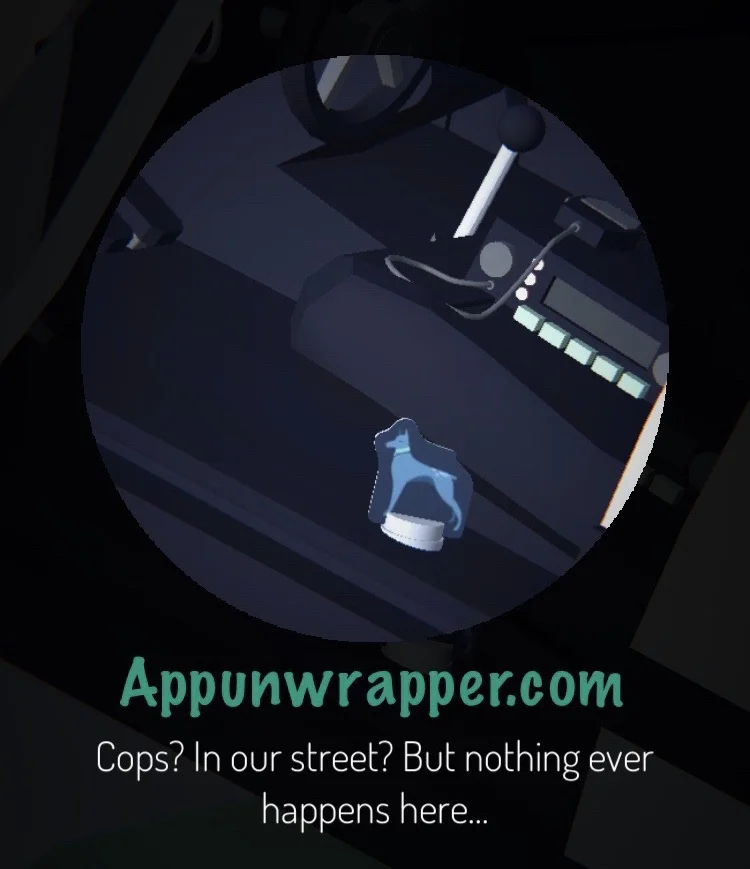
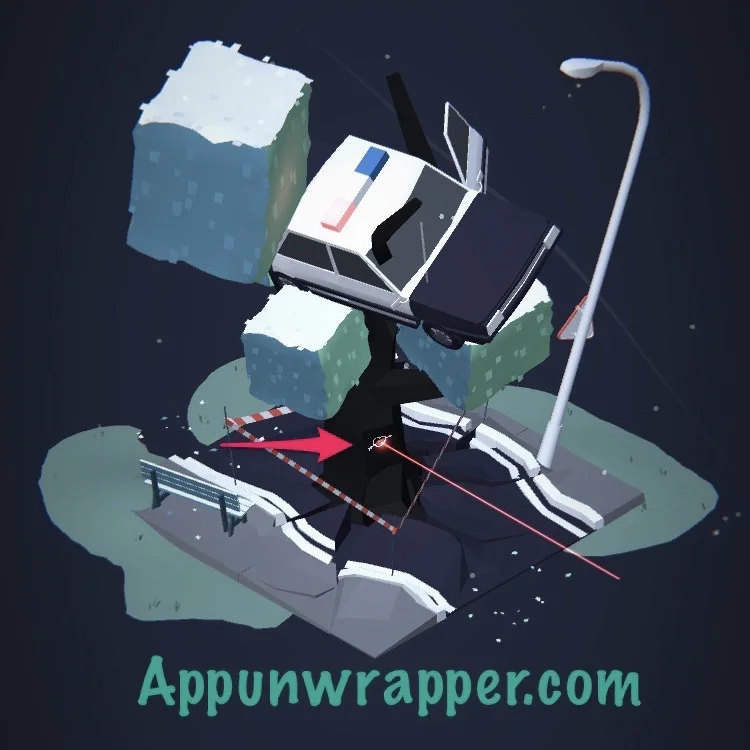
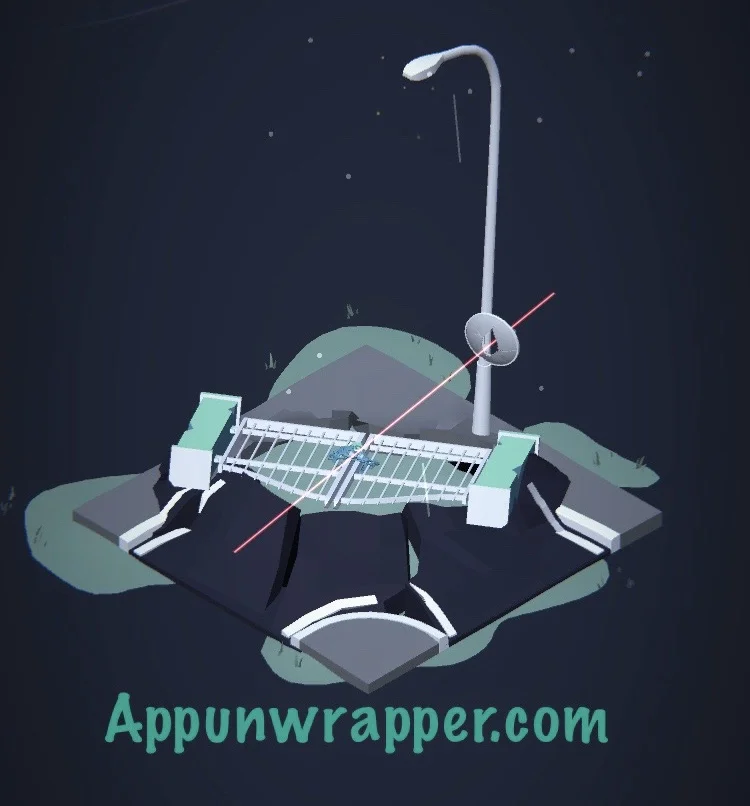
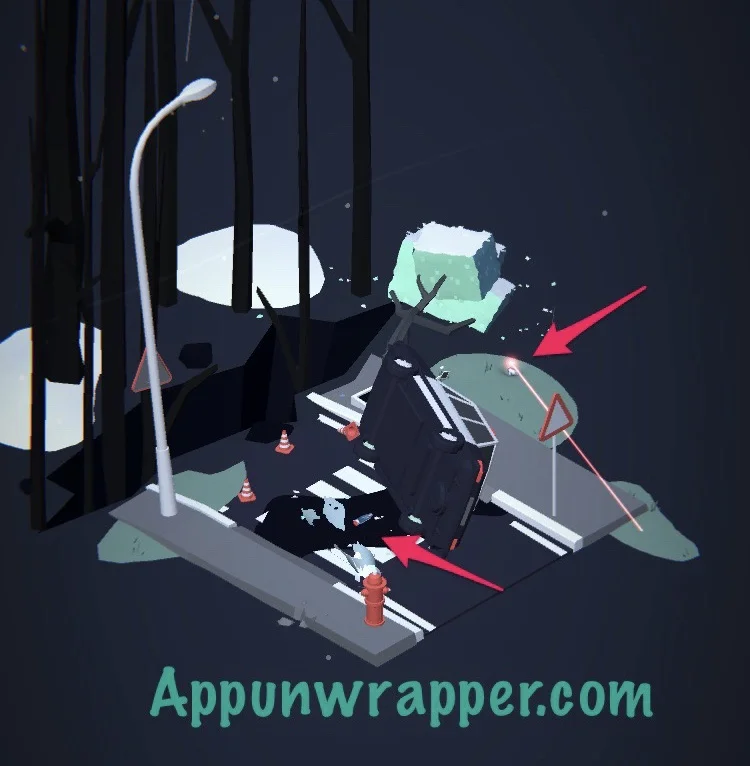
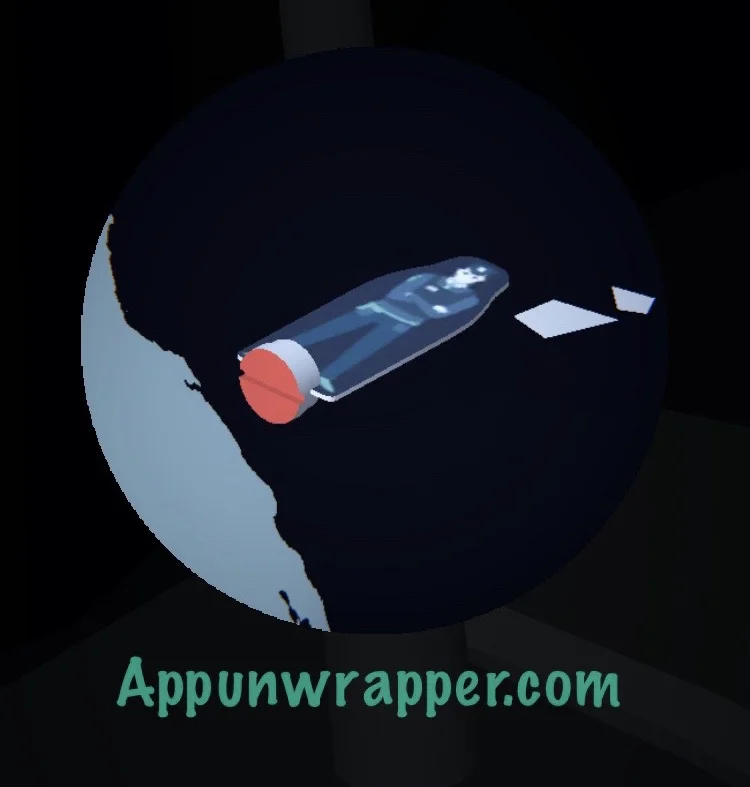
8. You’re now seeing a police car stuck in a tree. Rotate the camera so you can see a small briefcase. Open it and take the laser pointer from it. Notice it has a heart on the end of it. Also, open the car door and take the dog piece.

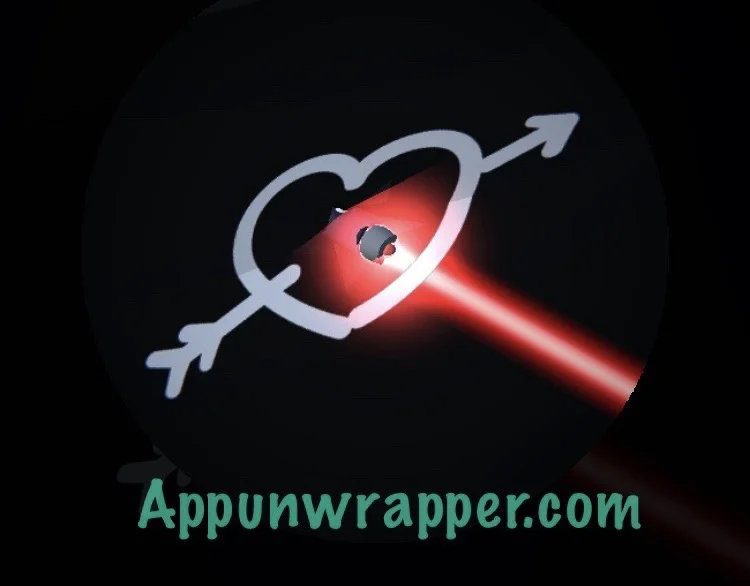
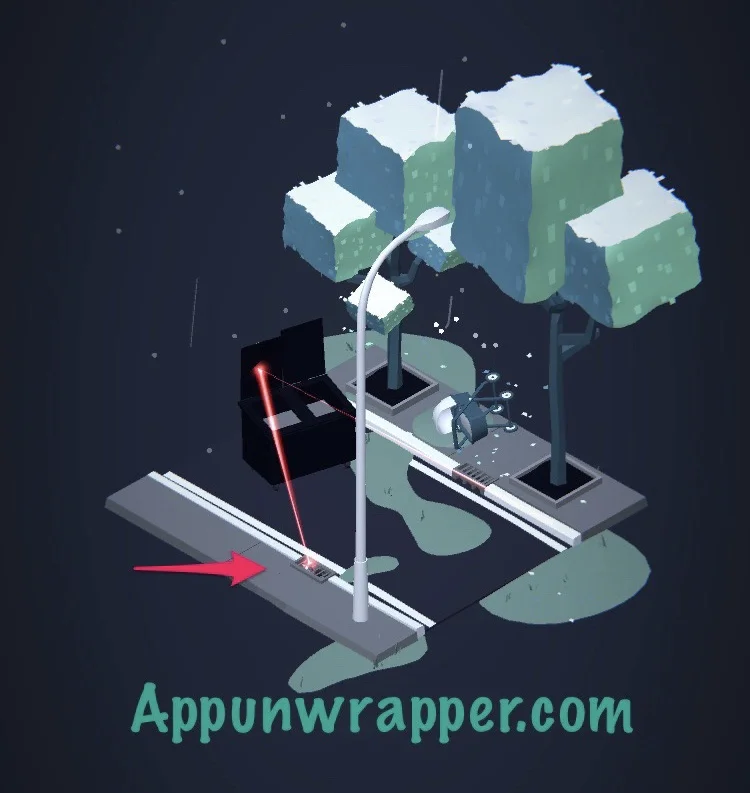
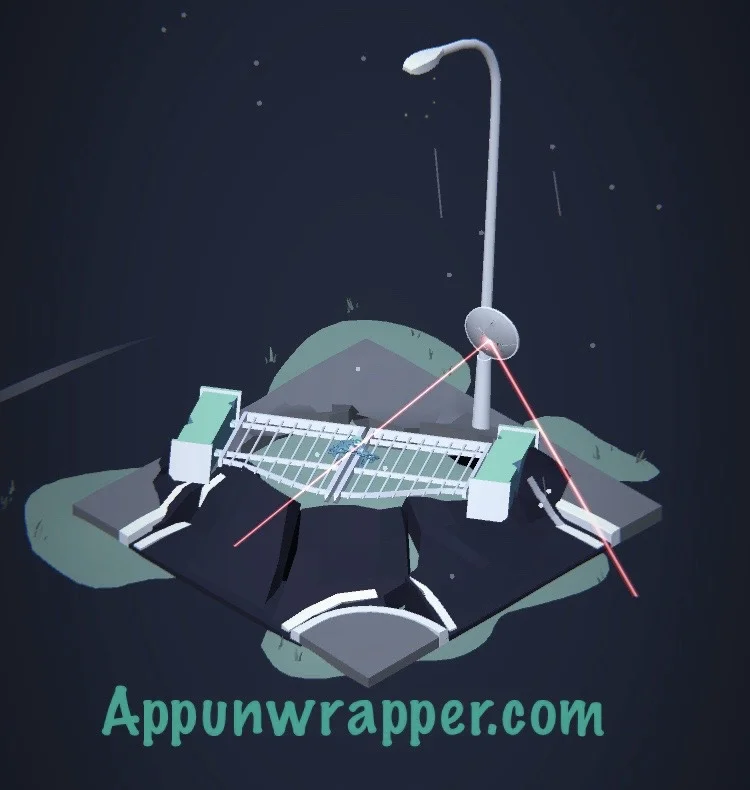
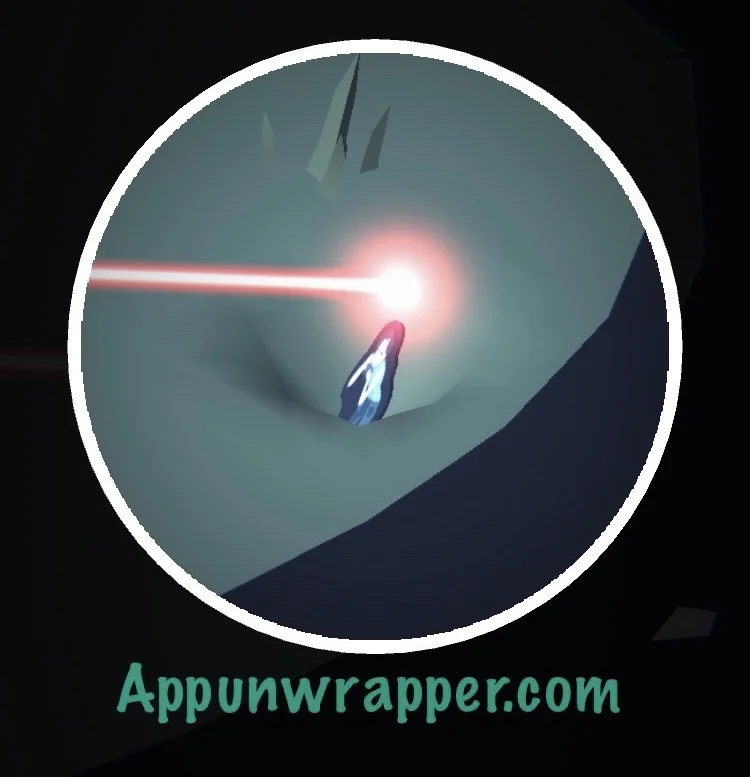
9. Rotate the camera again and find the heart drawn on the tree. There’s a hole in the center. Insert the laser pointer.
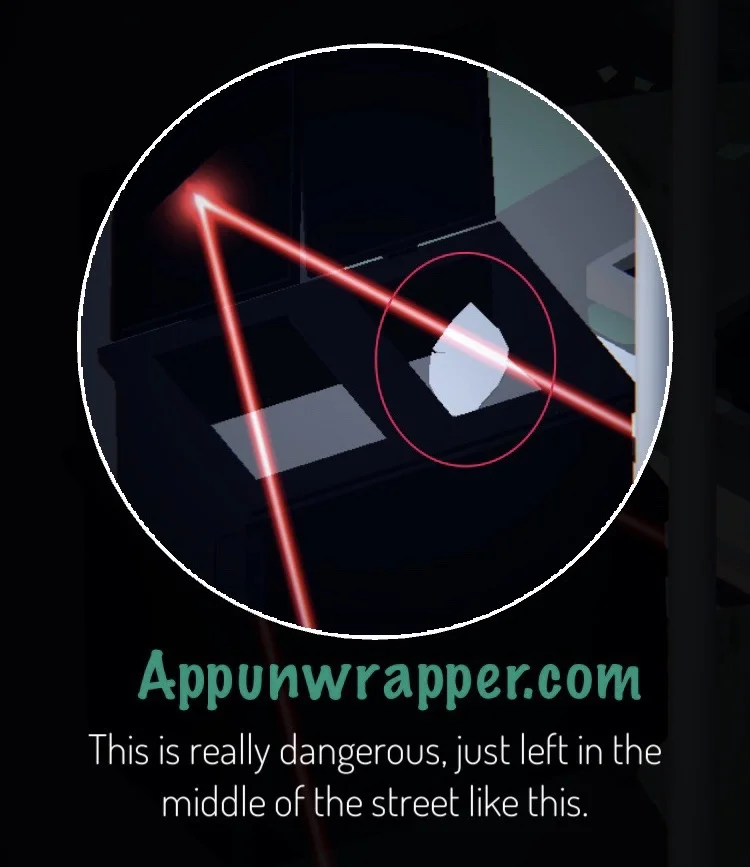
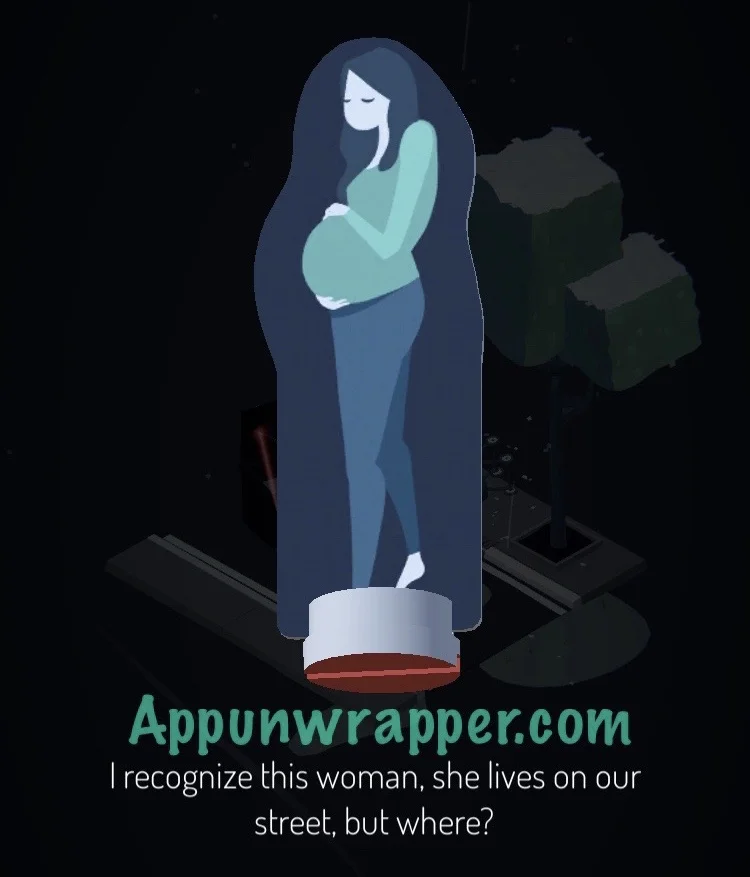
10. Follow the laser pointer. Open the two dumpster lids and take the mirror piece from inside. Then notice the laser is reflecting off the left lid and into the sewer grate. Examine it to find a pregnant woman piece. Then close the garbage lids again so they don’t block the laser anymore.

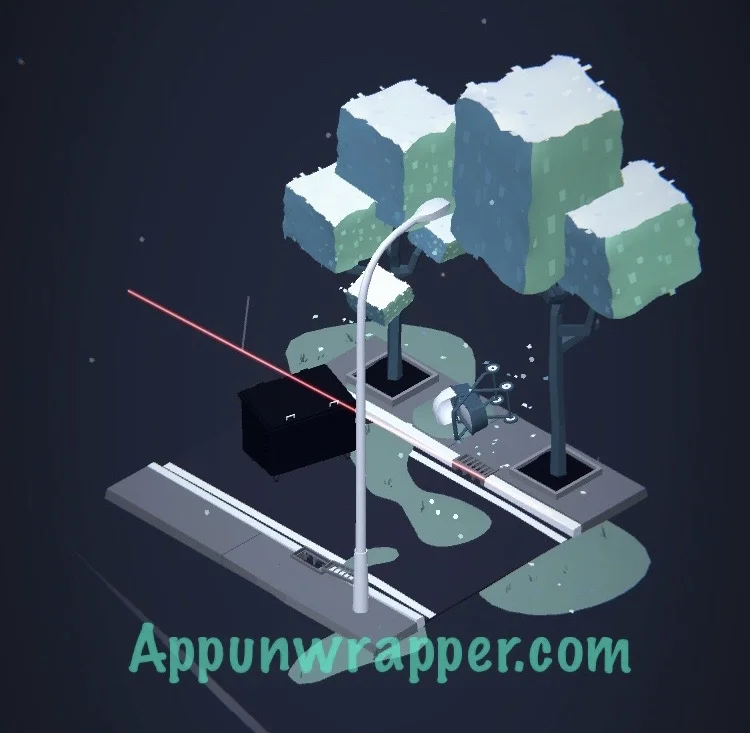
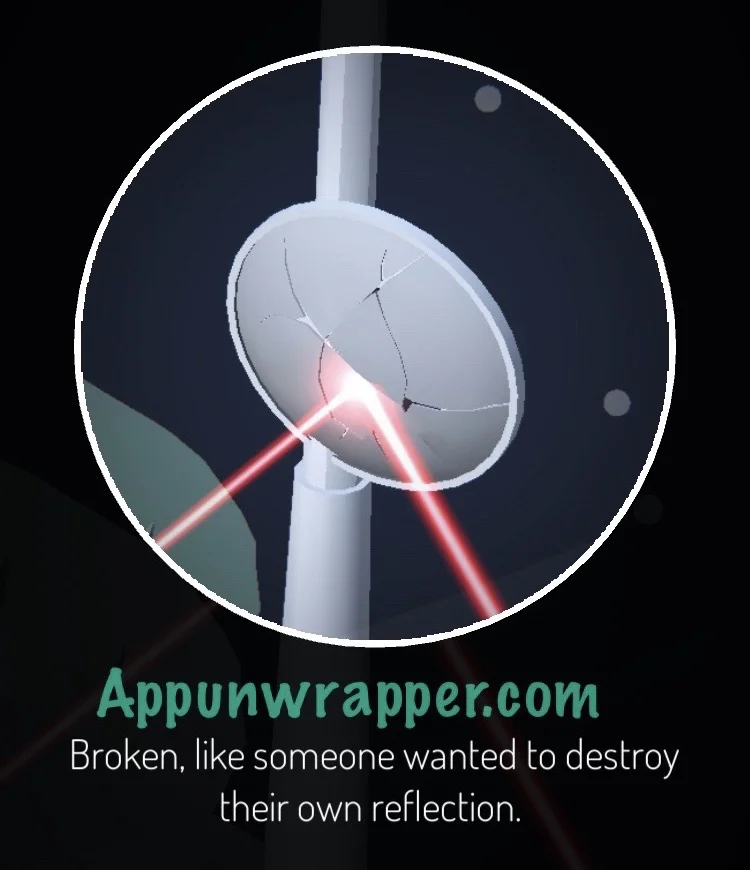
11. Continue following the laser. Ignore the locked gate for now and continue past the broken mirror. Keep following the laser.
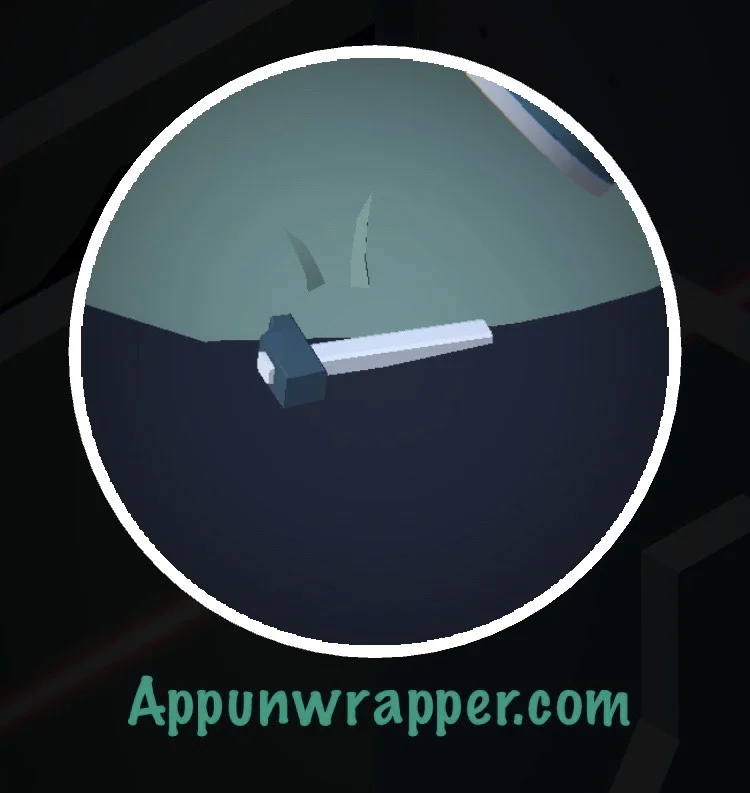
12. This time, it points at a cement wall. First, examine the cement mixer and press the button so a hammer falls out. Pick it up.

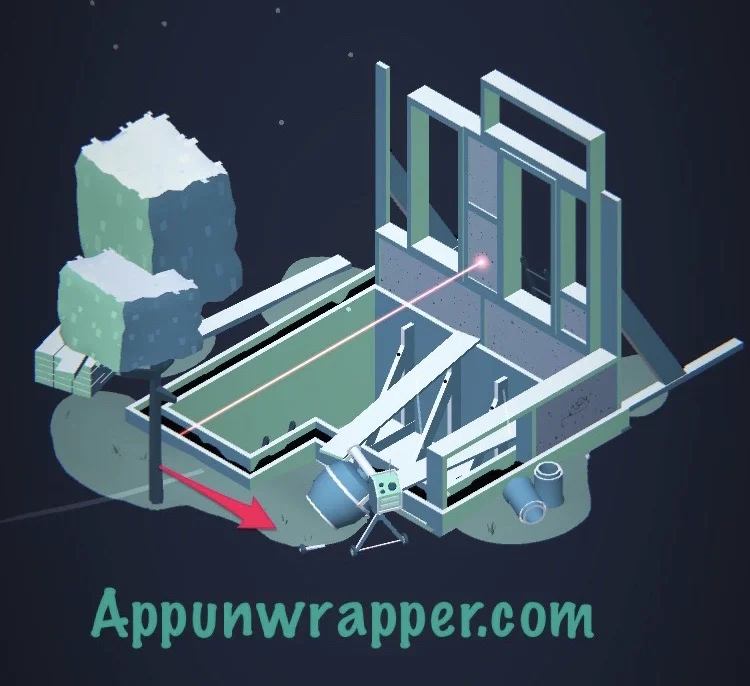
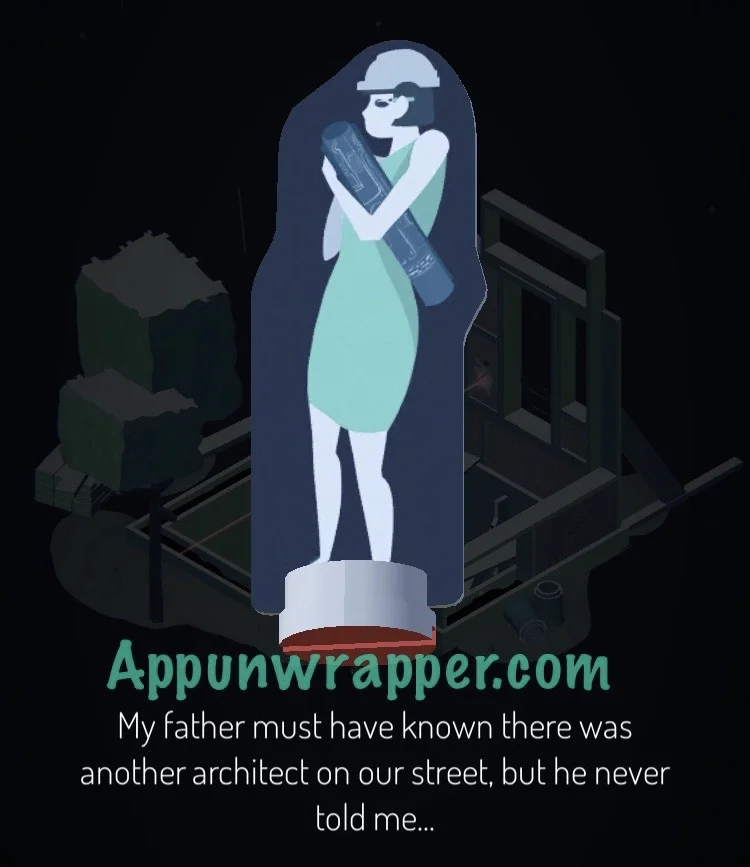
12. Use the hammer to smash the wall where the laser is pointing. Take the architect figure from inside.
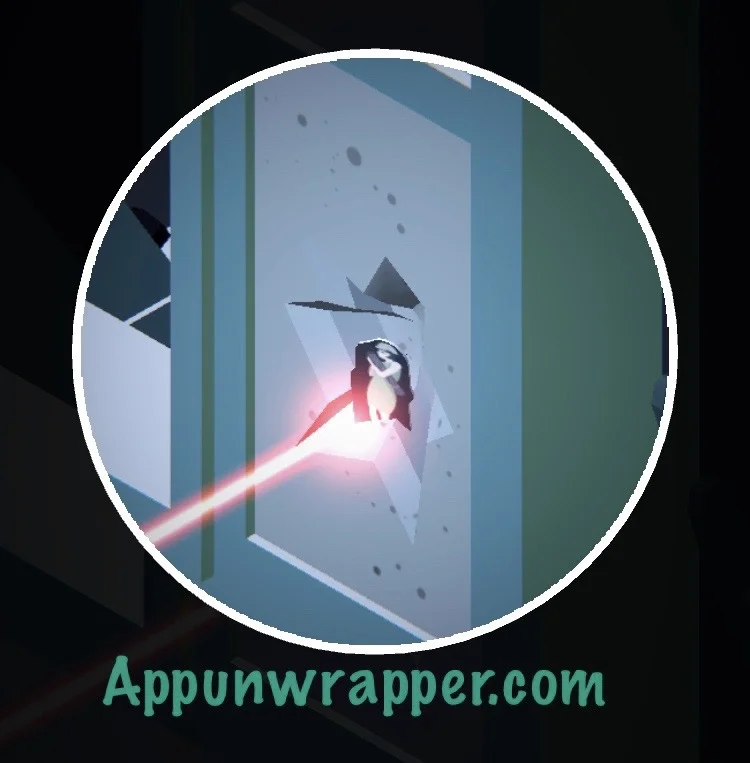
13. Go back to the broken mirror. Place the mirror piece in the hole and then follow the bent laser.
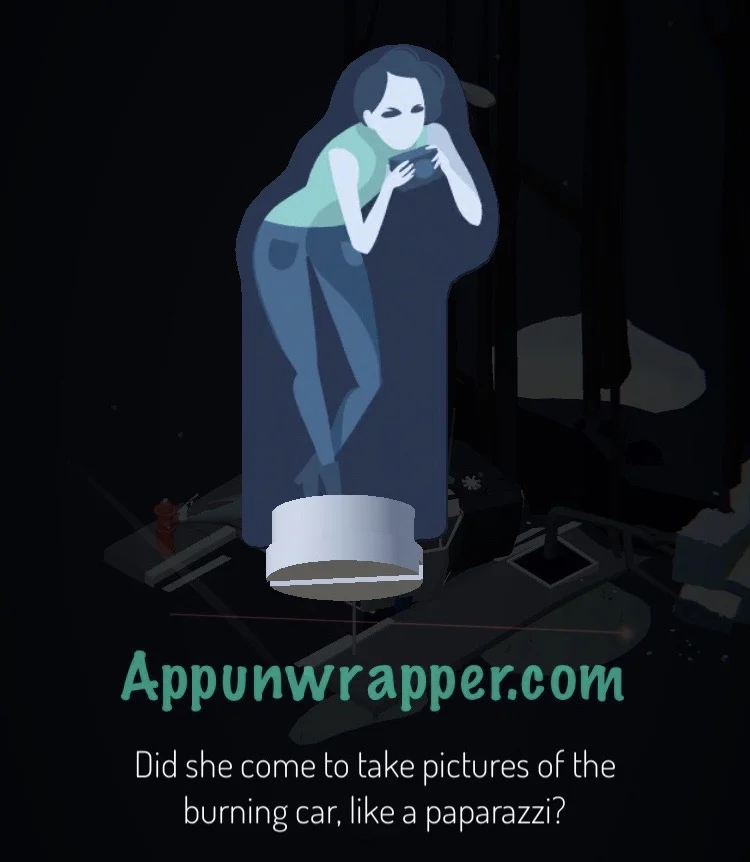
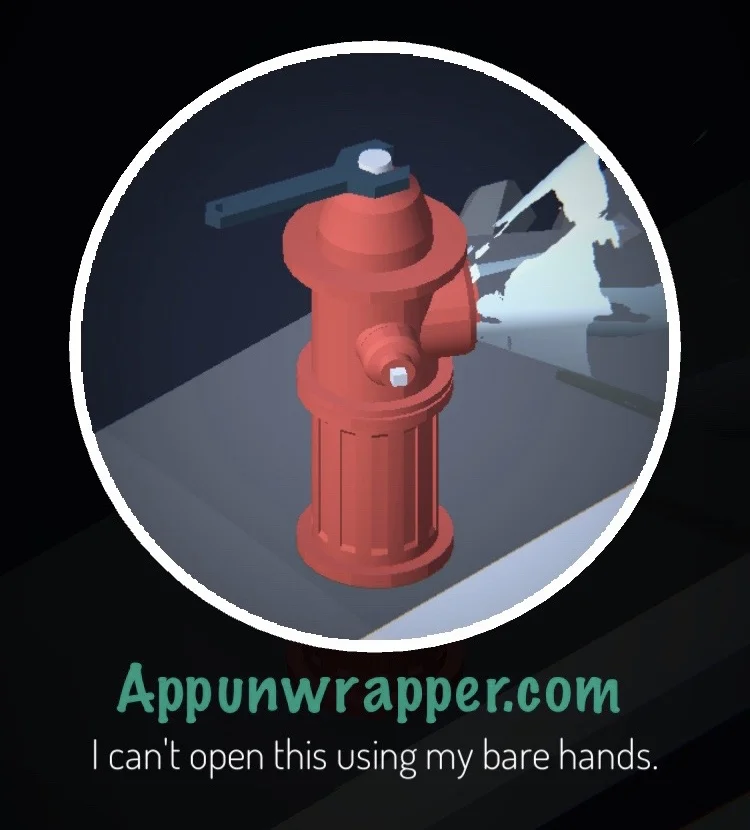
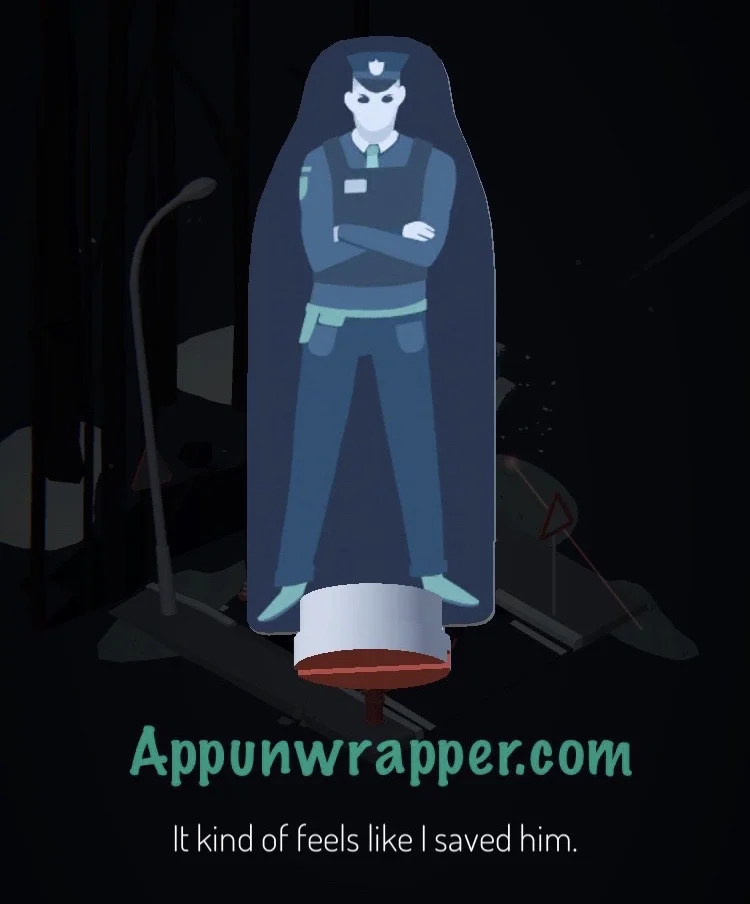
14. There’s a couple of things to do here. First, follow the laser to a spot on the grass. Dig up the paparazzi figure. Also, use the wrench to turn on the fire hydrant and then pick up the police figure.
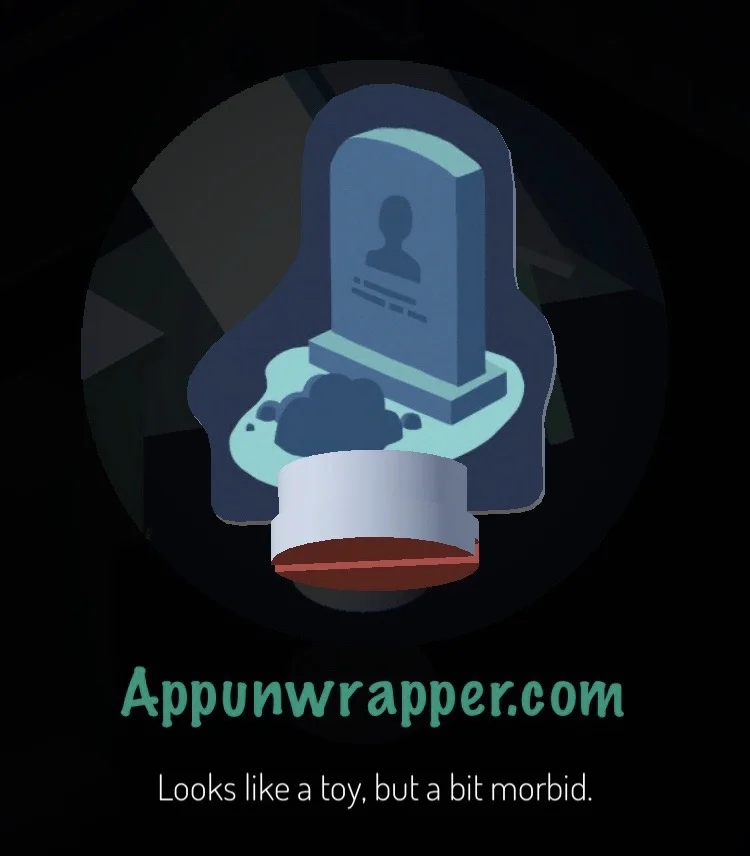
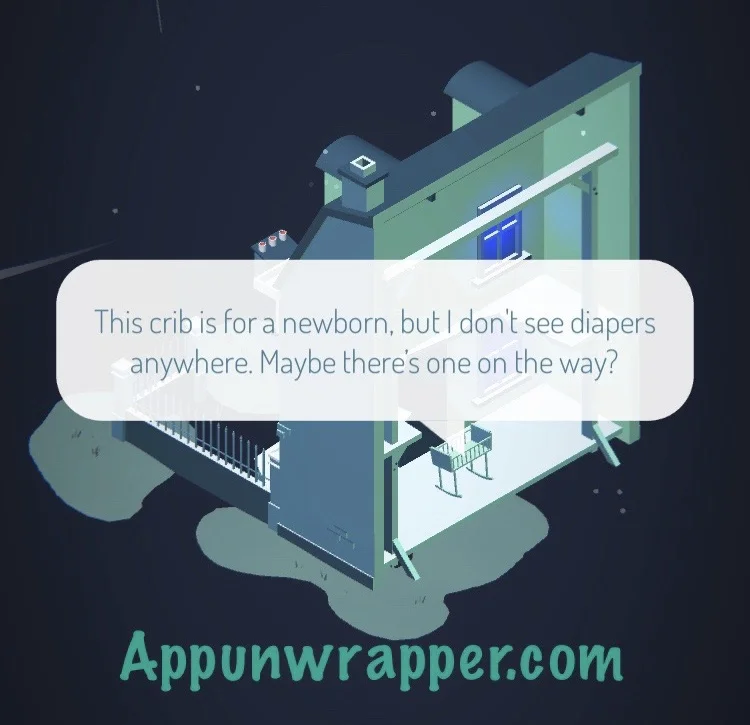
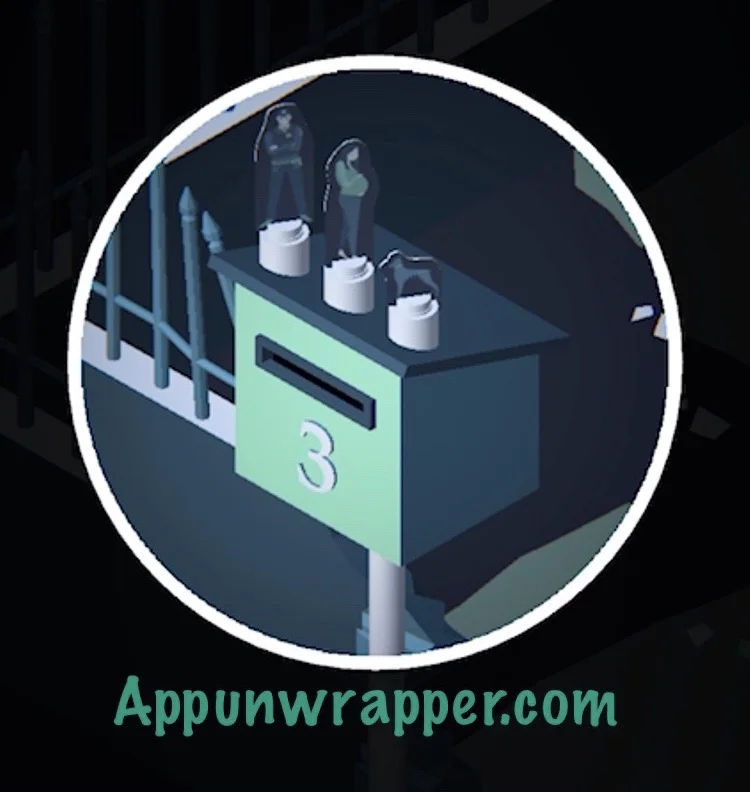
15. Head right to a house. Pick up the gravestone piece near the doghouse. Also, notice the mailbox. We’ll come to it in a bit. While here, notice the crib for a baby on the way. Also, the windows are flashing red and blue…like the sirens on a police car!
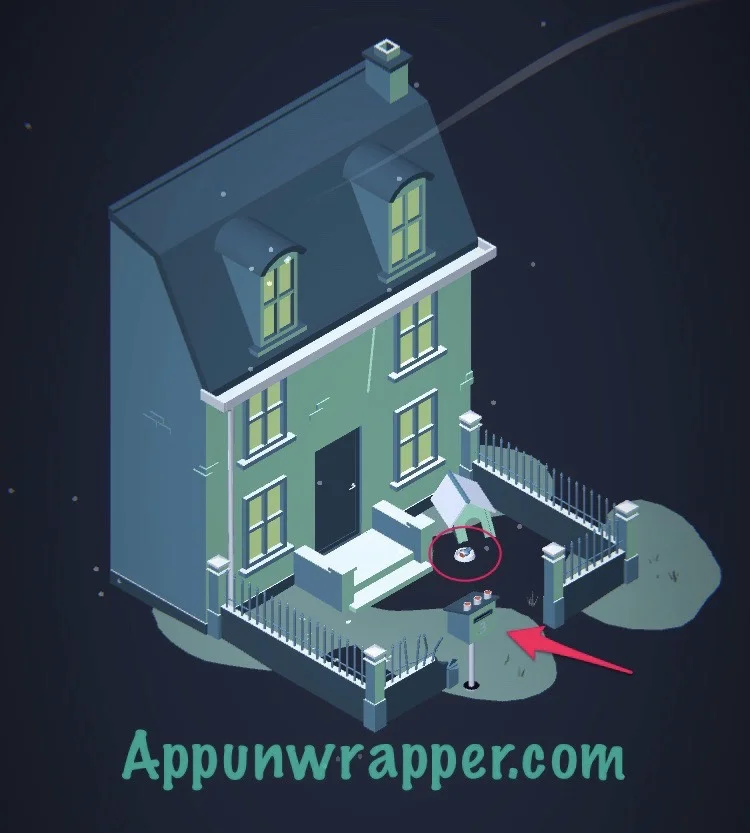

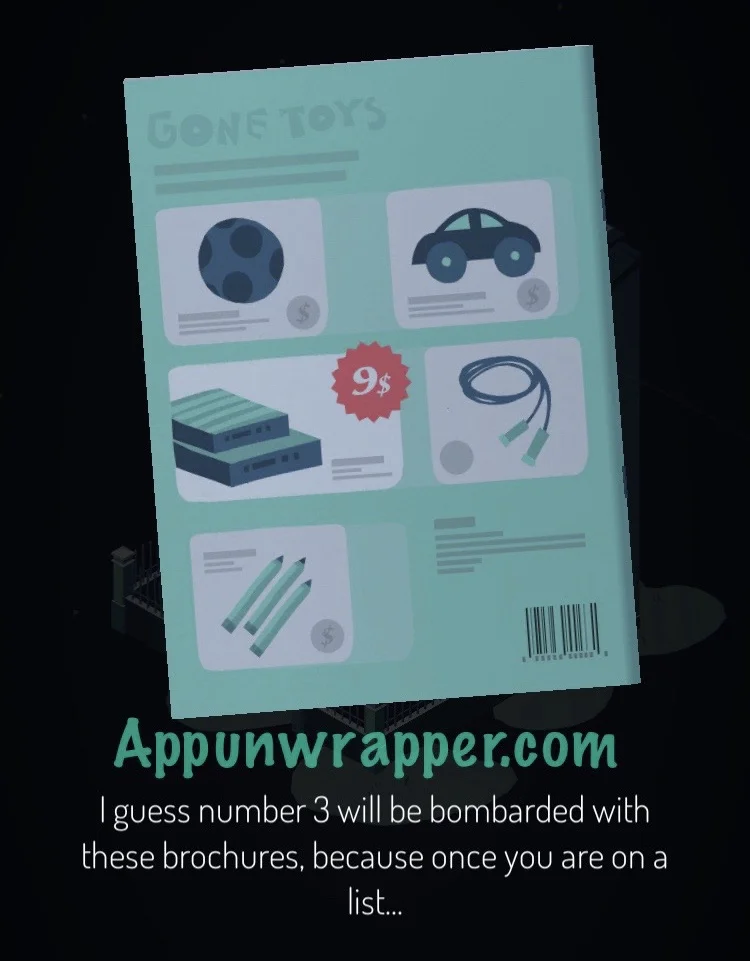
16. From everything we’ve seen at this house, we can surmise that a cop, a pregnant woman and a dog lived there. So examine the mailbox and notice there’s a 3 on it. Place the policeman, pregnant woman and dog figures in the slots. Then take the flyer for baby stuff. Turn it around and notice the big red 9 on it.
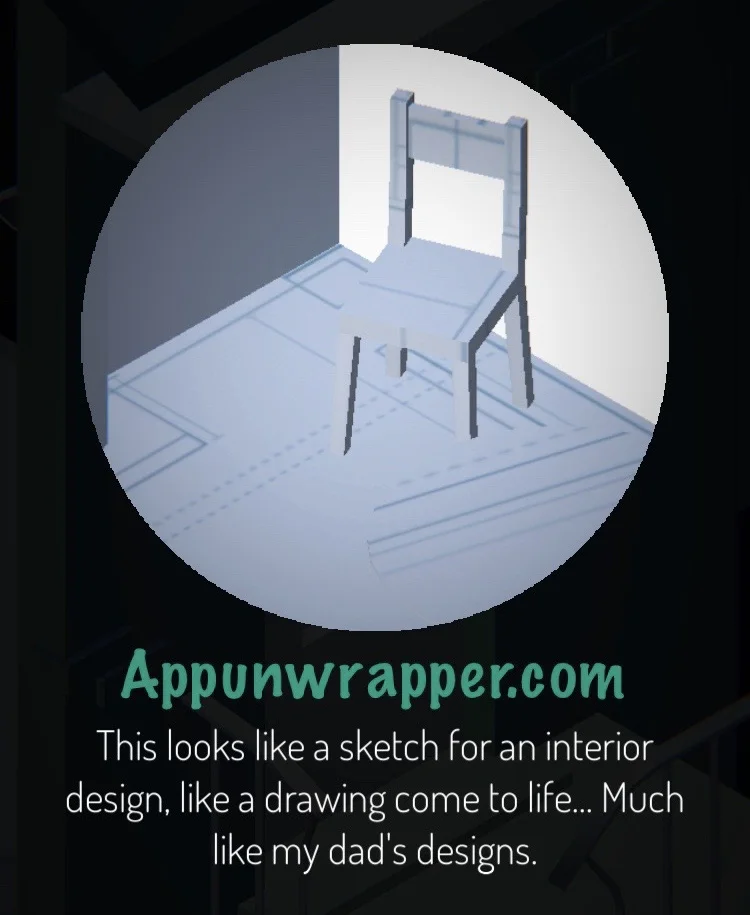
17. Continue right to the next house. Notice the mailbox. Also, rotate the camera and notice the dark room wi photographs and the plans for interior design. So you can guess that the paparazzi and the architect live here.

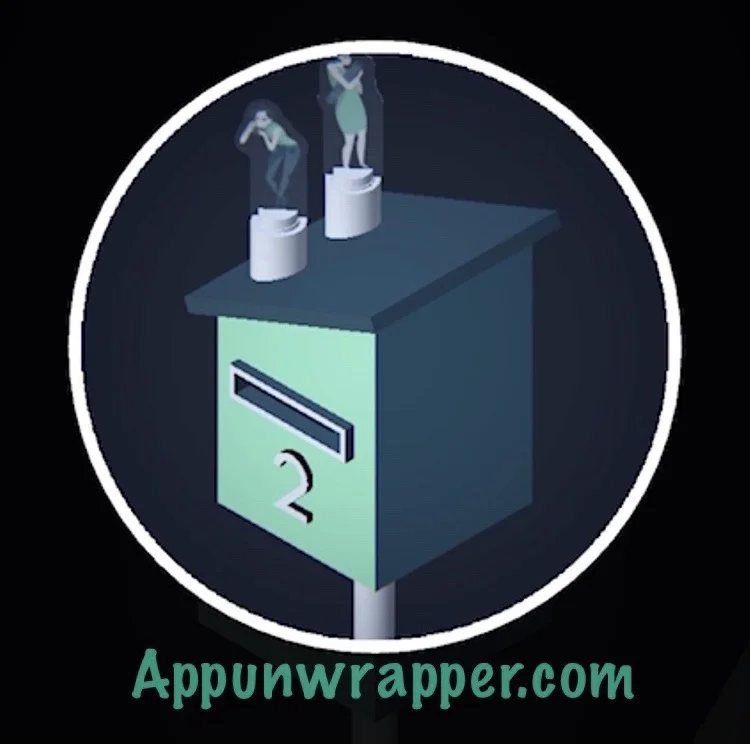
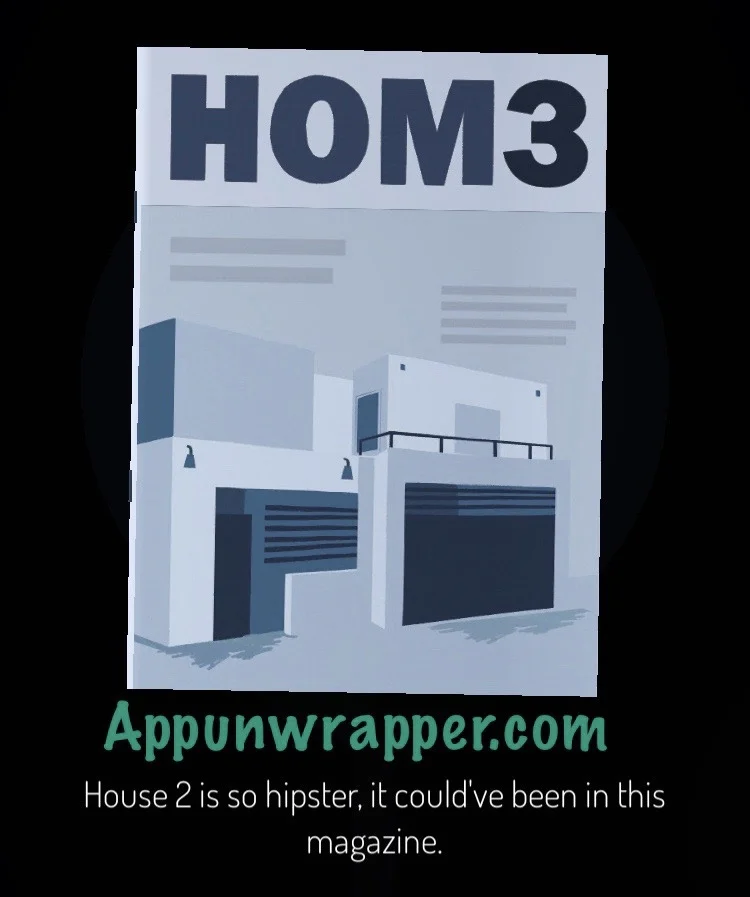
18. Zoom in on the mailbox. Notice the number 2 on it. Insert the paparazzi and architect figures into the slots and then take the magazine. Notice the big 3 on it.
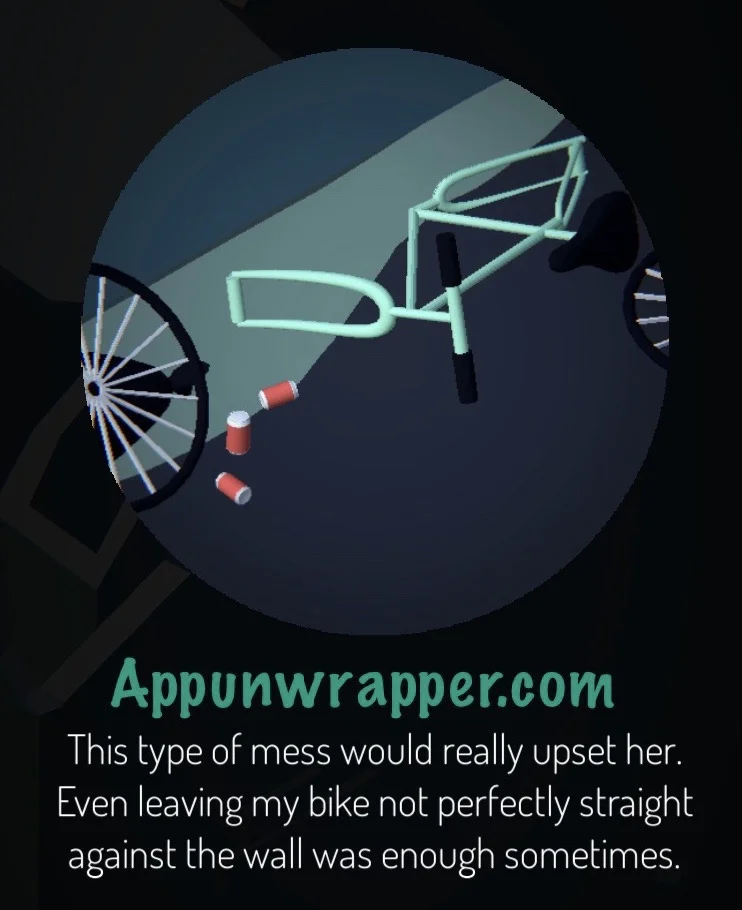
19. Continue right to the next house. Notice the mailbox. Also, there’s a crashed bike and a memorial inside.
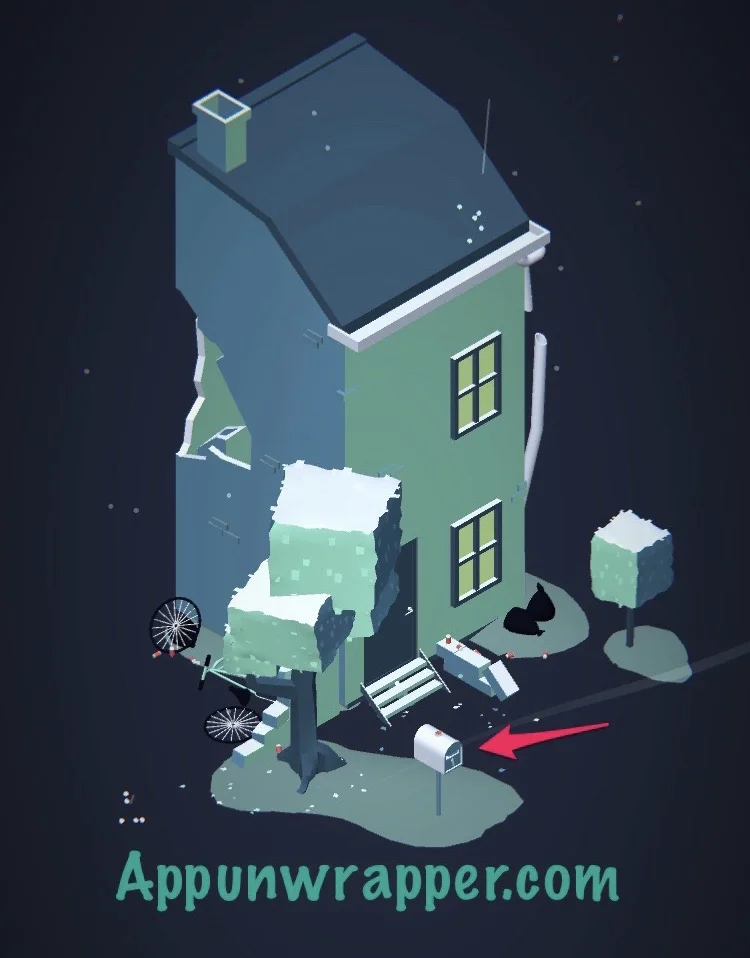
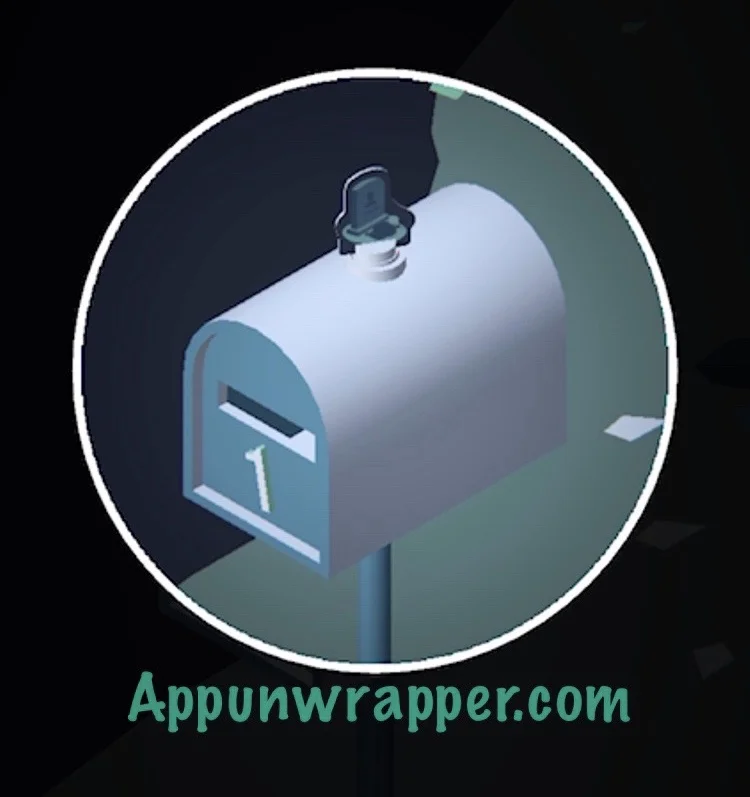
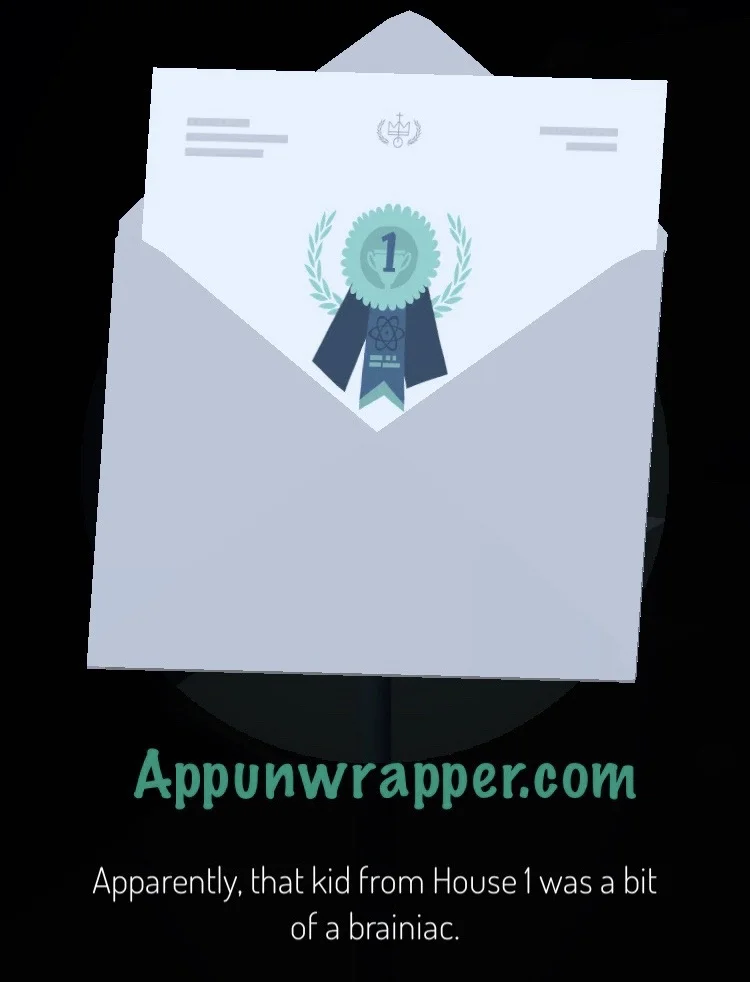
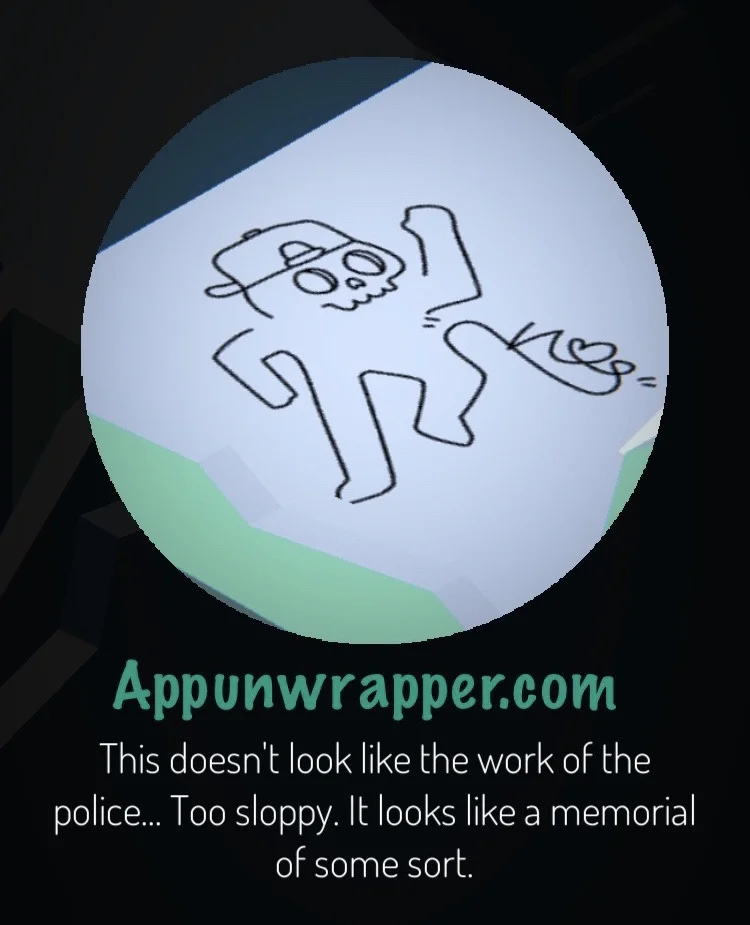 20. Zoom in on the mailbox and notice a 1 on it. Since we know there’s a memorial, we can assume someone died. So place the gravestone on the mailbox and take the envelope. Open it and see there’s a 1 on it.
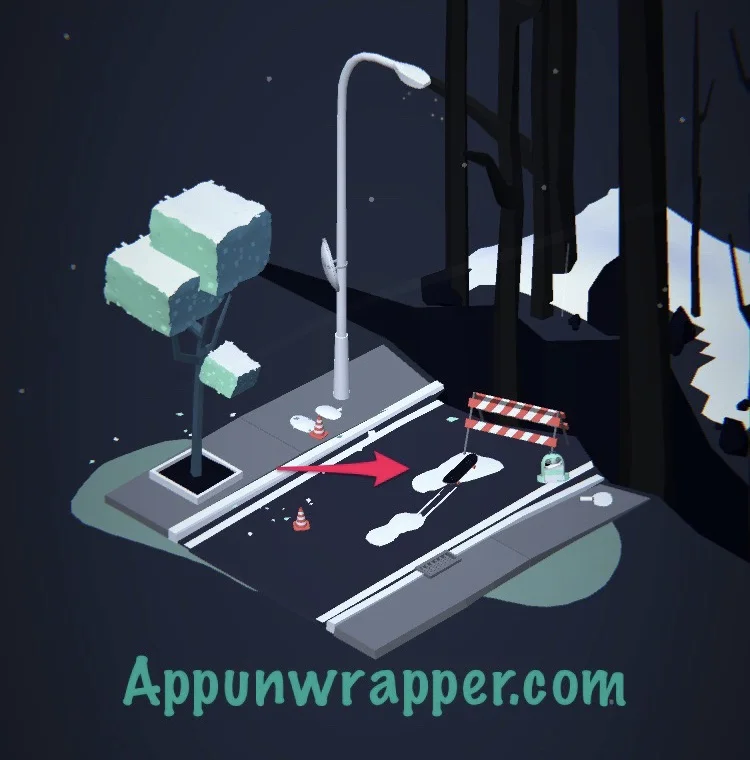
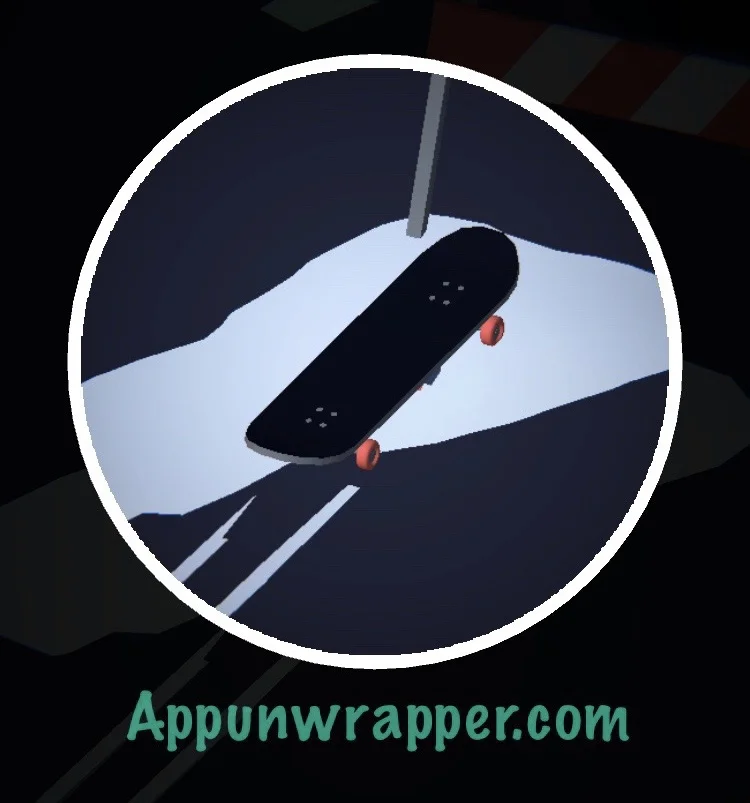
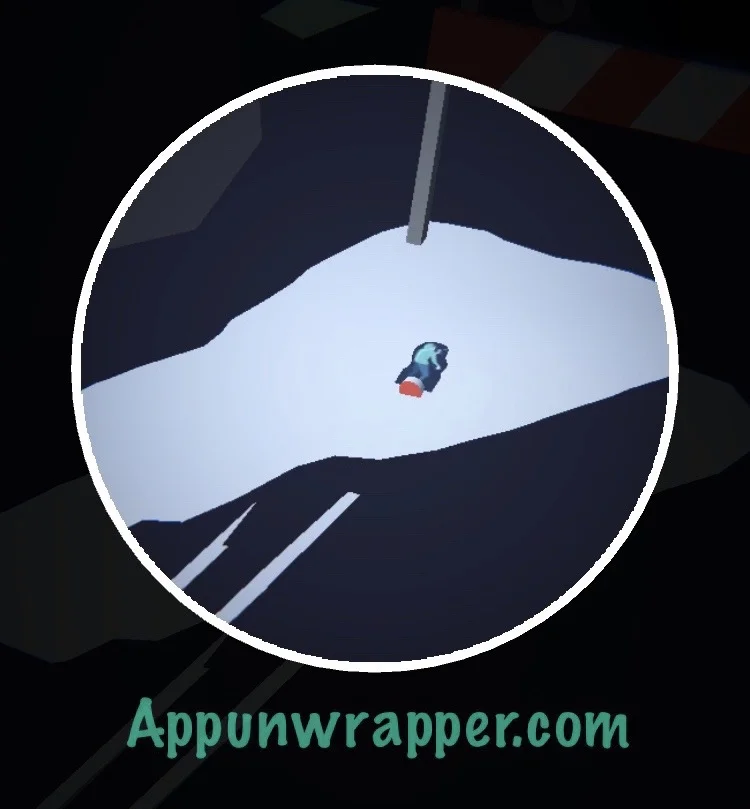
21. Continue along the path to find a skateboard and a giant crack in the road. Move the skateboard and grab the graffiti artist figure.
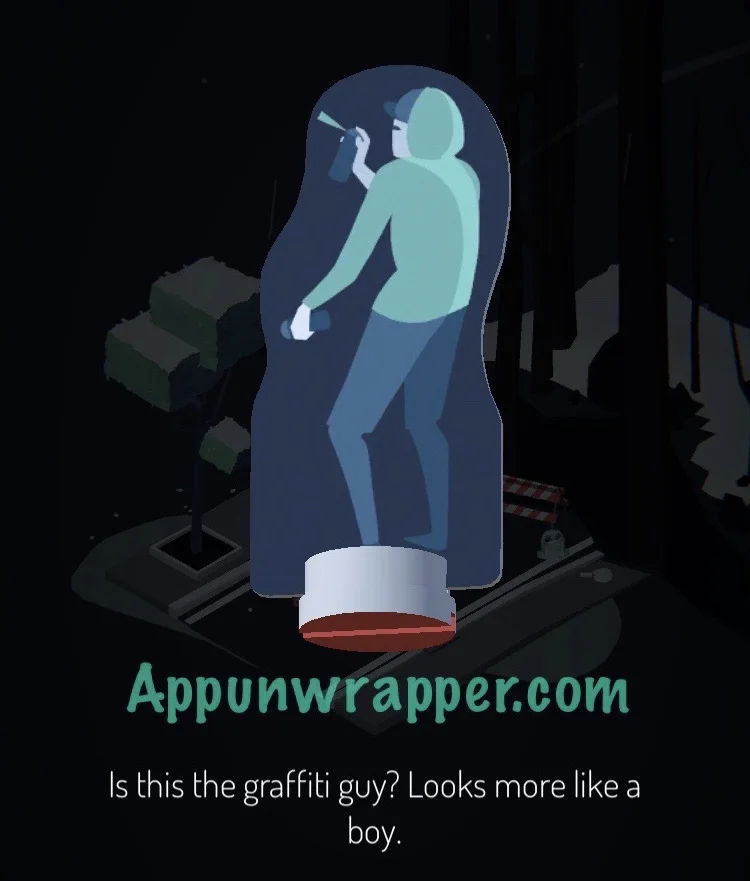
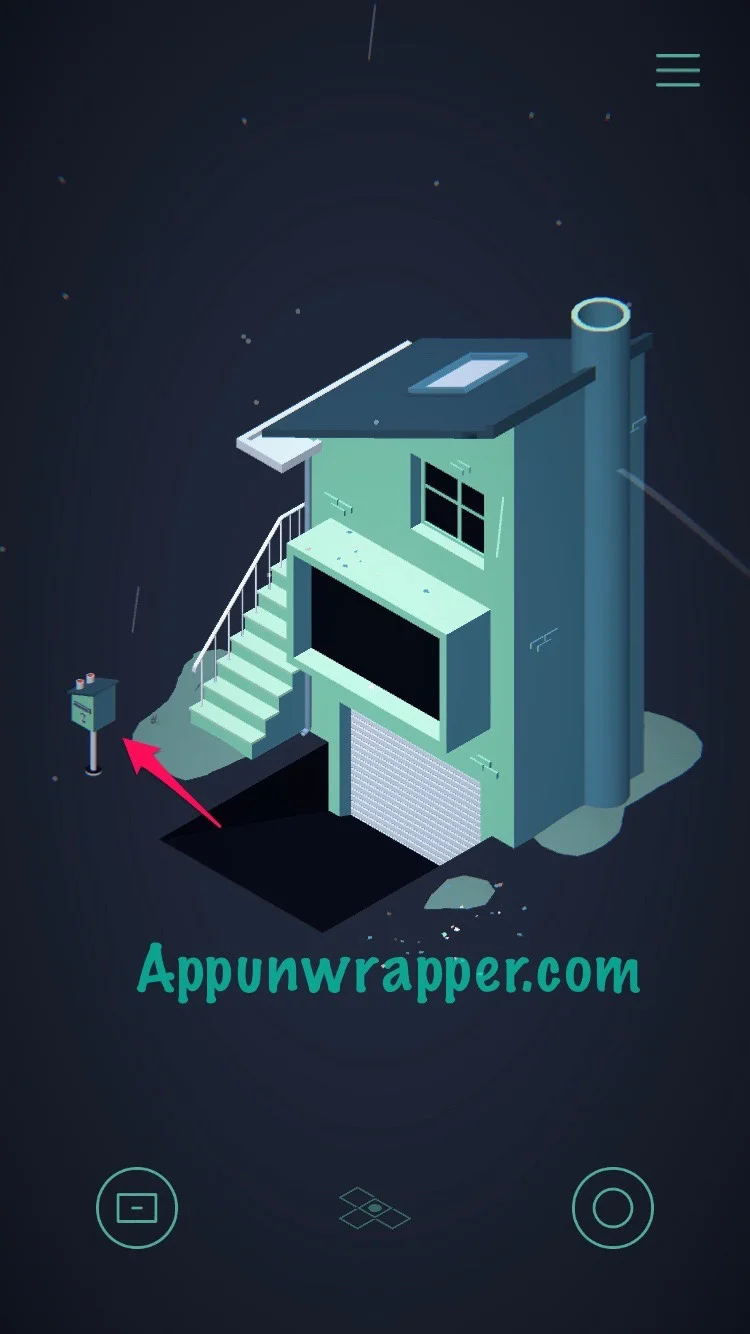
22. Find your way back to the gate and head in the opposite direction of the laser, to the only scene you haven’t seen yet. It’s another house with another mailbox. Notice the house has been covered in graffiti.
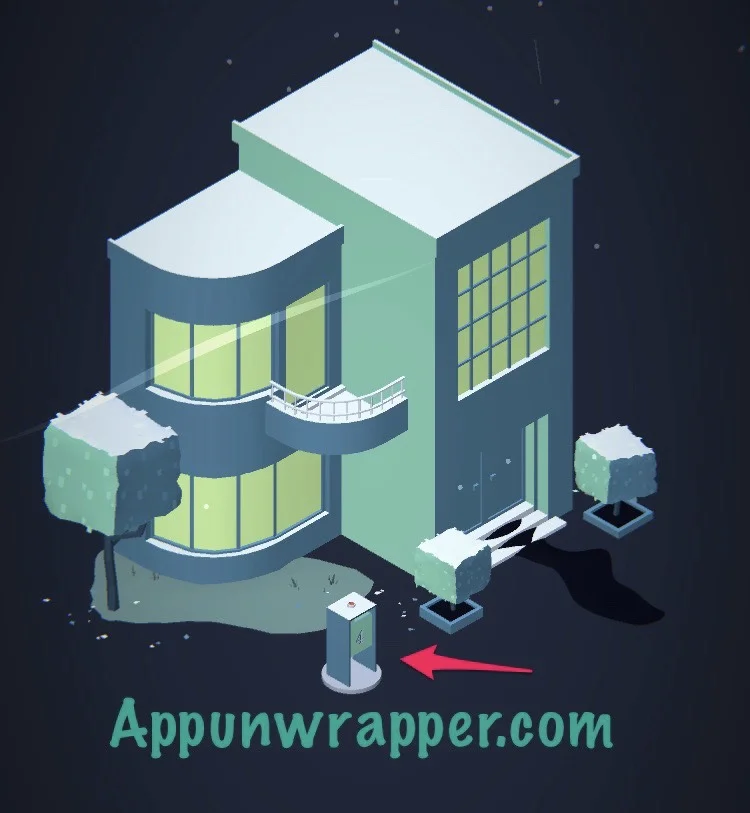

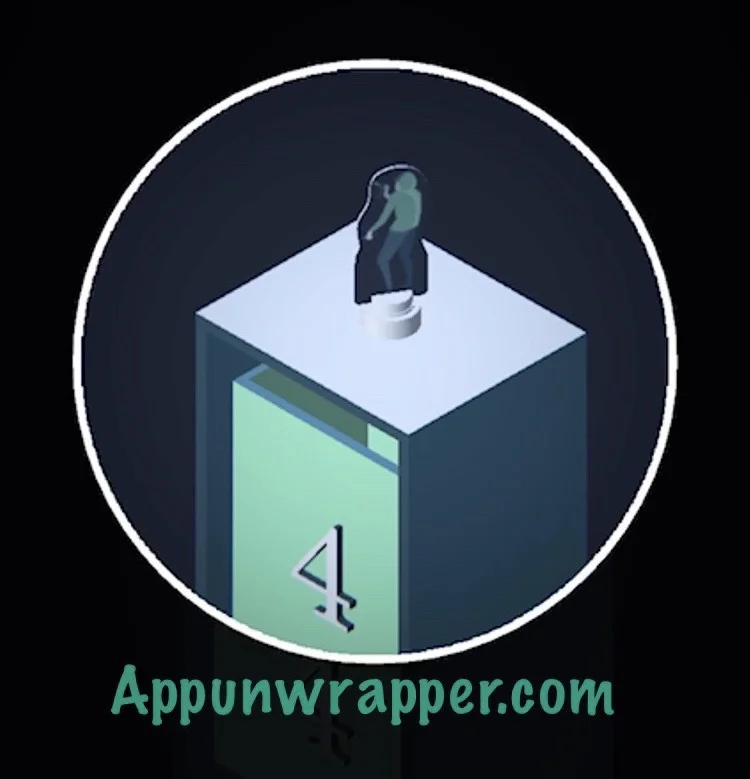
23. Zoom in on the mailbox. Notice there’s a 4 on it. We only have one figure left and it’s the graffiti artist. There’s also graffiti in the house. So place that piece on the mailbox and take the postcard. Turn it around to see a 9 on it.
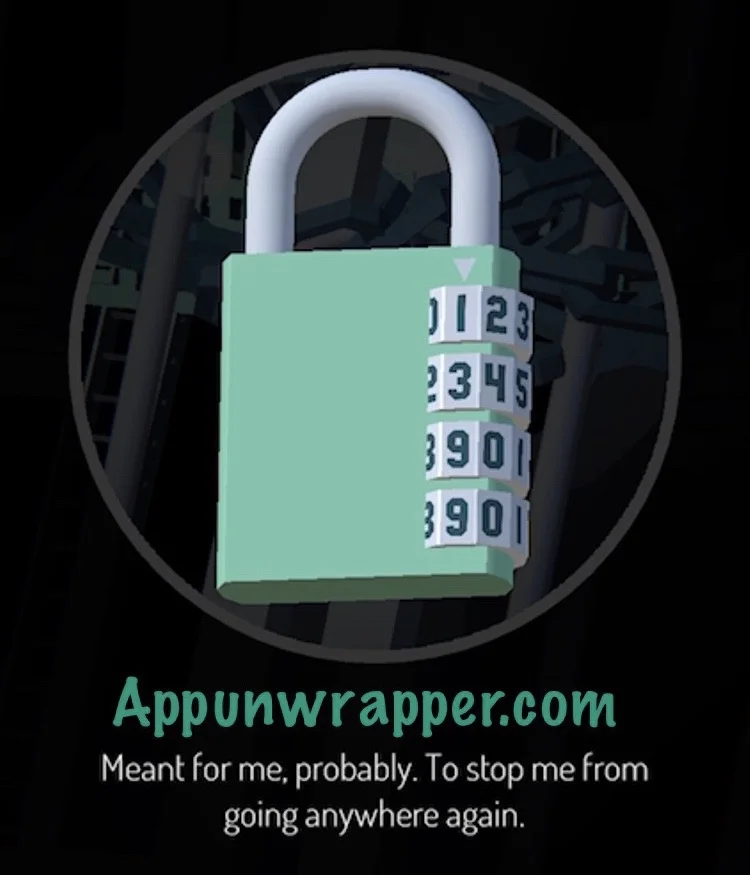
24. Go back to the gate. We now have all the information we need to unlock it. Here’s the info from the houses:
1 = 1
2 = 3
3 = 9
4 = 9
So enter 1399 on the gate’s lock to open it and complete the act.
And that’s the end of Act 2! Click here to continue to Act 3 or choose a chapter below.