Kosmonavtes: Academy Escape
By: LKMAD

Kosmonavtes: Academy Escape is the sequel to LKMAD’s adventure game, Kosmonavtes: Escape Reality. You have to help Vala graduate from Space Academy while her classmates play pranks on her. This walkthrough guide will help you if you get stuck on any puzzles in Chapter 3. Feel free to ask for extra help in the comments section.
See my Kosmonavtes: Escape Reality walkthrough.
Walkthrough:
Chapter 1 | Chapter 2 | Chapter 3 | Chapter 4 | Chapter 5 | Chapter 6 | Chapter 7 | Chapter 8
Chapter 3:
You can watch my video for Chapter 3 or continue below for my step-by-step guide.
1. Grab the pen from the desk. Open the drawers and take the surgical glue, pills, surgical forceps, and mortar and pestle.
2. Remove the sticky notes on the side of the desk to see a clue that says A/B = D.
3. Use the pen to cut open the cardboard box and then take the brush from inside.
4. Place the mortar and pestle on the desk. Then add the pills and crush them into a powder. Then use the brush to pick up some of the dust.
5. Tap on the keypad near the door and use the dusty brush on it to show that there are fingerprints on the numbers 2, 4, 5 and 8. So we know those are in the passcode but we have to figure out the order.
6. The clue on the poster says A/B = D. So if we use those four numbers, that could mean either 8/2 = 4 or 8/4 = 2. Then C would be 5. So try both 8254 and 8452 as the door code. 8254 should work! Open the door and go through.
7. Notice the tanks of colored water. Note down the colors: Blue, Green, Pink, Orange.
8. Go back to the first room and press the colored buttons on the screen in that order. Letters will then appear on each button. Press A.
9. Go back to the room with the body scanner and one of the patients will be on it! Use the scanner to scan the patient and learn that he has no injuries besides leg trauma. There’s glass stuck in his leg!
10. Tap on the middle drawer below the scanner. It’s stuck. Use the pen to open it and take the magnifying glass.
11. Notice the ink stains on the middle drawer buttons. Press those same buttons on the left drawer and get the first aid kit. Press the opposite buttons on the right drawer to get the blood sampler.
12. Tap on the patient. Place all your tools down — the surgical forceps, surgical glue, magnifying glass and first aid kit.
13. Now to figure out the order in which to use the tools. Start with the povidone-iodine (Betadine), then use the forceps to remove the glass shards, then use the magnifying glass to see if all the wounds are clear. One still has glass in it, so remove them. Then stitch up all the wounds. Then use surgical glue only on the three smallest wounds, since we need to conserve resources. Then use antibiotics on all of them. And last, bandage the leg.
14. Go back to the first room and select TRAUMA on the screen, then YES he has been treated. Then press B.
15. Scan patient B. There’s no internal injuries. Use the blood sampler to collect a blood sample.
16. Go back to the first room and use the blood sample with the analyzer. She has brain parasites!
17. Go back to the patient and look at the computer. Slowly slide the bottom slider to the right and left, and stop when you see a parasite in the brain. Tap it to destroy it. Do this until all the parasites are dead.
18. Go back to the first room and select INFECTION and YES. Then press C for the next patient.
19. Scan patient C to learn he has no internal injuries. Take a blood sample and then analyze it to find an unknown pathogen.
20. Go back to the patient and look at the computer. It looks like he has coronavirus? Anyway, tap on the green viruses as you see them. When it reaches 100%, you’ll determine it’s highly infectious with no cure! Hmmmmm….
21. Go back to the first room and select INFECTION and NO and then a QUARANTINE. Then select D for the next patient.
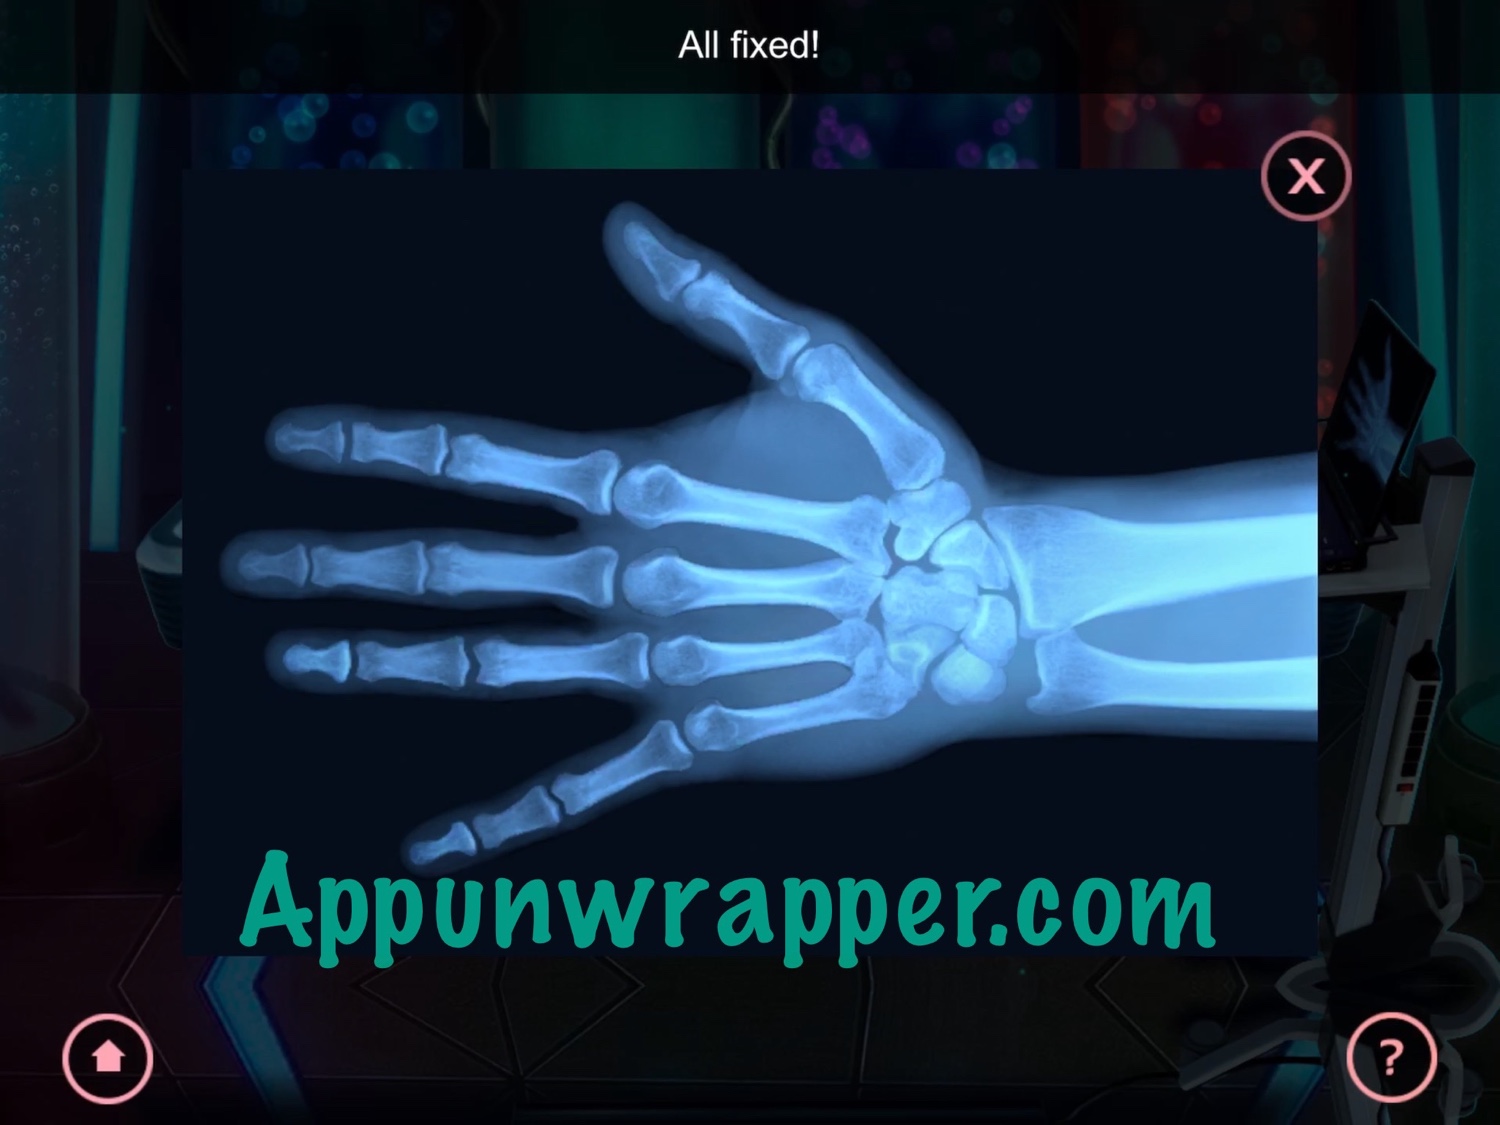
22. Scan patient D. She has hand trauma. Tap on her hand and the piece together all her hand bones.
23. Go back to the first room and select TRAUMA and YES.
And that’s the end of Chapter 3! Stay tuned for Chapter 4!