Adventure Escape Mysteries – Psychic Squad: The Italian Affair
By: Haiku Games

Haiku Games is back with a new Adventure Escape game, called Psychic Squad: The Italian Affair. You play as Jacqueline, who talks to ghosts, and Khaled, who sees the future. Together, they solve crime for Interpol’s Psychic Squad. This walkthrough guide should help you if you get stuck on any of the puzzles in Chapter 2. Feel free to ask for extra help in the comments section.
See all my other Adventure Escape guides here.
Walkthrough:
Chapter 1 | Chapter 2 | Chapter 3 | Chapter 4 | Chapter 5 | Chapter 6 | Chapter 7 | Chapter 8
Chapter 2, The Dolomites:
You can watch my video for Chapter 1 or continue below for my step-by-step guide.
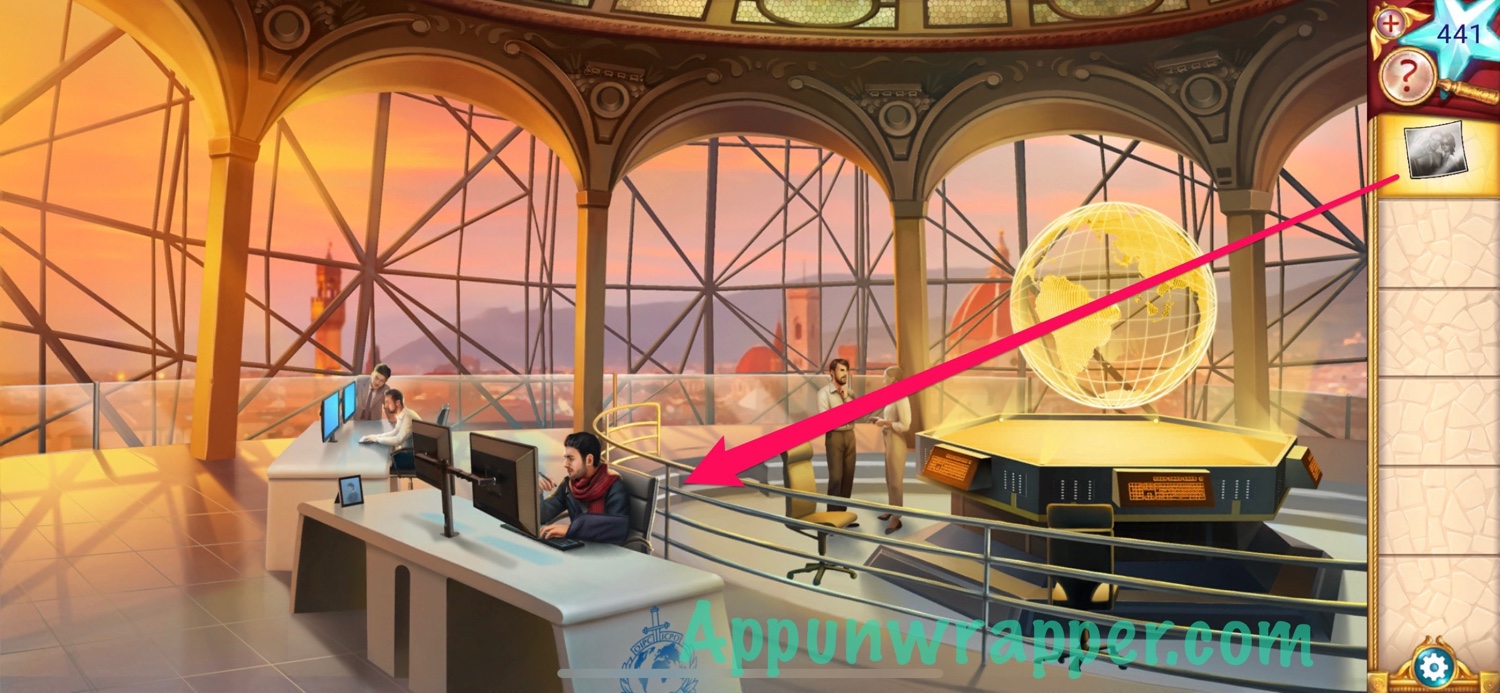
1. You’re back at the Interpol office. Hand Khalid the photo so he can try to run it through facial recognition software.
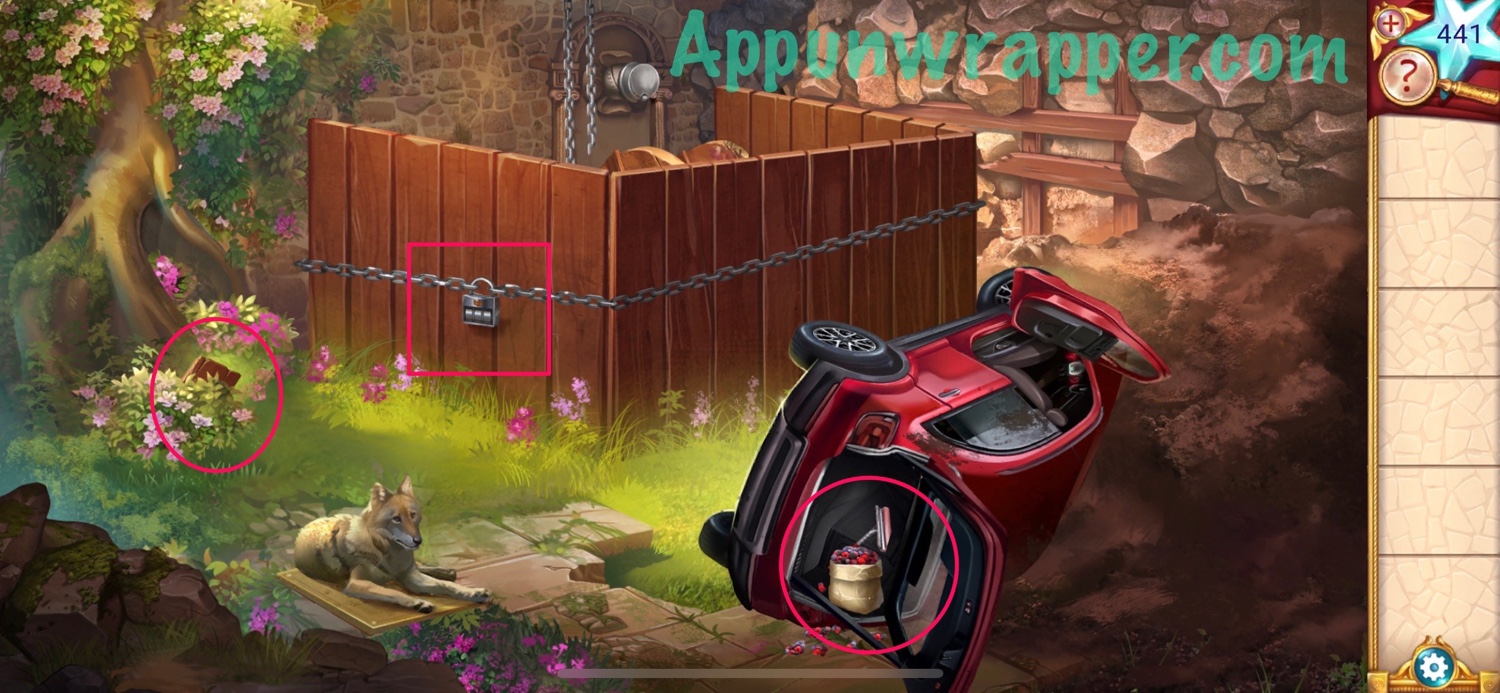
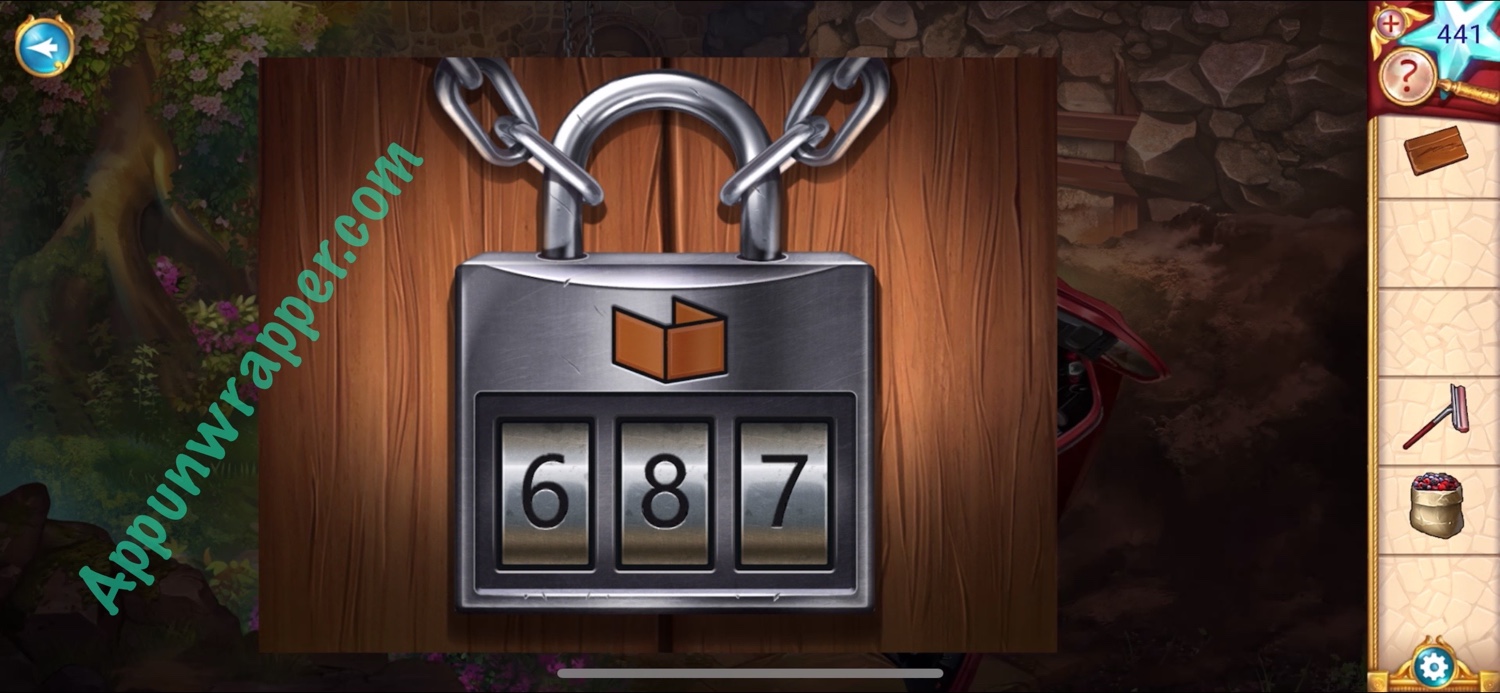
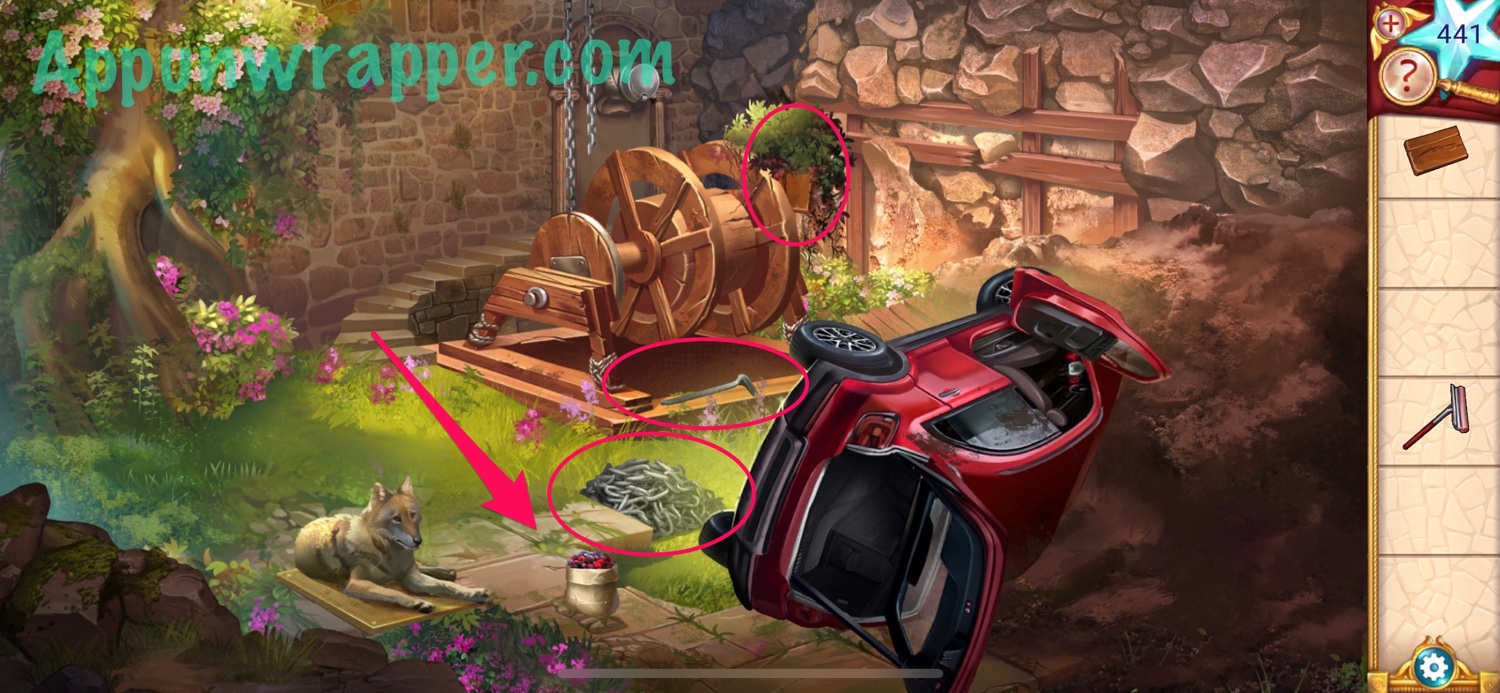
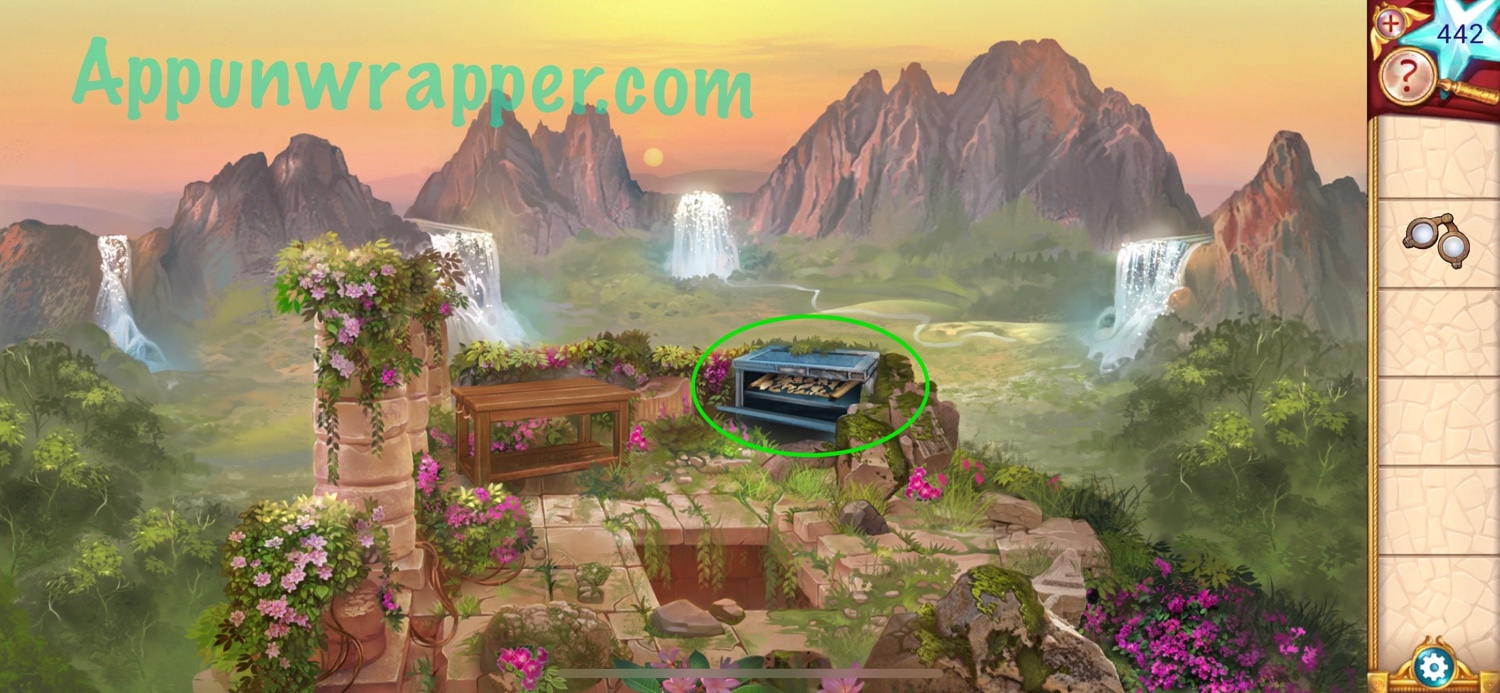
2. Jaqueline will drive off to a mountaintop monastery to talk to Friar Teodor. But a car runs her off the road. Open the car trunk and get the snack and squeegee. Also, grab the wooden fin behind the bush. And last, notice the clue on the lock on the gate. It shows the three sides of the gate. Count up the planks of wood on each side and you get 687. Enter that into the lock to open it.
3. There’s a water mill inside. Grab the chain, crowbar and wooden fin. Also, give the snack to the dog so he leaves.
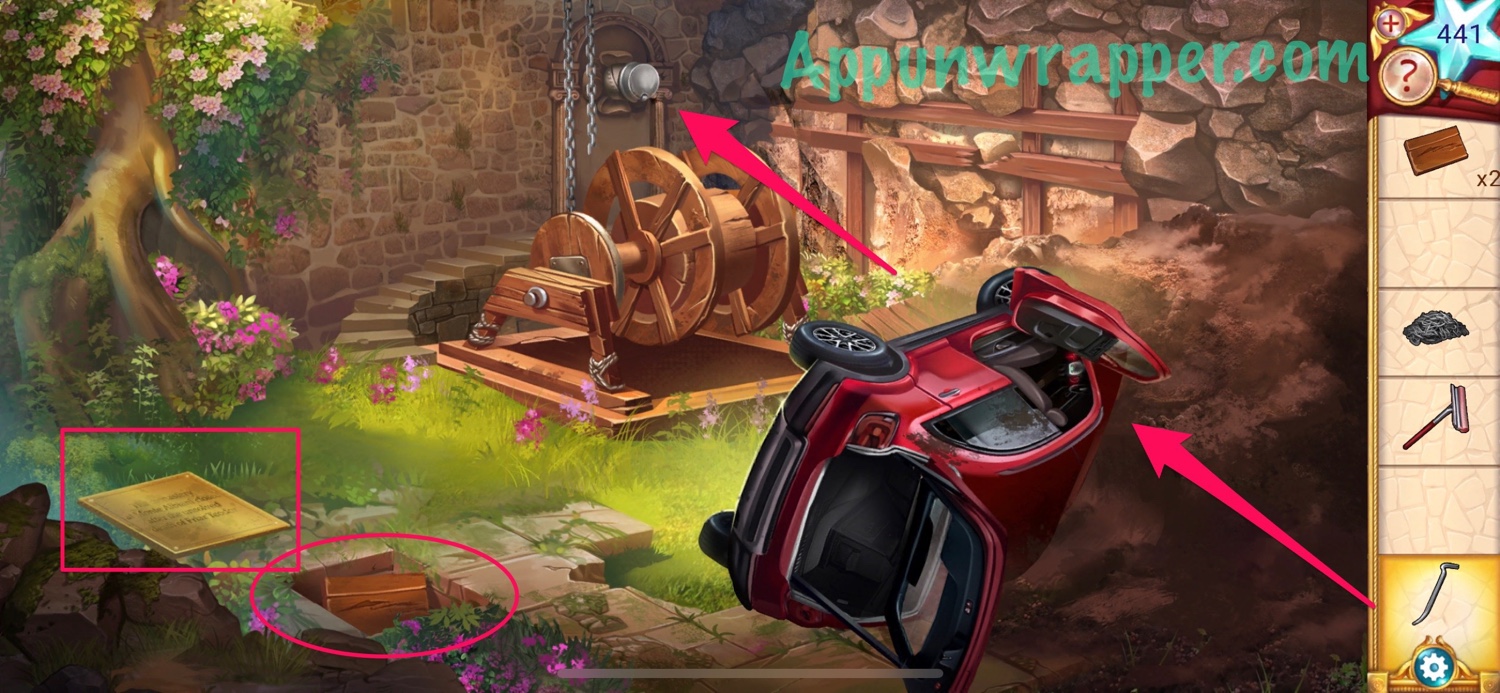
4. Lift up the tile and grab the third wooden fin from the hole. Notice the tile says this was an Albiani monastery that was abandoned in the 16th century. Also, use the crowbar to pry open the cover on the pipe and to get the seat from the car.
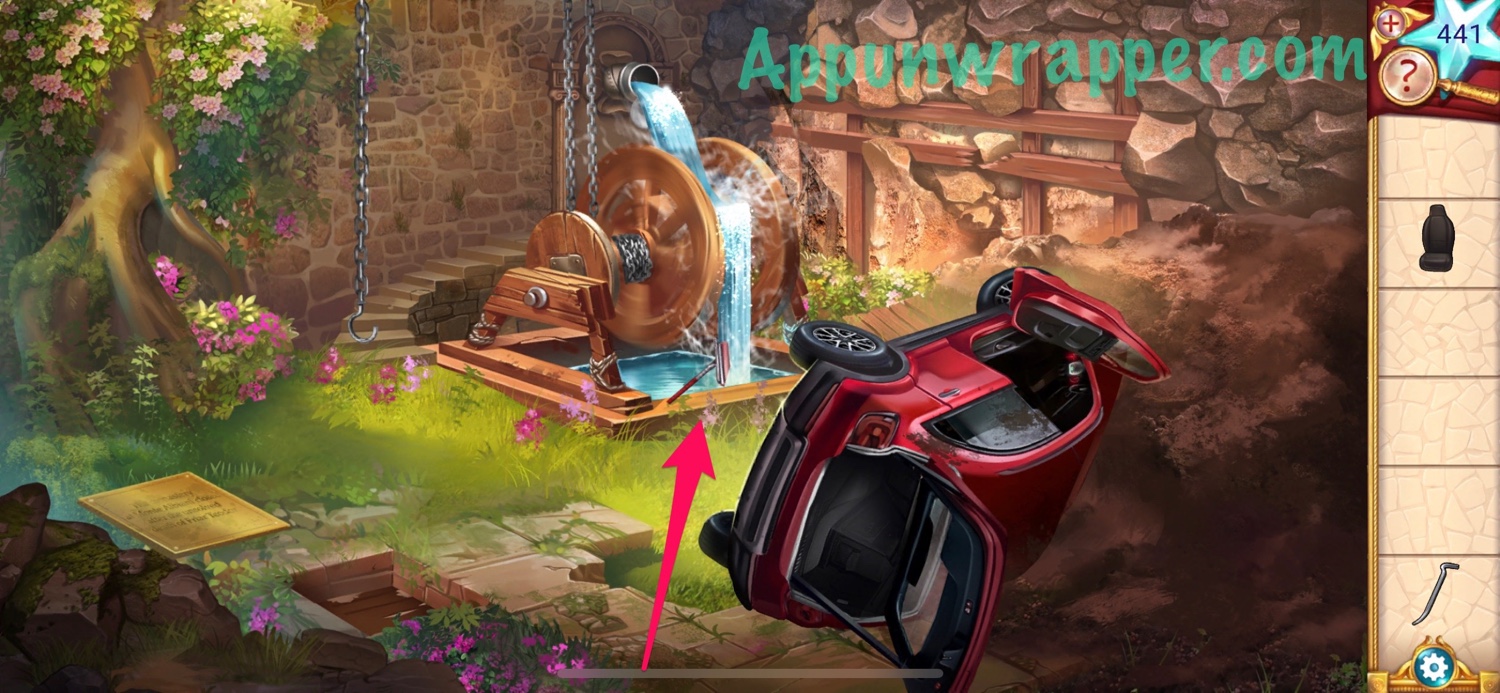
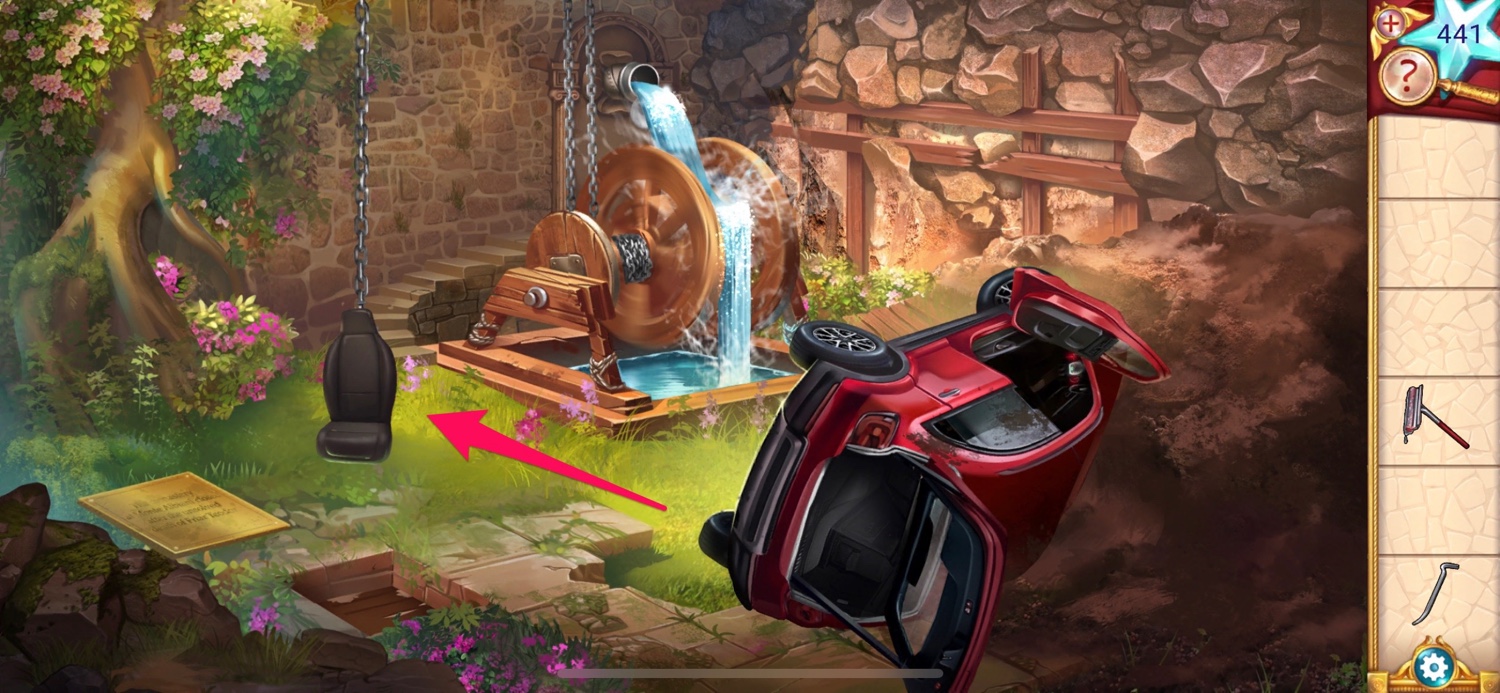
5. Add the chain and three fins to the water mill. Wet the squeegee. Then add the chair to the chain to make an elevator and ride it up.
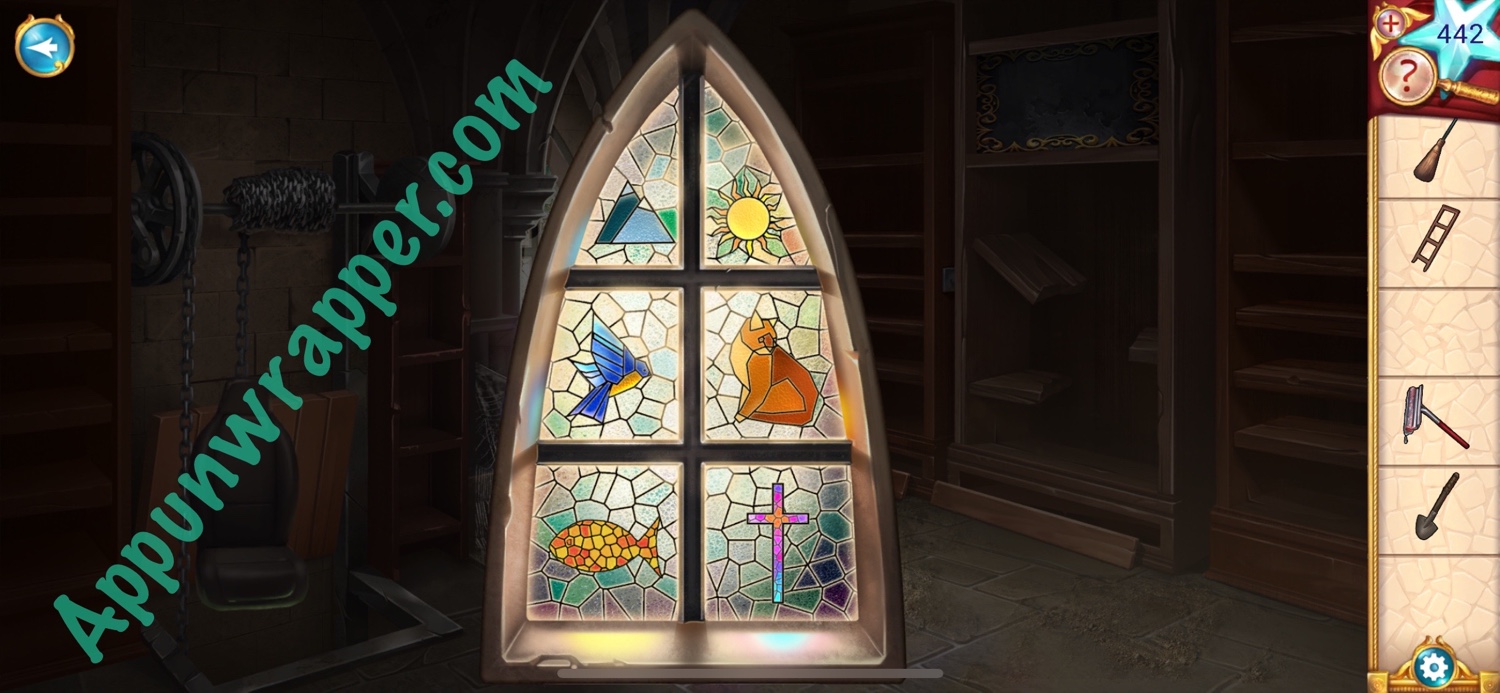
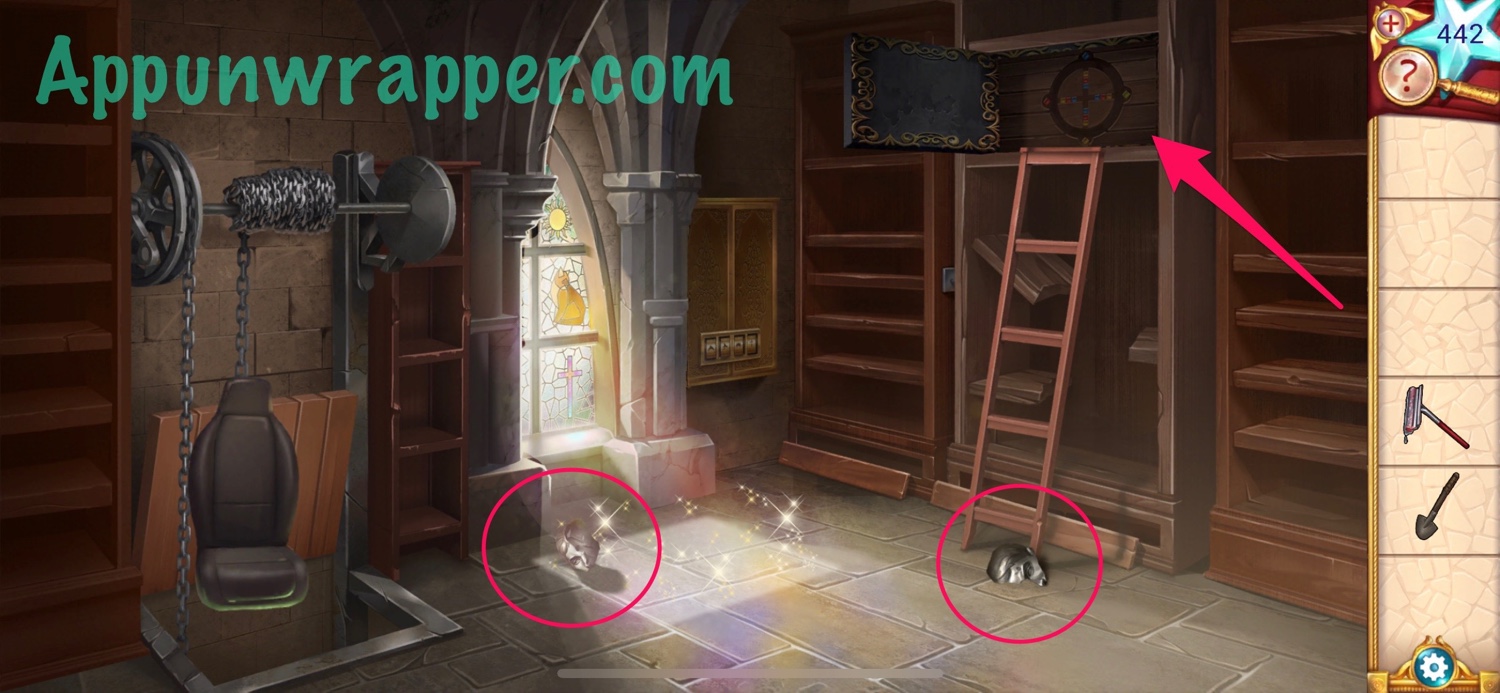
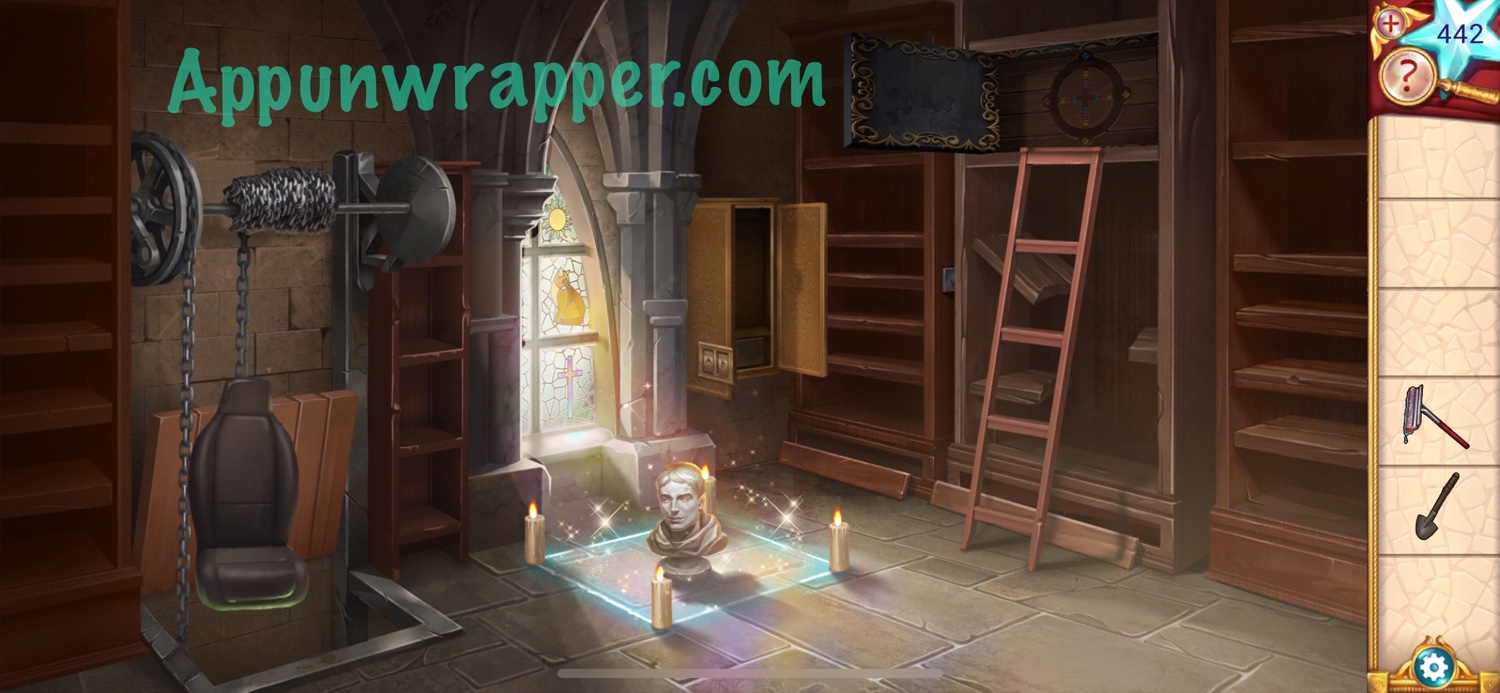
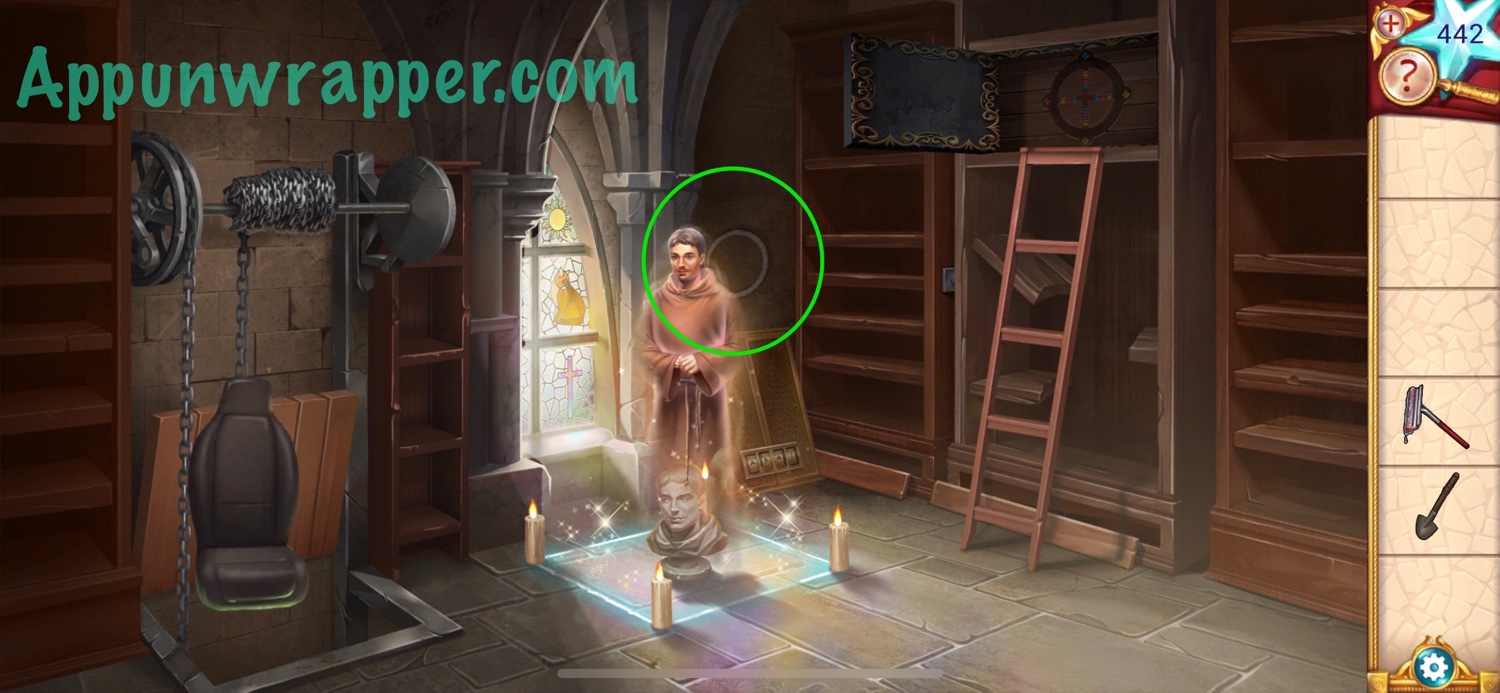
6. Use the squeegee to clean the stained-glass window. Use the crowbar to get a ladder off the shelves. Also, open the two drawers to get a shovel and a broom. And last, notice the combination lock.

7. Use the broom to sweep up the floor and grab the statue piece. Place the ladder down and climb up to open the panel. Another statue piece falls. Grab it. Behind the panel is another puzzle, but we’re missing something we need for it.
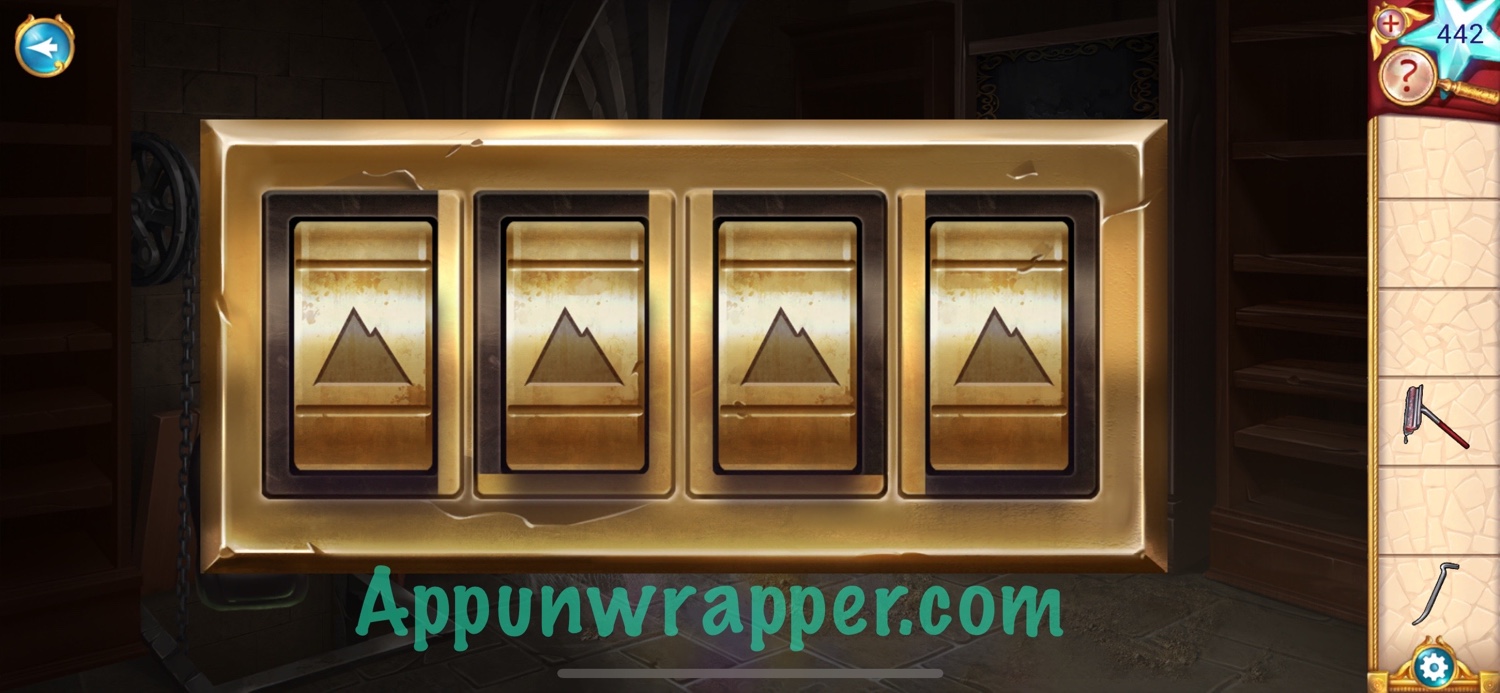
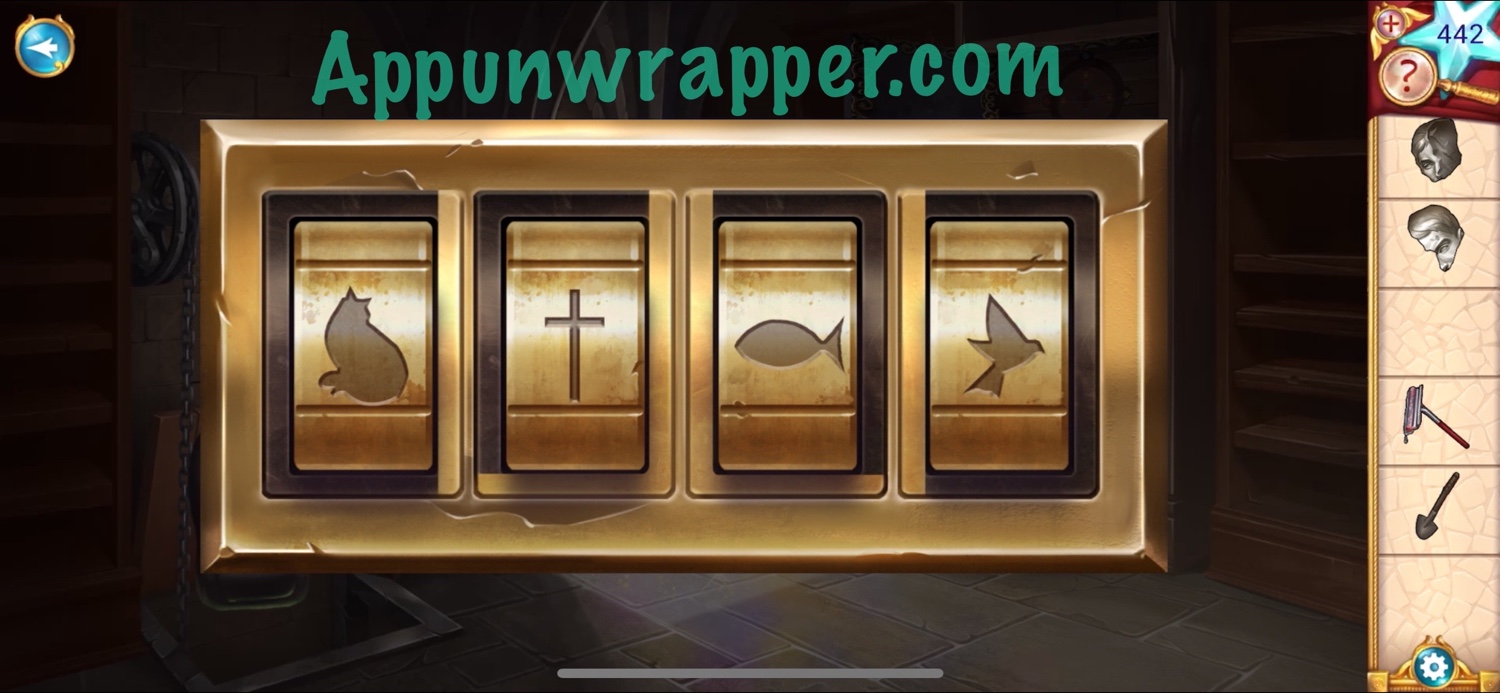
8. Now back to the lock. Notice there are dark lines around each dial on the lock. Compare them to the dividers on the stained-glass window to figure out which shape goes where. So you get cat, cross, fish, bird. Enter that into the lock to open it.
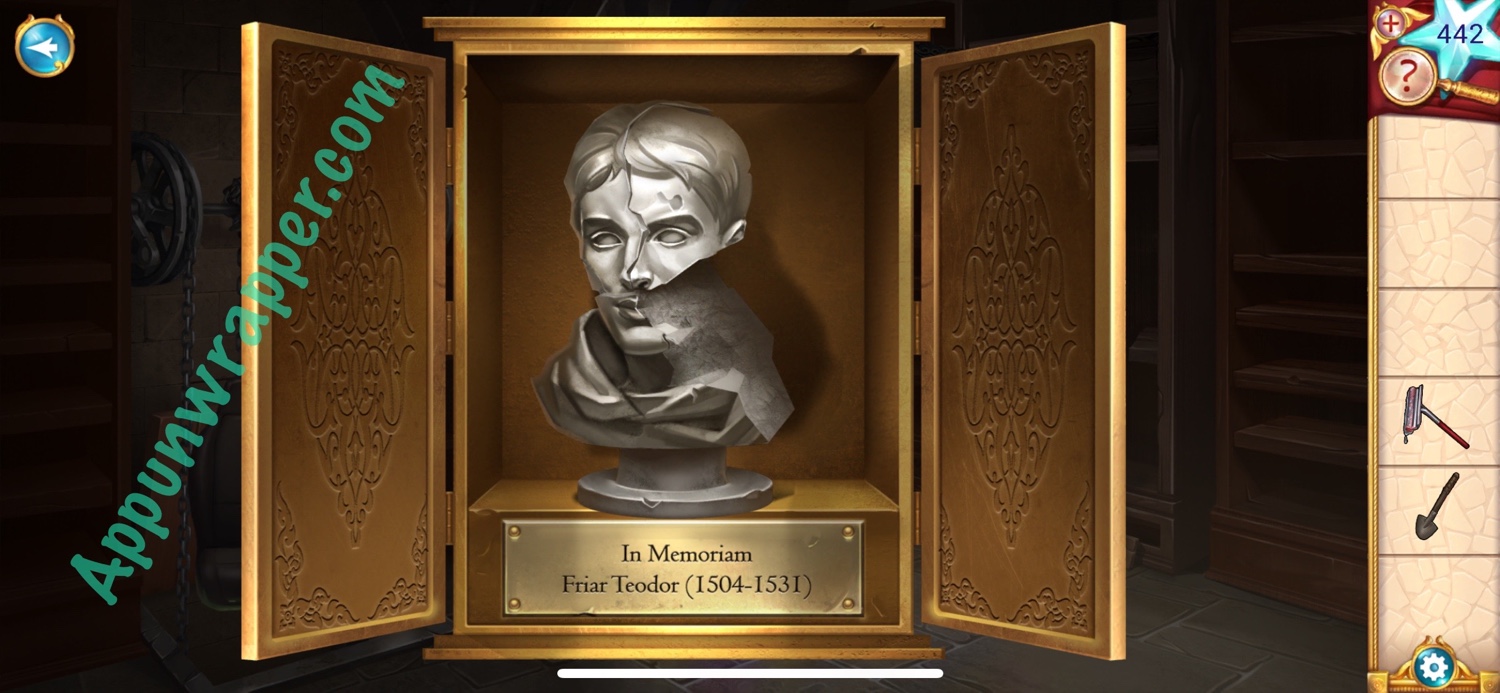
9. Look inside. Place the two statue pieces down and notice it says Friar Teodor (1504 – 1531).
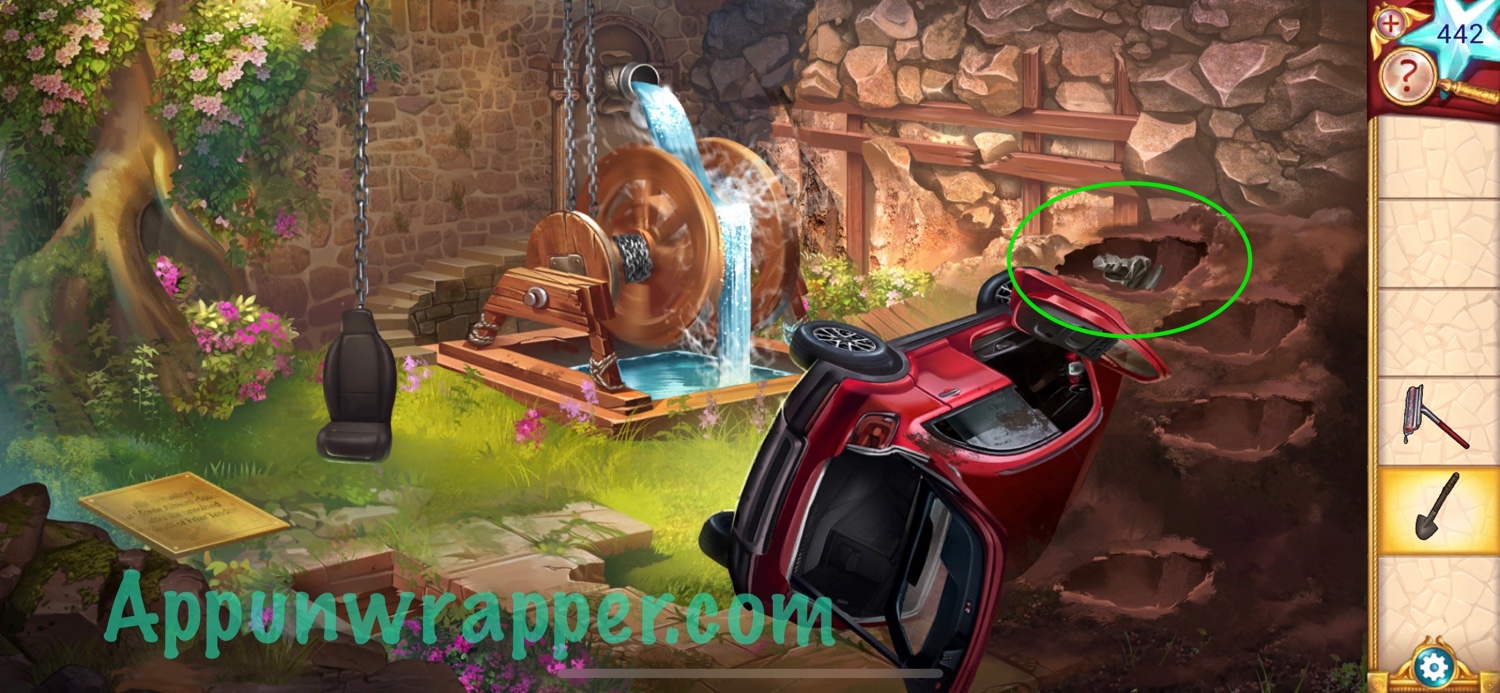
10. Go back outside and use the shovel to dig a few holes in the dirt until you find another statue piece.
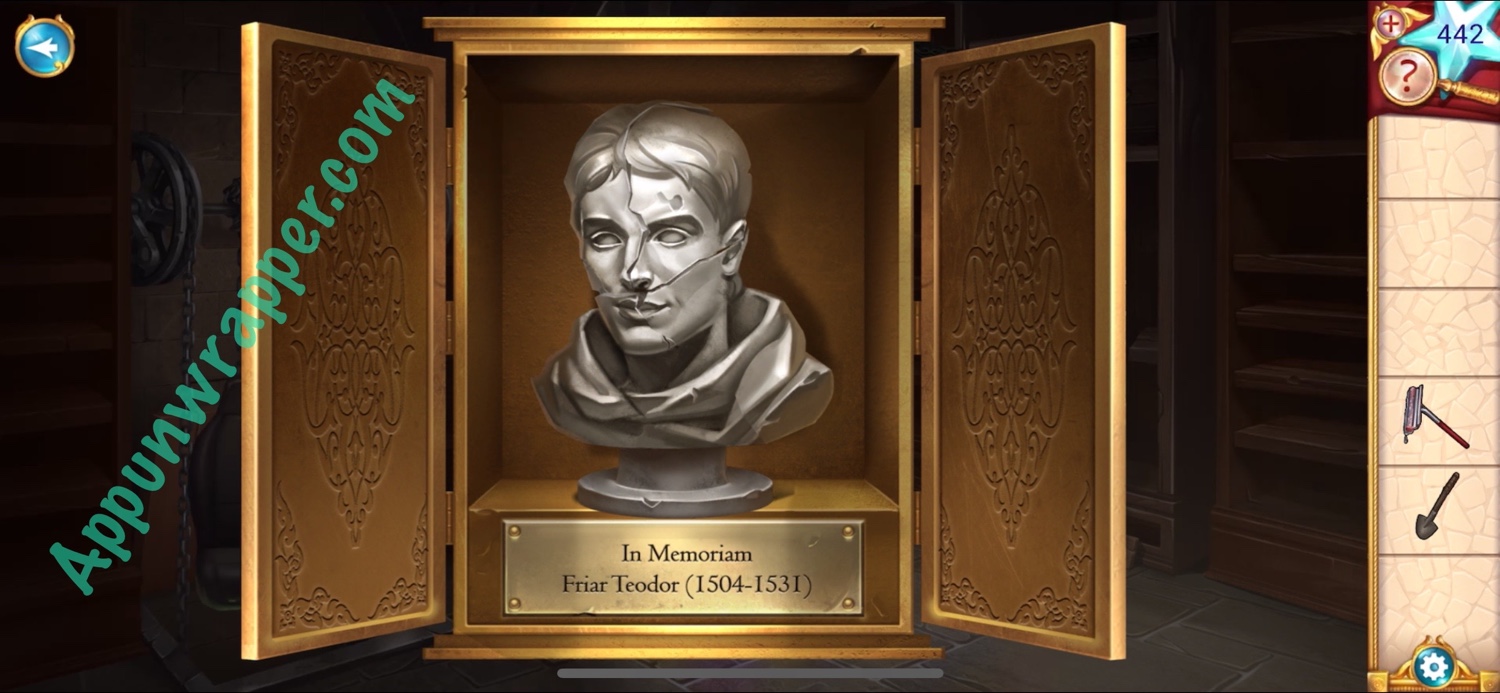
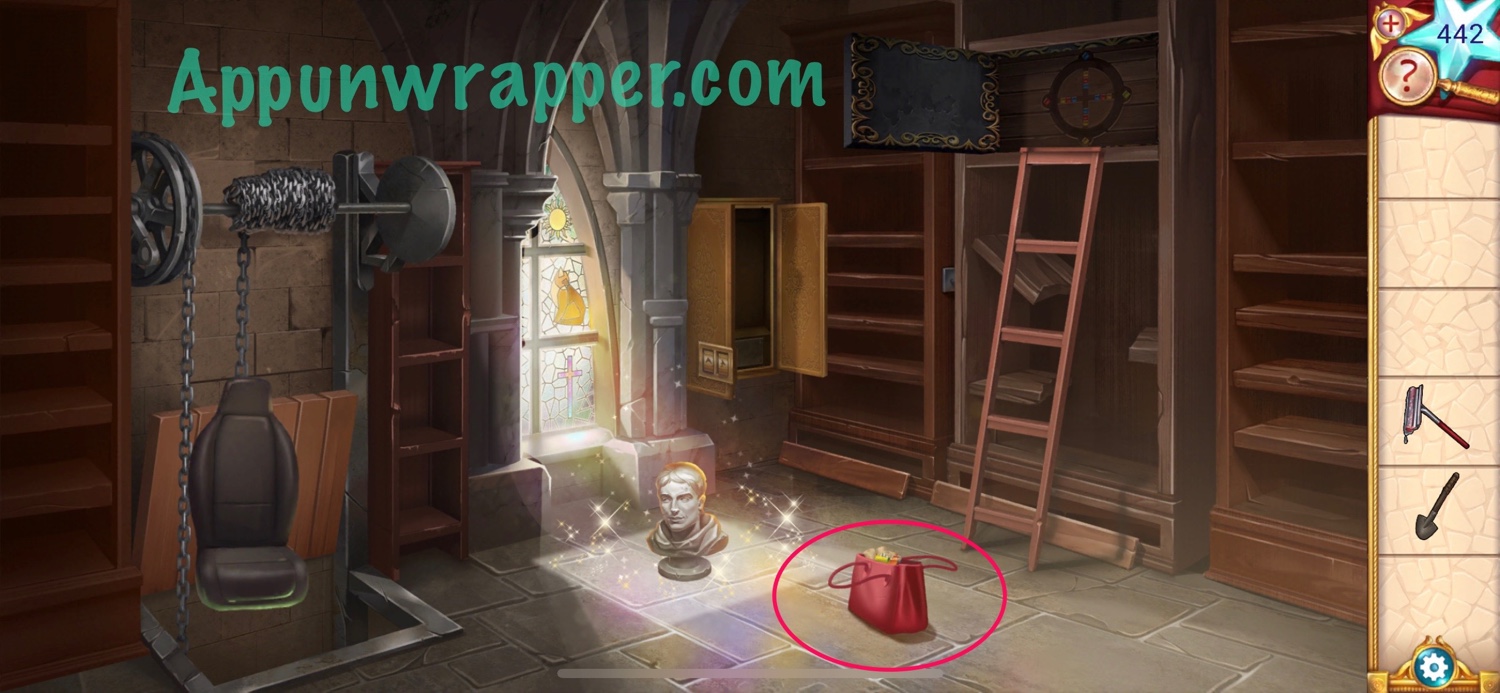
11. Go back up and place the third piece on the statue to complete it. Then place it on the seance spot. Then pick up the candles, chalk and matches from Jacqueline’s bag and place them on the spot.
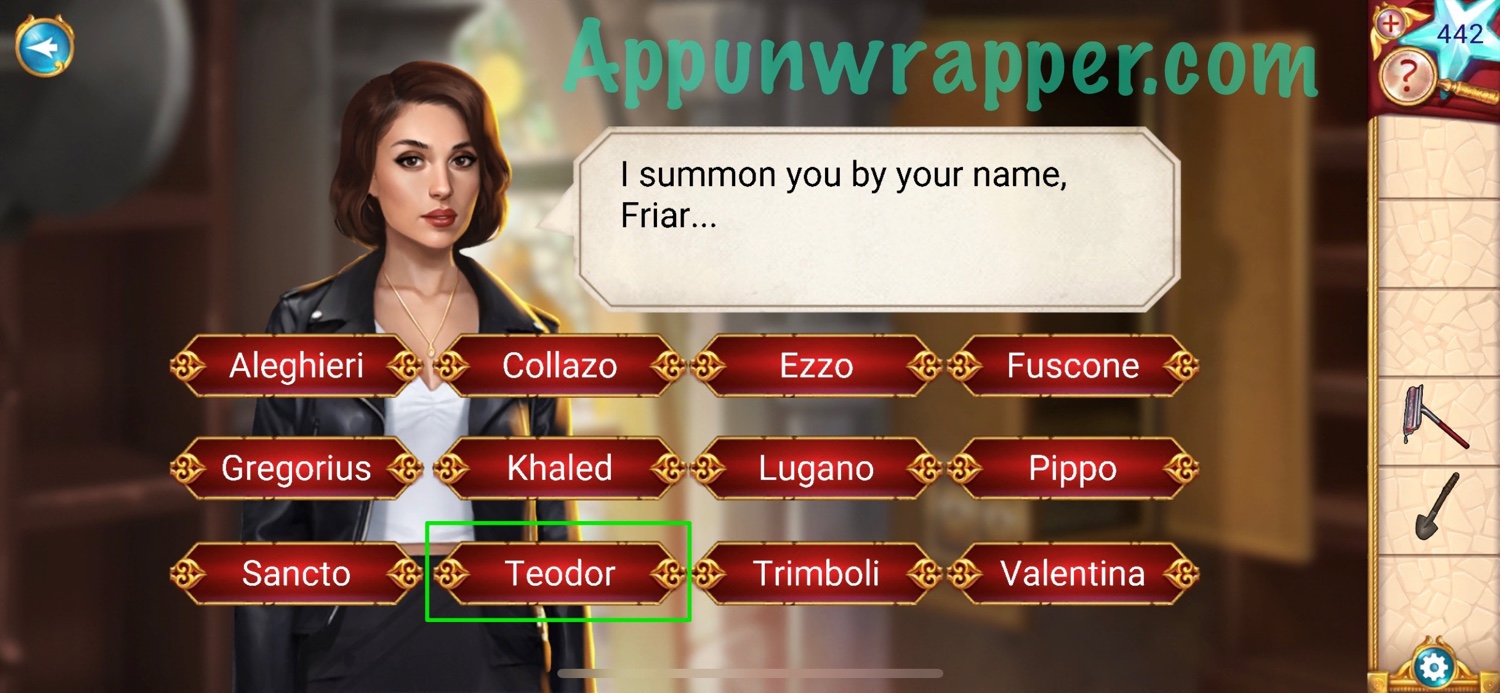
12. Now to answer three questions again. We got all the information from our surroundings. Go back through the clues if you don’t remember.
I summon you by your name, Friar… Teodor.
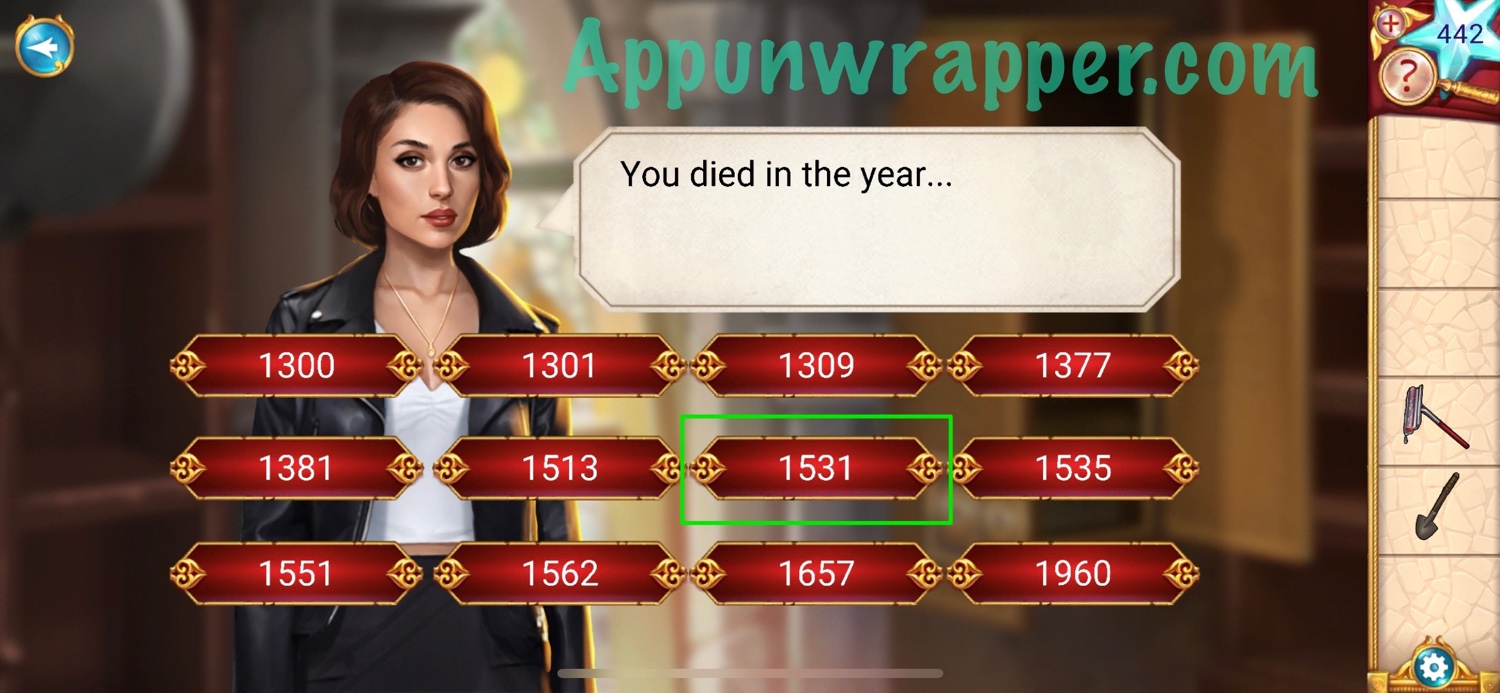
You died in the year… 1531.
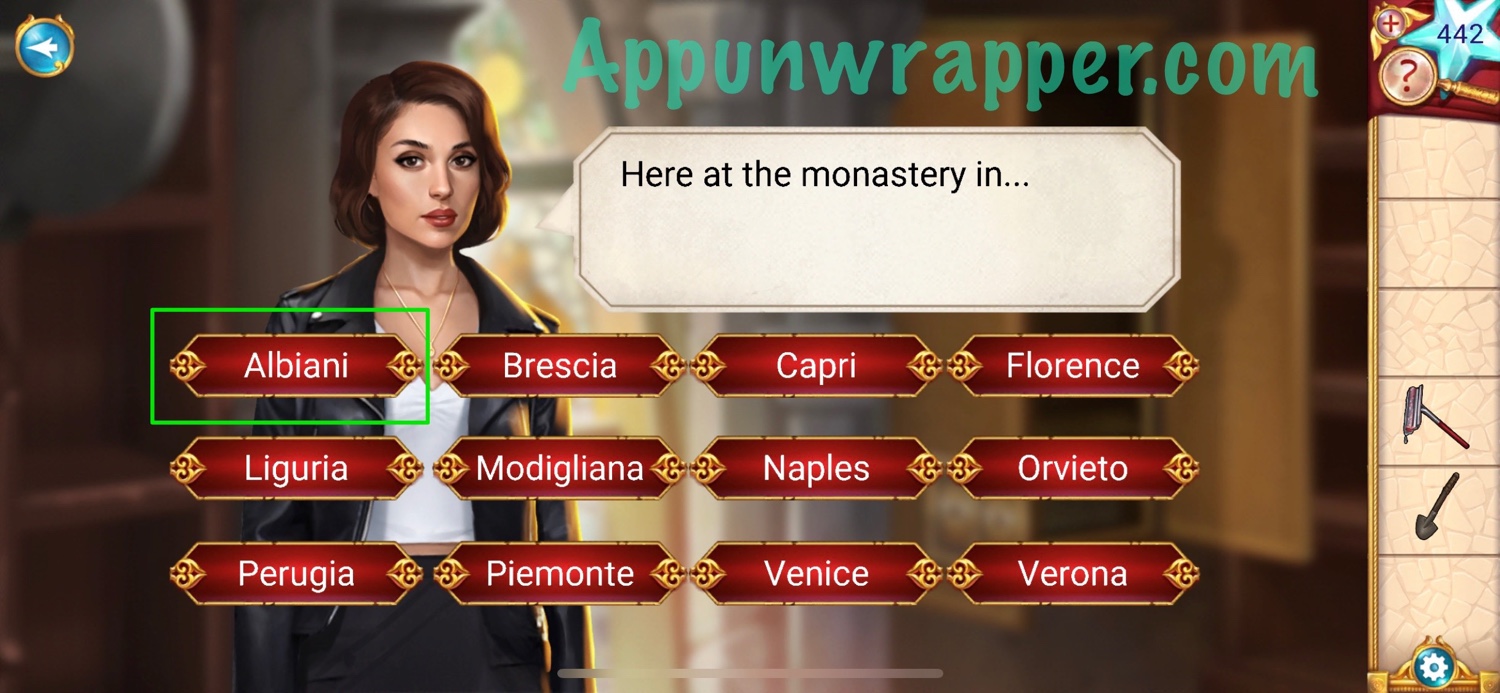
Here at the monastery in… Albiani.
13. Friar Teodor appears and shows you where to find the disc for the puzzle above the ladder. Take it.
14. Place the disc with the puzzle and then solve it. You need to move all the colored gems to the corresponding arm. Tap the disc to rotate it. It’s a fairly easy puzzle. Just work your way around the outer layer, starting with green, then yellow. The rest should fall into place.

15. Enter the secret passageway. Pick up the spectacles and metal pieces. Move the plants away to reveal a table. Use the shovel to reveal a trunk.
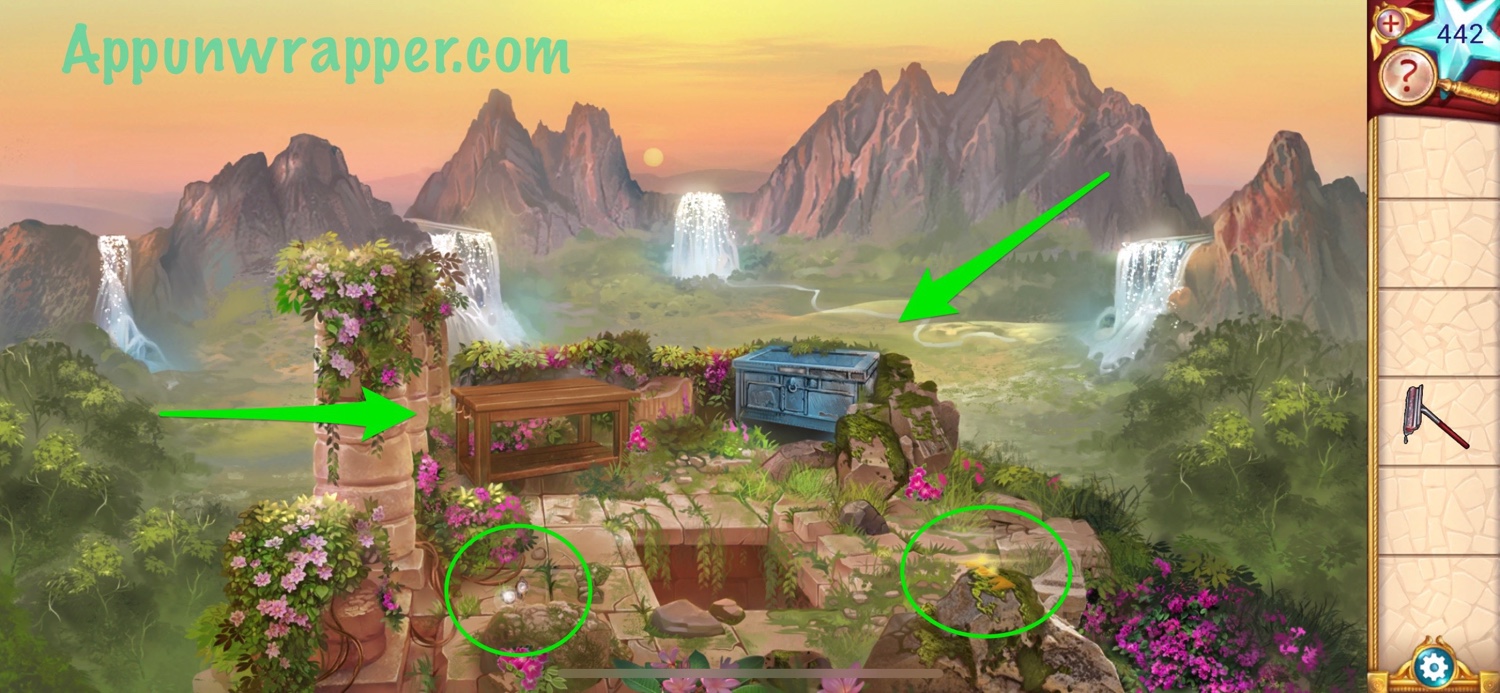
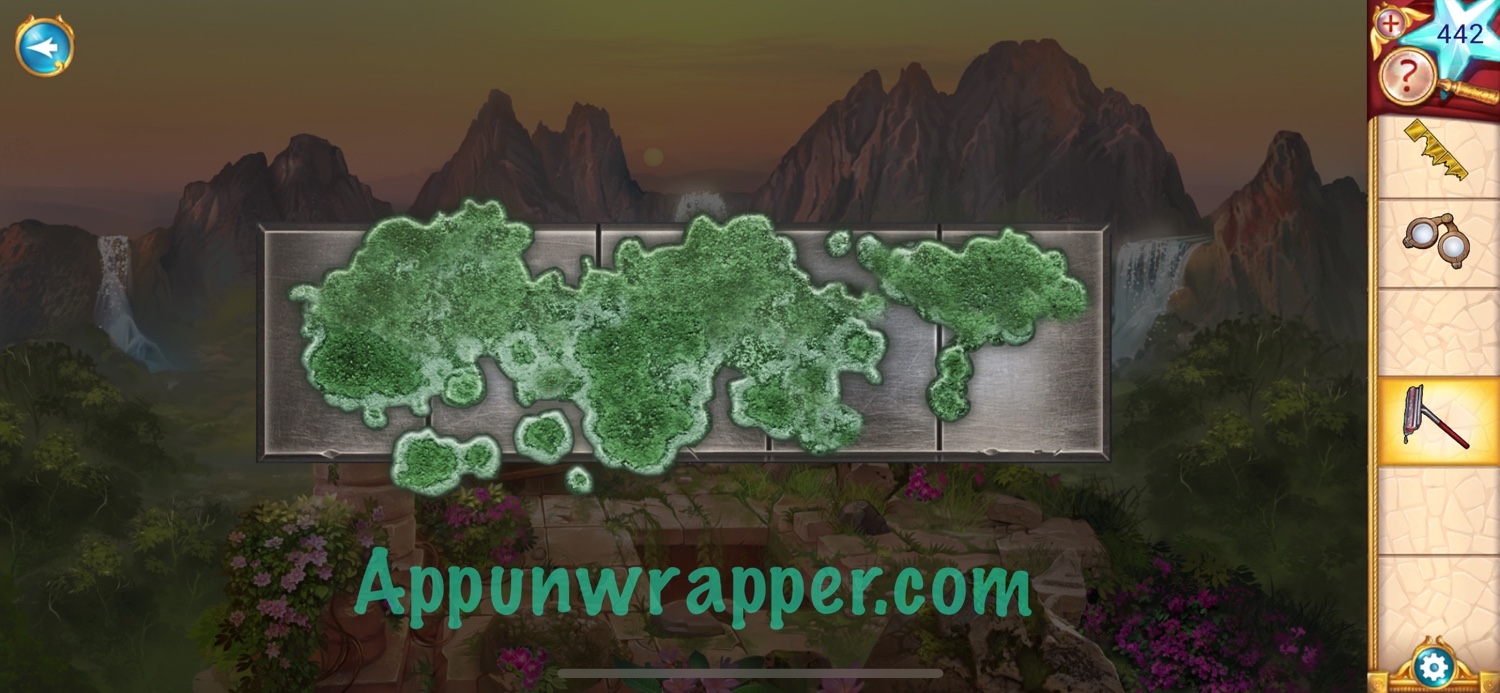
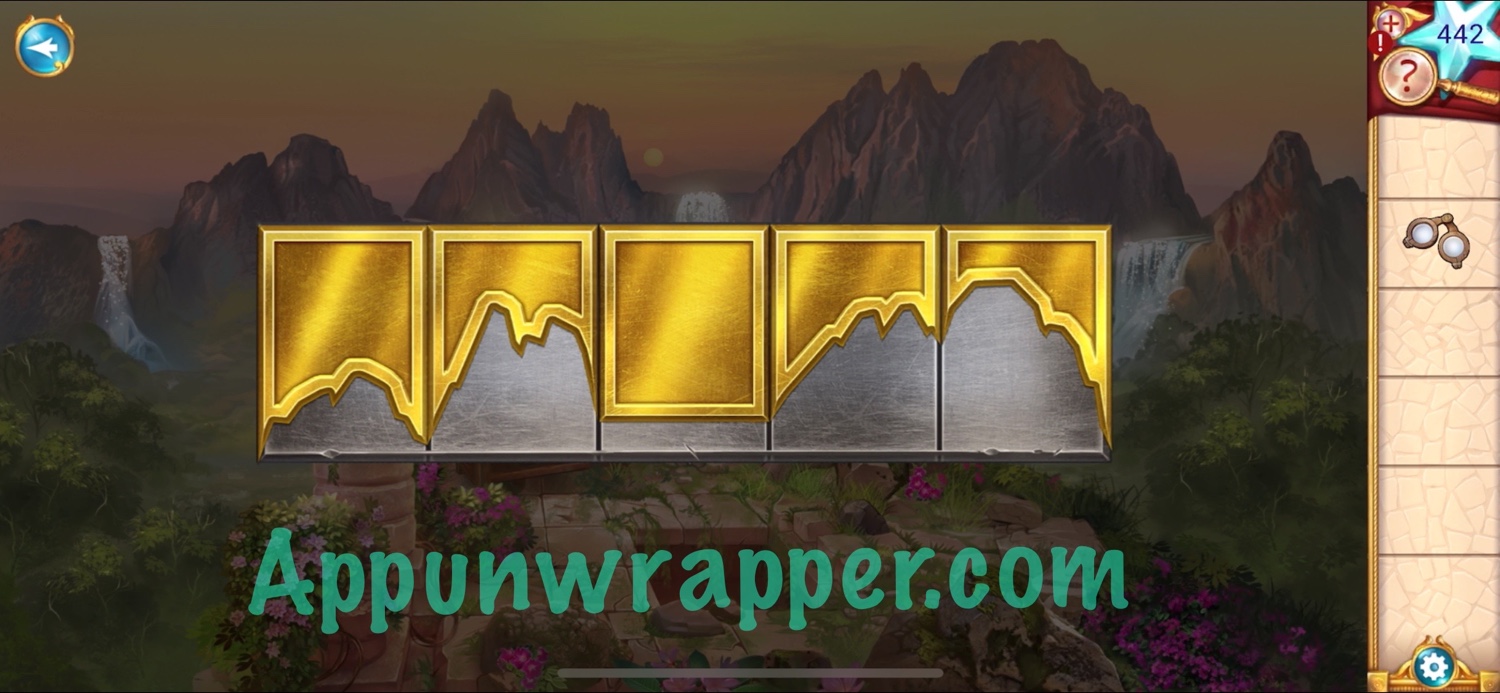
16. Tap on the trunk and use the squeegee to clean off the top. Place the metal pieces down. Then rearrange the pieces so they match the mountains behind them.
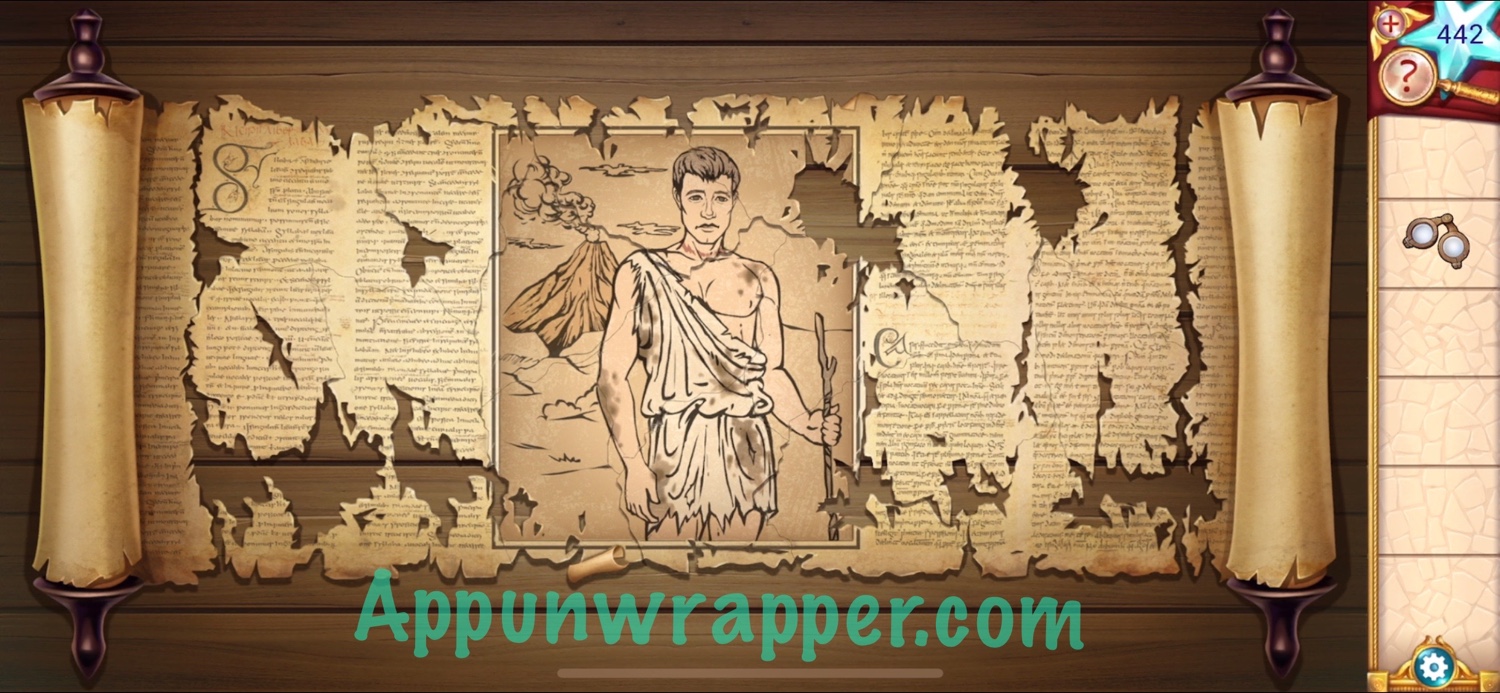
17. Take the scroll pieces and place them on the table.

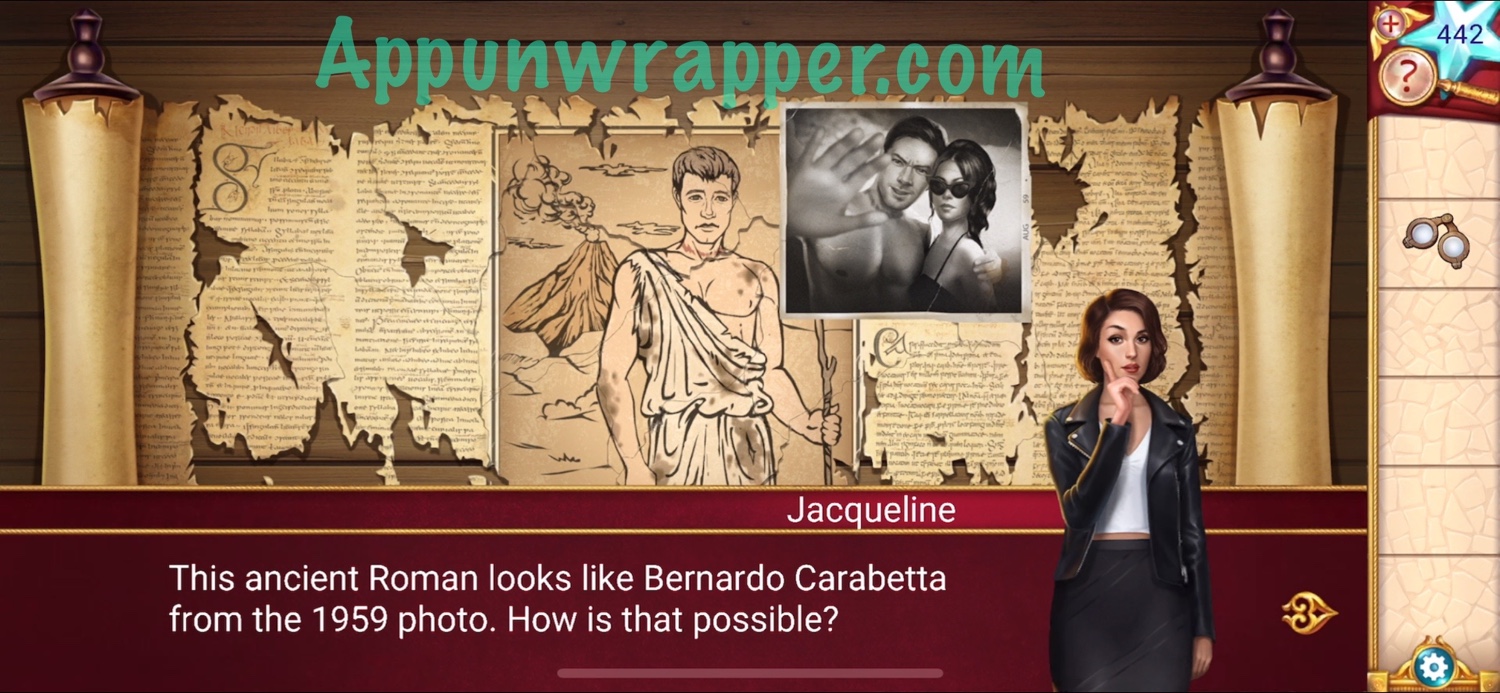
18. Now solve the Medieval Jigsaw puzzle to get the repaired scroll. Somehow the drawing looks like Bernardo Carabetta from 1950.
19. Go back down and give Teodor his spectacles and the scroll and he’ll tell you about Bernardo. That’s the end of the chapter!
And that’s the end of Chapter 2! Click here to continue to Chapter 3 or choose a chapter below.

Where is the video walk through?
IΓÇÖll make them after I finish all the text walkthroughs.
Pls explain the stained glass and the shapes puzzle. How is the order and shapes are determined?
the pry bar is missing when i try to remove the web. is this a glitch or did i do something wrong?
I can’t use the squeegee on the mold….???I even redid the level thinking ok restart something didn’t load right or something……grrr what can I do???? Please
Dip it in water
The gem puzzle seems to be broken now. I have just 3 blue and 1 yellow to place and they are stuck in the outer ring. I can’t move them into place.