Adventure Escape Mysteries – Mirror Man
By: Haiku Games


Haiku Games is back with a new Adventure Escape game, called Mirror Man. In this horror game, Julian Torres, an ordinary boy in the sleepy town of Ardenville, stumbles into a living nightmare that will torment him for the rest of his life. This walkthrough guide should help you if you get stuck on any of the puzzles in Chapter 6. Feel free to ask for extra help in the comments section.
See all my other Adventure Escape guides here.
Walkthrough:
Chapter 1 | Chapter 2 | Chapter 3 | Chapter 4 | Chapter 5 | Chapter 6 | Chapter 7 | Chapter 8
Chapter 6:
You can watch my video for Chapter 6 or continue below for my step-by-step guide:
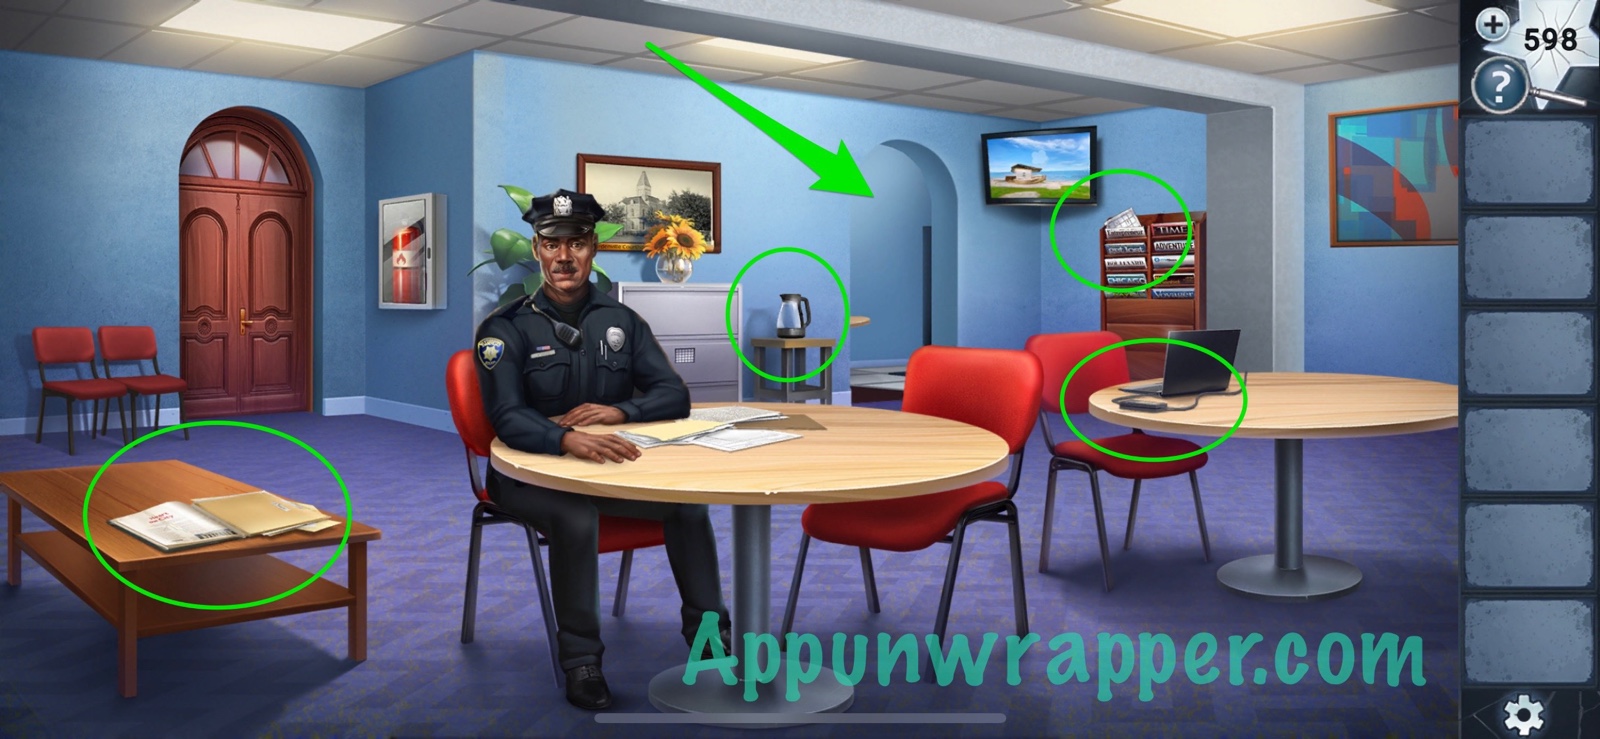
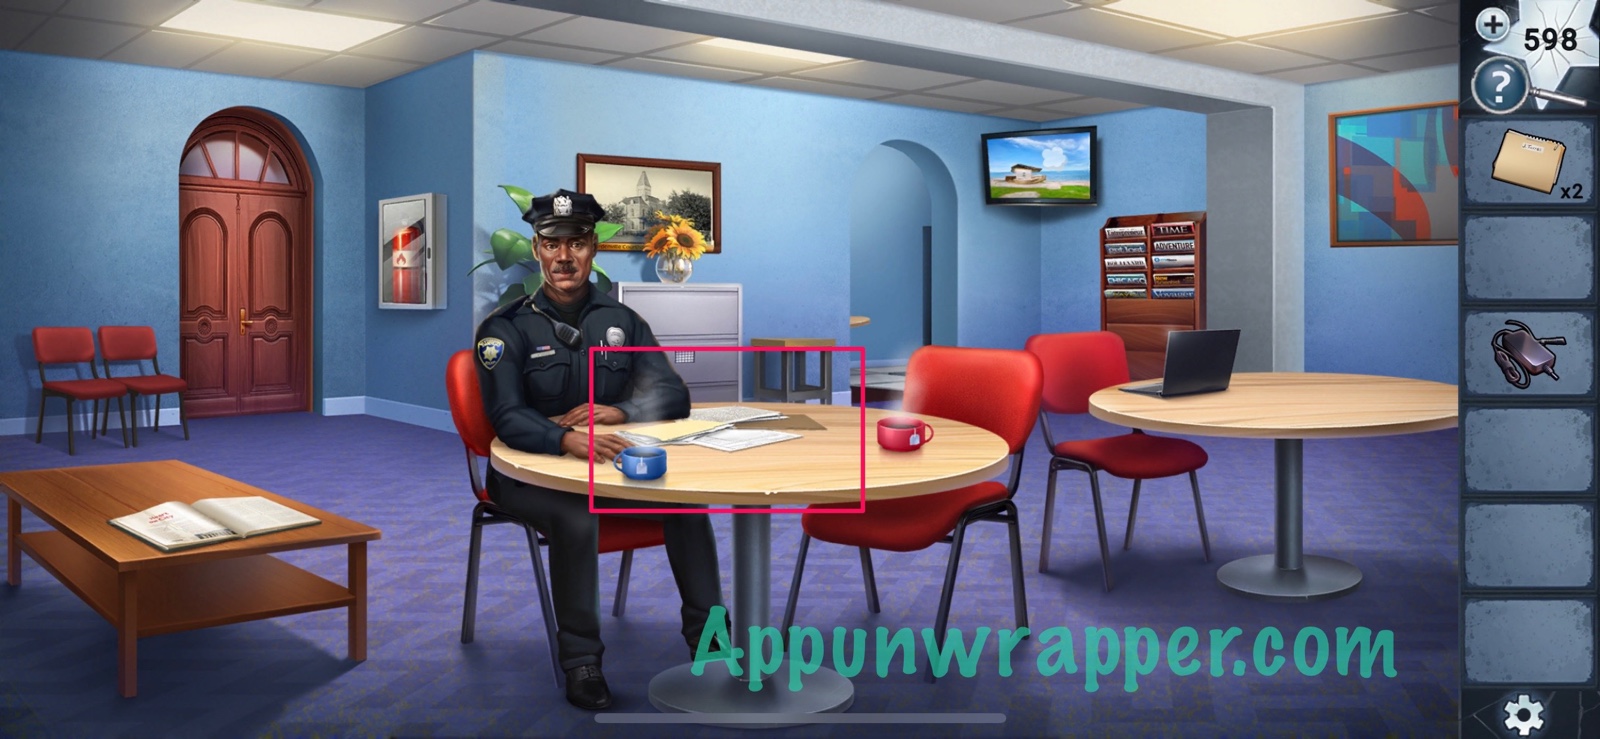
1. It’s three months later and Julian is getting ready for Mirror Man’s trial. Pick up the notes, laptop power cord, interesting note and empty kettle. Look at the interesting note. Then go through the doorway to the kitchen.

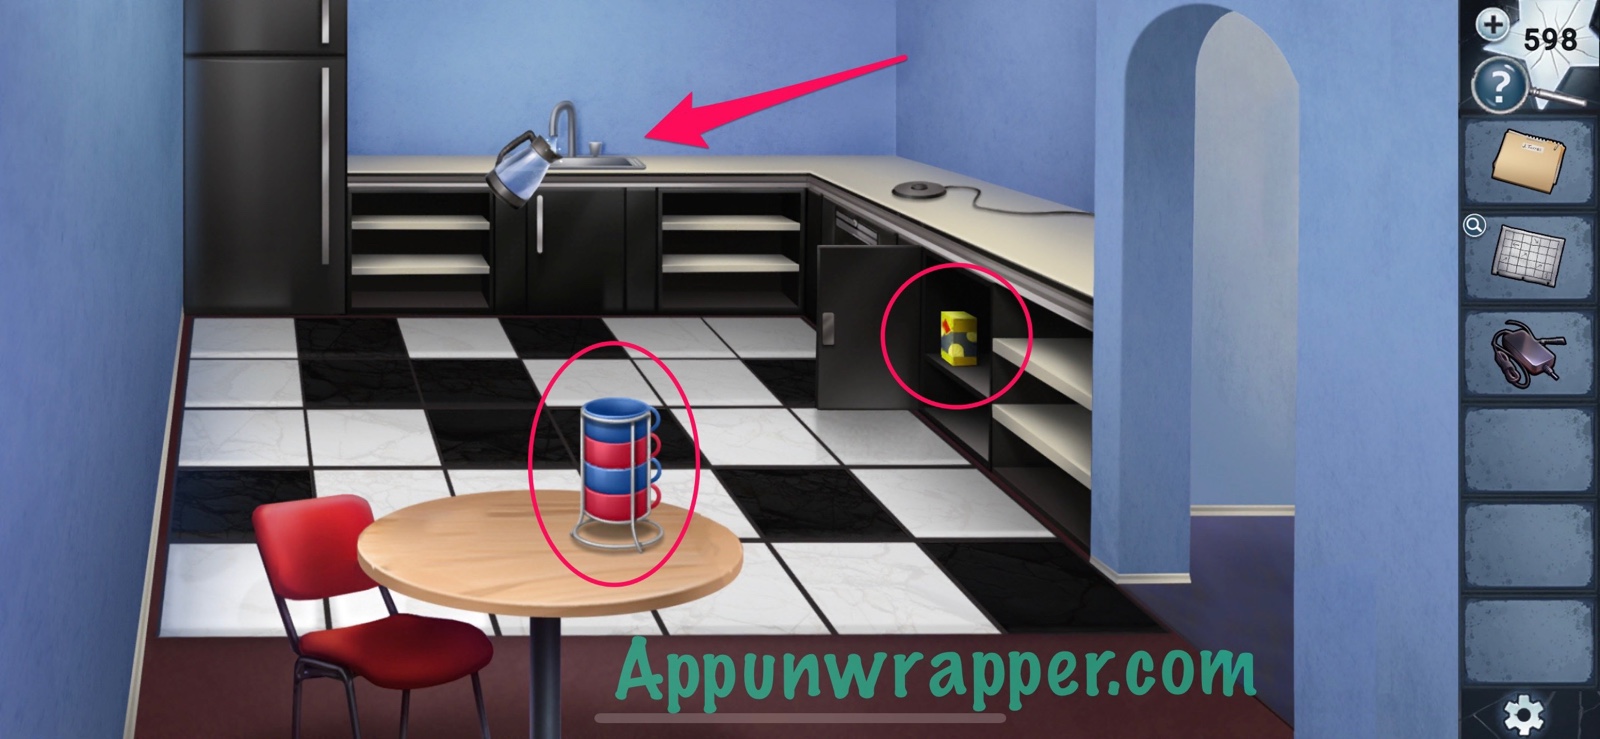
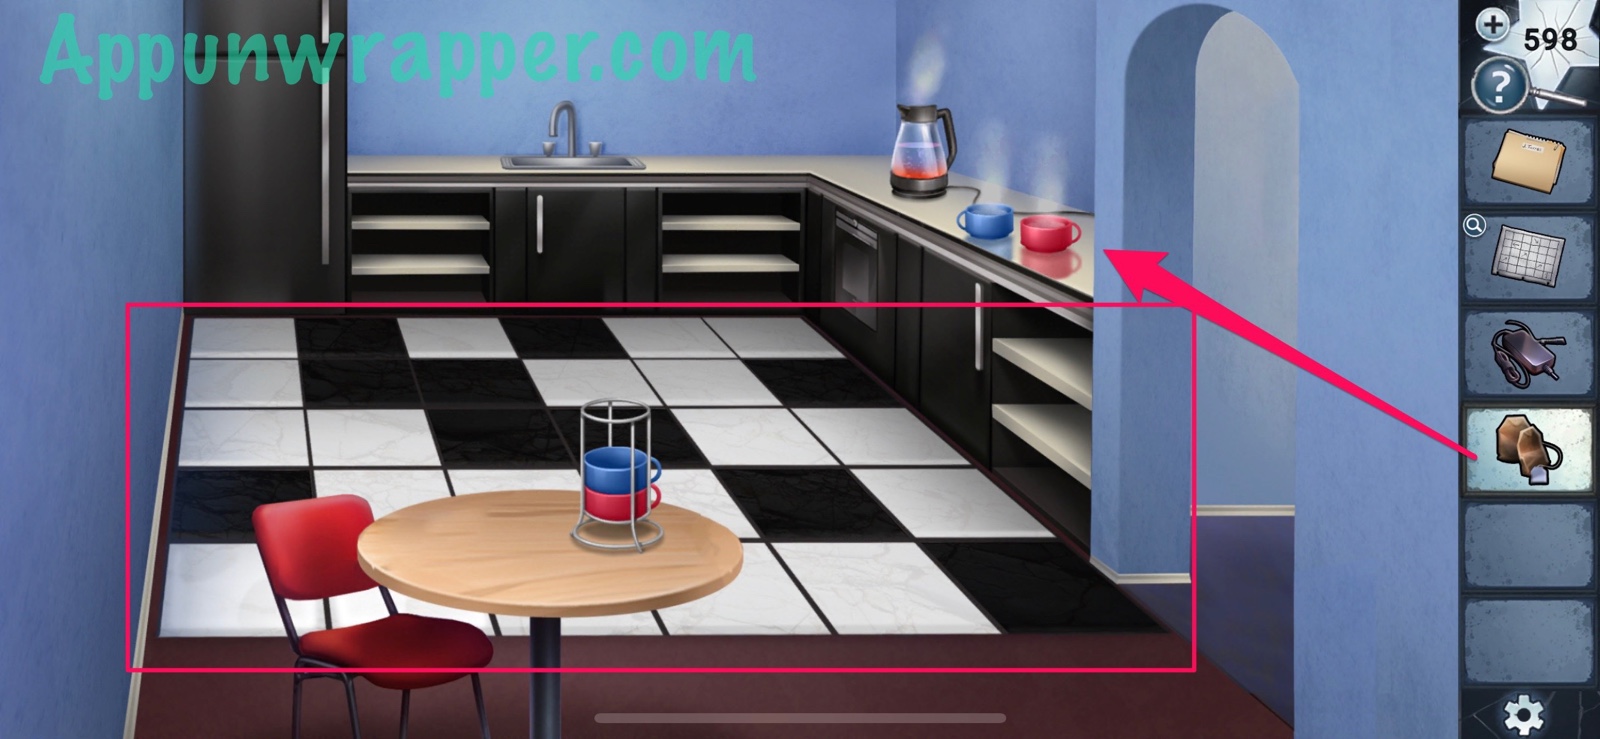
2. In the kitchen, grab some mugs, as well as some teabags from the cabinet. Fill the kettle with water from the sink. Then place it on the counter to heat it up. When it’s ready, pour the hot water into the two mugs and add the teabags. Then collect the mugs of tea. Before leaving, take a look at the tiles on the floor. We’ll need that soon.
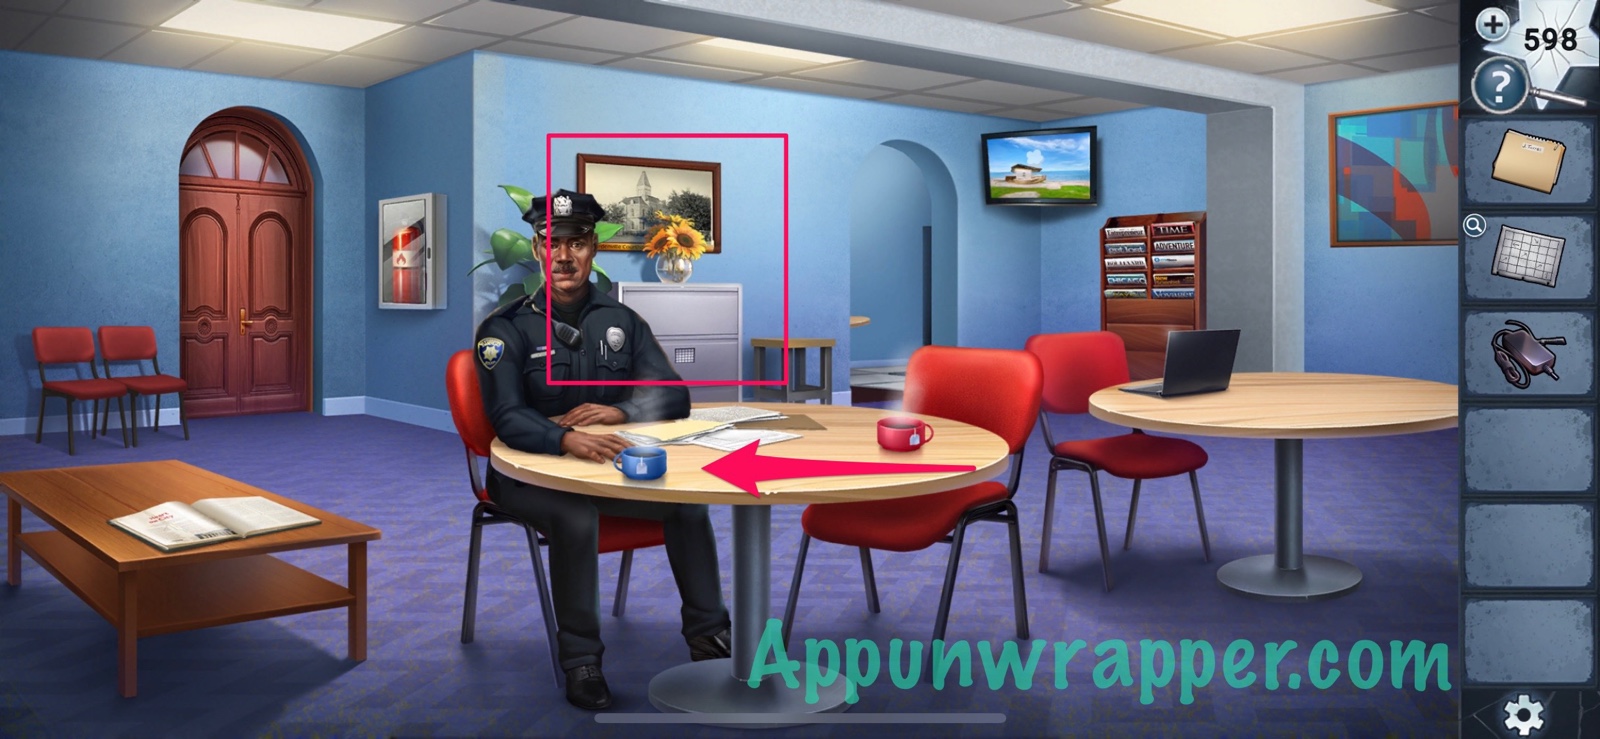
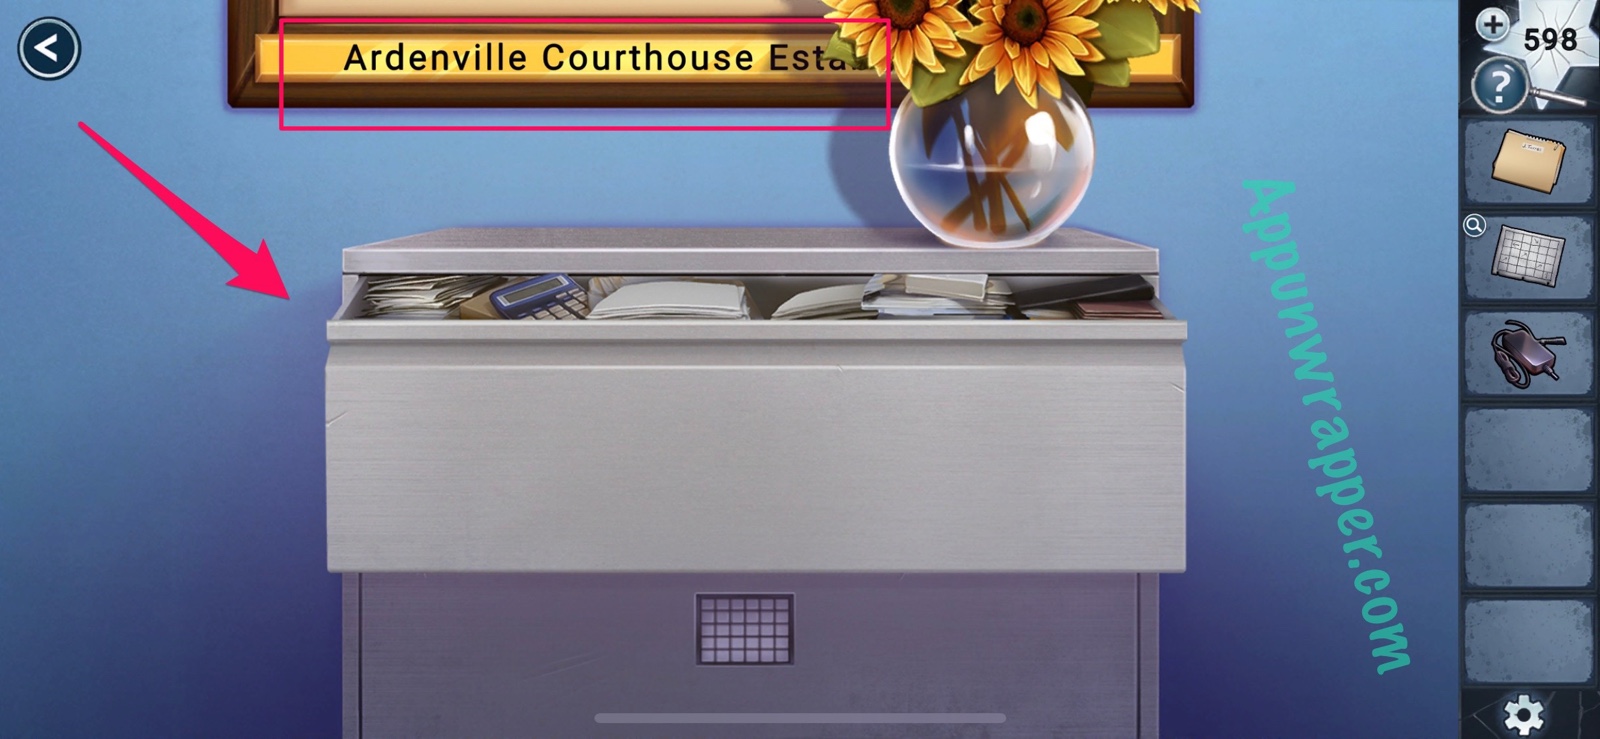
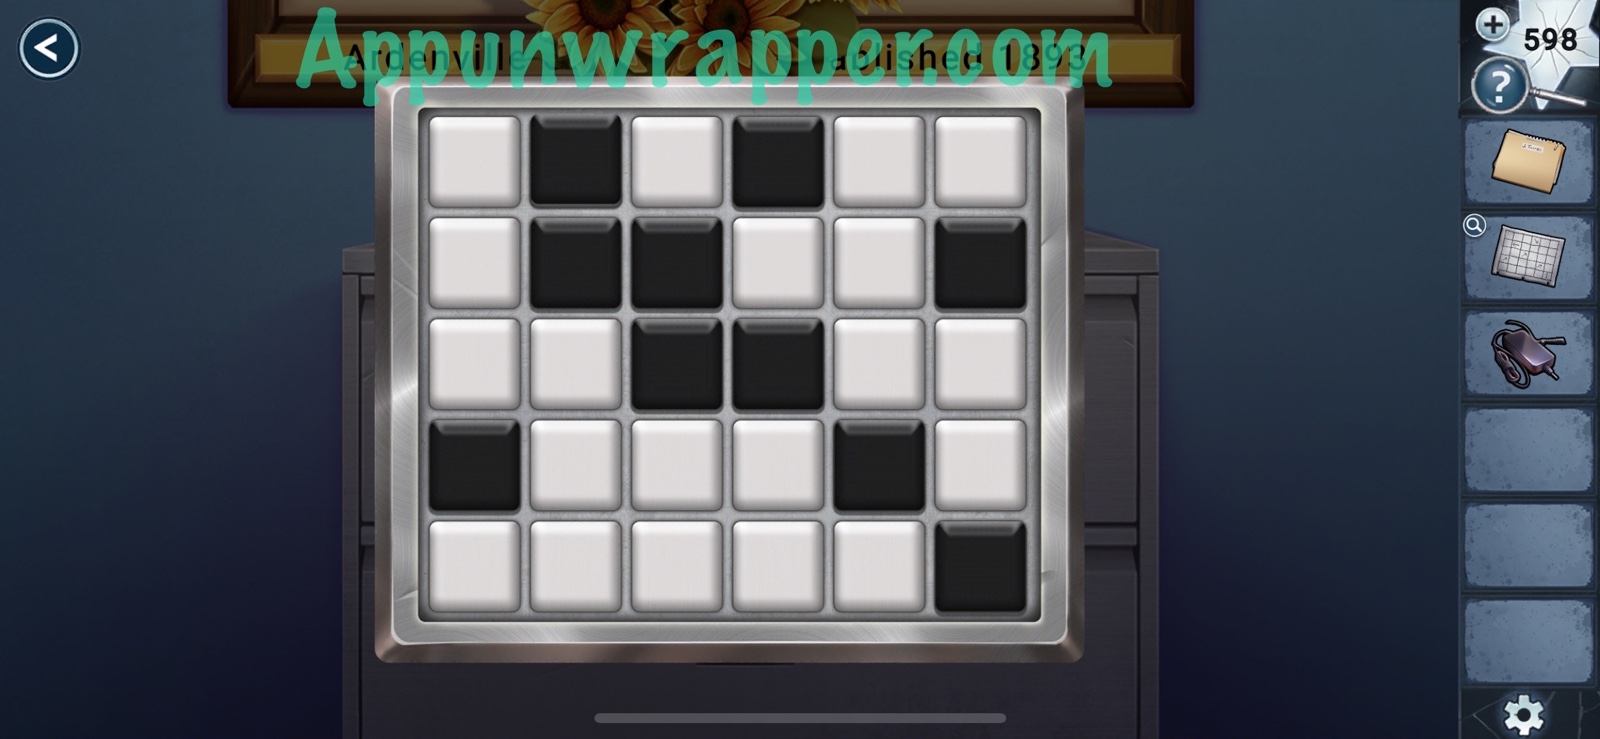
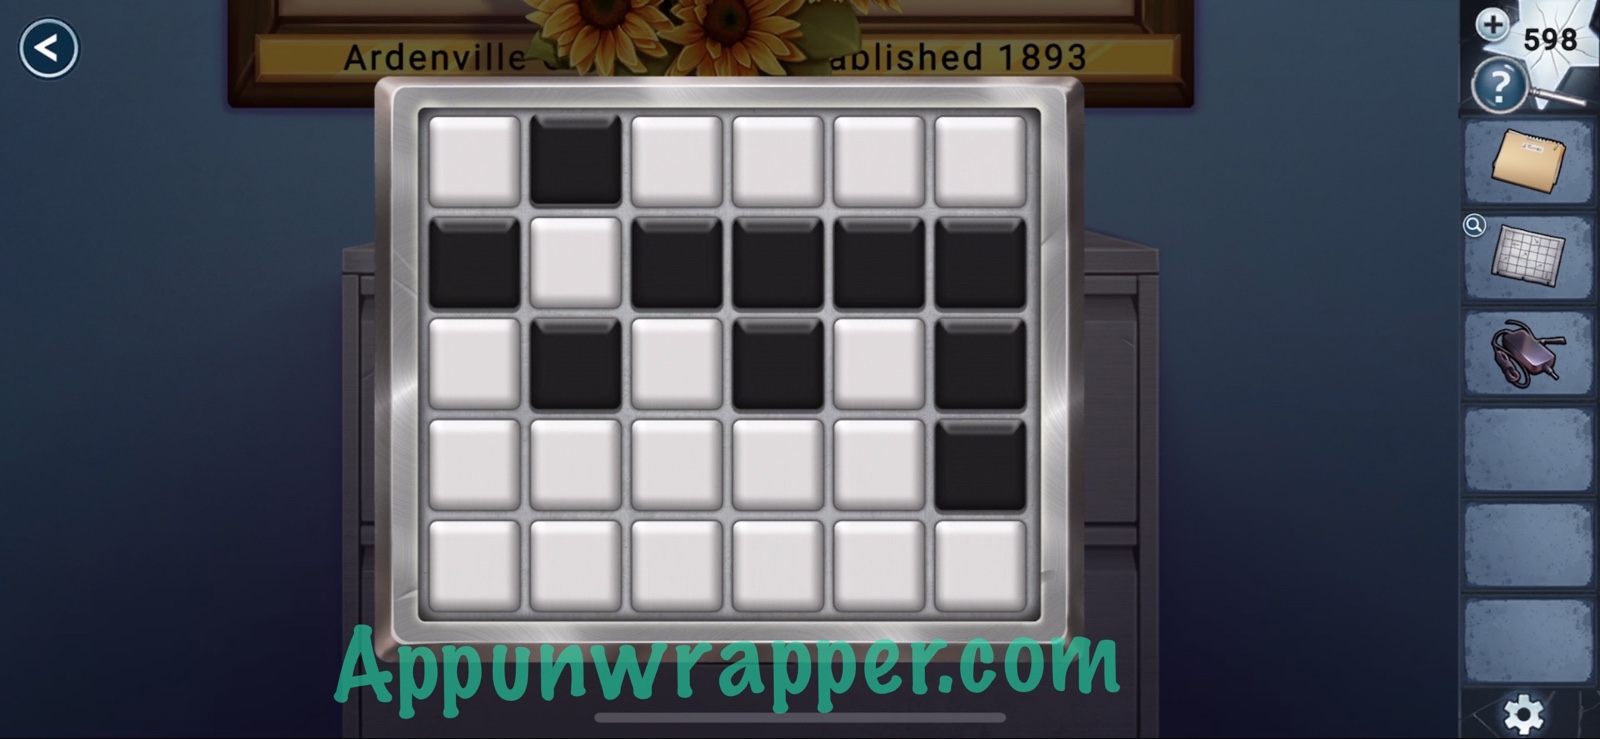
3. Go back out and give Officer McCay the tea. Then examine the filing cabinet and the flower vase in the back. Move the flower vase aside to see the Ardenville Courthouse was Established in the year 1893. Open the top drawer. Julian will reach in, but his notes will drop to the next drawer, which is locked. Use the interesting note and the kitchen tiles to figure out how to unlock it. I recommend first pressing the buttons so they look like the kitchen floor. Then use the arrows on the interesting note to see which tiles need to move over. It should look like a key when you’re done. I’ve shown both the before and after below. Then get the notes from inside.

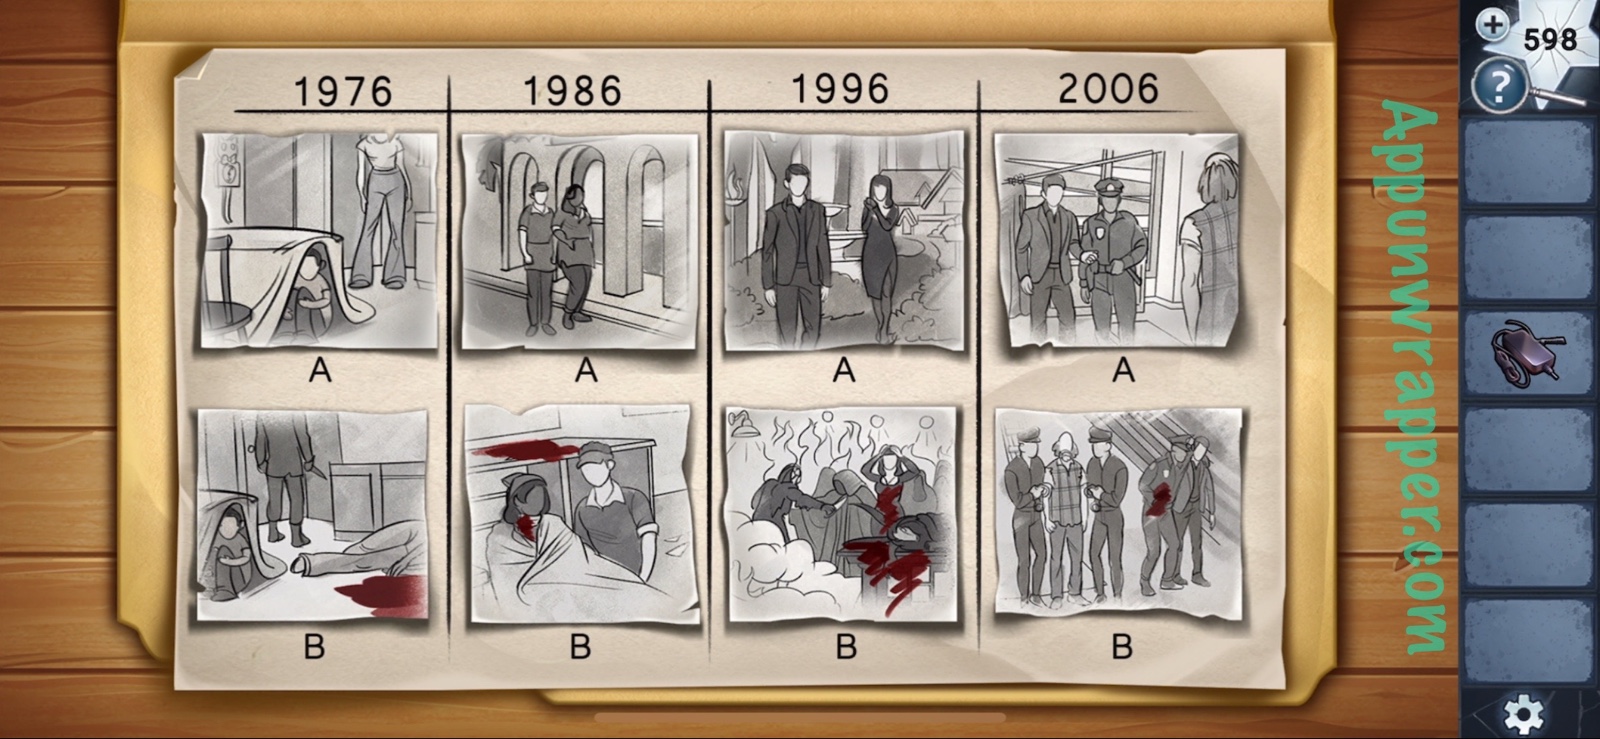
4. Look at Officer McCay’s notes and add your own to them. Now let’s solve the Storyboarding Puzzle. We have to arrange the images in chronological order. Within each year, the top image happens before the bottom image.
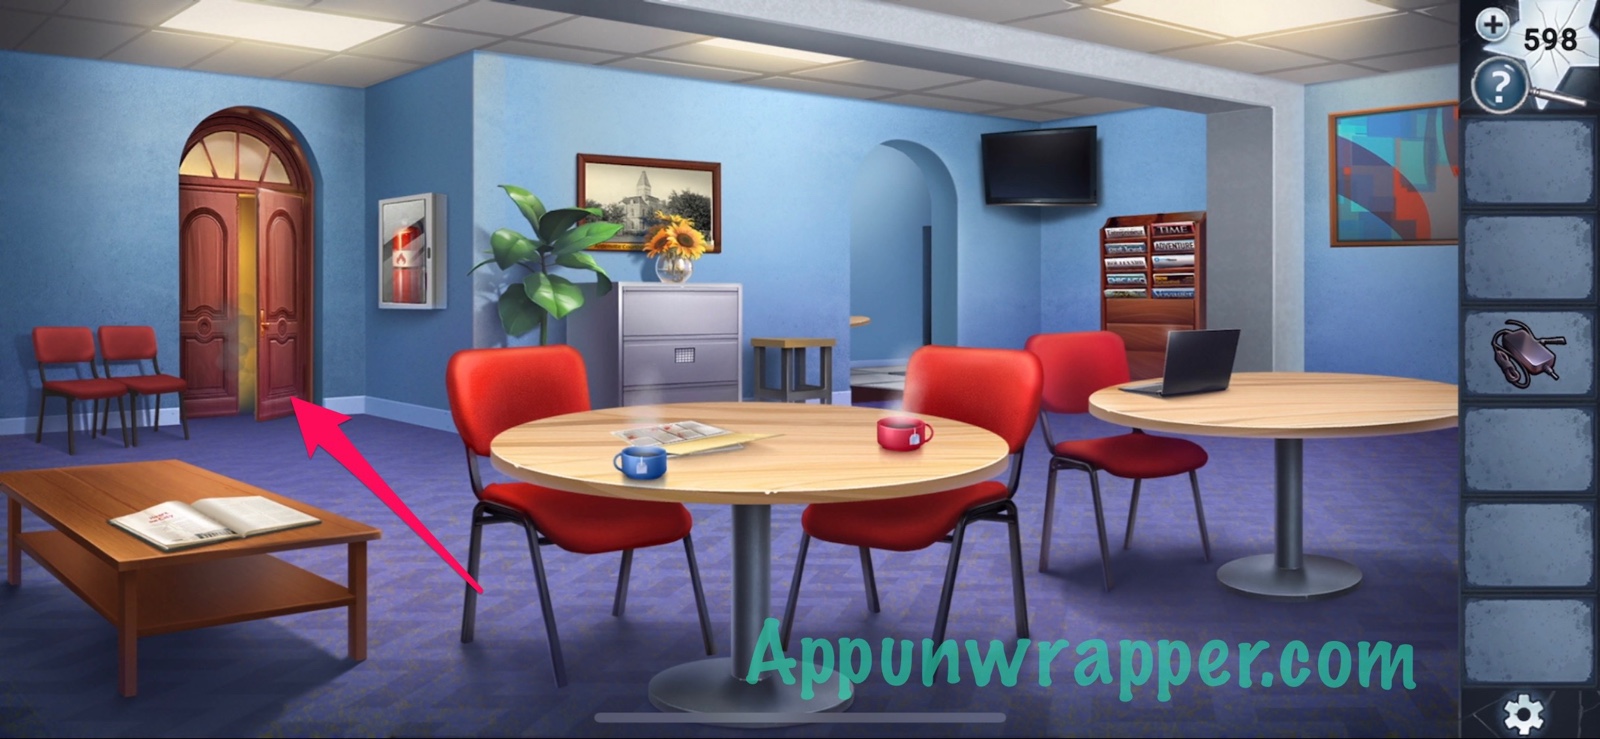
5. After telling McCay the story, McCay goes inside the courtroom. He’s taking a while, so go in after him. Oh no! The courtroom is on fire and Mirror Man escaped!
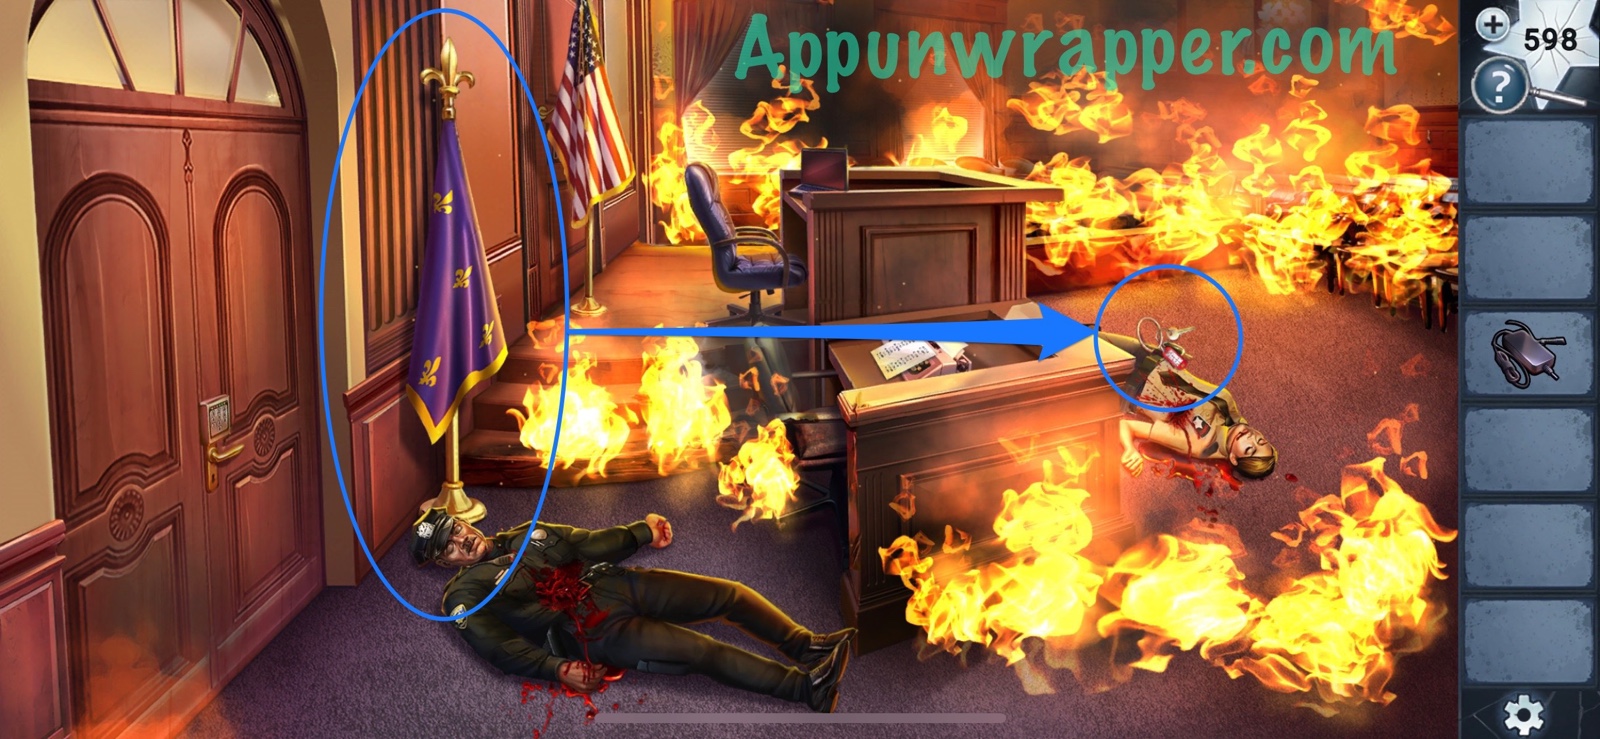
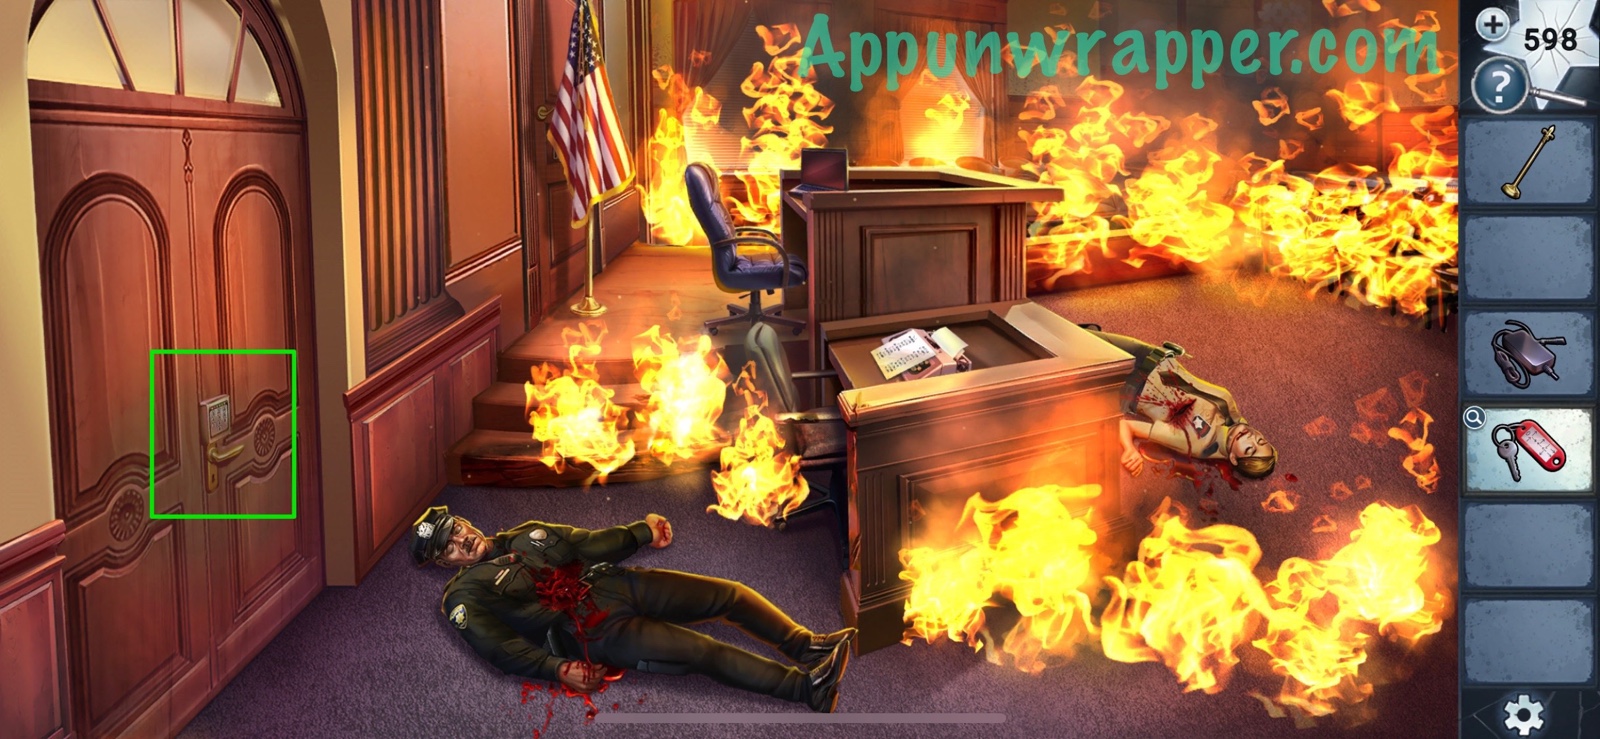
6. Grab the flagpole and use it to get the keys from the bailiff. Then take a look at them for a clue.
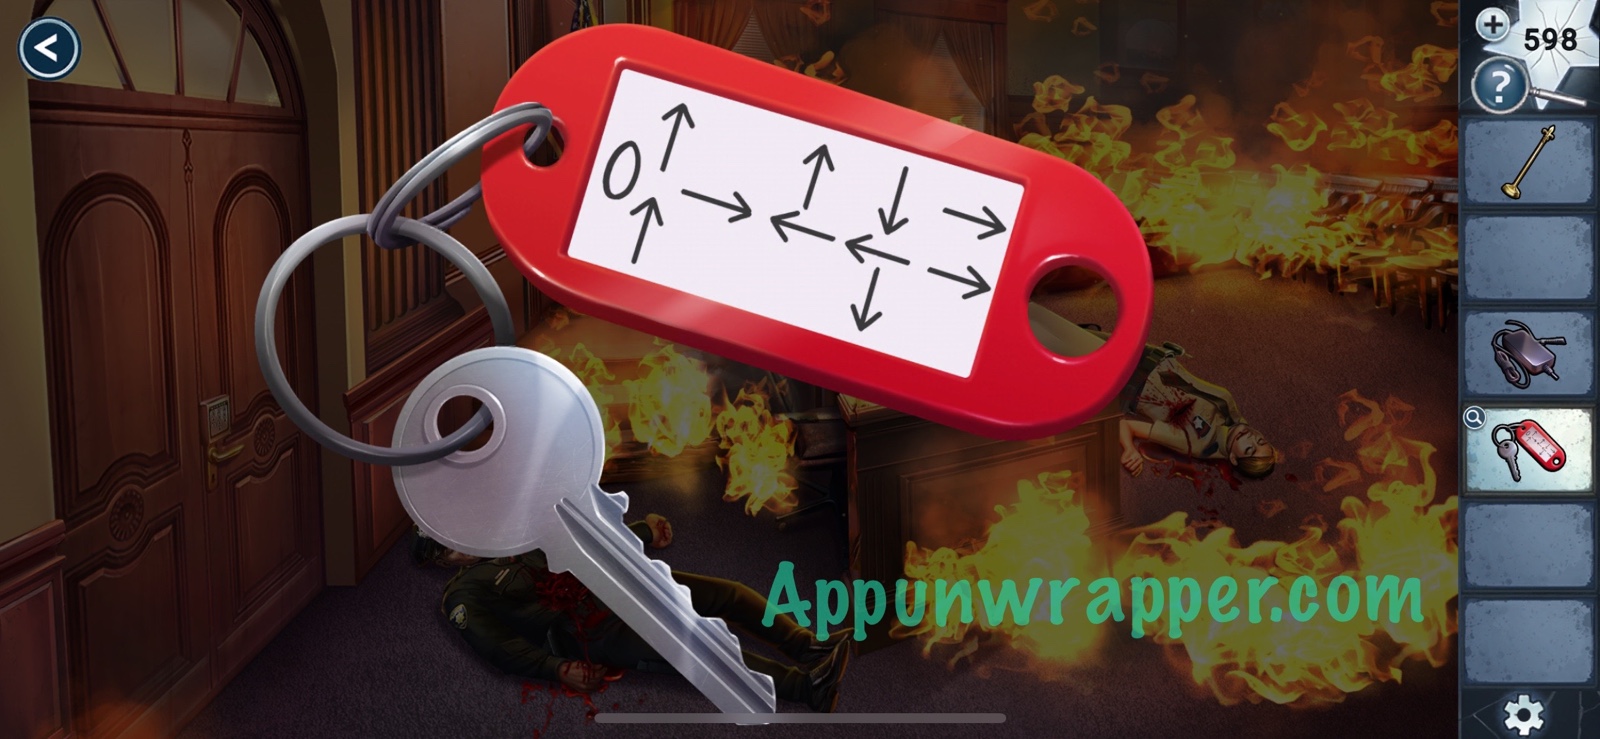
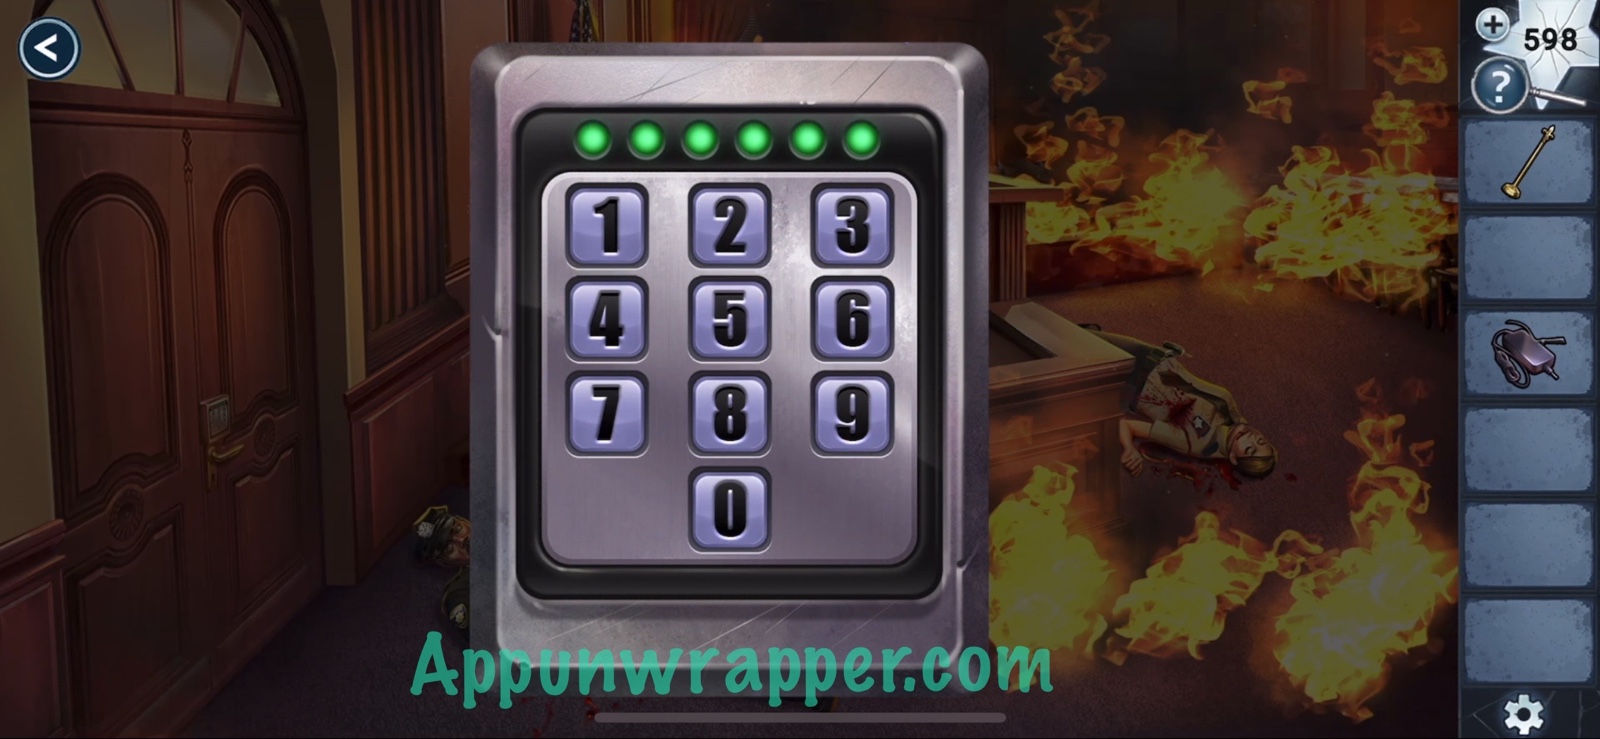
7. Use the clue from the key to unlock the door. Basically, look at the keypad and start at 0, then follow the arrows. So from 0, go up twice to 5, then right to 6, then up and left to 2, then down and left and down to 7, then right twice to 9. So you get 056279. Enter that and leave the room.
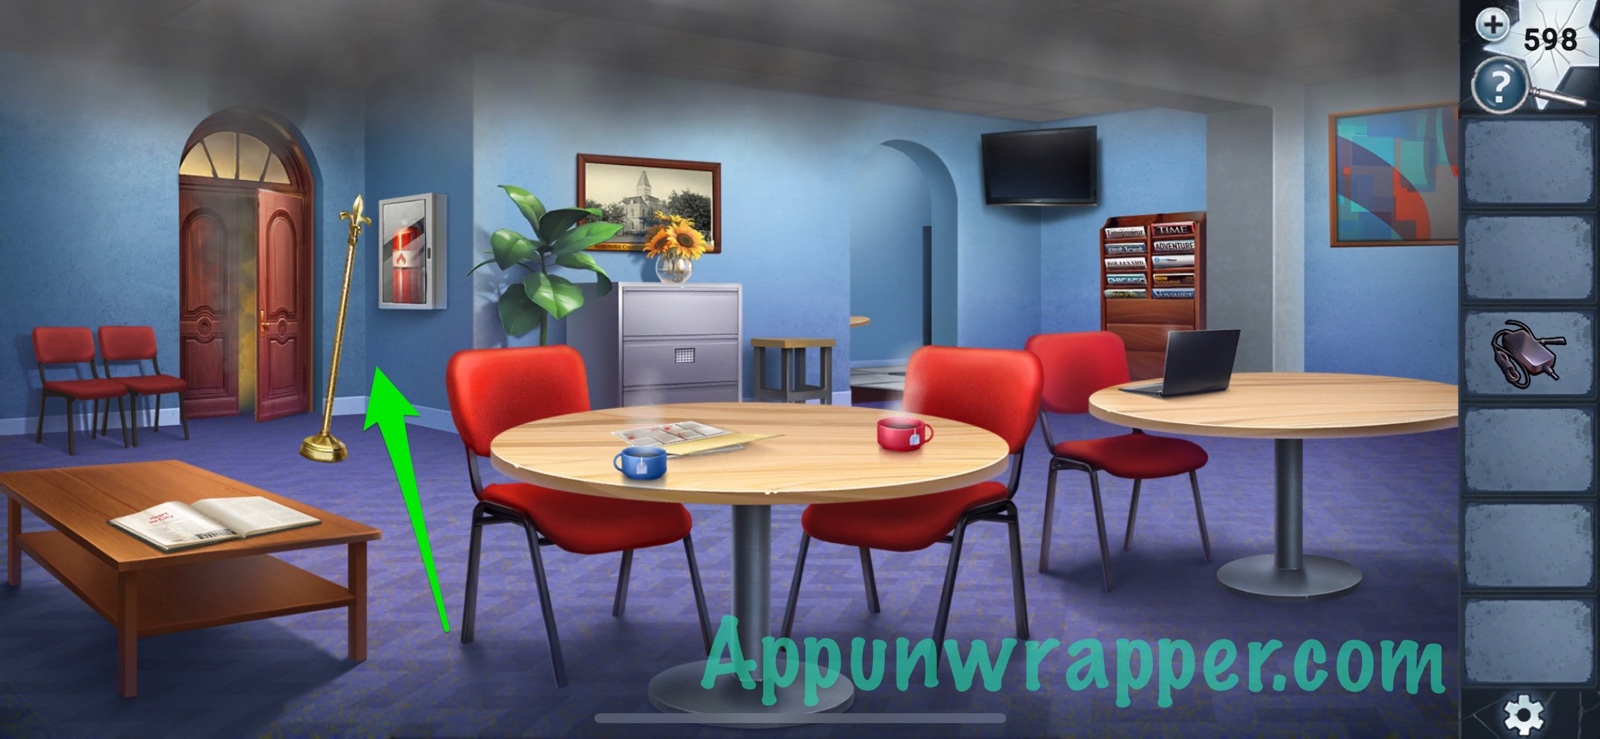
8. Use the flagpole to break the glass and access the fire extinguisher.
9. Go back to the courtroom and use the fire extinguisher to put out some of the flames. Then take the stenographer’s alphabet. Also, push them flag aside to reveal a keypad. And last, tap on the laptop.


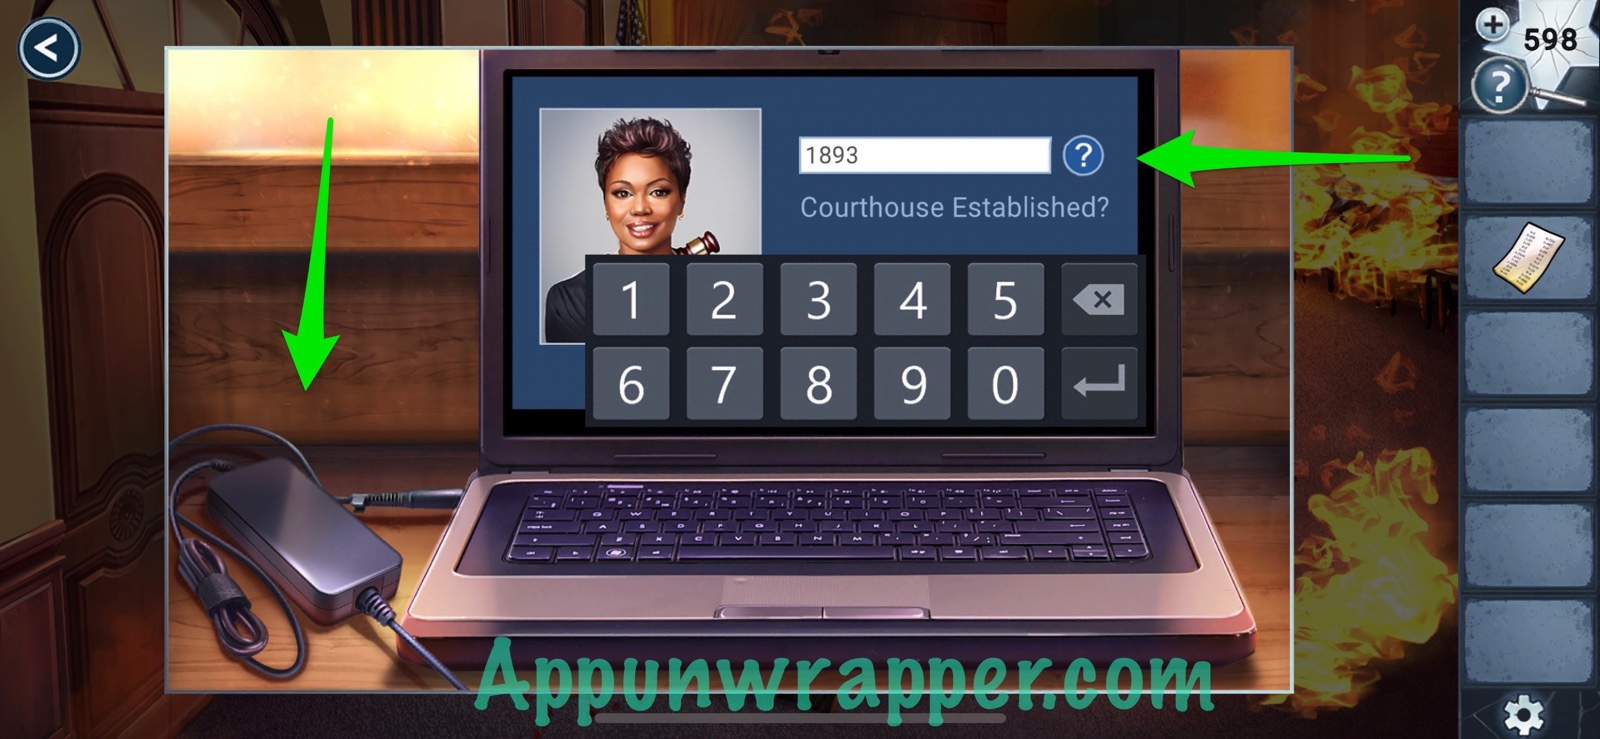
10. Plug the laptop power cord into the laptop. Press the ? next to the password box to get a hint — “Courtroom Established?” We know from earlier that the date is 1893. So enter that to access the laptop.
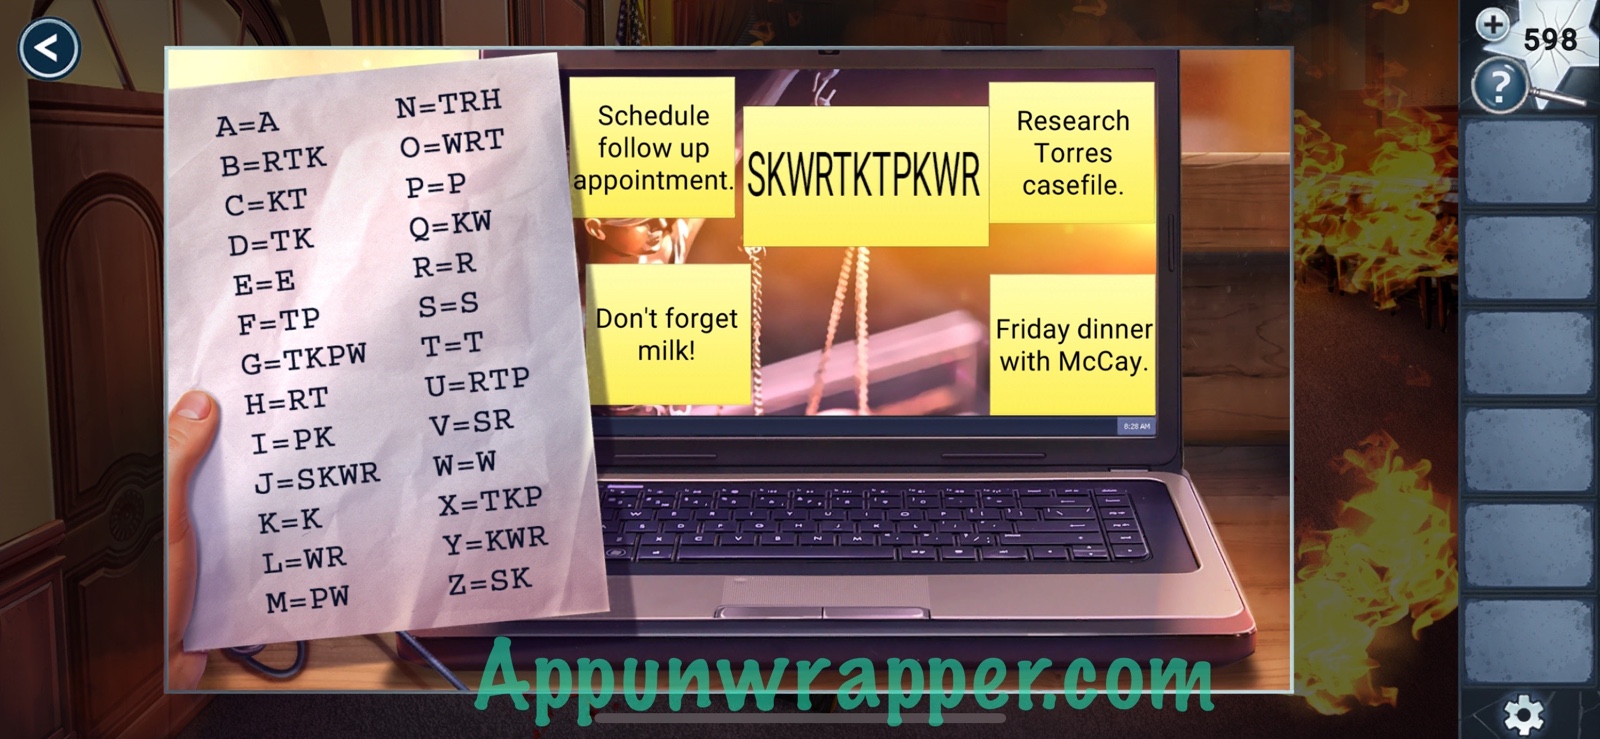
11. Place the stenographer’s alphabet down next to the laptop. Move the notes around so you can see the one with a bunch of jumbled letters. It says SKWRTKTPKWR. Use the alphabet to decode it.
SKWR = J
TK = D
TP = F
KWR = Y
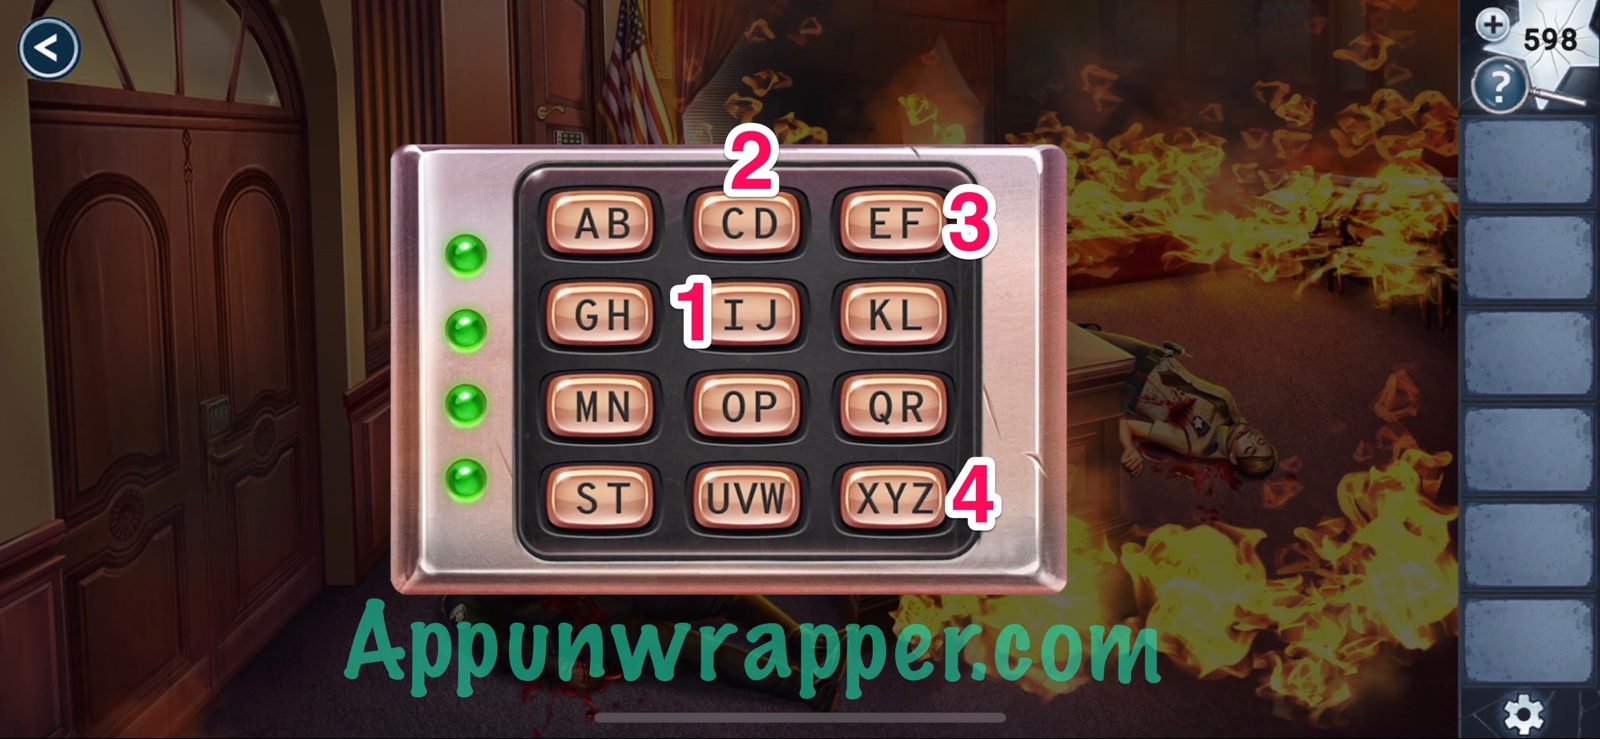
12. Go to the keypad behind the chair and press the buttons for IJ, CD, EF and XYZ. Then go through to the judge’s chambers.
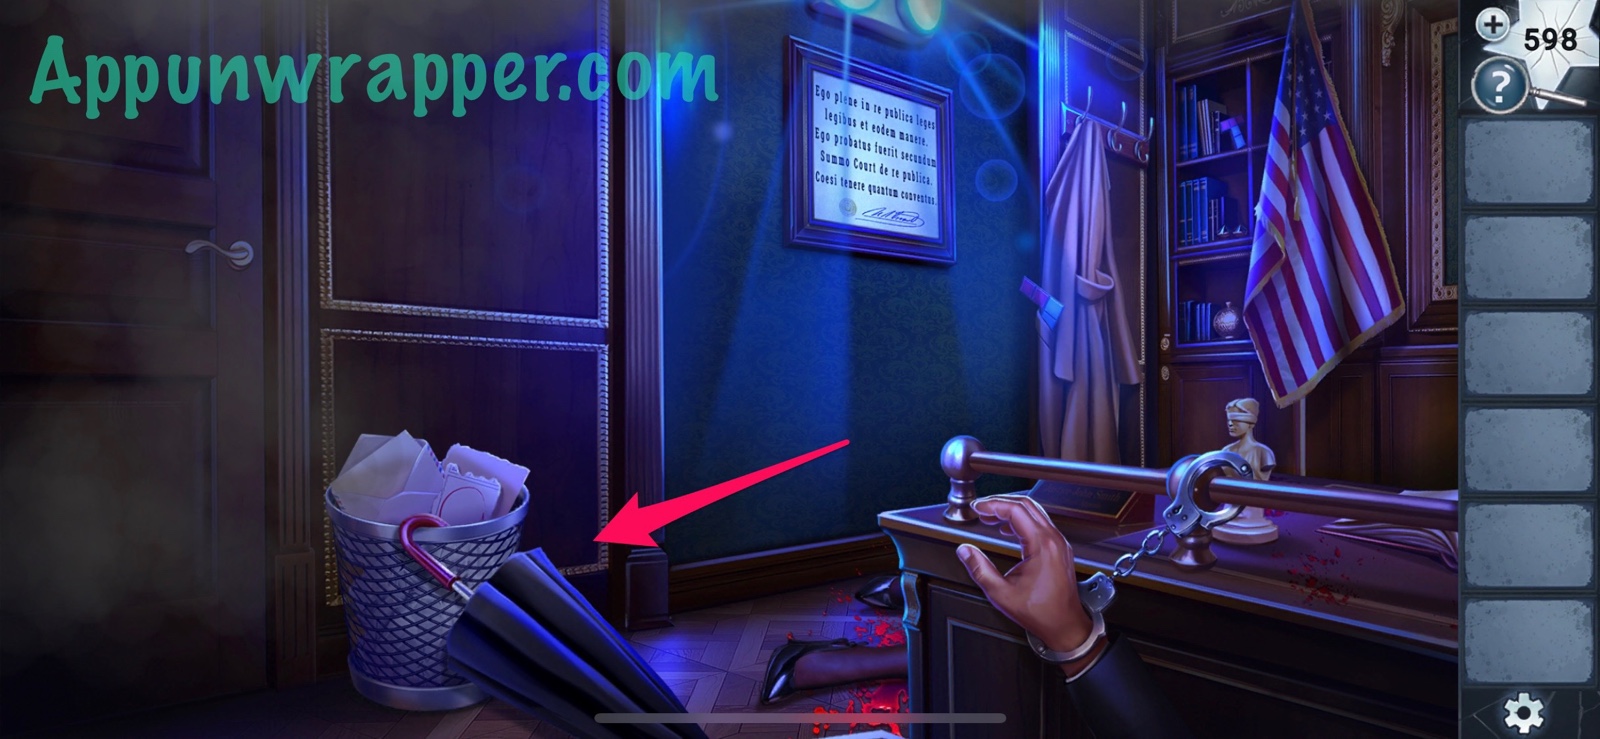
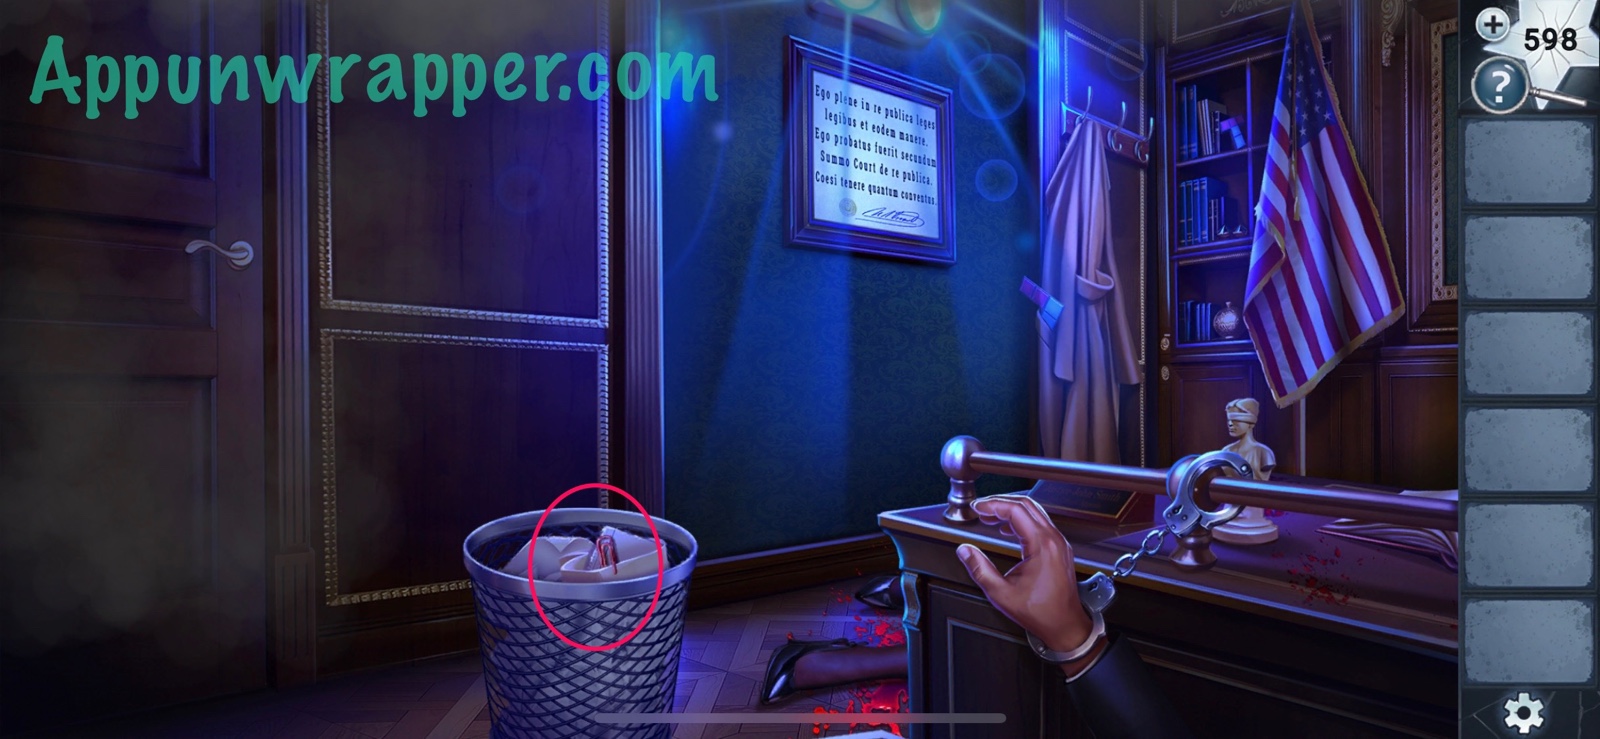
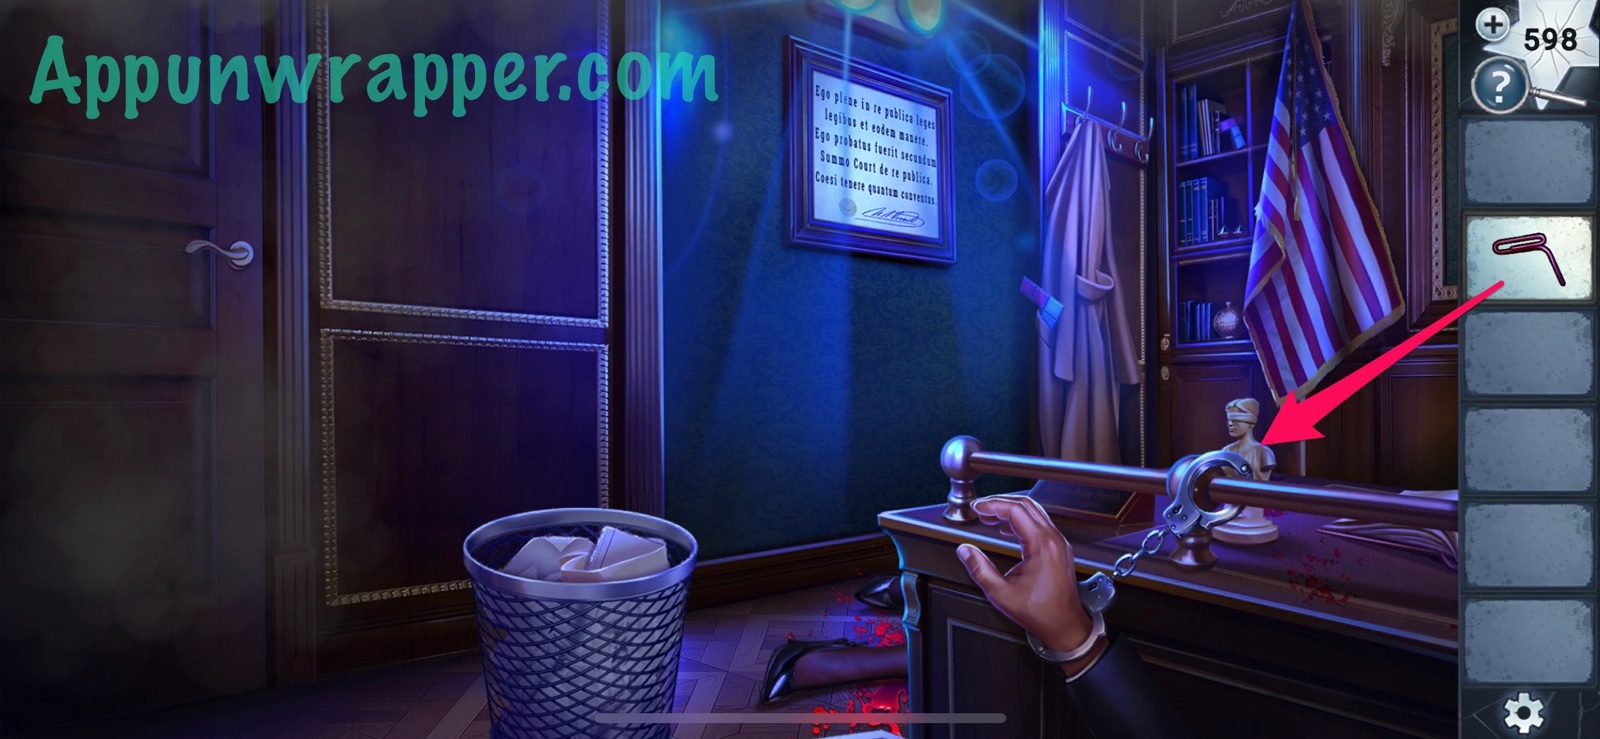
13. Shawn shows up and handcuffs Julian. We need to find a way out! Grab the umbrella. Use the umbrella to pull the trash can closer. Then rummage through it to find a paperclip. Use the paperclip to unlock the handcuffs.

14. Now we have to play a little mini game. Drag the paperclip to the circle on the left without letting go or touching the edges. I recommend grabbing the top of the paperclip so your finger doesn’t block your view.
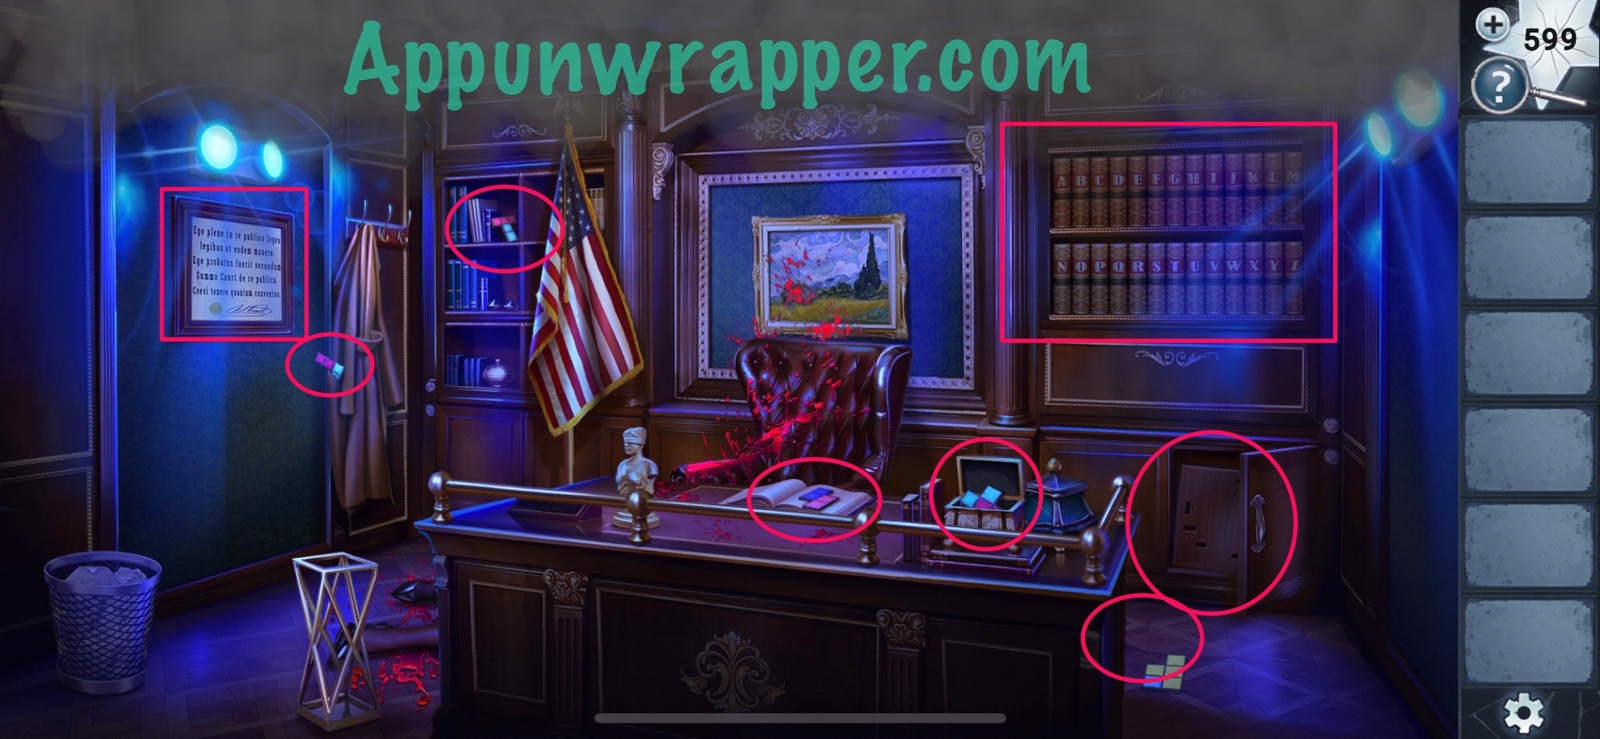
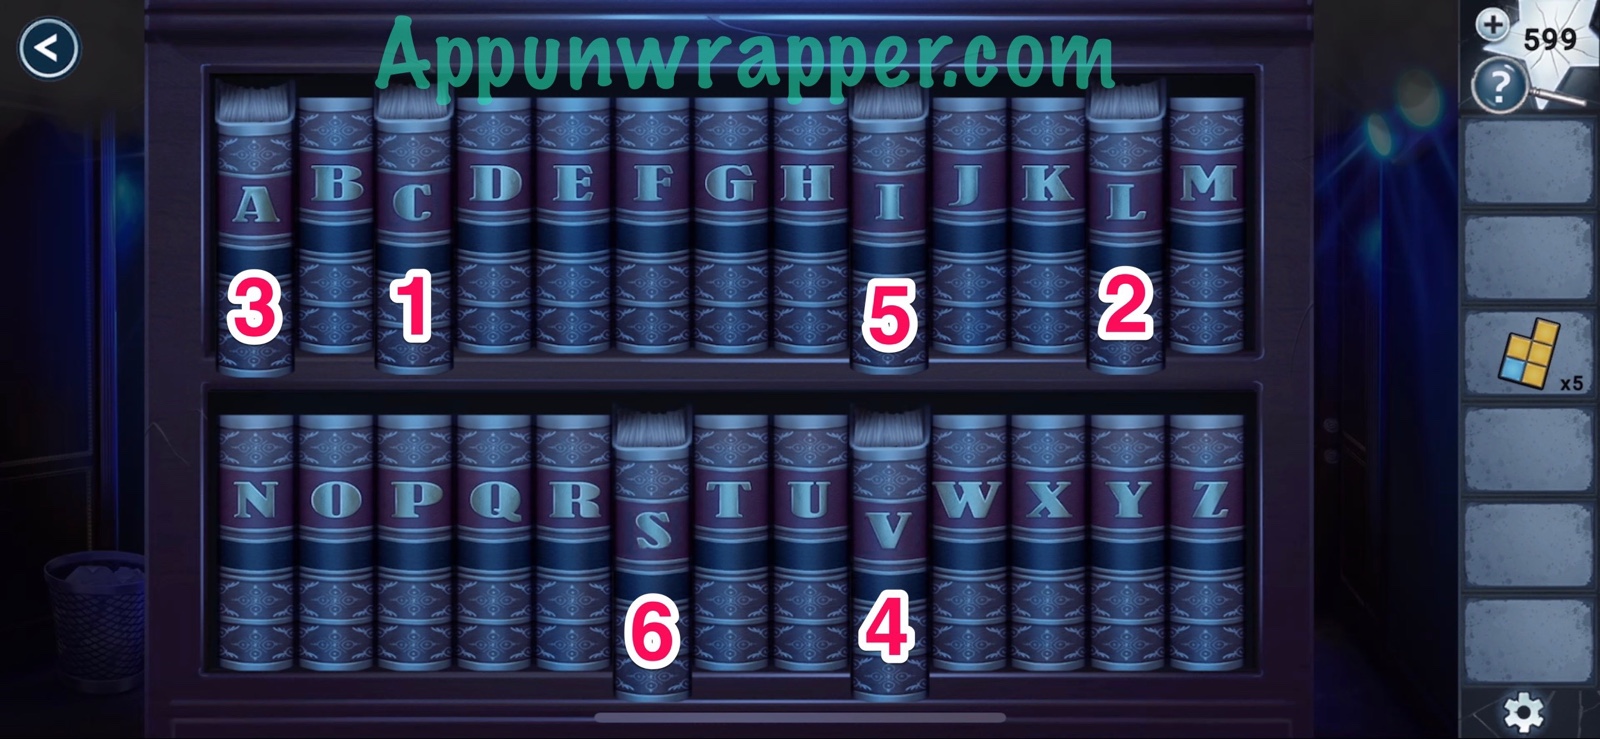
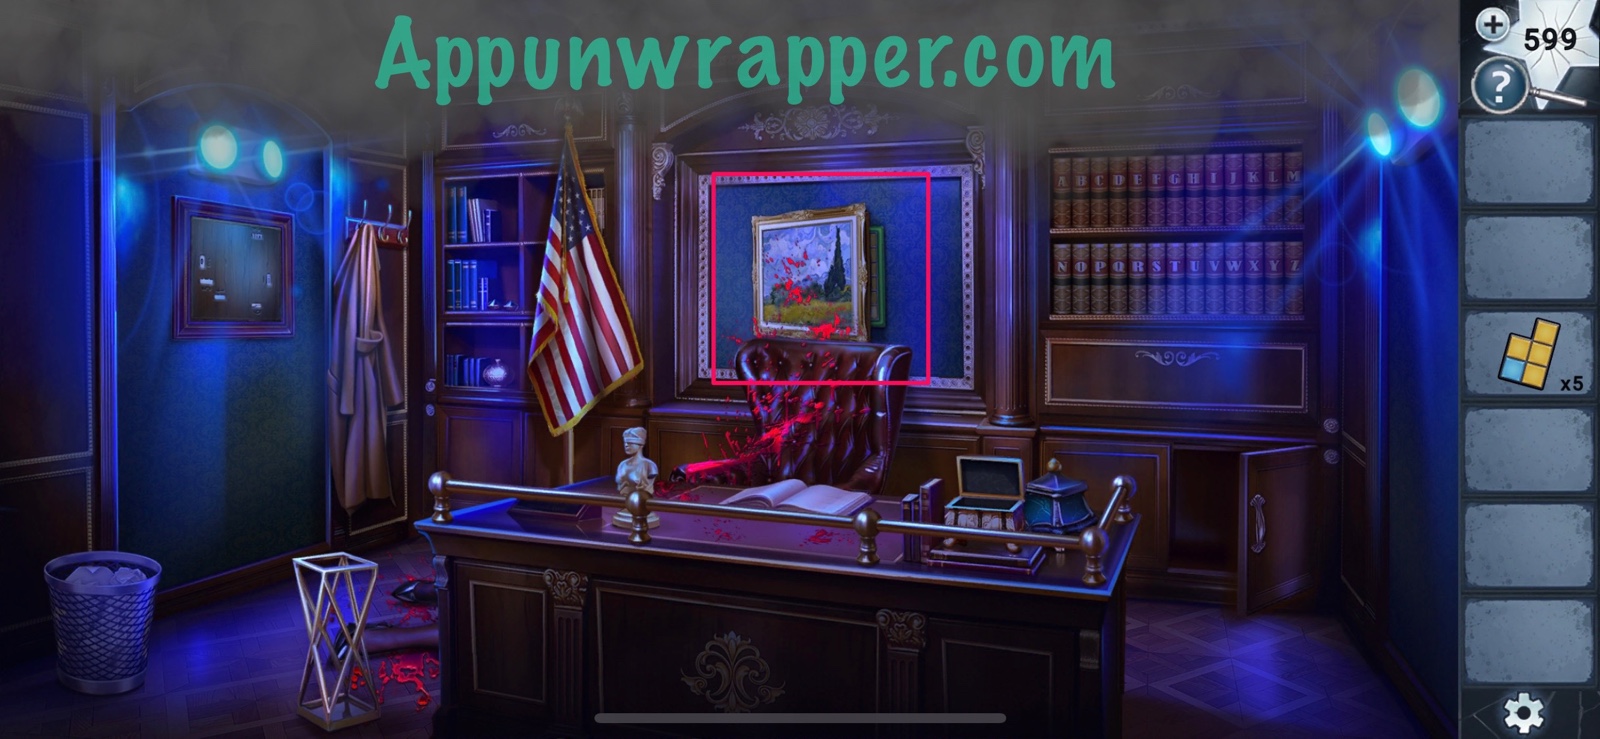
15. Find the square piece and the five Tetris pieces. Also, look at the document on the wall and notice the bookshelves.
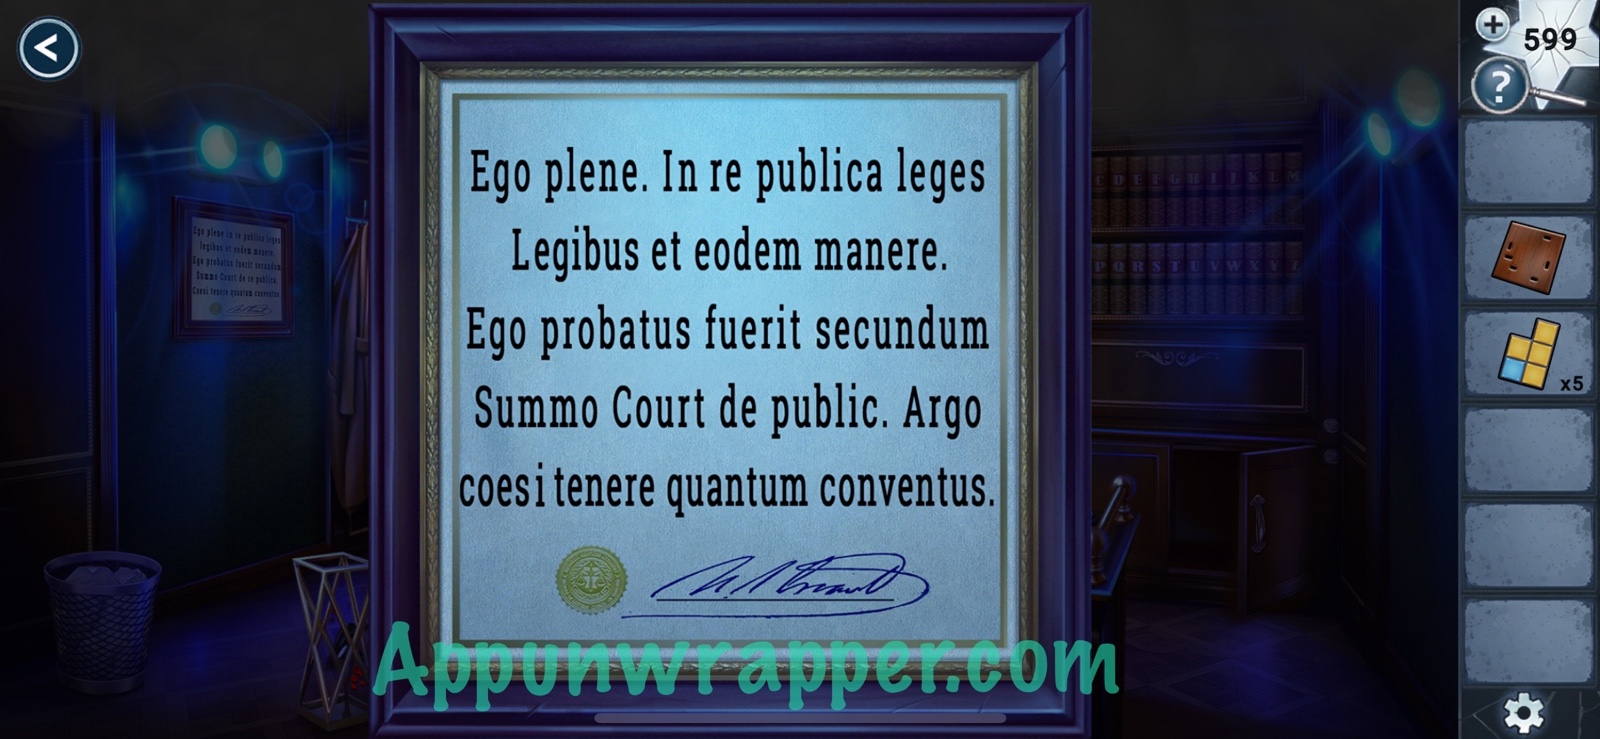
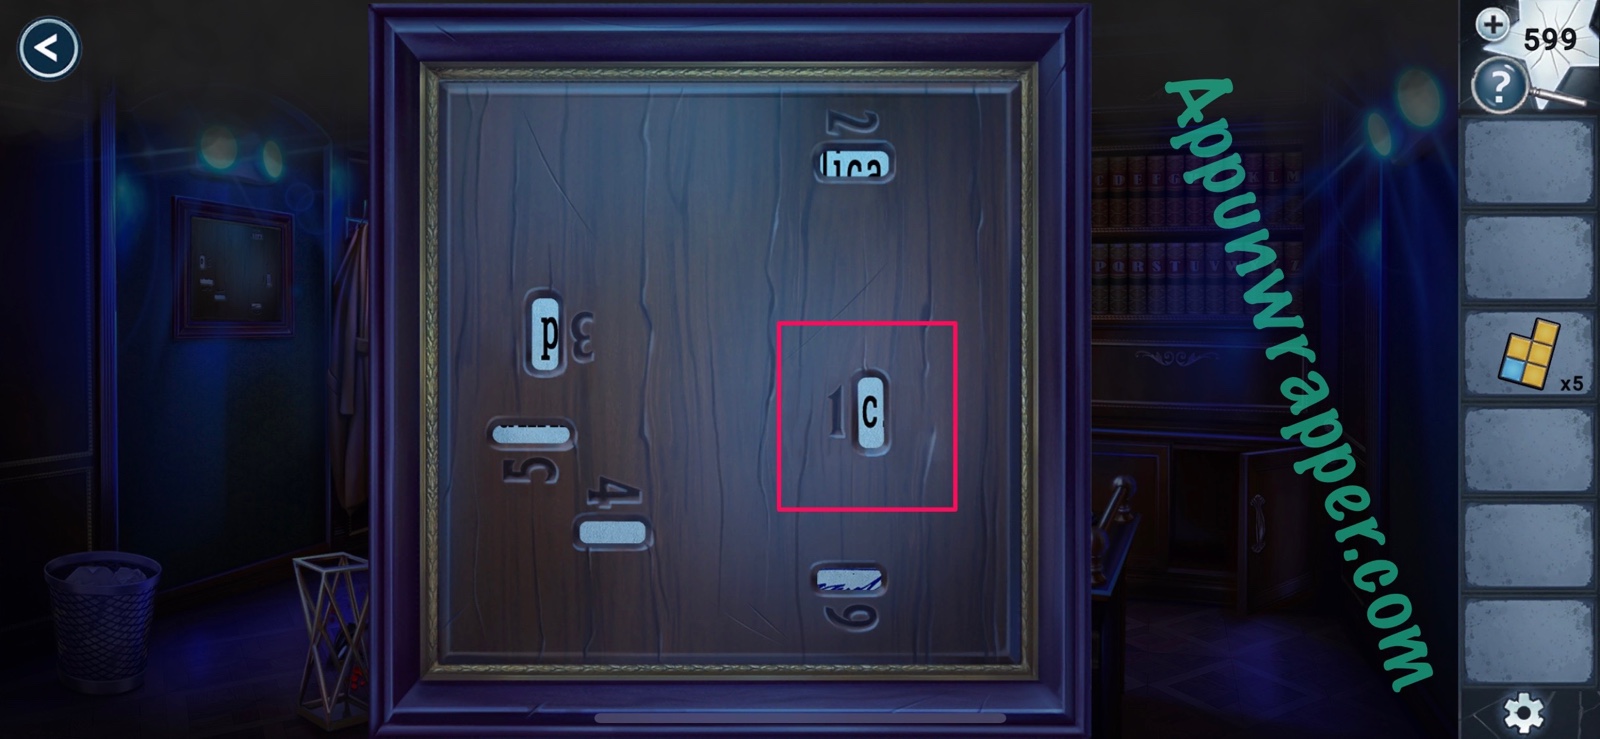
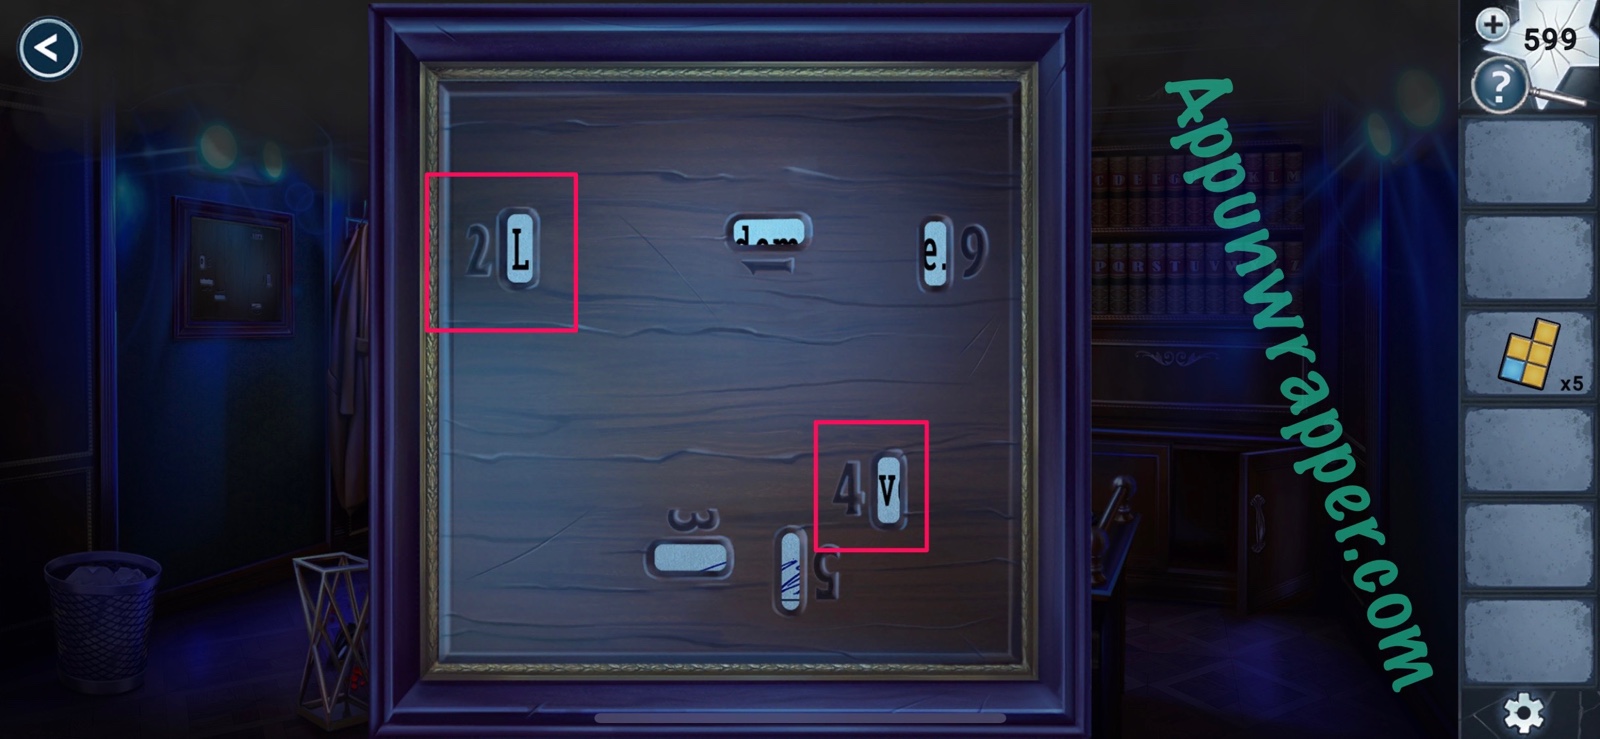
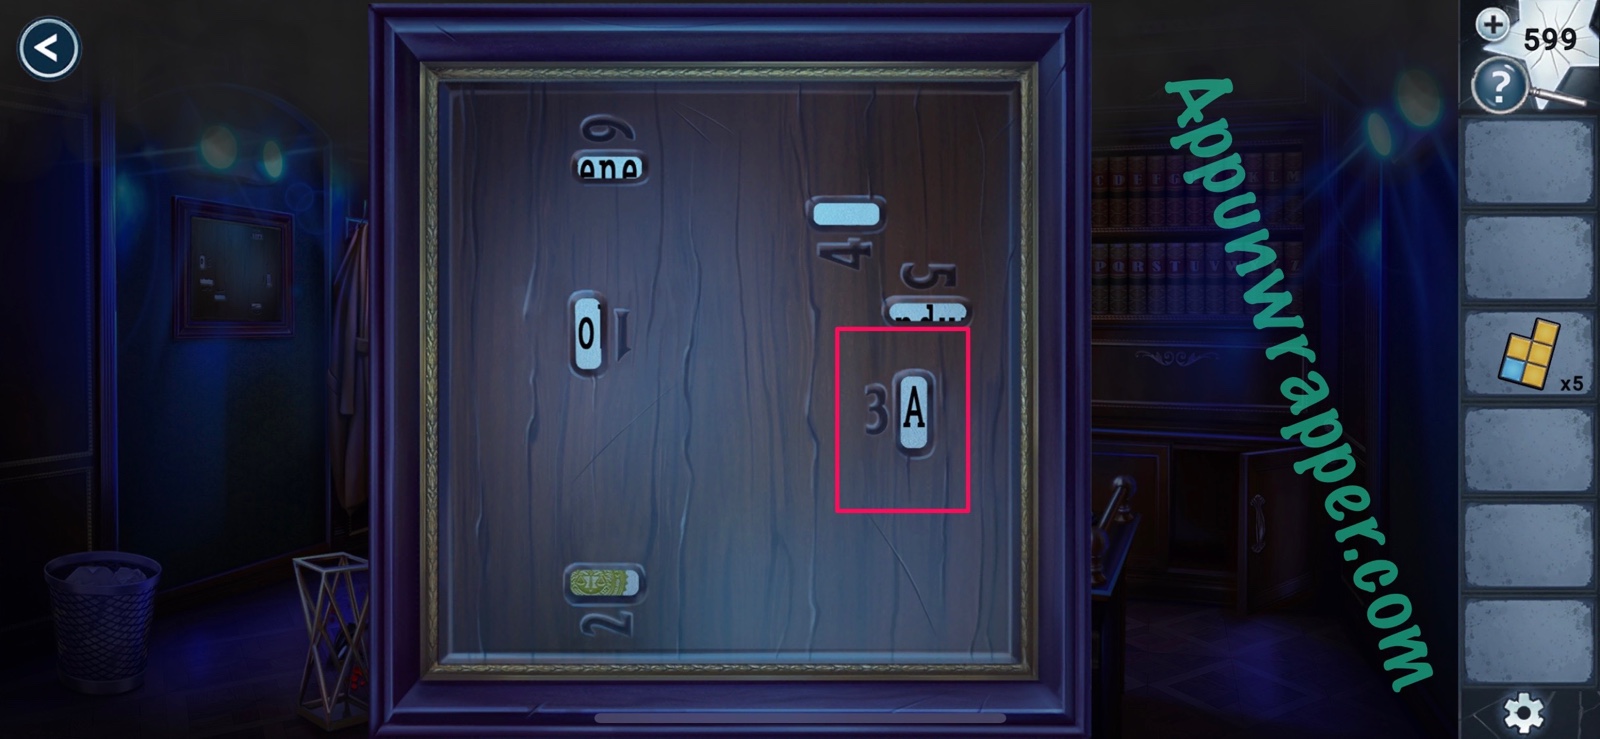
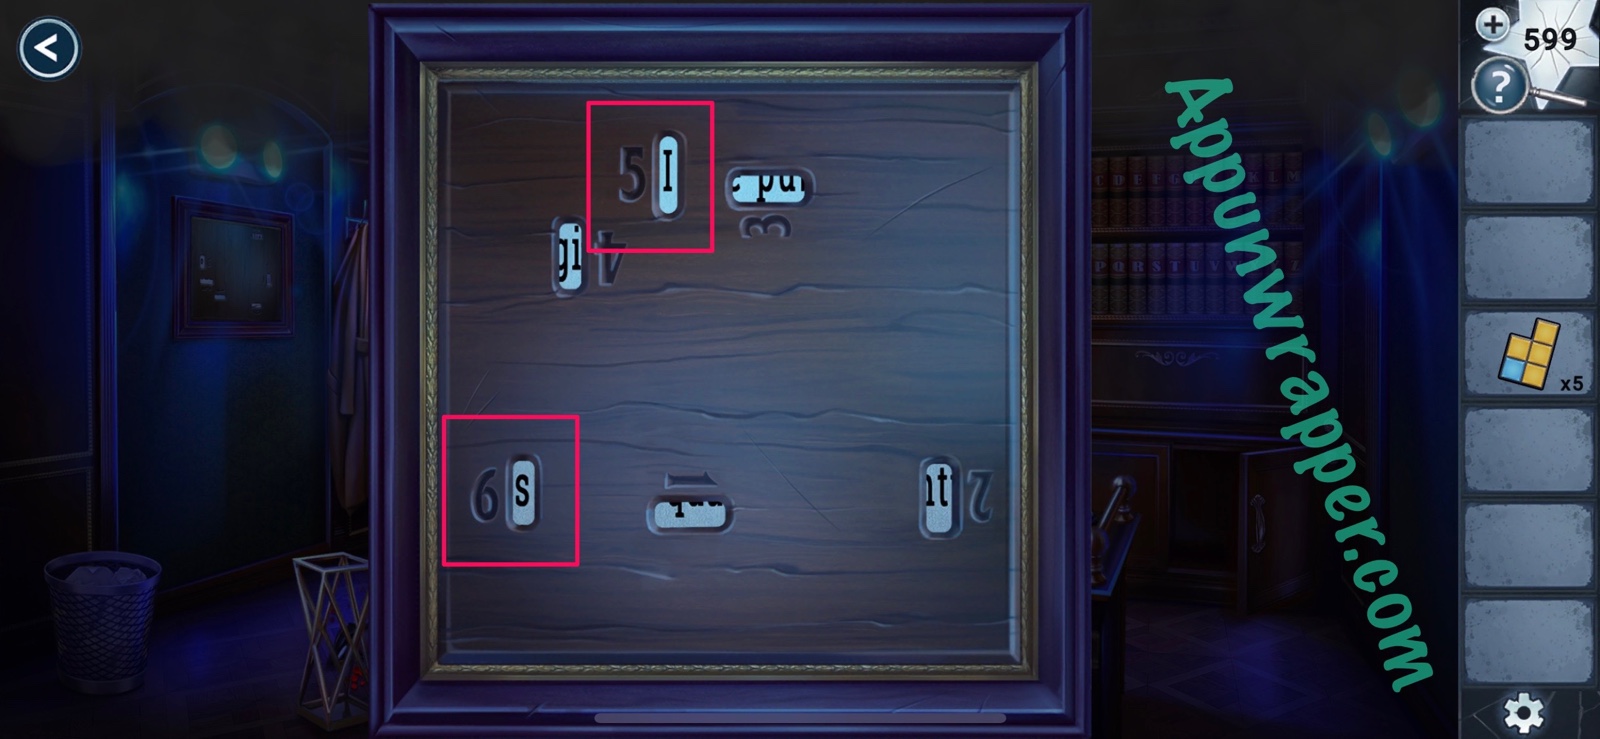
16. Now we have to figure out which books to pull out. Place the square piece on the framed document and tap it to rotate until you find all six letters. You end up with CLAVIS. So pull the books out in that order.
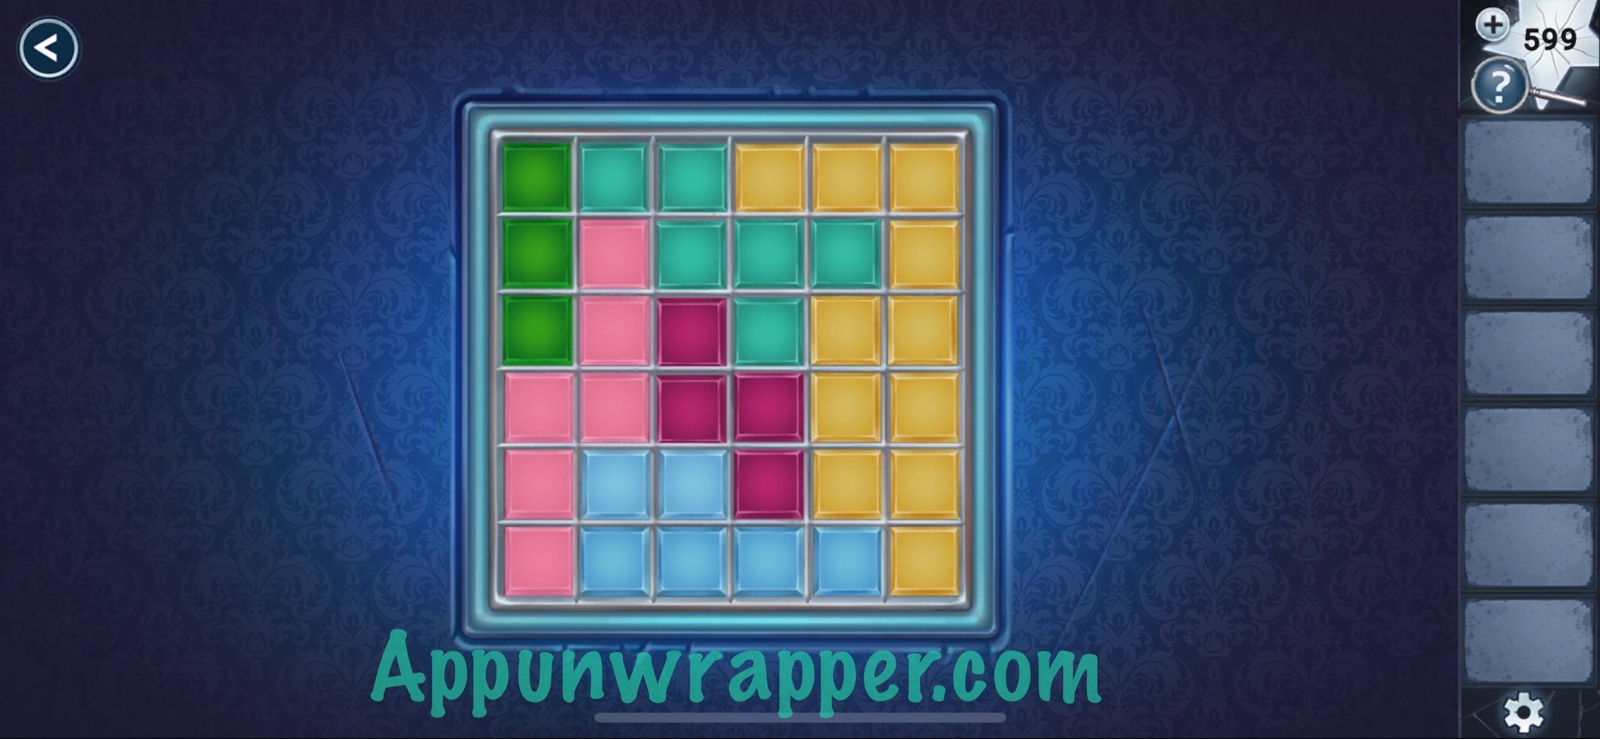
17. The painting opens up, revealing a puzzle. Let’s examine it! Place all five Tetris pieces down. Just move them to the right spots so all squares of the same color are adjacent. Tap to rotate a piece.
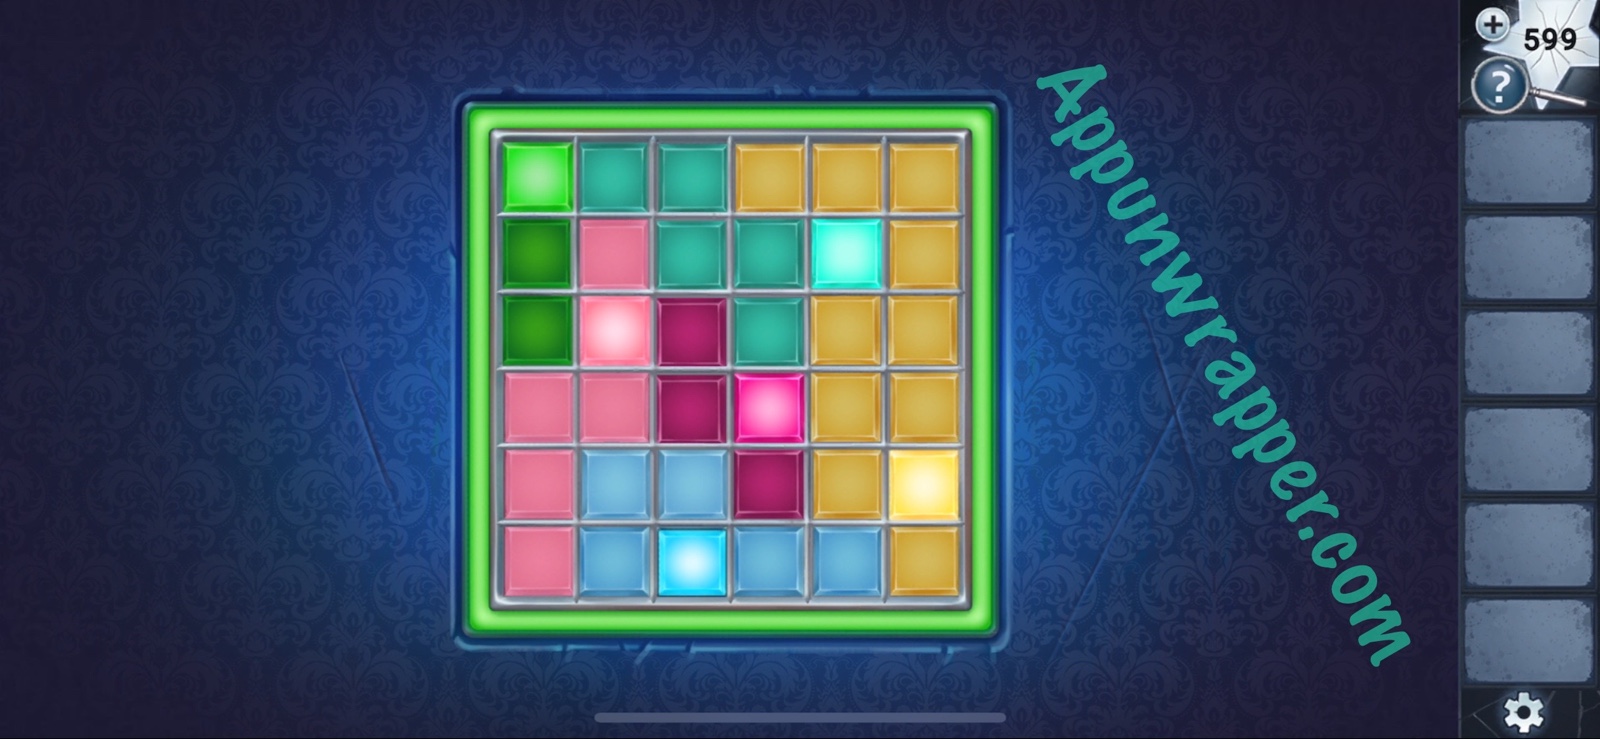
18. Now we have to select one square of each color. But only one per row or column and none can be touching, even diagonally. Then just tap through to complete the chapter.
And that’s the end of Chapter 6! Click here to continue to Chapter 7 or choose a chapter below.


Ok, I’m clearly missing something. Where’s the power cord?
Attached to the laptop on the table where the cop was originally sat drinking tea.
ItΓÇÖs next to the laptop near the teas
Anyone else unable to grab the note that fell into the bottom drawer? I got the drawer unlocked but it just keeps closing when I try to press the files
Block puzzle doesn’t match with the one in phone what to do
my puzzle in the office won’t work, my prices are a bunch of different colors and idk if i’m supposed to change them?