Adventure Escape Mysteries – Legend of the Time Stones
By: Haiku Games

Haiku Games is back with a new Adventure Escape game, called Legend of the Time Stones. It’s a sequel to Legend of the Sacred Stones. You play as Aila, who needs to travel through the past, present and future to stop an evil Sorcerer. You’ll explore elaborate new temples and battle gods from faraway lands as Aila discovers the hidden truth behind the Sorcerer’s motivation. This walkthrough guide should help you if you get stuck on any of the puzzles in Chapter 2. Feel free to ask for extra help in the comments section.
See all my other Adventure Escape guides here.
Walkthrough:
Chapter 1 | Chapter 2 | Chapter 3 | Chapter 4 | Chapter 5 | Chapter 6 | Chapter 7 | Chapter 8
Chapter 2:
You can watch my video for Chapter 2 or continue below for my step-by-step guide:
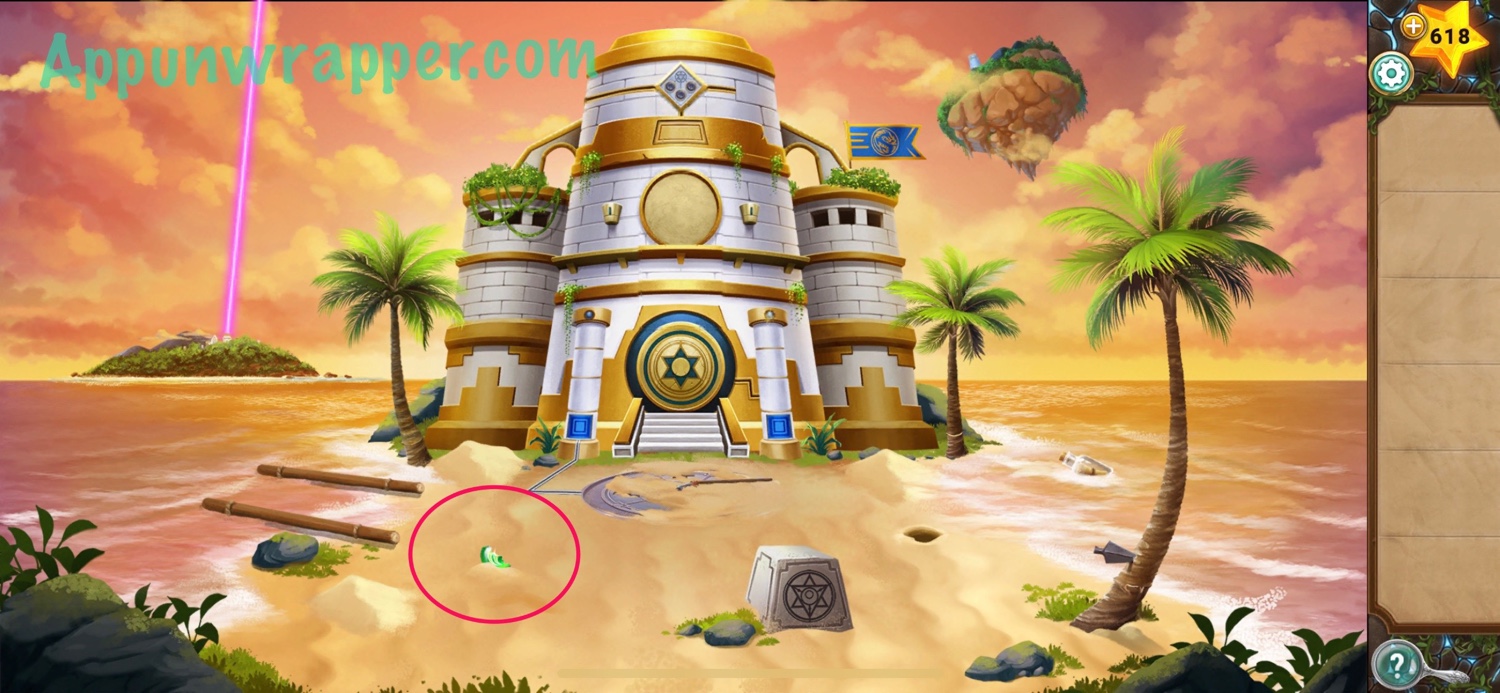
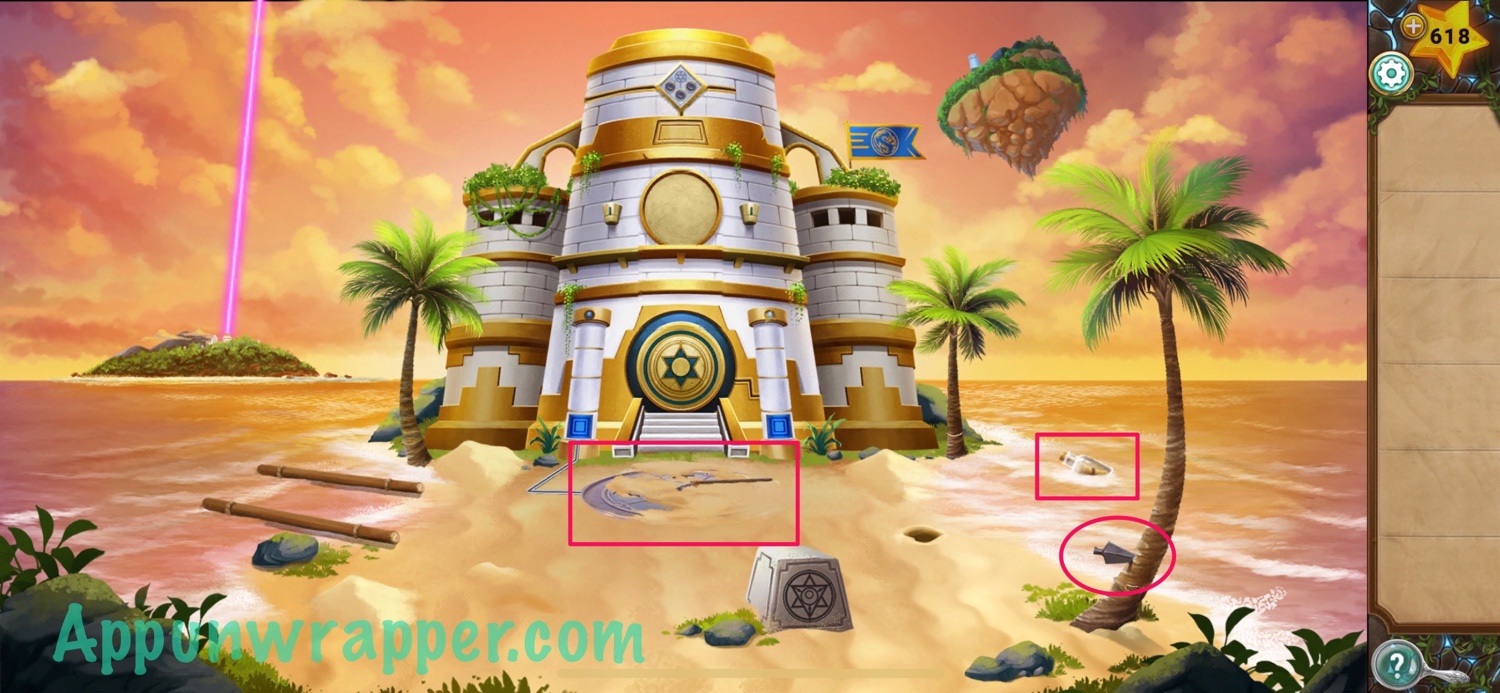
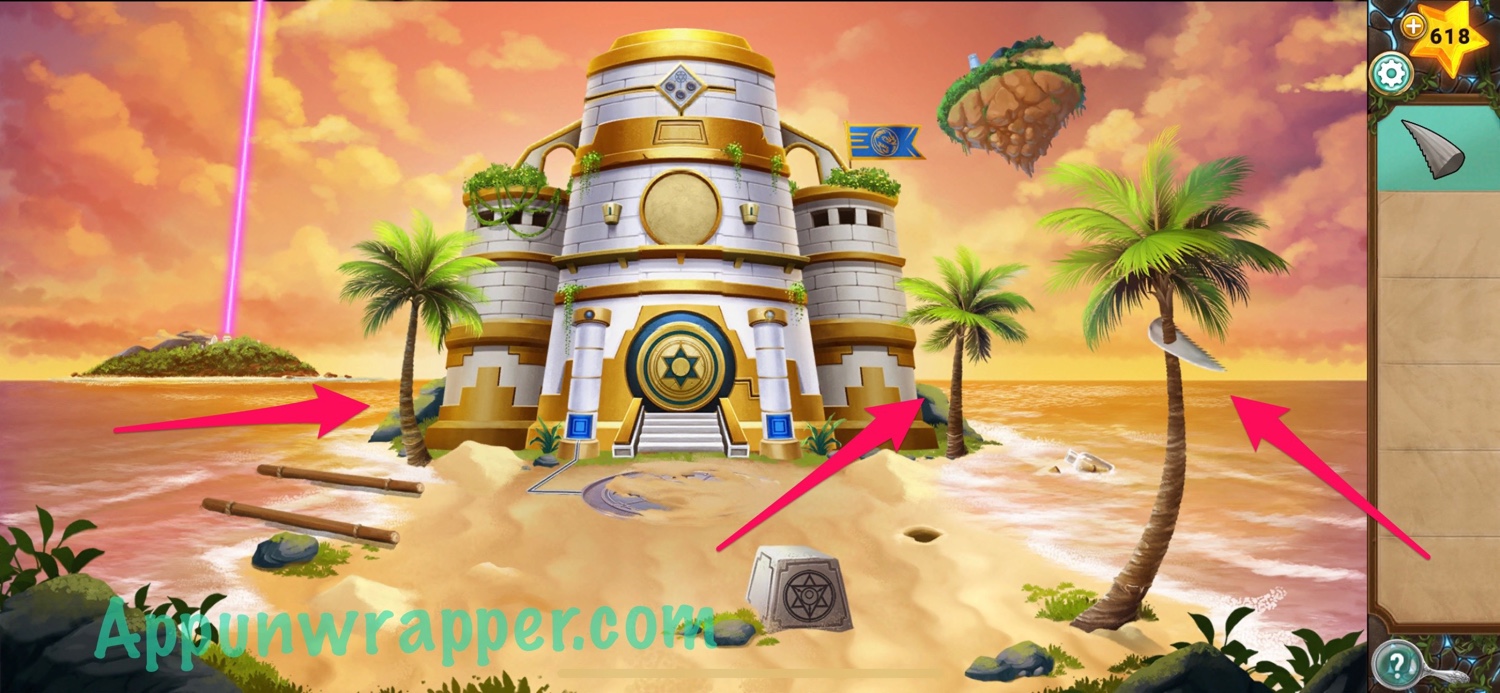
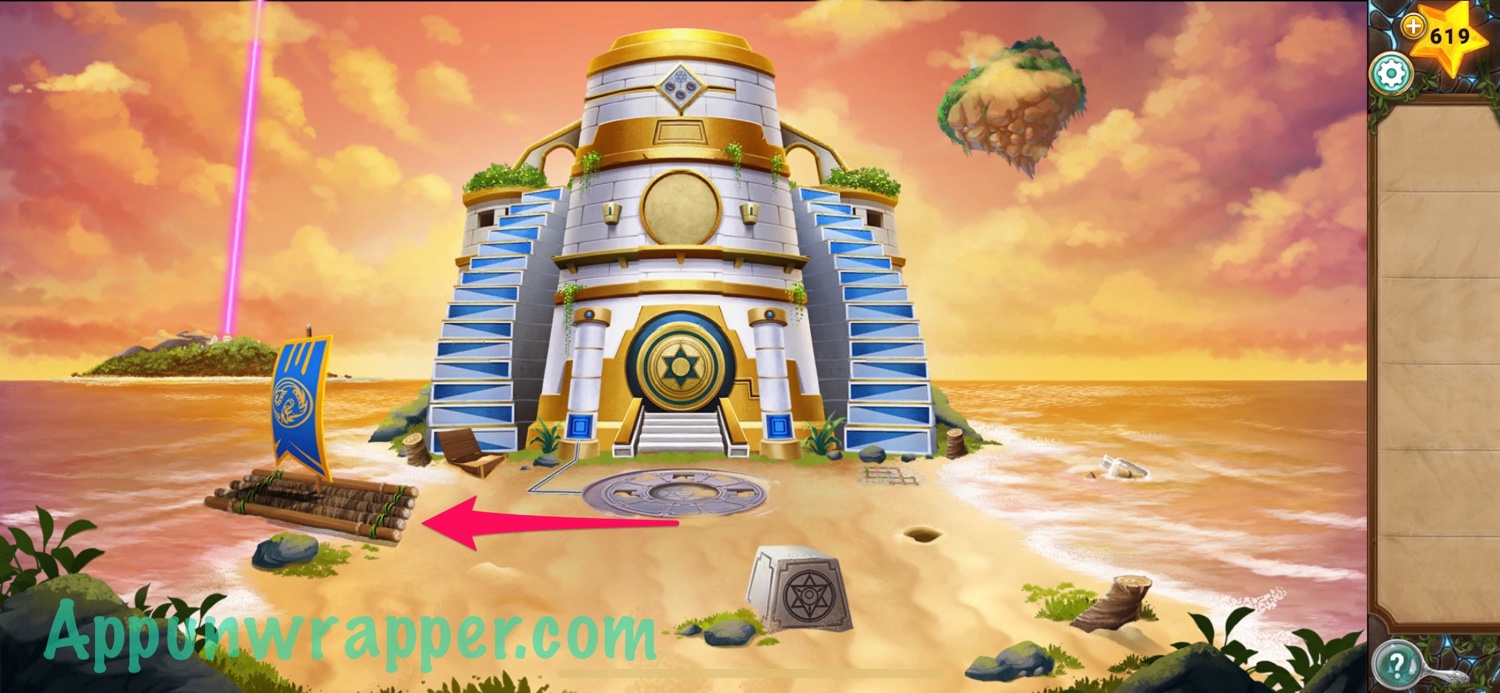
1. We’re at the Island of Time, but it’s the past! The explosion must have sent us back in time. Pick up the green shard.
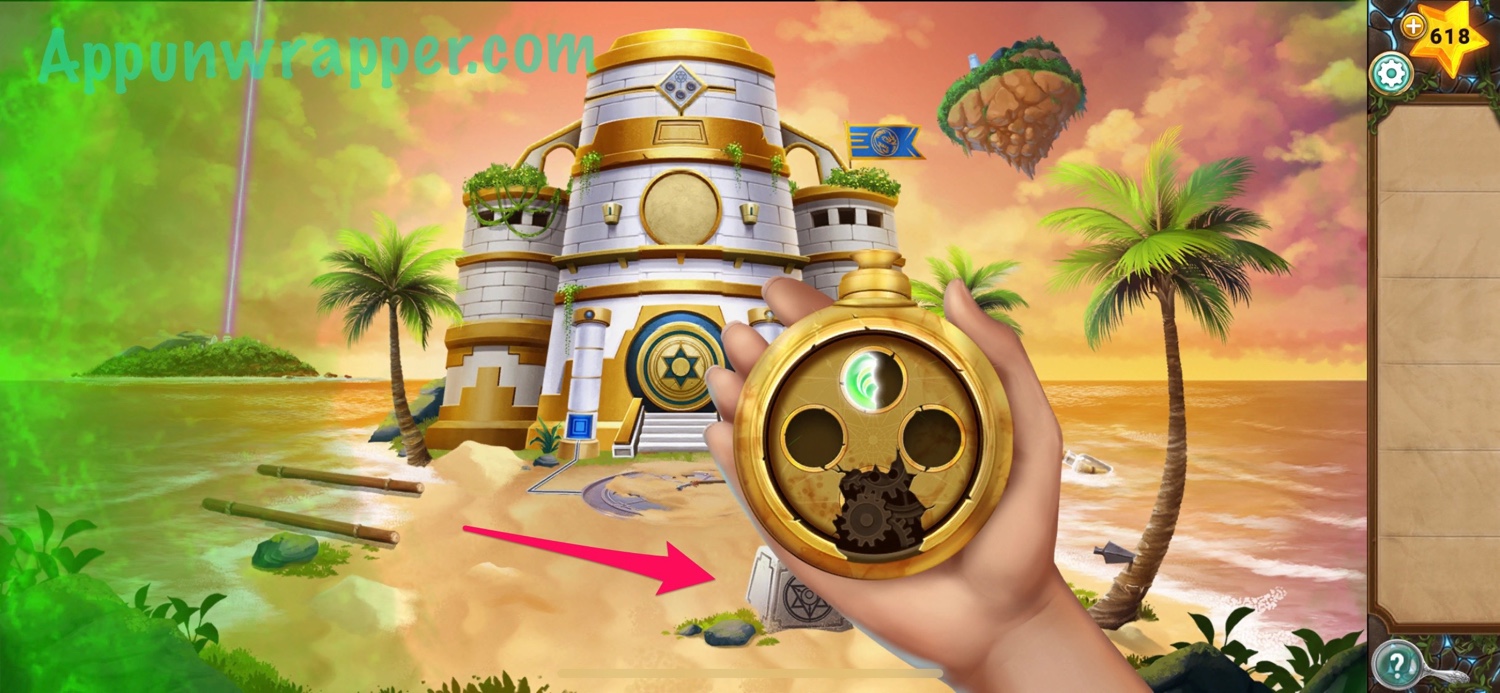
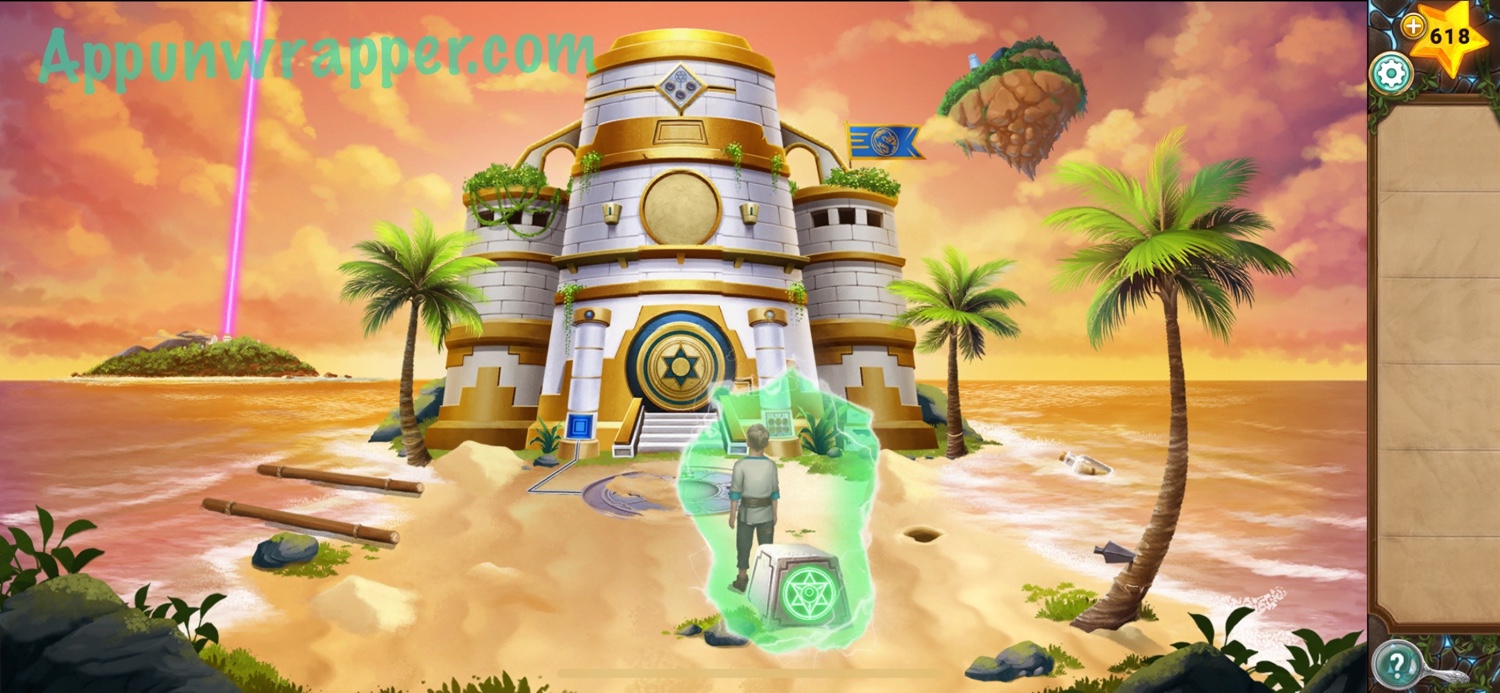
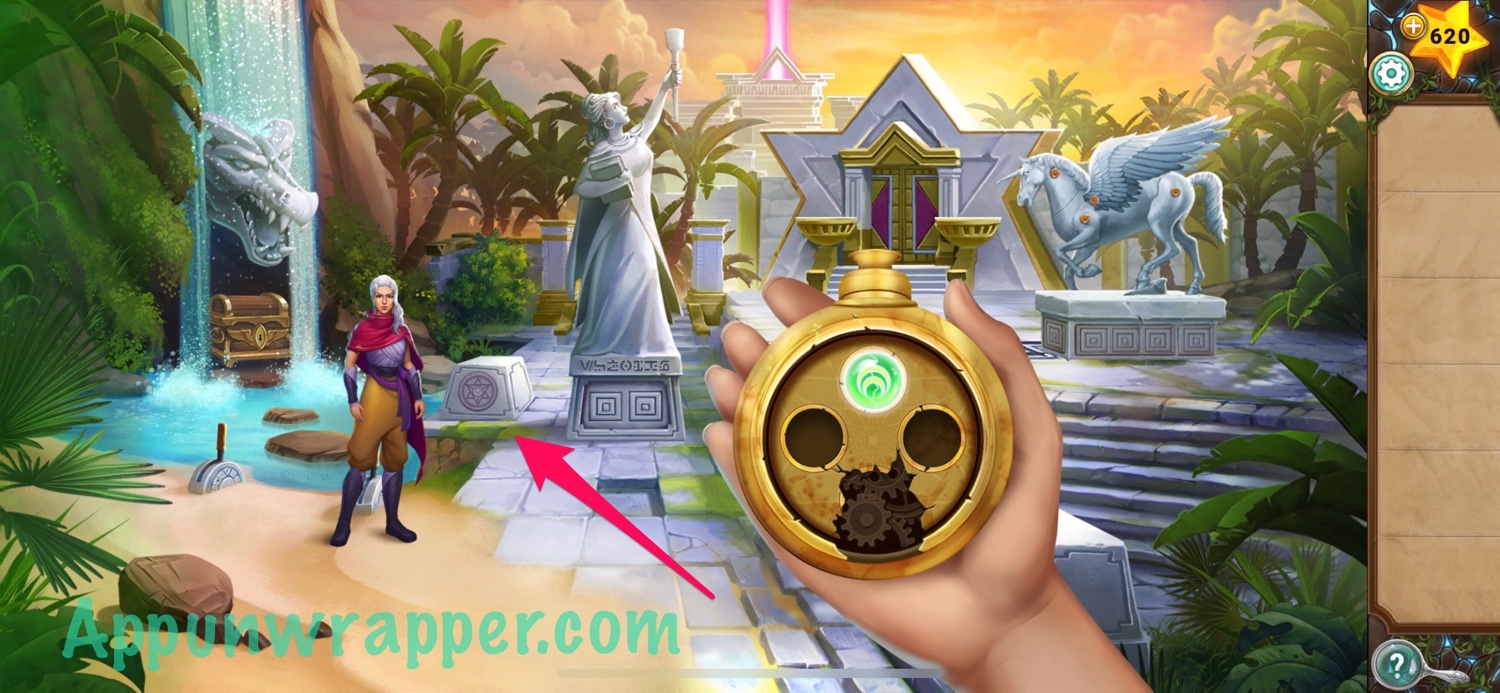
2. Tap on the star symbol on the stone and then use the half green sacred stone to get a small glimpse back into the present. Ollie’s looking for you!
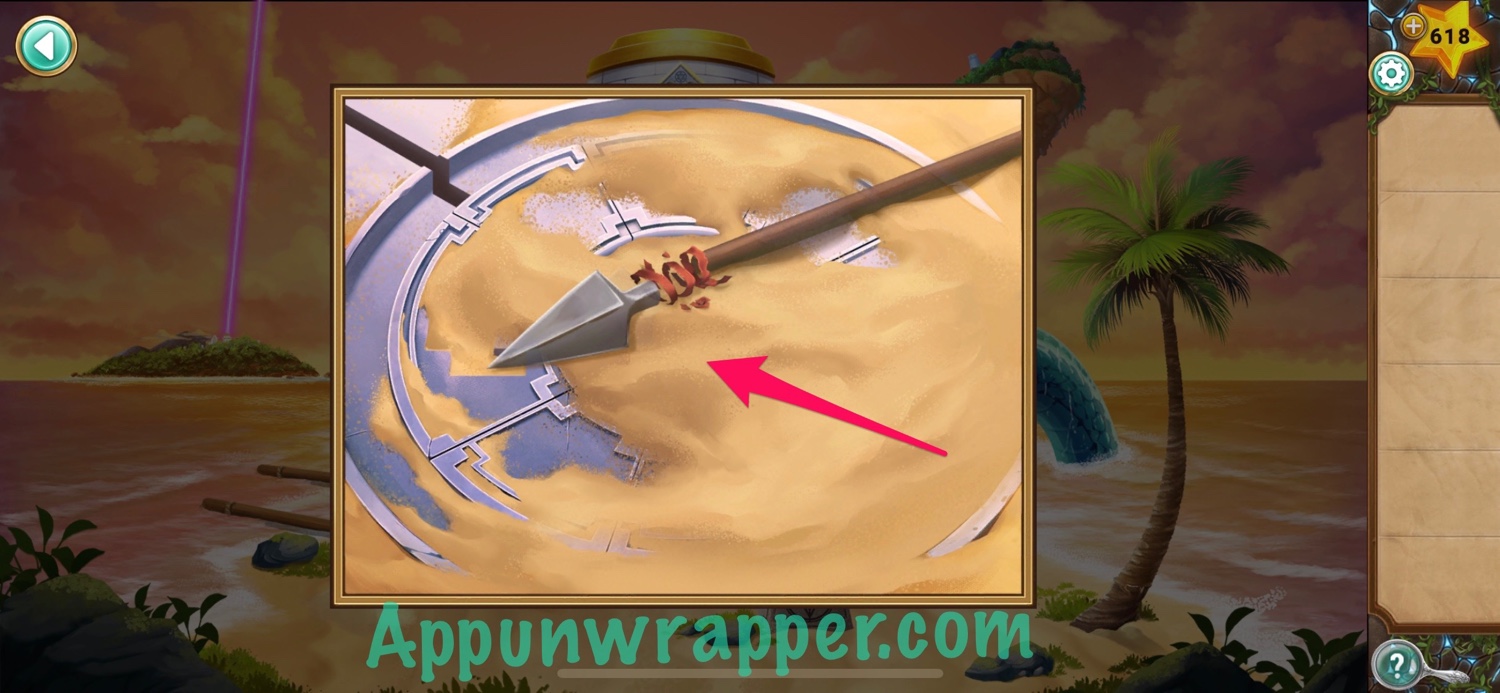
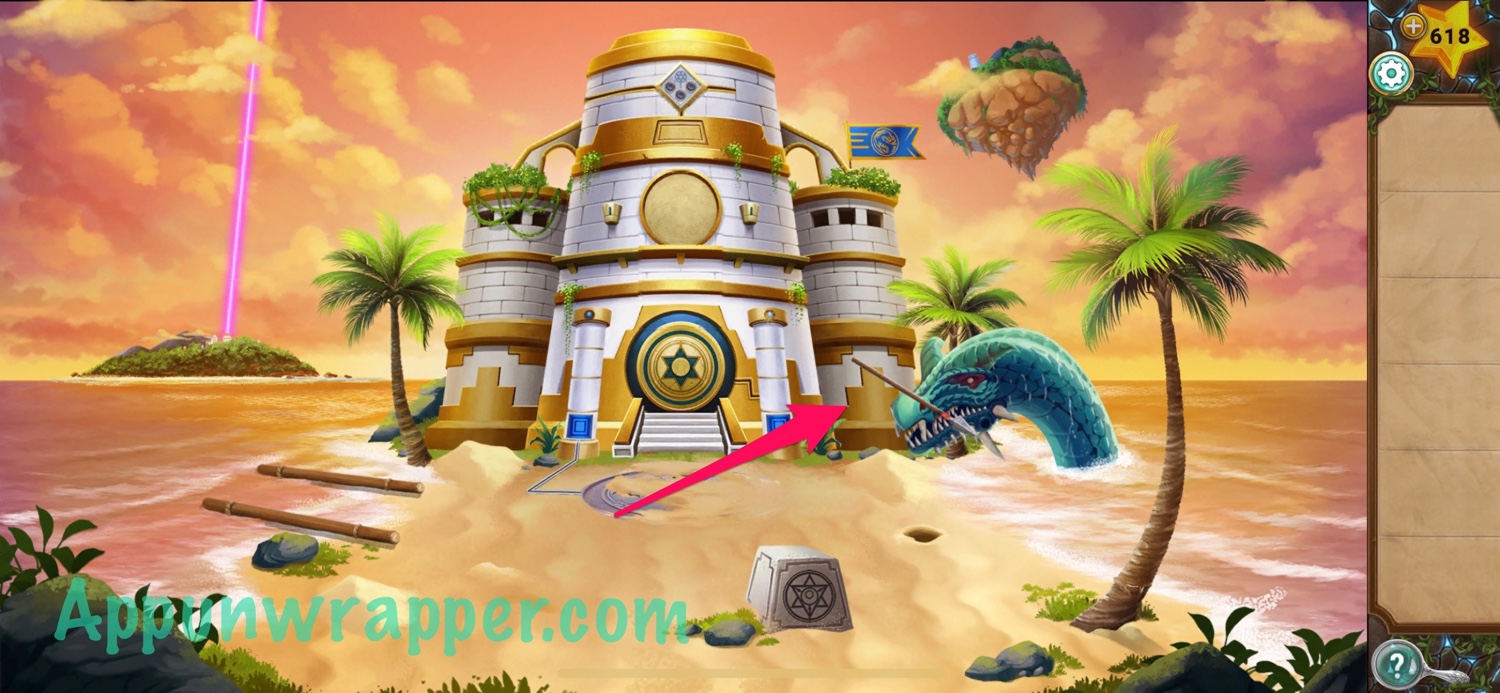
3. We have to find the other half of the sacred stone. First, grab the spear head from the tree. Also, try to pick up the message in a bottle. A dragon will appear! Tap on the circle on the ground and use the spear head to fix the broken spear. You’ll automatically get it.
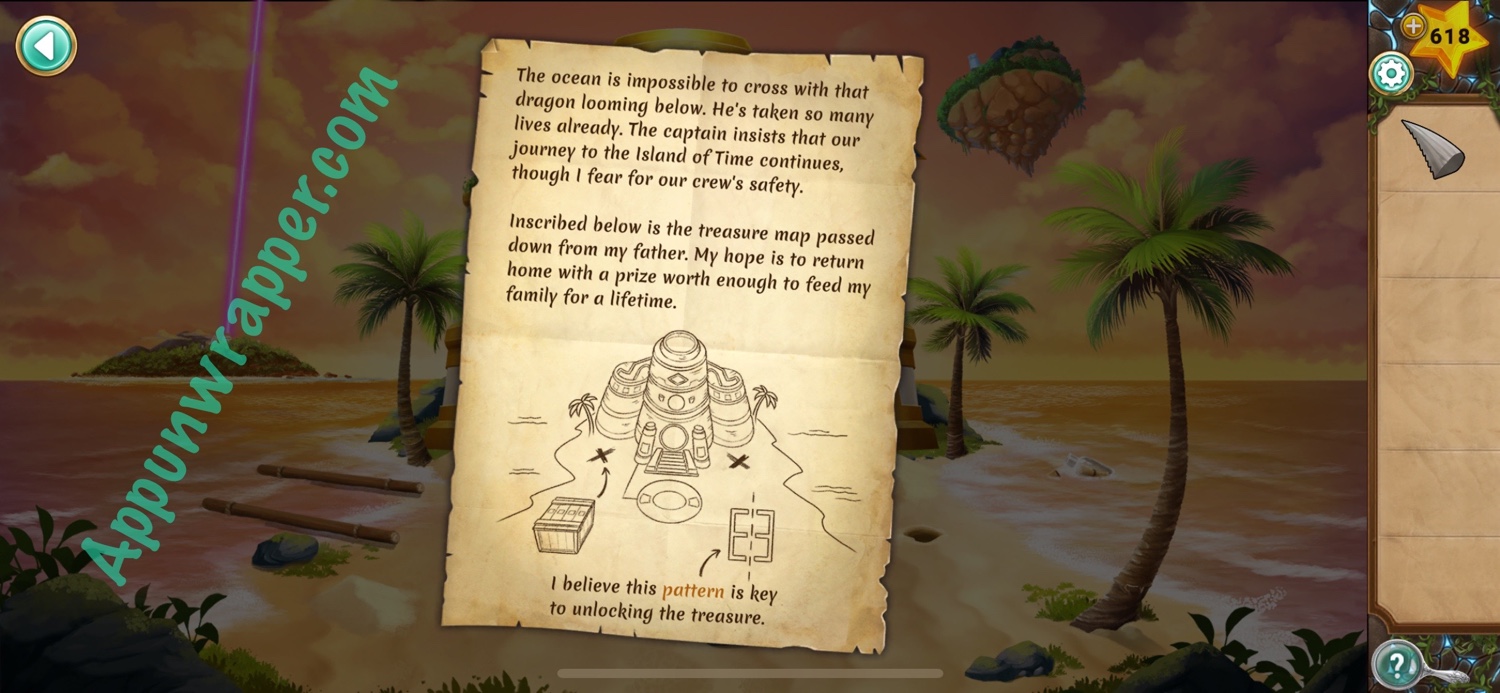
4. Use the spear to scare off the dragon. Then pick up its spike and read the message in the bottle. It looks like a treasure map!
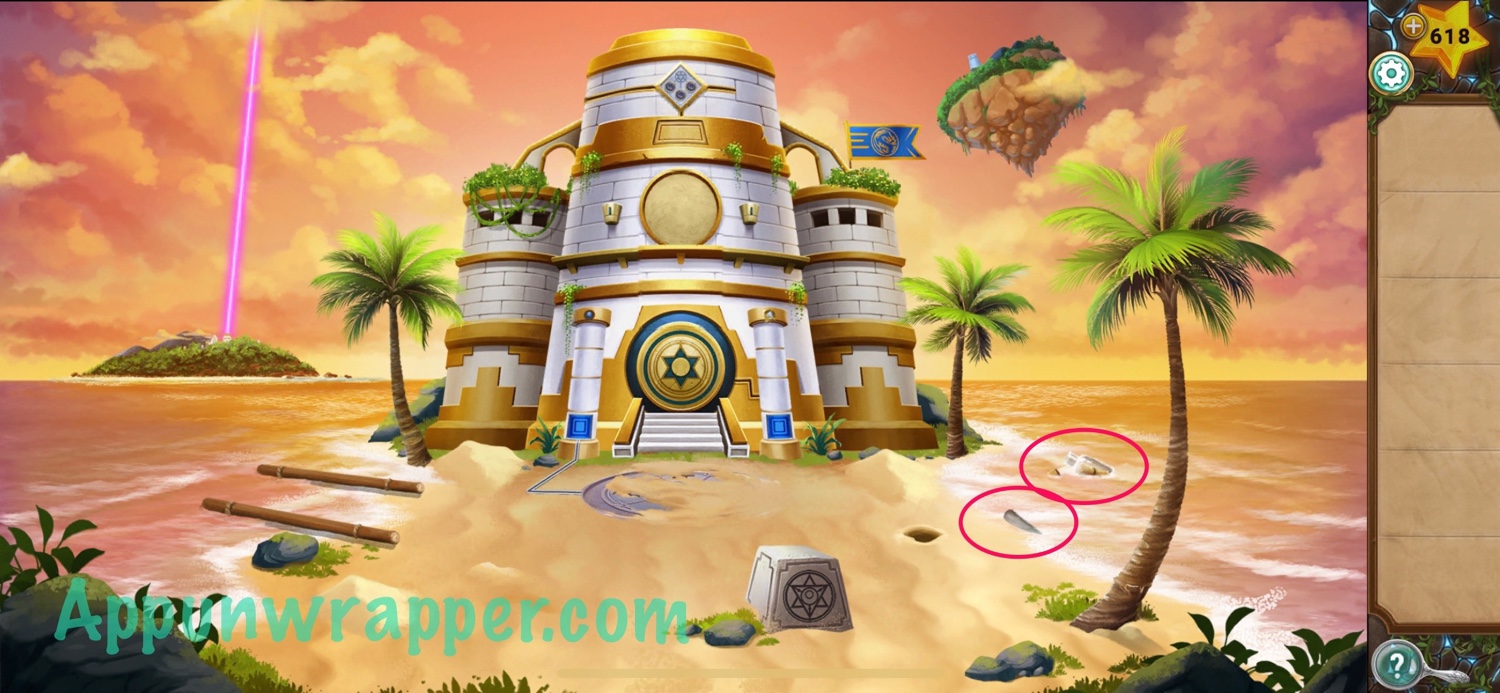
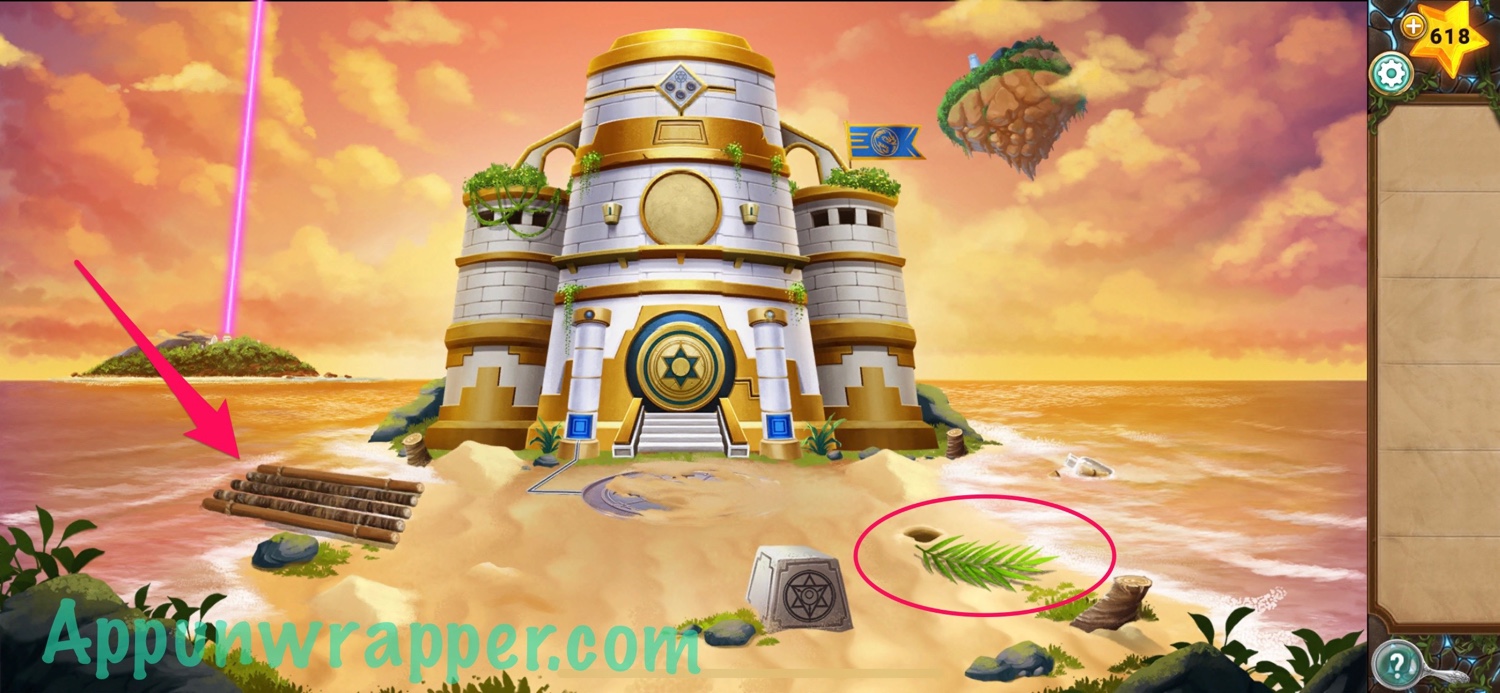
5. Use the dragon spike to cut down all three palm trees into logs.
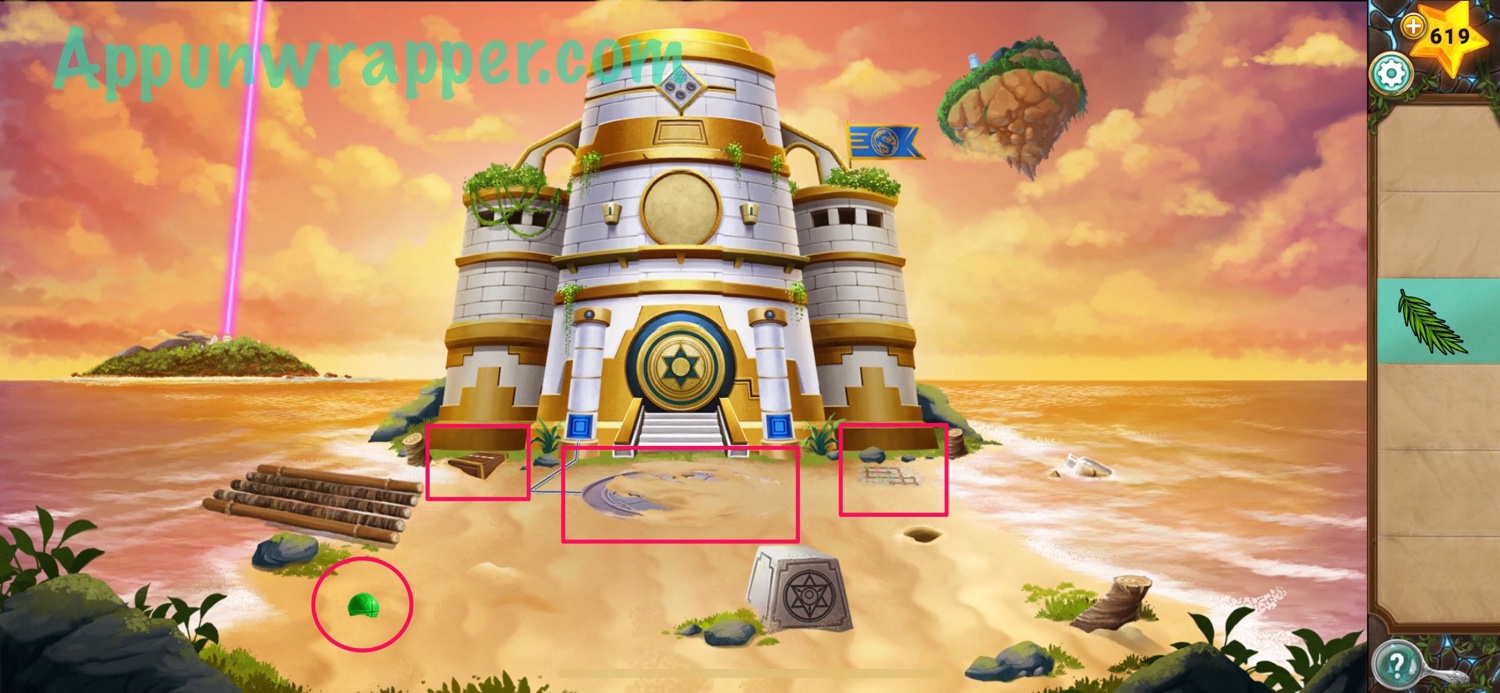
6. Place the three logs down by the other two. We need something to tie it up with. Also, pick up the leaf.
7. Use the leaf to brush aside the sand to find a green runic ball and pink runic ball. There’s also a locked chest and a puzzle.
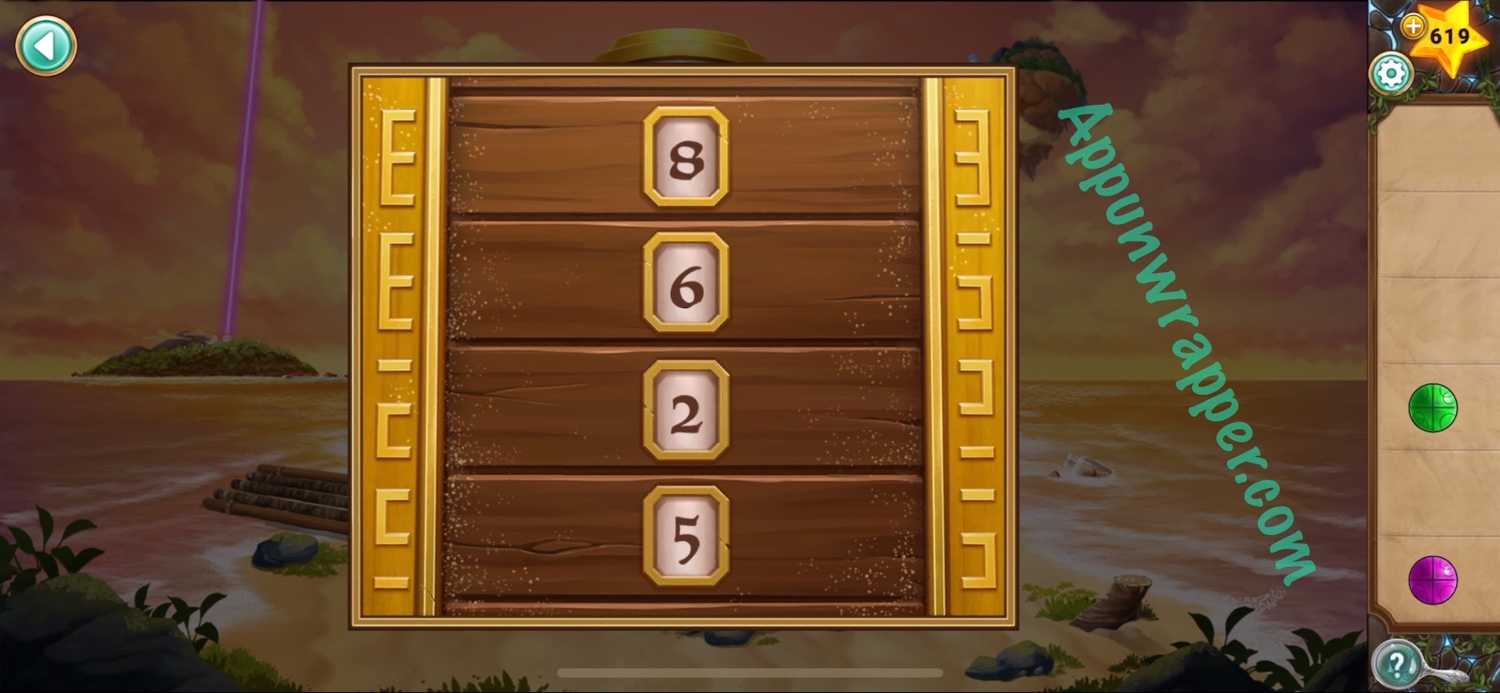
8. Look at the locked chest. Just combine the left and right patterns to get the numbers 8625. That’s the code! You’ll get a red runic ball from inside.
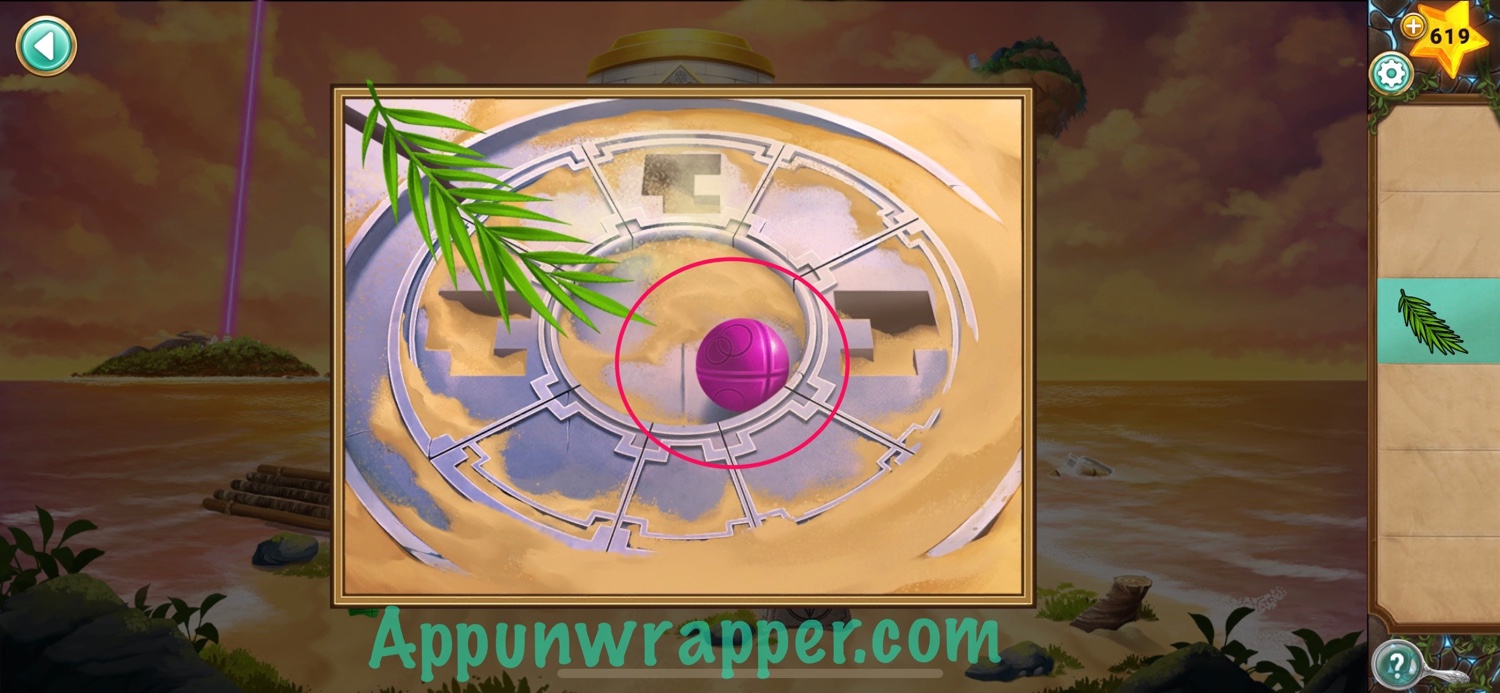
9. Now let’s solve the Rolling Along puzzle we dug up. Place all three runic balls down. Then move each ball to its matching slot.
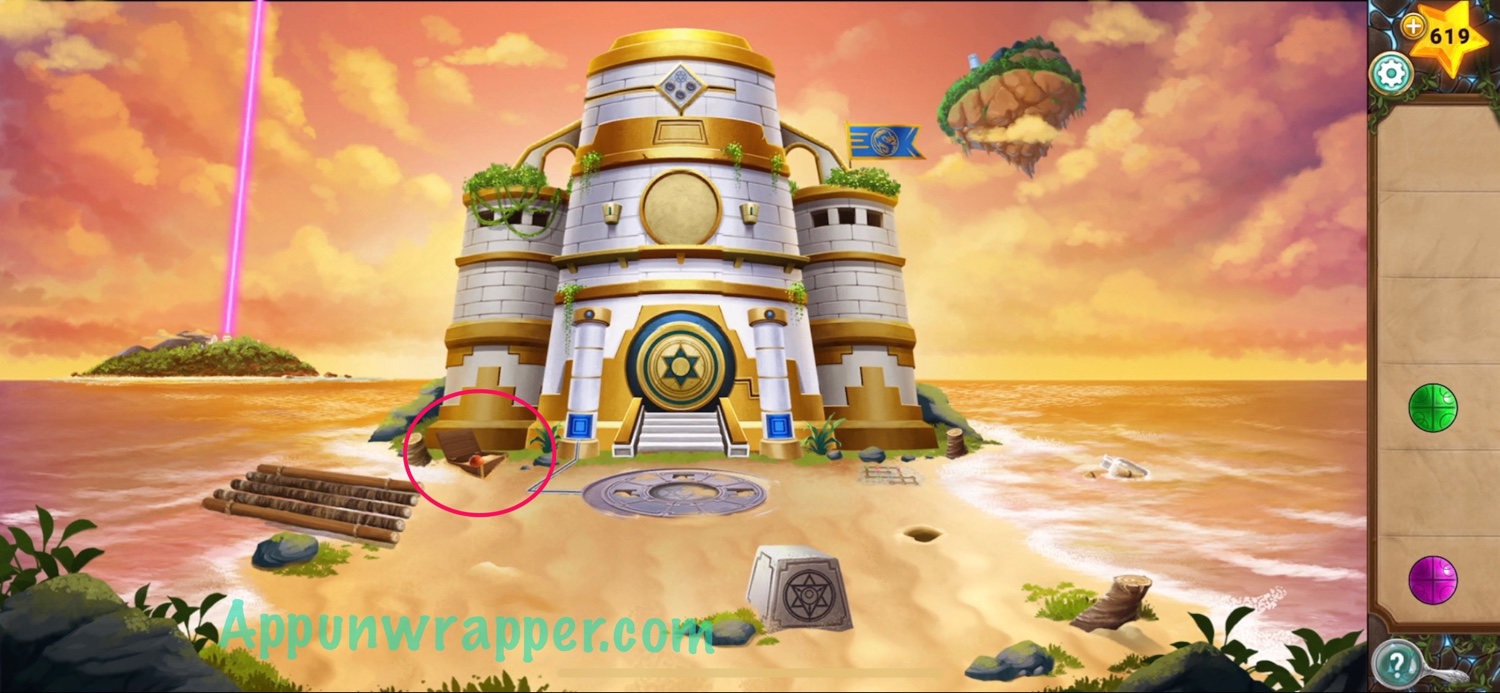
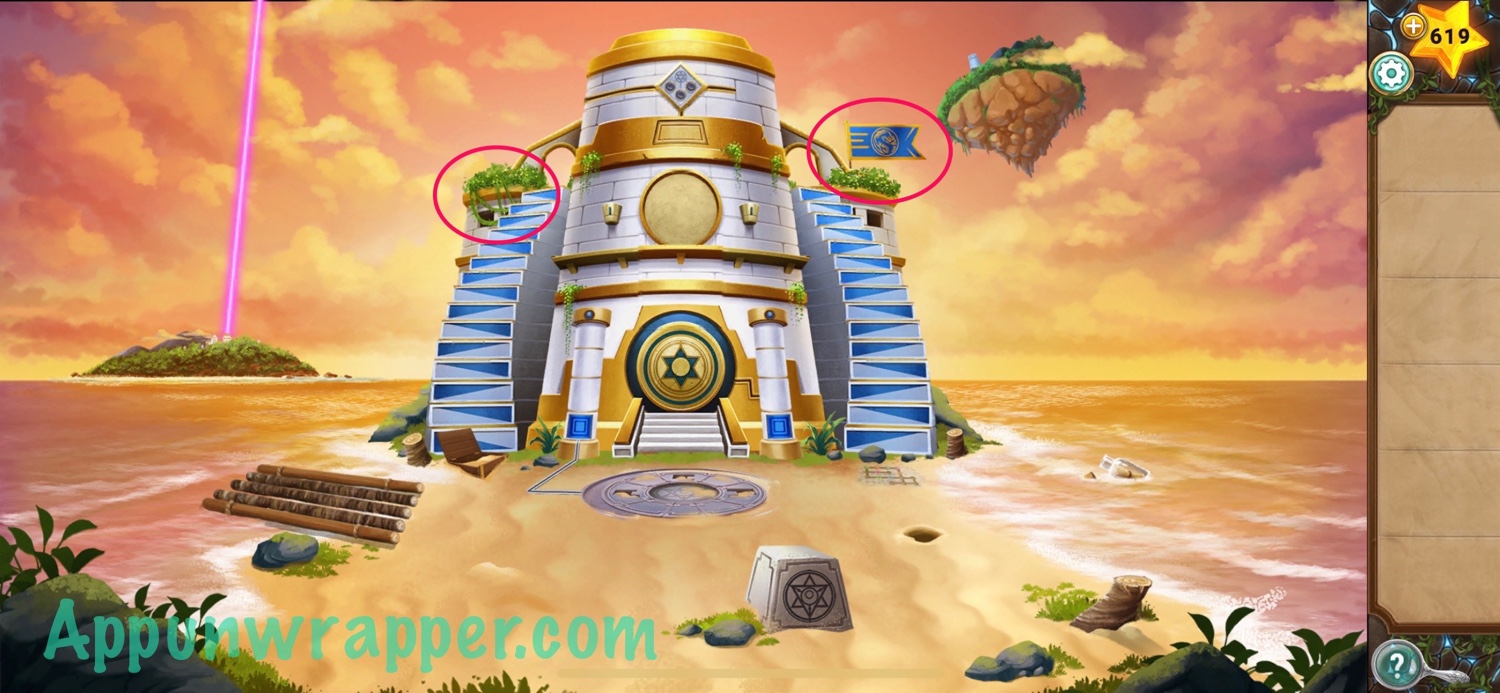
10. Now we have stairs and can reach the top of the temple. Grab the vines on the left side and the flag on the right.
11. Use the vine to tie the logs into a raft and add the flag as a sail. Now we can head off to the Island of Stars!
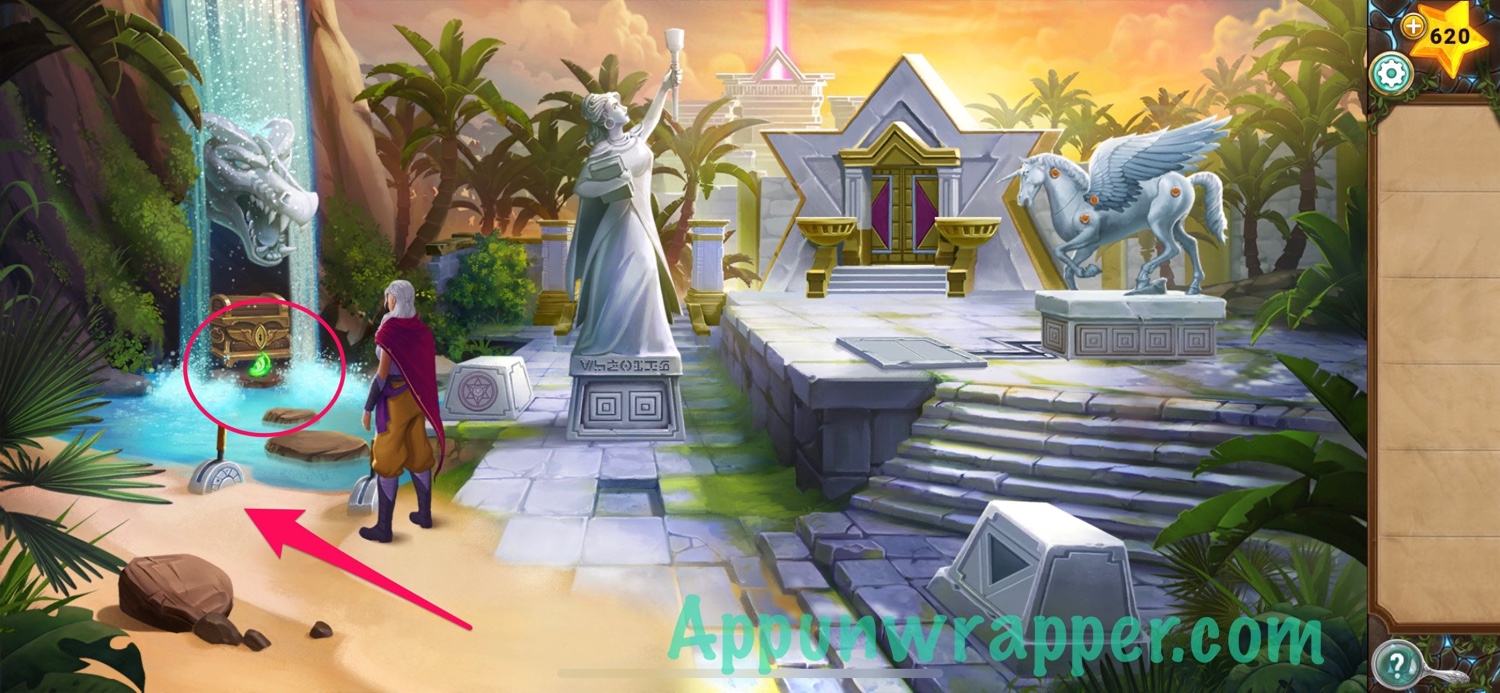
12. After talking to Luna, move the rock aside and grab the lever. Then attach it to the mechanism and push it at the same time she does. Then grab the other half of the green time stone.
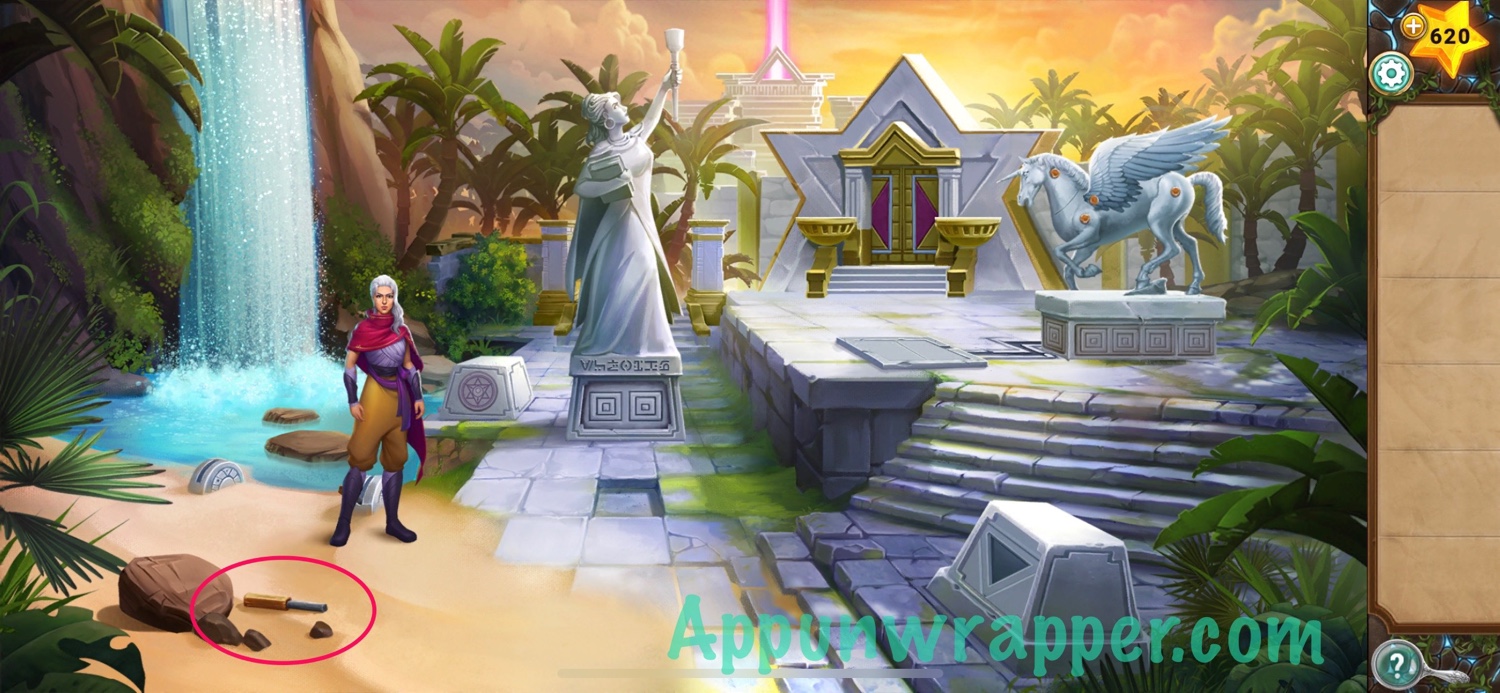
13. Tap the star stone and use the present time stone on it. Luna will explain how you can move objects through time. Open the rift again and take the stone triangle.

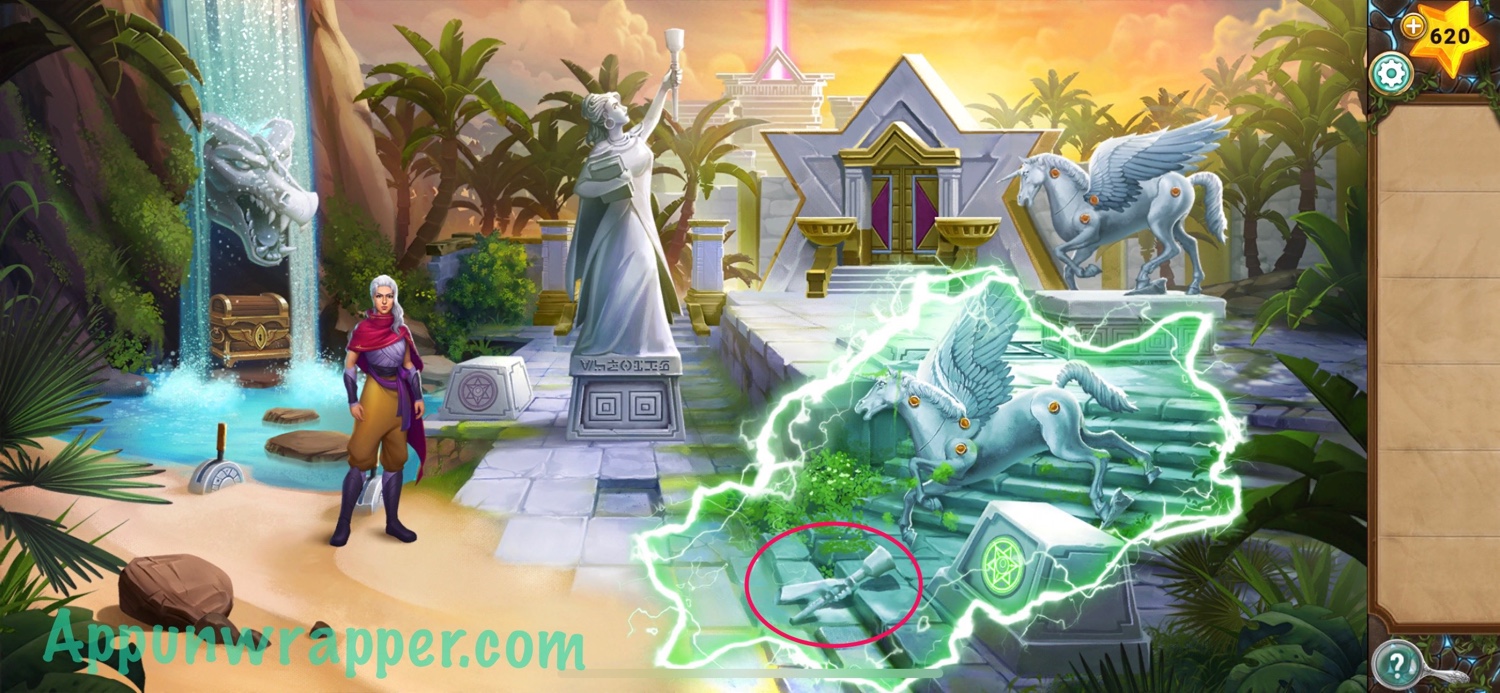
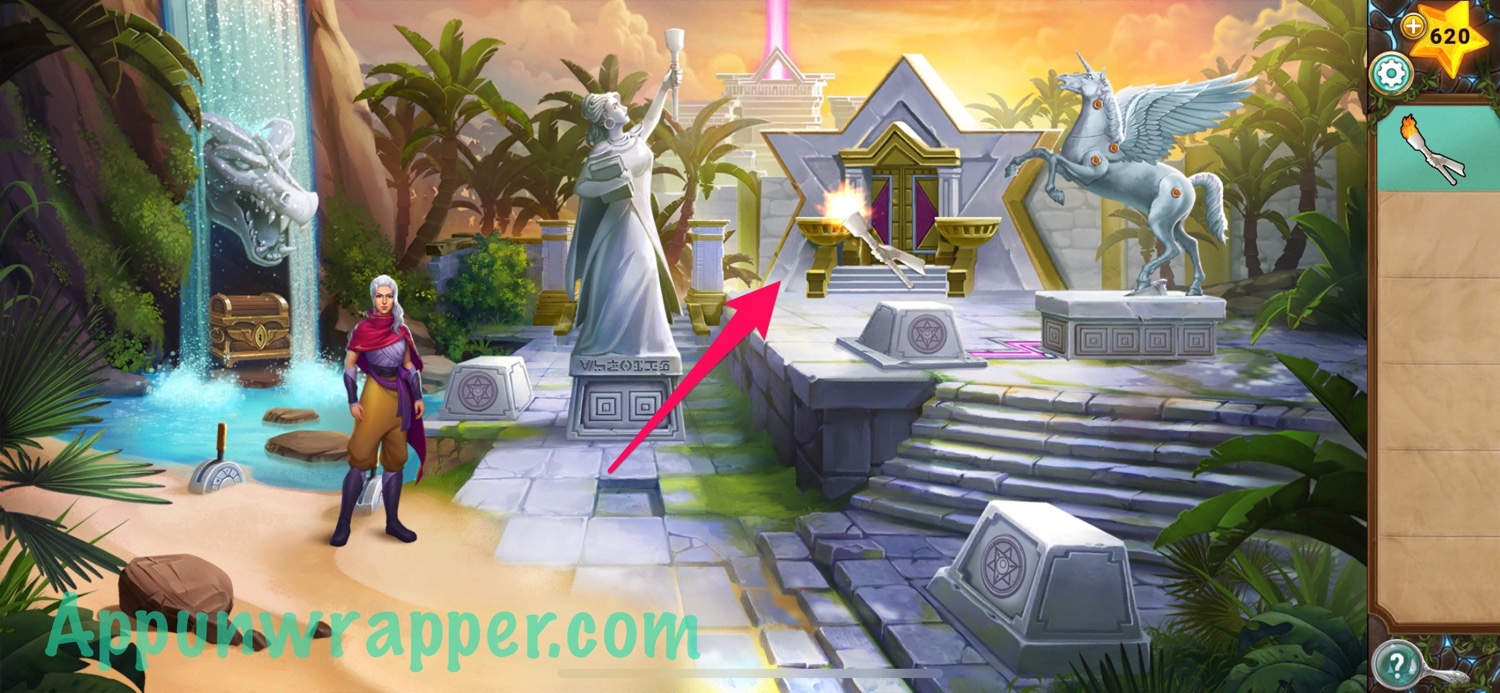
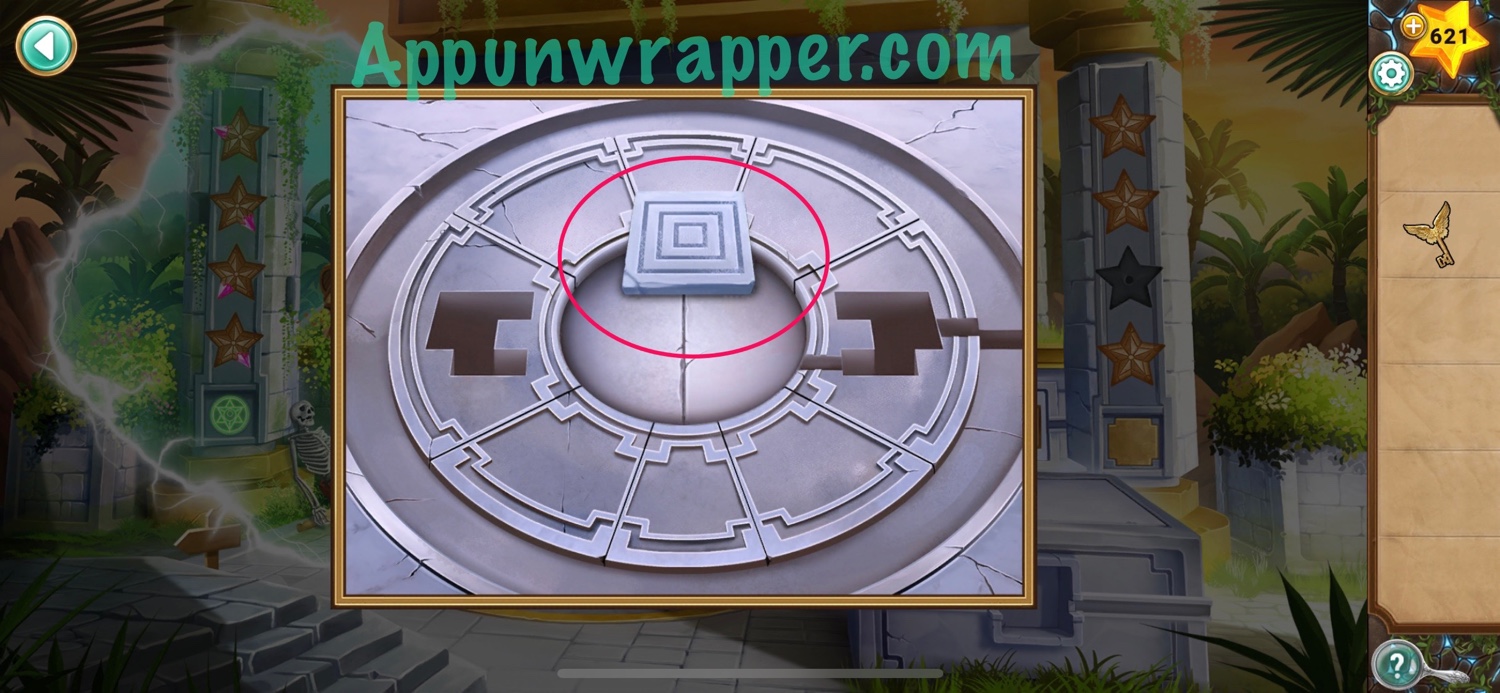
14. Place the stone triangle in the slot and then use the green time stone with the star that’s revealed. It will open another rift. Take the torch and make note of the pegasus statue in the present.

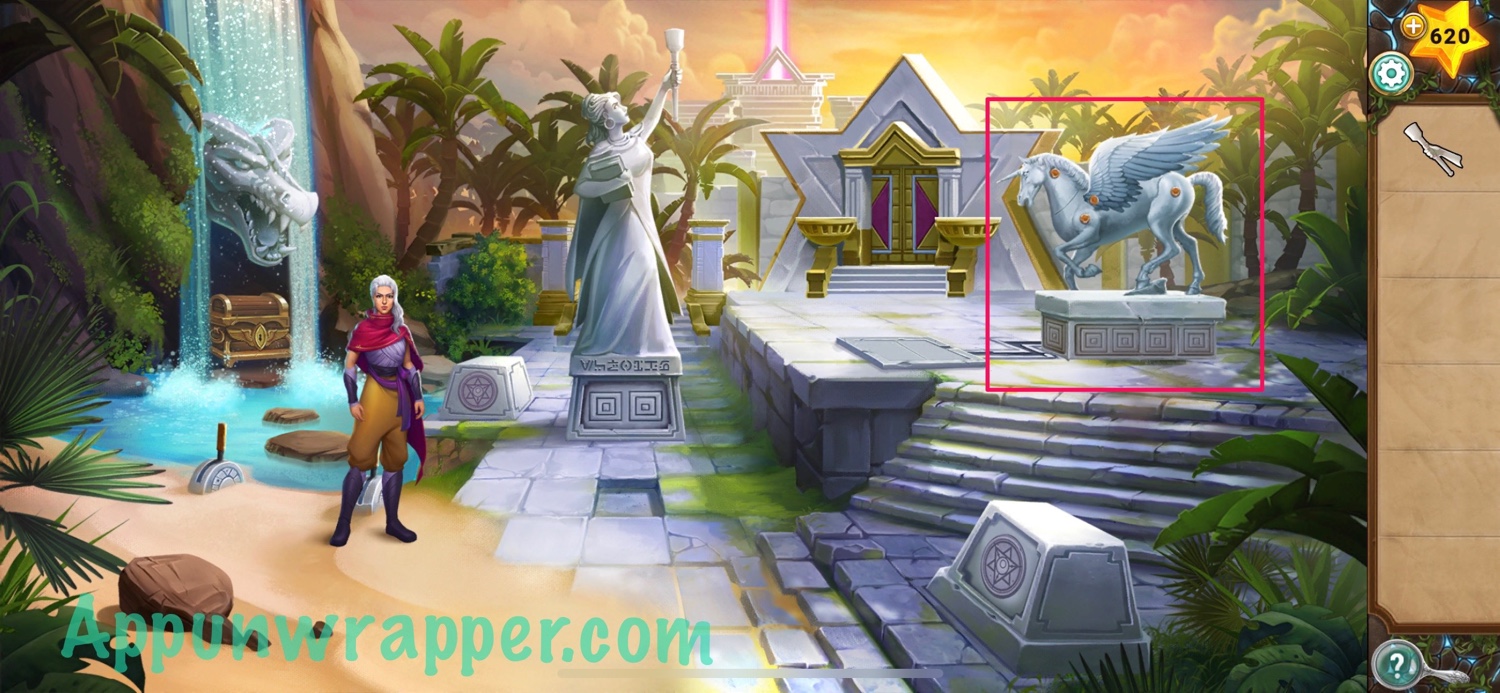
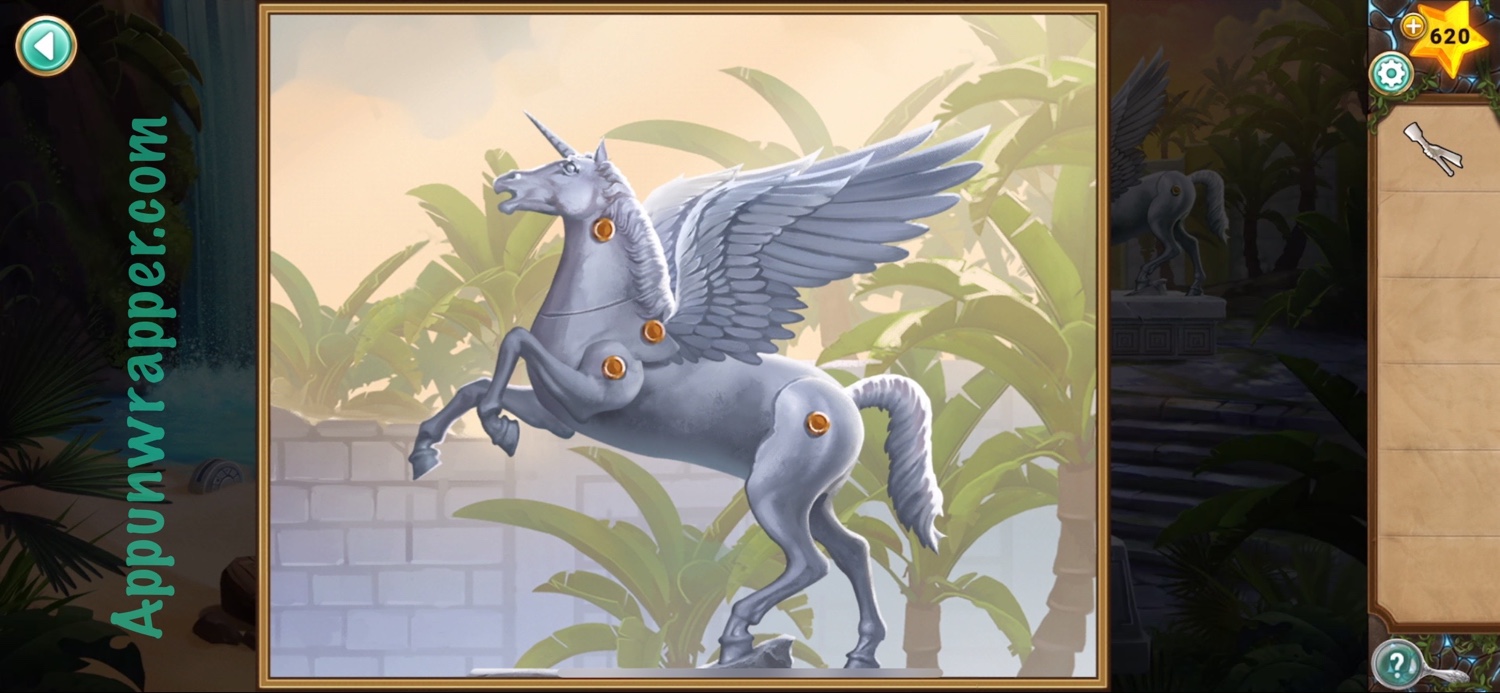
15. Zoom in on the Pegasus statue in the past and press the gold buttons to adjust her pose. It needs to match the pose from the present.
16. A new star stone appears. Use the green time stone with it. Then light the torch using the fire from the present.
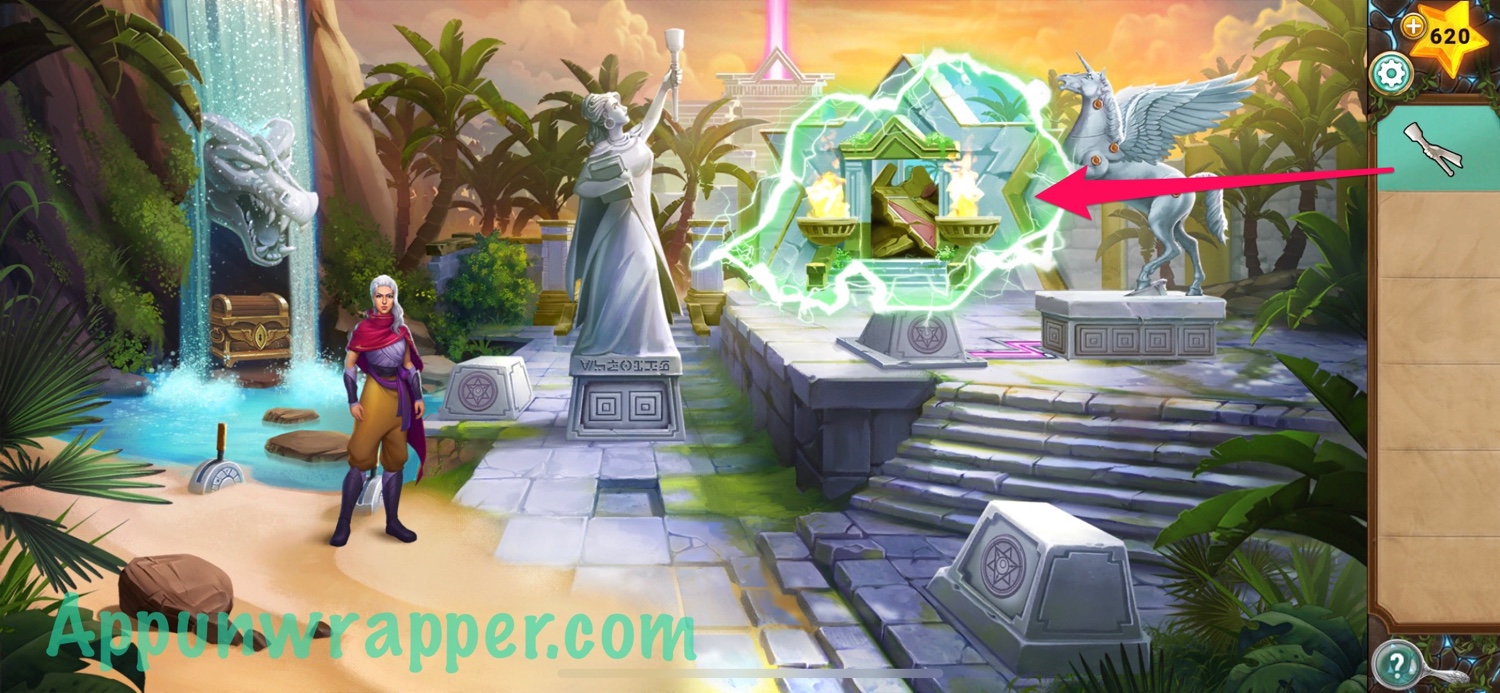
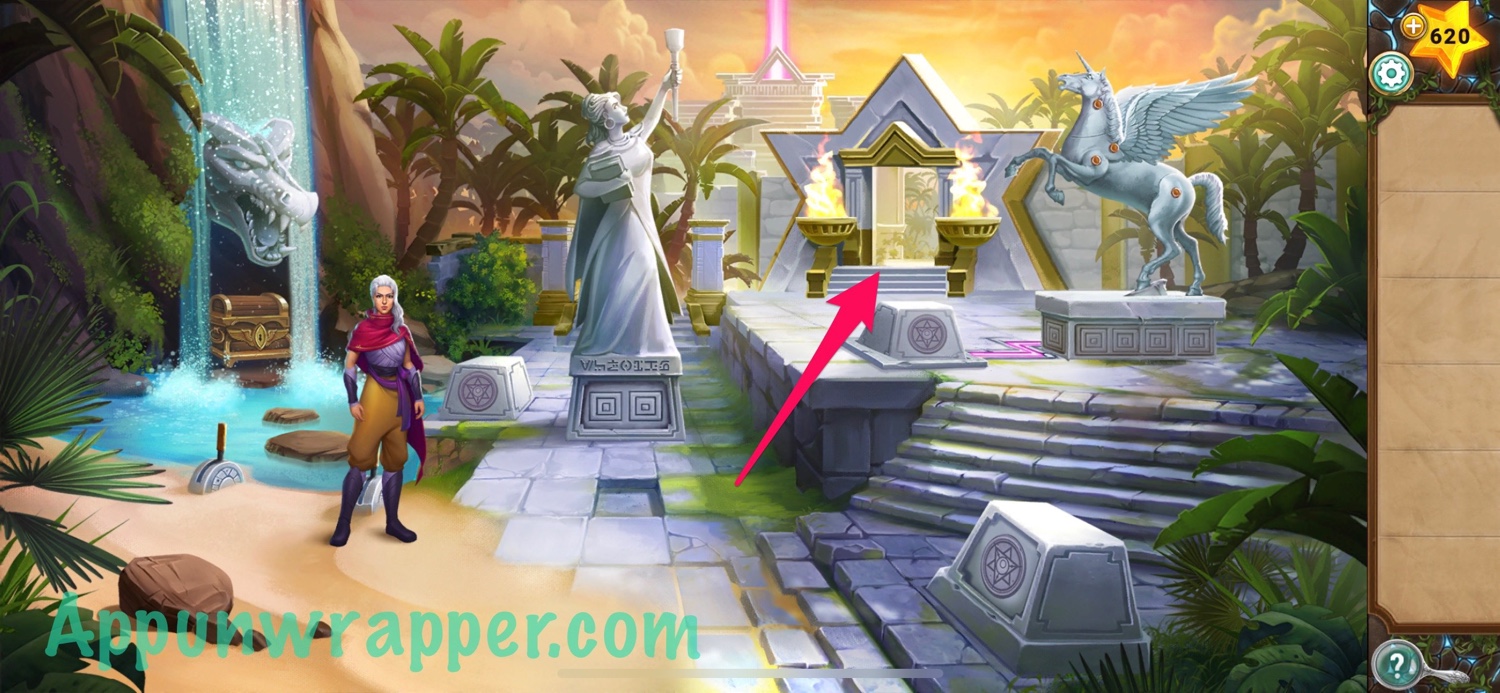
17. Close the rift and then use the lit torch to light the two torches in the past. The door opens and you can head through!
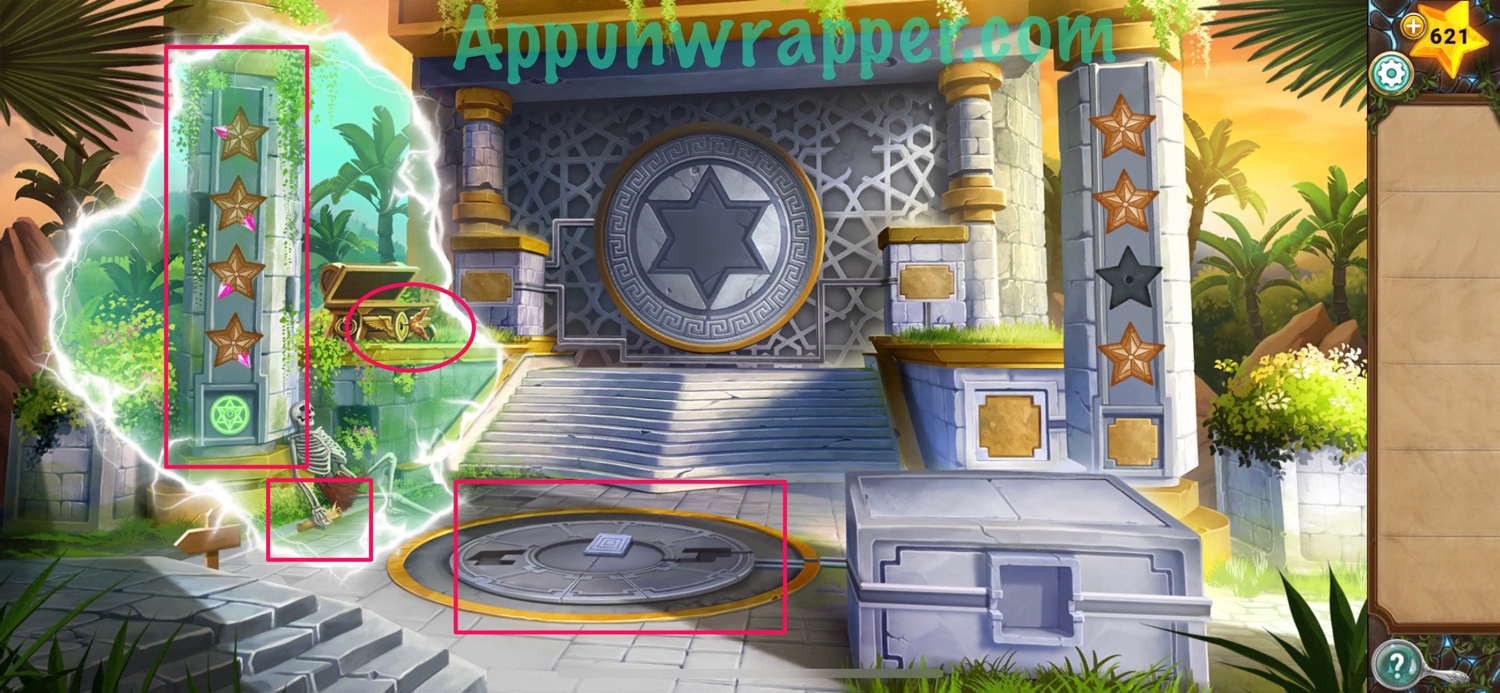
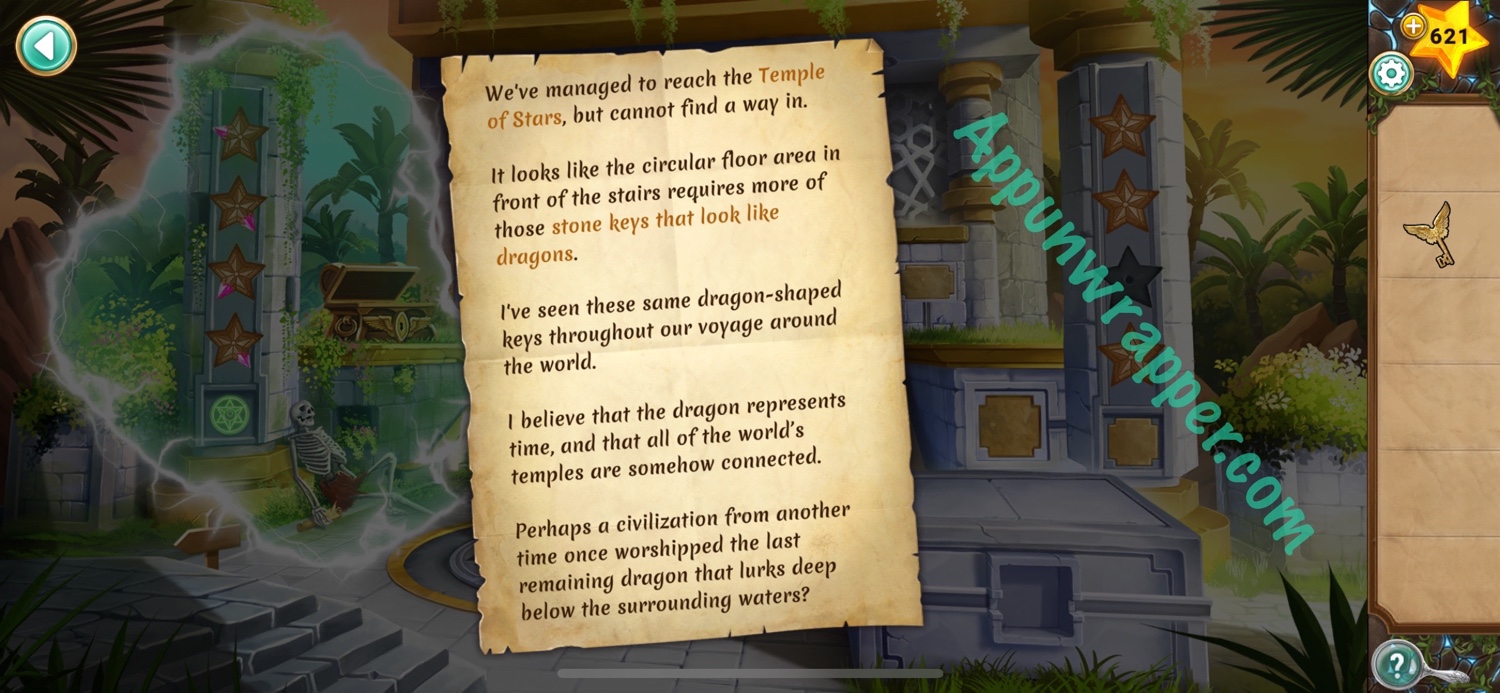
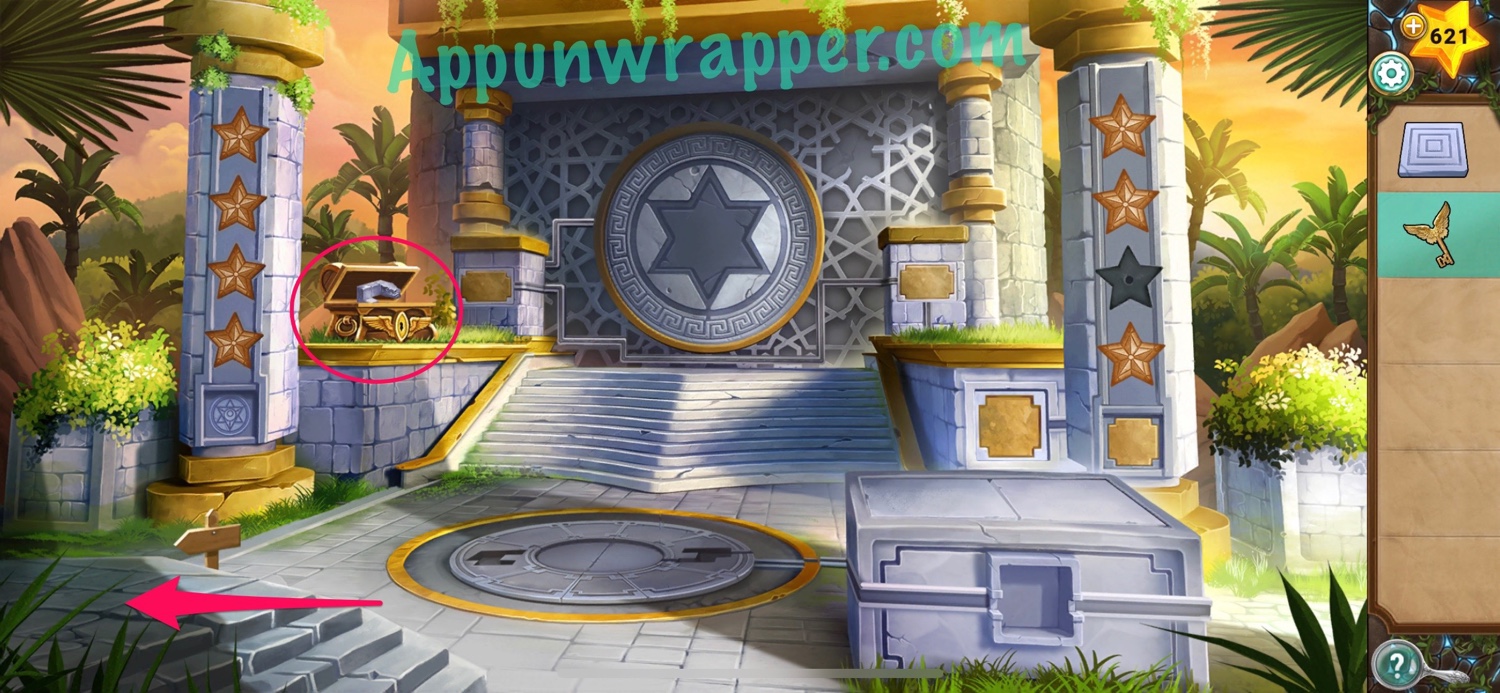
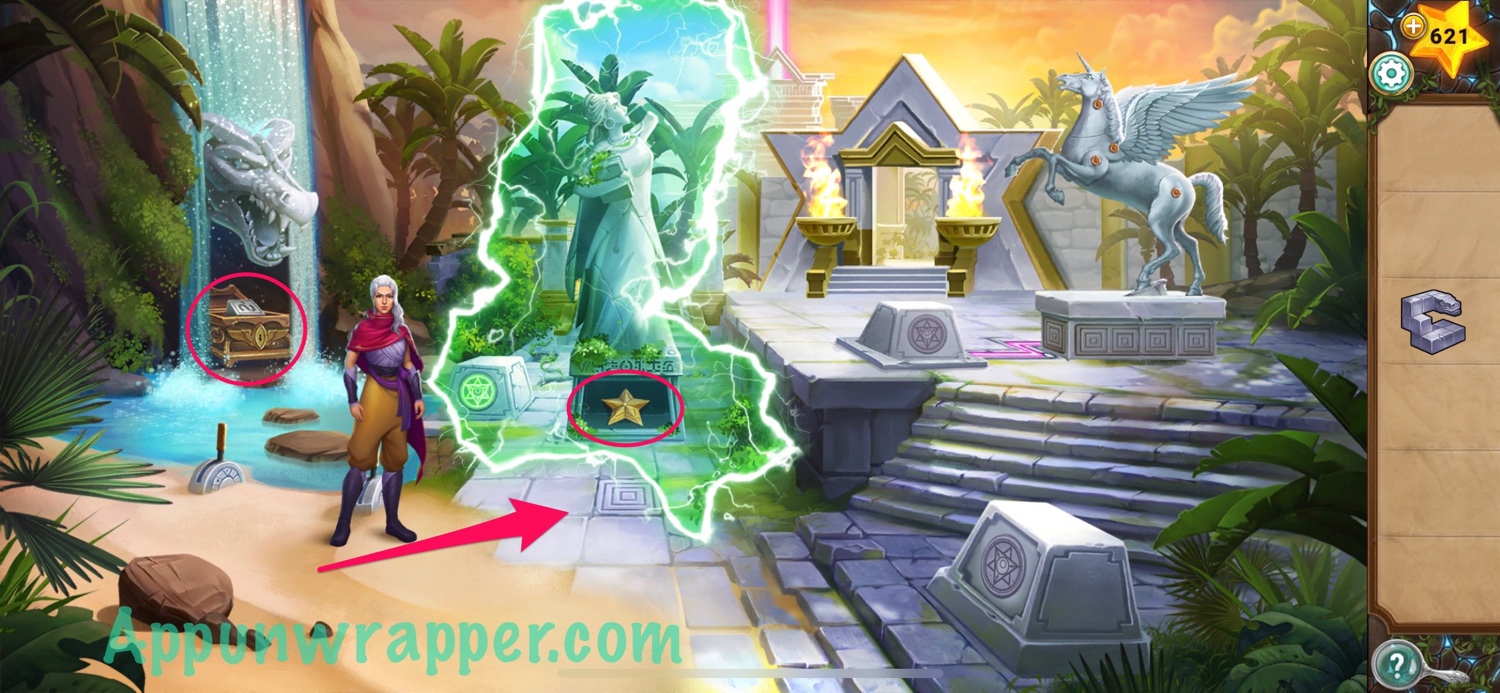
18. Use the green time stone on the star engraving here to open another rift. Grab the wing key from the open chest and read the note the skeleton is holding. Also notice the clue on the stars. And last, pick up the floor tile.
19. Use the wing key on the chest to get a stone key. Then go back to the other area.
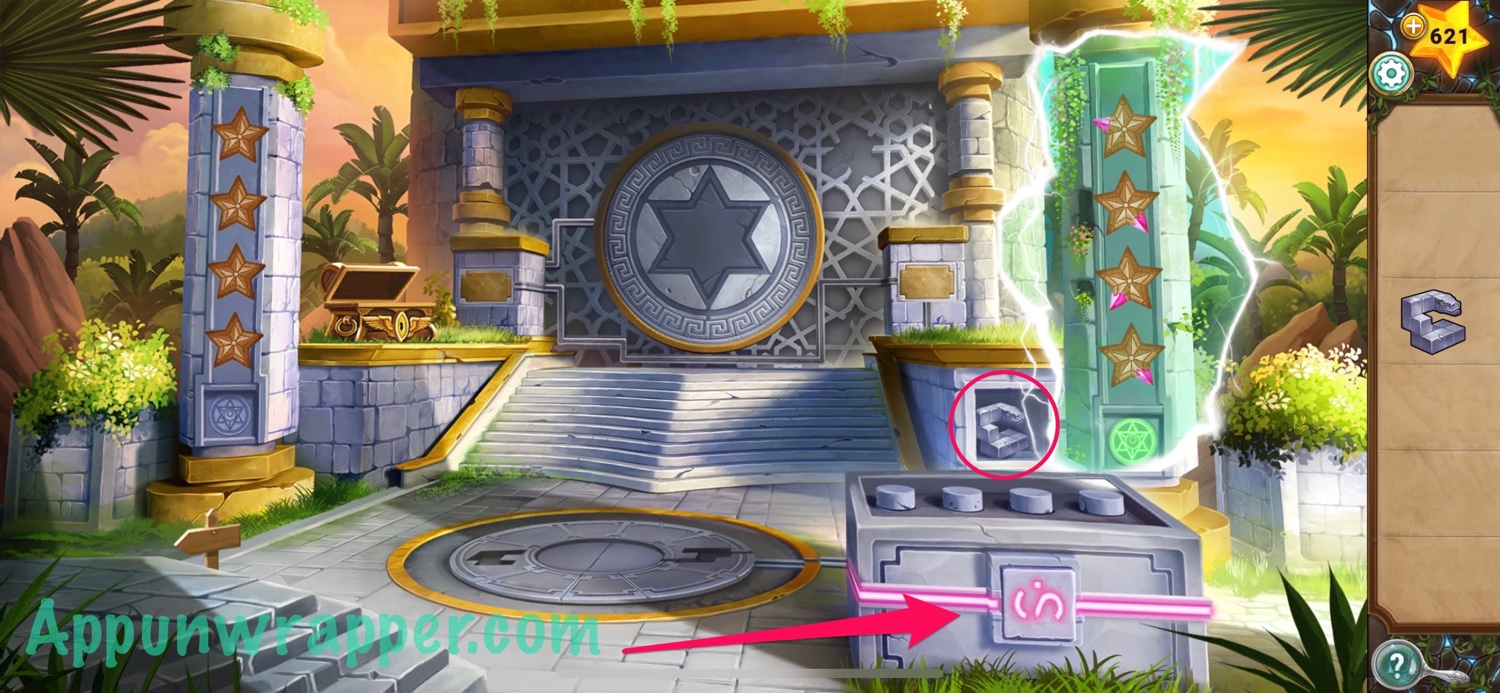
20. Use the wing key to unlock the chest here and get the rune block. Also, place the floor tile down to open a hatch on the statue. There’s nothing there, but if you use the green time stone to open a rift, you can get a star ornament.
21. Go back to the other area and place the star ornament where one’s missing. Also, place the rune block in the slot. Use the green time stone on the new star engraving and then use the buttons to rotate the stars so they match the left side. Then take the stone key.
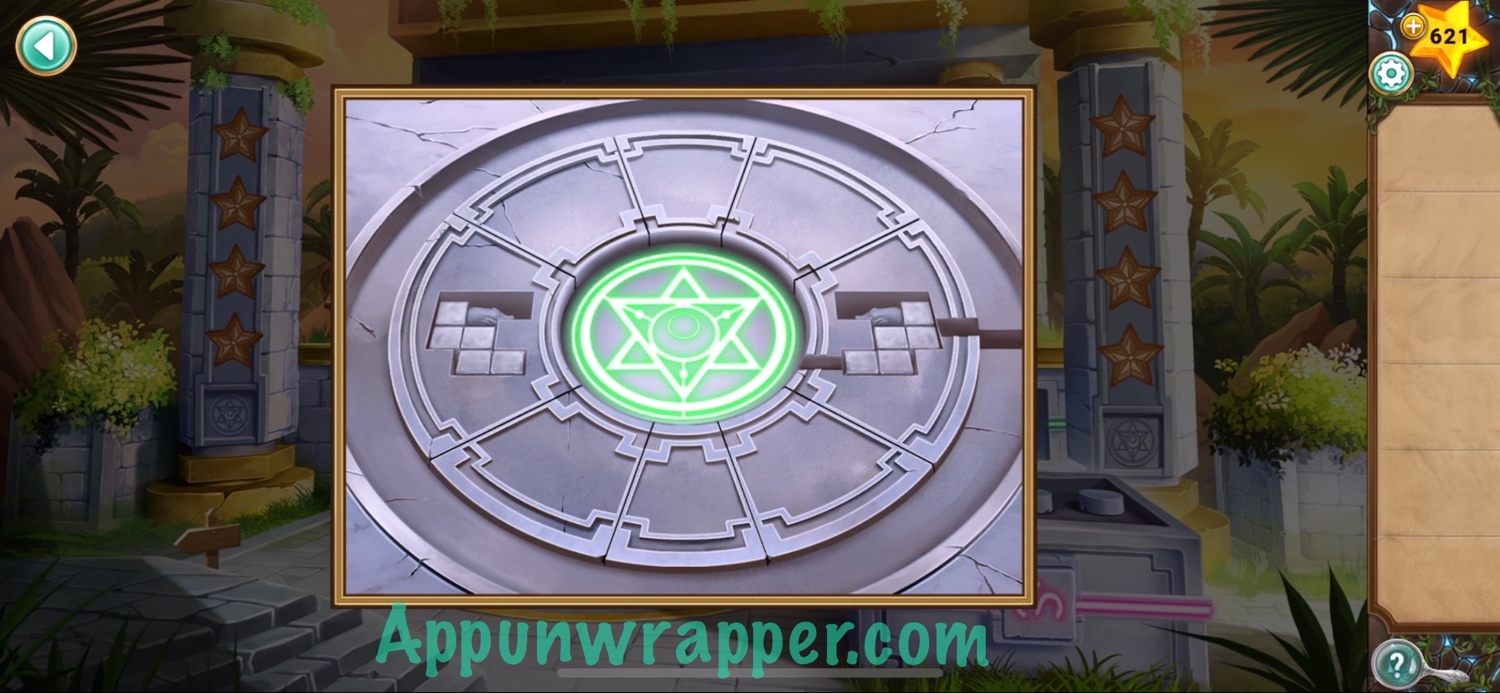
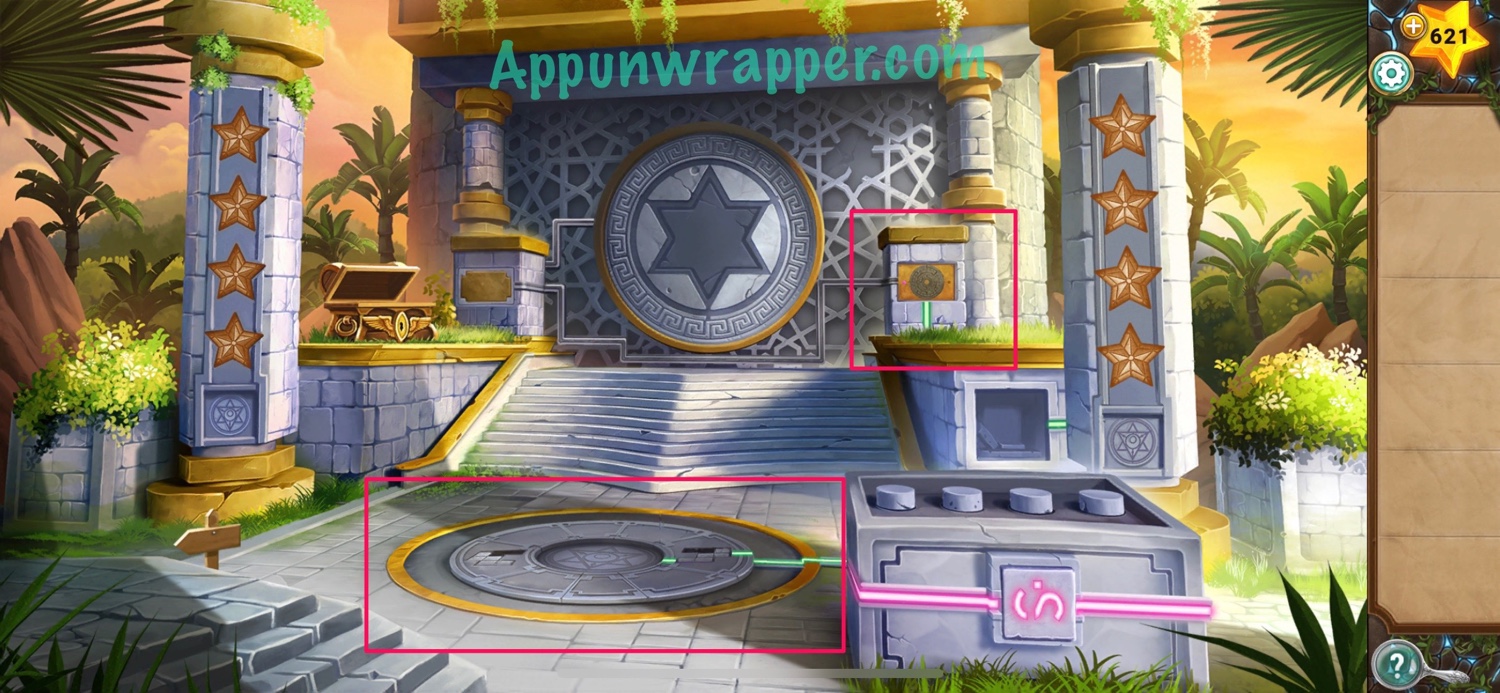
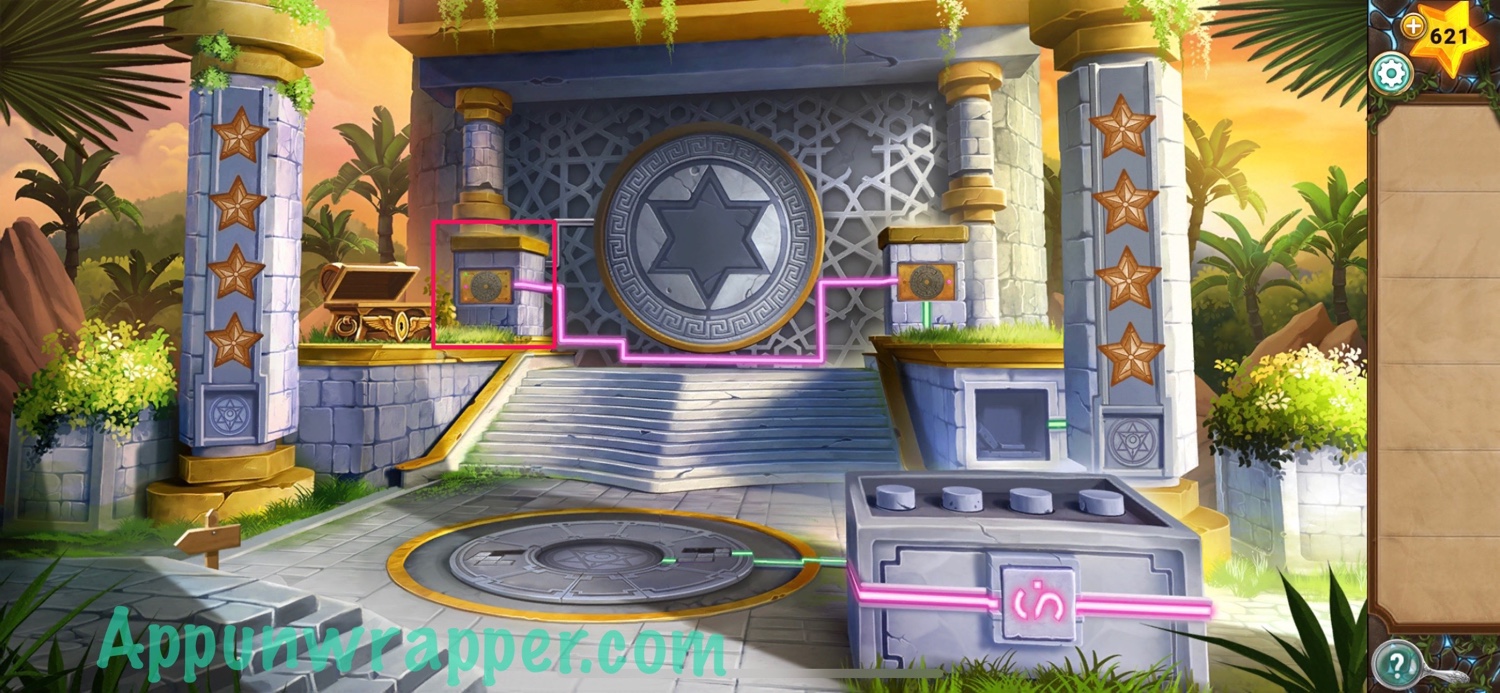
22. Tap on the circle on the ground and place both stone keys in the slots. Then use the green time stone with the star engraving to activate it and unlock another puzzle.
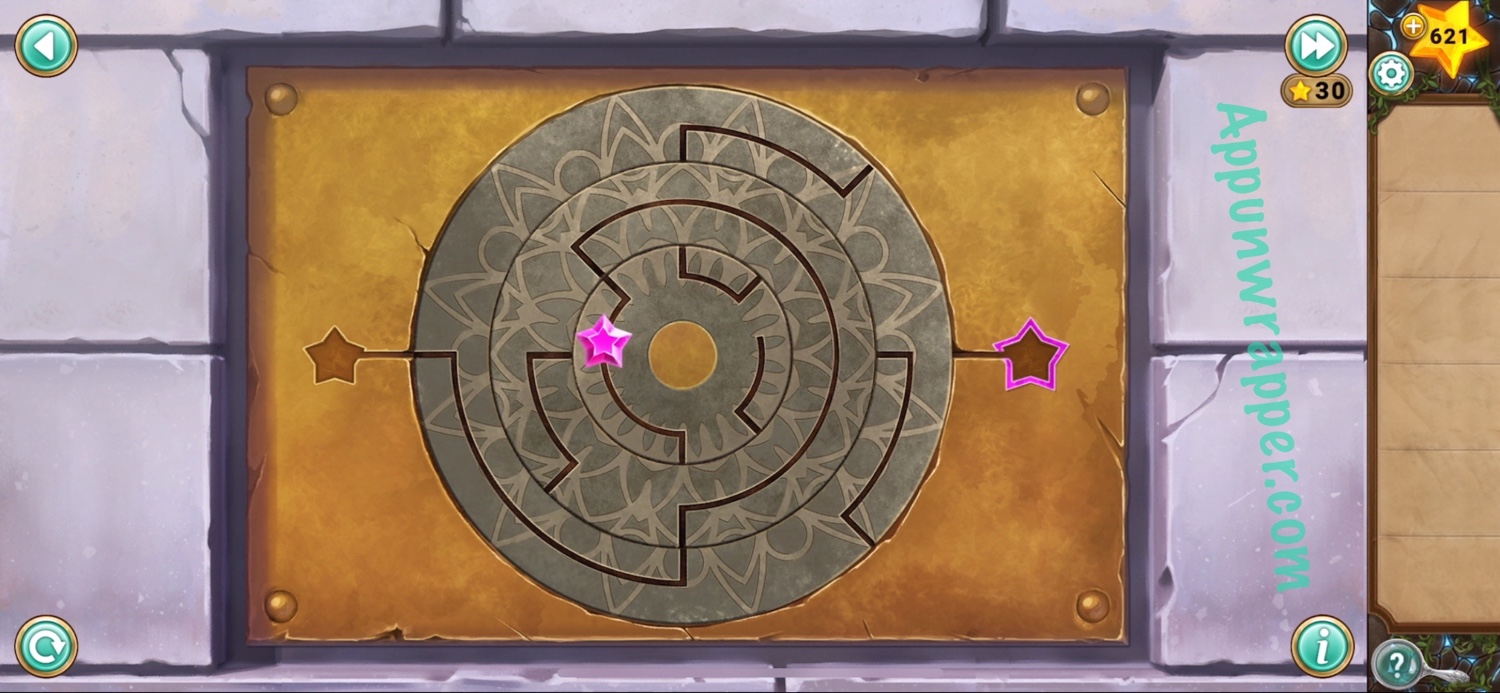
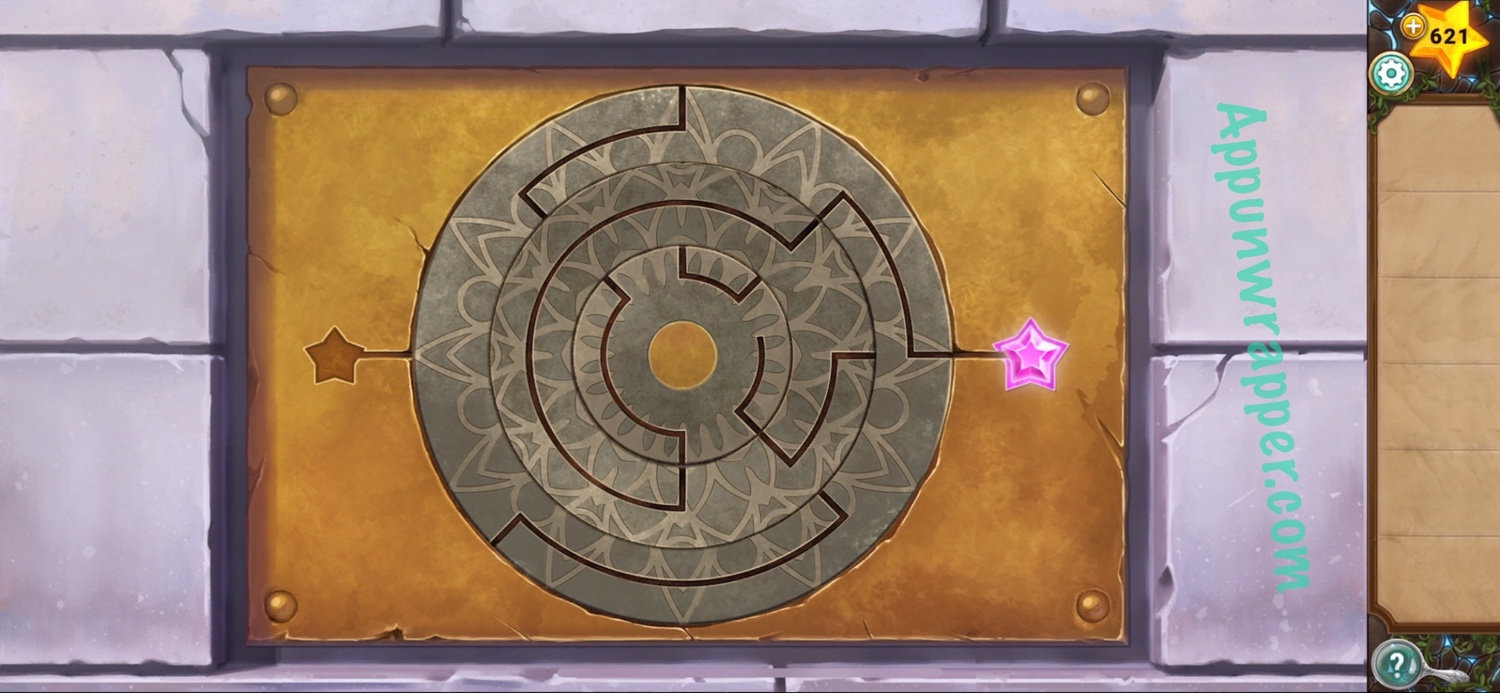
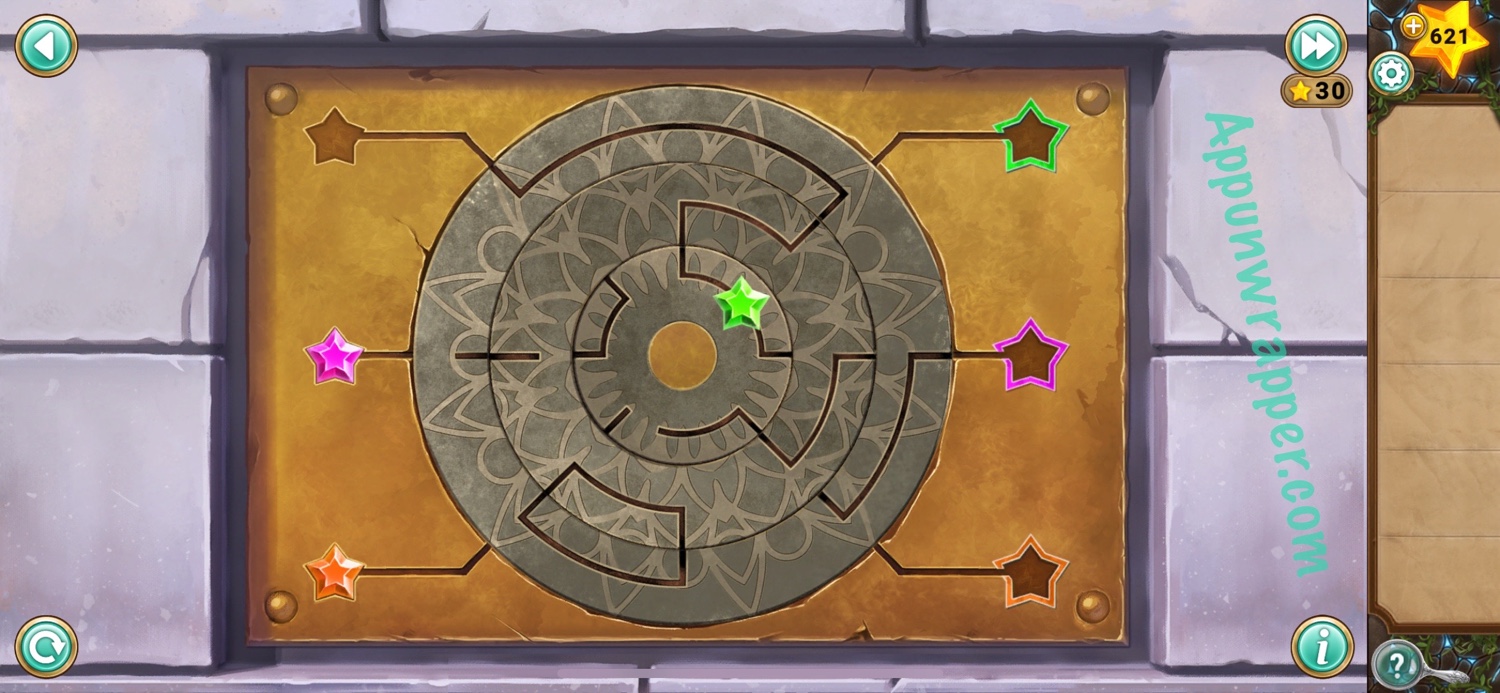
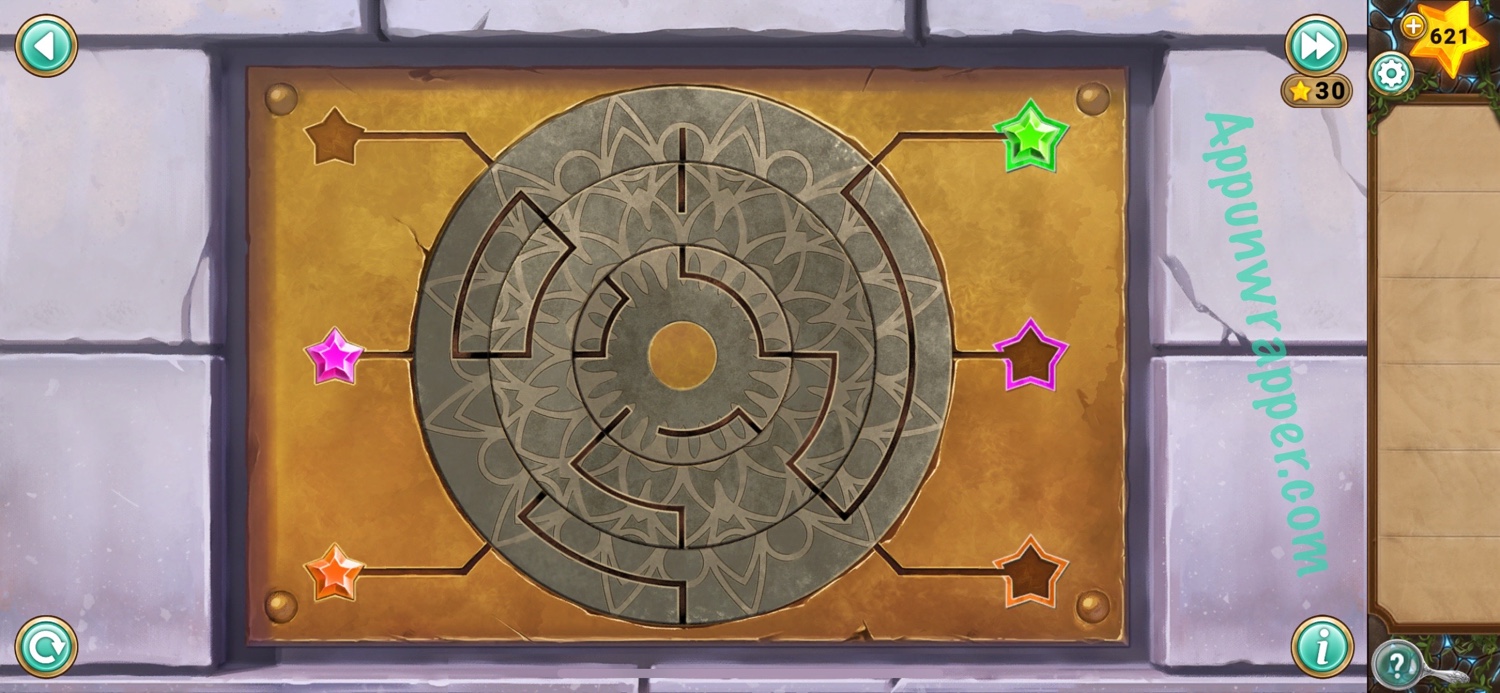
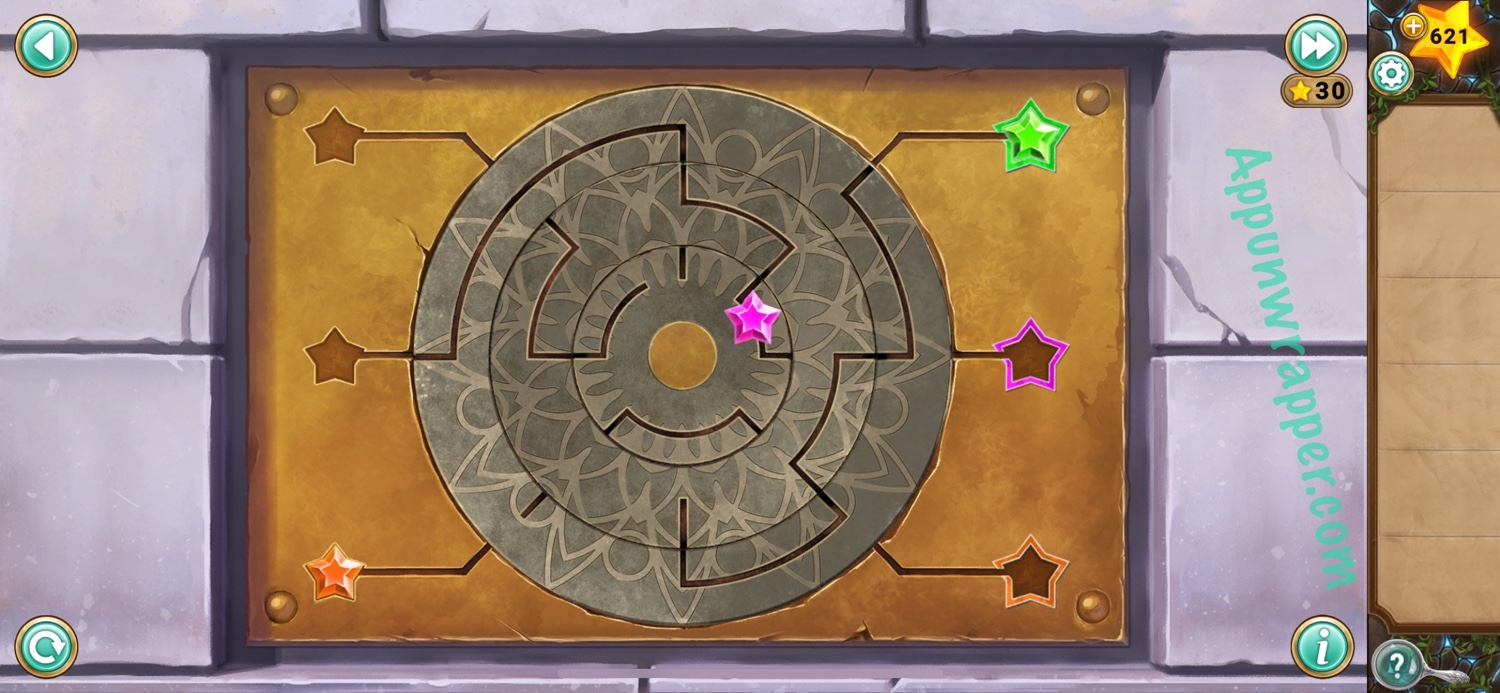
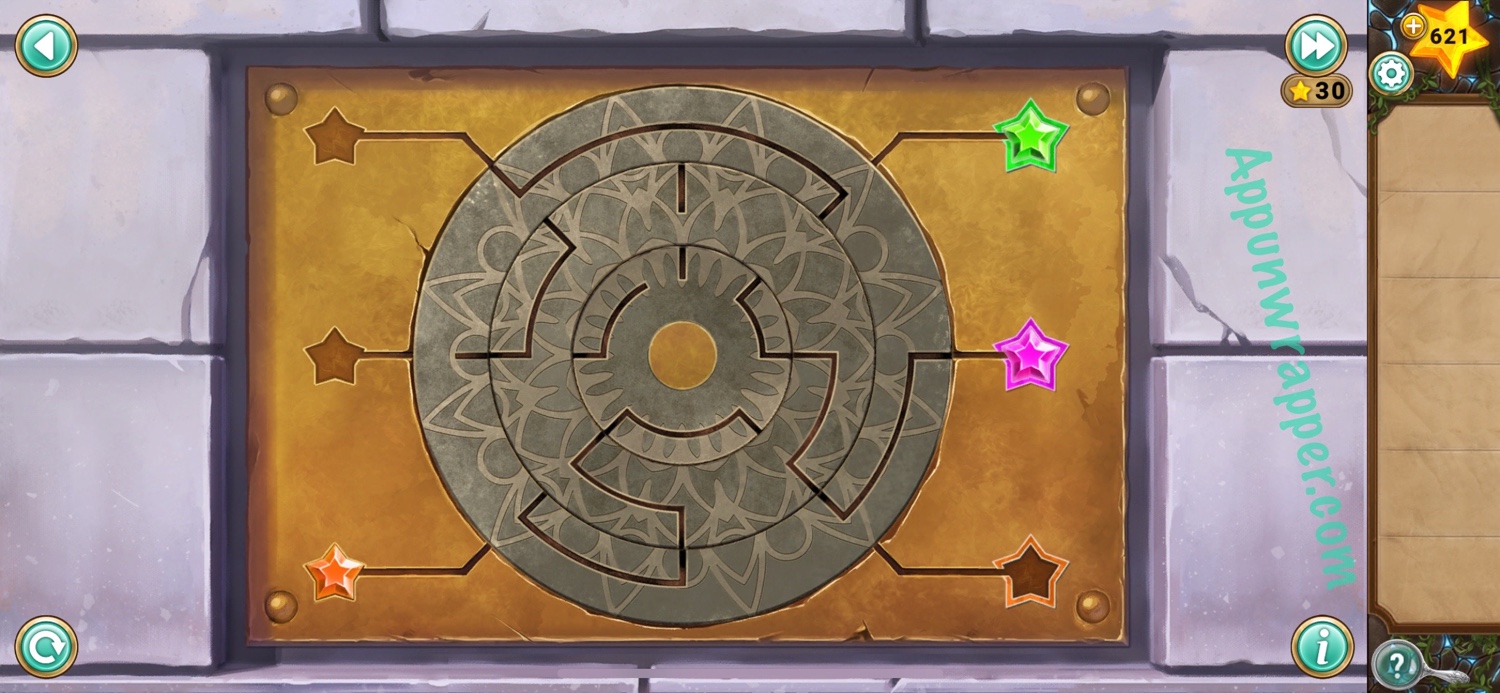
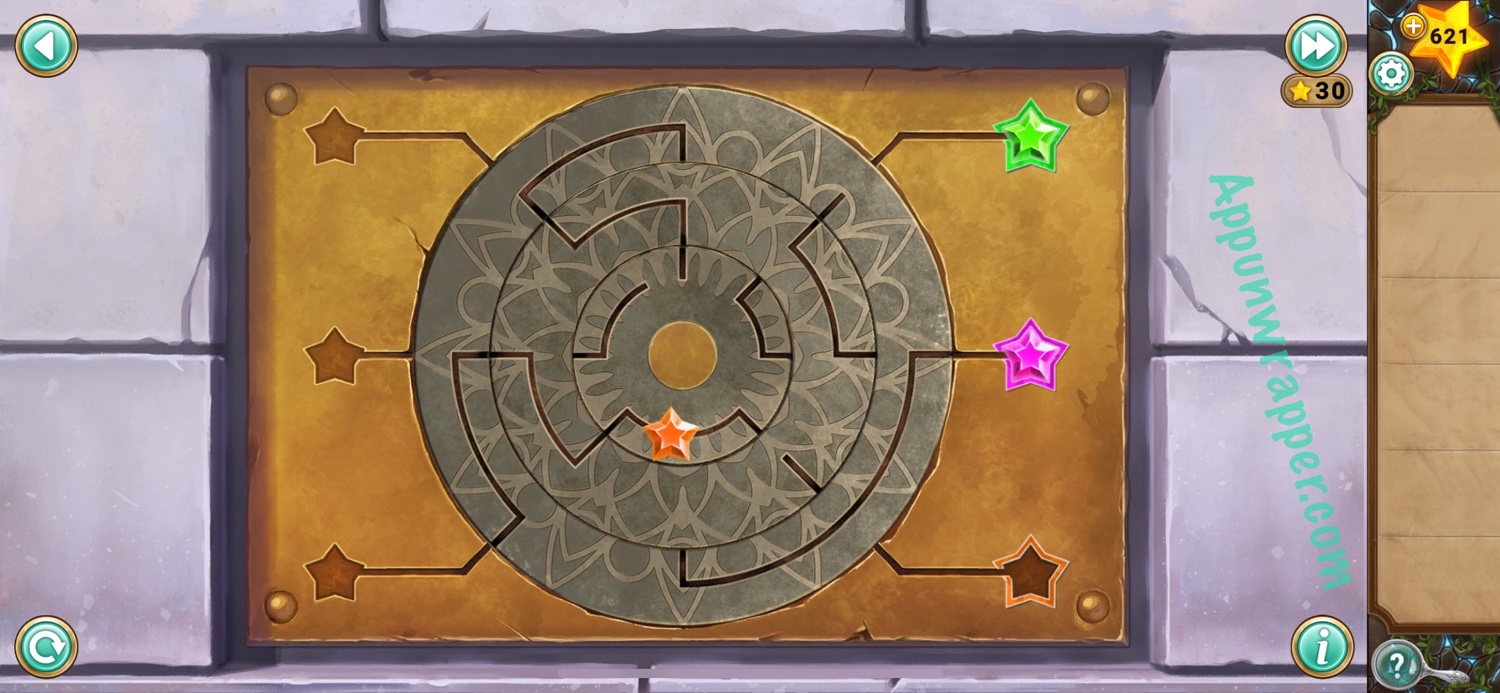
23. Let’s solve the hidden puzzle. You need to drag the pink star gem along the paths and into the slot on the right. Rotate the three rings to adjust the path. You can do it by first setting the rings to look like the first photo and moving the gem to the middle. Then make them look like the second photo and move the gem to the slot.
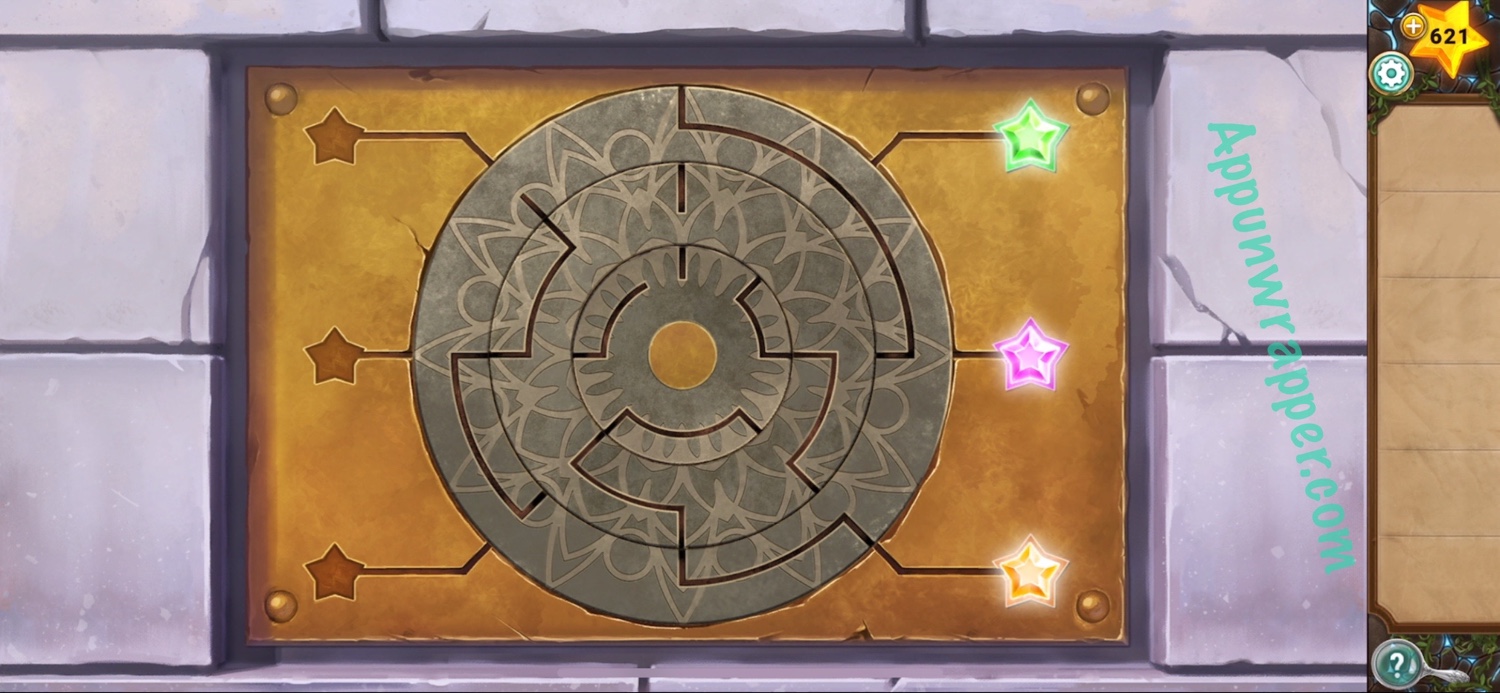
24. Now do the same for the left puzzle. It’s trickier because you have three gems to work on.
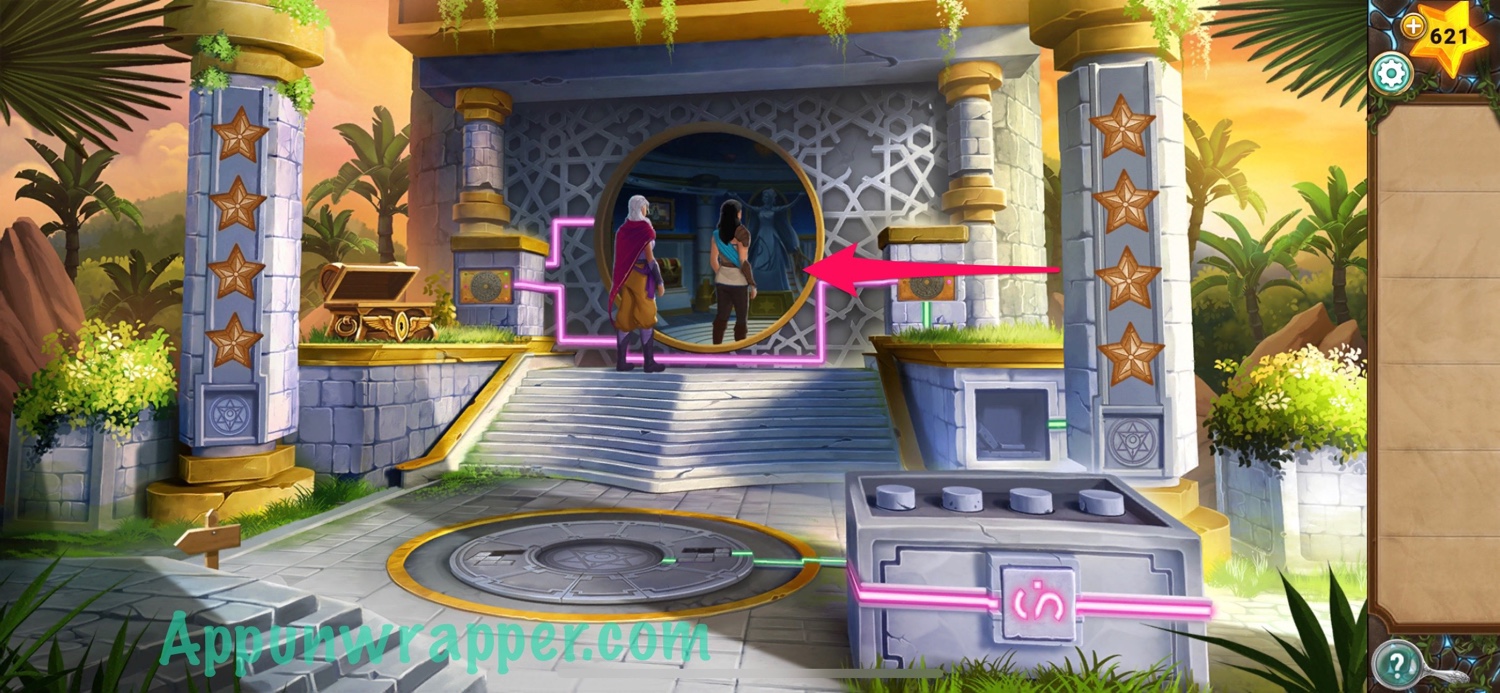
25. Now the door is open! After Luna finishes talking, head inside and complete the chapter.
And that’s the end of Chapter 2! Click here to continue to Chapter 3 or choose a chapter below.


I’m impressed you’ve posted this so early! Thank you for the guides
In your step 21, I was able to go back to the statue and use the time clock to collect 8 stars. But I never found a use for those 8 stars. Anyone else???
Lol to Aila’s “I don’t have time for this!”
where are the button you are supposed to use to rotate the stars in the pillar? I don’t see any
The pegasus will not line up for me. I don’t know how to move past that step. Has anyone else had problems with it?