Escape Game: “The Drifting Locked Chamber”
By: IDAC CO., LTD
This is a walkthrough for the iPhone/iPad/iPod game from IDAC.
Walkthrough
*Note: Only read this if you want full details on how to escape. You will read spoilers here. If you want hints instead, ask in the comments section.
Always make sure you zoom in on something as much as possible. If you don’t the game won’t register that you saw the clue, and it won’t work.
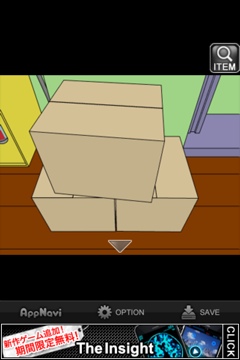
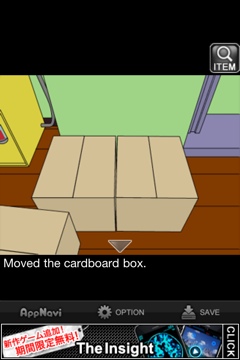
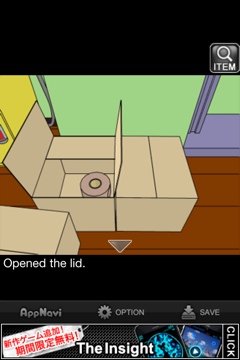
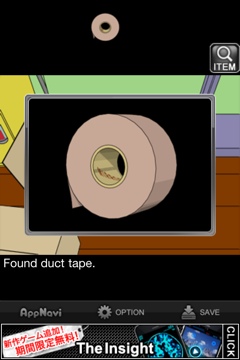
1. Turn left and move the top box. Take the roll of tape from the bottom left box.
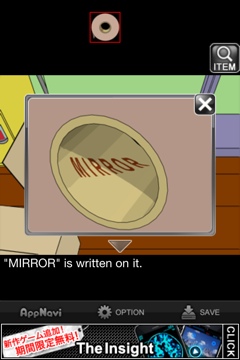
2. Zoom in on the tape and it says “MIRROR”.
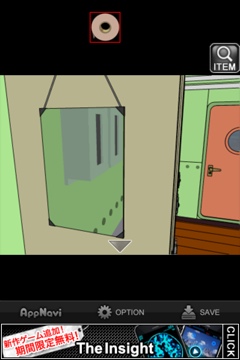
3. Turn left and zoom in on the item below the clock. It’s a mirror. Use the tape on it.
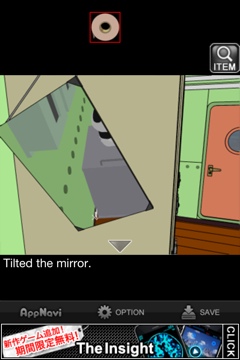
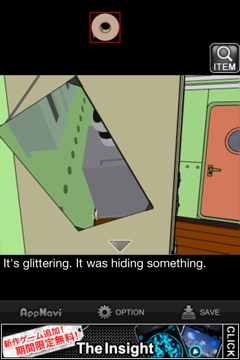
4. The mirror tilts, showing you an item behind the furniture. Tap on it ok the mirror, then zoom out.
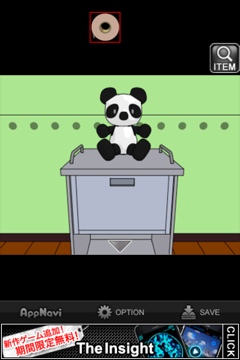
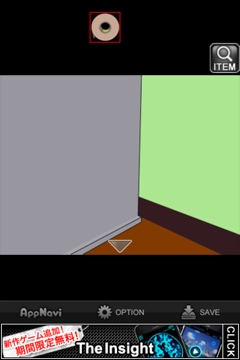
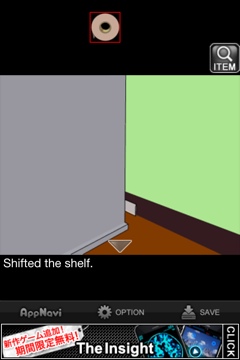
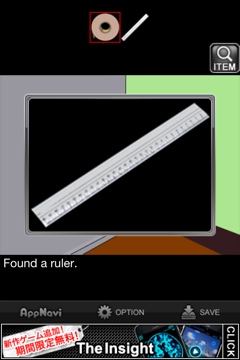
5. Zoom in on the panda, then look behind the furniture he’s sitting on. Take the ruler.
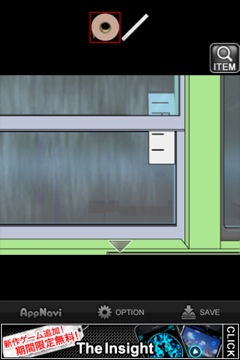
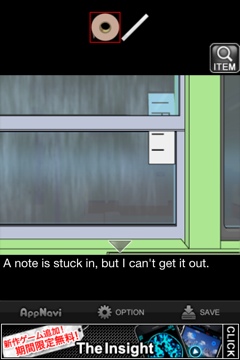
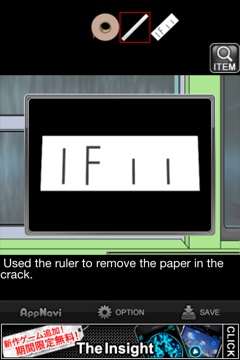
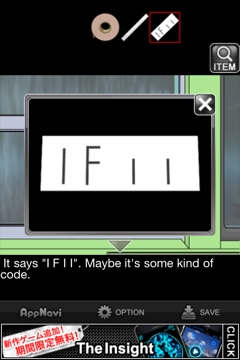
6. Turn around and zoom in on the piece of paper stuck in the window. Use the ruler to remove it. Zoom in on it. It says “I F I I”.
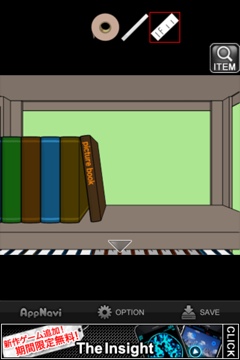
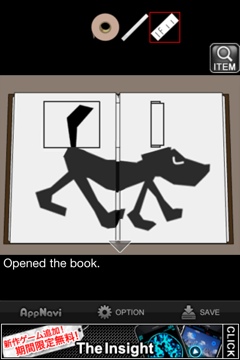
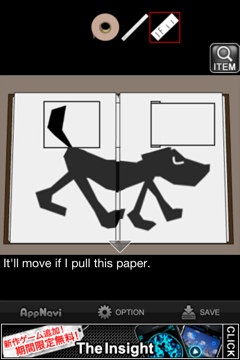
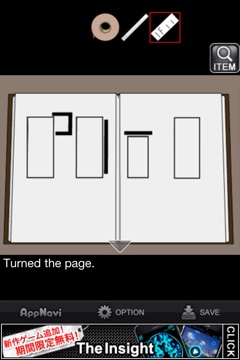
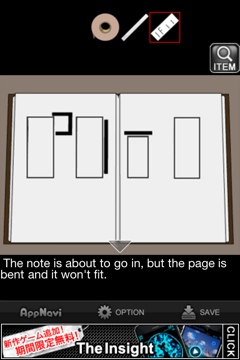
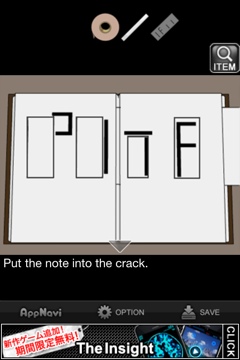
7. Turn to the bookcase and open the book that says “Picture Book.” On the first page, pull the tab that causes the dog’s tail to wag. Then turn to the second page and try to put the piece of paper into it. It says that the page is bent. Use the ruler on the book to fix it. Then insert the paper in the slot.
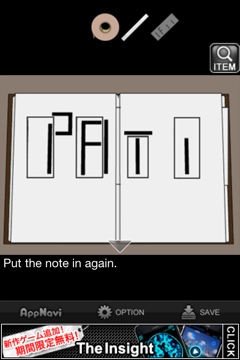
8. After placing it in the book, pull the tab and now the paper now reads “PATI”.
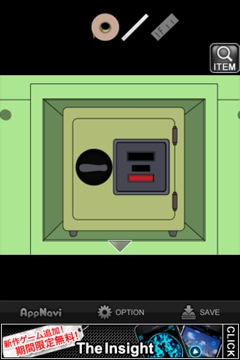
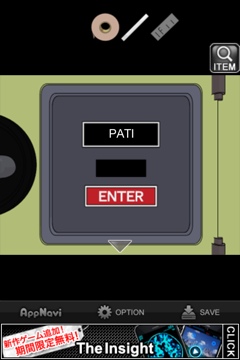
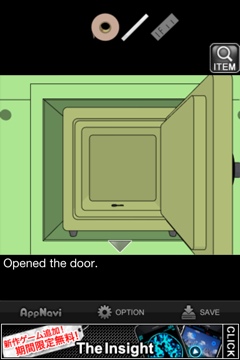
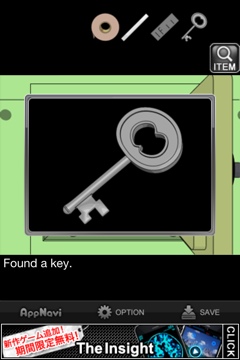
9. Zoom in on the safe to the right of the bookcase. Enter the password “PATI”. Open it and take the key.
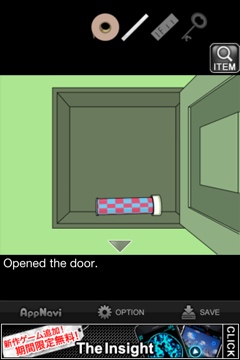
10. To the left of the bookcase is another safe, one with a keyhole. Use the key on it and take out the kaleidoscope.
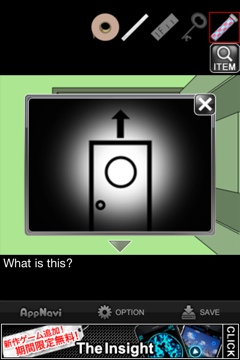
11. Open the kaleidoscope and tap on it until it shows you a picture of a door with an arrow over it.
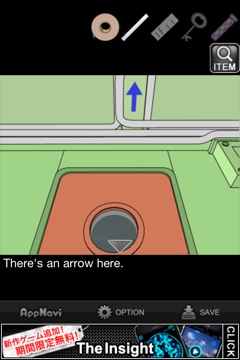
12. Turn to the front door and tap above it. A blue arrow appears. Tap it.
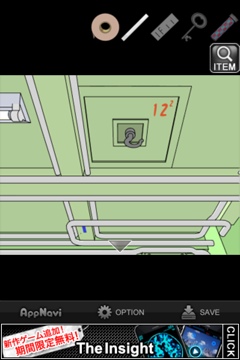
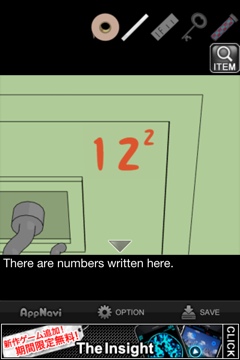
13. Now you see a hook with some numbers next to it. Examine both. The numbers say 12^2 (squared). 12 x 12 = 144
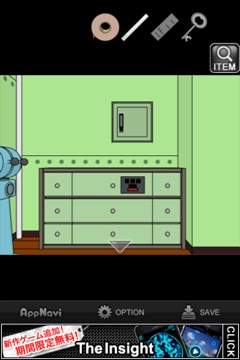
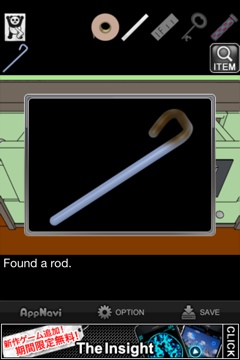
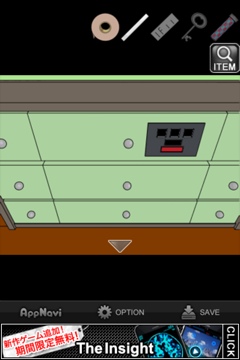
14. Go back down and zoom in on the locked drawer to the left of the bookcase. Type in “144” and take the rod out.
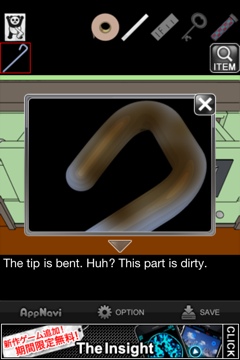
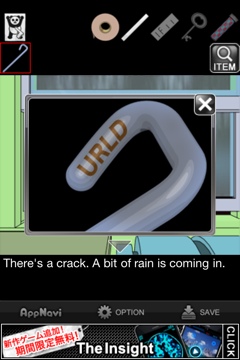
15. The rod is dirty. Take it over to the right window and wet it with the water on the windowsill. Zoom in on the letters that appear: “URLD”.
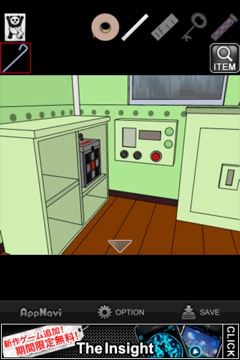
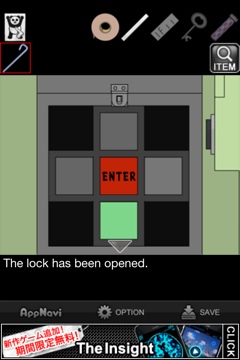
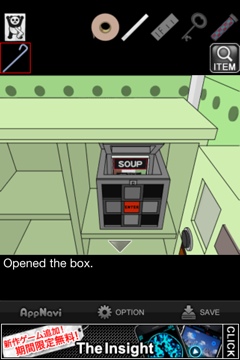
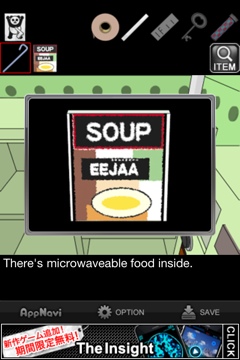
16. Zoom out. On the same screen, there’s a First Aid Kit in the corner. Zoom in on it. The letters we found stand for “Up, Right, Left, Down.” Tap on the squares in this sequence and then tap “ENTER.” Open the box to get the Microwaveable Soup.
17. Zoom in on the soup and see the letters “EEJAA”.
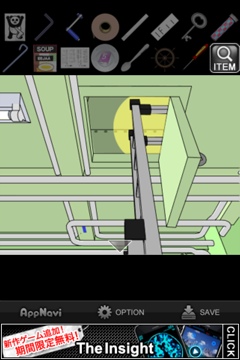
18. Go back up the the ceiling. Use the rod on the hook and it opens a trap door. It’s too dark to go in, so we need to find light.
19. Go back down and pick up the piece of paper near the ladder. It’s Morse code. Turn it over to see the numbers “0106”.
20. Go back to the safe to the right of the bookshelf. Underneath the safe, on the right side, is a piece of paper. Pick it up. It’s a picture of a panda.
21. Zoom in on the panda picture and read the description.
22. Find the stuffed panda and zoom in on him. Use the photo to raise his arms up towards the ceiling (like he’s at gunpoint). Something tears. Turn him around and take the hex wrench from his booty.
23. Zoom out and turn right. There’s a machine with a pulley and a blue lever. Use the hex wrench on the lever to remove it.
24. Move over to the yellow generator and attach the lever. It needs to be stabilized, so use the tape.
25. Turn the lever a few times until the red line to the right fills up all the way.
26. Now the light is on upstairs, so you can climb up the ladder and go up.
27. Look between the crack of the two pieces of furniture (sink and microwave) to find a bowl. Use the ruler to reach it.
28. Fill the bowl with the microwave soup and pop in the microwave oven. Close the door and turn on the oven. Walk around a bit while it heats up.
29. You’ll hear a “Bing!” when the soup is ready. Take it out.
30. You need something with which to eat the soup. Look to the right of the sink. There are two dishes. Move the one at the top and take the spoon from underneath it.
31. Eat the soup with the spoon. A book appears with the letter 5 on it. Examine it.
32. Go downstairs and turn to the bookshelf. Open up the red book number 5. It’s a book about Morse code. Use the page of Morse code you found with the book. Now you understand Morse code and can signal for help!
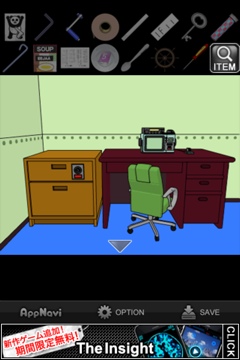
33. Go back upstairs and turn to the desk on the left. Zoom in on the machine and enter the code “0106”. Now you can use it.
34. Use the sheet of Morse code on the paper. You typed “SOS”!
35. Wait for a reply. Tap again on the machine and it says “Right Right Left.”
36. Turn to the left of the desk. There’s a lock. Turn the dial right, then right, then left. Then tap “ENTER.” Open the drawer and take out the handle.
37. Go back downstairs. Zoom in on the handle you found. Zoom in on the three stars.
38. Turn to the screen with the panda. Face the three lockers. Zoom in on the lock and tap the star three times. Press ENTER and open it to get the screwdriver.
39. You can’t use the handle yet because you don’t know which way to steer the ship.
40. Go back upstairs. Turn to the desk. Try to open the top drawer. It’s stuck. Turn to the side if the desk and unscrew the screw. Open the drawer and find a map. It says there’s a harbor to the south.
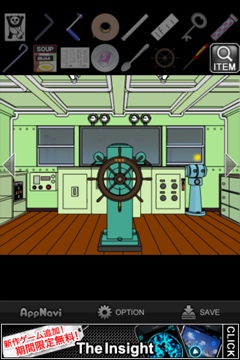
41. Go back downstairs and attach the handle to the green object in the center. It won’t turn. Use the screwdriver on it.
42. Turn the handle until the ship faces south.
43. Look at the window. There’s a light. Zoom in on it and you can see that you’re facing the harbor. The ship is at the harbor and someone is knocking at your door!
44. Turn to the front door. Someone has unlocked it from the outside. Tap on it.
You’re free! Congratulations!











Pingback: Escape Game: “The Drifting Locked Chamber” Partial Walkthrough | App Unwrapper
FML… the bear pic. I’d never have found that… thanks! xx
🙂
Im stuck :-S how do i put the soup in the bowl?
Thanks, for the walkthrough – fantastic indeed!
well thank u
Hey(: it’s me(: Thank you so much:D I finally escaped!(:
Tank you very very very much:have not gone crazy!!!! 🙂
This game is fun really makes you think.I’ve played all the escape games and enjoy them ALL.
How do I type the morse code ….it not working fa me
Sooooo…I cannot get the Code “PATI” to work at the safe…will you help me??? o_O Thank You
Try using capital letters = PATI, not pati.
But I tried and it doesn’t work! D:
Same problem here. Caps isn’t working for me either. Tried pati, Pati and PATI all with no joy 🙁
When I enter the code on the drawer it tells me it’s wrong… Any idea why?
Oh, I got it. I saw the numbers, but I hadn’t zoomed in on them, so the game didn’t unlock the code…
How long do I have to wait for a response on the radio machine??
troppo bello, grazie…
So I have the leaver from the pulley device but can’t fix it to generator?
where should i find the light