Hellraid: The Escape
By: Techland & Shortbreak Studios
 [DKB url=”https://www.appunwrapper.com/Hellraid” text=”Download” title=”” type=”” style=”” color=”green” width=”” opennewwindow=”” nofollow=””]
Walkthrough:
See all my Hellraid: The Escape walkthroughs and guides in one handy place.
Chamber 3:
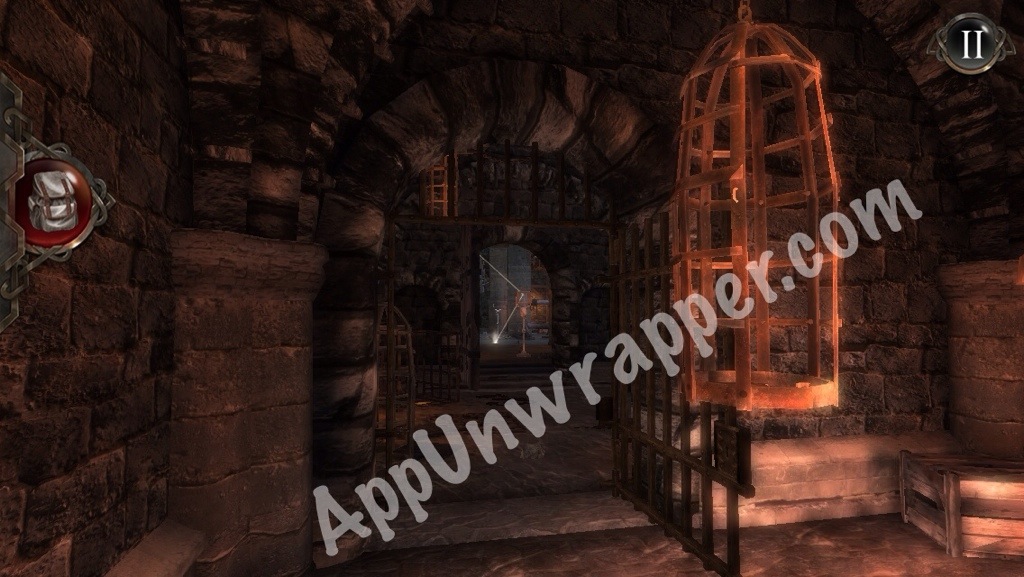
1. Notice the gate to the right. We’ll come back to unlock it. Read the note on the barrel.
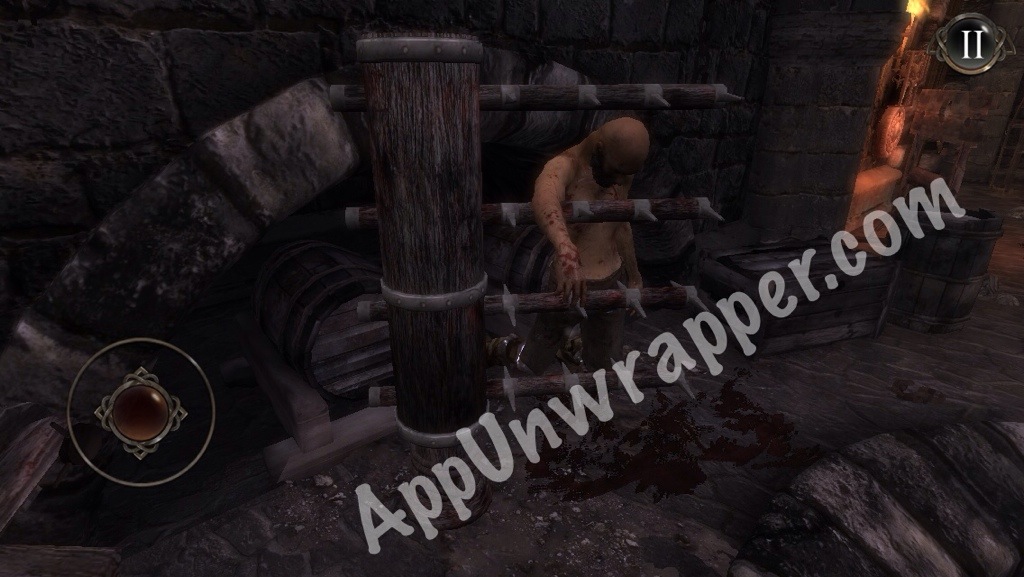
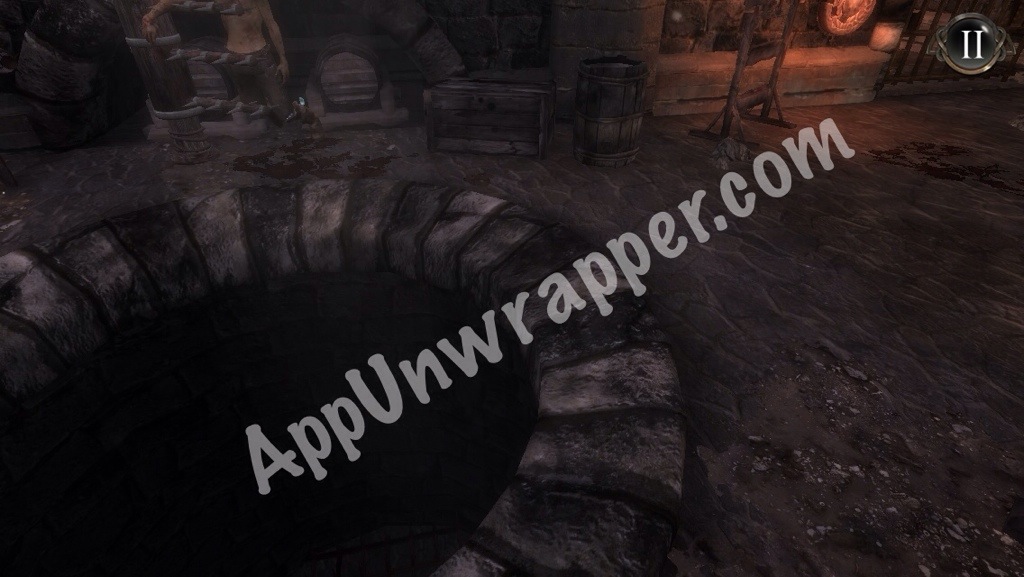
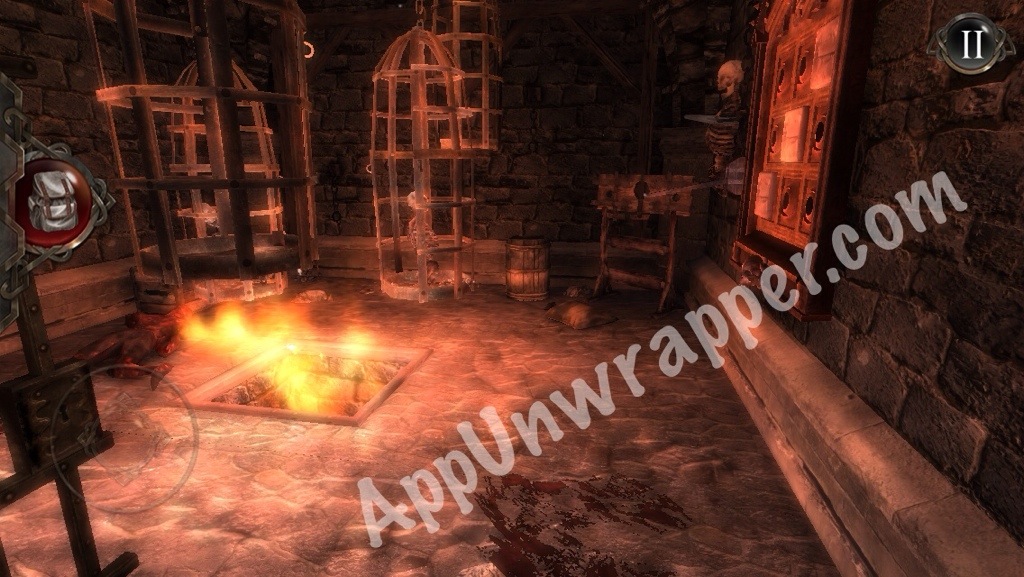
2. Continue straight ahead, avoiding the trap to the left of the hole, because it will kill you.
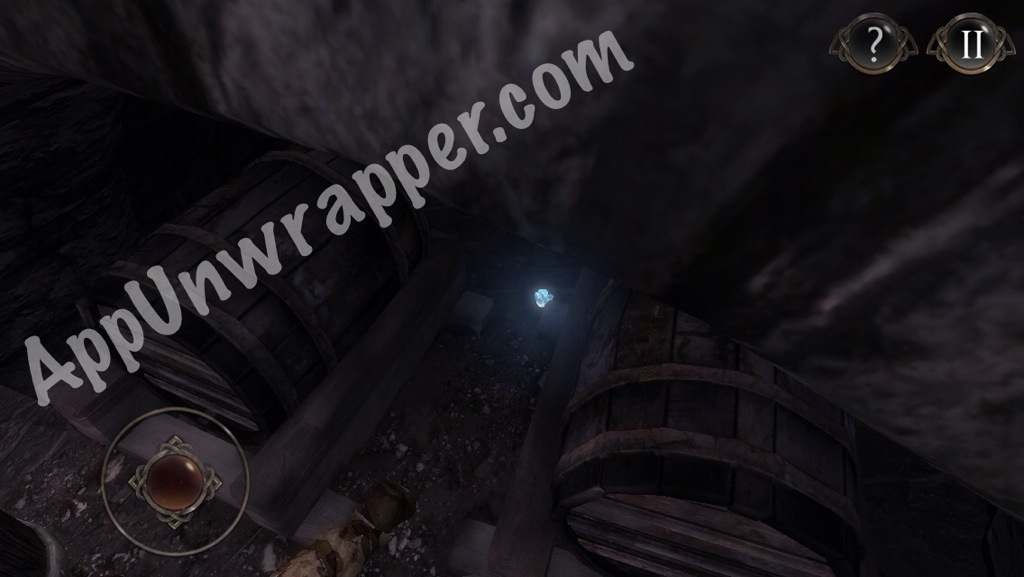
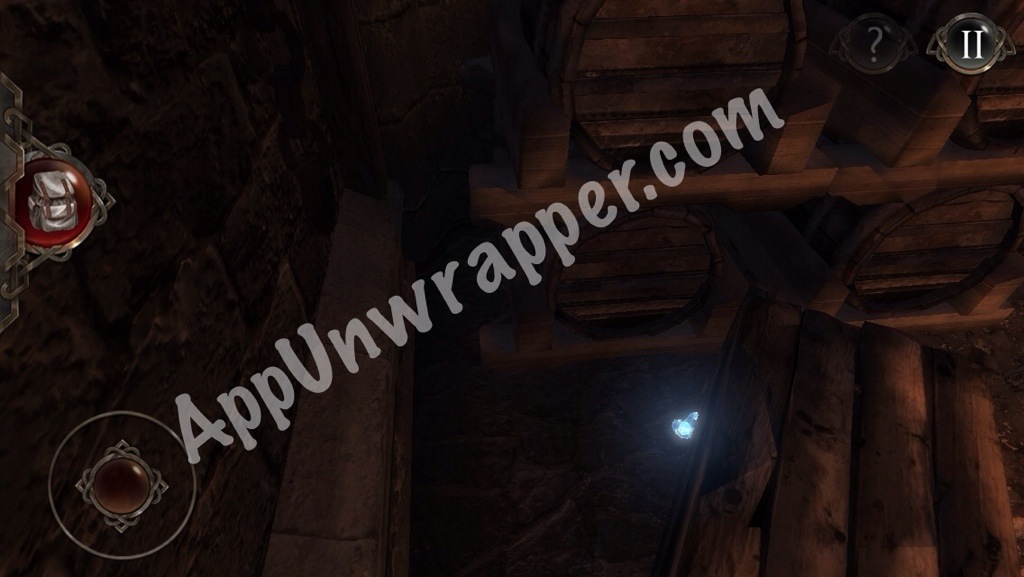
3. There is a crystal between the two barrels right behind the trap, so carefully get over there and pick it up.
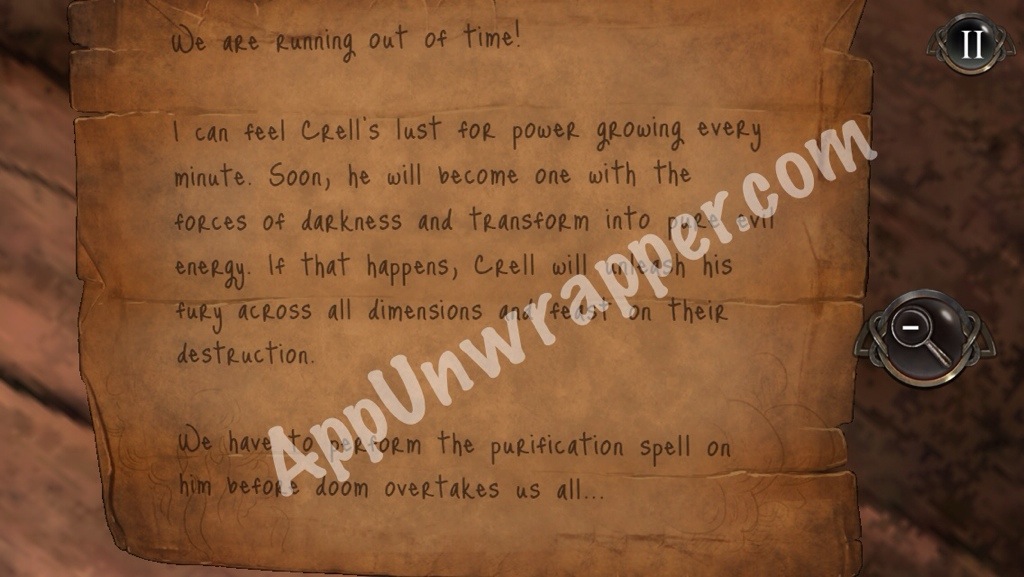
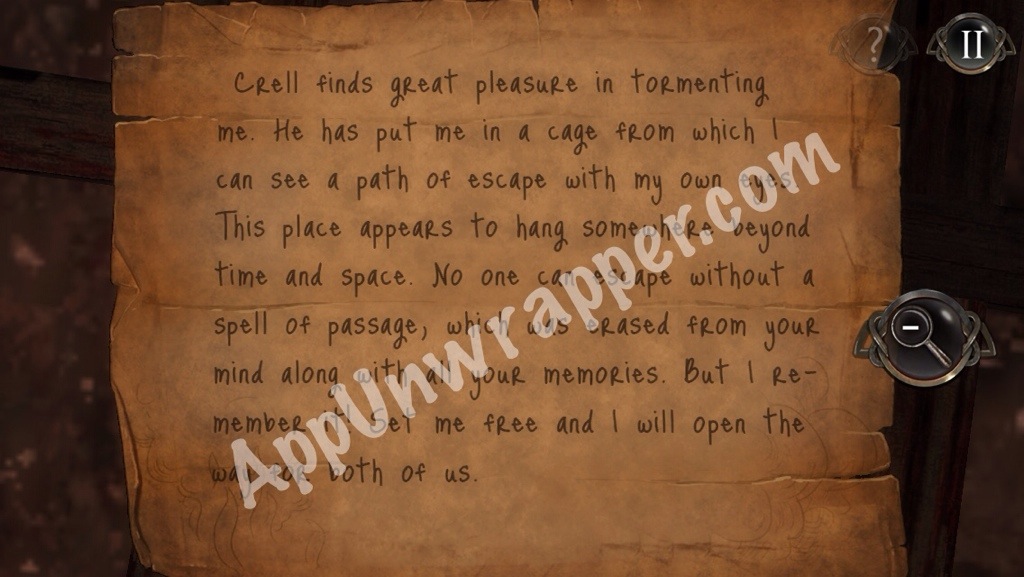
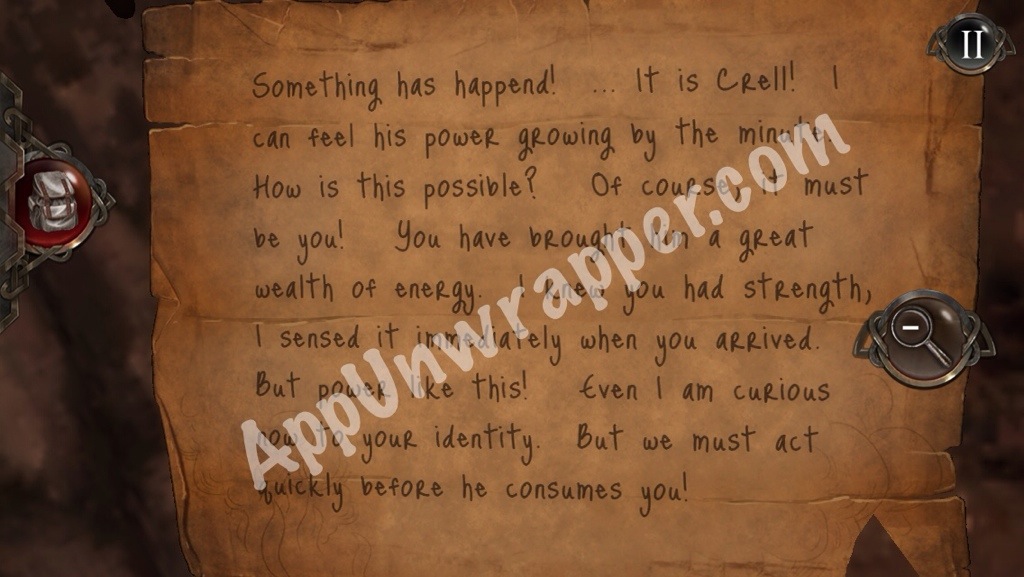
4. Continue on and read the note:
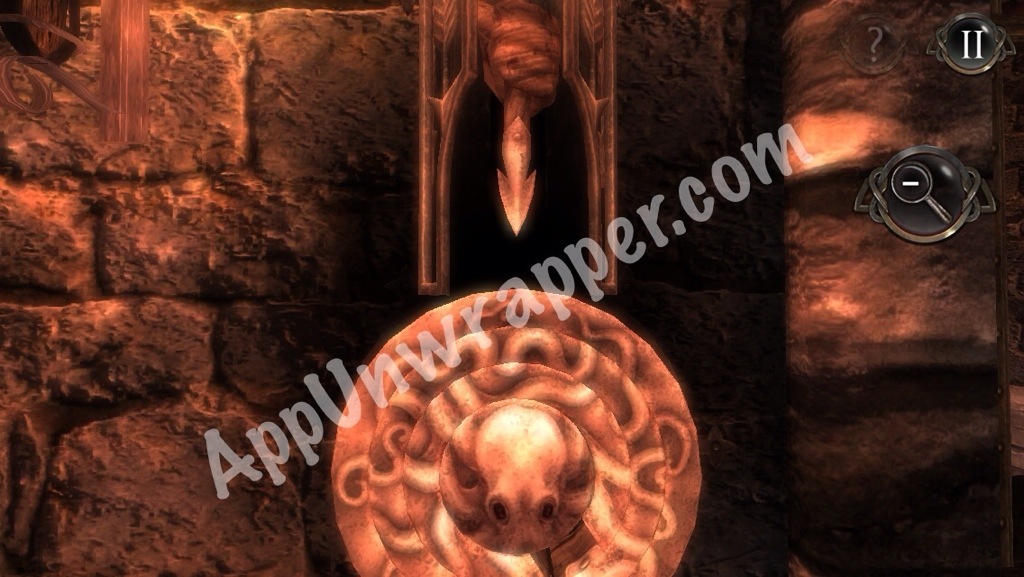
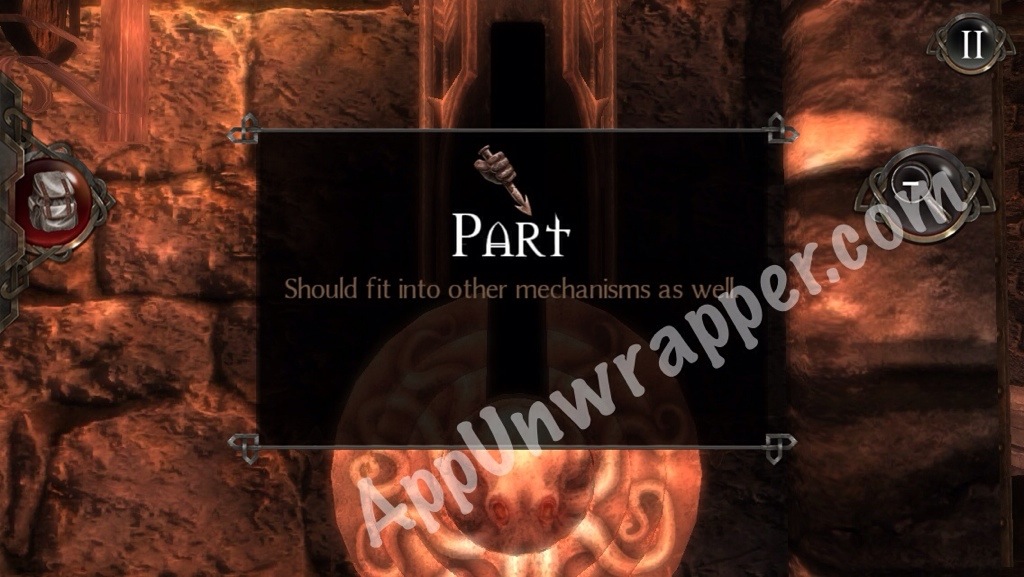
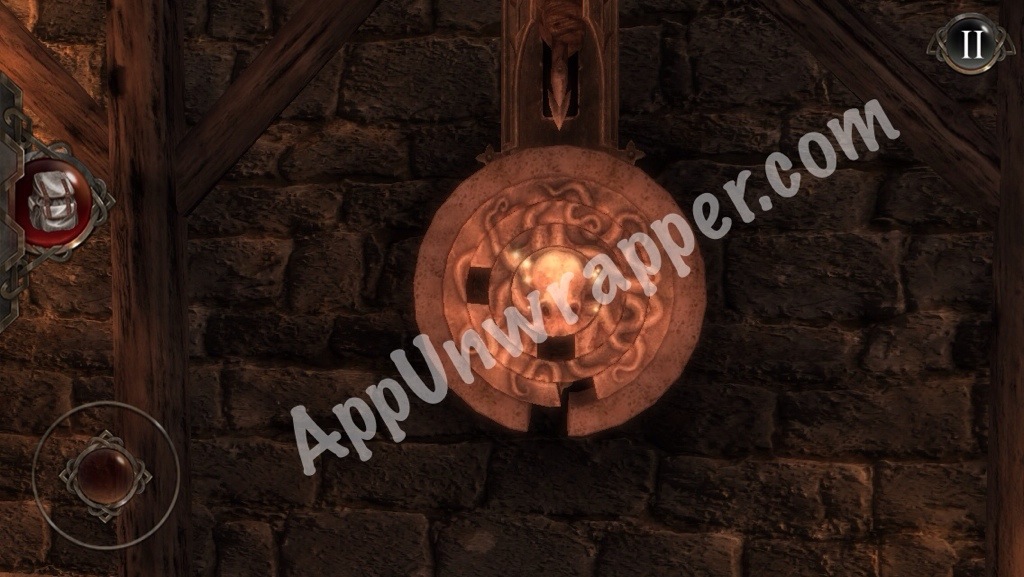
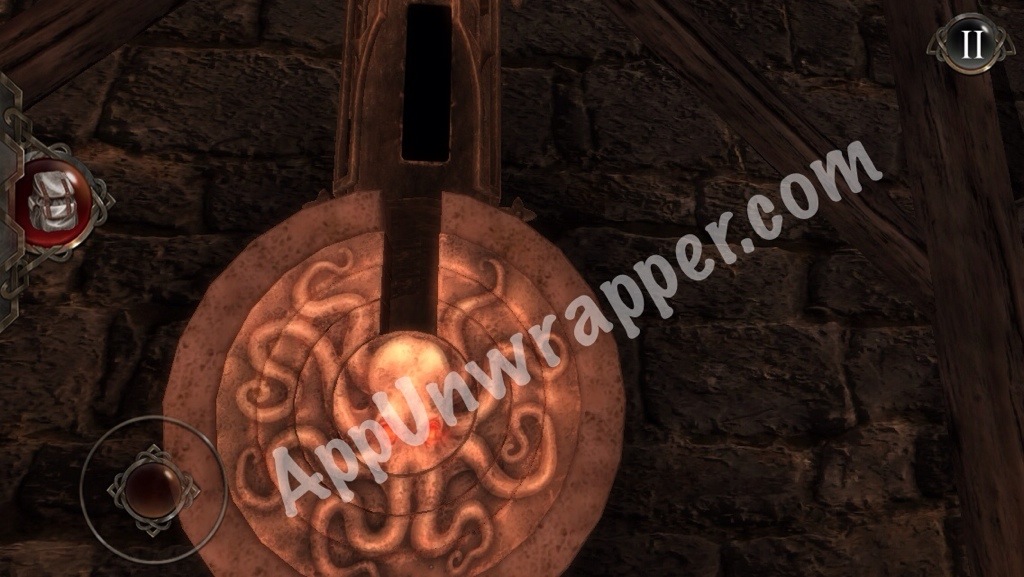
5. There’s a puzzle ahead. There’s an arrow-shaped piece that you can move down into the spinning wheels. Do it slowly, making sure the arrow hits the slit in each wheel, without hitting the next wheel. Then you’ll get the “mechanism part” in your inventory and the gate will unlock.
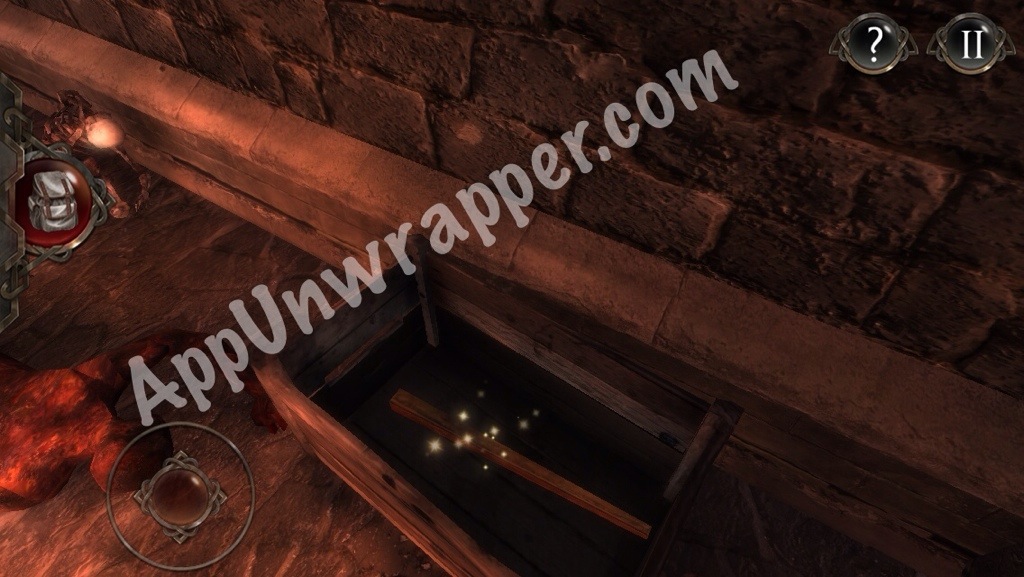
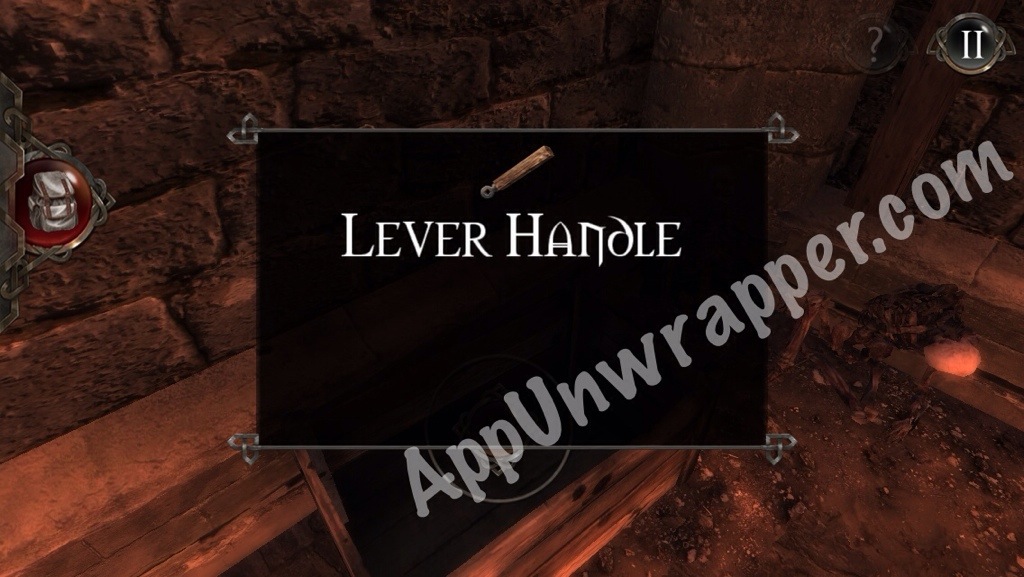
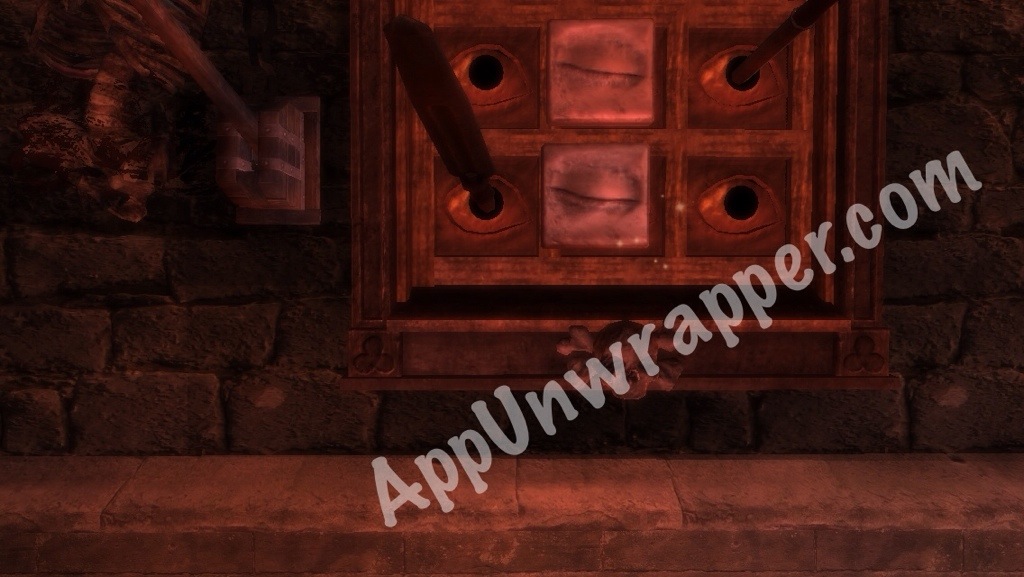
6. Go inside and notice the puzzle with eyes on the wall. Go to the crate and take out the lever handle.
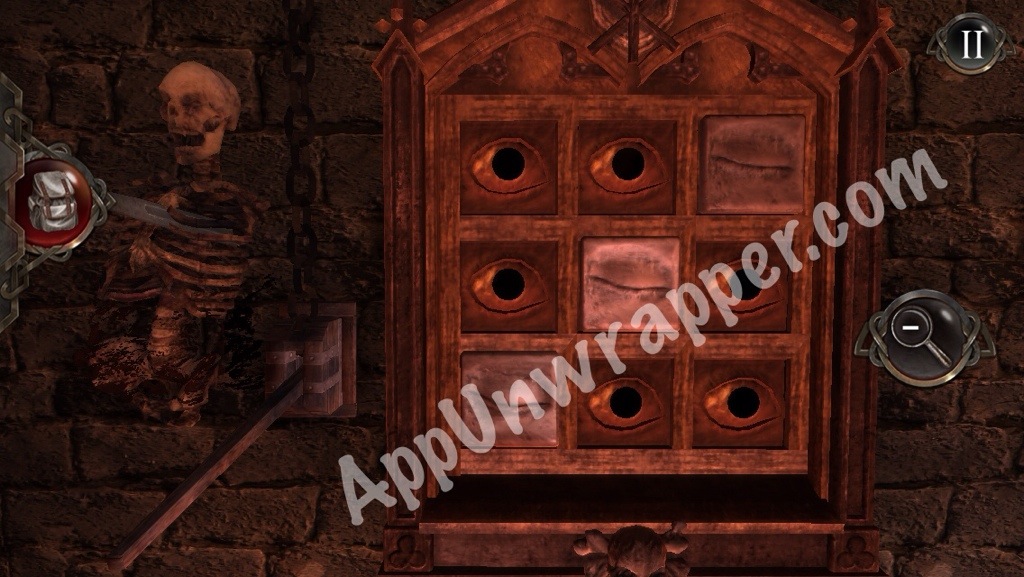
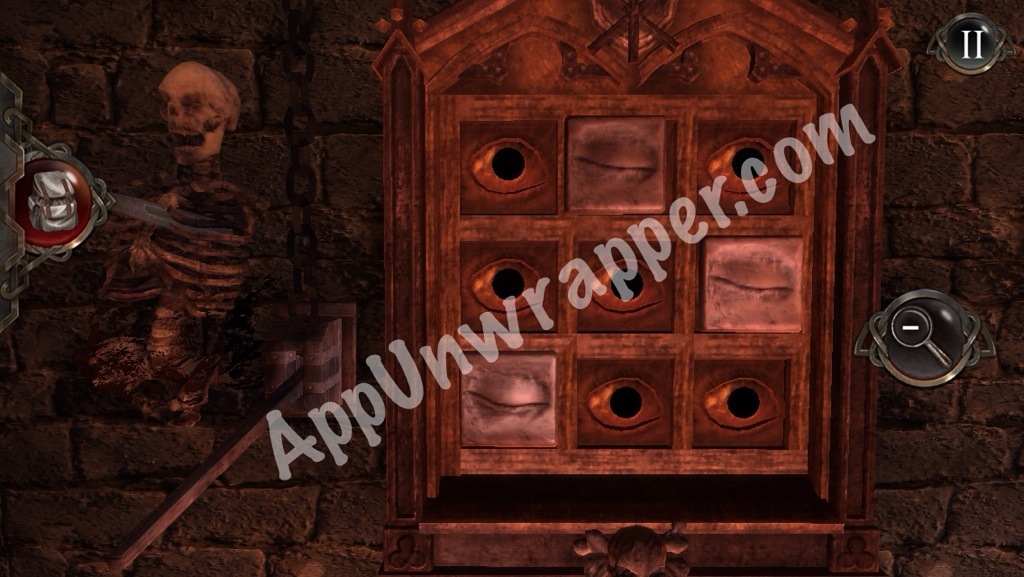
7. Here’s how to solve the eye puzzle. You can do this by trial and error and dying at least once. But here’s what to do if you don’t want to die. Slide the tiles over to the positions I’ve shown. Then push the lever up and the door across the way will open. If you have the closed eye tiles in the wrong places, up to three spikes will shoot out of the eyes and impale you.
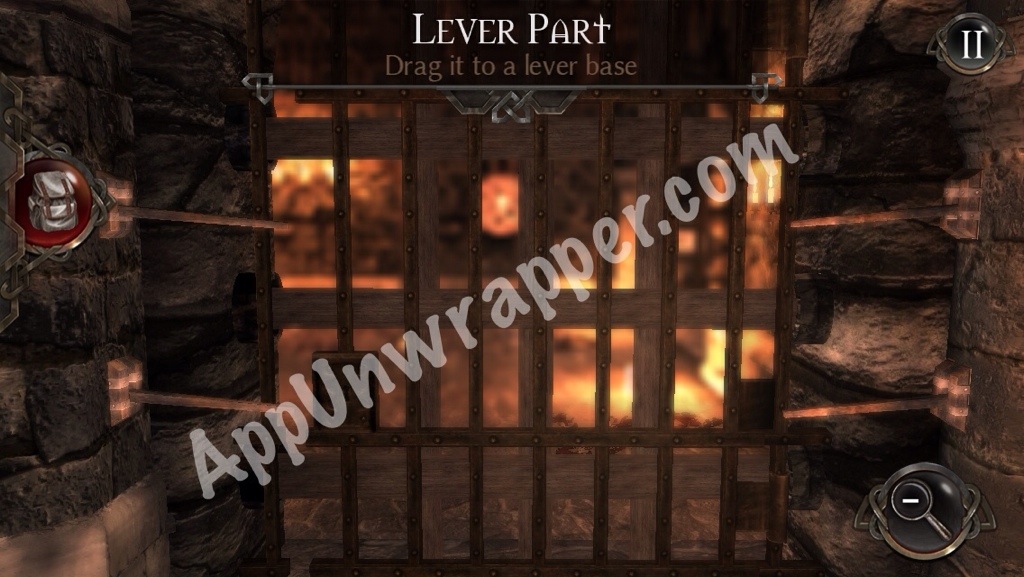
8. Ignore the newly-opened door for now. Go back to the start of the chamber and place the lever handle on the gate. Then move the levers to the correct positions to open the gate.
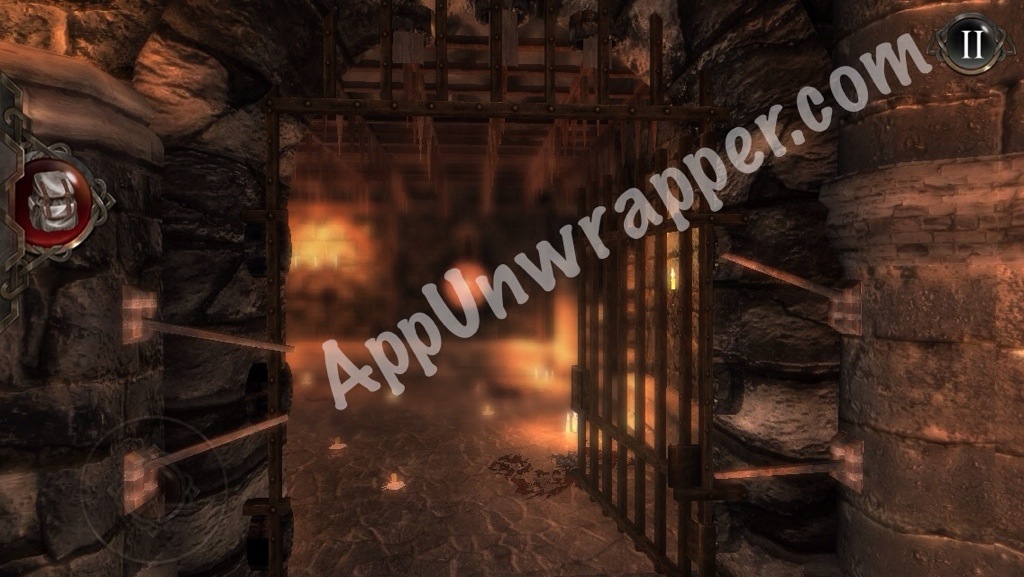
9. There’s another wheel puzzle up ahead. Put the mechanism part from the first wheel into it. This time you have the spiked ceiling coming down on you while you try to solve it. So you might die a few times. Remember to move the arrow slowly. The good news is, if you die in the middle and you had some wheels lined up already, the game will save it that way after you die, so you can continue where you left off. This makes it a lot more doable, even if dying does get tiresome.
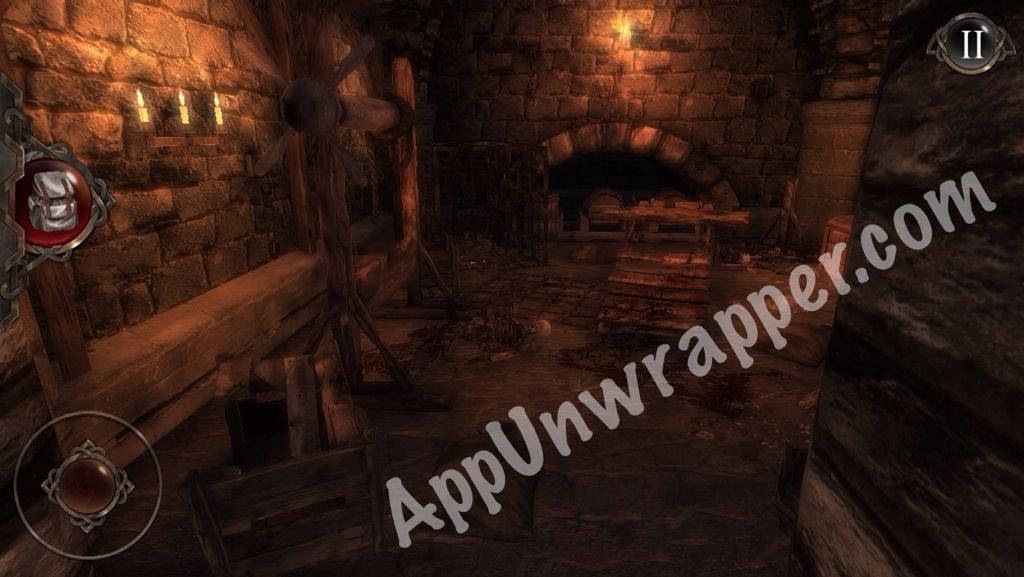
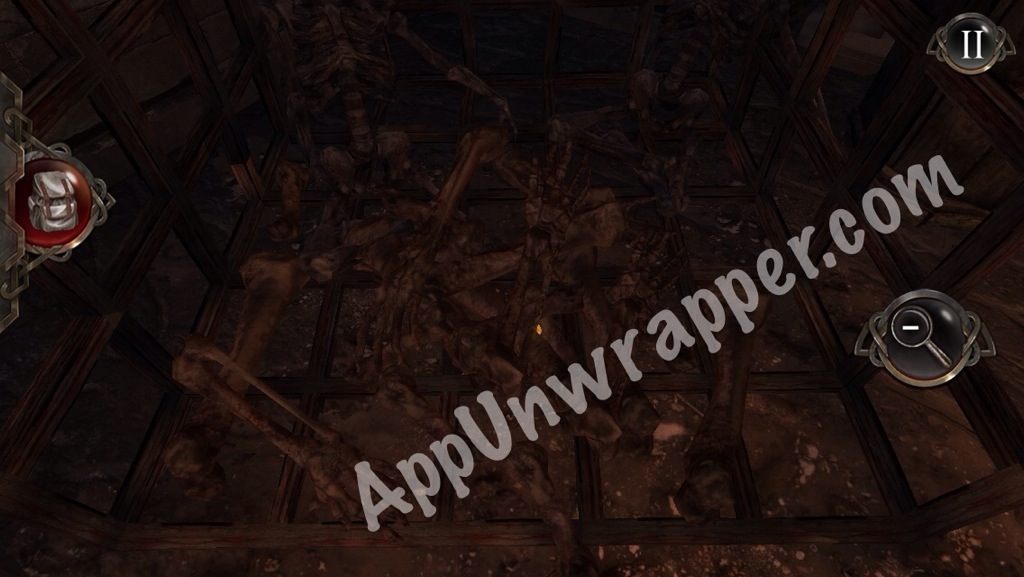
10. Go through to the next room. Look through the skeleton remains to find a key.
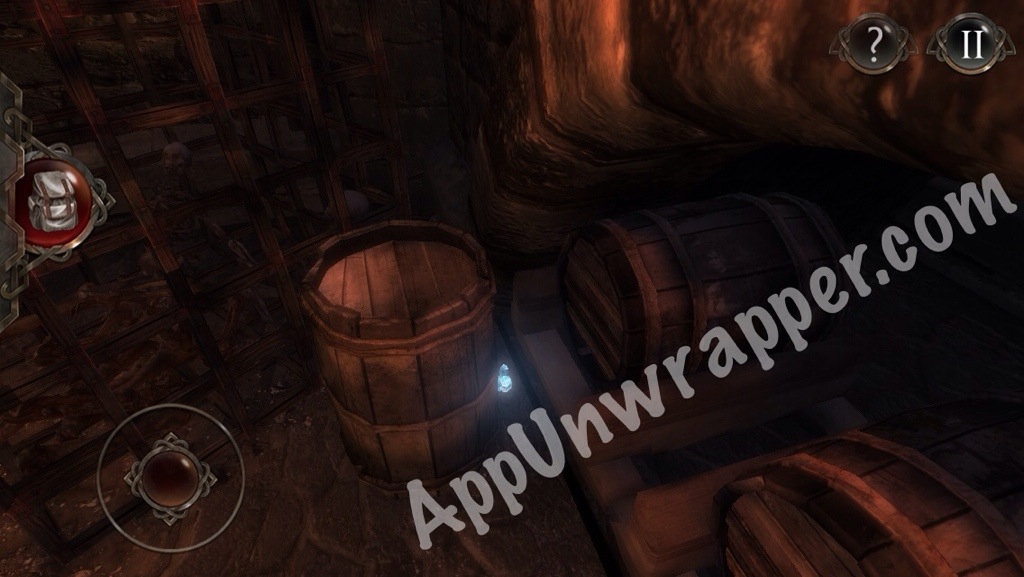
11. Pick up the crystal behind the barrel.
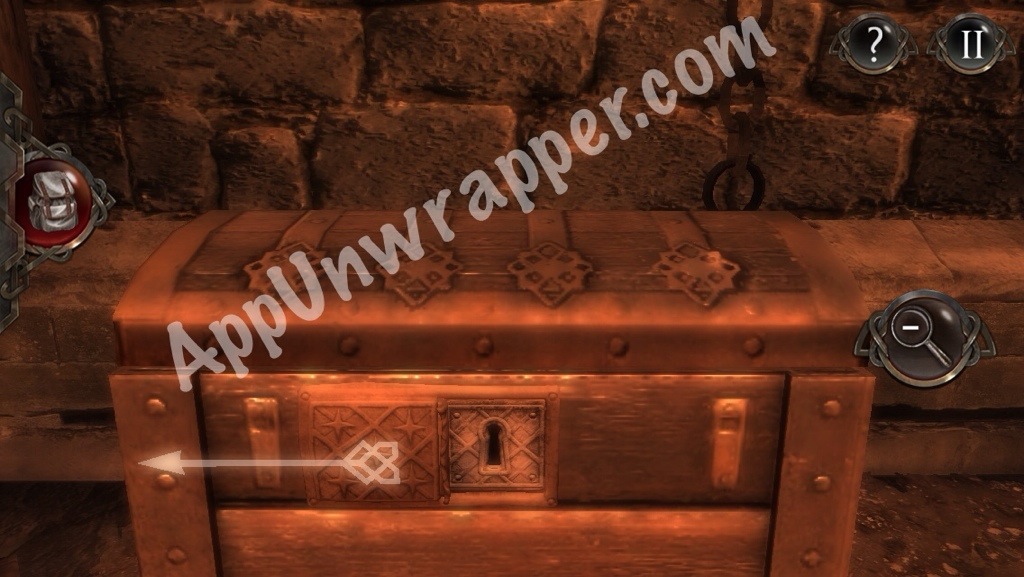
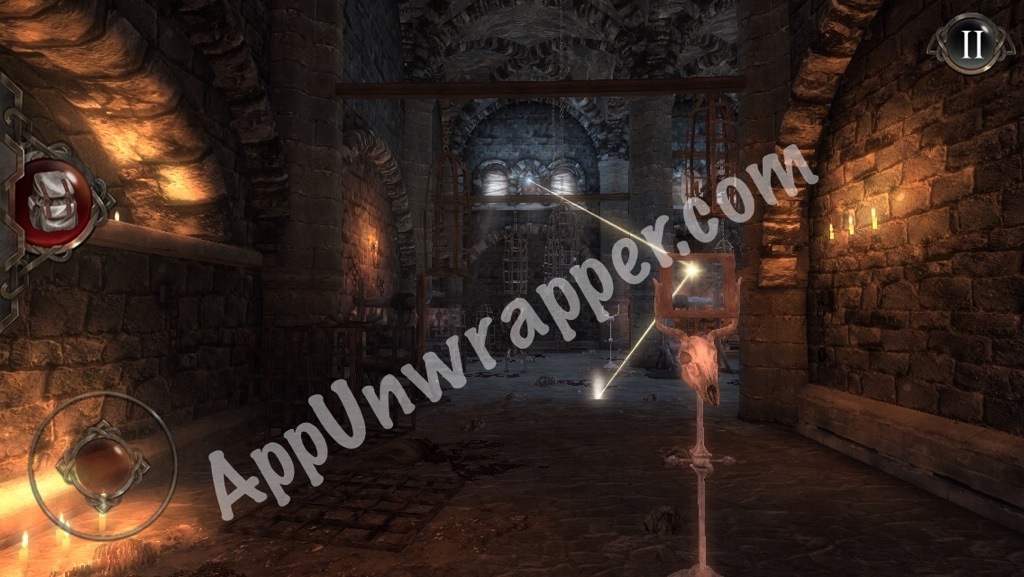
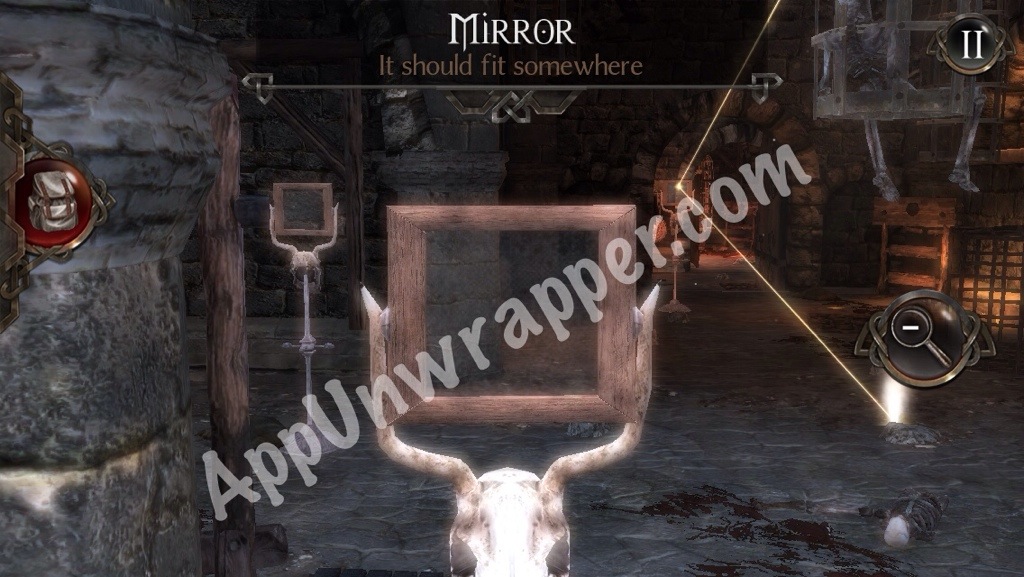
12. Use the key to unlock the small chest (first slide the cover to the left to reveal the keyhole). Take the mirror from inside.
13. Pick up another crystal from behind the crate.
14. Now go back to the room we ignored before.There’s another demon here.
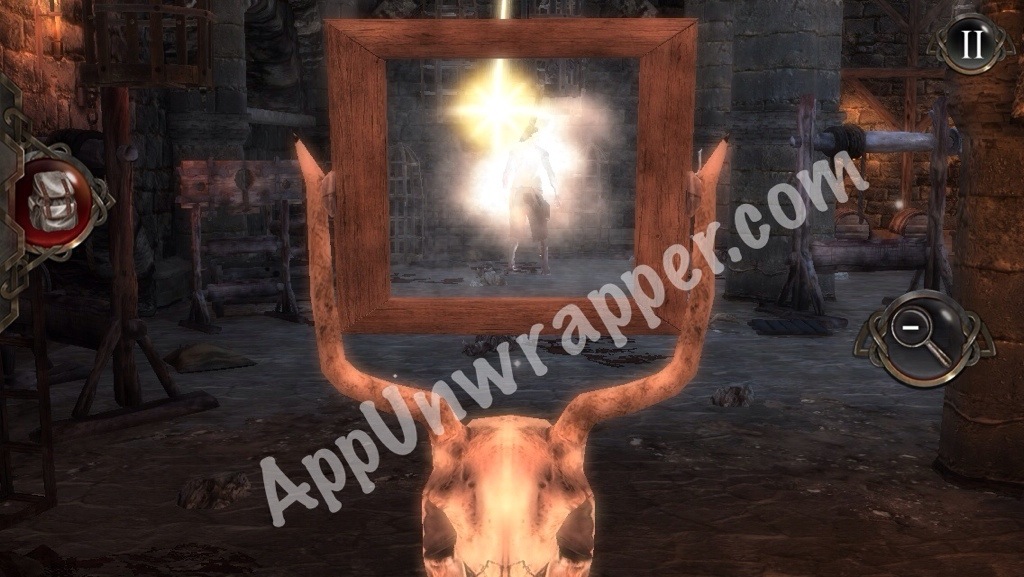
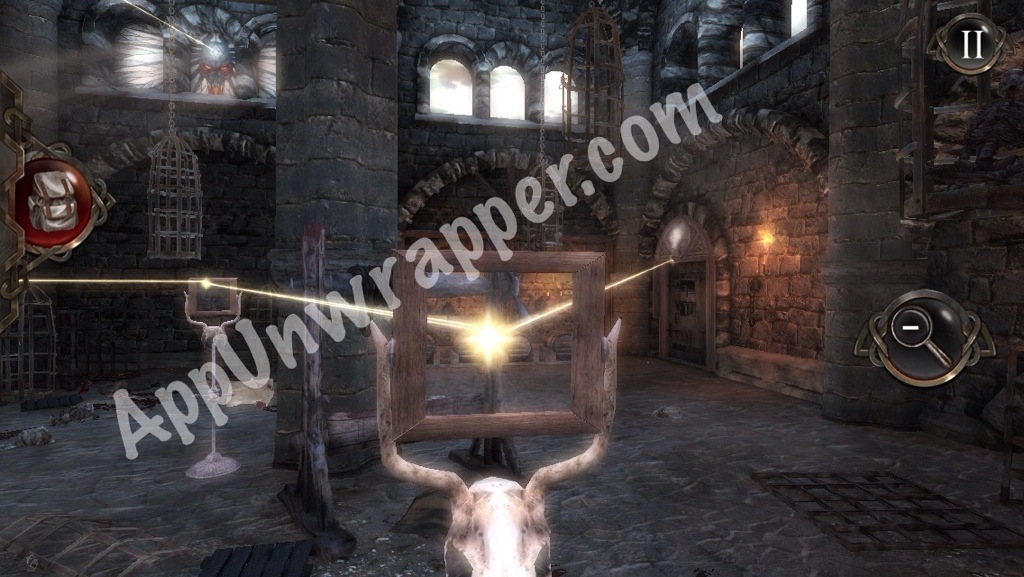
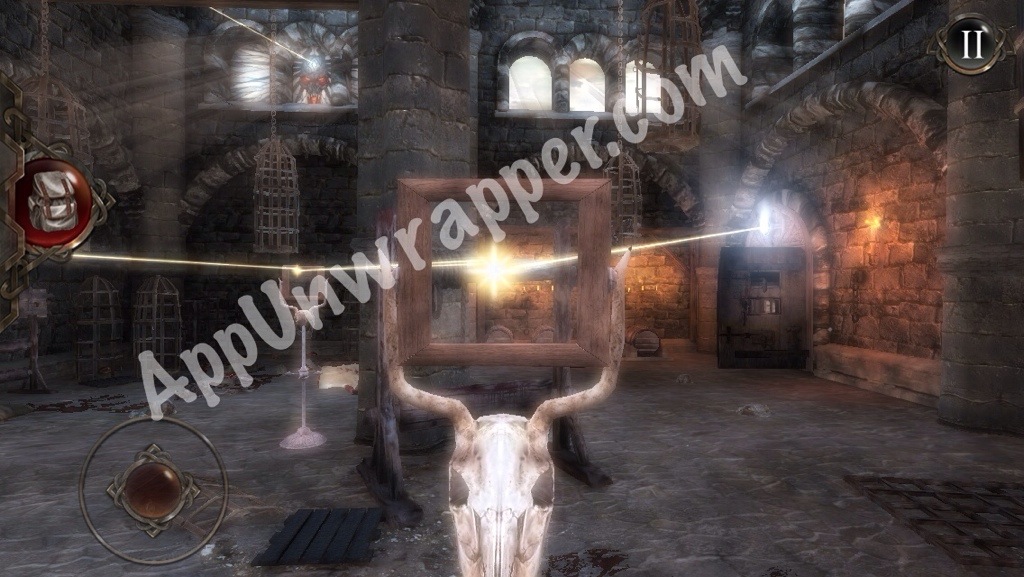
15. Use the mirror and laser to destroy the demon. This uses tilt controls again. Also, look at the note on the ground.
16. Place the mirror you found onto the stand that’s missing one.
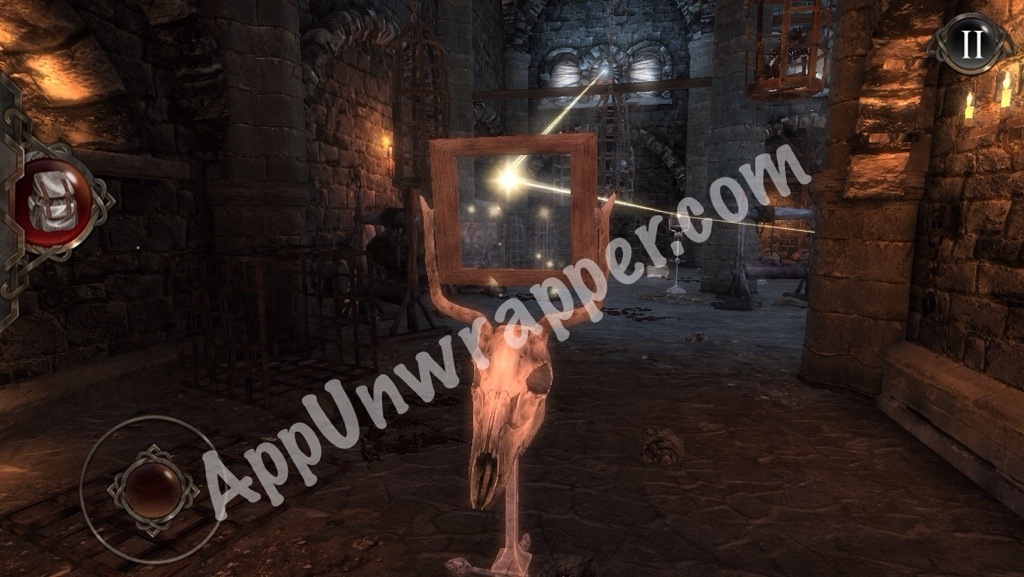
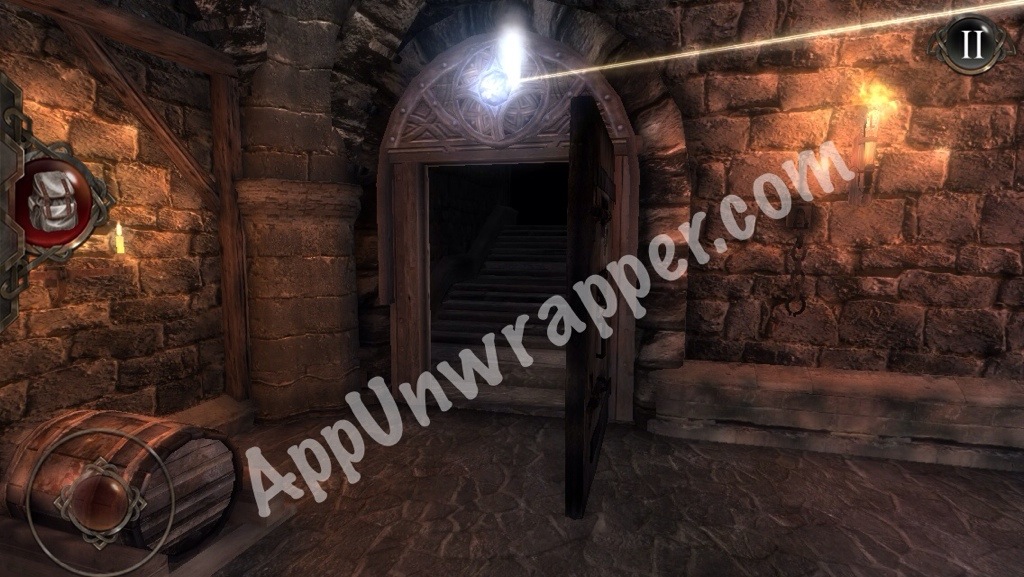
17. Now, this part is fun but a bit tricky. Make sure you don’t get in the way of the lasers while moving from mirror to mirror, because they will kill you (but you do get an Achievement for that). Adjust each mirror so the laser hits all three and then hits the stone/gem above the locked door to the right. When you get the positioning right for a mirror, carefully tap the magnifying glass to zoom out and keep it that way. Carefully move around the room, adjusting them as necessary. Then escape to the next chamber!
(Still missing two crystals.)
Continue to the Chamber 4 walkthrough.
See all my Hellraid: The Escape walkthroughs and guides in one handy place.

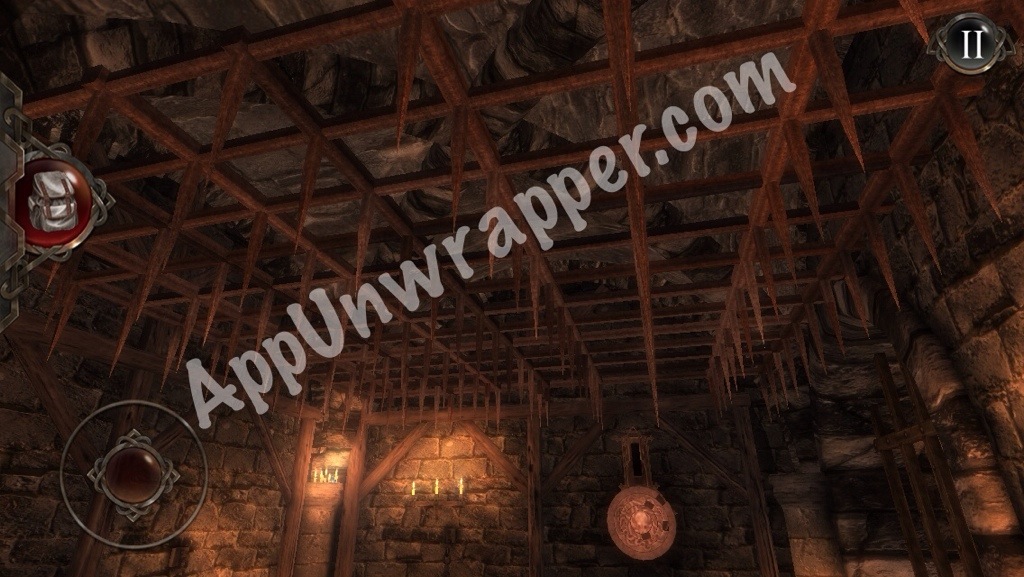
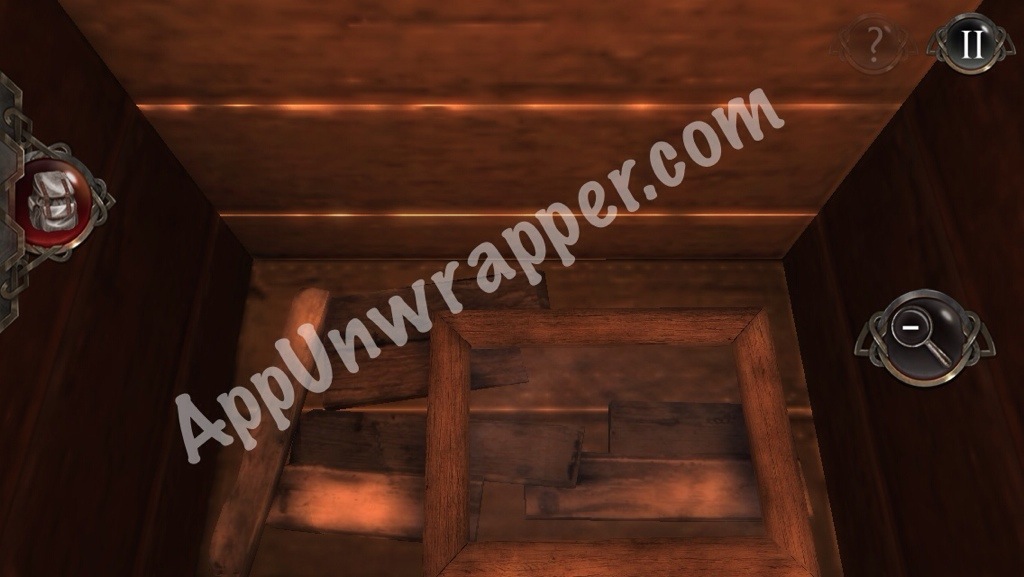
There is a crystal in the room with the spiked ceiling it is next to a candle on the wall hidden by the brightness of the candle
The last crystal is in the room where you find the lever, look to your left when you enter, the gem is hidden by the box
Where is the sixth crystal in chamber 7??
Help!
The 6th crystal is in the light puzzle room to the left of where you fry the zombie obscured by a barrel.
Thanks!
Thank you! Got all the crystals, but I don’t see any extra features that were mentioned I would 😐
I believe it’s just the GameCenter achievements…at least for now.