True Legacy
By: Blindfire Limited
This is a complete step-by-step walkthrough guide for the iOS and Android text adventure game, True Legacy, by Blindfire Limited. Feel free to ask for extra help in the comments section.
For the most part, this is a text adventure. Make sure to explore all side paths if you want to read everything. There are some choices that limit you, but I haven’t seen any that would prevent you from continuing, so I’m leaving all that up to you. This guide will show you how to solve the puzzles in case you’re stuck.
Chapter 1:
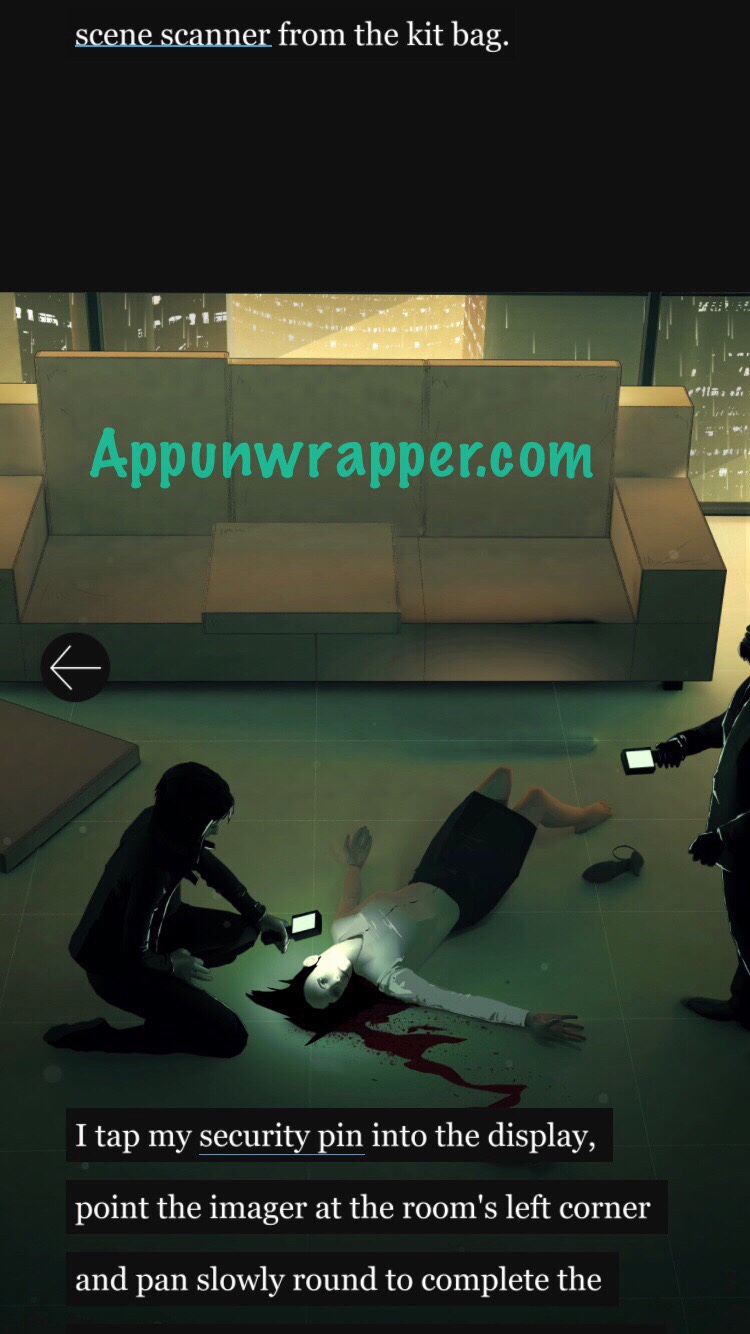
This first puzzle is a bit confusing. First, scroll down until you see the words “security pin.”
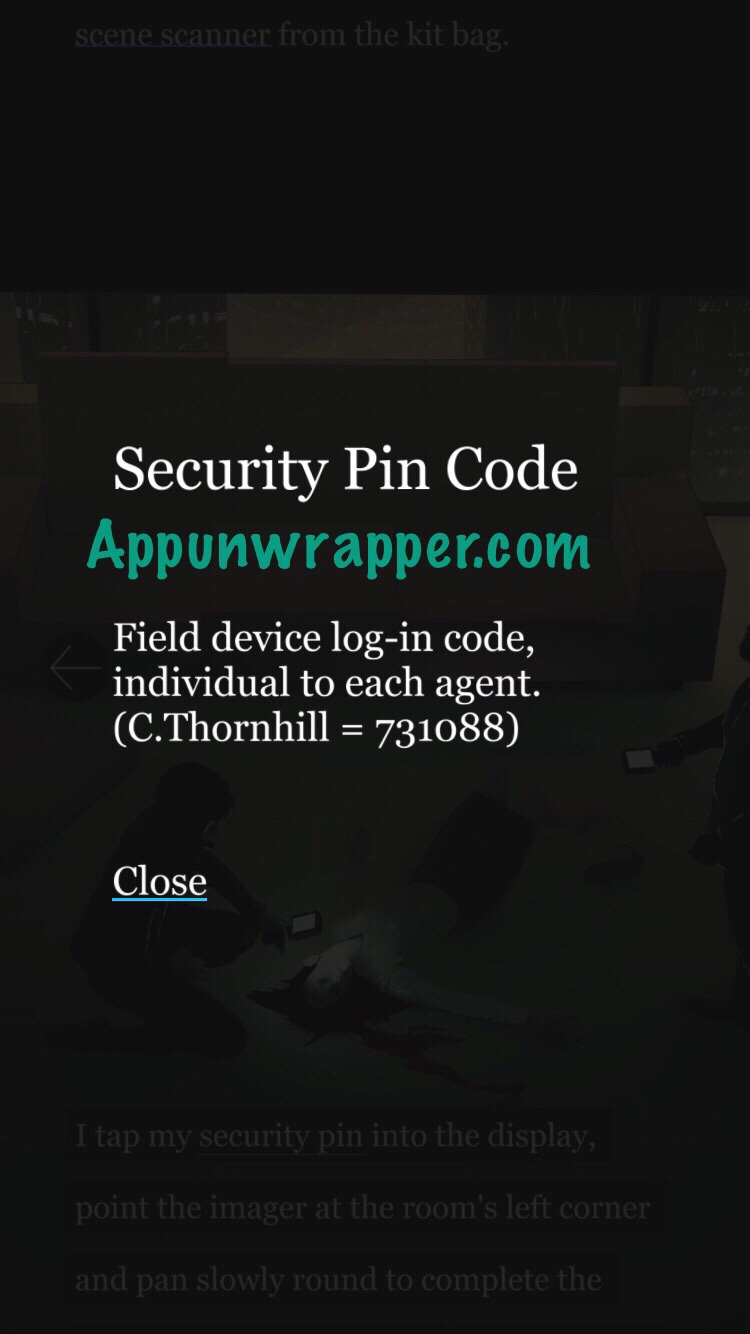
Tap on them to see this:
So your security code is 731088.
Head right and select “Collect the DNA.”
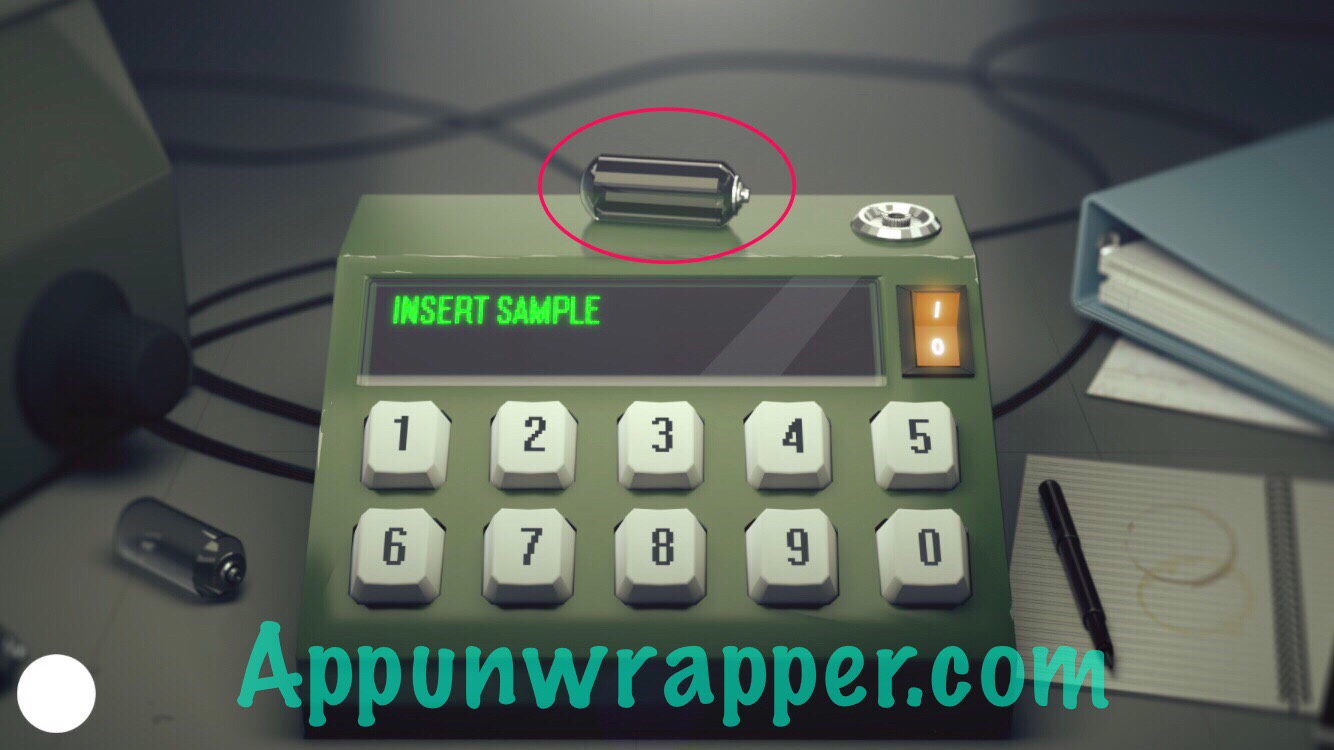
Go back and then up a little and left. There’s a machine in front of you with a keypad. It says ERROR. Flip the switch off and then on to get it to say ENTER AGENT ID. Enter 731088. It will then say INSERT SAMPLE. Pick up the sample that’s lying on the machine and place it in the socket. Now you can continue down.
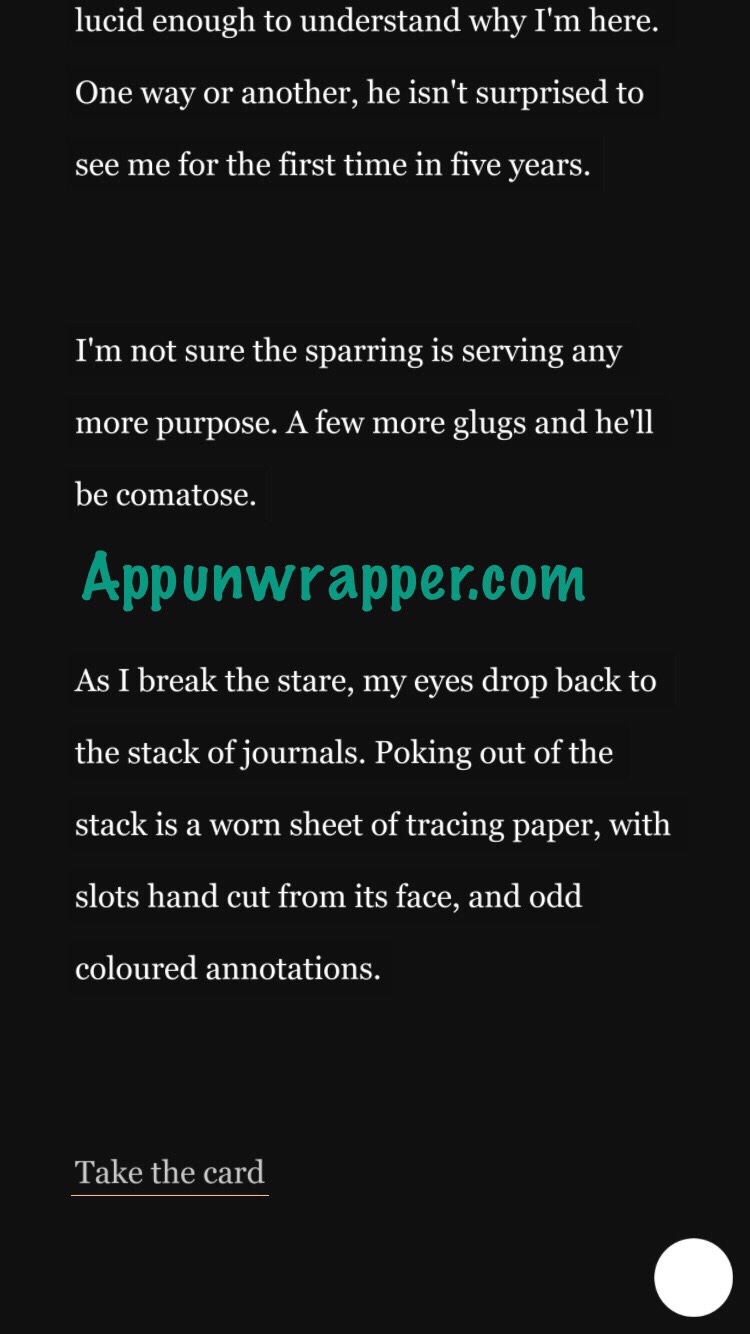
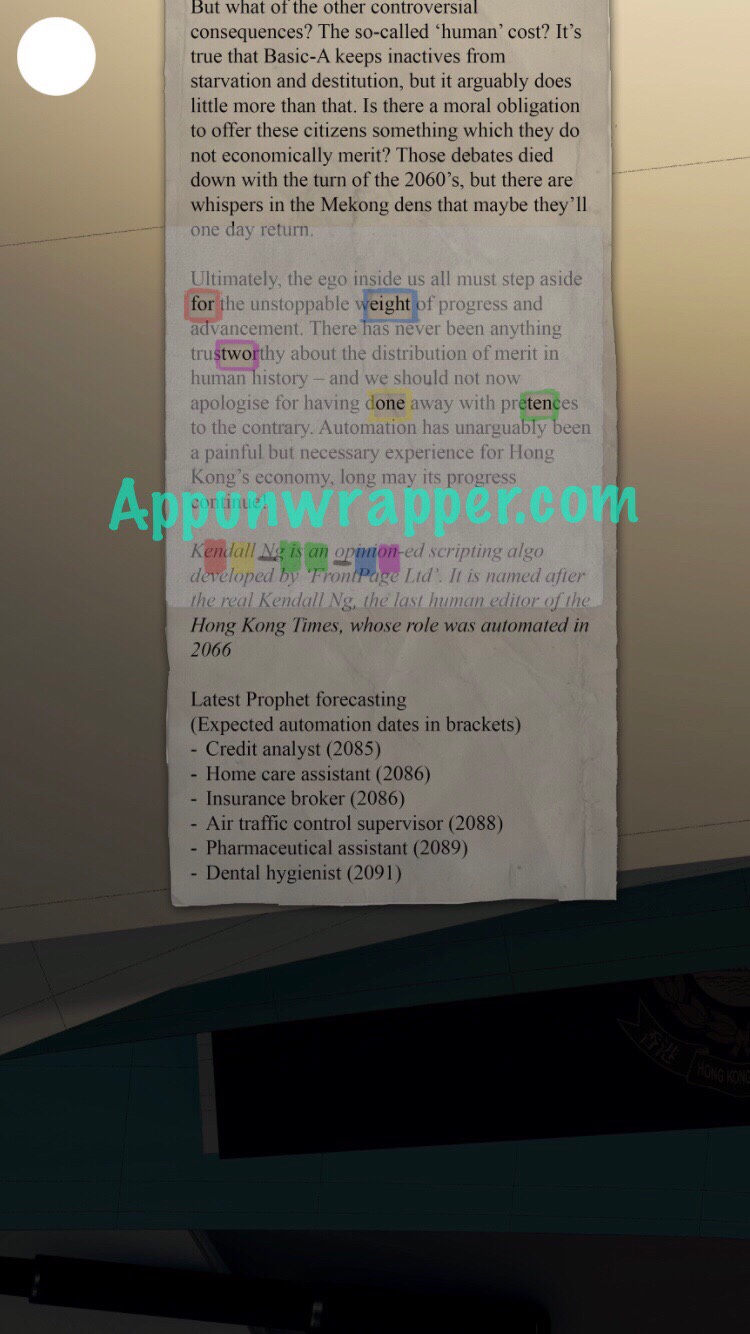
In Tate’s apartment, head left and pick up the card with colored cutouts.
Then, go back and continue down until you see a newspaper clipping. Since you have the card with cutouts, it will appear on there and you can move it up and down the article. Move it down until it lines up with the words: for, eight, two, one, ten. Or: 4, 8, 2, 1, 10.
Continue on and leave Tate’s apartment. There’s a safe! Put the numbers together as the colored card showed and you get: 41-10-82. Use the dial on the safe to enter those three numbers.
There’s a photo inside of a woman with the words WHEN OPPRESSION RULES HERE HOPE LIES.
Chapter 2:
Quarry Bay:
When you get to the bridge, head right and solve the cables puzzle in the control box. Basically, place the red pieces on three of the connectors that allow the three colors at the top to their respective colors at the bottom. Then pull the lever to the right to turn on the power.
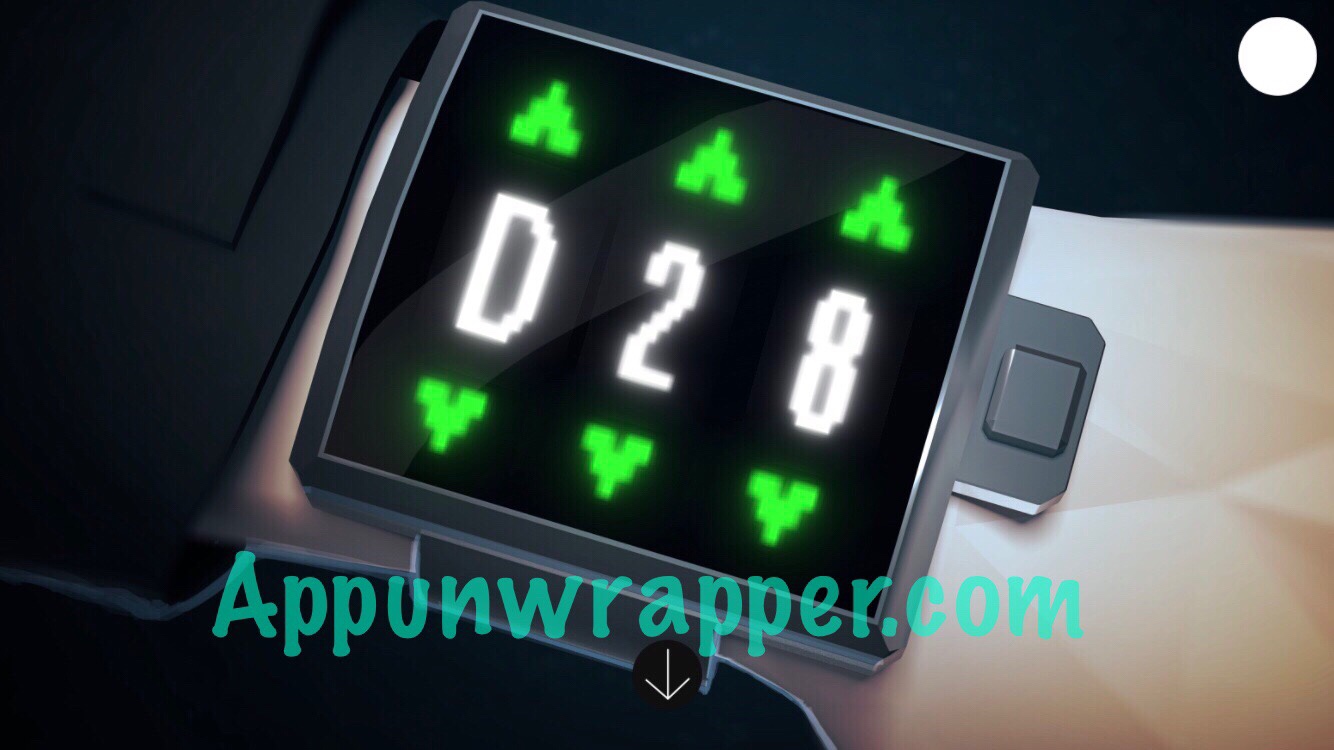
Then, head back left to the bridge and the power will be on. You can now see a sign that says D28.
Continue on. When you get to your wrist pad, enter D28.
In the hospital, you need to figure out this maze as part of the pupil tracker. Use the buttons on the left and right sides to rotate the four different layers of the maze. The idea is to get the stream of white particles exiting both sides of the maze, as shown below.
Chapter 3:
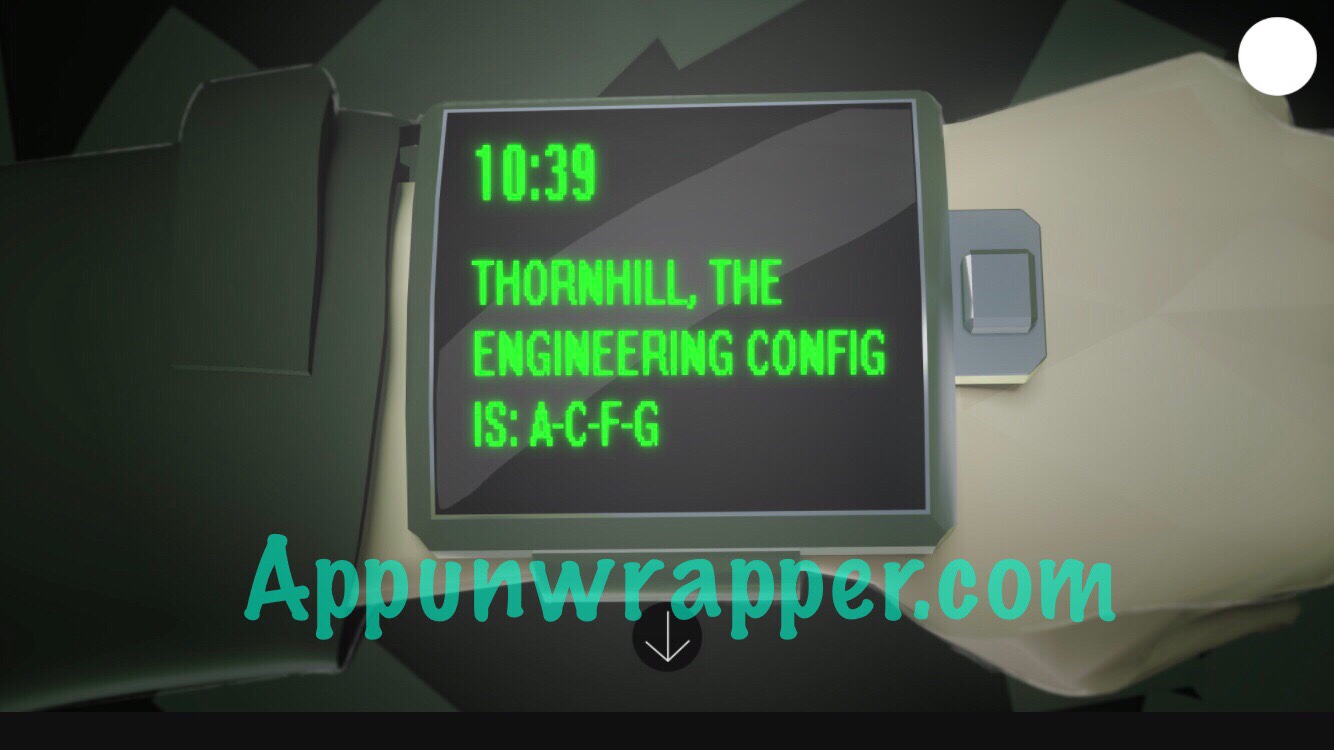
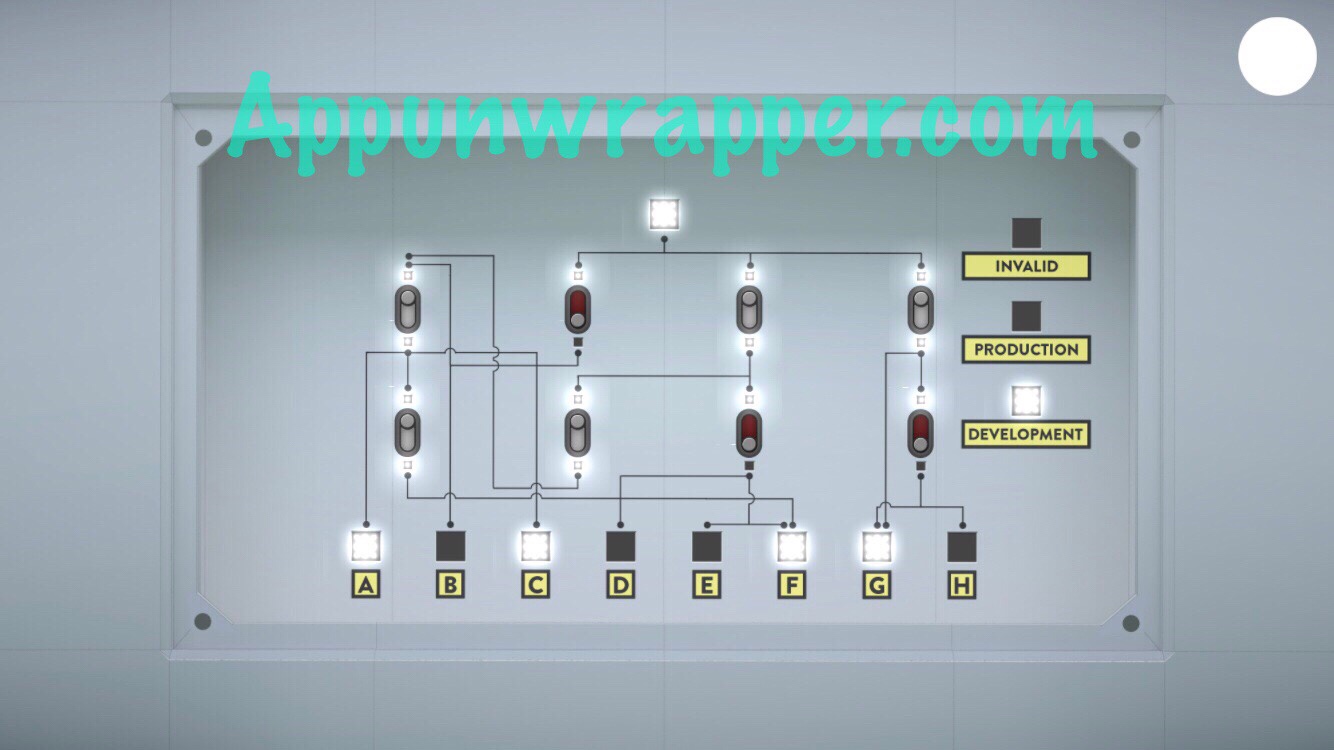
When you get to the surge-bot arcade, there’s two options. The screen at the bottom asks for your ID. Above is a metal panel. Tap the four screws to remove the panel and revel the control unit. You now have to figure out which switches to flip. To do so, go back a bit to your watch. You have a new message! It’s from Ray and tells you the engineering configuration is ACFG.
Now, go back to the control panel and flip the switches so those letters light up.
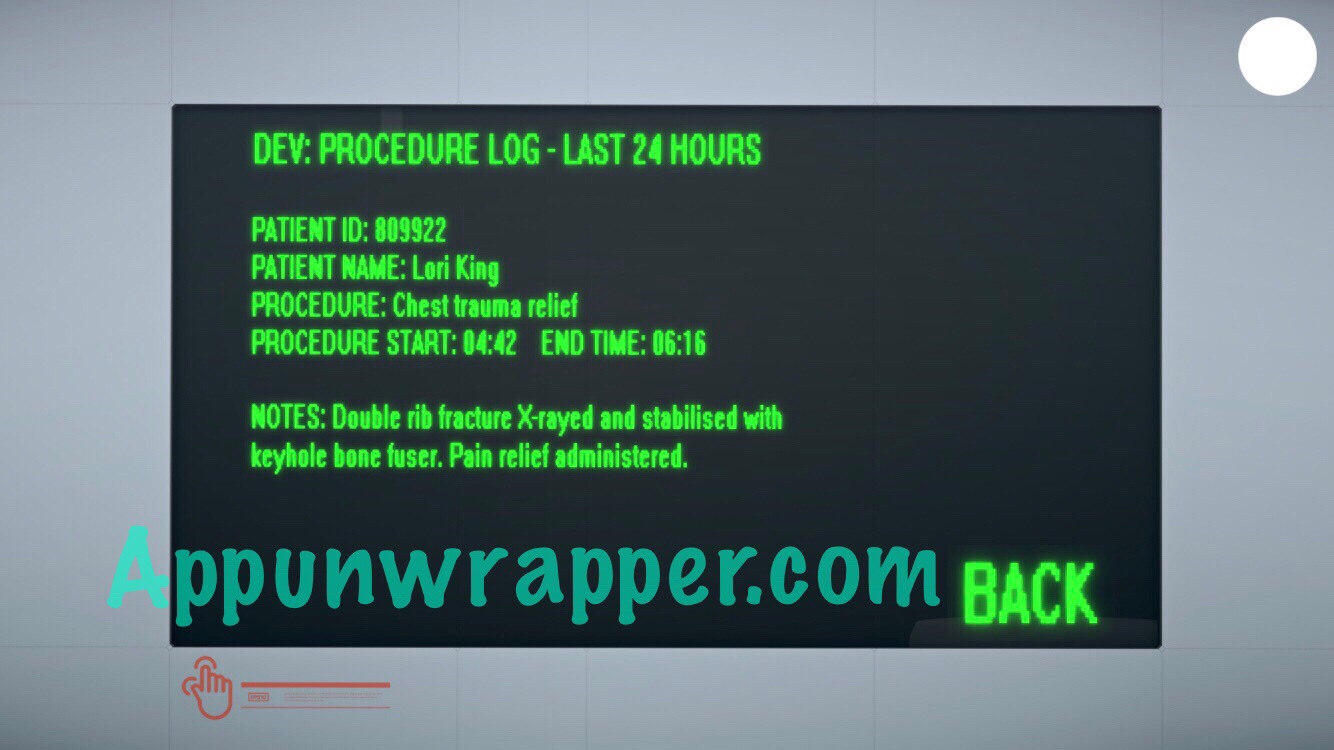
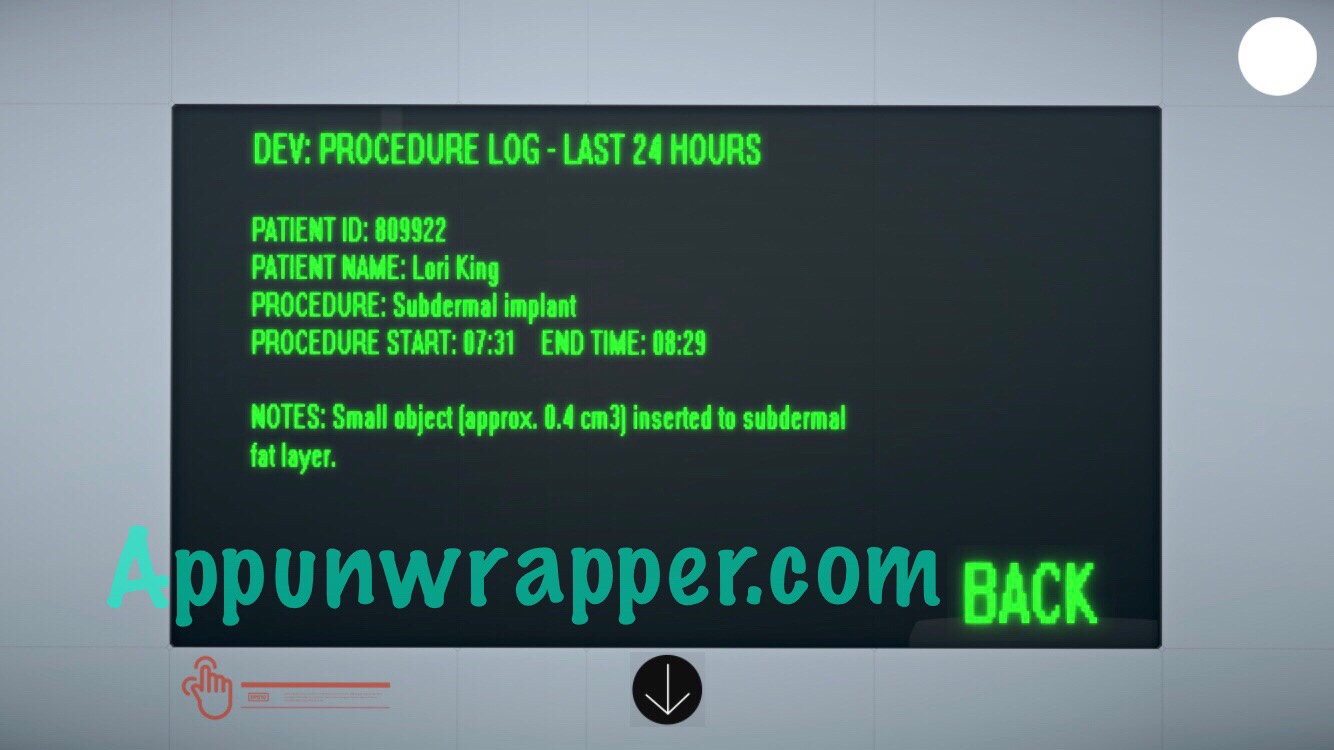
Now, go back down to the screen. It should be on and you can see the logs of each patient. Select CHEST TRAUMA RELIEF and SUBDERMAL IMPLANT to see the records on Lori King.
Now you can continue on.
Chapter 4:
No puzzles here!
Chapter 5:
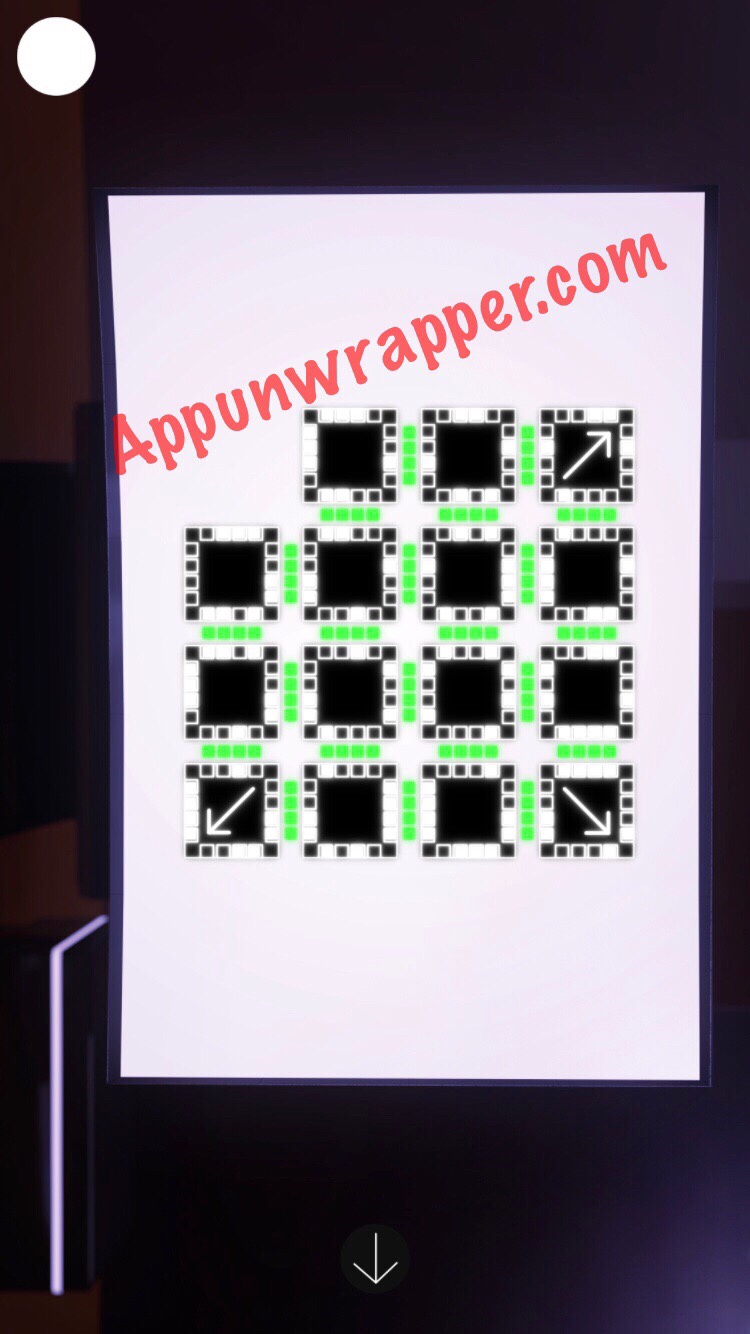
There’s a puzzle here but only if you decide to be a terrorist. It’s a sliding tile puzzle. All the black dots on each side of each square need to match up with sides with similar placement. If you get it right, all the lights on that side will turn green. Use the arrows as starting points.
That’s everything!


