XON Episode One
By: Noam Kahalani
This is be a complete step-by-step walkthrough guide with hints, tips, tricks, help, answers and solutions for the iOS and Android game XON Episode One byNoam Kahalani (imagoFX). Thanks to Pieter for putting this together! Feel free to ask for extra help in the comments section
Controls:
The game starts with choosing your controls. I elected to choose the Arrow controls. I found them easier to use in the tunnel areas. You can change the game settings by clicking on the three dots at the top of the screen. Experiment with which control you feel most comfortable, it takes some time to get used to, but is worth the time spent to navigate around in the environment before starting the game itself. For both controls you can operate the left and right hand simultaneously.
Walkthrough:
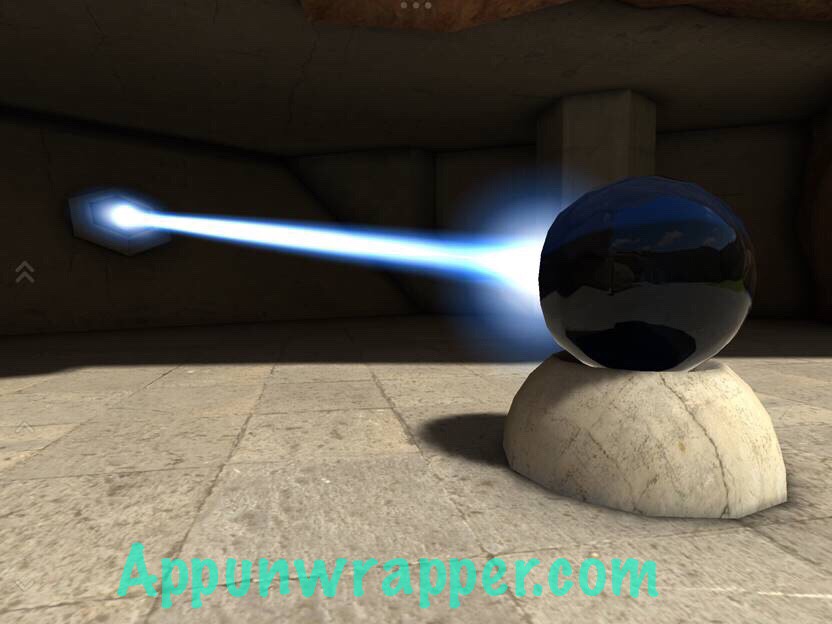
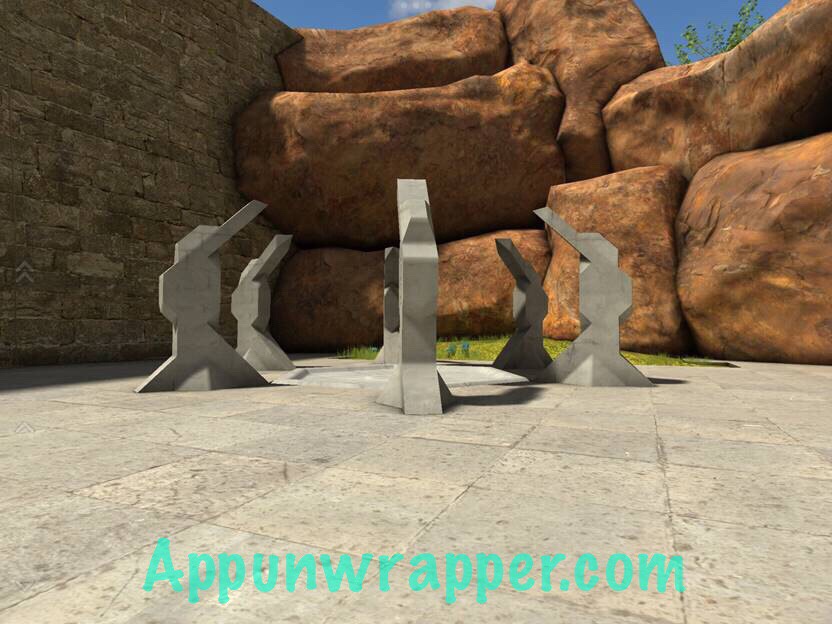
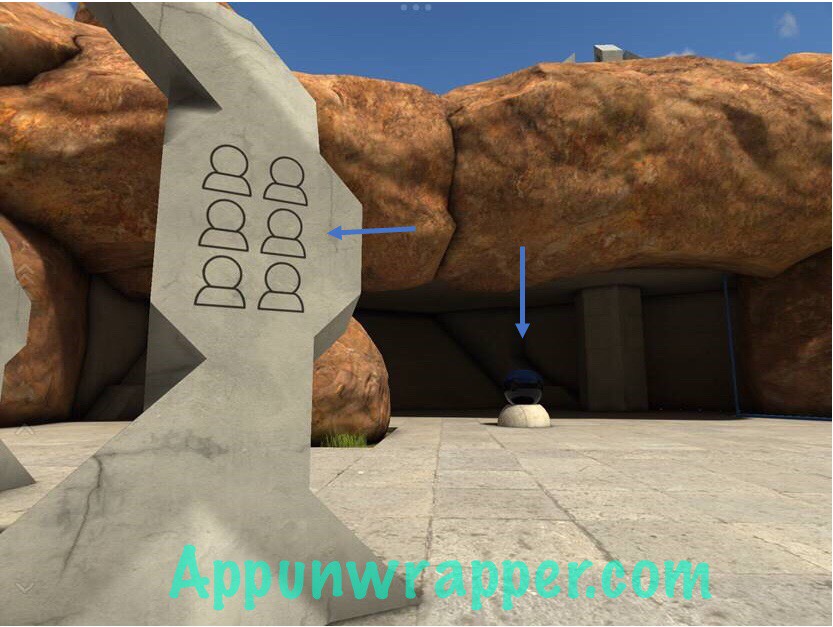
Turn left from the starting point and see a marble structure (1 of 3) with legs and a platform. Walk around the structure and see the 6 images on one of the legs of the structure. The images represent 6 dark blue domes on pedestals that need to be activated, three on the ground level and three on elevated ramps. Once all the blue domes are activated it will lower the platform in the center of this marble structure (1) that is currently elevated. The first blue dome can be seen to the right of the leg with the 6 images.
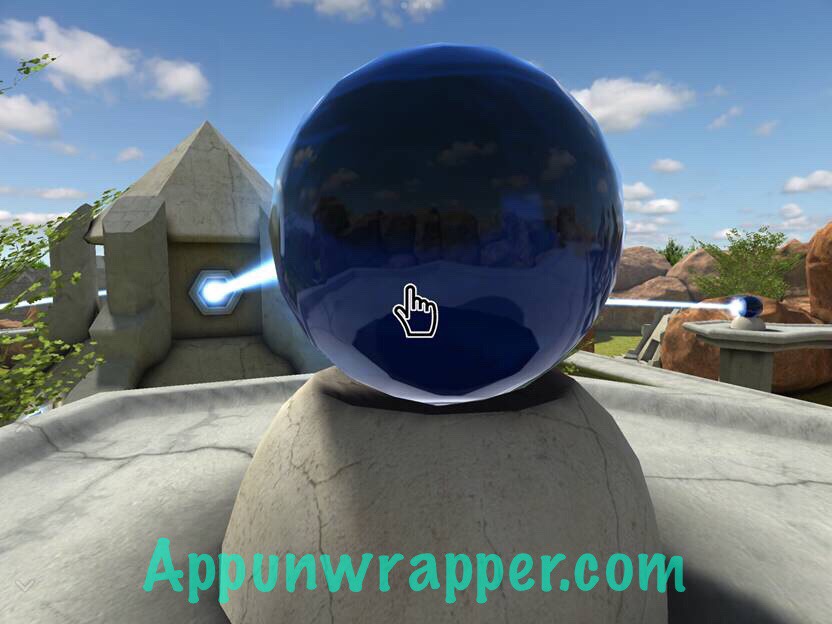
Approach the blue dome until a hand appears on it and click on the blue dome (1 of 6) a few times to shine a beam of light into the target. A humming sound will be heard.
To the right of the marble structure (1) is a sphere with a movable attachment at the top and a blue pipe connected to it. Approach the sphere until a hand appears and click on the sphere (1 of 6) to activate the flow. A hissing sound will be heard. Unlike the blue domes, the spheres cannot be deactivated once activated.
Notice the sphere on the ledge connected to the pipe hanging from it. It can be reached through the tunnel on the right.
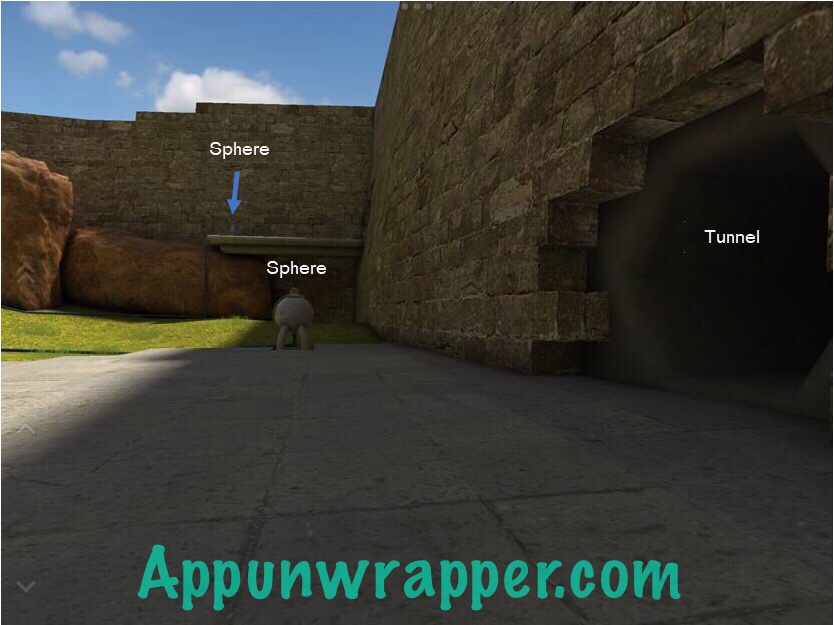
Enter the tunnel and turn around to see the outside. Move backwards until the entrance almost disappears.
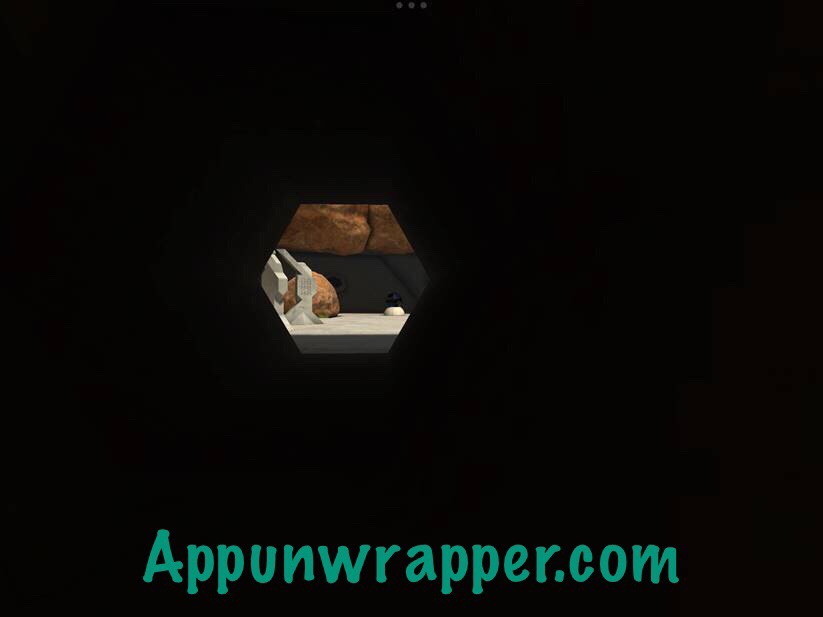
Turn to the right until a lighted path is seen. Continue down the path until it gets dark then turn around again and move backwards until the light almost disappears.
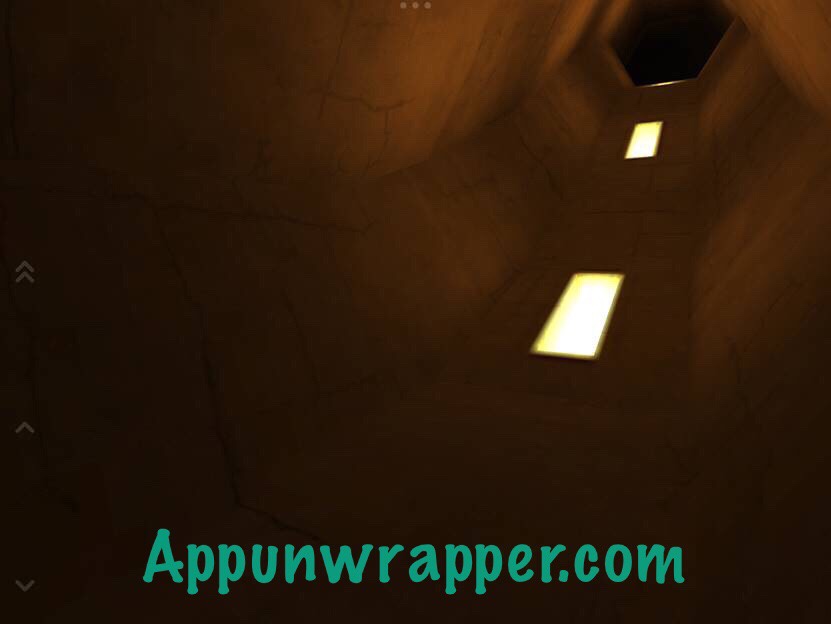
Turn right to see the other end of the tunnel with the ledge and the sphere on the ledge. Exit the tunnel.
Alternatively, you can enter the tunnel and keep on moving forward and slowly left and right and you will eventually end on the other side. Activate the sphere (2) on the ledge by clicking on it and a hissing sound will be heard. Move forward to jump off the rock to the grass below, no need to go back through the tunnel.
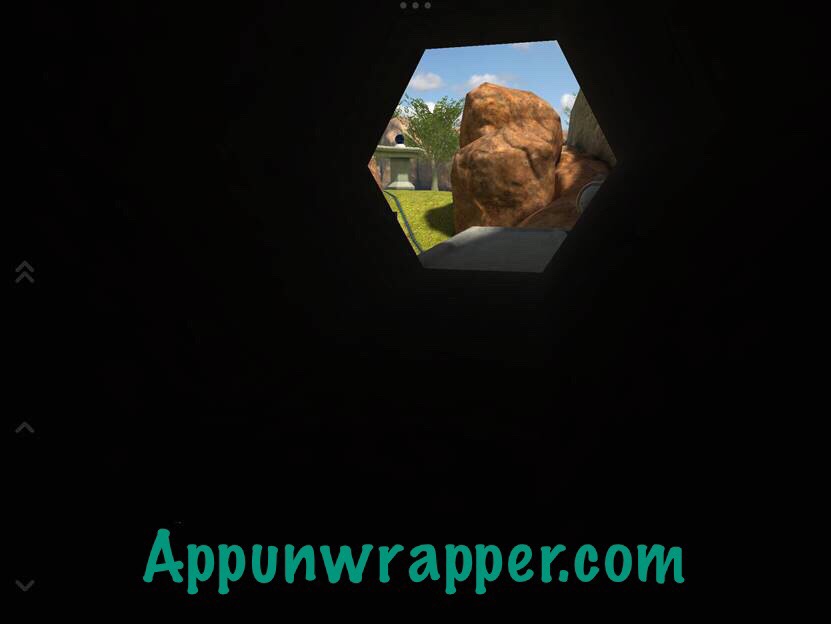
Follow the blue line from sphere (2) up the hill. You come across another marble structure (2) with legs and a platform. Move around the structure and notice the 6 symbols on one of the legs. These are the 6 spheres that need to be activated to activate the platform with the white hexagon in the center of the structure. Also notice the red pipe. The button above the red pipe needs to be green to activate the platform in addition to the activated spheres.
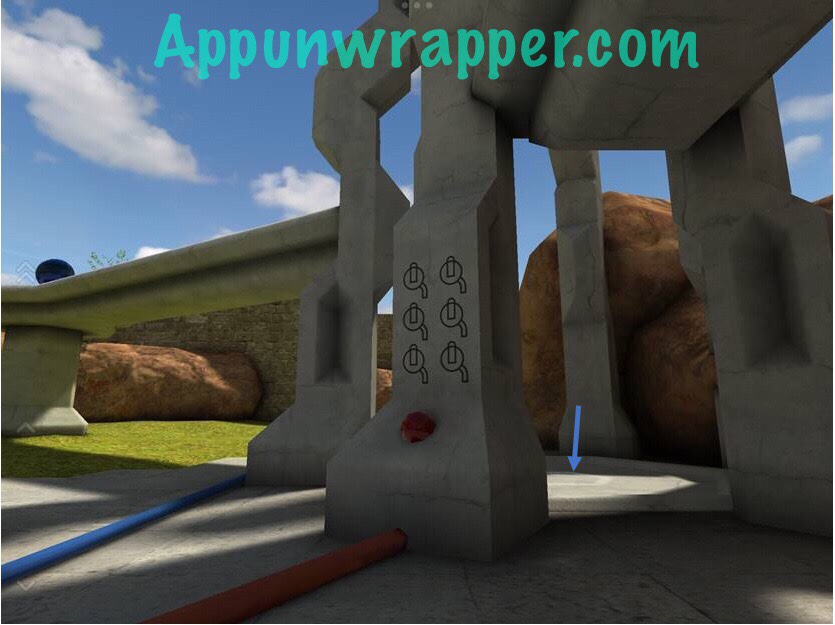
Follow the red pipe and notice the red switch that activates the structures at either side of the red pipes.
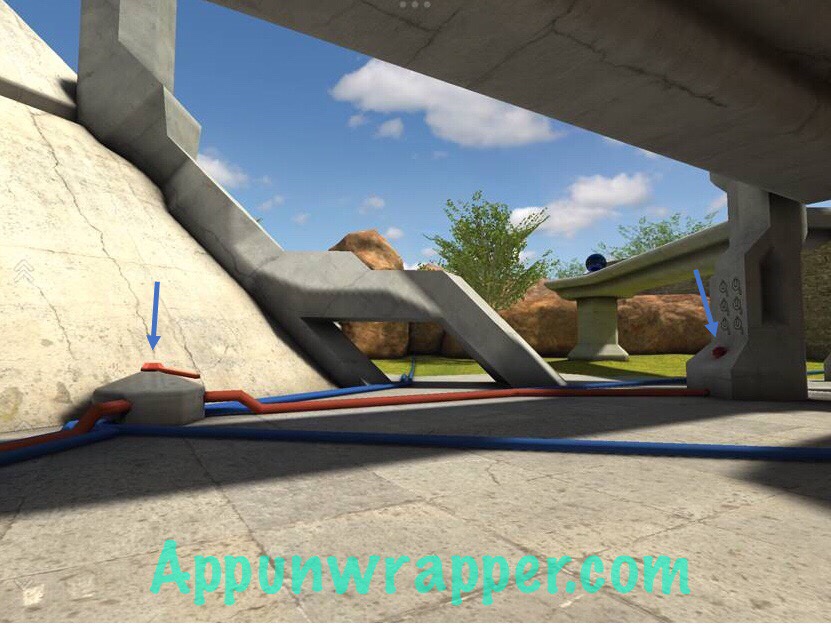
Continue forward from the red switch, under the marble arch, to blue dome (2) and notice a pyramid structure ahead of it with a blue button. There is a blue dome (2) across the pyramid. Click the blue button on the door of the pyramid structure and the door will sink down to reveal a target for blue dome (2). Activate the blue dome (2) across from the pyramid structure and position it towards the target in the pyramid structure. The target folds away and reveals another sphere.
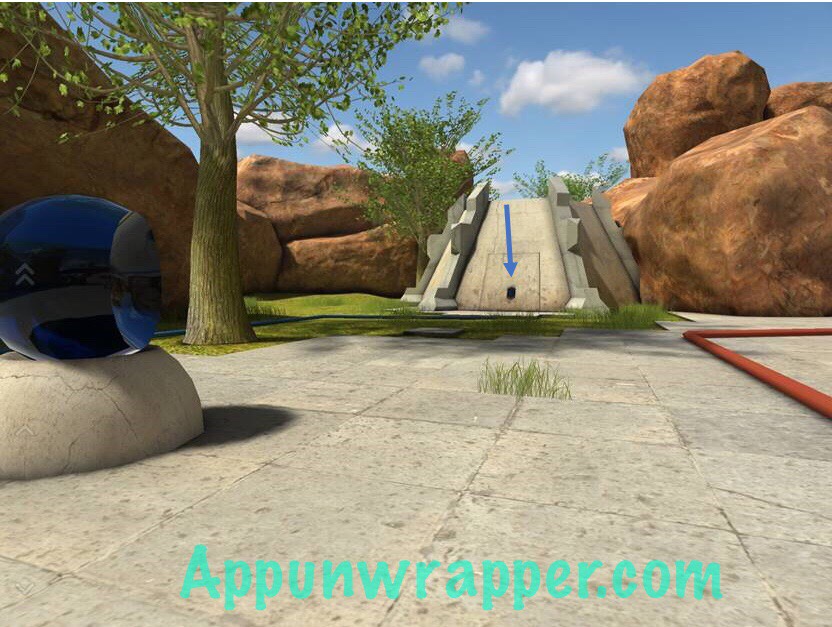
Click on blue dome (2) to activate the target across from it. Activate the sphere (3) inside the pyramid structure.
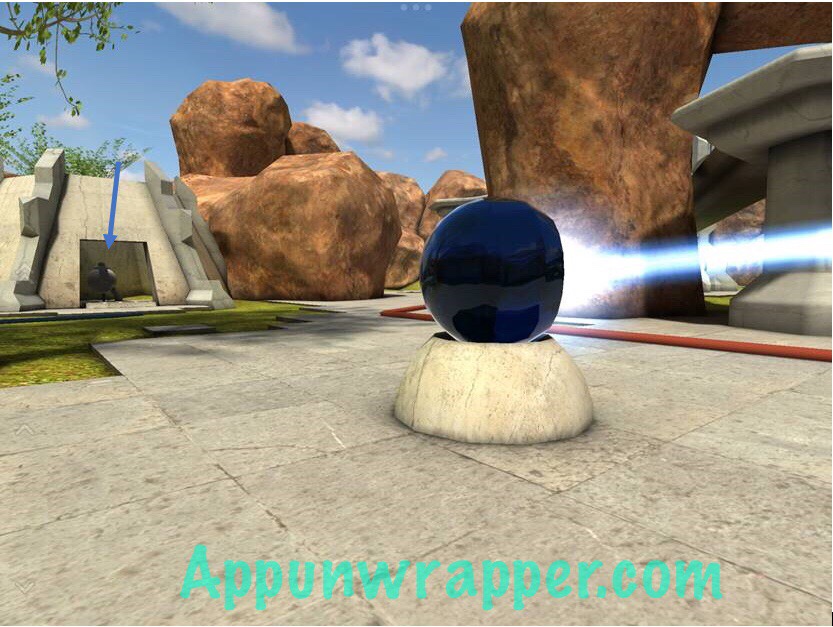
Continue left from the pyramid structure to see another marble structure (3) with legs and a platform with 6 sphere symbols. The red switch can direct the power to either structure (2) or structure (3) to active their platforms. Another sphere can be seen in the distance on the right.
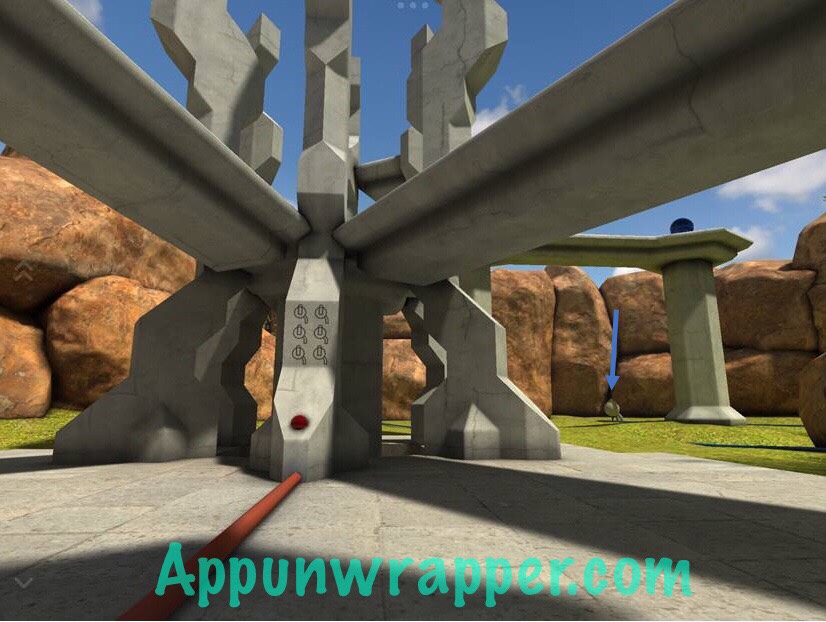
Go to the sphere (4) and activate it. Turn left towards the large marble structure and notice another sphere on a rock to the left.
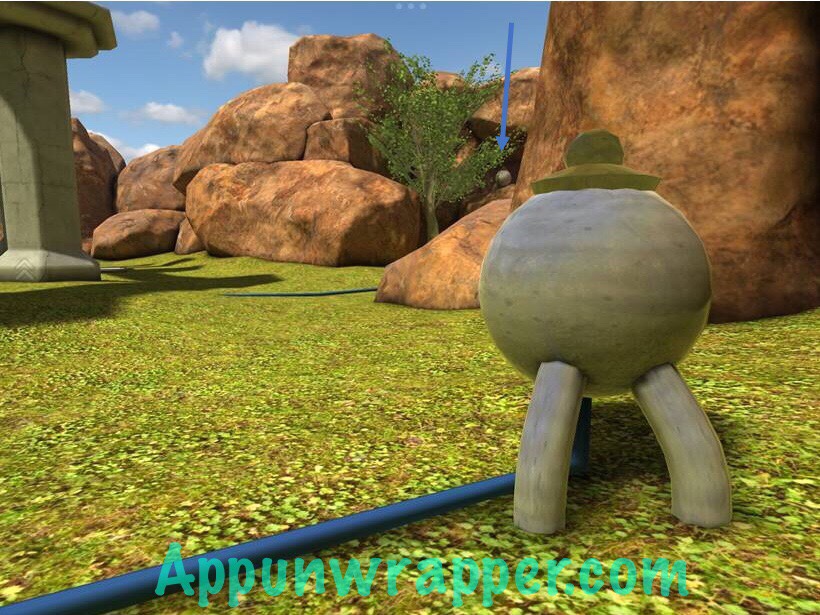
Enter the tunnel to the left of the tree, using the same walking backwards technique that was used before.
As you move backwards keep moving right (not left) to move in as deep as possible and you will start to see a very faint light on the left side. Move forward into the tunnel on the left and exit the tunnel.
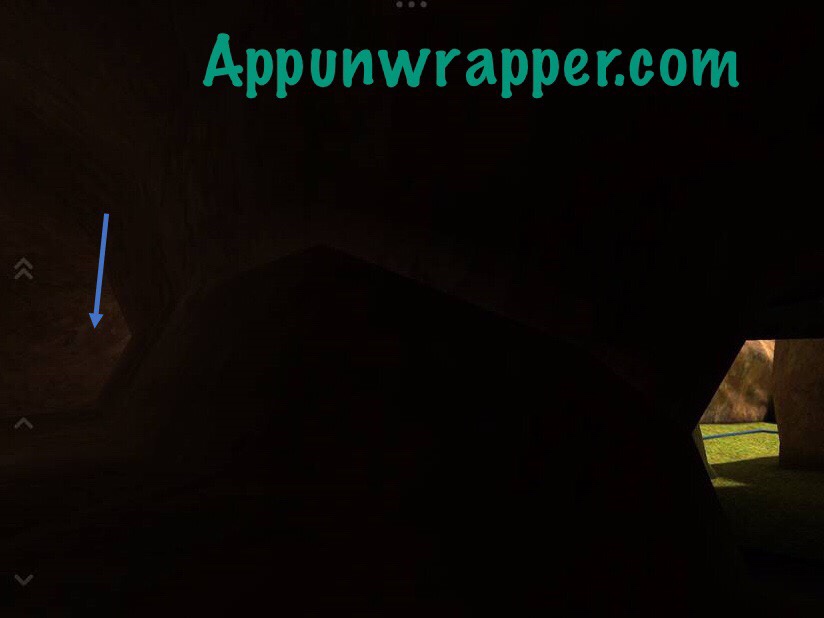
Activate the sphere (5). Move forward to jump off the rock onto the grass below.
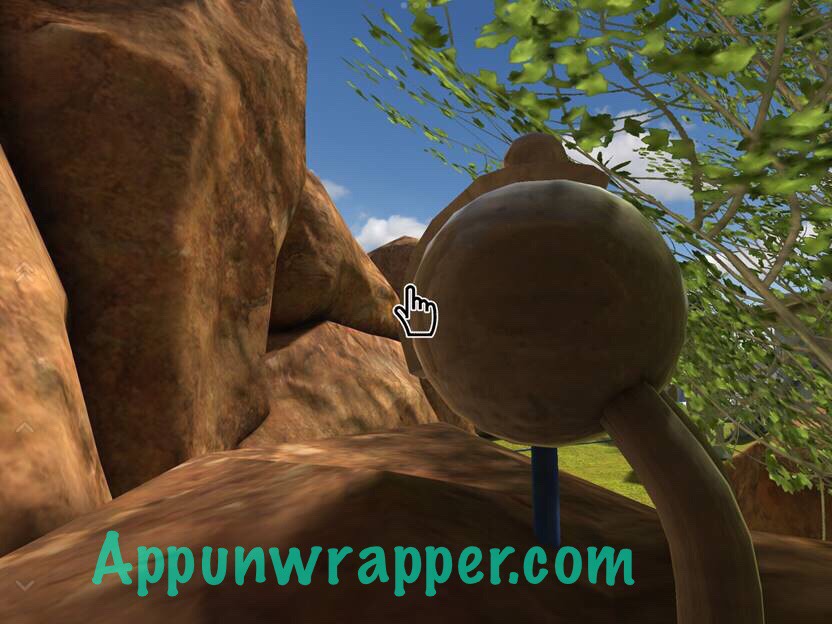
Follow the blue lines to the pyramid structure with the hexagonal target. Notice the white lines around the hexagon.
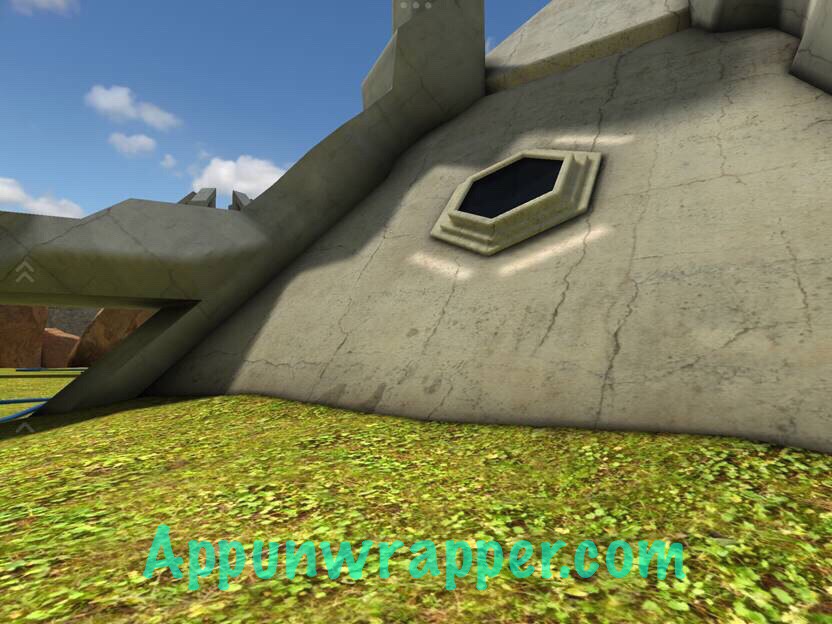
Look at the gate across the hexagon. Highlight the buttons corresponding to the white lines and the gate will open to reveal blue dome (3).
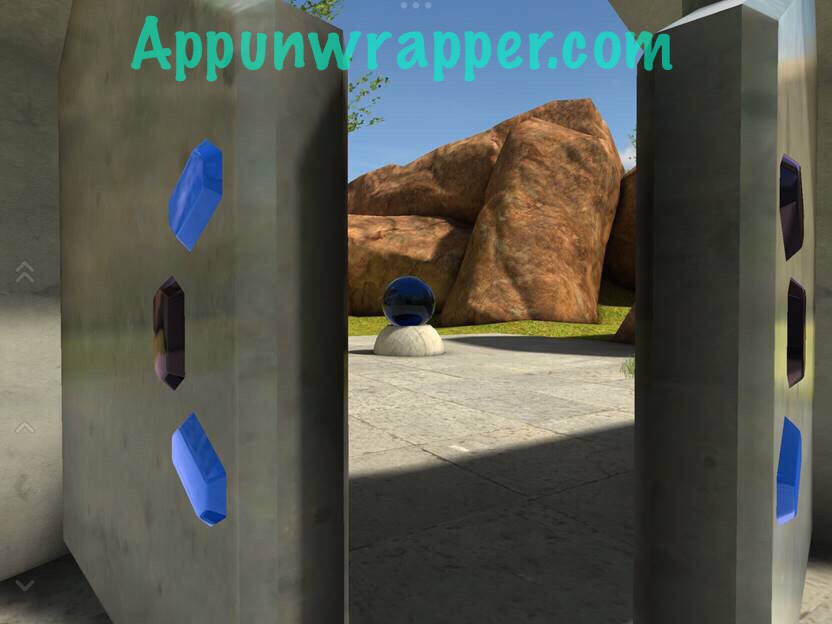
Activate blue dome (3). A rumbling sound is heard as the center structure of the pyramid structure across from it rises. All three blue domes on the ground level needs to be activated for this structure to rise and is needed to expose the targets for the domes on the upper levels.
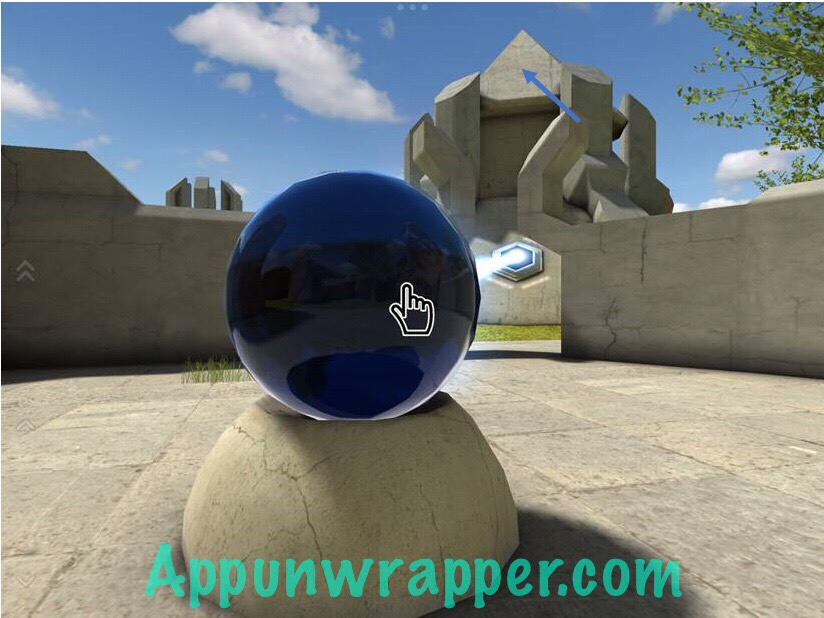
Inside this enclosure to the left is another sphere. Activate the sphere (6). All the spheres are now activated.
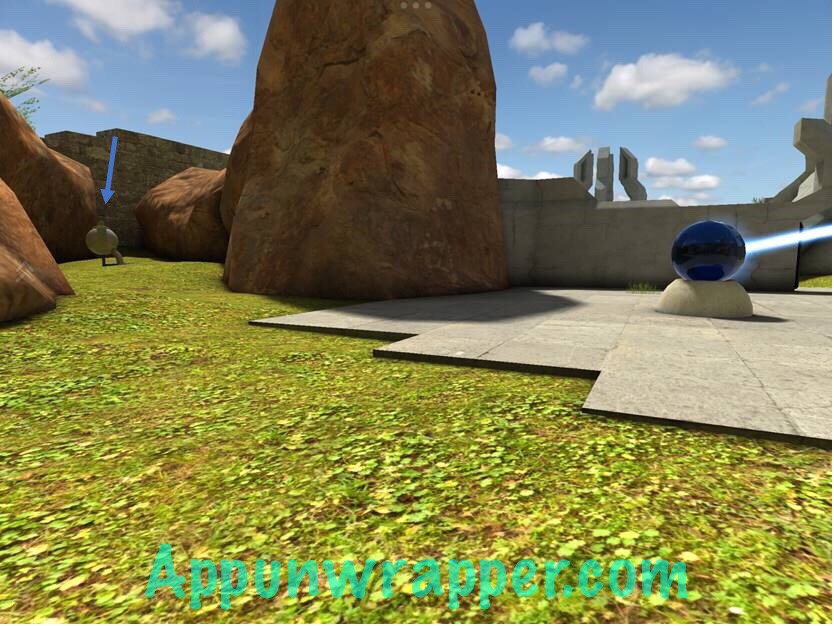
Notice that the button on the legs of structure (2) and structure (3) will be green if the all the spheres are activated and the red switch is directing power towards it. Go to the red switch and direct the power to structure (2) to the right of it. If the switch does not want to move, back away a bit from it.
Go to the structure (2) to the right. The button is now green which activated the platform. Step into the white hexagon on the platform and it will rise to the top level.
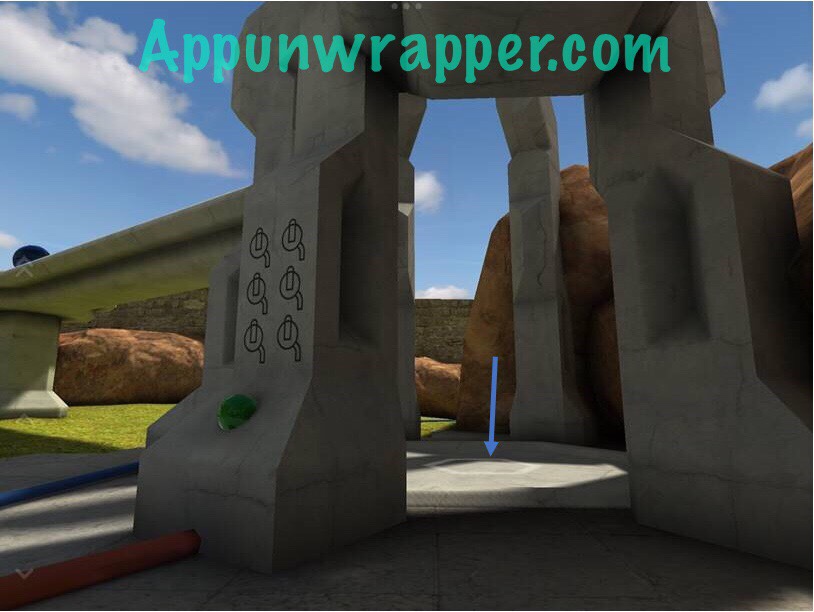
Turn until you see blue dome (4) at the end of the ramp and walk to it. Activate blue dome (4) at the end of the ramp.
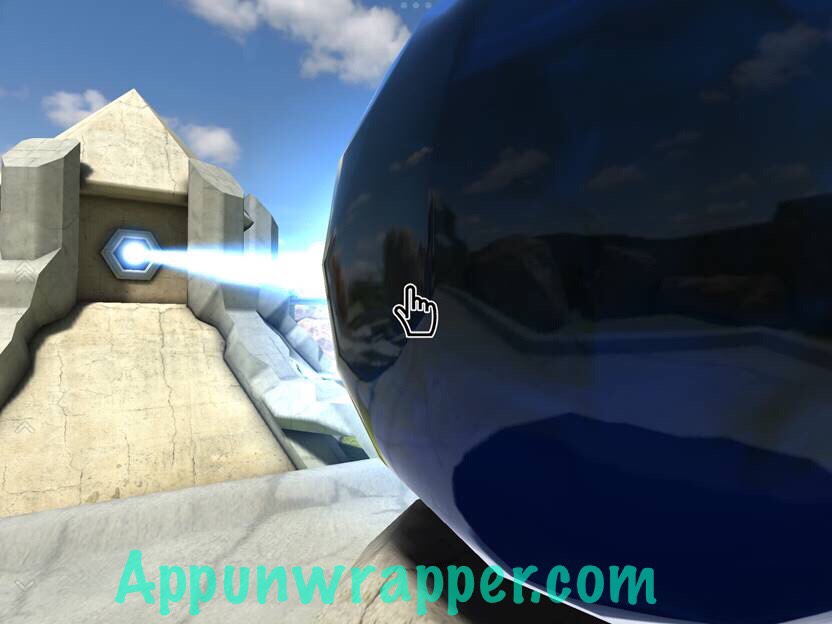
Turn around and walk back to the intersection but step around the white hexagon at the intersection otherwise the platform will go down. If it does go down, step back onto it and ride up again. Turn right and walk down the other ramp. At the next intersection turn left to go up blue dome (5). Notice that if you step on the white hexagon of structure (3) nothing will happen since the power is not directed to this structure. Activate blue dome (5).
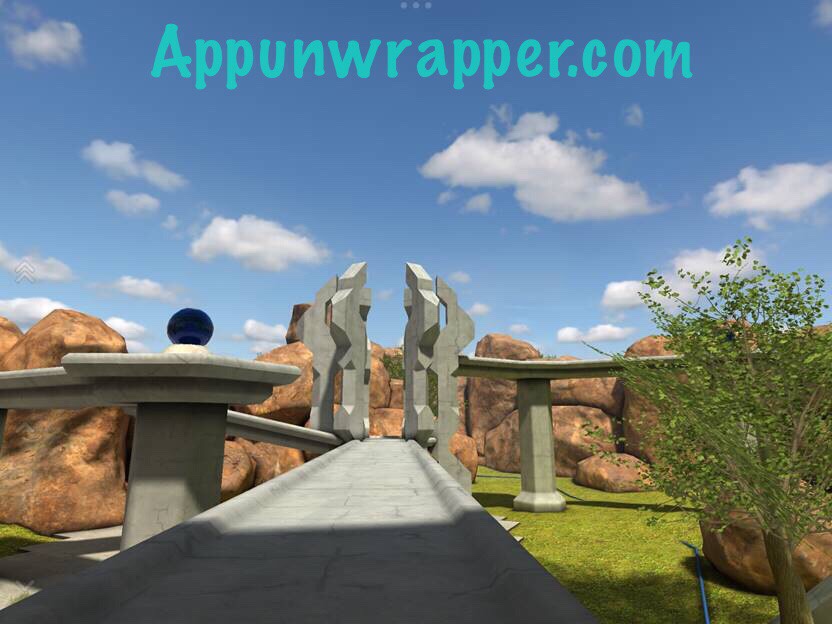
Turn around to see blue dome (6) on the upper ramp. Go back to the last intersection with the white hexagon and notice the blue button on one of the legs. This will lower the ramp you just came from. Press the button to lower the ramp and exit the ramp to the ground.
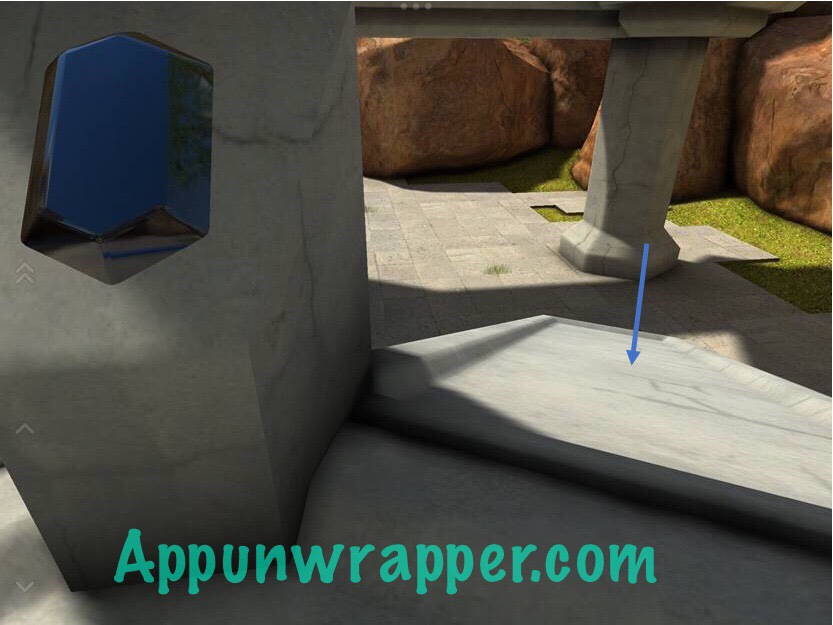
Follow the red pipe back to the red switch and flip it to activate the elevated platform in structure (3) that you just came from. Go back up the ramp that was lowered and step on the hexagon of the platform of structure(3) to rise to the upper level. Go forward to blue dome (6). Activate blue dome (6). Turn around and go the intersection. Step on the hexagon to go down to the lower level and exit the ramp to the ground. All the domes are now activated and the platform at the entrance of the game is now lowered.
Go back to structure (1) at the initial game entrance and step on the hexagon of the platform to go down to the lower level.
Enter the blue portal for the game end which simply states ‘To be continued…’
If you click on the three dots at the top center of the screen and select Continue, you are again placed in the lower level before going through the blue portal. You can step on the hexagon to go back to the upper level and explore the world further. For example, the platform of structure (1) can be elevated again by deactivating the blue dome close to it.



I am past the first step in your hints, but cannot see further hints. Are they here somewhere?
Someone asked for a walkthrough but I couldn’t really get into the game. I might give it another try and get the walkthrough going again. Sorry about that!
I know what you mean – it felt endless and tiresome.
There is a walkthrough over at youtube if I’m allowed to say that here.
Thanks!
Far out! Groovy! Reminds me of a so-called utopian society like the one we see in the Time Machine movie. Bitchen’!