Antrim Escape 3
By GameHive Corp.
[DKB url=”https://bit.ly/yT4QNc” text=”BuyNow” title=”” type=”” style=”” color=”red” width=”” opennewwindow=”” nofollow=””]
This is a walkthrough for the main storyline. You can see my walkthrough for the Christmas Hidden Object Game here.
See my other Antrim Escape walkthroughs here.
If you like this game, see my list of over 50 escape games and walkthroughs!
If you need any other help or have feedback, please comment below.
Walkthrough:
Chapter 1: The Mystery Lady
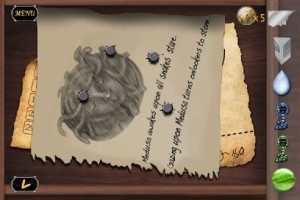
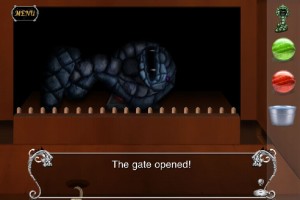
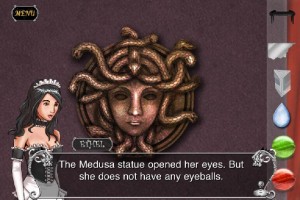
You start facing the Medusa head:
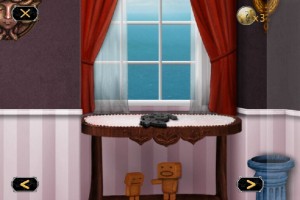
1. Gear Piece: Take it from the top of the table.
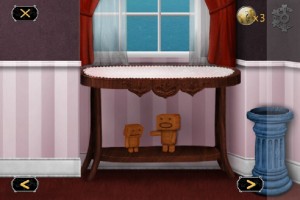
2. Doll Head: Under the table, take it off one of the dolls.
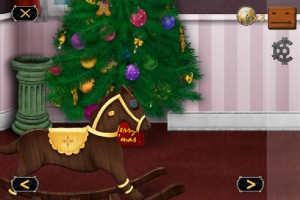
3. Stone: Take it from the eye of the rocking horse.
Turn left to the bed screen:
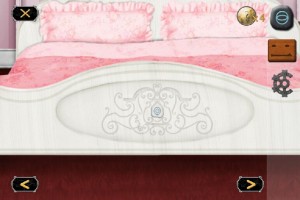
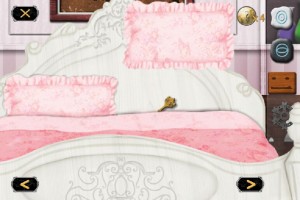
4. Stone: Foot of bed (the engraving).
5. Key: Lift up the pillow to find it.
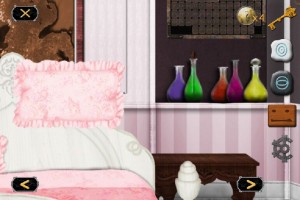
6. Screwdriver: Take it from inside the green flask.
7. Key: Right candlestick.
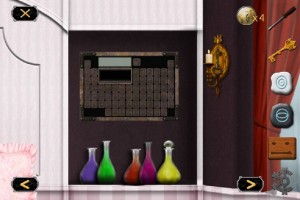
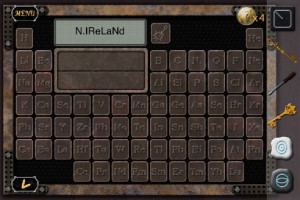
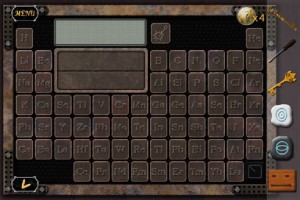
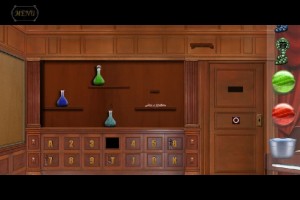
8. Black Tile: Look at the map above the bed. It says “N. IReLaNd” on it. Go to the periodic table. Tap the buttons that say N., I, Re, La, Nd. The. Press the little button next to the the word. The slot will open to reveal a black tile.
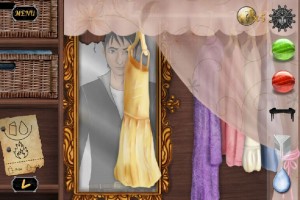
9. Black Tile: Bottom right corner of periodic table.
10. Wooden Table: Pick it up from the corner, below the periodic table.
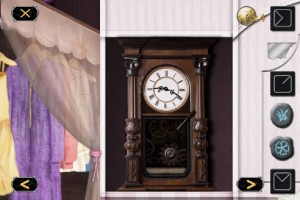
11. Use the first key you found to unlock the clock.
Turn left, to the closet screen:
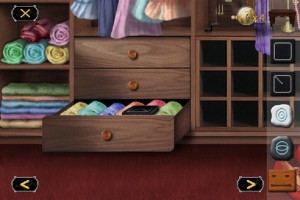
12. Black Tile: Use the second key you found to unlock the bottom drawer on the left side. There’s a tile inside.
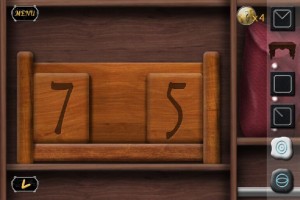
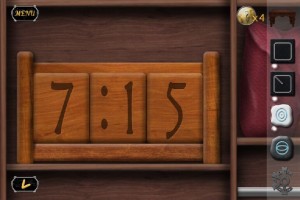
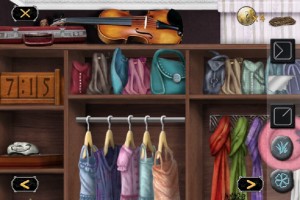
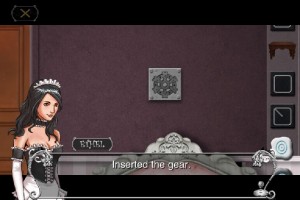
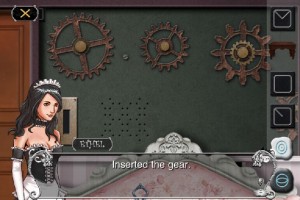
13. Zoom in on the wooden pieces on the upper left side of the screen. Place the doll head you found between the two numbers. Tap it and it will slide in. Depending on which doll head you got, you’ll have a different time. Mine says “7:15”. Remember yours.
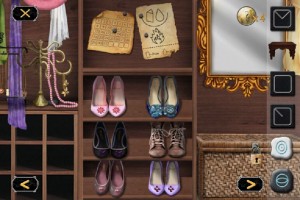
14. Stone: On one of the blue shoes on the shoe rack.
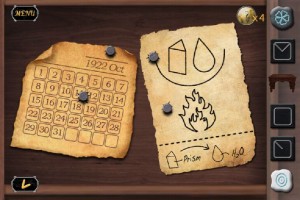
15. Zoom in on the two papers pinned to the wall. Take the piece that fell off. Place it in the empty space in the corner of the paper. Now you can read it. It says Prism and H2O.
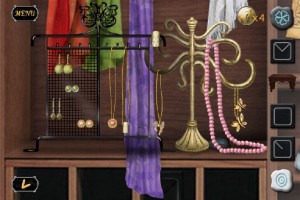
16. Stone: Zoom in on the earring/necklace display. Behind the pink necklace is another stone.
17. Black Tile: In the same view, below in one of the cubbies is another black tile.
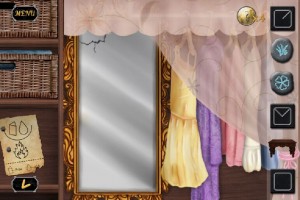
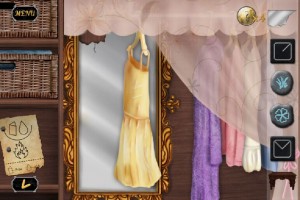
18. Mirror Shard: Zoom in on the mirror and take the broken piece from the upper left corner.
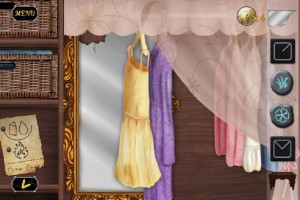
19. Rope: In the same view, move the yellow dress to the left. Then zoom out and go right to the bed screen. Look in the closet to the left to find a rope in the purple dress.
20. Black Tile: Go back to the closet and now move the purple dress to the left. Go back to the bed view and take a black tile from the pink dress in the closet.
21. Stone: Go back to the closet. Take the stone off the teal bag.
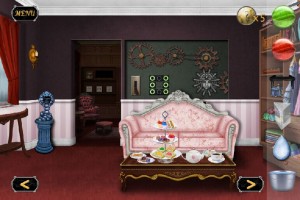
Turn left, to face the sofa:
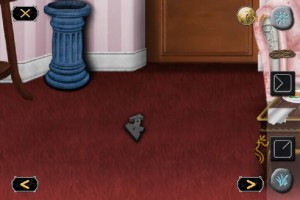
22. Gear Piece: Pick up the second gear piece off the floor.
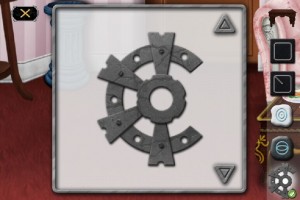
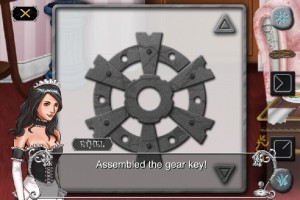
23. Gear: Zoom in on one of the gear pieces. Select the other gear piece and tap on the one that’s enlarged to combine them into one.
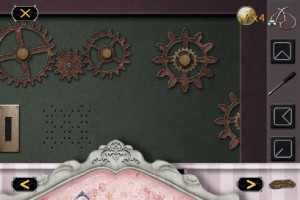
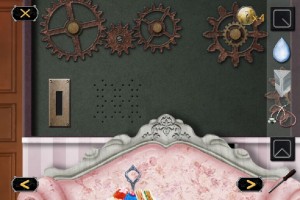
24. Place the gear in the slot above the sofa and the wall will open up to reveal some more gears.
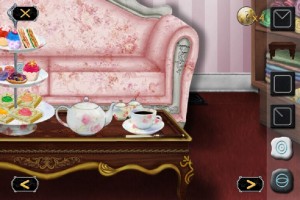
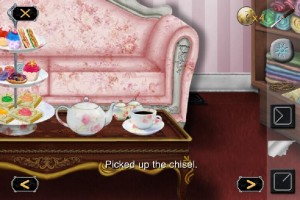
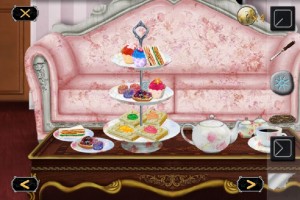
25. Chisel: Pick it up from the coffee table.
26. Black Tile: Right side of couch, on floor.
27. Stone: It’s hiding behind some desserts on the second level of the platter.
28. Black Tile: Upper left corner of the gears wall.
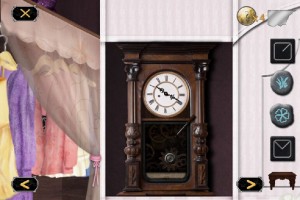
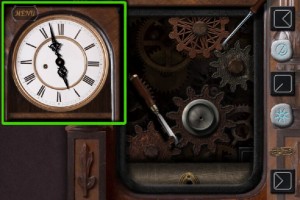
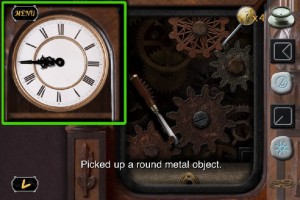
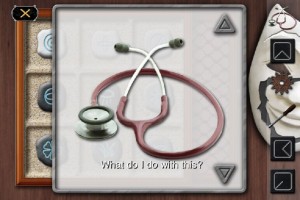
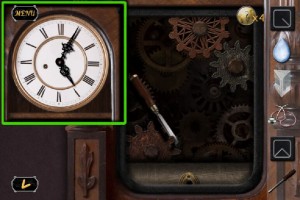
29. Stethoscope Piece: Go back to the bed screen. Zoom in on the clock again. Jam the screwdriver and the chisel in the gears so they stop at the time you got off the wooden puzzle (mine was 7:15). Now the round metal object is free to take.
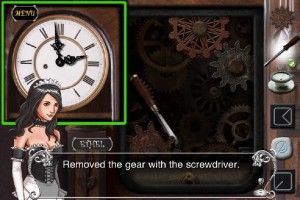
29. Gear: Remove the screwdriver. Then use it to remove the gear from the clock.
30. Key: Notice the clock hands are spinning. But they stop briefly at one point. For me, it’s pointing left. Take note of it. Go back to the first screen with the Medusa head. Place the wooden stool on the floor below Medusa. You can now open the hatch above her. Watch the spinning mechanisms and as they all approach the direction the clock hands were pointing (mine pointed left, or at 9), tap them to stop the spinning. A little door will open up, revealing a key. Take it.
31. Fireplace Grill: Go back to the closet. Use the key you just found to unlock the wicker basket on the bottom. Take the fireplace grill from inside.
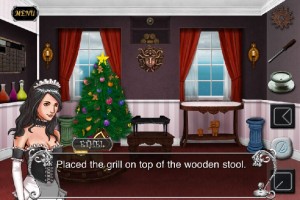
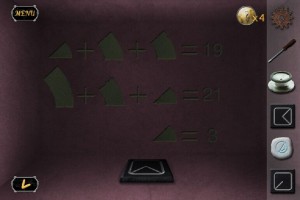
32. Black Tile: Go back to Medusa. Place the grill on the wooden stool. Now you can open the hatch above. Take the black tile from inside and memorize the green clue you see (or take a photo of it).
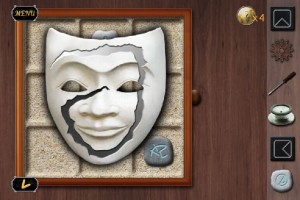
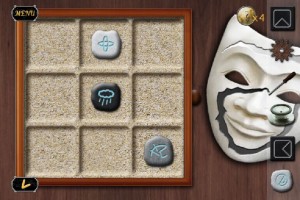
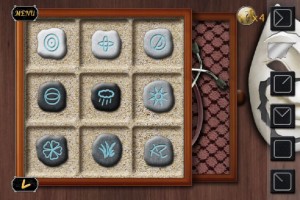
33. Stethoscope Body: Go back to the closet. On the left side, below the wooden pieces showing the time, is a puzzle. (It’s above the blue jewelry box). Tap on it. Remove the mask. Place the six stones you found in a spiral, from lightest to darkest (like on the mask). They’ll look like this in the end, and the stethoscope will be revealed:
34. Stethoscope: Combine the two pieces you found (one is a small round object).
35. Go back to the couch. Place the gear you got from the clock onto the wall with the other gears.
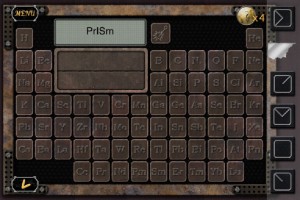
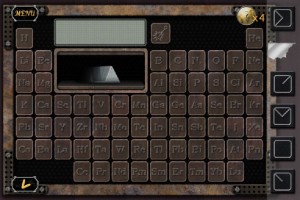
36. Prism: Go back to the periodic table by the bed. Remember that piece of paper? It said “Prism” on it. Tap the buttons Pr, I, Sm to make up PrISm. Tap the button next to the word and the slot will open, revealing a prism! Take it.
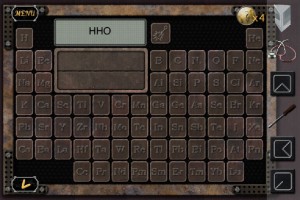
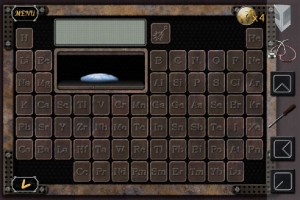
37. Water Crystal: Type in H, H, O (as in H2O for water) and the slot will open up, revealing a water crystal. Take it.
38. Black Tile: The last tile is in the corner of the clock.
39. Medusa Paper: Go back to the sofa. Lift the right cushion to find a paper. Take it back to the closet and pin it to the other papers. Take it back off and it will have four holes in it.
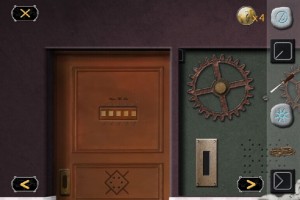
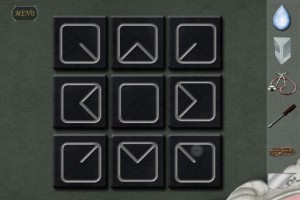
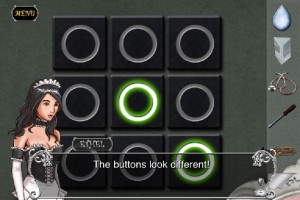
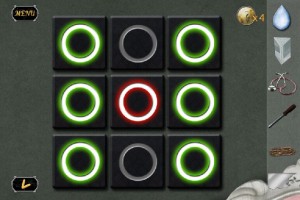
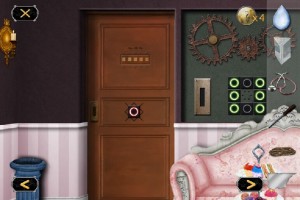
40. 1st Red Circle Tile: Go back to the couch. Look at the shape on the door. Now zoom in on the holes by the gears. Place the 9 tiles in order that they look like the shape on the wall. They should look like this:
If you do it right, the tiles will change, some glowing green. Tap the green circle that would NOT appear on dice. Do this for each one, from 1 to 6, and in the end the middle tile will glow red. Take it and place it on the shape on the door.
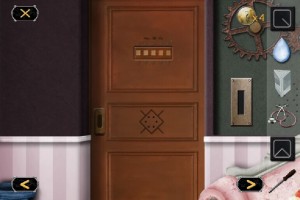
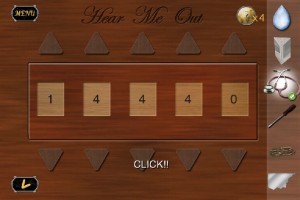
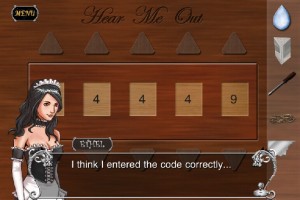
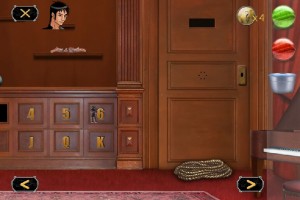
41. Zoom in on the combination lock at the top of the door. Now that you have the stethoscope, you can use it to hear the clicks (“Hear Me Out”). Tap the arrows above or below each number until you see a capital “CLICK!” and then the slot will open up. You can now see Ryan, and even pass things through to him!
Chapter 2: The Castle’s Secrets
You now have control over Ethel and Ryan. To switch between them, tap on either icon.
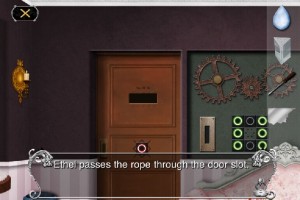
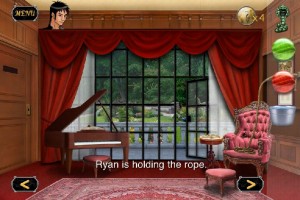
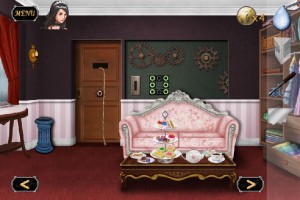
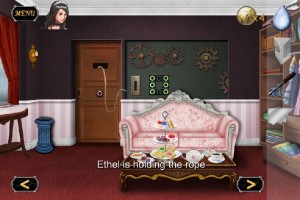
1. As Ethel, pass the rope to Ryan through the opening in the door.
2. Rope: As Ryan, pick up the rope.
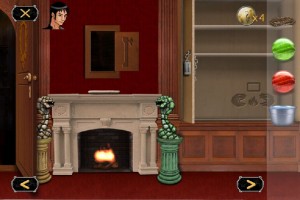
3. Green Snake Statue: Face the fireplace and take the statue off the pedestal.
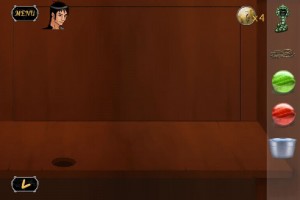
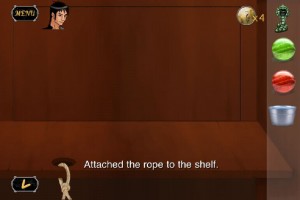
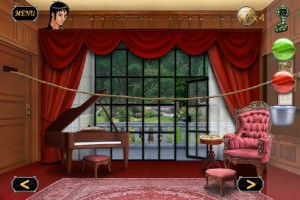
4. Face the screen with the zigzag door. To the left of the door, by the framed photo, is an empty shelf. Zoom in on it to find a hole. Tie the rope to the hole and zoom out. Grab the rope and pass it through the hole in the door to Ethel.
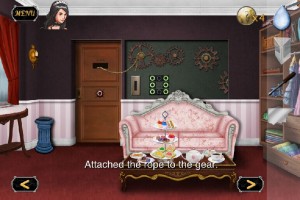
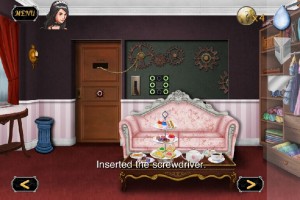
5. As Ethel, take the rope and tie it to the gears. Jam the screwdriver in the slot below the gears and you now have a working handle. Pull it to get the gears moving.
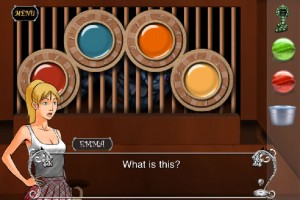
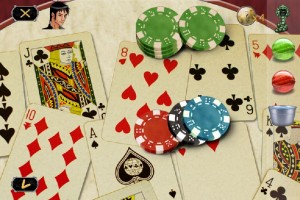
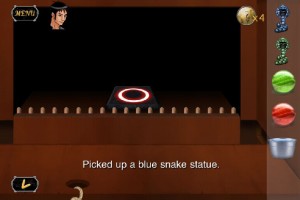
6. Blue Snake Statue: Back in Ryan’s room, the rope will pull out the shelf, revealing four discs. You can change the color of each disc by spinning the outer rim. To get the right colors for each disc, zoom out and look at the cars table next to the chair. Make note of the numbers on the rim of the poker chips. Match those chips to the numbers on the discs and change the colors accordingly. For me, it went Red, Blue, Green, Black. If you get it right, they’ll slide down, revealing a hidden compartment. Inside is the blue snake statue.
7. 2nd Red Circle Tile: Inside the same compartment is another red tile. Take it and place it on the door to open the door! The characters now meet up and combine inventories.
Chapter 3: The Origin
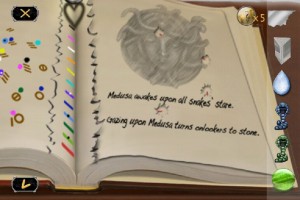
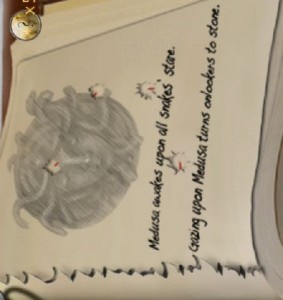
1. In the piano room, zoom in on the book on the piano. Place the Medusa paper on the book. Pinch to zoom in on it and you’ll see the red lines point in different directions. For me, it looks like this:
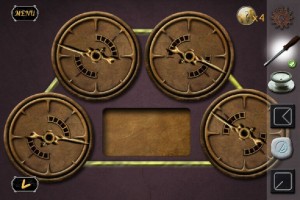
If you turn it 90 degrees counter-clockwise, It looks like the four dials above the Medusa head.
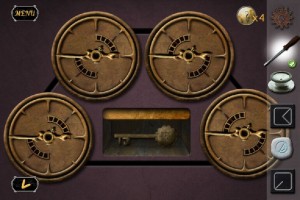
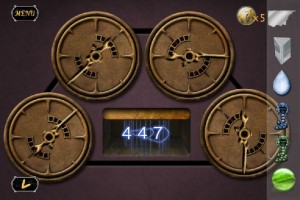
2. Go back to the dials above Medusa. Turn each so they resemble the four red marks. A small door will open, revealing some blue numbers. Mine are “447”.
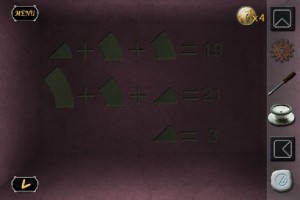
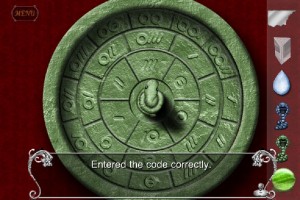
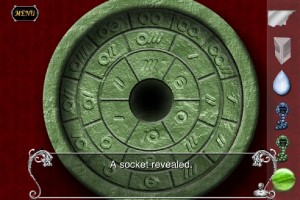
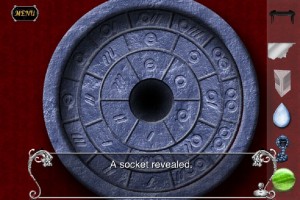
3. Zoom in on the green pedestal. Remember the green clue from the other opening above Medusa? Work out the math to get the number for each piece. Mine came out to 3, 8, 10. (The small piece = 3. 3 + medium piece + medium piece = 19, so one medium piece = 8. Small + medium +large piece = 21, so the large piece = 10.) Set the dials on the snake to those three numbers. Mine would start with 3 on the inside and move outward to 10. If you get it right, a socket will appear.
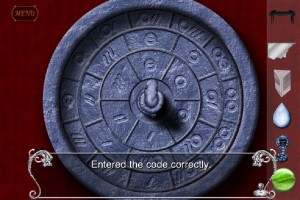
4. Now zoom in on the blue pedestal, and use the blue numbers you just got (mine were 447). A socket opens up if you got it right.
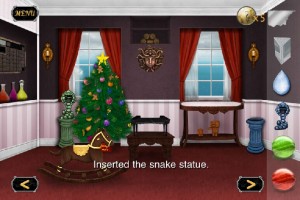
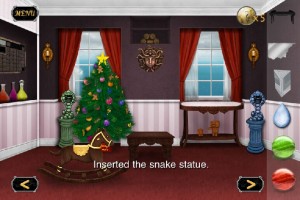
5. Place the snake statues on the two pedestals.
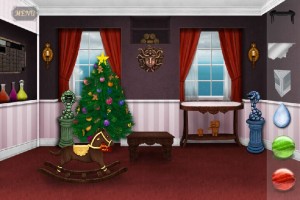
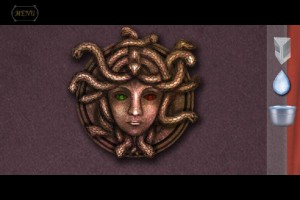
6. Turn the snakes so the green one faces you (the mirror) and the blue one faces Medusa. Don’t forget about the yellow one near the fireplace. All three snakes have to stare at Medusa, so make the yellow turn as well. Use the map if you need, to see the direction of their gazes. If you get it right, Medusa’s eyes will open.
7. Place the green marble in the left eye and the red marble in the right eye. Then use the mirror shard on Medusa to block her stone gaze. She’ll turn to stone instead!
8. Medusa Gear: Take the marbles out if her eyes and then take the stone Medusa. It will work as a gear. Also take the grate back.
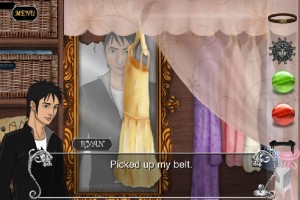
9. Belt: Turn to the closet. Tap on the mirror so you see Ryan’s reflection. Tap on his belt to get it.
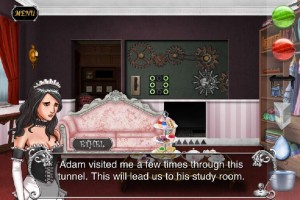
10. Face the sofa again. Place the Medusa gear and belt on the wall with the rest of the gears (make sure the gears aren’t moving first). Pull the lever and the couch will move, revealing the secret tunnel!
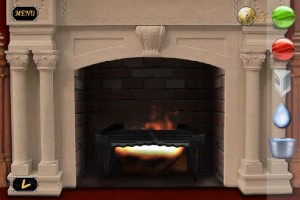
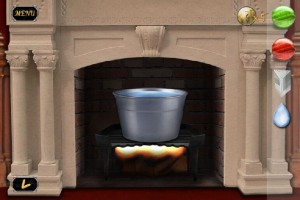
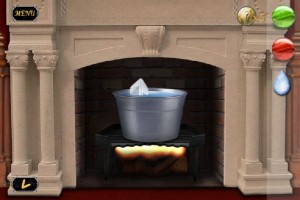
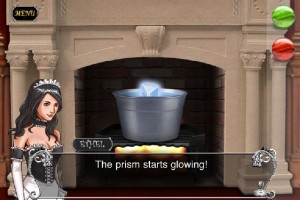
11. Glowing Prism: Go to the fireplace. Place the grate on the fire. Place the bucket of water on the grate. Put the prism and water crystal into the water and they’ll combine to make a glowing prism! Take it.
12. Place the glowing prism in the slot below the secret tunnel. It’s now lit up. Before you leave, Ethel will tell you to grab the ancient tablet from off the fireplace. Go and get it.
13. Go through the secret tunnel. You can either escape here through the Garden Exit and be stuck in the past, or go to Adam’s Study.
To get to chapter four, go to Adam’s Study.
Chapter 4: The Grand Escape
You’re facing the bookshelves:
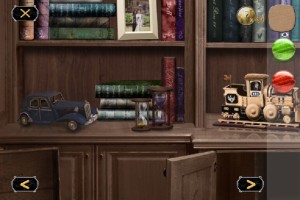
1. Hourglass: Near the little blue car.
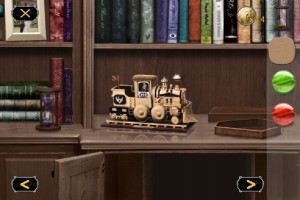
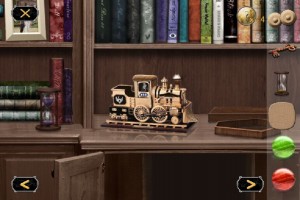
2. Key: Take the key from the toy train.
3. Cymbals: They’re covering the wheels of the toy train.
4. Face Tablet: It’s lying on its side on a book, below the rifle.
5. Cabinet Handle: Take it off the cabinet on the lower right.
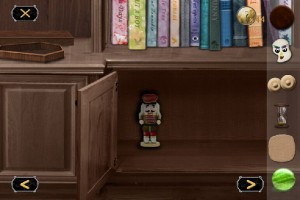
6. Nutcracker: Use the key to open the same cabinet and find a nutcracker.
7. Turn right twice so you’re facing the desk and map.
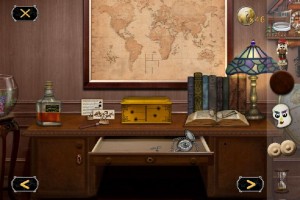
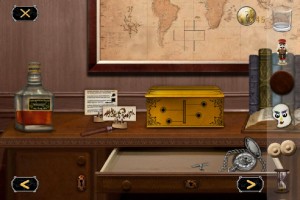
8. Whiskey Glass: On the desk, next to the whiskey bottle.
9. Dragon Card: On the desk.
10. Nutcracker Riddle Card: On the desk.
11. Blue Gem: On the top of the lamp.
12. Place the handle from the other cabinet on the one that’s missing one on this desk.
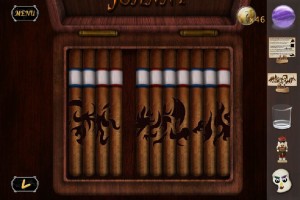
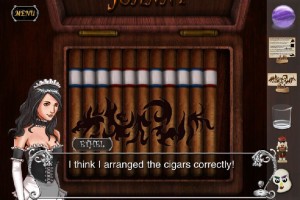
13. Inside is a cigar puzzle. You need to arrange the cigars in order so it looks like the dragon card. It should look like this, but the colors on the cigars vary per game:
My cigars give me this code:
B = Blue, R = Red
BBBRRRBRBBR
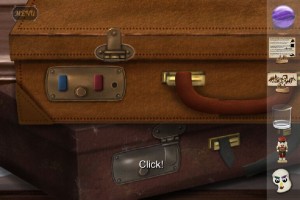
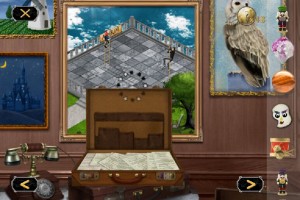
14. Turn right and zoom in on the left lock of the suitcase. Use the code from the cigars to unlock it.
15. On the same screen, look all the way to the right on the bookshelf. You’ll see a time written on a book. Mine says: 8:20.
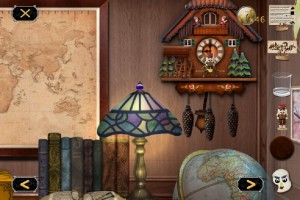
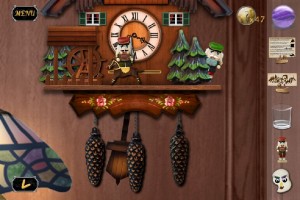
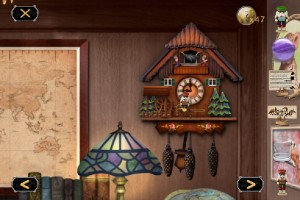
16. Nutcracker: Turn back to the desk. Zoom in on the cuckoo clock. Pull the hanging pine combs to get the time it said on your book. A nutcracker will peak out from behind the trees. Take it.
17. Bird Head: Zoom out once and open the little window at the top of the cuckoo clock. Take the bird head piece.
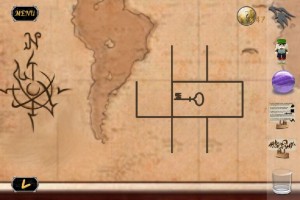
18. Look at the map and make a note of the diagram drawn on it:
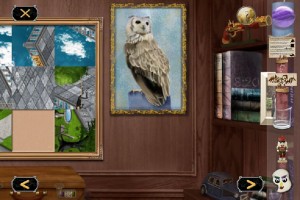
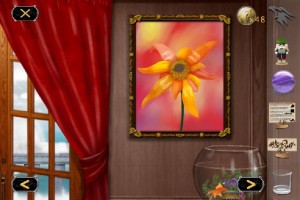
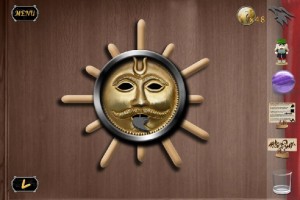
19. Grey Leaf Piece: Turn left and face the doors to the outside. There’s a flower painting and a sun puzzle. Look at the glowing symbols on the flower and match it up with the one on the sun to see how to solve the puzzle. Match the long/short petals to long/short rays on the sun. It should look like this, and then the object will pop out of its mouth:
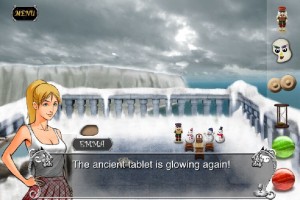
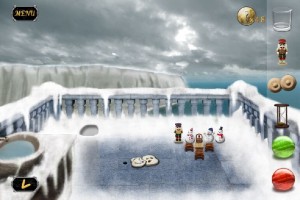
20. Sword: Walk outside and tap on the snow to the right a few times to reveal the sword. Take it.
21. Glowing Tablet: Place the tablet in the space in the snow and it will start glowing. Take it back.
22. Place the face tablet next to the tablet in the middle of the porch. Both will move, revealing a hole.
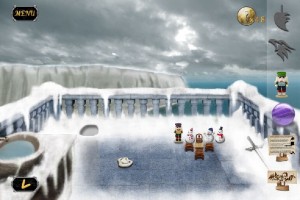
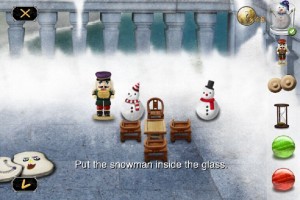
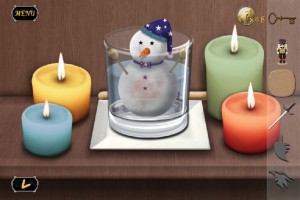
23. Snowman: Zoom in on the table and snowmen. Select the whiskey glass and then tap the snowman wearing a blue hat. You’ll now have a snowman in a glass.
24. Nutcracker: Take the nutcracker from near the snowmen.
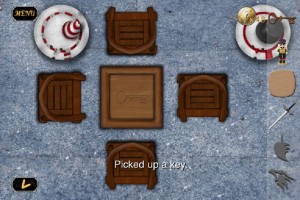
25. Key: Tap on the table. This is a puzzle. Remember the diagram from the map? Turn it upside-down because you’re facing south, then arrange the chairs in the order show on the map. Turn the key in the right direction as well. The key part will start spinning and there will be an actual key on it when it stops. Take it. Mine looks like this:
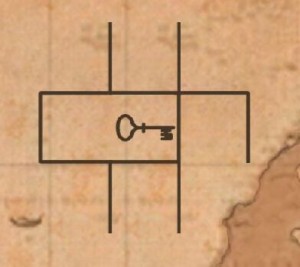
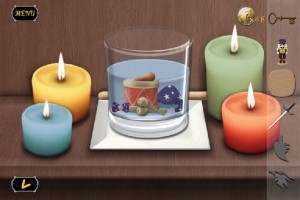
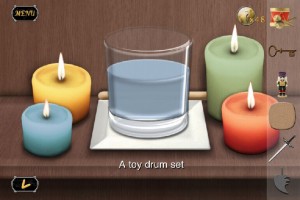
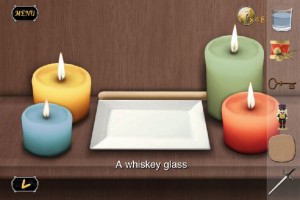
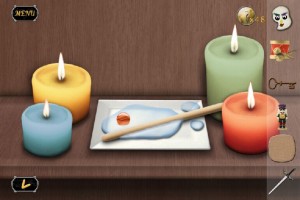
26. Drum Set: Go back inside. Under the sun are some candles. Place the snowman-in-a-glass between the candles. It will melt, revealing a drum set. Take it. Also take back the glass.
27. Stick: A stick has fallen where you were melting the snowman. Take it.
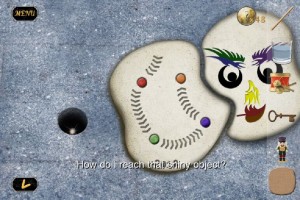
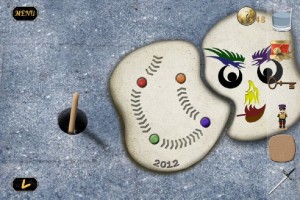
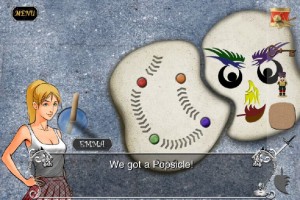
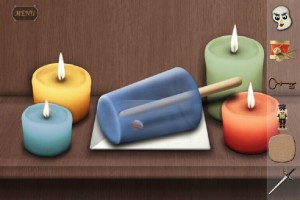
28. Orange Gem: Go back outside. Zoom in on the hole in the ground. Put the stick in the hole. Pour the water from the melted snowman into the hole. You now got a Popsicle stick! Take it. Also take the face tablet back. Go back inside and melt the Popsicle by the candles to get an orange gem.
29. Flower Bouquet: Face the wall with the suitcase. Use the key to open the door to the left. Open it and look inside. At the top is the flower bouquet.
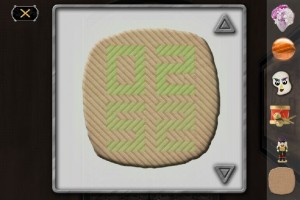
30. While still in there, take the glowing tablet out of your bag. Some numbers will start glowing on it. Mine says “0252”:
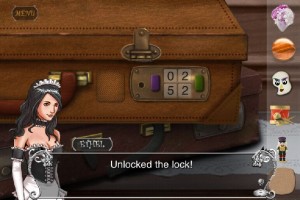
31. Zoom in on the right lock of the suitcase. Set the numbers to what you found on the glowing tablet. Mine looks like this:
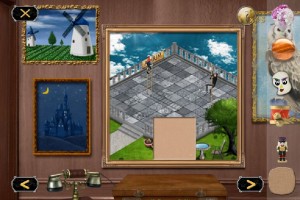
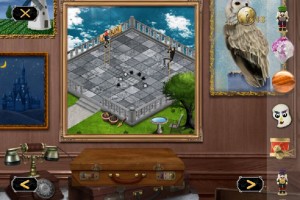
32. Before opening the suitcase, rotate the pieces of the painting on the wall so they look like this:
33. Nutcracker & Puzzle Piece: Open the suitcase and take both out.
34. Put the puzzle piece on the wall and rotate it to match with the rest. Some holes will start appearing in it. Open the suitcase and you’ll get a circle of black and white dots. Mine looks like this:
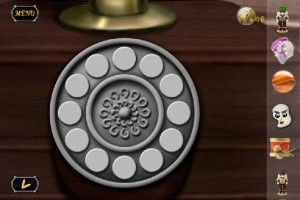
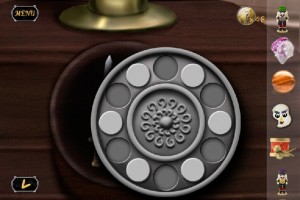
35. Toy Sword: Zoom in on the phone. There’s a line across it. That line represents the line between the suitcase and painting. Punch in the circles so they match it. If you get it right, the buttons will move on their own and it will open to reveal a toy sword. Take it.
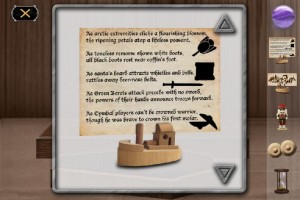
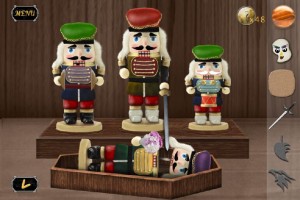
36. Nutcracker Key: Turn to the bookshelves. Zoom in on the small coffin. You need to create a nutcracker funeral, based on the riddle card you have. Take a look at it again:
Now, place the nutcrackers in this order:
The nutcracker in the coffin will now be beheaded by the sword. Take both his head and body.
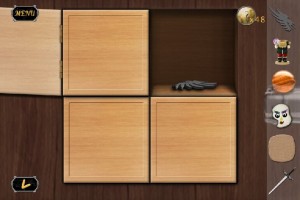
37. Wooden Leaf Piece: Zoom in on the four wooden squares below the cat. Use the nutcracker head to open the lock. Open the top left door. Take the wing piece. 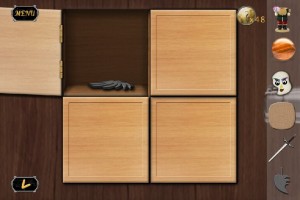
Slide the box below it up, and the bottom right box will slide to the left. The top right box will drop down, revealing another wing piece.
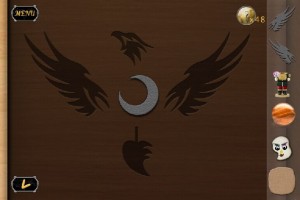
Take it. Move the bottom box back up, and tap on the bird puzzle that’s revealed before the other box slides back in.
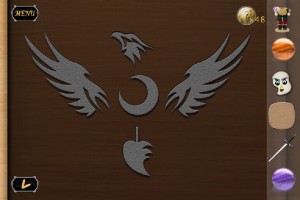
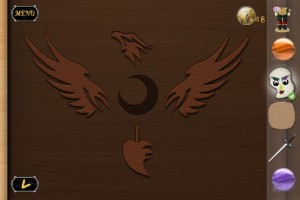
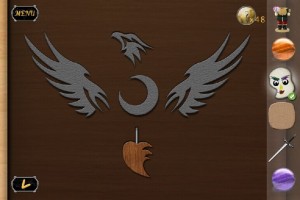
Place all four grey pieces in the corresponding spaces.
Tap the moon shape in the middle and the bird will change colors. Refer to the face tablet to see which piece is that color and tap it.
Keep doing this until the bottom piece turns to wood. Take it. Put all the boxes back where they were and take the nutcracker head back.
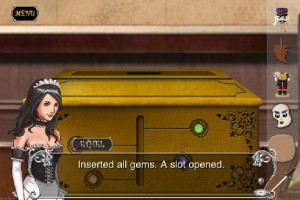
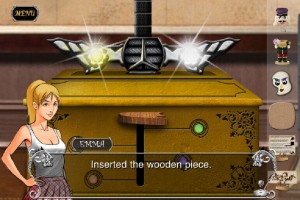
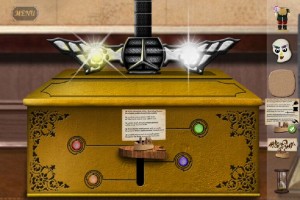
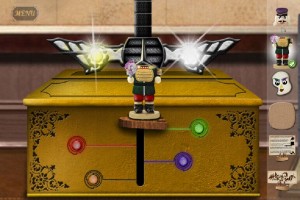
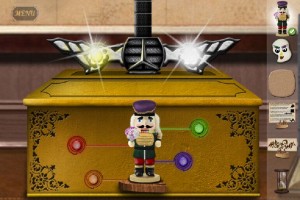
38. Turn to the desk. Zoom in on the gold Pandora’s Box. Place one marble on it and all four will go into place. A slot opens up at the top.
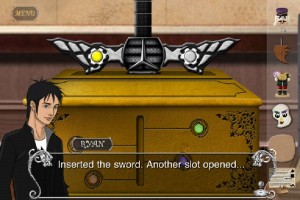
39. Place the sword in the slot at the top. Another slot opens in front.
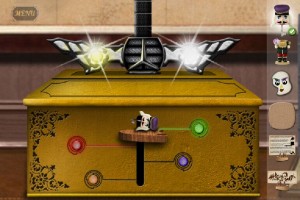
40. Place the wooden leaf piece in the slot in front. It works as a scale.
41.The key to this puzzle is the tablet outside. it shows that you need to light the gems up in this order: Red, Green, Blue, Orange.
Place these items on the scale in this order: Riddle Card, Nutcracker Head, Nutcracker Body (or Hourglass), Whole Nutcracker (first attach the head to the body).
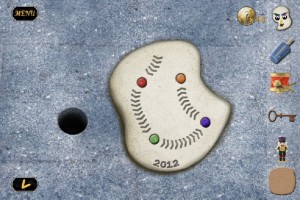
The box activates. Everyone’s pulled back to 2012. Enjoy the ending.
Congratulations, you escaped!
Try the Antrim Escape 3 Christmas Hidden Object Adventure next!
If you liked this game, try The Lost City and these other room escape games.

Please leave any questions or feedback here.
Number .35.. Sorry I just really lost here.. how can I put the gear with the rest of the gears in the wall, when I put it on the wall to make it open?
It should fit into one of the empty spaces between gears.
hey umm i just cant find two of the black tile things can you help, im just getting confused
I can’t find the sword to put into pandoras box…?
Where’s the sword for pandoras box?
Cant find the key behind the candlestick so cannot move on. Am I missing something? I have check earlier and throughout the process and cannot find the key
Hey! Thank u for the hints! Great!
However, I don’t find the right combination for the blue snake… 5 poker chips, only four rounds and one is not matching at all.. How do I work it out?
Oh, leave it, I got it! I was making it more complicated than it was. for me the code is blue red green black
Hi there, i cant find the toy train key to get last nutcracker… Can u help?
Aw man, so frustrating… Cant get last nutcracker! Im sure i’ve picked up the toy train key before, but dont have it anymore. How do i get last nutcracker without key? Or where can i find the key again?
It’s been a while since I last played the game. I’ll try to get back to you on this.