The Adventures of Bertram Fiddle: Episode 1: A Dreadly Business
By: Rumpus Animation
 [DKB url=”https://www.appunwrapper.com/Bertram” text=”Download” title=”” type=”” style=”” color=”green” width=”” opennewwindow=”” nofollow=””]
This is a step-by-step Walkthrough for the iOS and Androis point-and-click adventure game, Bertram Fiddle. It will offer help, hints and tips for episode one, A Dreadly Business. This walkthrough will only show you how to get through the story. There are a lot of fun things to discover outside of the story, and I recommend you explore to fully enjoy the game.
Walkthrough:
Chapter 1: Curious Stirrings
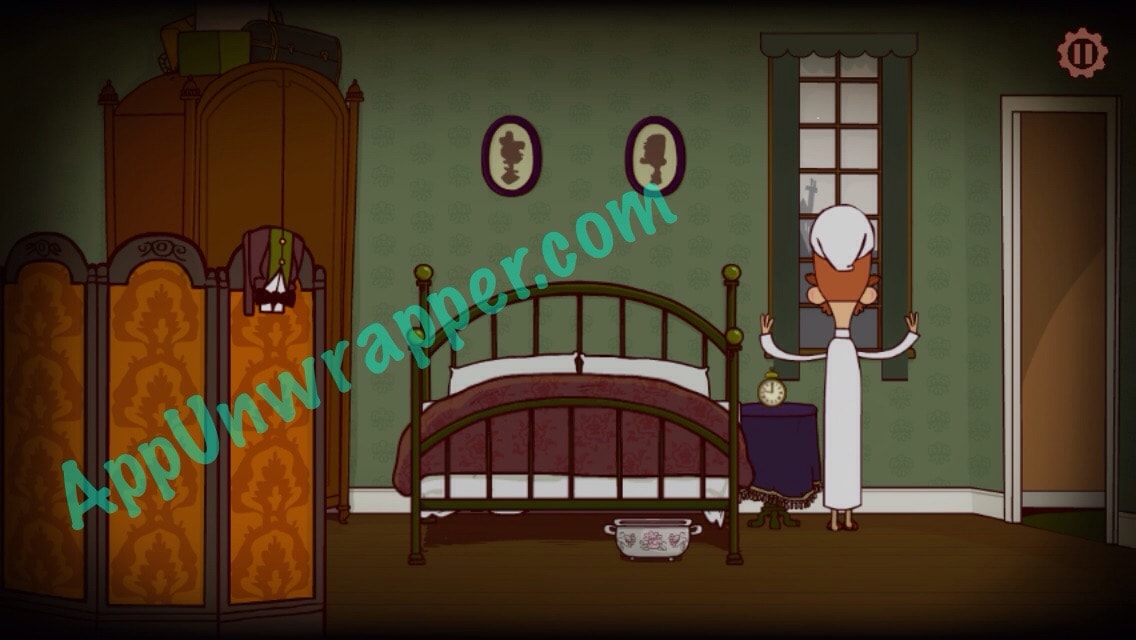
1. Tap the alarm clock to shut it. Bertram will get out of bed, but can’t see anything. So open the window shades/curtains.

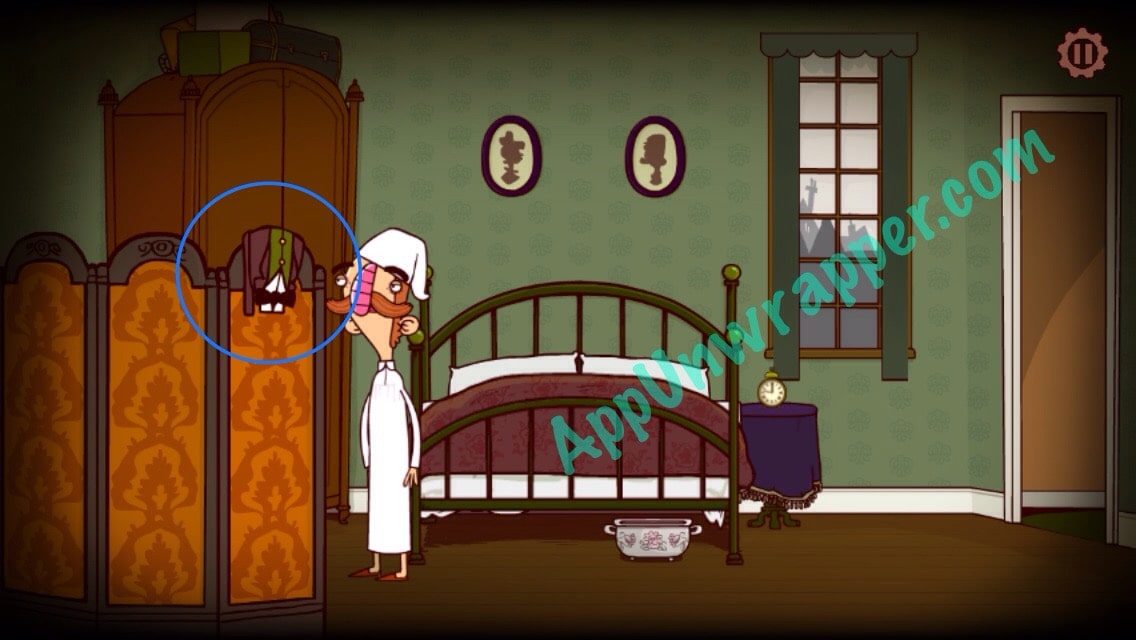
2. Tap on the suit to the left so Bertram can change into it. Then leave the room through the door to the right.
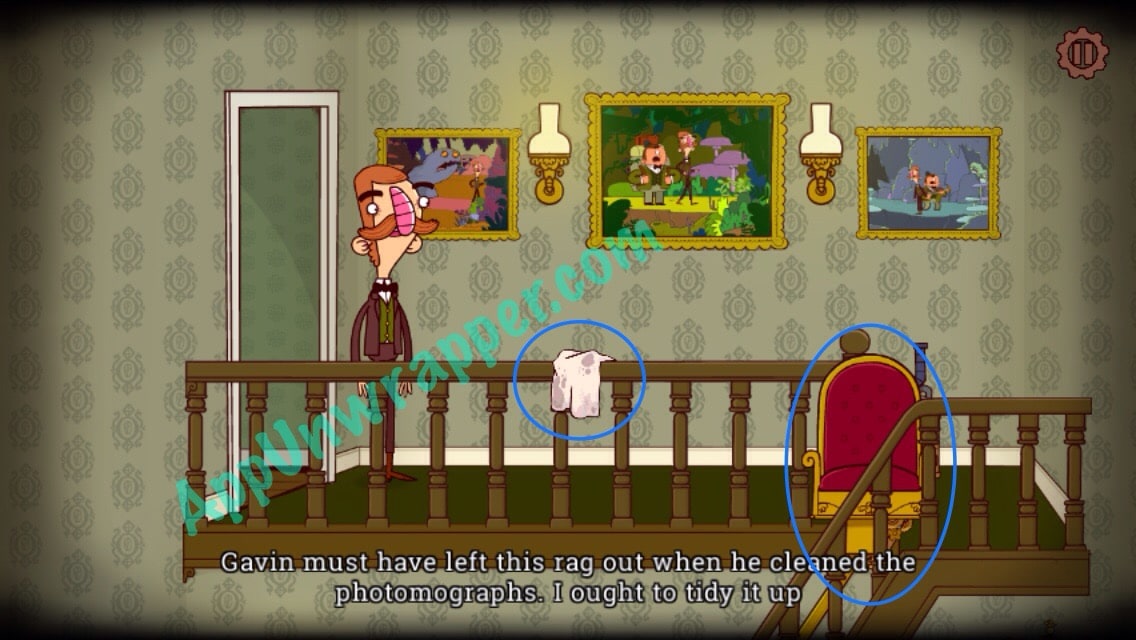
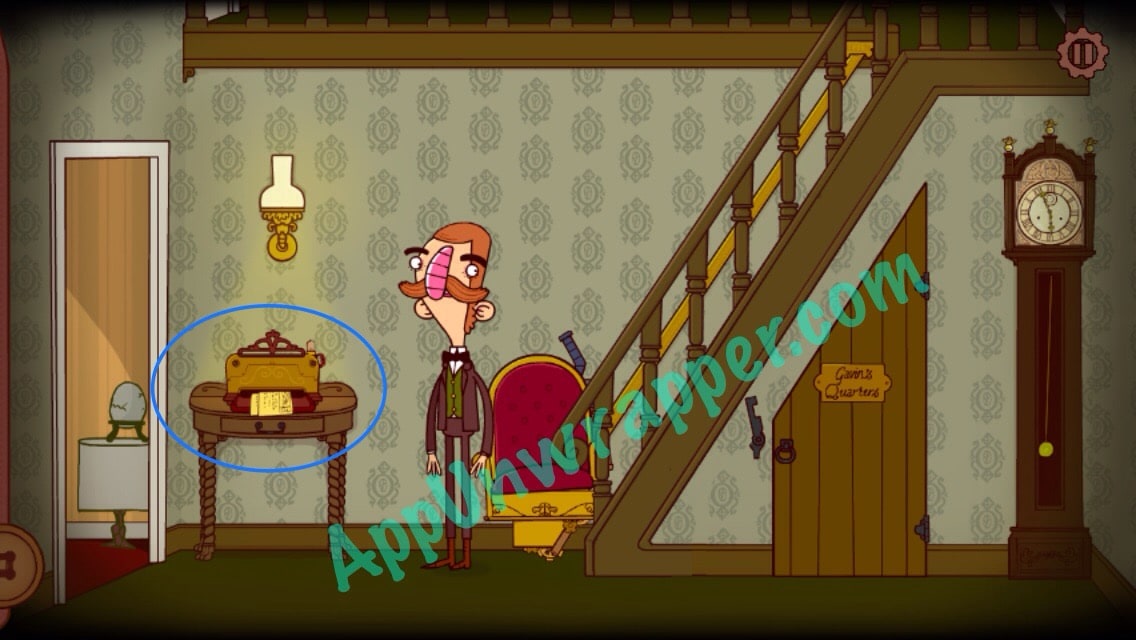
3. Pick up the rag on the bannister. Then take the Stanley Steamlift chair down the stairs.
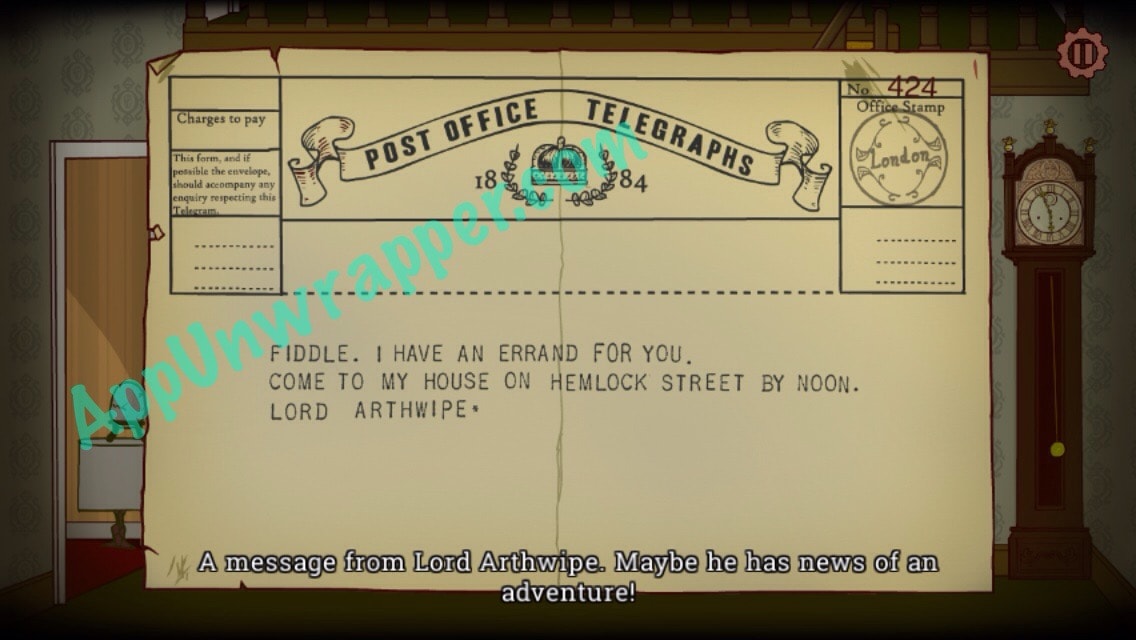
4. Tap on the telegraph to get some spam telegraphs and a message from Lord Arthwipe (yes, Arthwipe).

5. Gavin the cyclops, your assistant, gets locked in his room. Unlock the door and let him out. Then go together through the door to the left into the study.
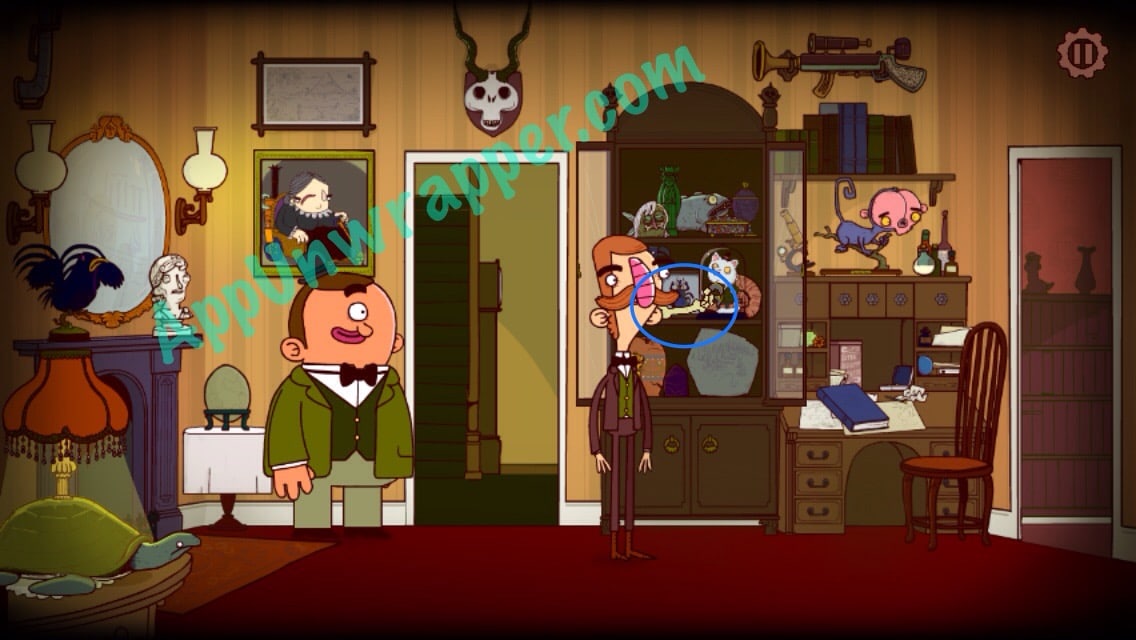
6. Open the glass doors and take the Tyrannosaurus Rex Arm Bone. Then head through the door to the right to Wortha’s room.
You can also watch this video that will take you through to this point of the game:
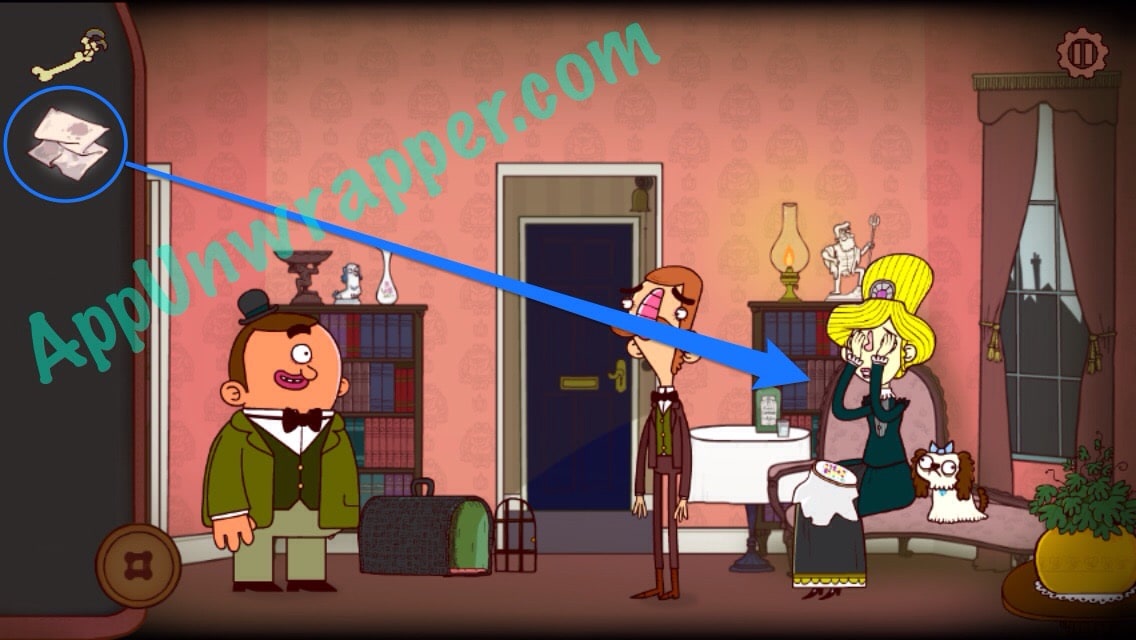
7. Talk to Wortha. When she starts crying, hand her the dirty rag from your inventory (tap on the rag and then on her, or drag it to her). Then she’ll ask you to take her dog, Foofy, to the groomer.
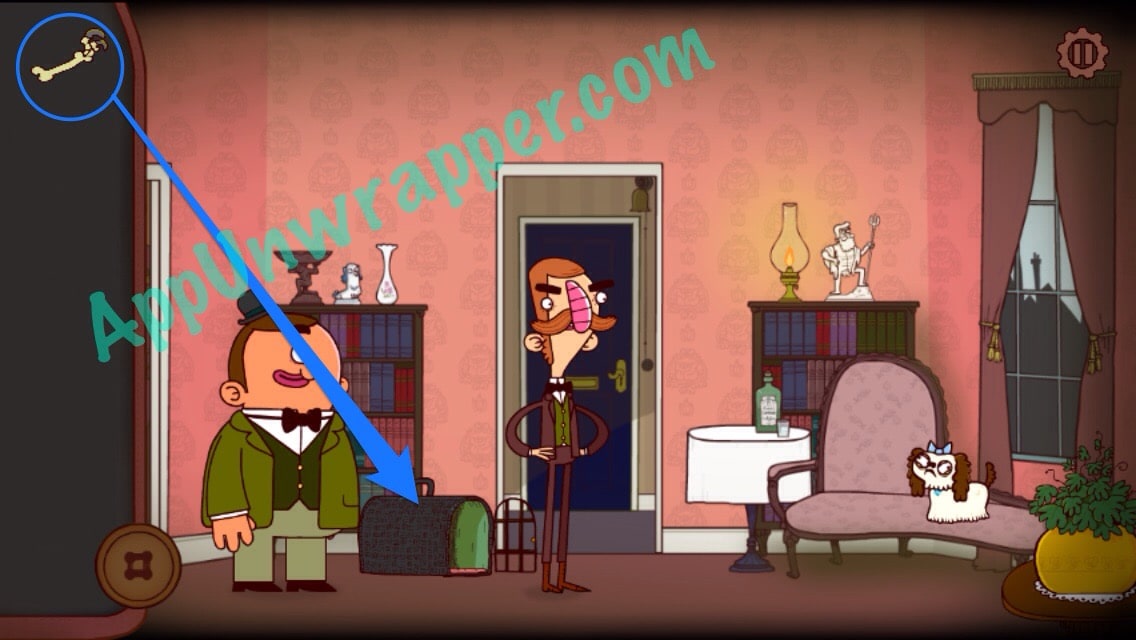
8. After Wortha leaves the room, throw the Tyrannosaur Bone into Foofy’s carrier to get her to go inside. Then pick up the carrier with her in it.
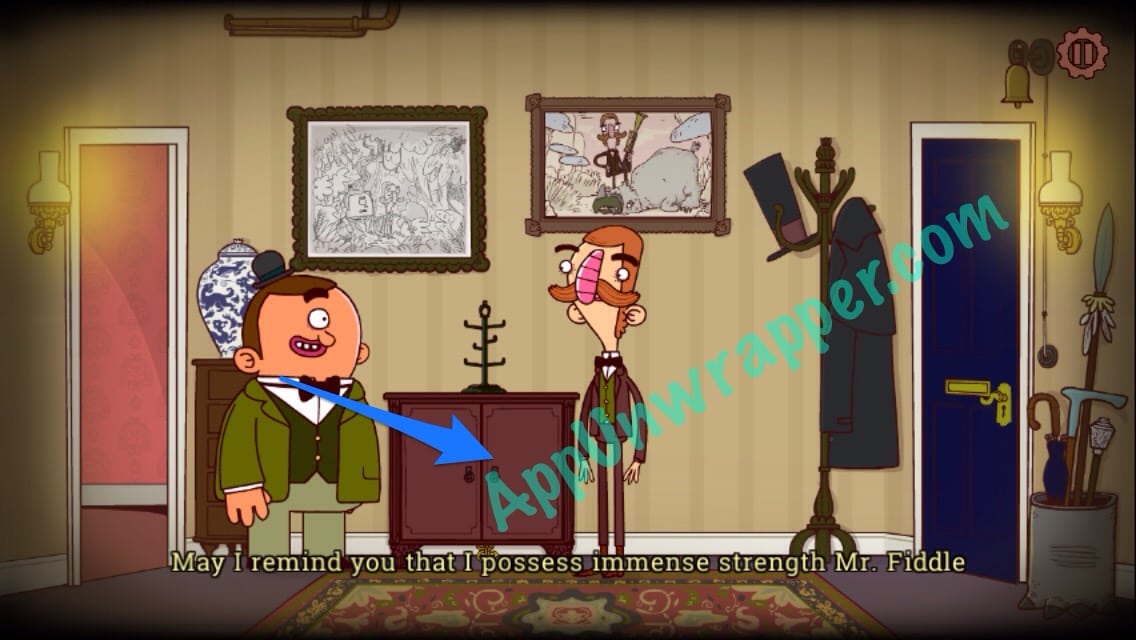
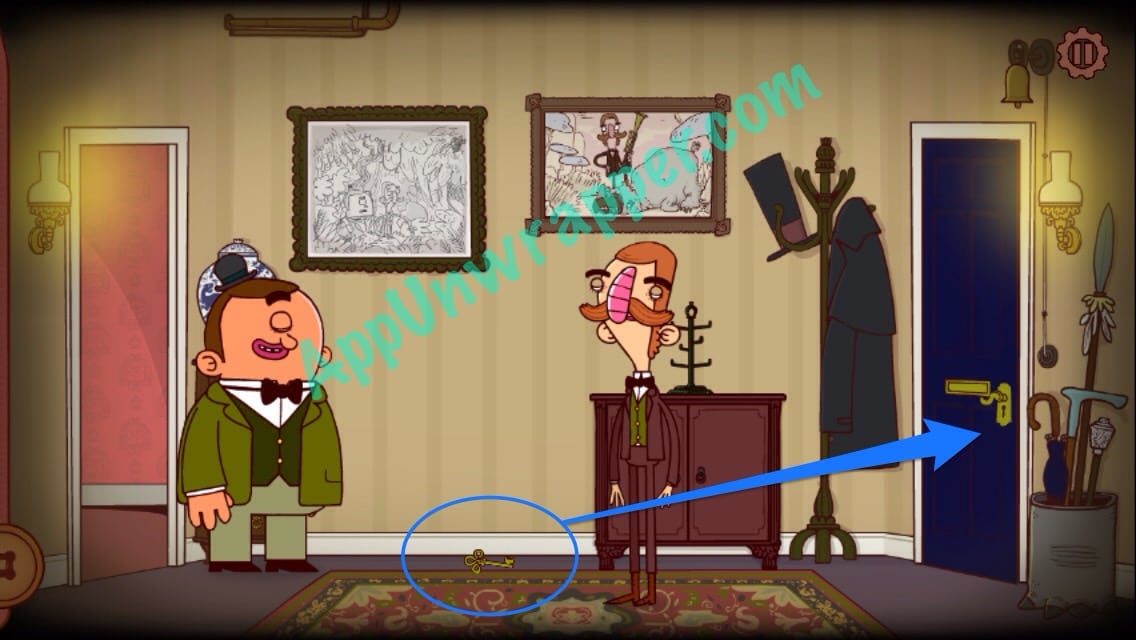
9. Go through the door in the center of the room. Then have Gavin move the piece of furniture so you can get the key that’s under it. Use it to unlock the door to the right and leave the house.
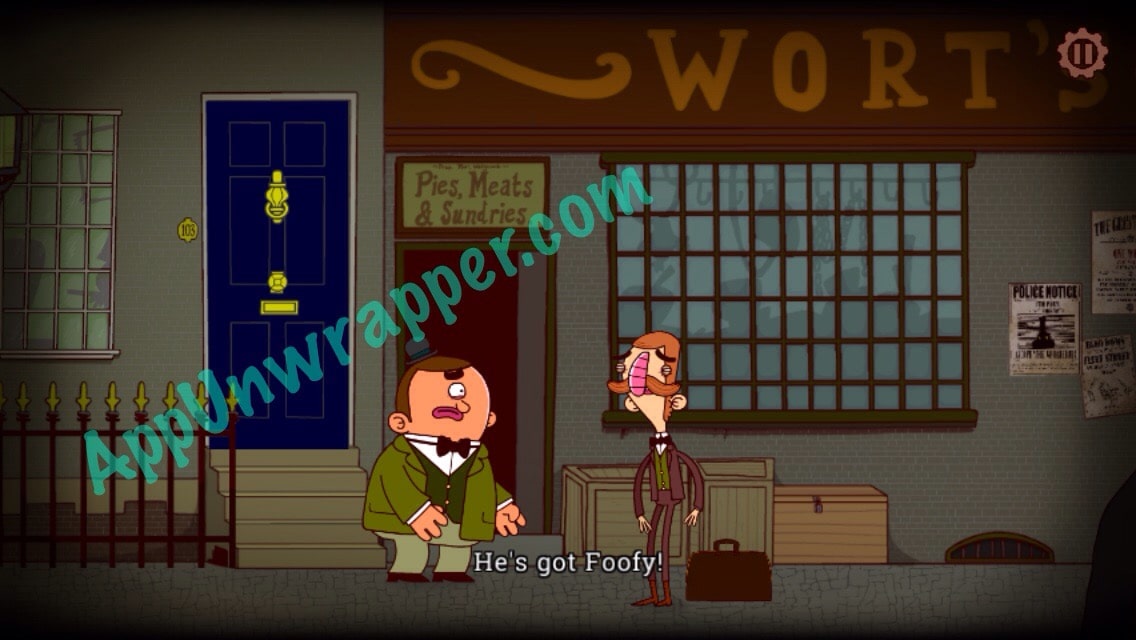
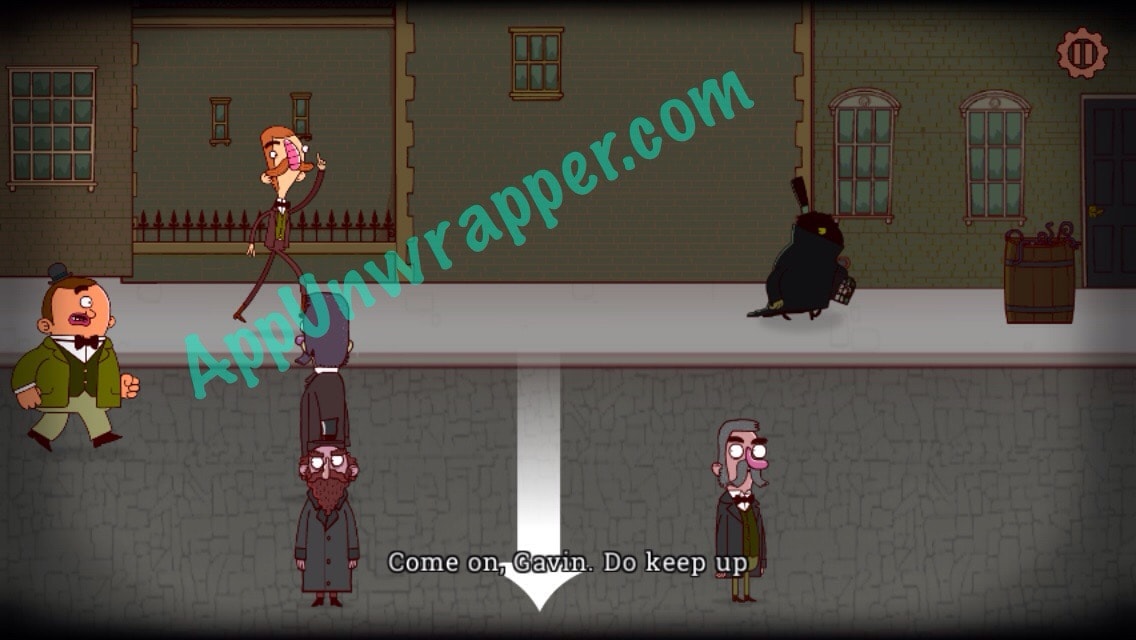
10. Outside, the murderer will bump into Bertram and take Foofy, while leaving behind his own bag. Pick it up, then try to chase him down (you can’t win, though).
Chapter 2: A Visit to the Adventurer’s Club
1. Bertram will automatically pick up the nose in middle of the street. Talk to the paper boy and look at the paper. Then head to the right to the Explorators’/Adventurers’ Club.
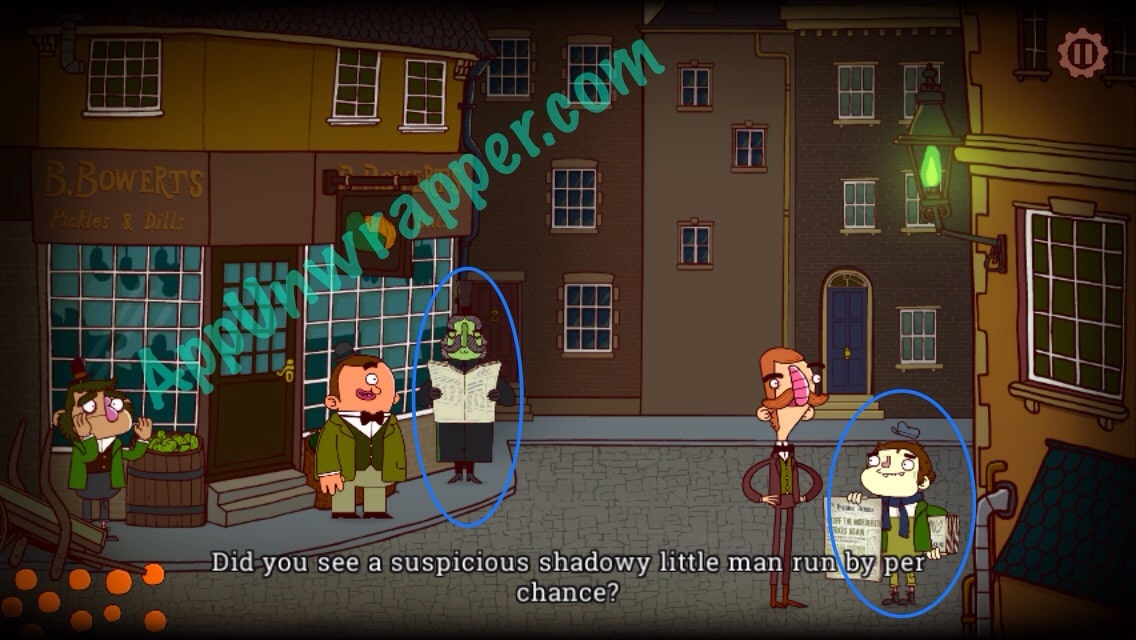
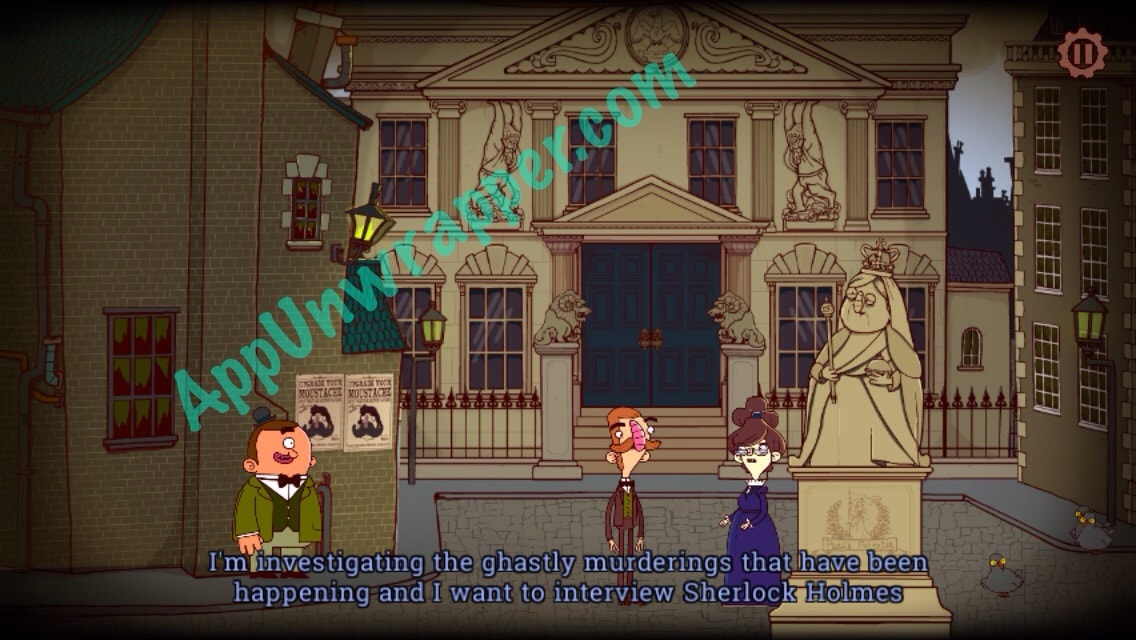
2. Talk to the news reporter in front of the club. She’ll ask you to talk to Sherlock Holmes for her. Then enter the club.
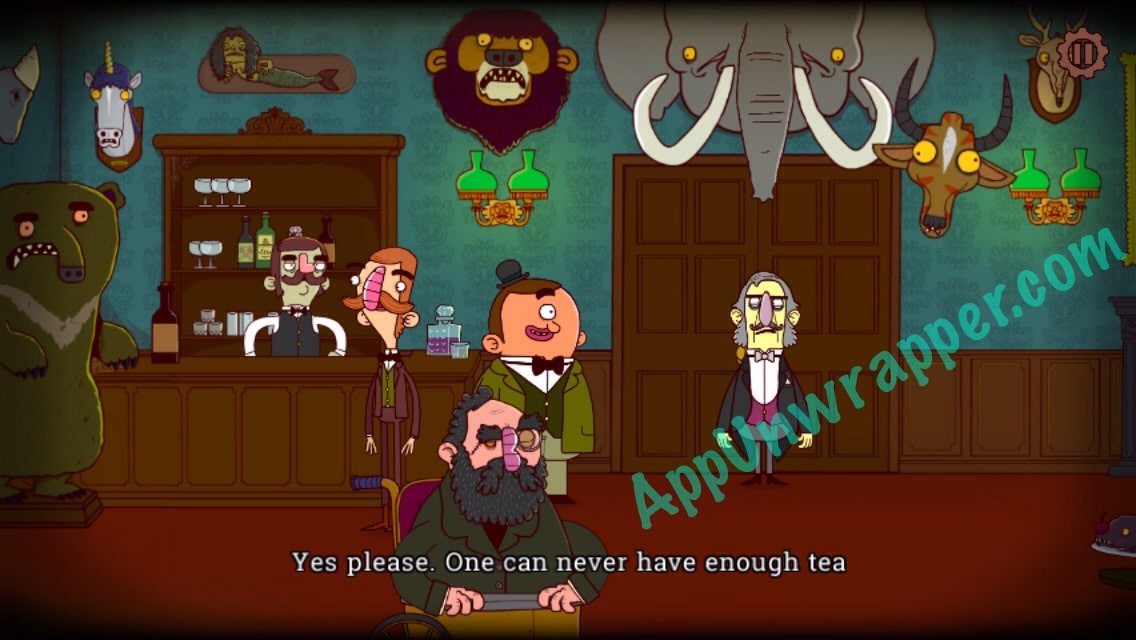
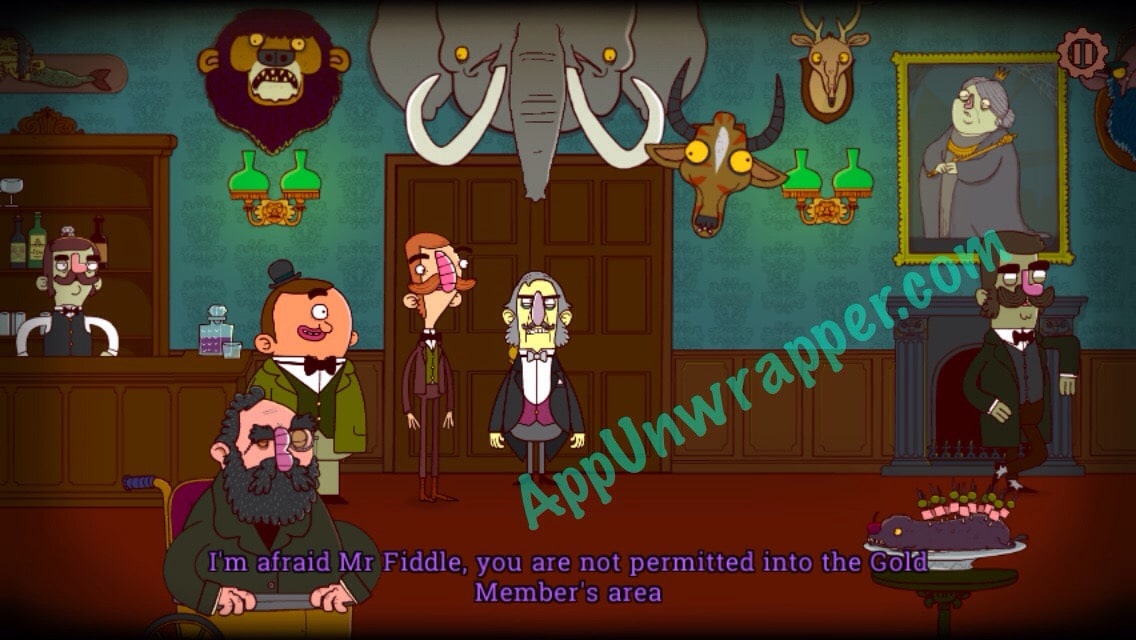
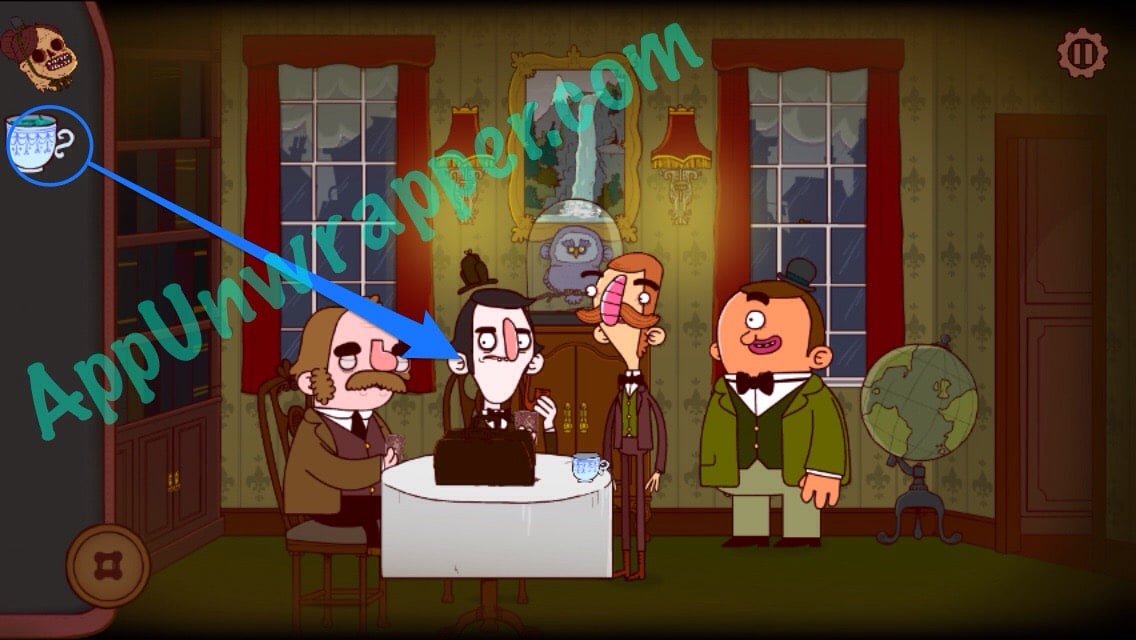
3. Talk to the bartender to get some tea. Then, talk to the guy blocking the door below the elephant head. He won’t let you into the Gold Members’ area.
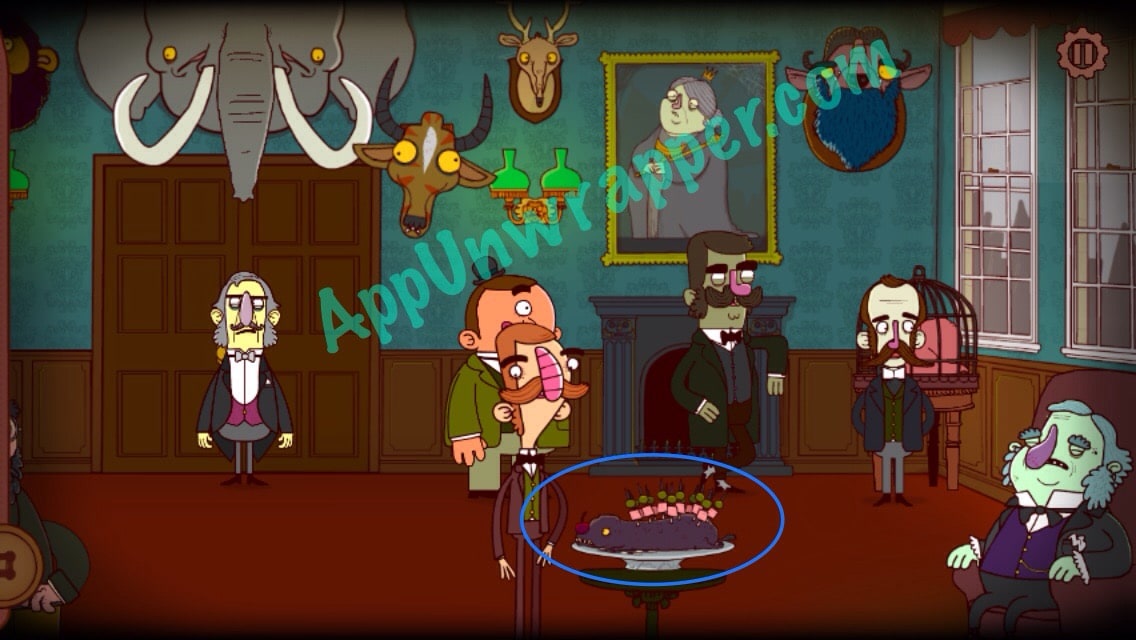
4. Take one of the toothpicks/skewers from the porcupine dish.
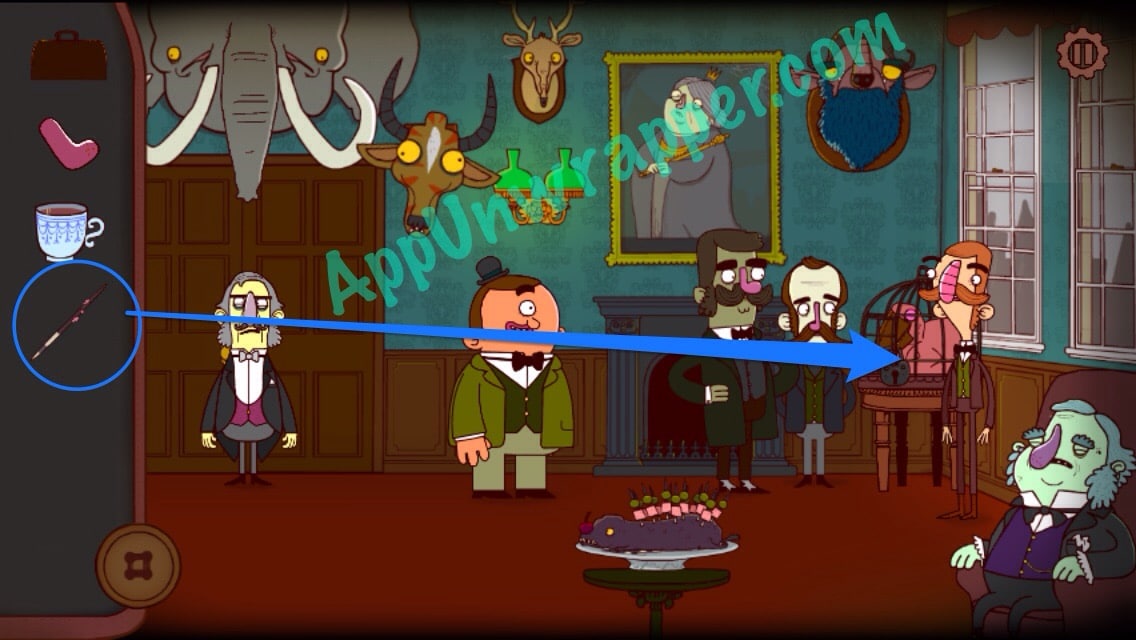
5. Talk to the to guys on the right side of the room near the caged creature. Then examine the creature and use the toothpick to pick the lock and let the creature out. Now the guy guarding the door is distracted.
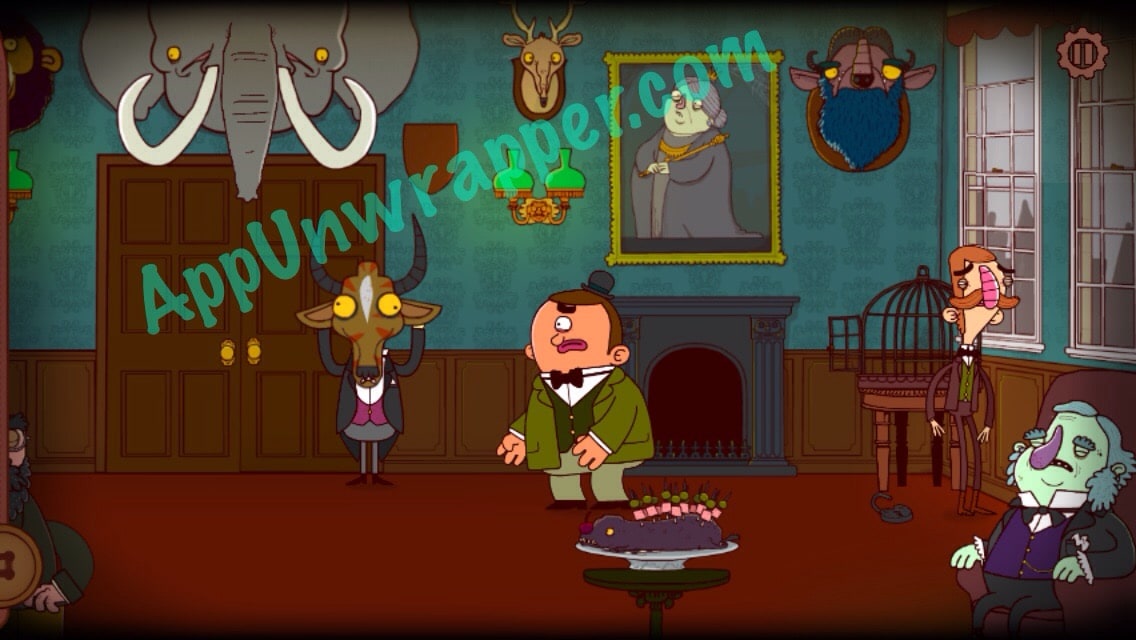
6. Enter the Gold Members’ area.
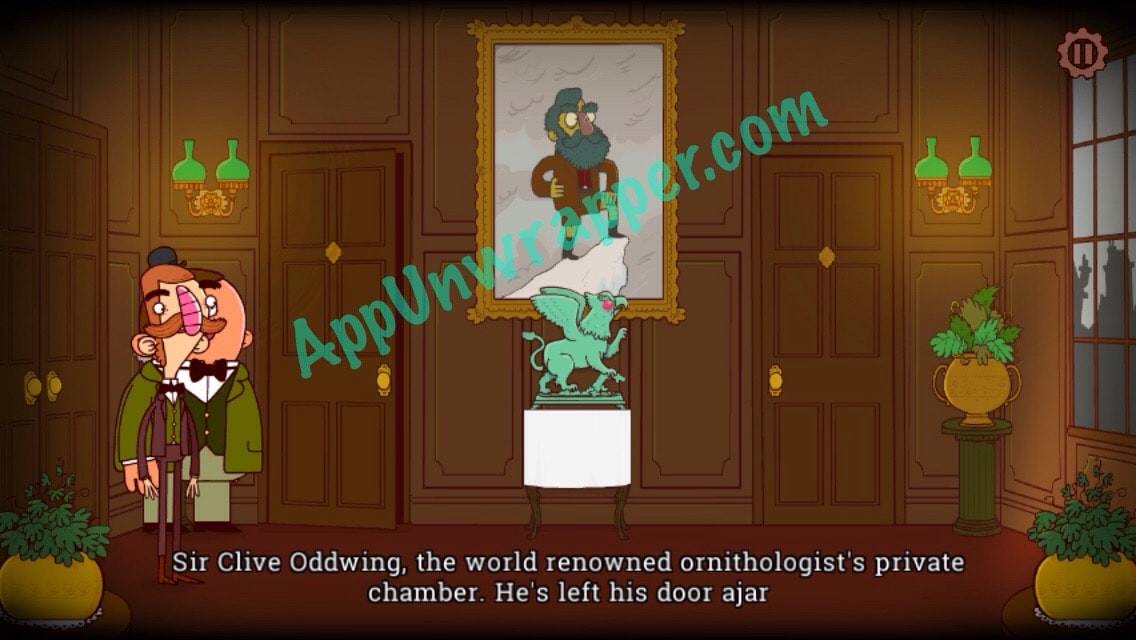
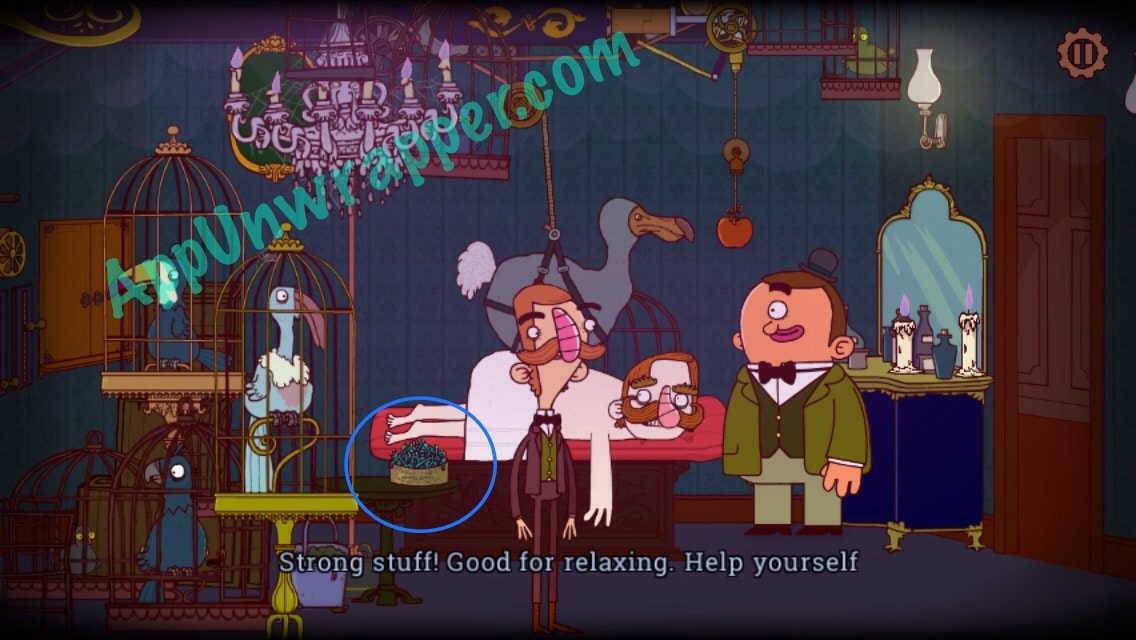
7. Go through the open door to Clive Oddwing’s room, the “Dodo Massage Parlor.” He has a Dodo bird giving him a massage. Umm…yeah. So, take the bowl of relaxing leaves, then head back out.
8. Open the other door and enter Sherlock Holmes’ room.
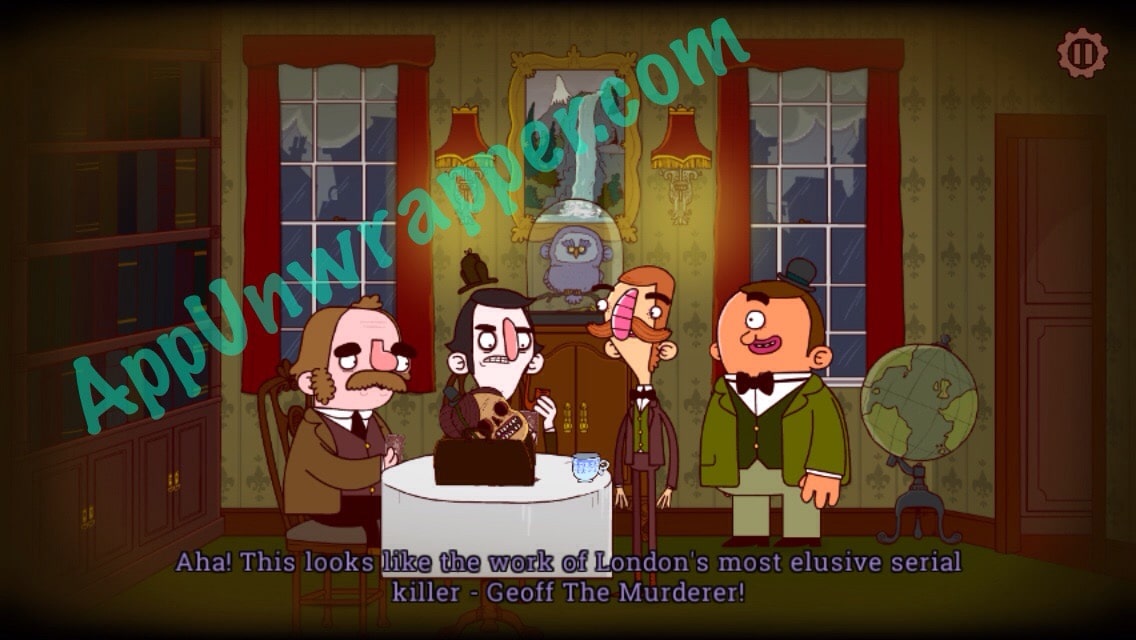
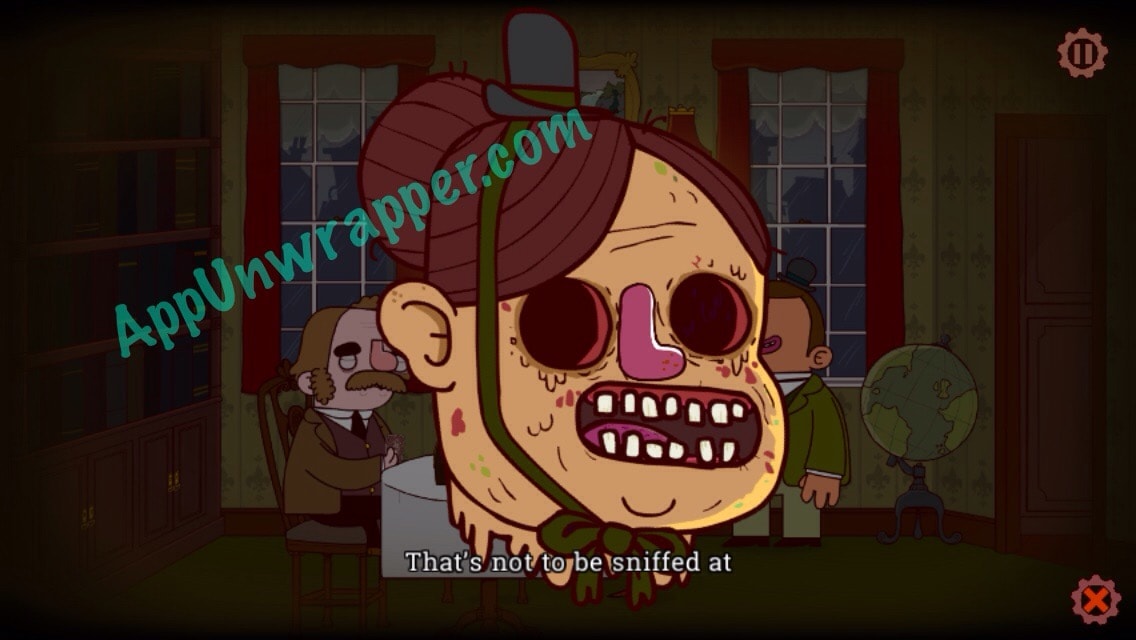
9. Talk to Sherlock. He’ll ask you if you looked inside Geoff the Murderer’s bag, so do so. There’s a head in there! Attach the nose.
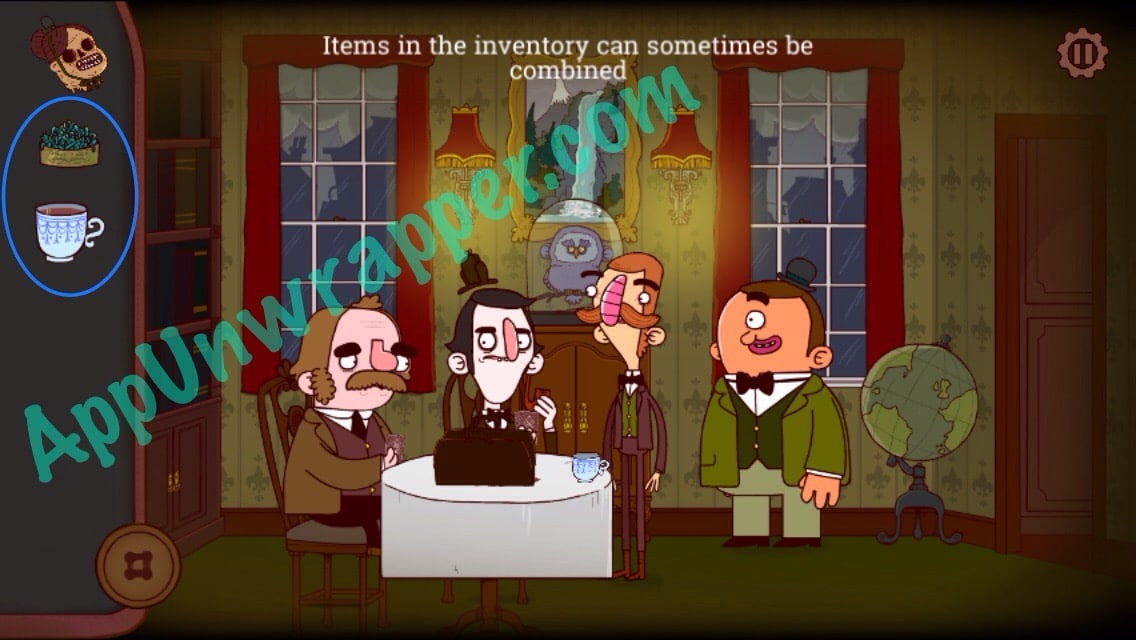
10. Now you need something to relax Sherlock so you can get some alone time with Watson. Mix the relaxing herbs/leaves in the tea you have and hand it it to Sherlock.
11. Now you can talk to Watson. He’ll tell you to seek out Count Fulchmuckle.
12. Leave the club and the reporter will talk to you. When she leaves, head right to Lord Arthwipe’s home.
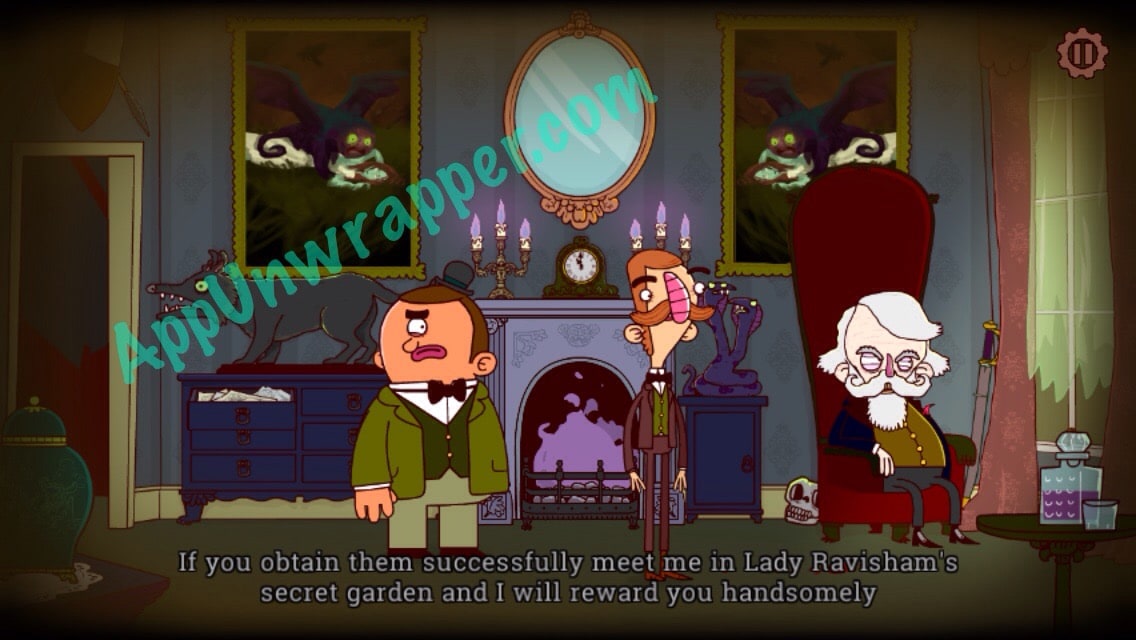
13. Talk to Lord Arthwipe. When he’s done laughing, you can look around the room. Then talk to him again and he’ll ask you to get some photographs from Lady Ravisham. There will be a carriage outside waiting for you.
14. Head back outside and get into the carriage. It will take you to Lady Ravisham’s place.
Chapter 3: Further Entanglings
1. Bertram and Gavin spot Geoff and chase him into an alley. He’s behind bars. First, grab the oar. Then use Gavin to pry the bars apart so Bertram can fit through.
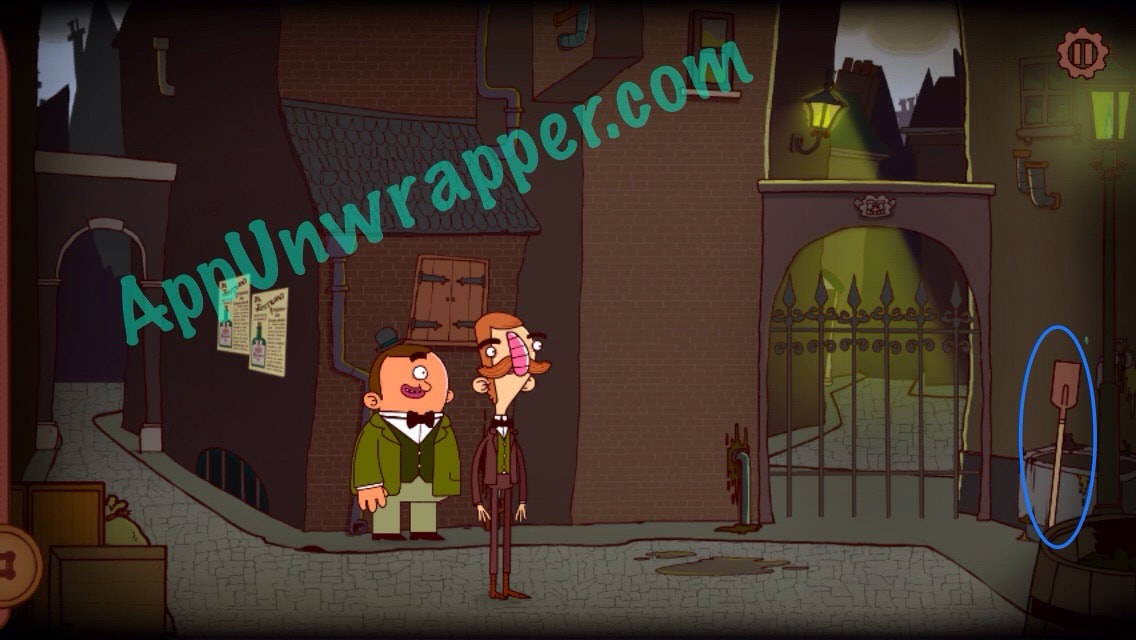

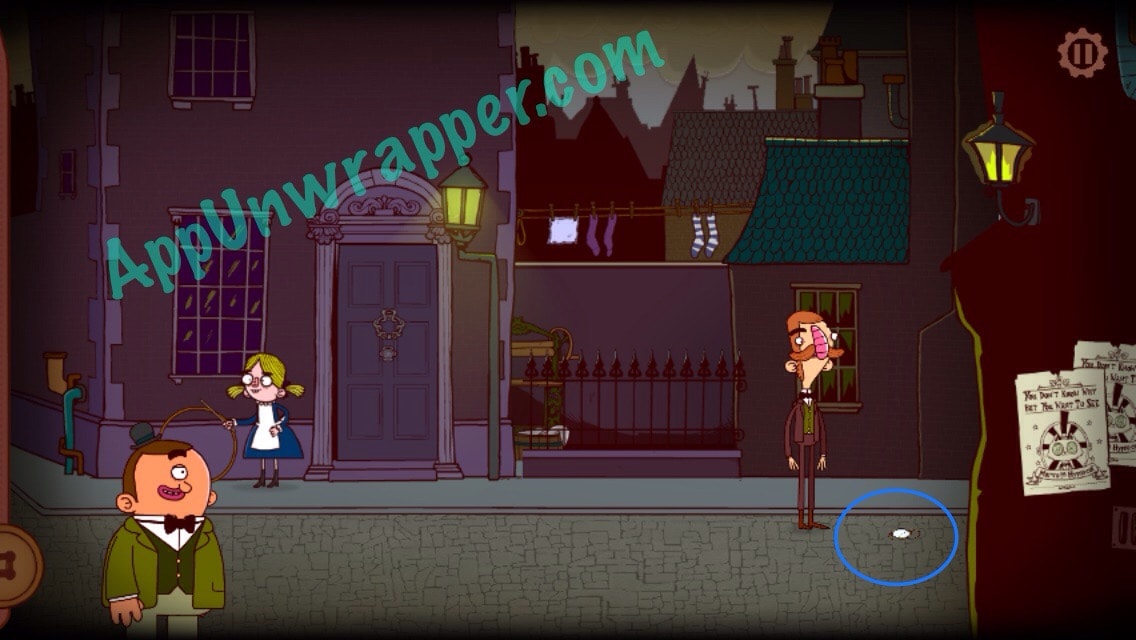
2. Head through the hole. You’re outside Fulchmuckle’s house. Use the oar to reach the pink undergarments. Then pick them up from the ground.
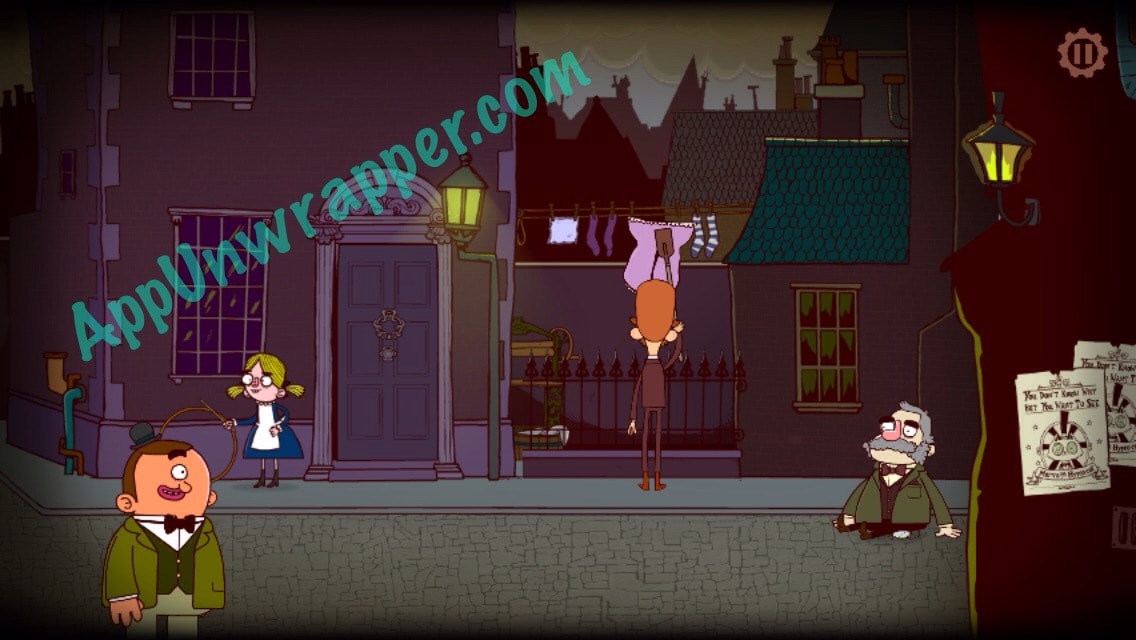
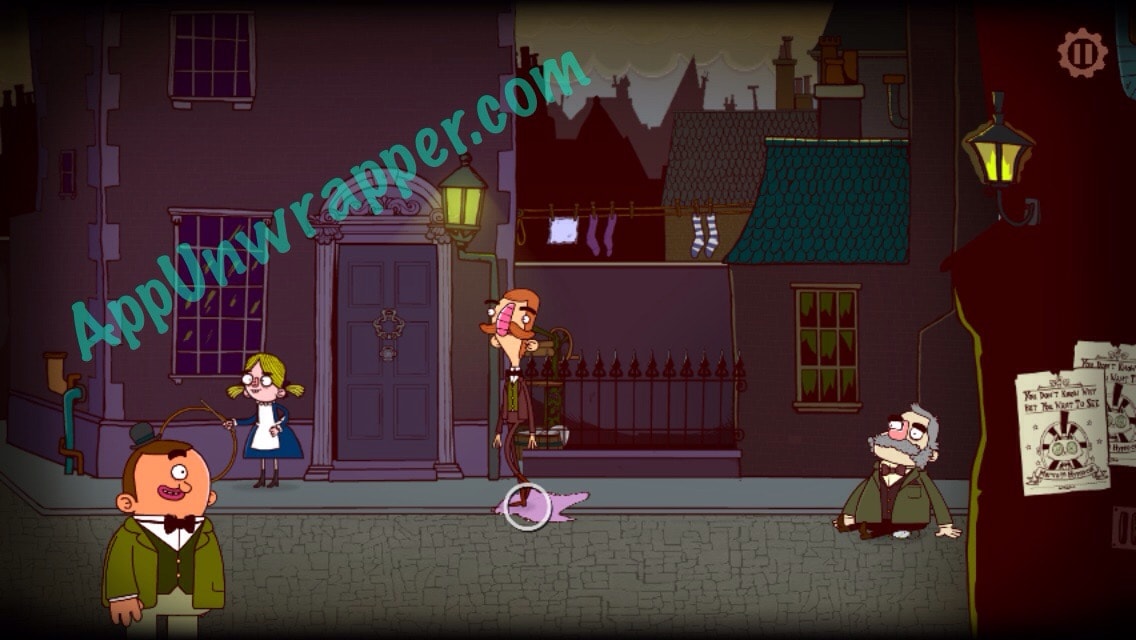
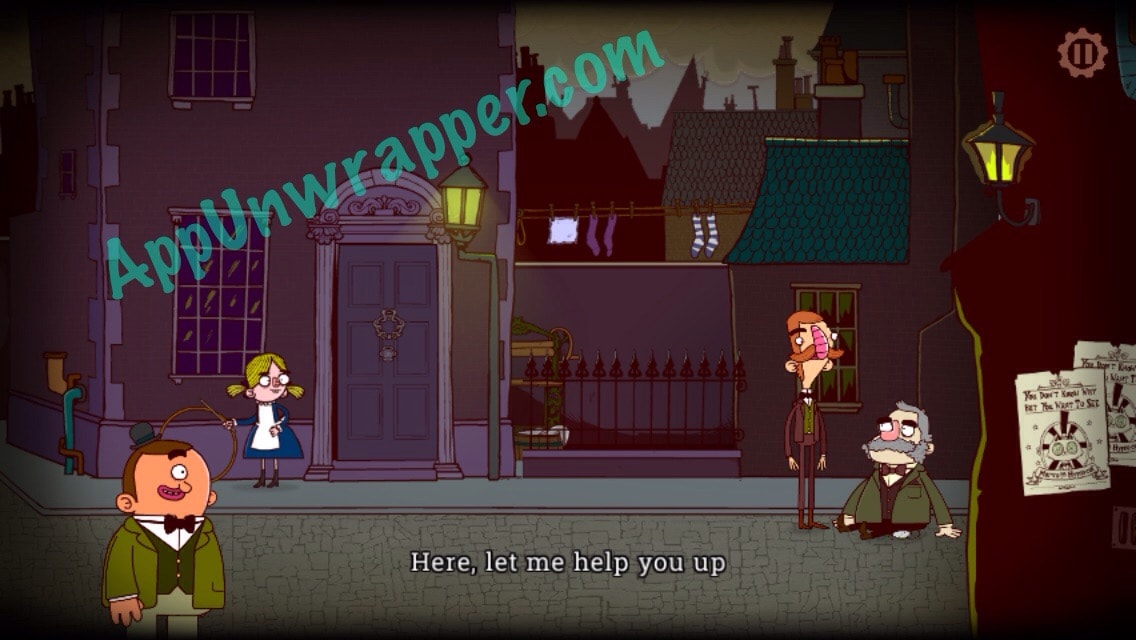
3. Talk to the old man sitting in the street. Help him up, then take the broken monocle he leaves behind.
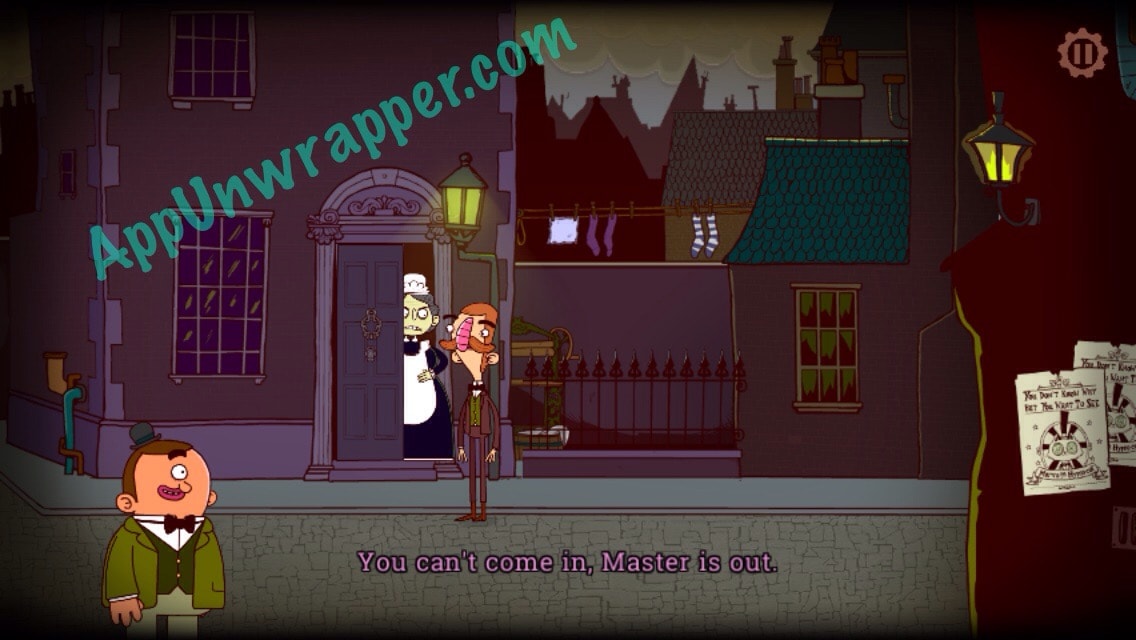
4. Try to enter Count Fulchmuckle’s house. His maid says he’s not home and she won’t let you in. So head right towards Lady Ravisham’s house.
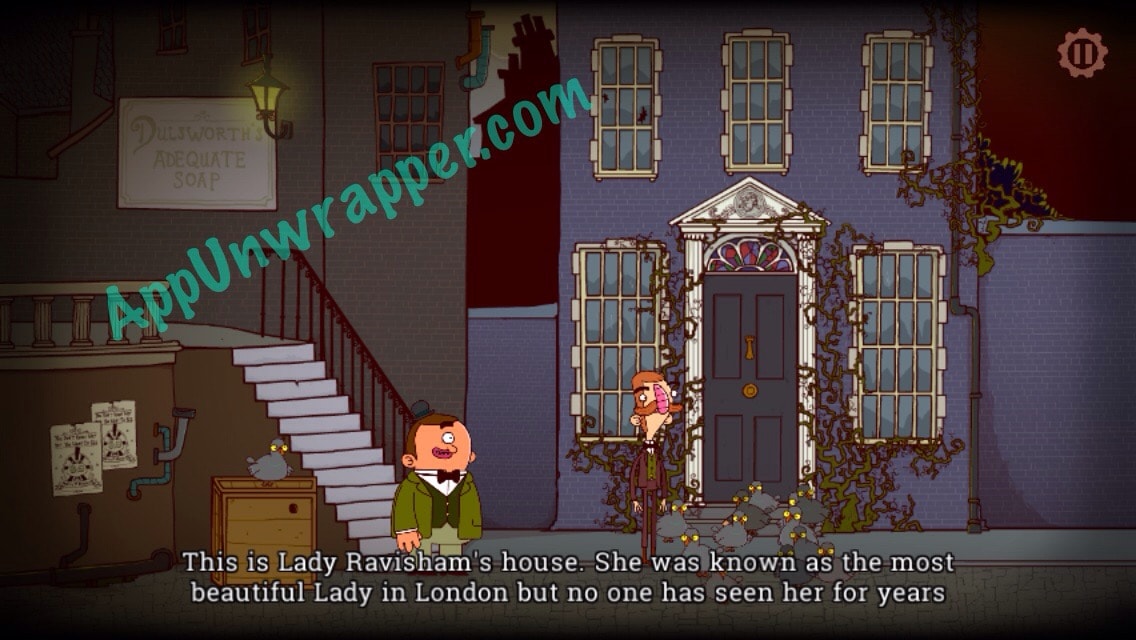
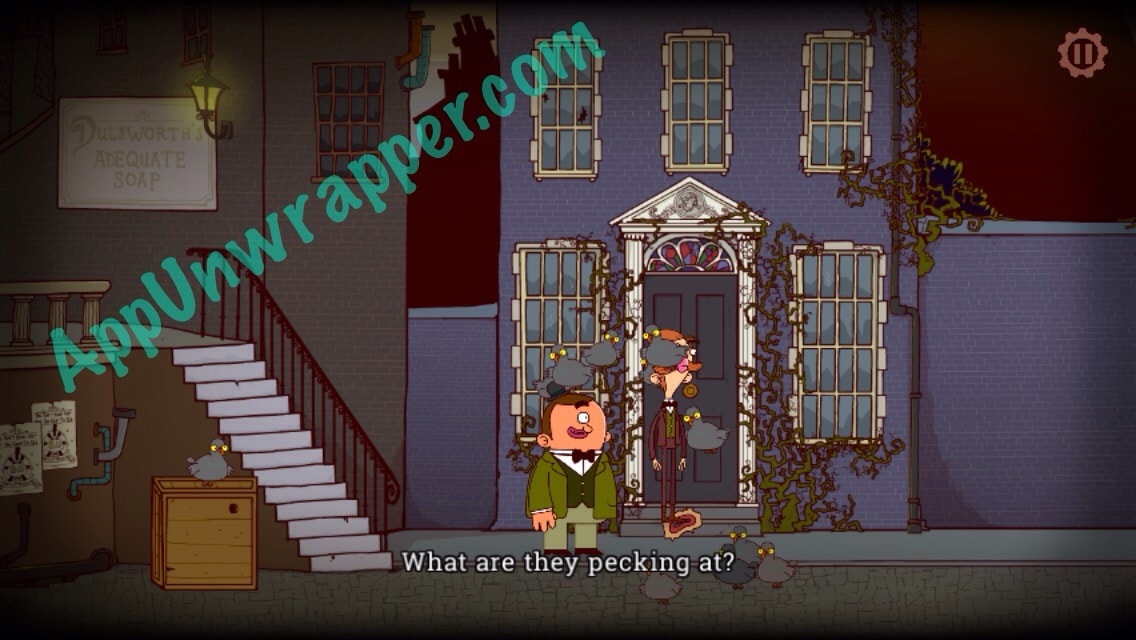
5. Shoo away the pigeons and pick up the mouth they were pecking at. Add it to the head. Then enter Lady Ravisham’s house.

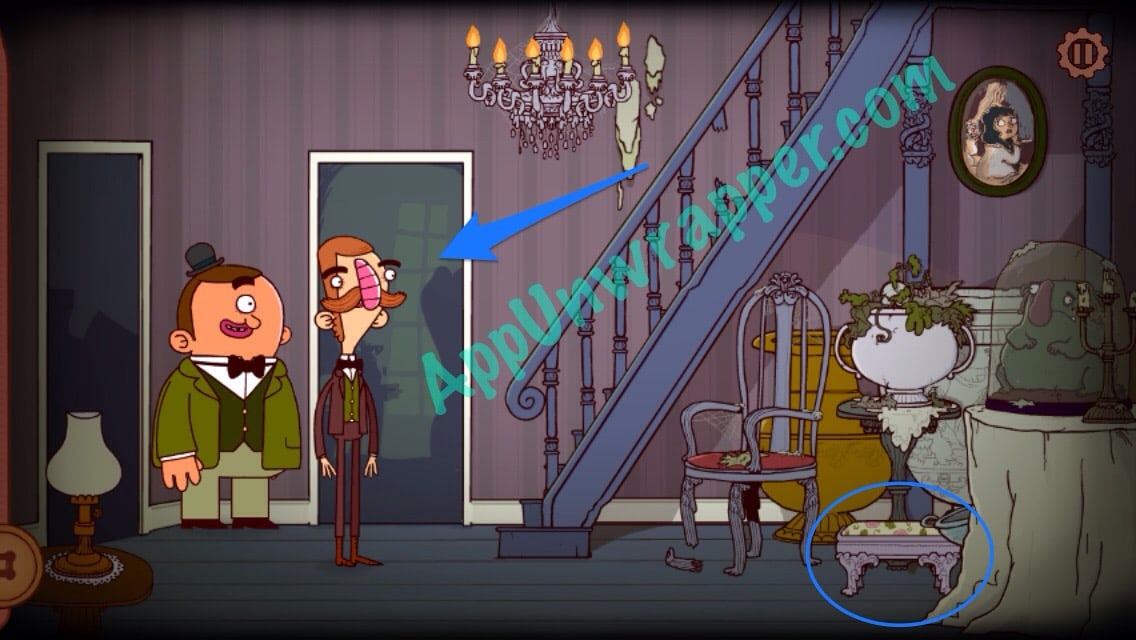
6. Pick up the footstool. Then head into the room to meet Lady Ravisham.
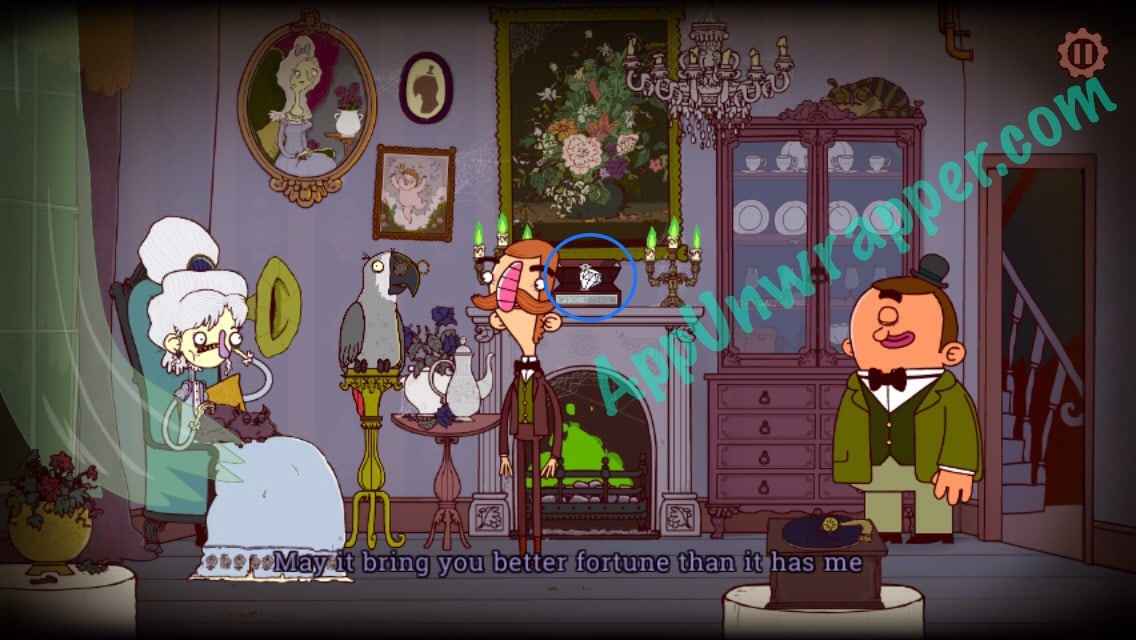
7. Take the piece from the gramophone. Then talk to Lady Ravisham. She can’t hear you, so give her the gramophone piece to use as an amplifier. When she finishes talking to you, take the ring from the mantelpiece above the fireplace.

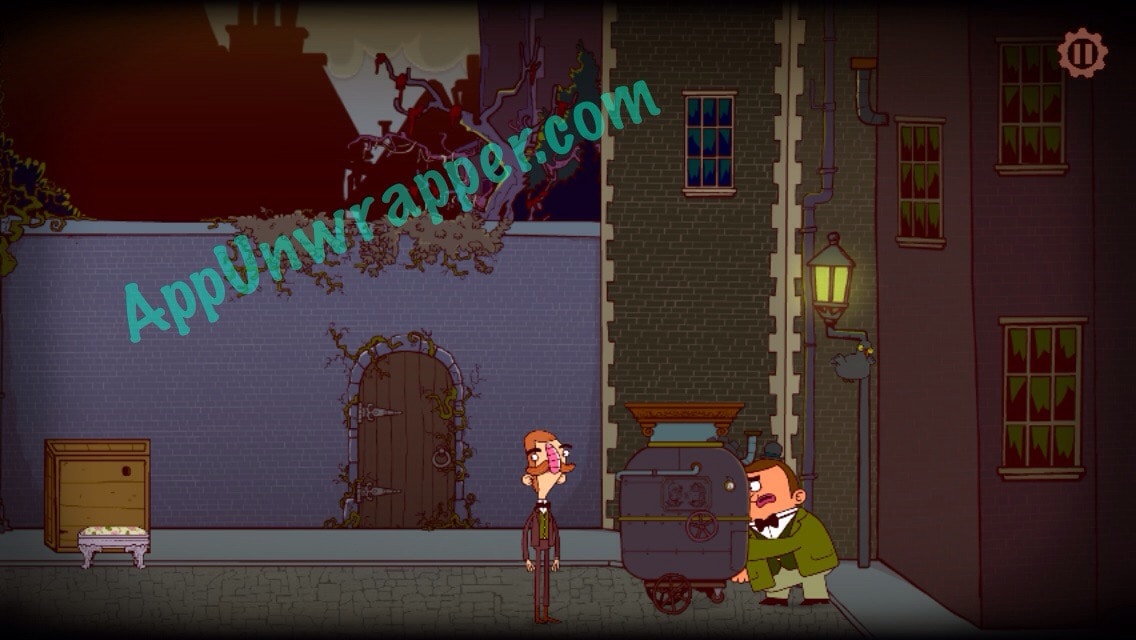
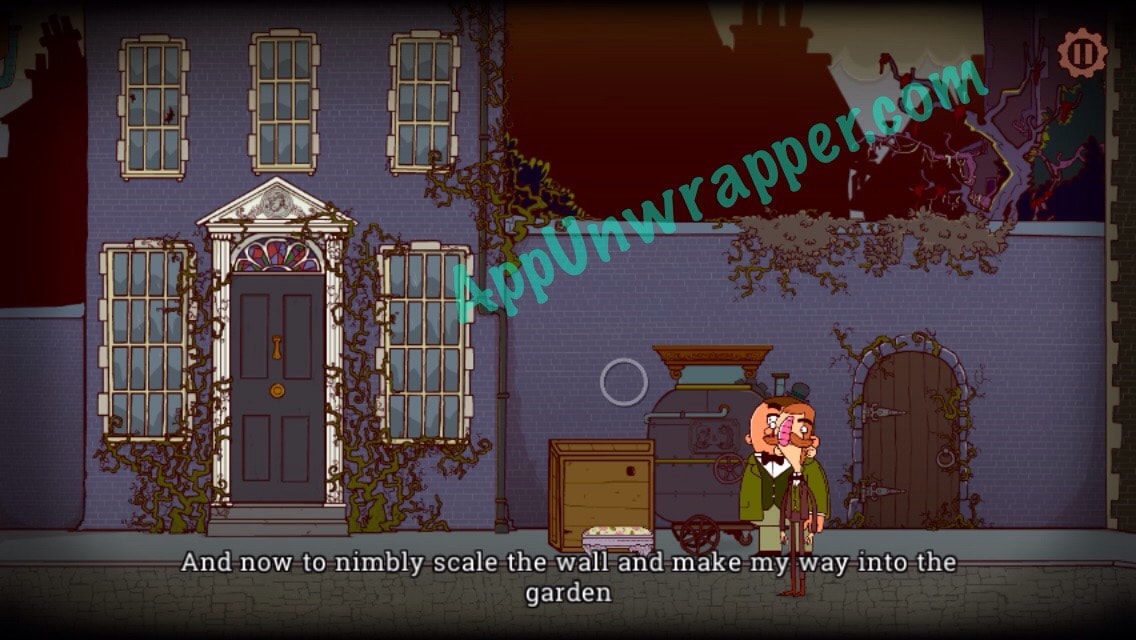
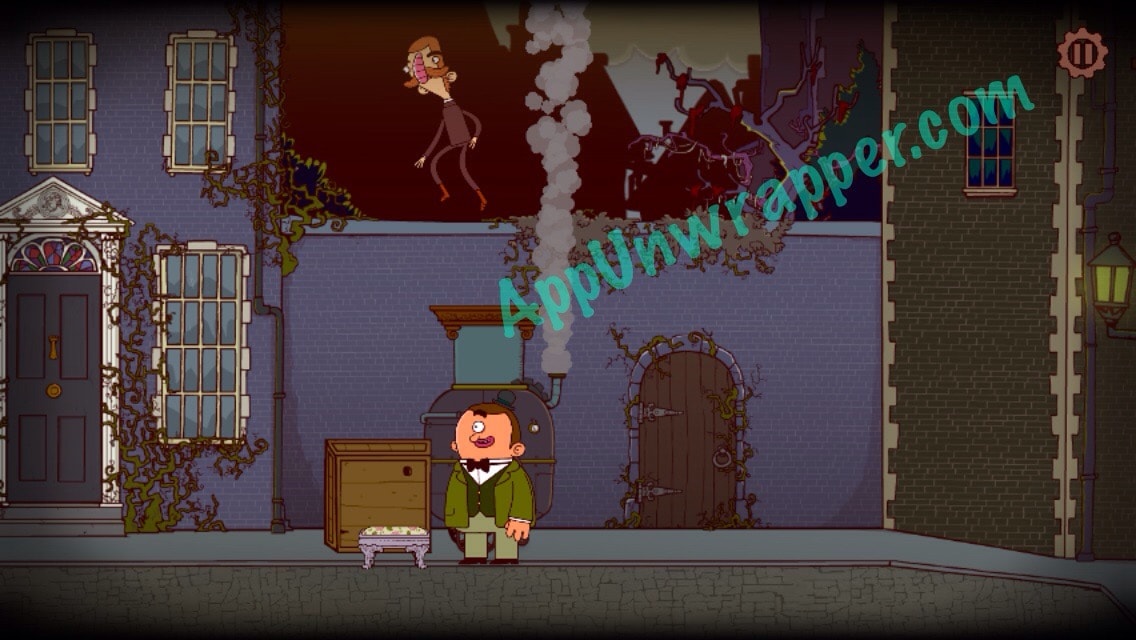
8. Leave the house and have Gavin move the crate sitting nearby to the wall. Then place the footstool down next to it. You still need something else.
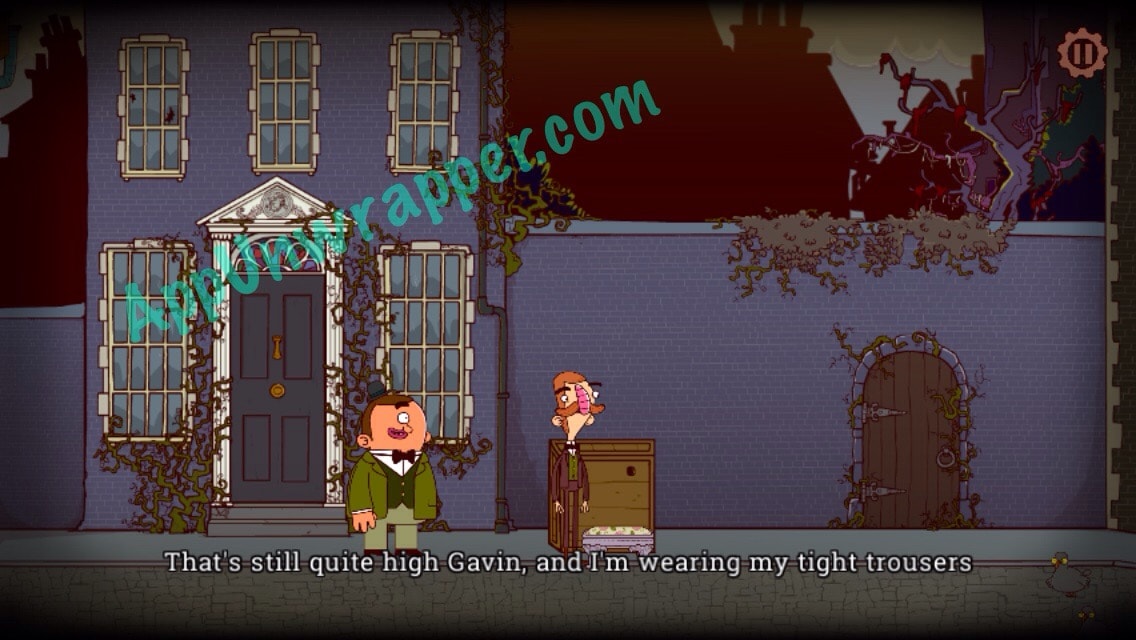
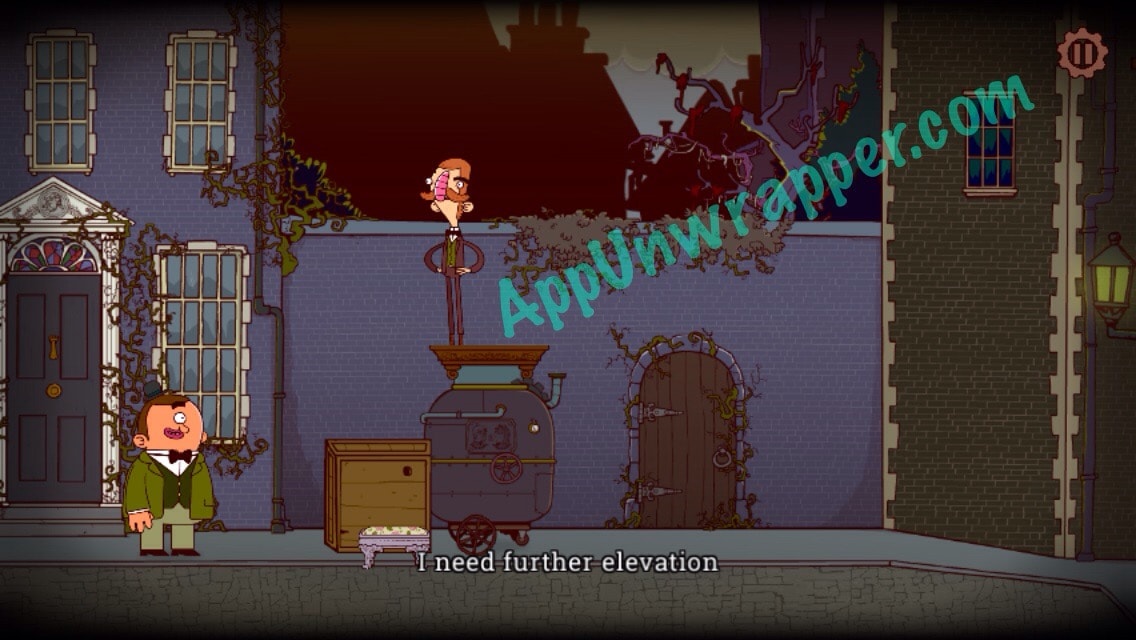
9. Head right and find the Emmerson & Birke portable steam plinth. Have Gavin move it to the wall and then climb up. Just one more step — have Gavin turn on the machine to raise Bertram up a bit more. Then send them both over the wall into the garden.
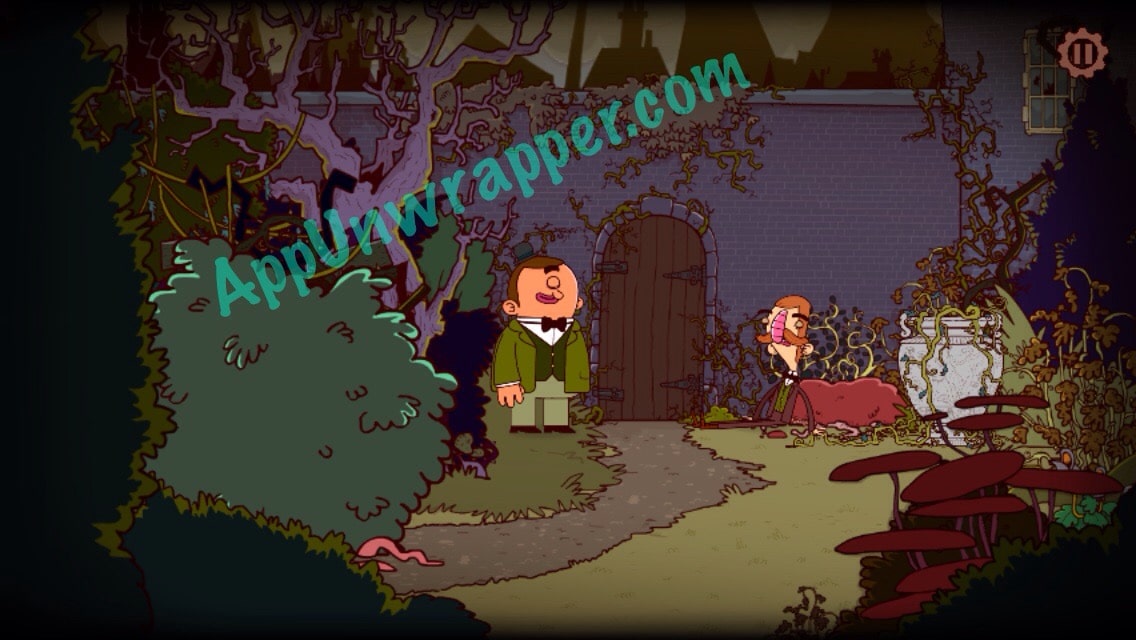
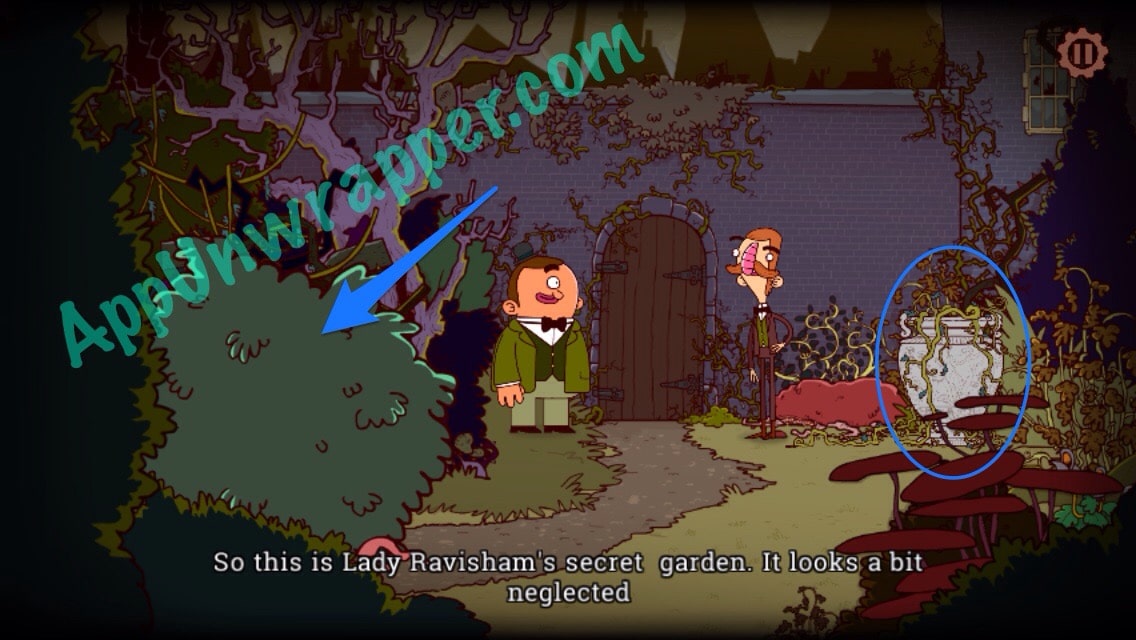
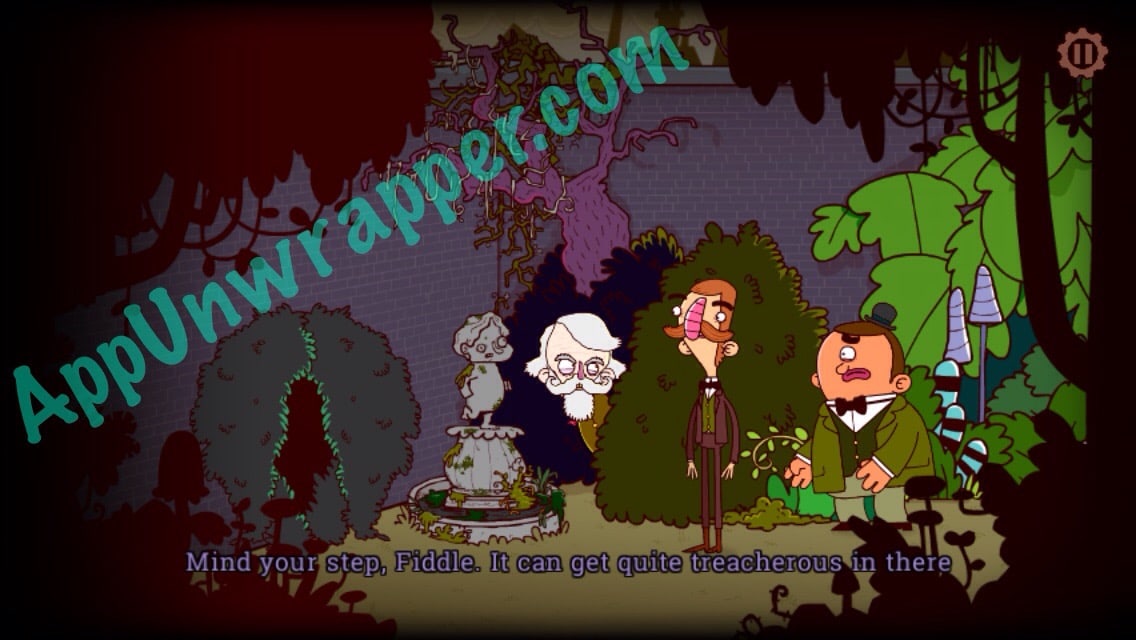
10. Now you’re in the garden. Pick up a vine from the right, then tap on the bush on the left. It’s a man-eating plant! Leave the garden for now.

11. Go back to Lady Ravisham’s place. Go upstairs and use the vine on the chandelier. Then have Gavin push you over the hole.
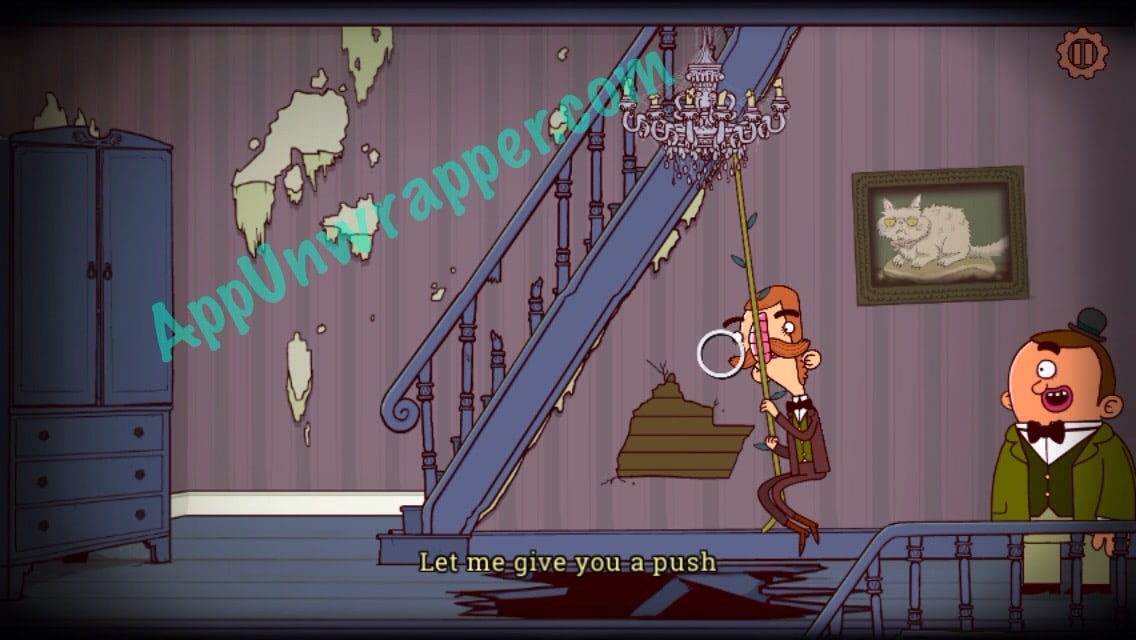
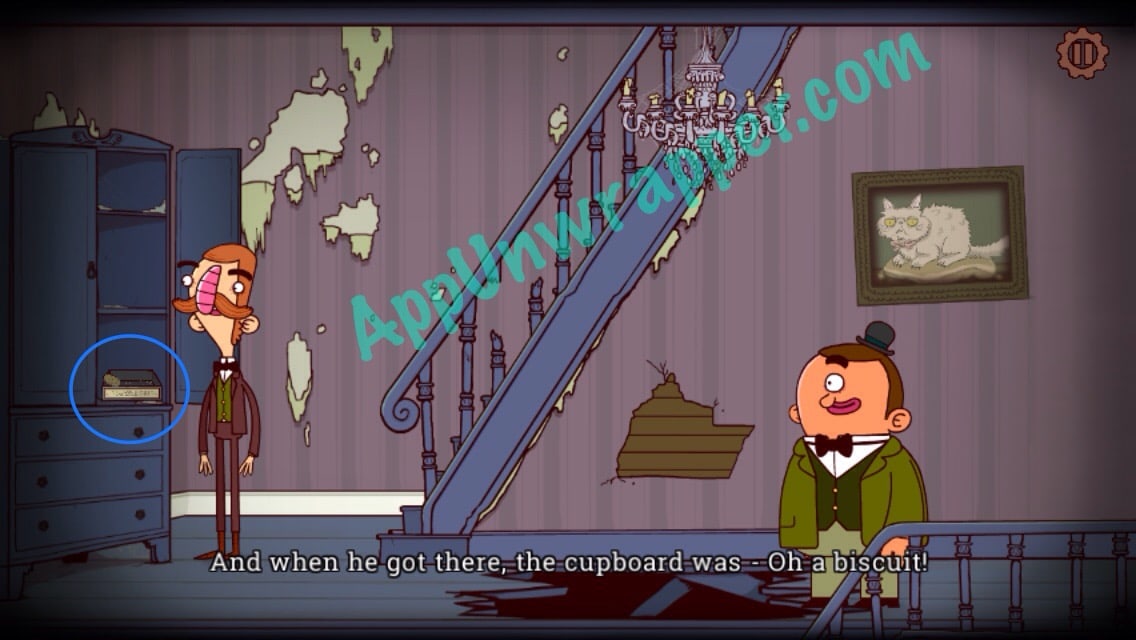
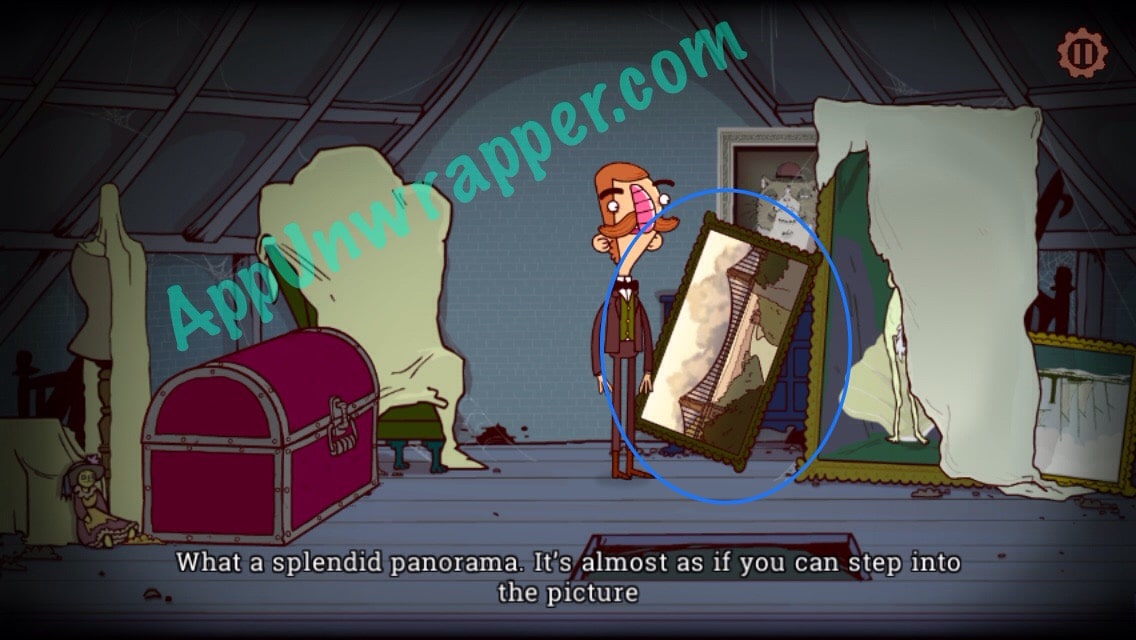
12. Open the cabinet and take the cracker. Then continue up to the attic. Take the framed painting.
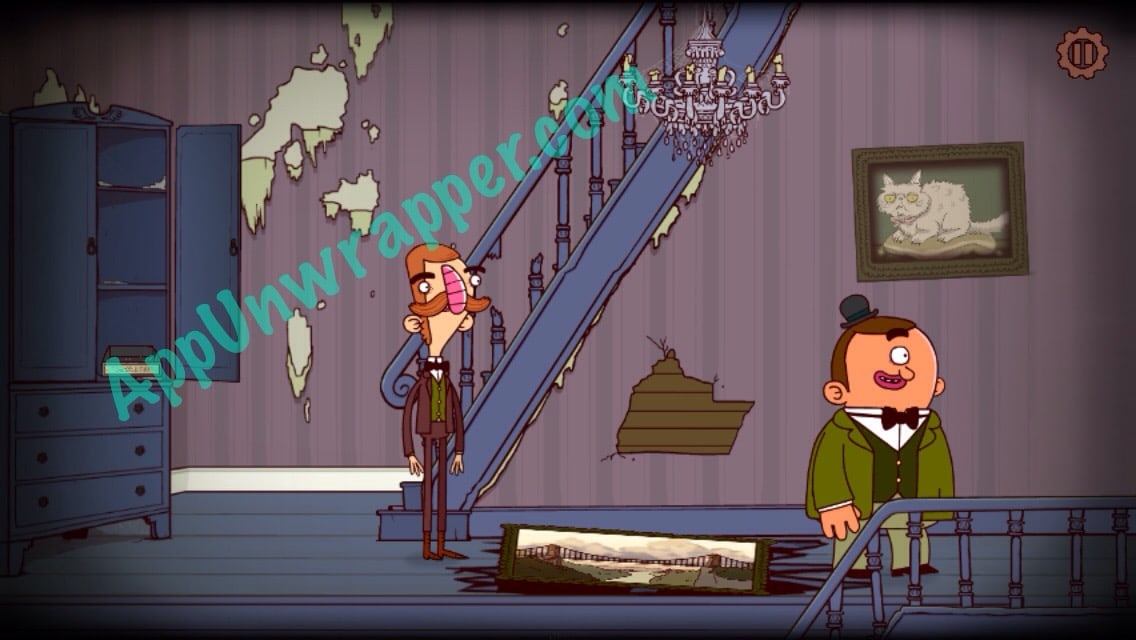
13. Go back down and place the painting over the hole to use it as a plank. Go back to Lady Ravisham and give the cracker to the parrot. He’ll fly up to the attic.

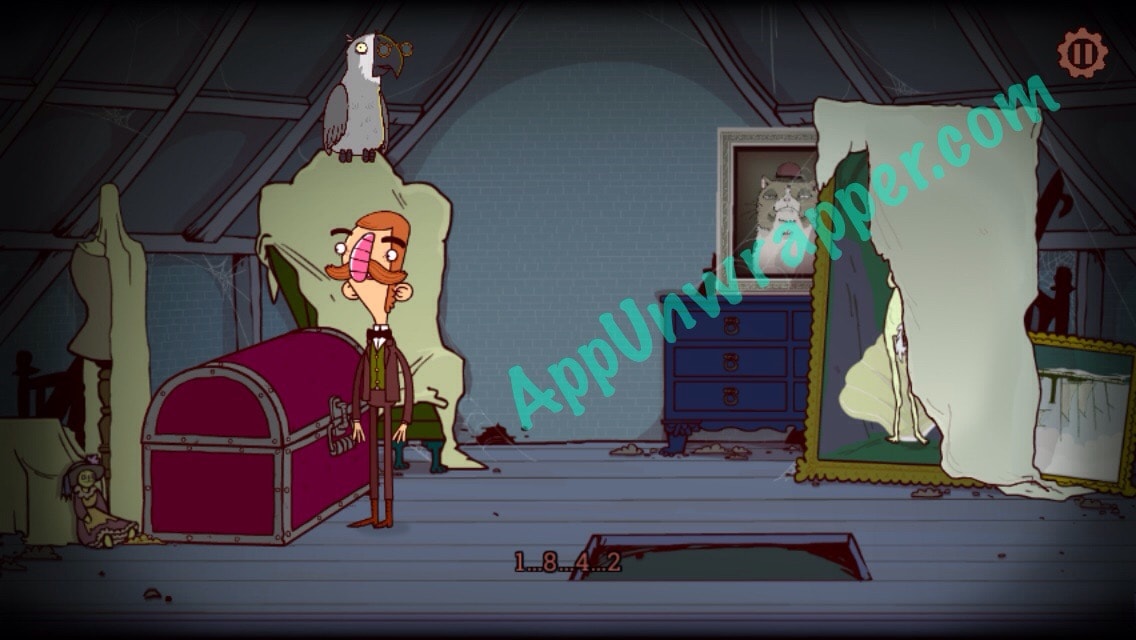
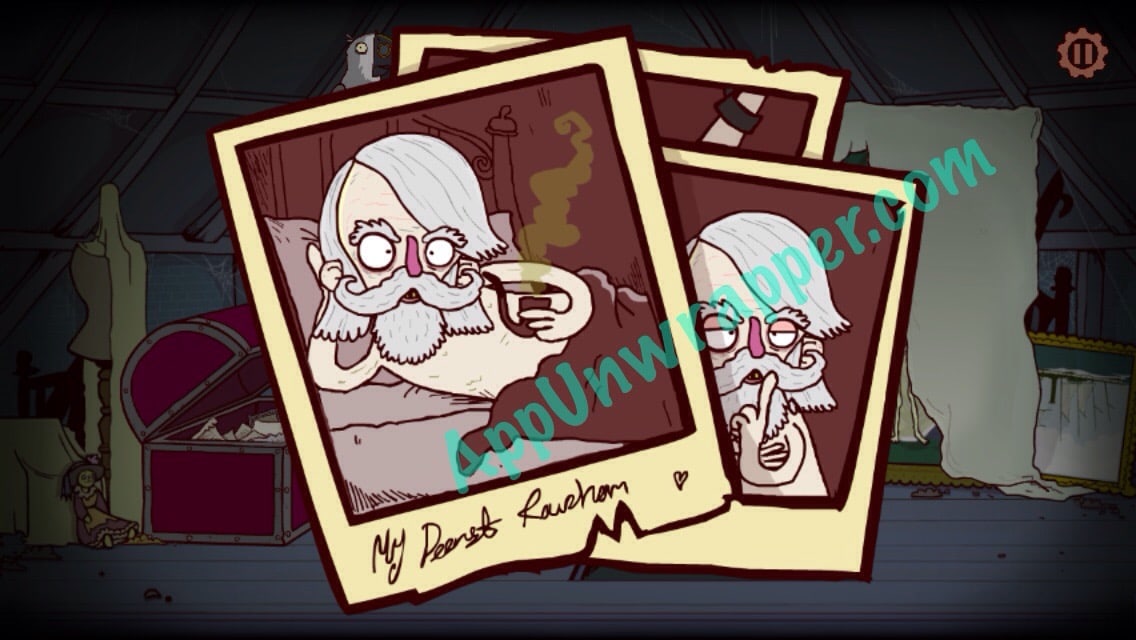
14. Go back to the attic. Talk to the parrot to get the combination for the chest lock, then open the chest and take the photos of Lord Arthwipe.
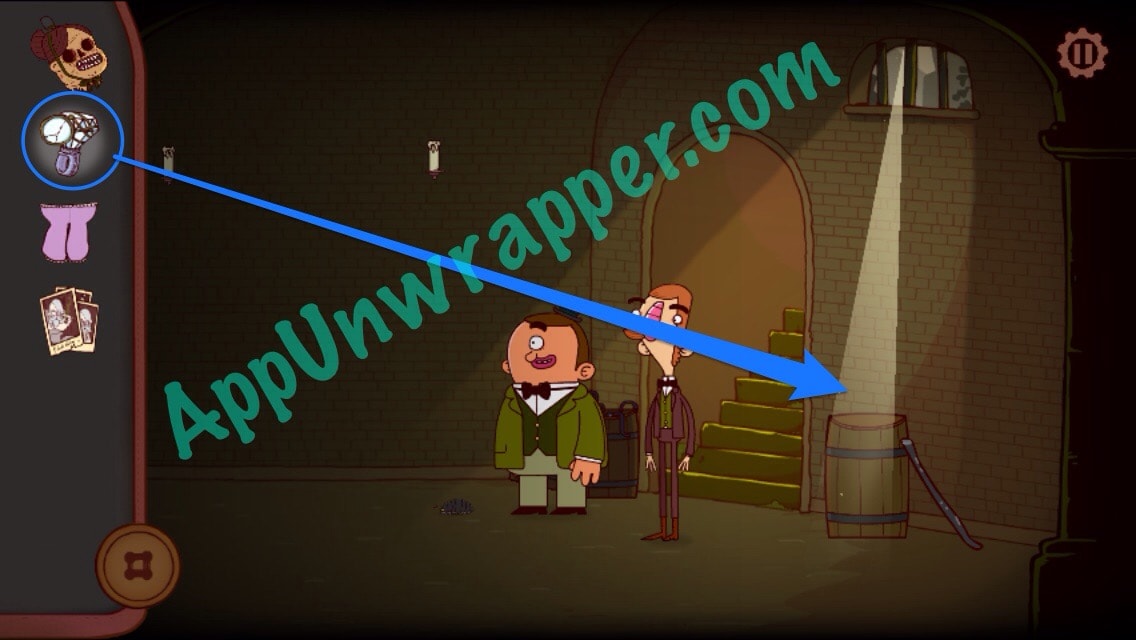
15. Leave the house and head left. There’s a tunnel. Head inside. Combine the ring and the broken monocle, then place them on the barrel under the beam of light. It will light the candles so you can see.
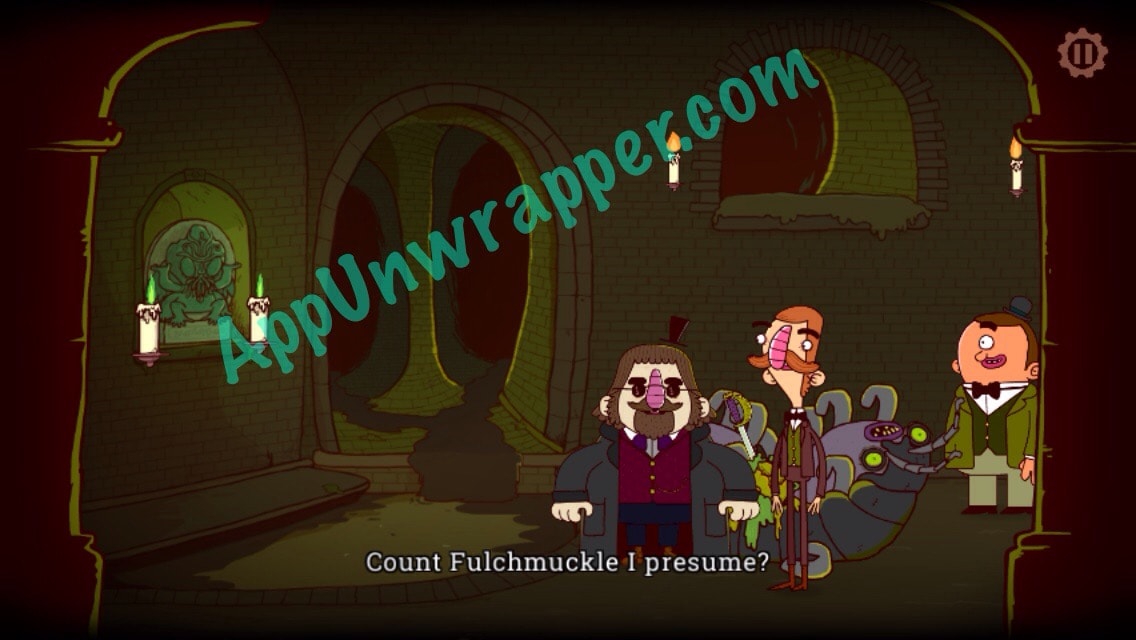
16. Continue on. You’ll meet Count Fulchmuckle. He’s eating a giant bug and asks for something else.
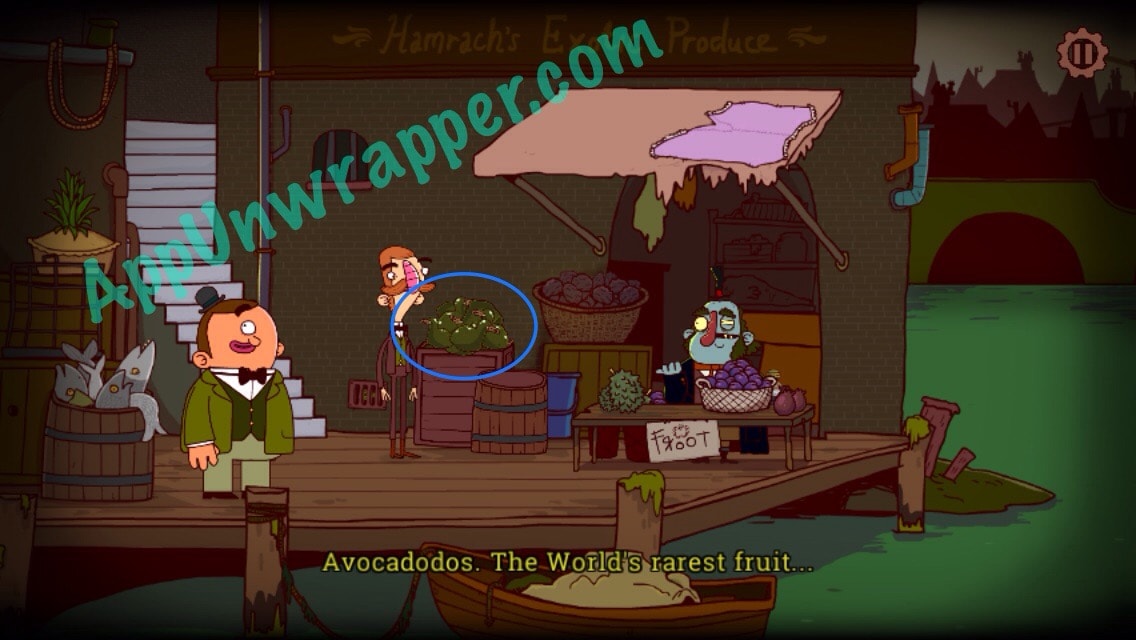
17. Leave the tunnel and head all the way right to find a fruit (froot) stand. He has a hole in his awning. Place the undergarments on it to stop the leak. Then take an avocadodo as your reward.

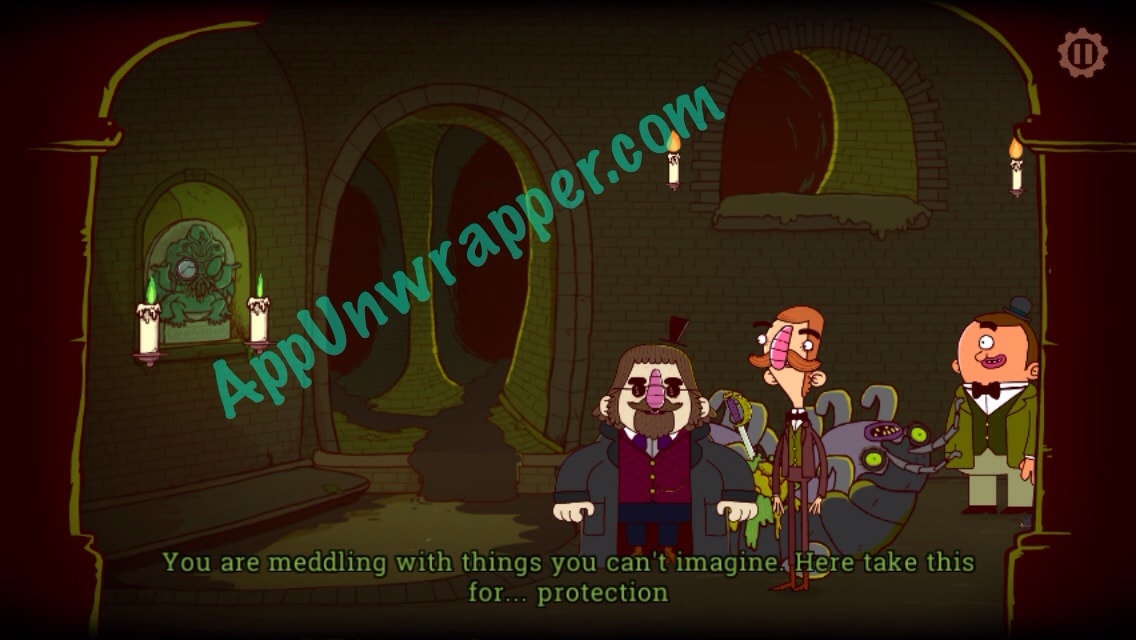
18. Go back to Lord Fulchmuckle and give him the fruit. He’ll give you his sword.
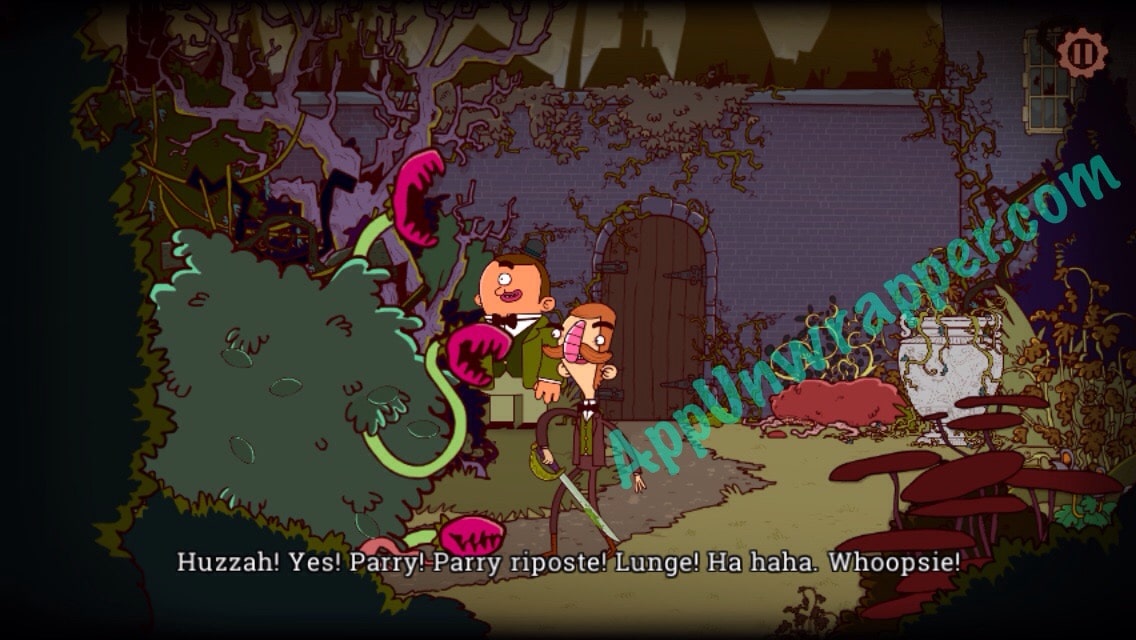
19. Go back to the garden and use the sword to cut down the carnivorous plant. Then head left to the next part of the garden.
20. Continue left until you find Lord Arthwipe. Give him the photos you found of him. He’ll reveal a secret passage. Go through.
Chapter 4: A Ghastly Conclusion
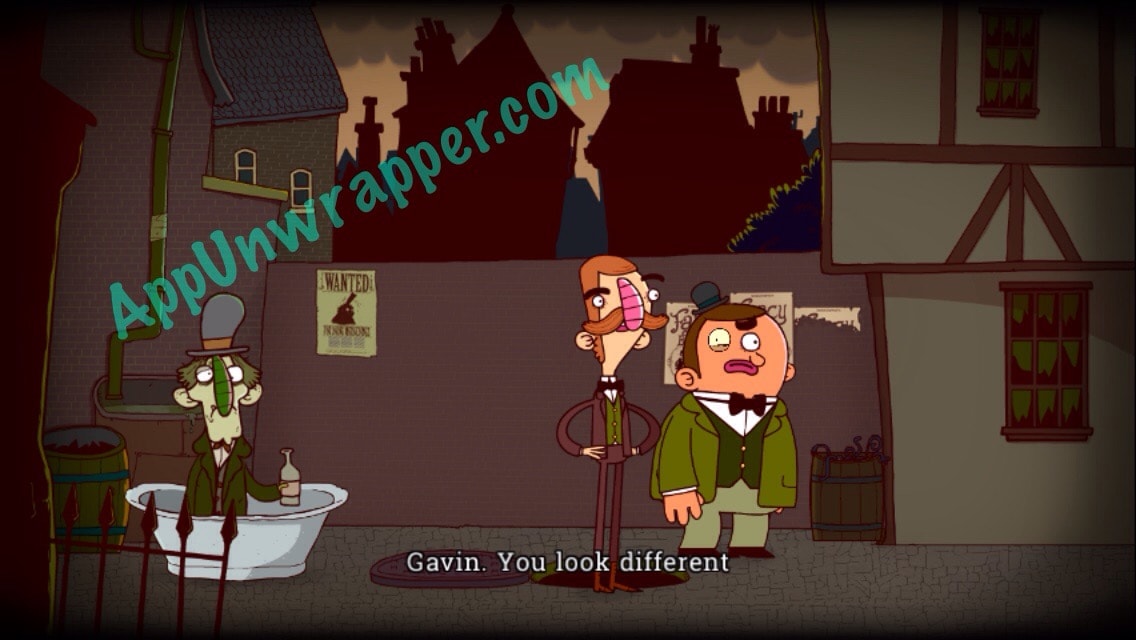
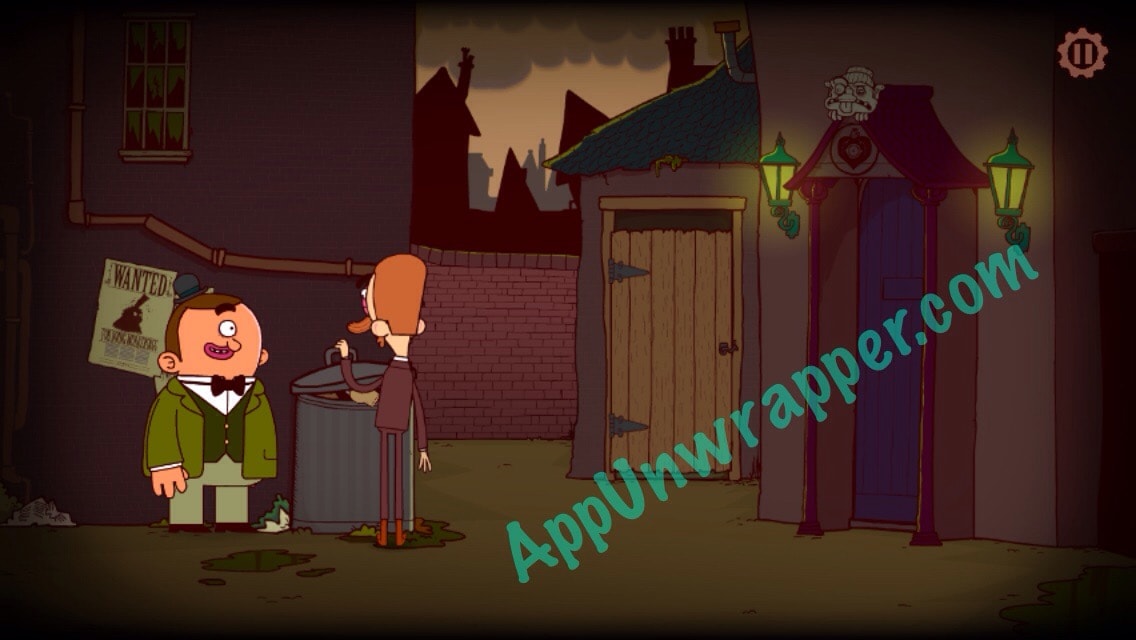
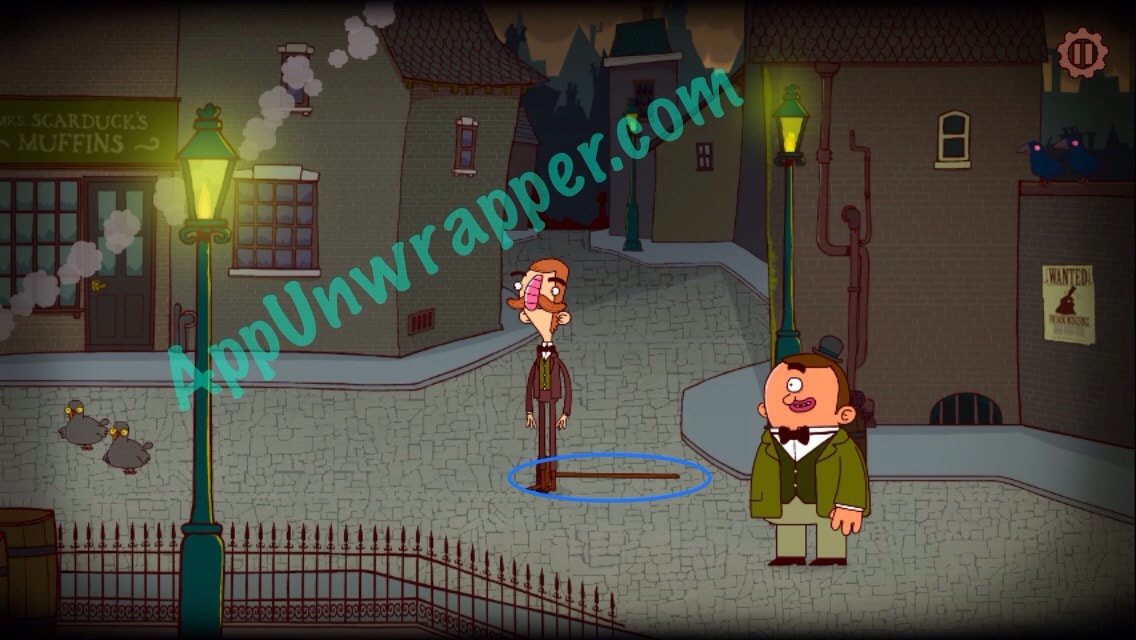
1. Open the manhole cover and climb out. Place the eyeball that was on Gavin onto the head. Then talk to the man in the bathtub (Norris) and head right.
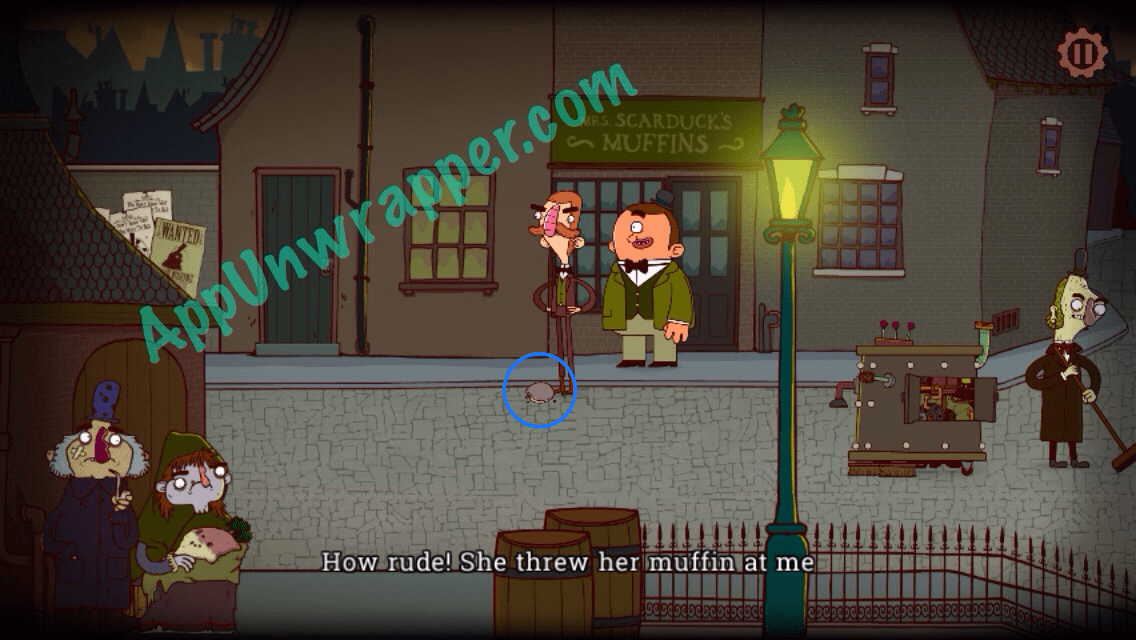
2. There’s a street sweeper here with a broken vacuum cleaner. We’ll come back to him. Go left and talk to the woman in front of the muffin shop. Take the muffin she drops.
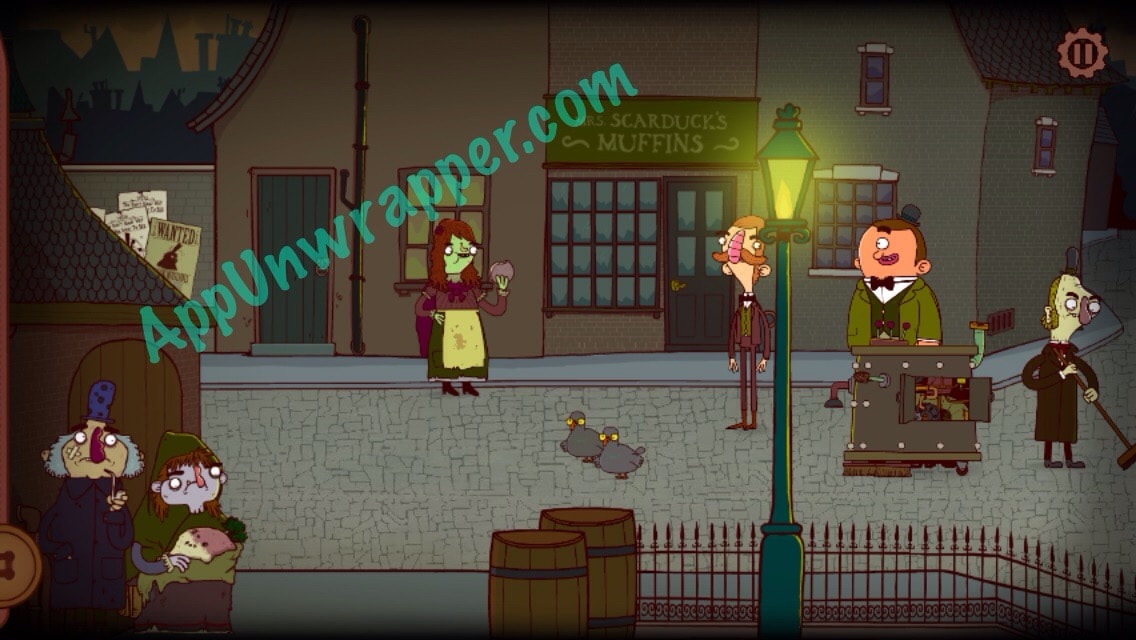
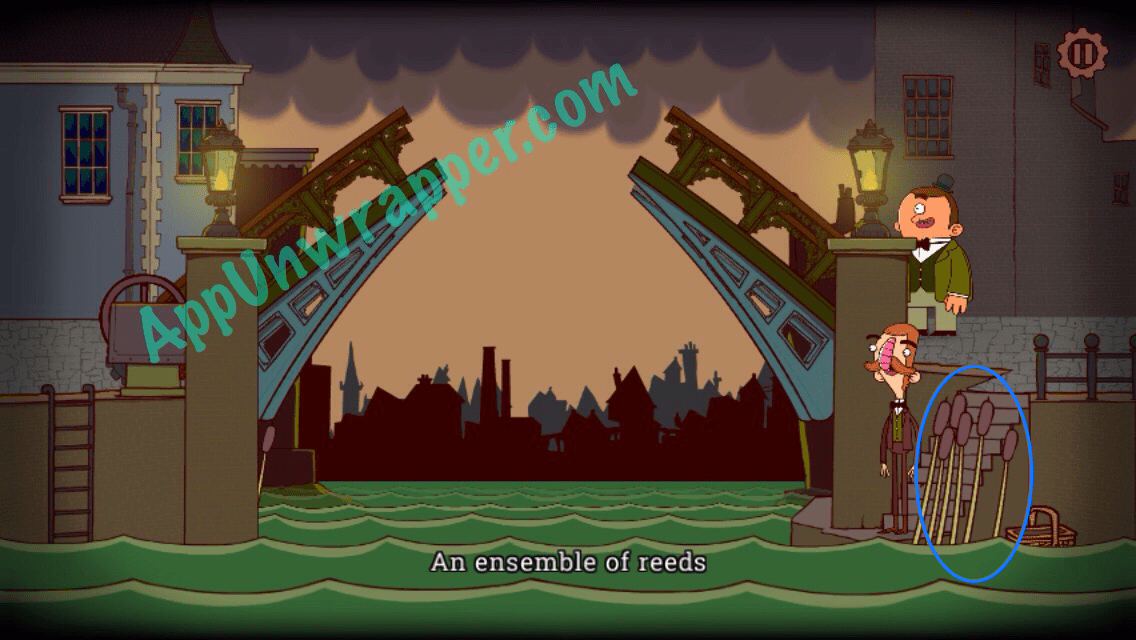
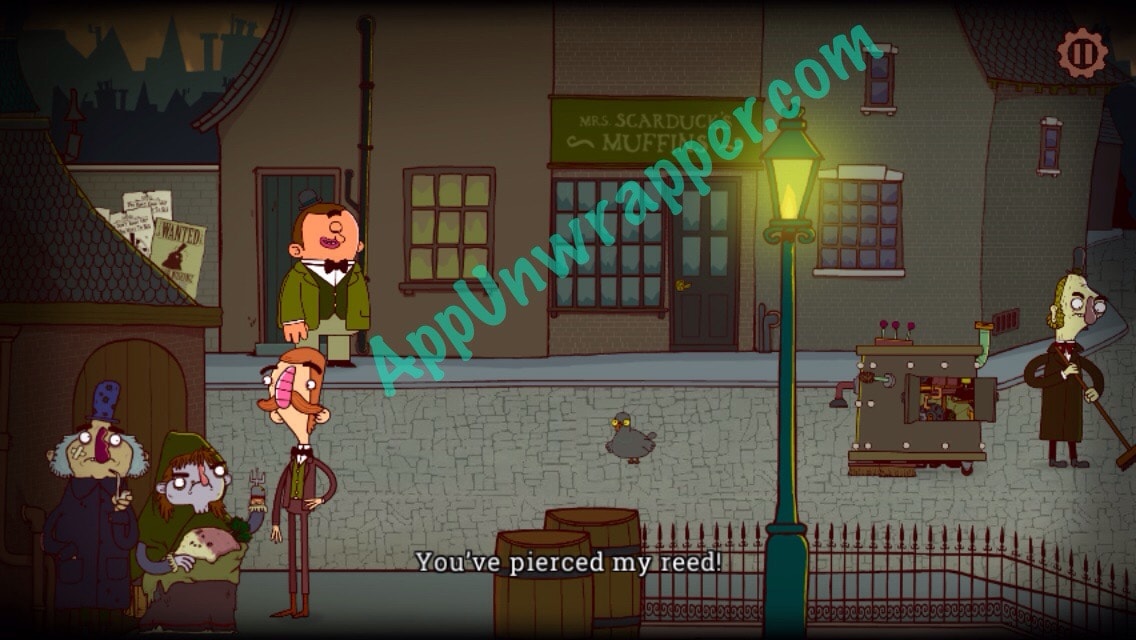
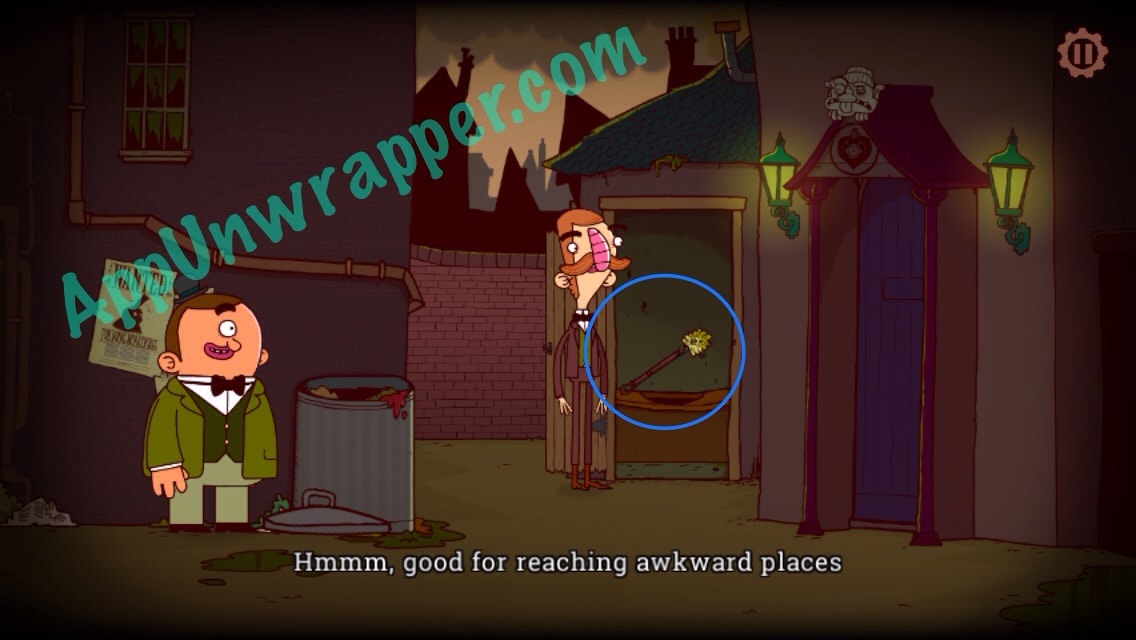
3. Head left to the bridge. The worker will raise the bridge so you can’t cross. For now, take a reed and then head back right. Use the reed with the mother with the baby and she’ll poke holes in it, turning it into a flute.
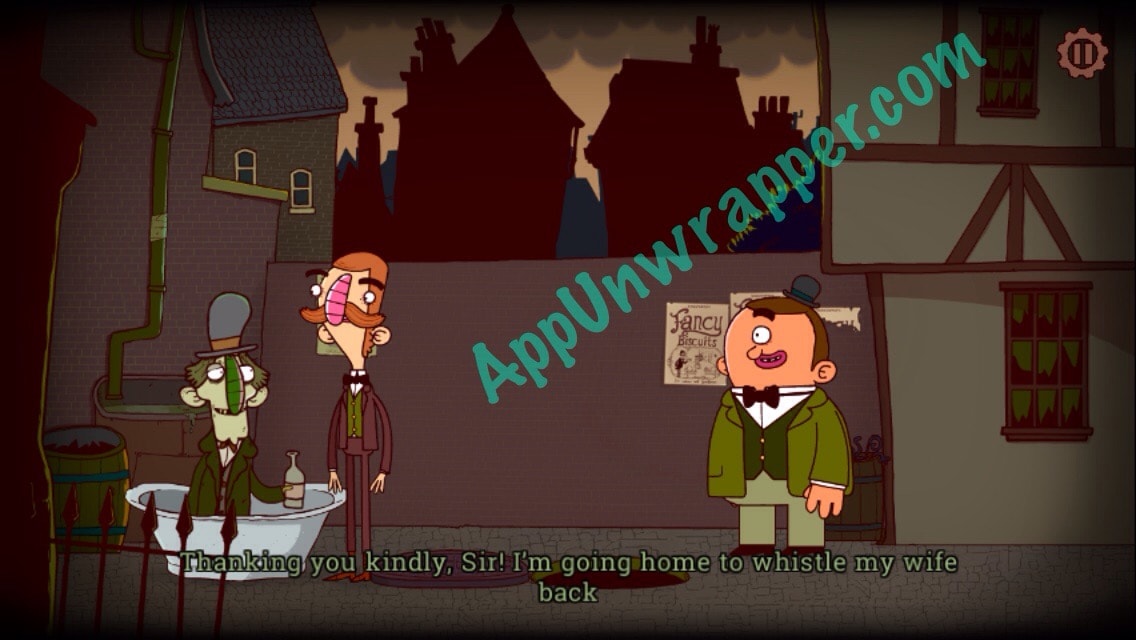
4. Take the flute to the guy in the bathtub and he’ll head back to his wife. Take the tub. Place it in the water by the bridge. You need something to row with!

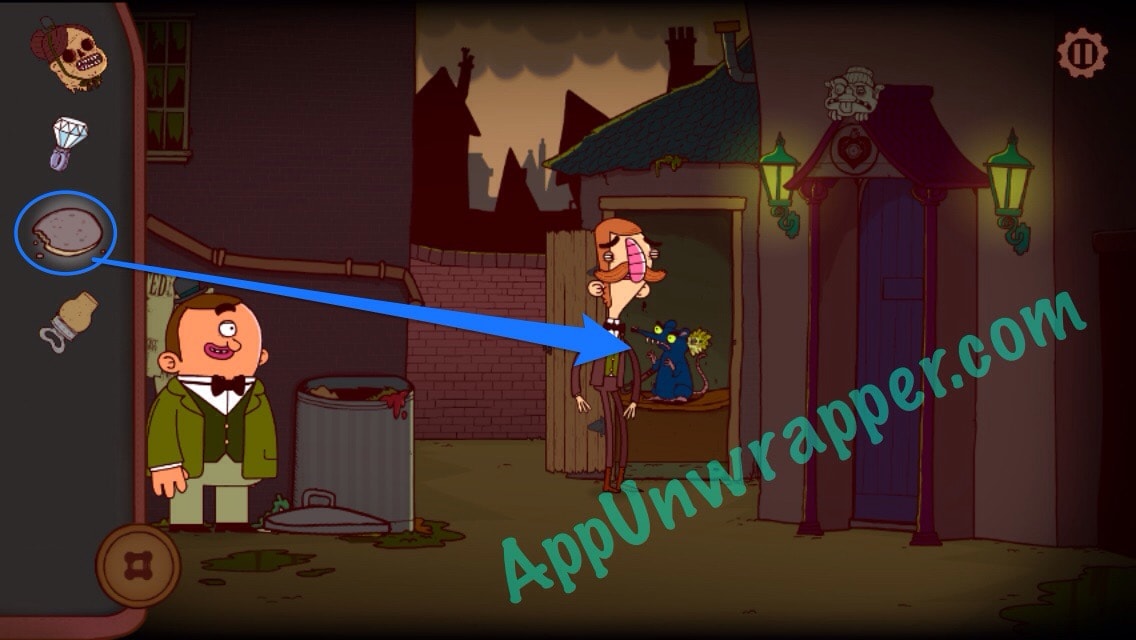
5. Go right all the way until you come to a new screen. Dig through the trash for a cork. Then open the “meditation” room. There’s a rat! Feed the muffin to the rat and he’ll scurry off. Take the brush that’s in there.
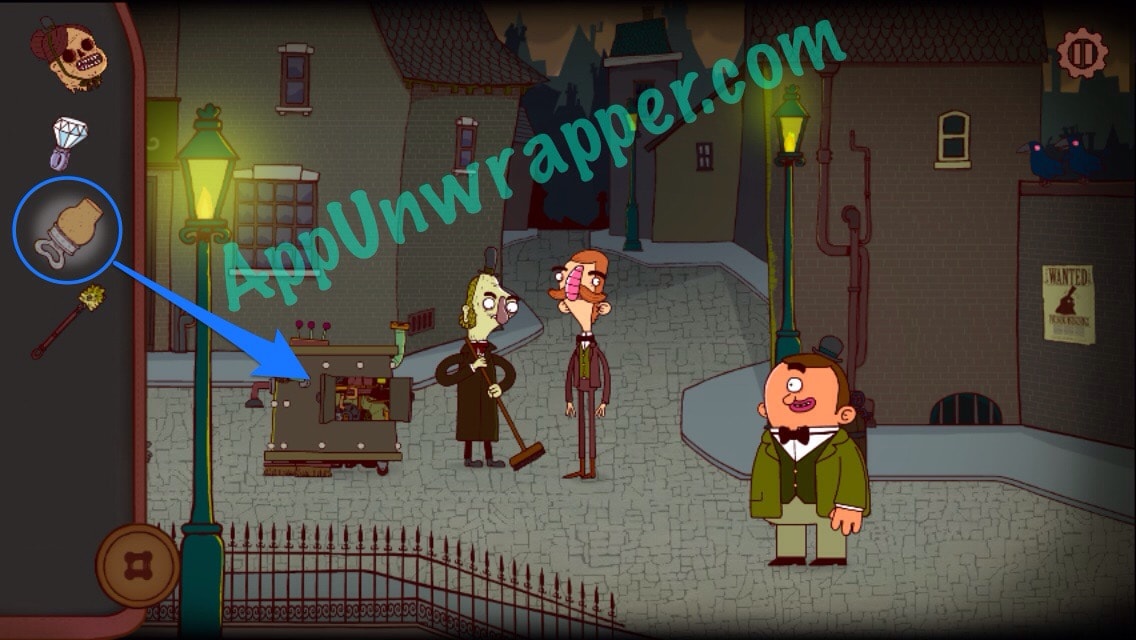
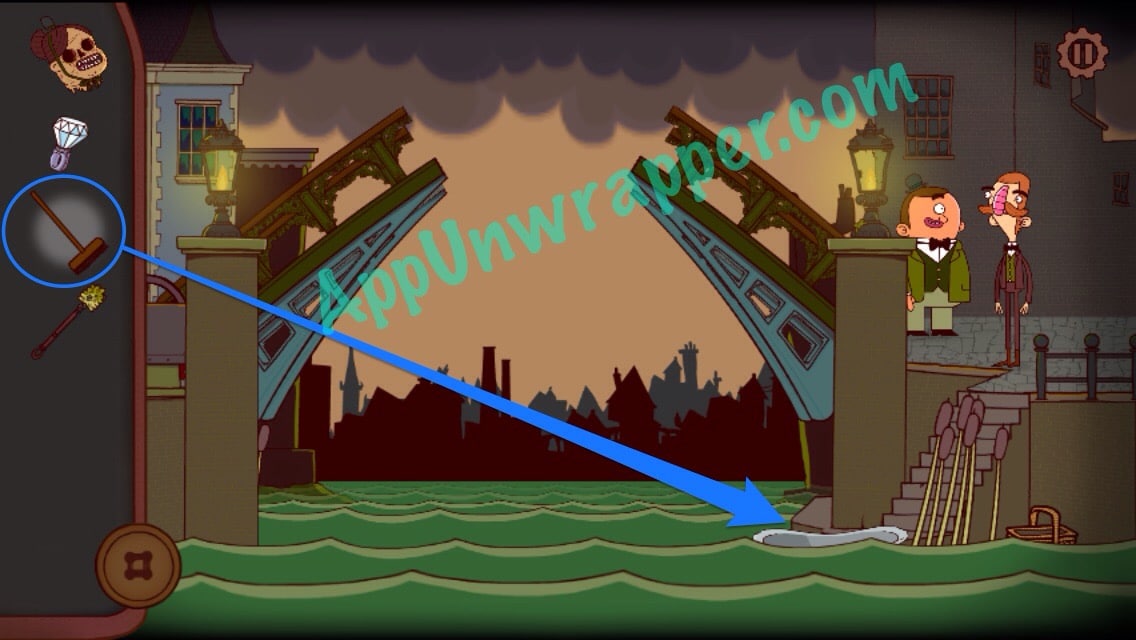
6. Head back to the street sweeper and use the cork to fix his machine. He’ll leave, dropping his broom. Pick it up.
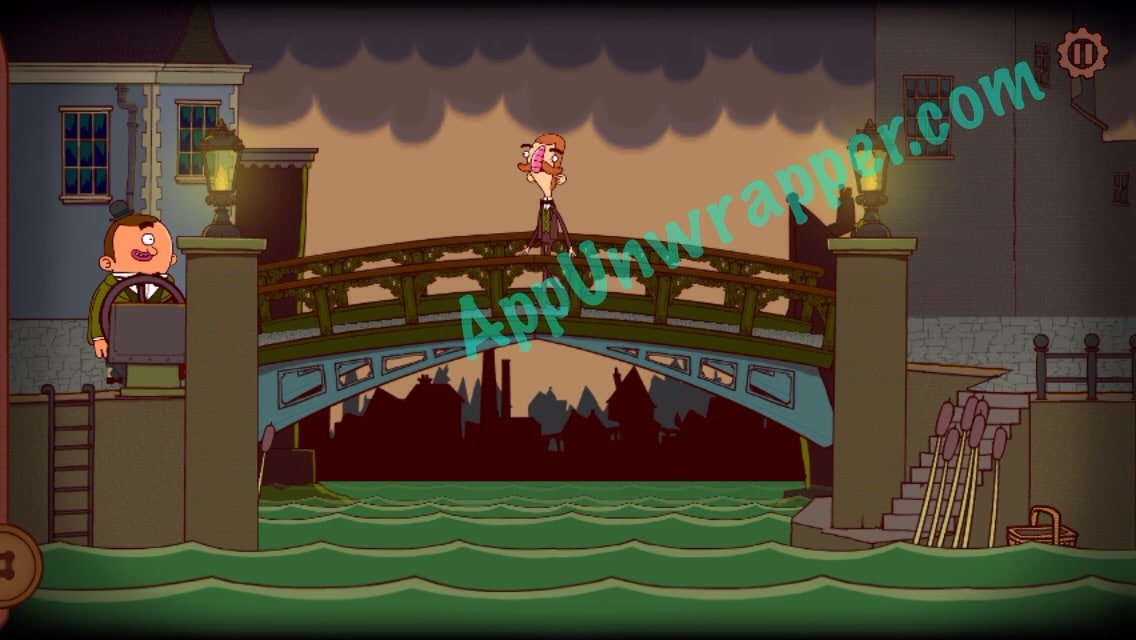
7. Go back to the bridge and place he broom in the tub. Then have Gavin row to the other side and lower the bridge so Bertram can cross.
8. In the next scene, use the brush on the spider to get it covered in webs.

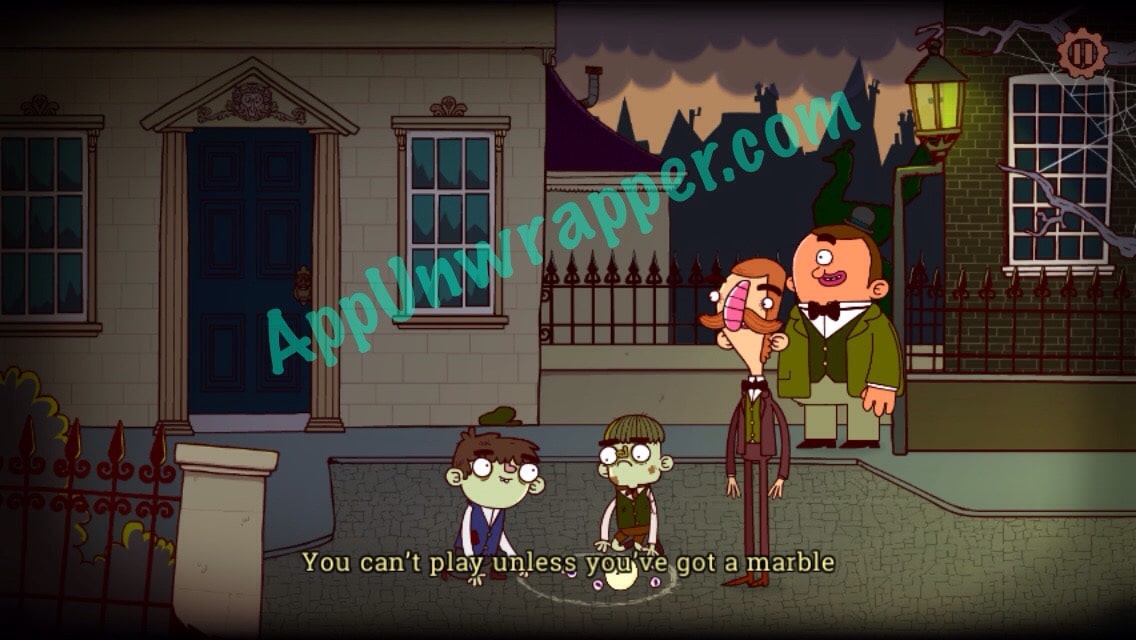
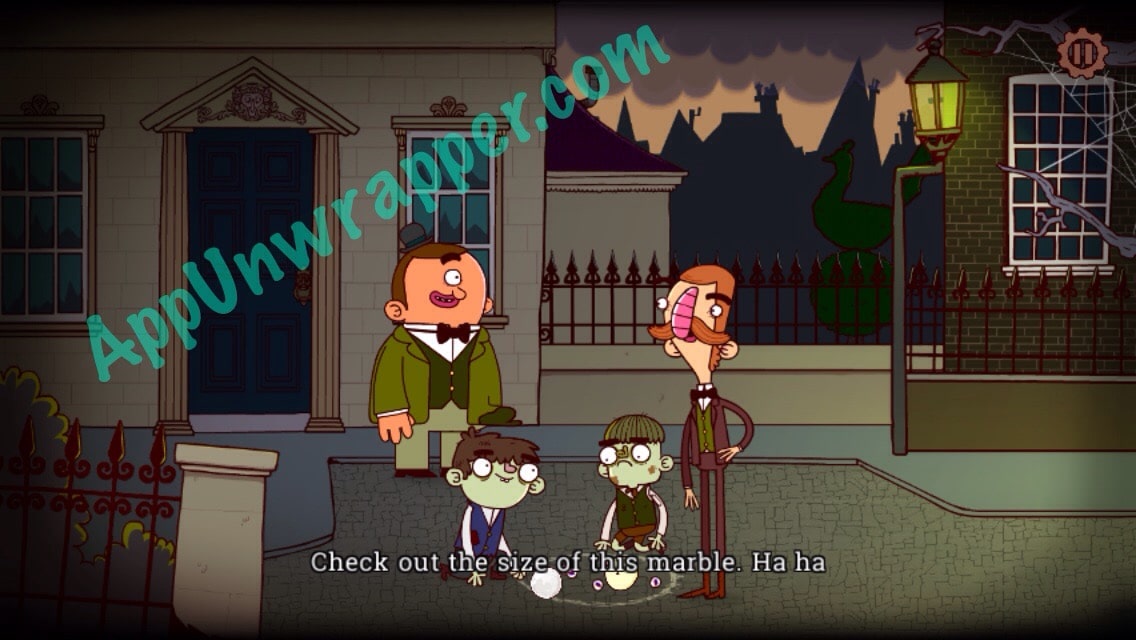
9. Head left and try to take the eyeball that the two boys are using as a marble. They’ll tell you that you have to win it by playing with them, but you need your own marble first.
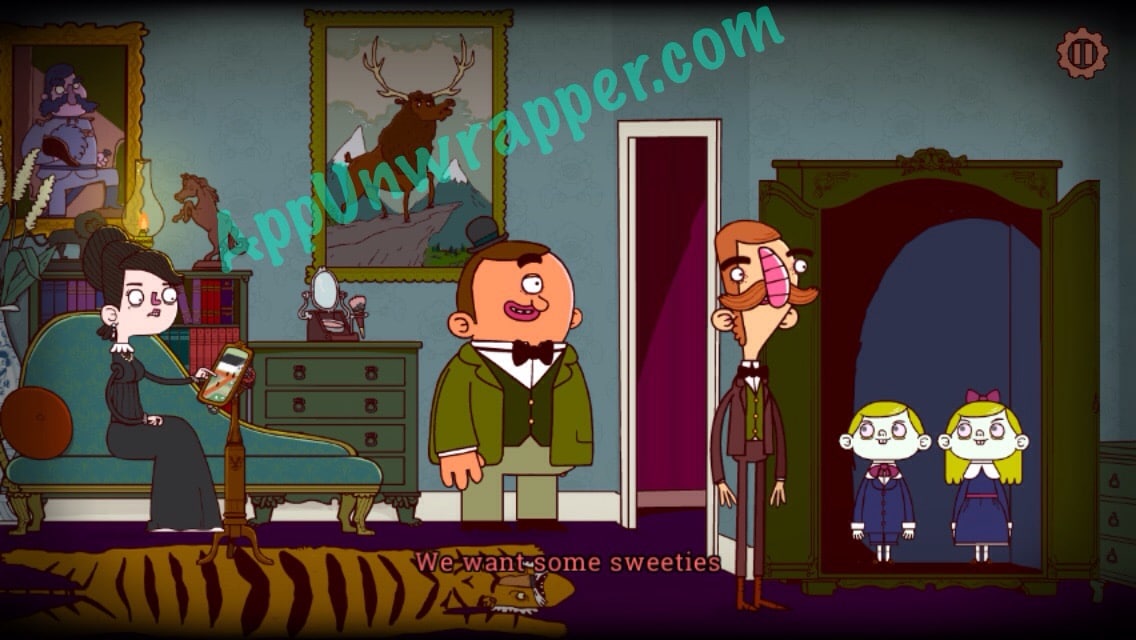
10. Head into the house. Pick up the pearl. If you open the wardrobe (“naughty cupboard”), there are two twins in there and they want candy in exchange for information.

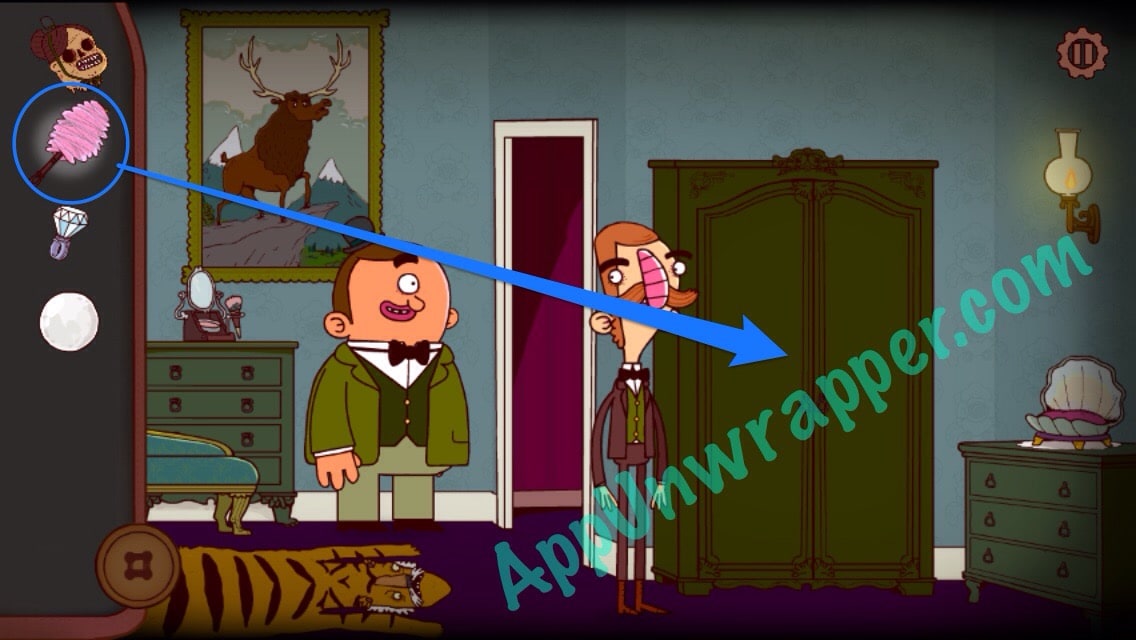
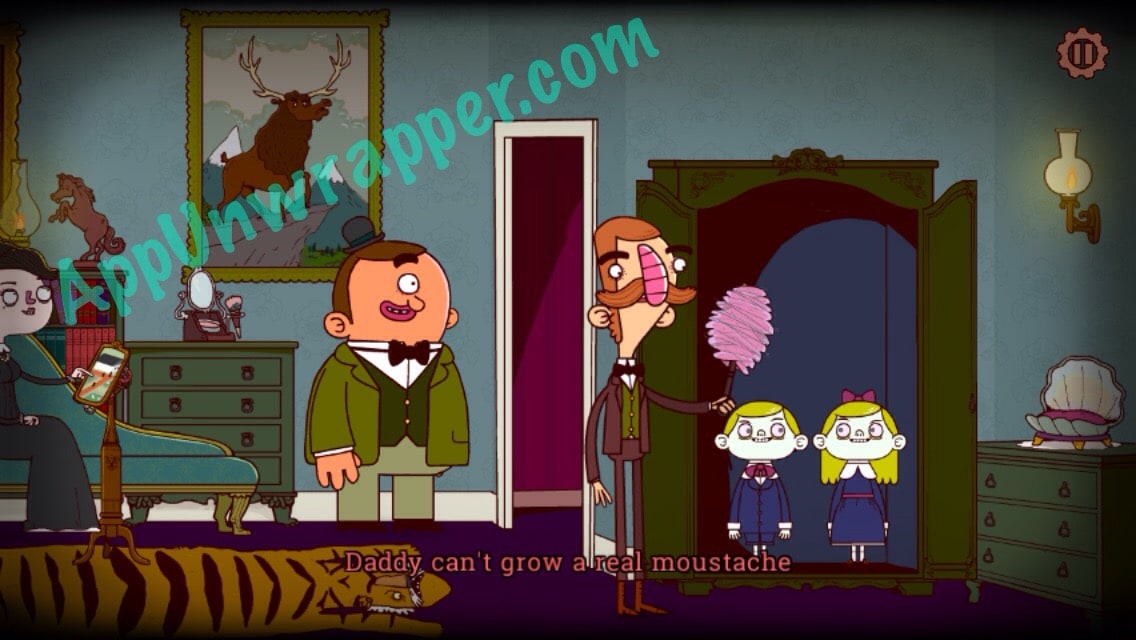
11. There’s some rouge (blush) on the dresser. Use the webbed brush with it to make it pink, so it resembles cotton candy. Then use it on the wardrobe to hand it to the twins. They’ll tell you that their father’s moustache is fake.

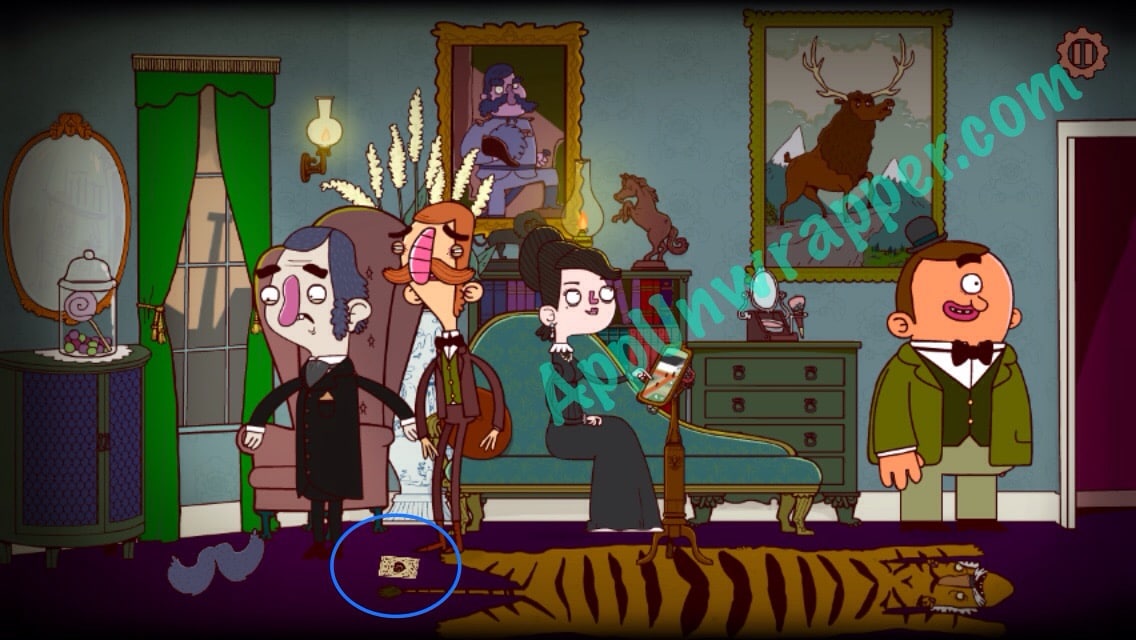
12. Go over to Sir Bruce and tug on his moustache. It will fall off and he’ll drop his invitation when he bends down to pick up the moustache. Grab the invitation and head back out.
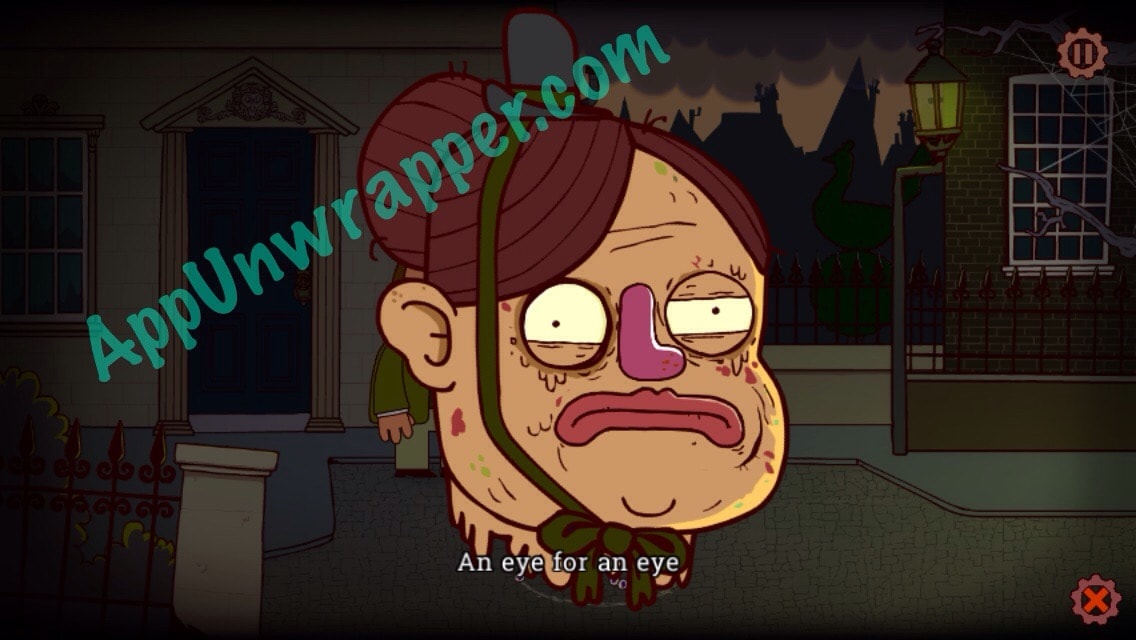
13. Use the pearl to get the eyeball from the boys and add it to the head.
14. Go back all the way to the right where you saw the rat. Use the invitation on the door so Madame Blackheart will let you in.
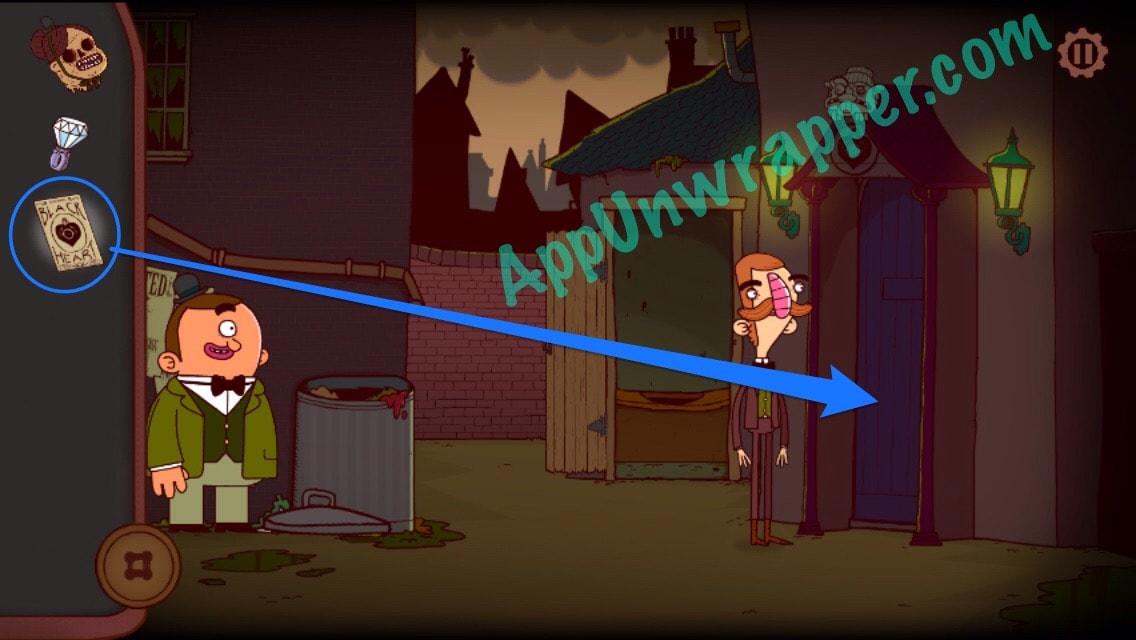
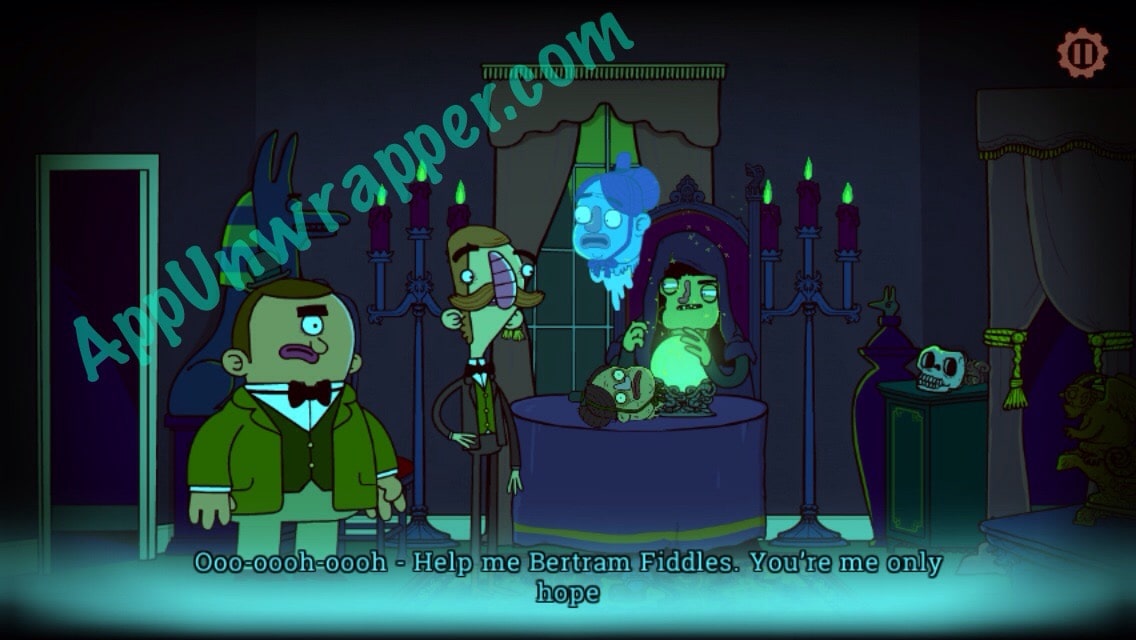
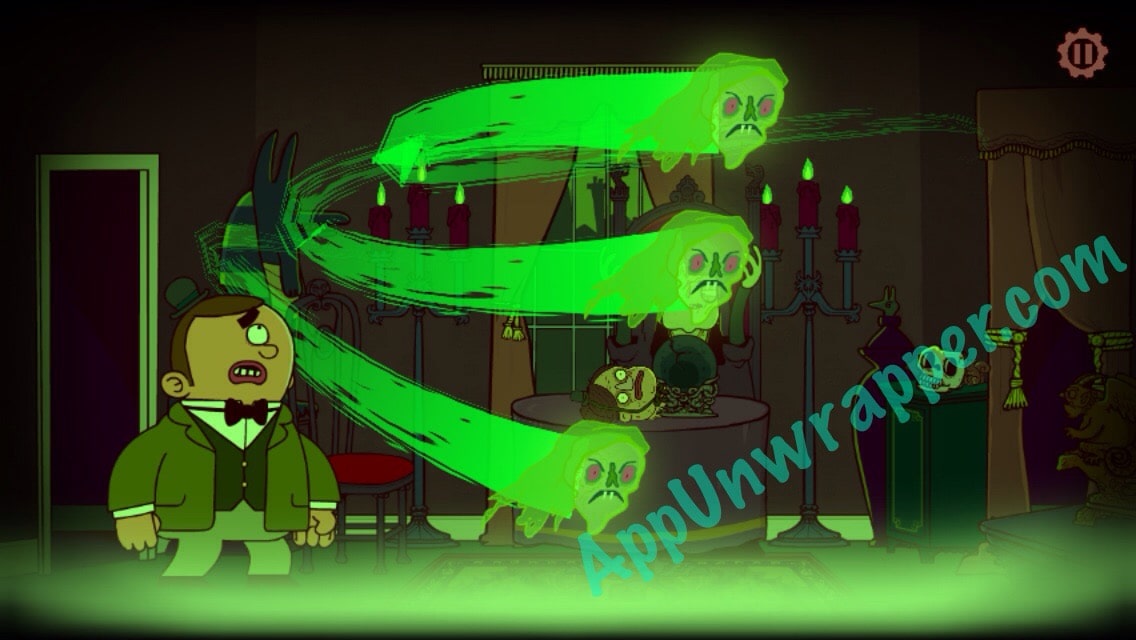
15. Talk to her. When she asks for silver, offer her the diamond ring. Then she’ll call on the spirit of the dead head to tell its story. Some ghosts will chase Bertram and you have to outrun them in a mini game.
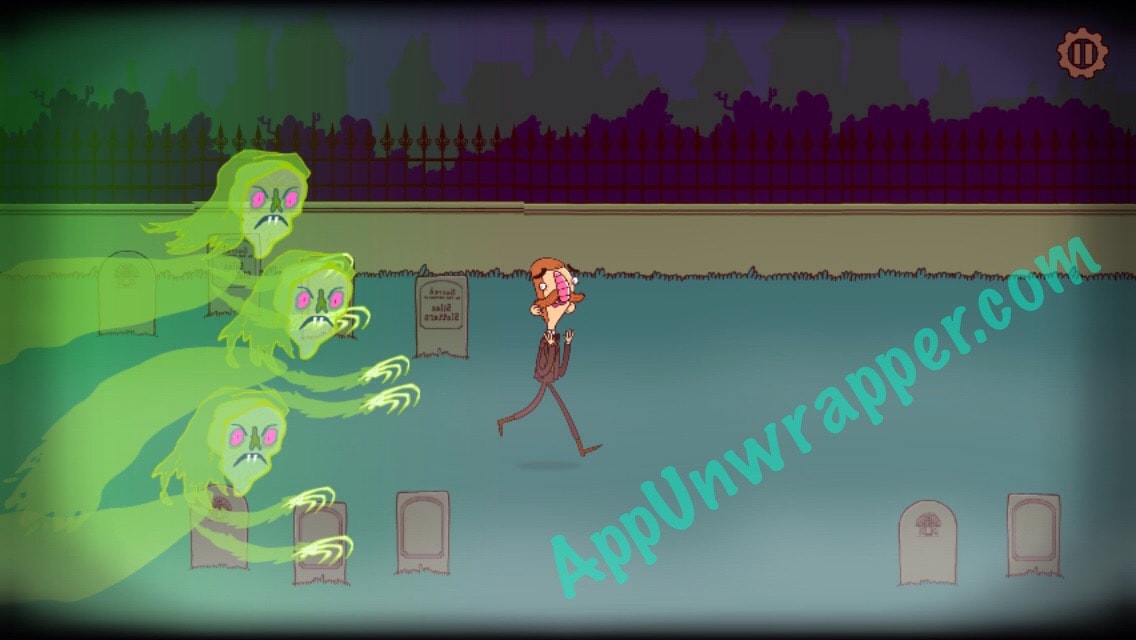
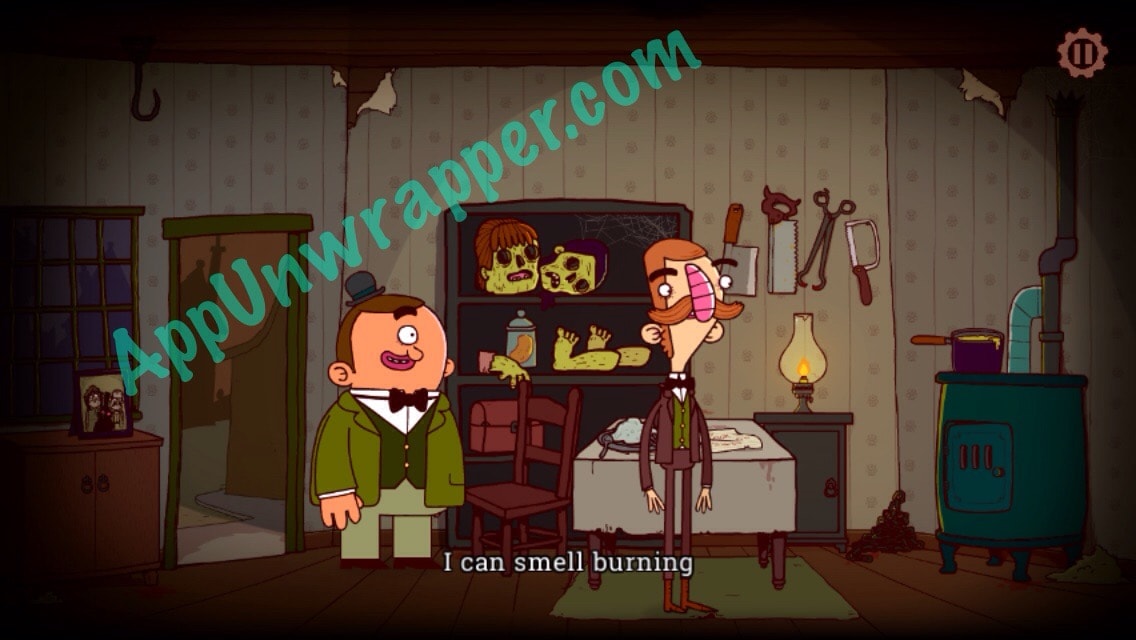
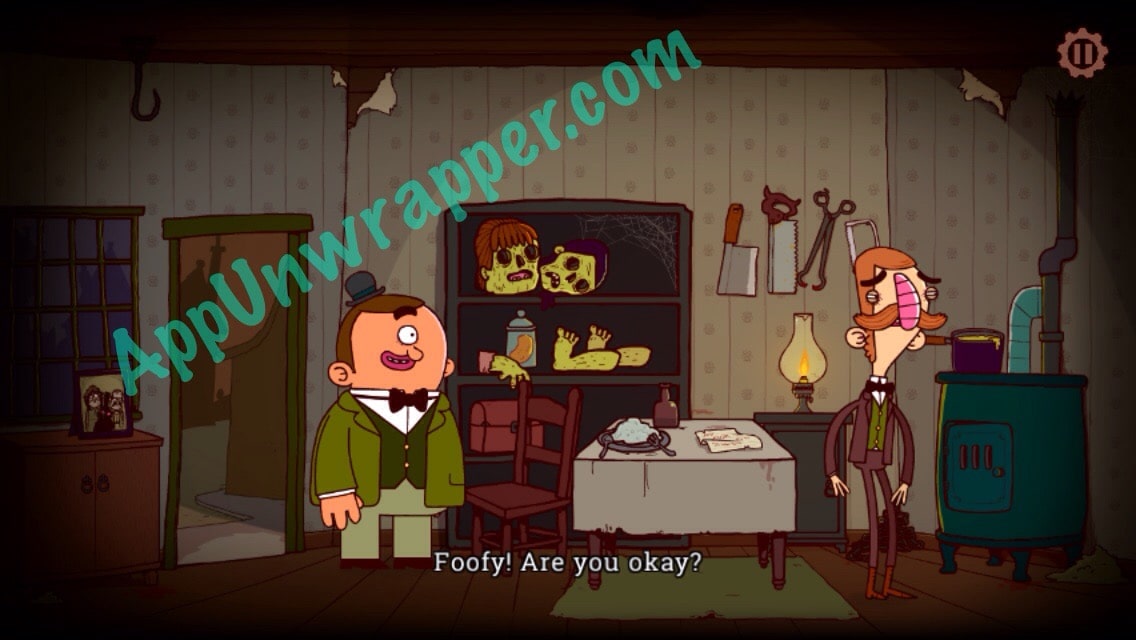
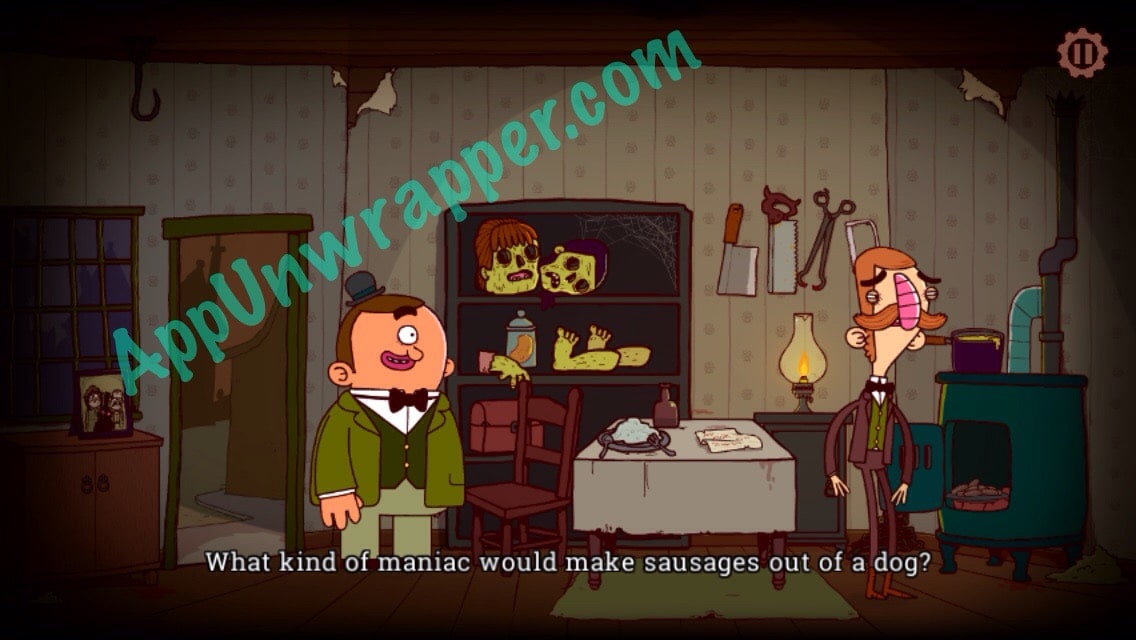
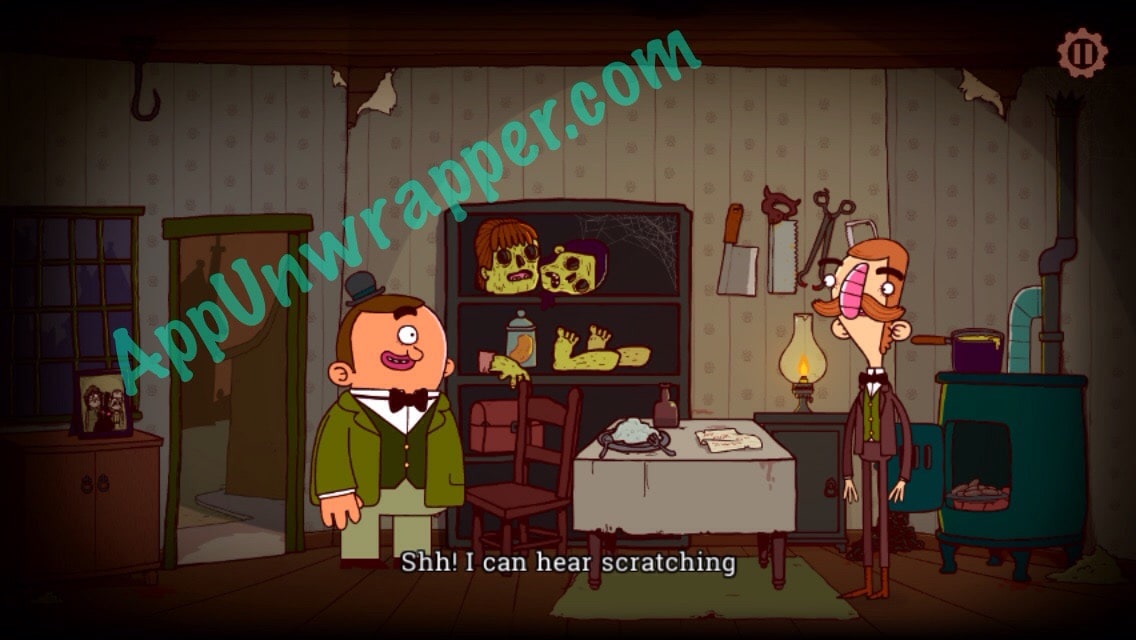
16. When you outrun the spirits, you’ll find yourself in a new area. Head right to find Geoff the Murderer’s house. He’s missing, but Sherlock is here. Go inside.

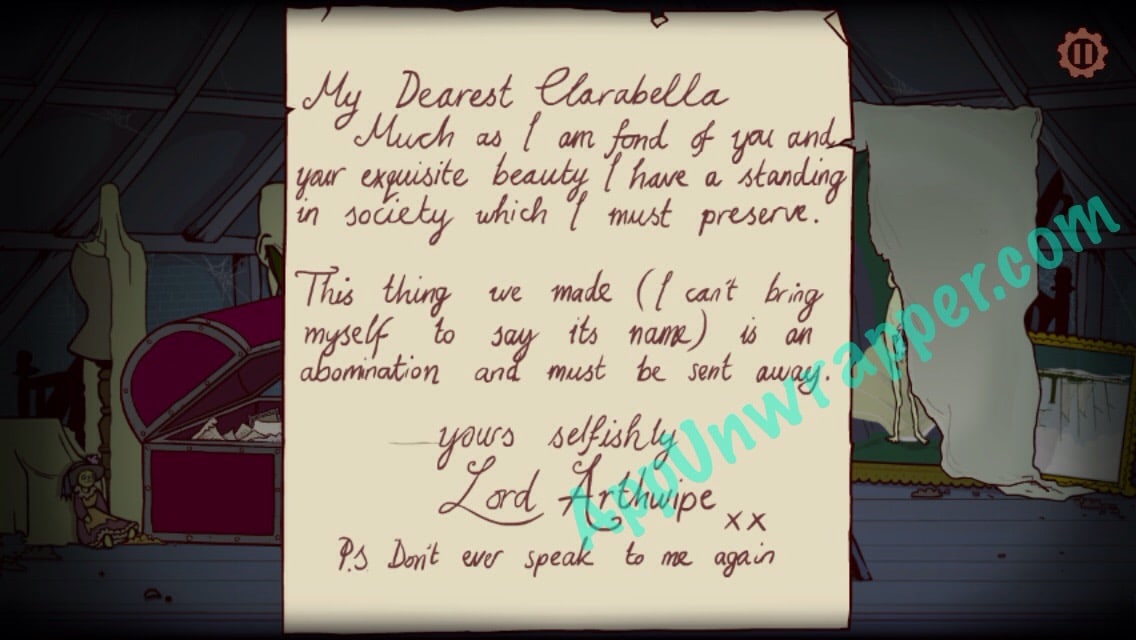
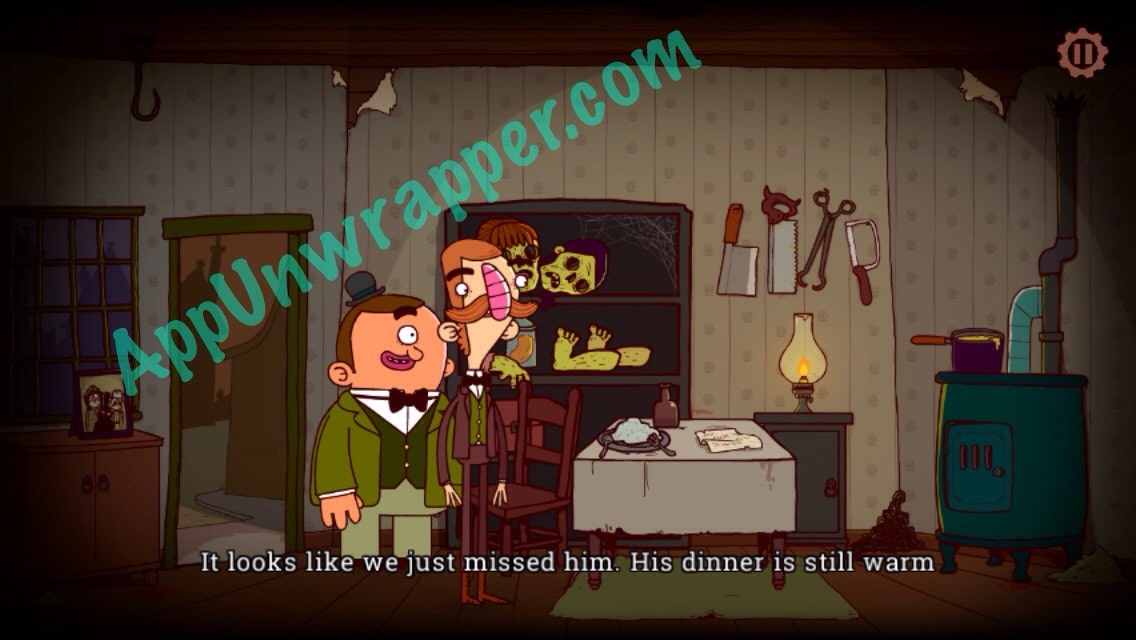
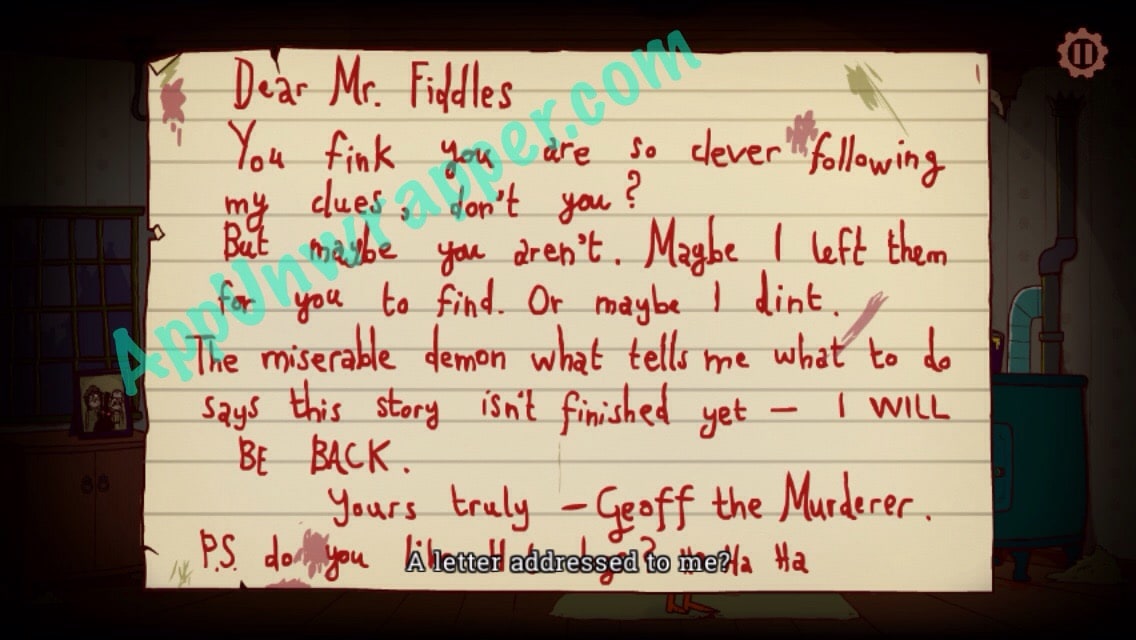
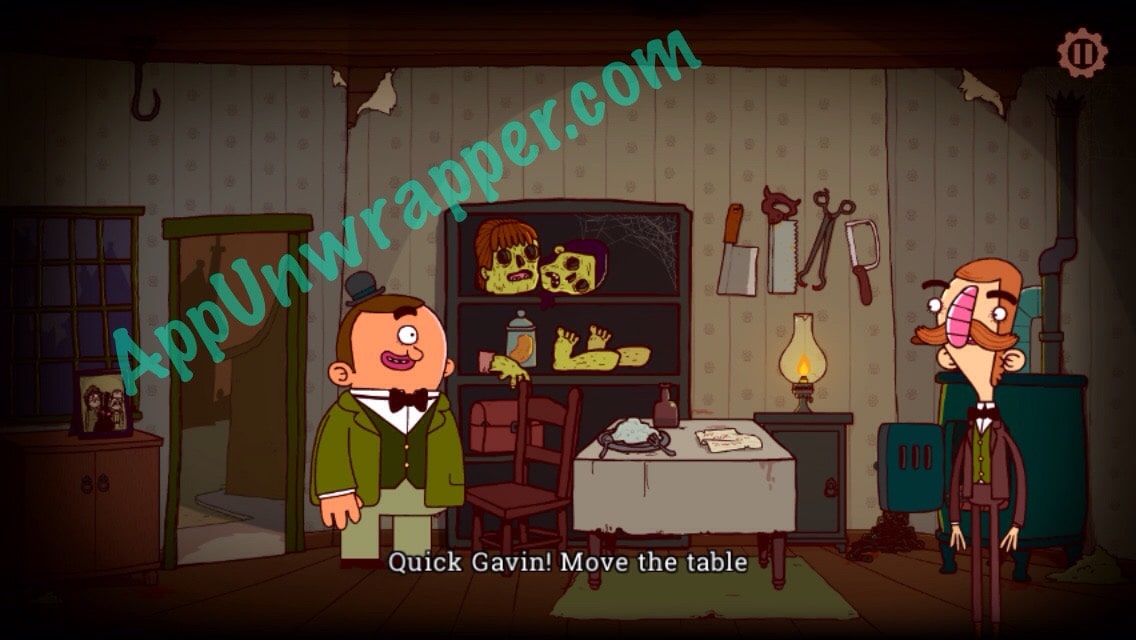
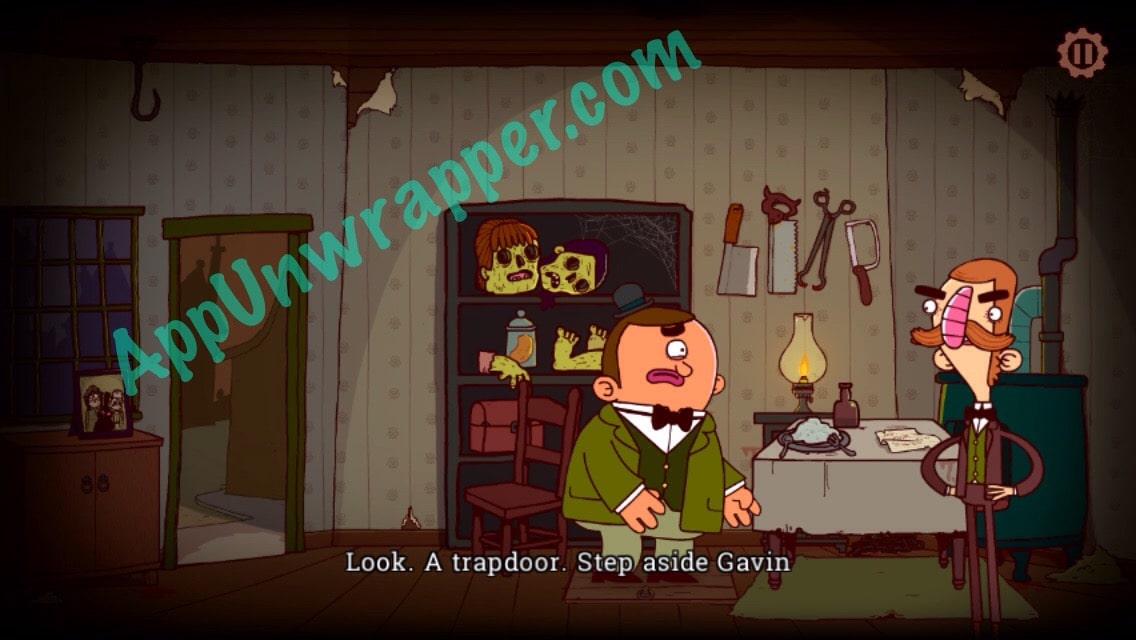
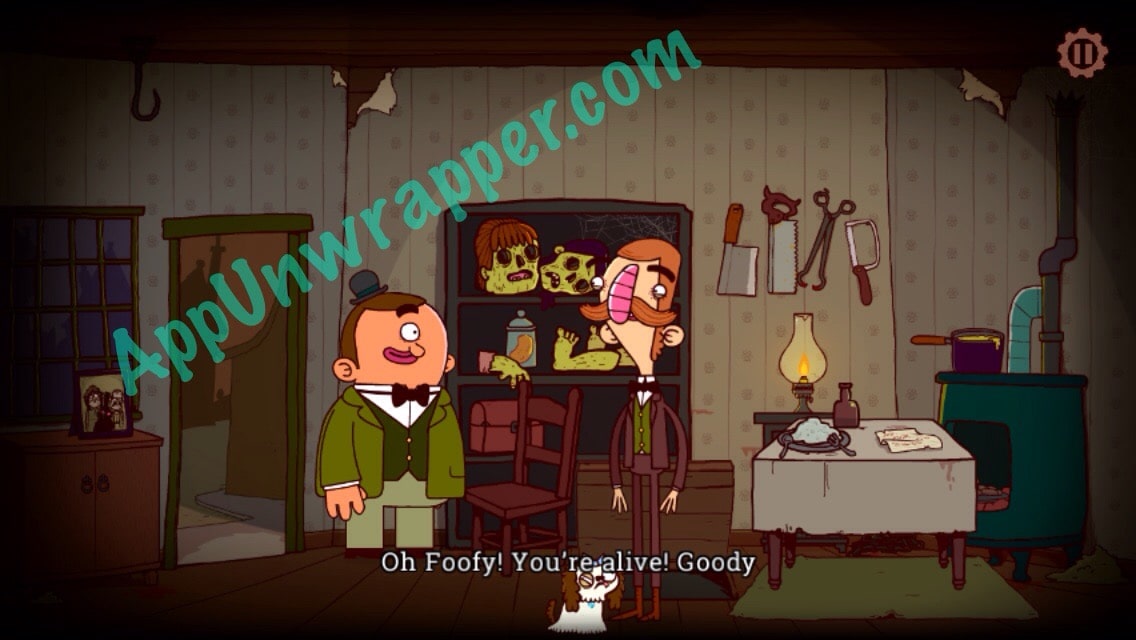
17. Read the note on the table. Open the oven. Hot dogs? Then there’s some scratching under the table. Have Gavin move the table, then open the secret latch and Foofy will jump out! Leave the house to watch the end.
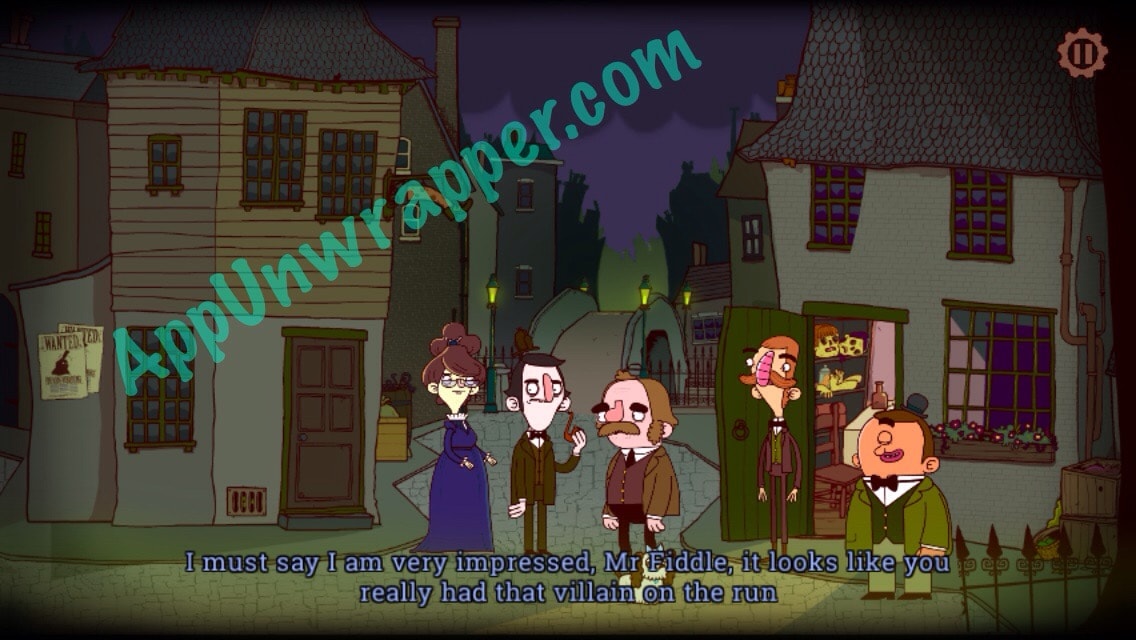
To Be Continued! Stay tuned for Episode 2!
If you liked this game, you might also like Alto’s Adventure.


Hello,
I am unable to get the fake moustache from Mr. Bruce … After giving the candy floss to the kids, I went outside to get the eye, then came back in for the moustache, but Bruce just says ‘ What are you doing, sir? Who are you and what are you doing in my house?’