Escape from LaVille 1
By: Gabriele Pellistri (Destiny Glove)
 [DKB url=”https://www.appunwrapper.com/LaVille” text=”Download” title=”” type=”” style=”” color=”green” width=”” opennewwindow=”” nofollow=””]
This will be a walkthrough guide for Escape from LaVille 1. It’s a work in progress, so please bear with me. Feel free to ask for help in the comments section until the walkthrough is complete.
Walkthrough:
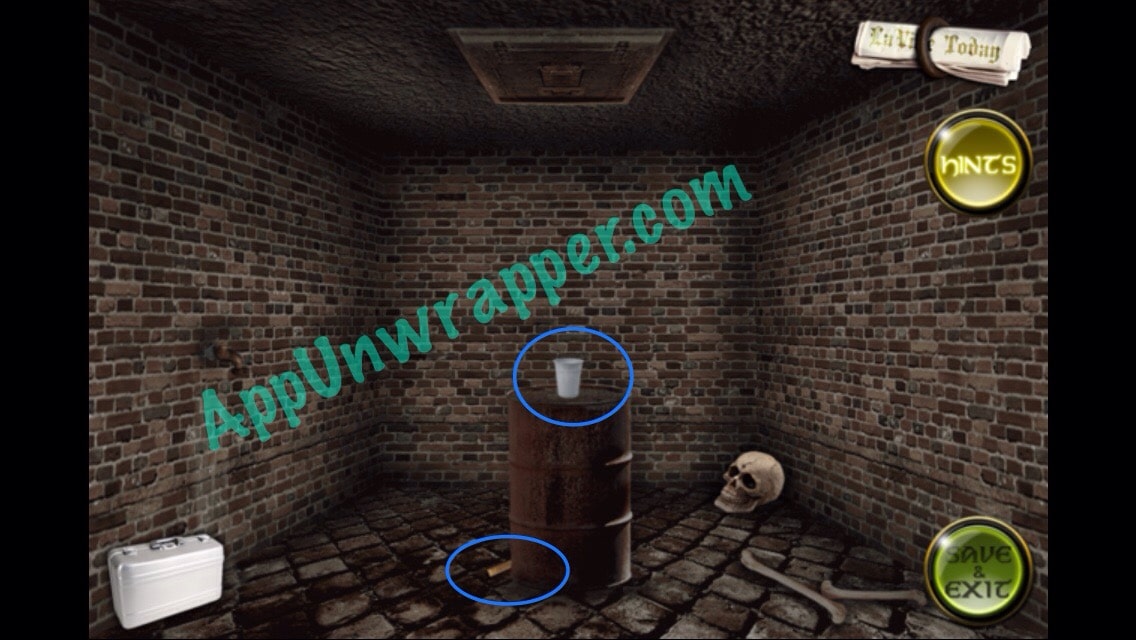
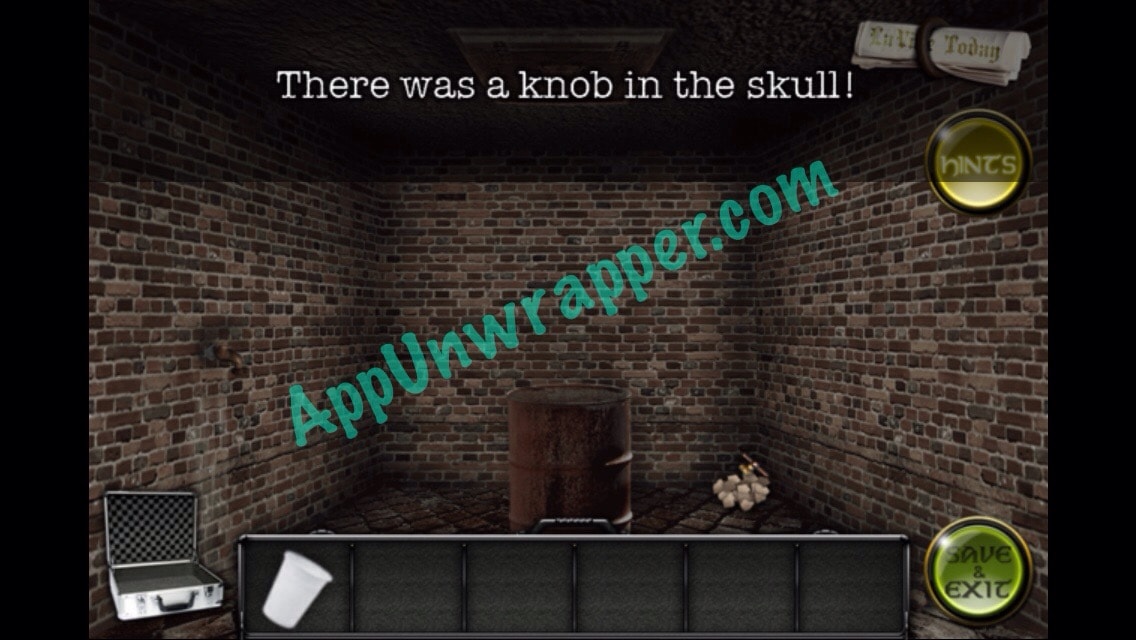
1. Pick up the plastic cup and the hammer. Then use the hammer on the skull and get the knob.
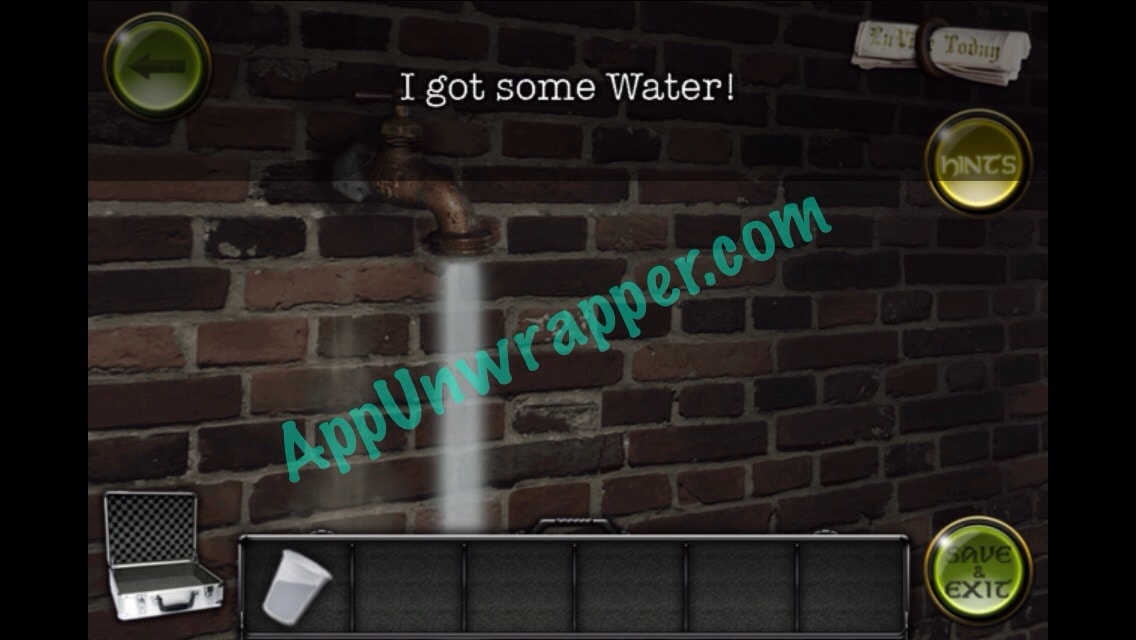
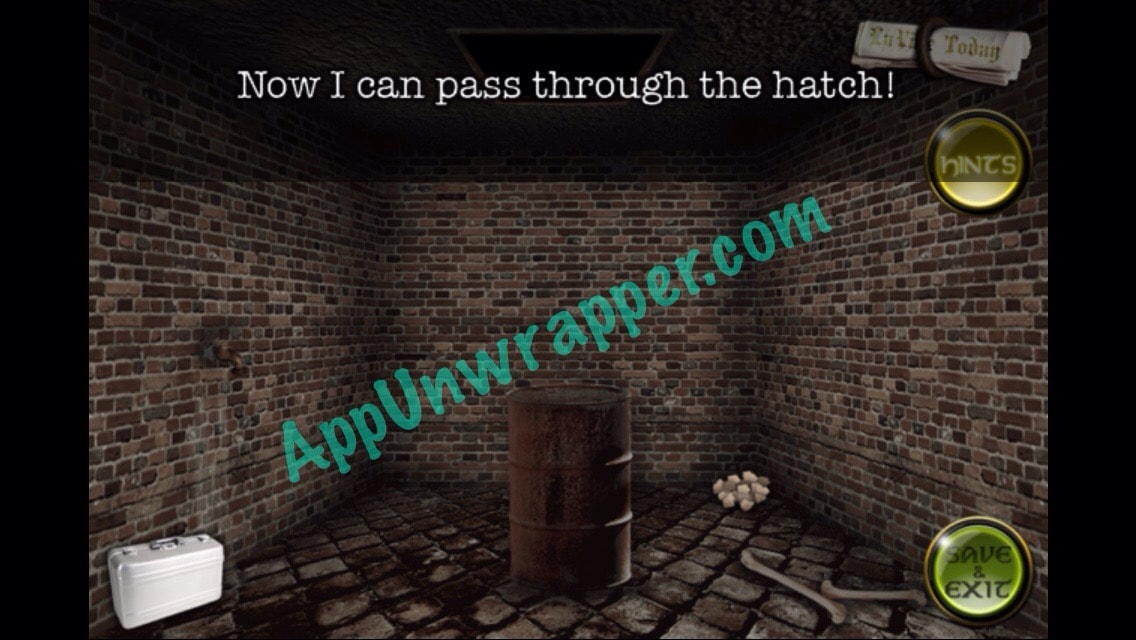
2. Use the knob on the faucet, then fill the cup up with water and drink it. Now you can go through the hatch in the ceiling!
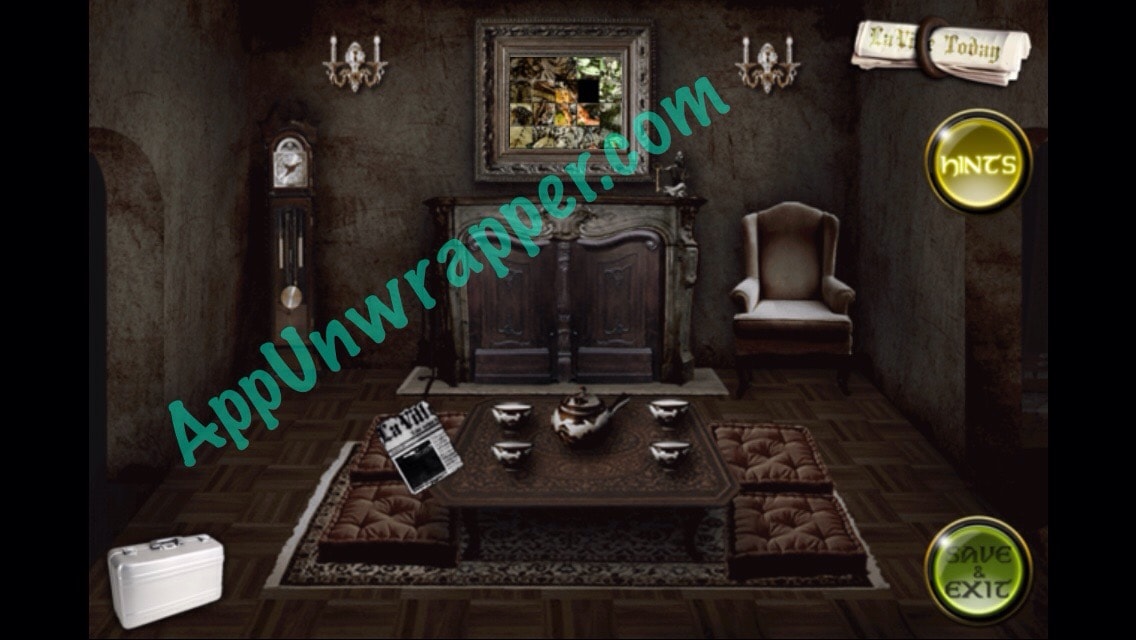
3. Go through the doorway to the right. Pick up the newspaper clipping. Remove the lid of the teapot to get a metal key. Also, get the Old Key by the fireplace.


4. Go right and pick up the bag of puppy chow.

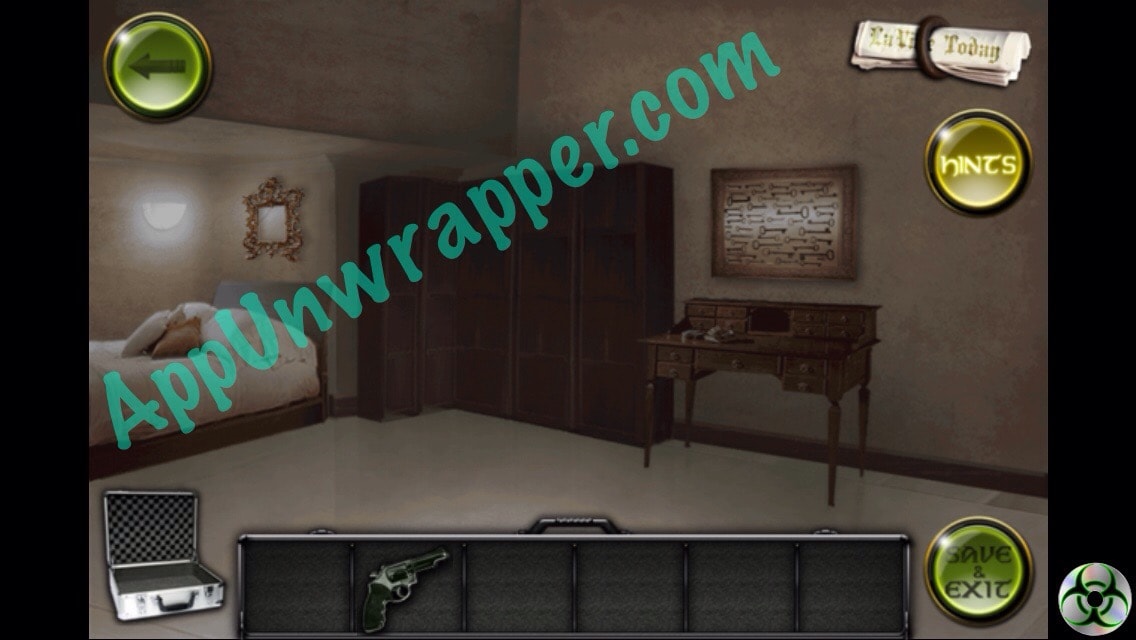
5. Go left and up the stairs. Open the door right in front of you and go in. Pick up the newspaper clipping. Then find a gold key in the picture of keys.
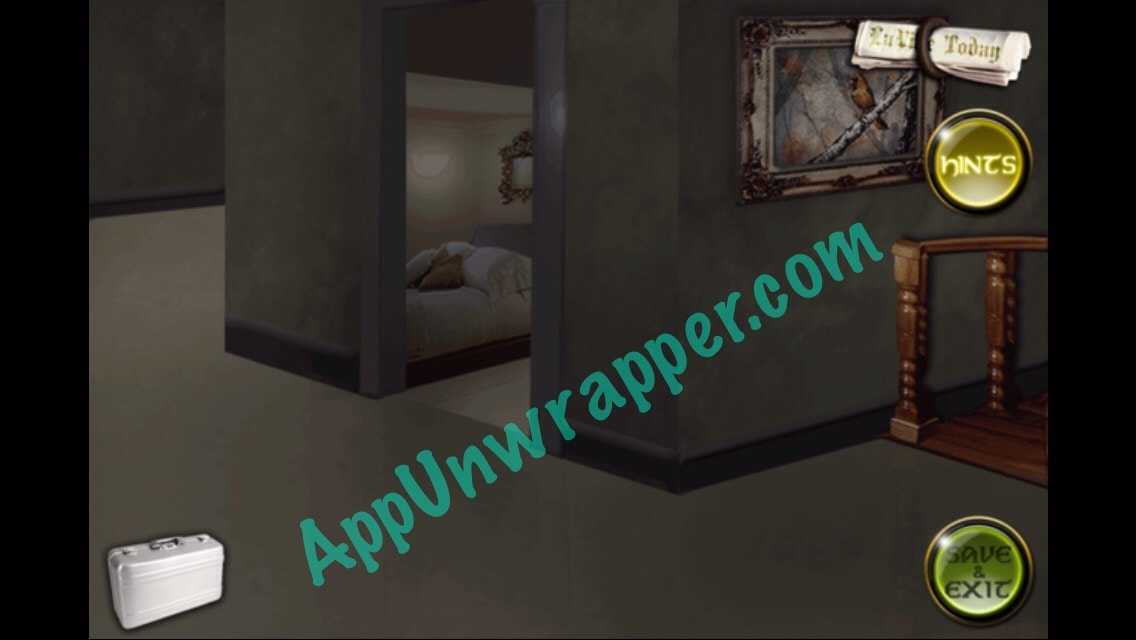


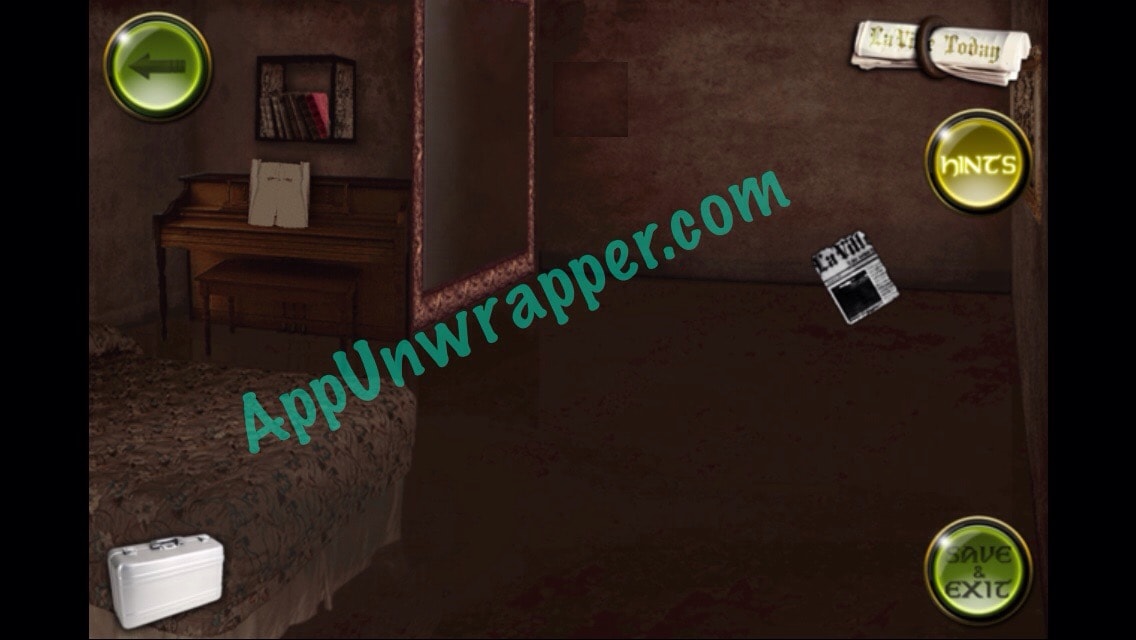
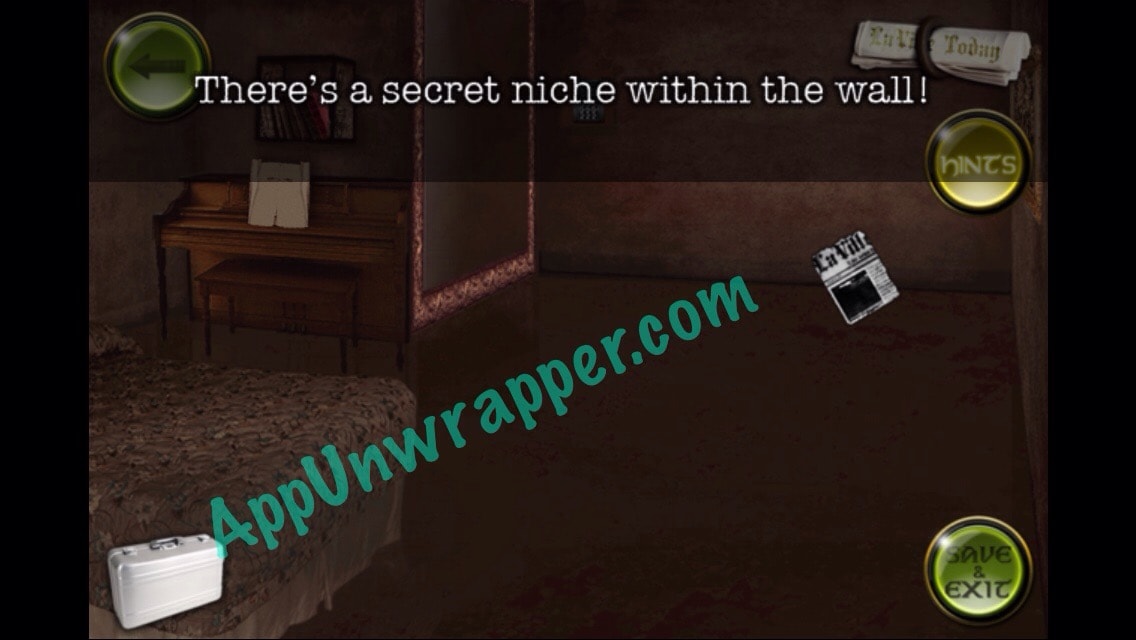
6. Leave the room and head left down the hall. Unlock the first door to the left with the metal key and go inside. Get the newspaper clipping, read the music sheet on the piano, and open the secret niche within the wall to reveal a locked safe. Also, look through one of the books on the shelf.
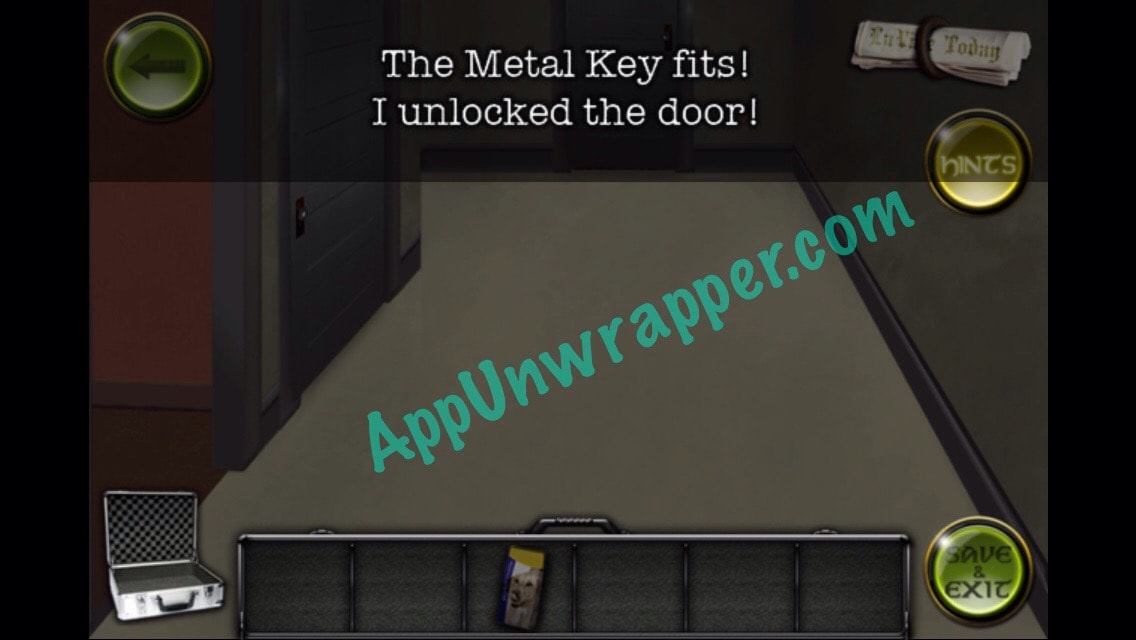

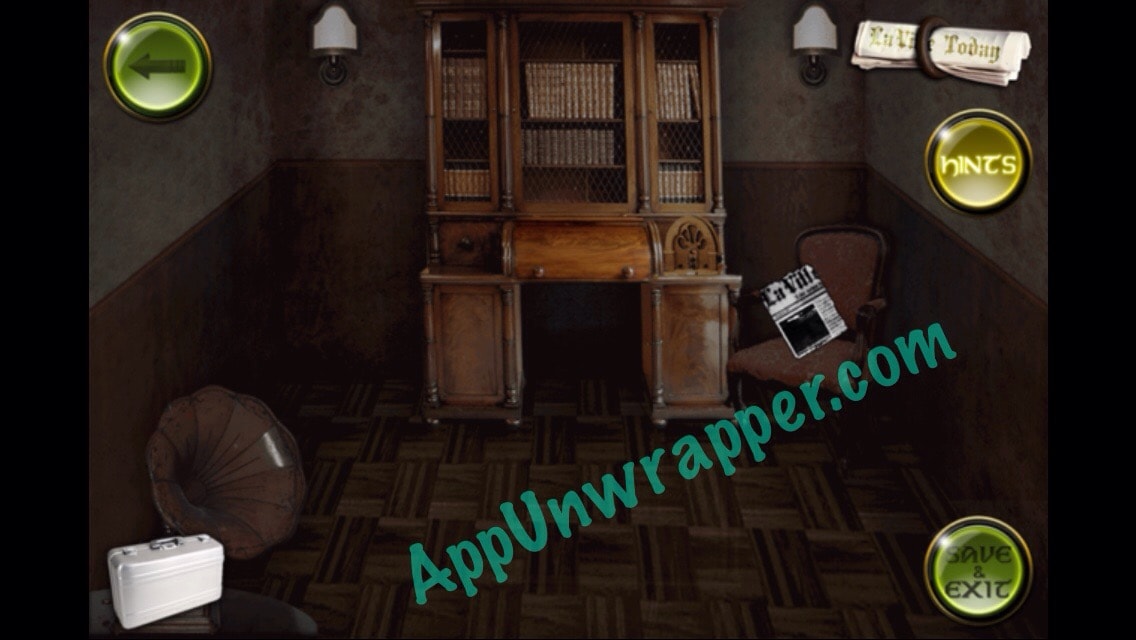
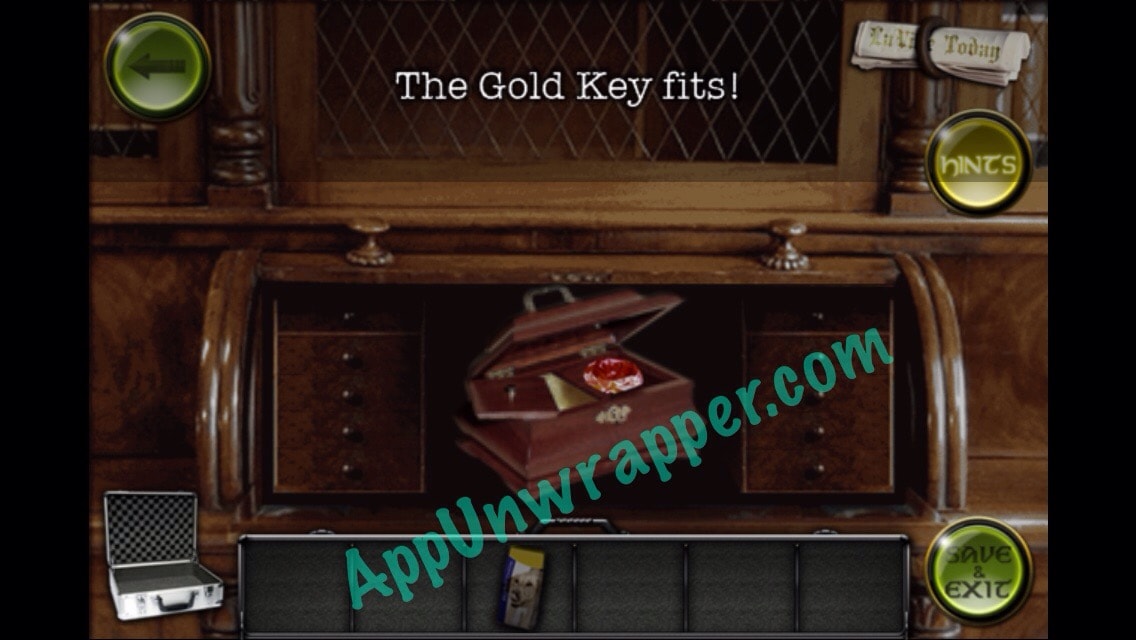
7. Leave the room and open the door straight ahead. Pick up the newspaper clipping. Then open the wooden door on the furniture to find a small locked box. Use the gold key to unlock it and take the ruby.
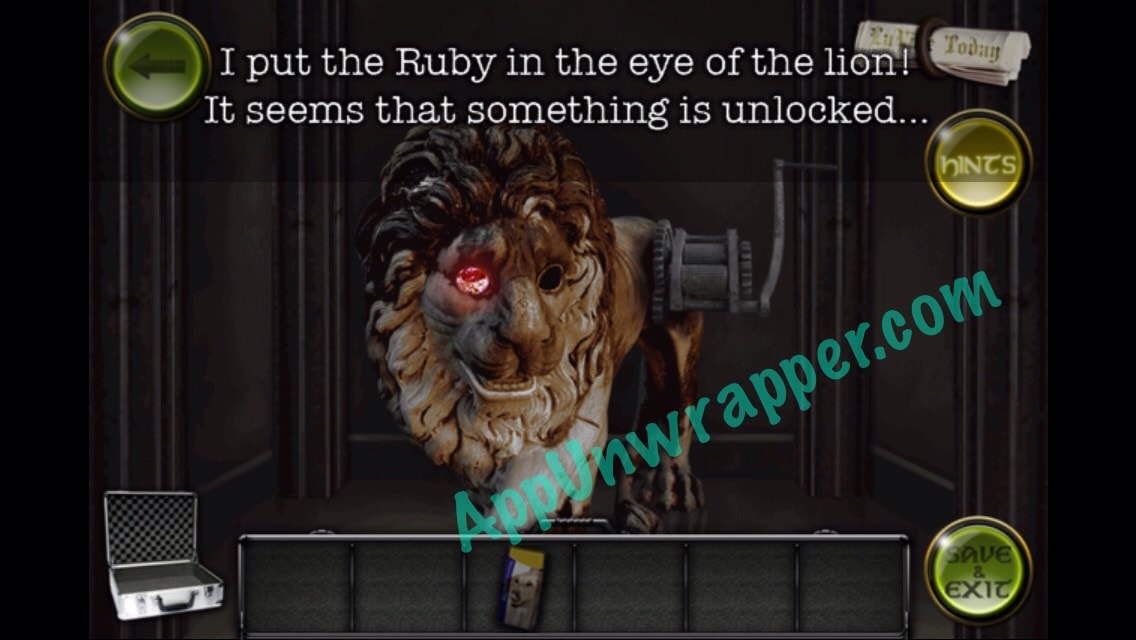
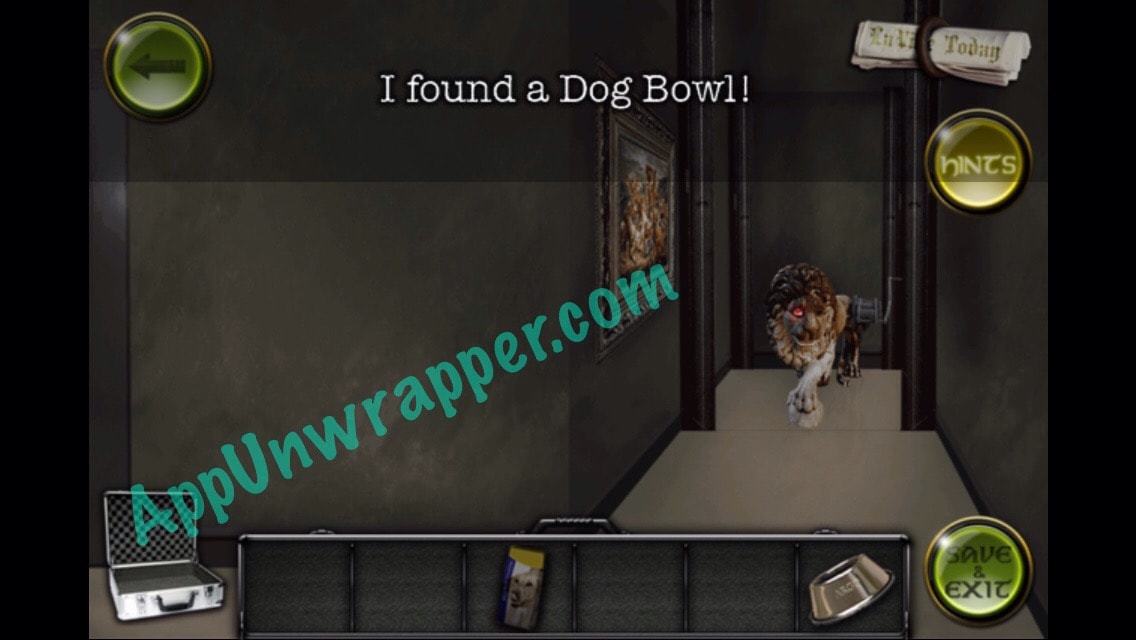
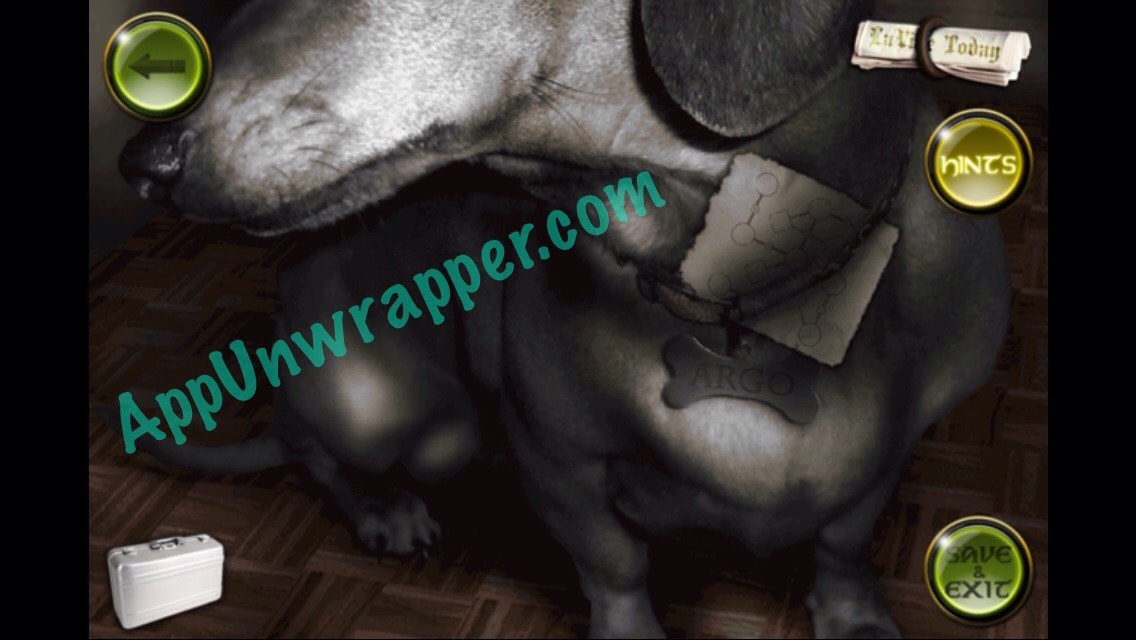
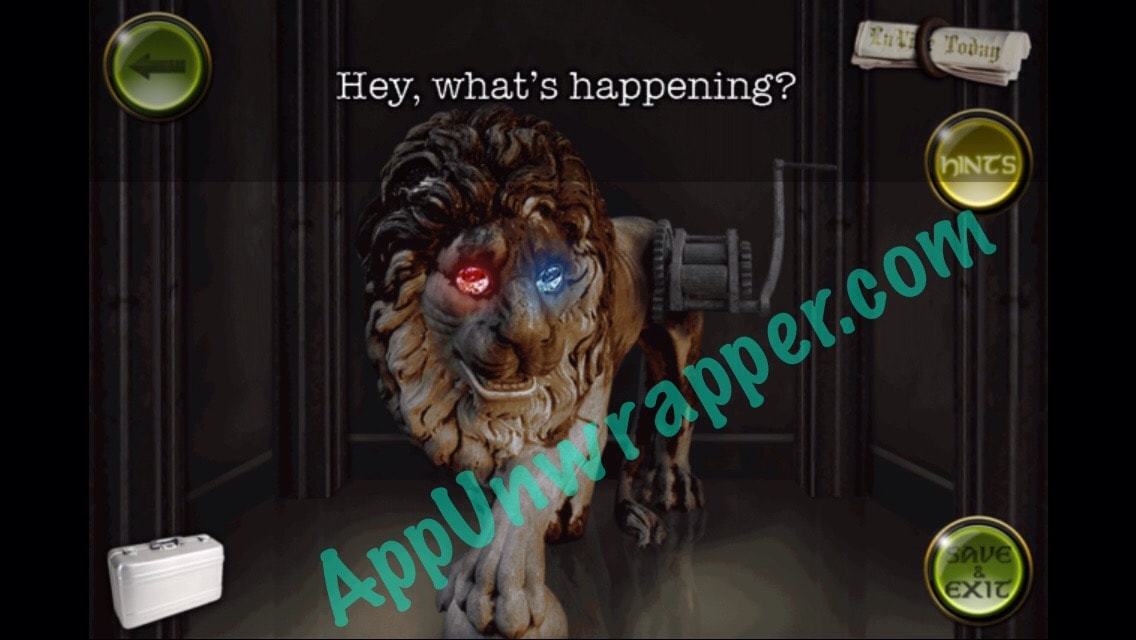
8. Leave the room and head left down the hall. There’s a lion statue. Place the ruby in his eye socket and then take the dog bowl.
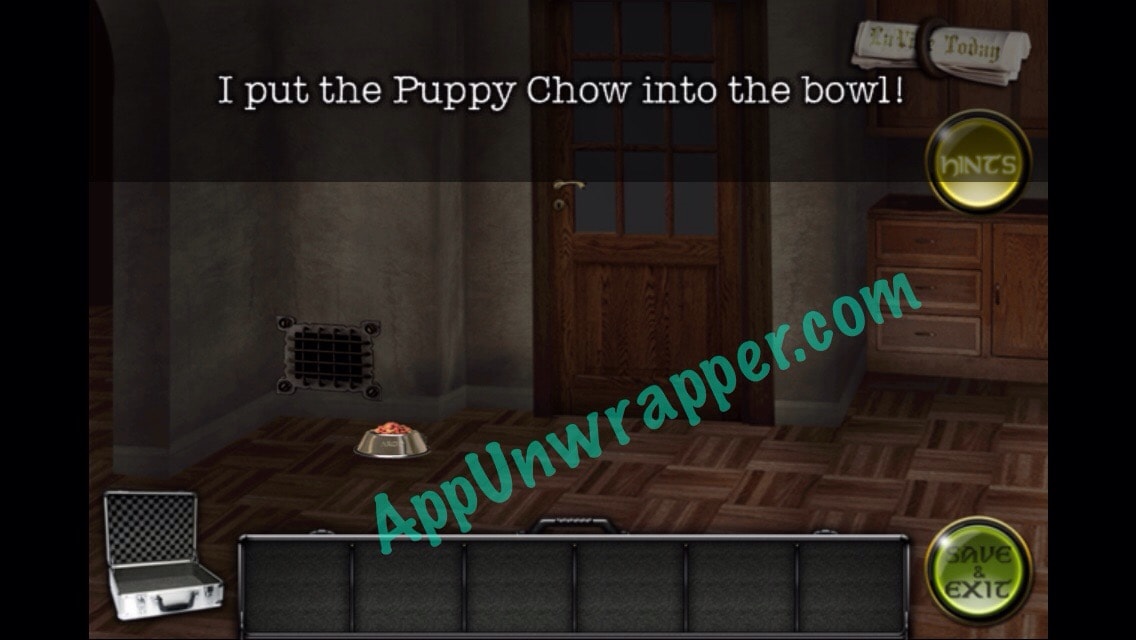
9. Go downstairs and place the dog bowl in the kitchen on the ring on the floor. Fill it with dog food and a dog will come eat it. Look at his collar to find a clue.
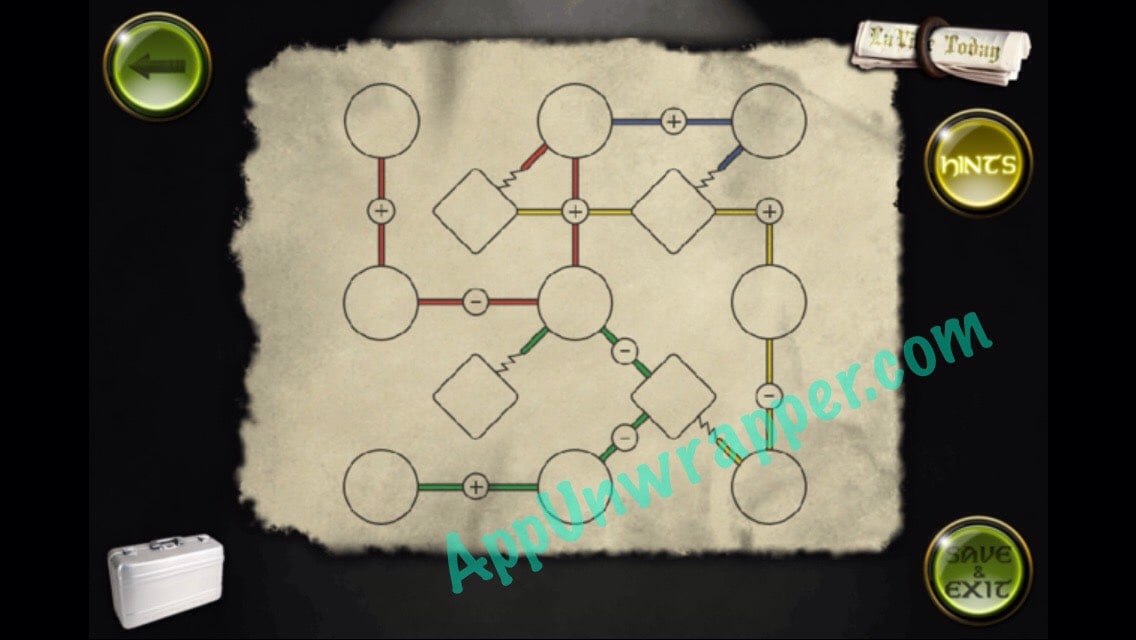
10. Now to decode this clue. The circles represent the nine numbers
on a keypad. The diamonds are
the numbers you will have to
press on the keypad. Do the math, following the colored lines. Start with the 2, then the blue lines at the top, to get 5 as the second number. Little zig-zag lines represent an equal sign. The answer is the pink numbers in the photo below.
2 = 2
2 + 3 = 5
2 + 5 + 6 – 9 = 4
7 + 8 – 4 – 5 = 6
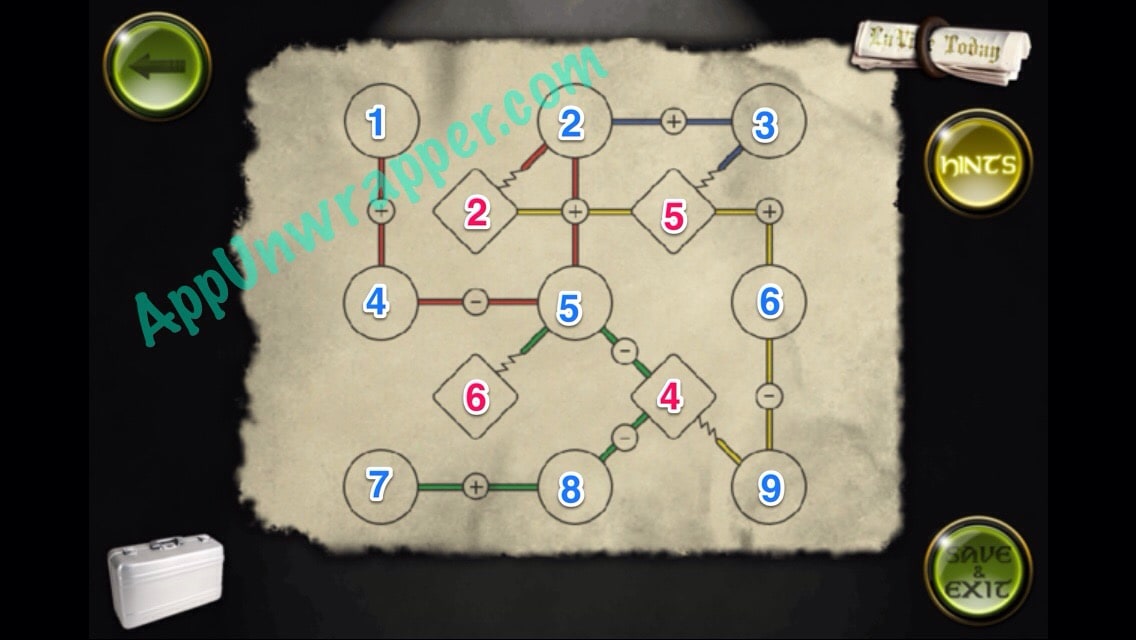
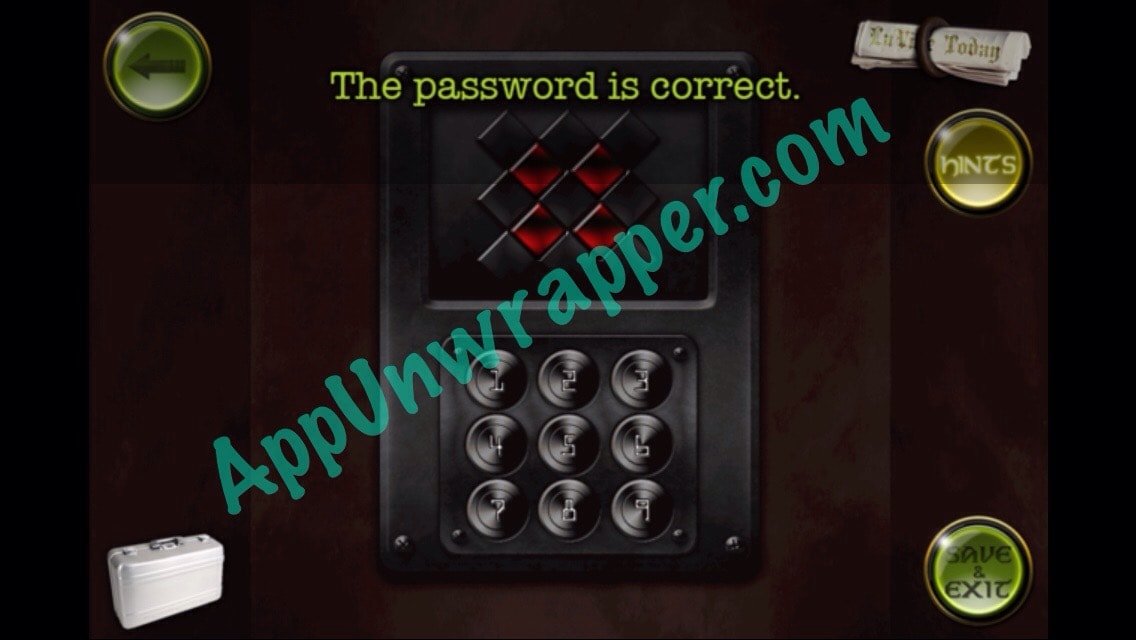
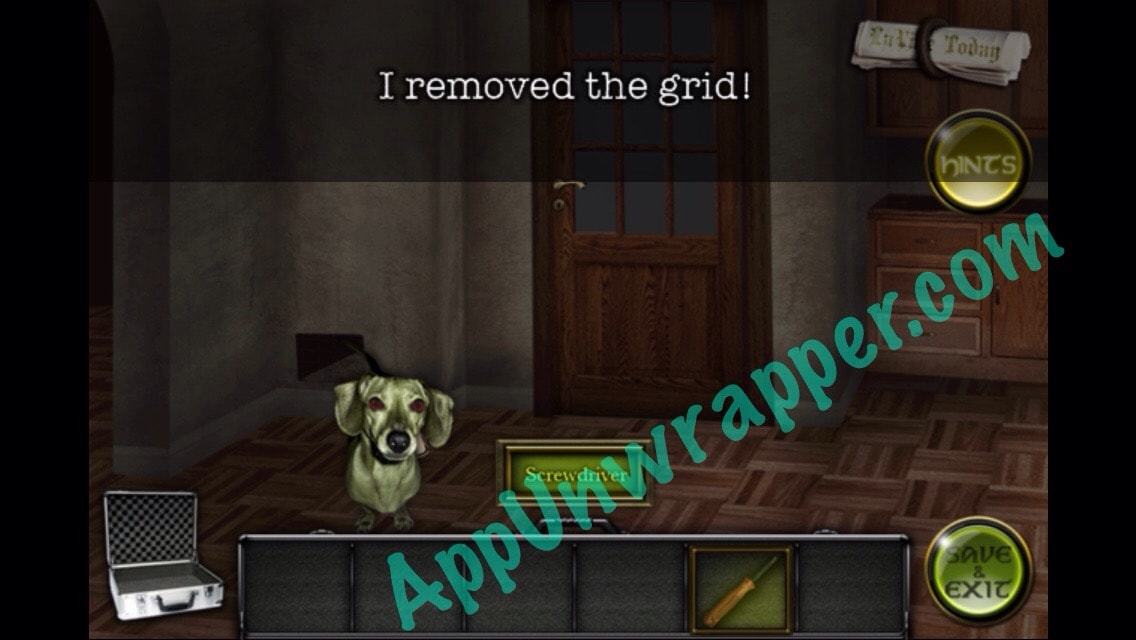
11. Enter 2564 into the keypad in the room upstairs. The mirror opens up, revealing a safe and a screwdriver. Take the screwdriver.


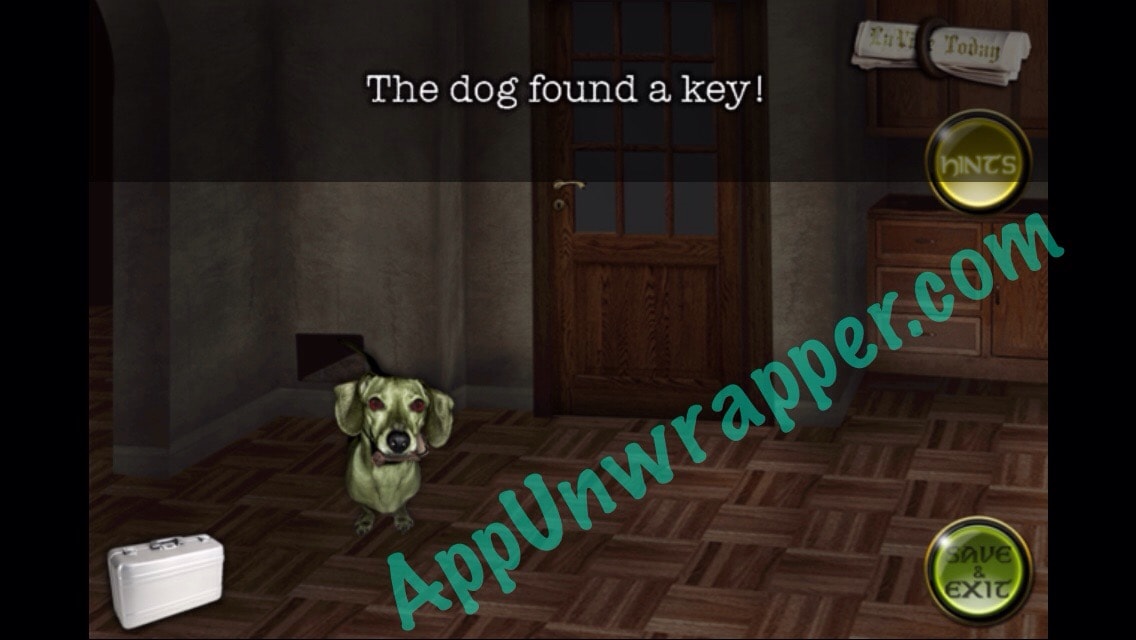
12. Go down to the kitchen and use the screwdriver to remove the grate by the dog. The dog will run in and being back a wooden key for you.
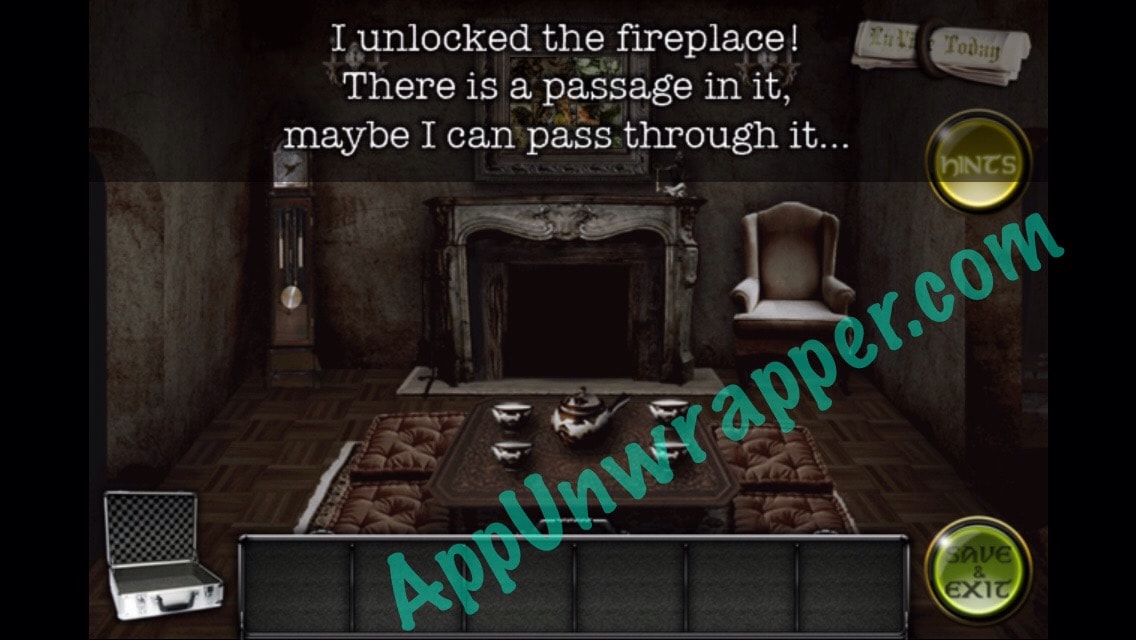
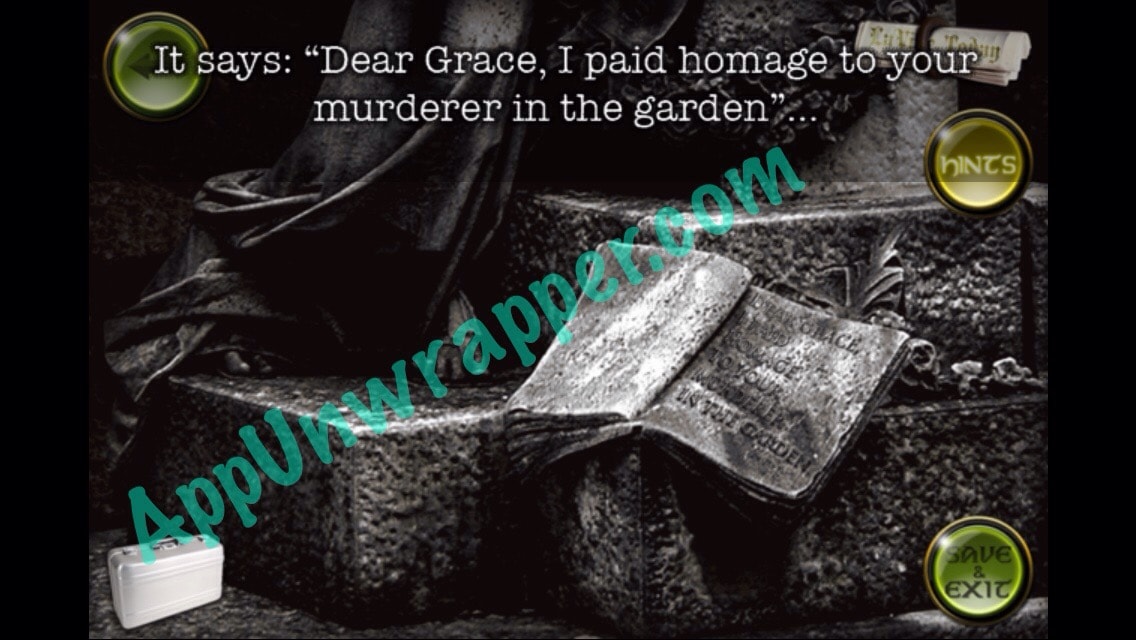
13. Use the wooden key to unlock the fireplace in the living room and go through. Notice the clue on the wall.
14. The clue is telling you how to adjust the clock’s hands. But the NSEW signs are in the wrong places. So the clock should look like this:
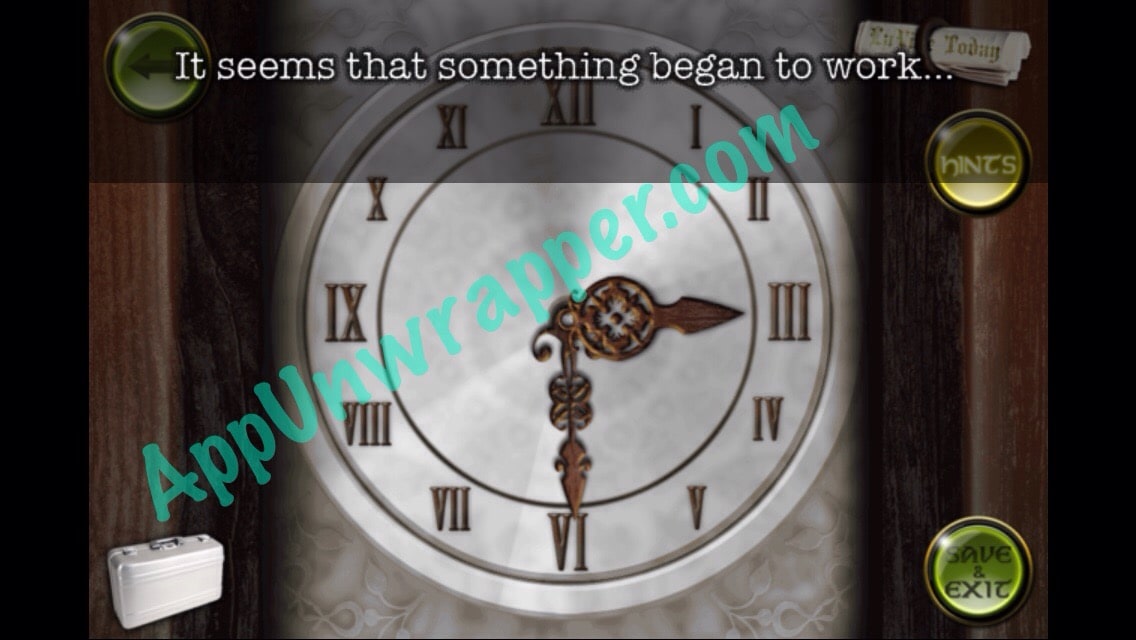
15. Now watch the pendulum swing and copy it to unlock the safe. It should go right, left, middle, left, right. You can watch the video below if you need help. Take the white key and the newspaper clipping from the safe.
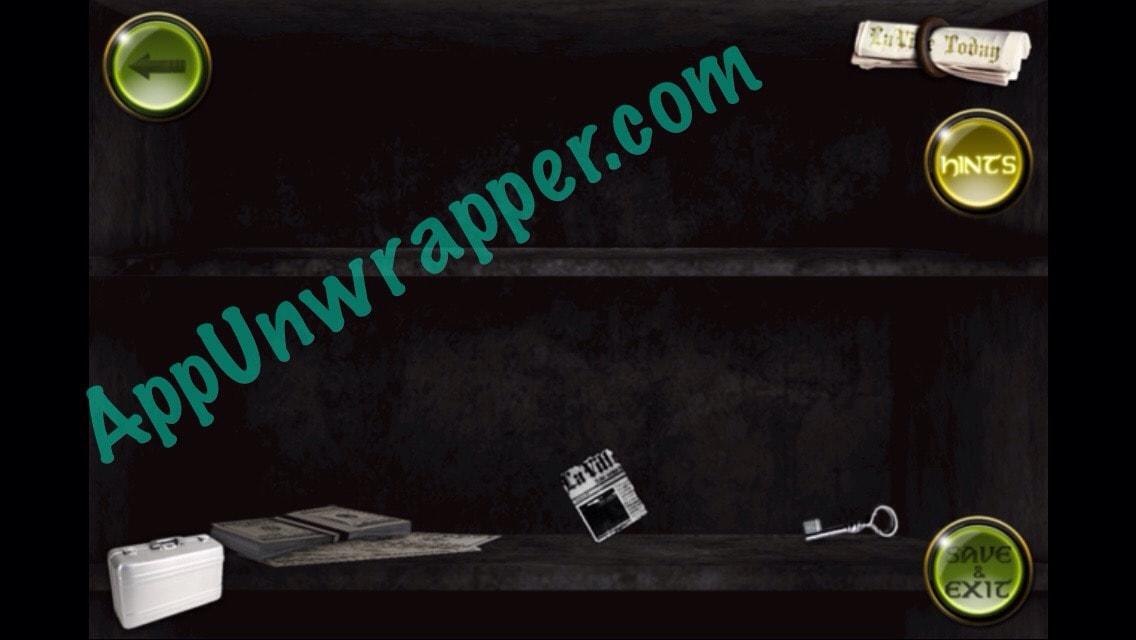
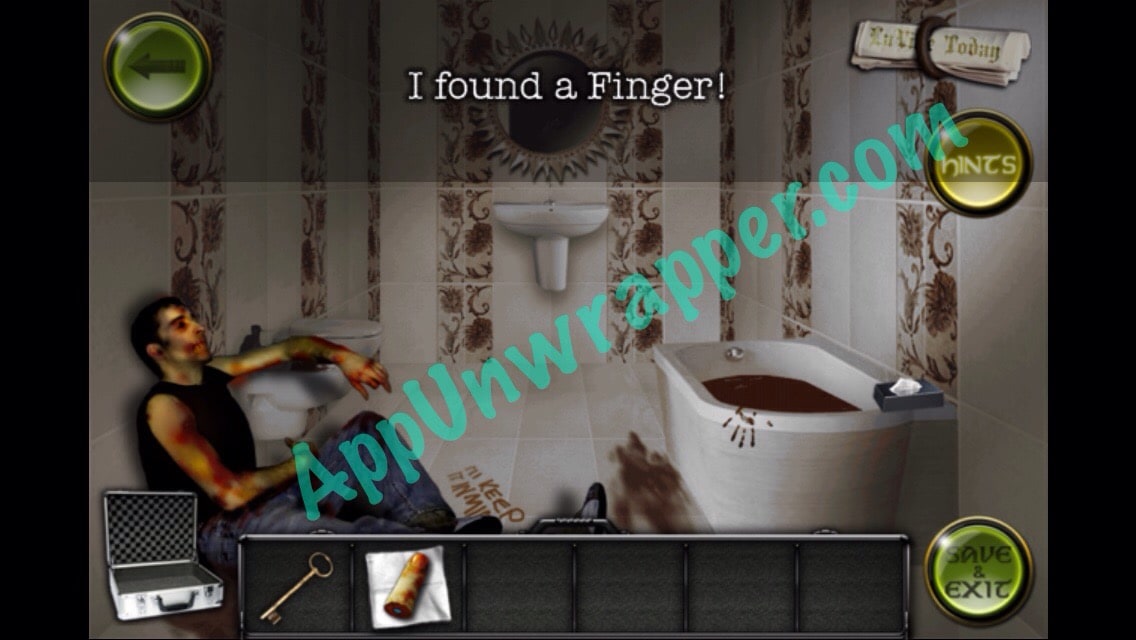
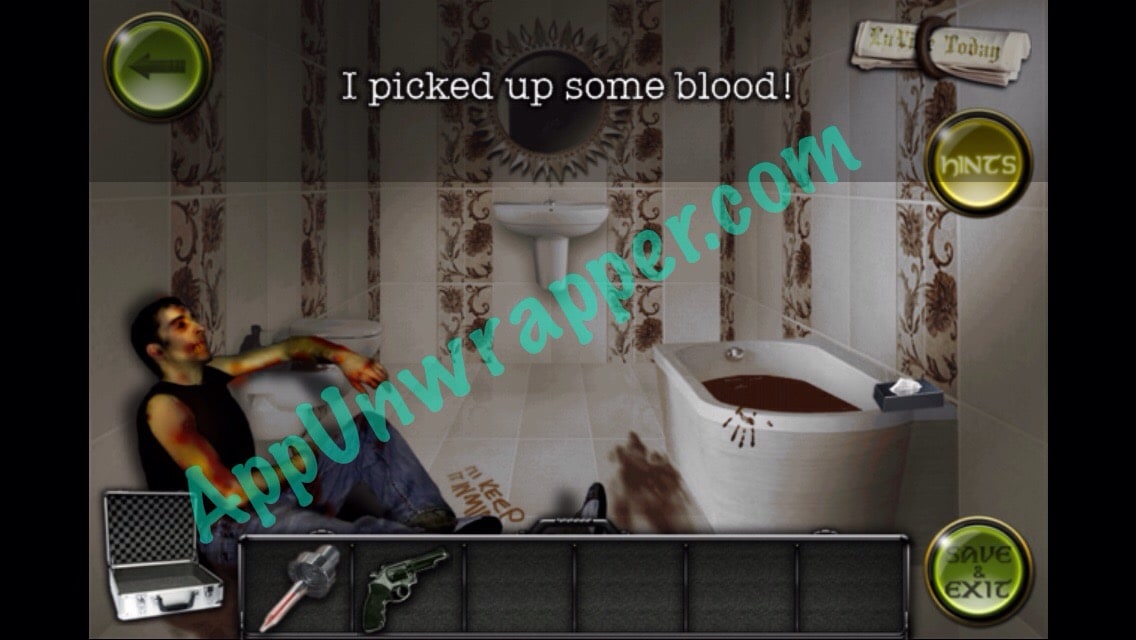
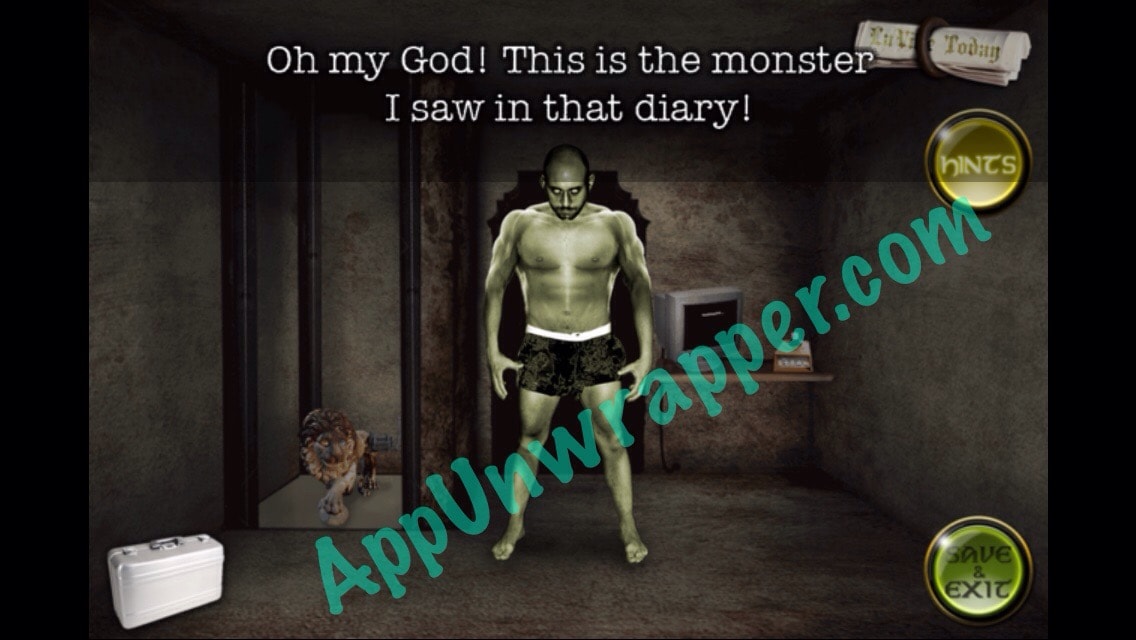
16. Go to the hallway and use the white key to unlock the middle door. There’s a dead guy or a zombie in there! Pick up the newspaper clipping and a tissue (hankie) from the tissue box.

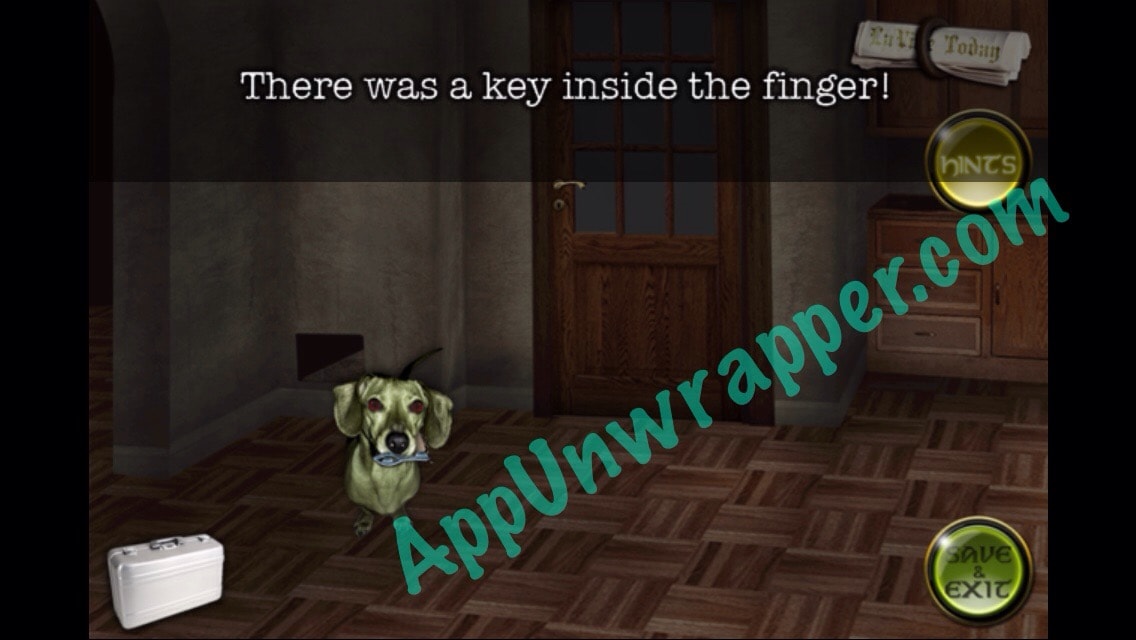
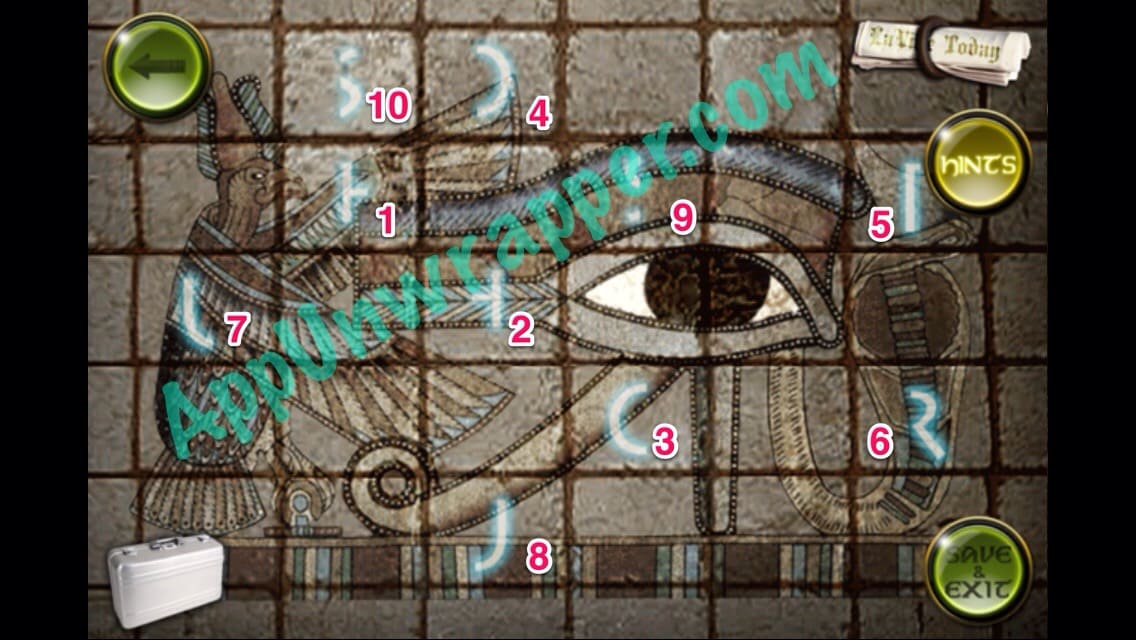
17. Use the hankie to pick up the severed finger. Then feed the finger to the dog to get a cerulean key. Use the key to open the door in the kitchen to find this puzzle.

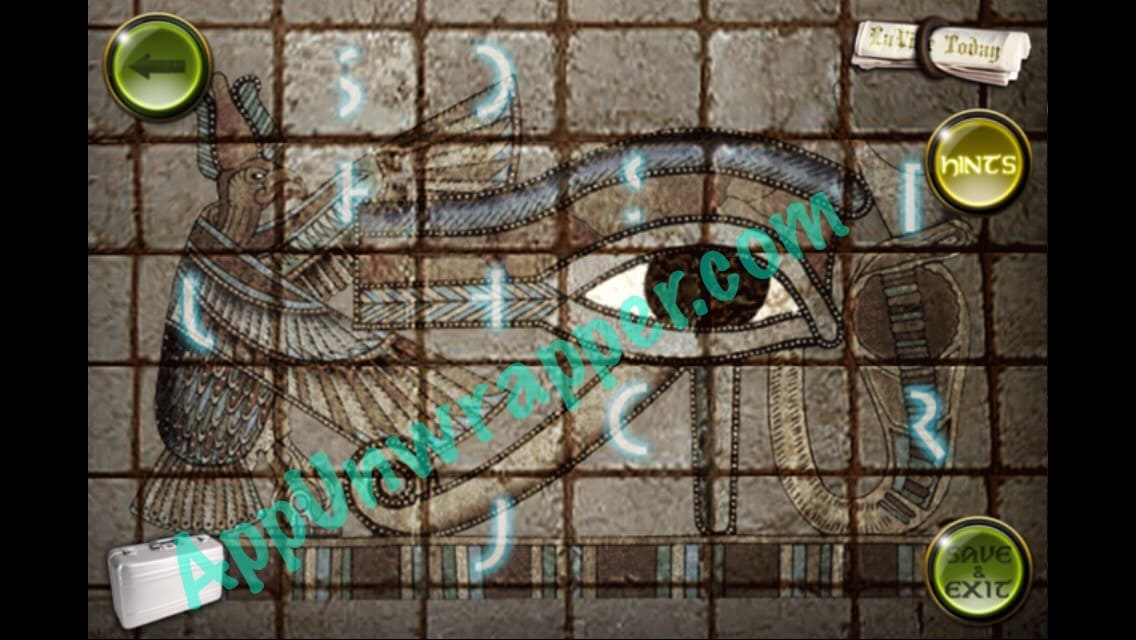
18. You need to spell out the word HORUS, but all the letters are split in half. Press them in this order and then head outside.
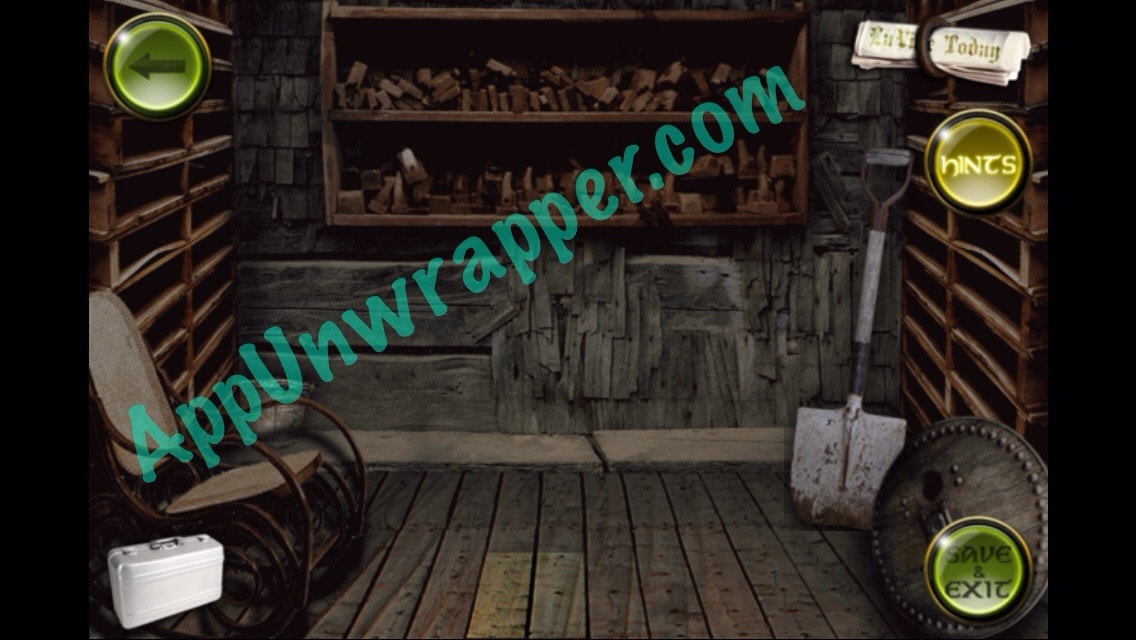
19. Use the Old Key to unlock the door to the left and head through.

20. Pick up the shovel. Then open the secret hole in the floor and get the gun.

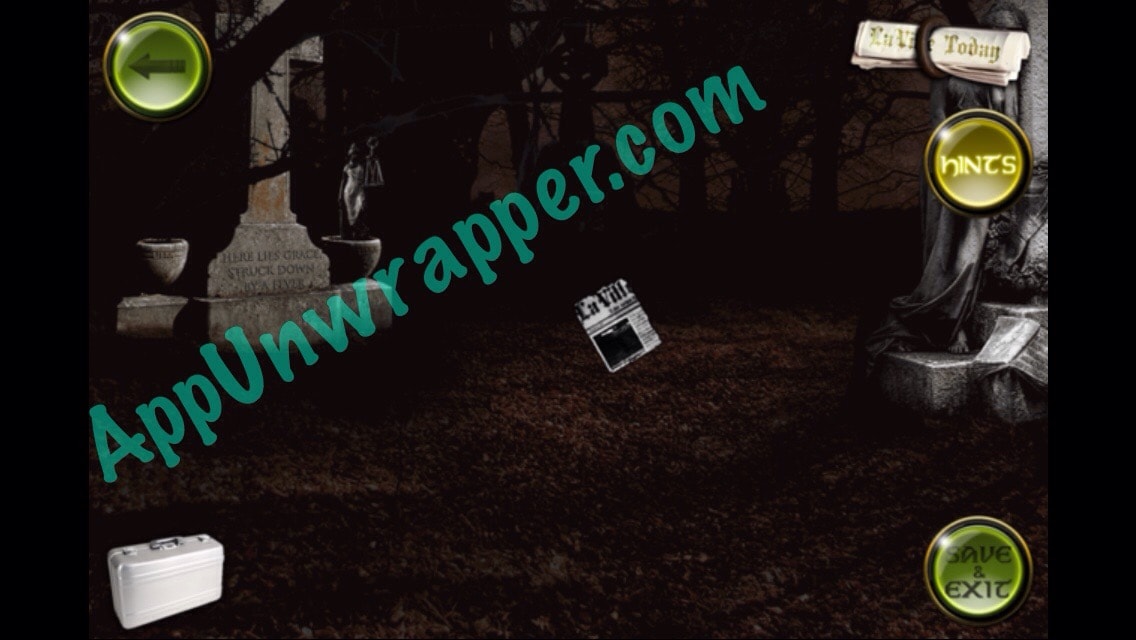
21. Leave and head straight towards the cemetery. Grab the newspaper clipping and tap on the statue to the right to get a clue.
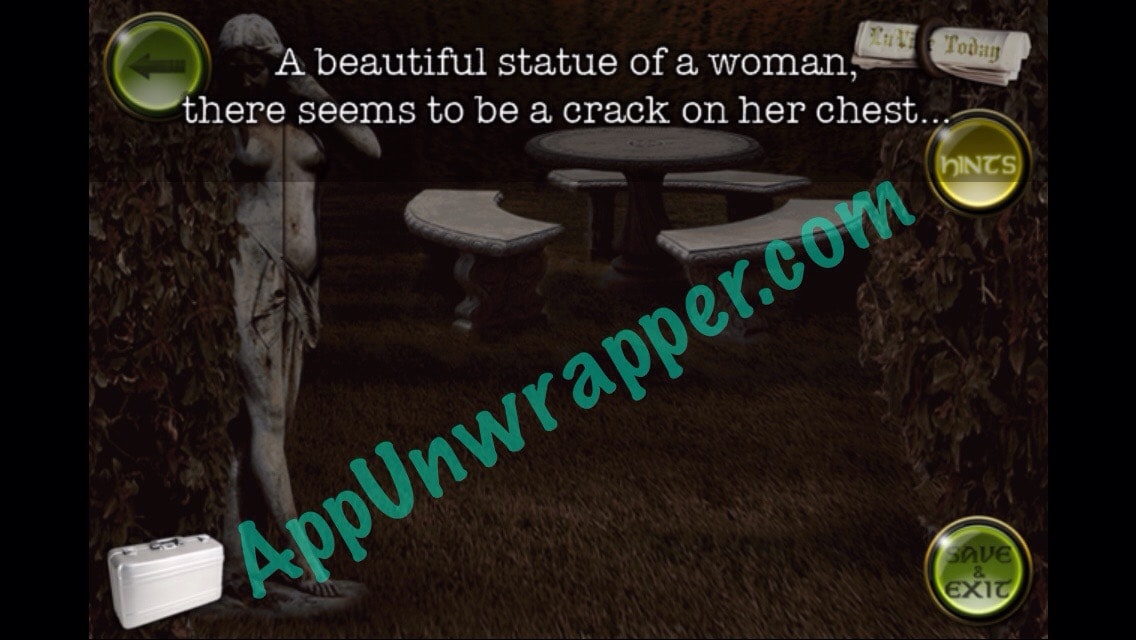
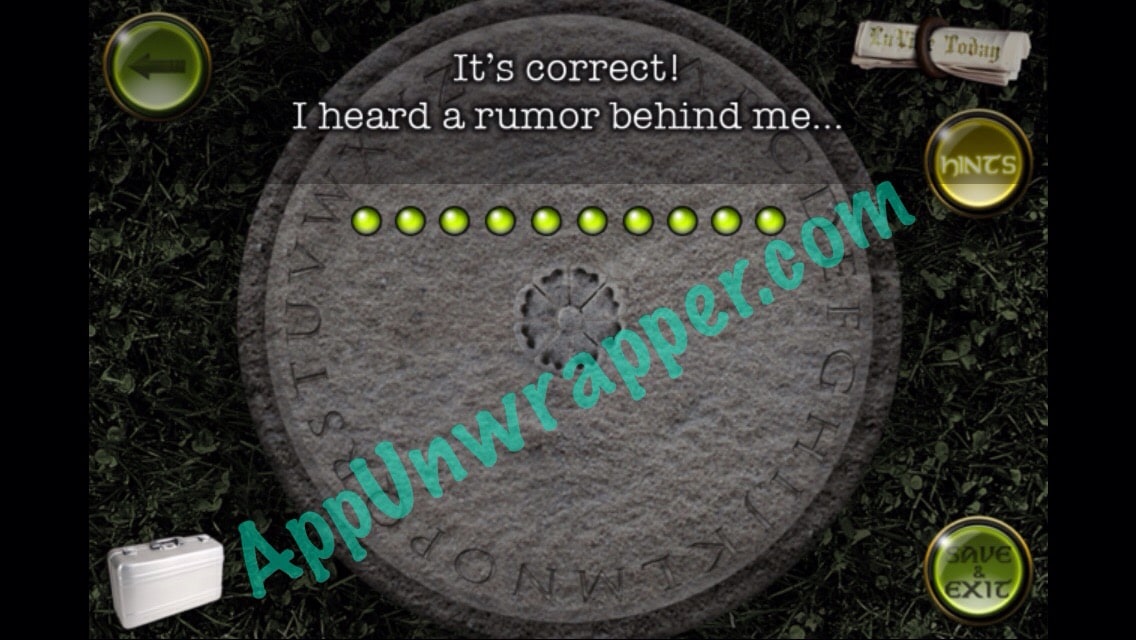
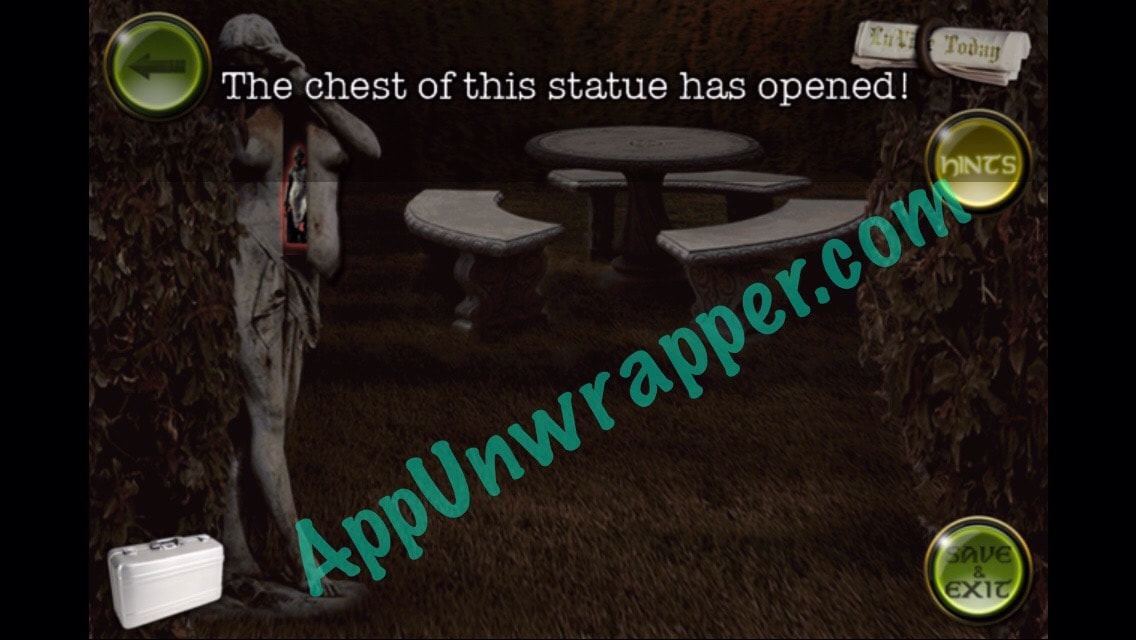
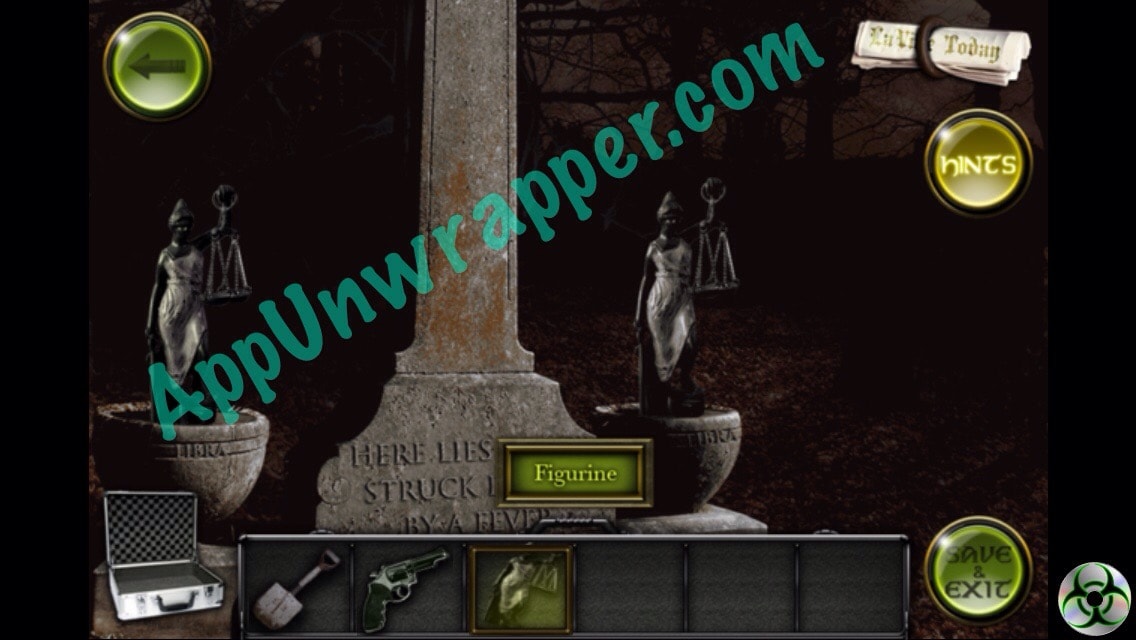
22. Go back and then head right. There’s a cracked statue and a table. Tap on the table. You need to spell out GREENFROST and the statue will open up. Take the small figurine.


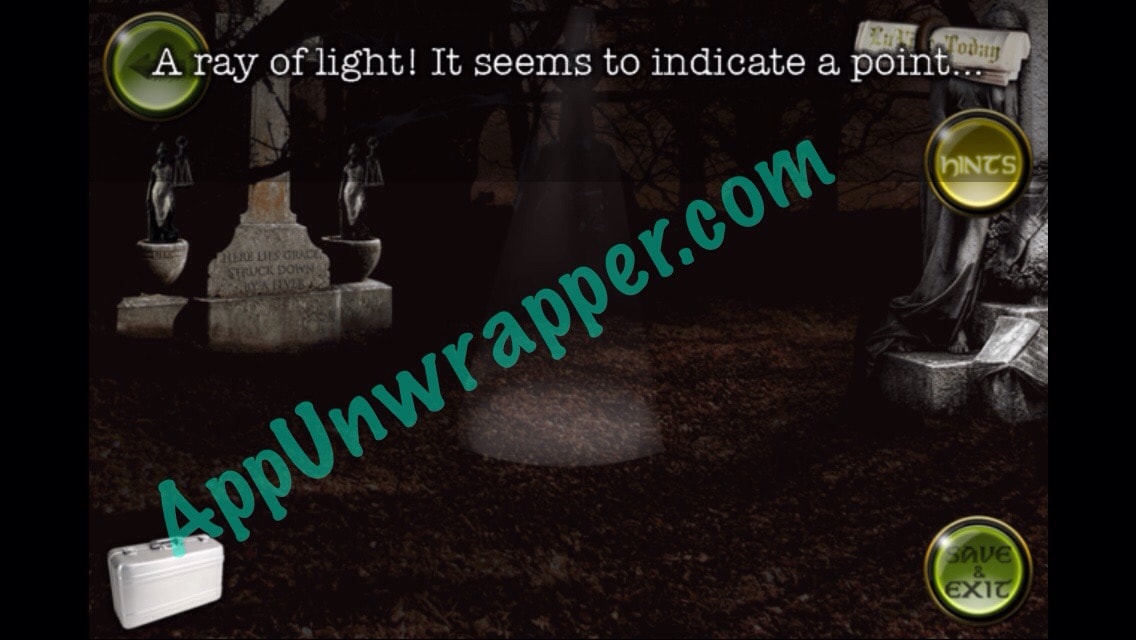
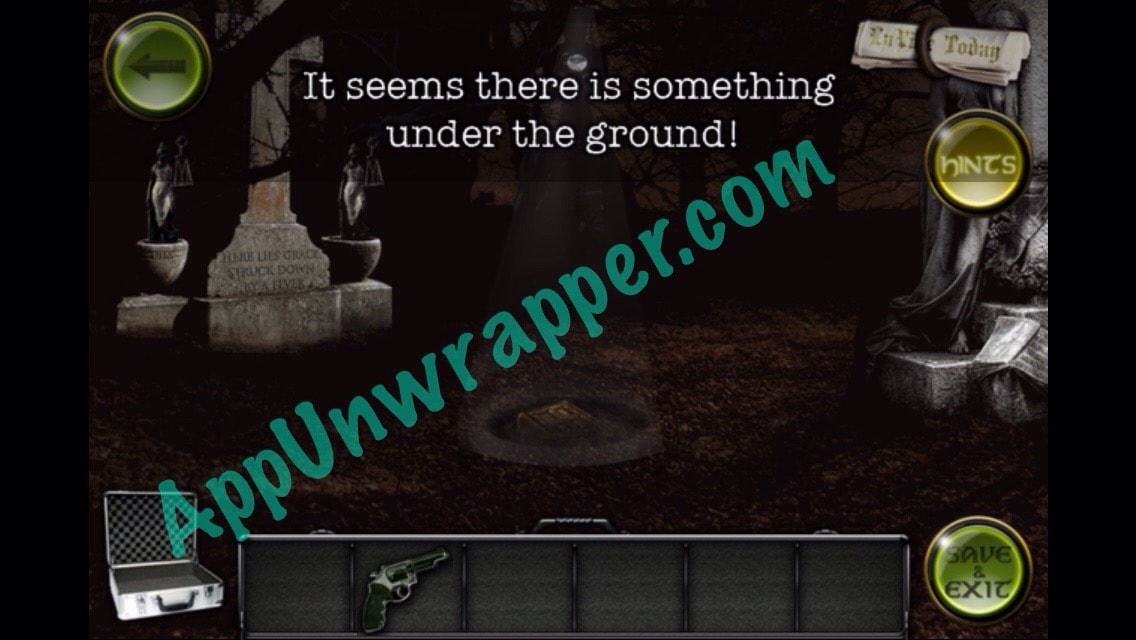
23. Go back to the other part of the cemetery and place he figuring on the pedestal. Use the shovel to dig where the light shines and open the box. Take the dropper.
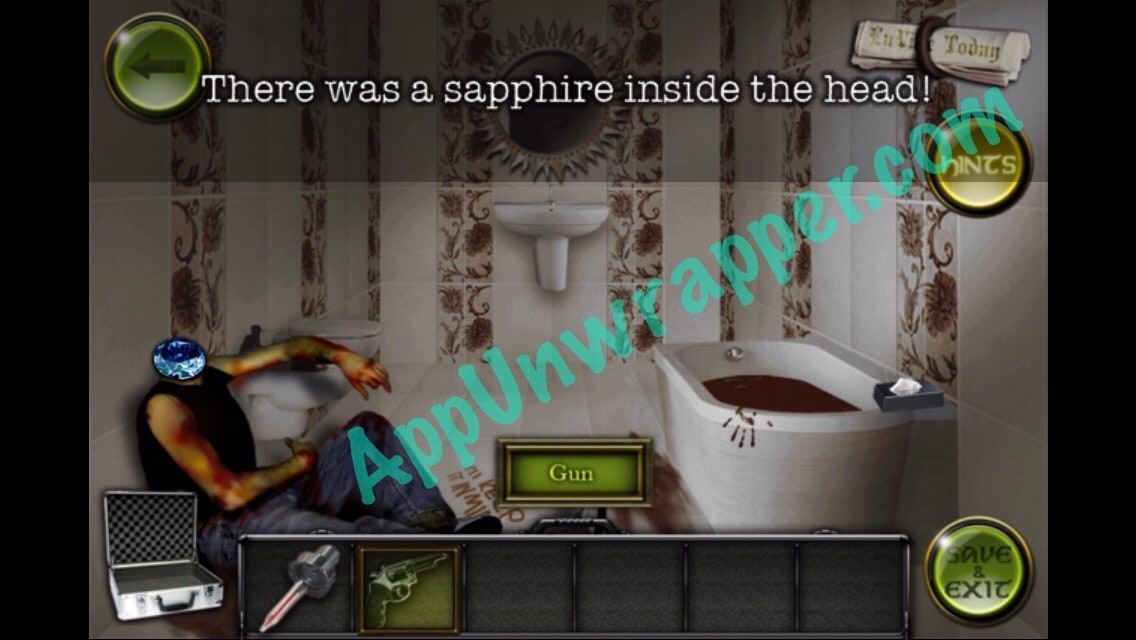
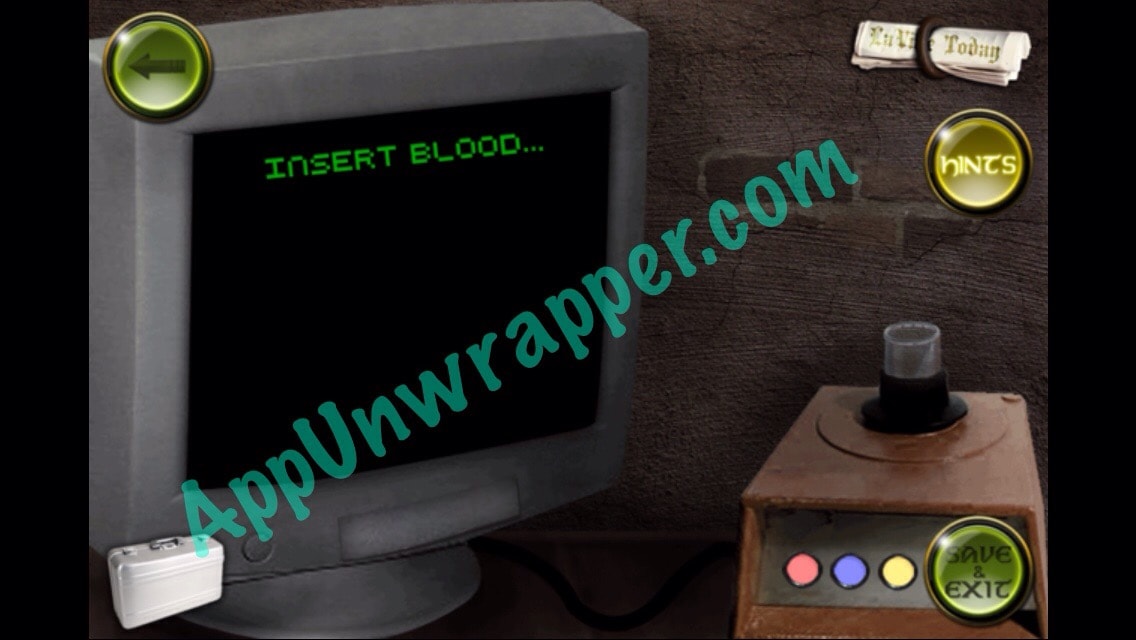
24. Go back to the bathroom. Use the dropper to pick up some blood. Then use the gun to shoot off the zombie’s head and get a sapphire.
25. Put the sapphire in the other eye of the lion, then turn the crank. It’s an elevator! Take it down and get the newspaper clipping.
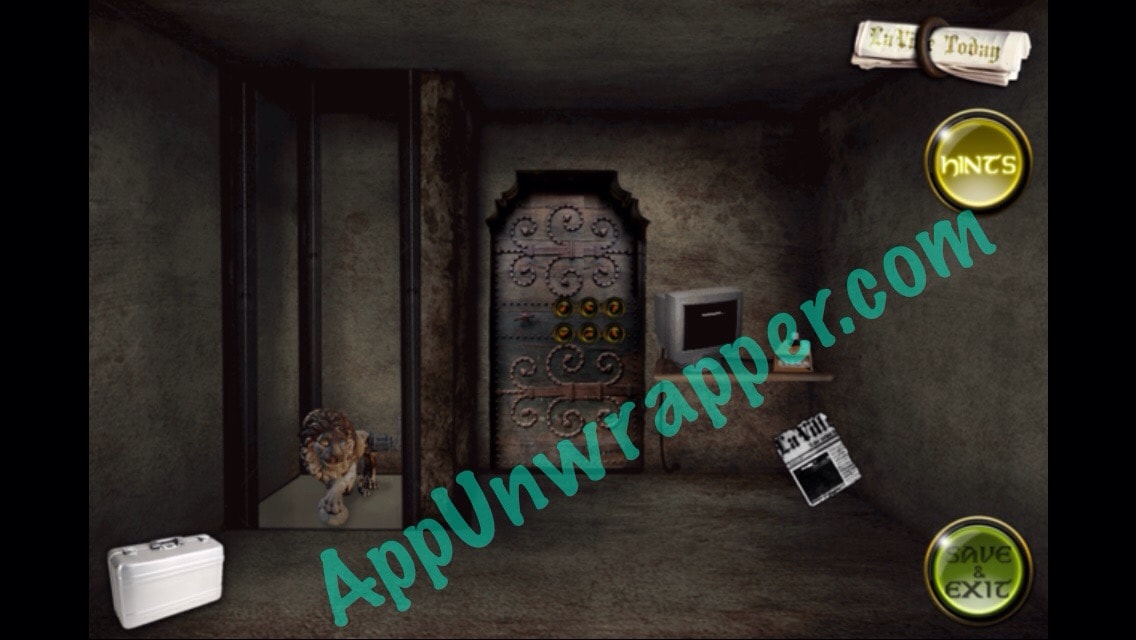
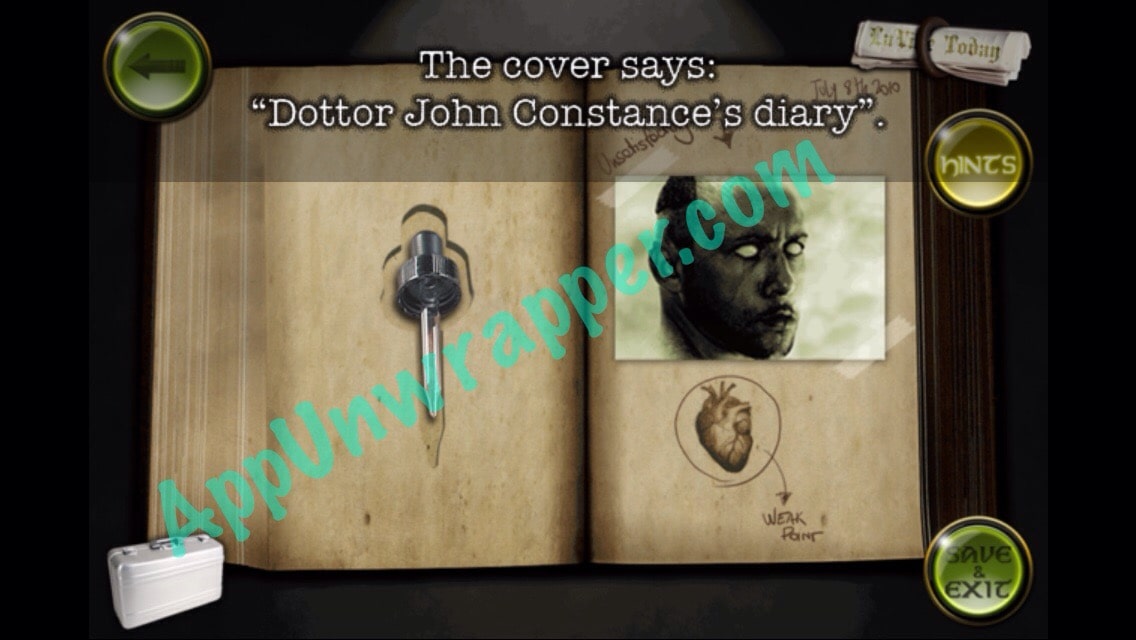
26. Unlock the door based on the clues from the book you read earlier. But it’s too dark to go in.
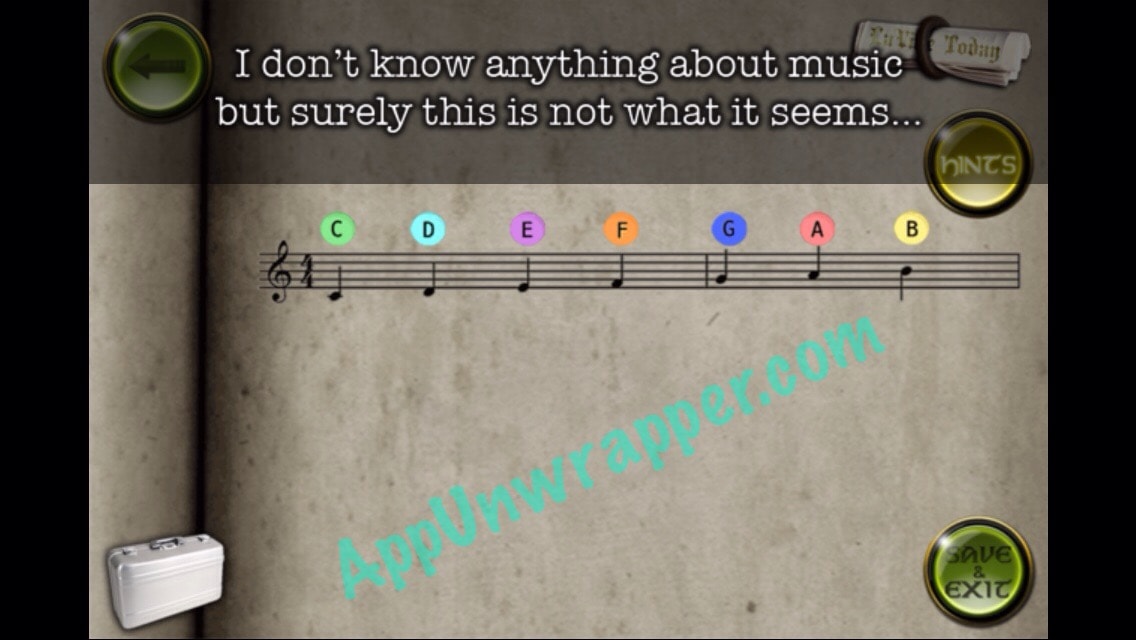
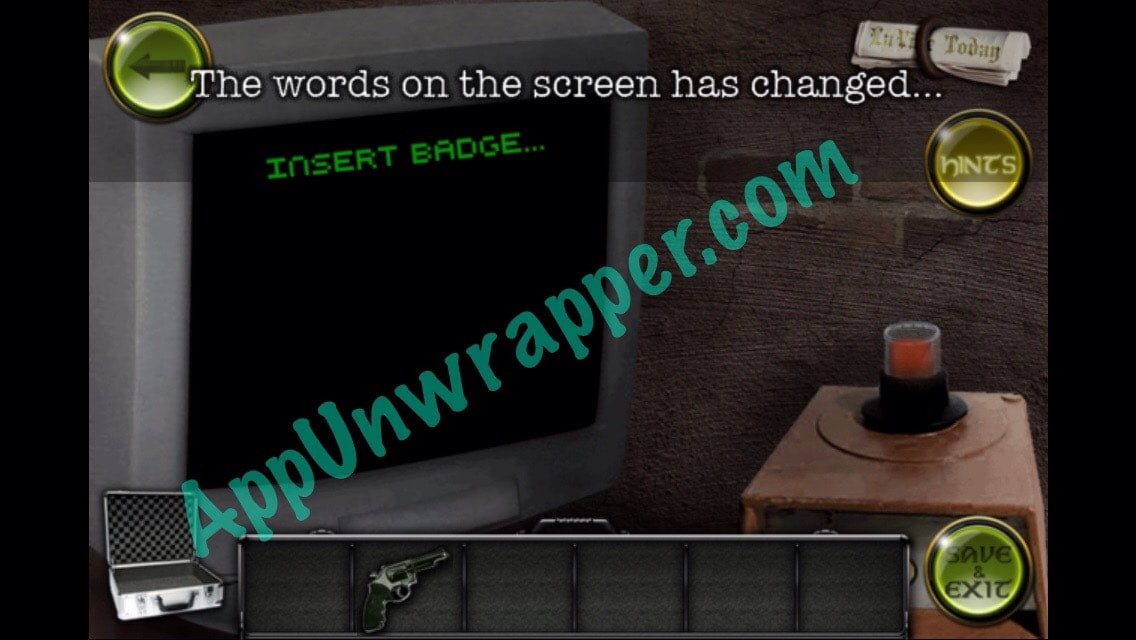
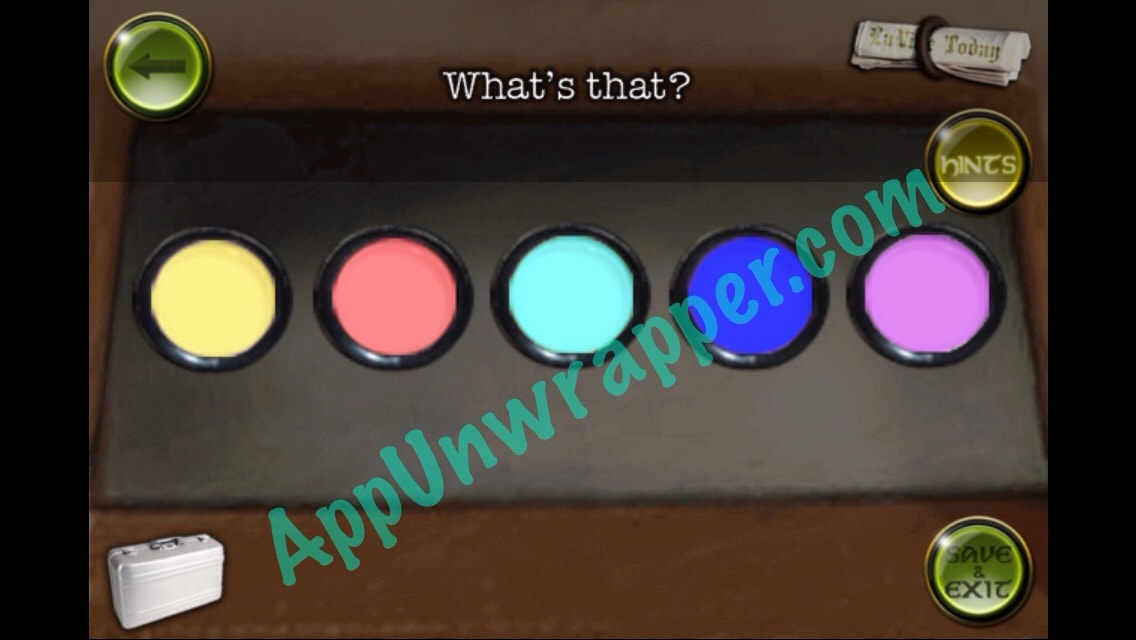
27. Tap on the computer to the right. Put the blood in the machine. Now it wants you to show it the BADGE. Using the music sheet clue, arrange the colors so they spell out BADGE. Then take the Modern Key.

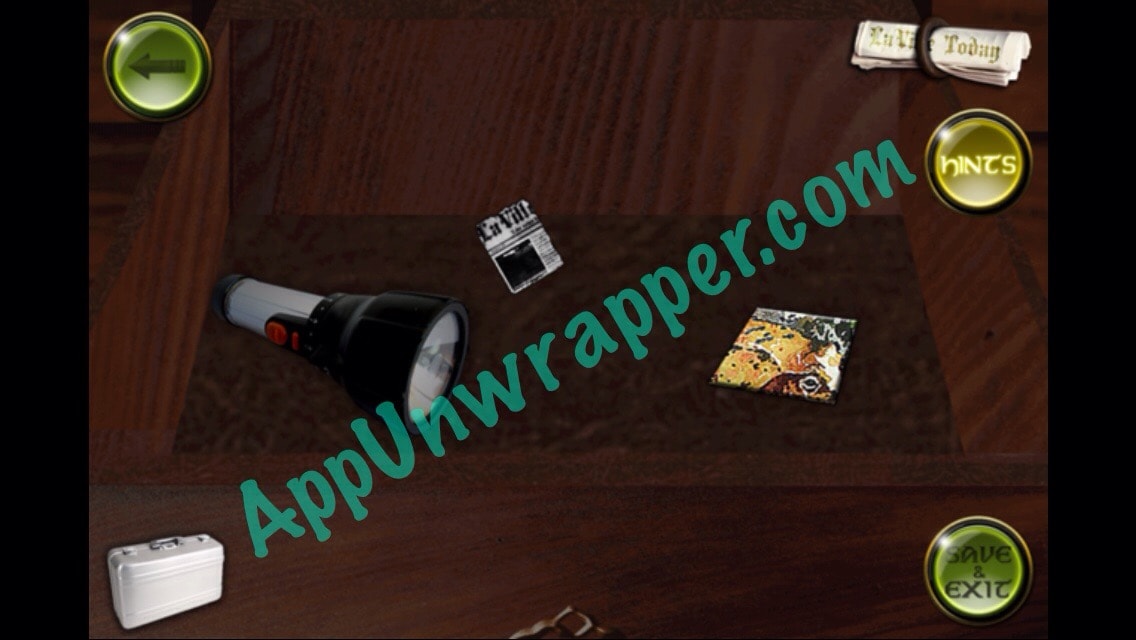
28. Go back up the elevator and enter the first room by the stairs. Use the Modern Key to unlock the table and get the last newspaper, a flashlight, and a tile.
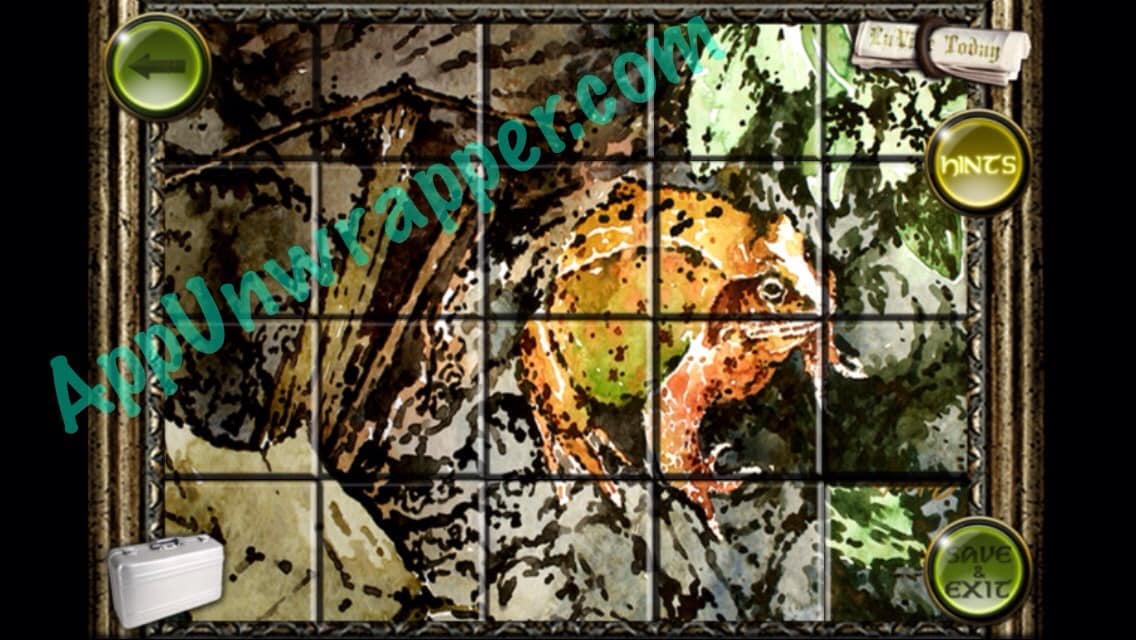
19. Go back to the living room and place the tile where it belongs. Then solve the puzzle to get bullets for your gun.

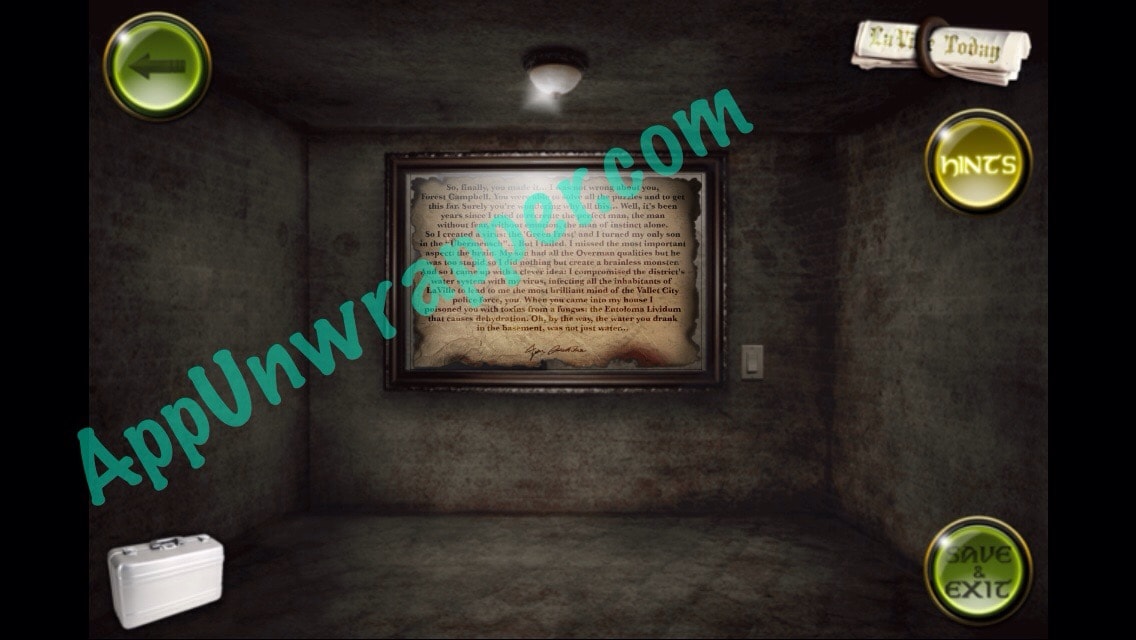
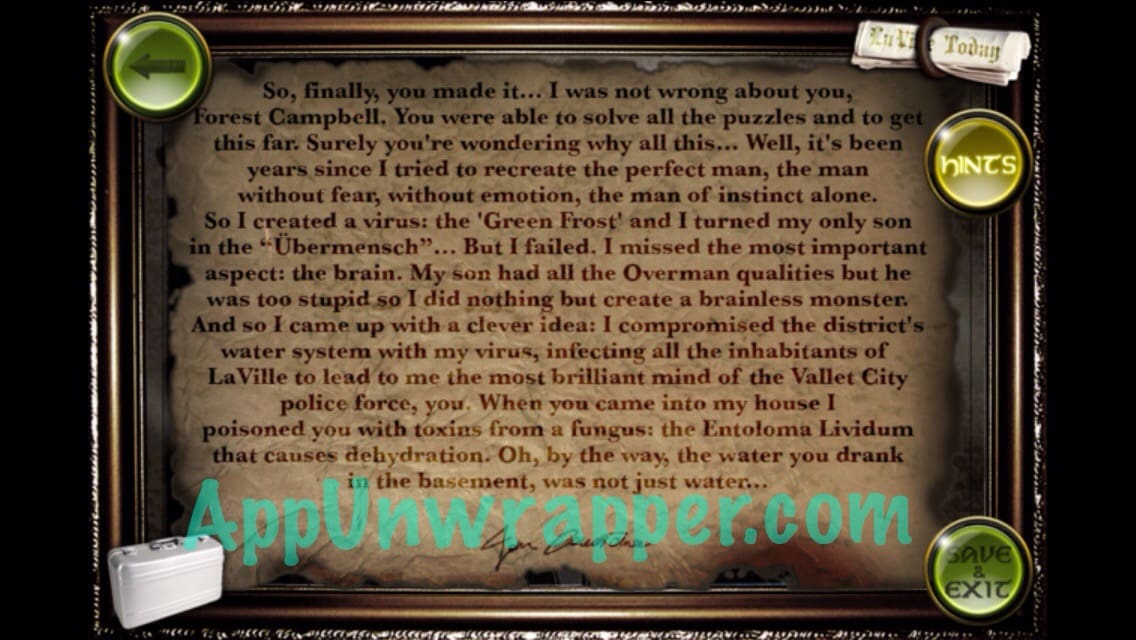
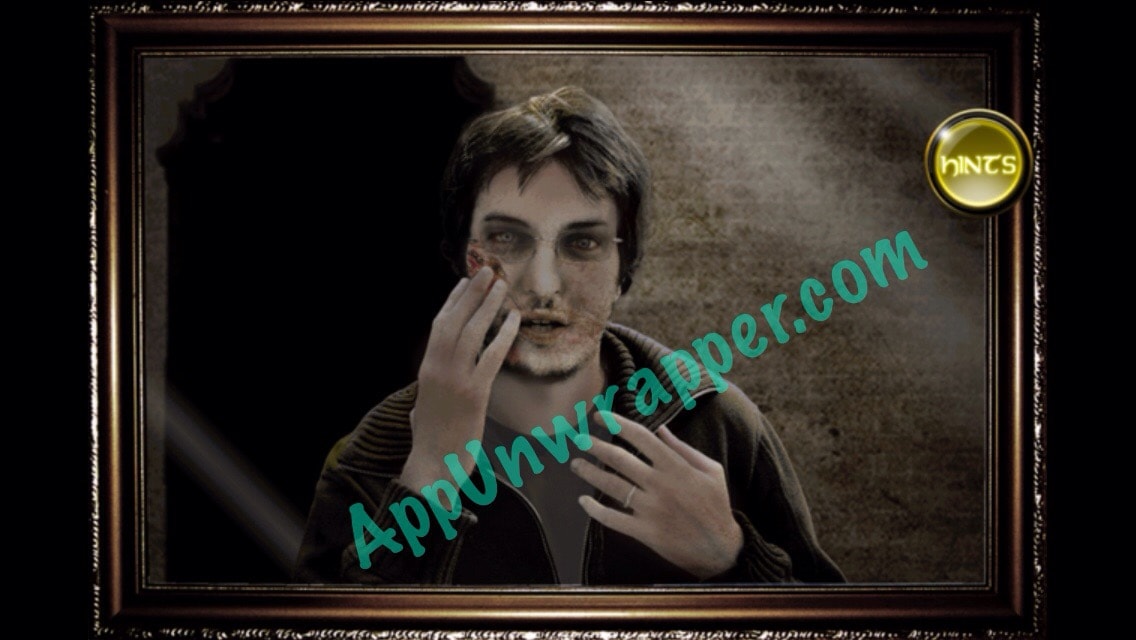
20. Get back on the elevator to go downstairs. There’s a zombie! Shoot it and head inside. Use the flashlight to find the light switch and turn it on so you can see. Read the ending.
Congratulations! You finished the game! Make sure the check out the sequel, Escape from LaVille 2. You might also like The Lost Chapter.

Just FYI, the iPhone version is free and plays on my iPad Mini. Figured it didn’t hurt to try!
Yep! 🙂 Working on the walkthrough for it, but also working on several others at the same time, so bear with me. 🙂