Lara Croft GO
By: Square Enix Montreal
This is a complete walkthrough guide with videos and relic locations for the Shard of Life expansion of the iOS and Android game Lara Croft GO by Square Enix. Feel free to ask for extra help in the comments section. You can see the outfits at the bottom.
See my walkthrough for the original content.
See my walkthrough for the expansion the Mirror of Spirits.
Walkthrough:
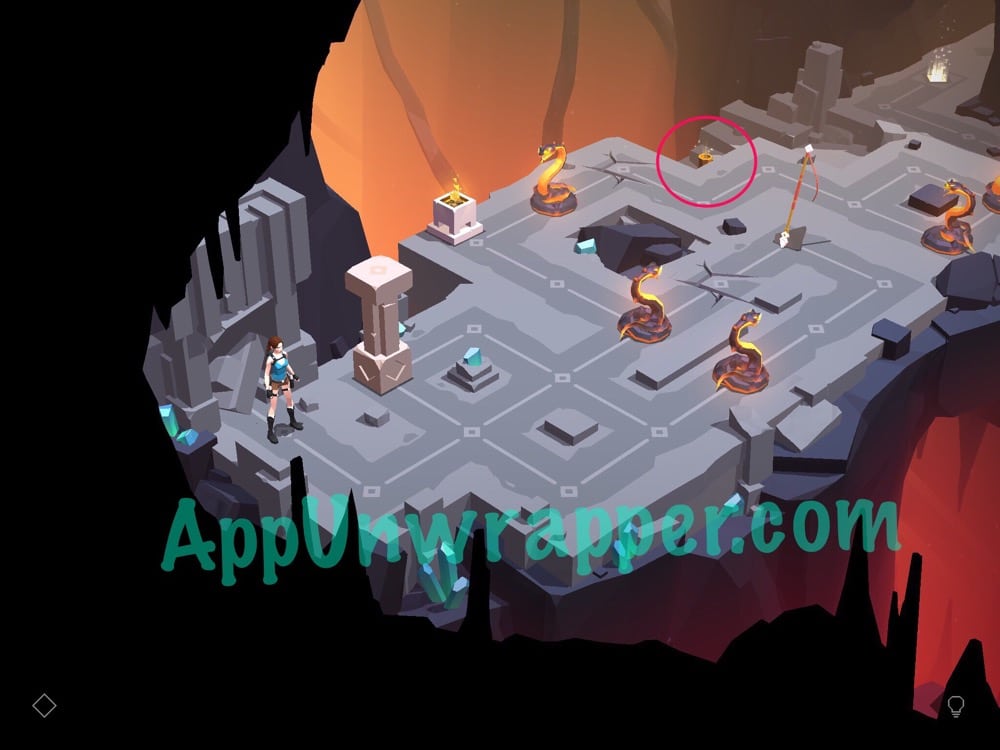
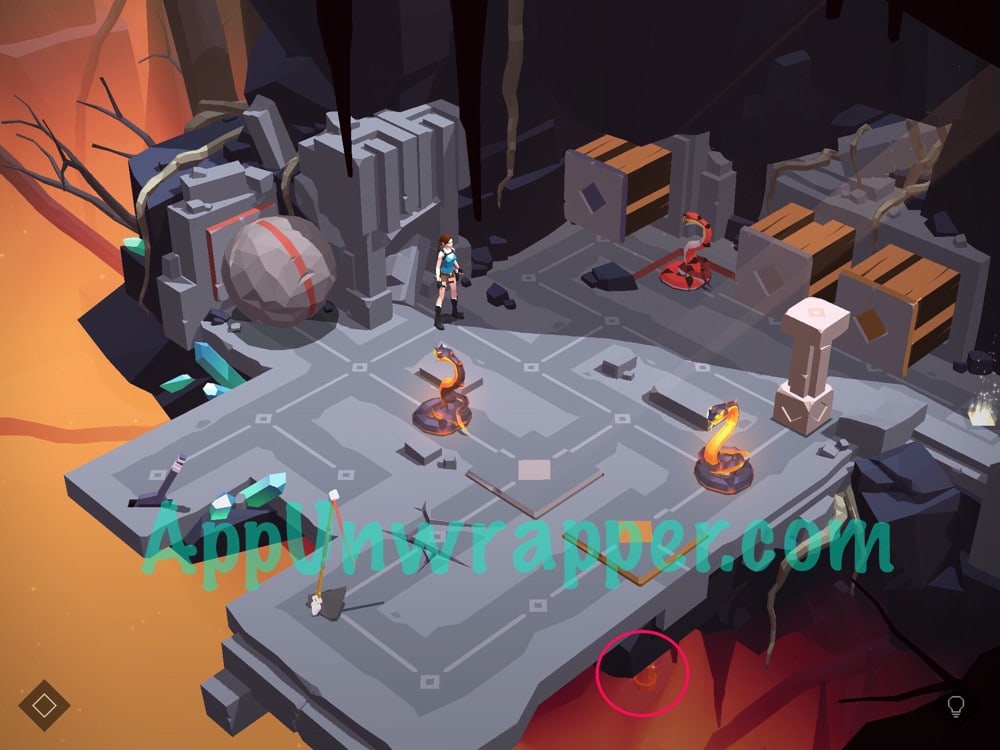
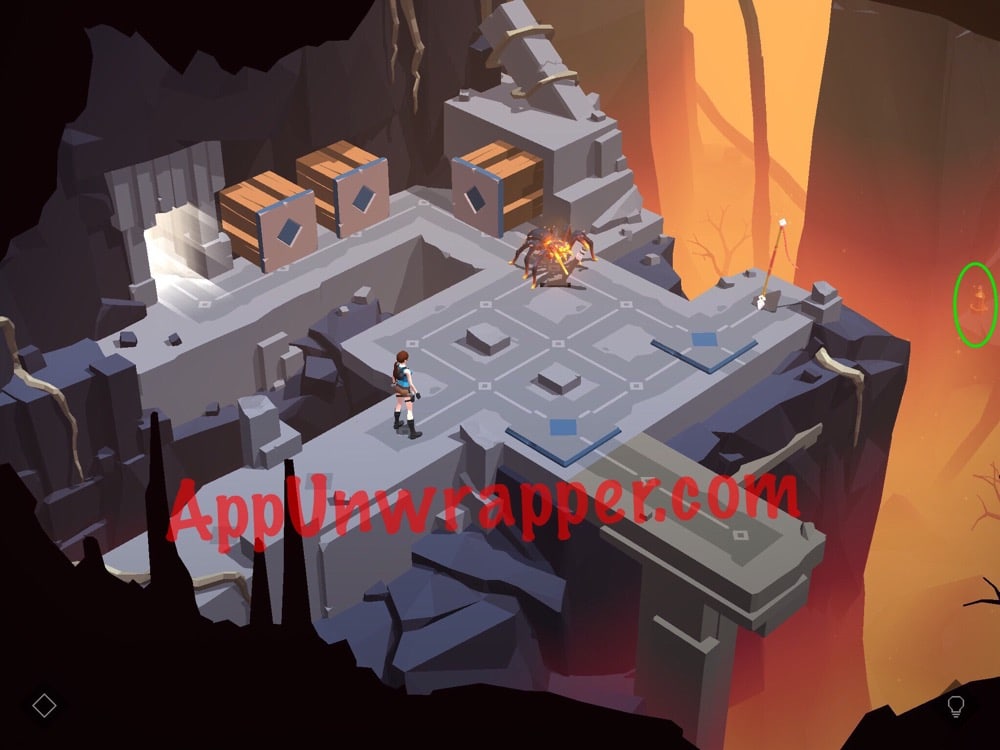
Cave of Fire:
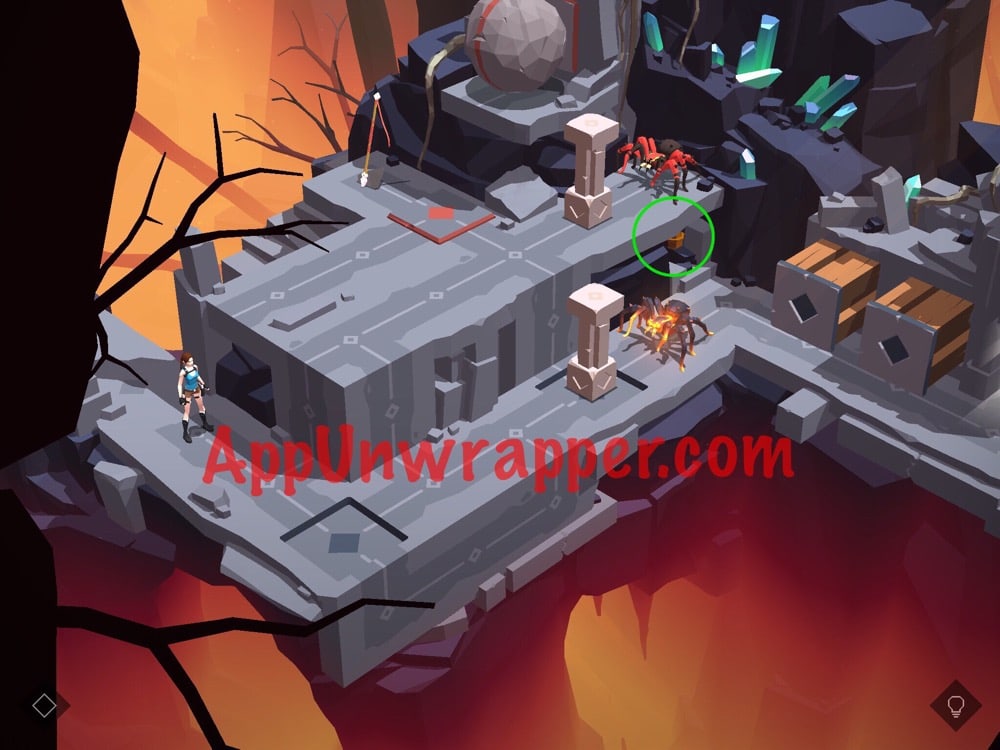
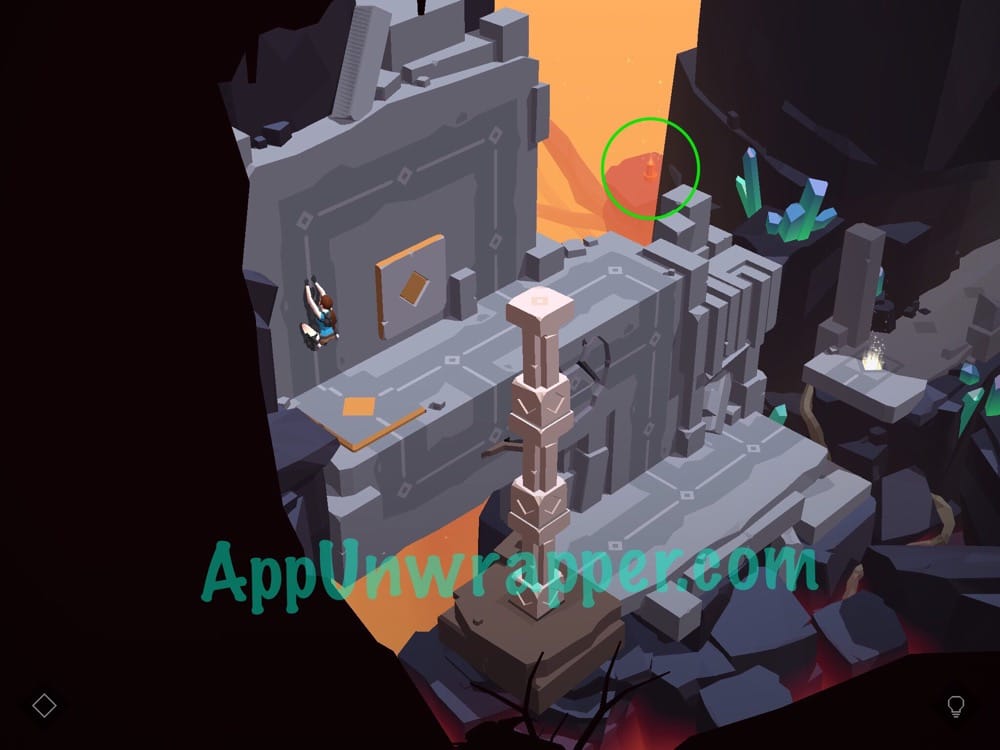
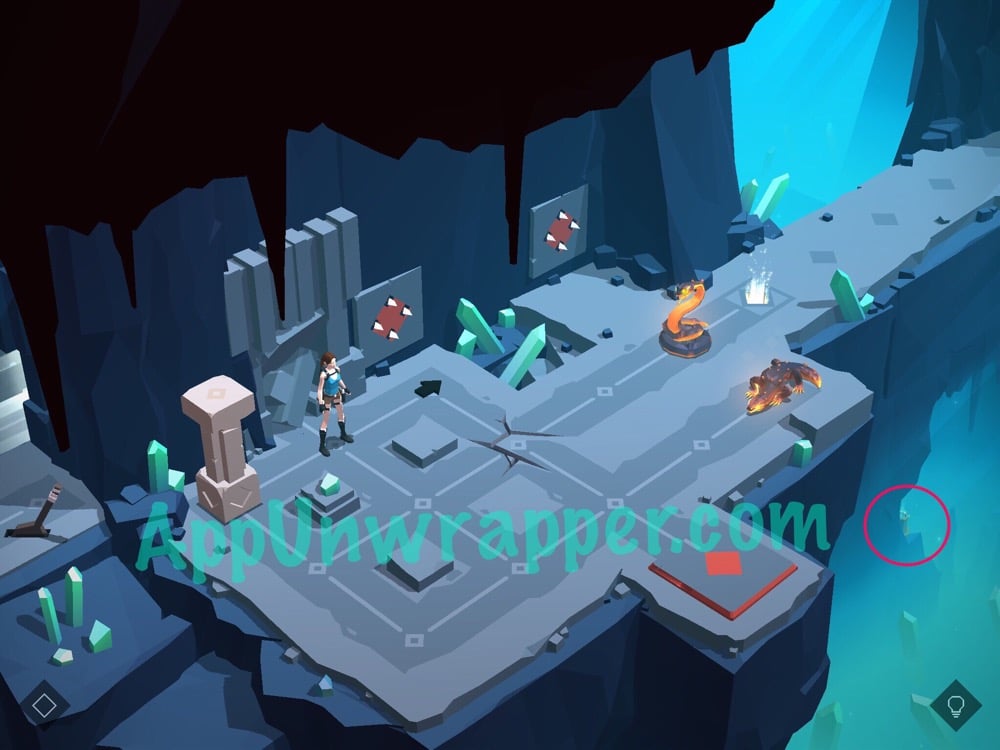
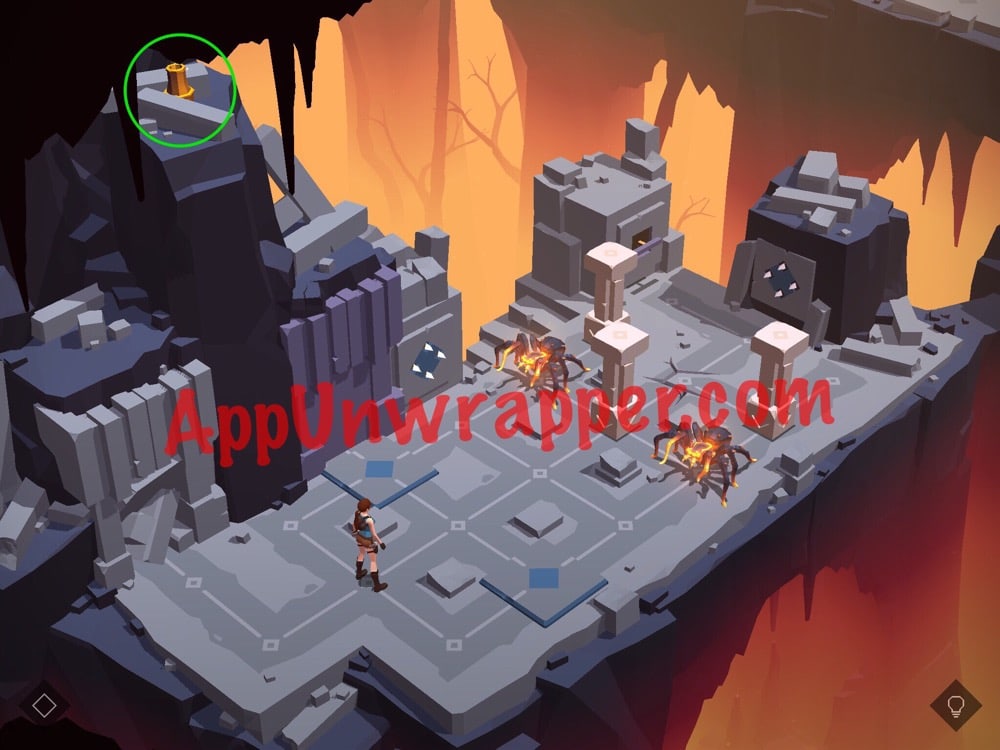
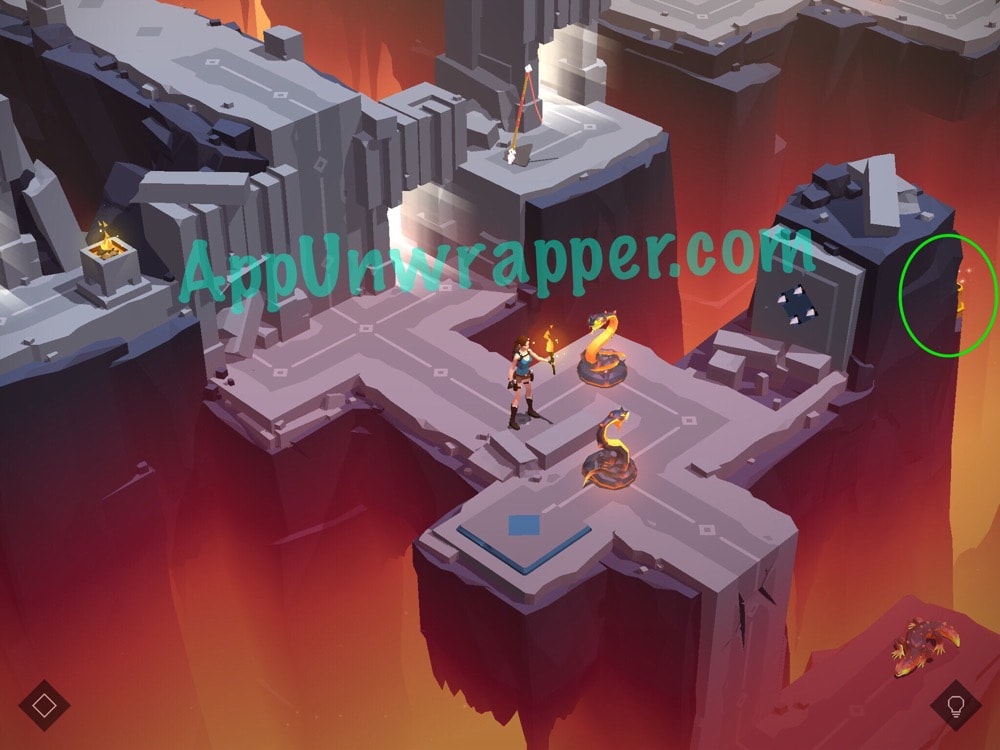
This level introduces a new enemy, which I will call Firestone Snakes for now. They don’t die, not the way the regular snakes do. Instead, they crumble like stone and then re-form after four moves. You’ll see a glowing square being drawn around them, one Sid at a time. When the square closes, the snake comes back to life. The only way to prevent this is to push something on top of the crumbled snake or have Lara stand on it.

Level 1, A New Adventure:
Sacred Beetle Fragment:

Obsidian:
Level 2, Fields of Lava:
Sacred Beetle Fragment:

Obsidian:
Level 3, Help From An Enemy:
Sacred Beetle Fragment:
Obsidian:

Level 4, The Burnt Tree:
Sacred Beetle Fragment:
Obsidian:
Level 5, A Restless Chase:
Obsidian:

Obsidian:

Sacred Beetle Fragment:
Level 6, A Slow Ascent:
Sacred Beetle Fragment:

Obsidian:
Obsidian:
Level 7, Twilight Below:
Sacred Beetle Fragment:

Obsidian:
Level 8, A Crystal Cavern:
Sacred Beetle Fragment:

Obsidian:

Level 9, Deadly Steps:
Sacred Beetle Fragment:
Obsidian:

Level 10, The Wreathing Depths:
Sacred Beetle Fragment:

Obsidian:
Level 11, Core of the Mountain:
Obsidian:
Sacred Beetle Fragment:
New Outfit, Core Classic:
You get this for collecting all the Obsidians.

Angel of Darkness Outfit:
You get this for collecting all the Sacred Beetle Fragments.


man, you make this look so easy, and after 50 tries, I look at yours and say, “why didn’t I think of that!!!”
It was only easy because I figured them out before recording. 😉