Mount Olympus
By: iCOOLgeeks
 [DKB url=”https://www.appunwrapper.com/Olympus” text=”Download” title=”” type=”” style=”” color=”green” width=”” opennewwindow=”” nofollow=””]
Walkthrough:
Looking for the Chapter 1 Walkthrough?
Looking for the Chapter 3 Walkthrough?
Chapter 2:
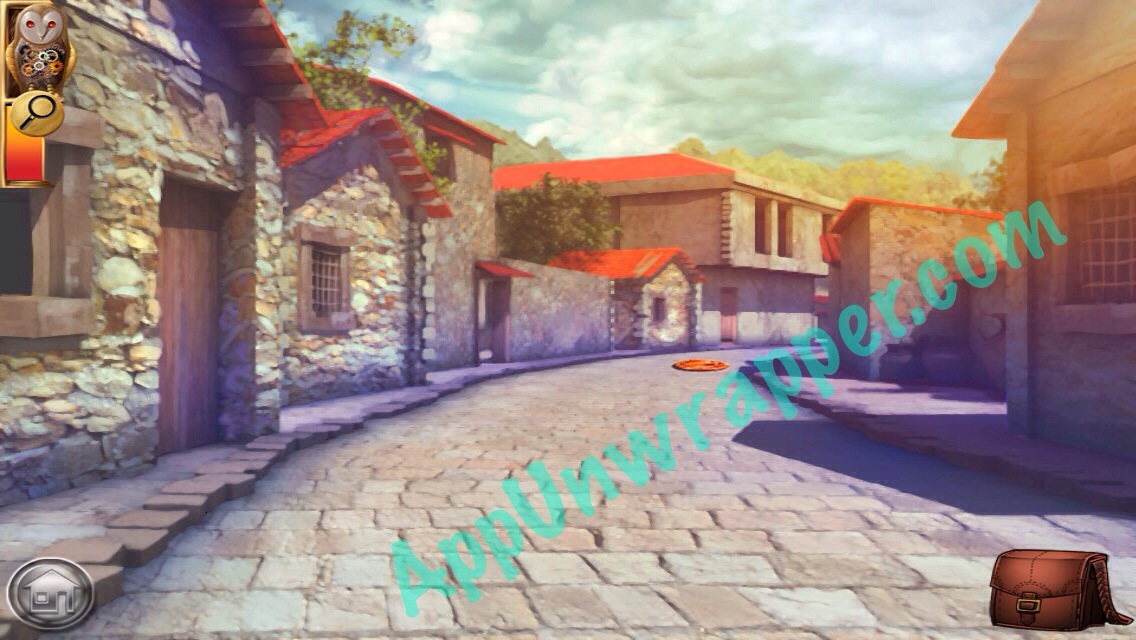
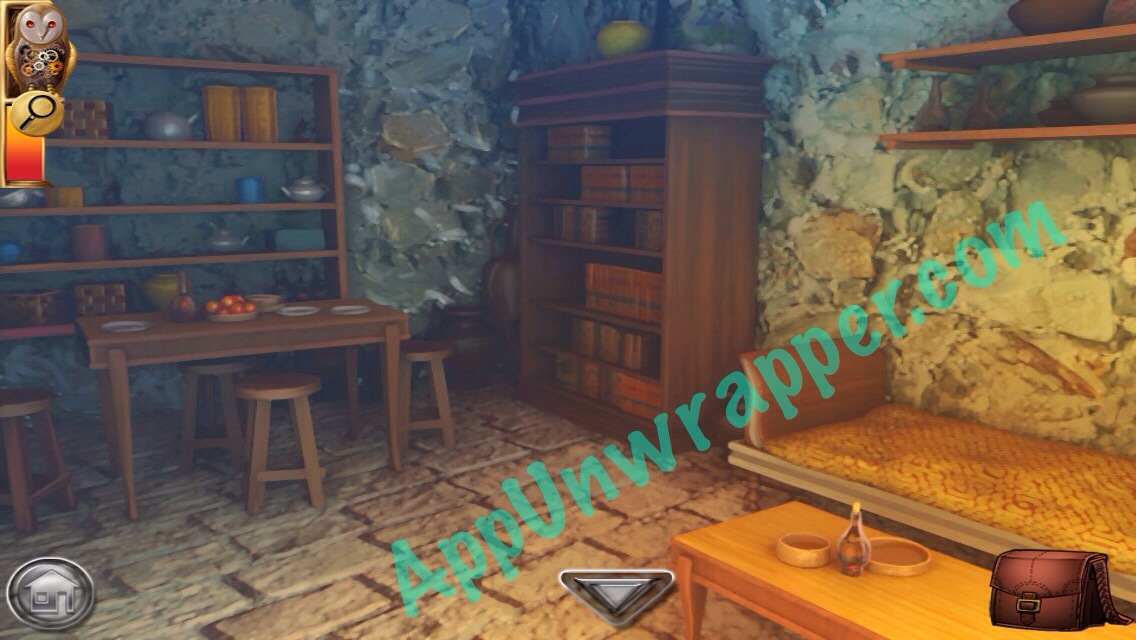
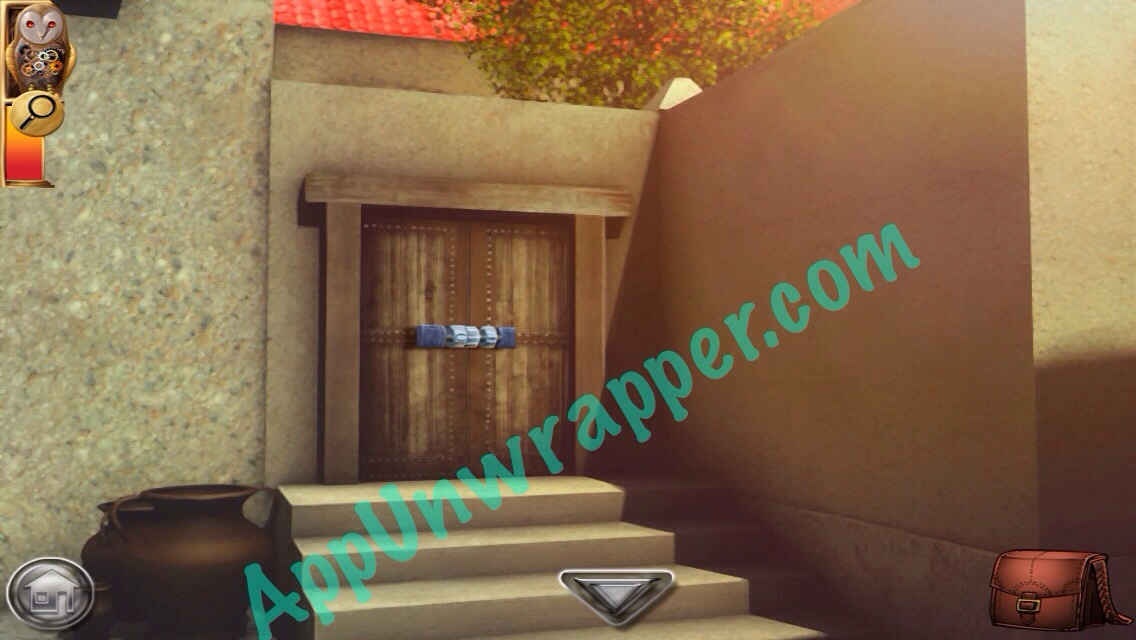
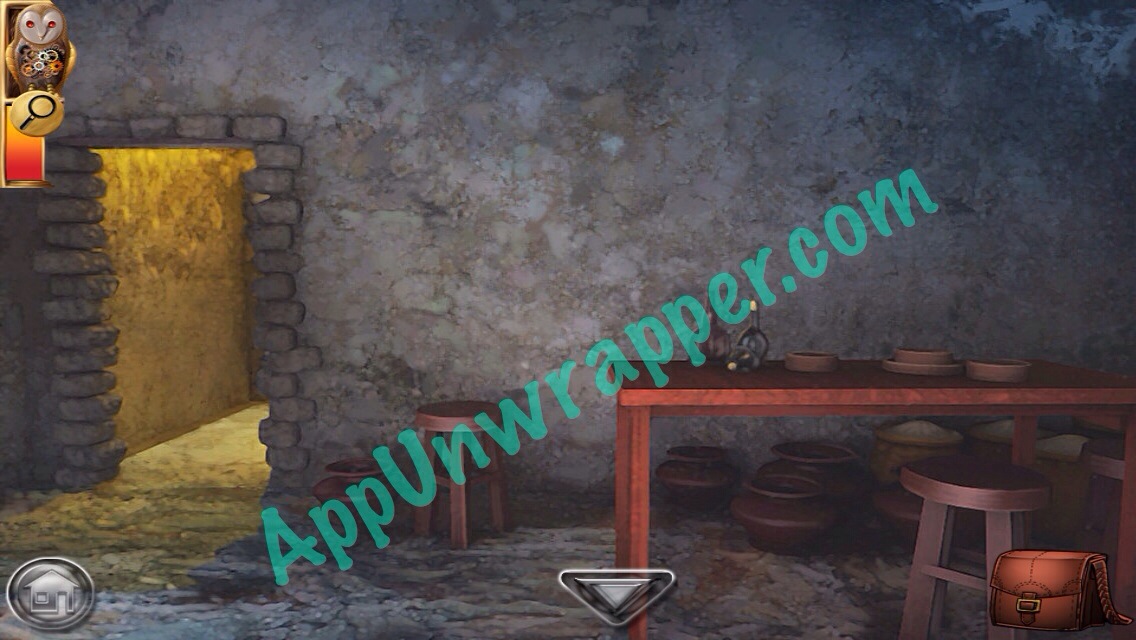
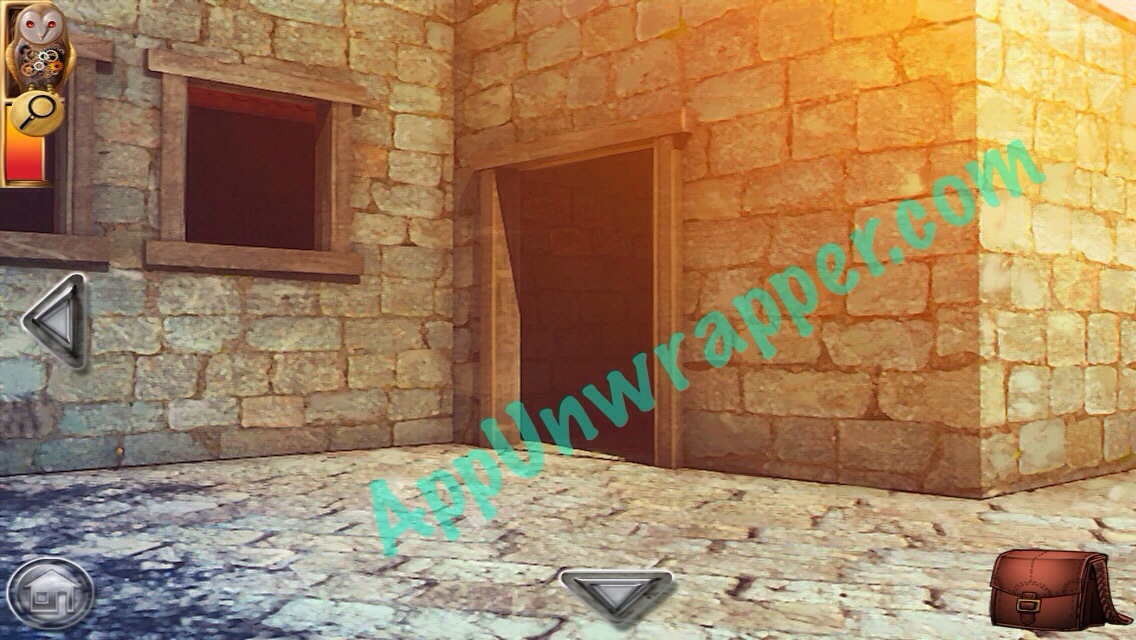
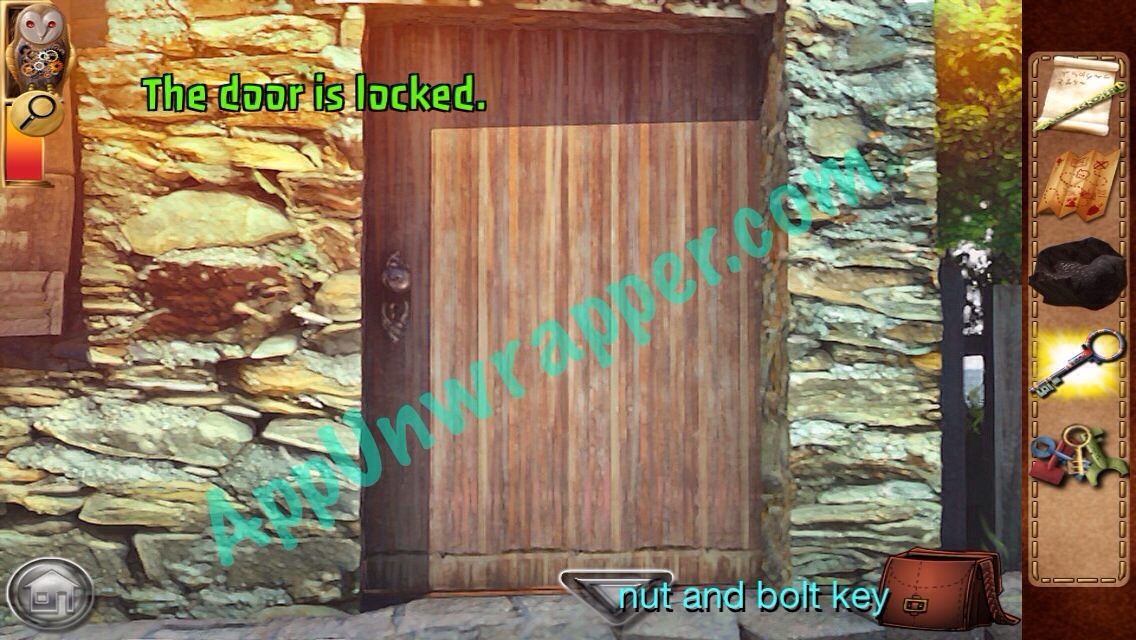
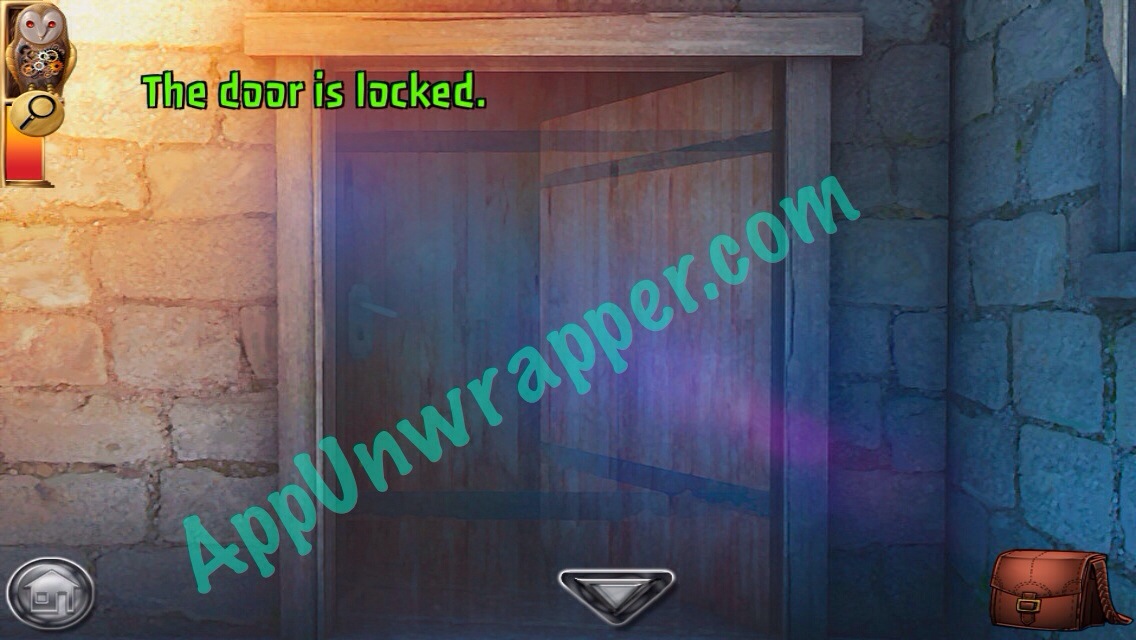
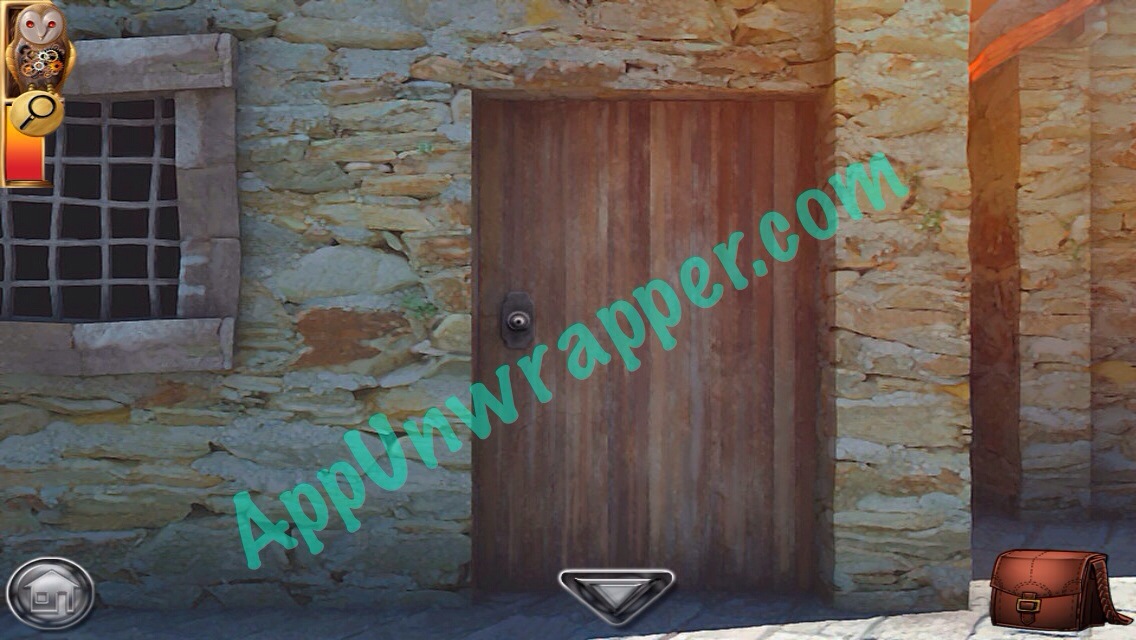
1. The first door you encounter is locked. But a bit beyond it is an open door with a red awning. It’s easy to miss. Go inside and get the red gem from the bookshelf.


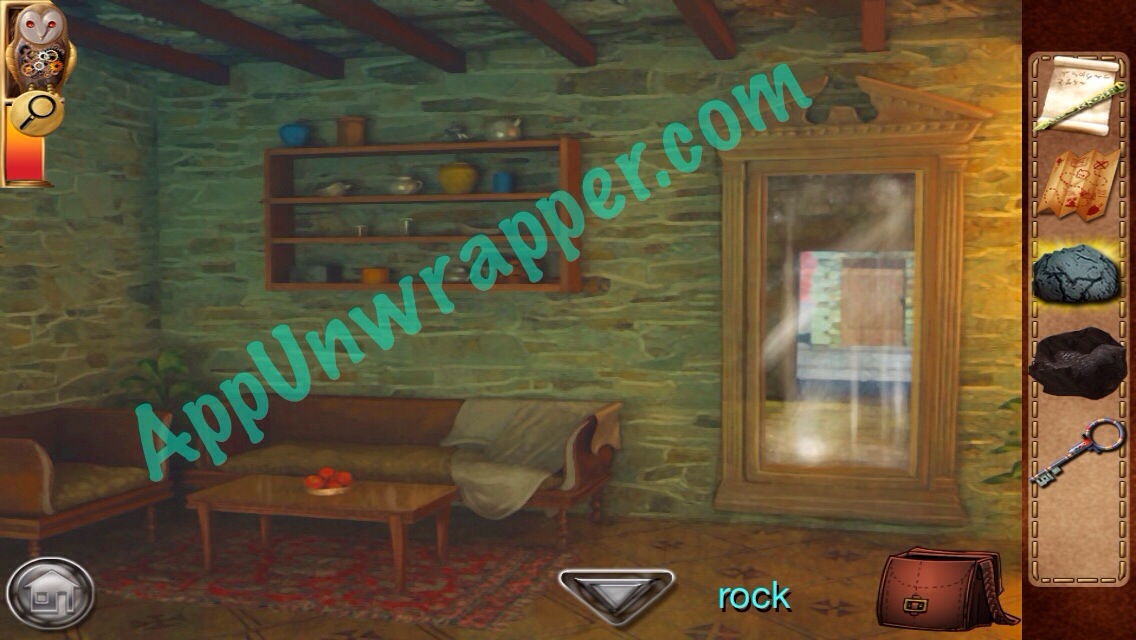
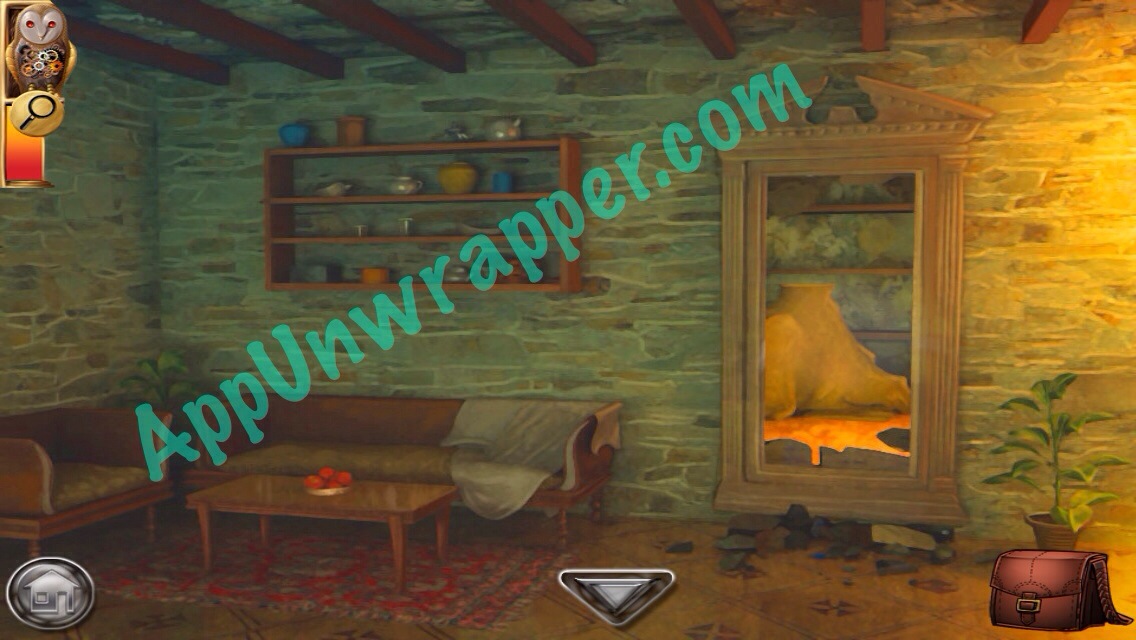
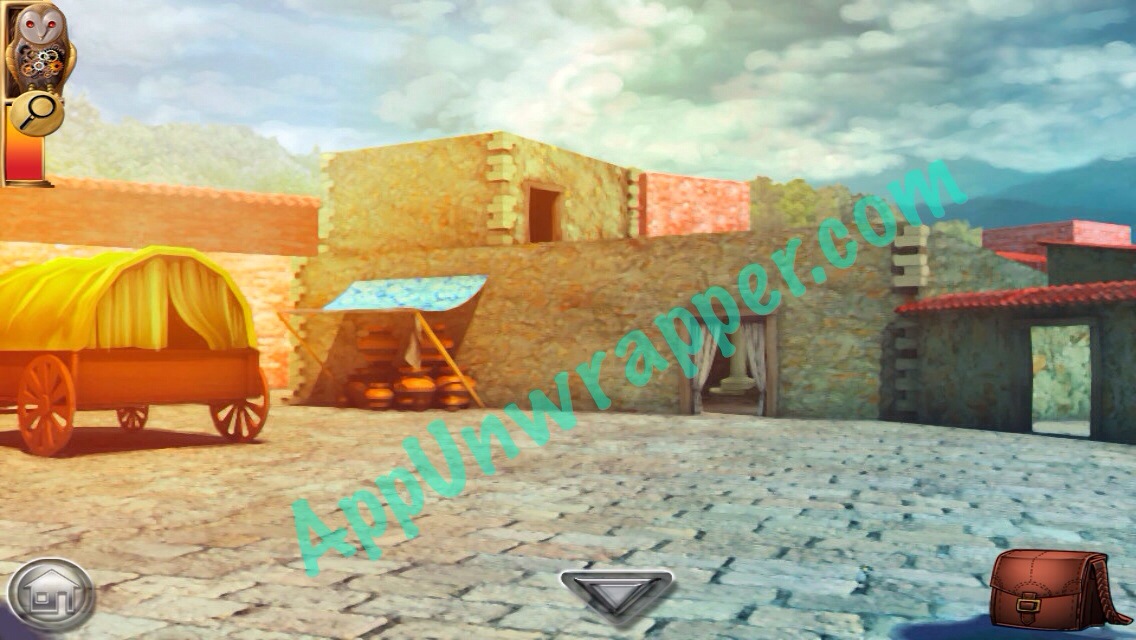
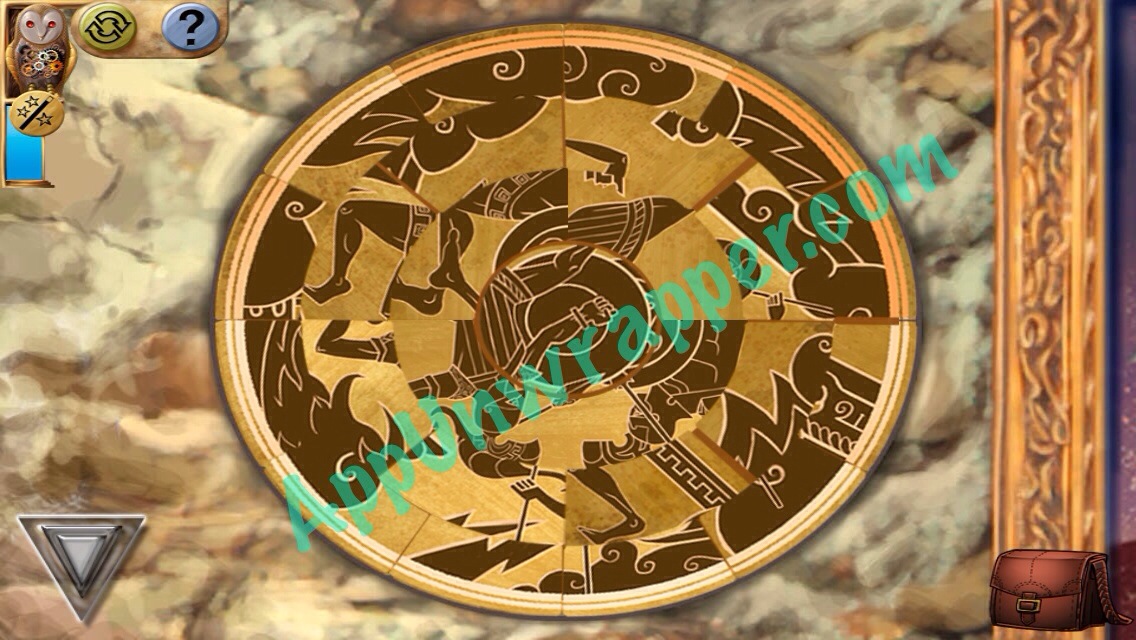
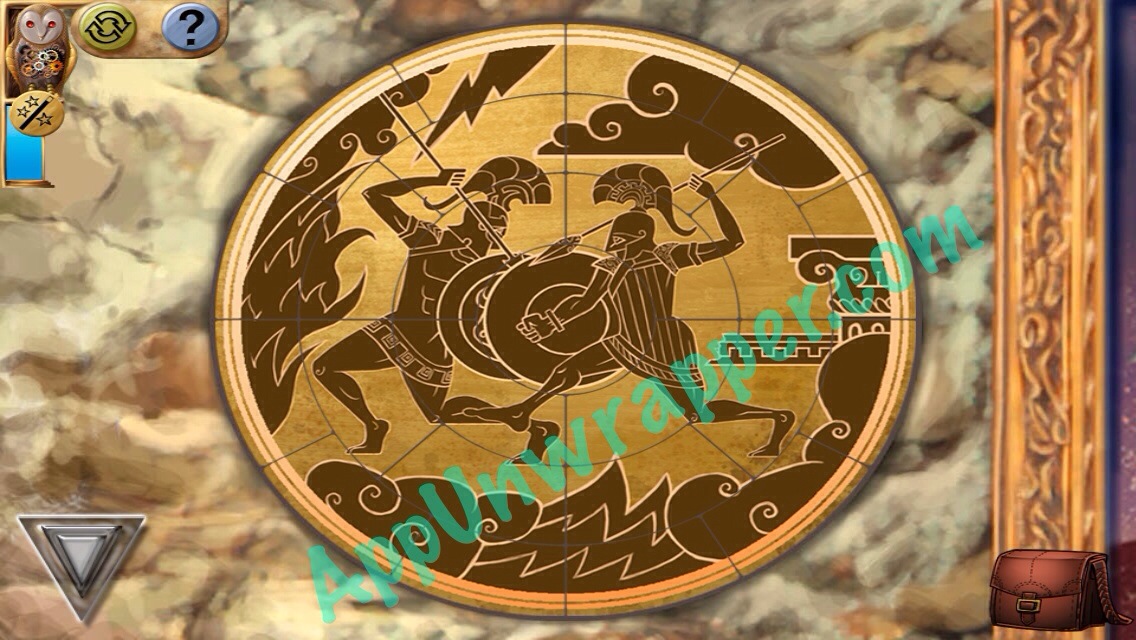
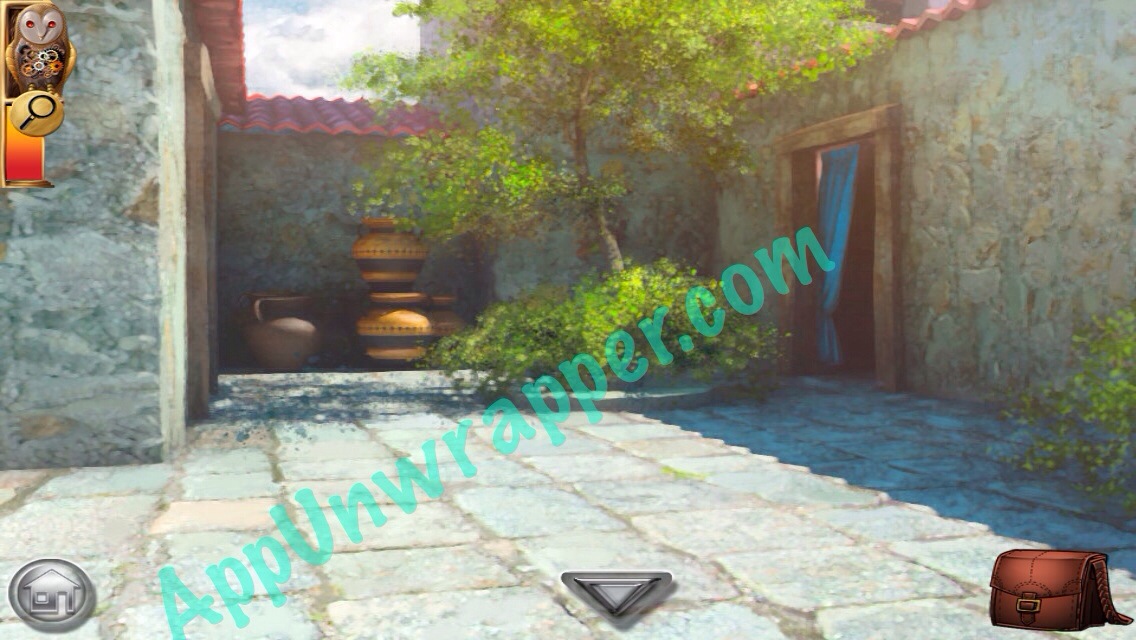
2. Continue on and notice the vulture symbol that represents Ares, God of War. This is his domain. Go through the curtained doorway to the right. Notice the big mirror because we’ll come back to it soon.

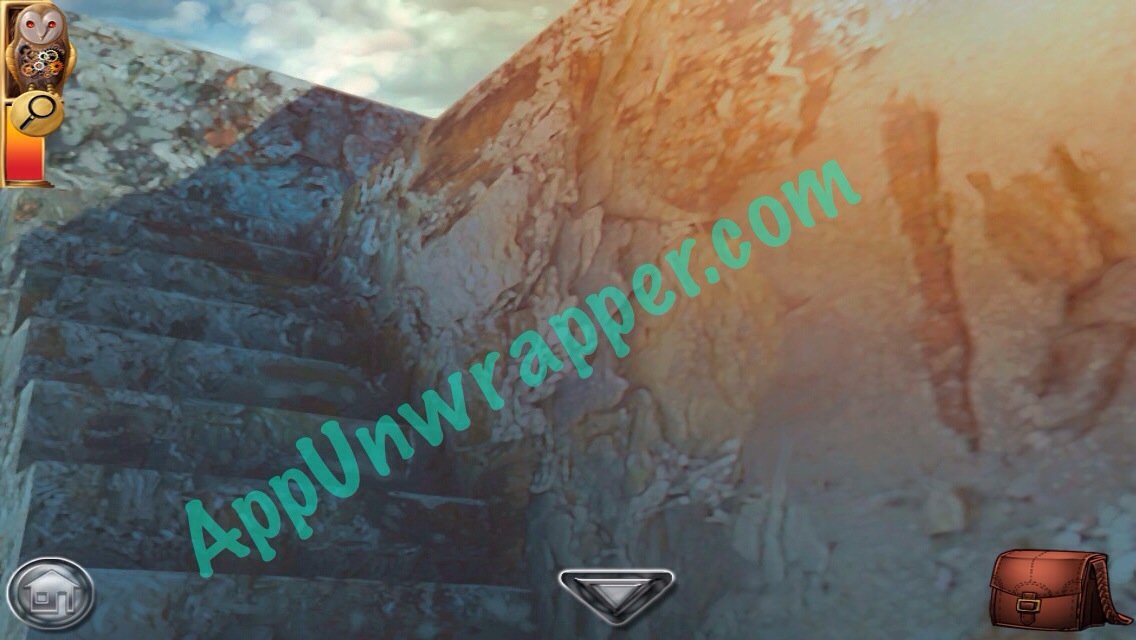
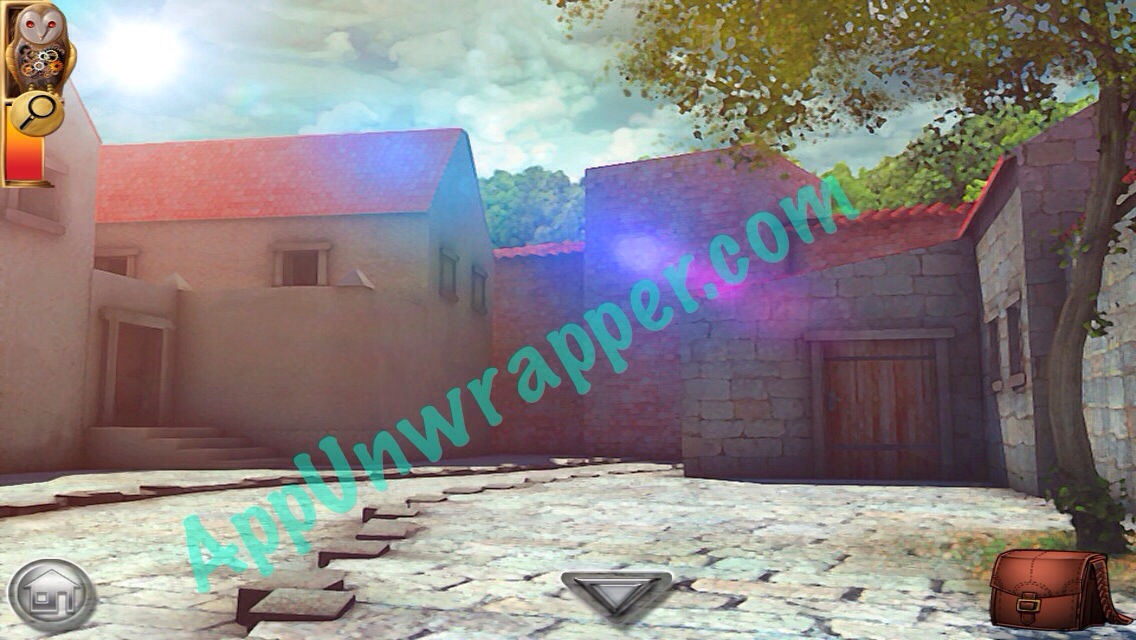
3. Leave and go up the stairs to get a big rock.

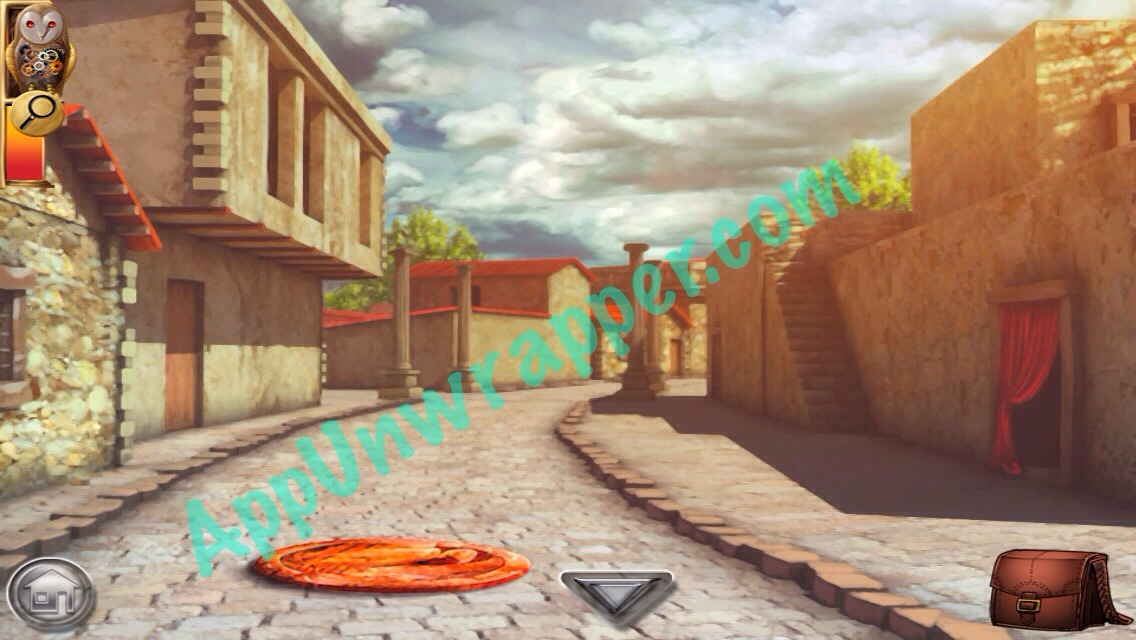
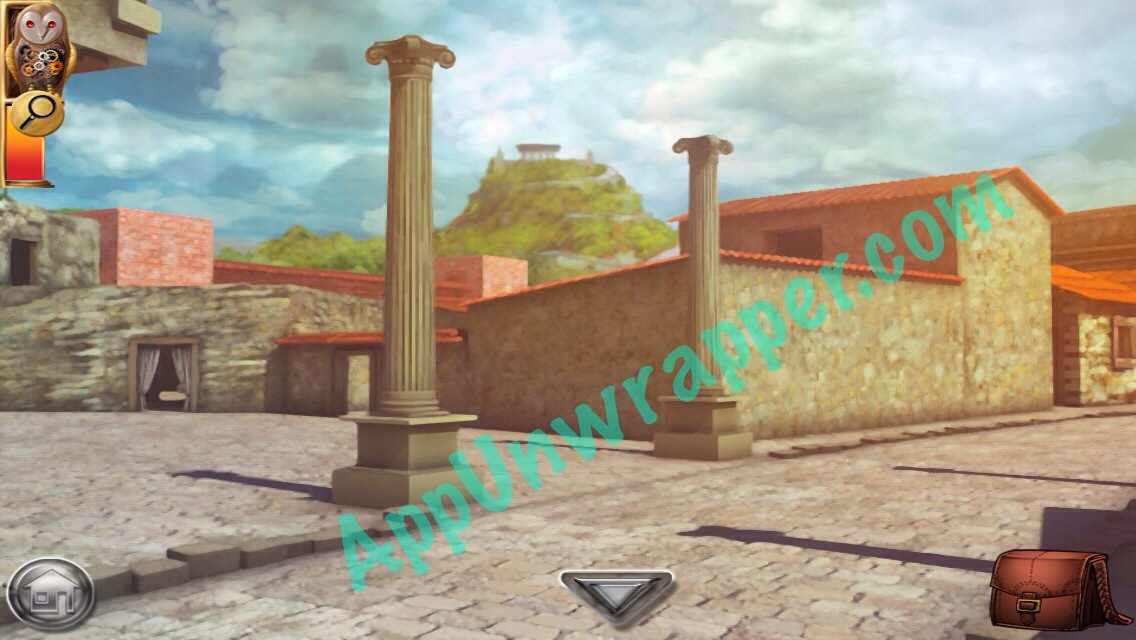
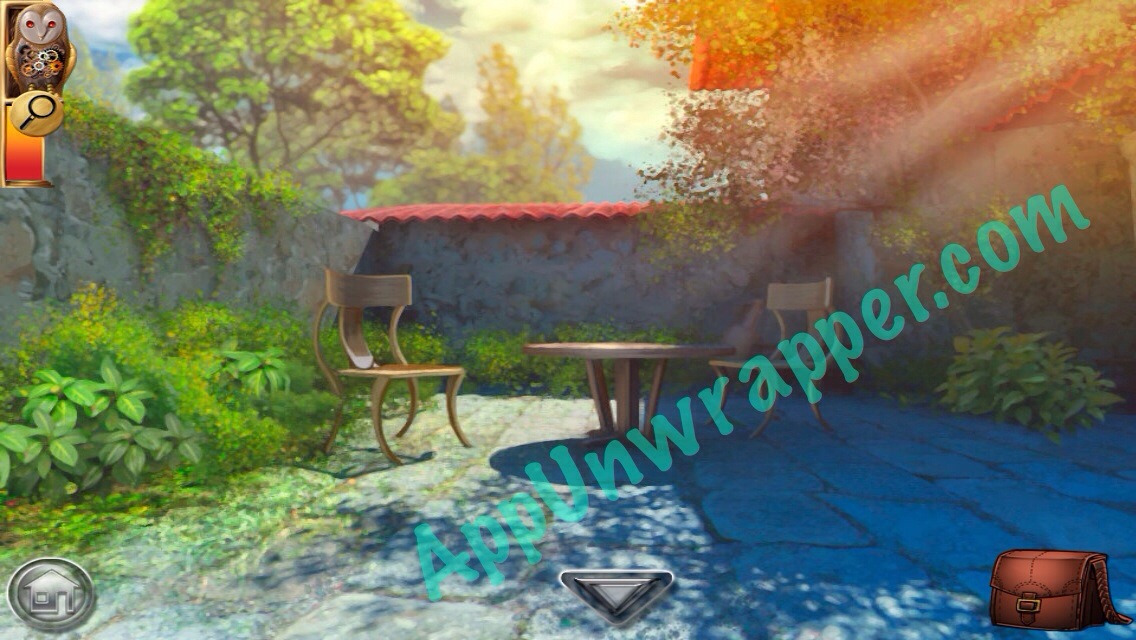
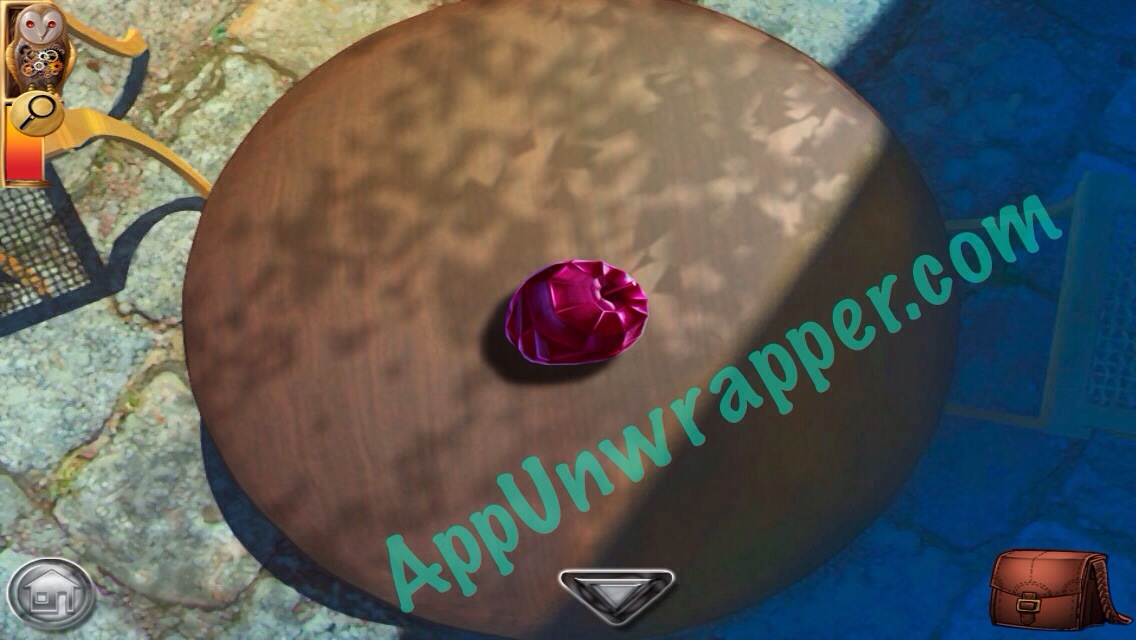
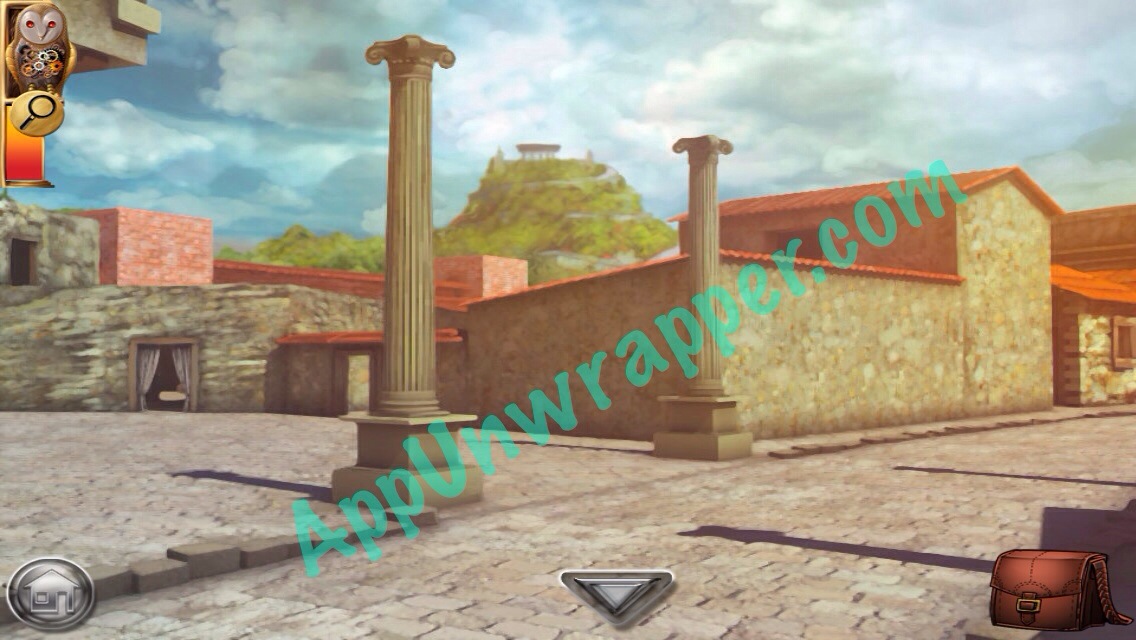
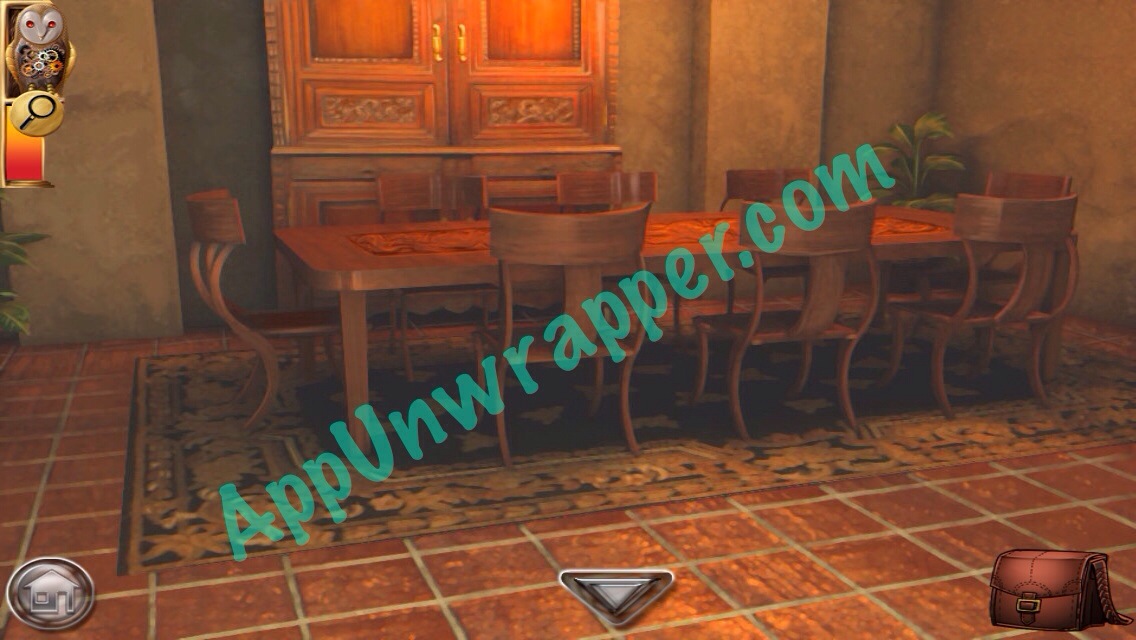
4. Continue down the path. When you see two columns, bear right. On the next screen, tap right to see a garden with a table and chairs. Take the Ruby Apple from the table.
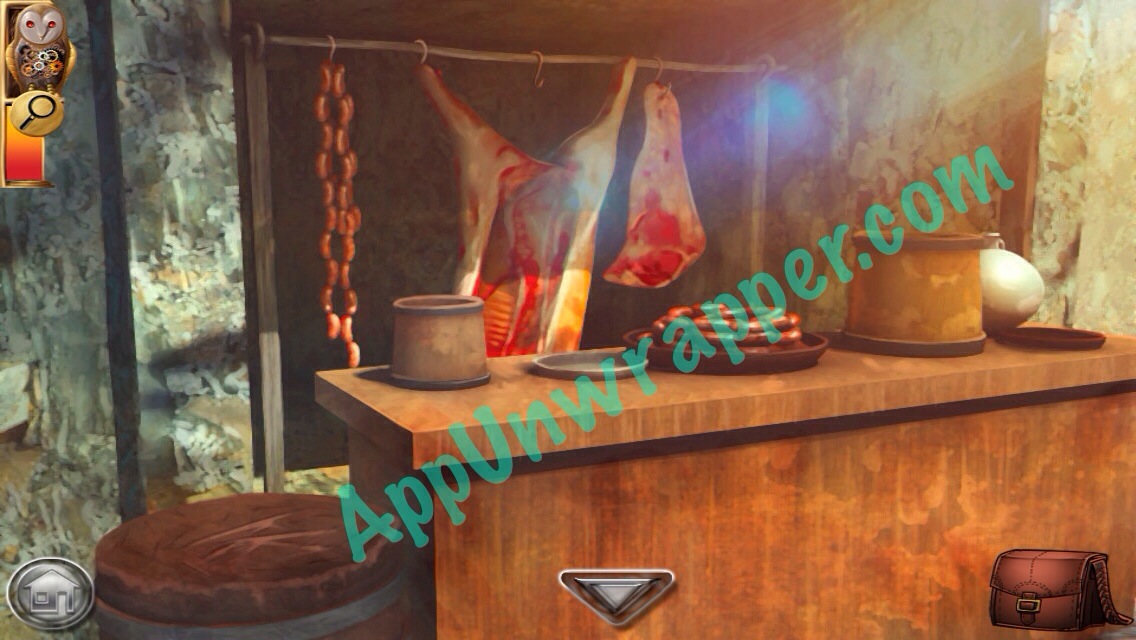
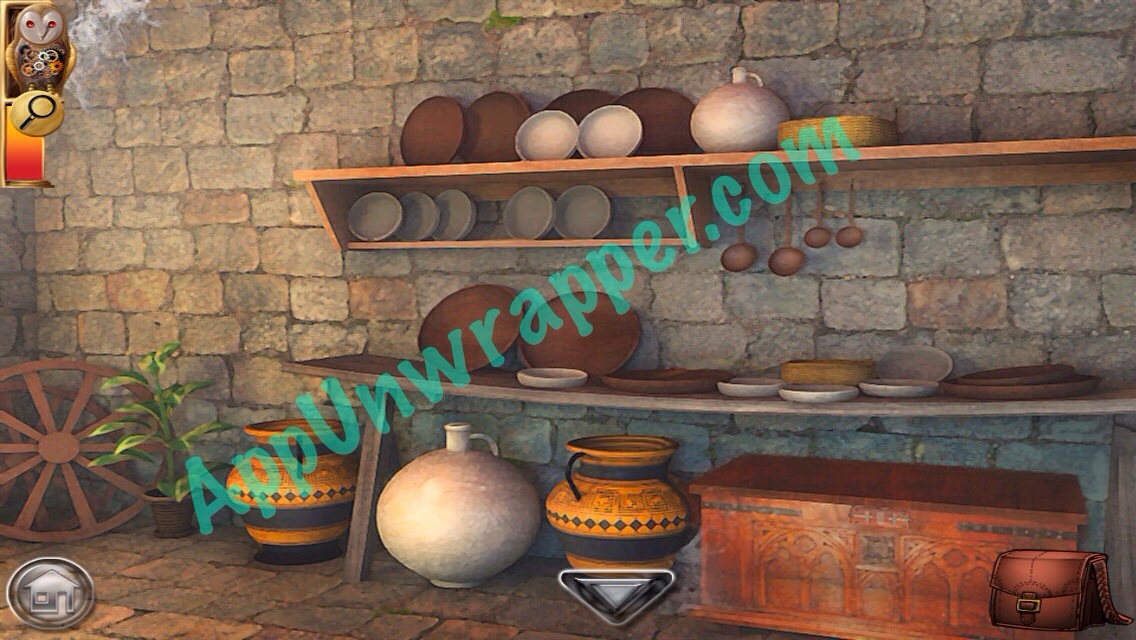
5. Continue down the path. To the left is a meat stand. Take the magnet from the bowl.


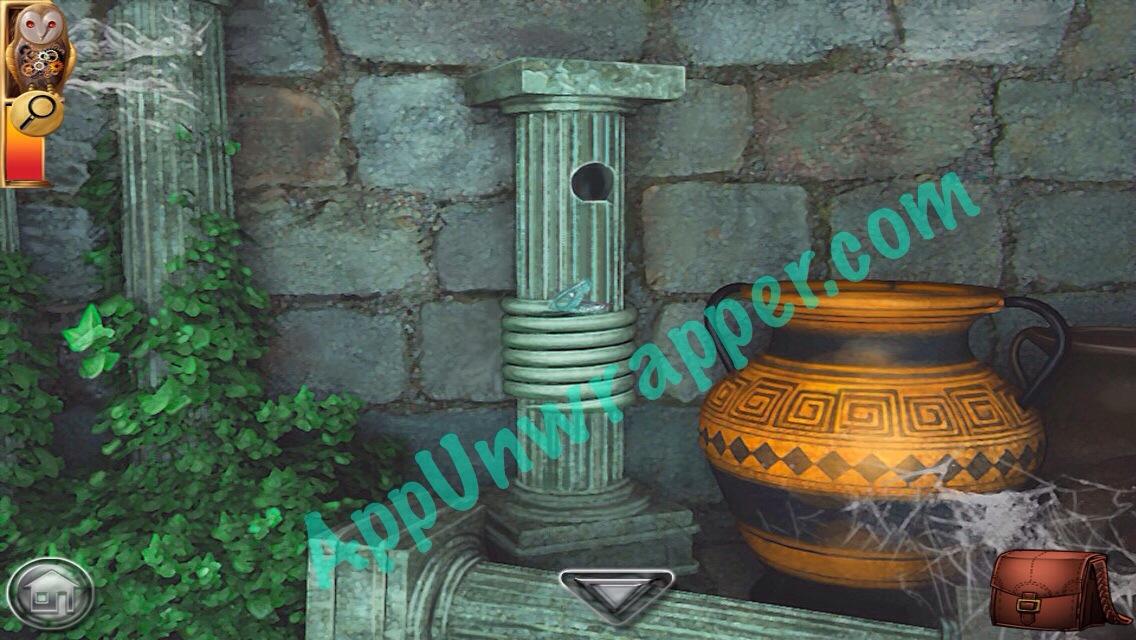
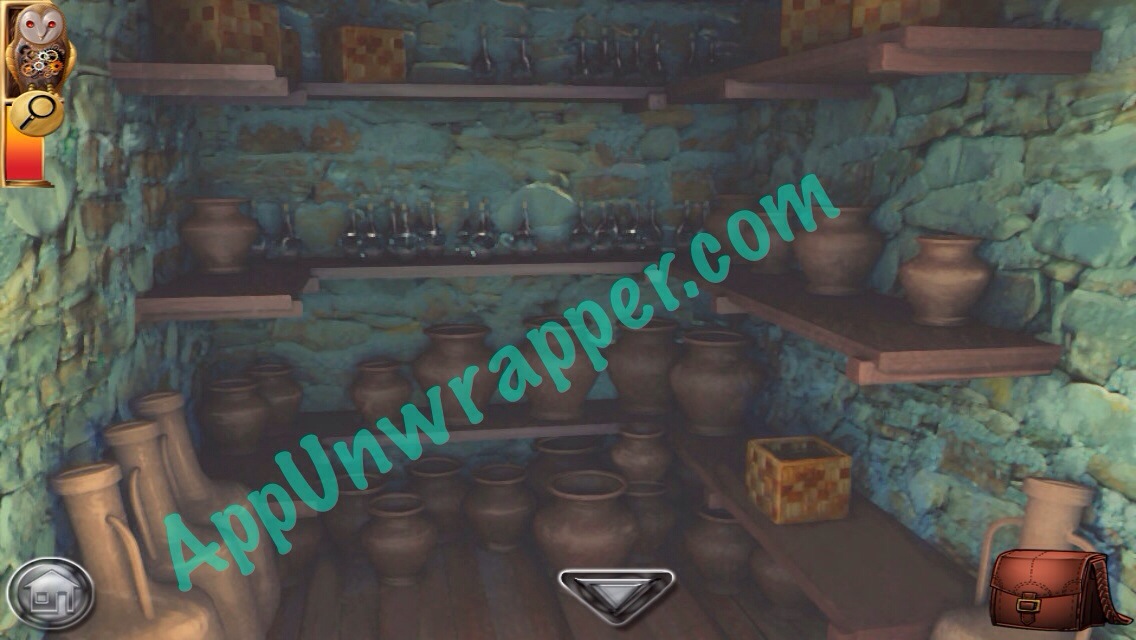
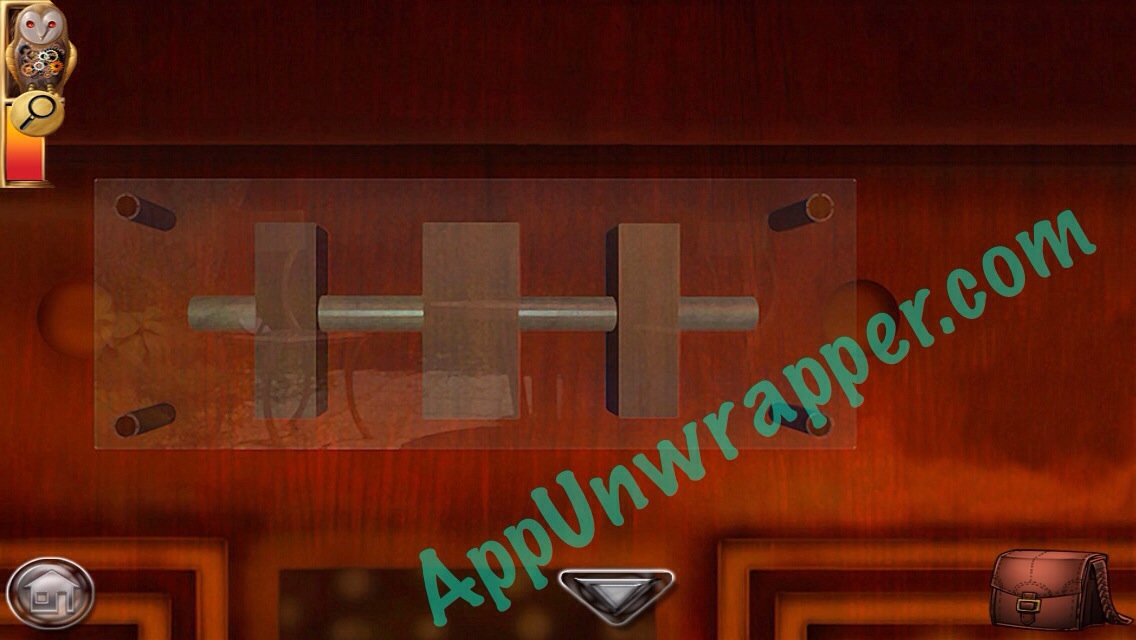
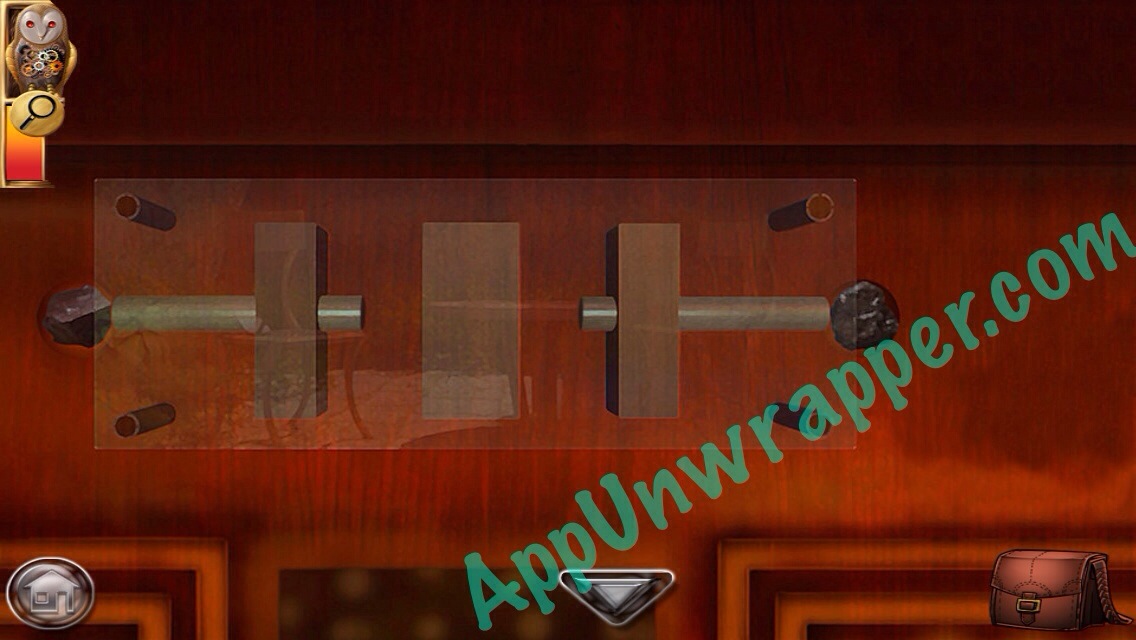
6. Take note of the door up ahead with the nut and bolt key puzzle. We’ll come back to it soon.

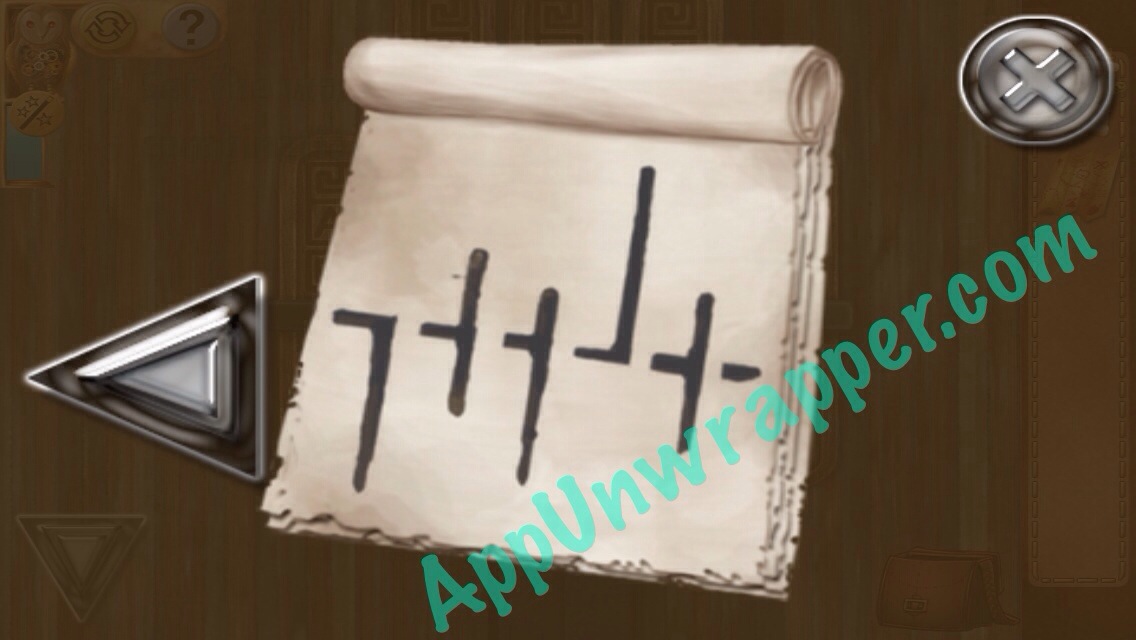
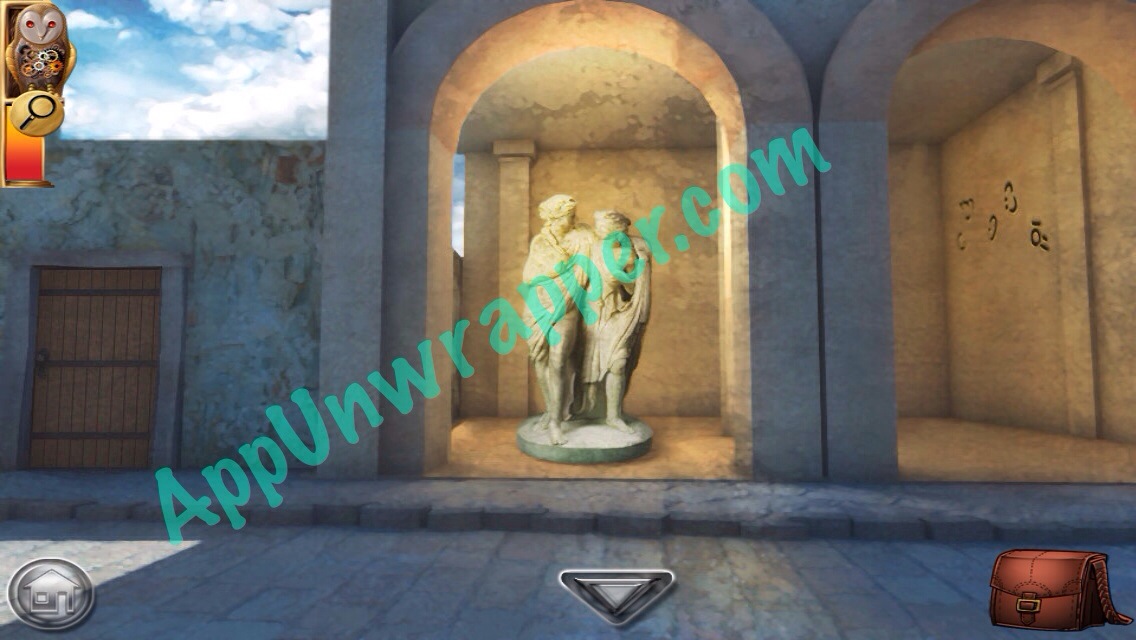
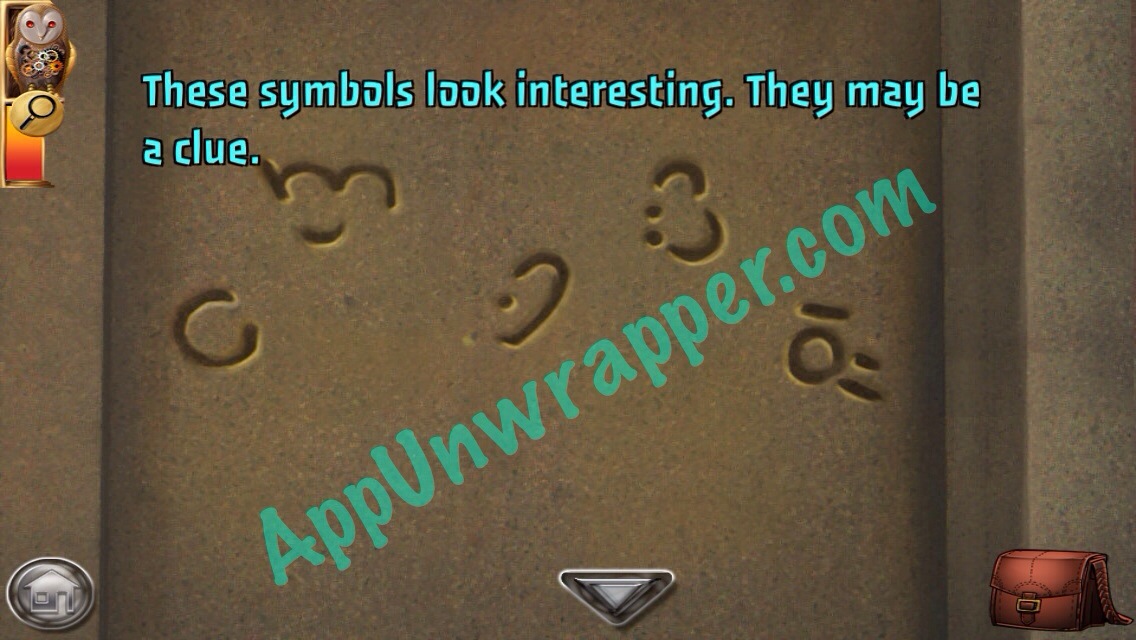
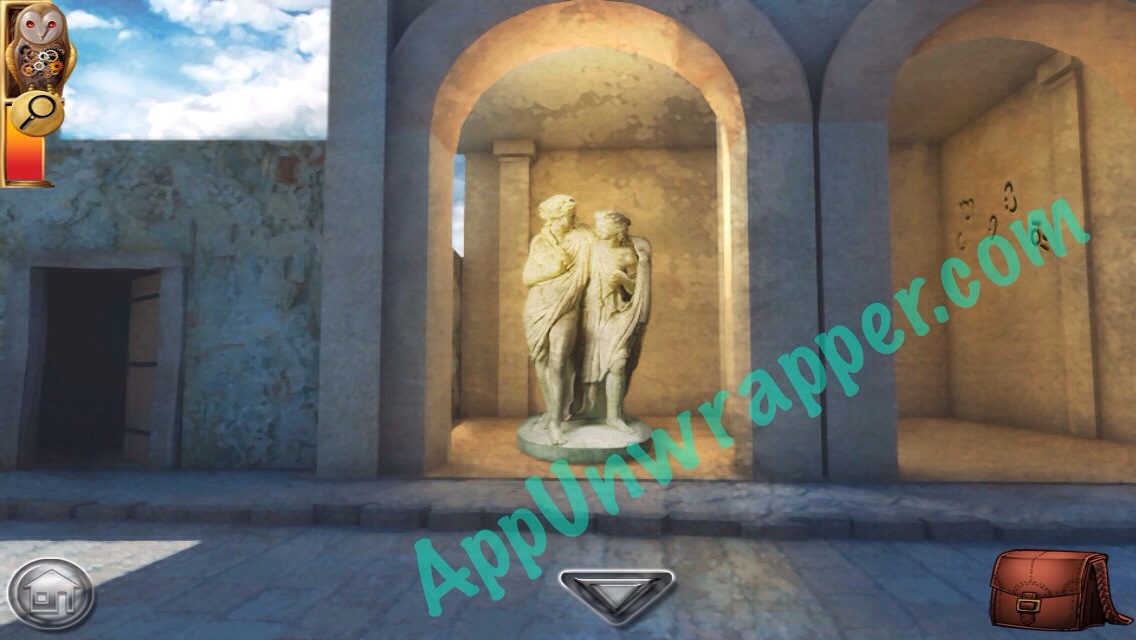
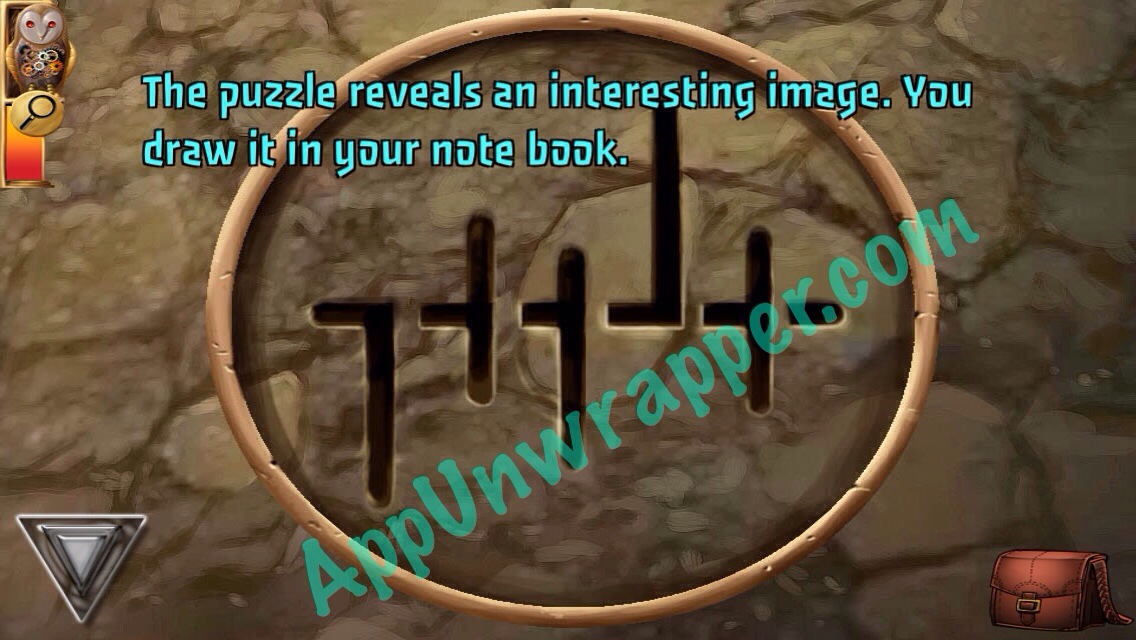
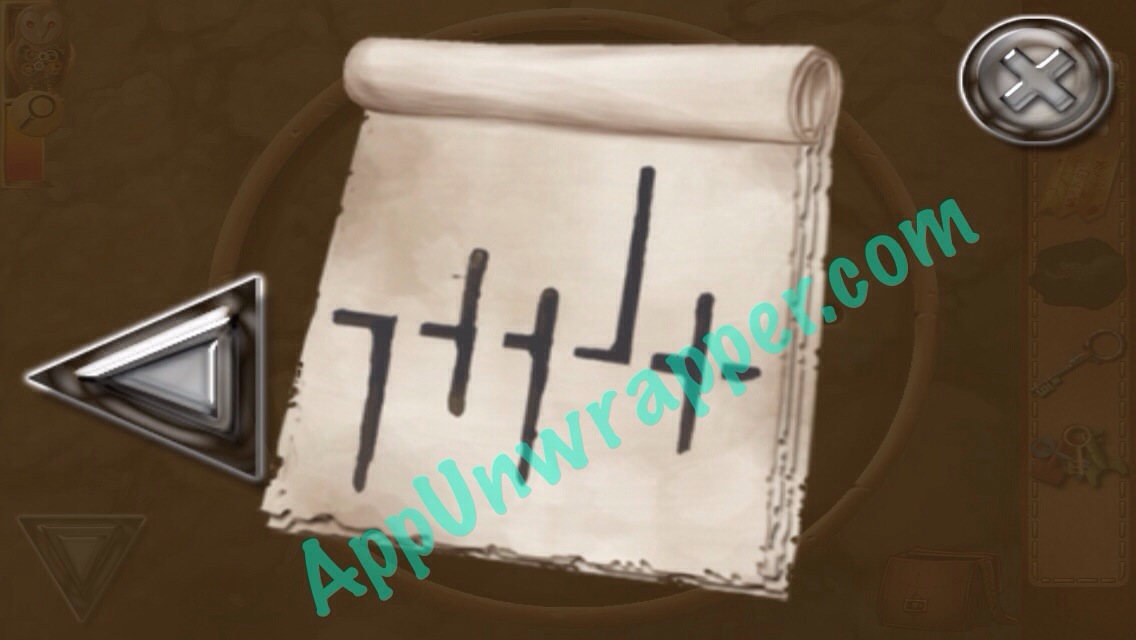
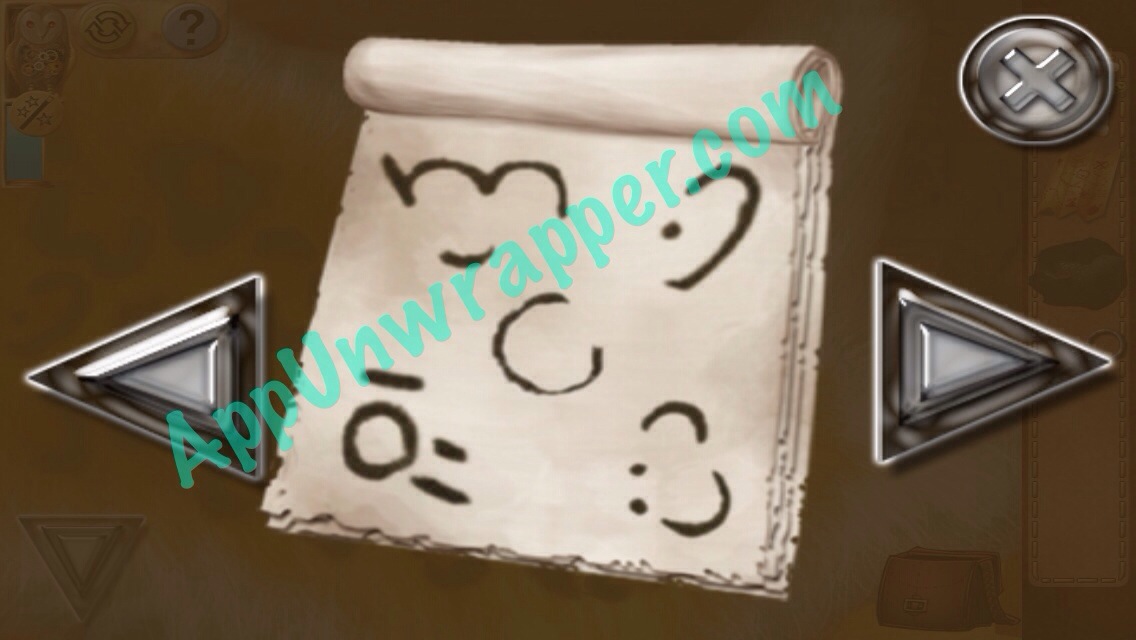
7. Go under the arches across the way and look at the markings on the wall behind the statue to get a clue for your notebook.

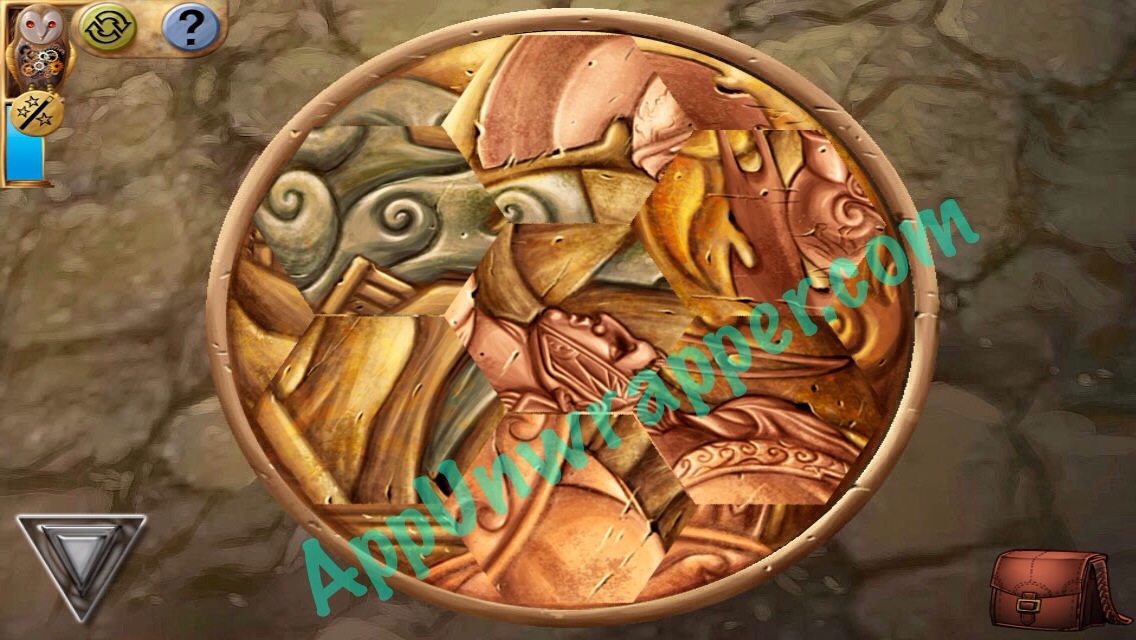
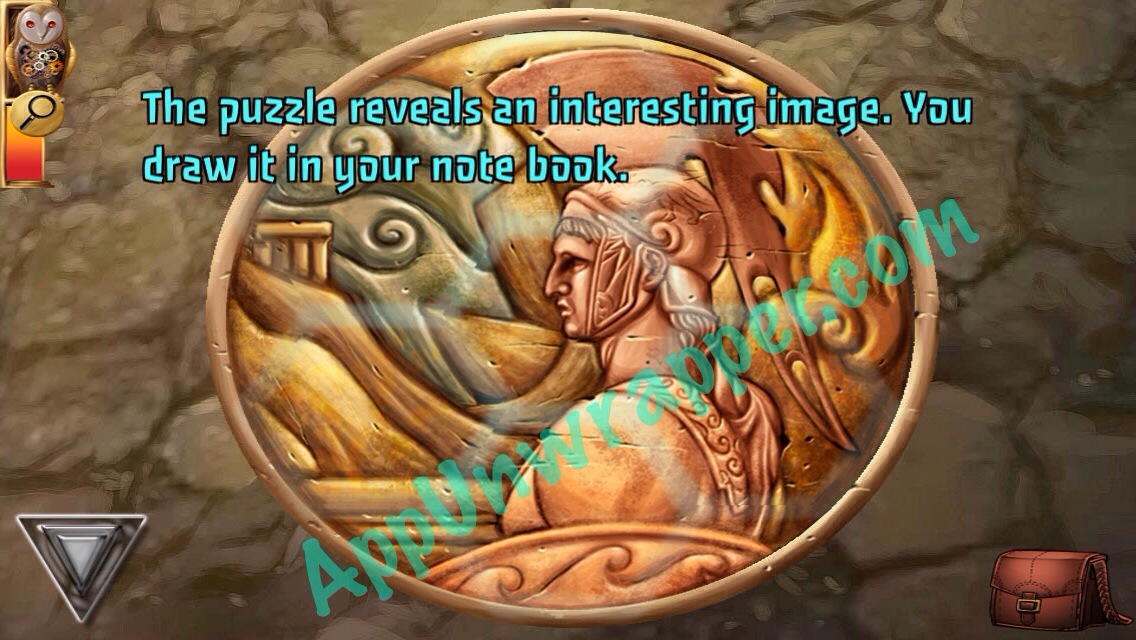
8. Open the door to the left of the statue and go inside. Continue on into the bath and solve the tile puzzle on the wall to get a clue for your notebook.

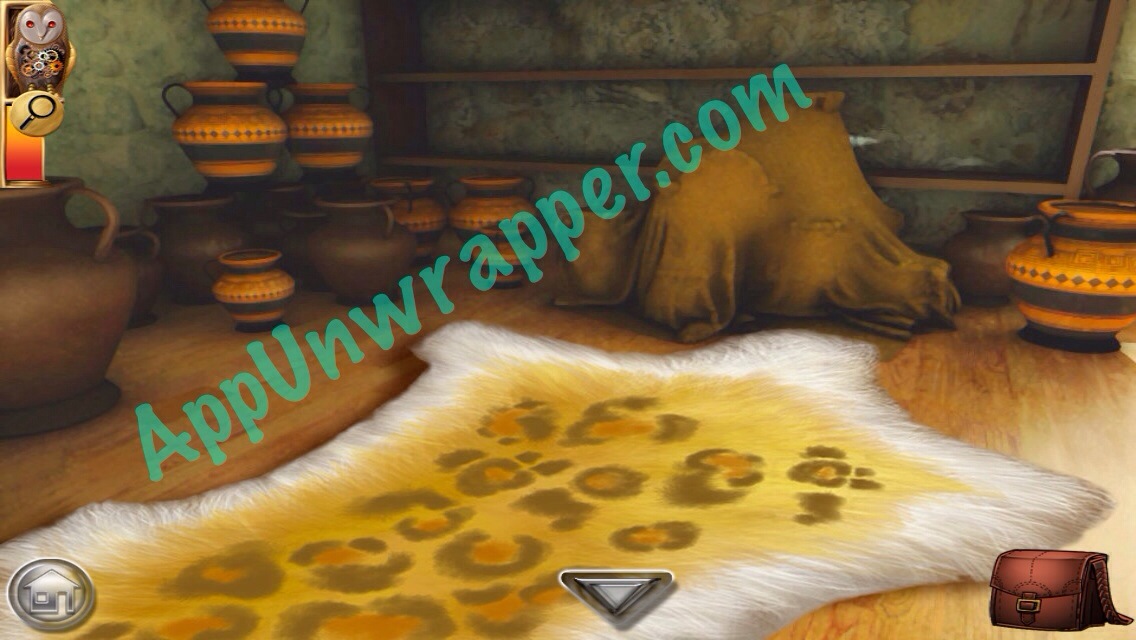
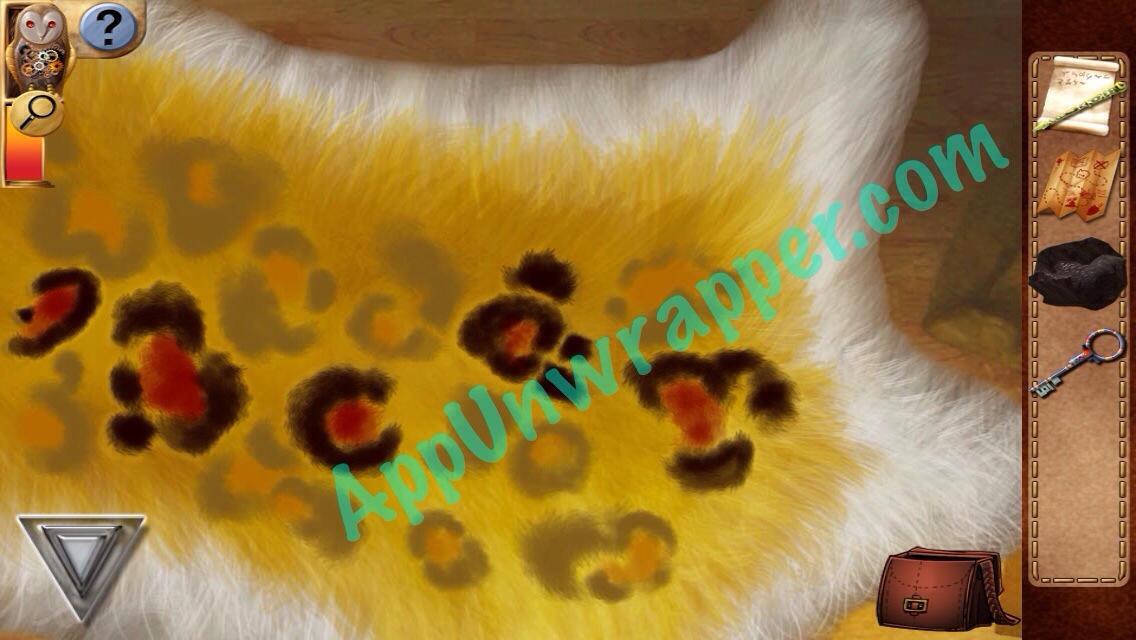
9. Go back to the house with the mirror. Throw the rock at the mirror to shatter it. There’s a hidden room behind it. The leopard skin on the floor is a puzzle. Tap the markings you see on the clue from the wall and you’ll get some “colored key things.”


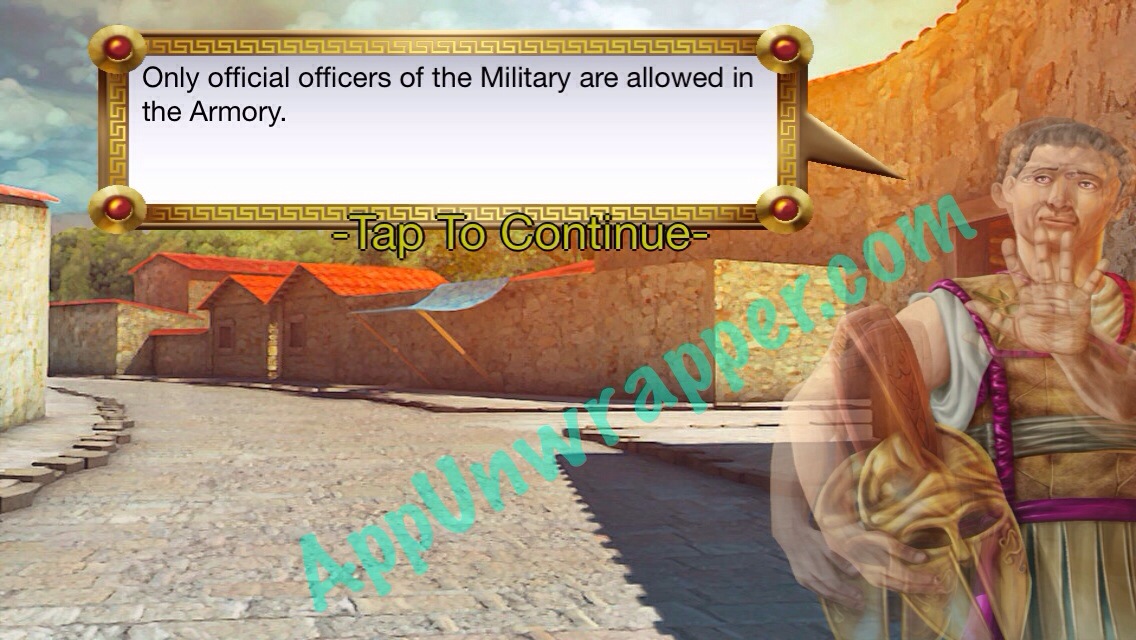
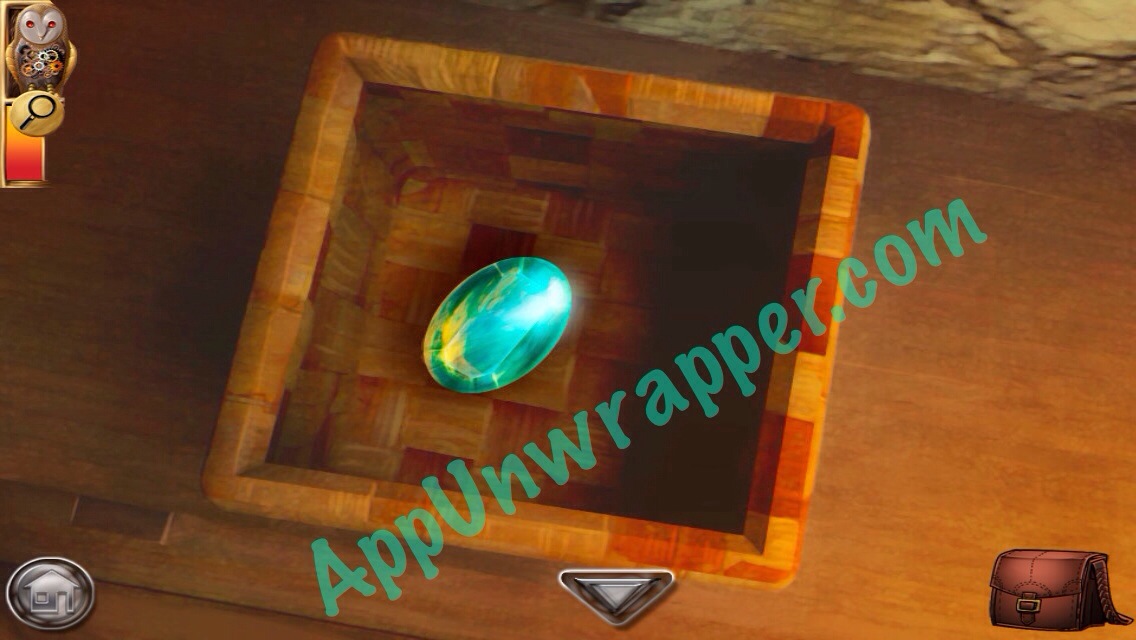
10. Continue on down the path again until you come to this guard. He won’t let you into the armory. So move on and notice the two open doors to the left. Go through the right one and you’ll see a snake sculpture. Place the Ruby Apple in the hole and the snake will go after it, revealing a big yellow gem. Take the gem.


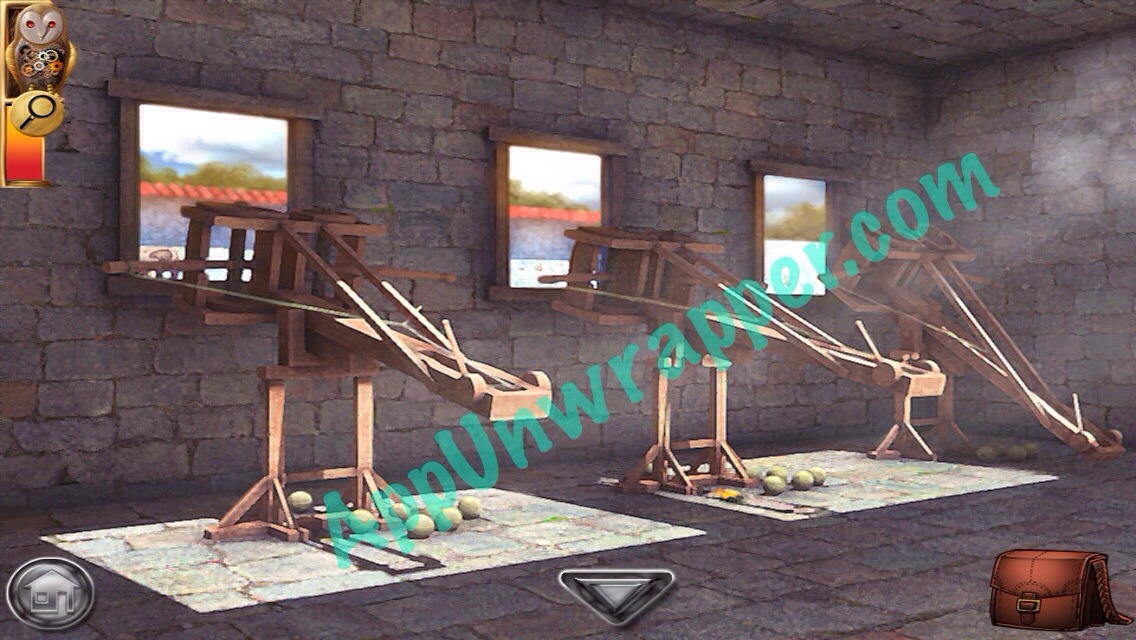
11. Continue on and then tap the right building to see some catapults. Get the yellow gear from the ground.


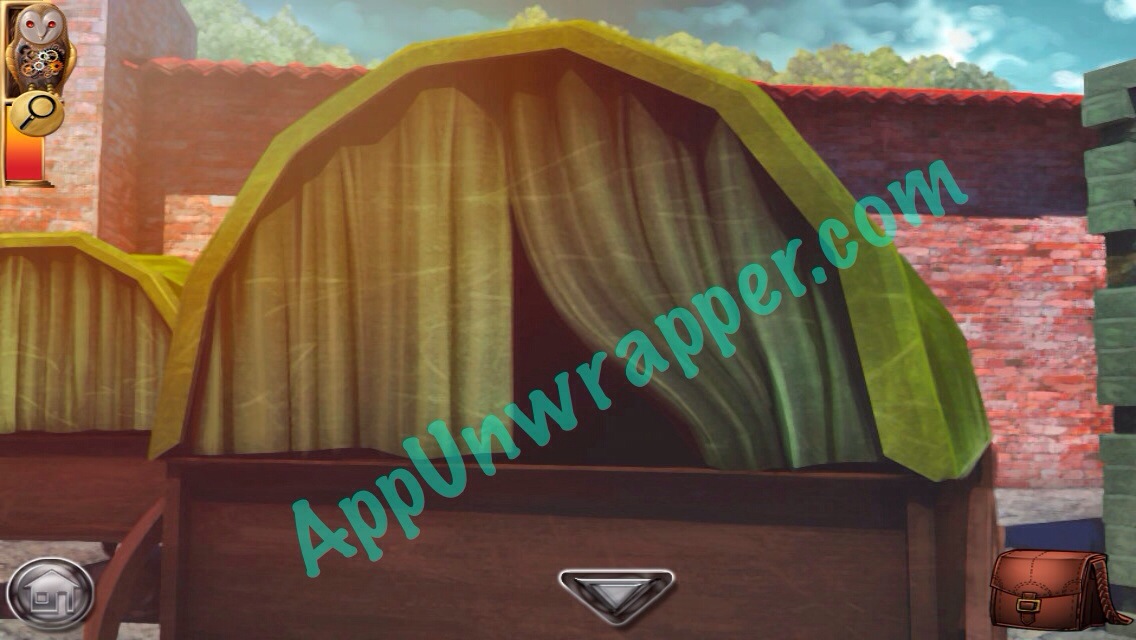
12. Go back to the two pillars and this time go through them to the left. Get a gear from a pot inside the wagon.


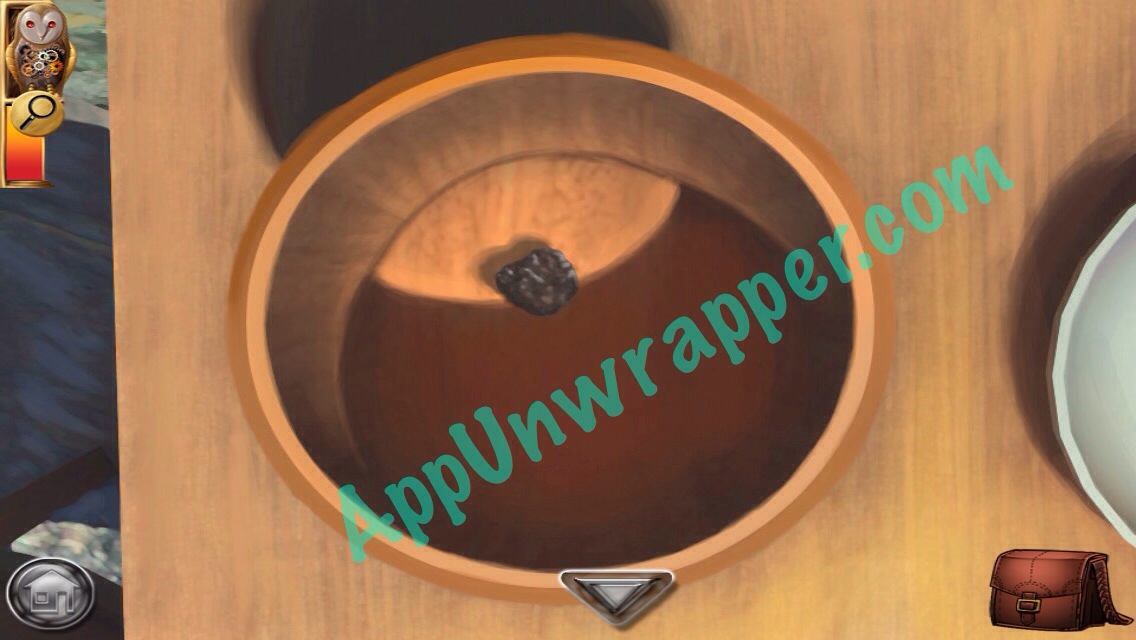
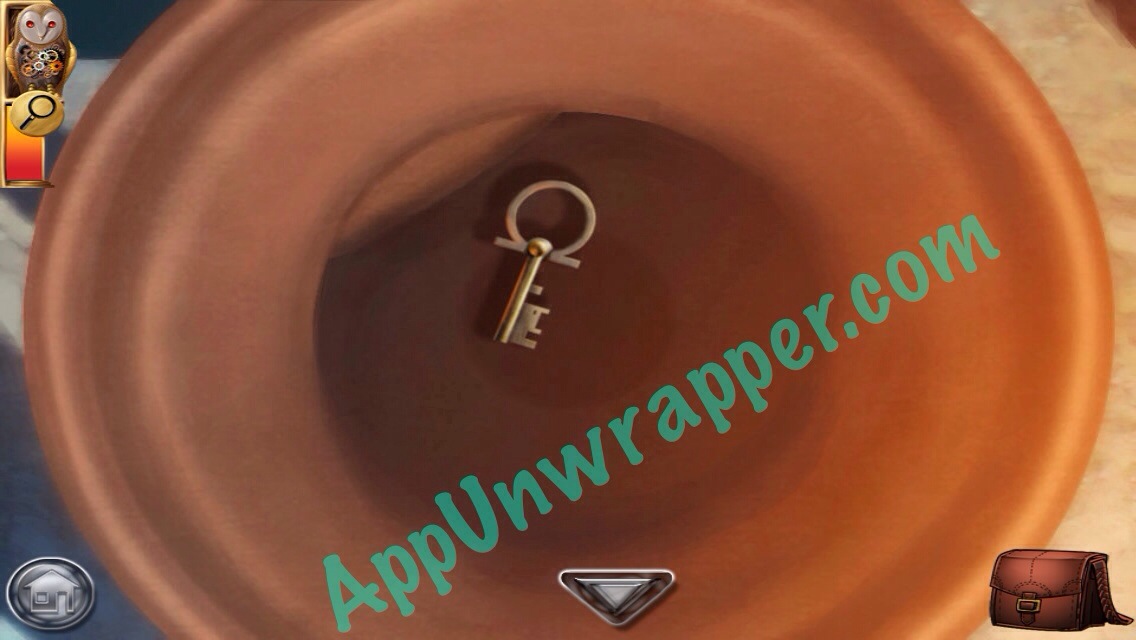
13. Tap on the pots under the blue awning. Get the “key from the pot.”

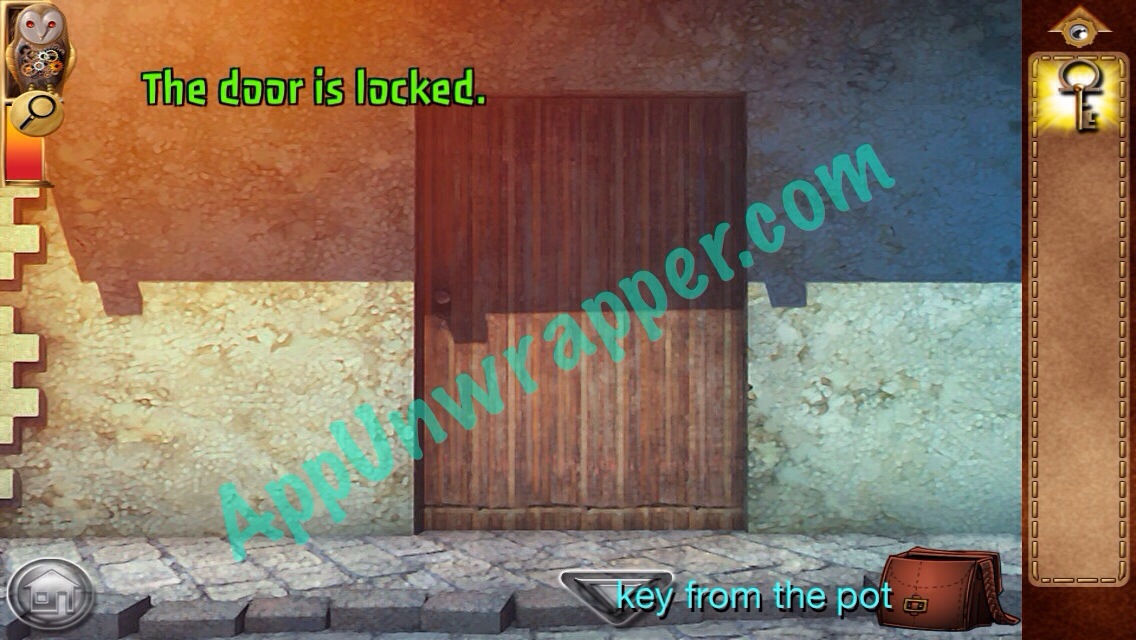
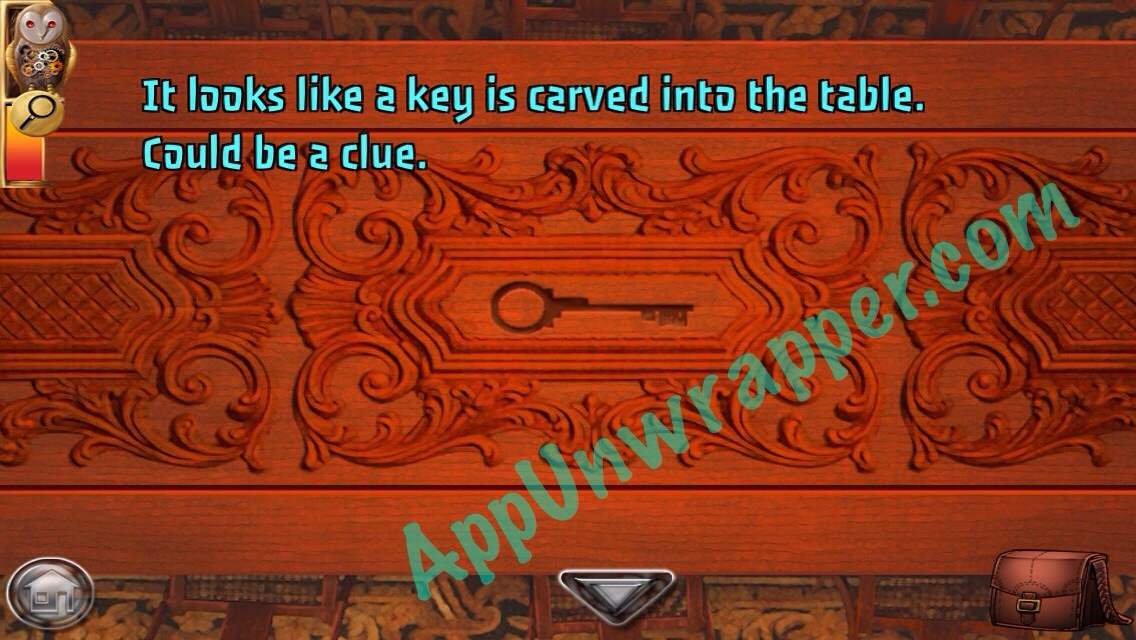
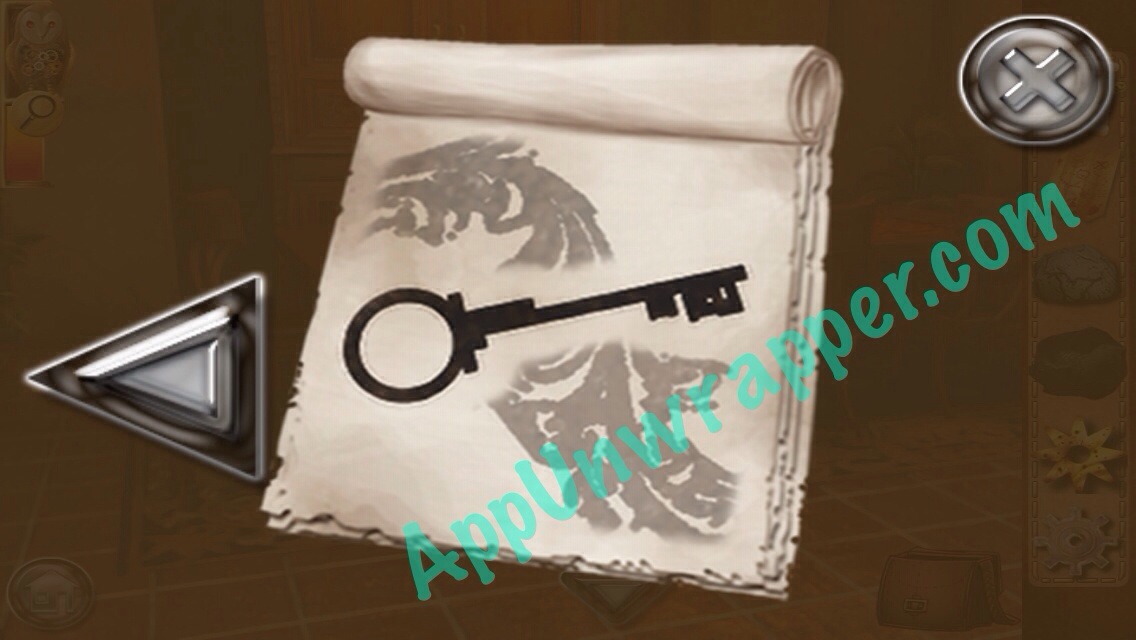
14. Go back to the door to the left of Ares’ symbol. Use the key from the pit to unlock it and get the key clue for your notepad.
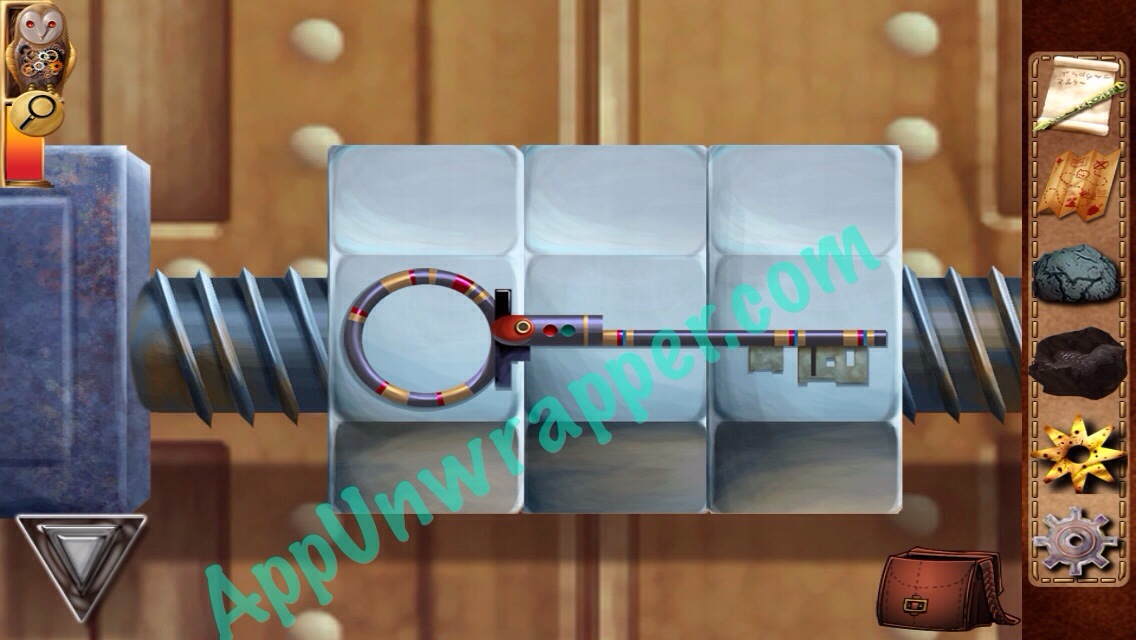
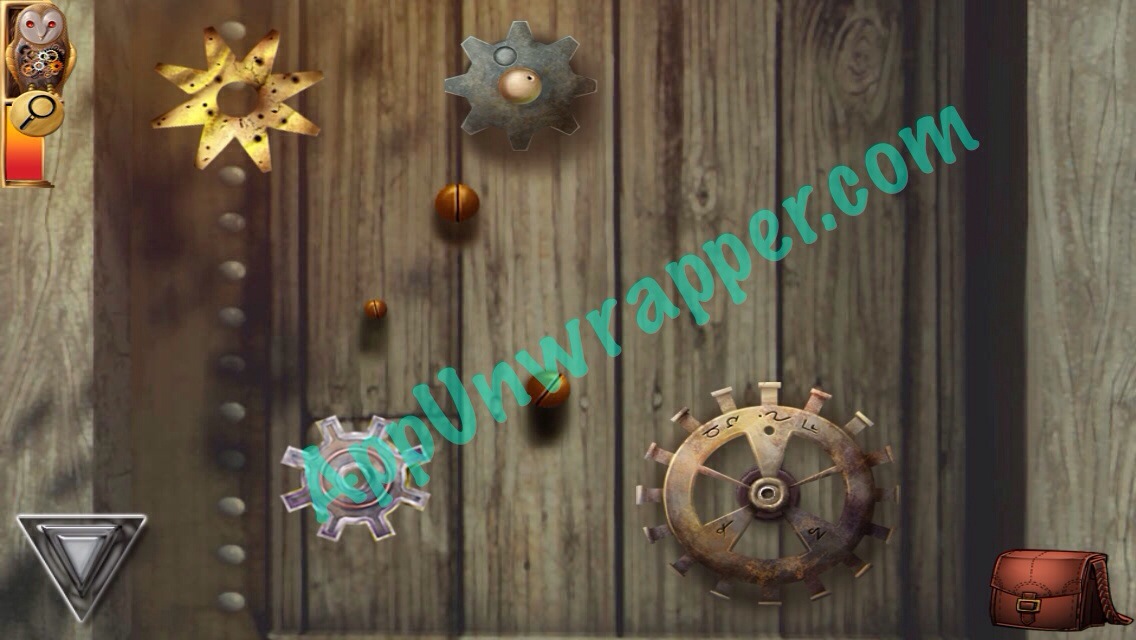
15. Now we can solve the nut and bolt puzzle. You need to make the three pieces match the impression you found. You need to start with the middle nut, because it can’t be changed without moving it left or right. The two side nuts can be rotated more once they hit either wall. You’ll get the “nut and bolt key” when you’re done, and the door will automatically open.


16. Now you have two more doors ahead of you. You can add your gears to the right door if you’d like, but otherwise we can’t do anything here.

17. Go back to the very first screen of the chapter. Use the nut and bolt key to open the door to the left. Take the magnetic rock off the shelf.
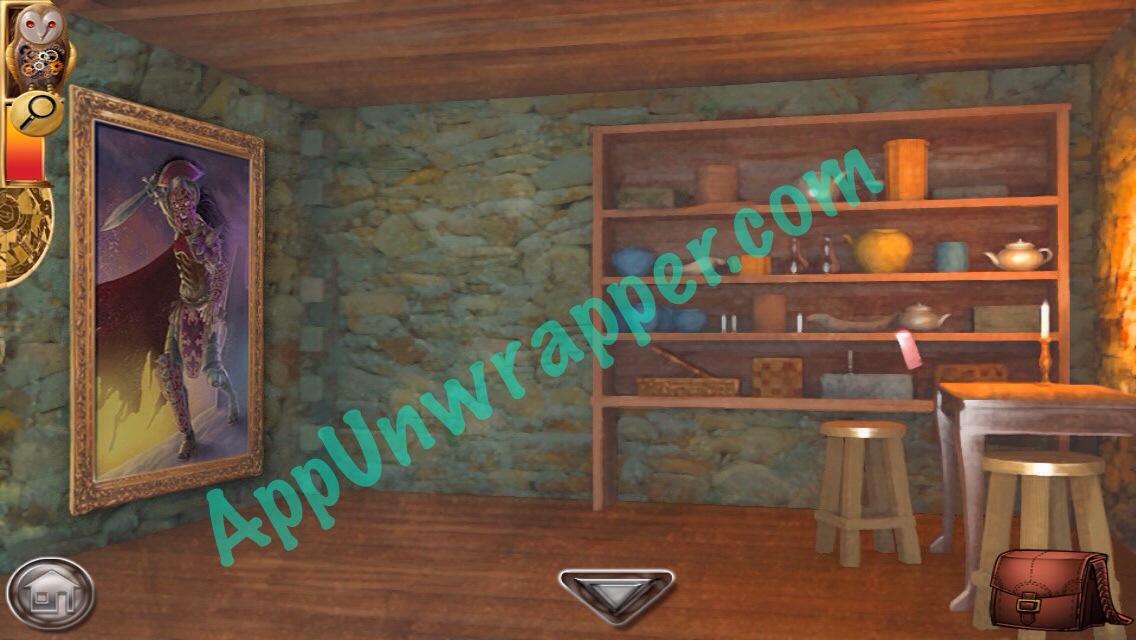

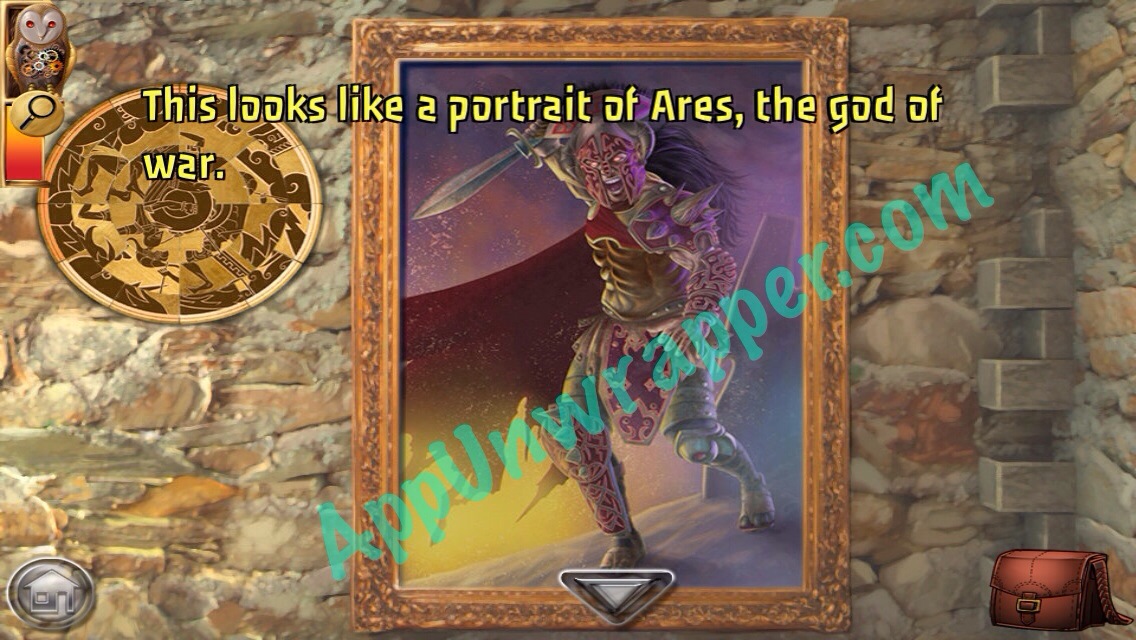
18. Solve the puzzle next to the painting of Ares and a secret doorway will open up. Take the big green gem from inside.
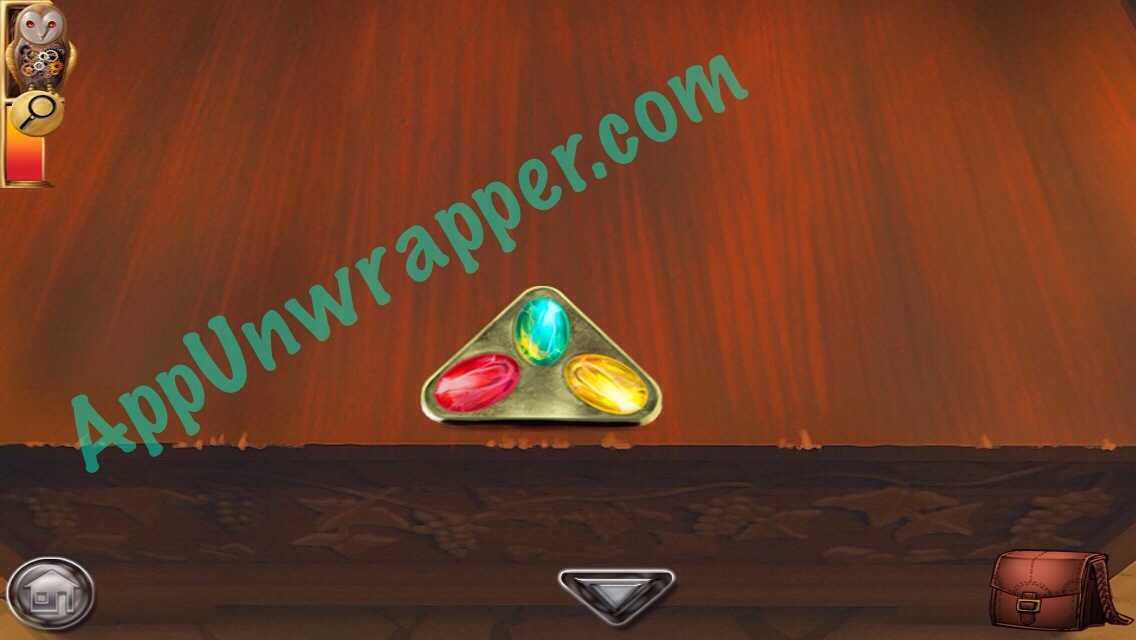
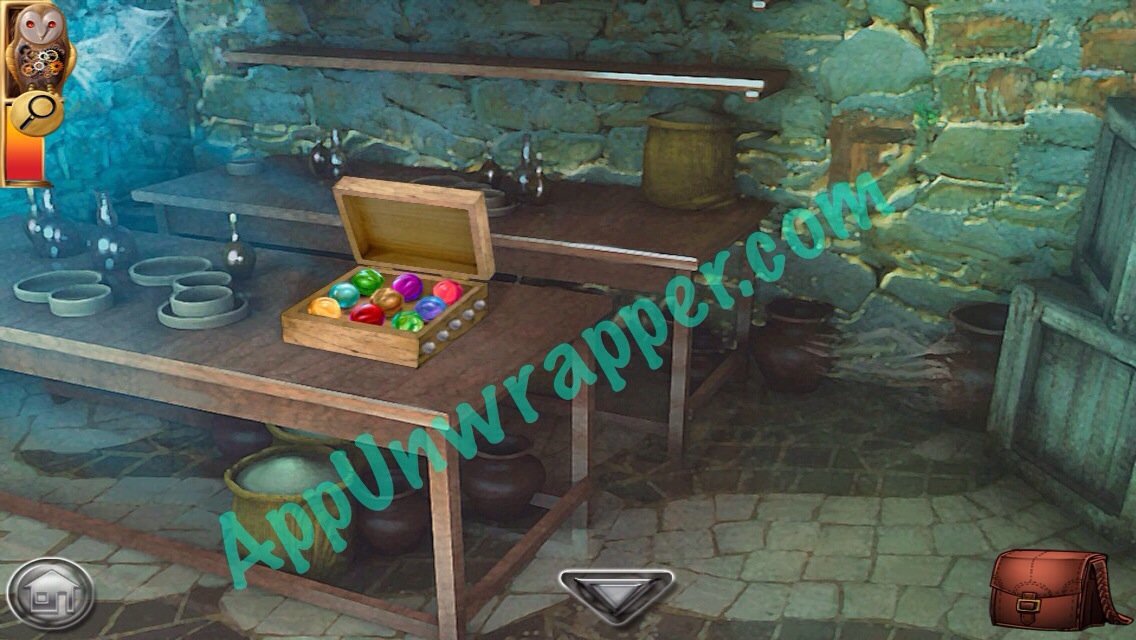
19. You should now have all three gems. Go back between the columns and go through the doorway under the red awning. Go through the curtained doorway and place all three colored gems on the chest to unlock it. Take the “chest key.”
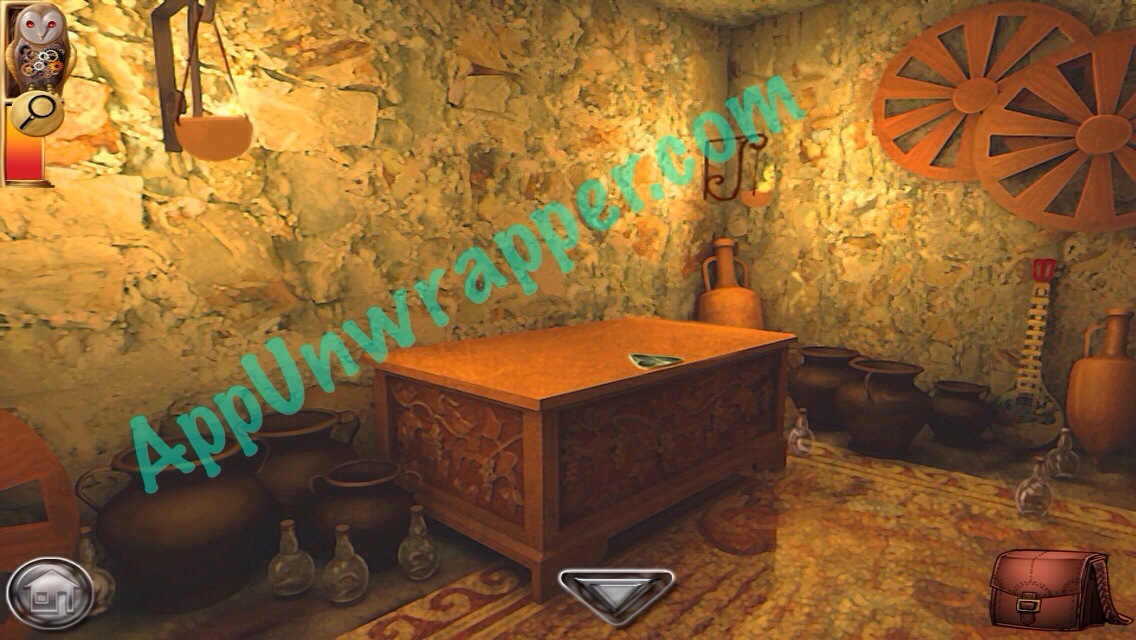


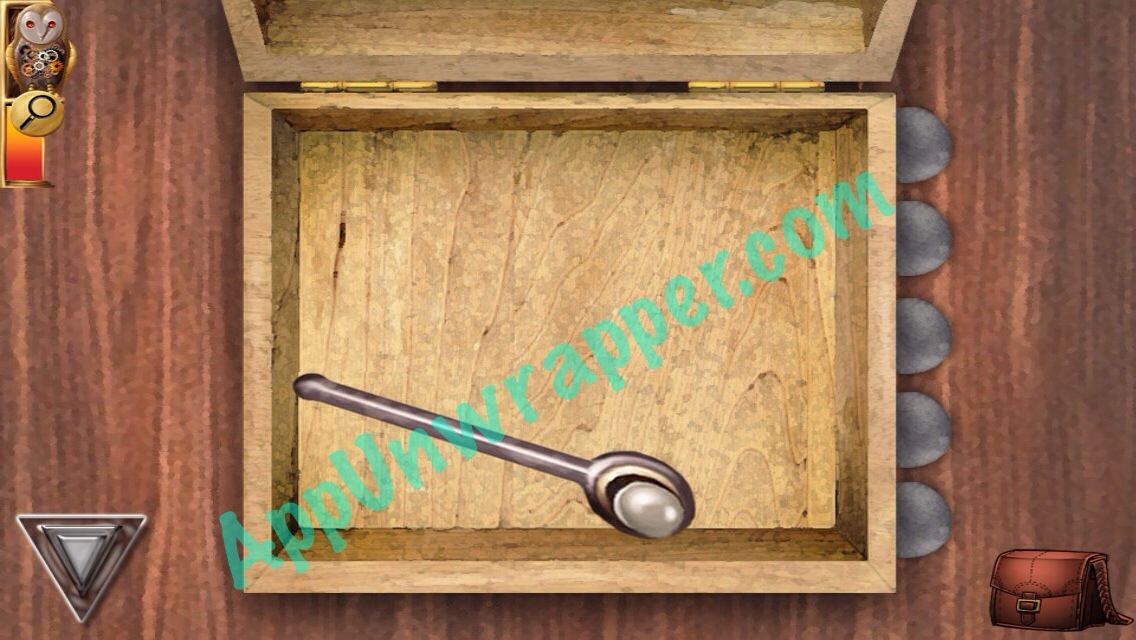
20. Remember this doorway? Go in and use the two magnetic rocks to open the chest and get another gear.

21. Find the guard again. There’s a detour to the right behind him. Go there and use the chest key to unlock the door at the end of this path.


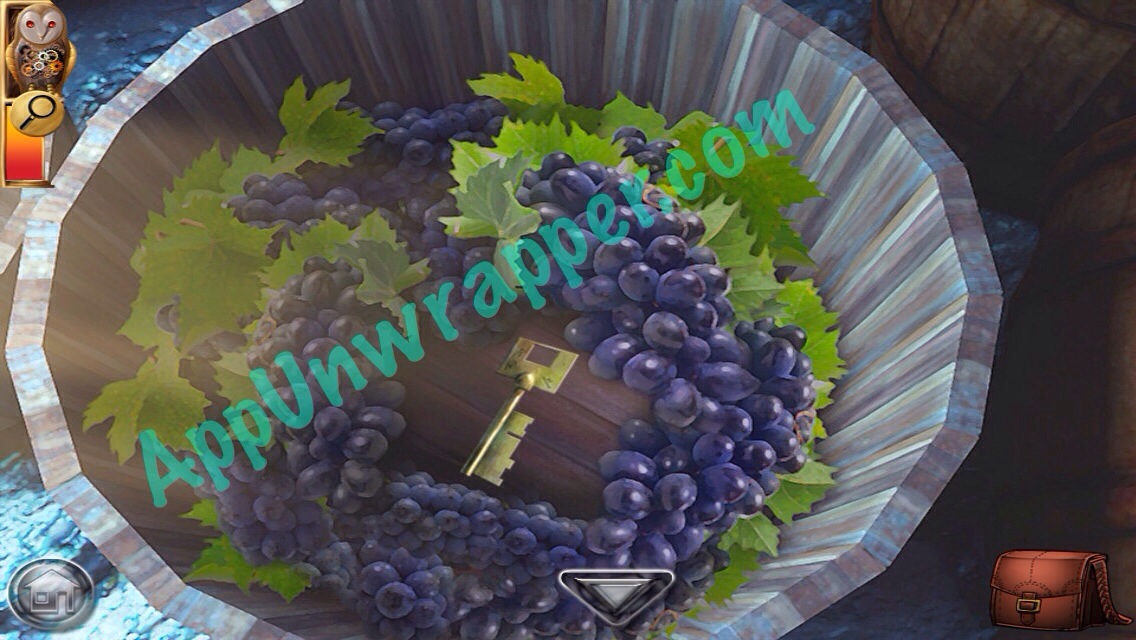
22. Take the “grape barrel key” from the barrel of grapes.

23. Go back out and use the grape barrel key to unlock the door to the left of it.

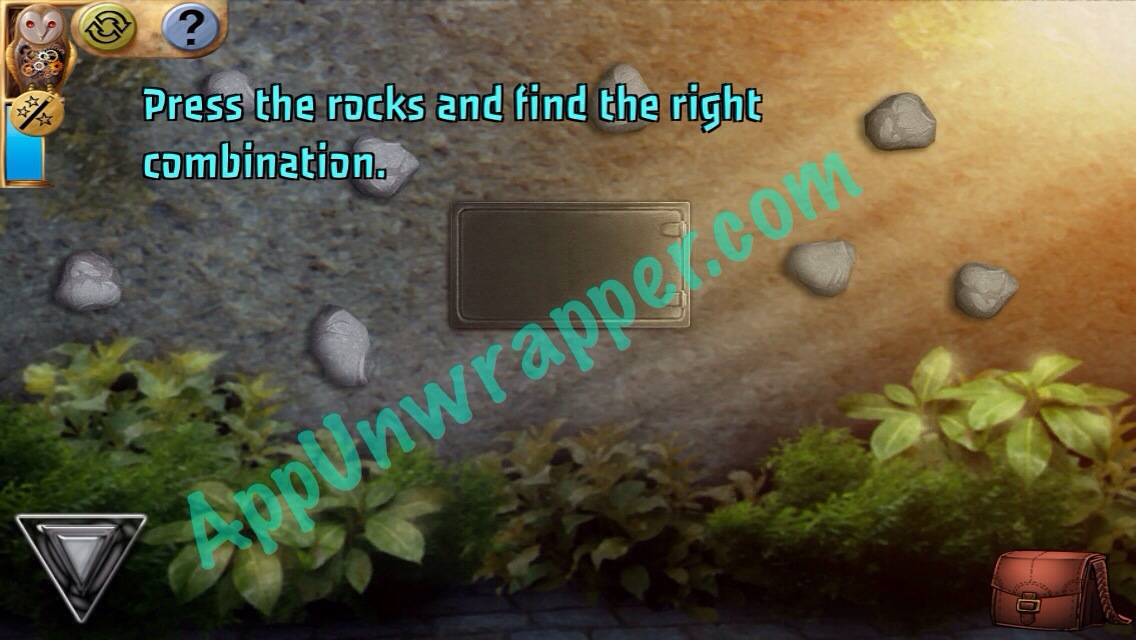
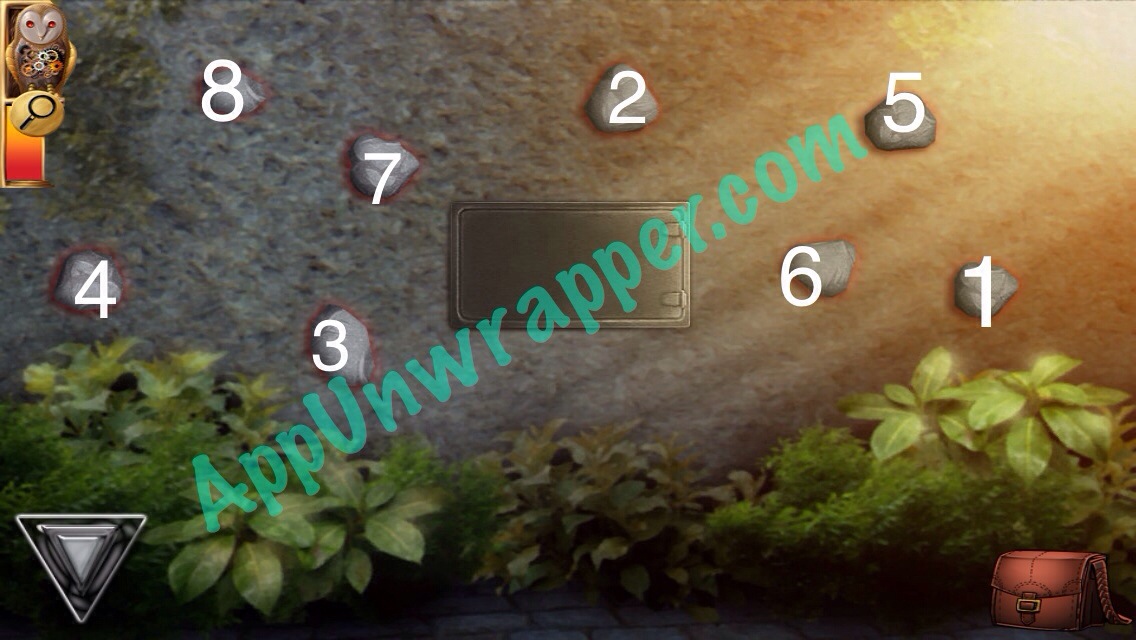
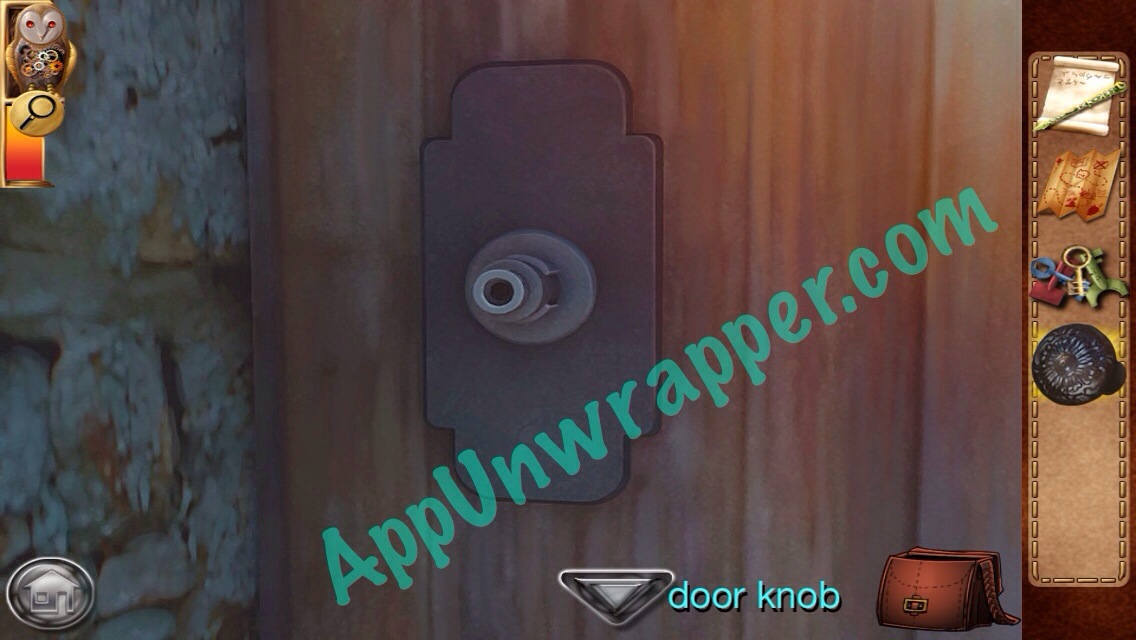
24. There’s a wall safe here with a bunch of stones around it. You need to tap them in the right order so all the stones glow red. You need to use trial and error and your memory (or copy the order below). You’ll get the doorknob once you solve it.
25. Go to the third doorway in this alley and use the doorknob you found to open it. Go inside and solve the Simon Says puzzle. Tap each light on the right side to start the sequence and then copy it. If you mess up, you have to start over from scratch. After all five lights are lit, you’ll get a crank handle.


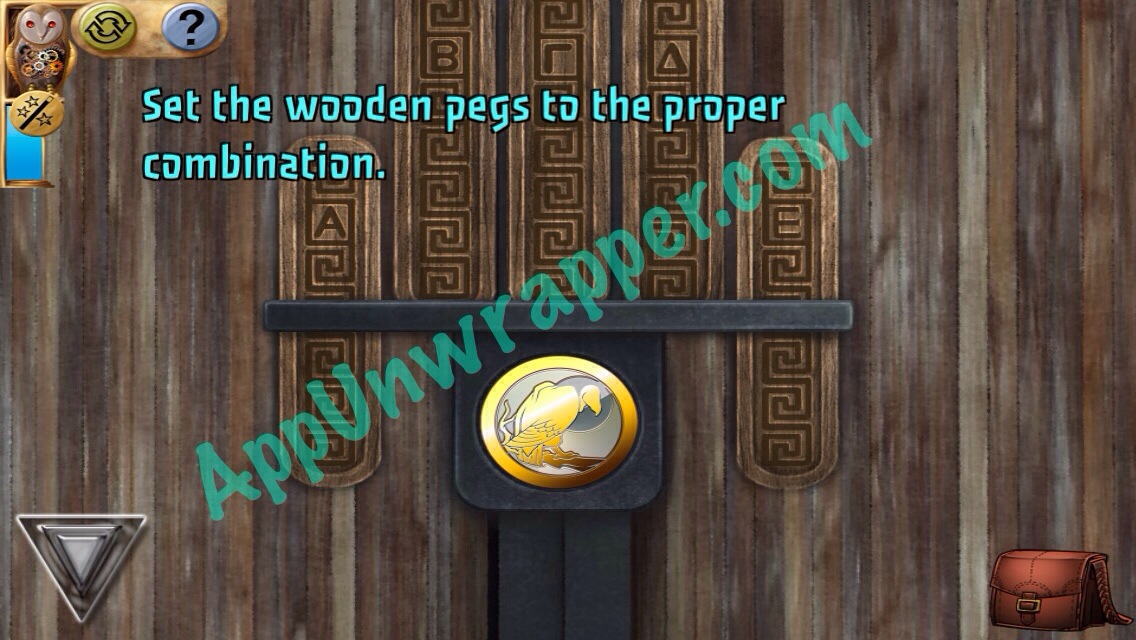
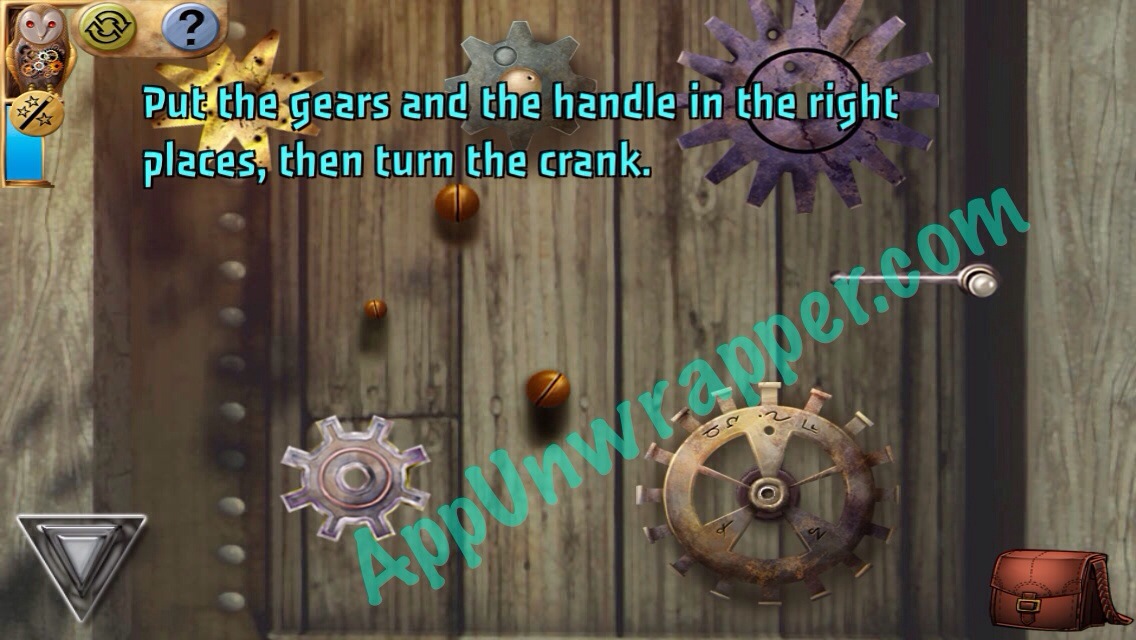
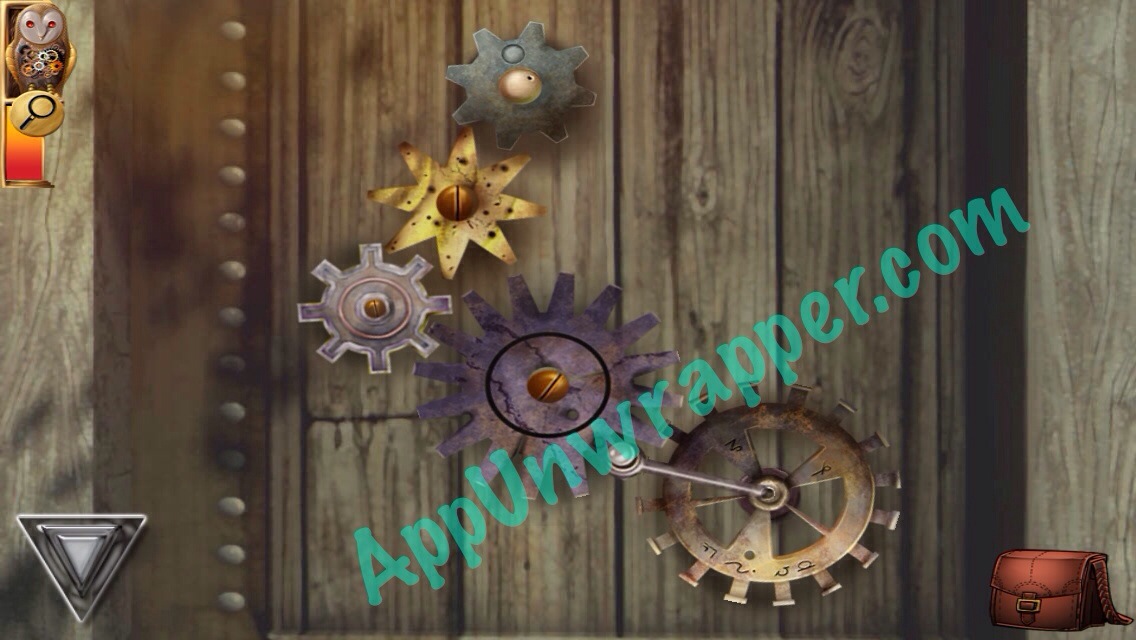
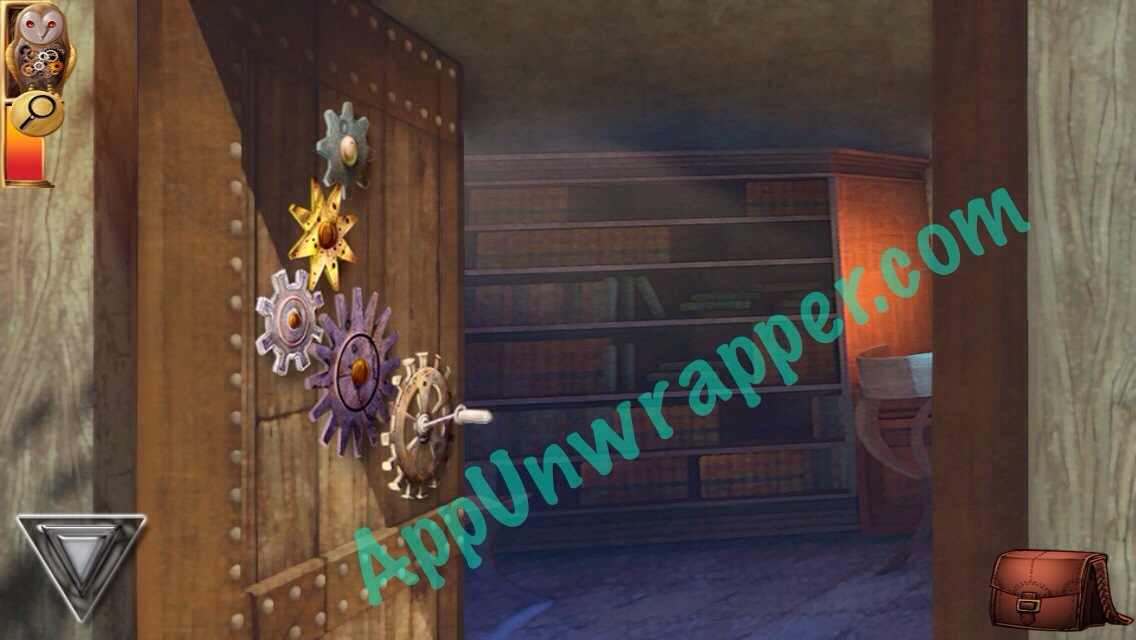
26. Go back to the gears door and put all the gears and the crank handle on it. Then arrange them properly to open the door.
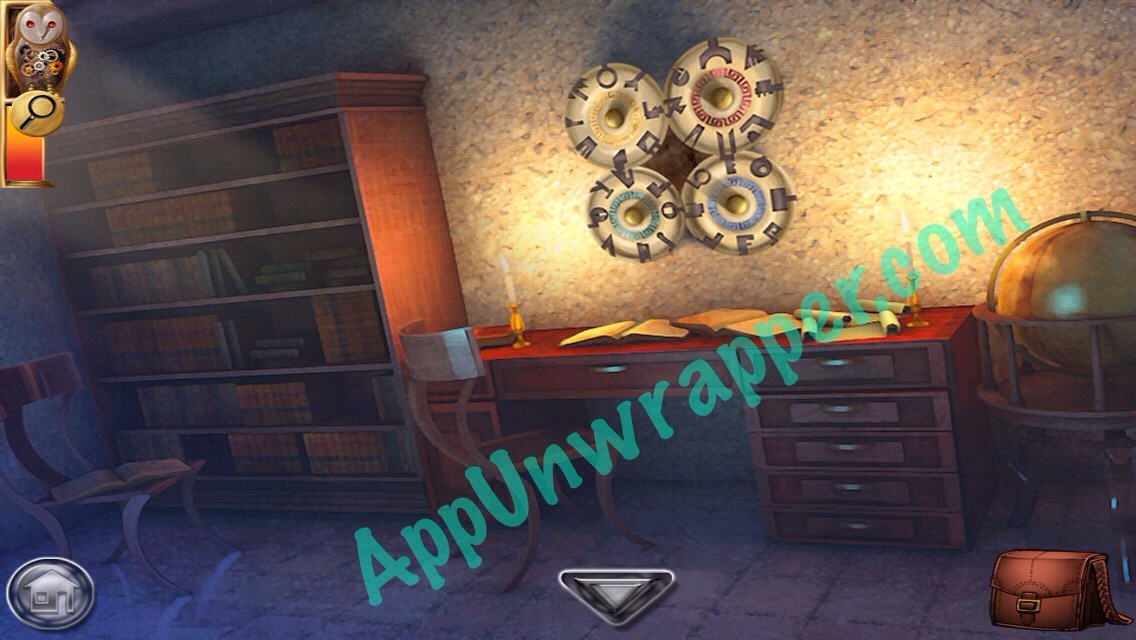
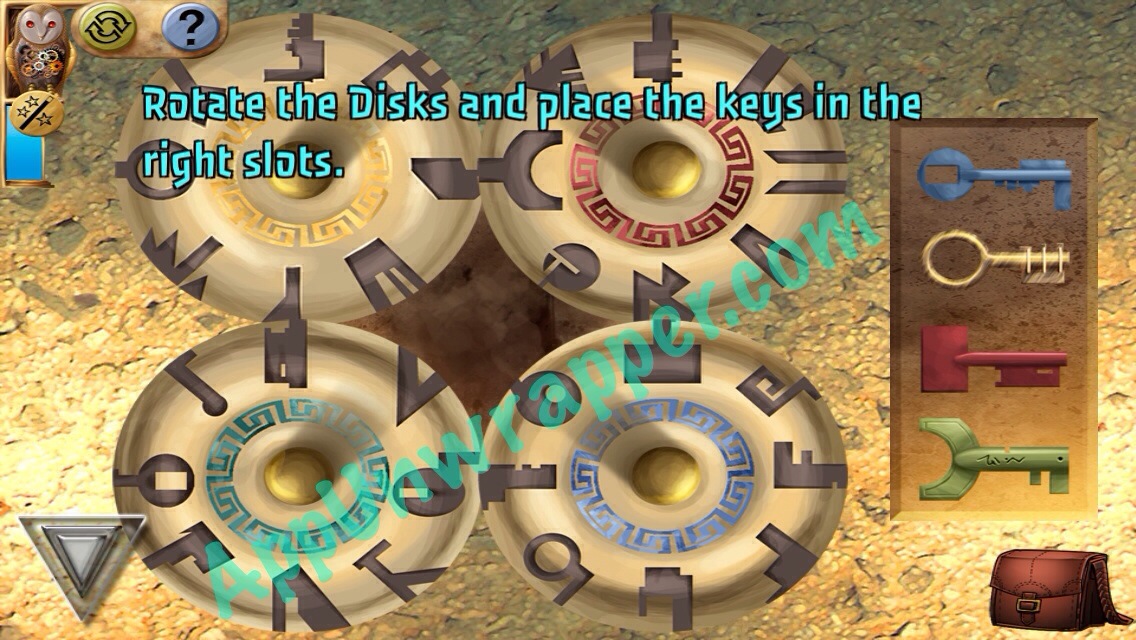
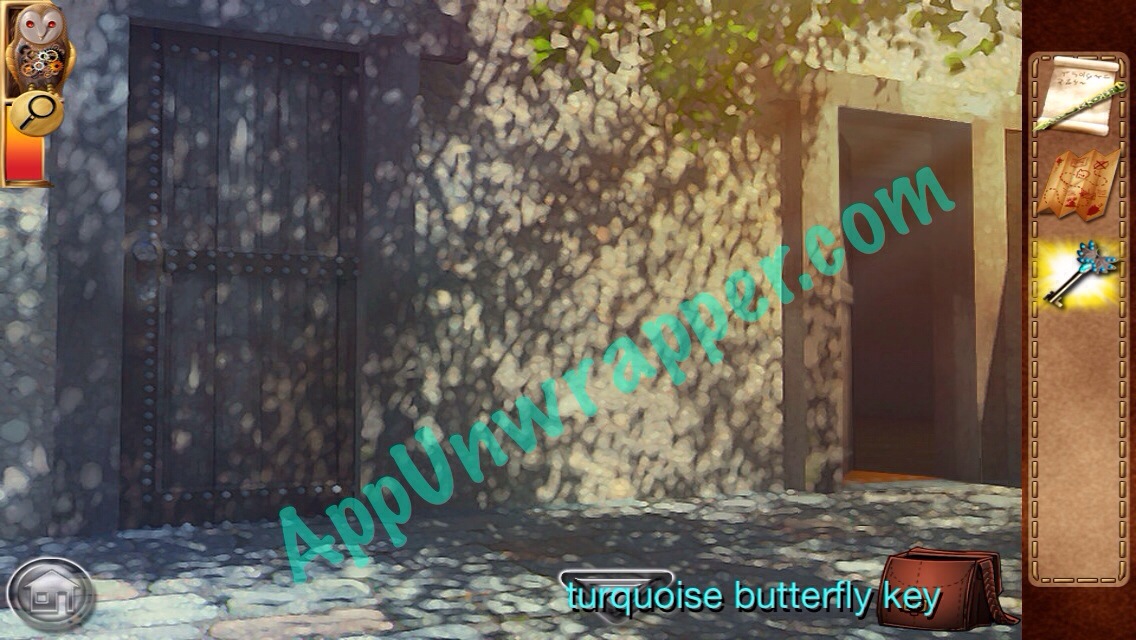
27. There’s a puzzle here in which you’ll finally get to use the “colored key things.” Spin the wheels so they form the shapes of the four keys, then tap the keys to rotate them and drag them to the correct slots. You’ll get the butterfly turquoise key.


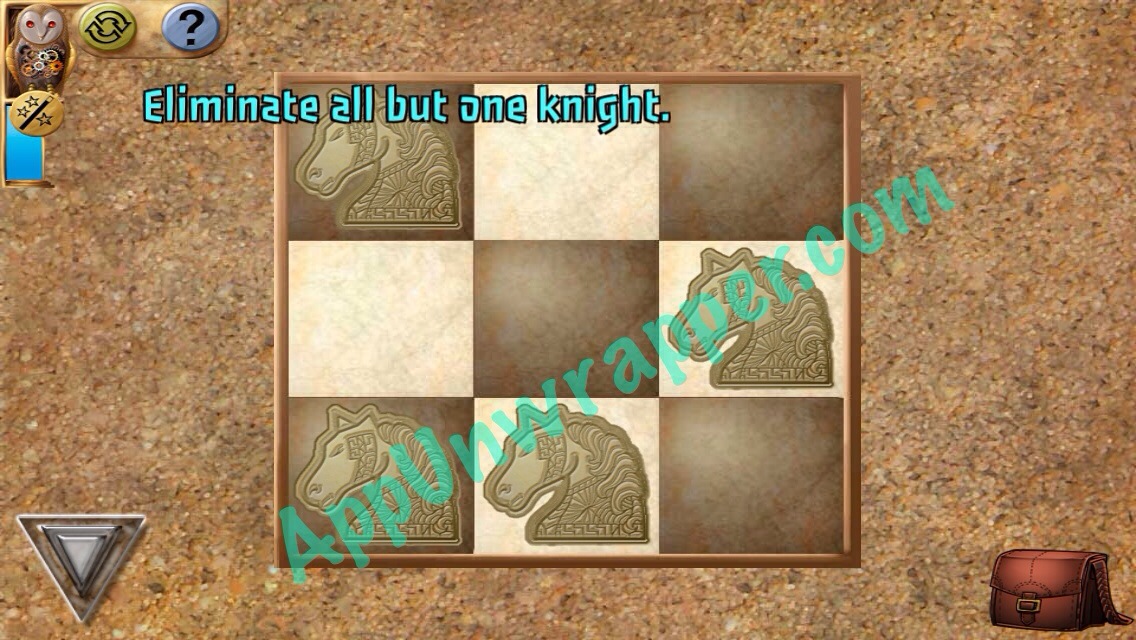
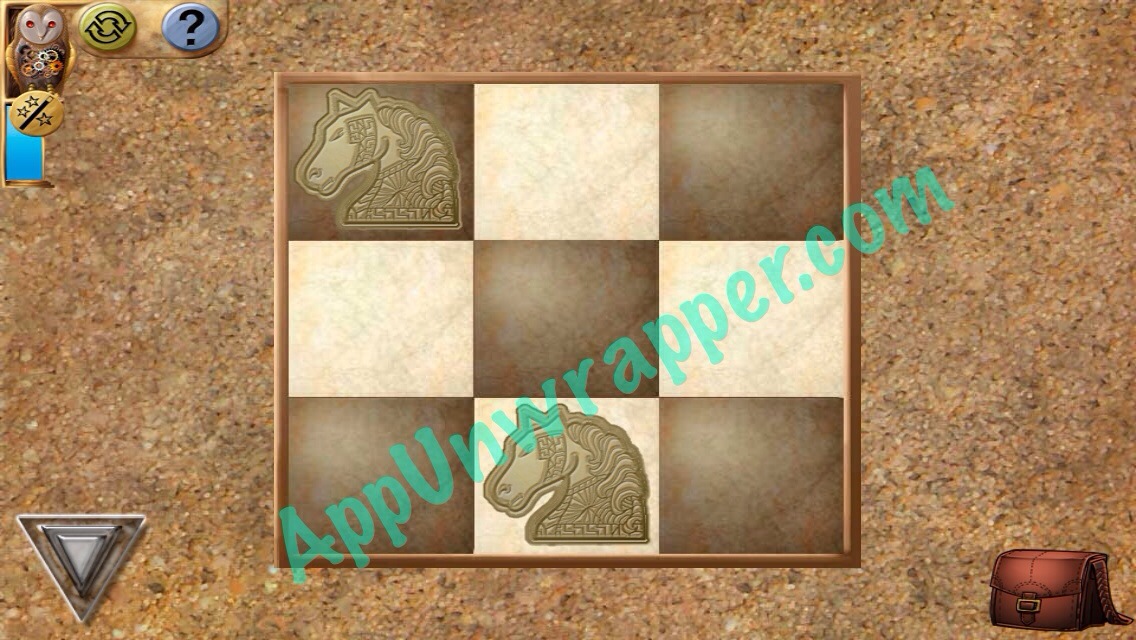
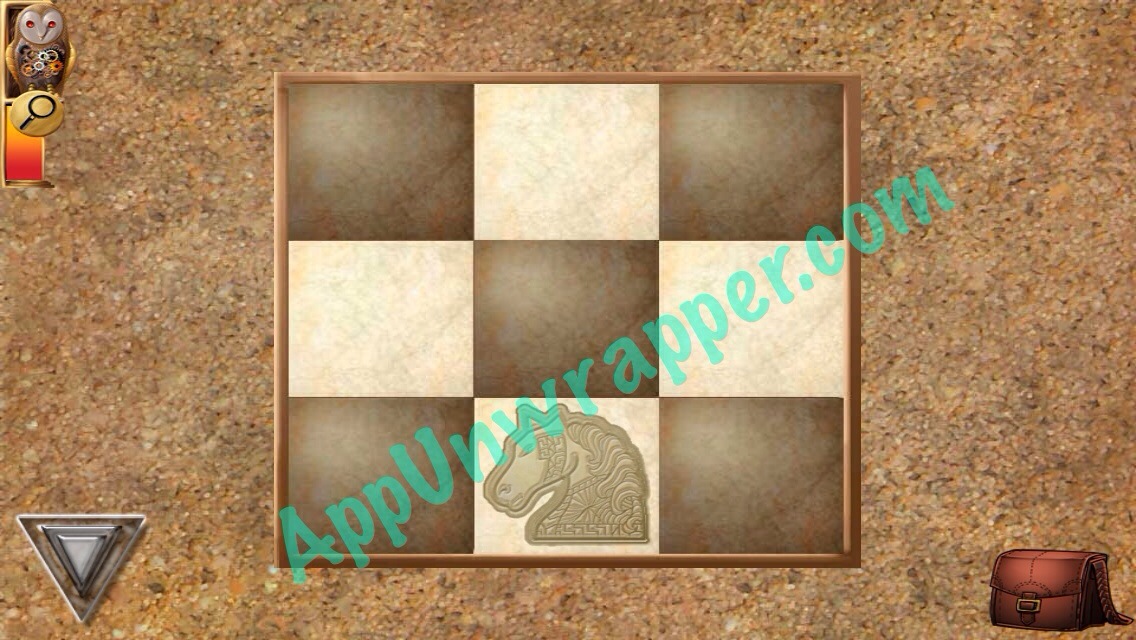
28. Go back out and use the butterfly turquoise key to open the door to the left. Tap the painting so it falls down. Revealing a small chess board. Solve the puzzle by eliminating all but one knight (horse) piece. Then take the military scroll.


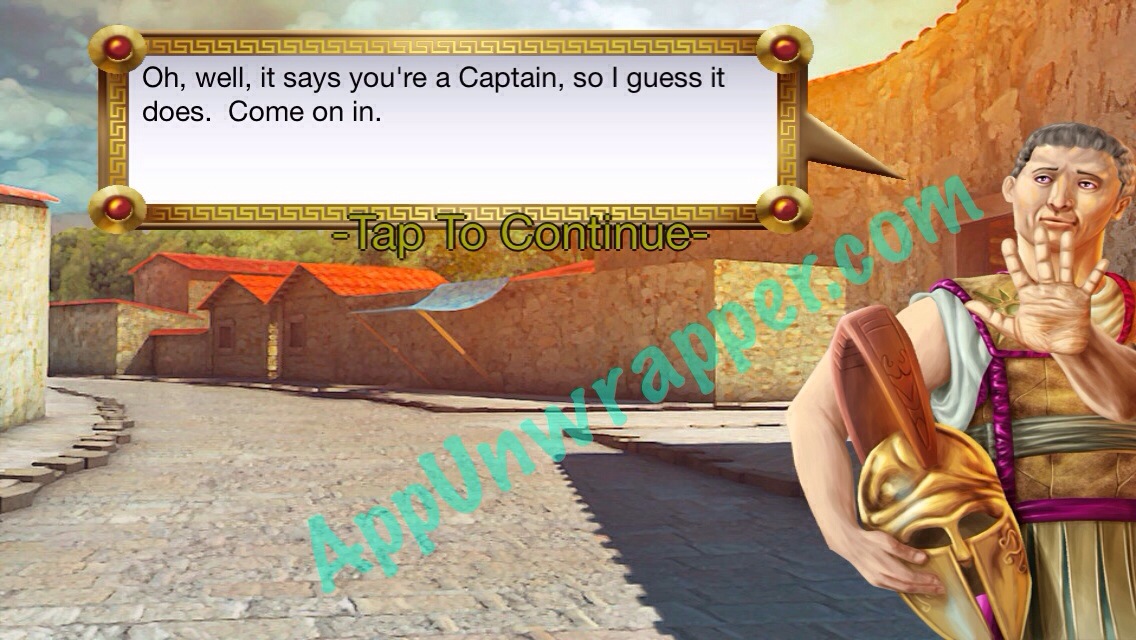
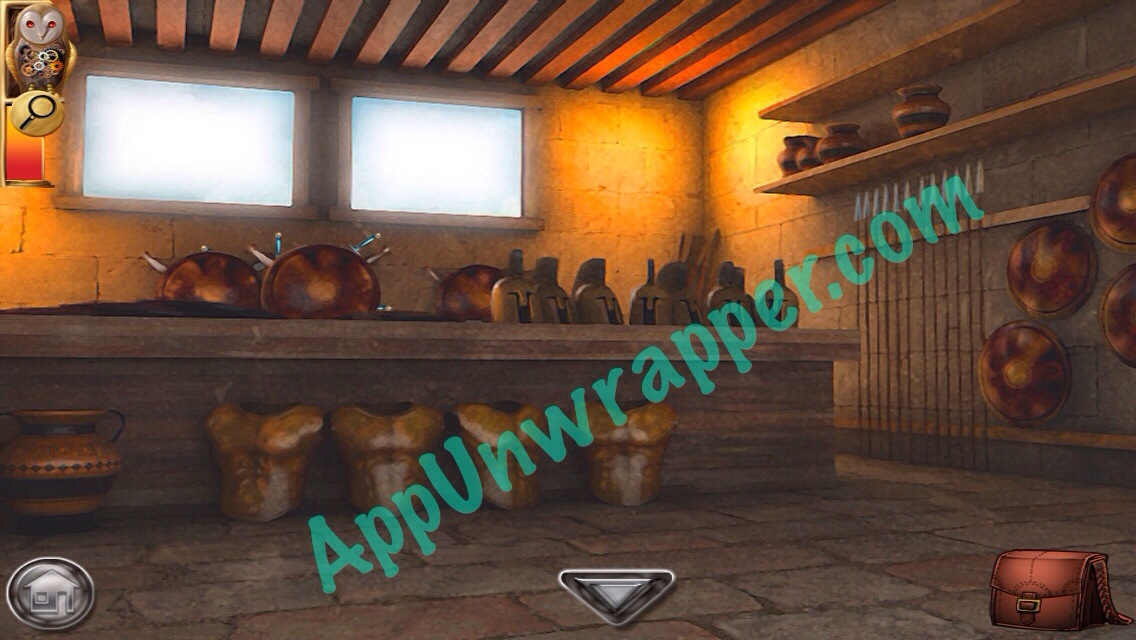
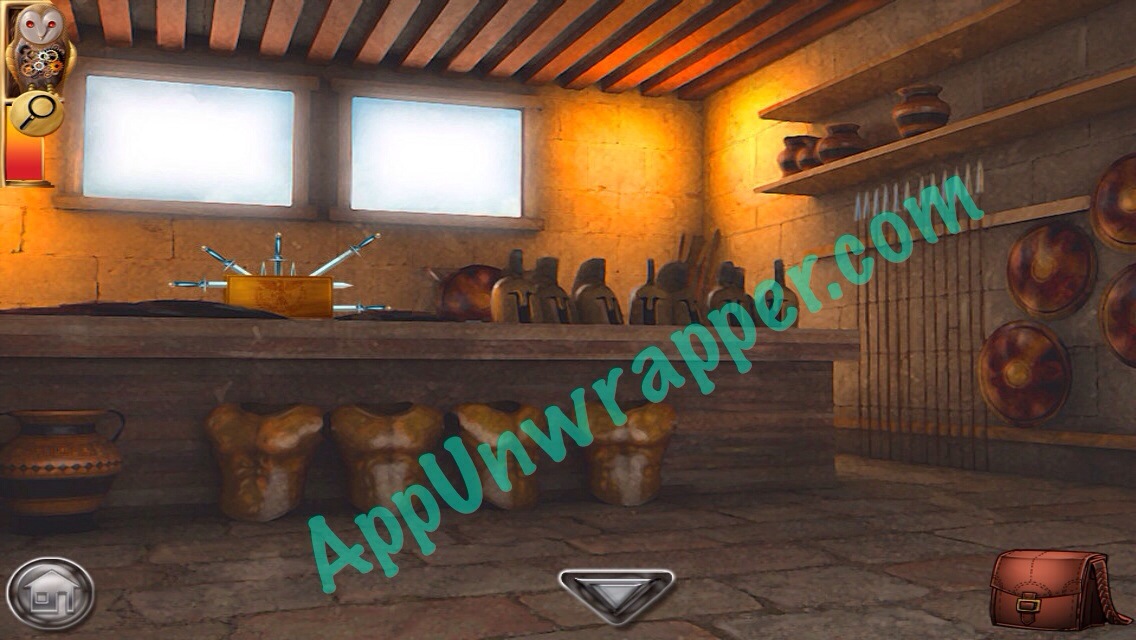
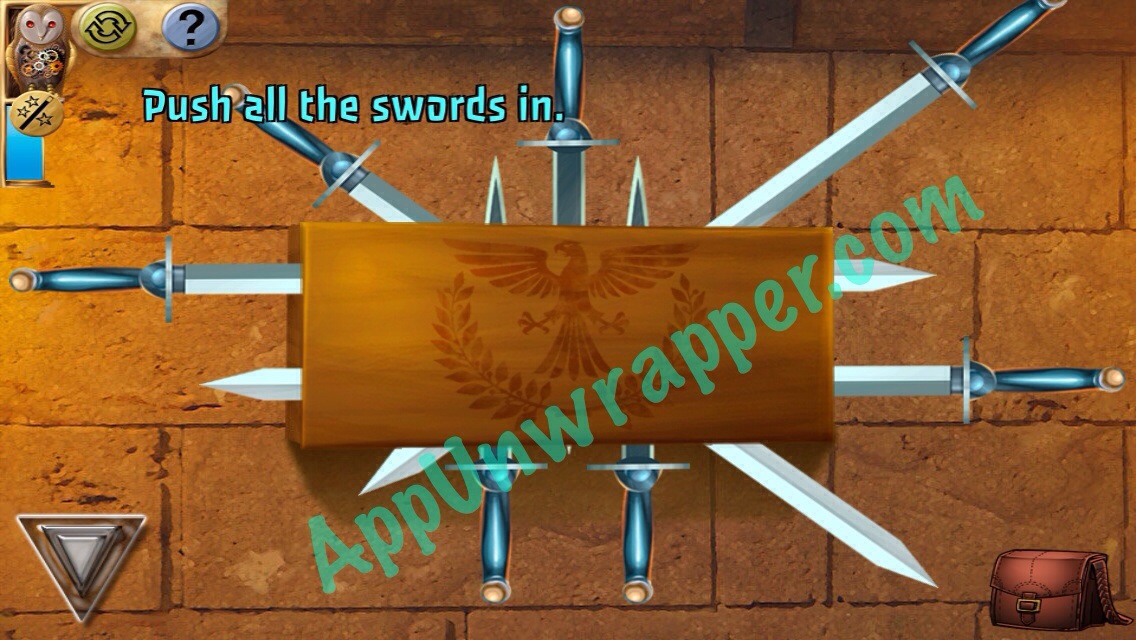
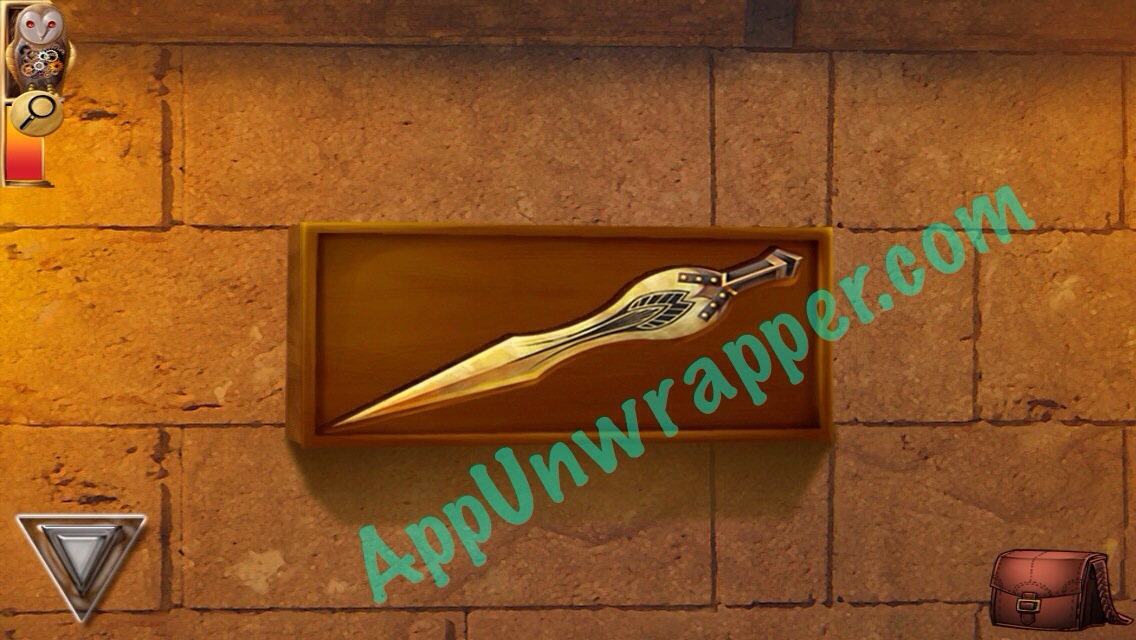
29. Go back to where the guard is and show him the military scroll so he thinks you’re a Captain. He’ll let you in. There’s a sword puzzle in here, where you have to push all the swords in. I got it by trial and error. You’ll get the Sword of Ares after you solve it.
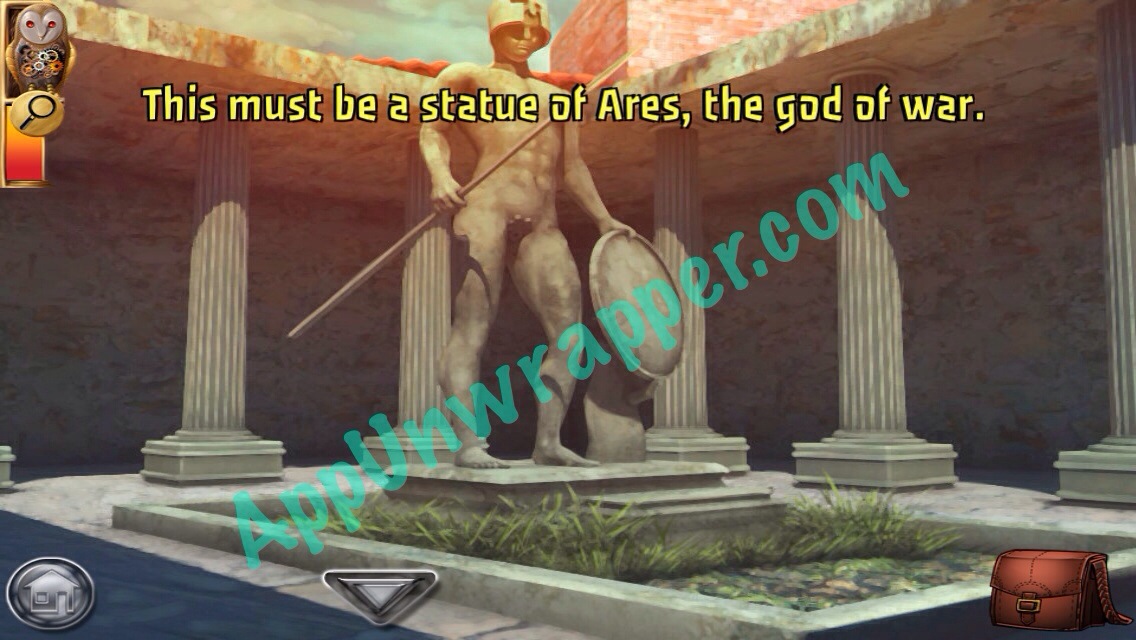
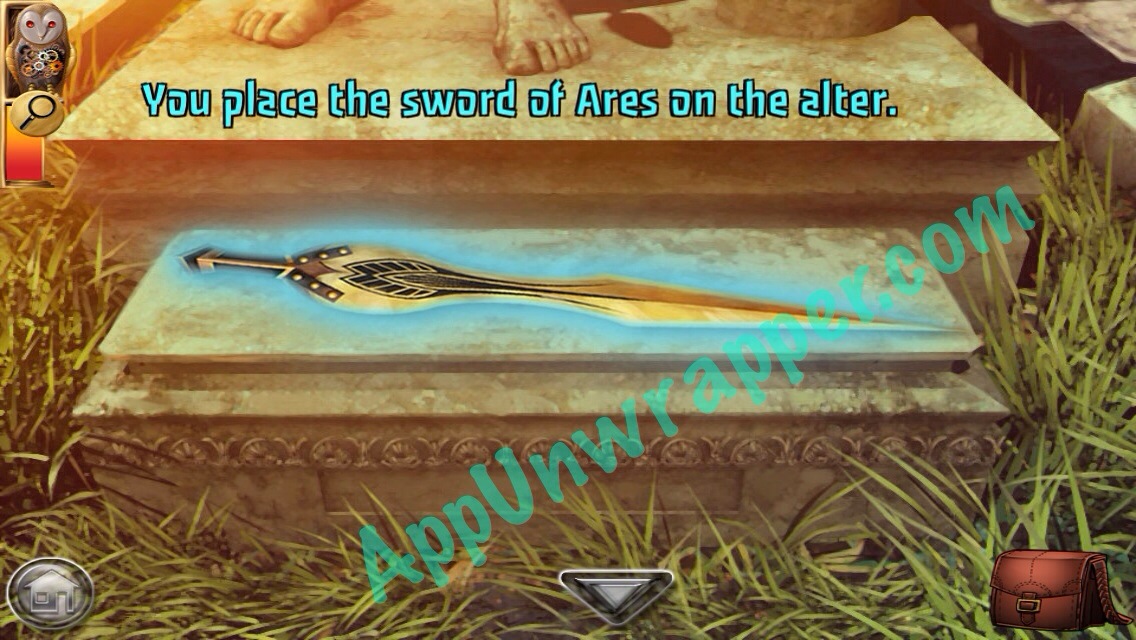
30. Go back between the two columns and find the statue of Ares. Place the sword on his altar and get the medallion of Ares.

31. Go to the big door and place the medallion in the slot. Use the clue from your notebook to solve the puzzle. I didn’t get a screenshot in time, but it’s pretty straightforward. You’ve now completed Chapter 2!