Mystery on Telescope Hill
By: Aircamp Games
 [DKB url=”https://www.appunwrapper.com/Telescope” text=”Download” title=”” type=”” style=”” color=”green” width=”” opennewwindow=”” nofollow=””]
Walkthrough Part 2:
Click here for Part 1 of the walkthrough.
Scroll down for my video of this part.
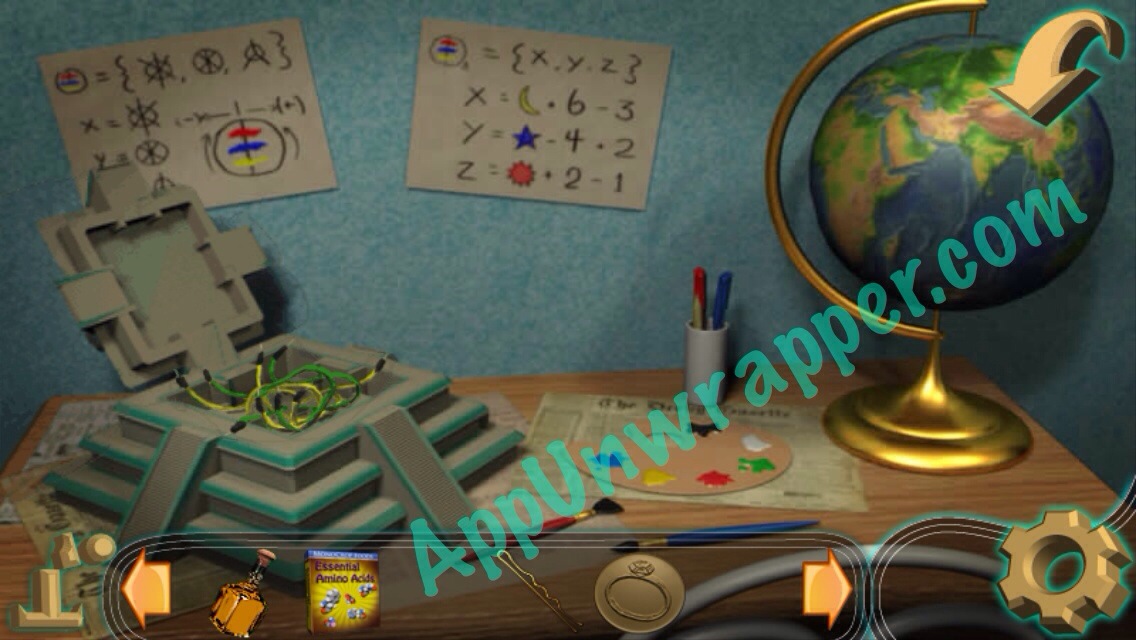
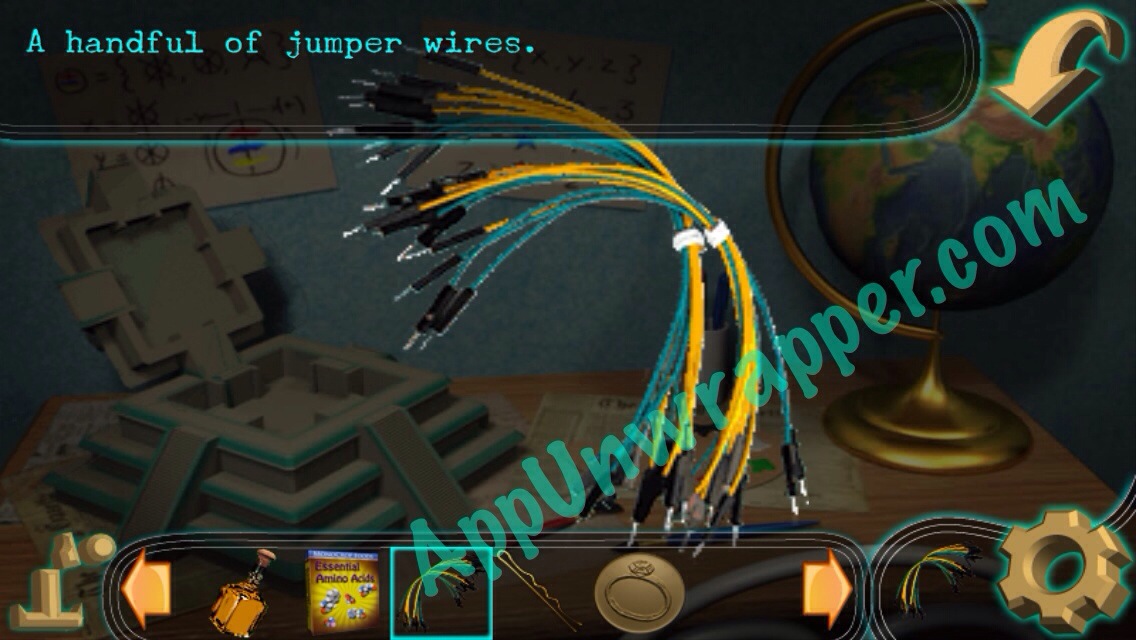
25. Go back to the kid’s room and place the top on the Mayan Temple. Open it up and take the jumper cables.
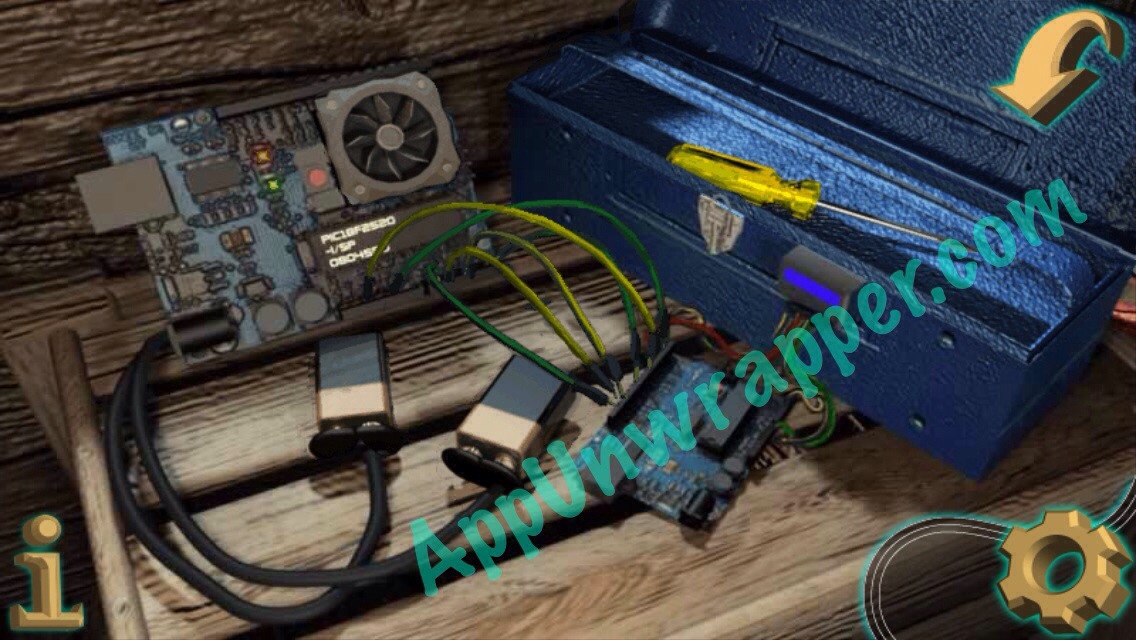
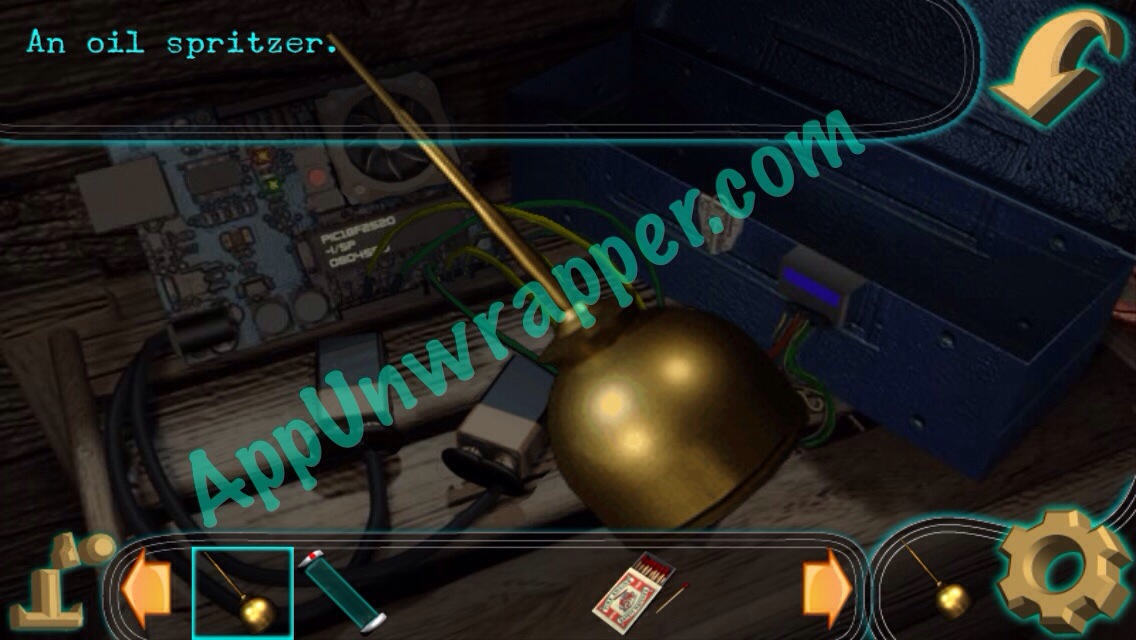
26. Go back to the tree house and use the jumper cables to open the toolbox. Take the flathead screwdriver and the oil spritzer.
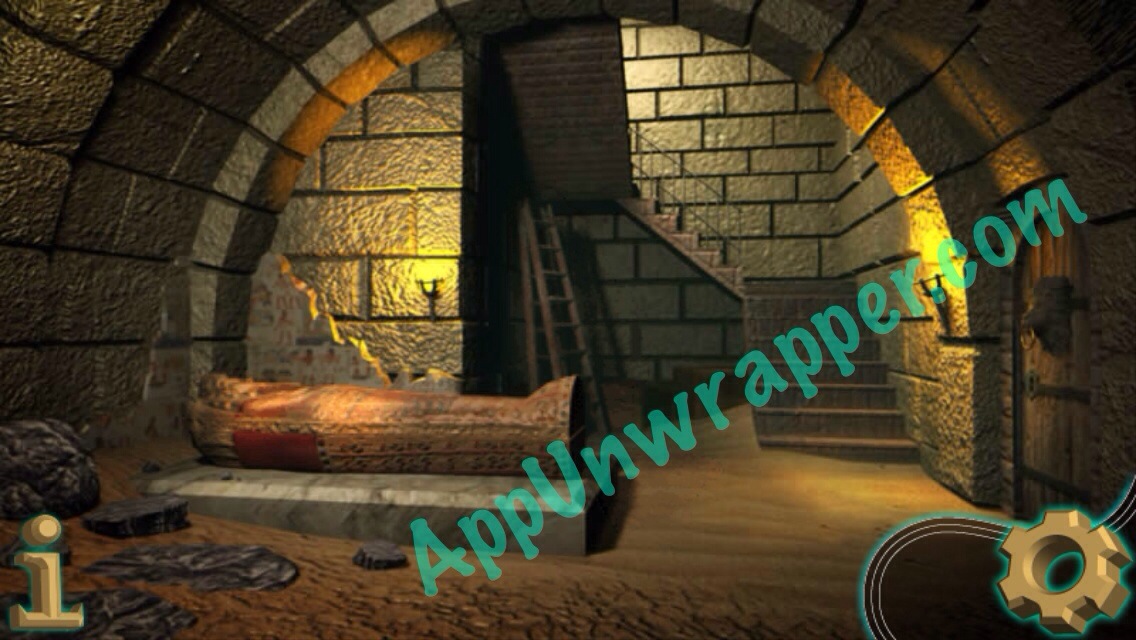
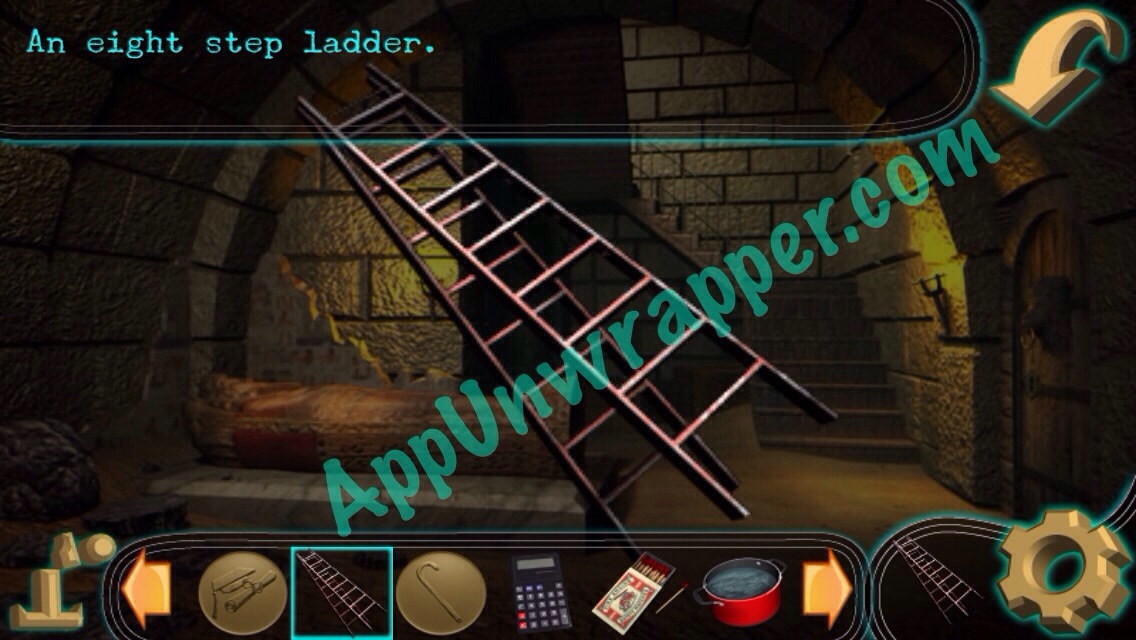
27. Go back inside. Use the golden key to open the locked door in the main hall. There’s a sarcophagus downstairs and a locked door. Take the ladder and leave.
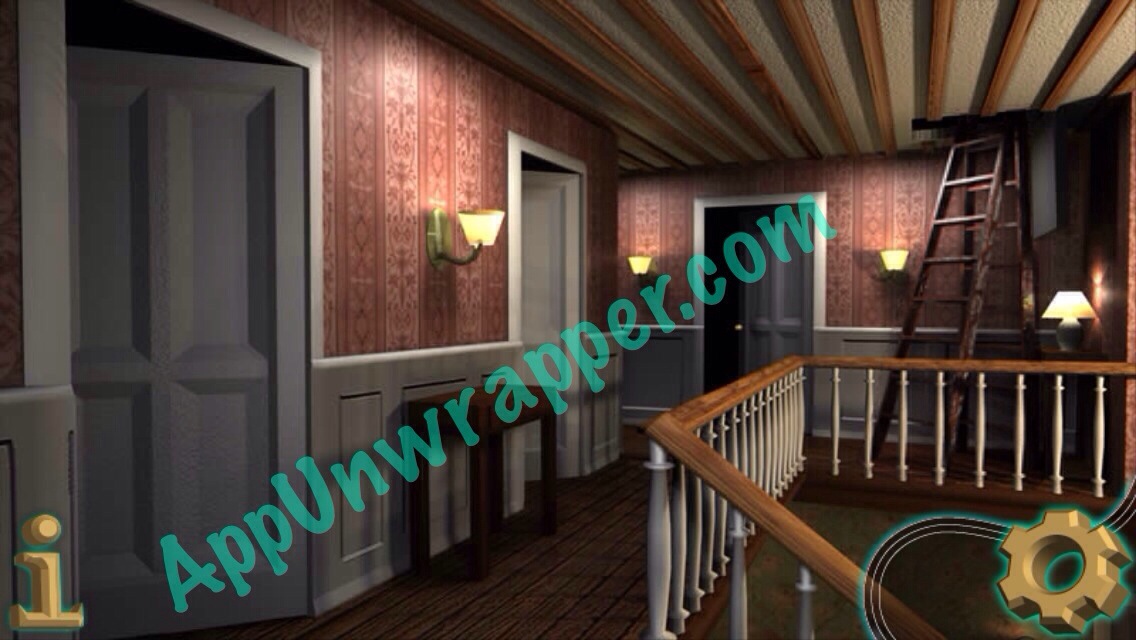
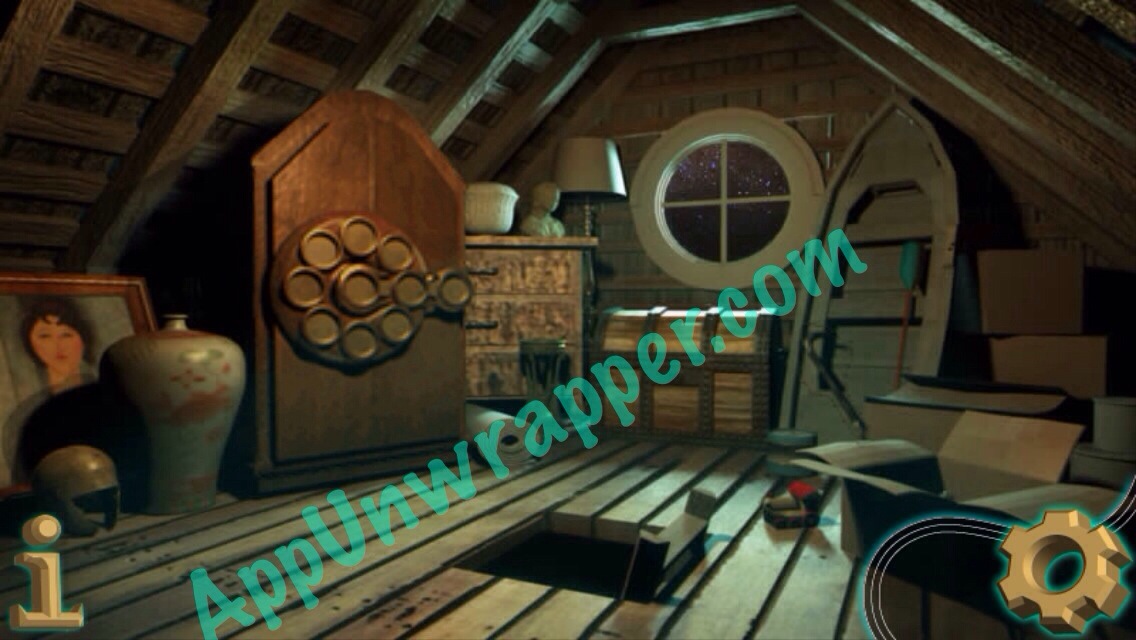
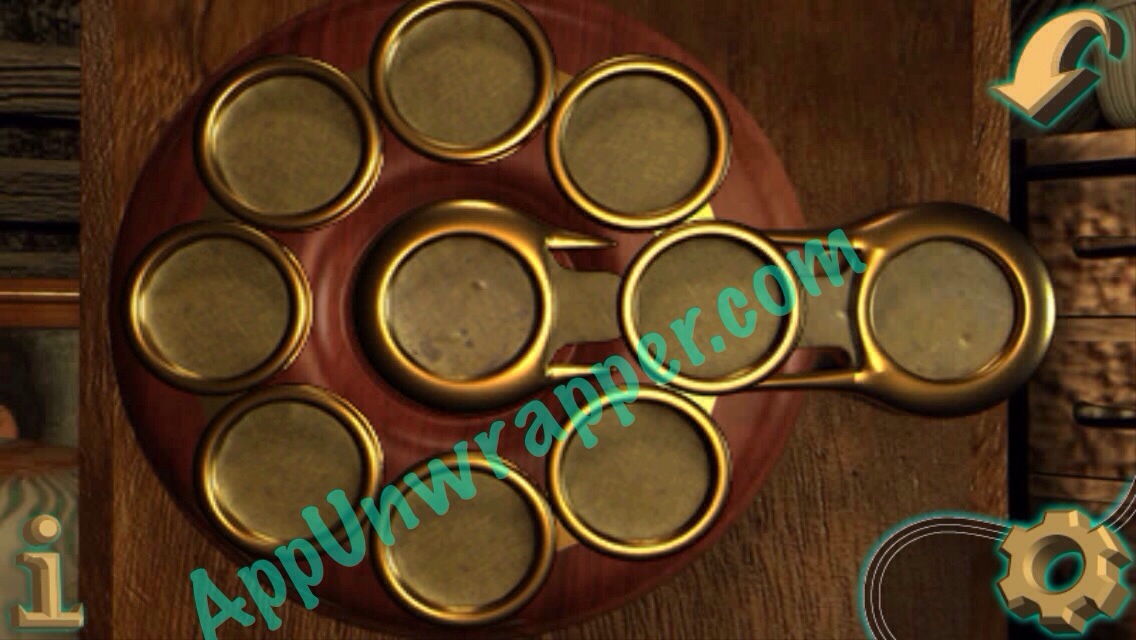
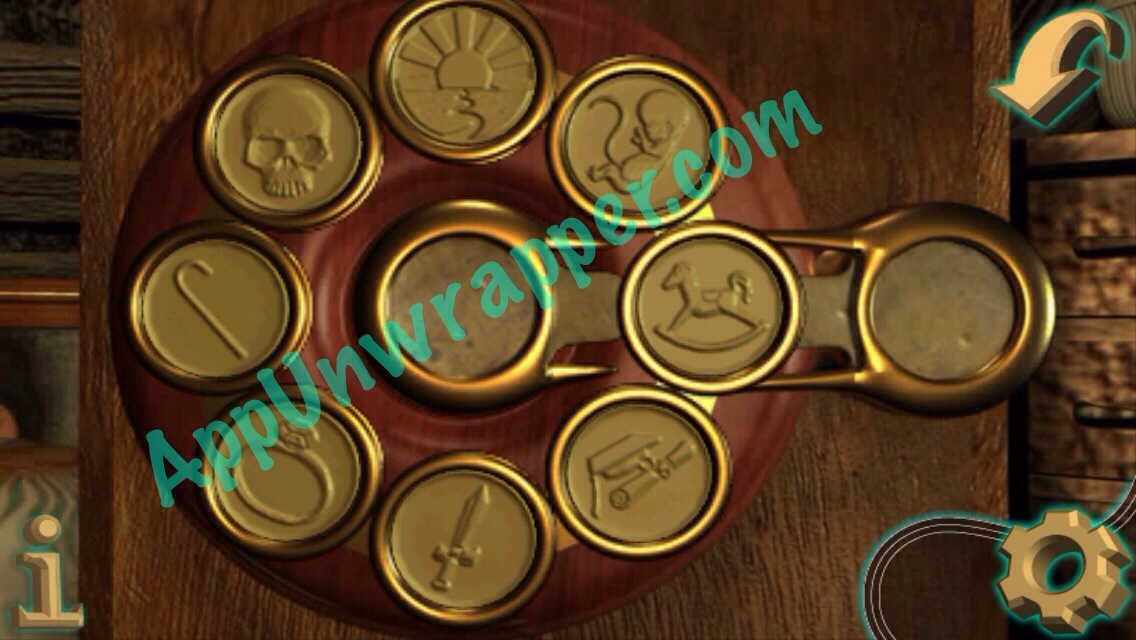
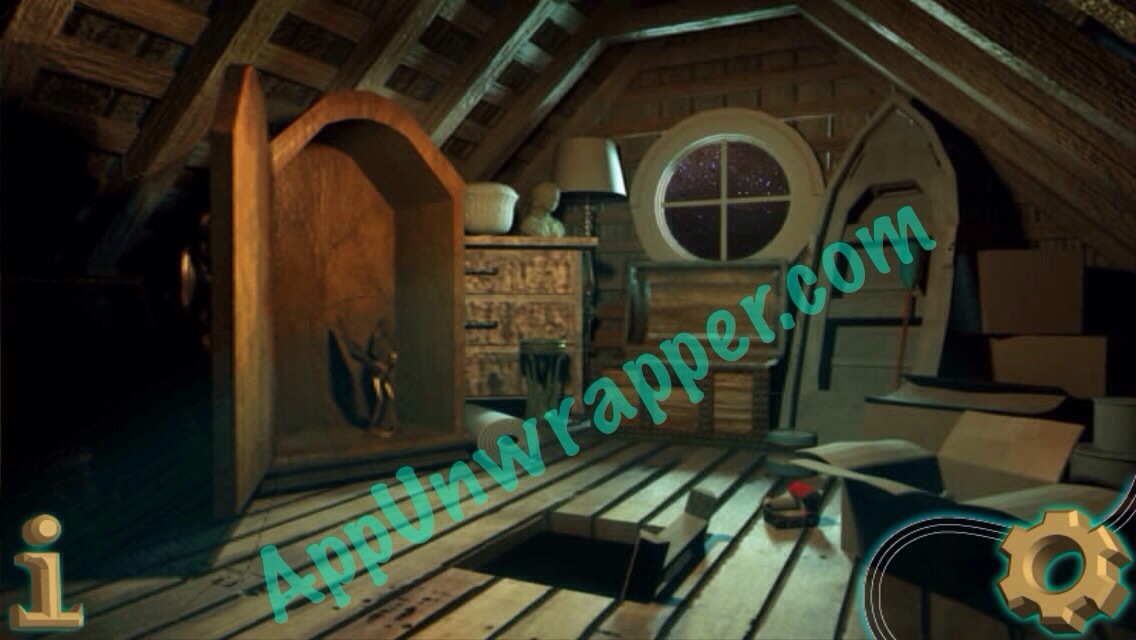
28. Go upstairs and open the door in the ceiling to the attic. Use the ladder to get up. Notice the puzzle where you can place the coins you’ve collected so far.
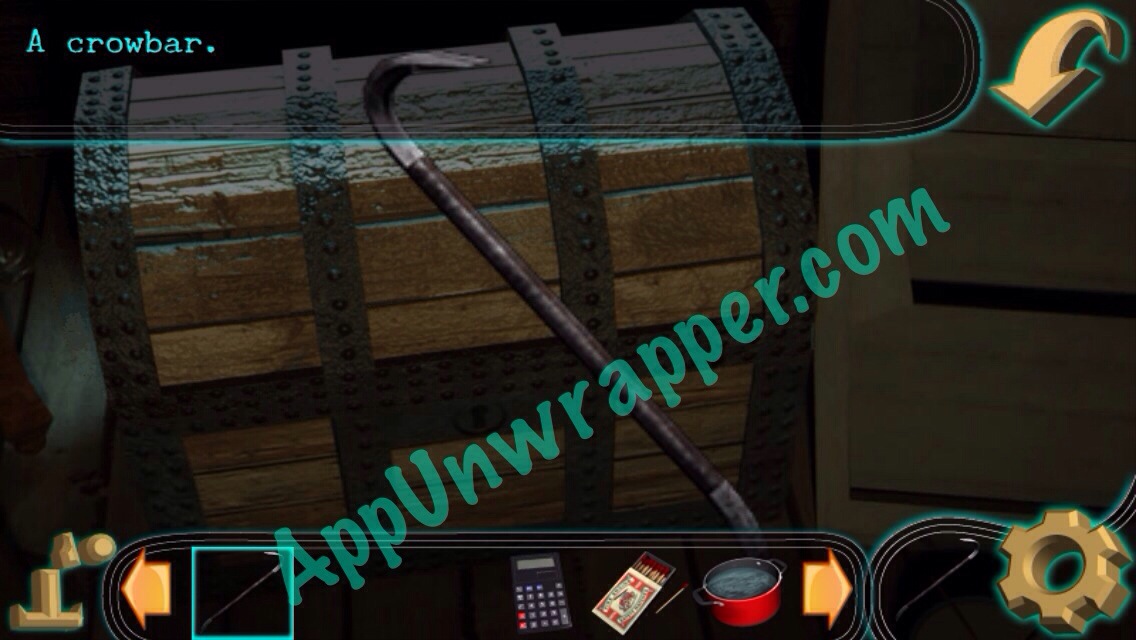
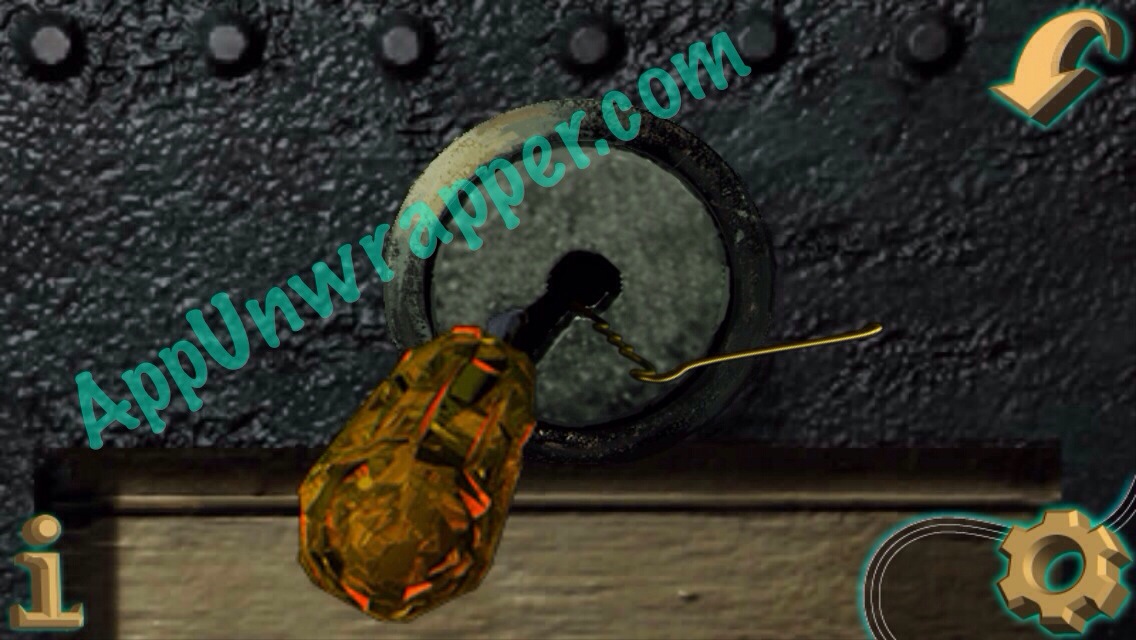
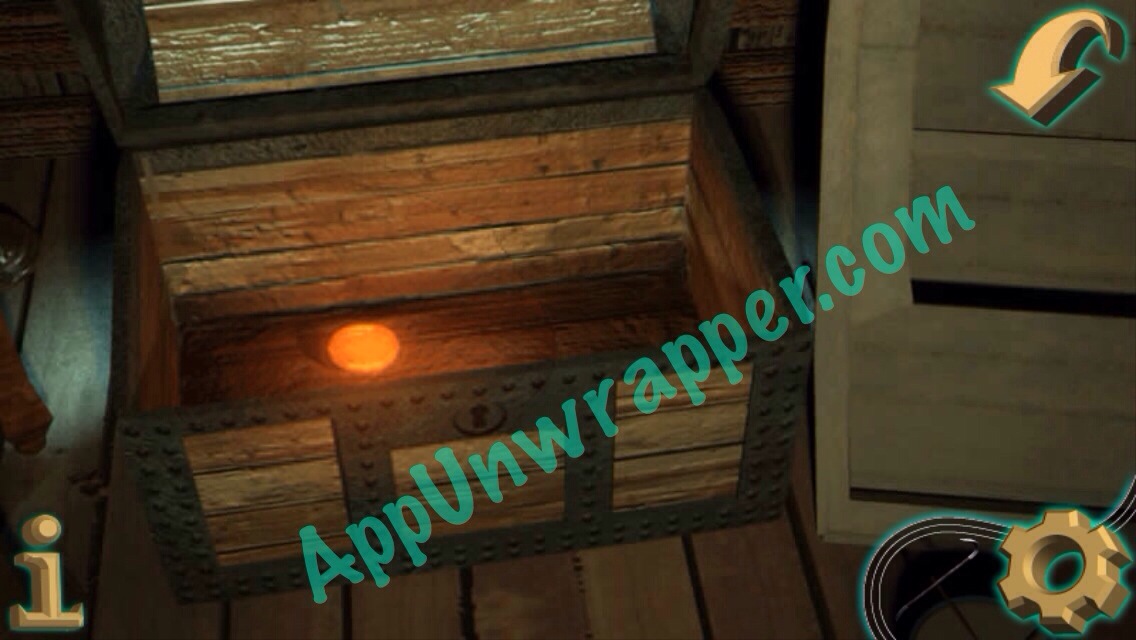
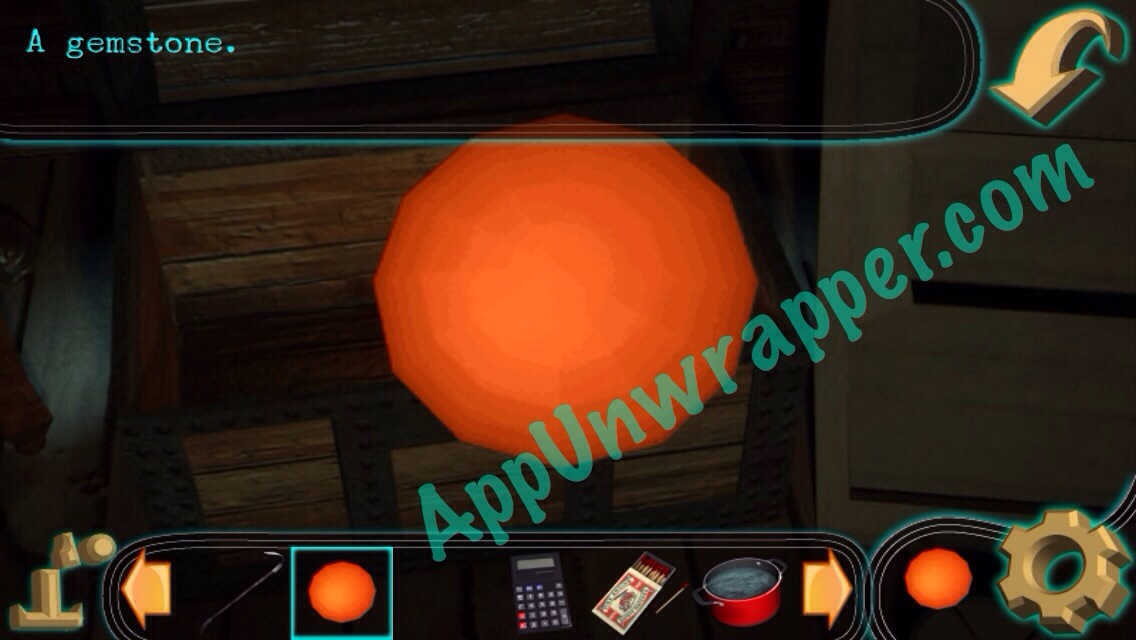
29. Zoom in on the chest. Take the crowbar. Then use the bobby pin (hairpin) and the screwdriver to pick the lock of the chest. You need to actually move the two around to jimmy the lock. Then take the gemstone.
You can also watch the video I made of you need help with this part:
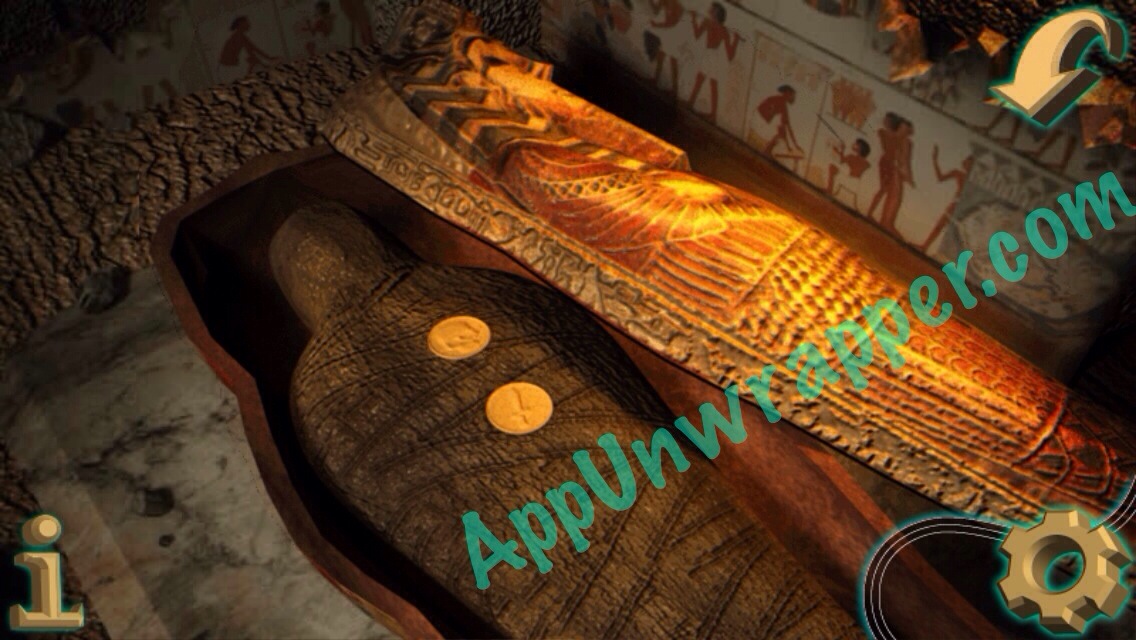
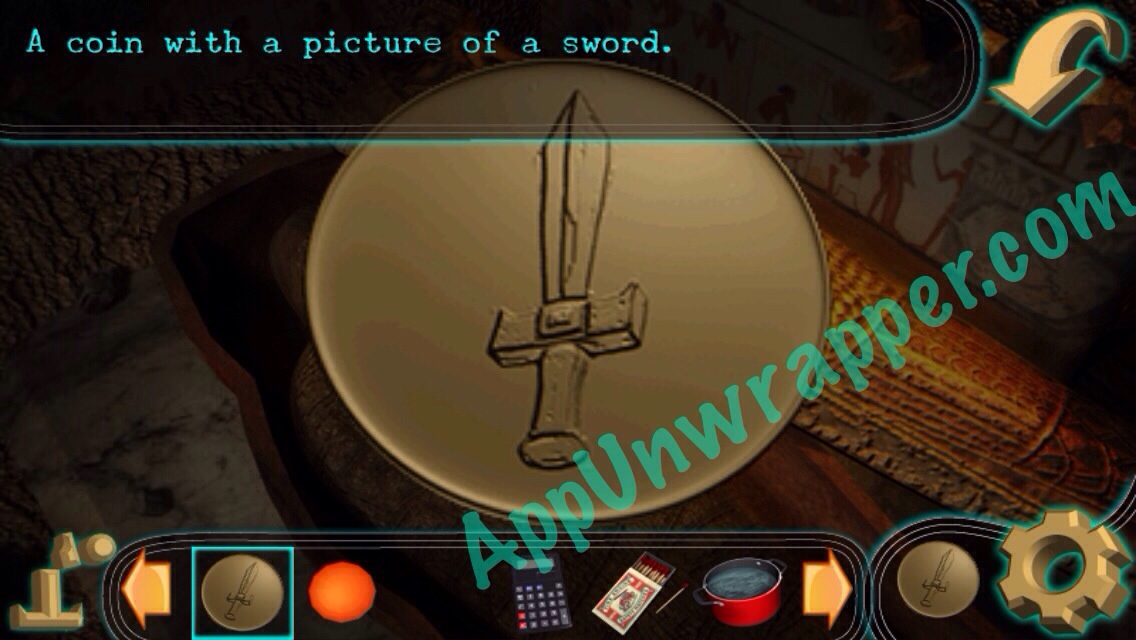
30. Go back down to the basement and use the crowbar to open the sarcophagus. Take the sword coin and the skull coin.
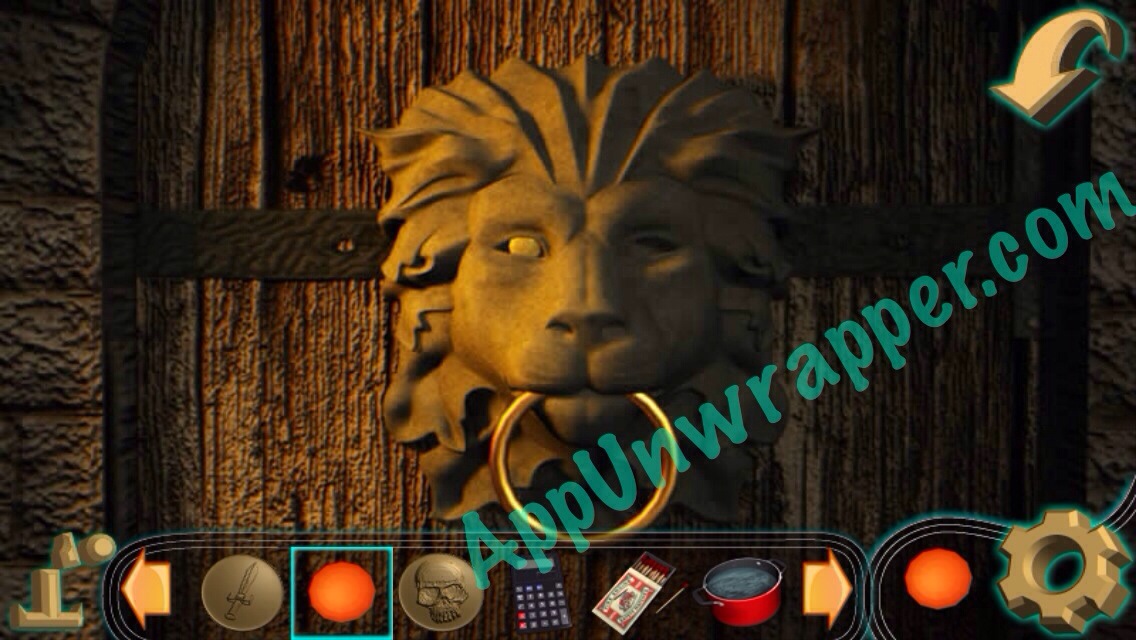
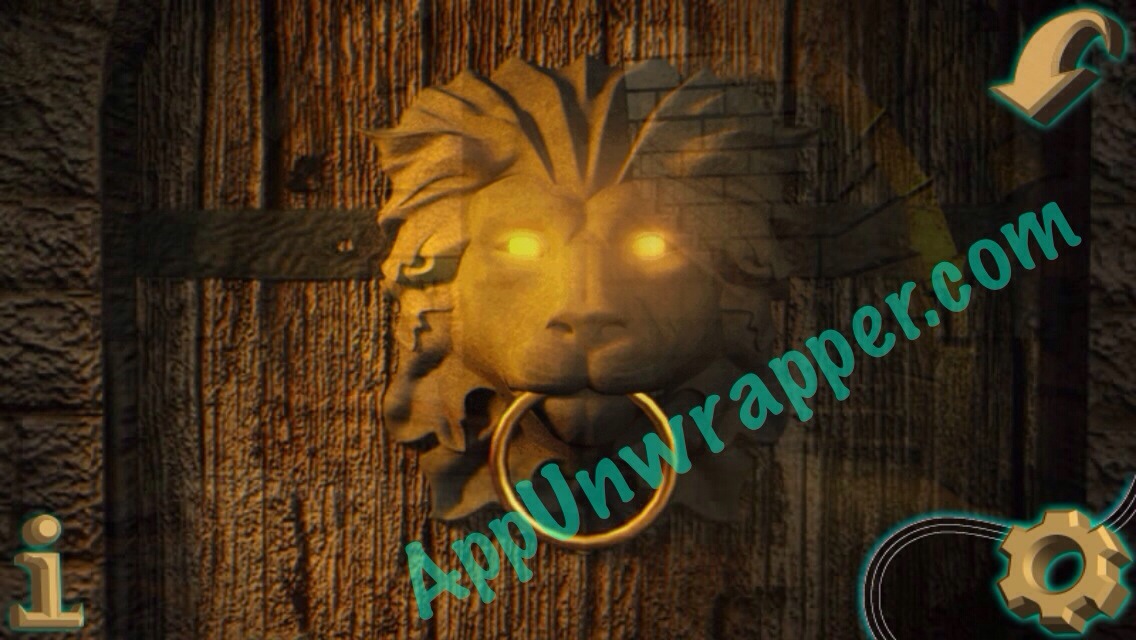
31. Place the gemstone in the lion’s eye socket to unlock the door.
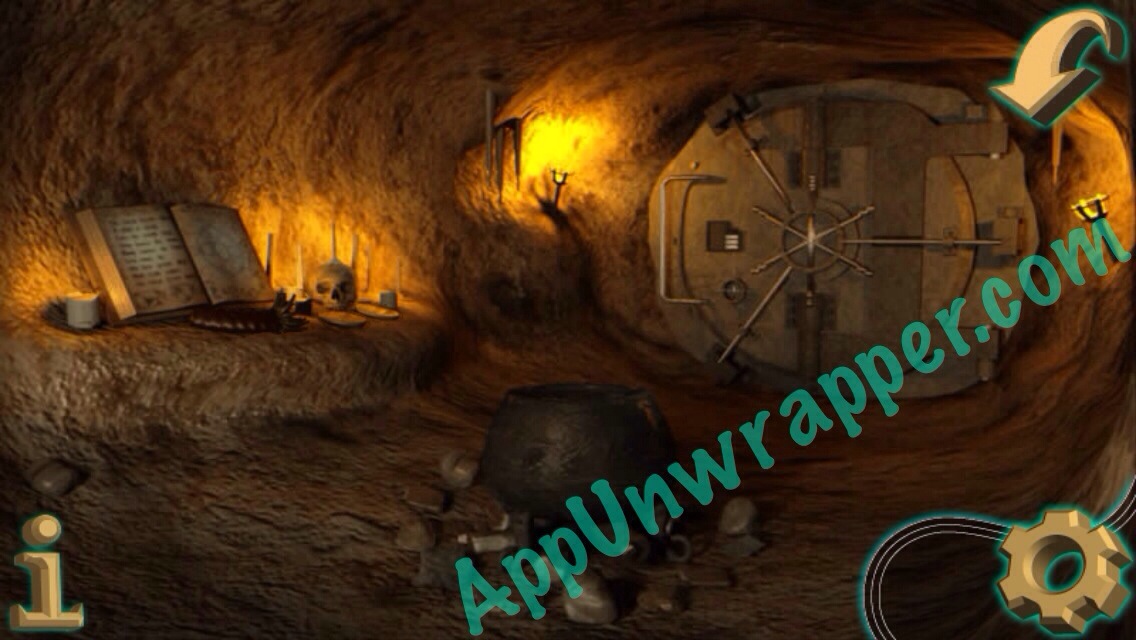
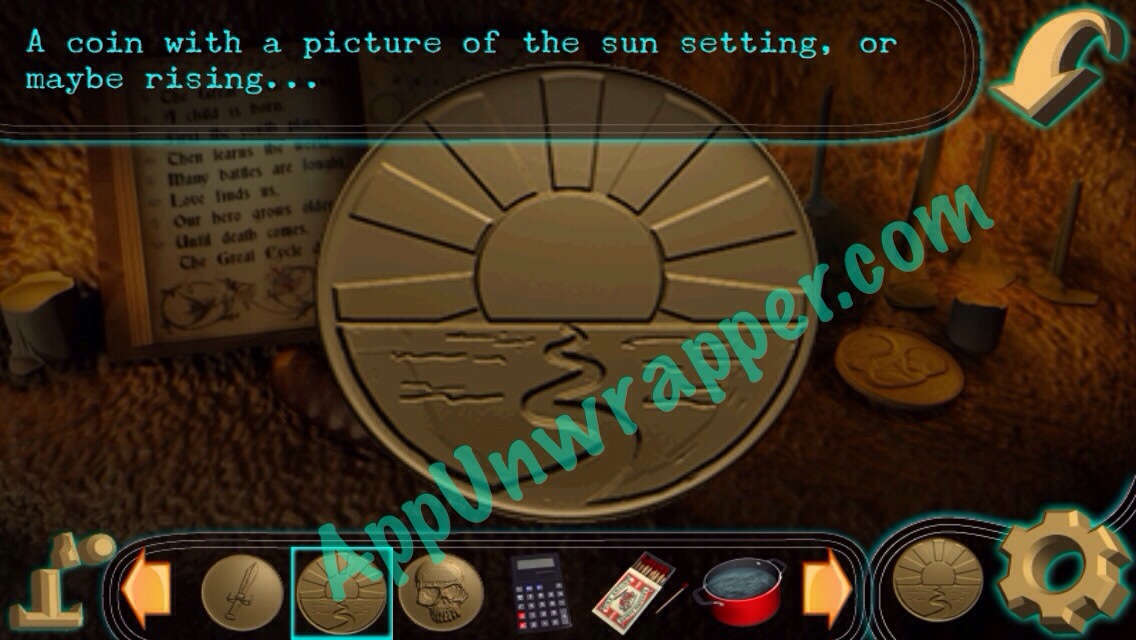
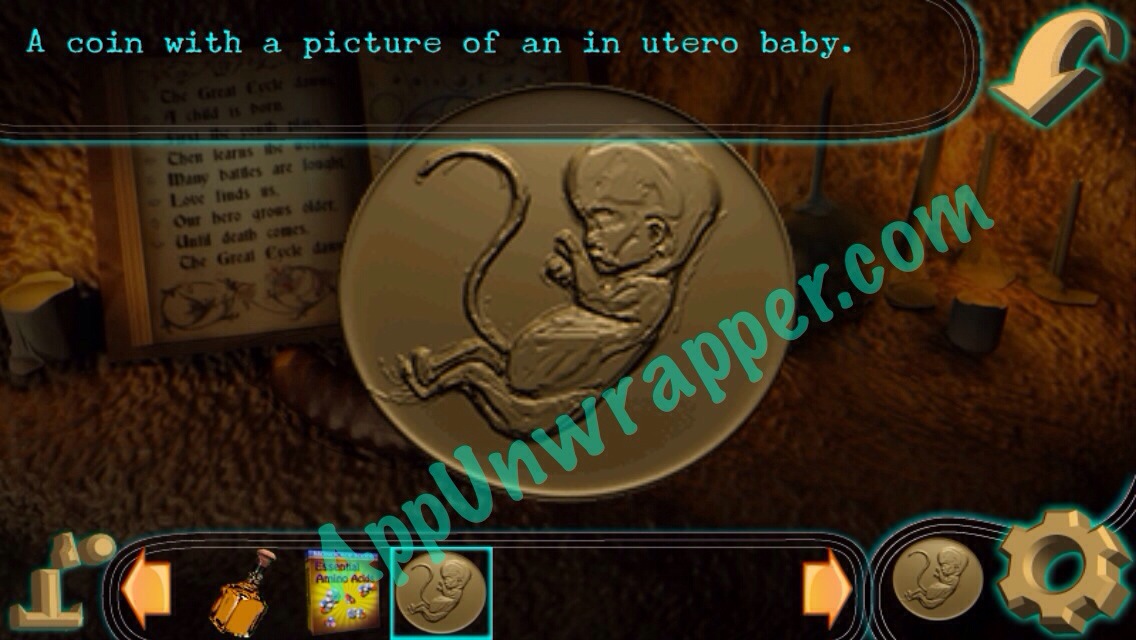
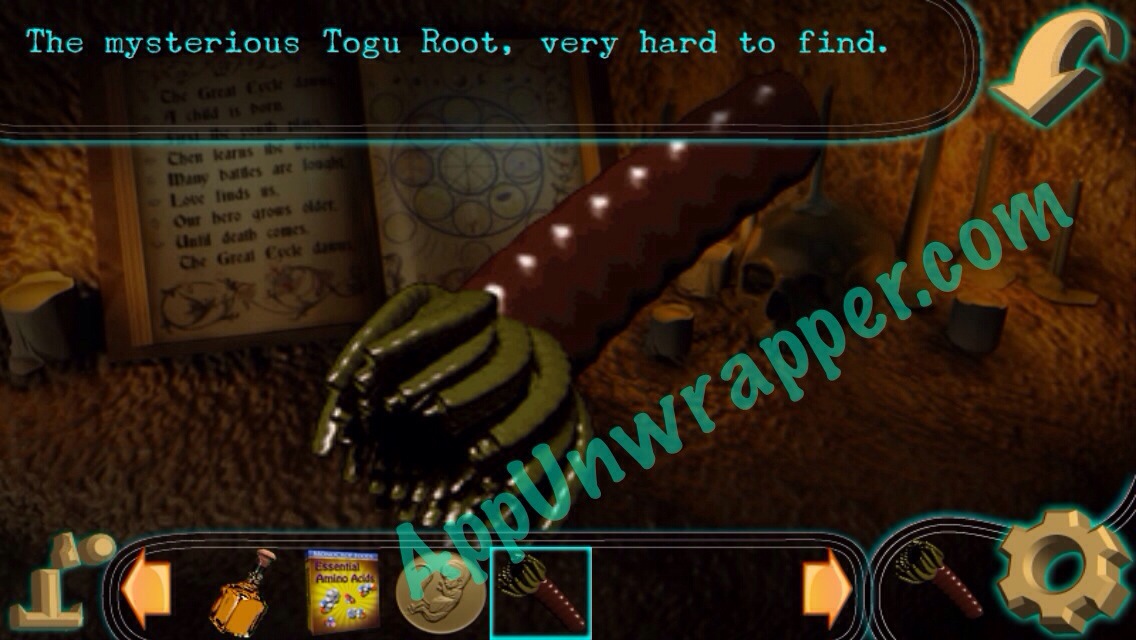
32. There’s a lot going on in this next room. First, pick up the sun and utero baby coins. Also get the Togu Root.
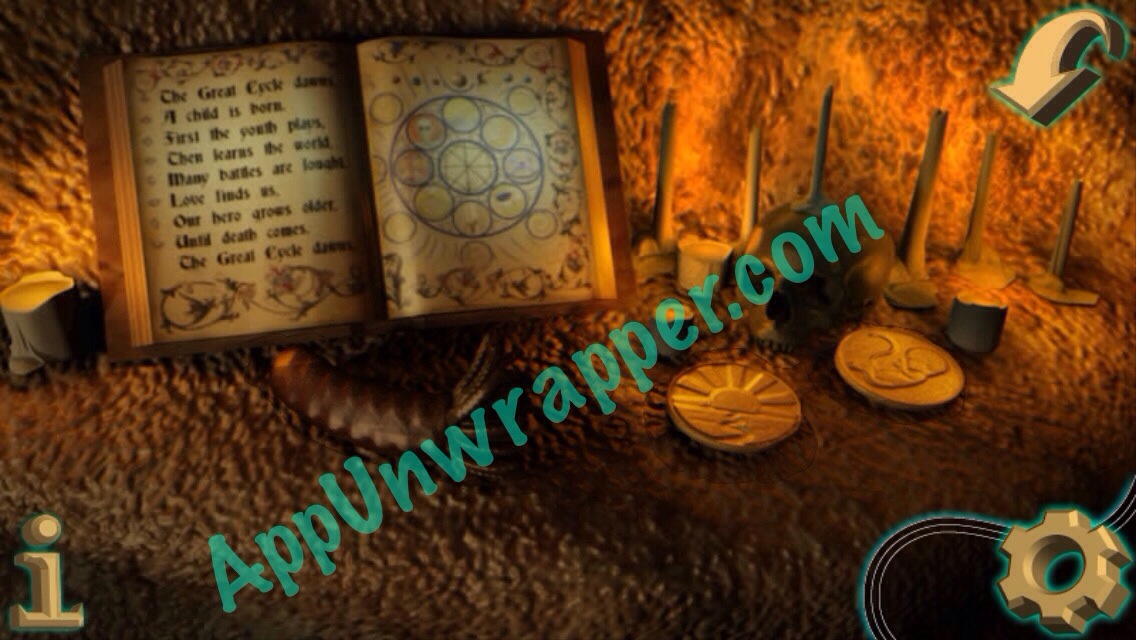
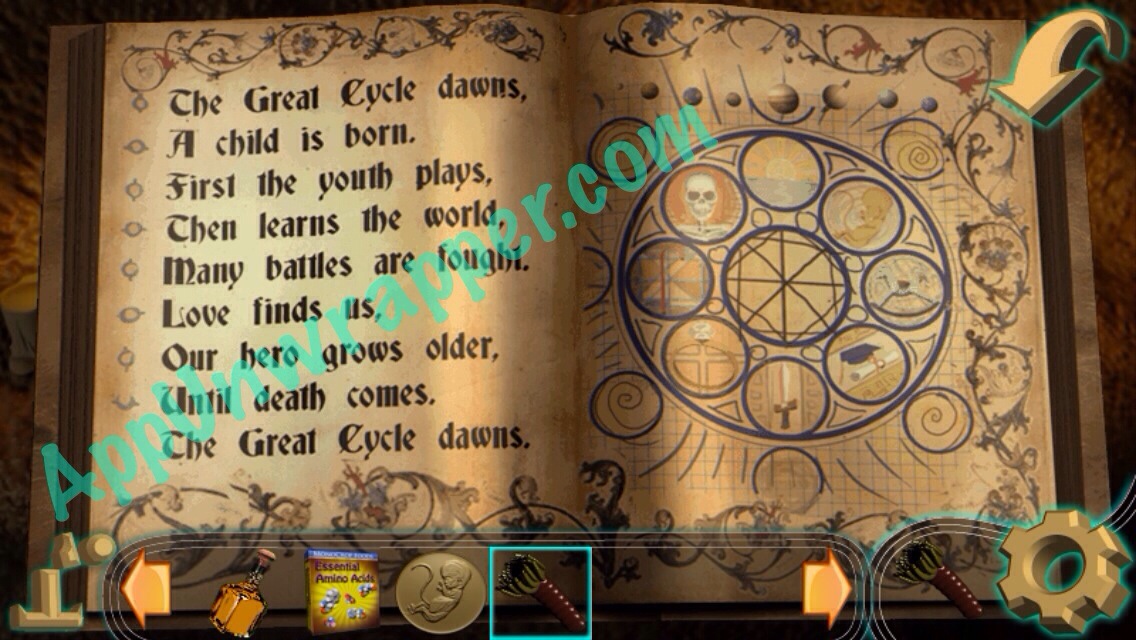
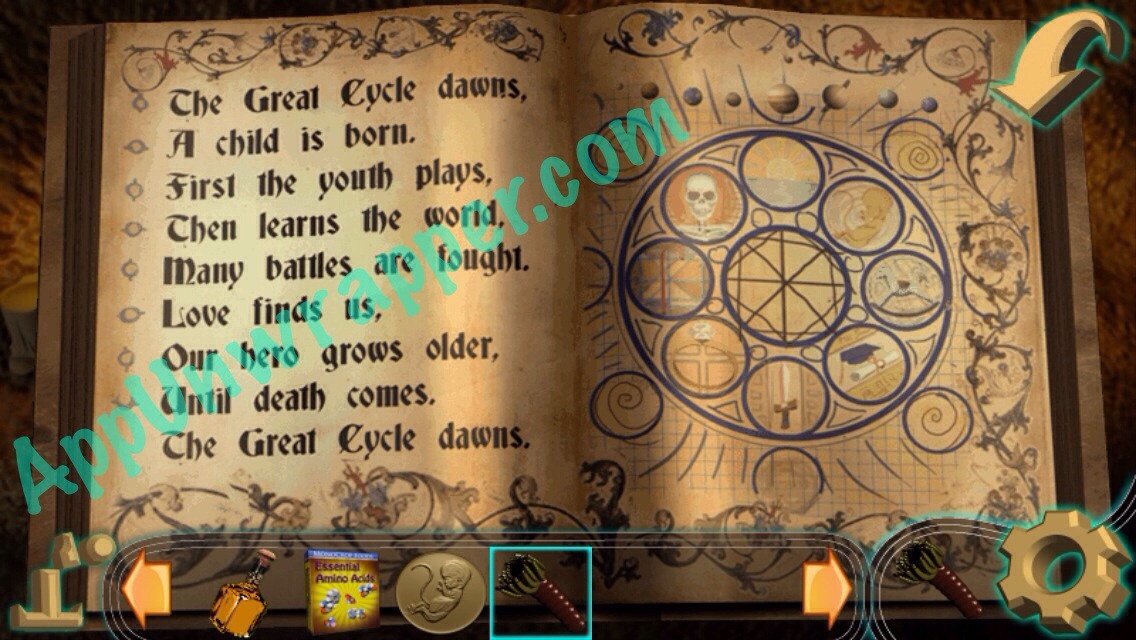
33. Look at the book for the solution to the coin wheel puzzle:
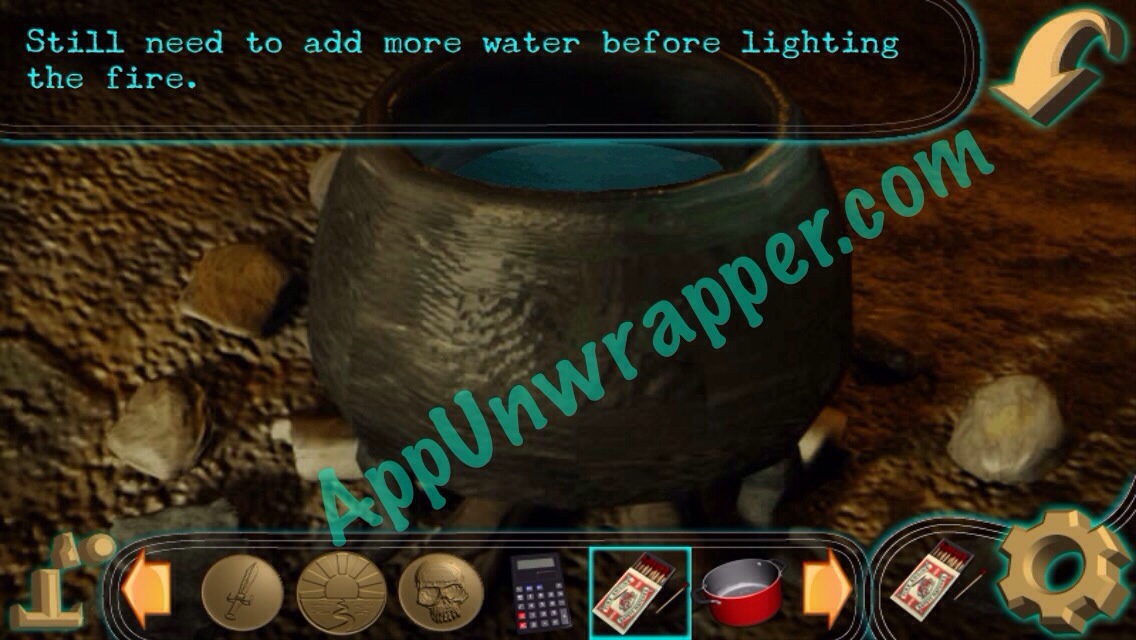
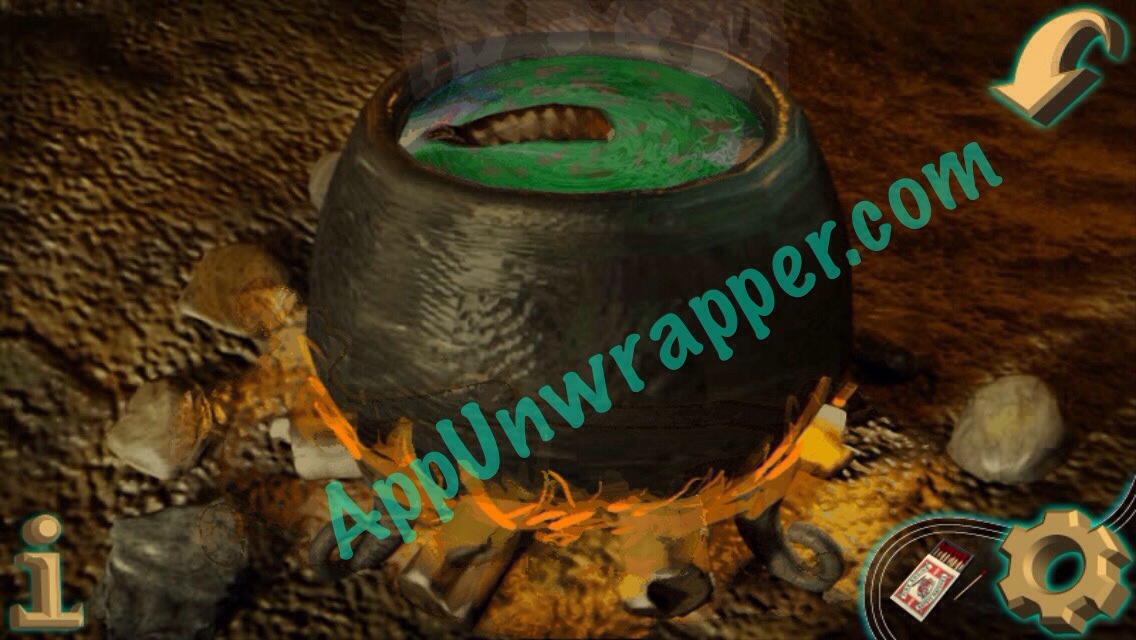
34. Put the Togu Root, Amino Acids, and orange liquid into the big cauldron. Pour the pot of water into it. You need more water, so we’ll come back to that later.
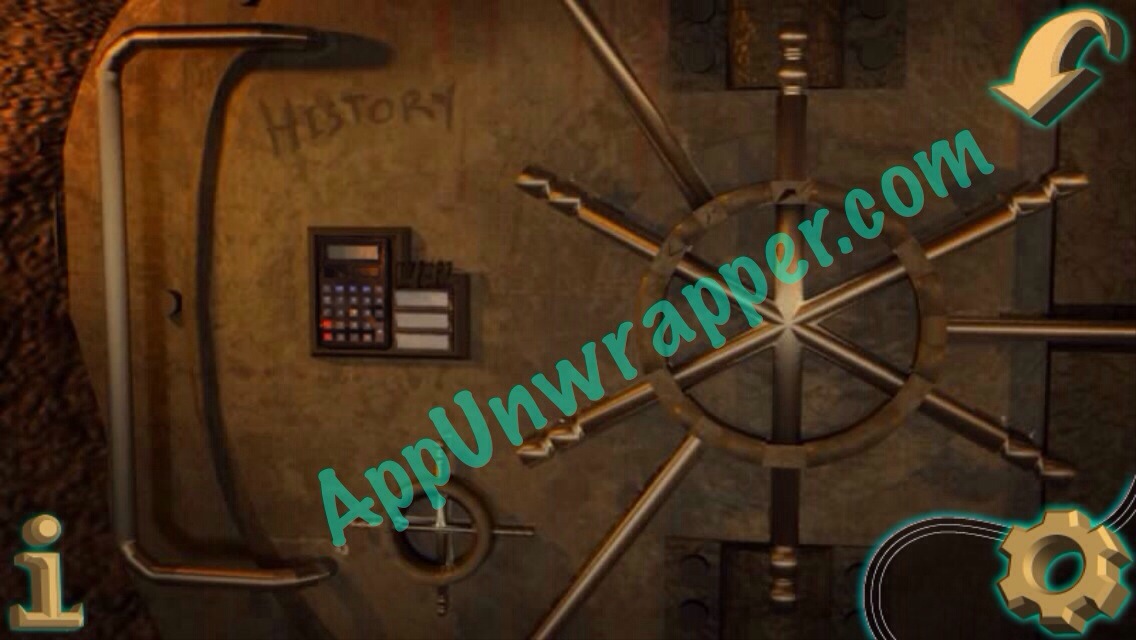
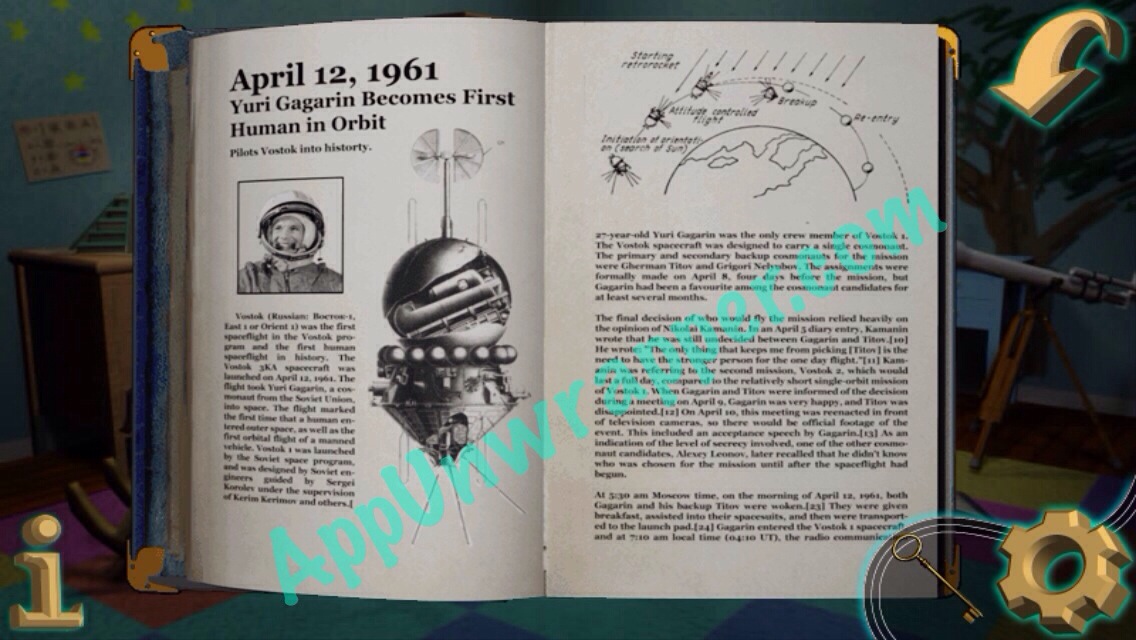
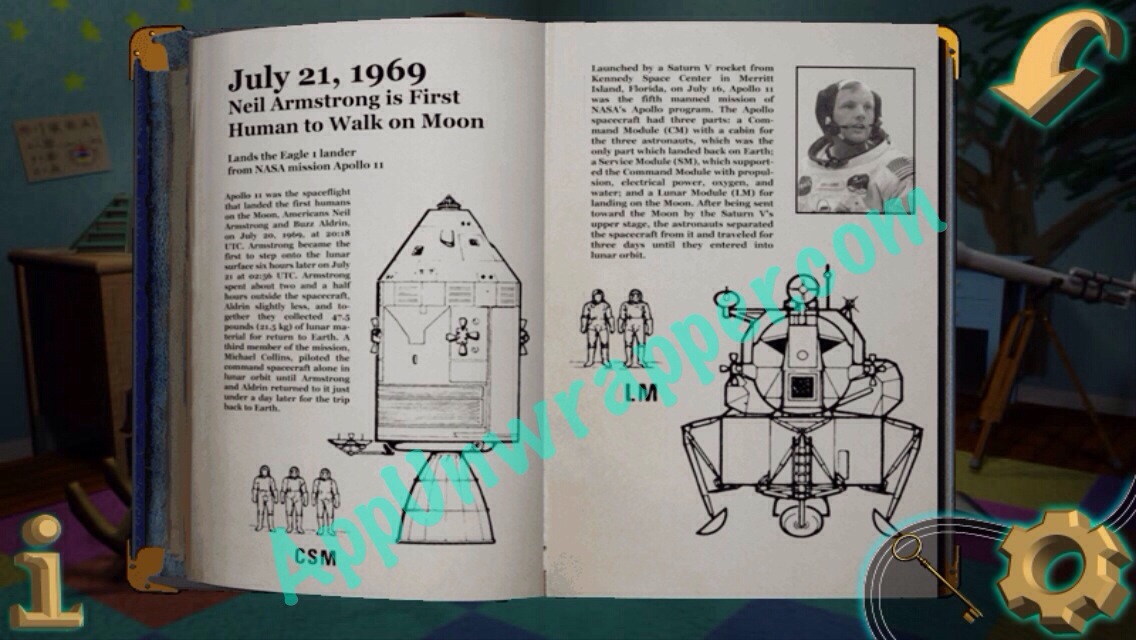
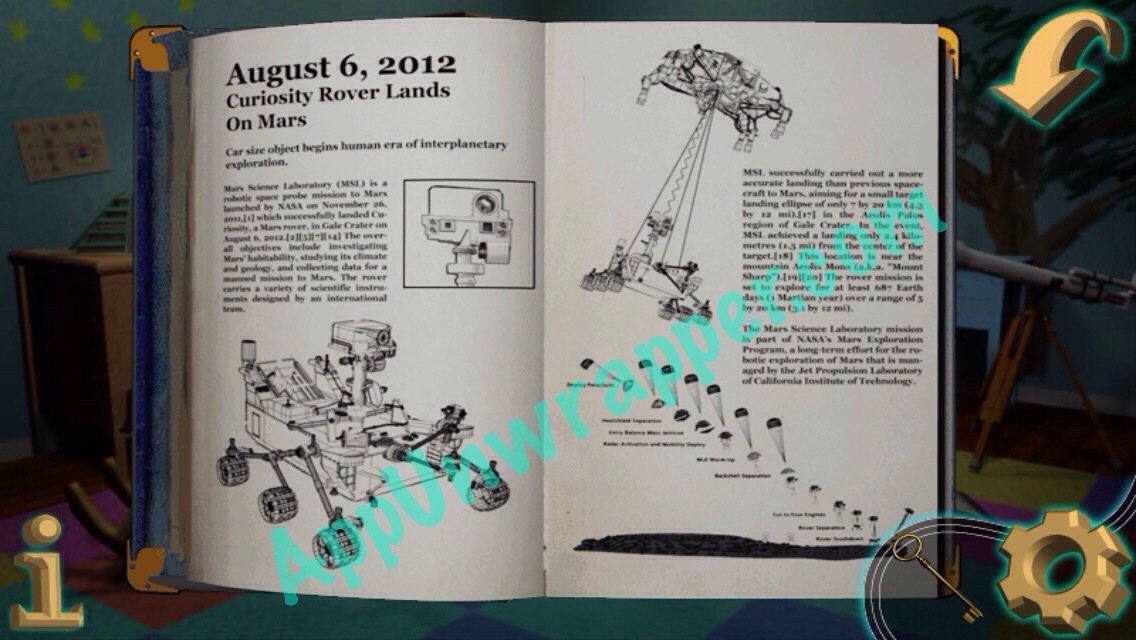
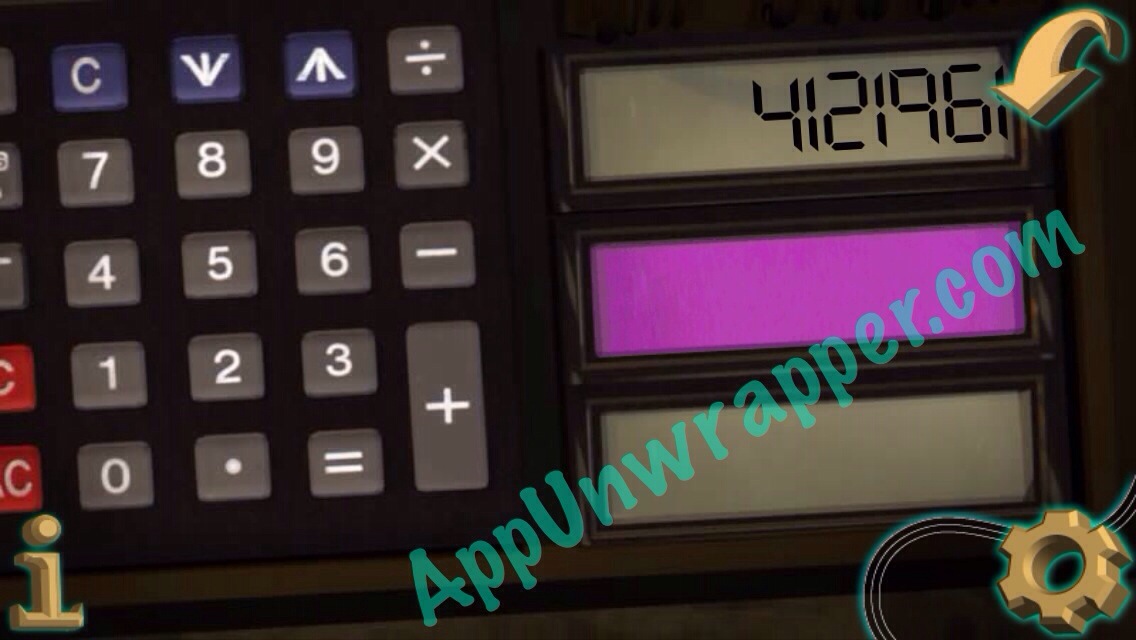
35. There’s a wall safe in the back. Place the calculator on it, then punch in the three dates from the book in the kid’s room. For the month and day, don’t include zeros for one-digit numbers.
So it goes:
4121961
7211969
862012
36. You can’t do much in here yet, but feel free to look around.
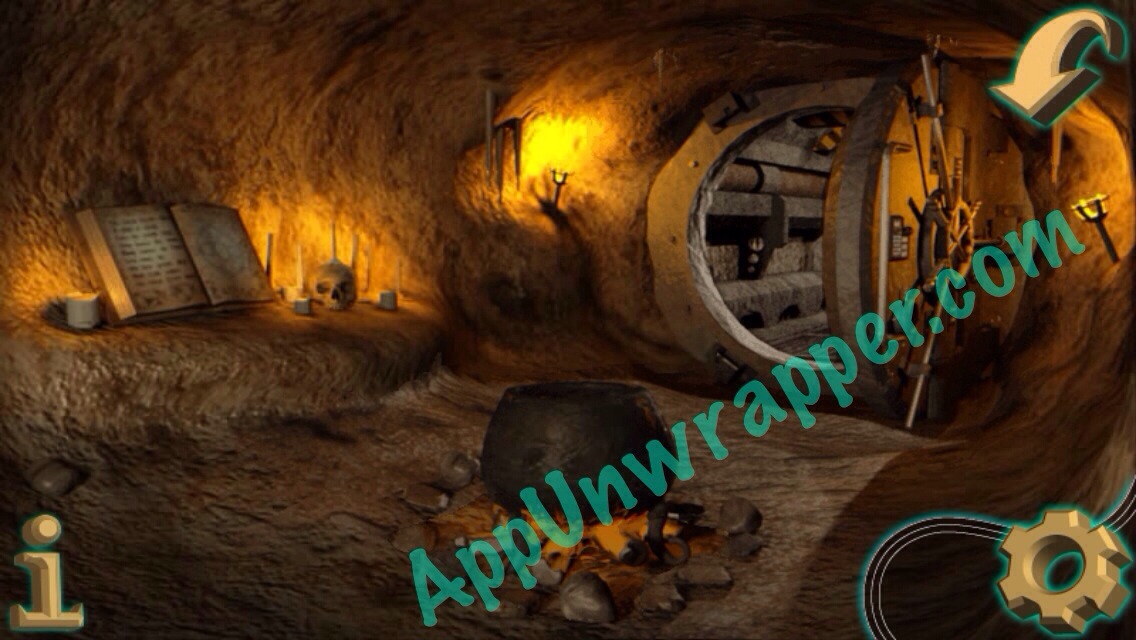
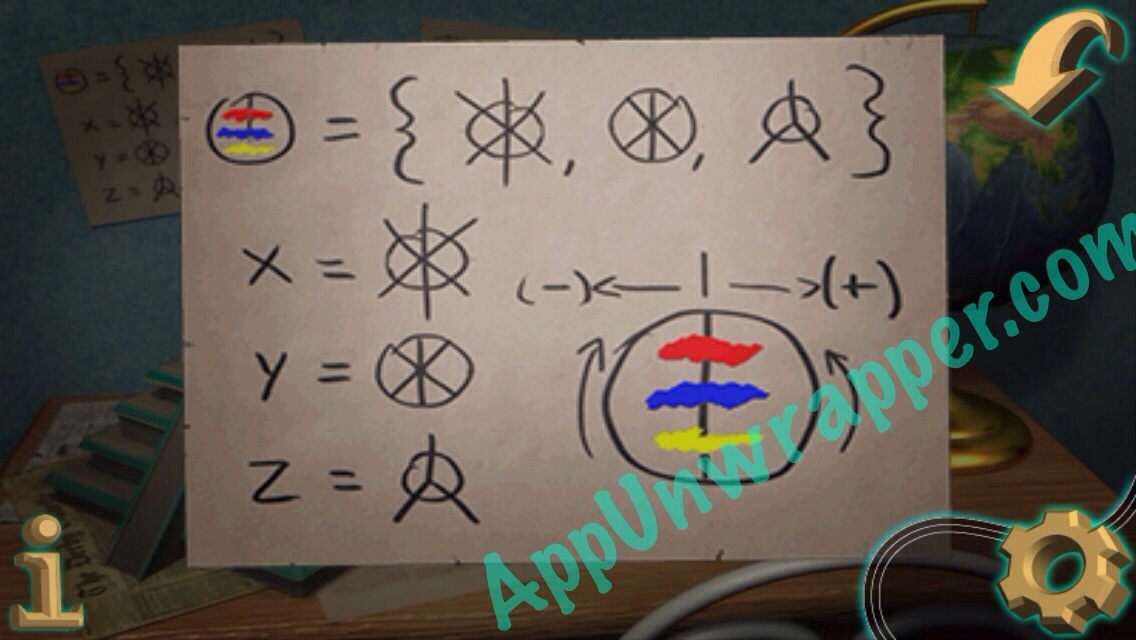
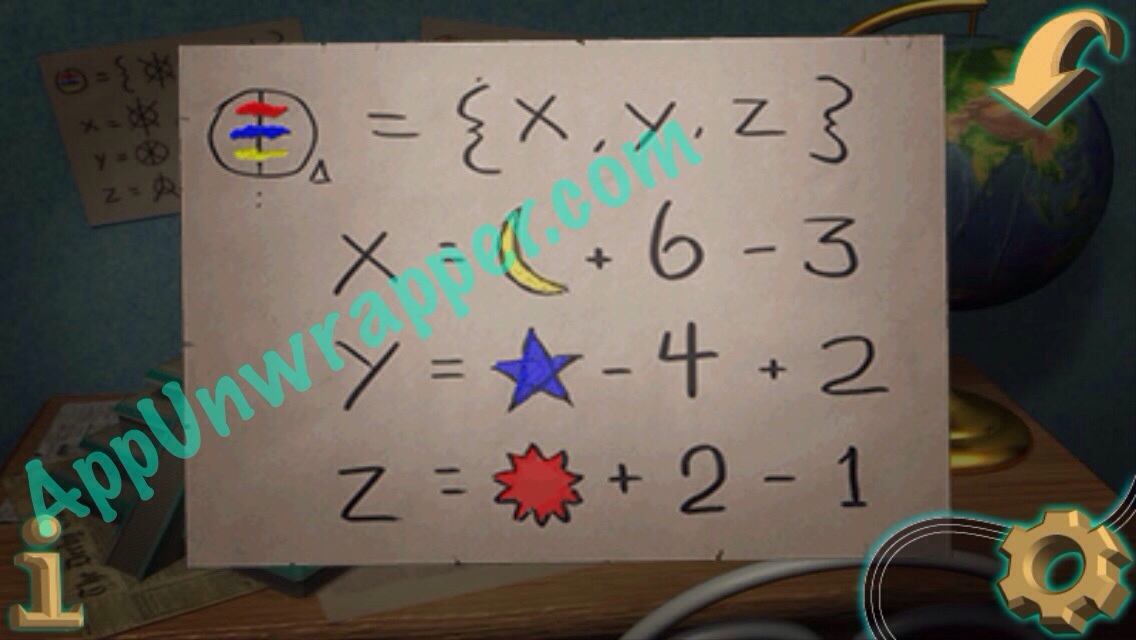
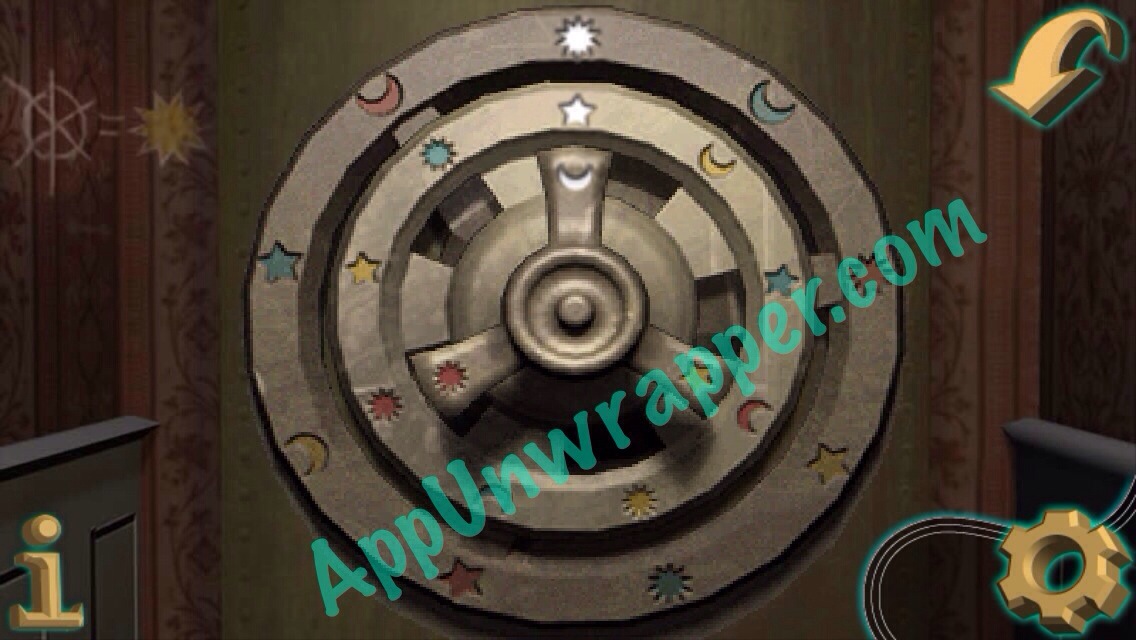
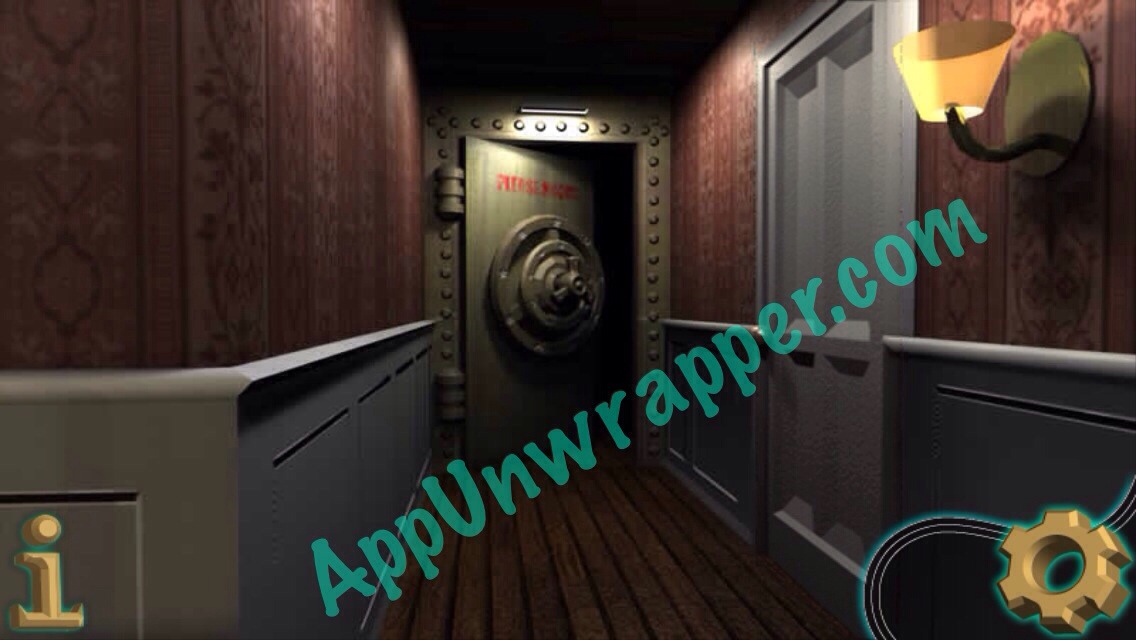
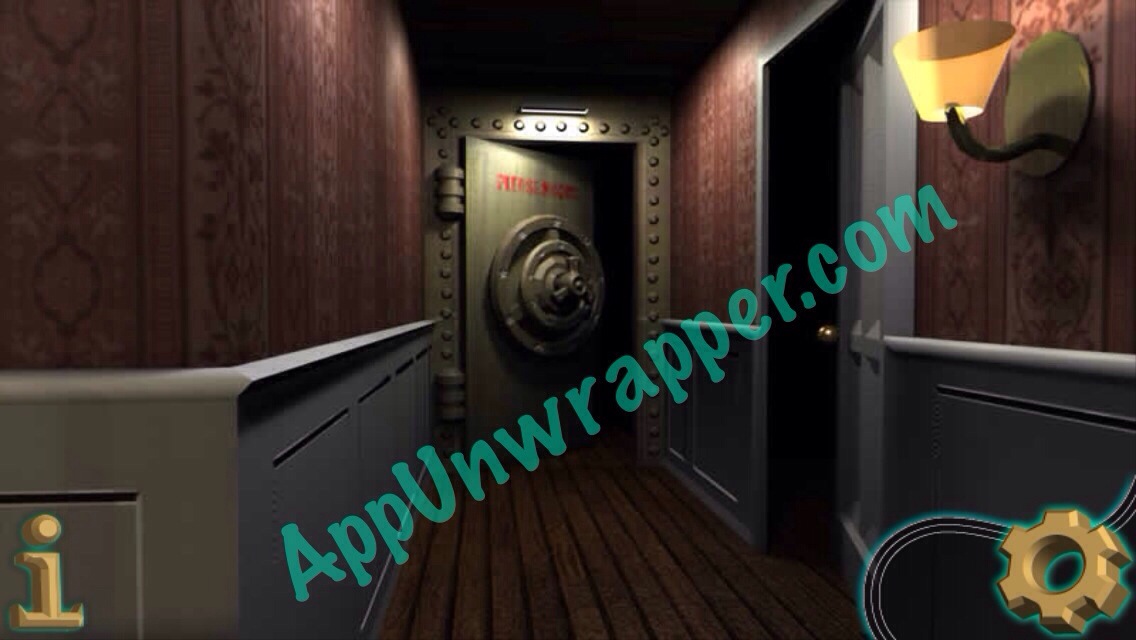
37. Go upstairs and find the little hallway that’s easy to miss. There’s a vault here. Use the papers from the kid’s room to solve this puzzle. When you see a minus sign, that means you should tap the right side that many times. When you see a plus sign, you should tap the left side that many times. In the end, it should look like this.
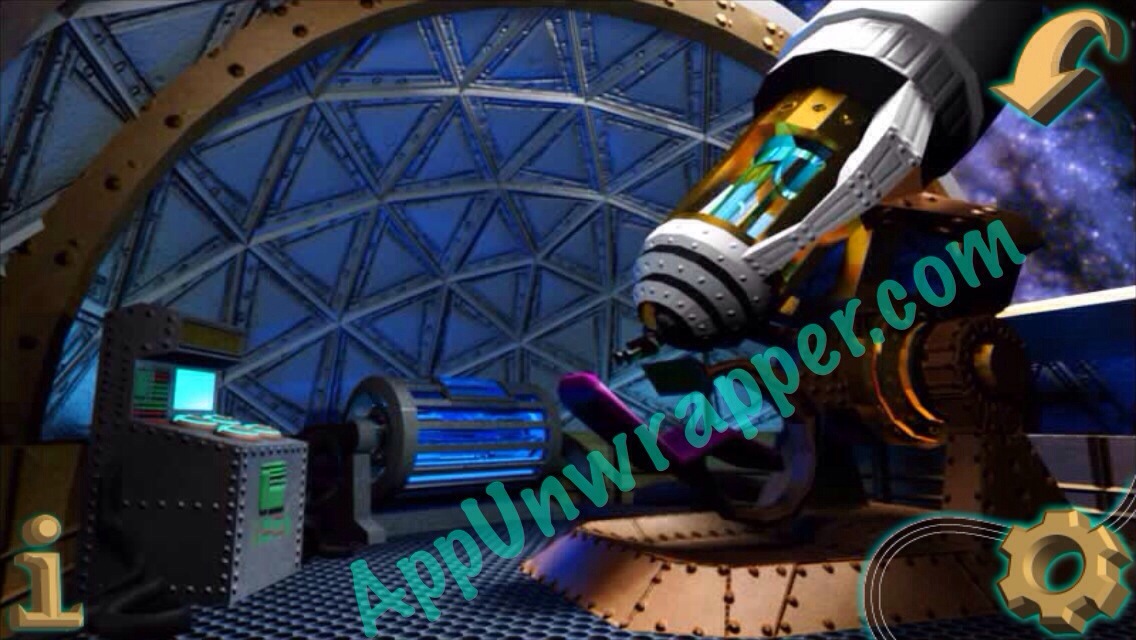
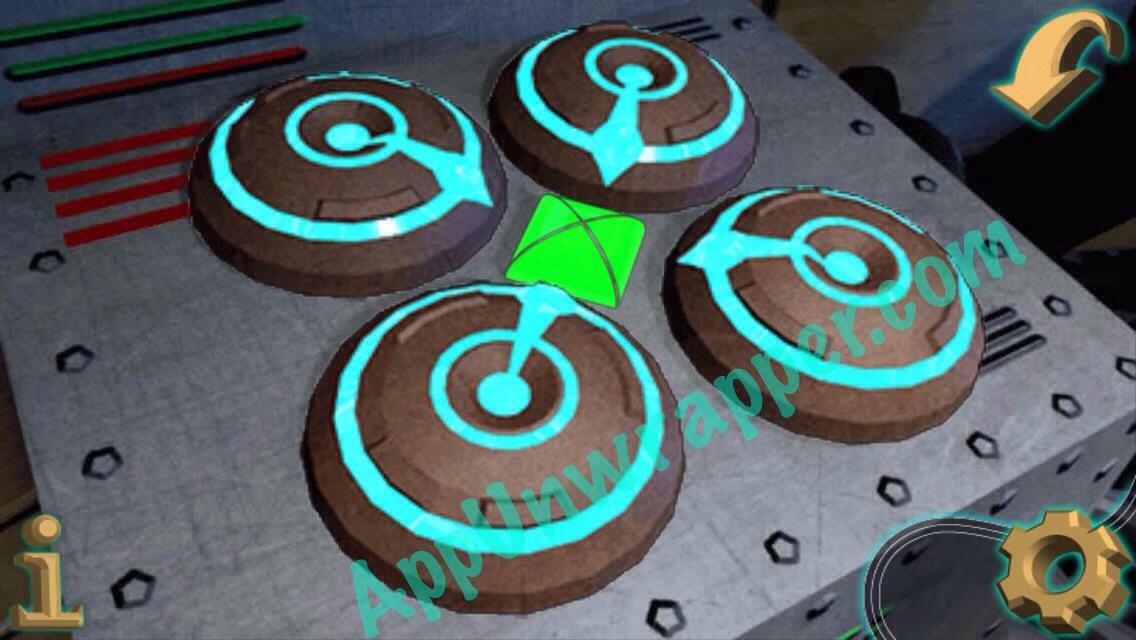
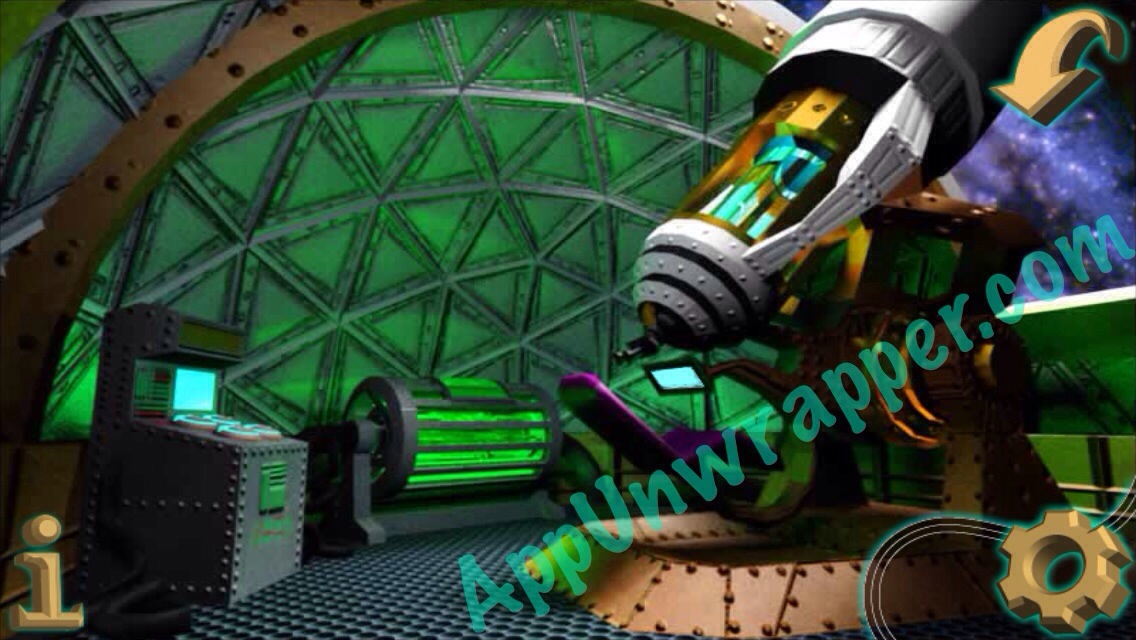
38. Go through. This is the telescope room. For now, you can only solve the dial puzzle. Make them all point towards the center.
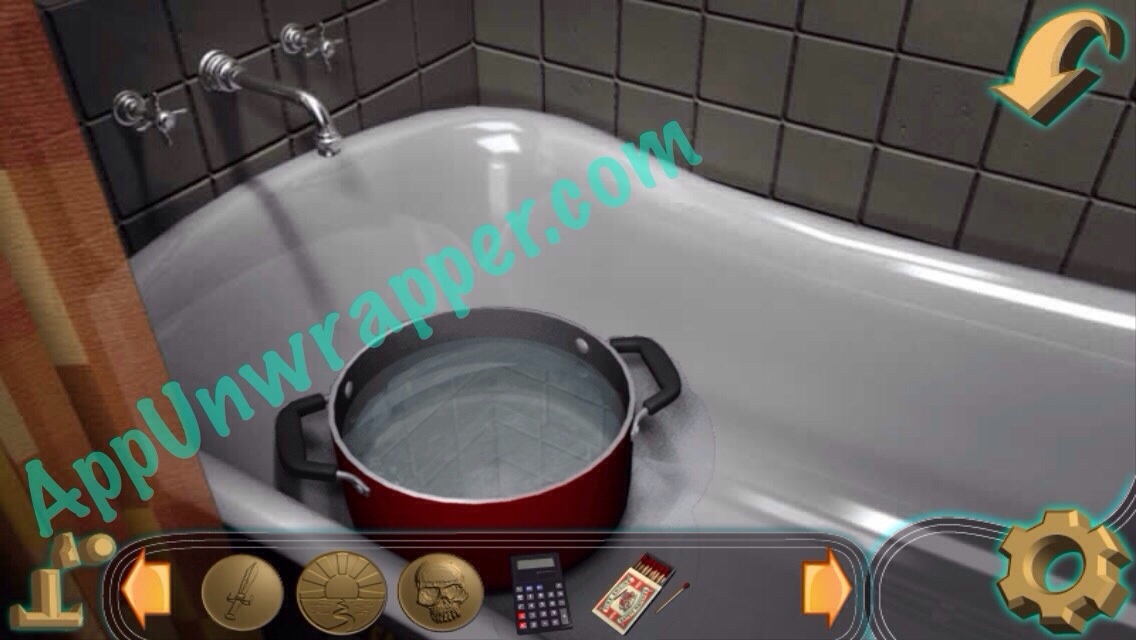
39 while you’re up here, fill the pot with water again.
40. Go up to the attic. Use the drawing from the book in the basement to solve the coin wheel puzzle and get the winged figurine.
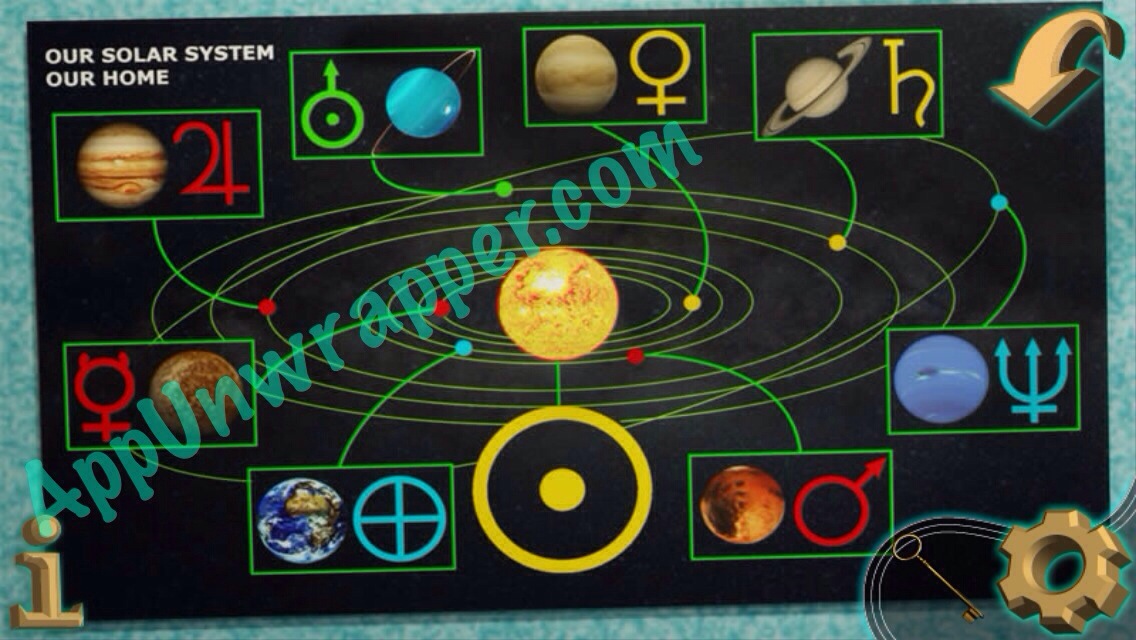
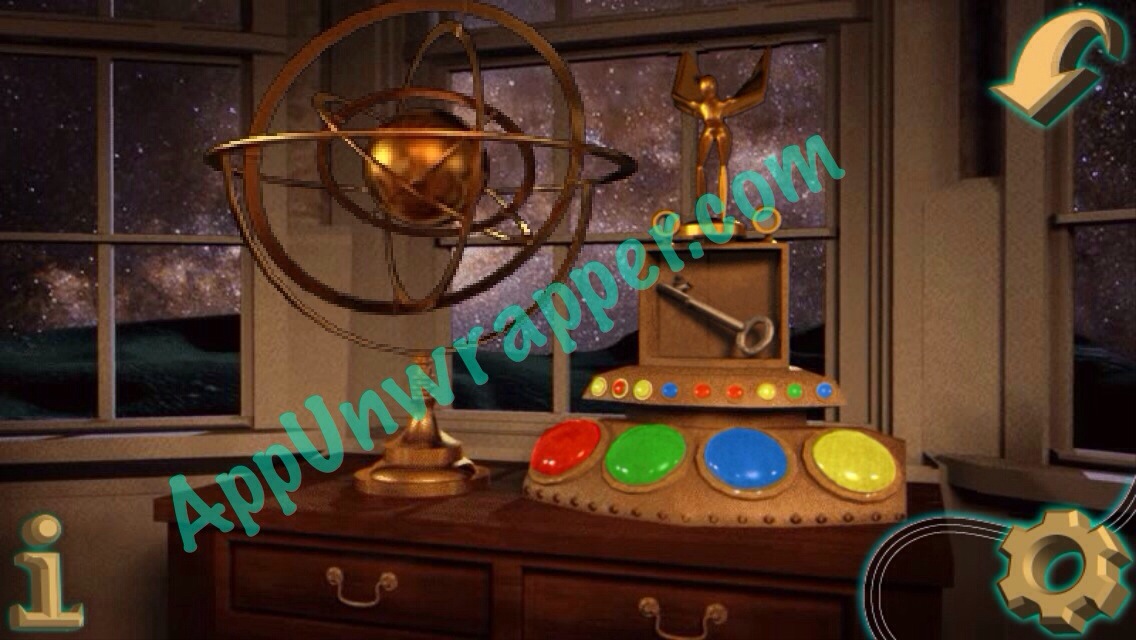
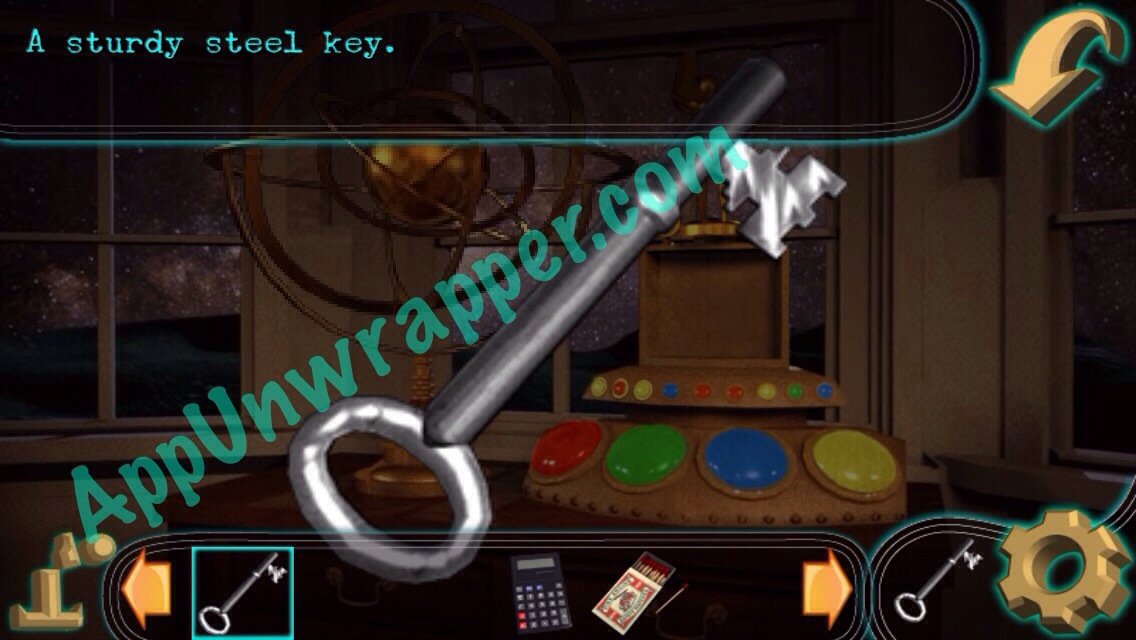
41. Go to the living room and place the winged figurine on the stand near the window. Use the solar system poster from the kid’s room to figure out the order to press the lights. Start with yellow for the sun, and move out from the innermost orbit to the outermost. It should look like this. Then take the sturdy steel key.
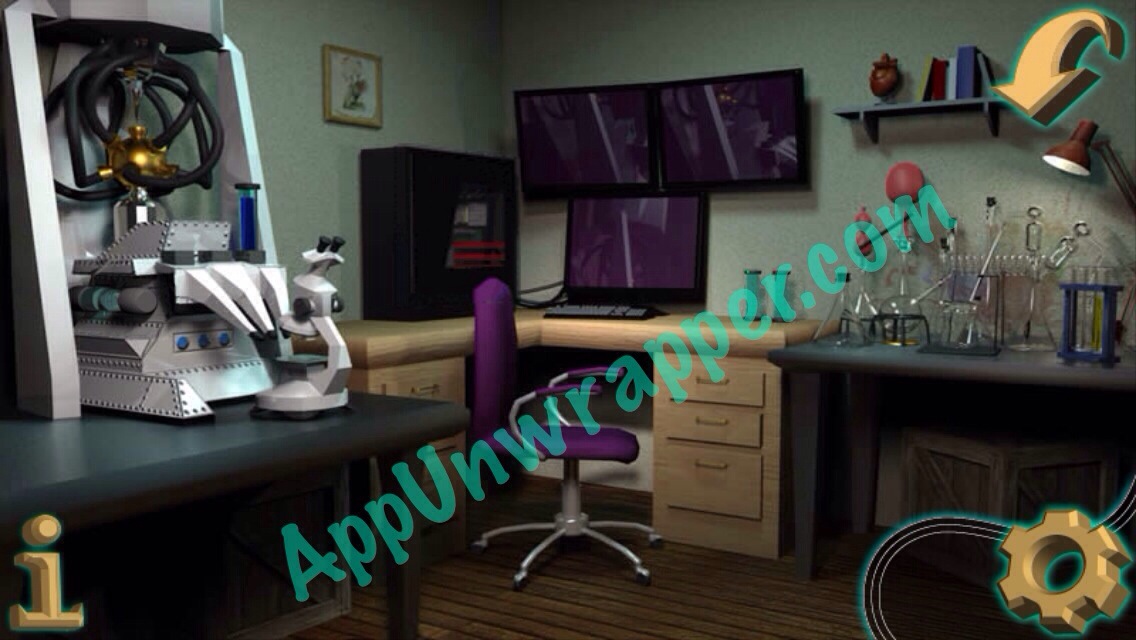
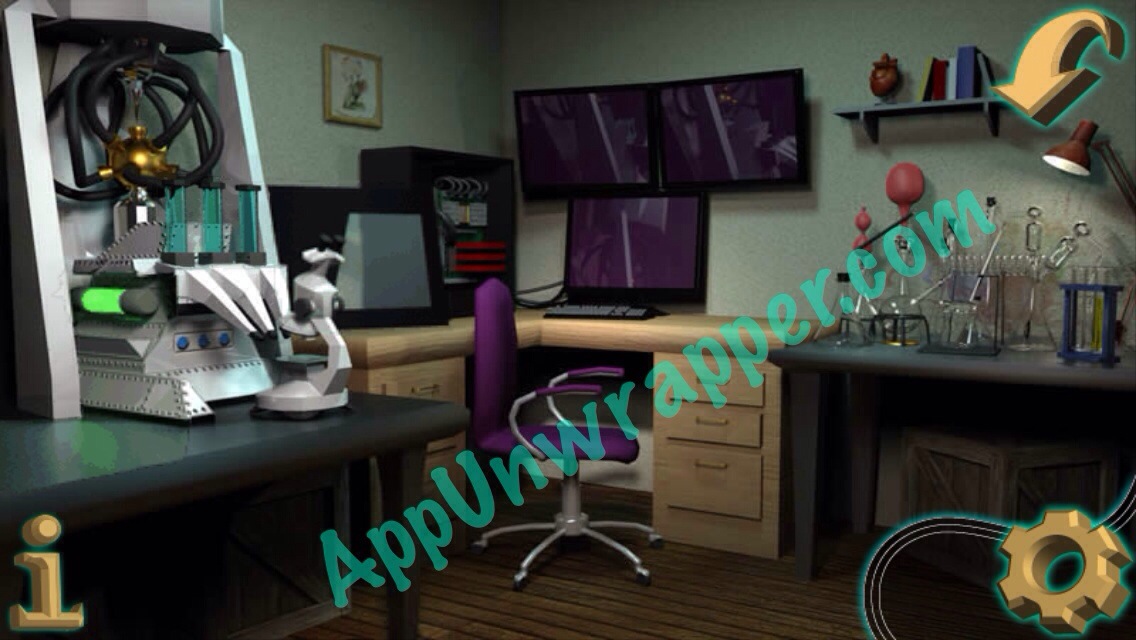
42. Use the sturdy steel key to open the door near the vault upstairs. This is the chemistry lab.
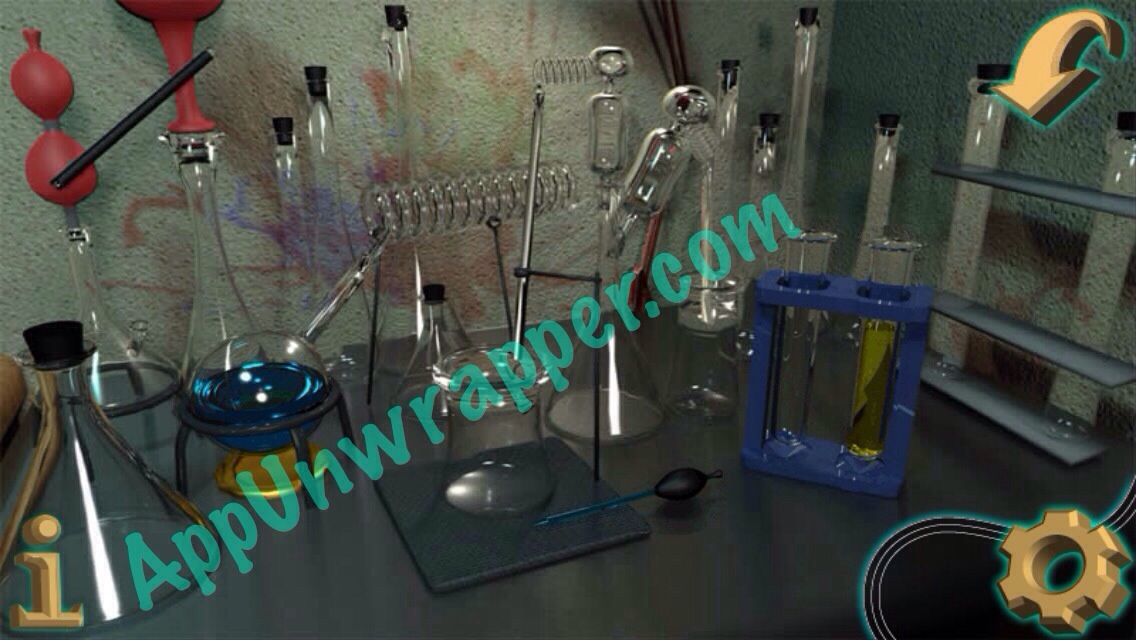
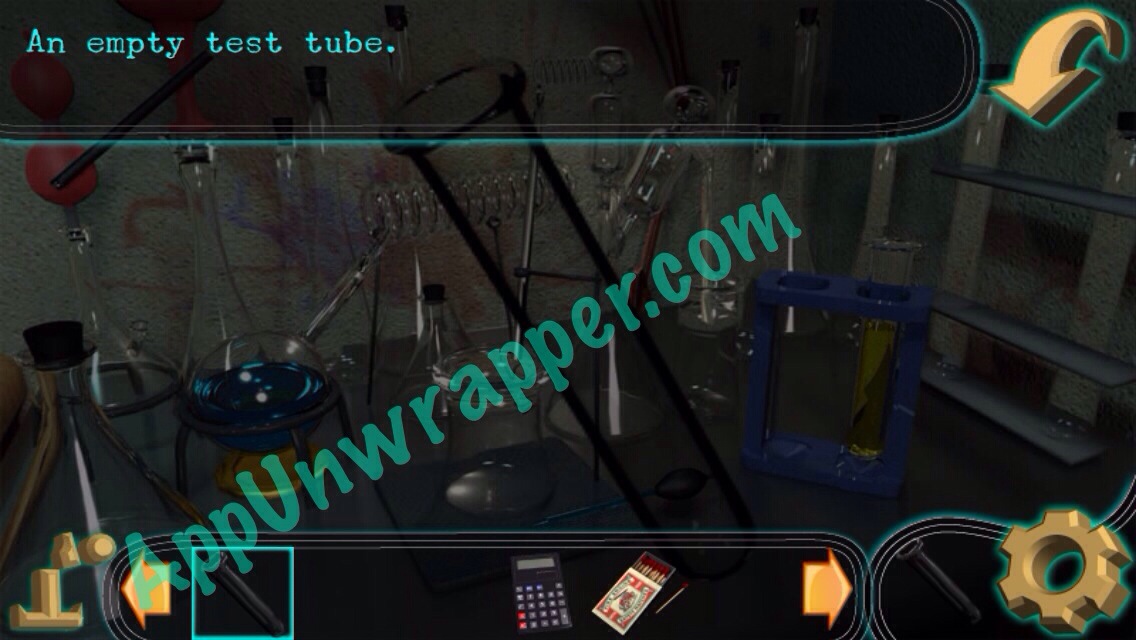
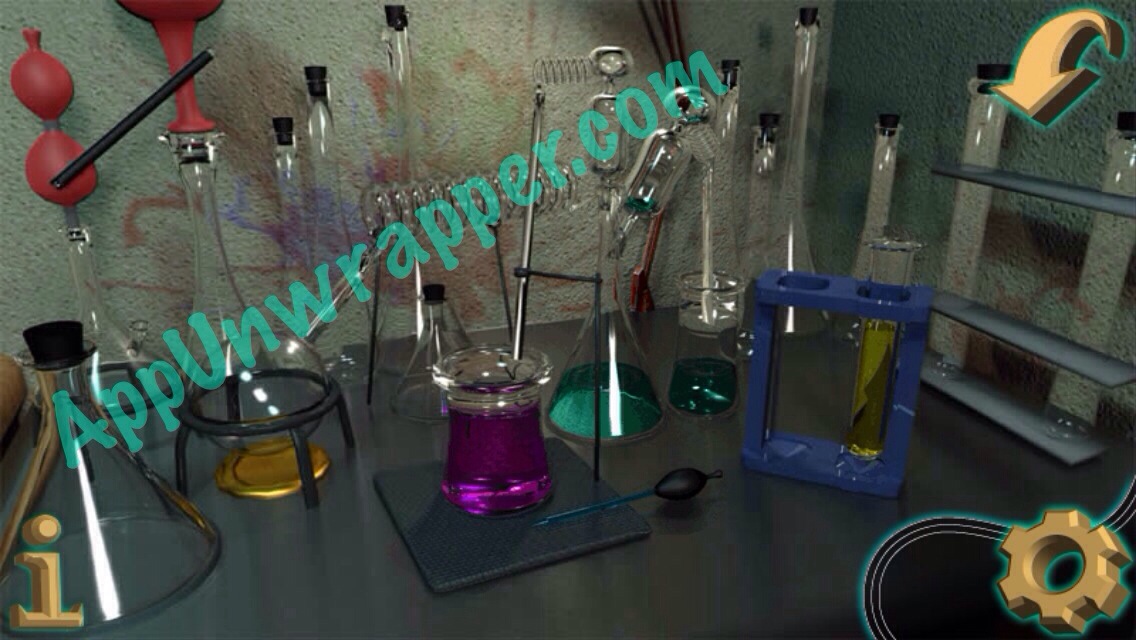
43. Take the empty test tube from the chemistry set.
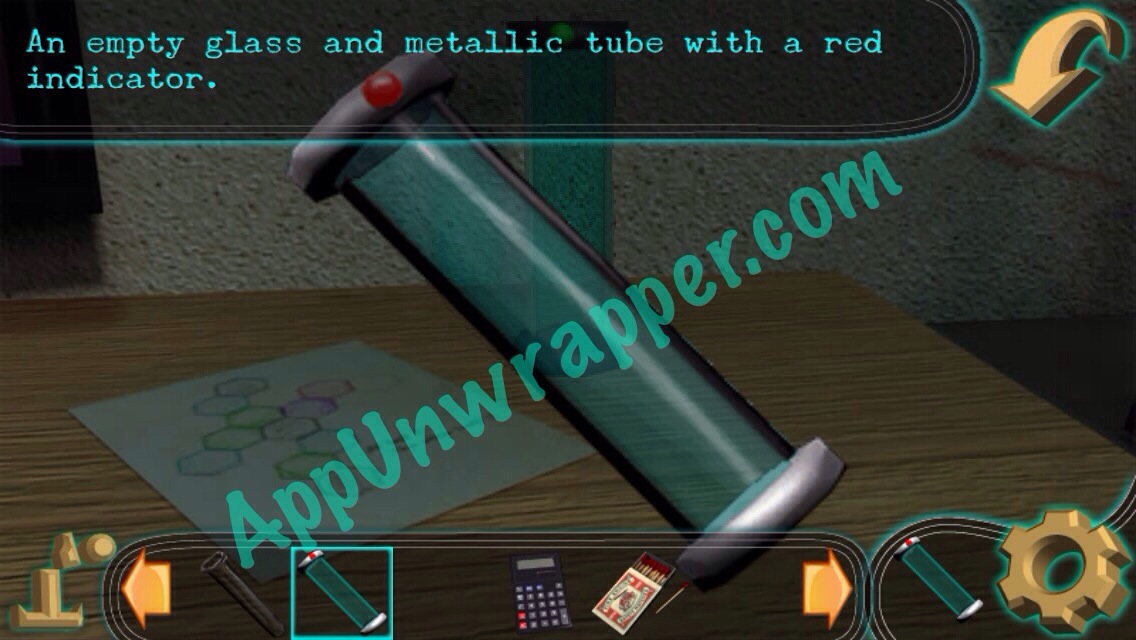
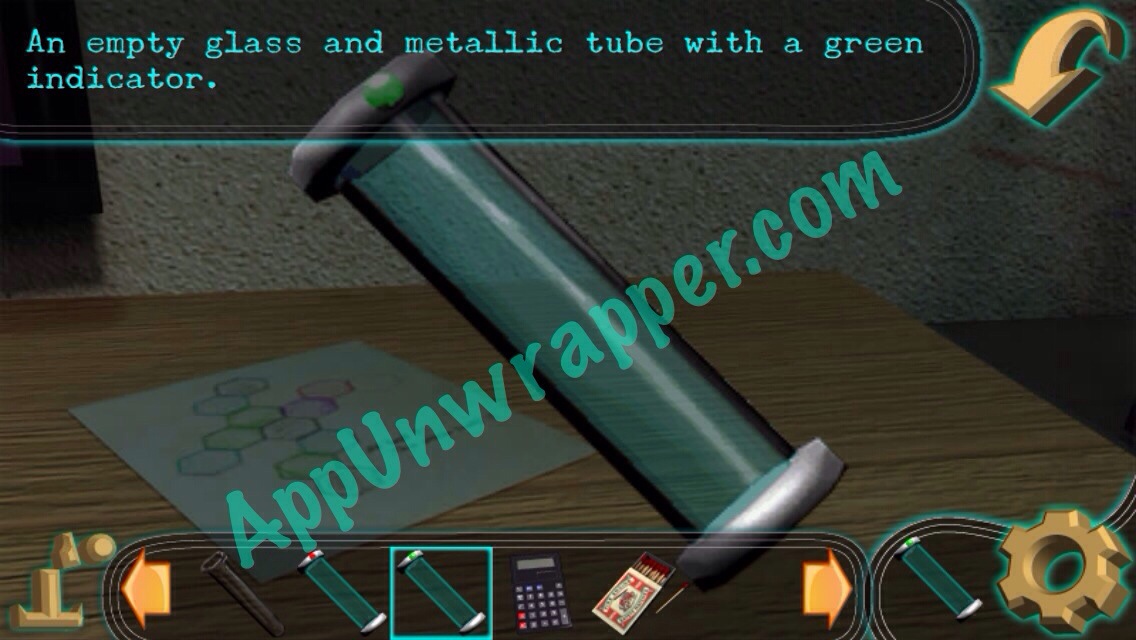
44. Look at the drawing on the desk and take the red and green glass and metallic tubes.
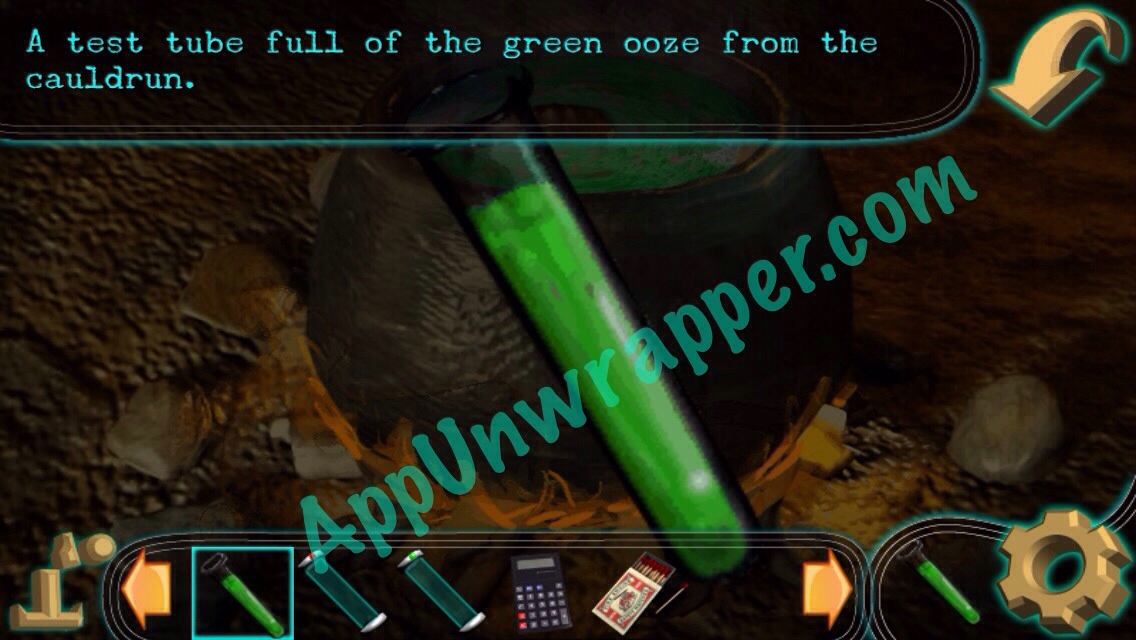
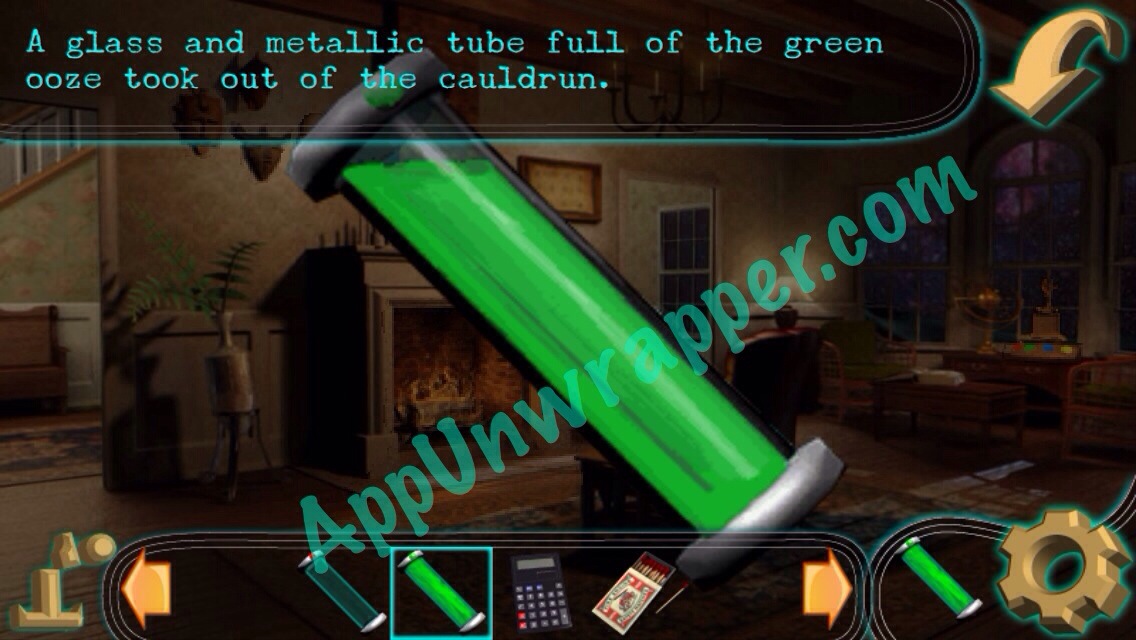
45. Go back to the cauldron in the basement and pour the second pot of water into it. Then fill the test tube with the green liquid. Pour the green liquid into the green tube.
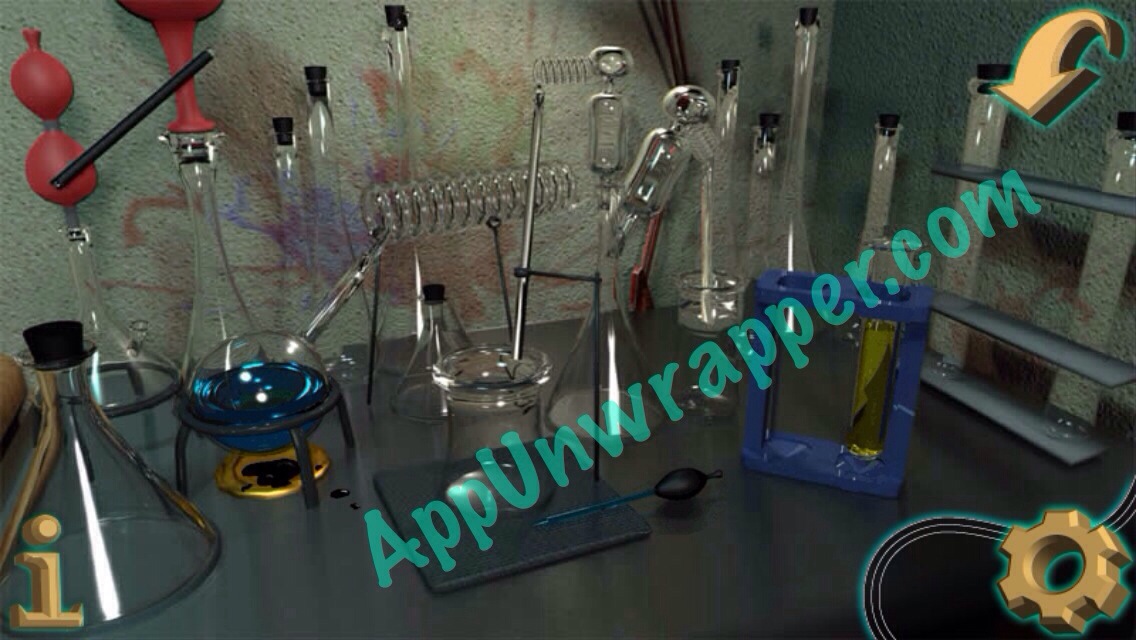
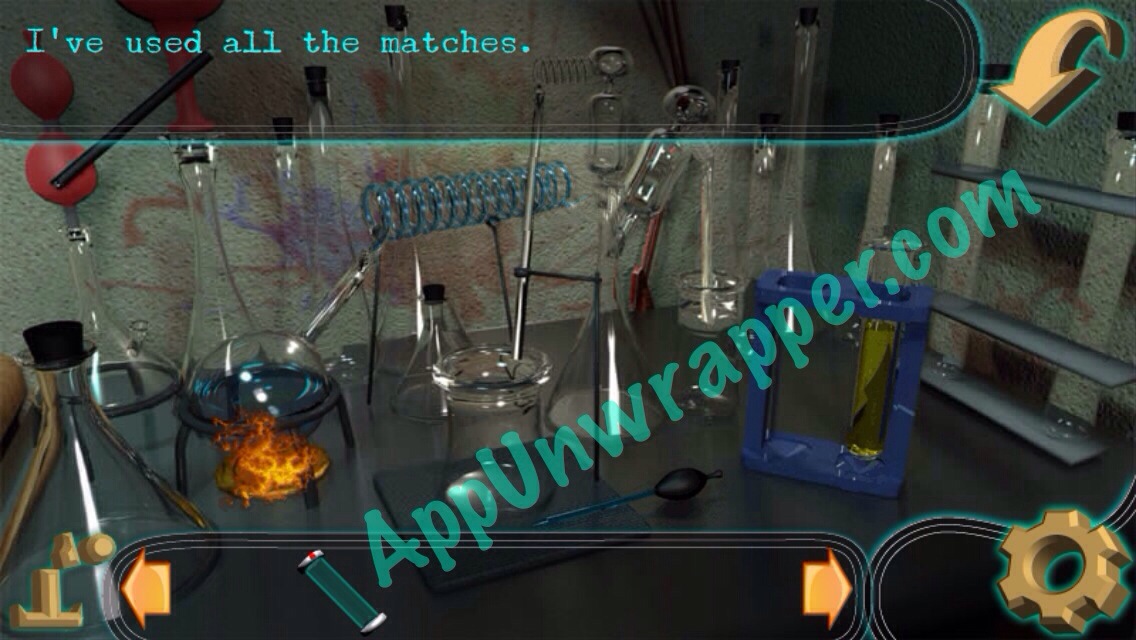
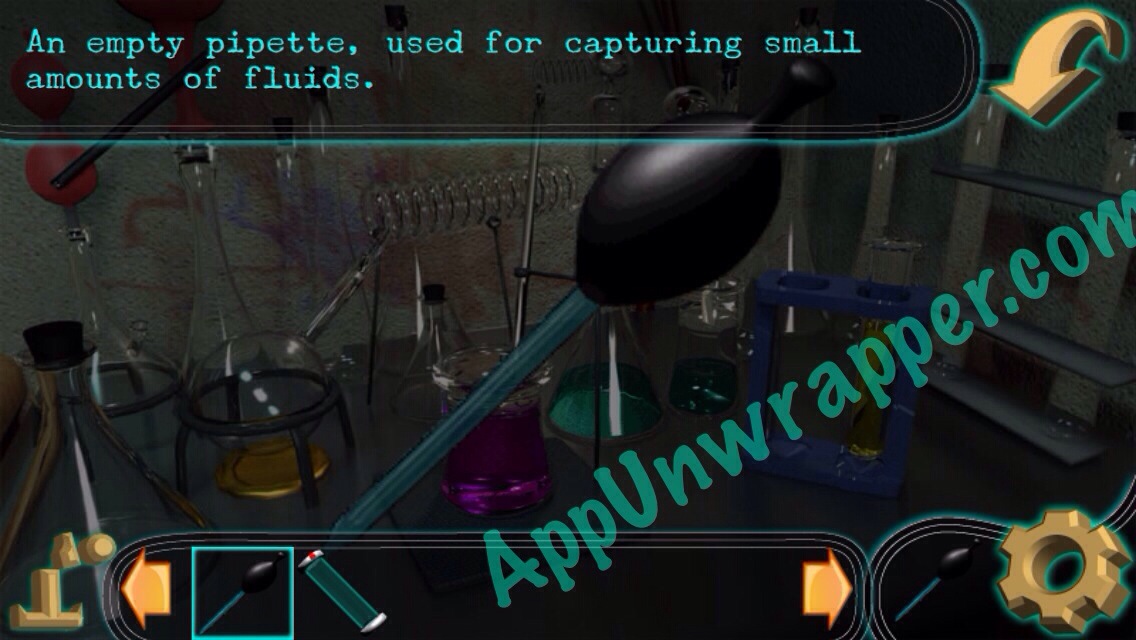
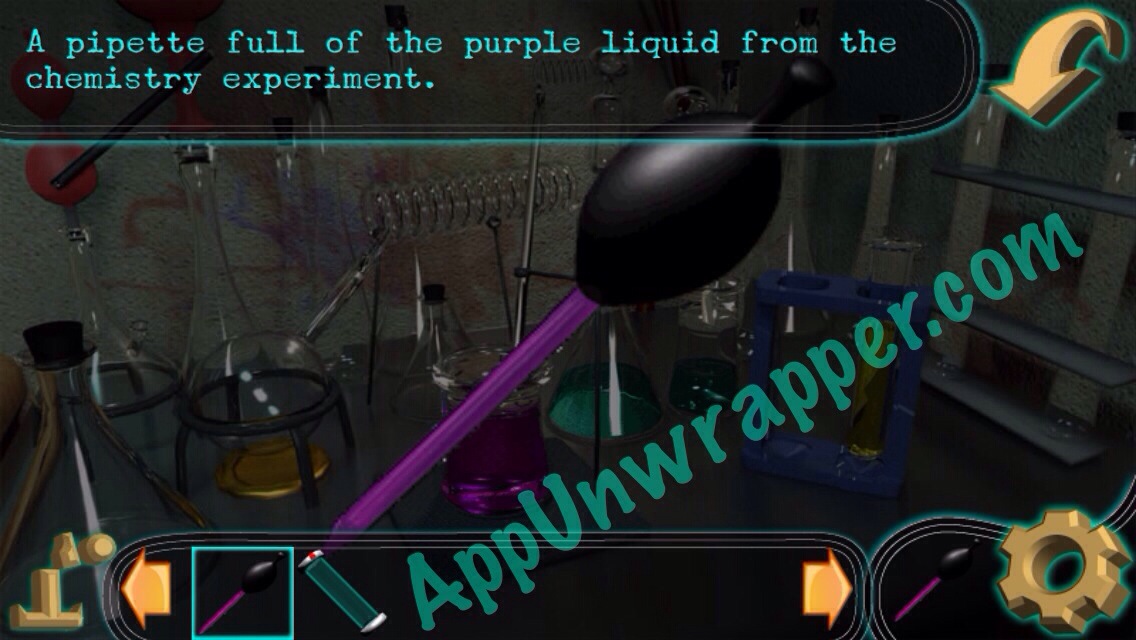
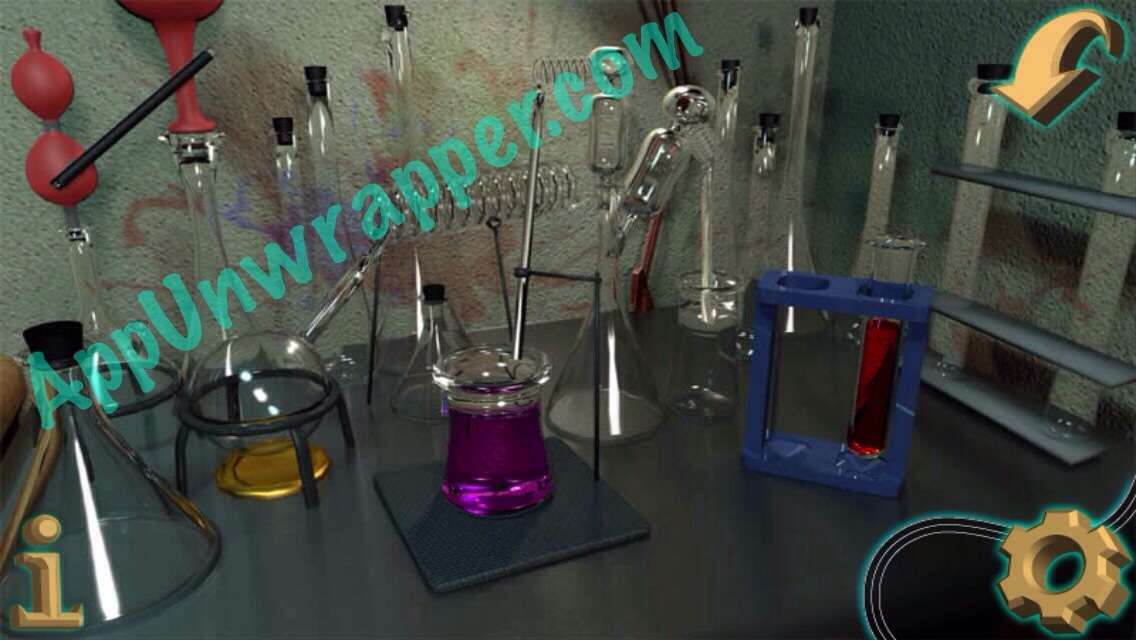
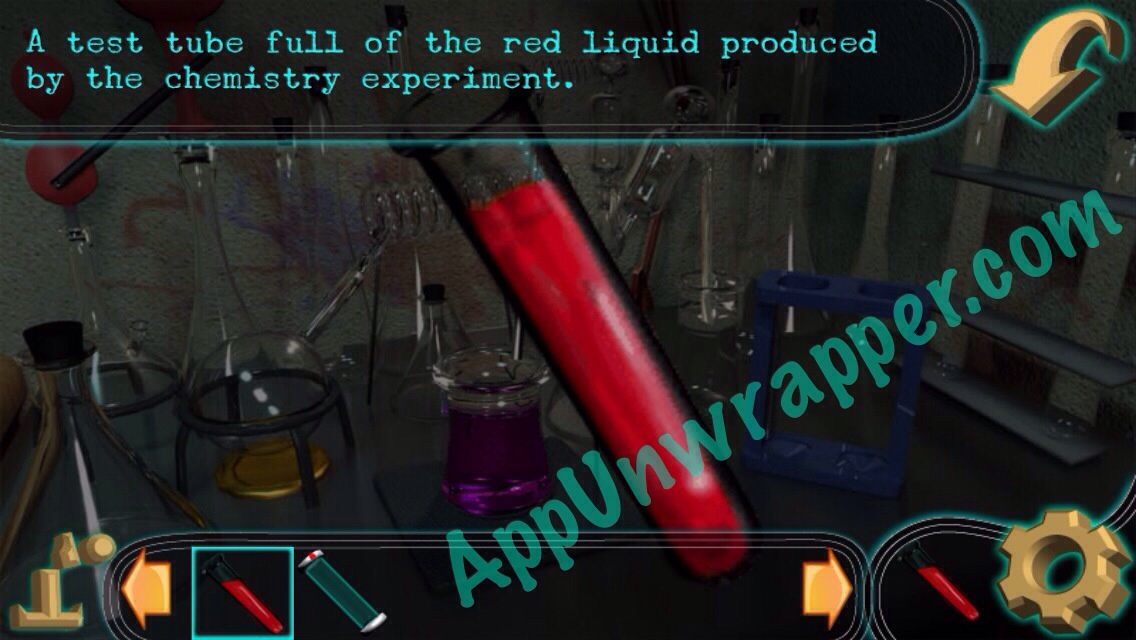
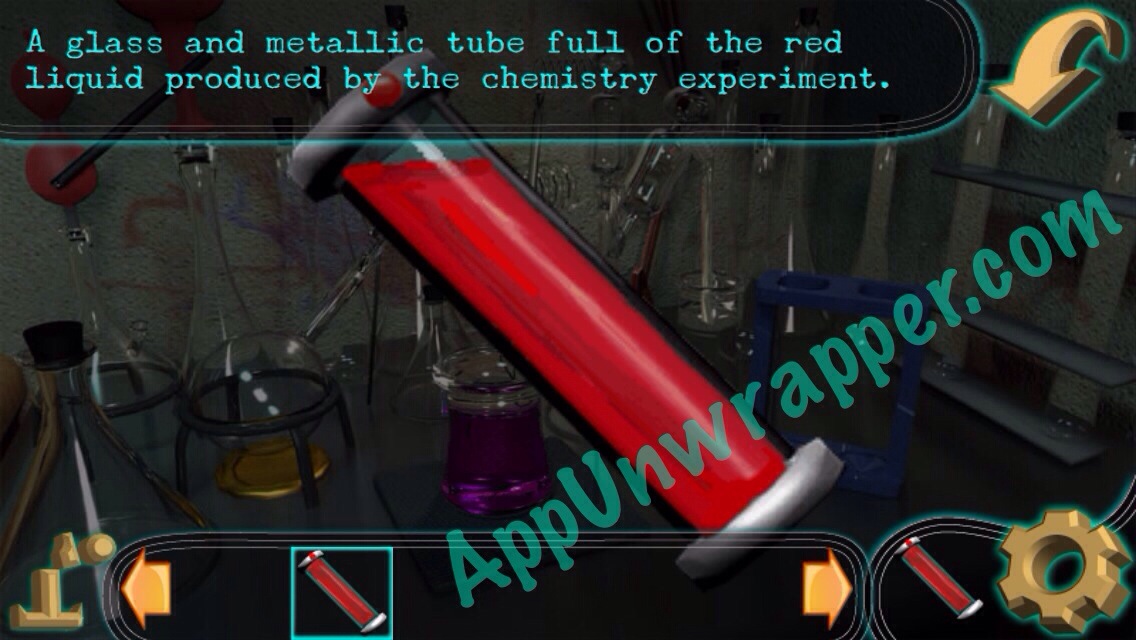
46. Go back to the chemistry set. Use the oil spritzer on the burner and use the last of the matches to light it up. You’ll get a purple liquid. Take the dropper from nearby and fill it with the purple liquid. Drop the purple liquid into the test tube of yellow liquid and you’ll get a red liquid. Take the test tube and pour it into the red glass and metallic tube.
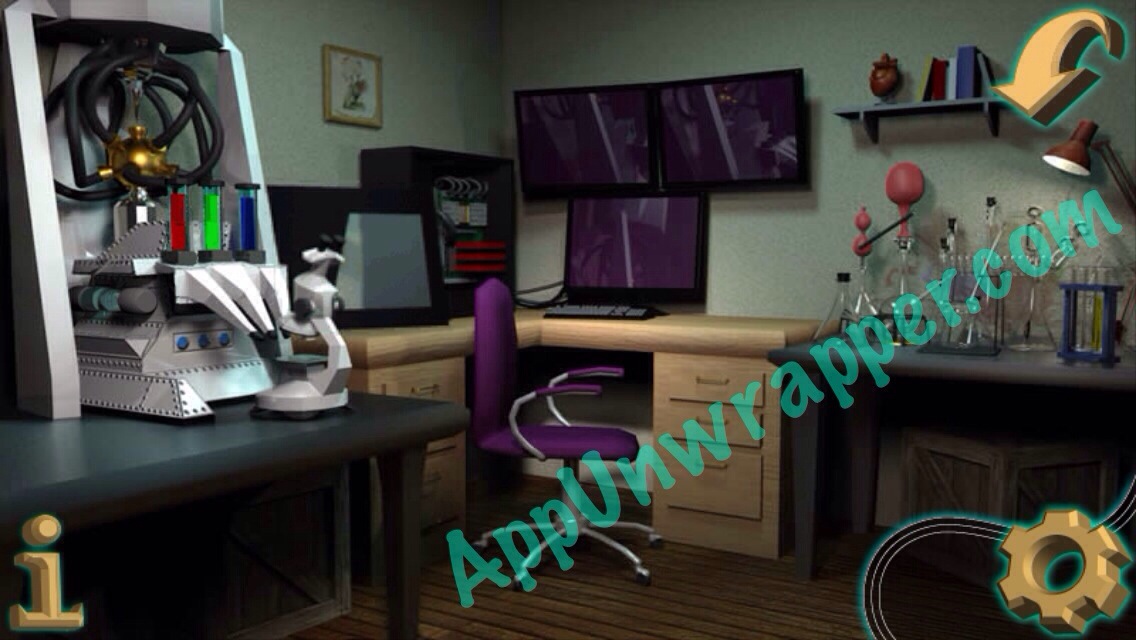
47. Add the green and red tubes to the microscope so you can start using them for the puzzle.
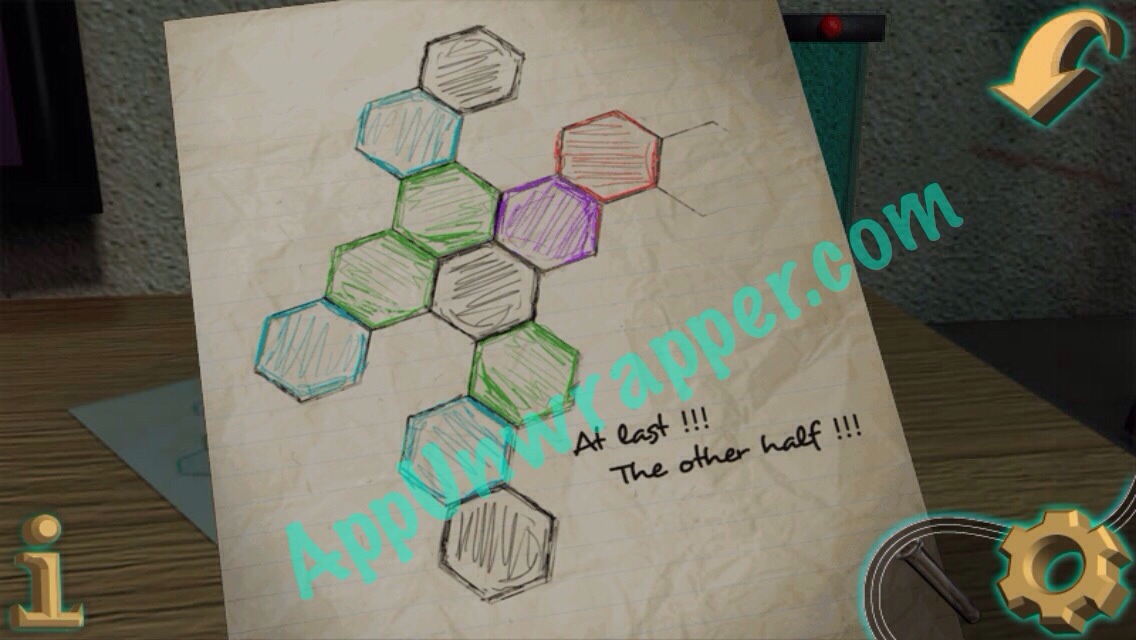
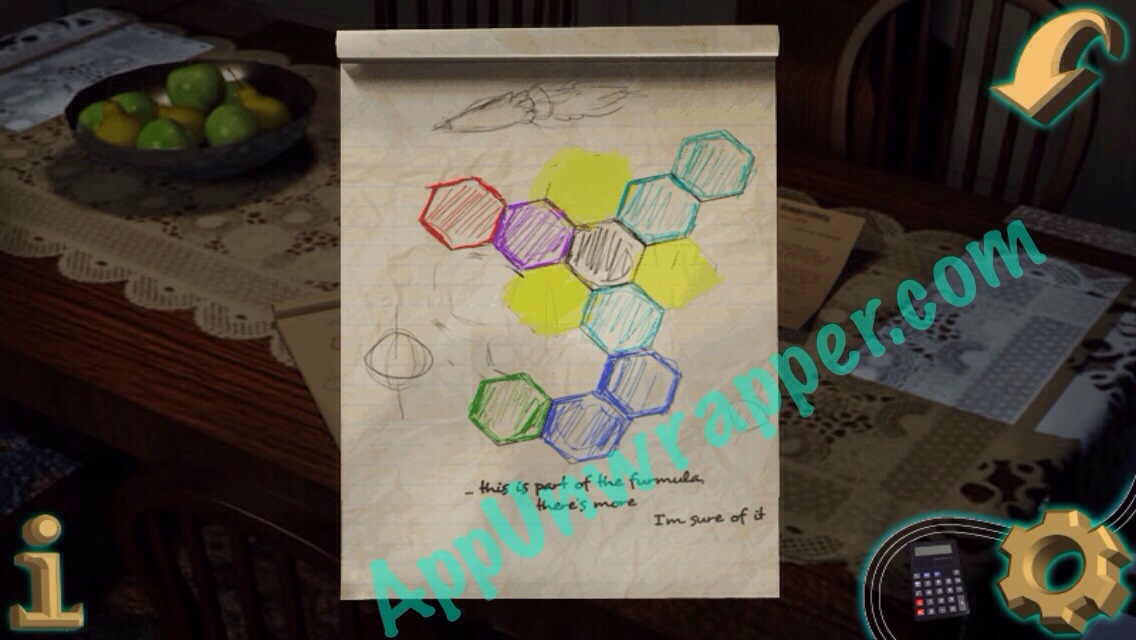
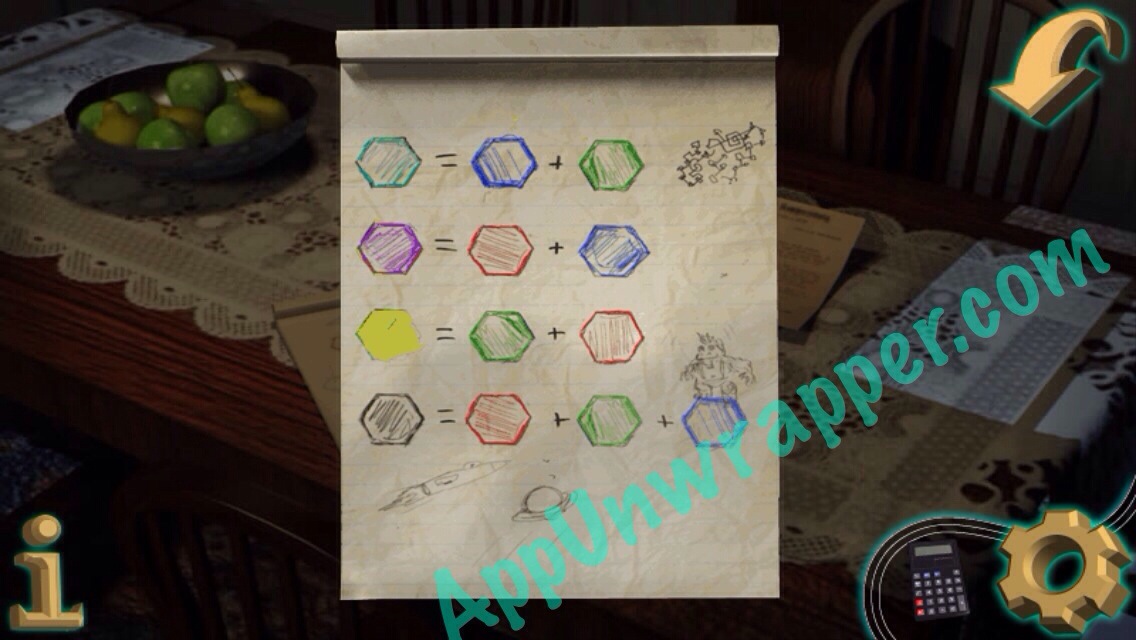
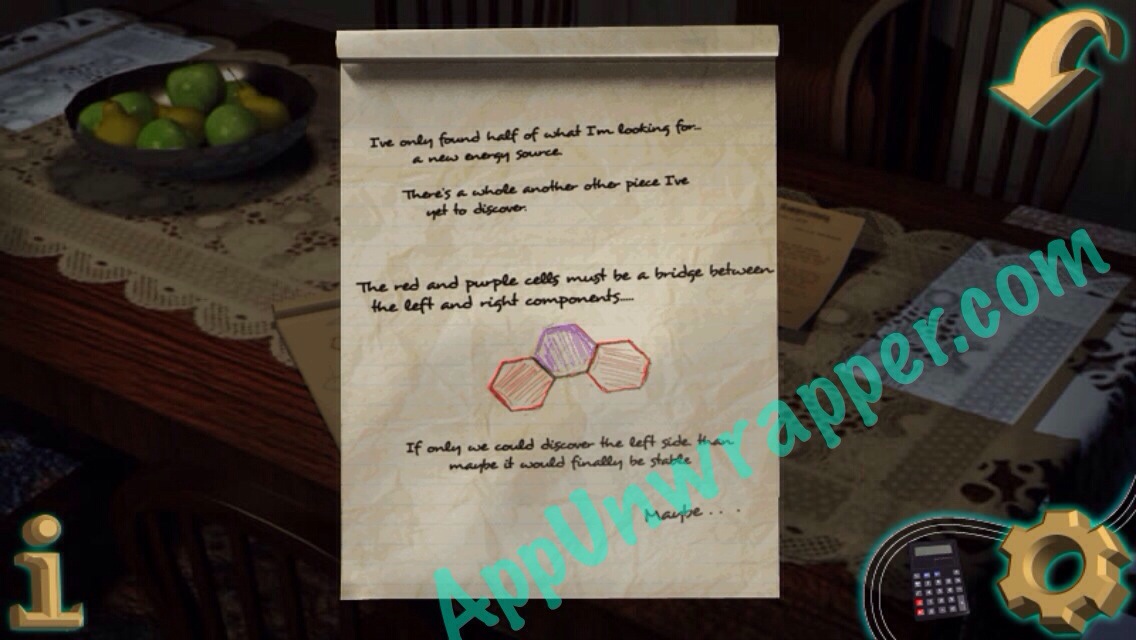
48. Look at the pages we found scattered around and use them to solve the microscope puzzle.
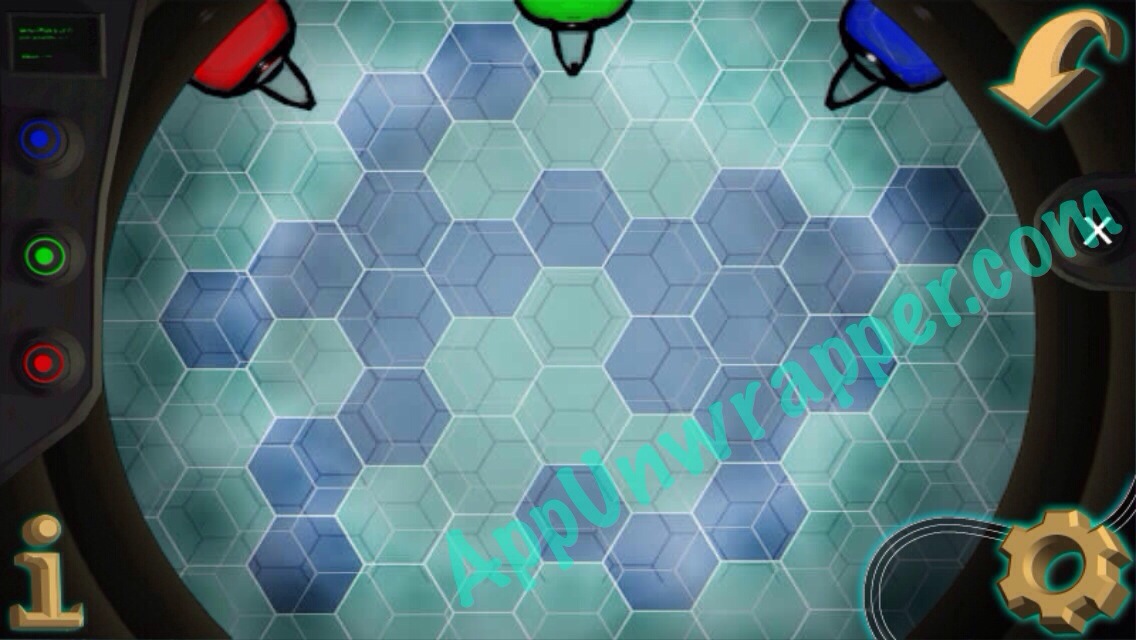
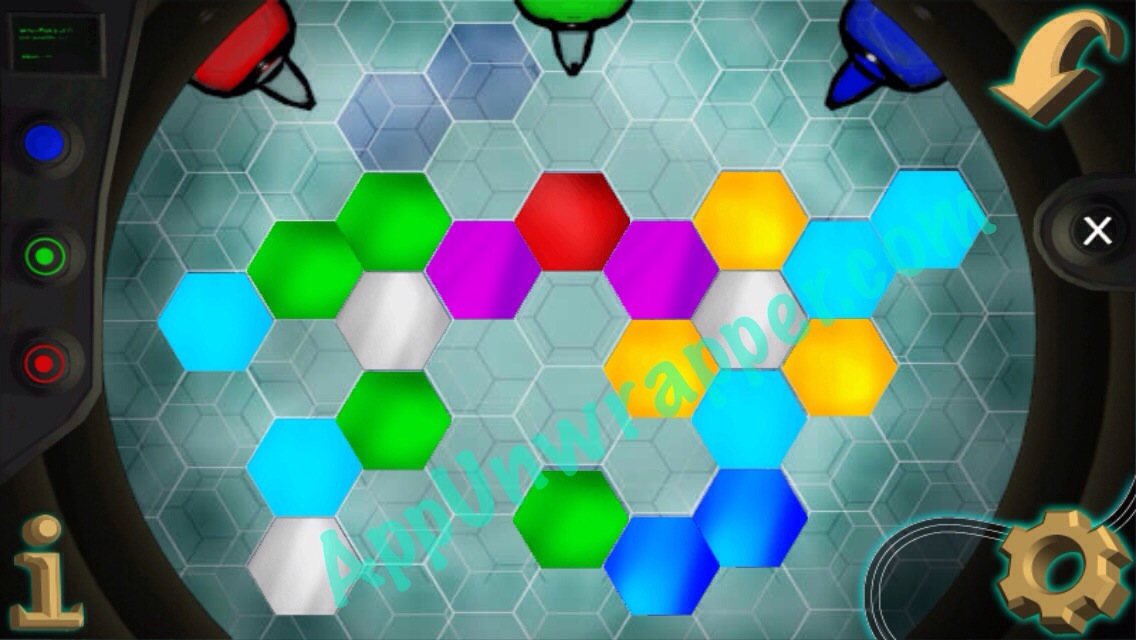
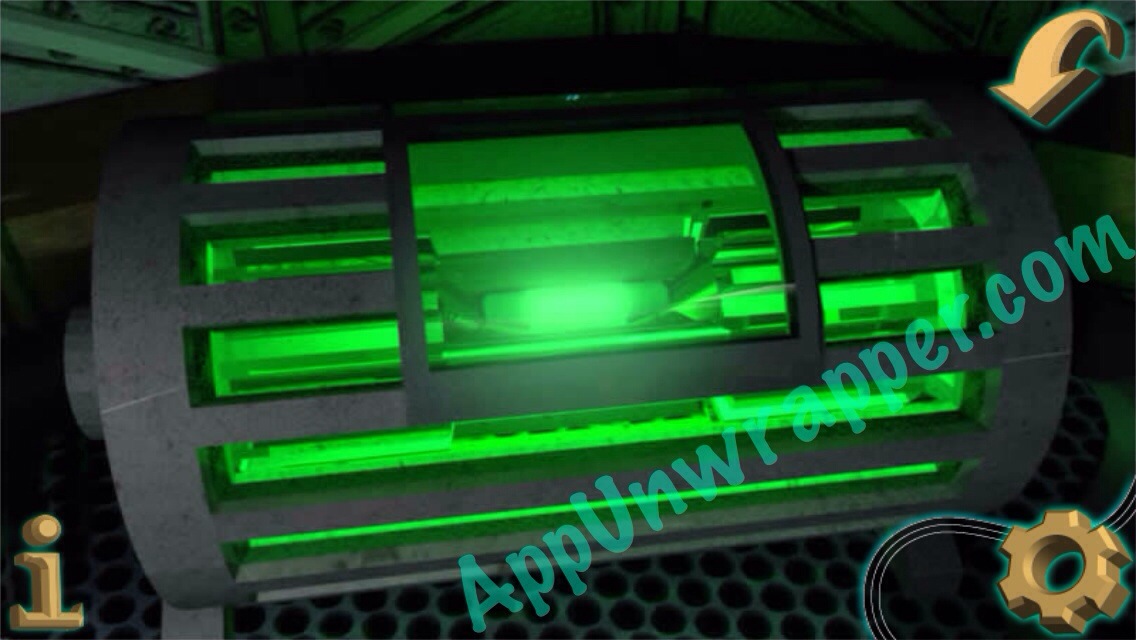
49. Use the red, green and blue colorings to color the hexagons like you see in the notes you found. Mix colors as it shows to get other colors ( blue + green = light blue, red + green = yellow, blue + red = purple, and all three make silver/black). (Sorry, I didn’t get a photo in time for the last two hexagons.) Take the green glowing cylinder when you’re done.
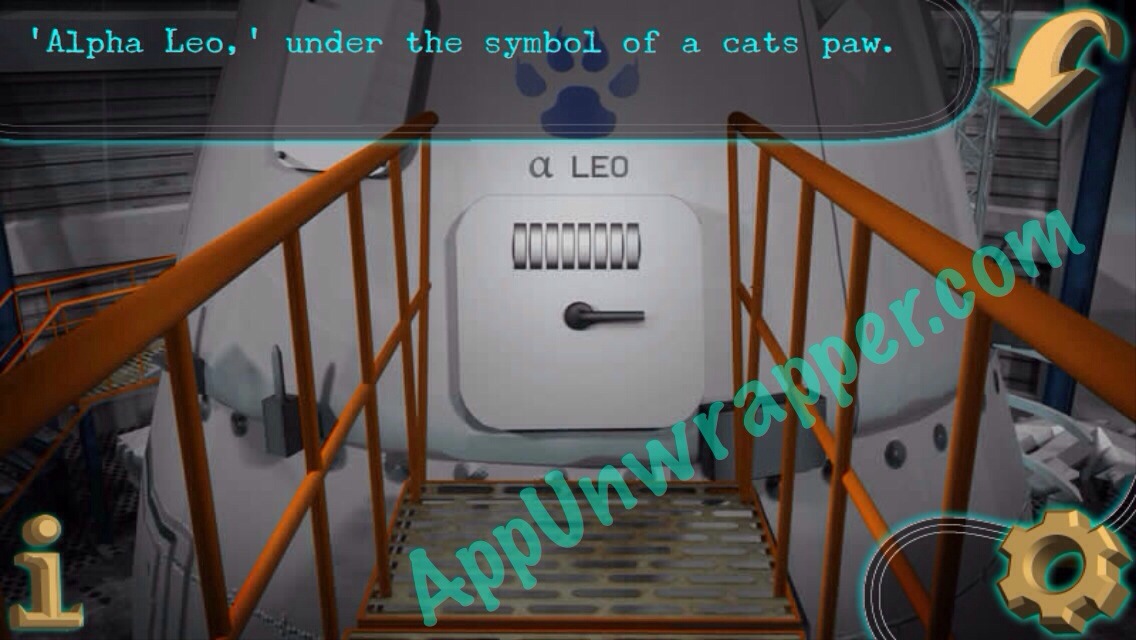
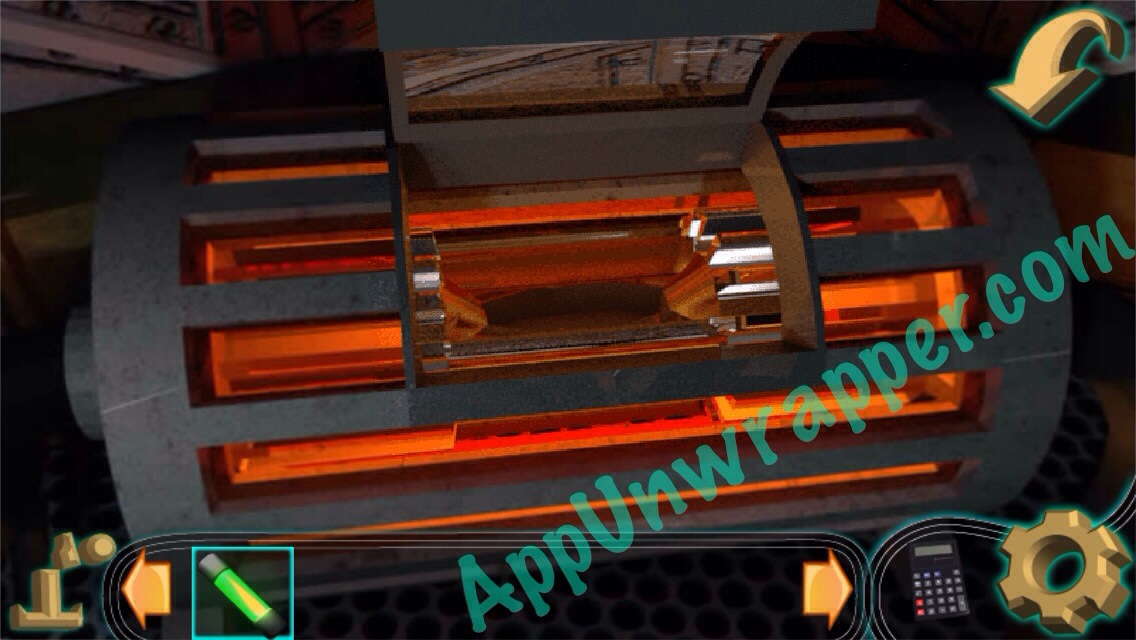
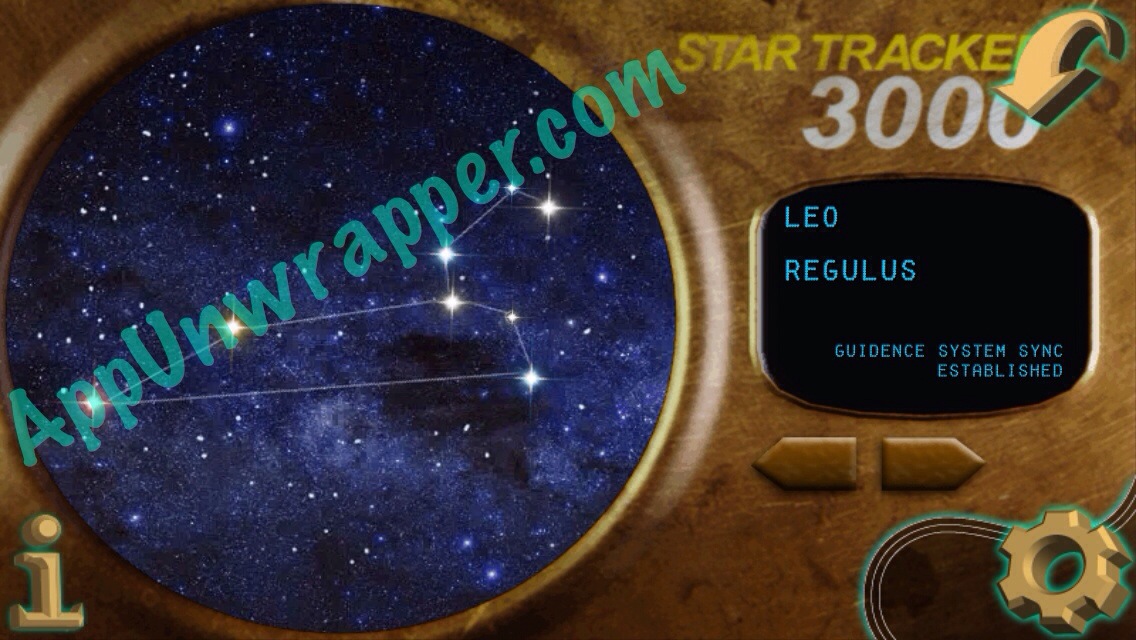
50. Go to the telescope room and place the cylinder in the slot for it. The telescope will turn on. Switch to Leo and tap on the star called “REGULUS” (it means “lion’s paw” — for the blue paw print on the shuttle).
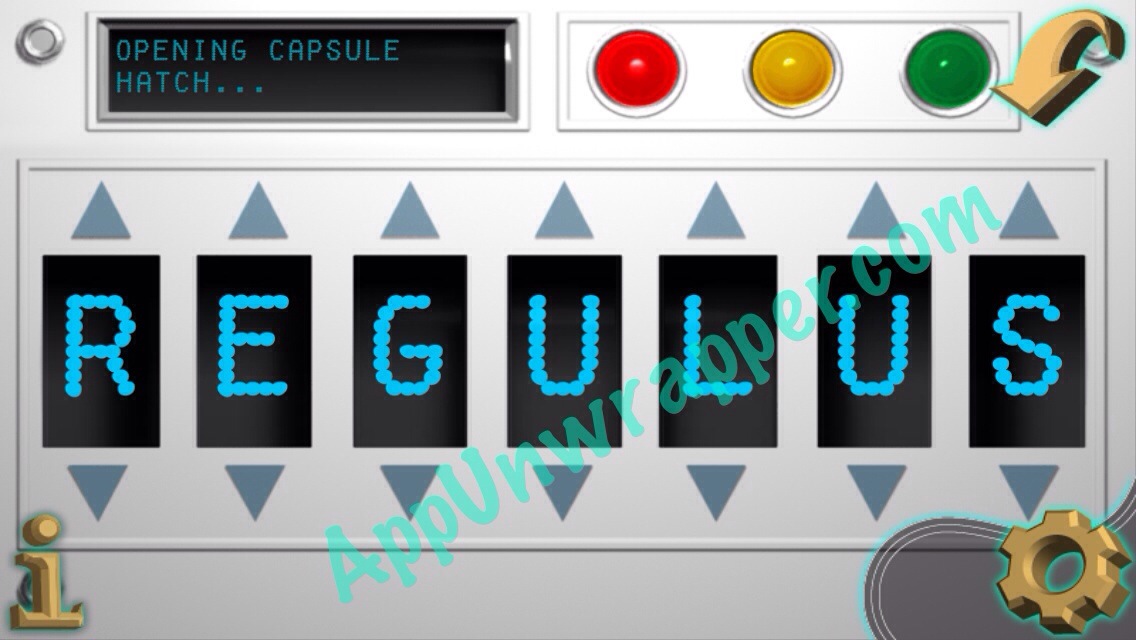
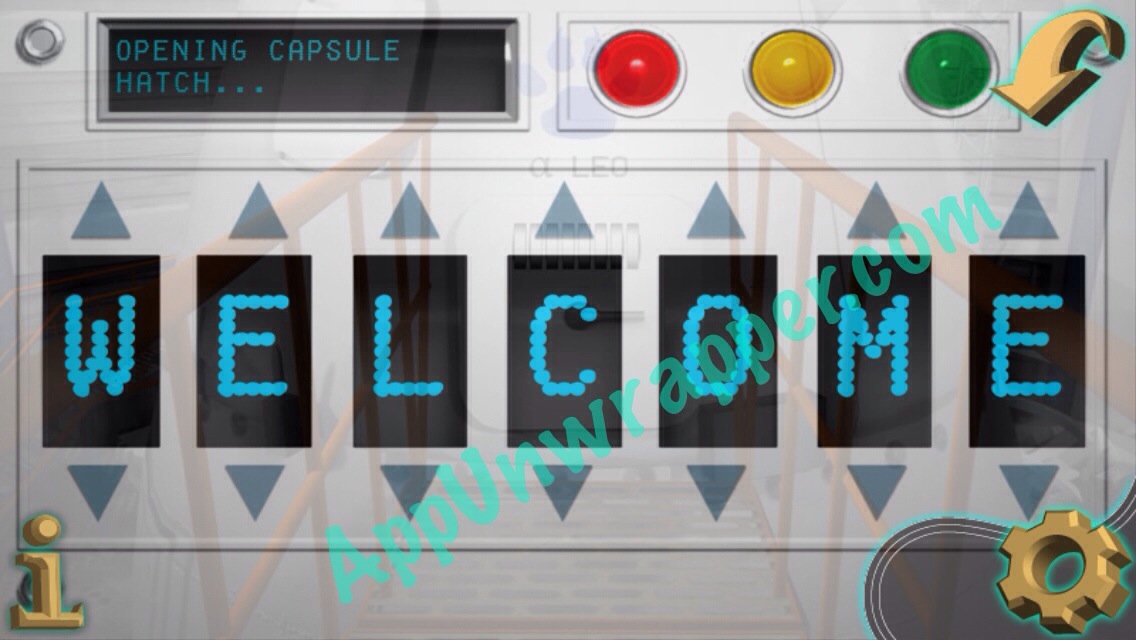
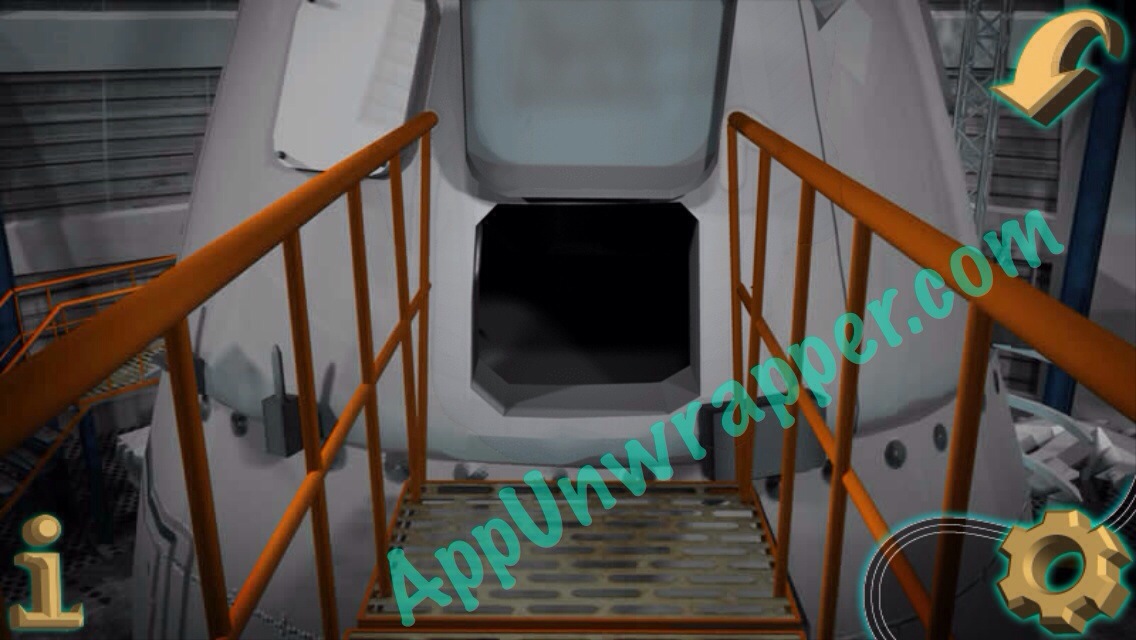
51. Go back to the space shuttle (make sure you switched it on) and put in “REGULUS.” The hatch will open and you can go in. Enjoy the ending!
Congratulations! You completed the game!
If you liked this game, try Cabin Escape: Alice’s Story, The Magic Castle, or some of these other escape games.







Thanks! Another great w/t 🙂
For #29 how do you open the chest? I tried turning the bobby pin and screwdriver in the lock but it did not open it.
The video I made of that (I think posted on the second part of the walkthrough) mihht help you. But you need to get the pin to the right and then the screwdriver to the left.
la porta della cucina non si apre, nella camera adulti nel cassetto del como’ non c’e’ la lancetta dell’orologio
On the lab there’s a computer. It doesn’t turn on for the processor is missing, but you can get it from the tree house and put it in. Then the computer will turn on and ask for a 5 char password. What is it?
And where was Dr. Von Awesome?