Agent A: A Puzzle in Disguise
By: Yak & Co.
This is a complete step-by-step walkthrough with help, hints, tips, answers and solutions for Chapter 3, Ruby’s Trap, of the iOS and Android game Agent A by Yak & Co. Feel free to ask for extra help in the comments section.
See my walkthrough for Chapters 1 & 2 here.
See my interview with Agent A creator Mark White here.
Chapter 3, Ruby’s Trap:
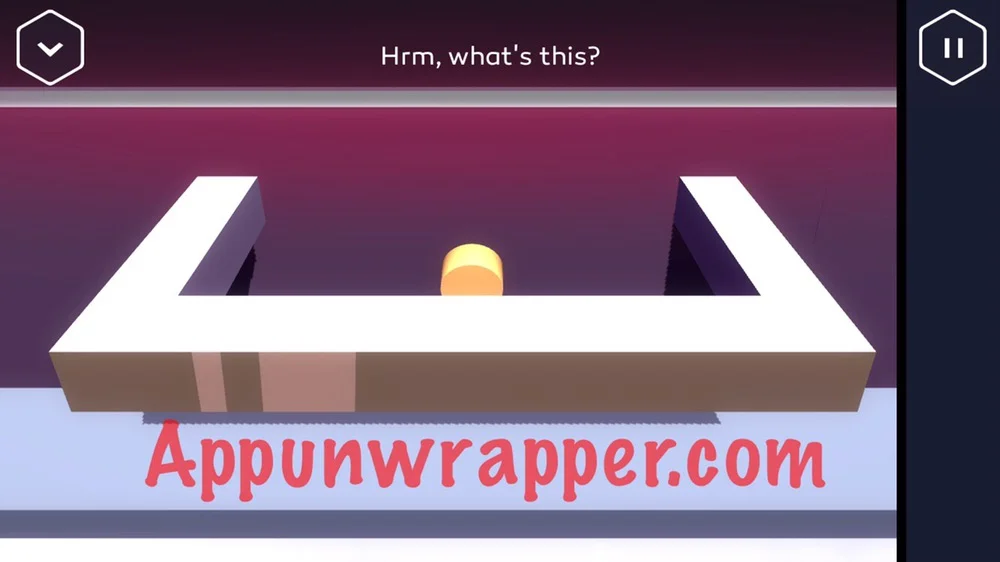
1. Zoom in on the briefcase. It’s locked, but there’s a hidden button behind the handle. Press it to reveal a puzzle.
You can also watch my walkthrough video for the whole chapter here:
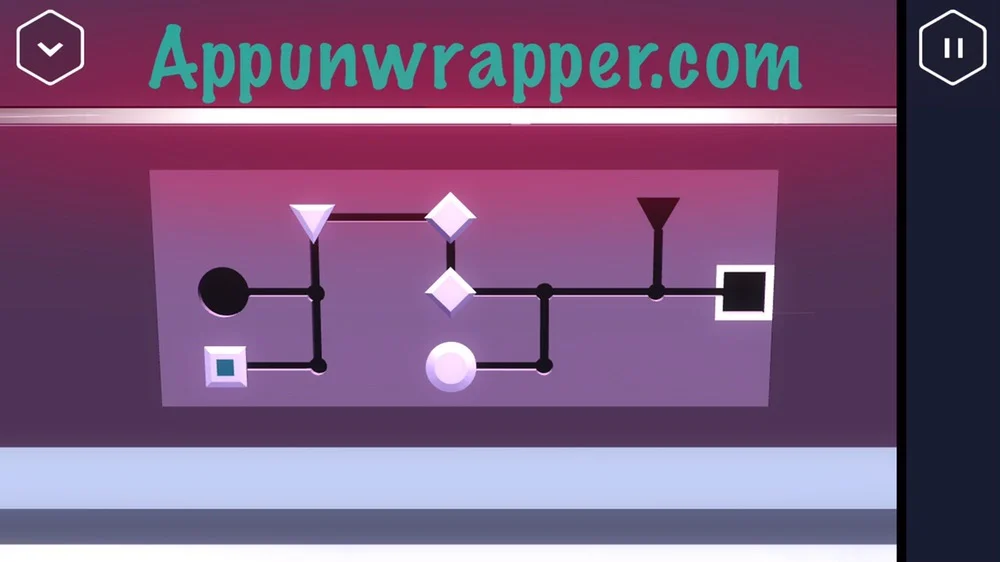
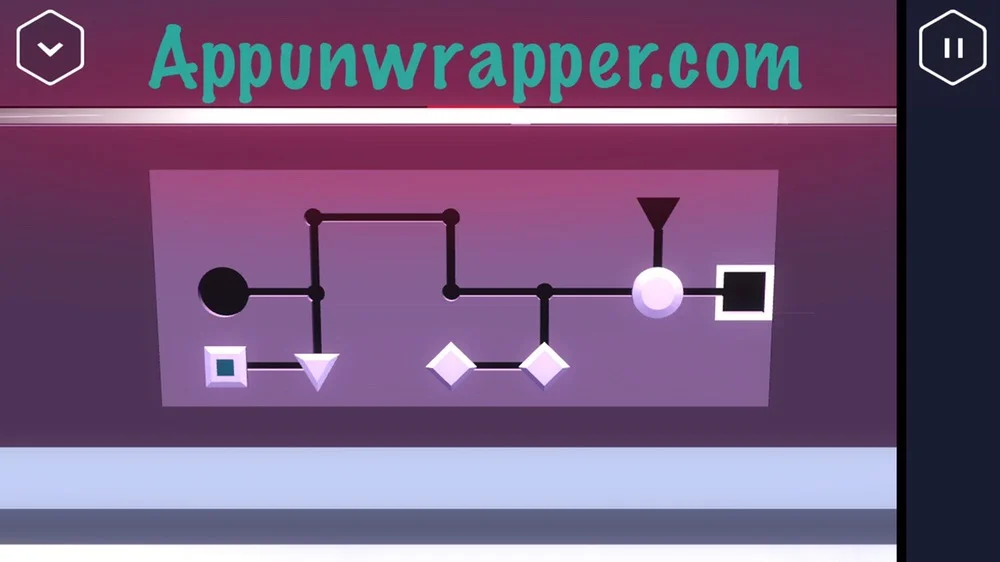
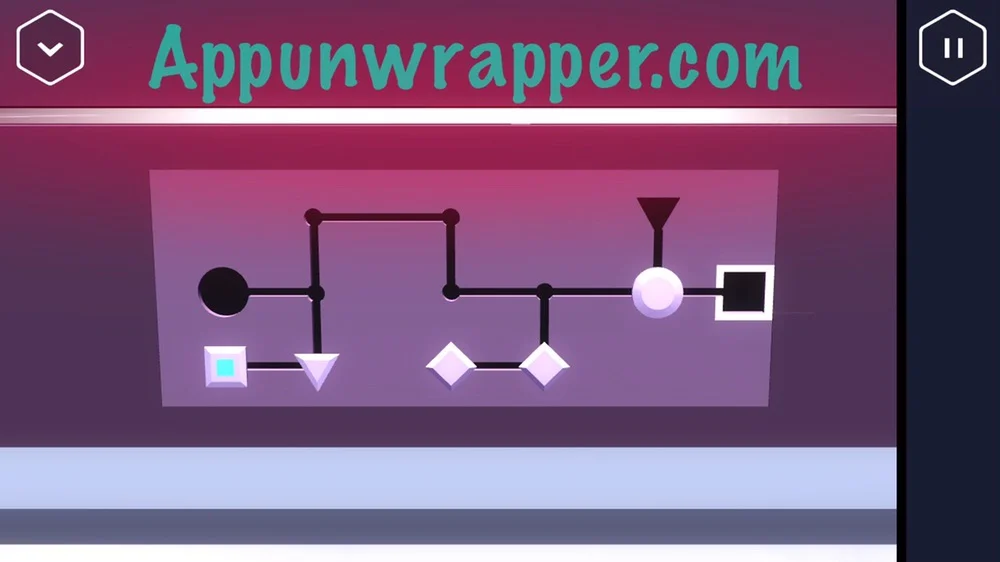
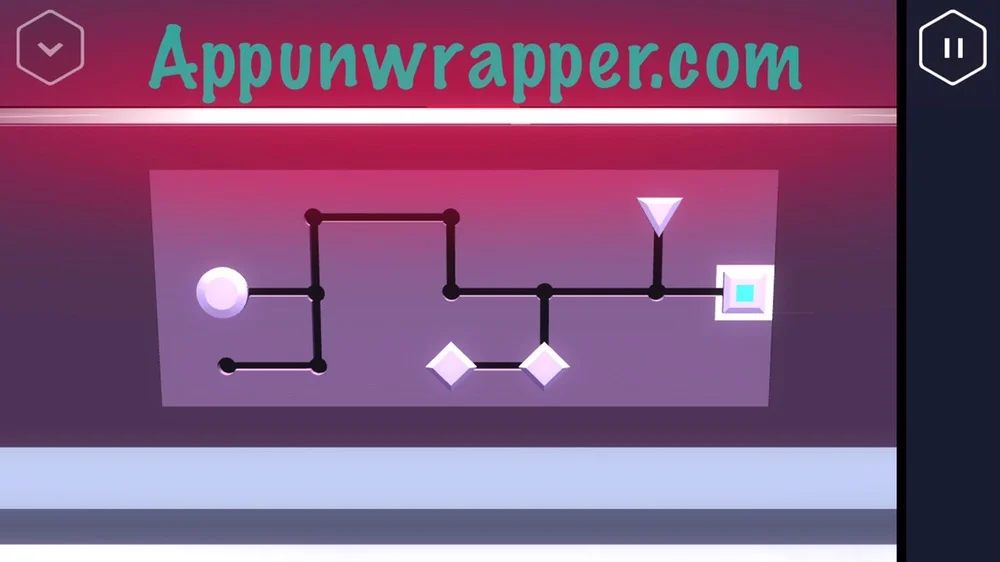
2. You need to slide the circle, square and triangle pieces into the correct slots. To do so, first get the two diamond pieces to the left so you can slide the circle to the right. Then, side the two diamonds over to where the circle started. You should now be able to get the circle over to its slot, then the triangle, and the square last. The briefcase unlocks and you can open it!
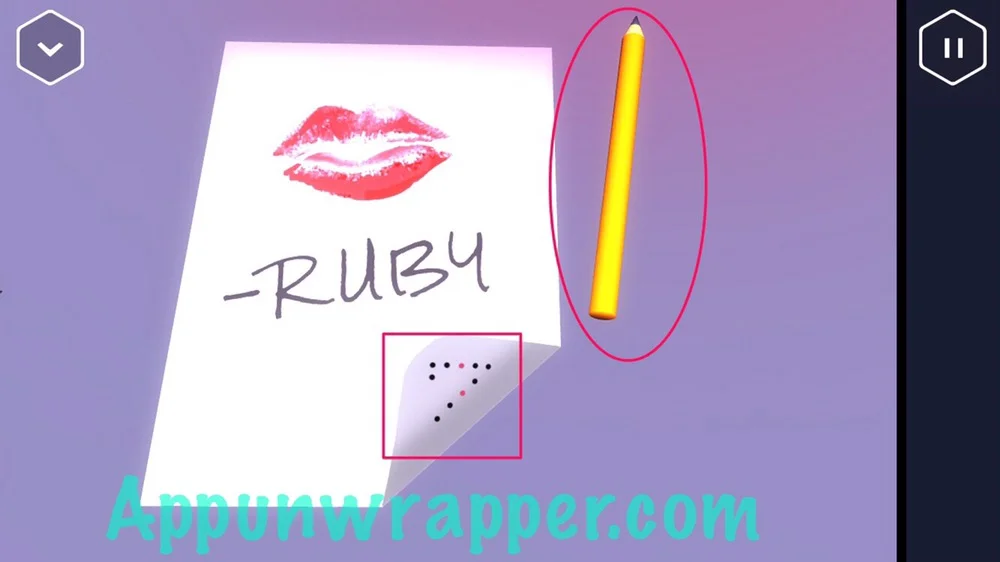
3. It turns out she strapped a bomb to a bridge and now you have to disarm it! Your new mission is to hit the kill switch. Start by picking up the pencil and looking under the corner of the note for a clue.
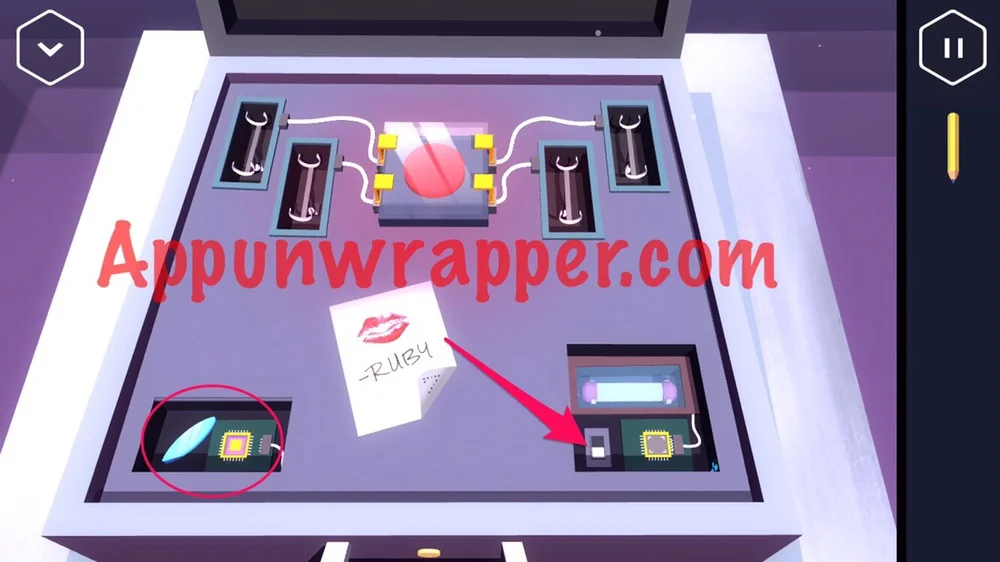
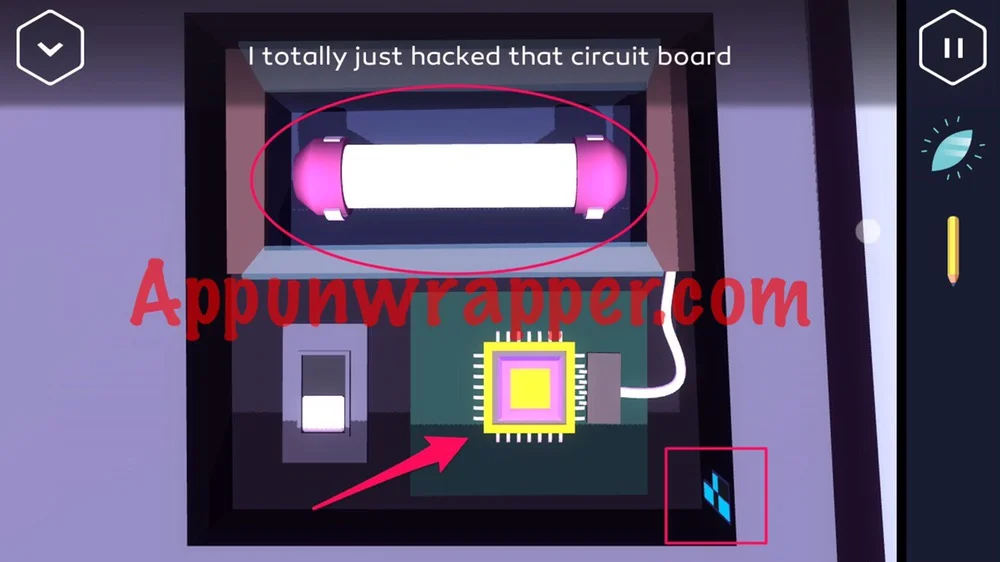
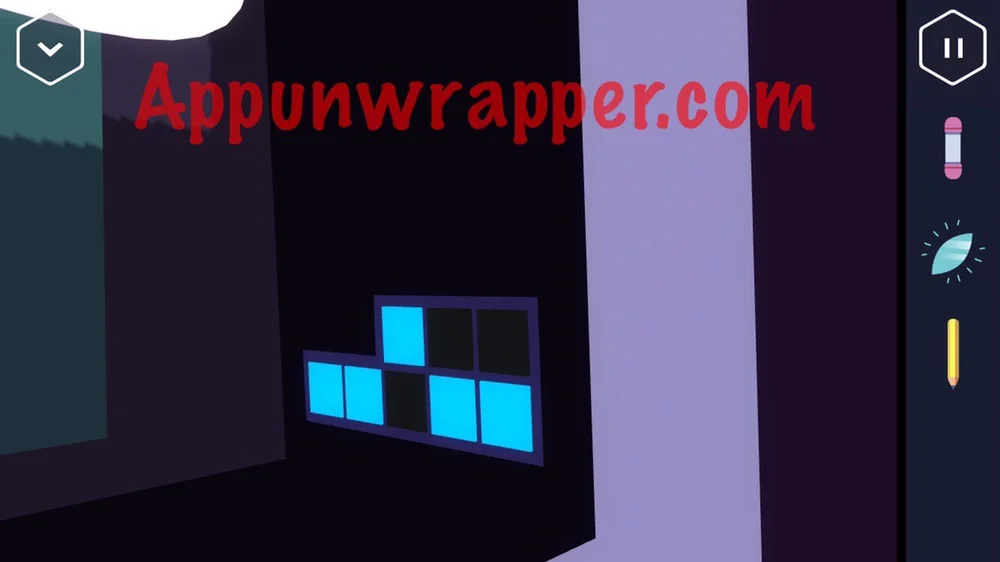
4. Open the right panel and flick the switch to open the left panel. Take the electronic chip and glowing object. Then place the electronic chip on the empty slot on the right side to hack the circuit board and get the power cell. While you’re there, also notice the clue.
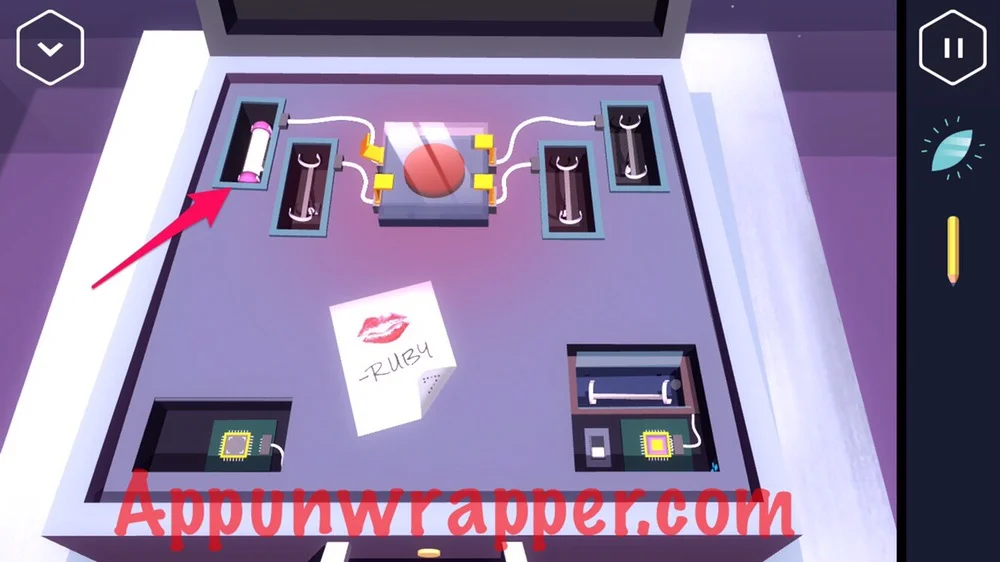
5. Insert the power cell into one of the slots around the big red button. We still need three more, but this opens a small panel on the front of the pedestal.
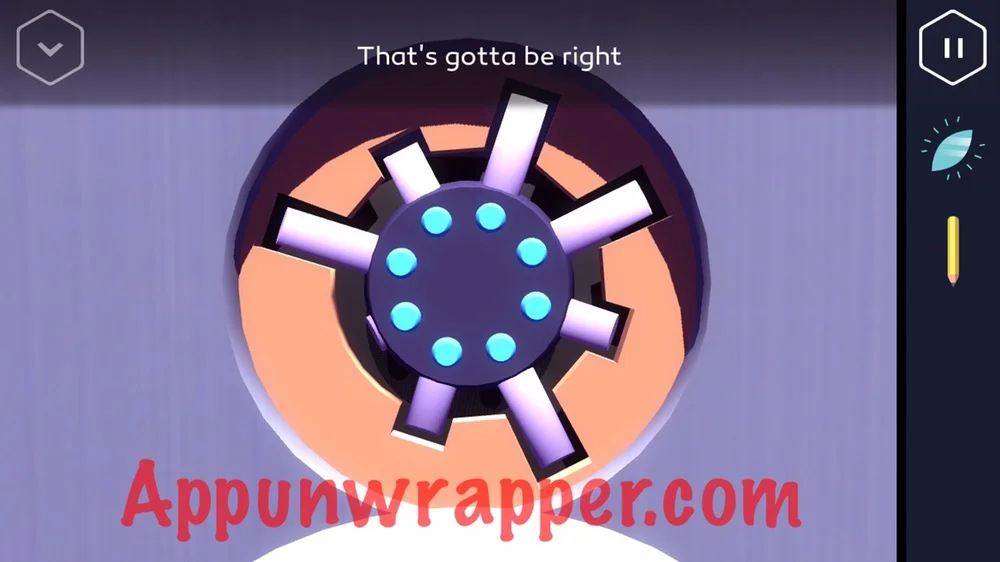
6. You need to tap the blue buttons on the center piece to extend the arms one or two times to match the cutout that’s spinning around it.
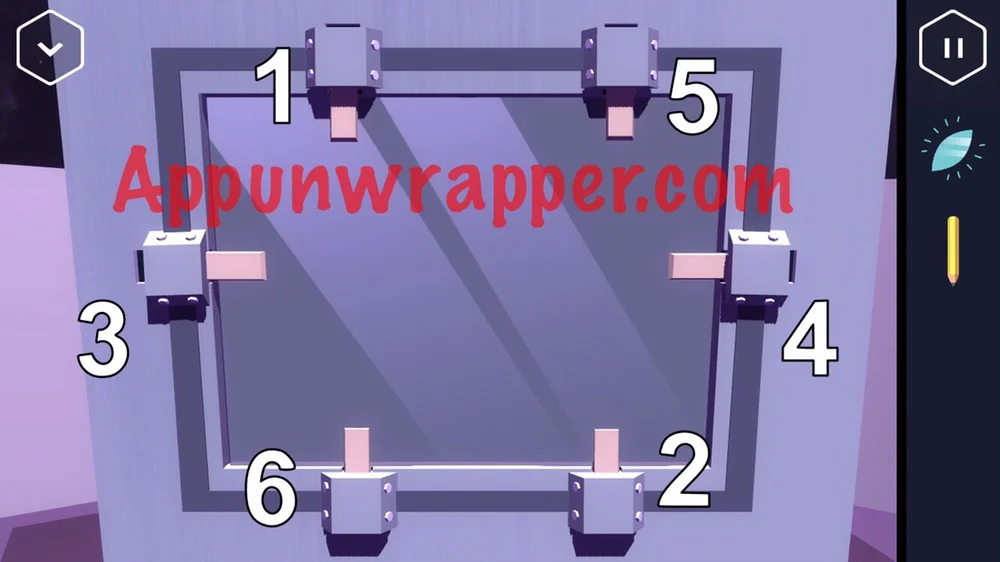
7. Three new panels open. Let’s start with the one on the front. It’s basically a trial-and-error puzzle. You need to open each lock in the right order so they stay open. You can follow the image below if you need help. The panel will open and reveal some more buttons and locks that we can’t do anything with yet.
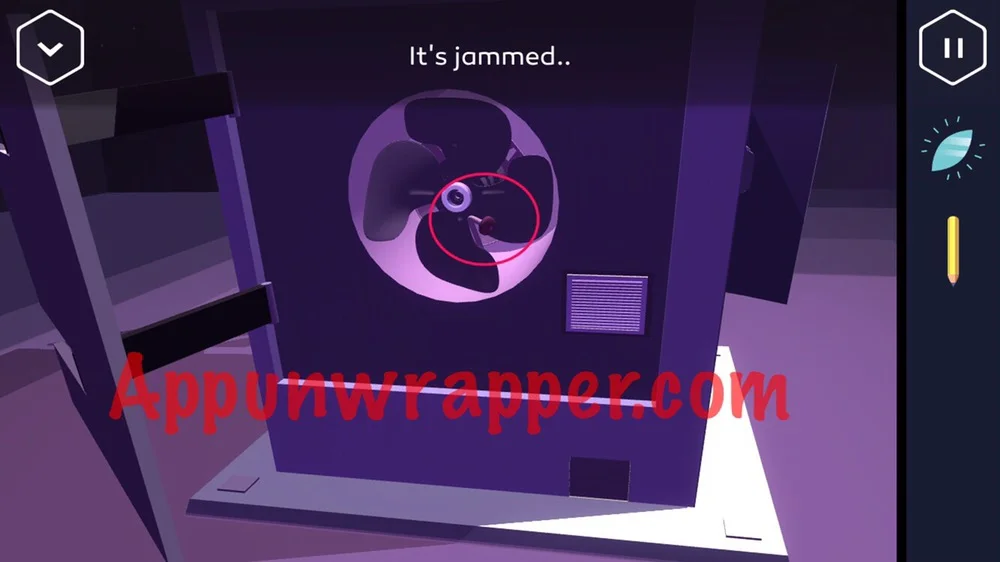
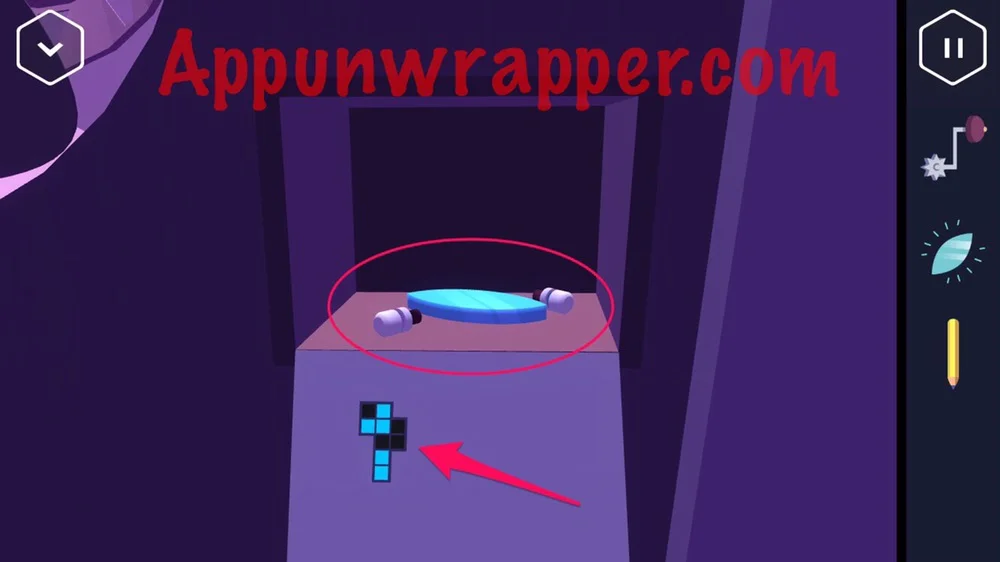
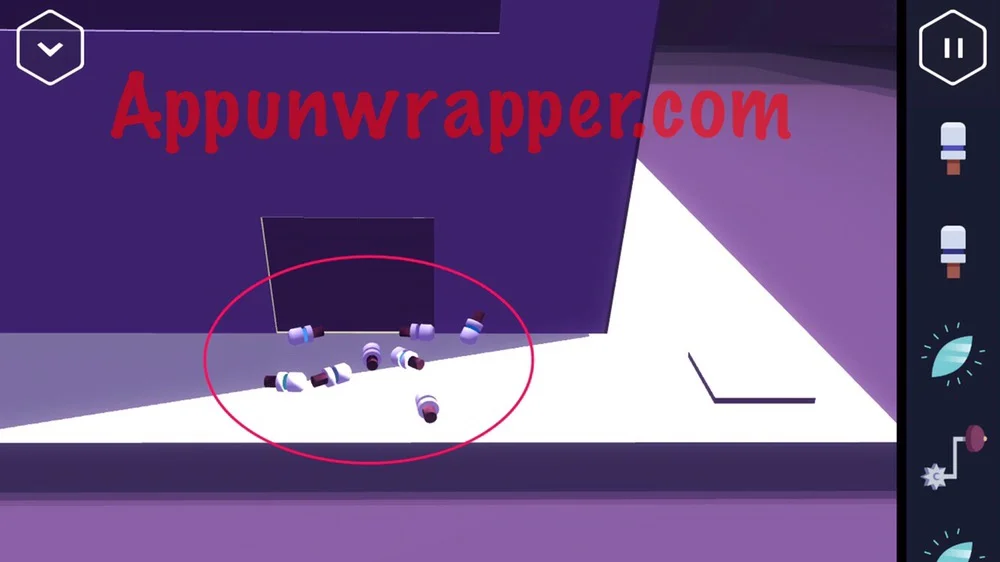
8. Look to the left side of the pedestal. There’s a crank handle jammed in the fan. Take it and a small door will open. Pick up the glowing object and all the little plugs from in there and off the floor. Also, make note of the clue.
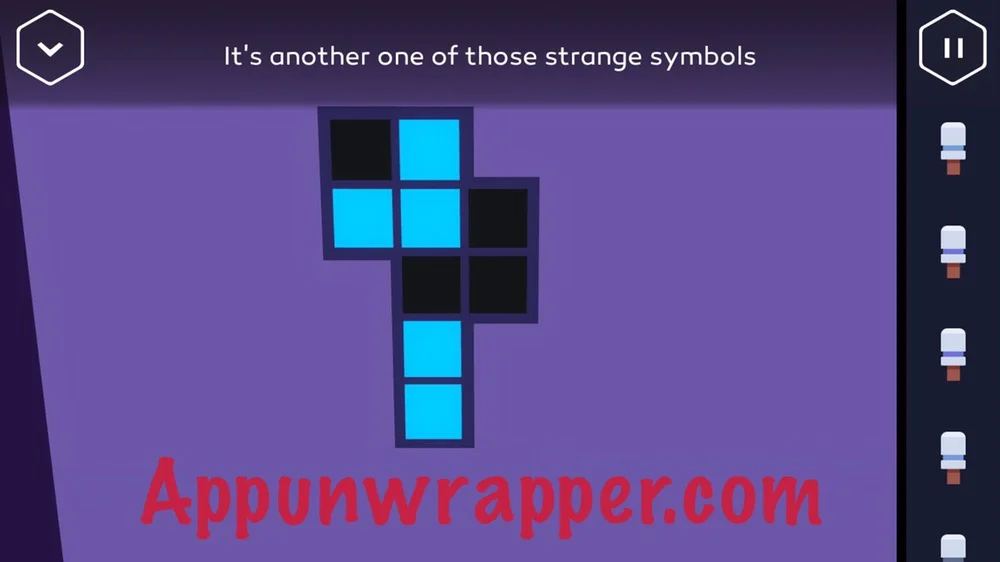
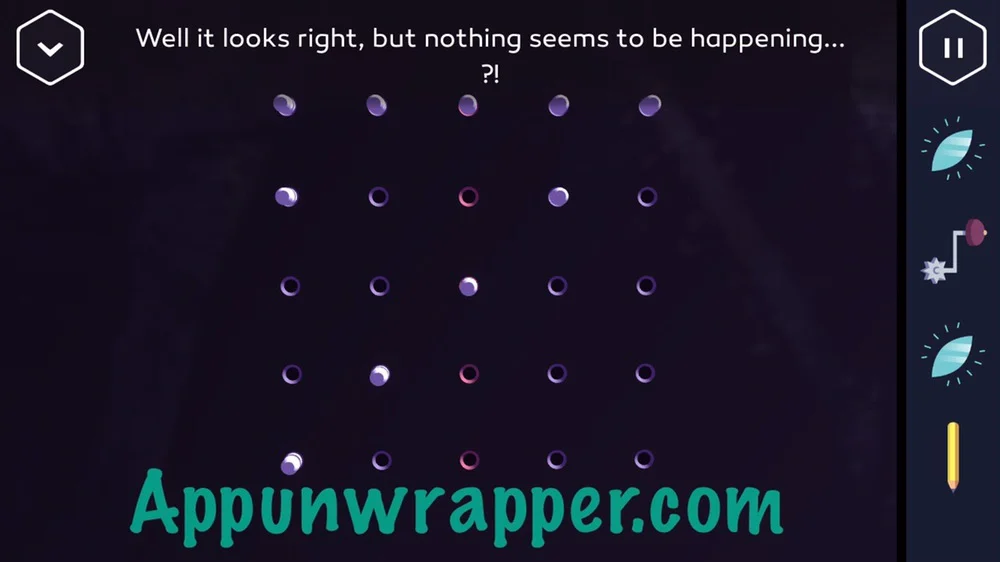
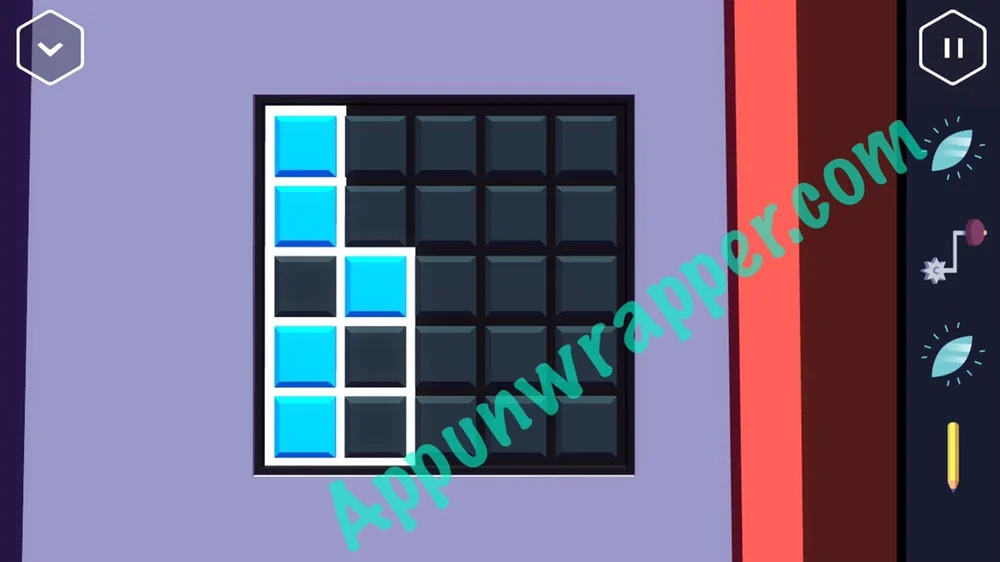
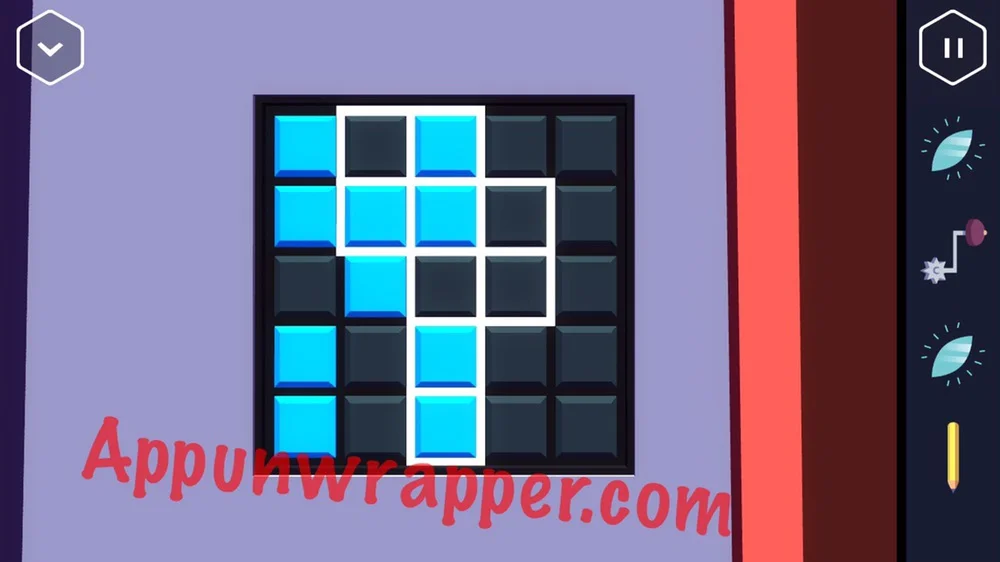
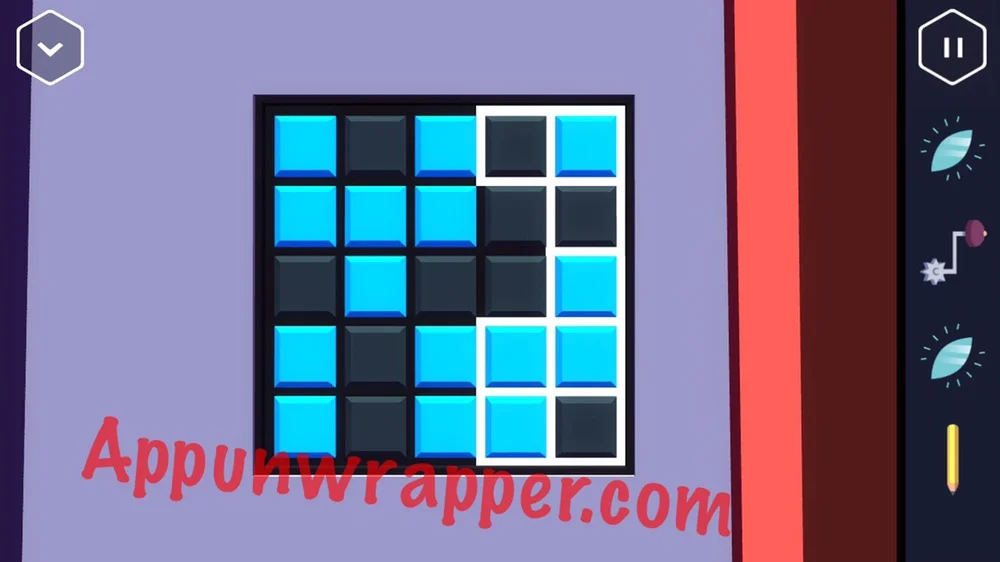
9. Go to the holes on the right wall and place the little plugs in the holes in the same 7 pattern you saw on the paper with Ruby’s lipstick. It’s the right pattern, but nothing happens.
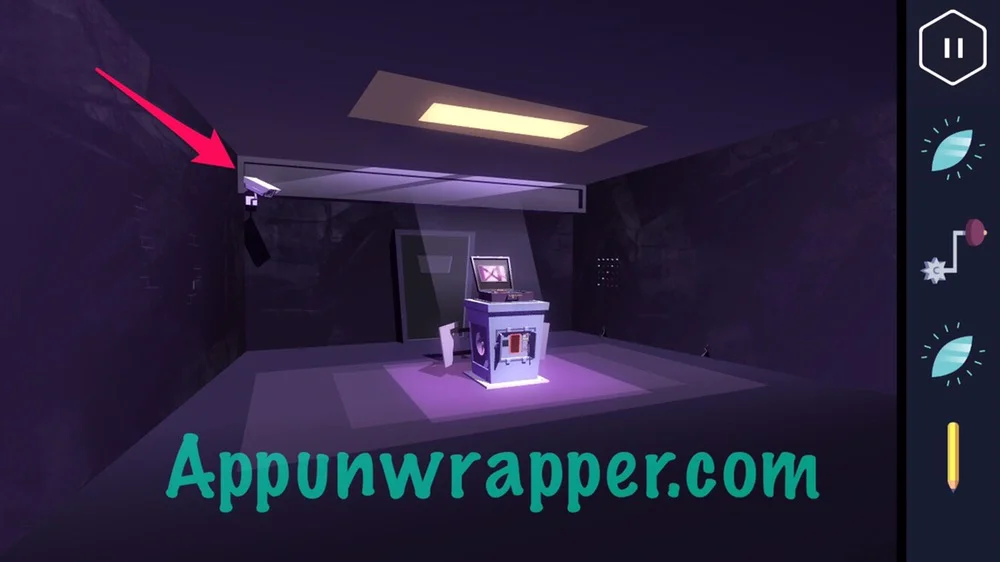
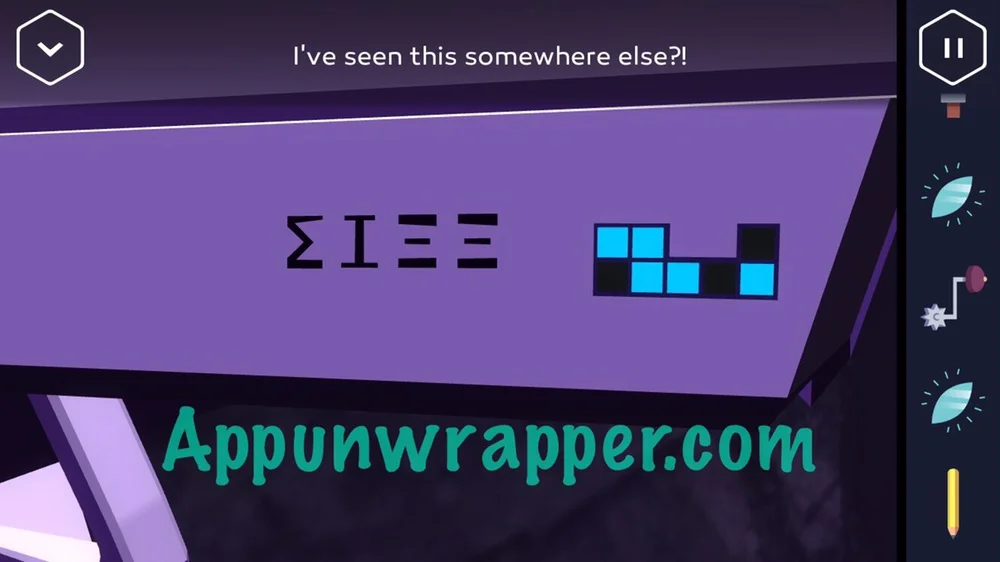
10. Zoom out and look at the security camera for the third of a set of clues, as well as a separate clue.
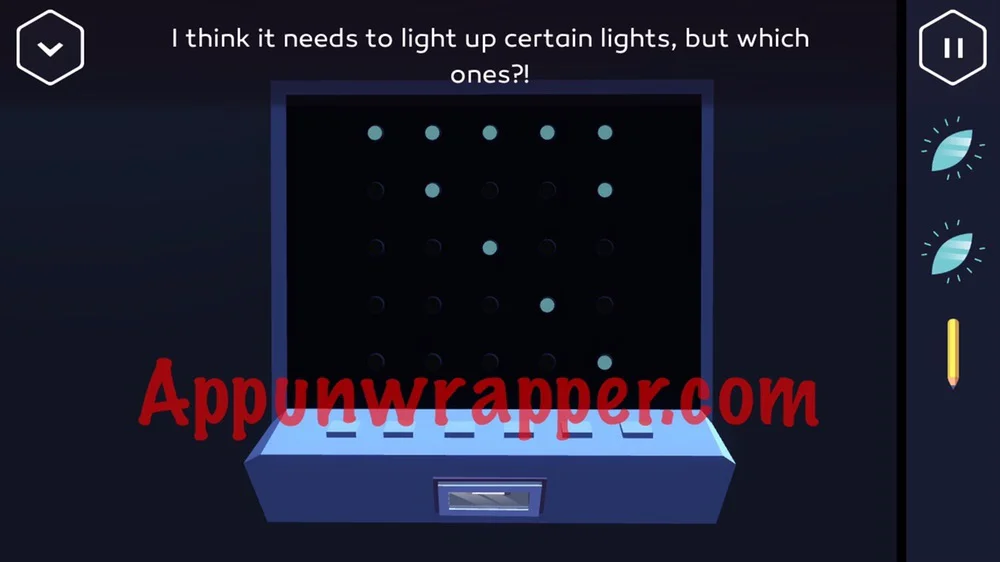
11. Go to the front of the pedestal and use the three clues to figure out which buttons on the keypad to press. The game will outline sections of it for you to make it easier.
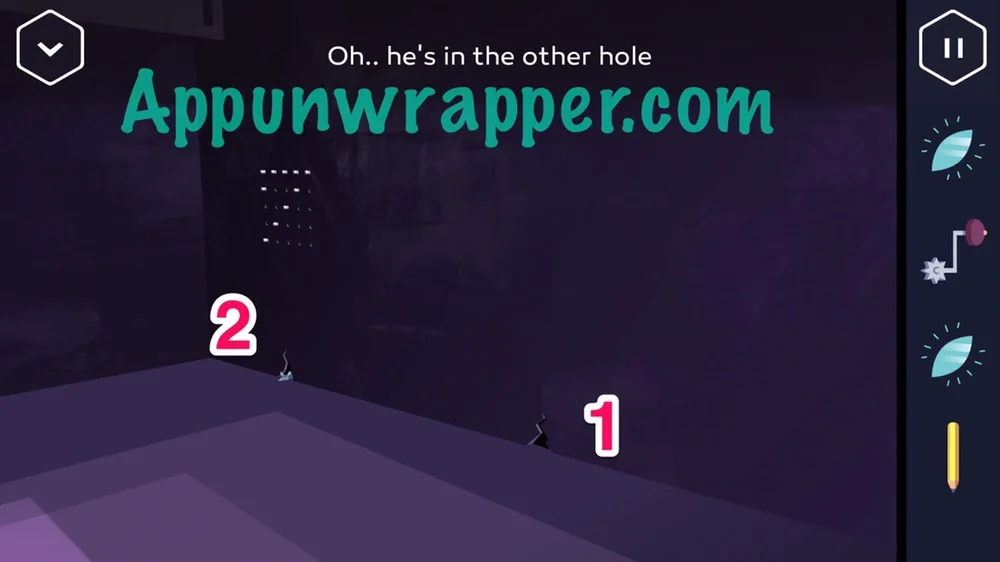
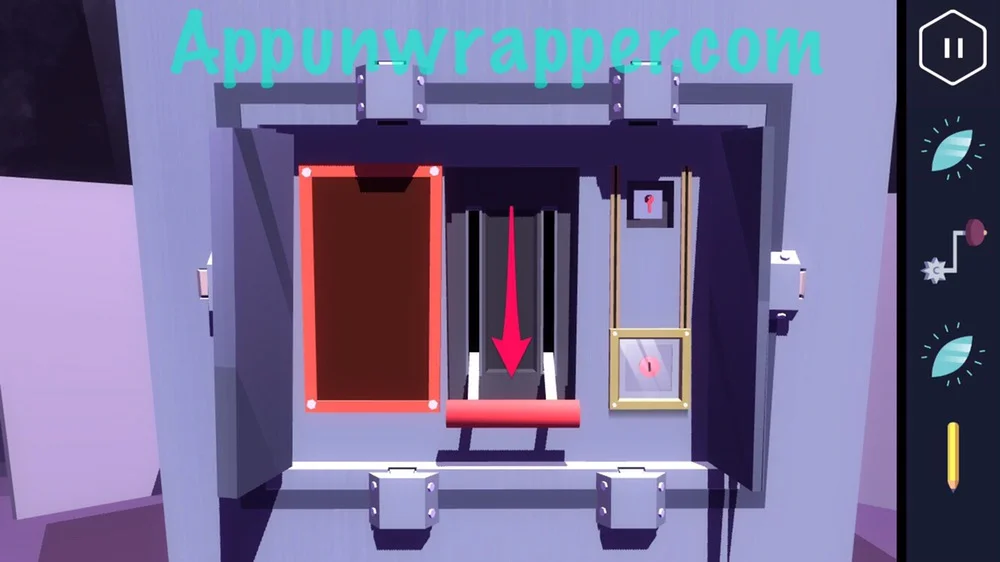
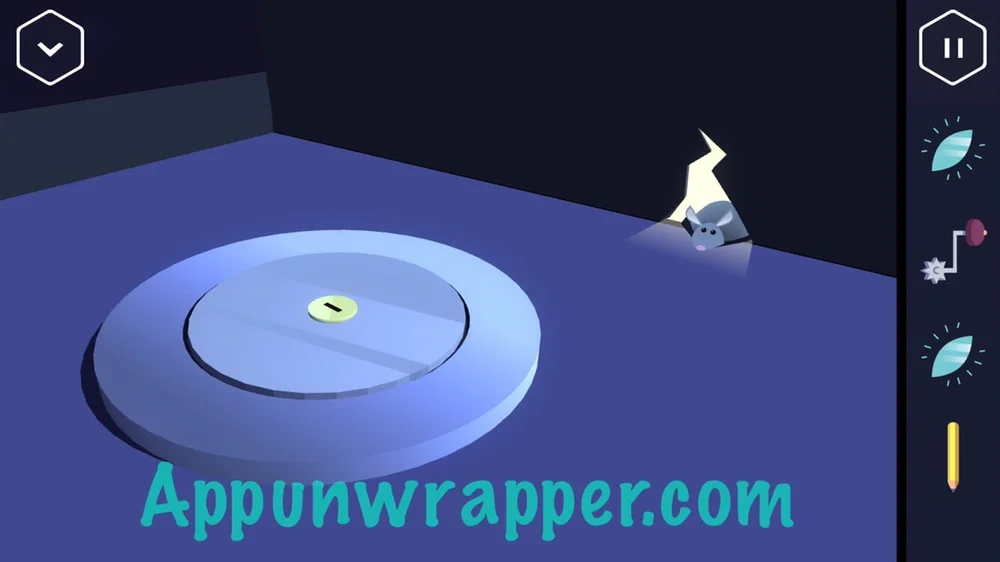
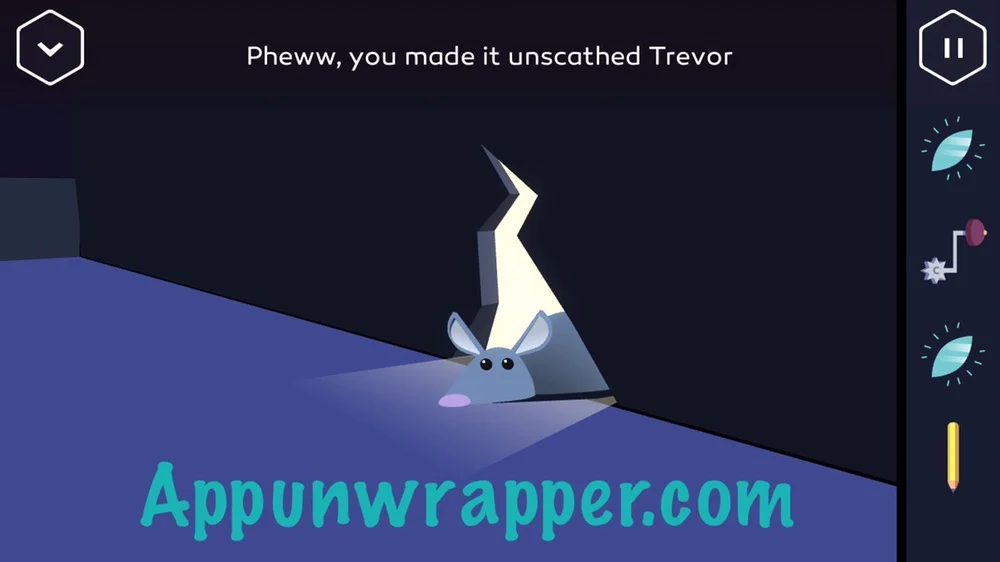
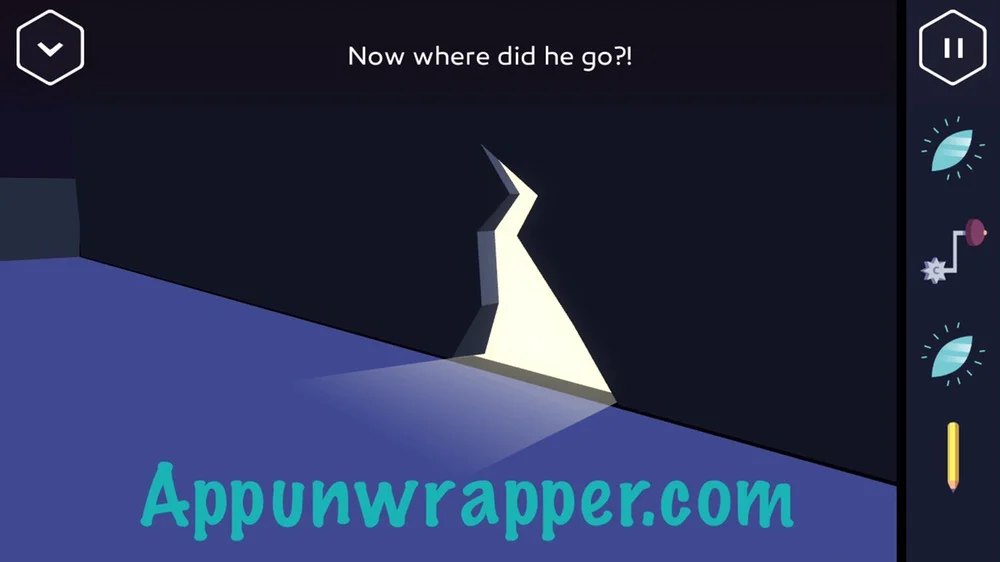
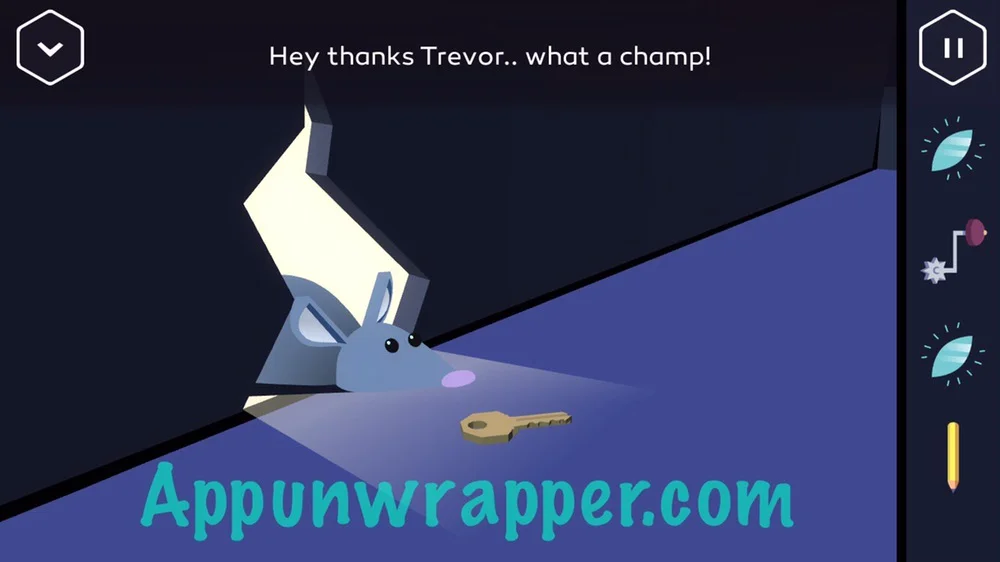
12. Don’t pull the lever down yet. First, we’re going to look for Trevor the mouse. Find him in his little hole to the right. The next part needs to be done quickly or it won’t work. Tap him so he runs to the other hole. The second you see him pop out of that hole from a distance, pull the lever down. Now he should be in that hole, as both versions of the room share that hole. If he’s not there, change the room back and keep trying until you do it fast enough. It can be a bit tricky. Then tap him again and he’ll run to a hole in the wall across. Find it and get Trevor’s key.
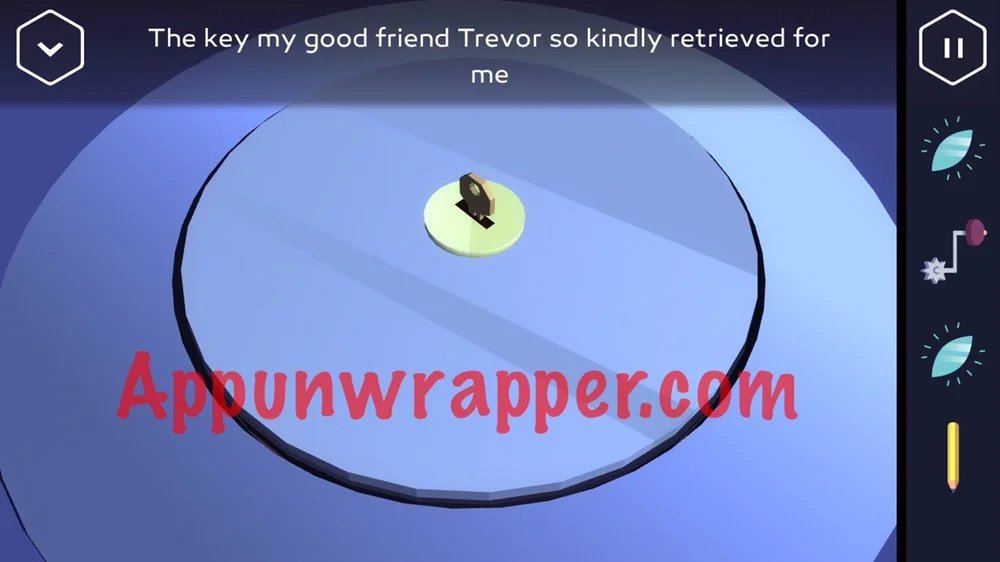
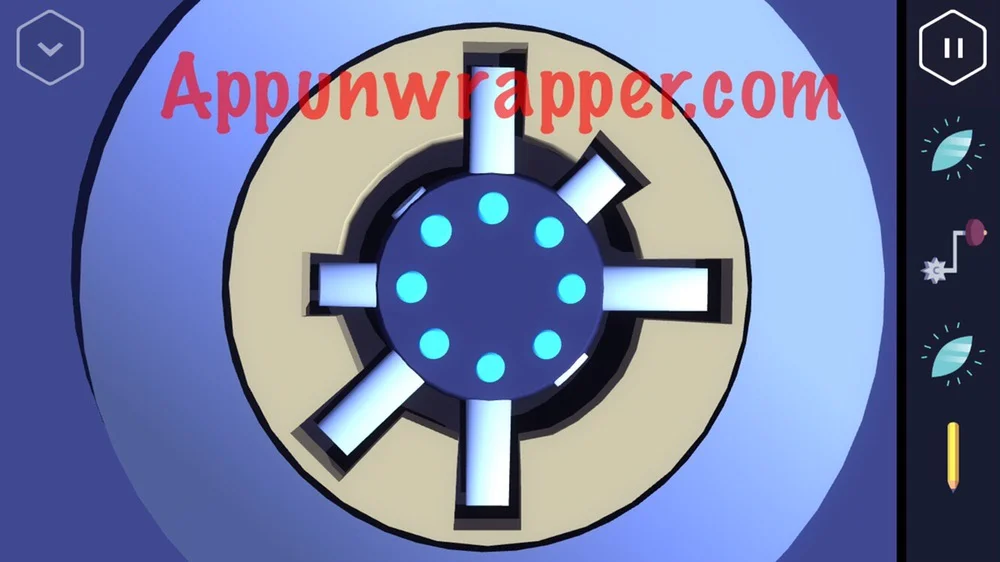
13. Use Trevor’s key in the keyhole on the floor near the right mouse hole. There’s another puzzle like the one earlier, only this time it’s a bit trickier. Match the piece with arms to the cutout to reveal a little socket.
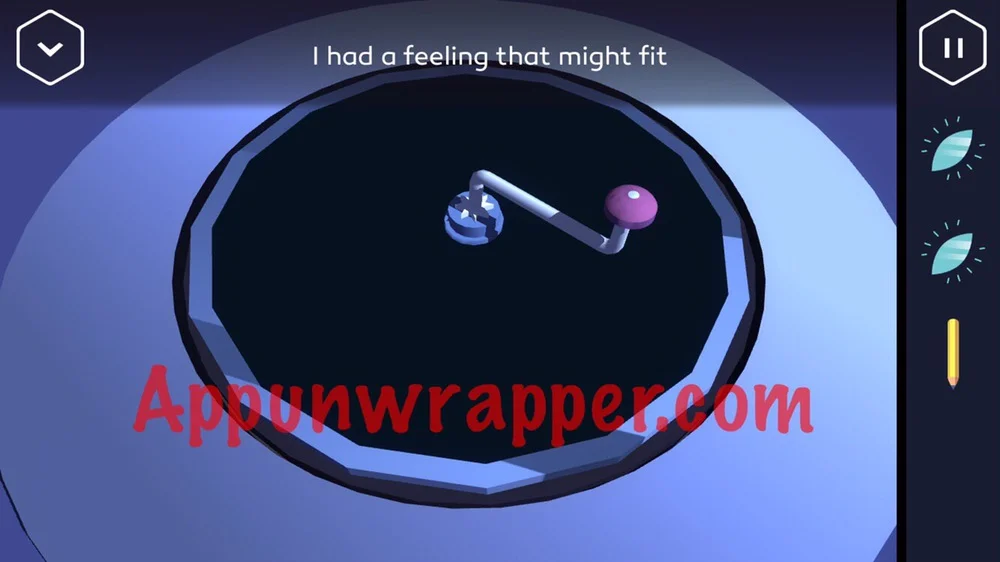
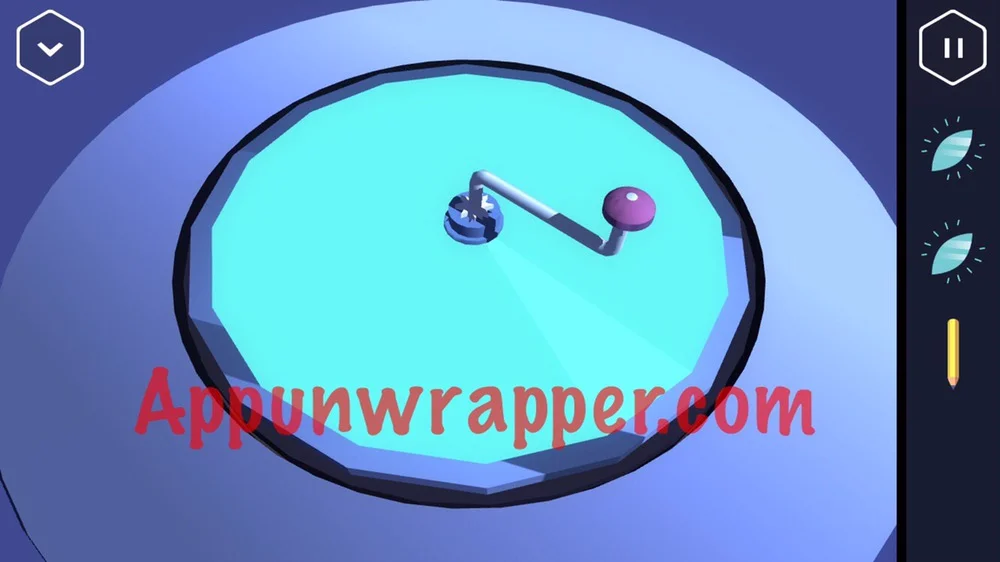
14. Place the crank handle in the socket and turn it until the whole disc glows green.
15. The camera will now automatically show you the lights on the wall, and the 7 pattern will light up, but backwards. That means we need to go back to the original room and place the little plugs in the opposite direction.
Click on the little numbers below to continue to the next page of the walkthrough or click here.

Thanks for the great walkthrough! The most difficult puzzle for me was the last one with positioning the rays for the last piece of glass.
thats interesting coz i got the last piece from laying the brick on that block to keep sliding door open ; still fiddling with lazers and that pretty spots ! live this adventure
Notice
brilliant
IΓÇÖm having a hard time getting the laser receivers to become visible. What am I missing
The last code dont work…
That’s because the games have different codes you have to work them out
I think there’a a major bug in the Game…
I placed the crank handle in the socket first and now I am not able to place the little lights
in the panel anymoree BUT I’m not able to remove the crank handle either!
Aaaaaaah!!! What the f***?!? 🙁
The second power cell didn’t open when I turned the crank
Ya it keeps changing
There is no lever
The backwards seven wonΓò¼├┤Γö£├ºΓö£├╗t work… halp pls?
For me either!! It keeps changing every time!! Did anyone else have a similar problem??
what do you mean? just drag and drop the pins
HavenΓò¼├┤Γö£├ºΓö£├╗t had that problem… Maybe ensure youΓò¼├┤Γö£├ºΓö£├╗ve done the right shape and used every pin?
I havenΓÇÖt had the problem either
Having that problem now. Every pin I drop it just says “that didn’t work”. I saw a keyhole in the floor in front of the “holes” but I haven’t got/can’t find a key to fit it. Super frustrating
SOS IΓÇÖve found all the clues but canΓÇÖt get to the second power cell, is it because I didnΓÇÖt respect a certain path? I did get the lights reordered, moved to the spy room, turned that crank the wheel got bluish, to then try to grab the power cell but the little trap wonΓÇÖt open, itΓÇÖs been days IΓÇÖm stuck going back and forth between the two rooms repeating this operation. In the meantime IΓÇÖve found other clues and a 3 cell but I need to get the 2 out! What am I doing wrong?
dont stop turning the crank……
I cant get the mouse to get the key when i have done what it said SOOOO many times
ensure the mouse is peeking out when you leave it.
I think itΓÇÖs a great walkthrough, but not always clear. IΓÇÖm driving myself mad trying to get the lasers in position, and I donΓÇÖt even know if thatΓÇÖs what IΓÇÖm SUPPOSED to do. Could you consider making a YouTube channel like this? I would watch it often. I donΓÇÖt want to be negative, IΓÇÖm just frustrated. If anybody could help with the lasers part, I would really appreciate it! Thank you!
I already have videos for the entire game. TheyΓÇÖre embedded in the walkthrough.
I have the same number grid and so I did 14958 and it didnt work
I have exactly the same grid, the code is not 14958 I know that because I tried it, it’s getting annoying now as its impossible for me to progress
THANKS A LOT !
I got the code from blue circle light up machine and the one where the lasers at where’s the other one?
I versed my brother doing who can do it faster and he never knew I used this website and cheated lol
Hello, could you help me with the mini game part I donΓÇÖt know how to lock the things without having to let go to get to another part
Help! IΓÇÖve lost the mouse! I pulled the leaver to early and now canΓÇÖt get the key from the mouse!!
Pull the lever back and try again
I’m not quite sure if that’s happened to me, but I have, also lost my mouse 🐭🐭🐭🐭🐭🐭🐭
I don’t get 11 lol
Help , I pulled the lever before I got the key from the mouse, managed to close the lever but the mouse is no longer in the holes, how do I proceed.
Pull the lever down and look for the mouse opening on the left. Not right side. The Mouse will give you the key.
Half of the stuff didn’t work! I did exactly what he/she/they/them said to do and it didn’t do anything