35. There’s a few things to do here right away. First, grab the piece of paper on one of the shelves. Also, notice the letters written across the desk and the papers on the desk. I’ll work on each one separately.
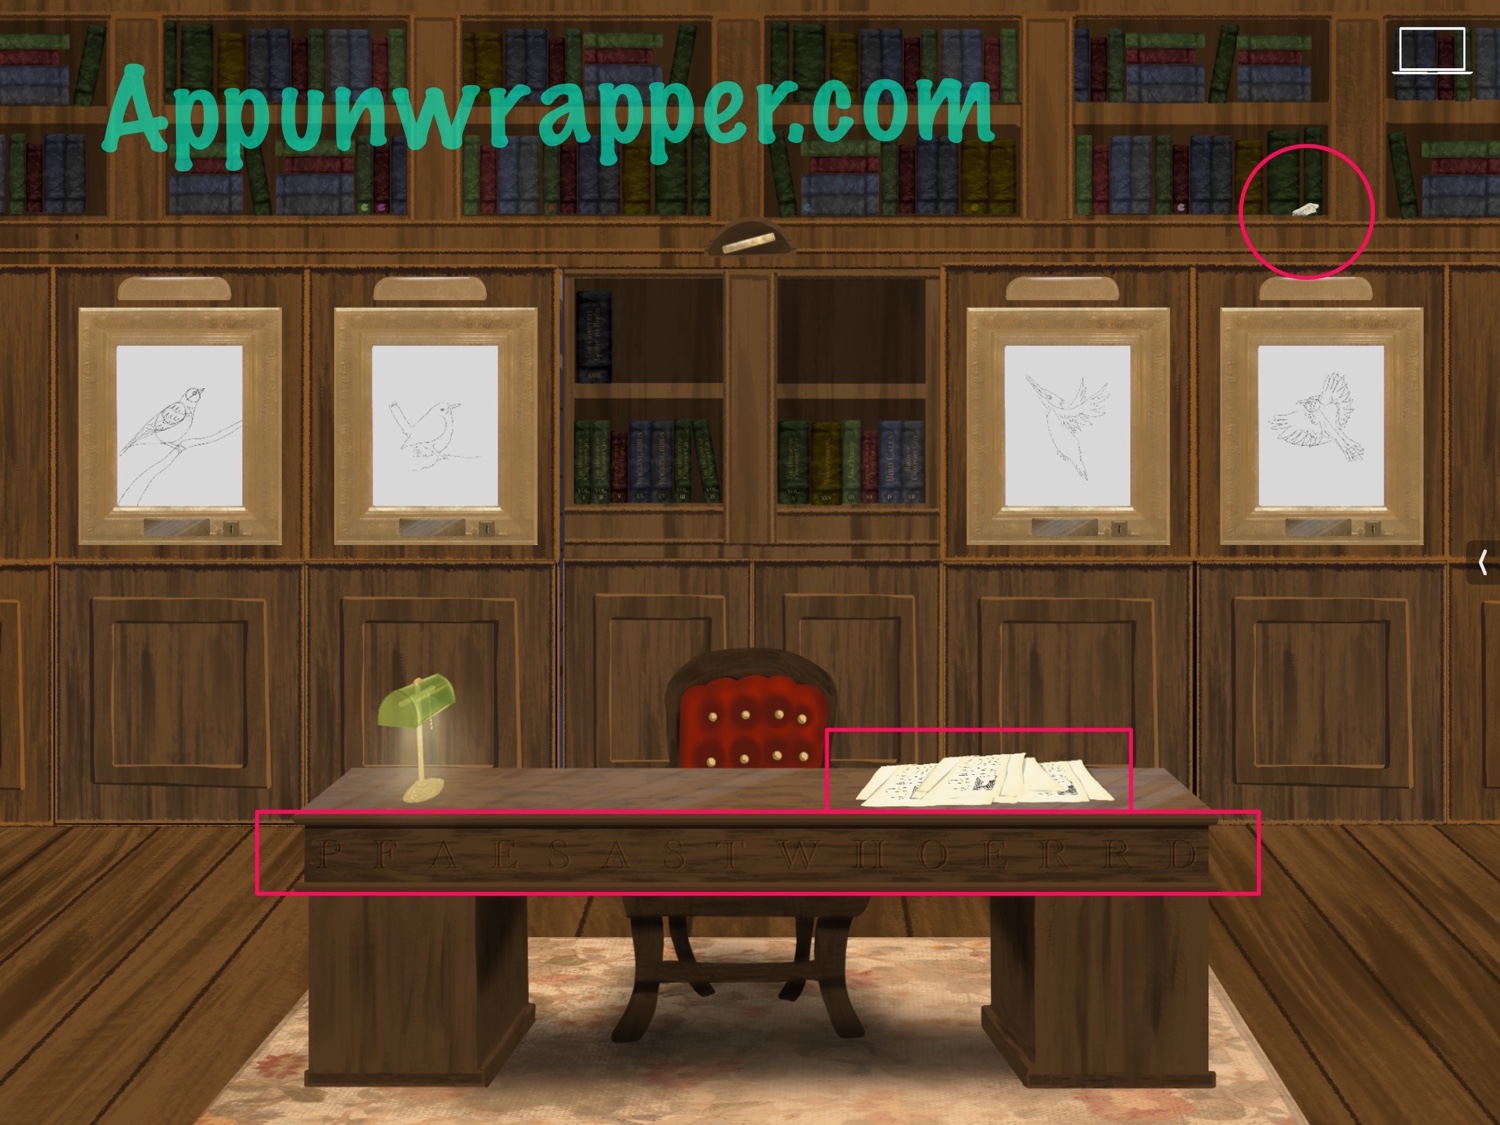
36. Notice that if you try to use your device, it says there’s no Wifi. But if we can figure out the password, we can connect to AVRY_5G. So look at the letters stamped across the desk: PFAESASTWHOERRD. Remove every other letter that spells PASSWORD and you’re left with FEATHER. That’s the password! Enter it into your device to access the wifi.
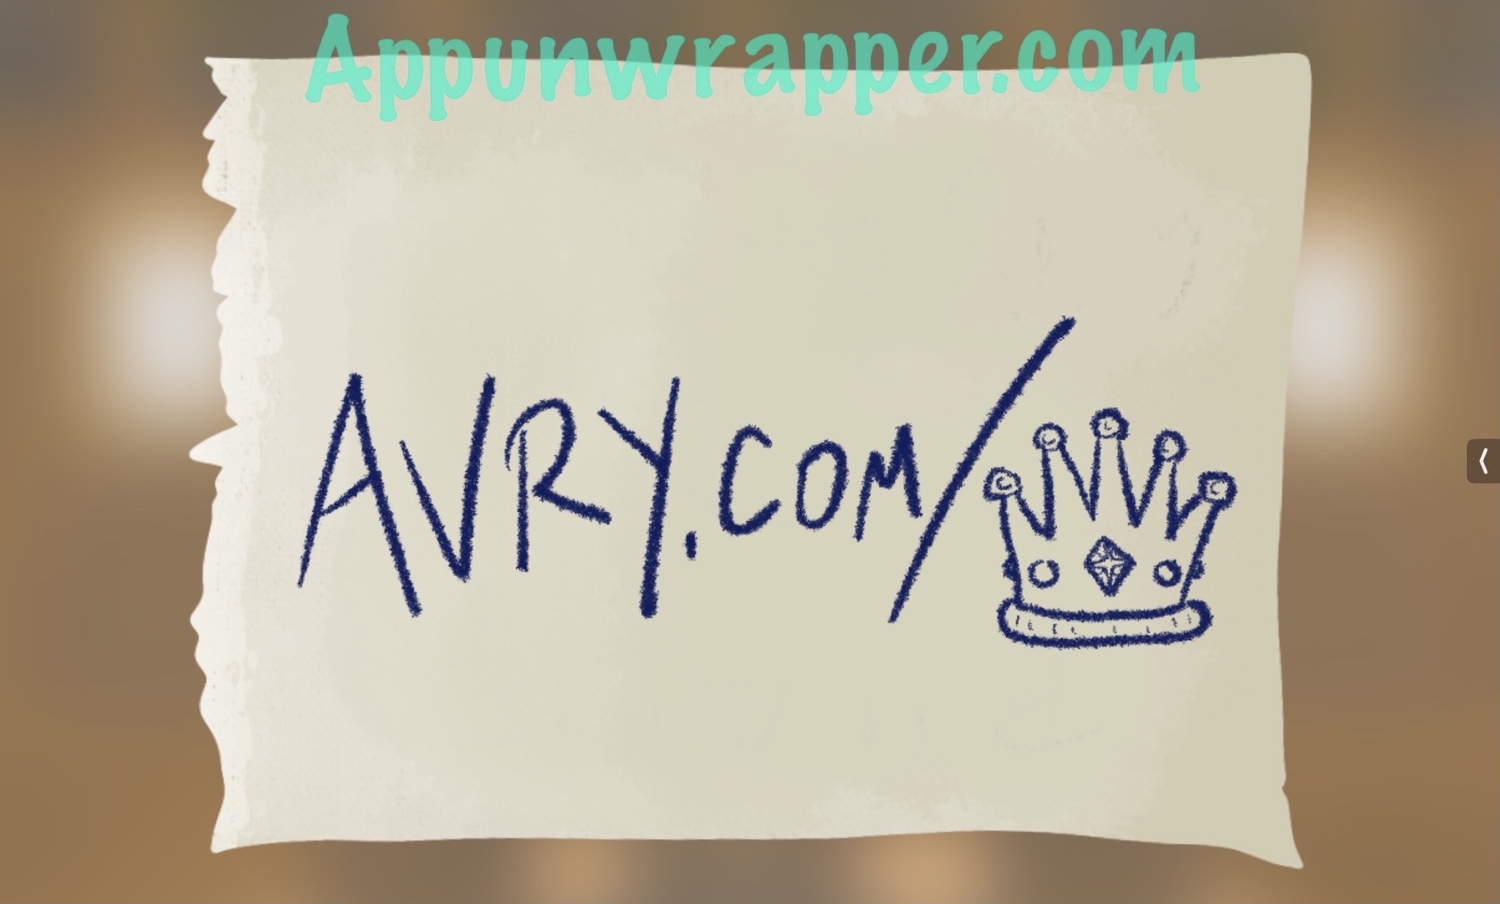
(Achievement Alert: Now the piece of paper. Notice there’s another url on it: Avry.com/crown. Enter that into the WebView app to unlock the Kingfisher’s Log achievement and get another clue: avry.com/**a**c**t*. )
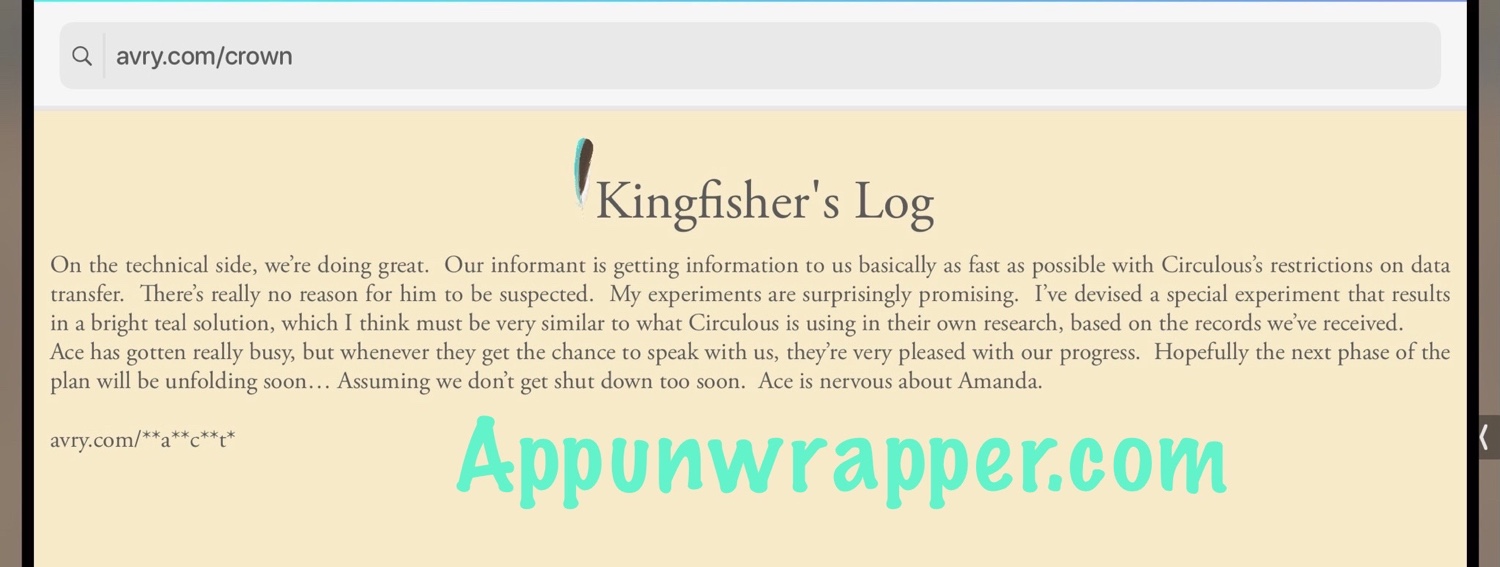
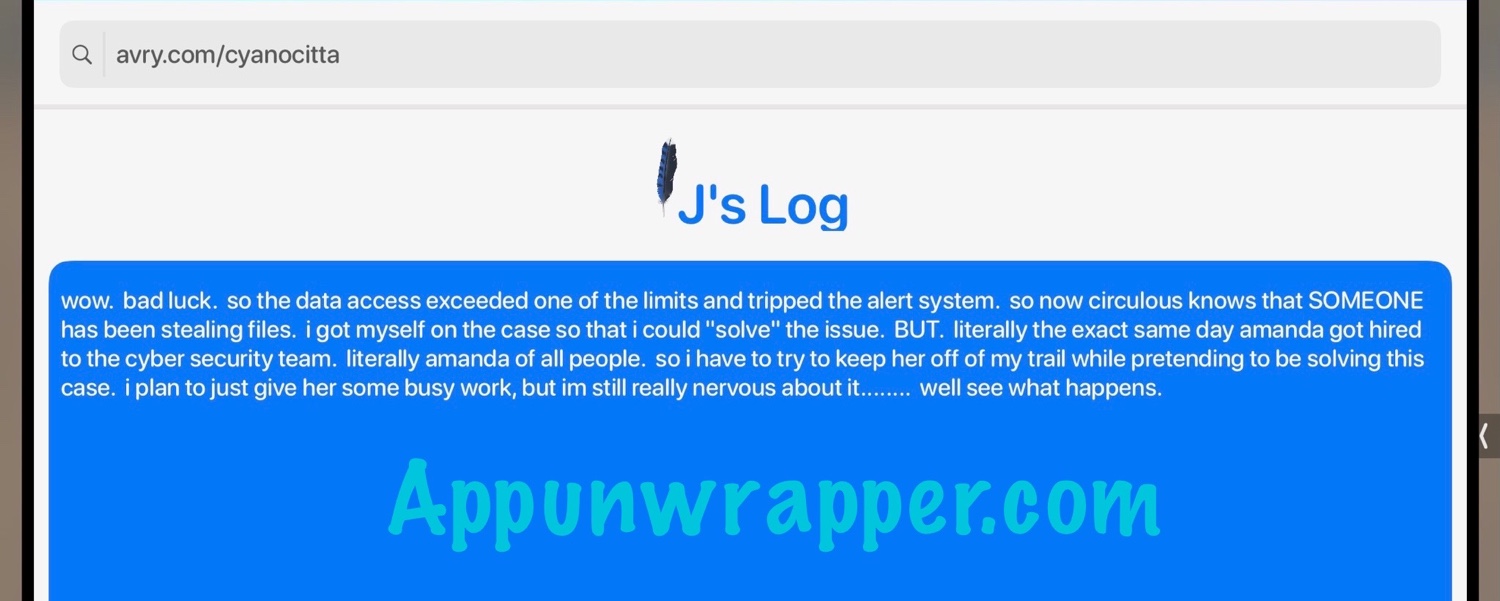
(Achievement Alert: Now to put all three Log clues together:
avry.com/c**n**i**a
avry.com/*y**o**t**
avry.com/**a**c**t*
You get: avry.com/cyanocitta
Enter that into the browser to unlock the achievement for J’s Log!)
37. Take the tablet, folder, map and the flask of water.
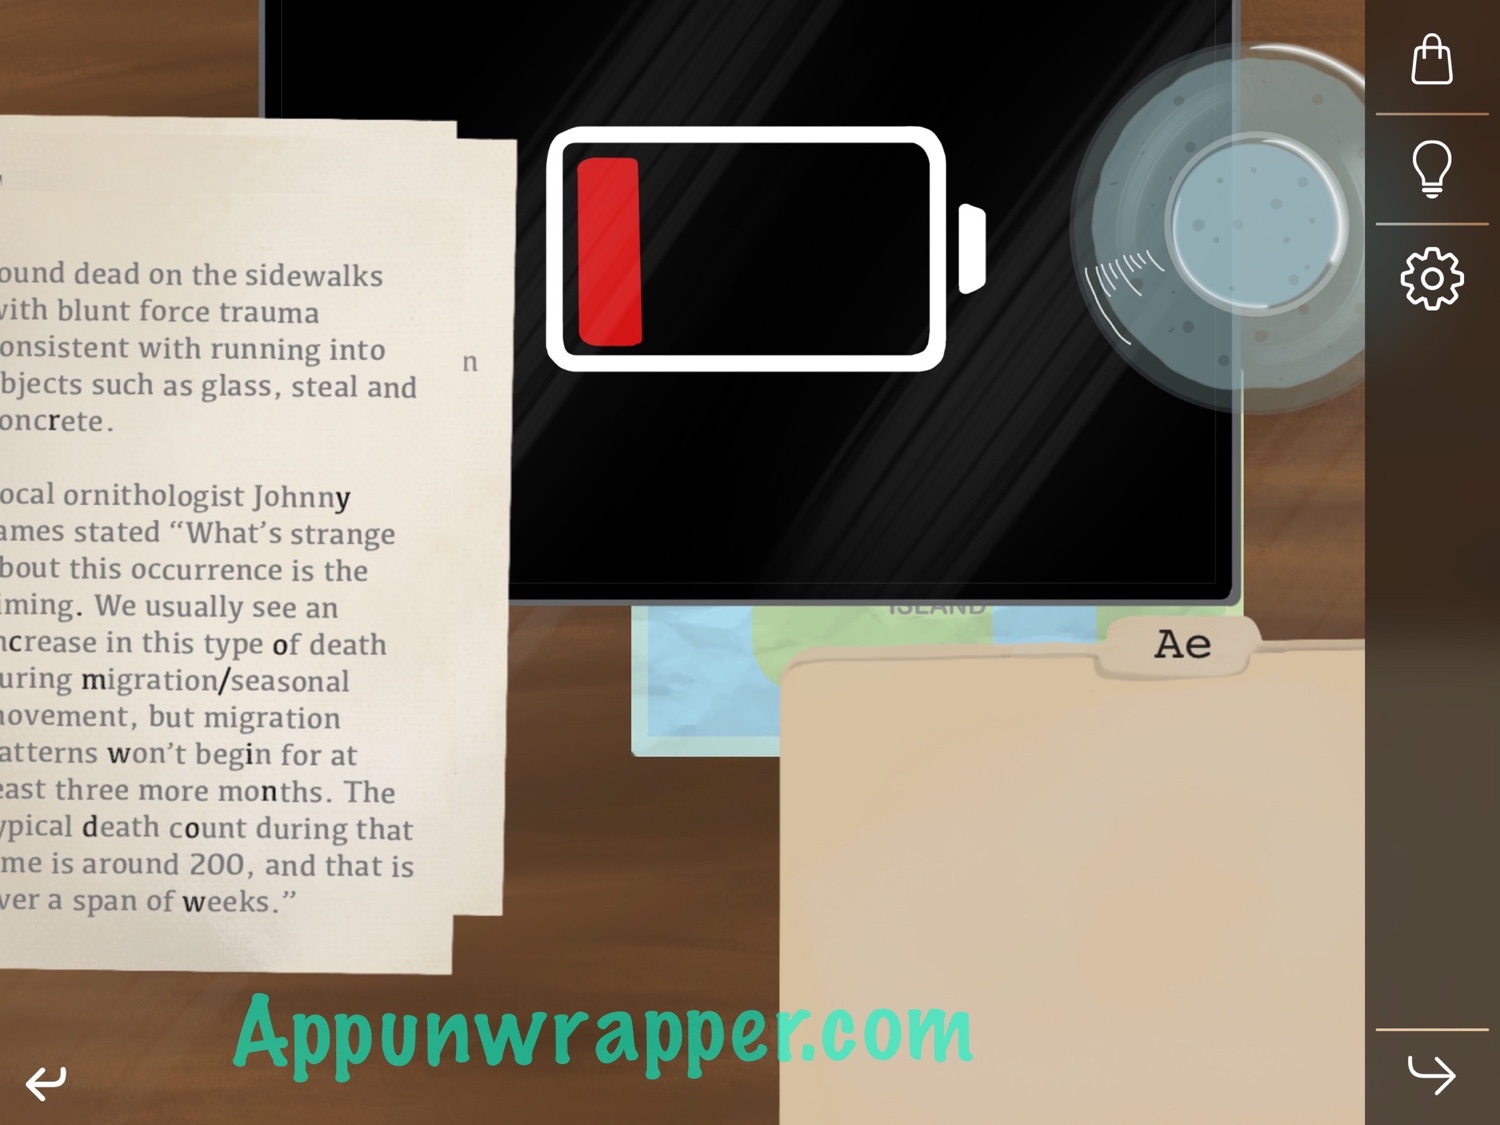
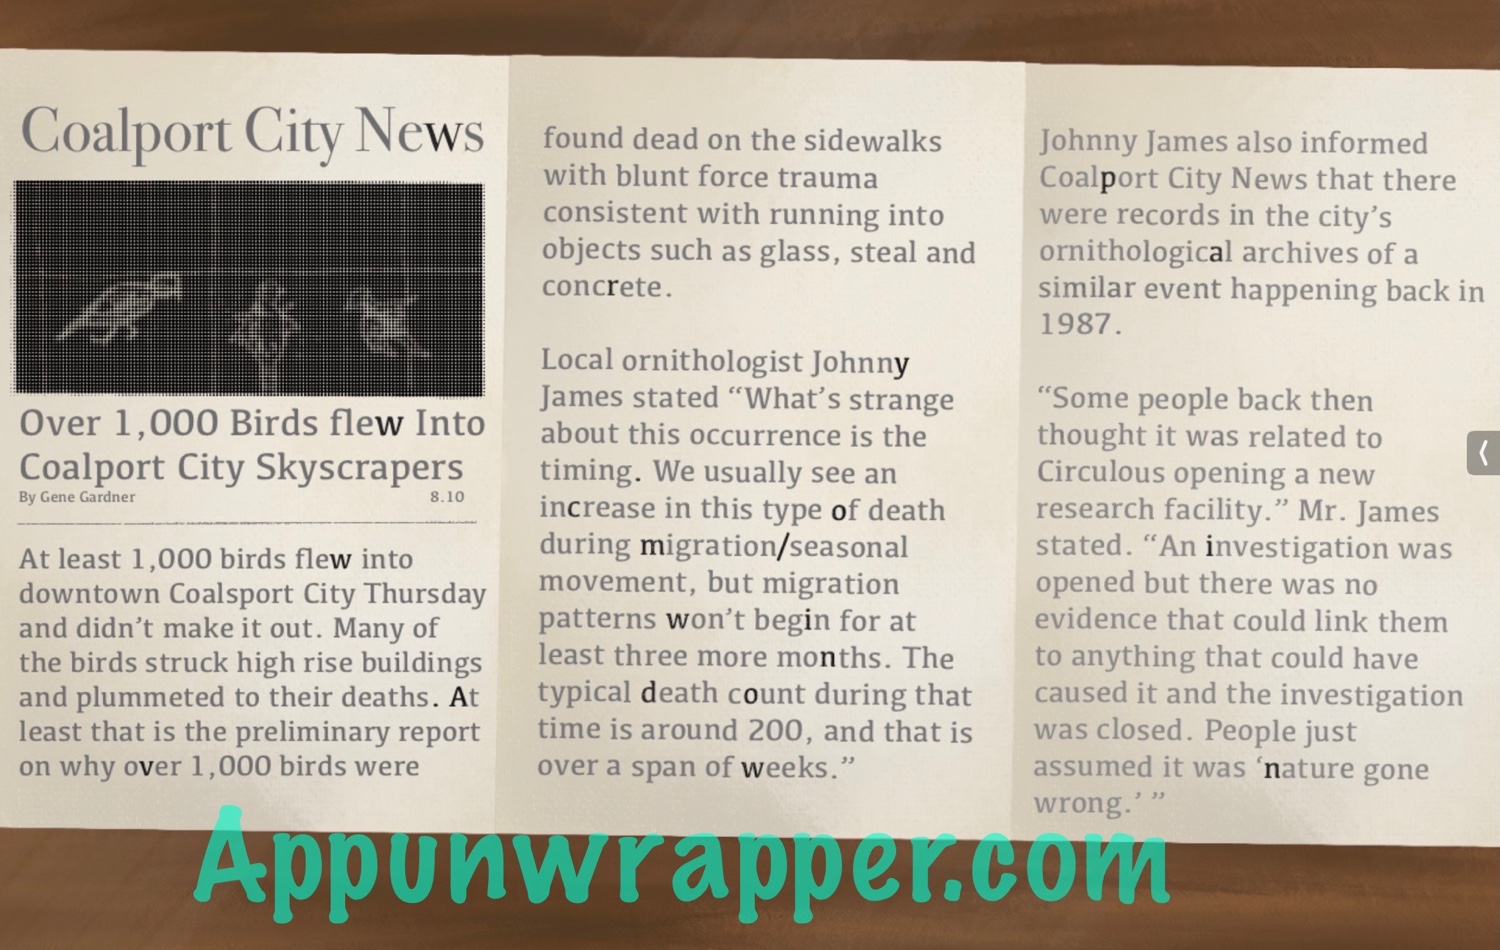
38. Now, spread out the three sheets of the Coalport City New paper. Note down all the bolded letters. They spell out: www.Avry.com/windowpain
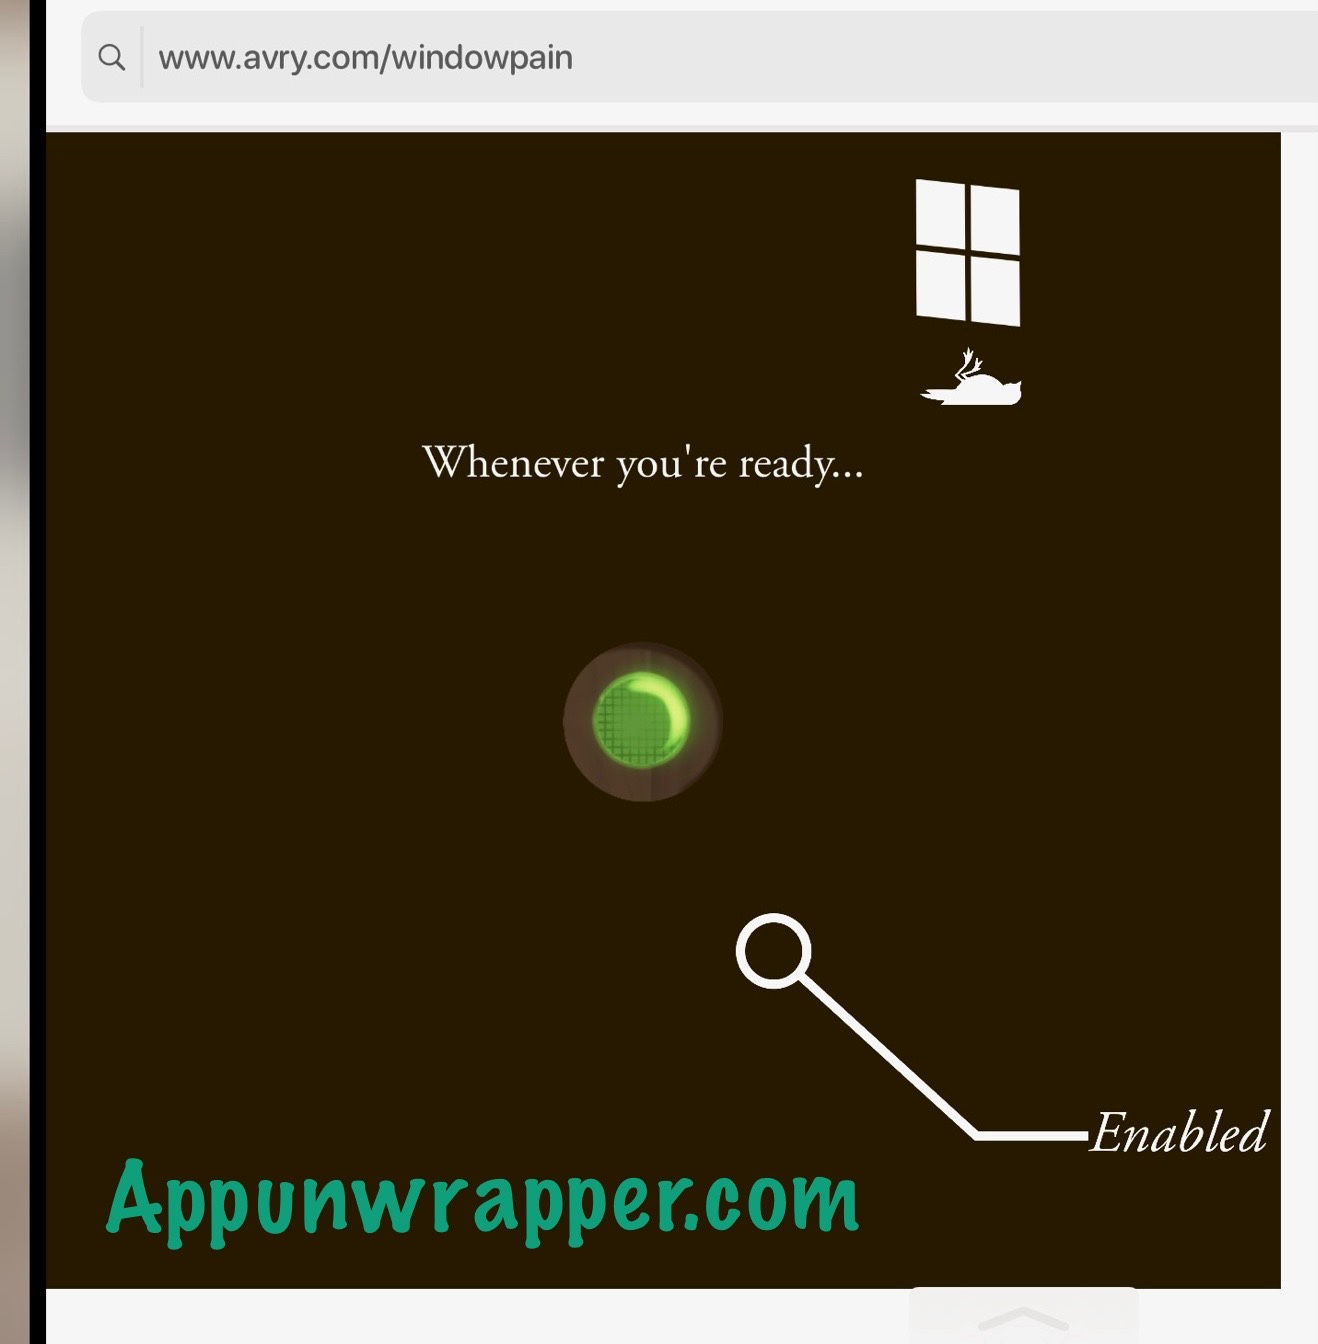
39. Open the WebView app on your device and enter www.Avry.com/windowpain. Then press the button so it lights up green and says ENABLED.
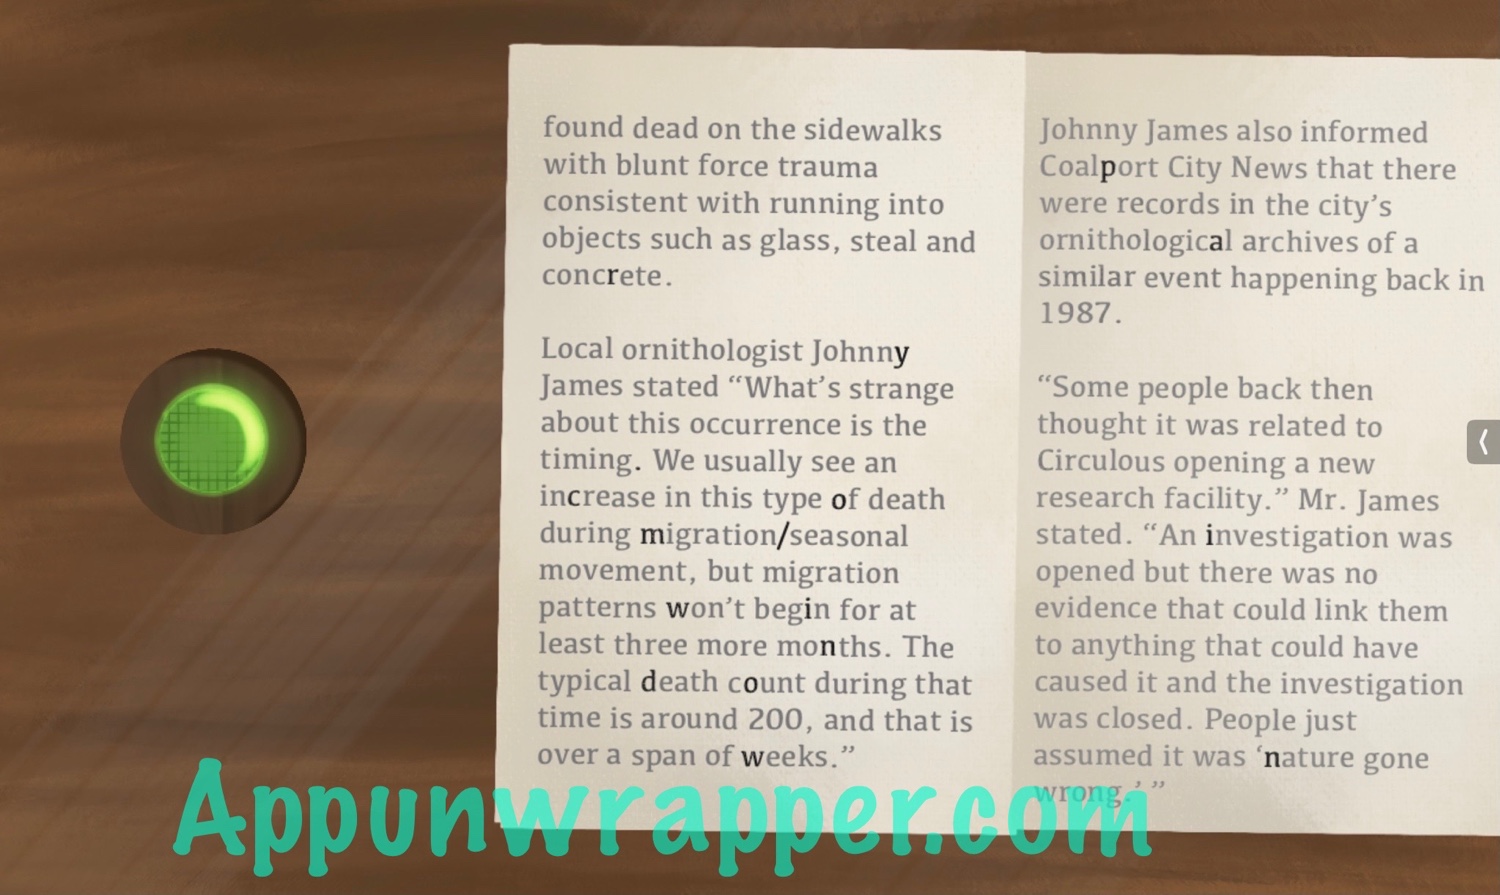
40. Go back to the desk and move the left paper aside to see a green button. Press it to reveal a hidden chest.
41. Look at the map on top. Also, open the top drawer and look at the three postcards.
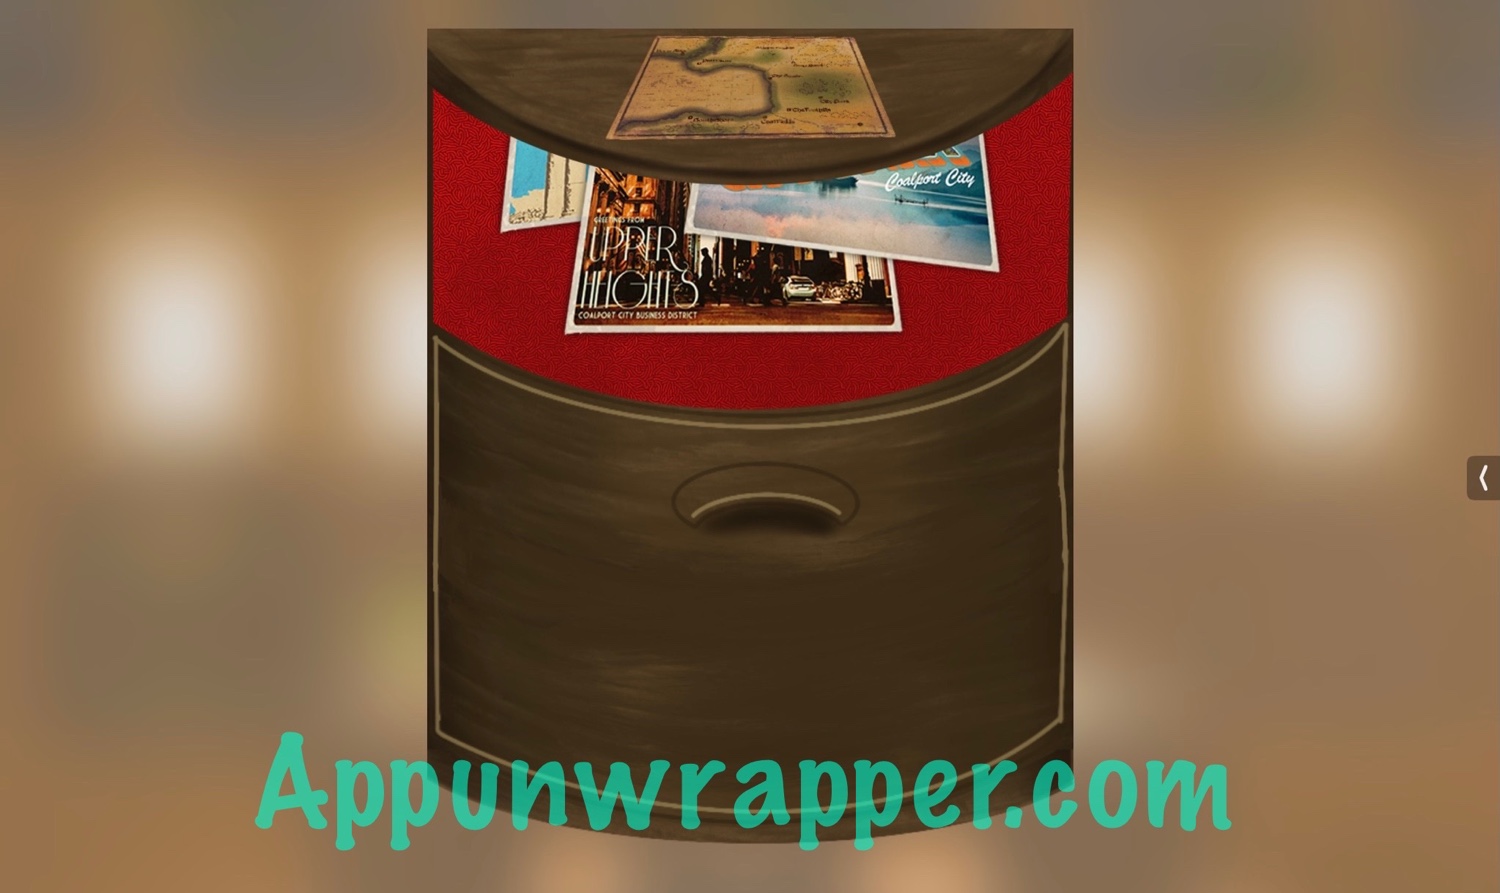
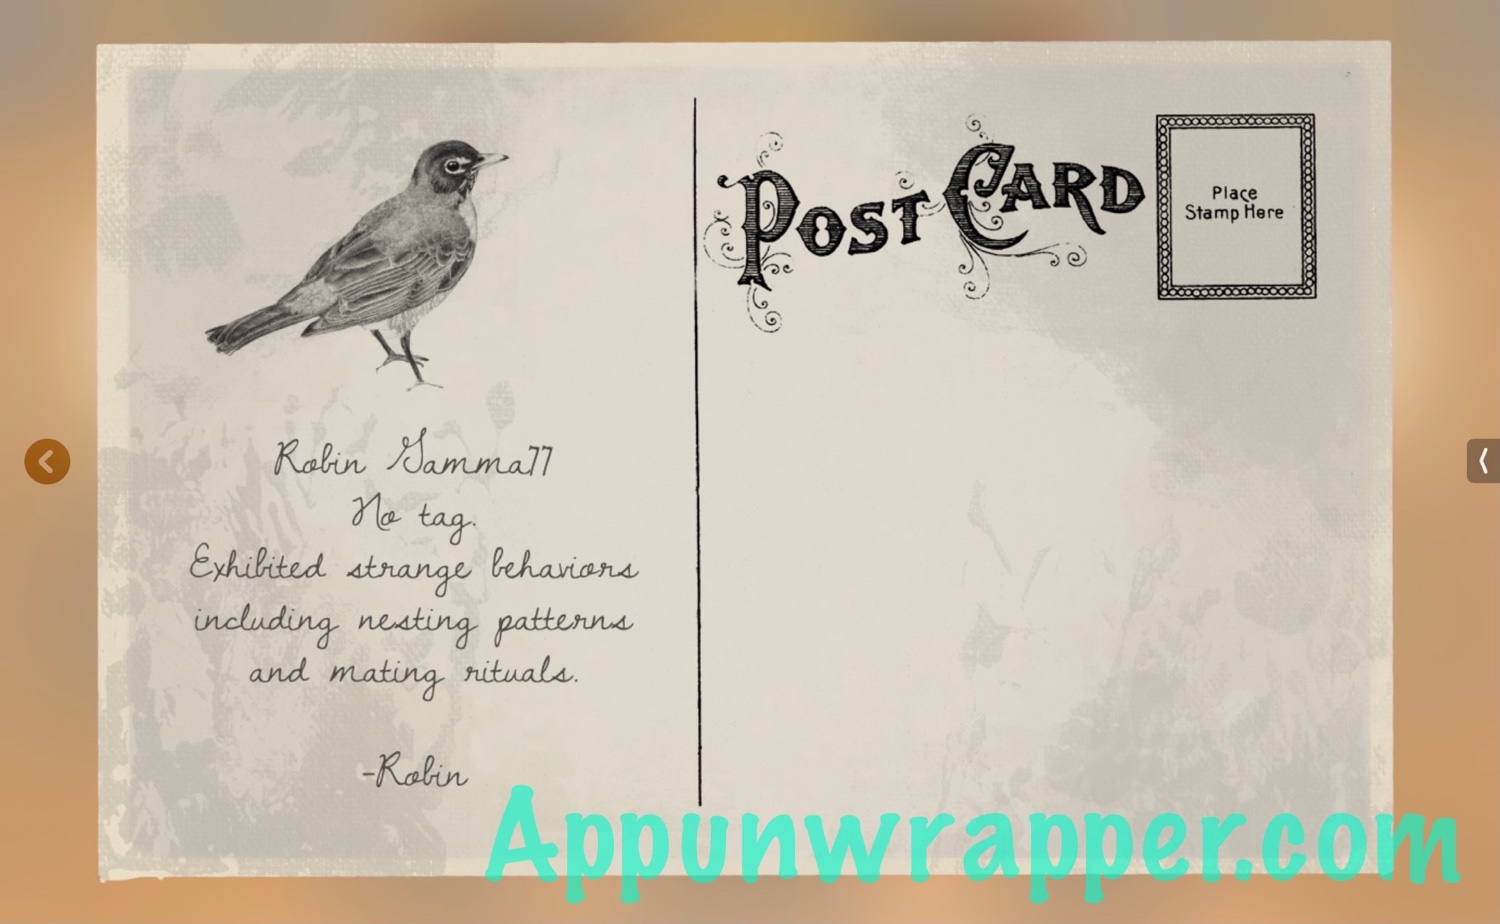
42. Look at the back of the three postcards. Notice that the Monument Island and Upper Heights robins were tagged and traced but the Park City robin wasn’t.
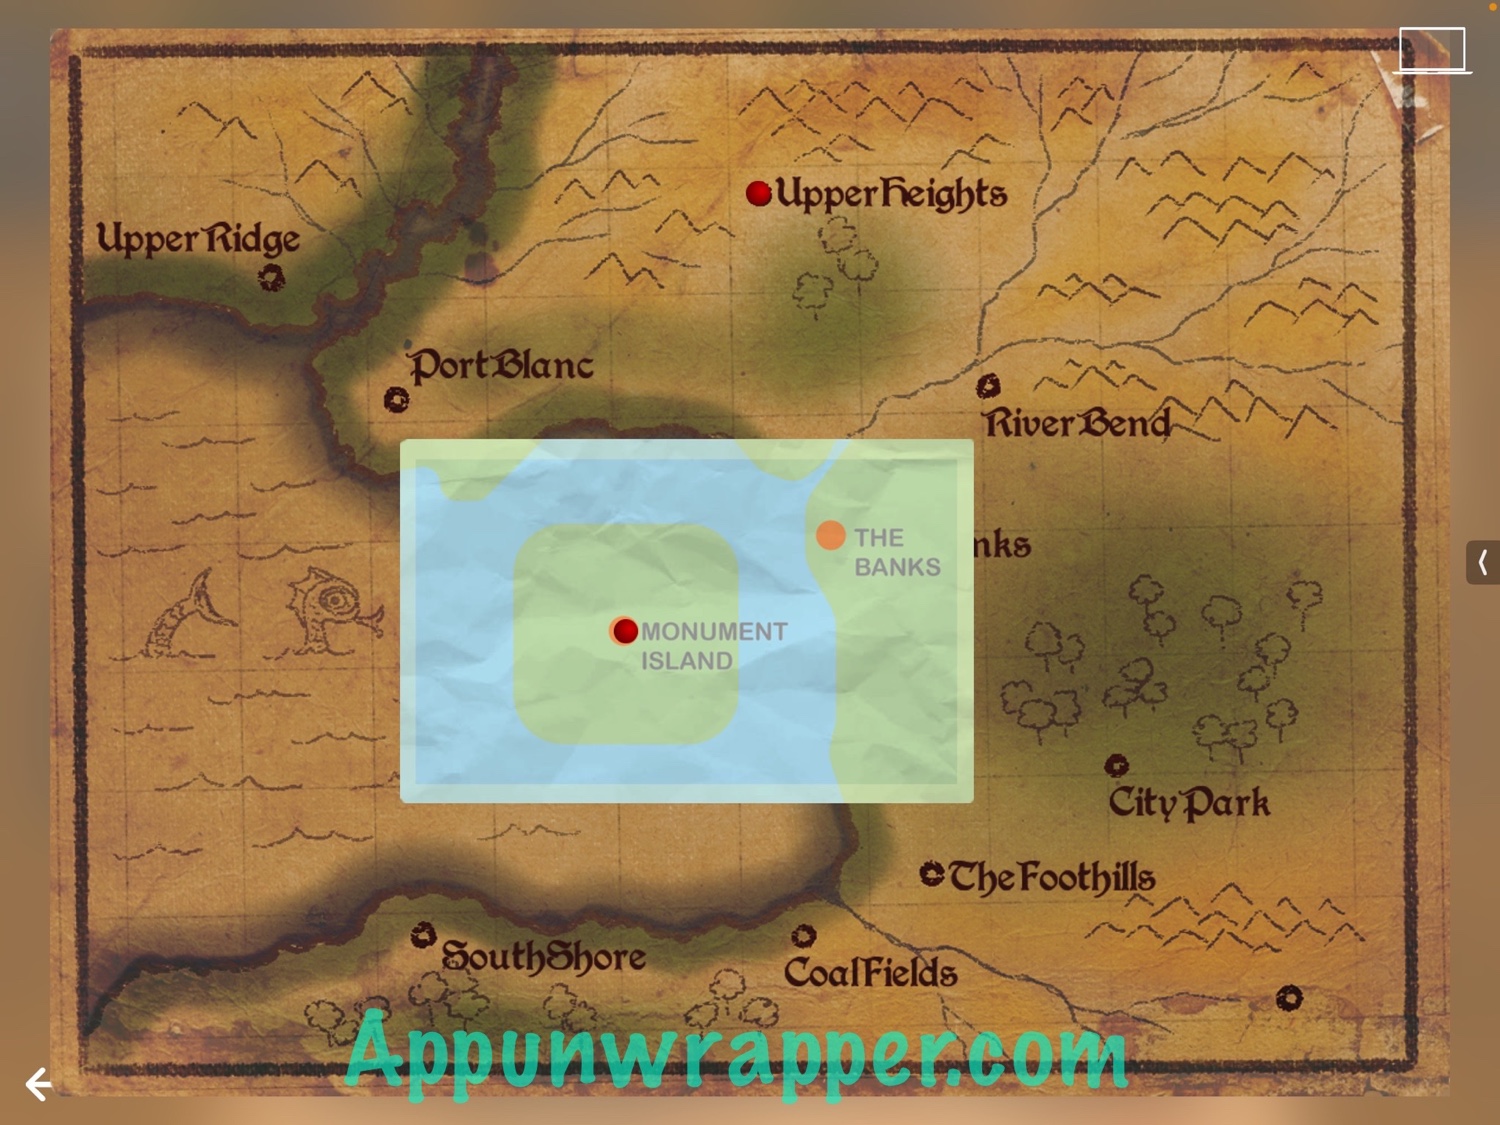
43. Look at the map and move the map from your bag onto it. Then place a red pin on Upper Heights and another on Monument Island. Now the bottom drawer unlocks! Open it and take the key.
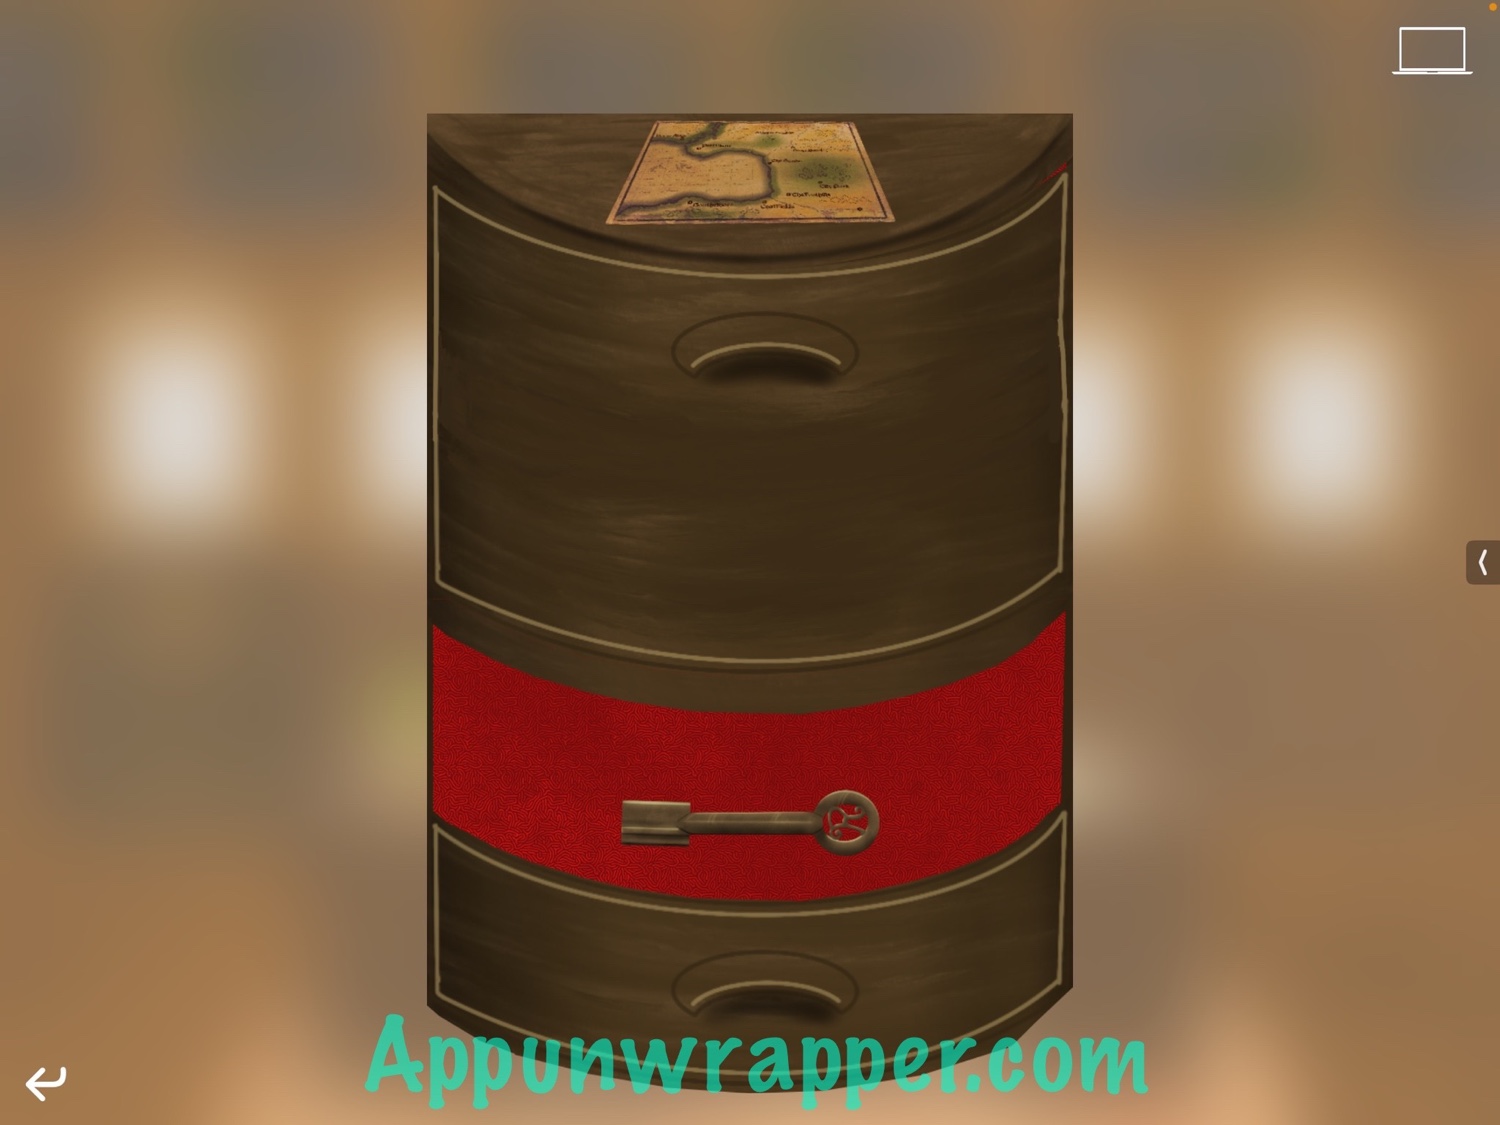
44. Use the key in the first painting (the robin) and then take the book that pops out. Another chest will be revealed!
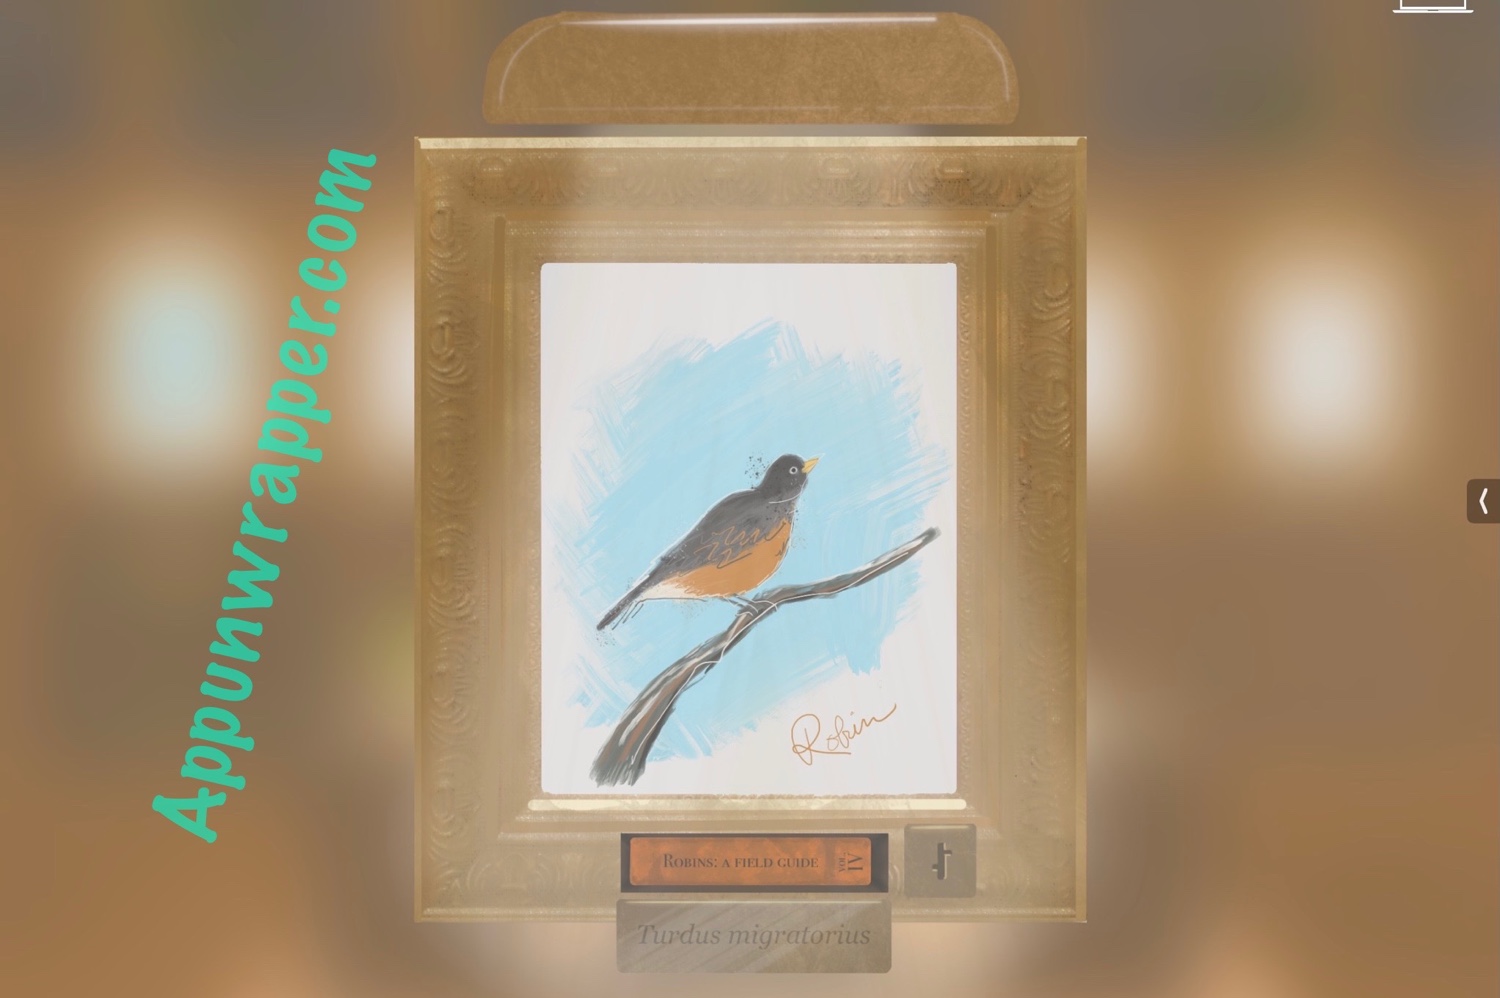
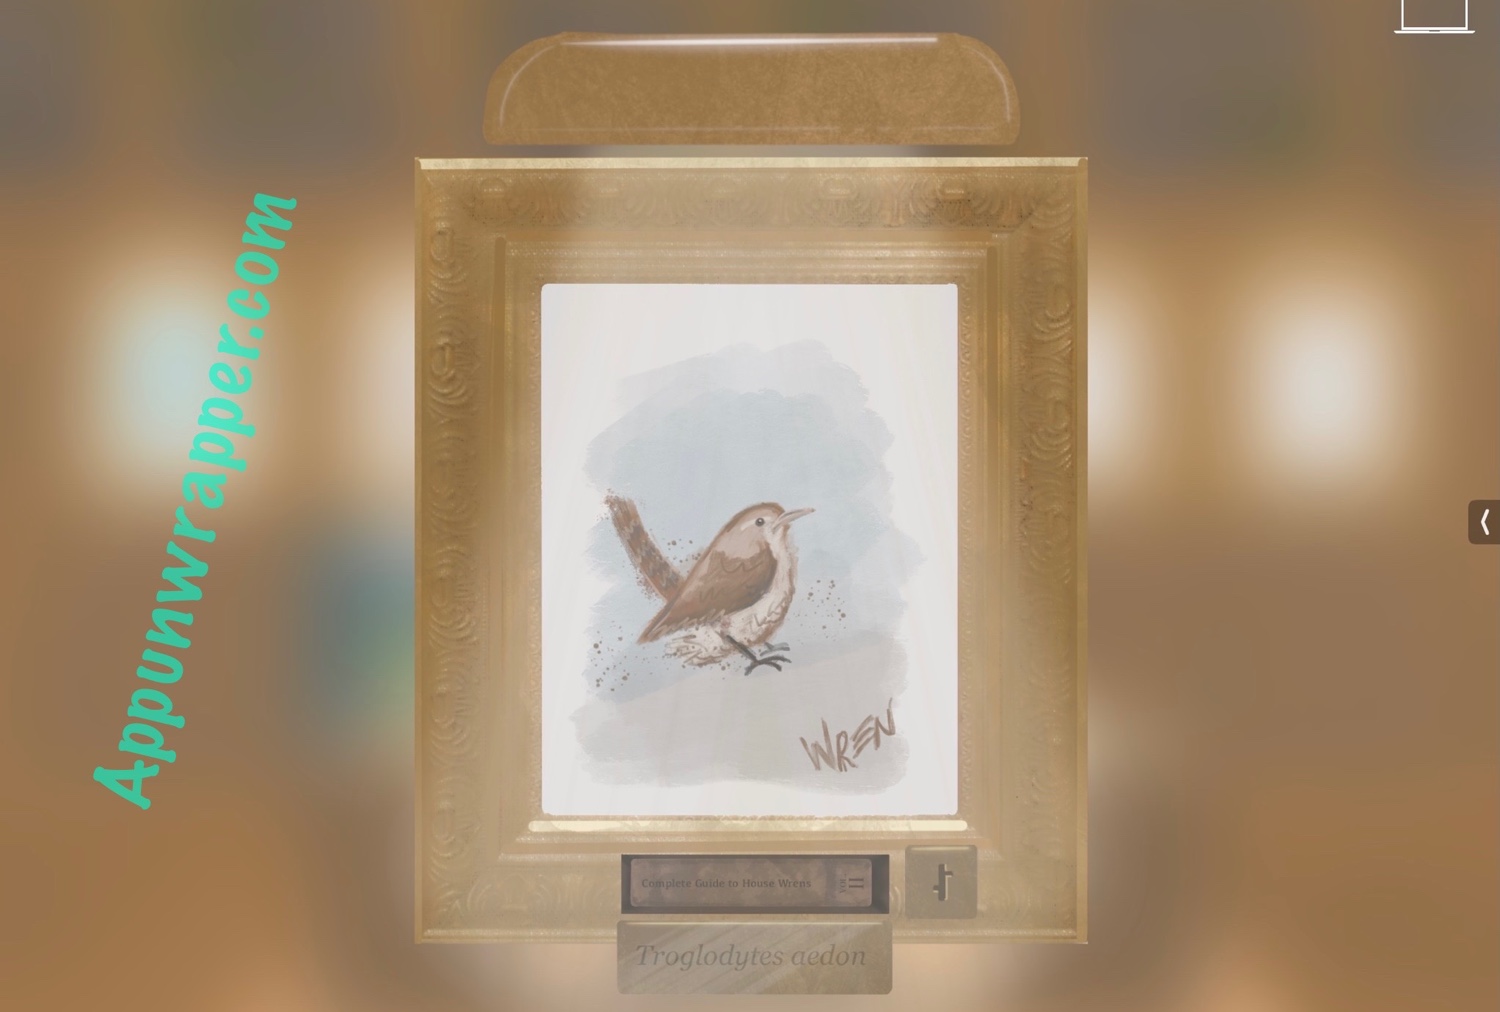
45. Let’s examine the Wren chest. Read all four notes resting on top. Then open the top drawer to see a bunch of files. Add the one from your bag and then move them around to spell AERONAUT. That should unlock the bottom drawer. Open it and take the key.
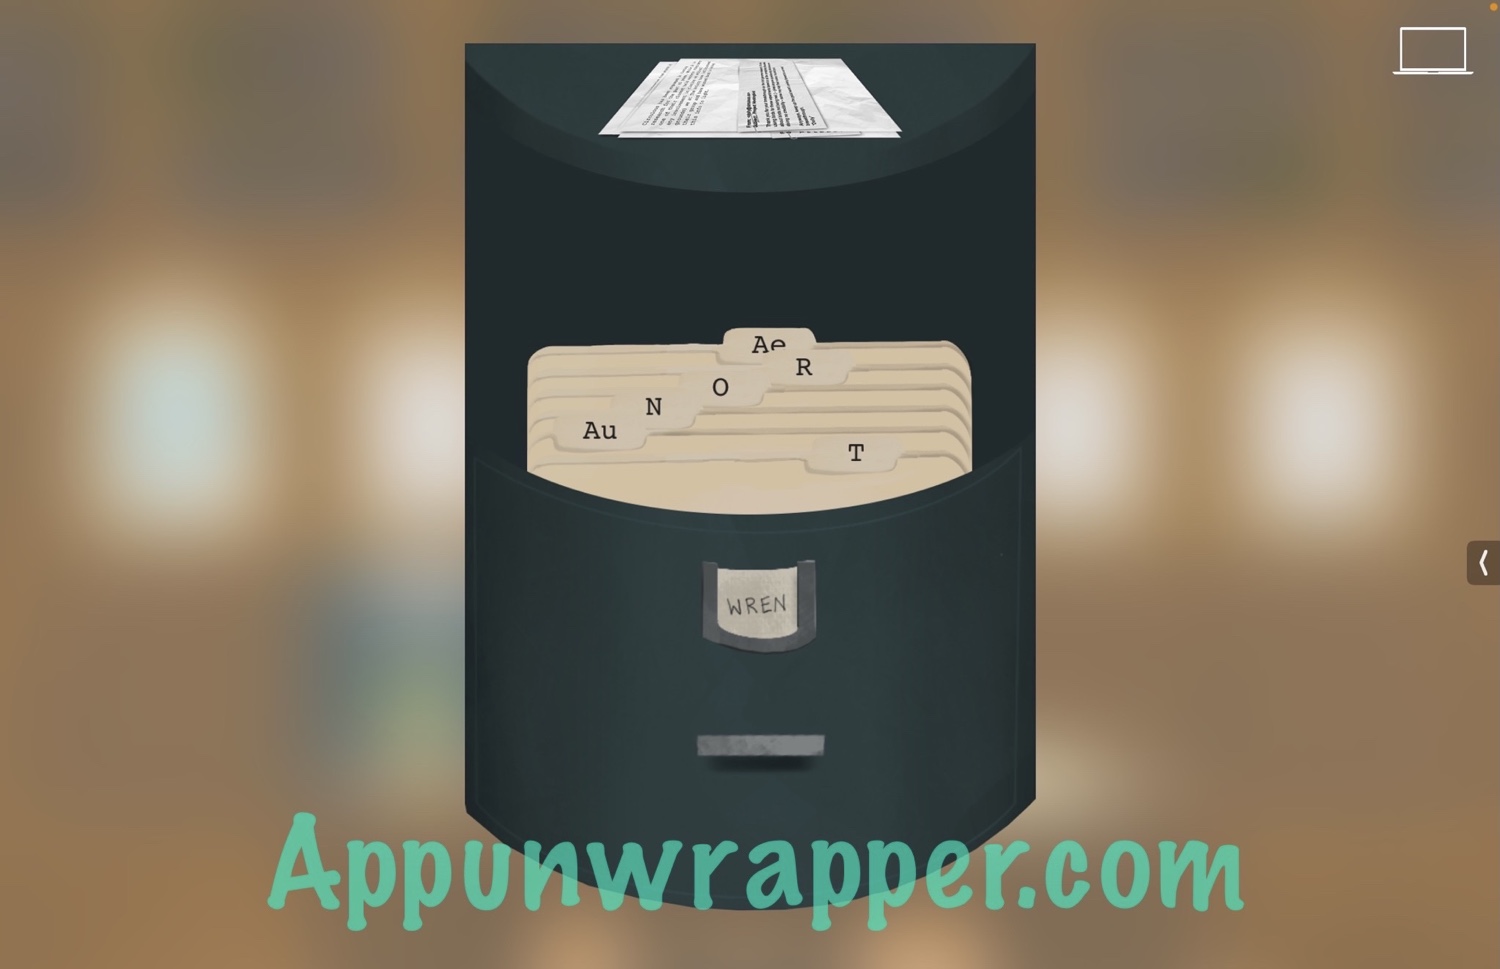
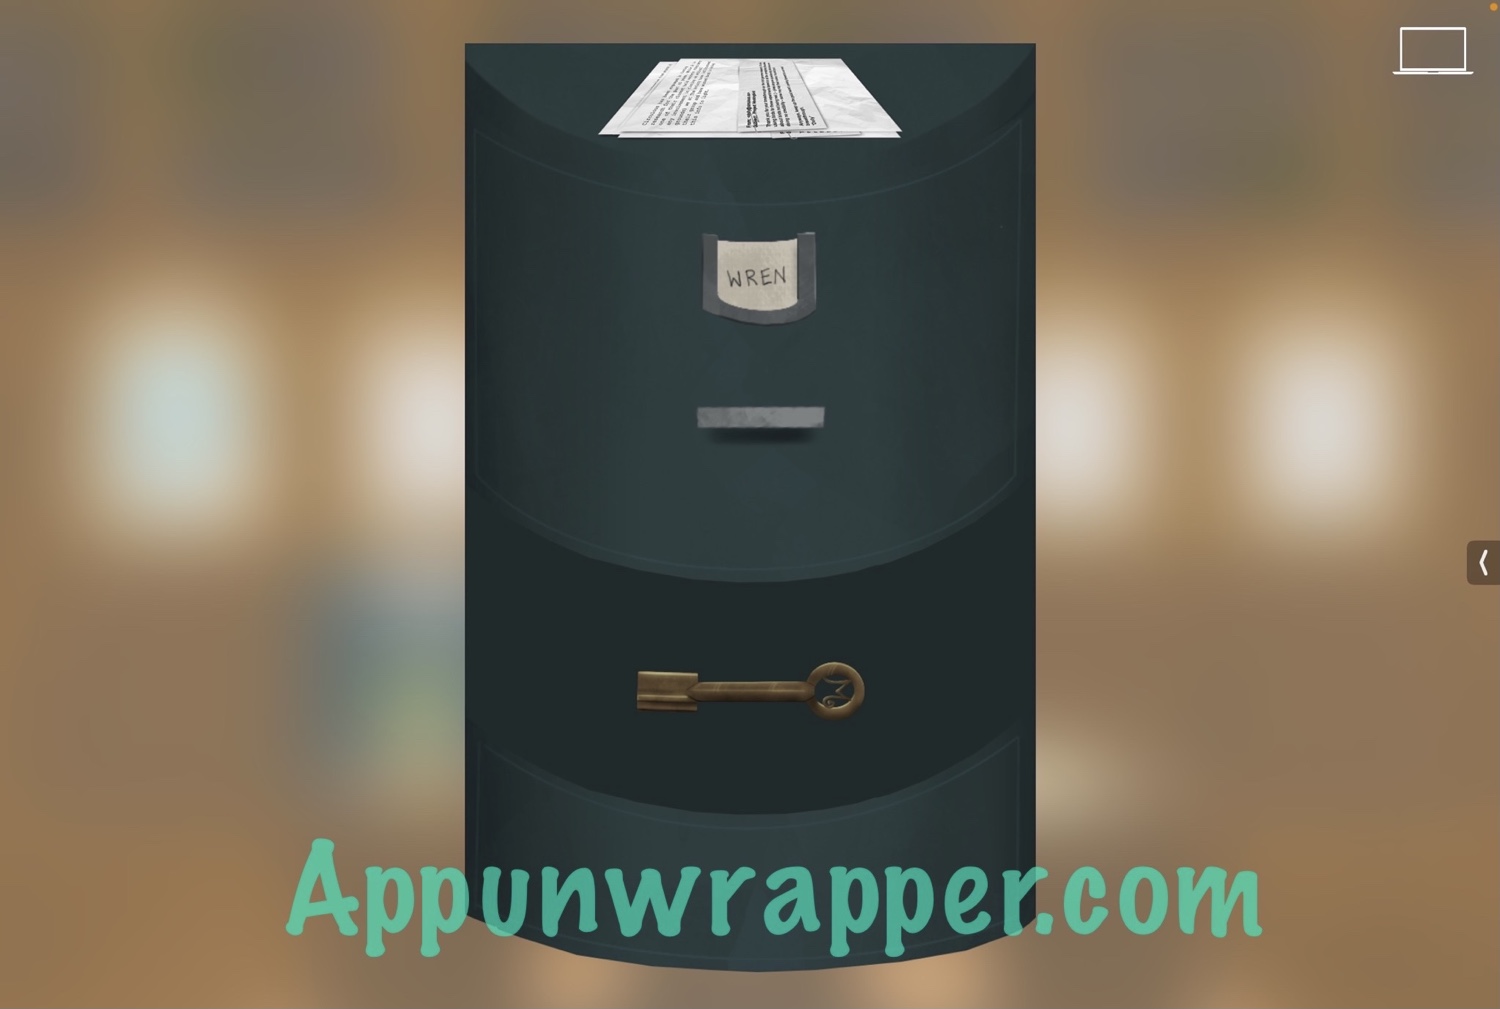
46. Use the key on the Wren painting and then take the book that pops out. Another chest will appear.
47. Open the top drawer and read through the notes. The important one is the one with the colors. It says:
Put the 5 colors in the beaker in this order:
Blue before red, but after green.
Orange before purple, but after red.
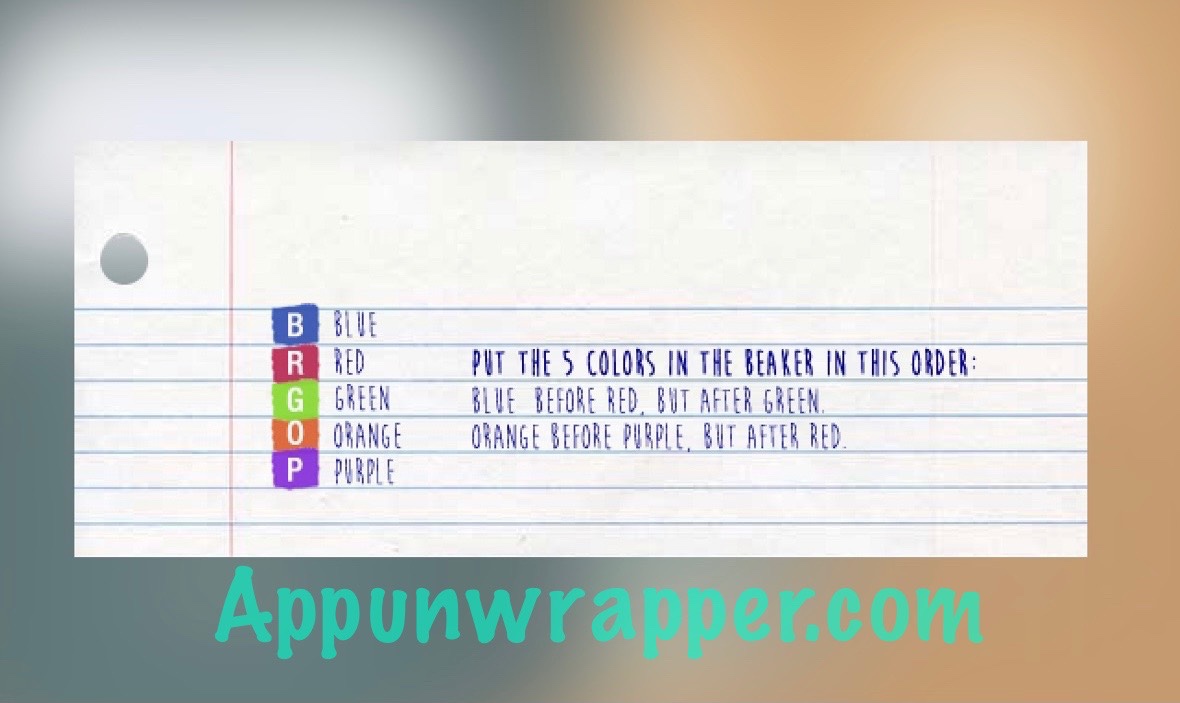
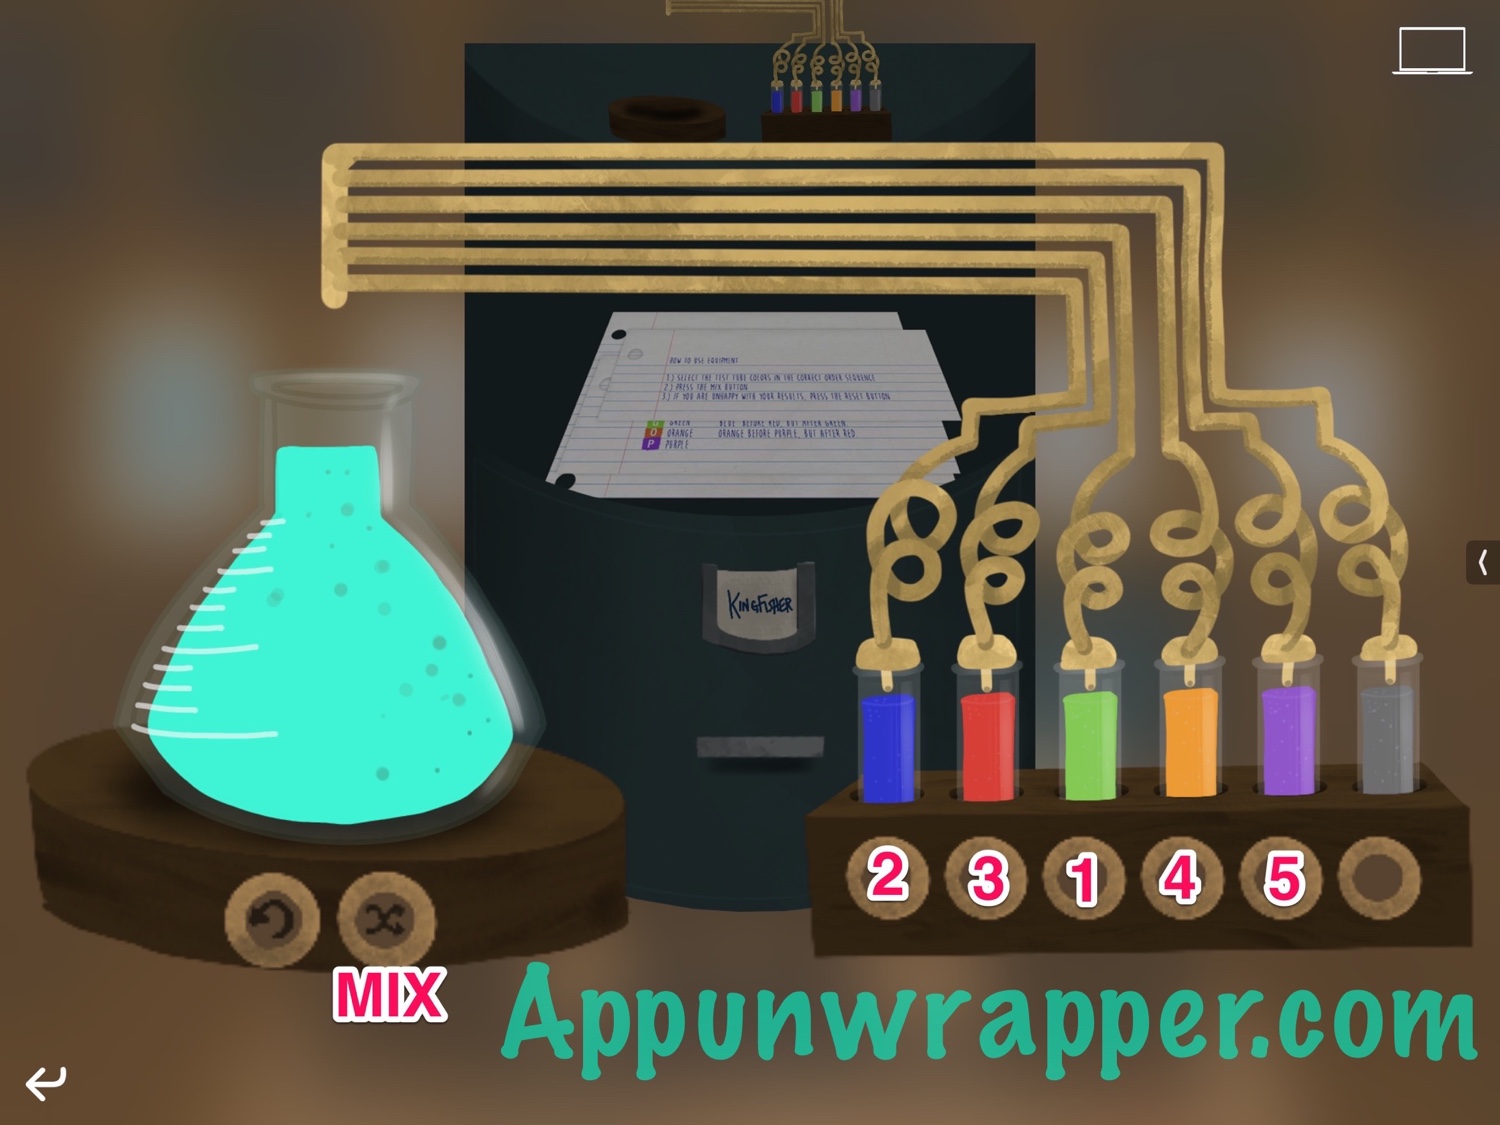
48. Place the beaker/flask on the top of the chest with the colored liquids. Then drop colors into it in this order:
GREEN, BLUE, RED, ORANGE, PURPLE
Then mix it to unlock the bottom drawer. Take the key.
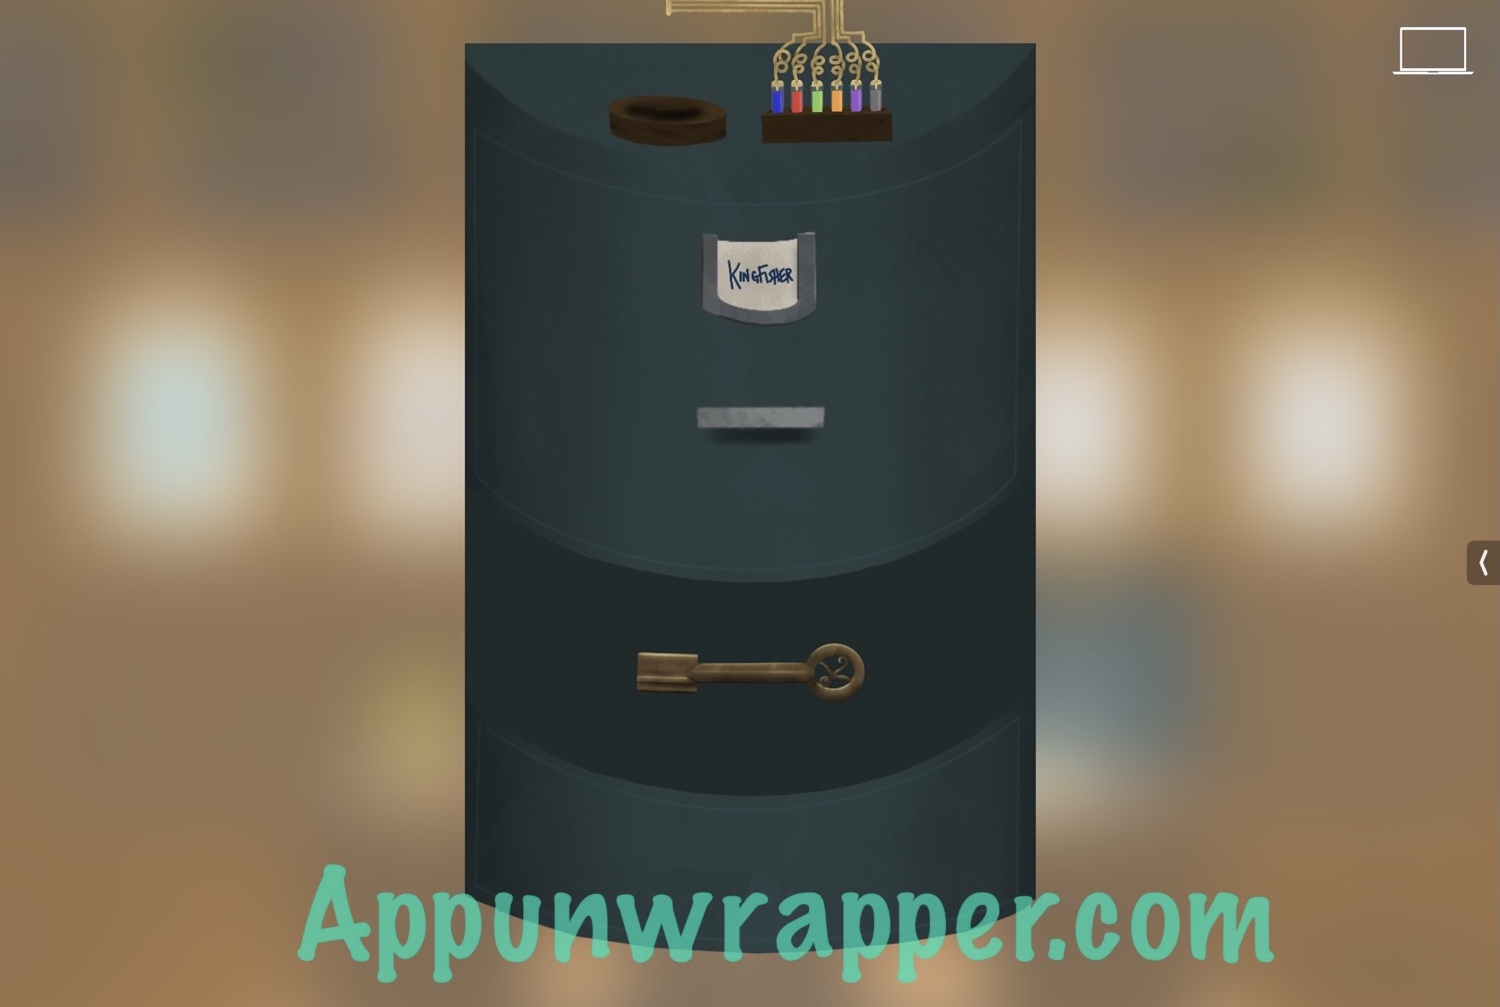
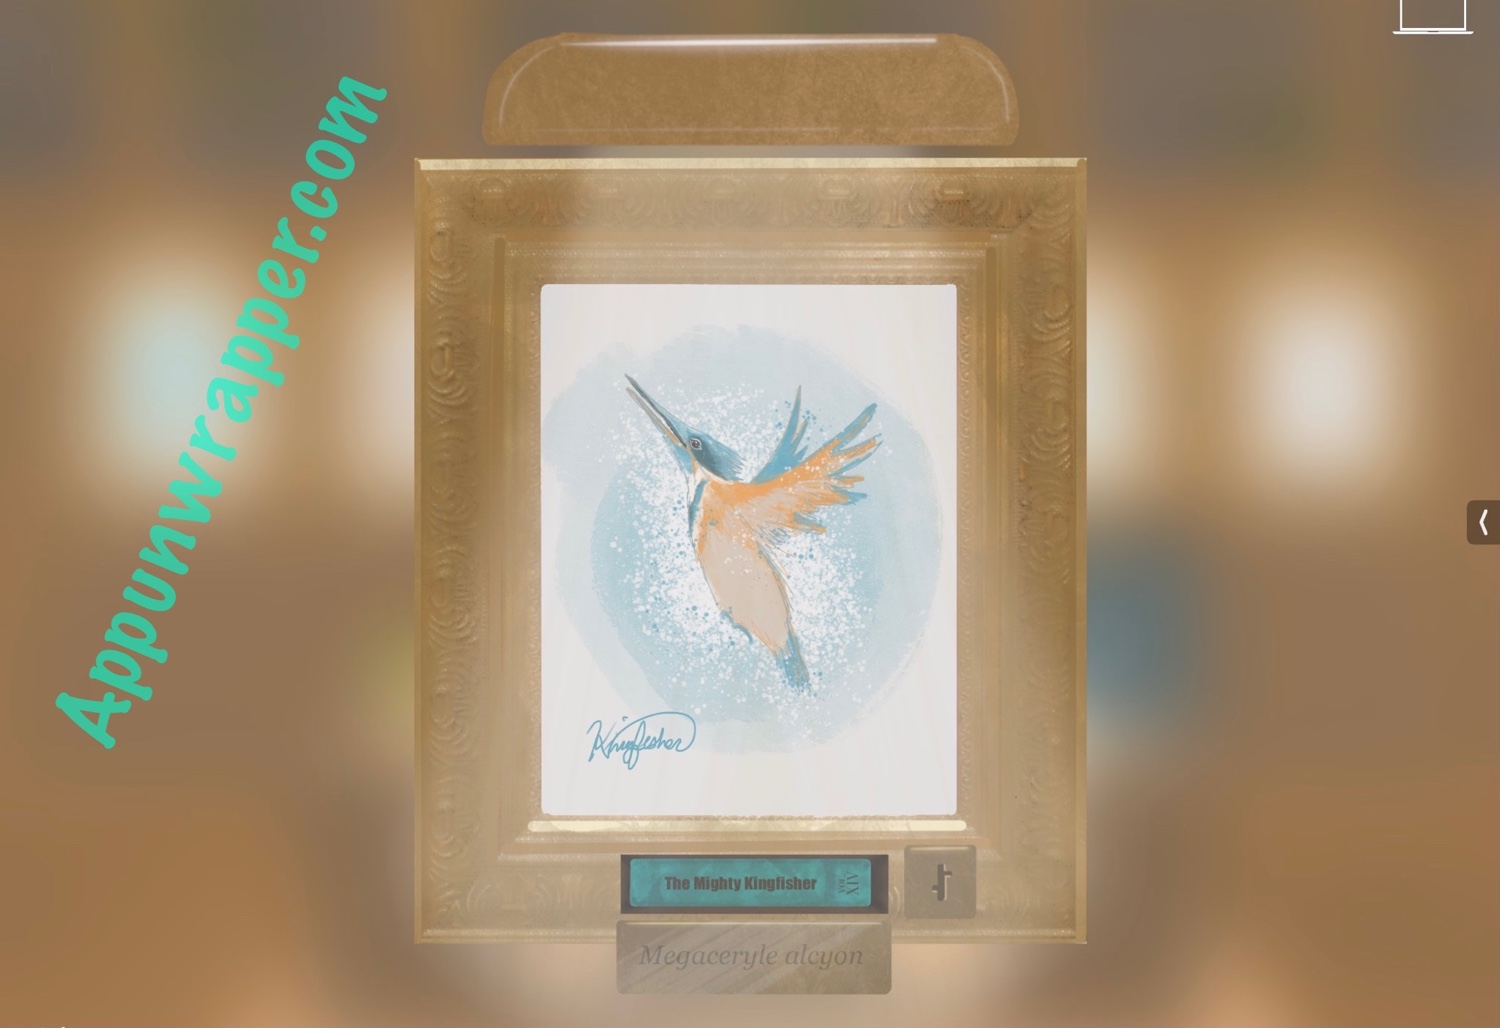
49. Use the key on the kingfisher painting to get another book.
50. Examine the fourth and final chest. Place the tablet on the wireless charger and then look at it. It says to enter the last 4 digits of your Circulous Employee ID to access your data. So look through the IDs in the top drawer.
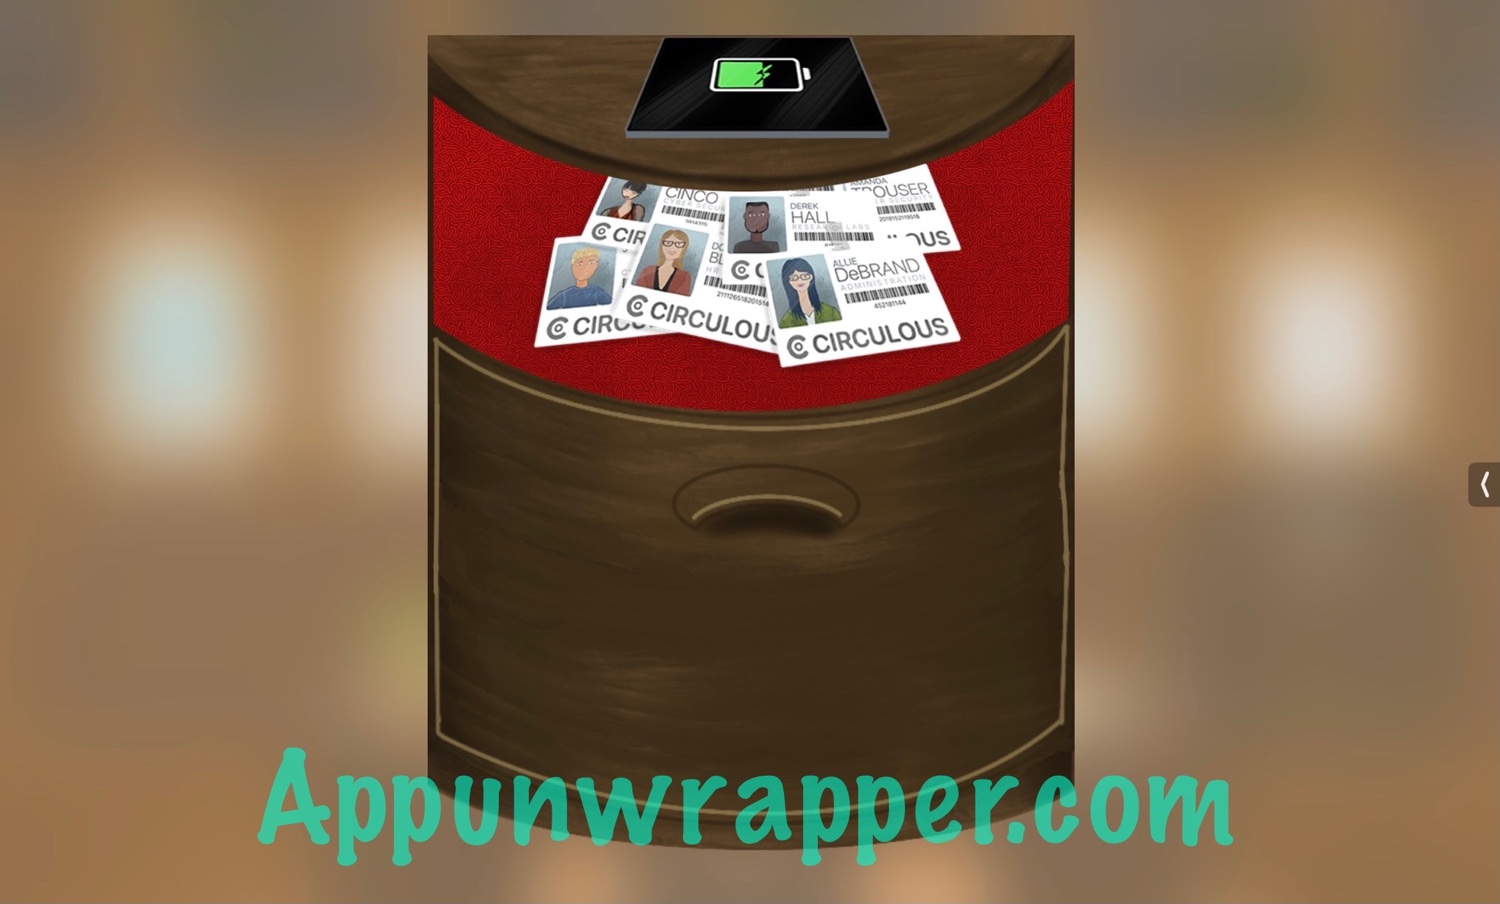
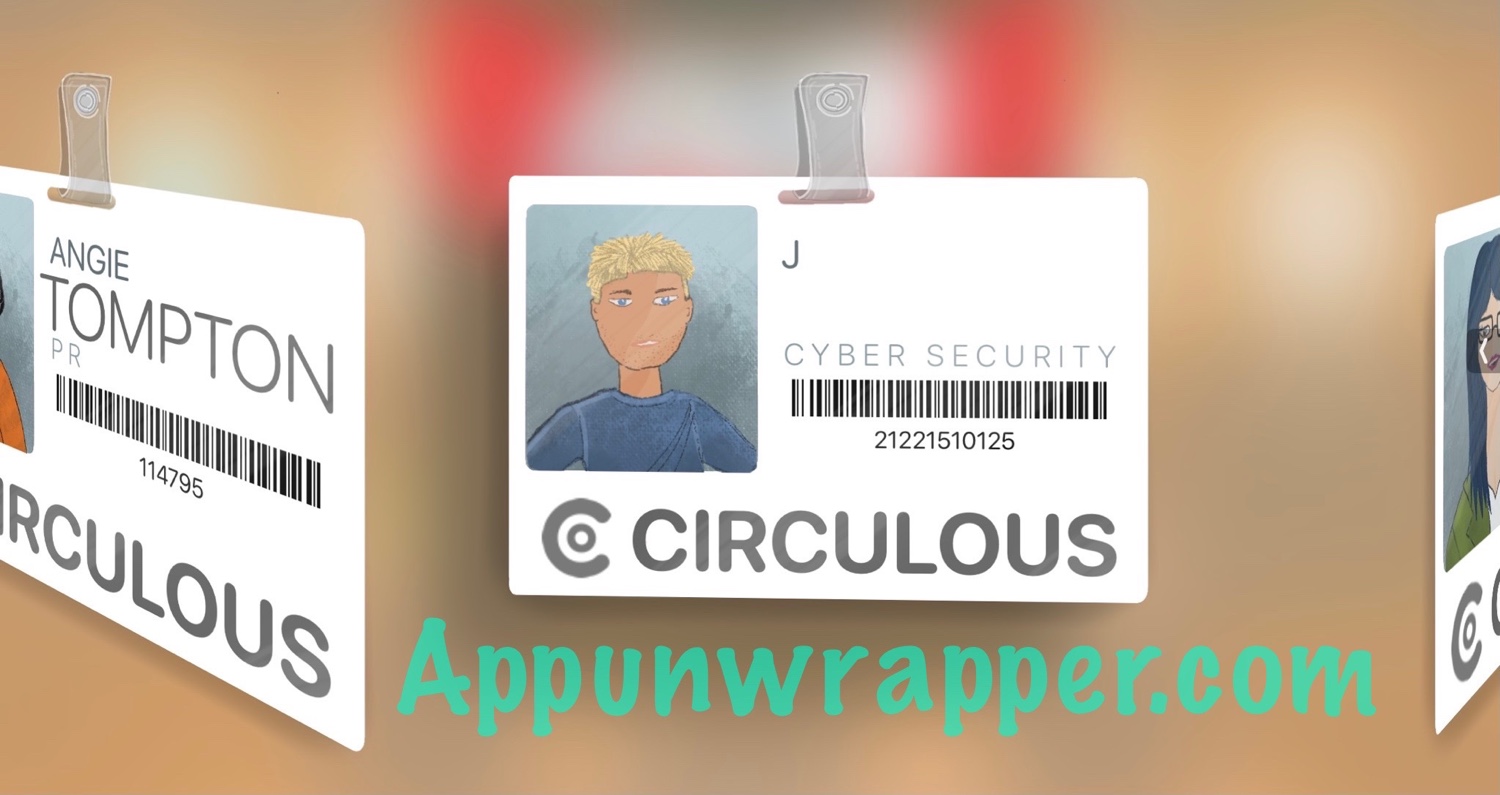
51. The ID to focus on is J’s! His number is 21221510125. The last fo it digits are 0125. So enter that into the tablet to unlock it.
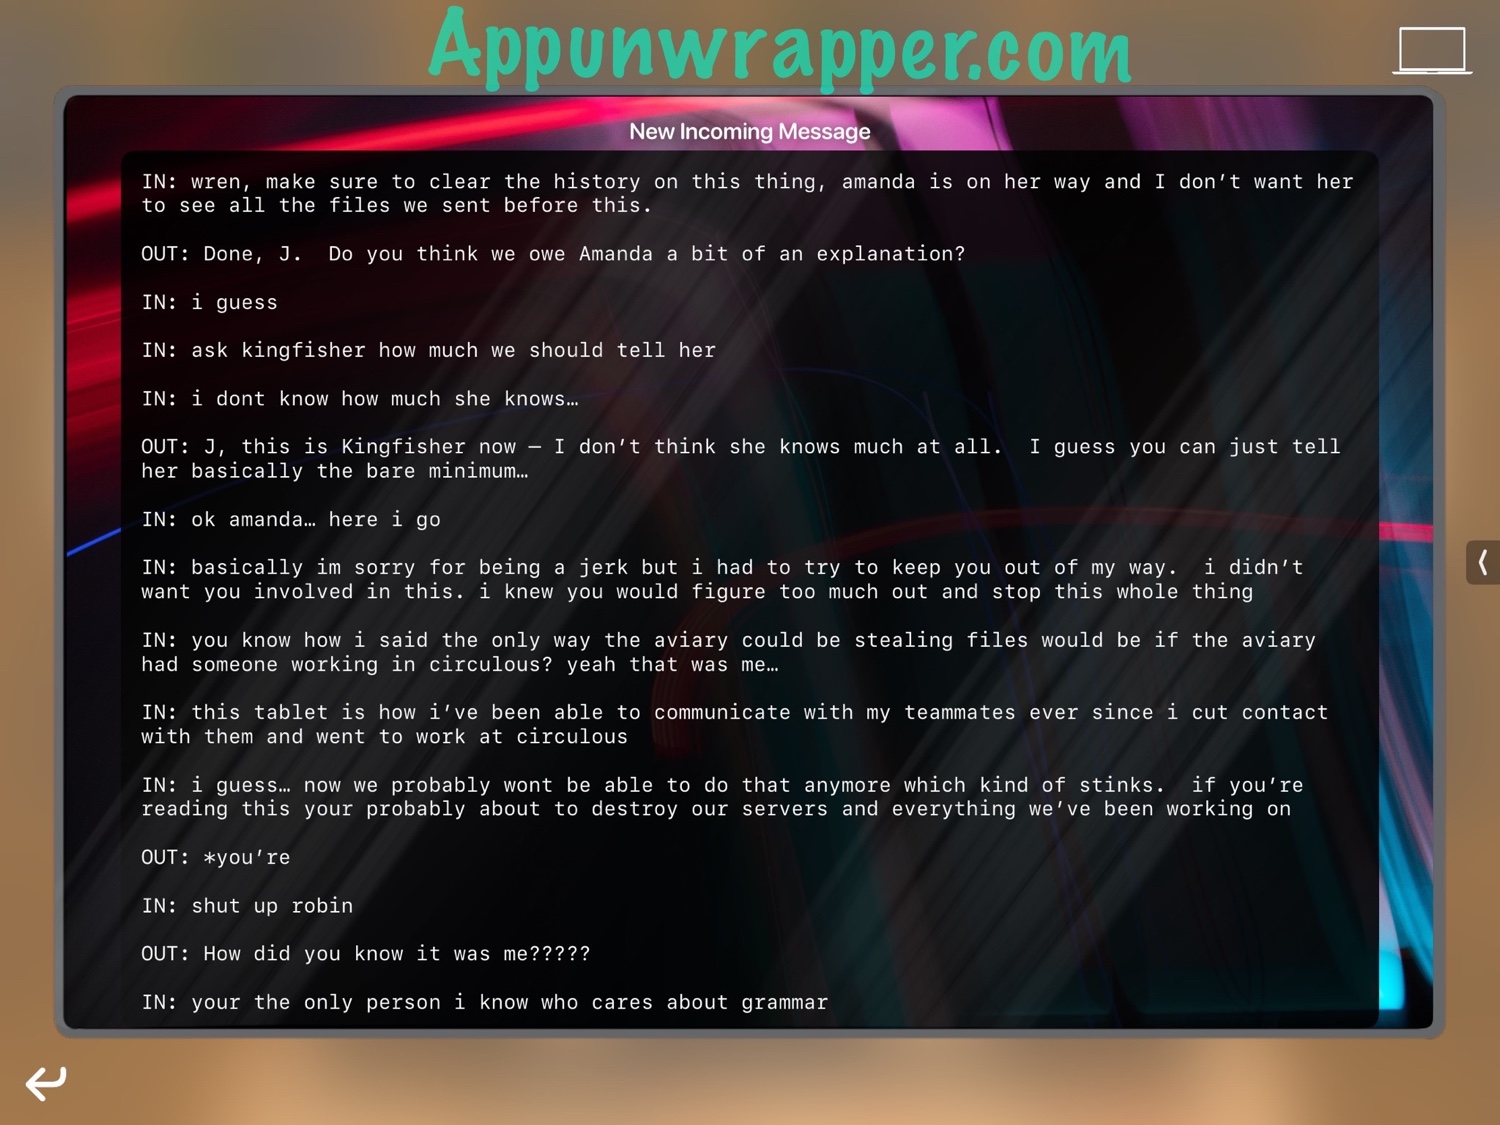
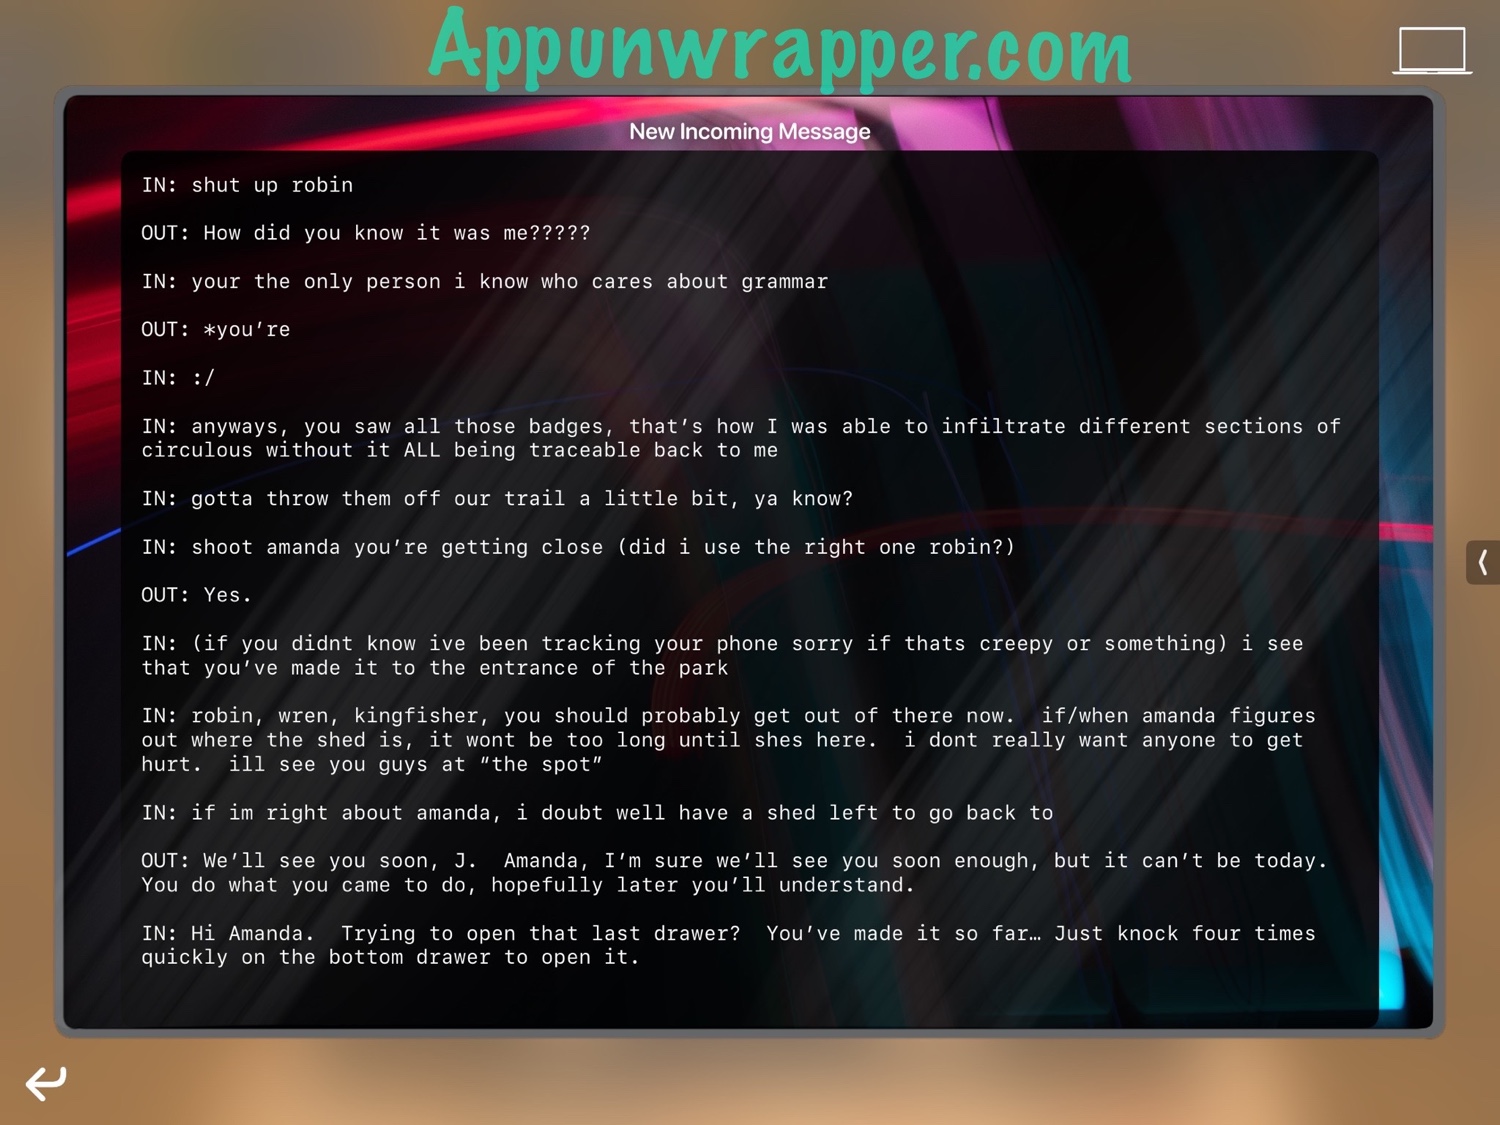
52. Read through everything on the tablet. At the bottom, J tells you to knock four times on the bottom drawer to unlock it. So close the top drawer and knock 4 times on the bottom drawer. Open it and take the note and the key.
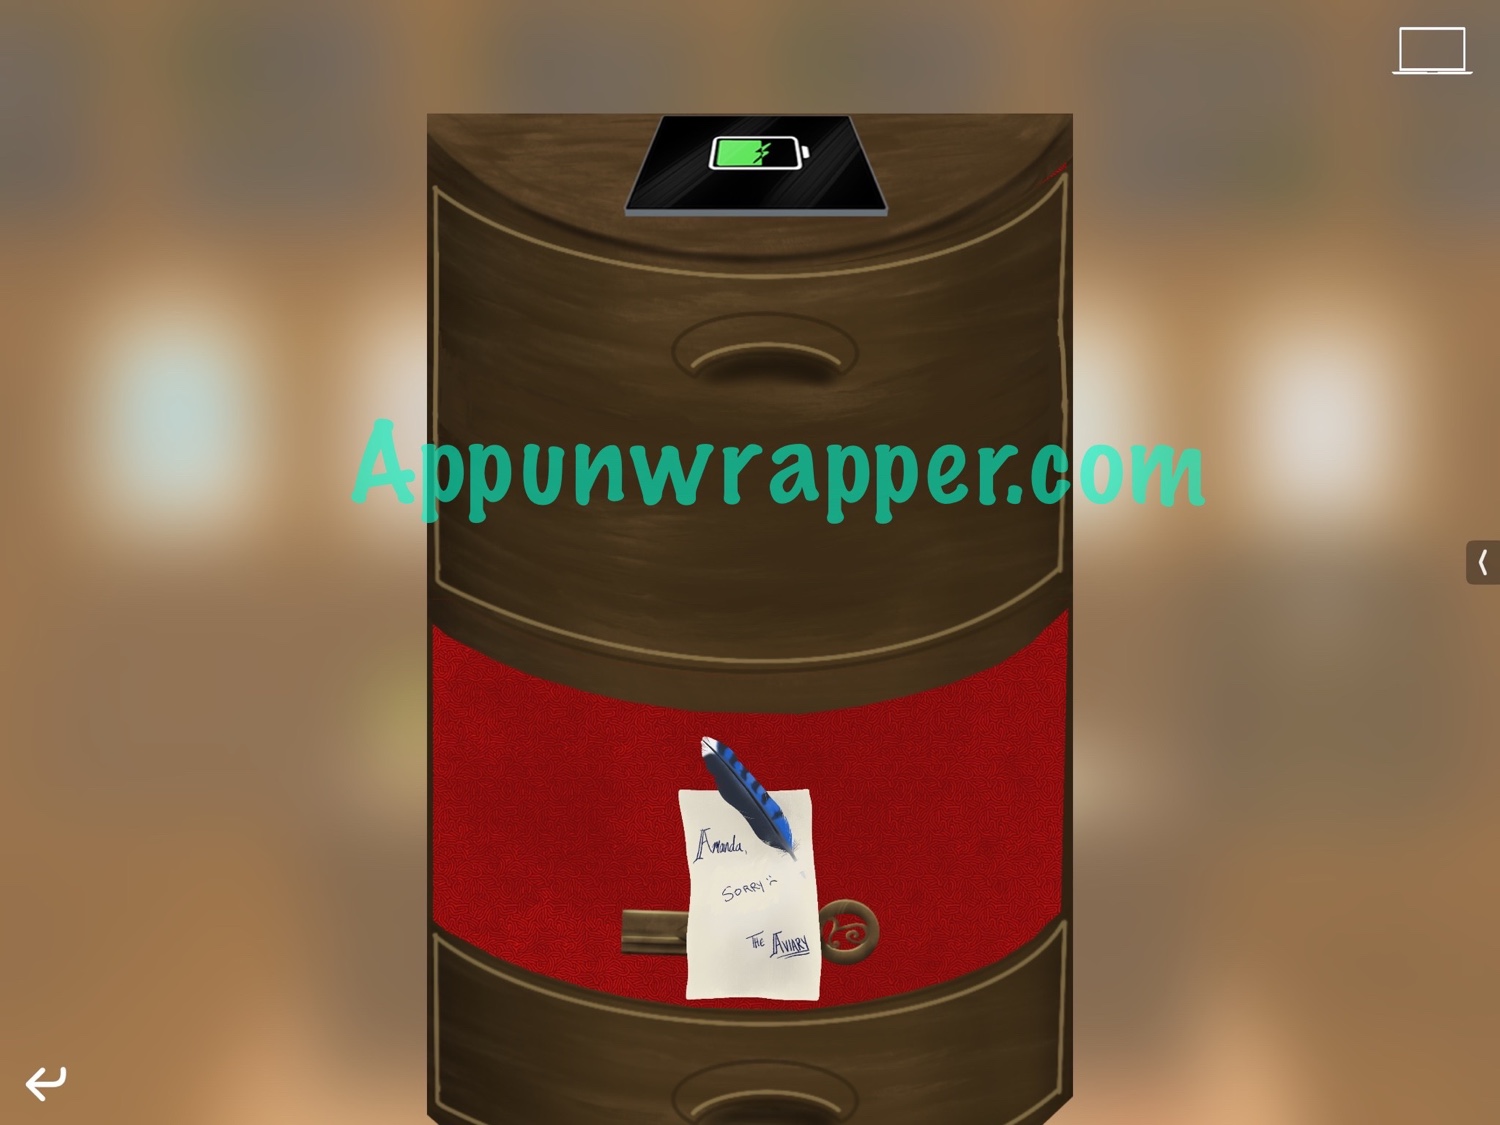
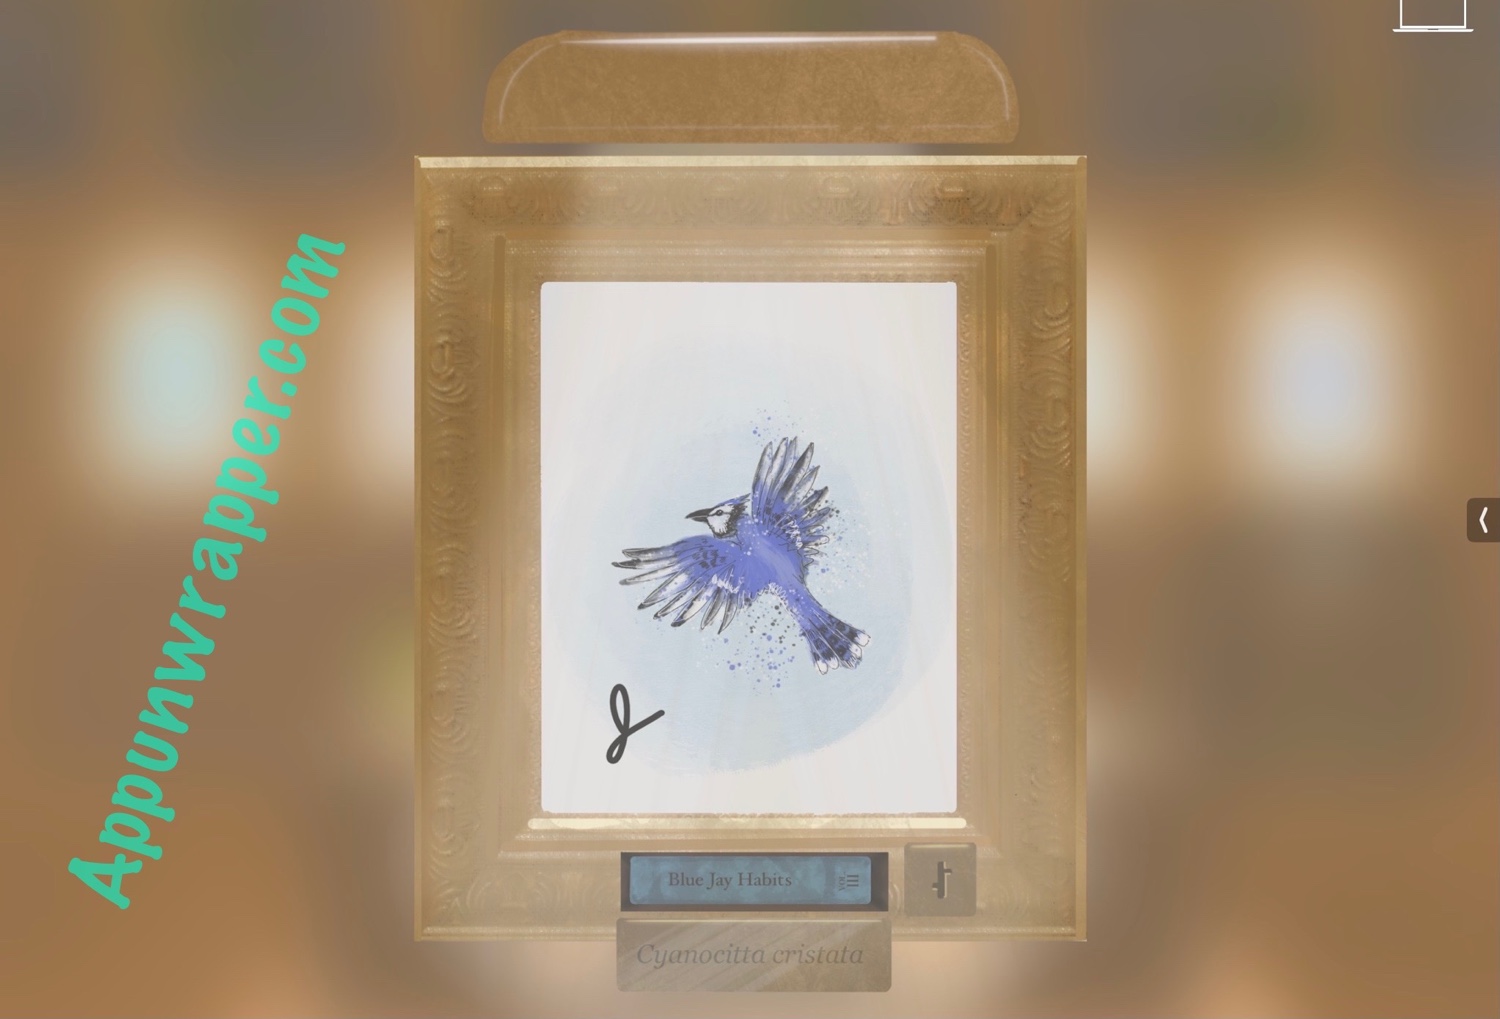
53. And finally, use the last key on the Blue Jay painting and get the fourth book.
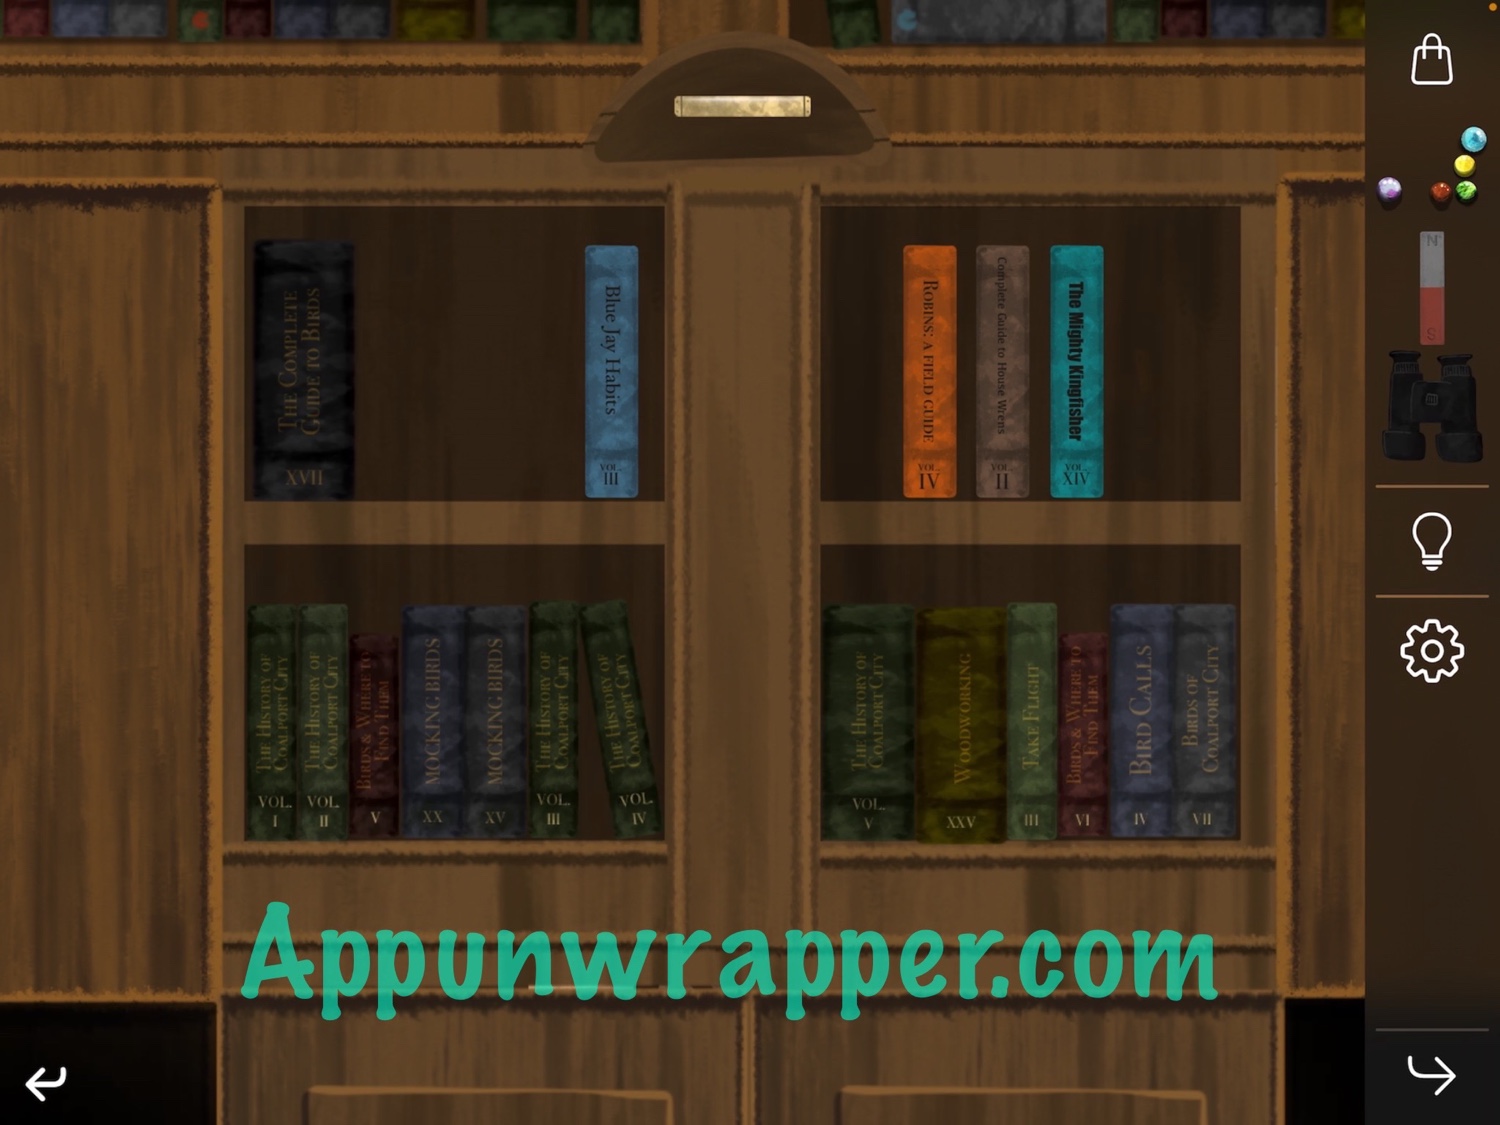
54. Now, tap on the bookshelves. Notice the Roman numerals on each book. If you add up the numbers on the bottom left shelf, they equal the same as the numbers on the bottom right shelf. So using that logic, let’s place the four books on the top shelves so that all the books on each side add up to the same number. It should look like this, making each side add up to 20.
55. Tap on the server and then enter the server. Now you’re trapped in a birdcage! Look down to see four bird silhouettes.
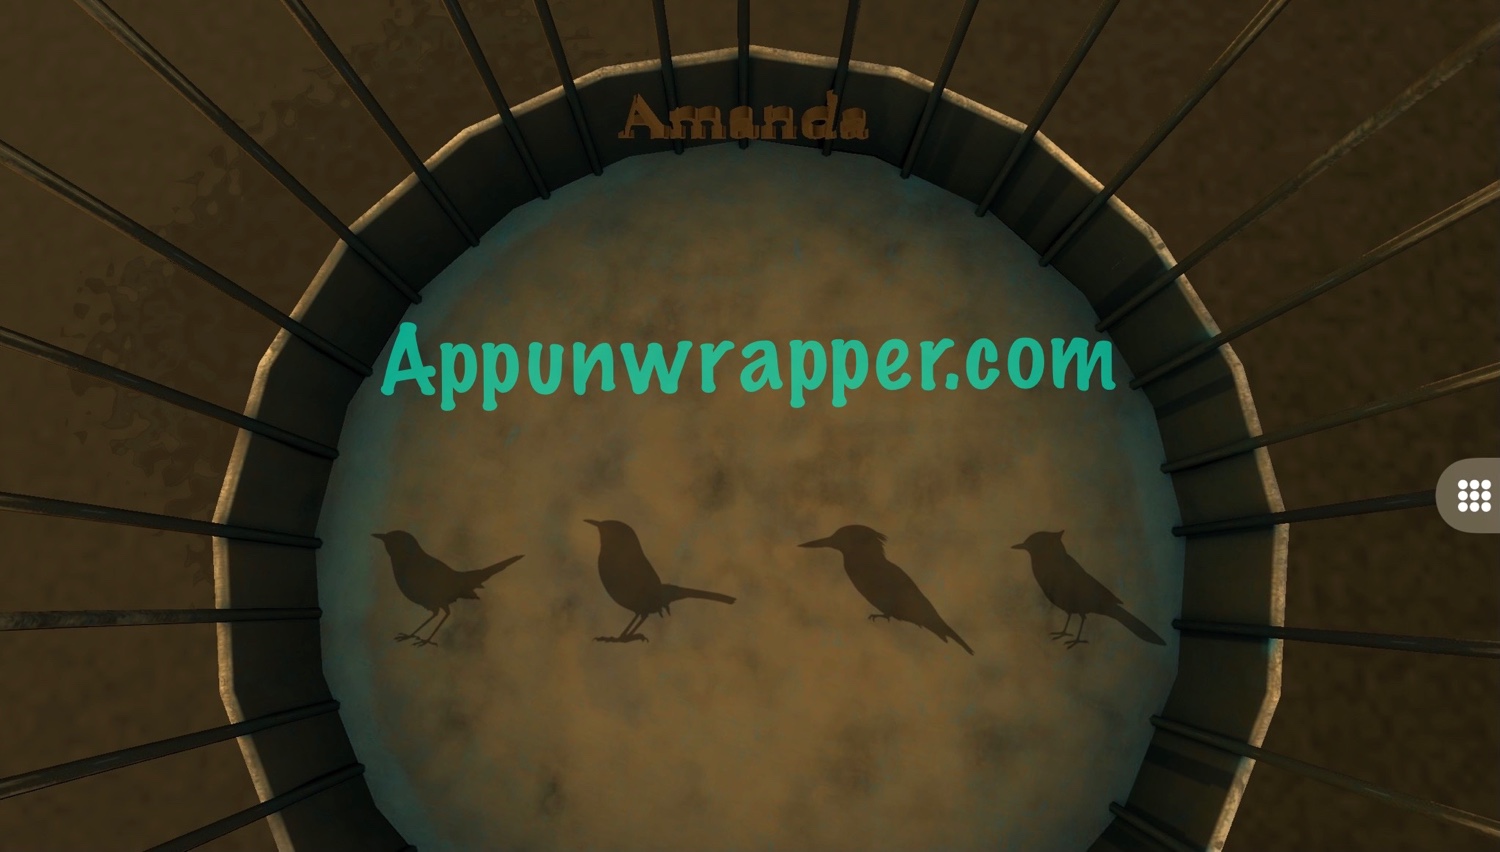
56. Now, look up and around the sides of the cage to see numbers with bird shapes over them. Find the four birds from the floor of the cage and note down their numbers: 3849.
57. Tap on the little 9-circle icon to the right to pull out a number pad. Enter 3849 and then fly out of the cage. You’ll automatically wipe the Avry servers and then wake up back in your apartment.
58. Check your device. You should have a text from Ace. Answer the question and then click on the link to open an article about a shed fire. And that’s the end of Act 1!
Good news! Act 2 is here! Click here for my walkthrough.
.


I must be blind because I canΓÇÖt see the number pad. IΓÇÖve looked at the in game hints and theyΓÇÖre not exactly clear on where it is, either. If itΓÇÖs supposed to be at the bottom of the page with the 4 ΓÇÿrevealΓÇÖ buttons, it isnΓÇÖt, and nor is it on the page with the cube.
You need to scroll from the sides of the page. Otherwise youΓÇÖll still be controlling the cube part and wonΓÇÖt see it.
IΓò¼├┤Γö£├ºΓö£├╗m stuck in the underground library – have the map and the 3 postcards but when I put the pins on their locations nothing happens. Also canΓò¼├┤Γö£├ºΓö£├╗t open the bottom drawer. Please help!
Notice that one of the postcards is a little different than the other two. Let me know if you need more than that!
I can see that the birds face different directions and have tags (alpha beta gamma etc) but still lost.
Nevermind, I managed to get it. Was experiencing a bug where a pin stuck to side of map was messing things up. A reset sorted it 🙂 thanks
Now the colours are killing me, IΓò¼├┤Γö£├ºΓö£├╗m partially colourblind and canΓò¼├┤Γö£├ºΓö£├╗t exactly tell the diff between some argh! 🙁
The colors on the clue card are in the same order as the bottles, so you can use the letters there to help you figure it out
Trying to figure out the connection between Γò¼├┤Γö£├ºΓö£ΓöÉ83170 9652 470Γò¼├┤Γö£├ºΓö£├╗ and Γò¼├┤Γö£├ºΓö£ΓöÉliftΓò¼├┤Γö£├ºΓö£├╗. It says Γò¼├┤Γö£├ºΓö£ΓöÉno admittanceΓò¼├┤Γö£├ºΓö£├╗ on the door of the building with the numbers, is that relevantΓò¼├┤Γö£├ºΓö¼┬¼? 12 letters in Γò¼├┤Γö£├ºΓö£ΓöÉno admittanceΓò¼├┤Γö£├ºΓö£├╗ – 12 numbersΓò¼├┤Γö£├ºΓö¼┬¼ but what about Γò¼├┤Γö£├ºΓö£ΓöÉliftΓò¼├┤Γö£├ºΓö£├╗, thenΓò¼├┤Γö£├ºΓö¼┬¼?
Does anyone know how you open the golden birdcage in the shed? Super stuck :/
You need to use the bird sounds from the website.
Thank you! Didn’t cross my mind to check the website
How do you figure out the code to the safe in the shed?
I just added it to the guide.
Thank you!
Could anyone help with WrenΓÇÖs puzzle in the shed? Its the folder one and I havenΓÇÖt found an order for them yet
You need to spell out AERONAUT.
what is supposed to happen after you find the key to the robin picture? I put it in, turned it, left the close up of the picture, and then the key disappeared.
Another dresser should pop out.
If you don’t turn the key far enough it won’t unlock and if you leave the painting you might have to close the app and reopen it to get your key back…
What to do after JayΓÇÖs log?
Help! Where is the number pad to enter the codes??
Why can I not continue with the bird box I touch it and nothing happens helpppp