31. Turn to the side that has four wedges separated from each other. Use the eyepieces to see that each piece has parts of letters on them. Press the middle button to rotate three of the wedges (one is stuck in place) and then move each one in to get N E S W. It’s a compass. When you finish, a door will open.

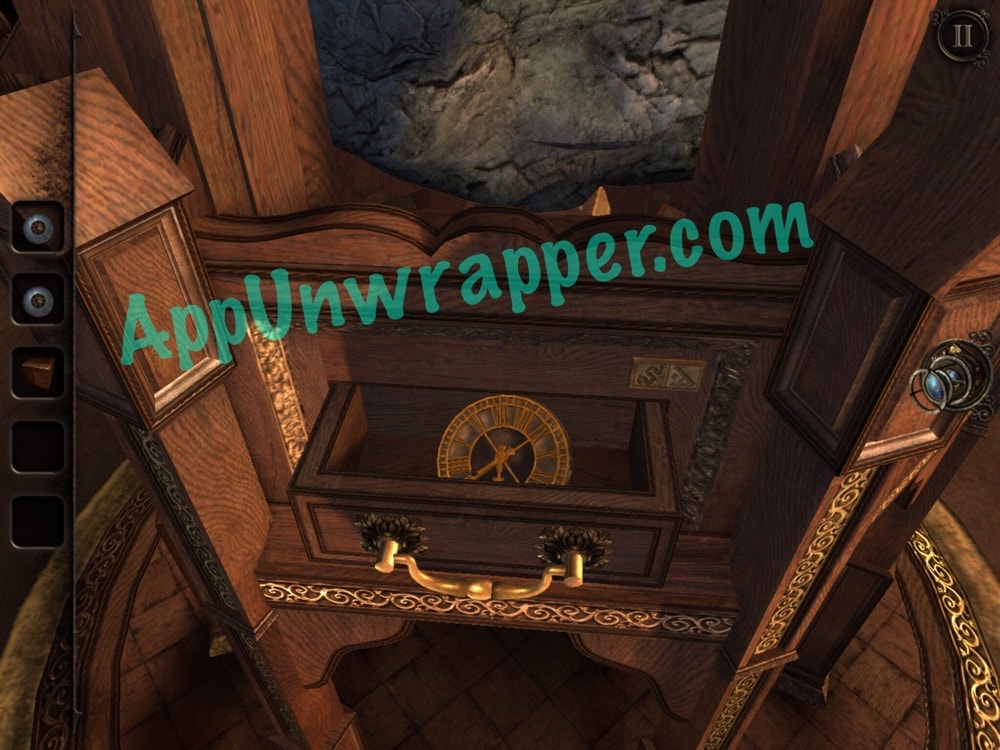
32. Take the wooden model piece. Then go around the structure until you find a little drawer. Open it and take the model clock face.
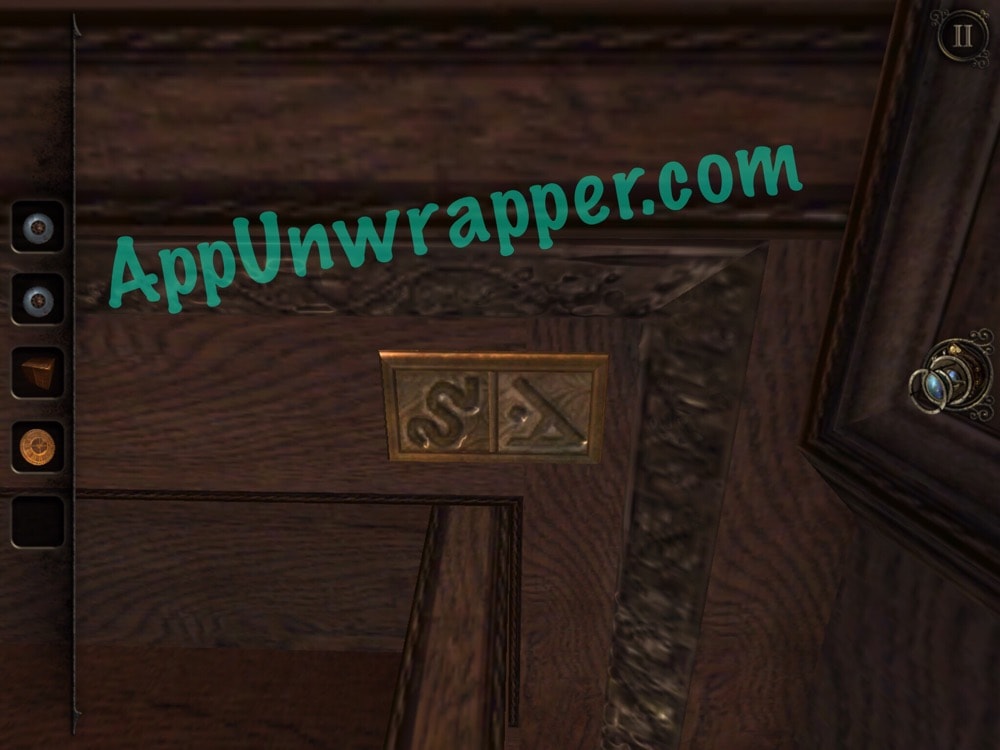
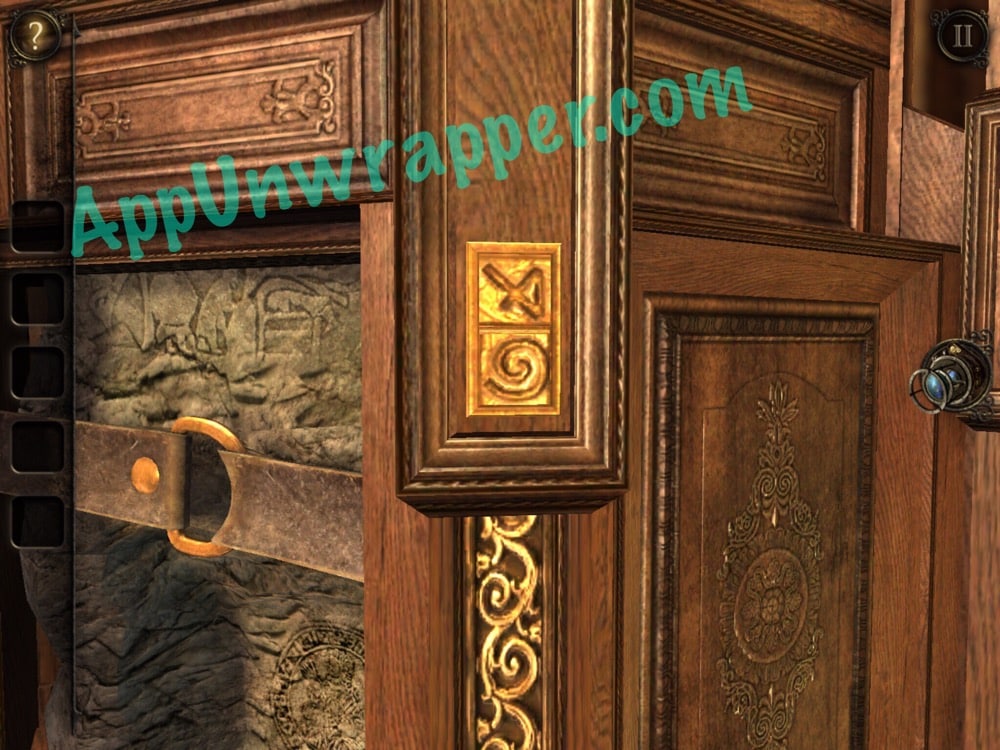
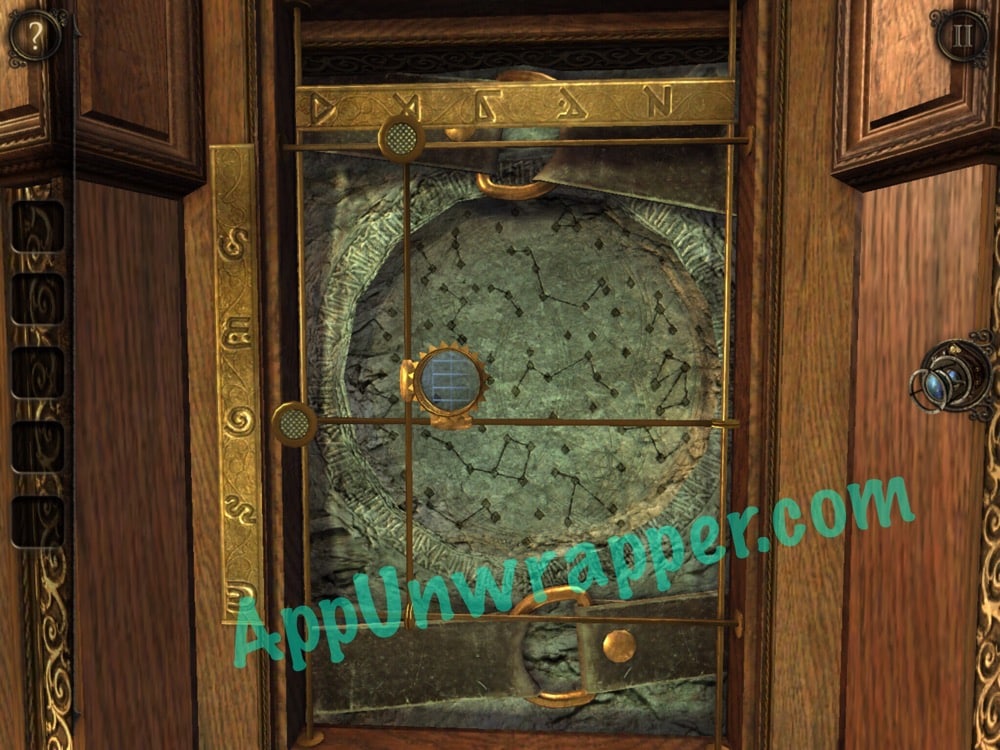
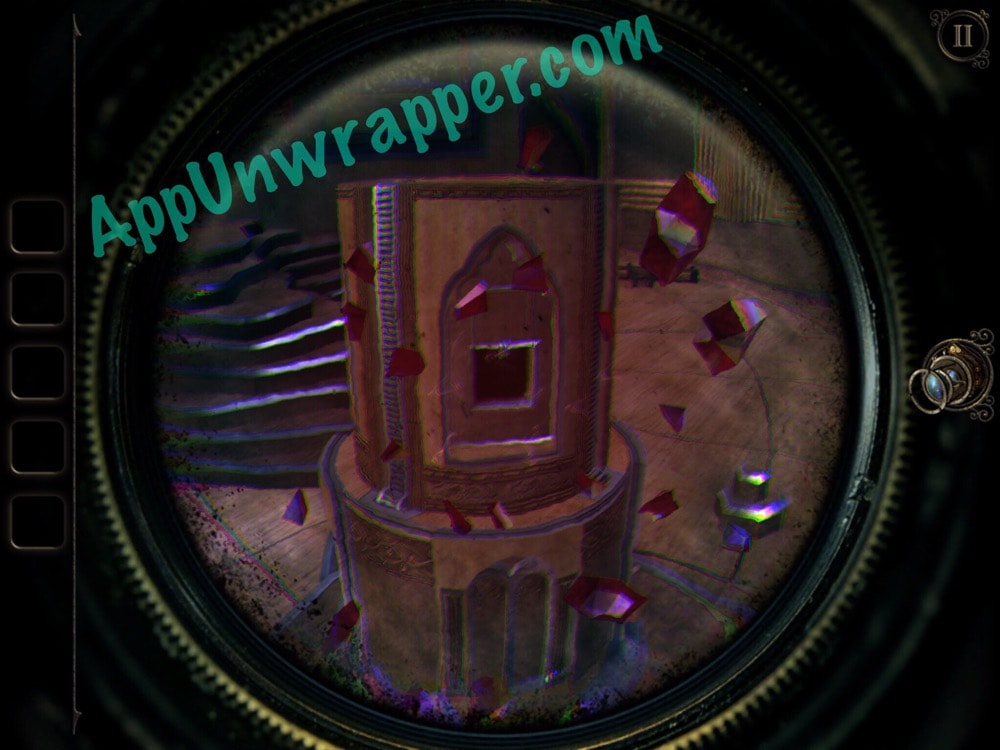
33. Make sure to zoom in on these two symbols to get a good look at them. You can also use them to set these sliders, then zoom in on the glass lens to see the stars up close.
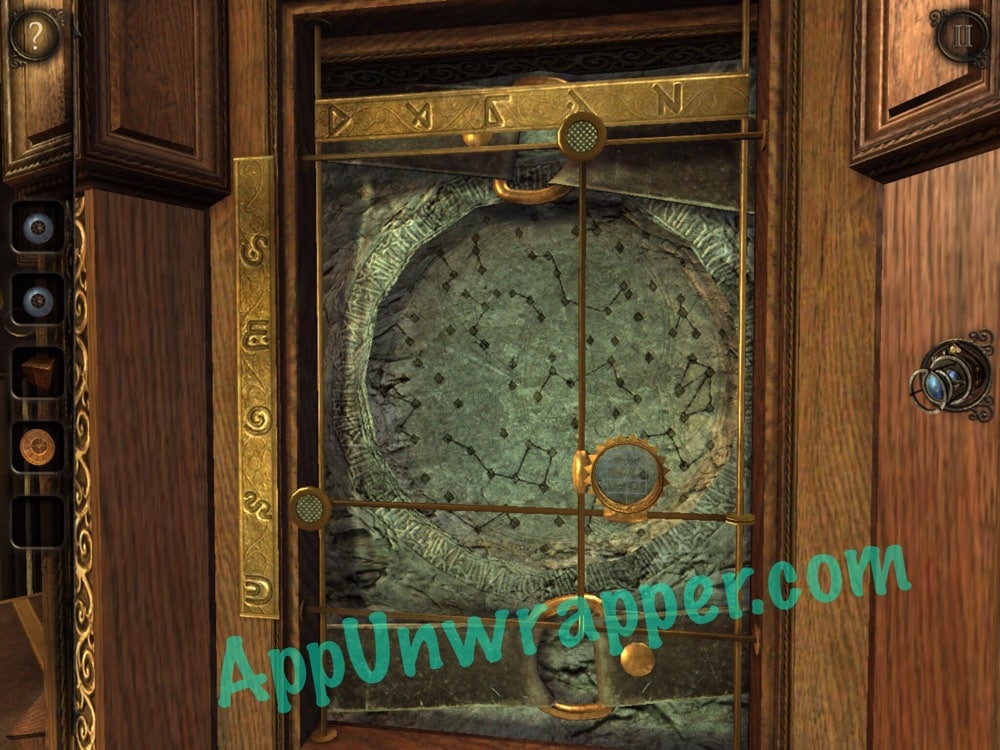
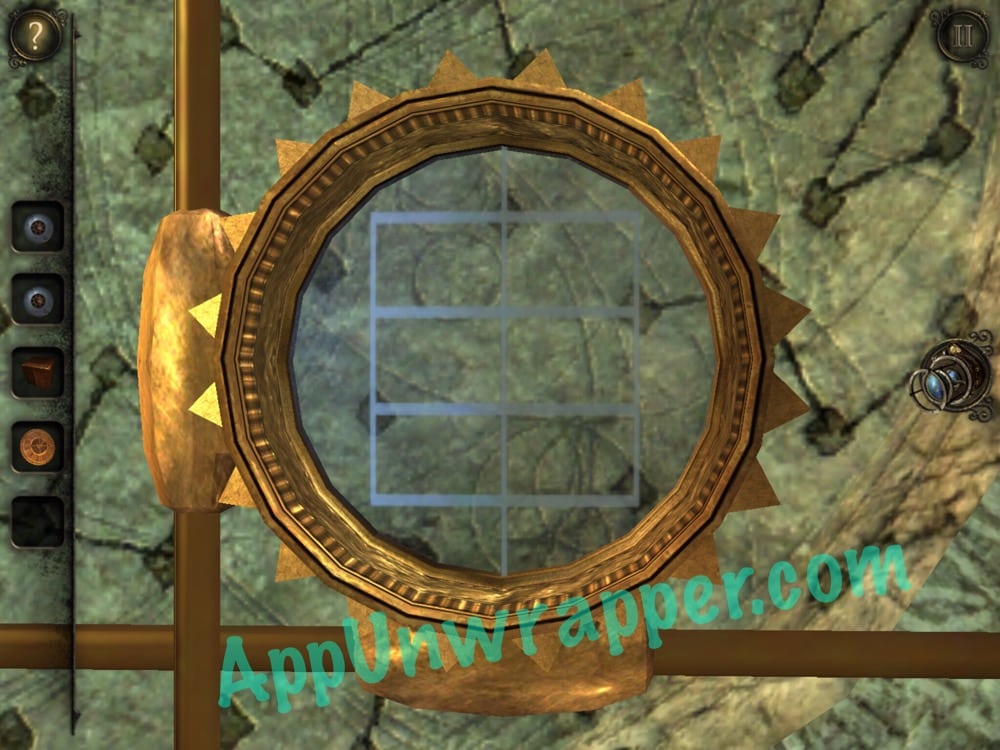
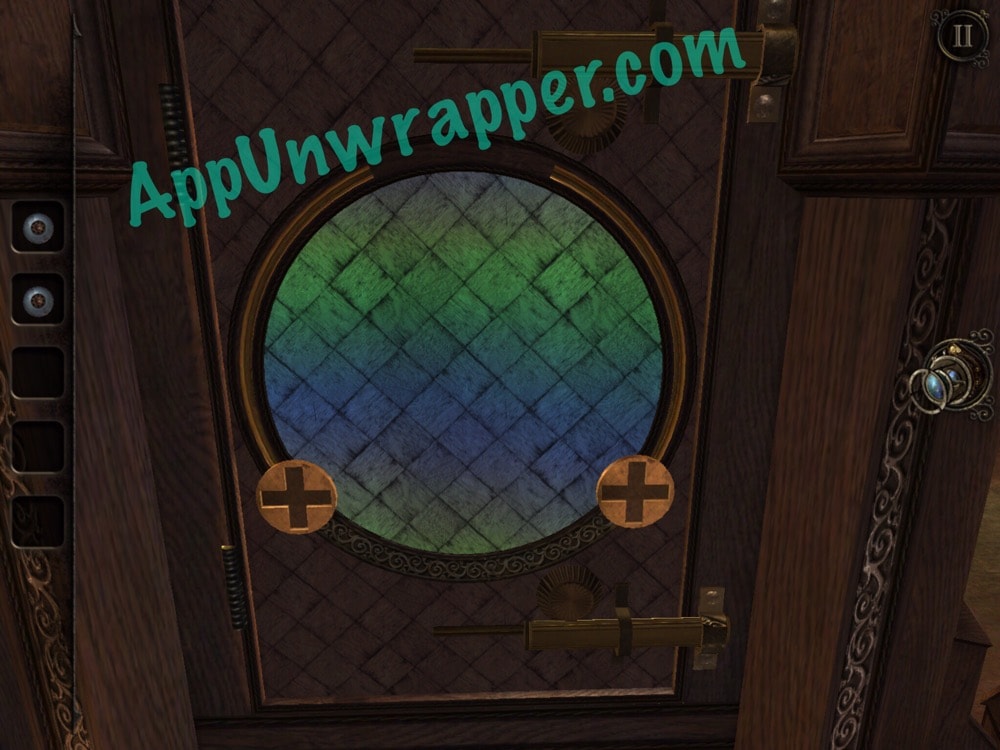
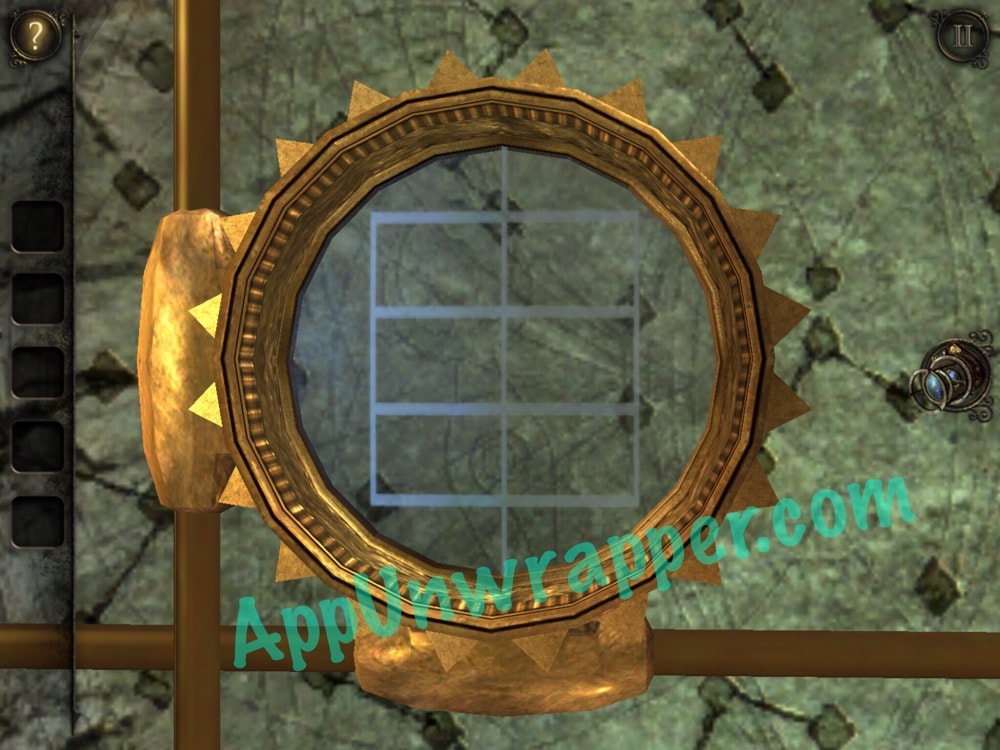
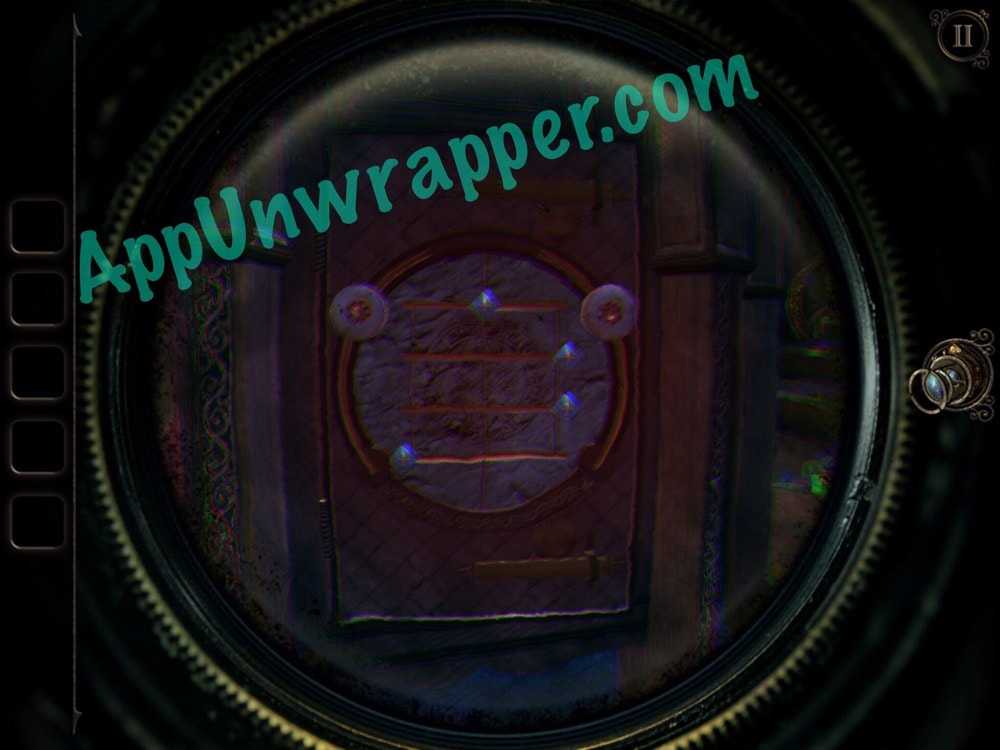
34. Turn around to this side of the structure and place the two magnets on the plus signs. Use the eyepiece to see the plus signs on the grid. Move the magnets around to match the locations of the stars you saw by the constellations. The top lock should open.

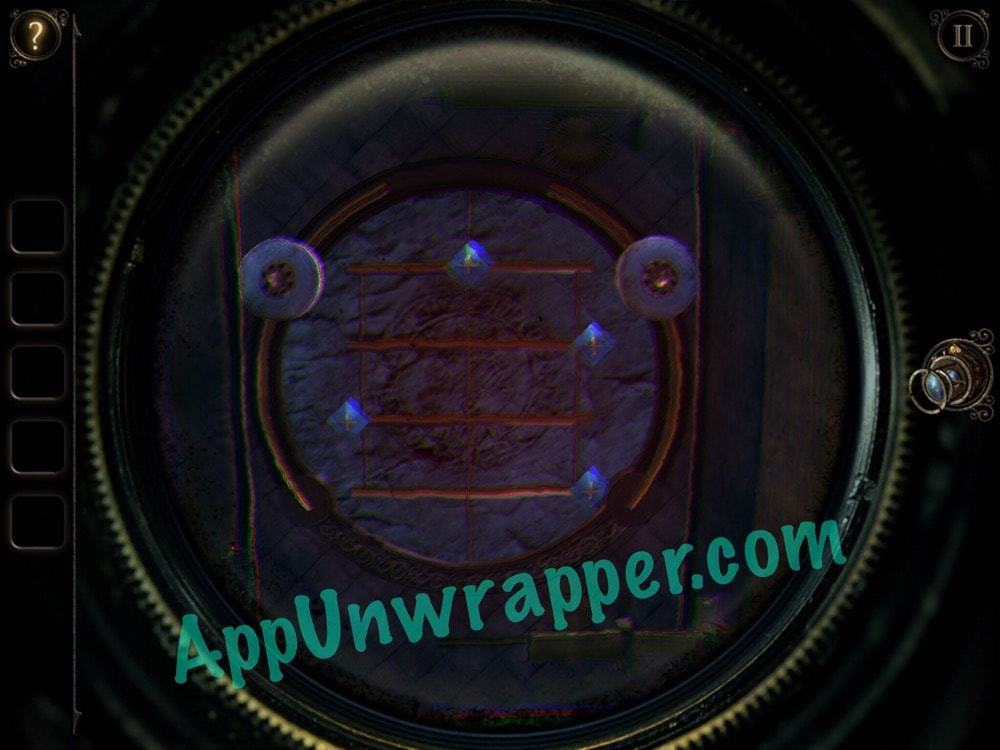
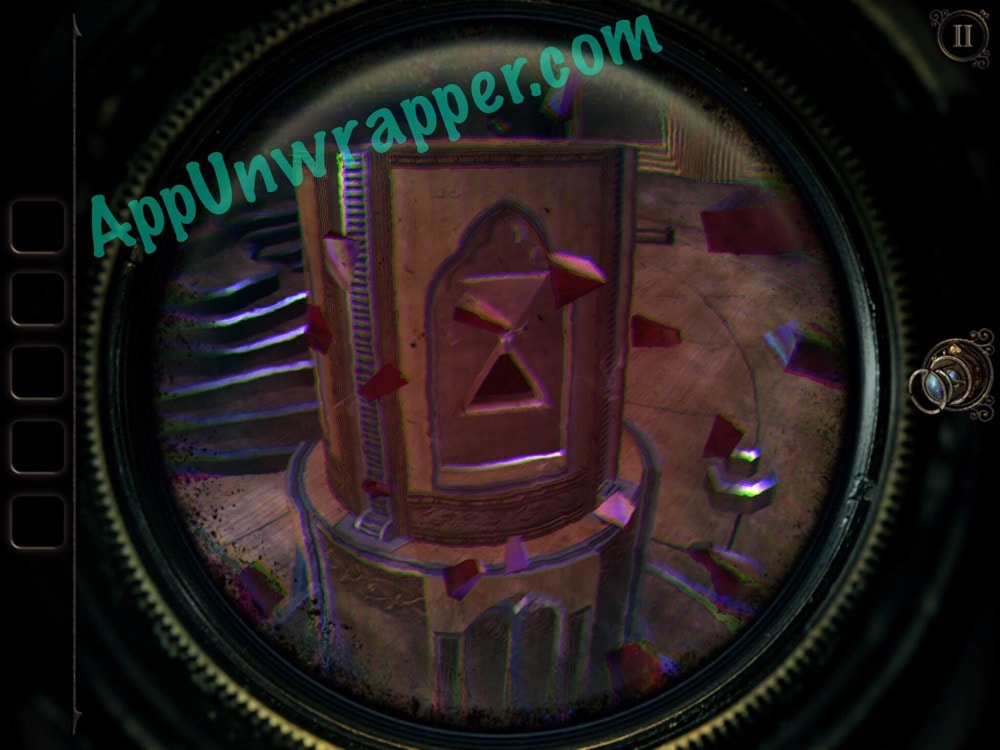
35. Find these other two symbols. Match the sliders to them and zoom in on the glass to see the stars on the grid.
36. Use the magnets again to match those stars and open the bottom lock. Open the door and get the cylindrical wooden model piece.
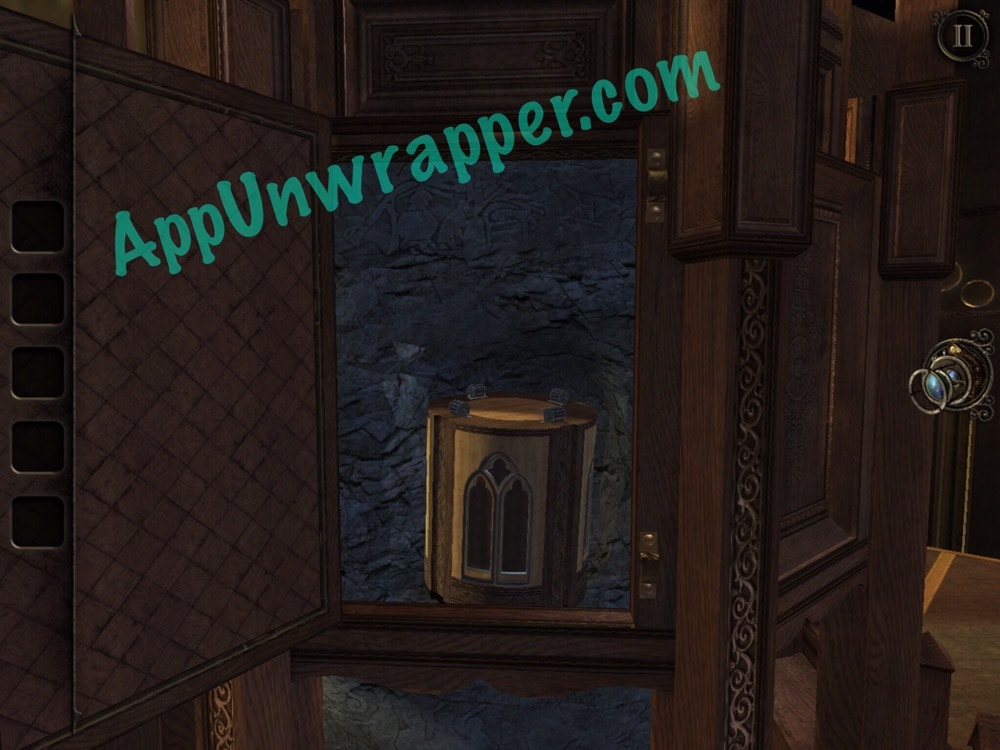
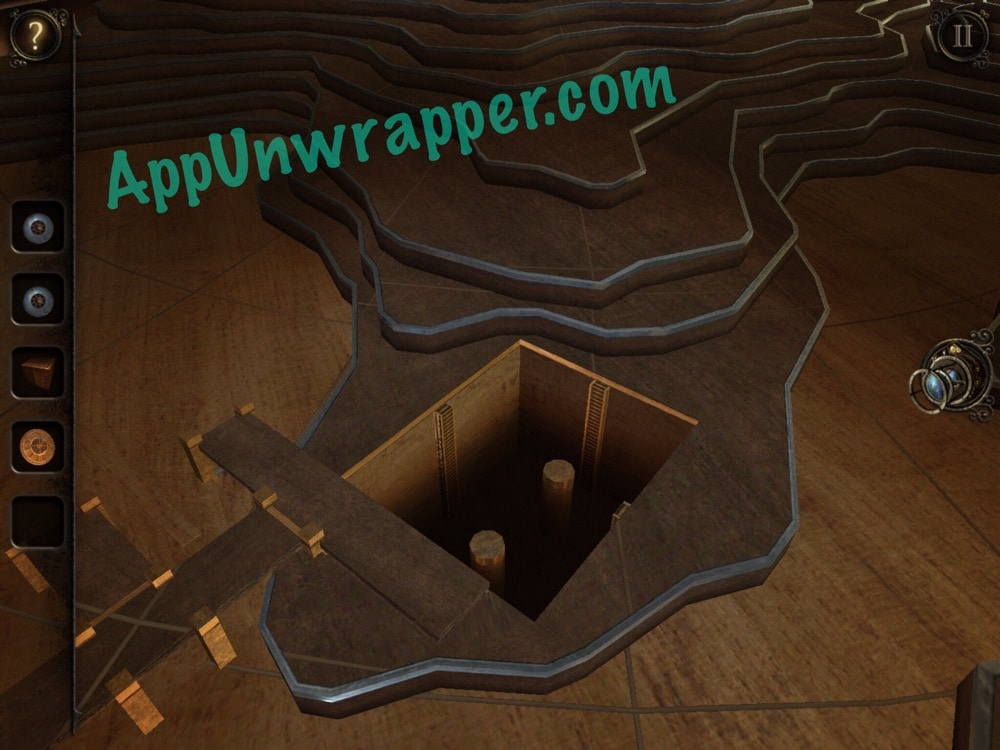
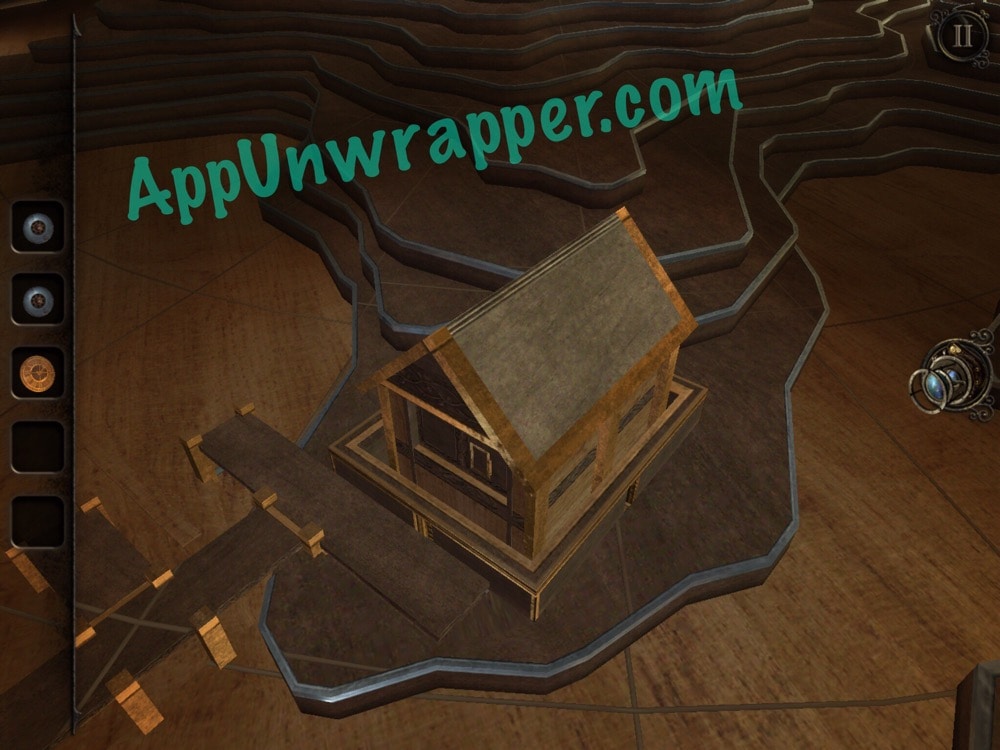
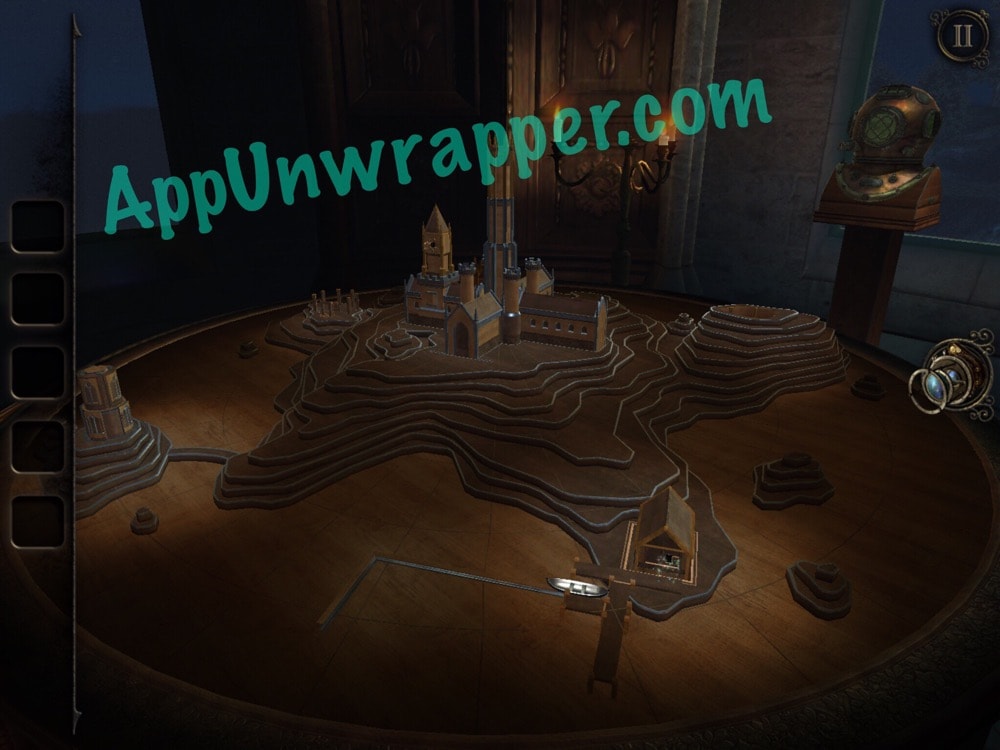
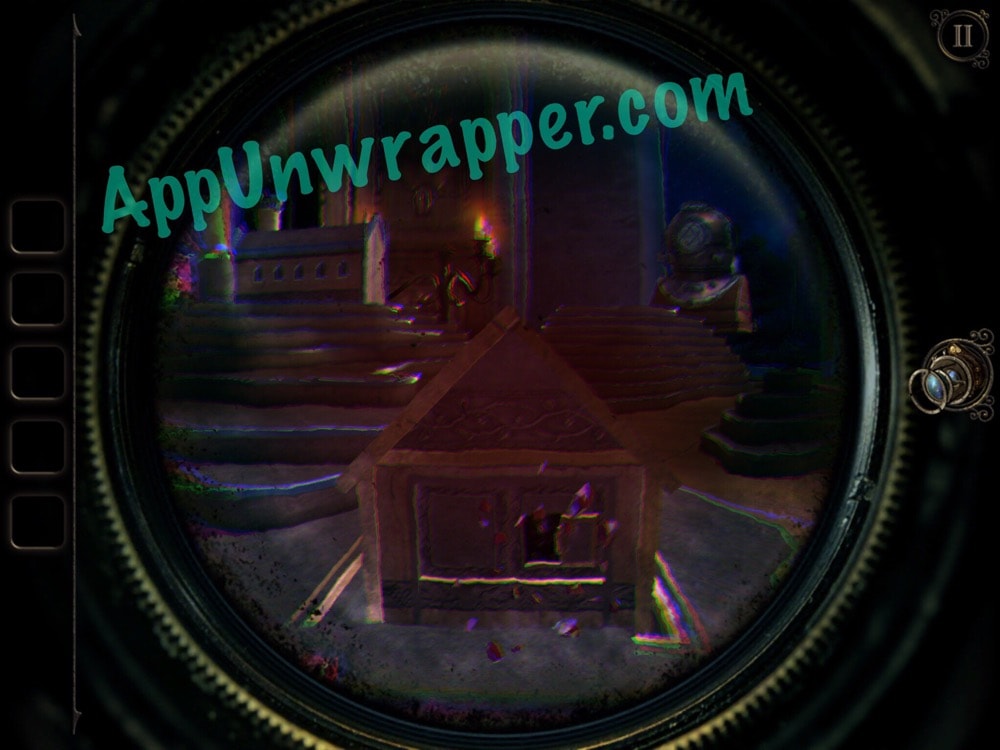
37. Find the rectangular slot on the map and insert the rectangular wooden model piece. A little house will pop out of it and some little metal stand. We’re still missing something from this so we’ll come back soon.
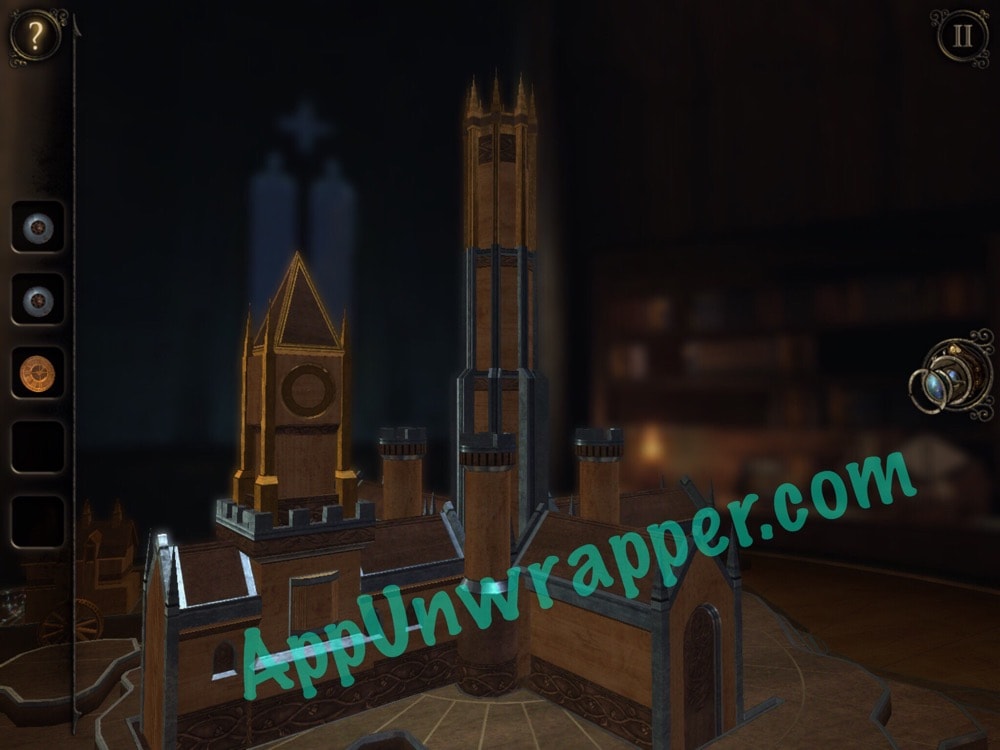
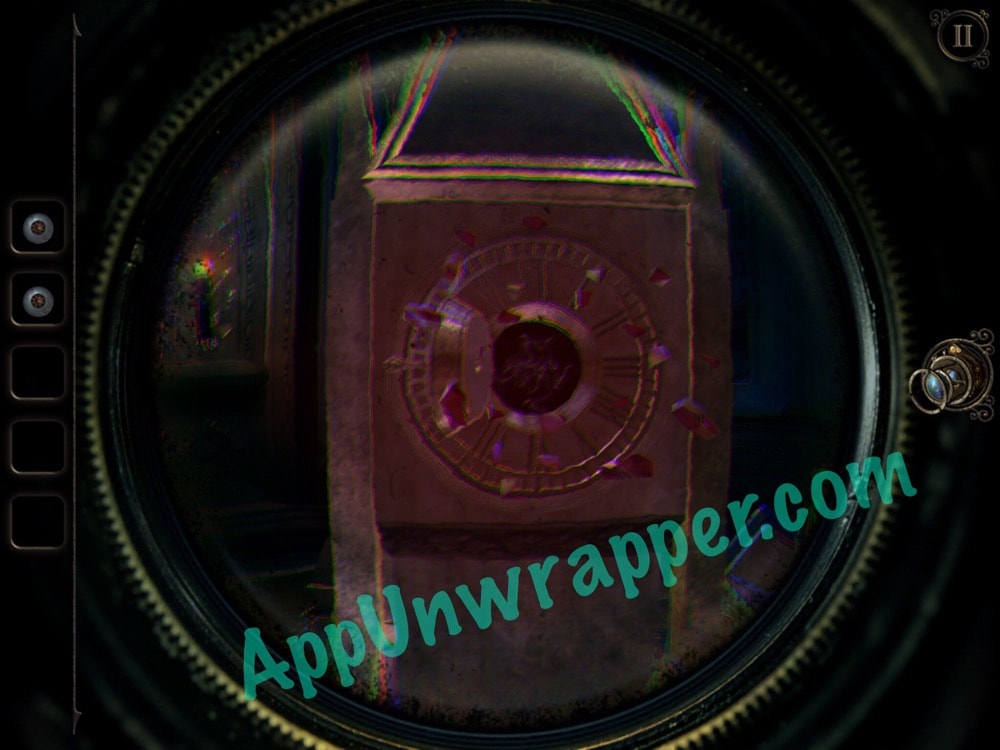
38. Zoom in on the large structure in middle of the map. Find the spot that looks like it’s missing a clock face and place the model clock face on it. Open it up and use the lens to go inside.
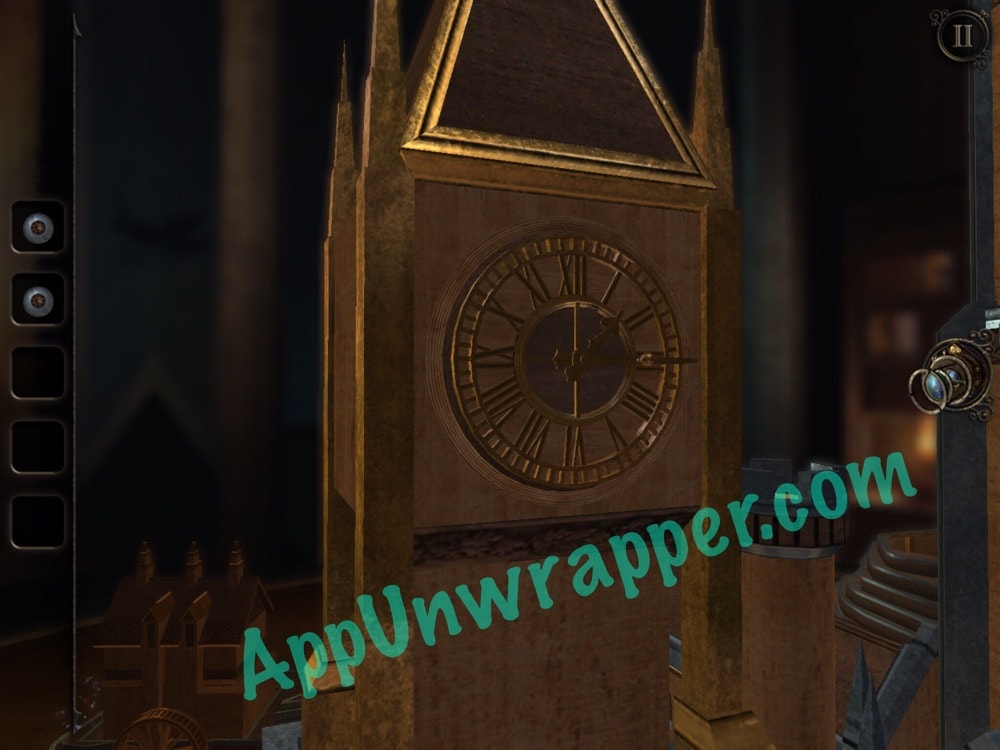
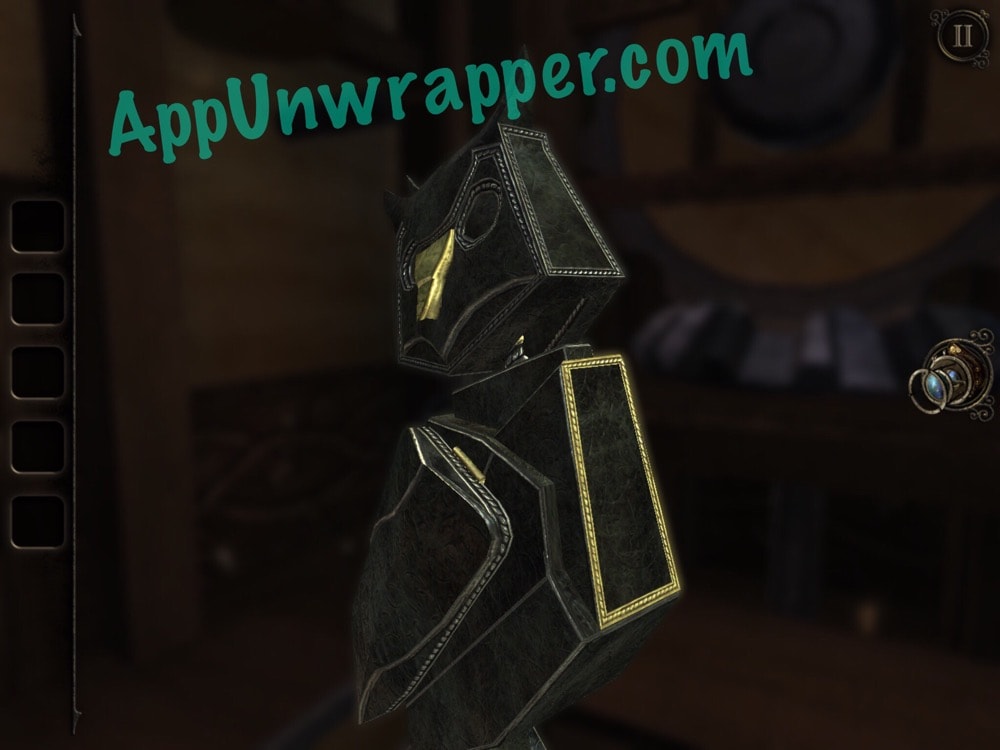
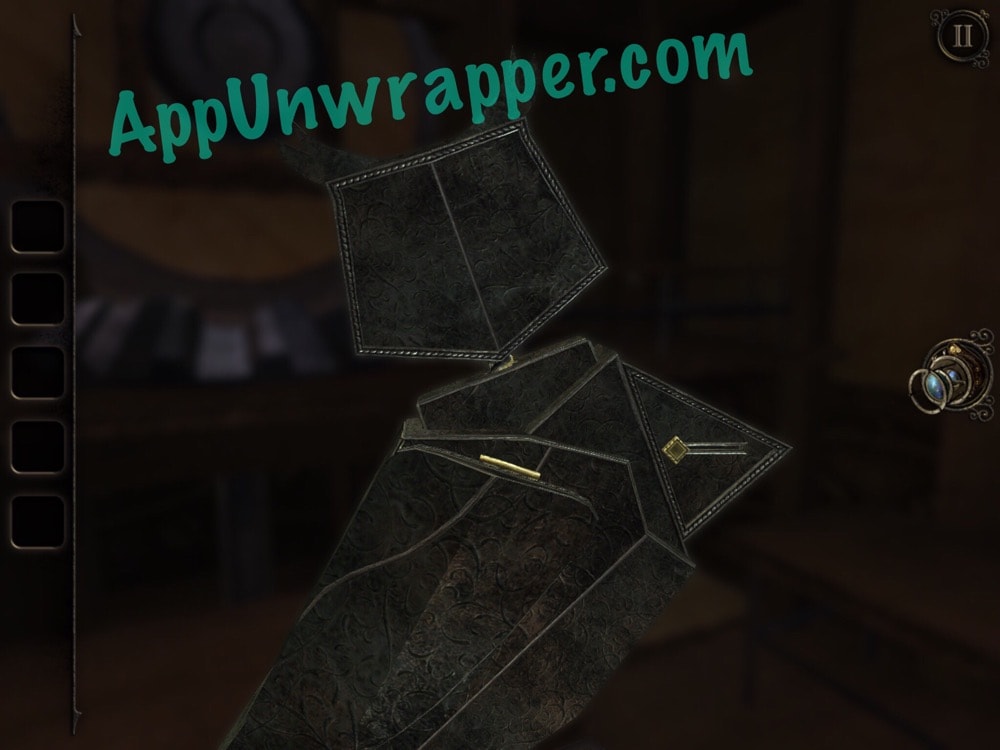
39. There’s an owl here. First, pull on his beak. Then, twist his head around. Then, move e slider to the right. And finally, open his wing and take the model boat.
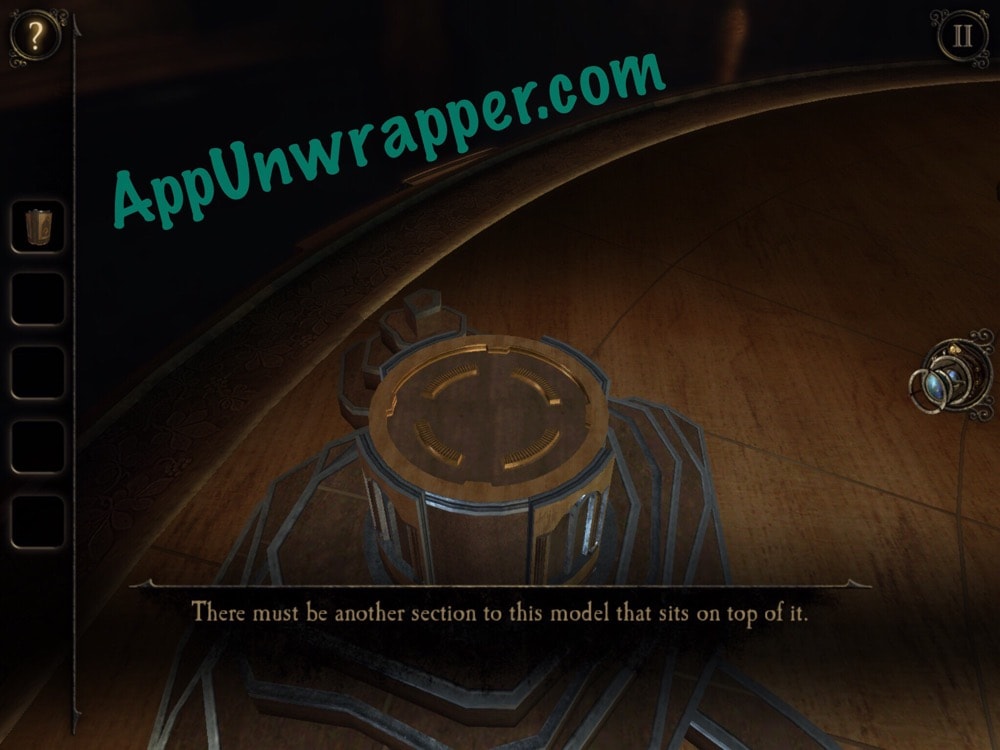
40. Leave the clock tower. Find the round piece on the map and add the wooden model piece to it. The whole map will now rise up to another area.
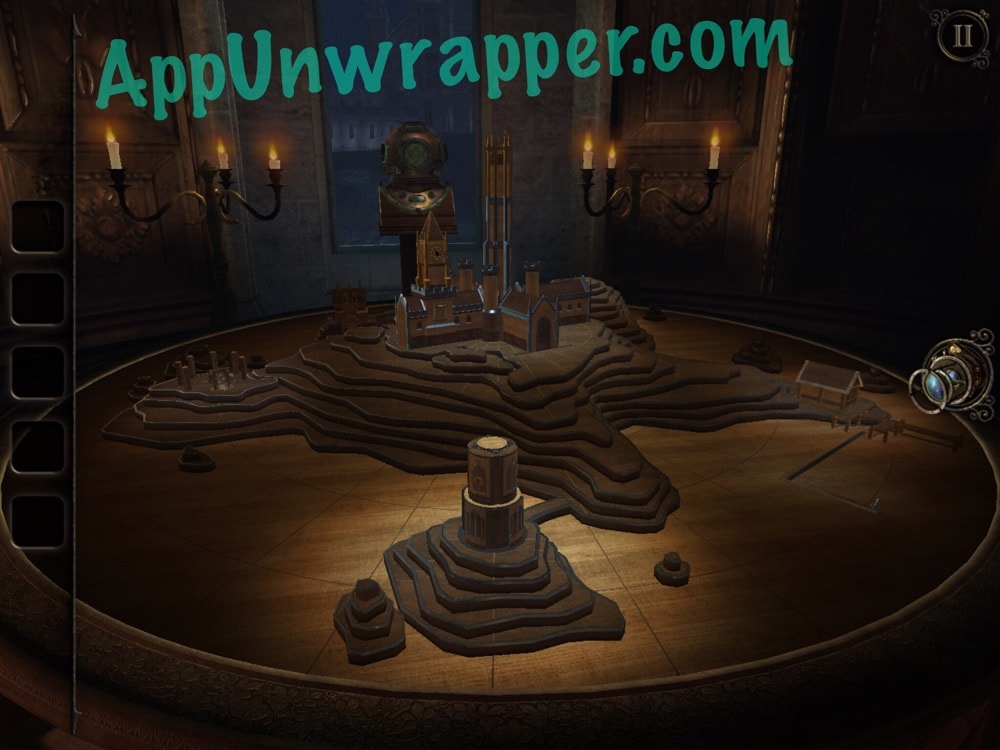
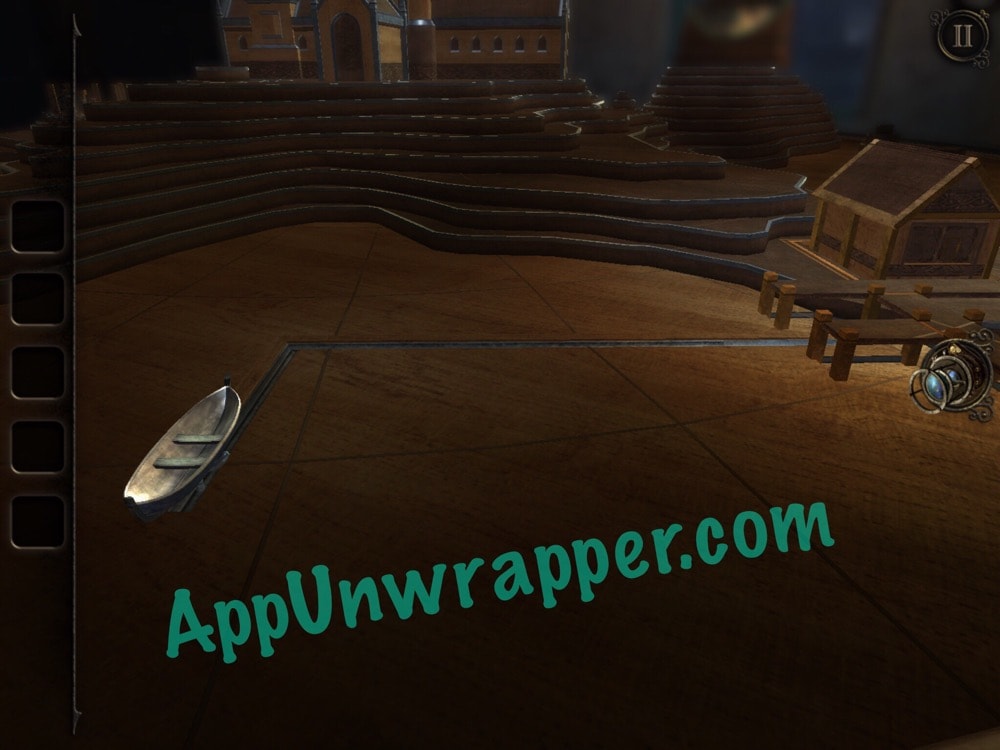
41. Go back to the little house with the metal stand. Place the boat on the stand and slide it into e dock. A window will open and more particles will appear. Use the lens to go inside.
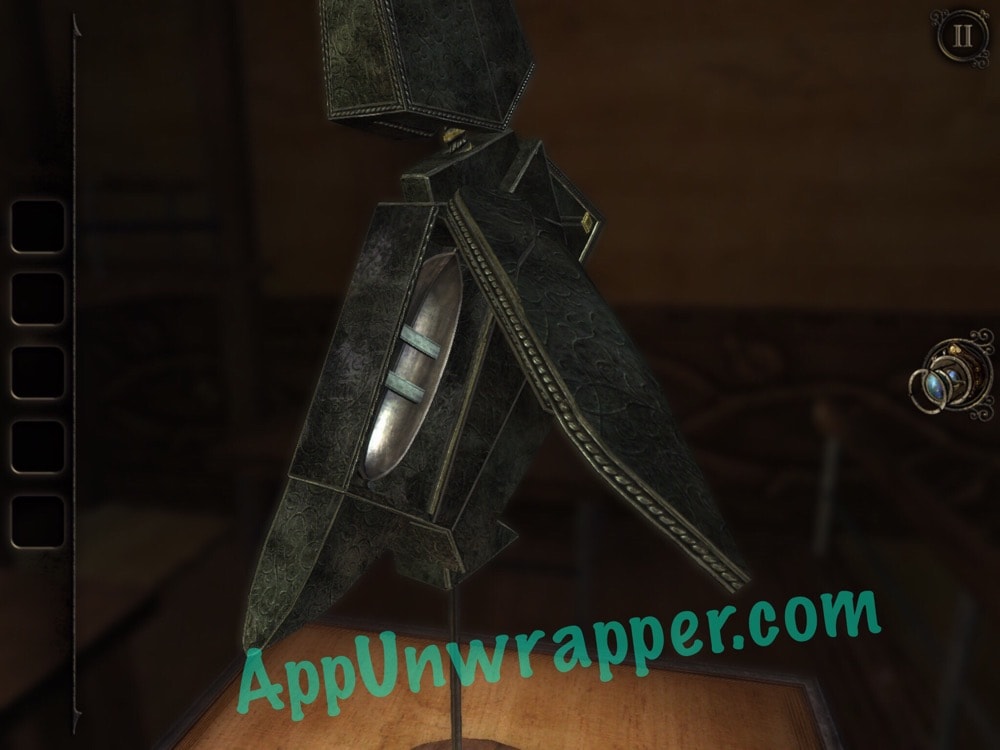
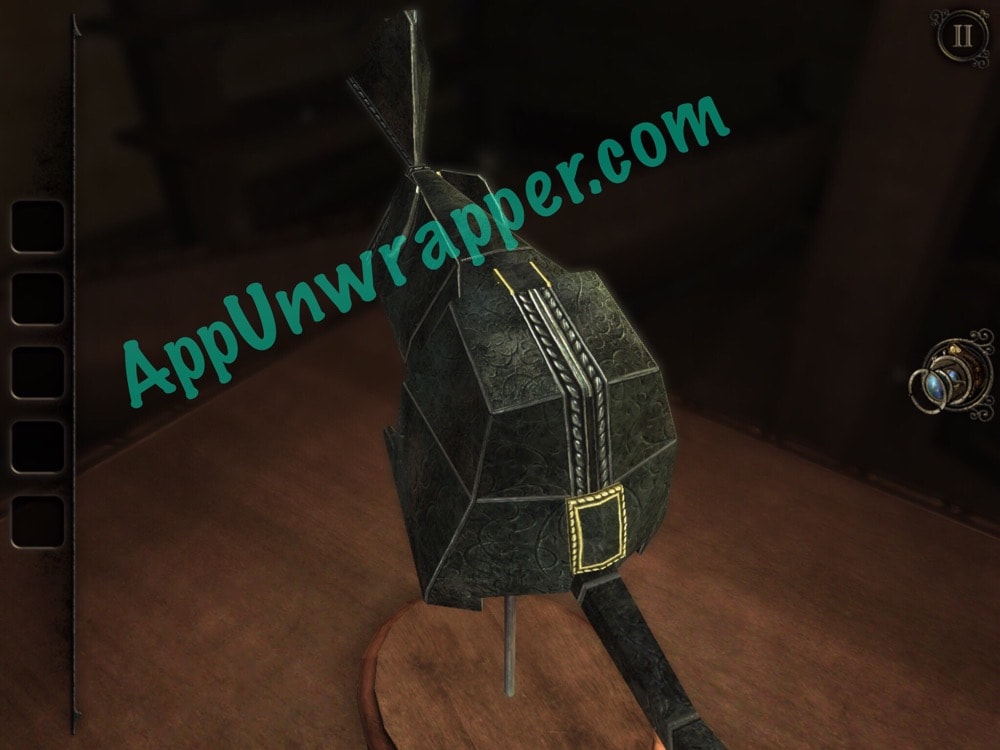
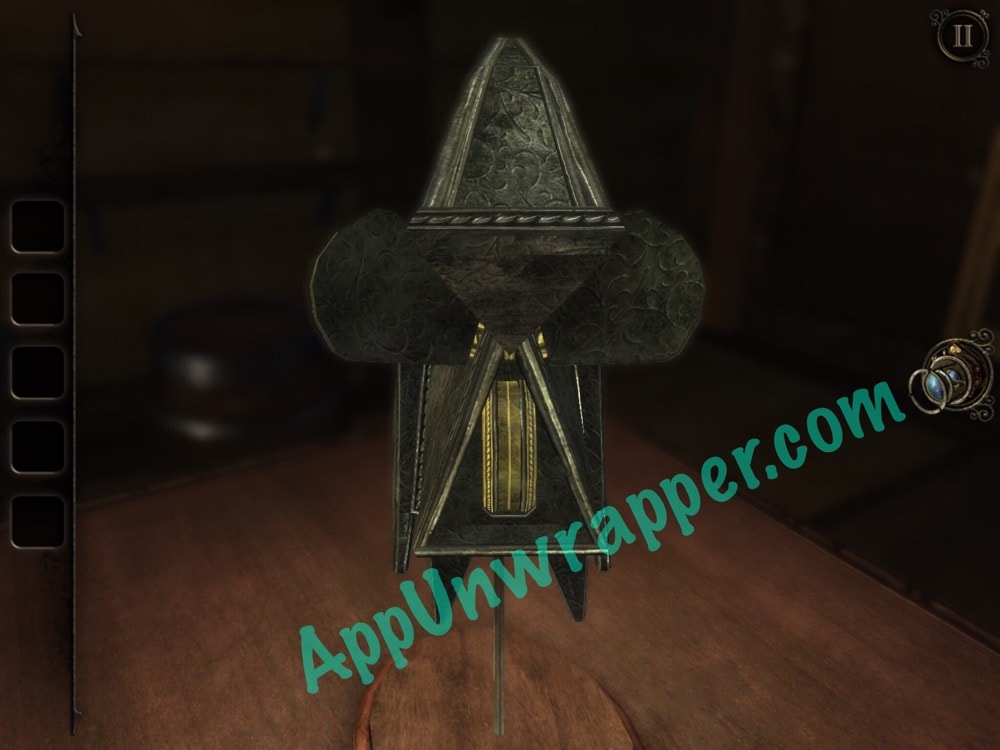
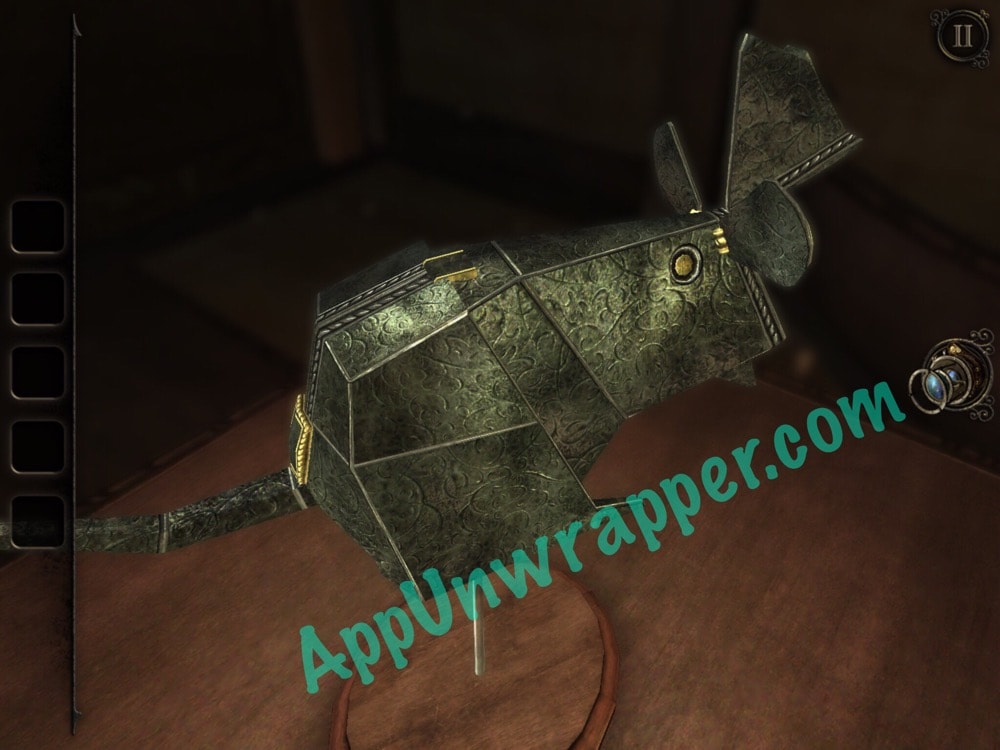
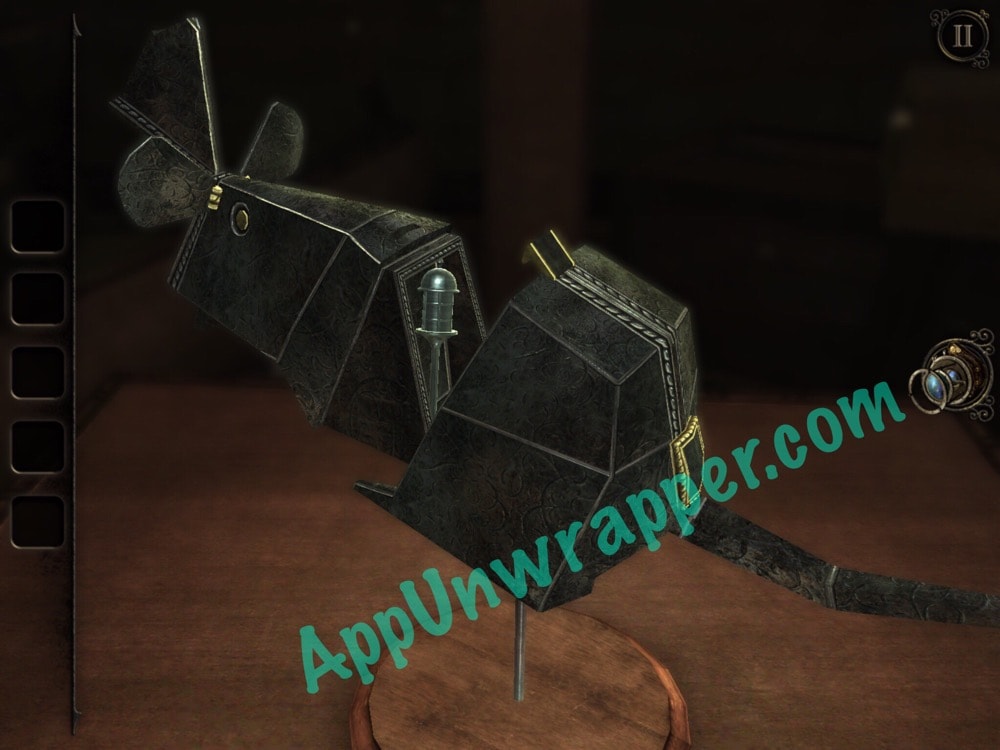
42. There’s a rat here. Pull down the slider on his back. His head will open up. Spin the wheel to reveal two buttons on each side of his head. Press me both to open a clasp on his back. Pull the two pieces apart and take the key from inside.
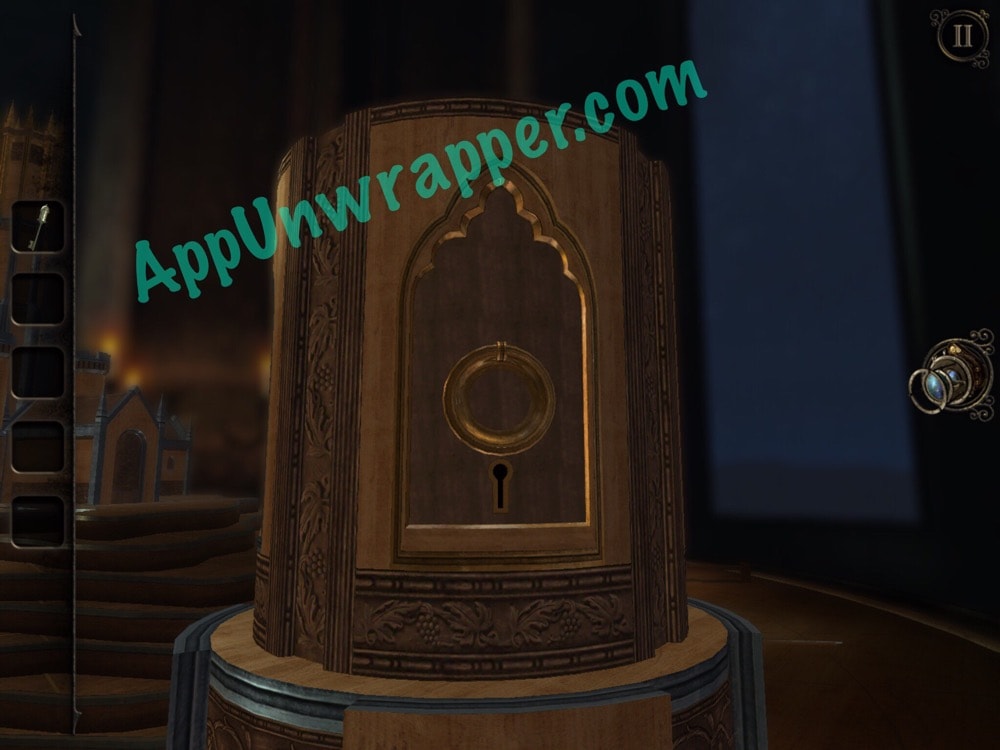
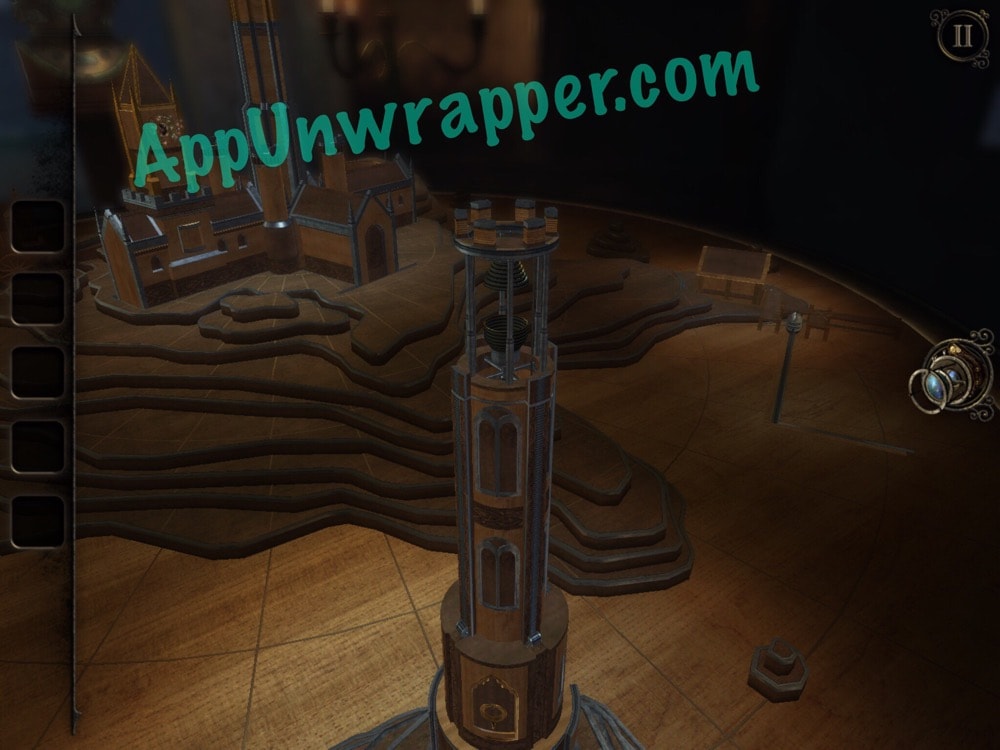
43. Go back to the two-story cylindrical model. Insert the key you just found into the keyhole and turn it. A little Windows opens. Use the lens to enter.

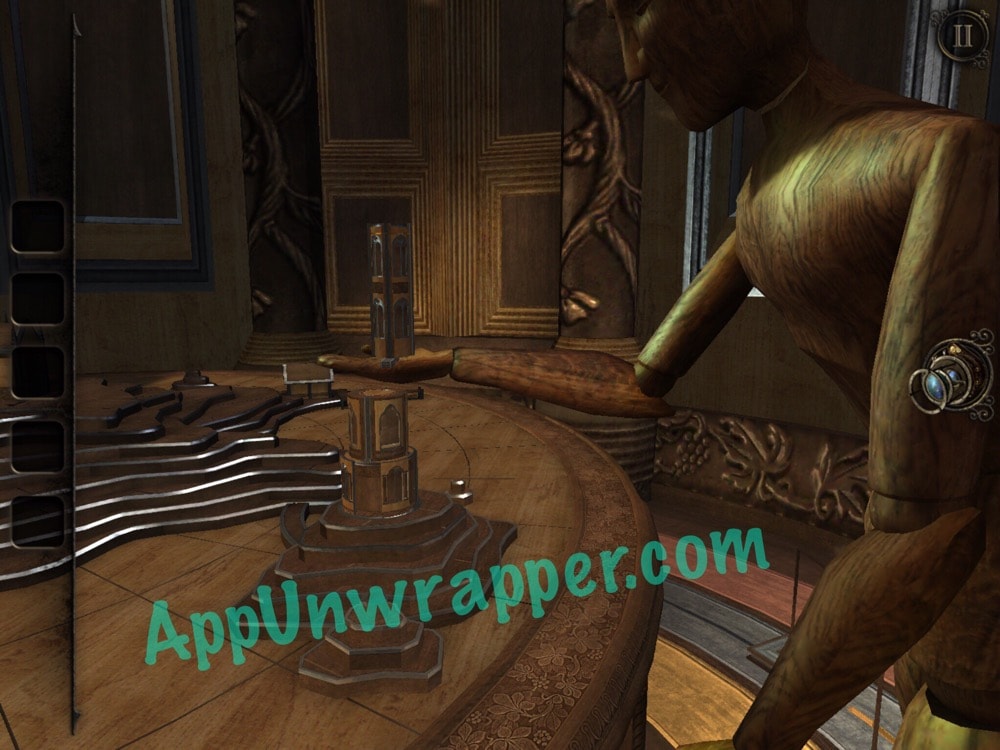
44. You’re now in a room with a similar map on the table and a similar structure. There’s a wooden mannequin waiter in pieces. Turn the crank handle on the table to move the arm closer to the rest of the body. Then use the lens go through the newly opened window. Keep doing this for each body part. When the human model is whole, he’ll walk over and place a third piece on top of the structure.


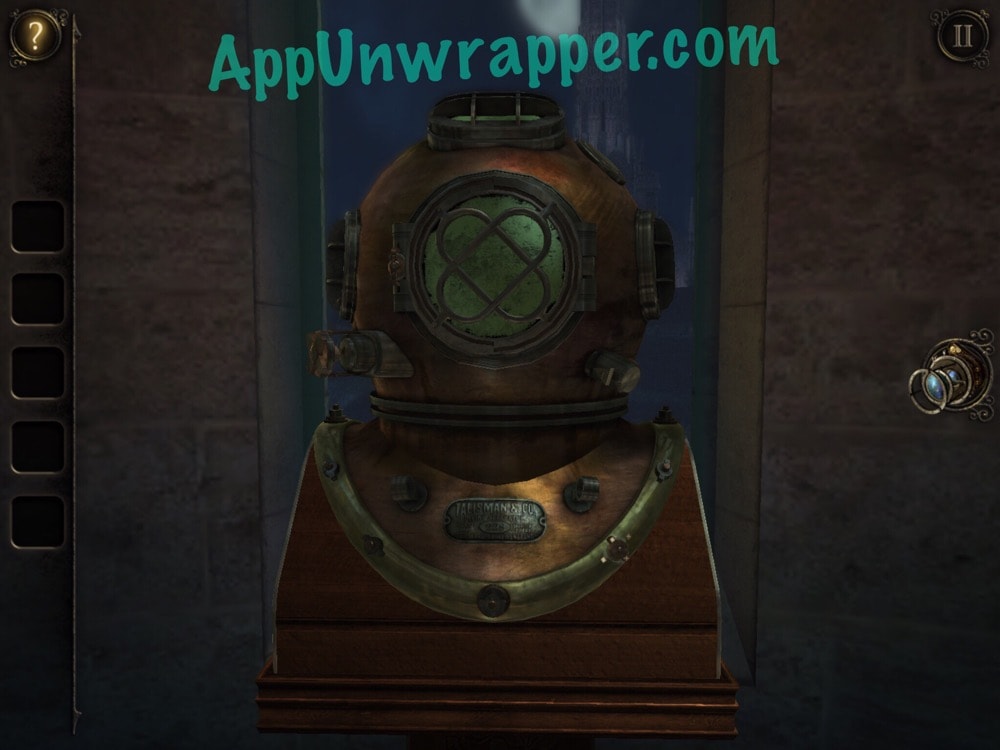
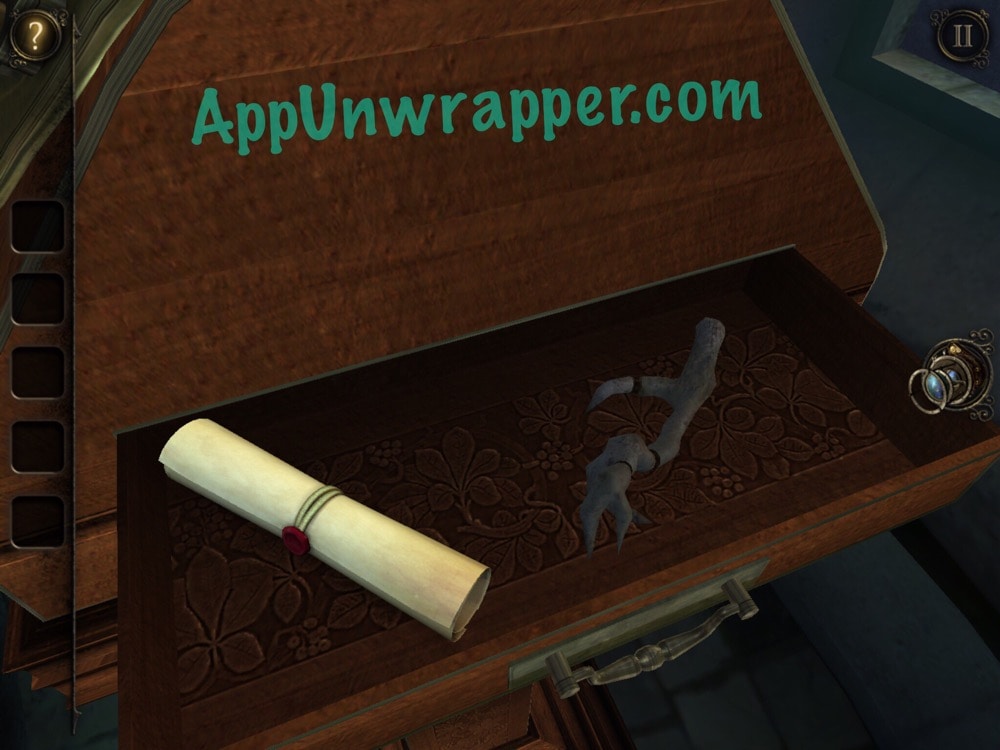
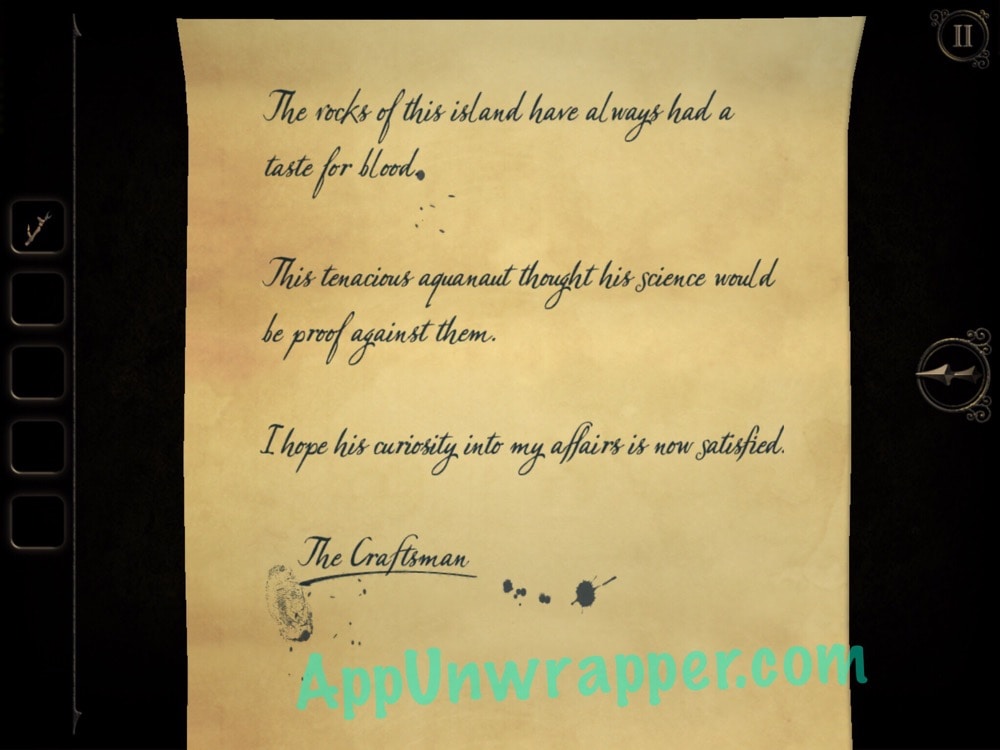
45. Zoom in on the diving helmet in the back of the room. Open the drawer and get the antler and read the letter from the Craftsman.
Click on the little numbers below to continue to the next page of the walkthrough or click here.


What about the cage in the first room? Can you open it?
I cannot figure out how to get the lantern placed!
Okay not bad not bad for