Adventure Escape: Framed for Murder (A Mystery Room and Crime Solving Detective Story!)
By: Haiku Games
This is a complete step-by-step walkthrough guide with hints, tips, tricks, solutions and answers for the iOS and Android adventure game Adventure Escape: Framed for Murder (A Mystery Room and Crime Solving Detective Story!) by Haiku Games. Feel free to ask for extra help in the comments section.
Looking for FRAMED by Loveshack?
Walkthrough:
Chapter 1 | Chapter 2 | Chapter 3 | Chapter 4 | Chapter 5
Chapter 2:
You can watch my video for Chapter 2 here or continue below for my step-by-step guide:
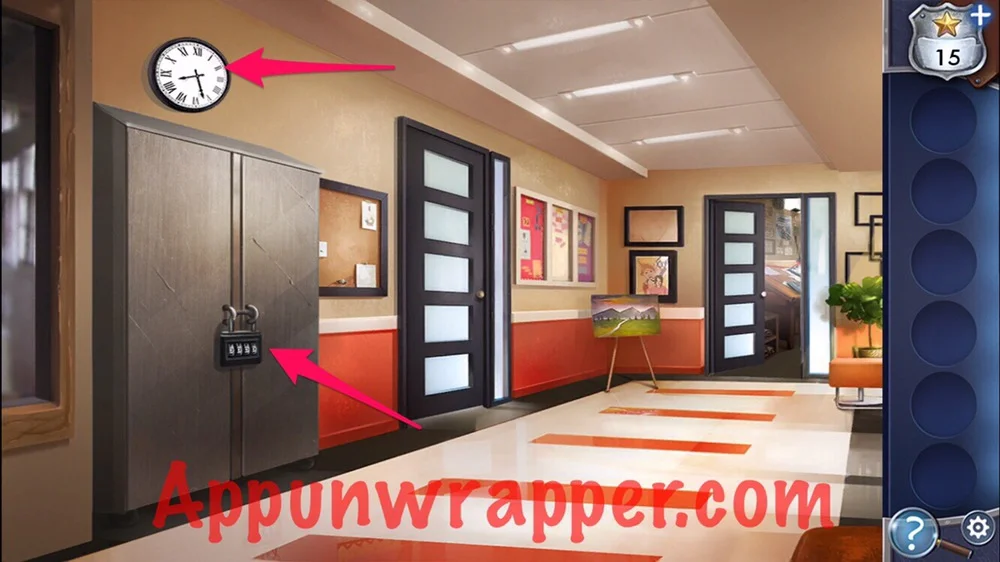
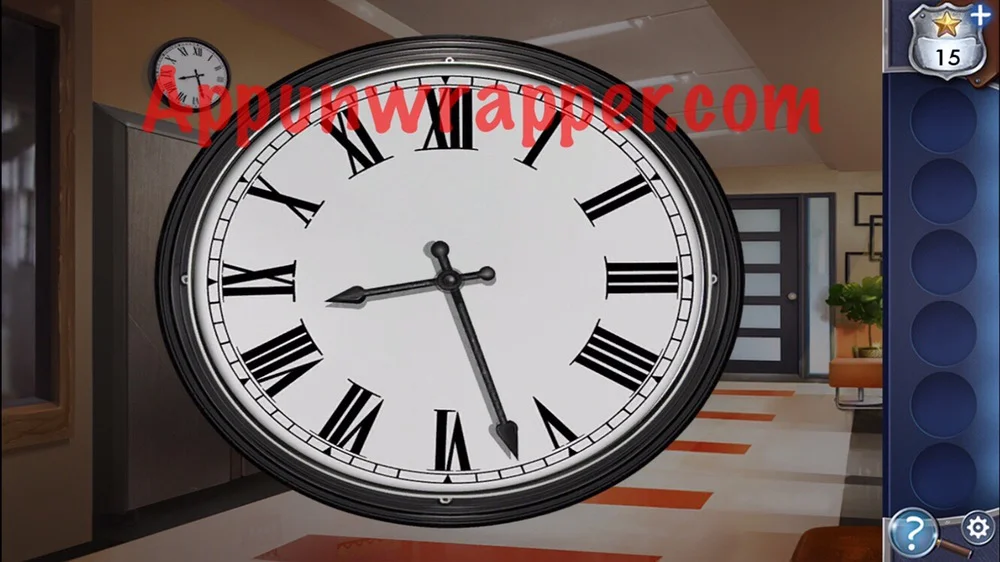
1. Look at the clock. The time is 8:27. Enter the numbers 0827 into the lock on the closet to open it.
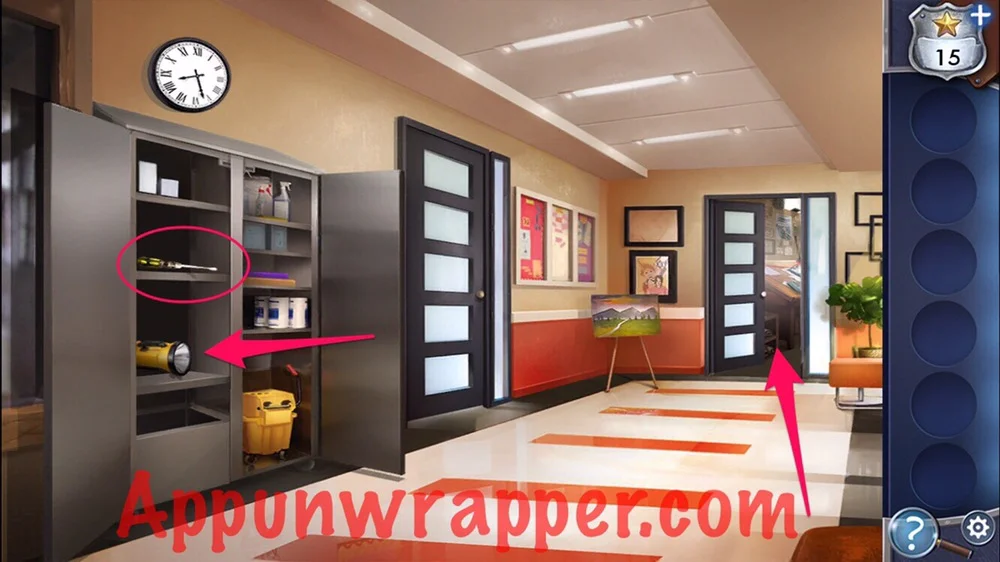
2. Take the screwdriver and use it to get the bulb from the flashlight. Then go through the door at the end of the hall.
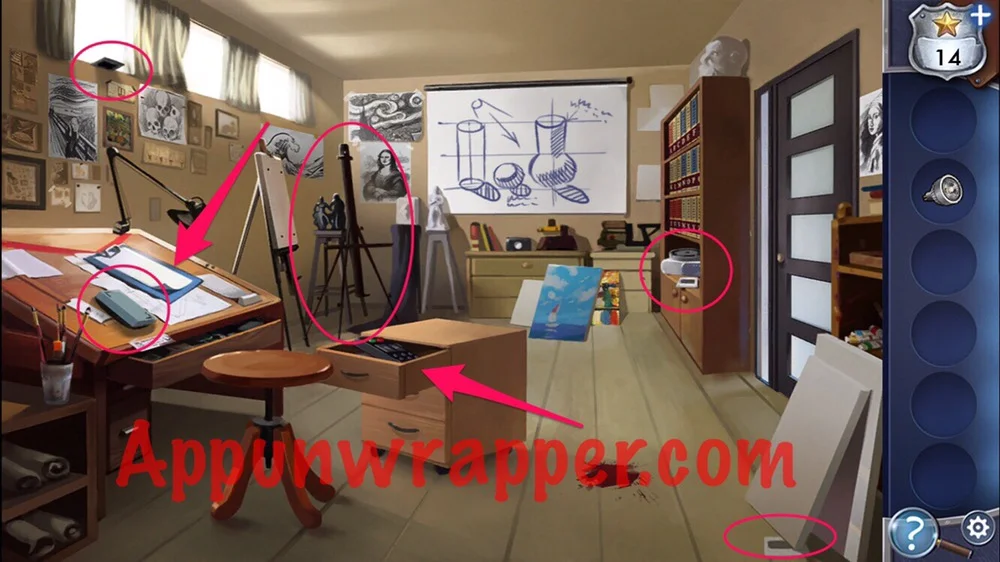
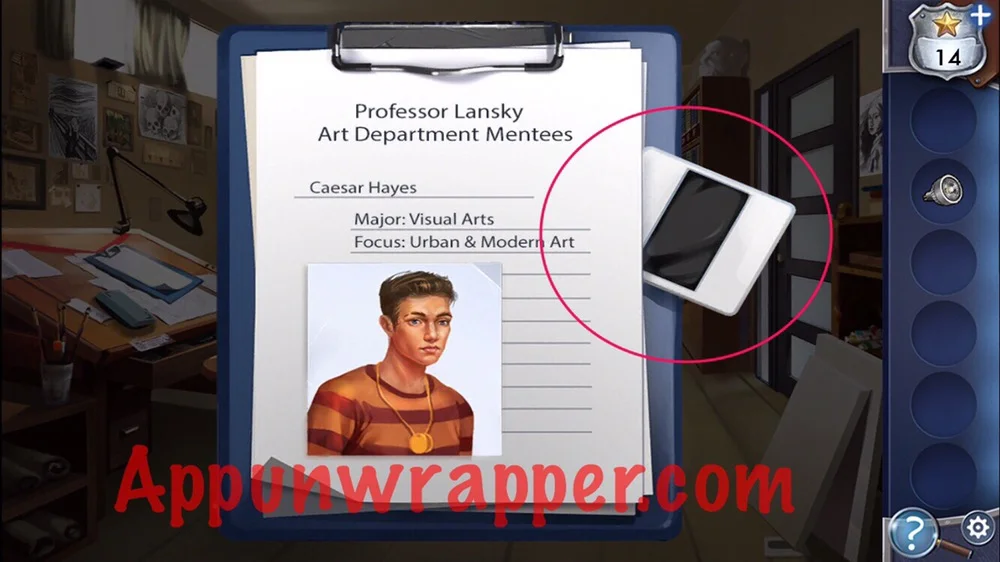
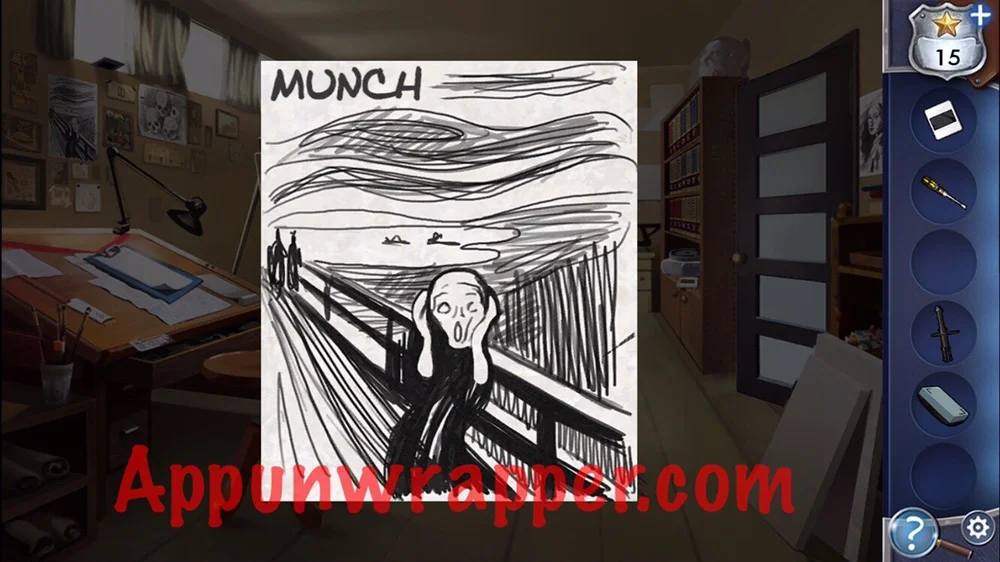
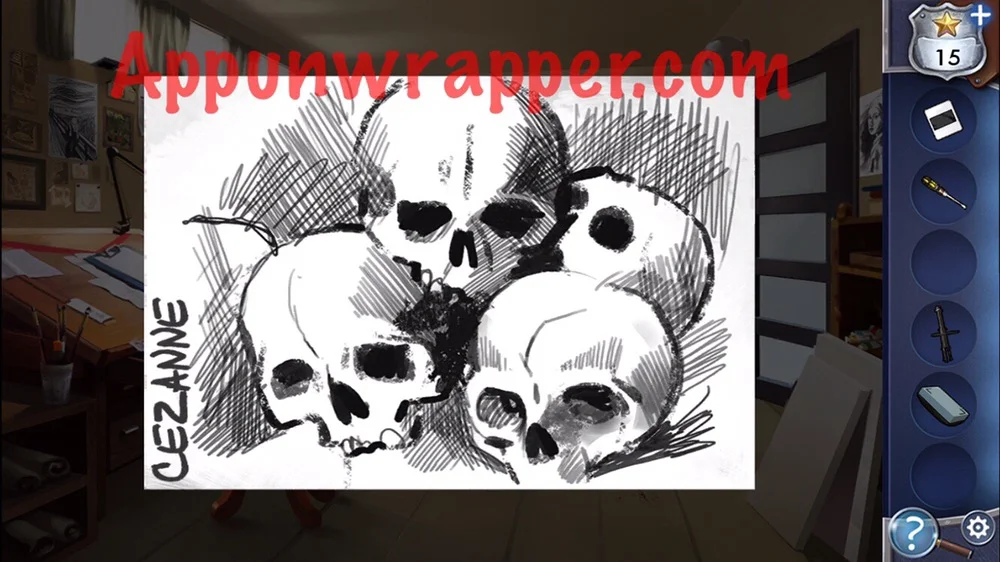
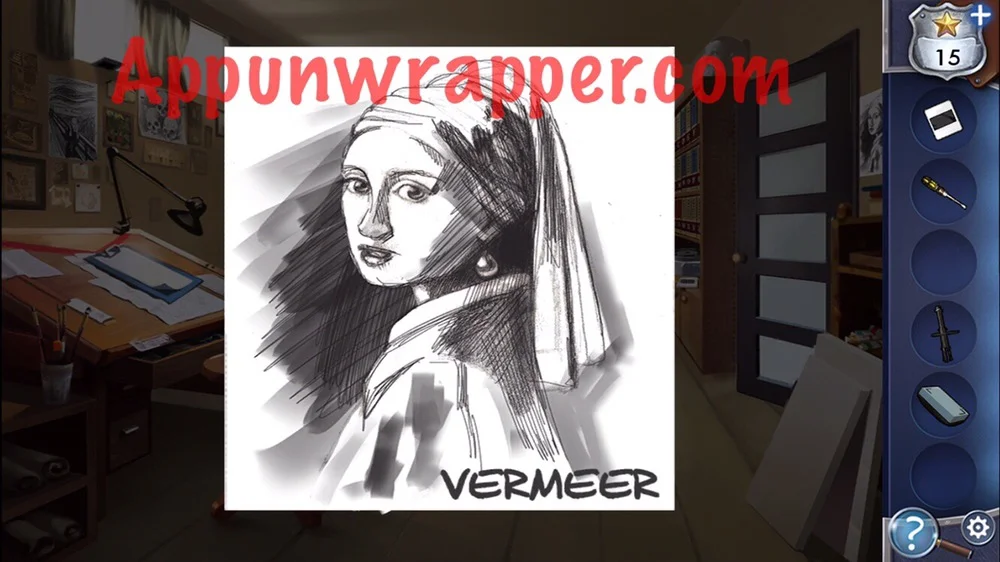
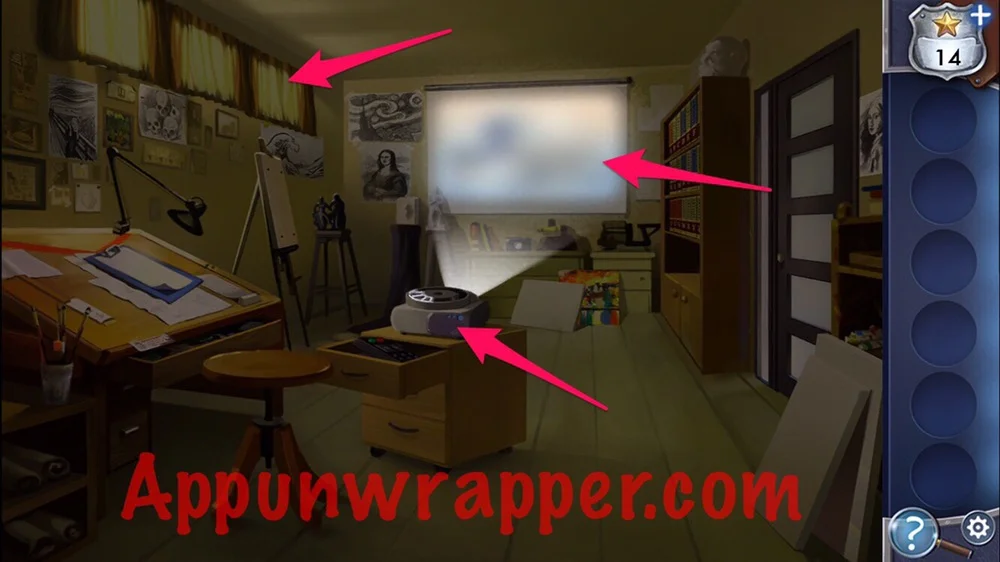
3. There are a lot of things to pick up here. Four slides (one from the clipboard), the projector and the eraser. Also, remove one of the canvases and take the easel. Last, open the drawer to access the projector remote. Also, look at the six pieces of art on the wall that are copies of famous artists’ works.
4. Place the projector by the remote. Use the easel to close the blinds. Use the eraser to erase the marker from the board. Use the remote to turn on the projector. The bulb burns out, so use the flashlight bulb with it and then turn it on. It’s too blurry to see!
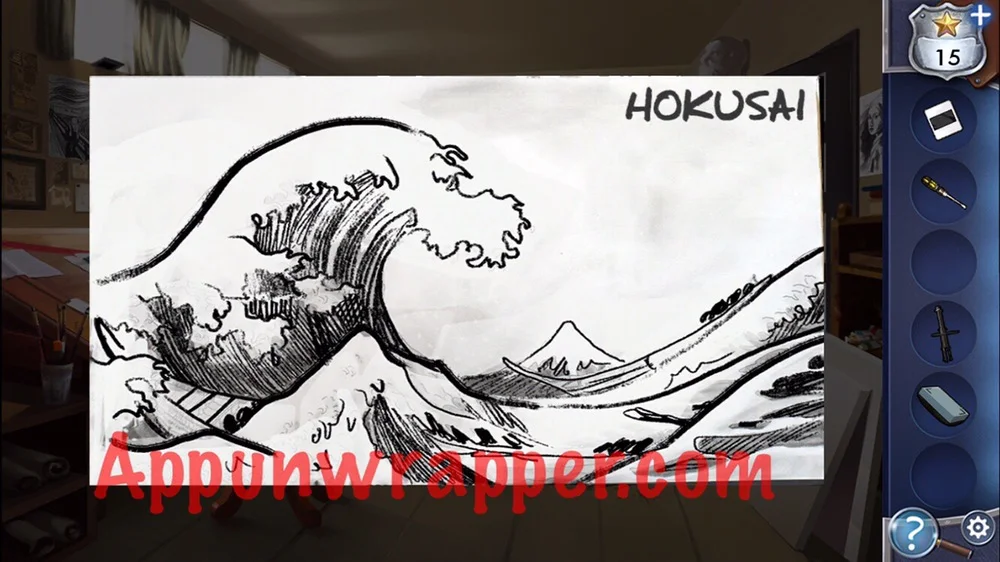
5. Tap on the projector and adjust the lens to sharpen the picture. You need to line up all the lenses so they match Hokusai’s painting, “The Great Wave Off Kanagawa.”
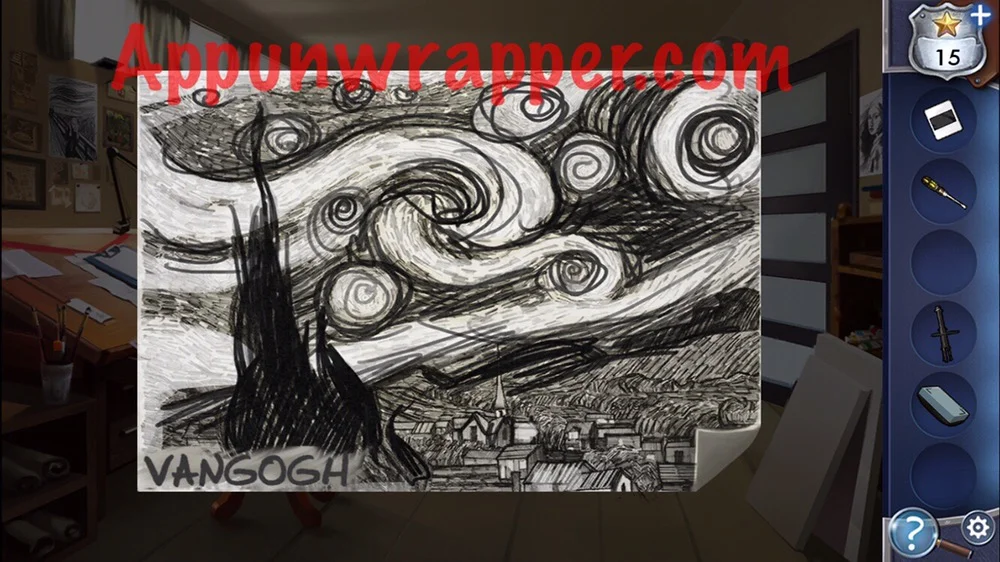
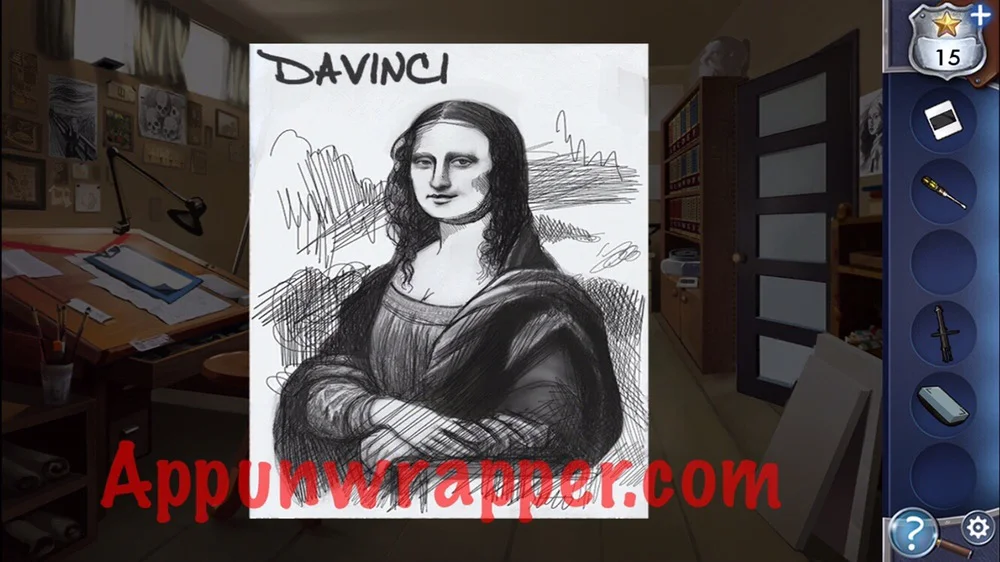
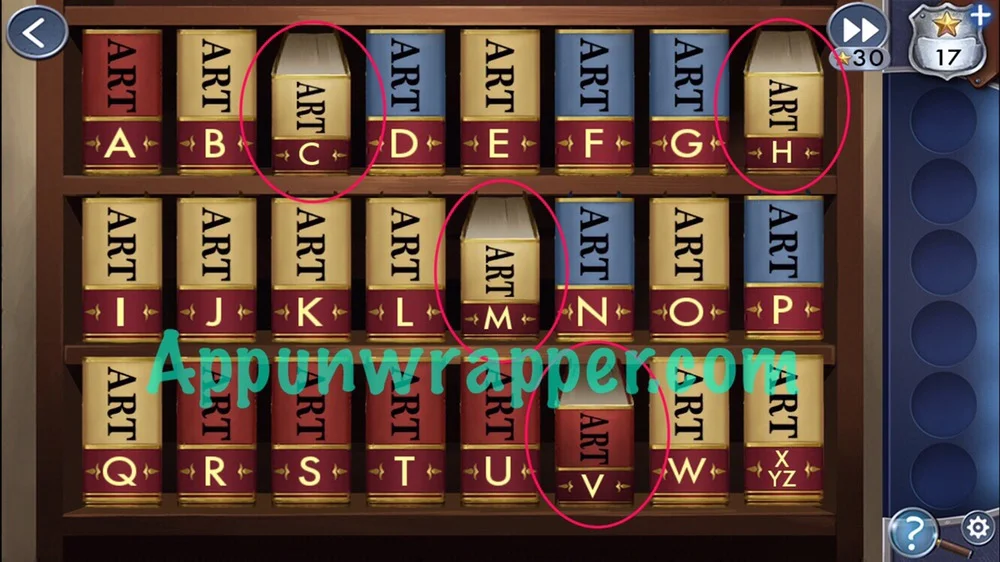
6. The projector will automatically play the four slides. If you miss them, tap the remote again to see them again. Compare the four slides to the paintings on the wall and note down the names. It goes HOKUSAI, VANGOGH, CEZANNE, MUNCH. Go to the bookshelves and pull the books in this order: H, V, C, M. There’s a secret passage behind the bookshelves! But it’s too dark to see down there!
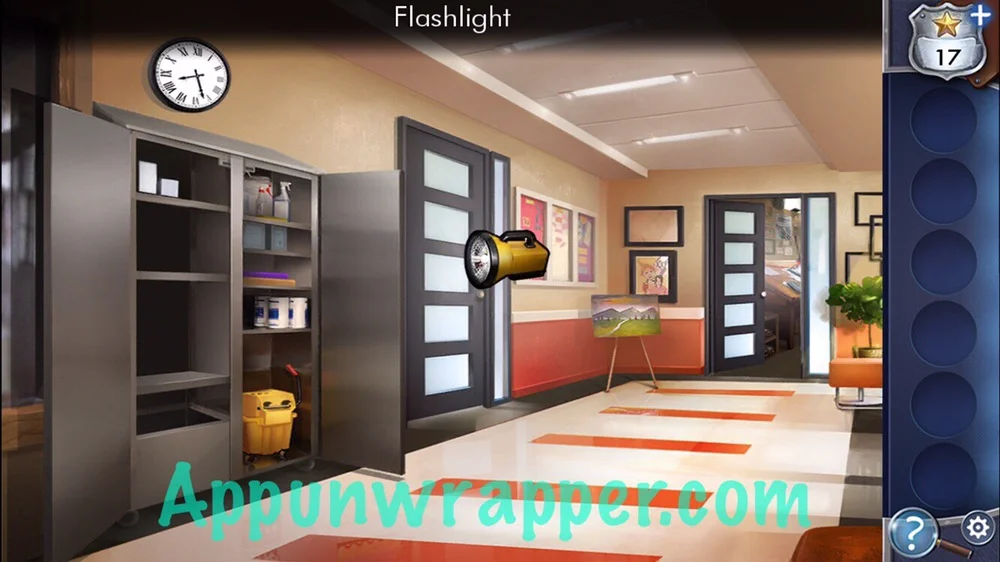
7. Take the bulb from the projector and go back through the door to the utility closet. Place the bulb in the flashlight and take it.
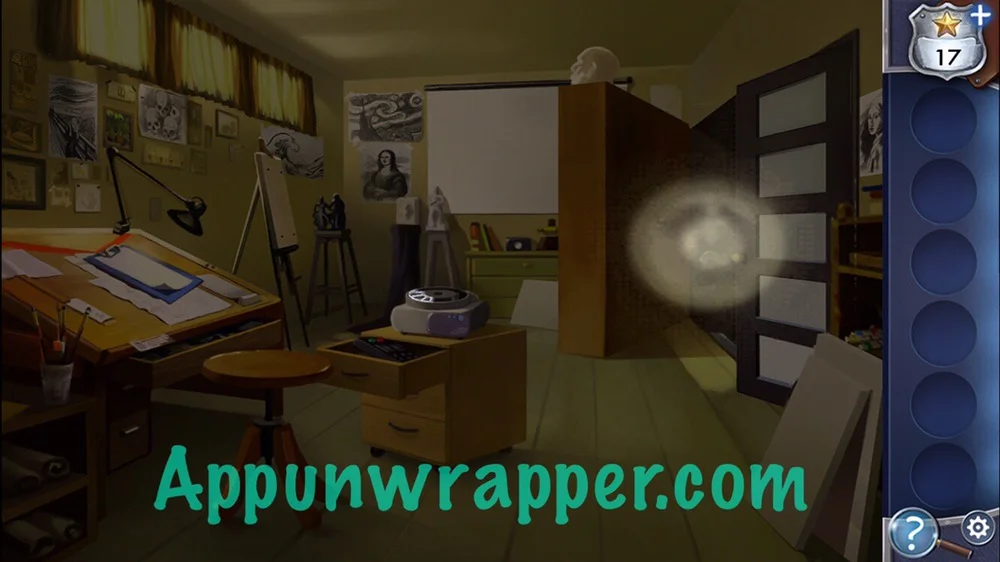
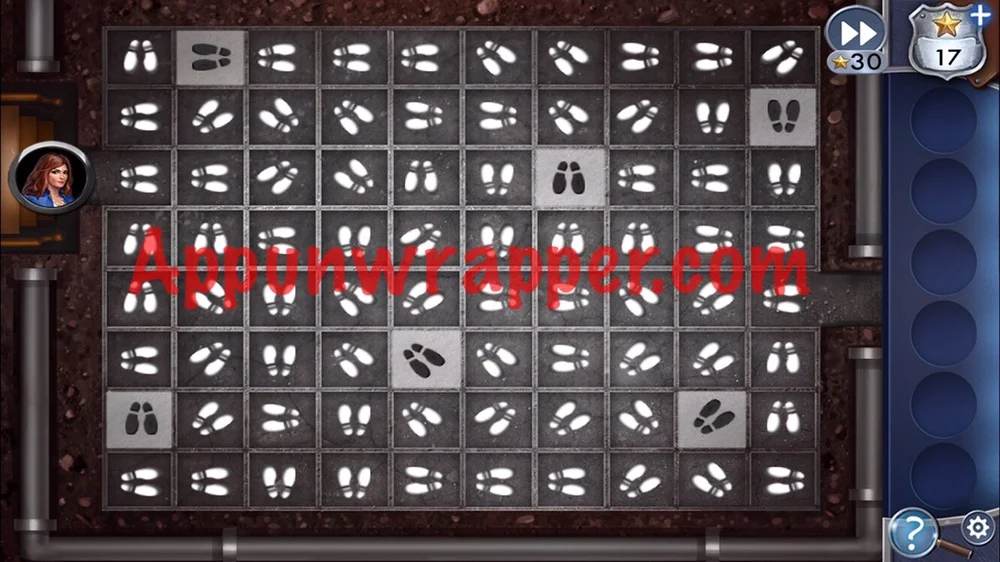
8. Use the flashlight to see in the hidden passage. It’s another puzzle! Here, you have to tap the white boxes to rotate the black shoe prints. You need to create a path that crosses all the squares and exits the maze. Then tap Kate’s button to walk through the maze. You can copy mine if you have trouble. Then you’ll find Lansky downstairs with some drugs.
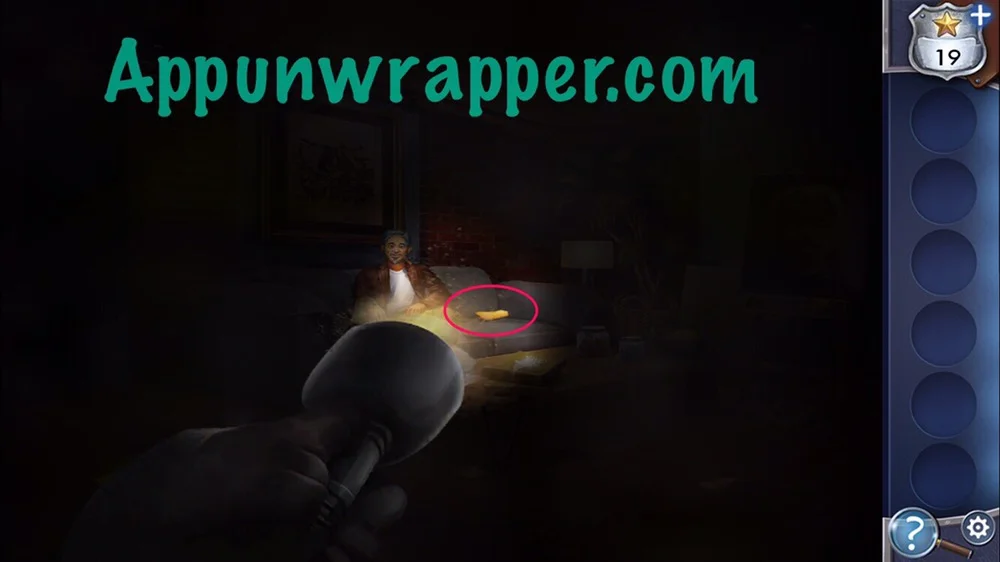
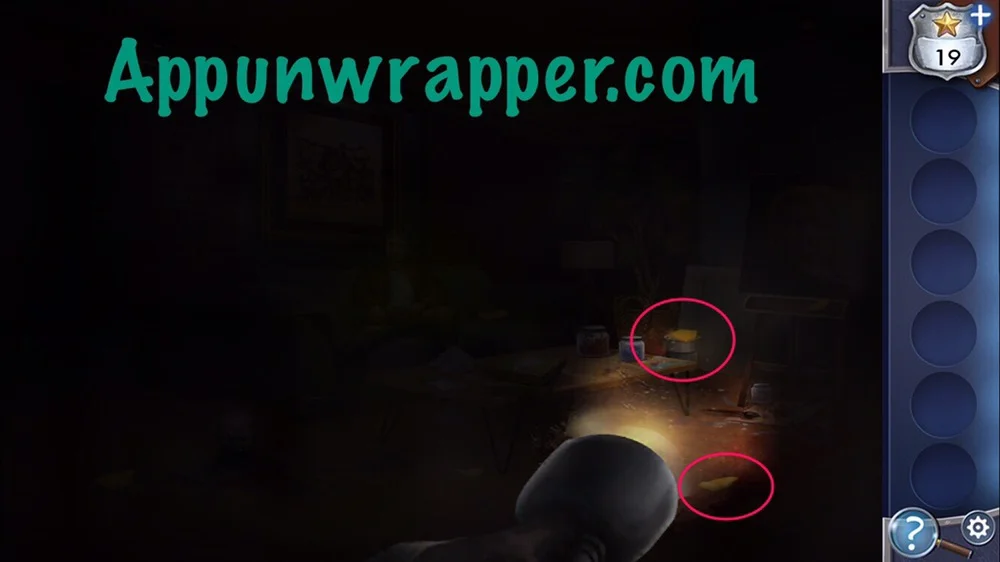
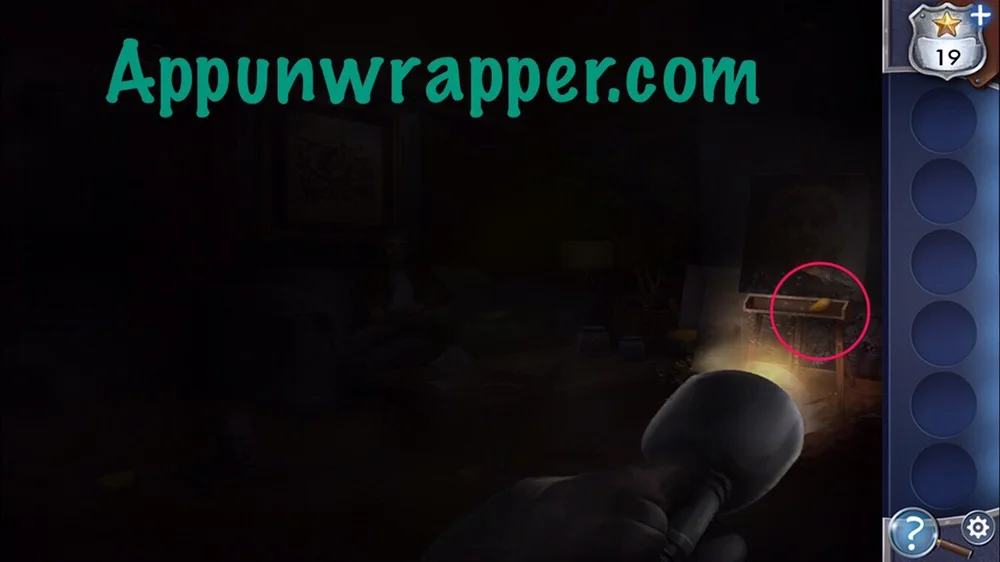
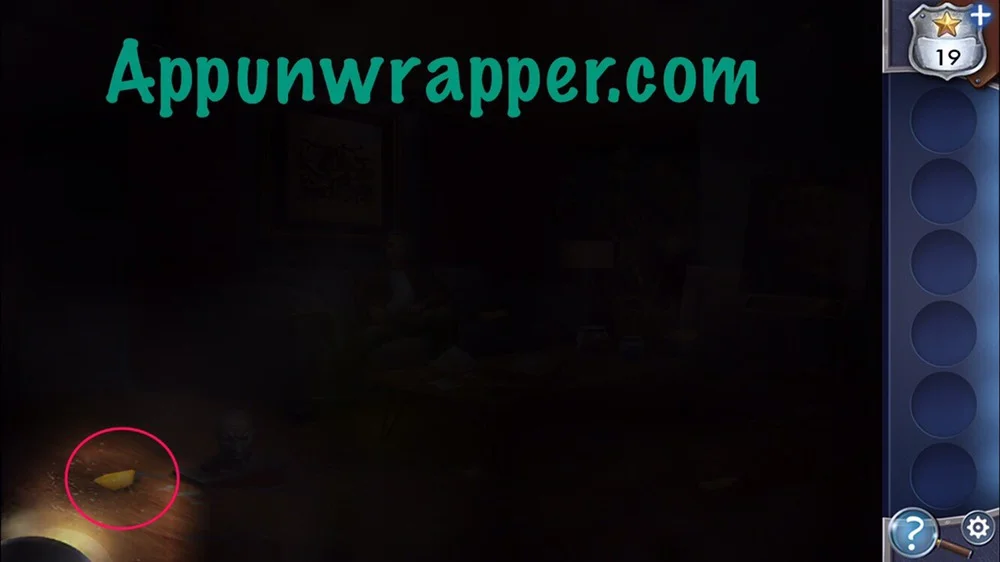
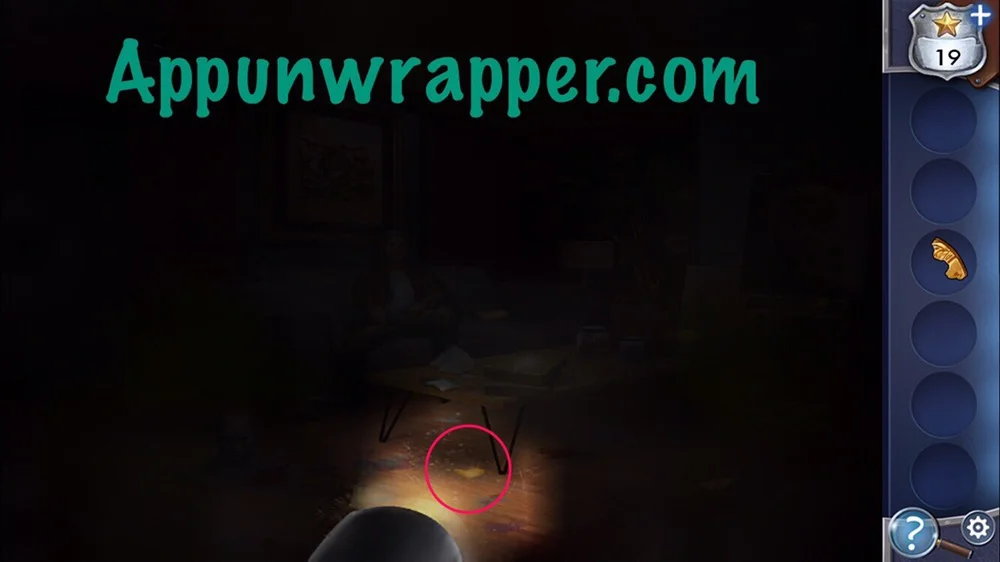
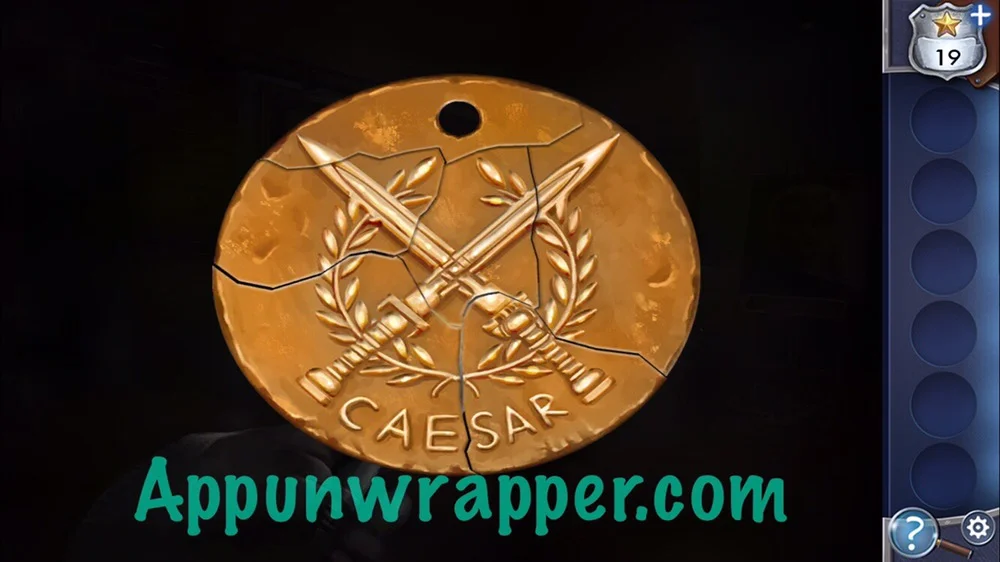
9. You need to use the flashlight here to find six pieces of jewelry and complete another CAESAR necklace.
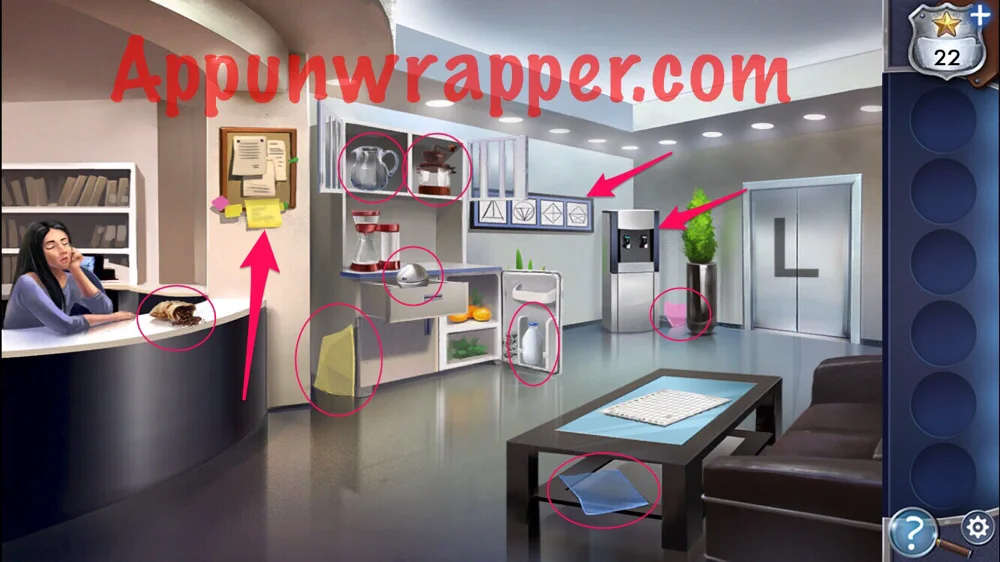
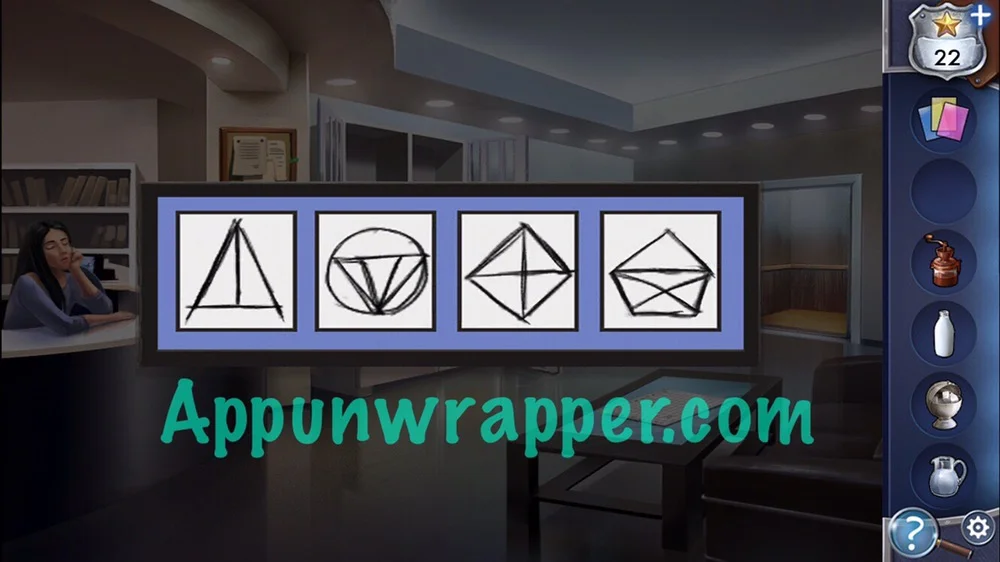
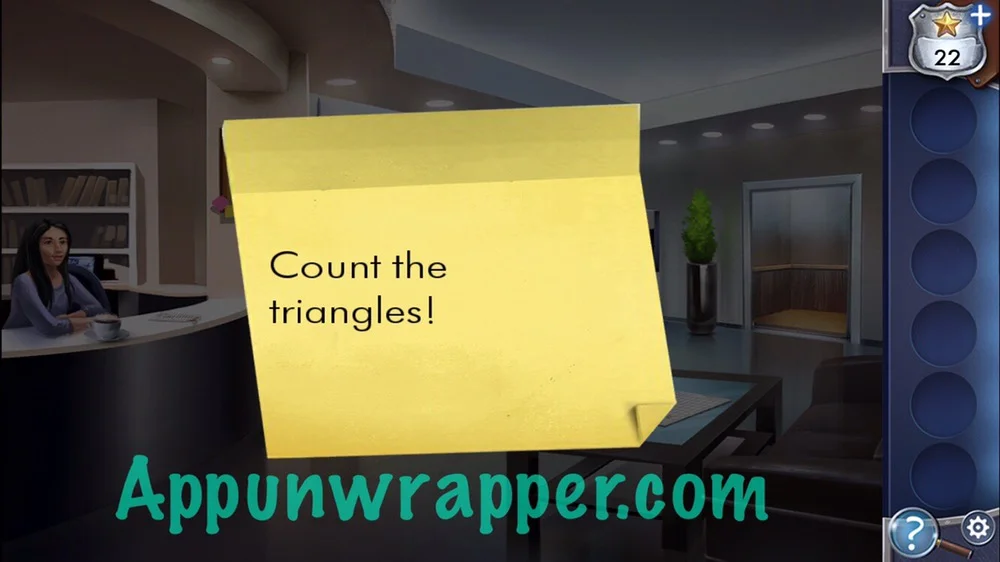
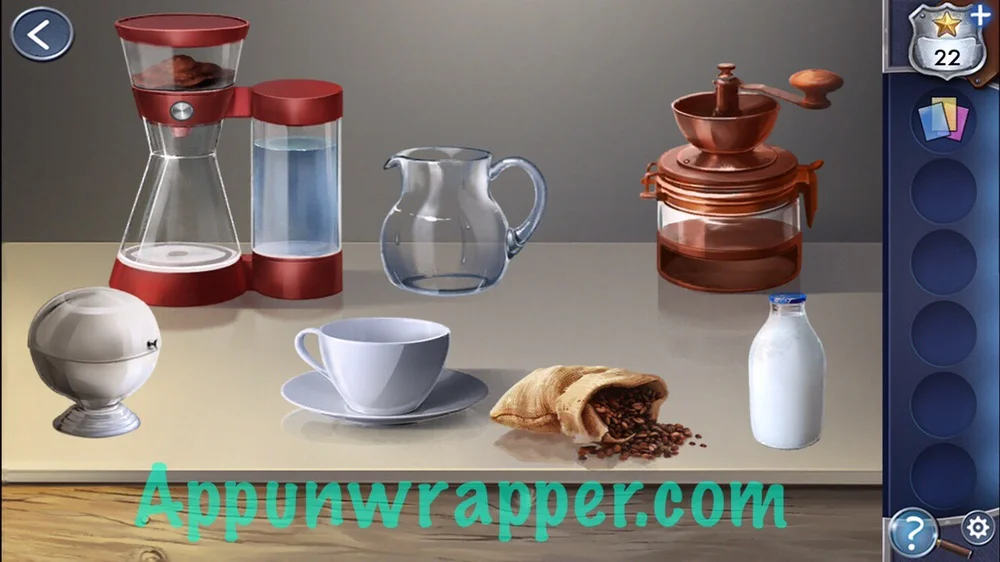
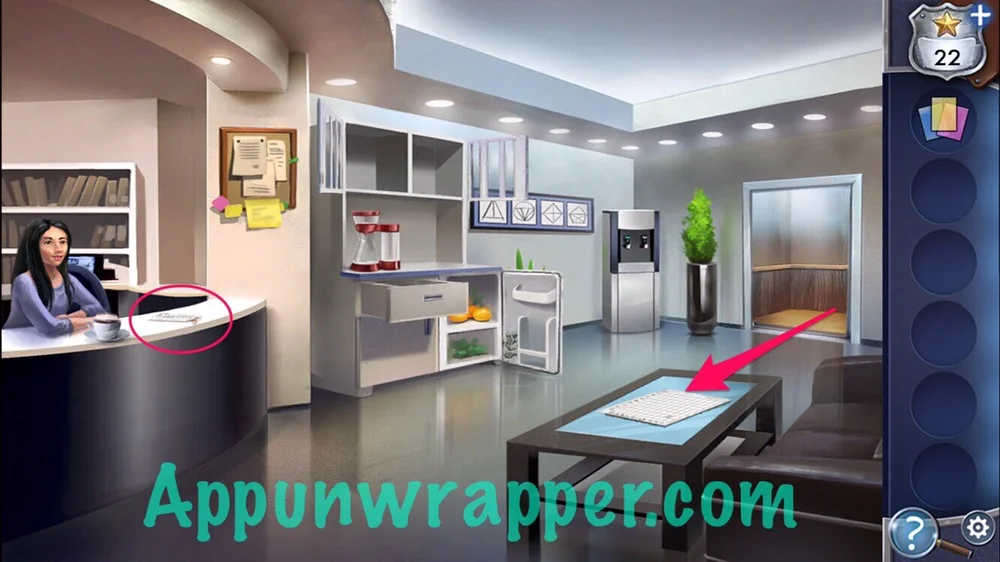
10. Go to next building on the map, the dorms. Talk to the woman at the desk. She asks you to make her 6 oz. of coffee. Take the coffee from her. Pick up the pink, yellow and blue transparencies. Open the fridge to get milk. Open the drawer to get sugar. Open the cabinets to get the pitcher and coffee grinder. Fill the pitcher up with water from the water cooler. Also, look at the symbols on the wall and the sticky note that says “Count the triangles!” If you count the triangles in each of those symbols, you get 3, 6, 8, 9.
11. Place the coffee, coffee grinder, pitcher of water, milk and sugar by the coffee machine. Pour the coffee in the grinder, then put the grinds in the coffee maker. Add the water and turn it on.
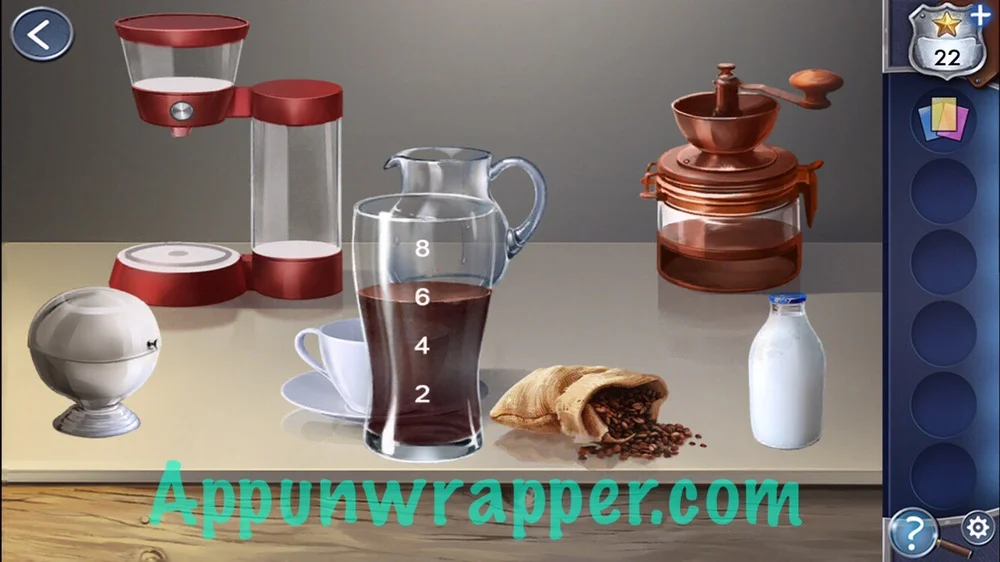
12. Now you have to do one of those beaker puzzles where you pour the coffee between different beakers to get 6oz. It goes like this. Pour from the 12oz to the 8oz. Then from the 8oz to the 5oz. Then from the 5oz to the 12oz. Then the 8oz to the 5oz. Then the 12oz to the 8oz. And last, the 8oz to the 5oz. Now there will be 6oz left in the 8oz glass.
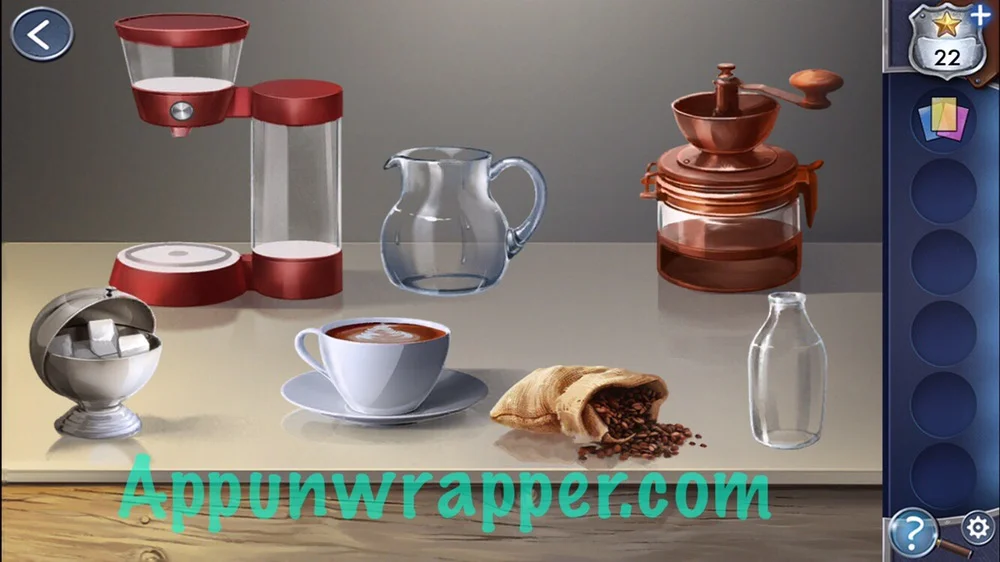
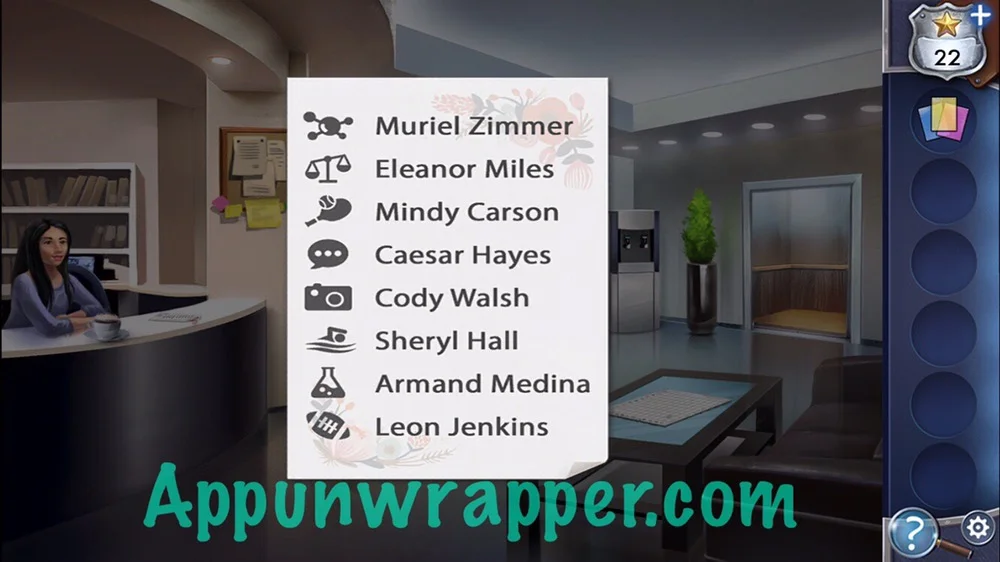
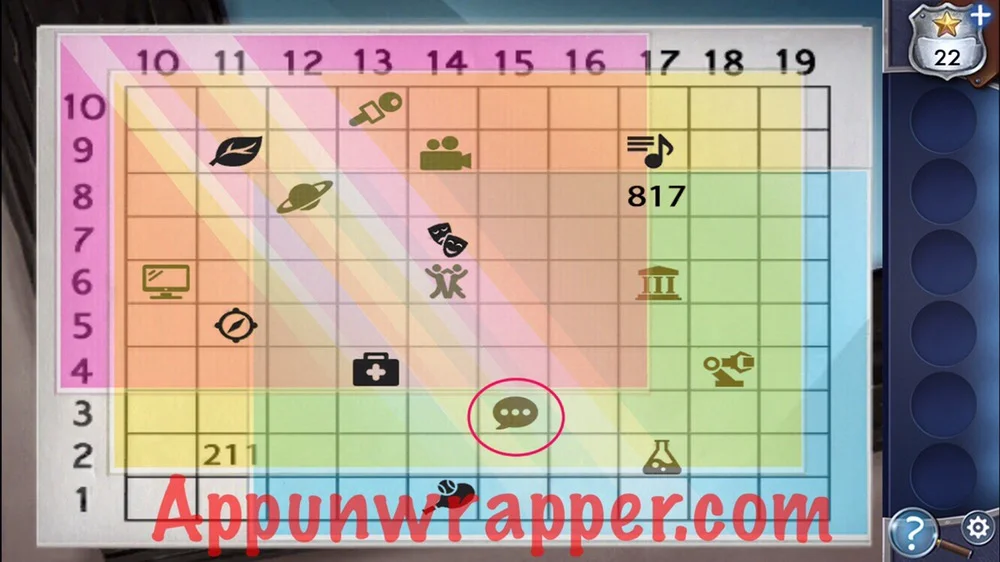
13. Add a sugar cube and some milk to the coffee, then give it to the woman at the front desk. She’ll let you look at a piece of paper with a list of names and symbols on it. Place the three transparencies on the table. Time to figure out the right placement. The yellow sheet has the number “817” on it, so you know to place that on the box where 8 and 17 meet. Next, place the pink sheet over the yellow, matching up the two alarm clocks. And last, place the blue sheet, matching up the two couples of people. Based on the list of names, you can see that Caesar’s room is 315 (or 3-15)!
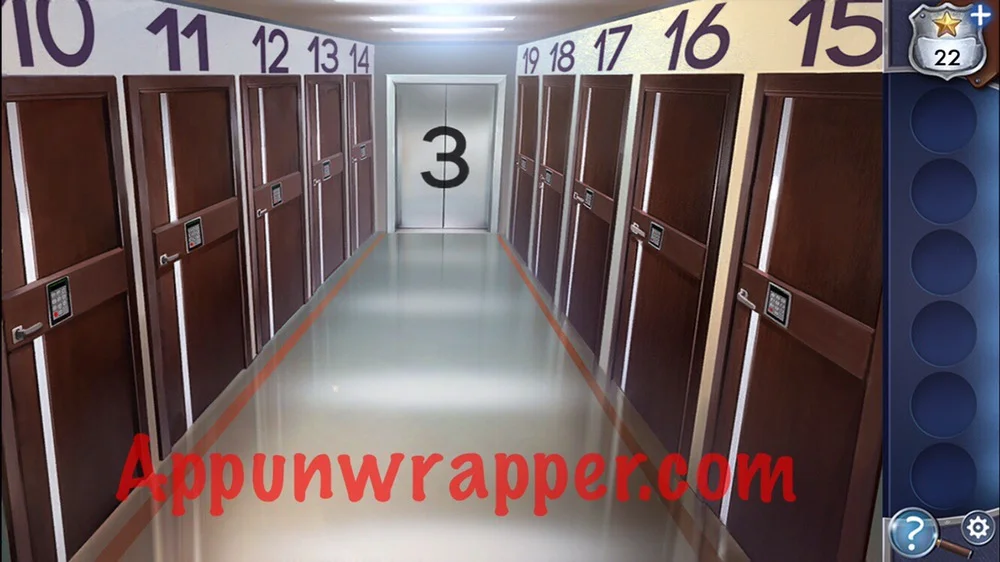
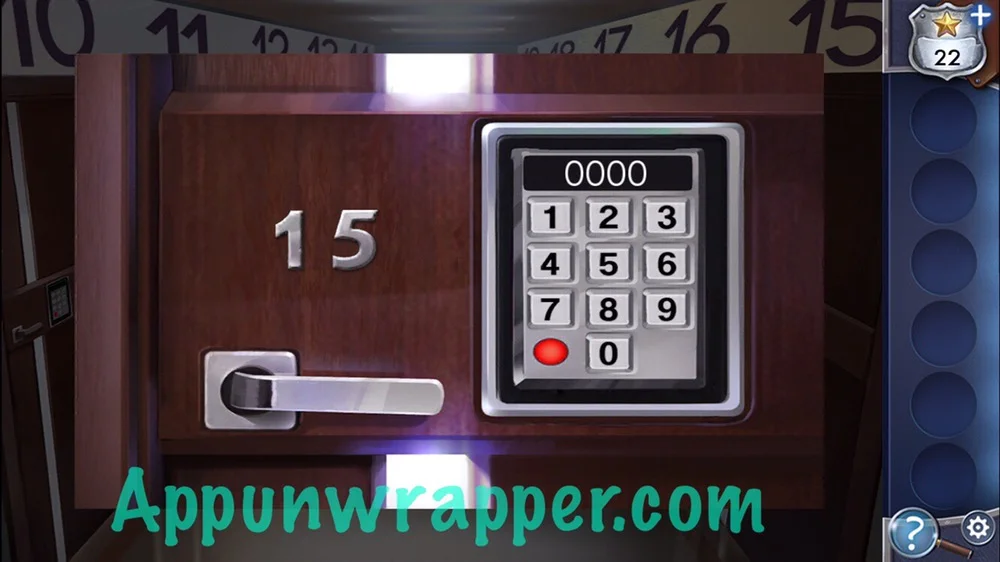
14. Enter the elevator. Go up to the 3rd floor and to room 15. Use the four numbers you got from the triangles — 3689 — to unlock the door. Go through to Caesar’s room.
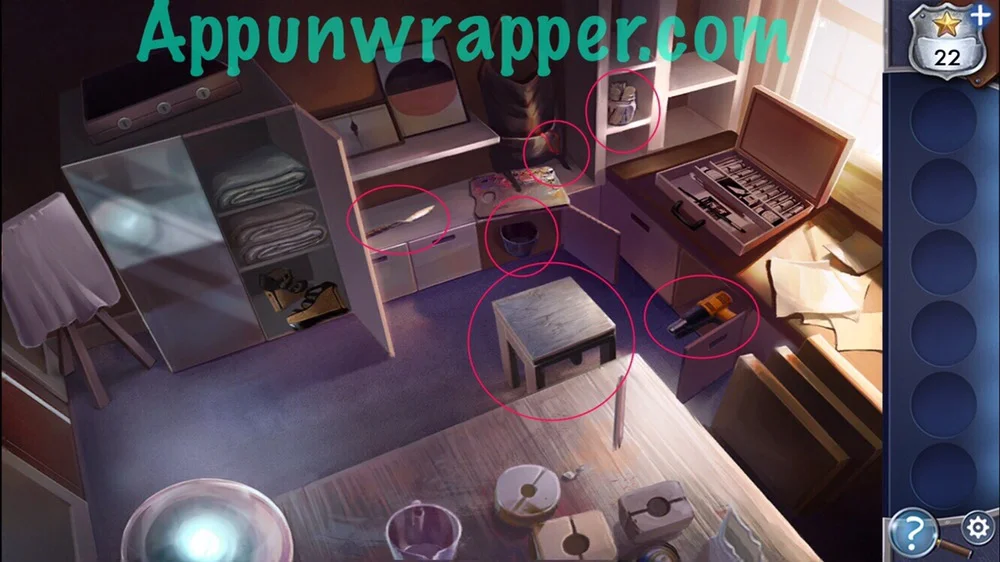
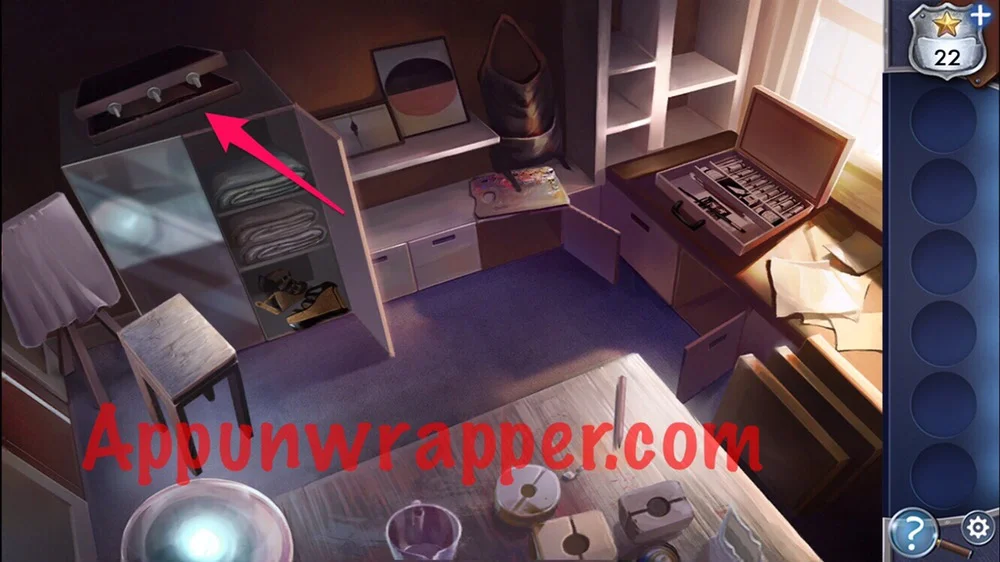
15. Open the closet and cabinets. Take the stool, palette knife, key, jar of wooden sticks, bucket, and heat gun.
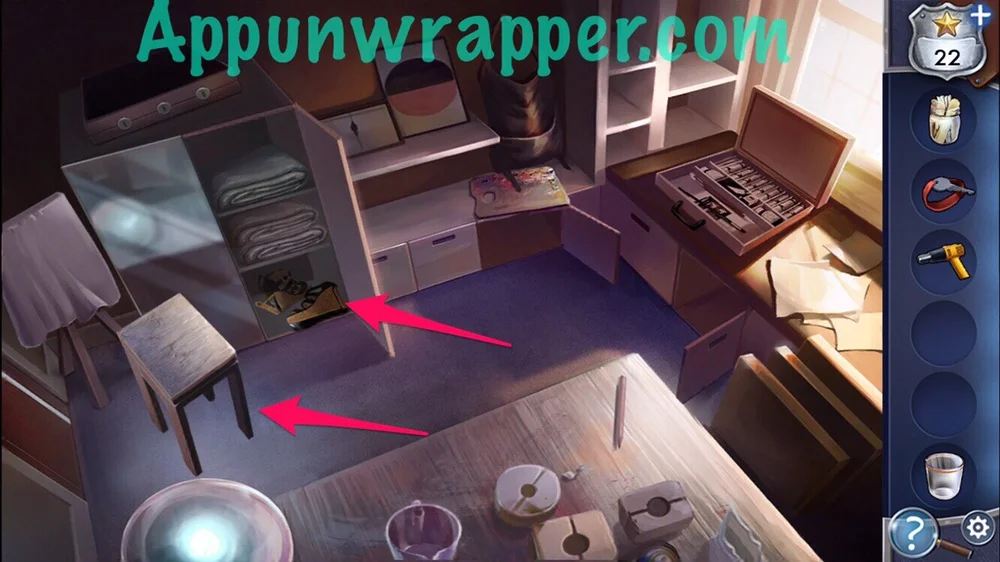
16. Place the stool down by the closet. Also, use the palette knife to cut open the shoes and get another key.
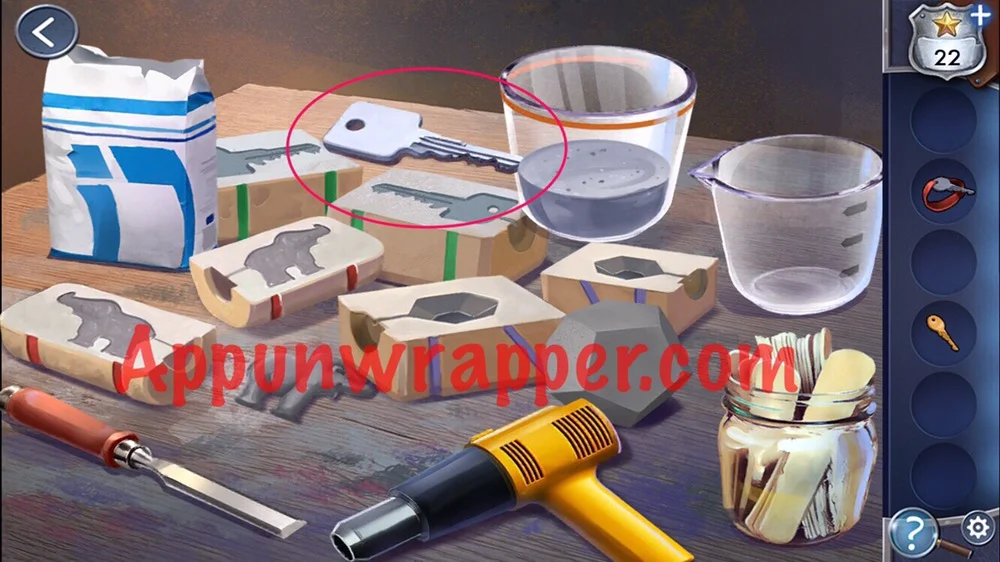
17. Place the heat gun, sticks and bucket on the table. Pour the plaster and water into the bucket. Use a stick to stir the mixture. Then pour it into the three molds. Use the chisel to break open all three molds. Use the heat gun on the plaster key to dry it and then pick it up.
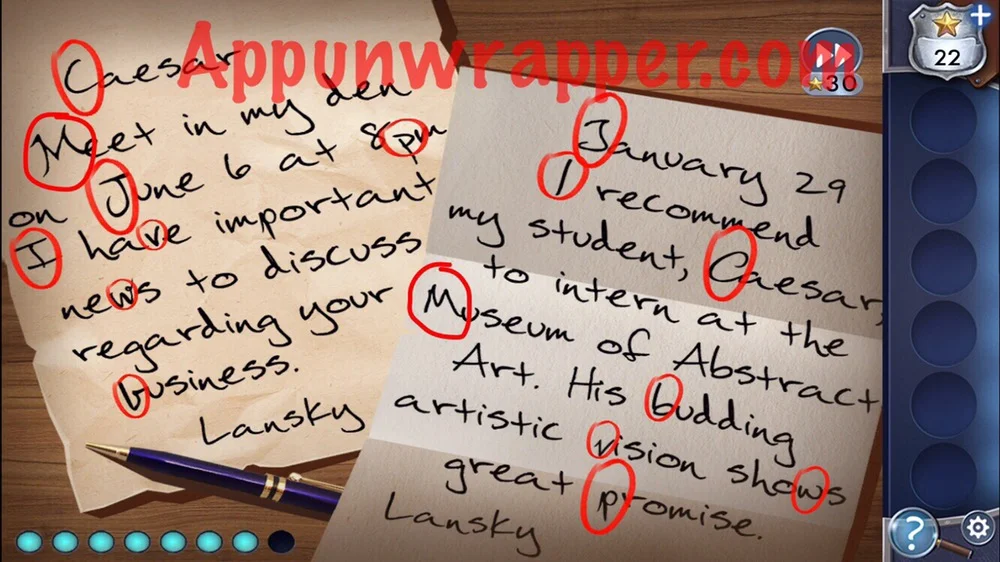
18. Use the three keys to unlock the briefcase above the closet. Look inside and compare the two notes. Find all eight handwriting differences to complete the chapter.
Click on the chapter you need below or click here to continue to Chapter 3.




3689 does NOT open door 15 on the 3rd floor. Now what?
I know this is late and you may not play the game anymore. I got stuck too and went back to the lobby and looked at the name list then the table again. After viewing those again I went back to floor 3 and punched in the code 3689 for room 15 and it automatically opened.
Thank you because I was just about to say the same thing. I punched in 3689 (for which I STILL donΓÇÖt know how they got 8 and 9 triangles off of that picture!) and still nothing happened. Even though your tip may have been late for them, it was right on time for me lol.
Thanks! This helped.
That is a terrible bug. But, yes. It does work like that. Thank you.
How do they get 3689 out of those triangles?! Lol
It didn’t work for me either. I started down to the 1st floor and when I opened the elevator door to go down, I tried 3689 once more time and it opened? Don’t know why, but glad it did!
3689 isnt working on his door
Go back to Lobby. Exit elevator. Re enter elevator. Go to floor 1, exit elevator, enter elevator. Go to floor 2, do the same. Go to floor 3, type in code on door 15. Thats how i got it yo work. 3,6,8,9.
What’s the last difference in the two letters? I can’t find it and it’s doing my head in. Found this site and you don’t have it either! Aaaarrgghhh!
In the order they appear in the first note:
1. Upper case C (Caesar/Caesar)
2. Upper case M (Meet/Museum)
3. Upper case J (June/January)
4. Lower case p (pm/promise)
5. Upper case I (I/I)
6. Lower case v (have/vision)
7. Lower case w (news/shows)
8. Lower case b (business/budding)