Tick Tock: A Tale for Two
By: Other Tales Interactive

Prologue | Chapter 1 | Chapter 2 | Chapter 3
Chapter 2, 1932:
Player 1:
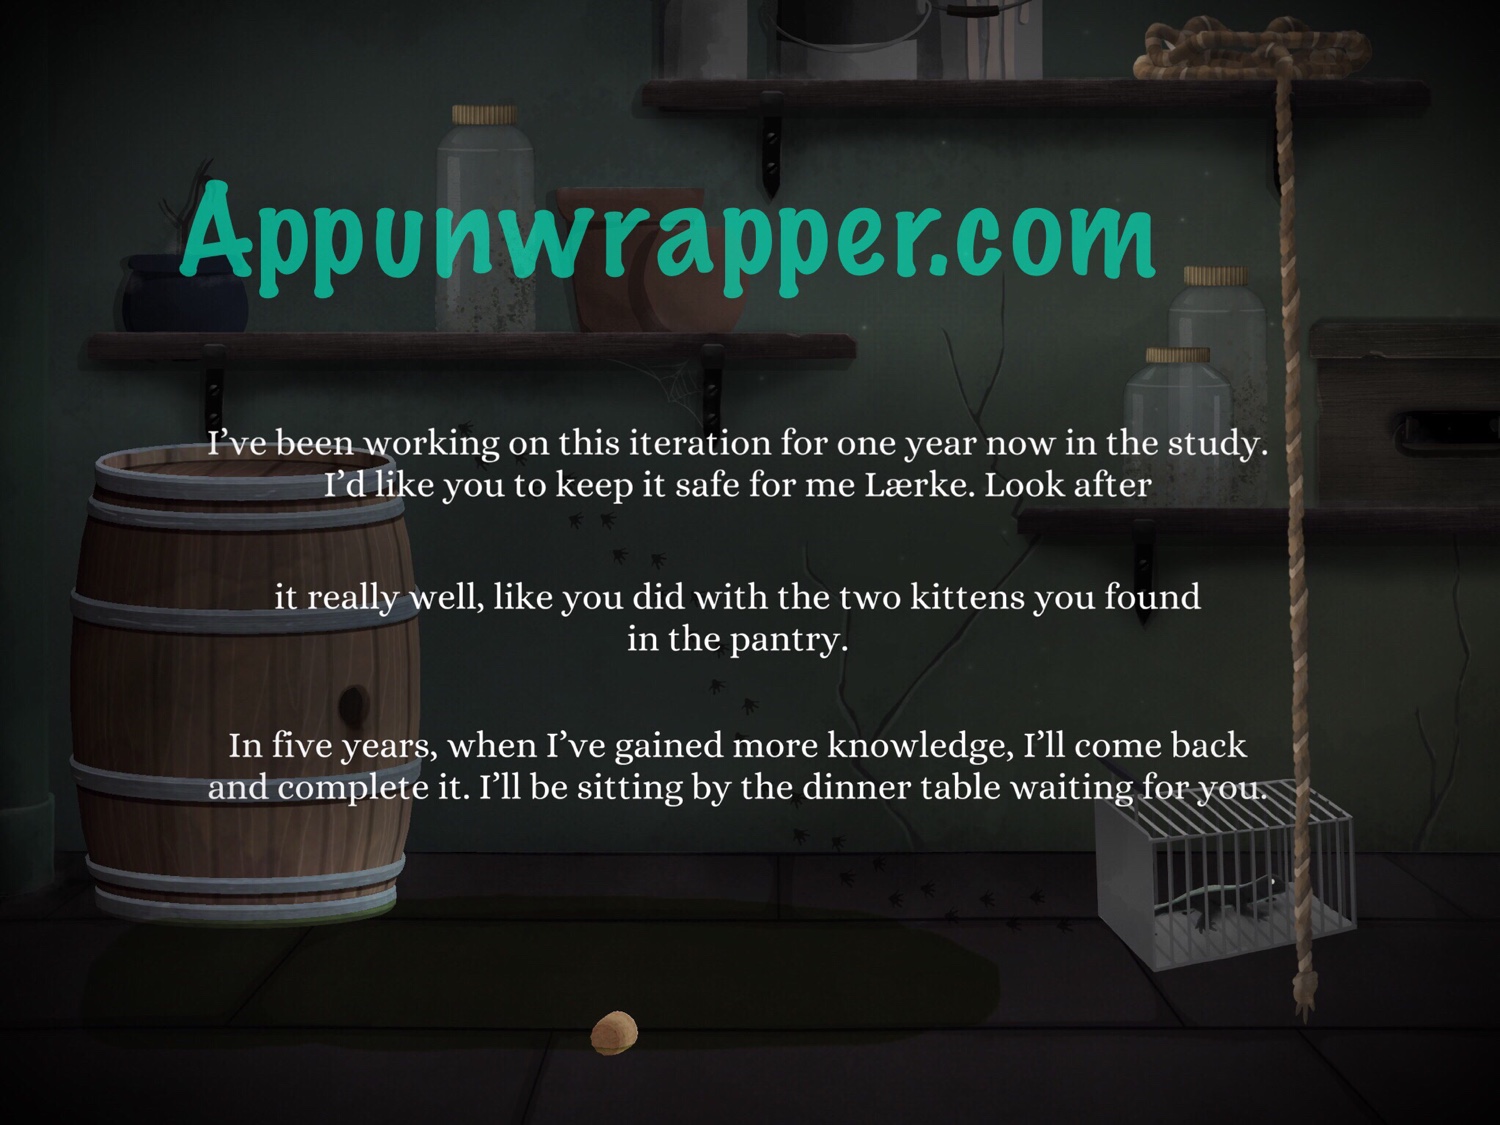
Turn right to the house and enter. Open the door and then swipe down to go to the basement. There are three lines of text to find here. You get them by tapping on the lizard, the rope, and the barrel’s cork. If you can’t get to the lizard, move the bottles out of the way. There are clues in each line that Player 2 needs.
“I’ve been working on this iteration for one year now in the study. I’d like you to keep it safe for me, Laerke. Look after it really well, like you did with the two kittens you found in the pantry. In five years, when I’ve gained more knowledge, I’ll come back and complete it. I’ll be sitting by the dinner table waiting for you.”
Player 2:
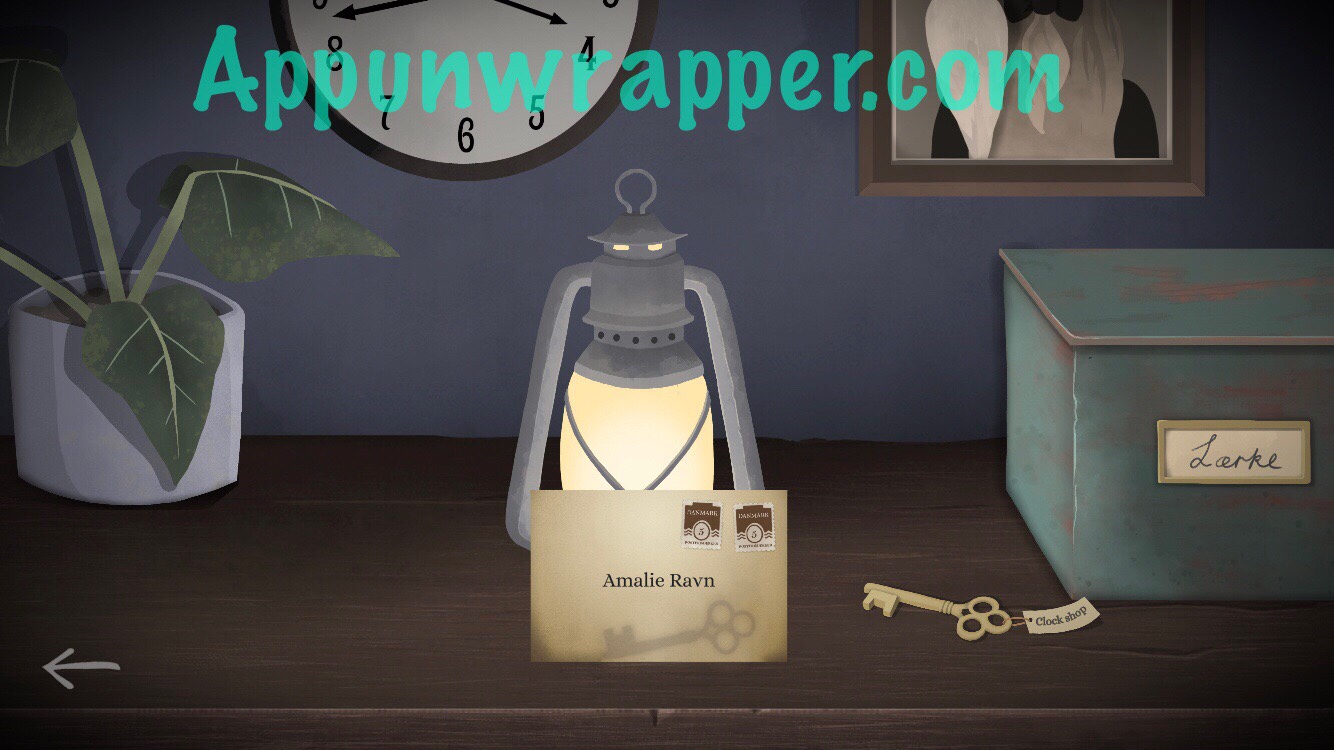
You have a not under the plant from Amalie that says:
“I left you something downstairs. It will be my greatest invention yet. Play our secret melody and I’ll open the door.”
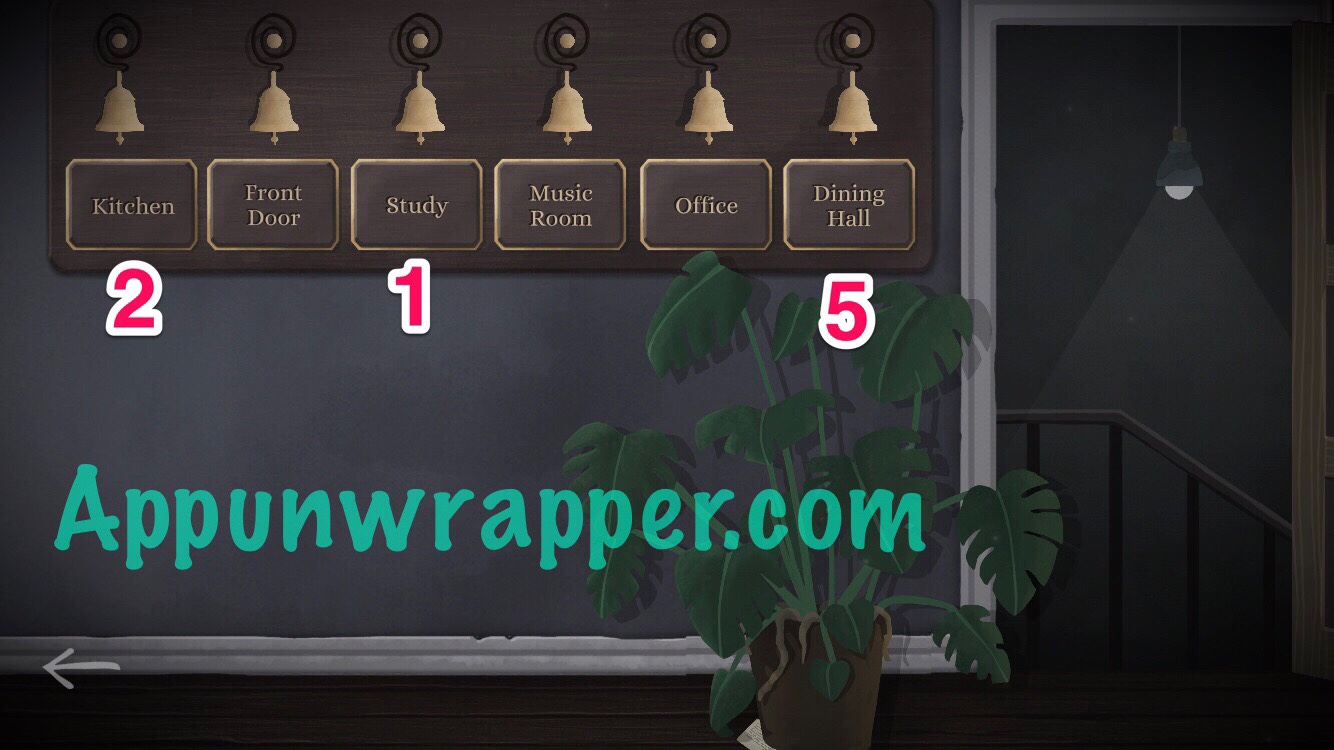
Using that information from Player 1, you can figure out which bells to ring.
You already know 1 for the Study. The pantry is in the kitchen, so ring the Kitchen bell twice. And the dinner table is in the Dining Hall, so ring that bell 5 times. So:
1 – Study
2 – Kitchen
5 – Dining Hall
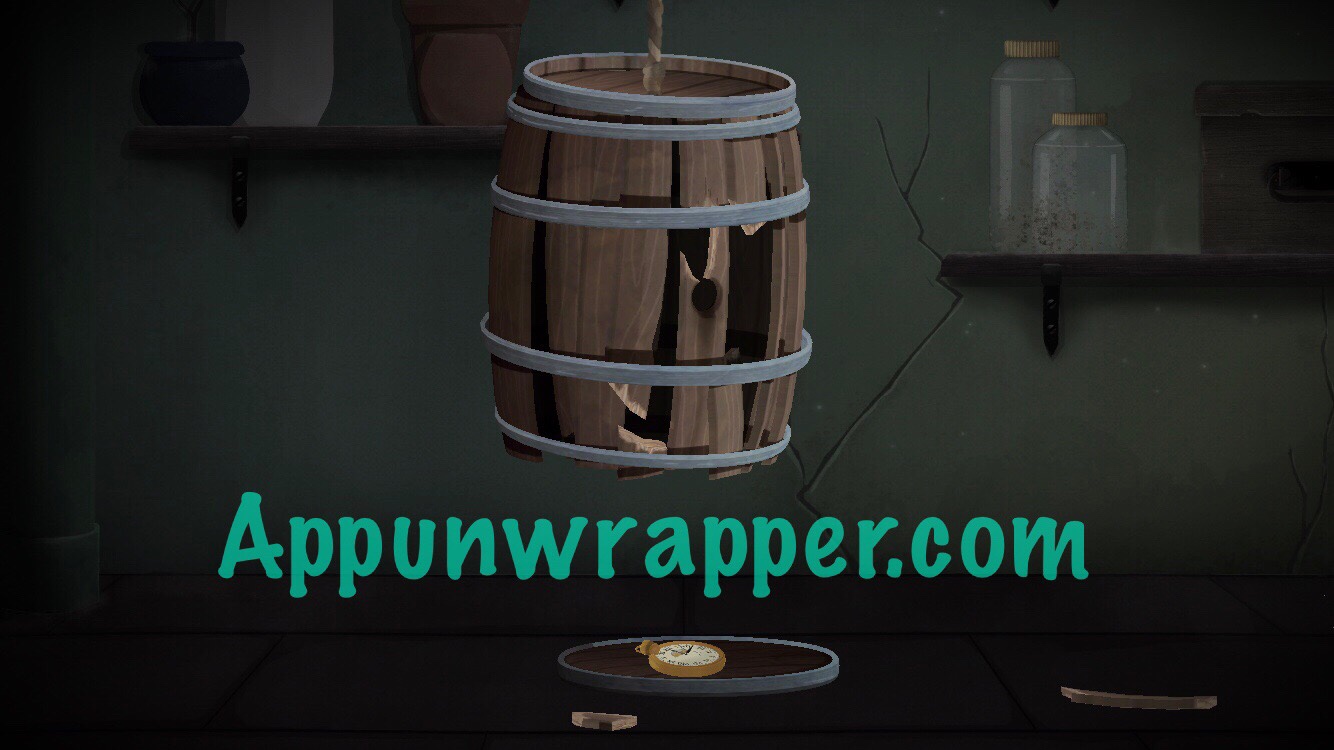
Go downstairs. Tap the hanging barrel a few times until it breaks and a pocket watch drops out.
Watch the minute and on the pocket watch move. Note down the sequence:
12
3
12
12
12
3
6
We’ll use that later. Let’s move on.
Both:
We need to access Ravn Clocks again, so turn right until you’re past 3:00.
Player 2:
Turn right twice to Ravn Clocks and go inside. Pick up the key and the letter.
Player 1:
Turn right twice and enter Ravn Clocks. Feel free to read the Apprenticeship certificate, but it doesn’t hold any important clues.
The note from Amalie, however, says:
“Do not remove these tools. I will work when the clock shop is closed.”
This is telling you to go back to the shop during an hour when it’s closed, such as 2:00. But first, you need to get a key, which only Player 2 has.
Player 2:
Turn back left to the Post Office. Go inside and tap on the post box to mail the key and a letter to Player 1. You’ll also find a small note that has a clue for Player 1. It says:
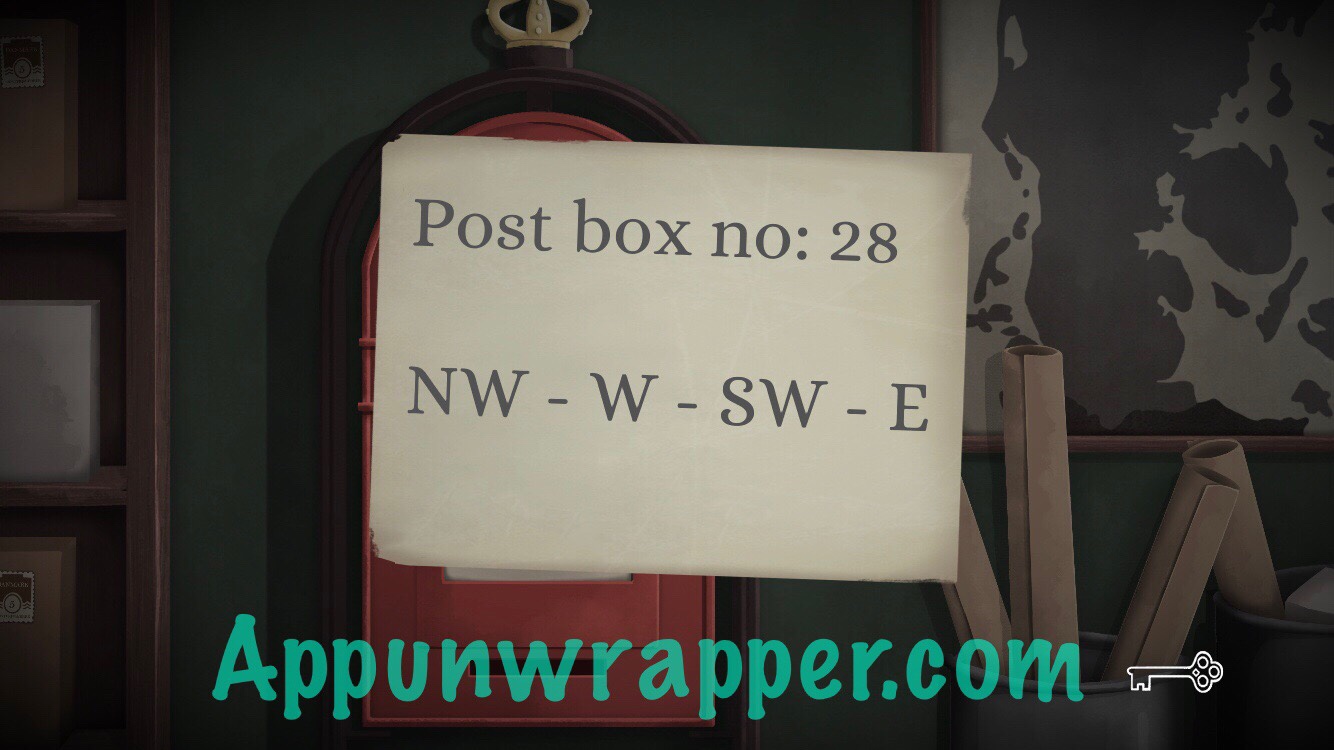
Post box no: 28
NW – W – SW – E
Player 1:
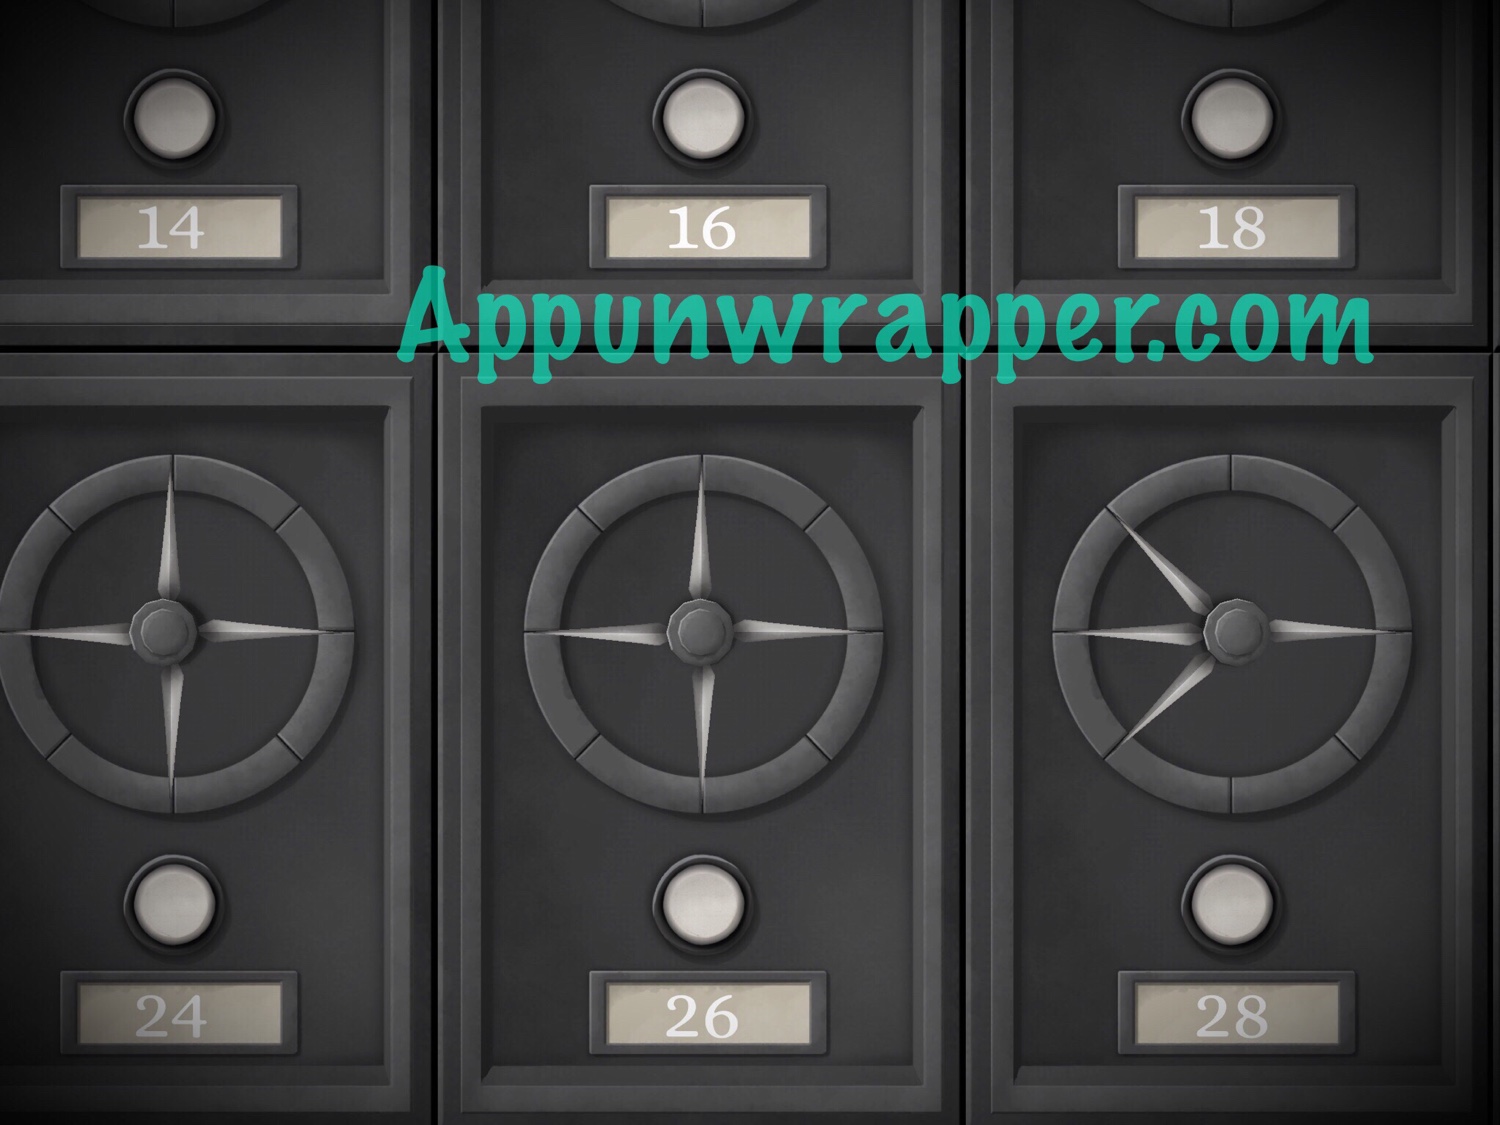
Turn left and head into the Post Office. All you can see are a bunch of mailboxes. Find post box 28 and point each of the hands to the directions Player 2 gave you. Then press the button to open it.
Take the key from inside and read the letter from Laerke:
“Here’s your key to the clock shop, Amalie. When you’re done working, could you help me look for my raven?”
Both:
Go back to 2:00 and enter the clock shop again. Normally, the place would be locked but now that you have the key, you can enter.
Player 2:
You have the clues that Player 1 needs to fix the clock. Read the two books, one about Gemstones and one about Horology.
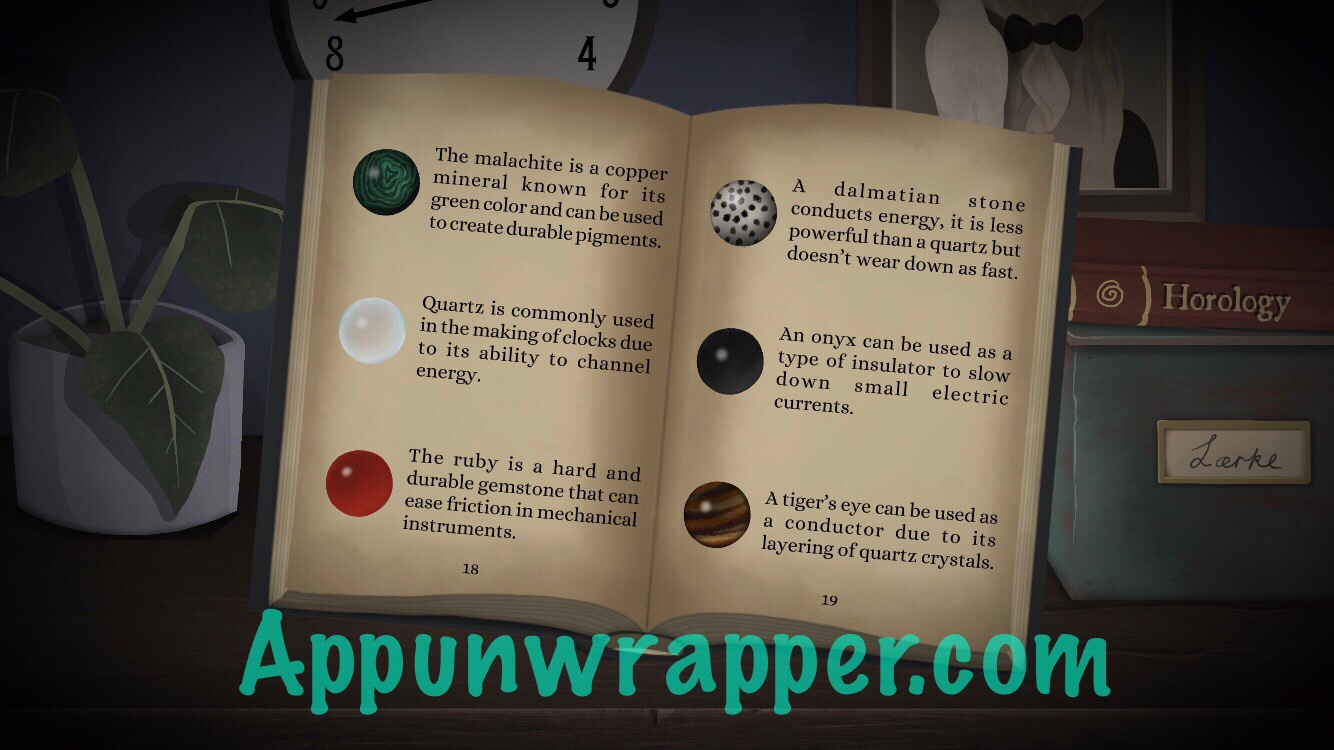
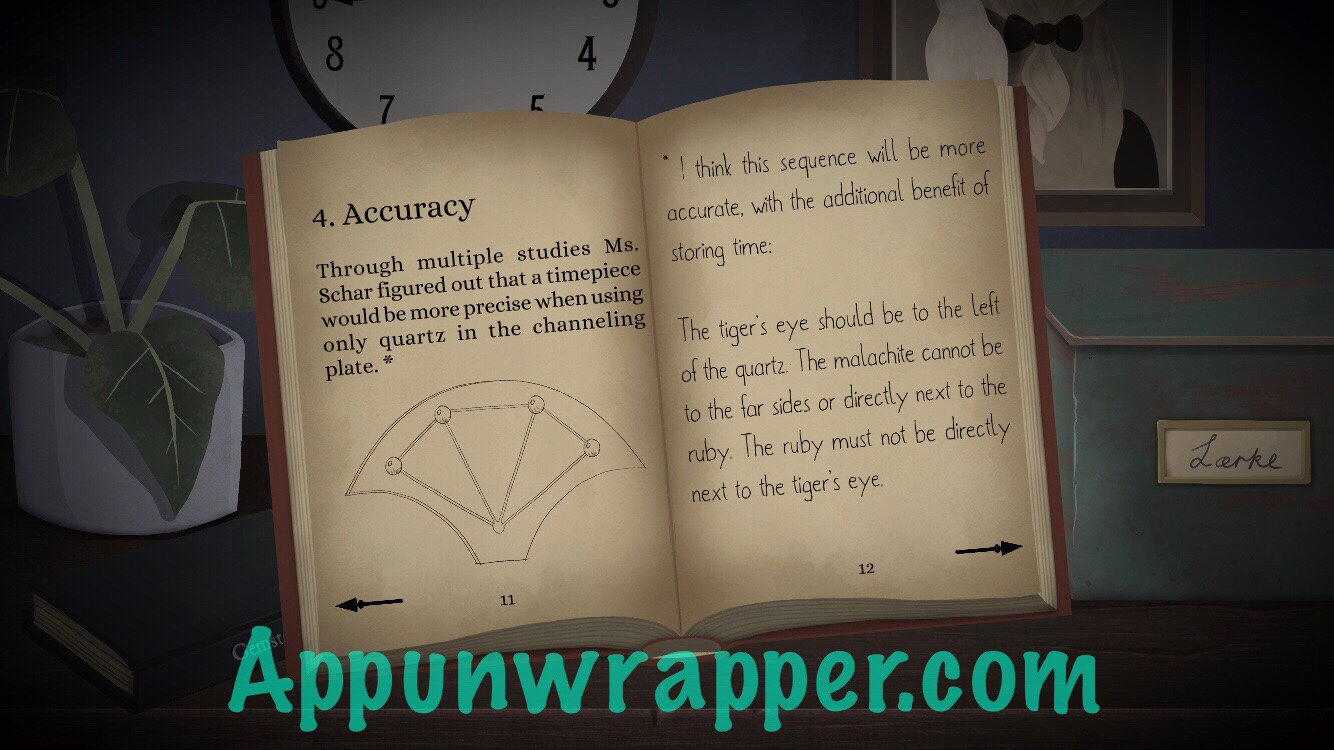
The most important information there is the chapter about Accuracy:
“The tiger’s eye should be to the left of the quartz. The malachite cannot be to the far sides of directly next to the ruby. The ruby must not be directly next to the tiger’s eye.”
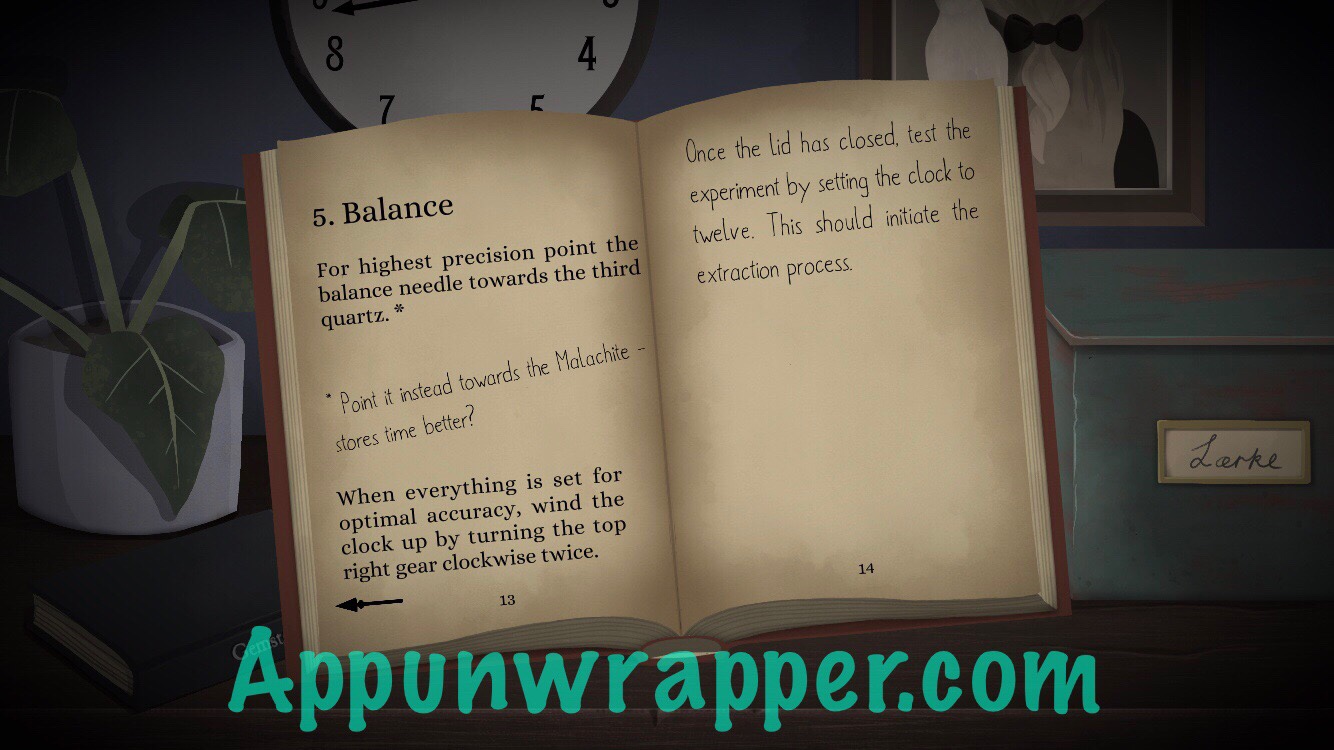
And the chapter about Balance:
Point the balance needle towards the malachite.
“When everything is set for optimal accuracy, wind the clock up by turning the top right gear clockwise twice.
Once the lid is closed, test the experiment by setting the clock to twelve. This should initiate the extraction process.”
Player 1:
Use the information Player 2 gave you to fix the clock.
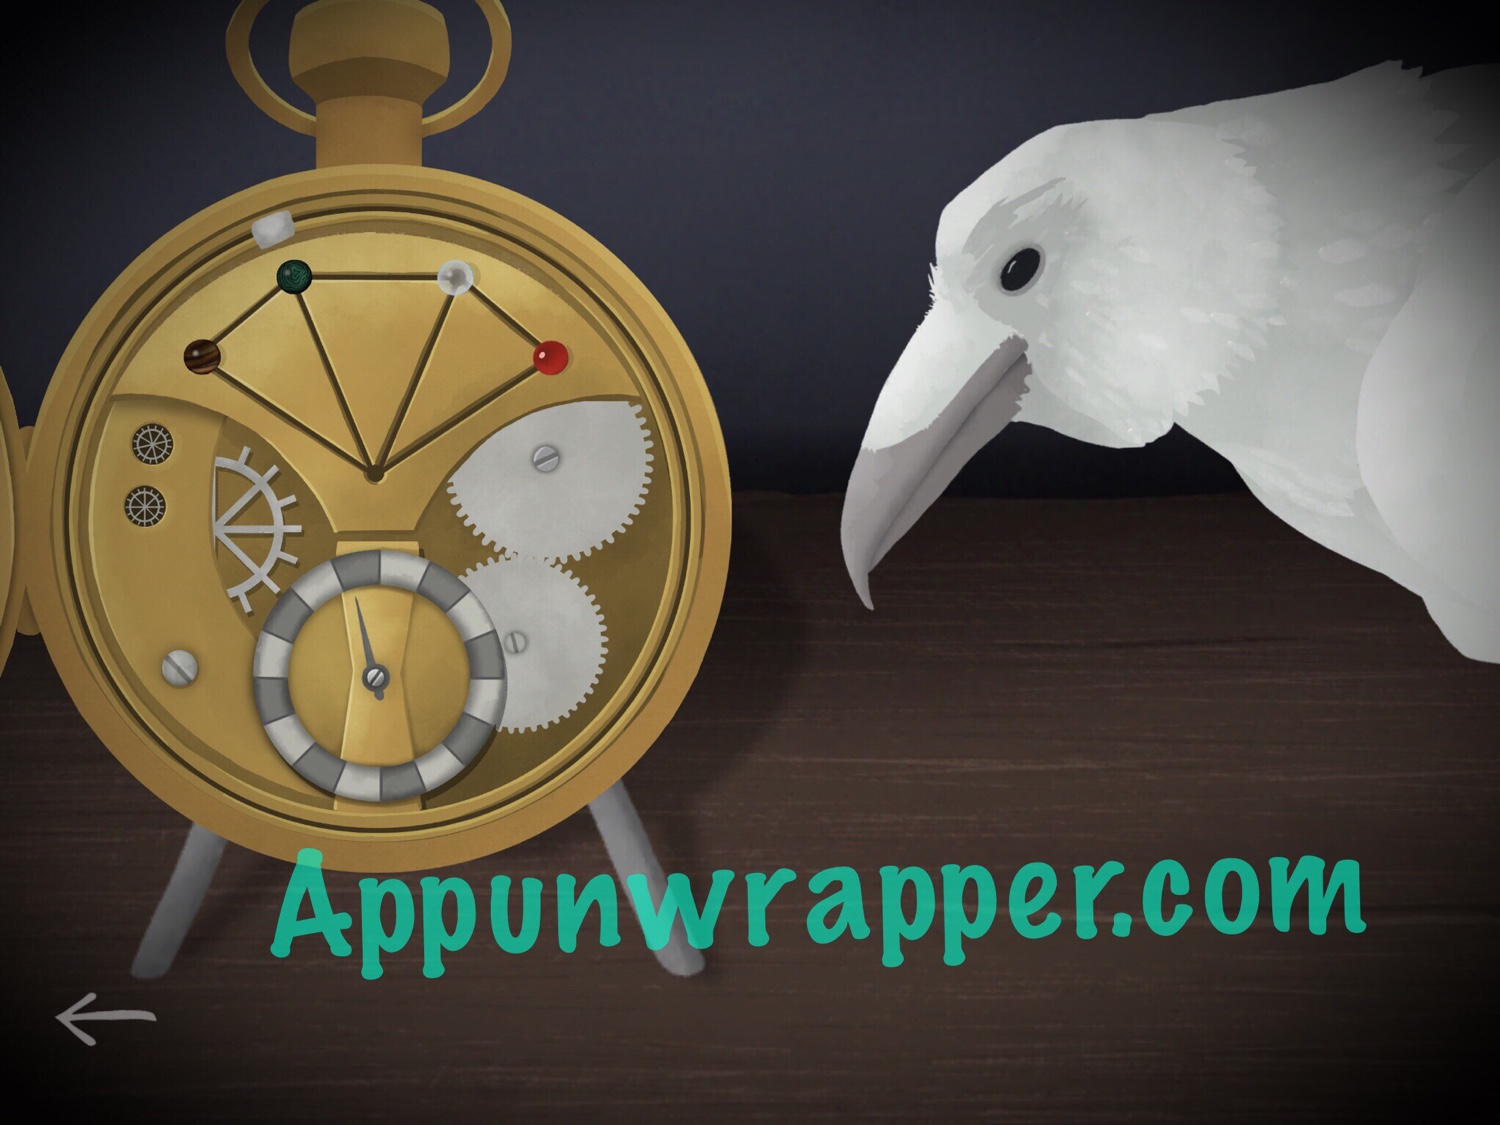
Let’s start with the gems first. Based on the clues given, you need to put them in this order.
Tiger’s Eye, Malachite, Quartz, Ruby.
Then move the little white slider around behind the Malachite so the balance needle points to it.
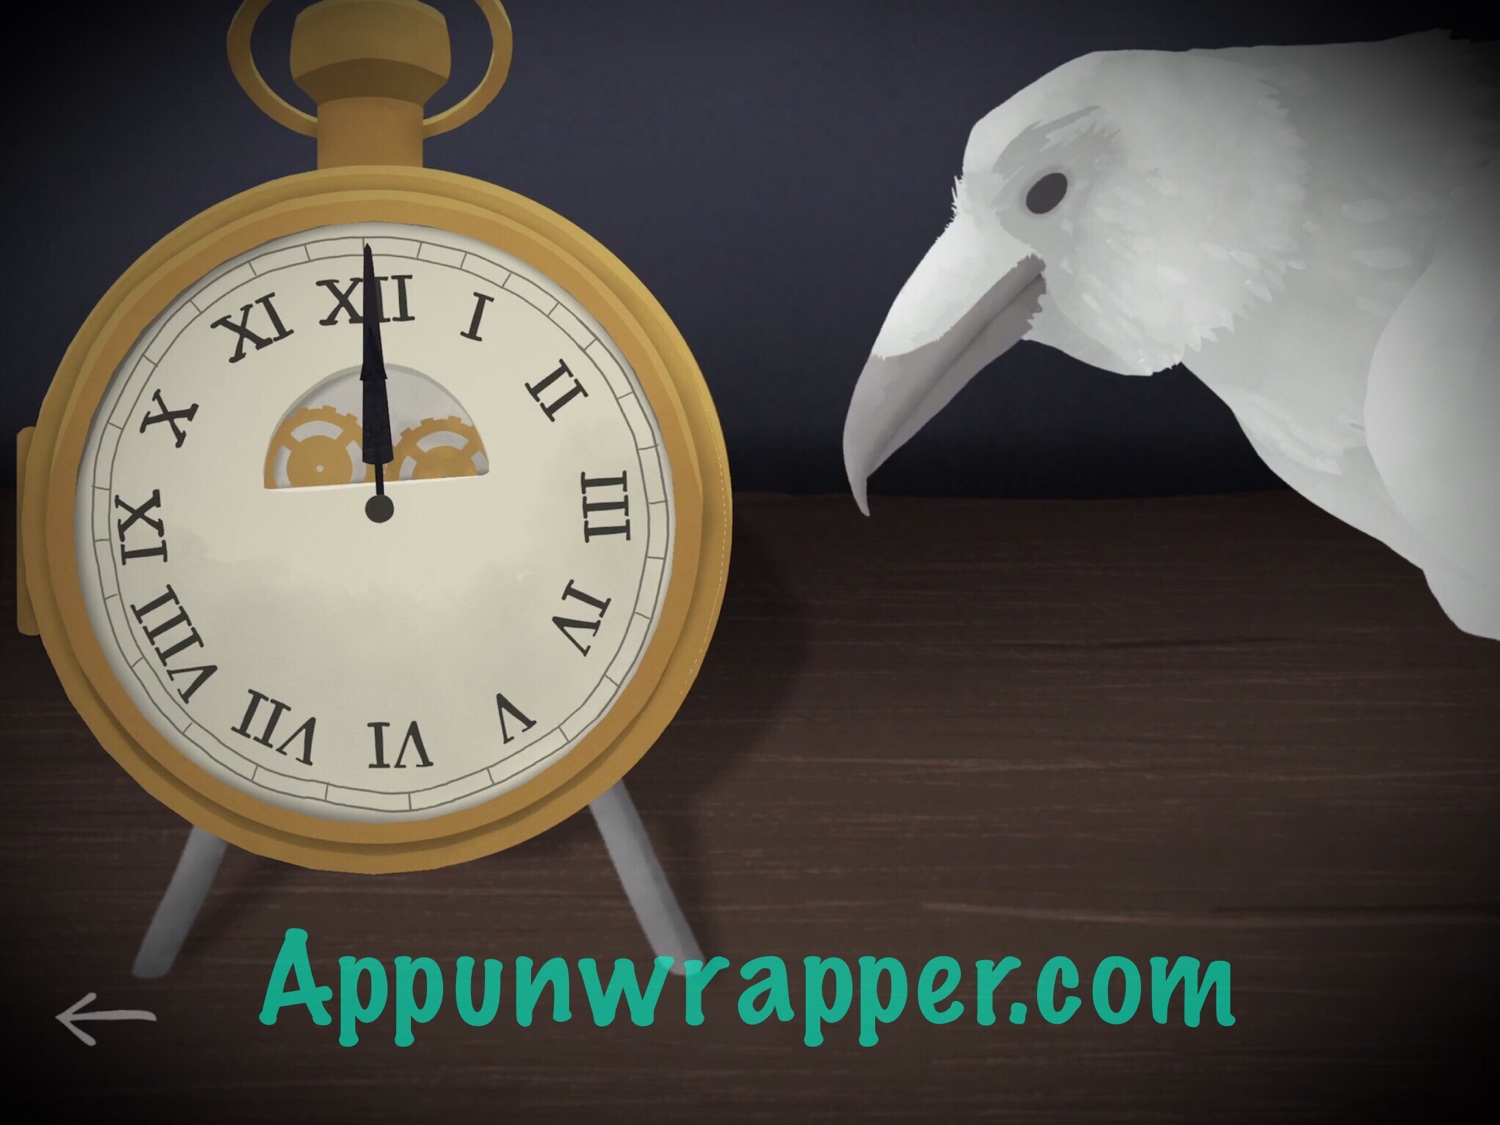
Rotate the top right gear clockwise twice and the clock should close.
Set the time to 12:00 and the white raven will get sucked into it!
Now pay attention to the sequence on the clock:
3
3
3
6
3
6
6
3
We now have everything we need to draw a path for the train!
Both:
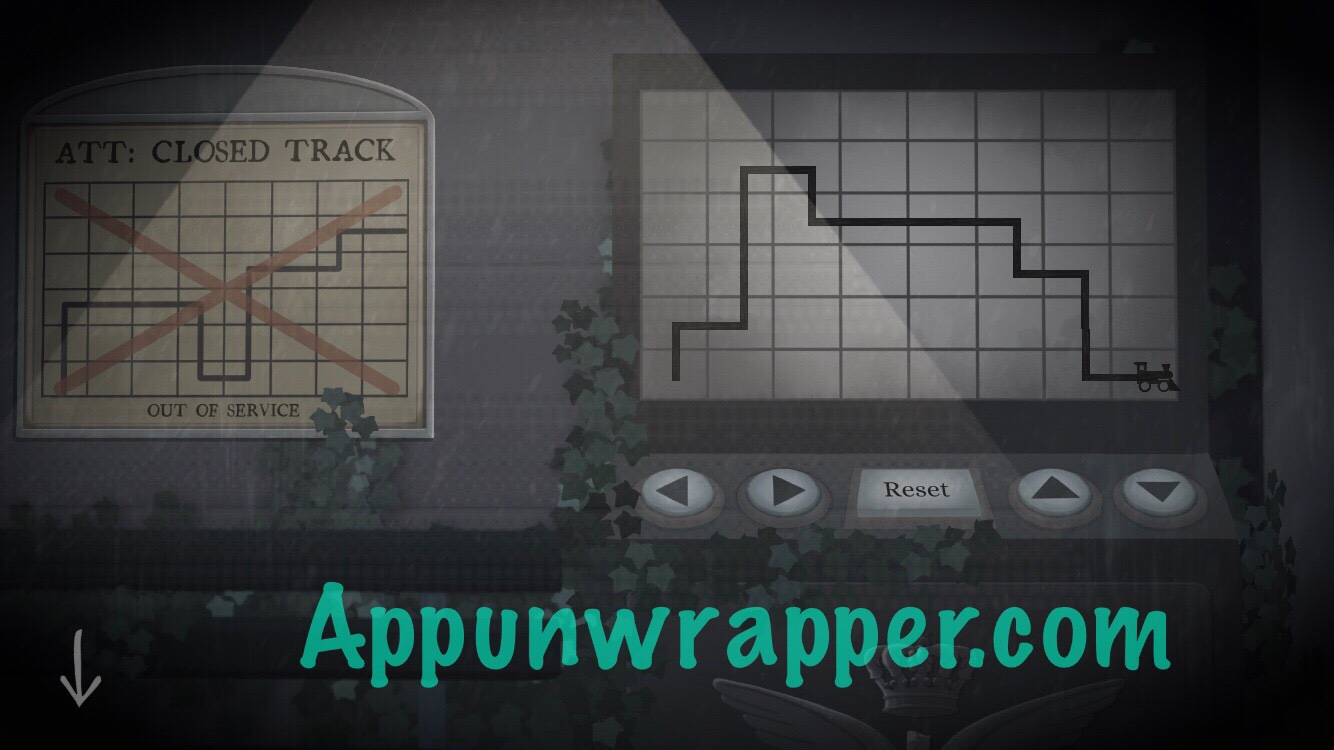
Go back to the train station. Look at the numbers you have.
12
3
12
12
12
3
6
3
3
3
6
3
6
6
3
They also work as directions. Translate them as so:
Up
Right
Up
Up
Up
Right
Down
Right
Right
Right
Down
Right
Down
Down
Right
Use those directions to call the train and get on to complete Chapter 2.
Click on the Chapter you need below or click here to continue to the Chapter 3 walkthrough.
Thanks for this guide ! Awesome guide 🙂