Mines of Mars
By: Crescent Moon Games & Wickey Ware
 [DKB url=”https://www.appunwrapper.com/MoM” text=”Download” title=”” type=”” style=”” color=”green” width=”” opennewwindow=”” nofollow=””]
**Check out our Mines of Mars review here.**
See all our Mines of Mars guides here.
Walkthrough:
This is a strategy guide and walkthrough for Mines of Mars. You’ll be able to find help, hints, tips, tricks and solutions. It’s a work in progress, so please bear with me. Feel free to ask for help in the comments section, or share your own hints and tips.
Each game is randomly generated and unique, meaning your game will be different than mine as far as placement of ores, minerals and portals go.
This is mostly a starting guide with tips and tricks. Scroll all the way down for links to guides for dungeon boss battles, weapon stats, and the Offering Pit.
Starting Off:
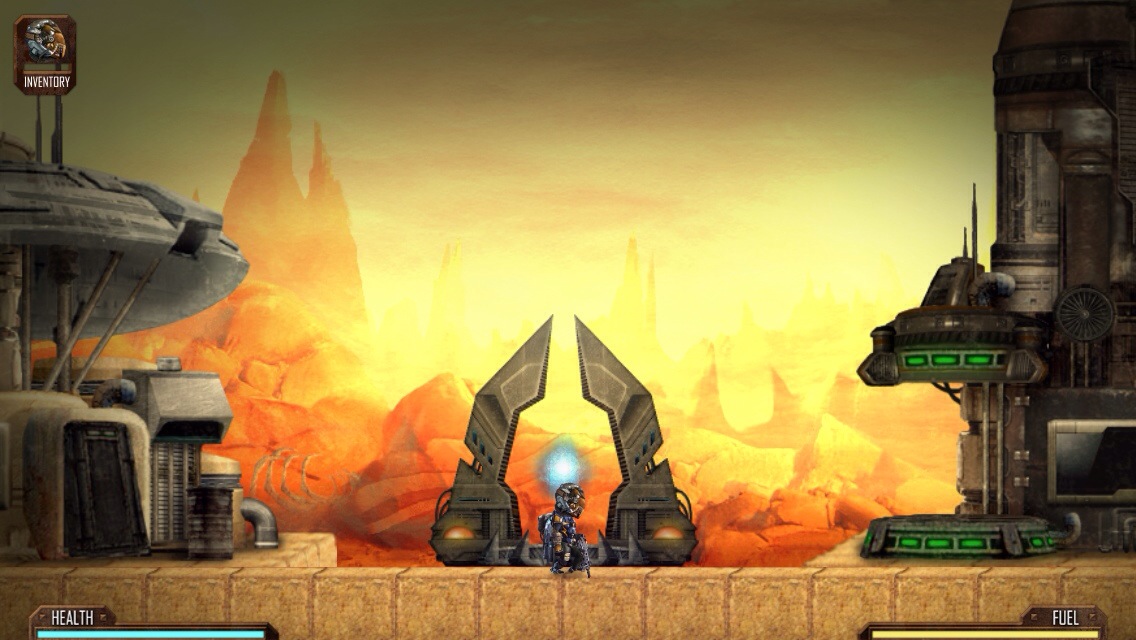
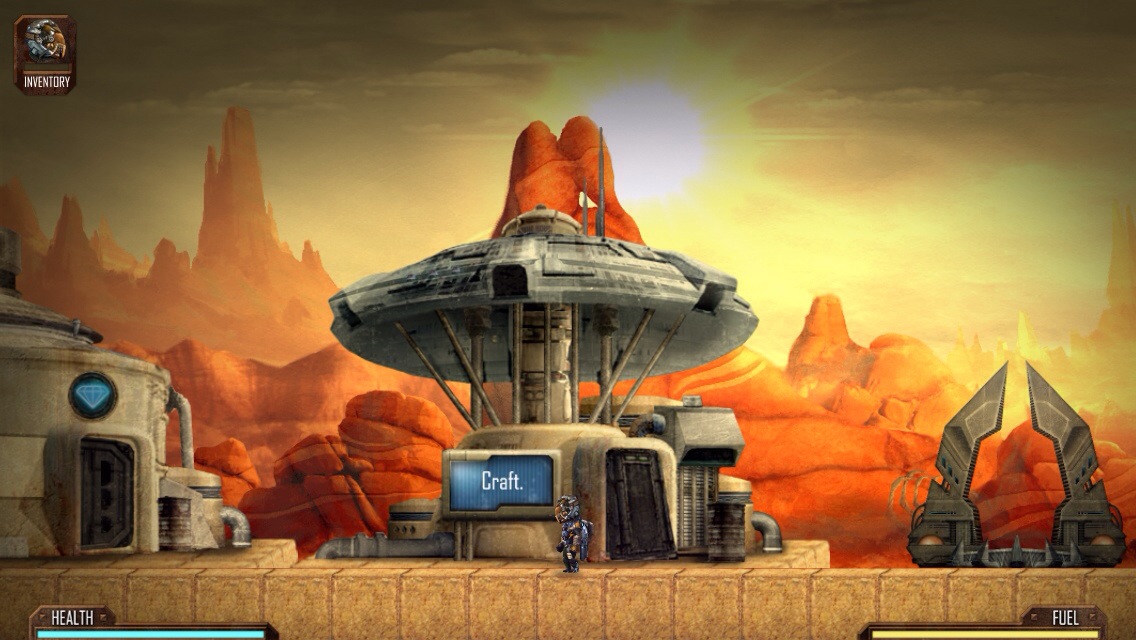
On the surface of Mars, you’ll find a number of structures that are vital to your journey. I’ll be going through them here:
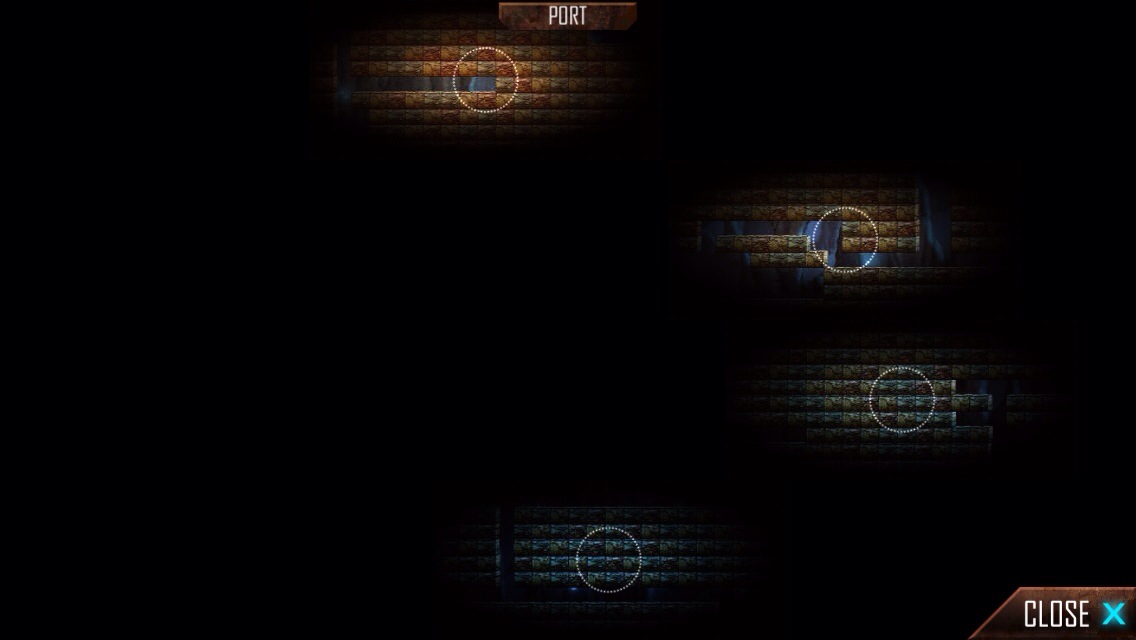
1. The Portal is in the center. Stand in front of it and tap on it. Then tap on one of the circles that represent the available portals. You’ll now be teleported there. These portals make travel easier, so you have less room to travel. They’re also your only way back to the surface with your materials intact.
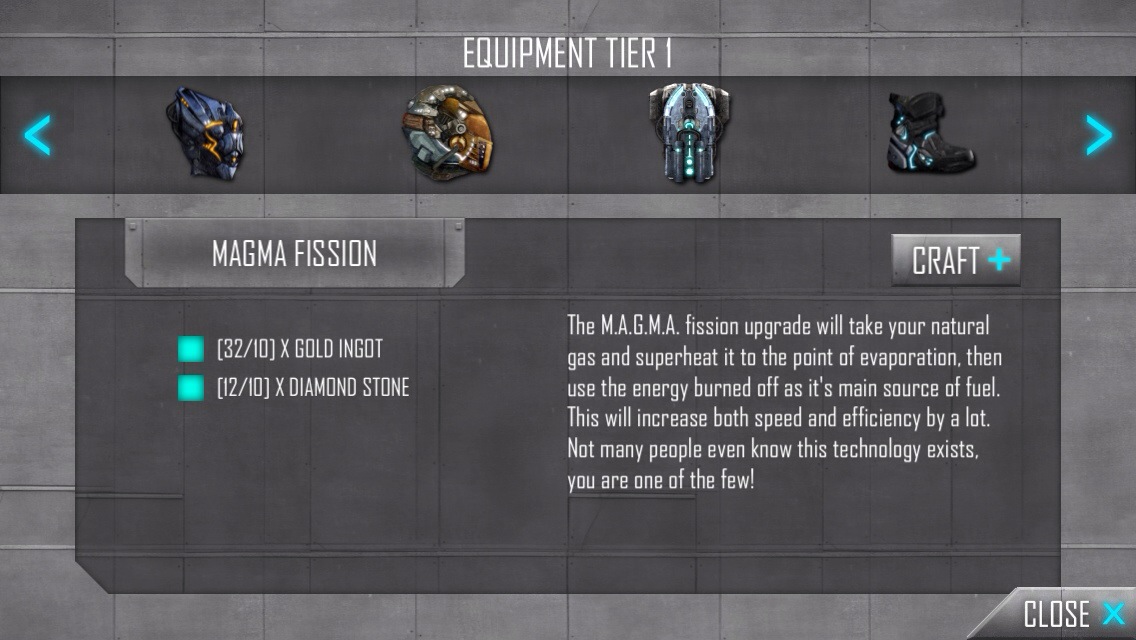
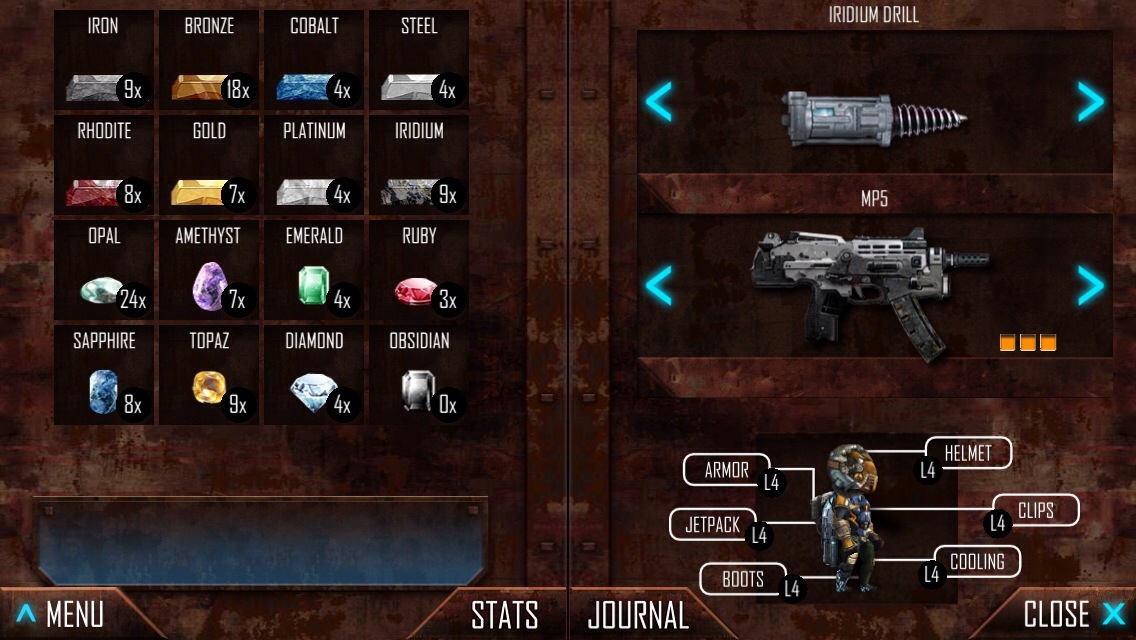
2. Crafting: Walk left and you will see the crafting building. This is where you craft better equipment and weapons. You must craft linearly, and you will only see the equipment that is available for you to craft at the moment.
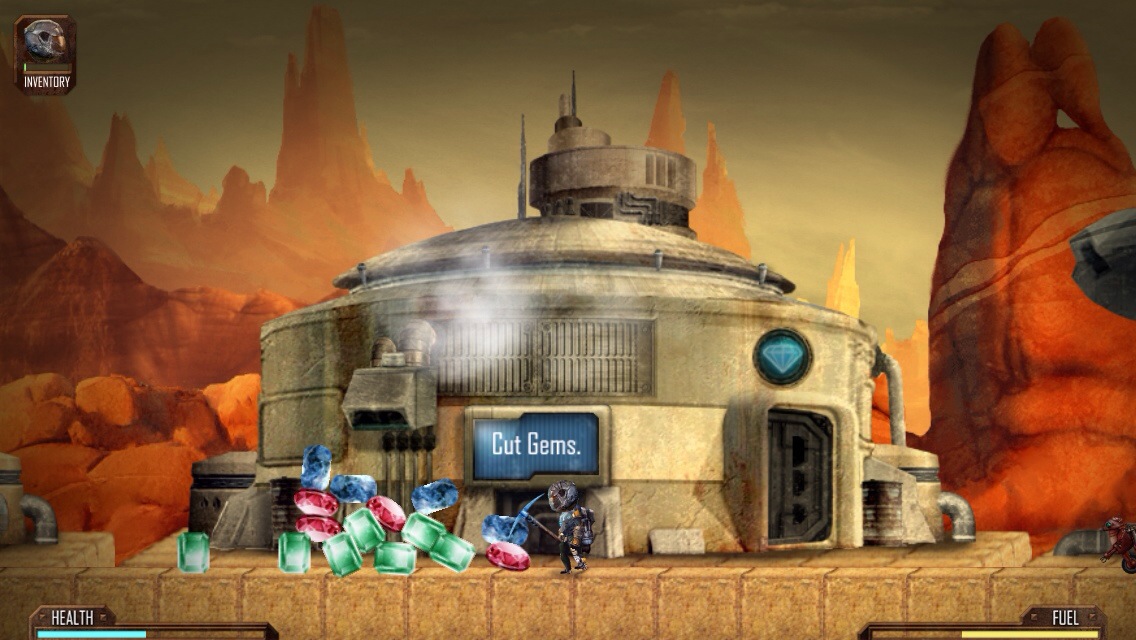
3. Cutting: Continue left and you see the gem cutter. This is where you cut your stones into gems.
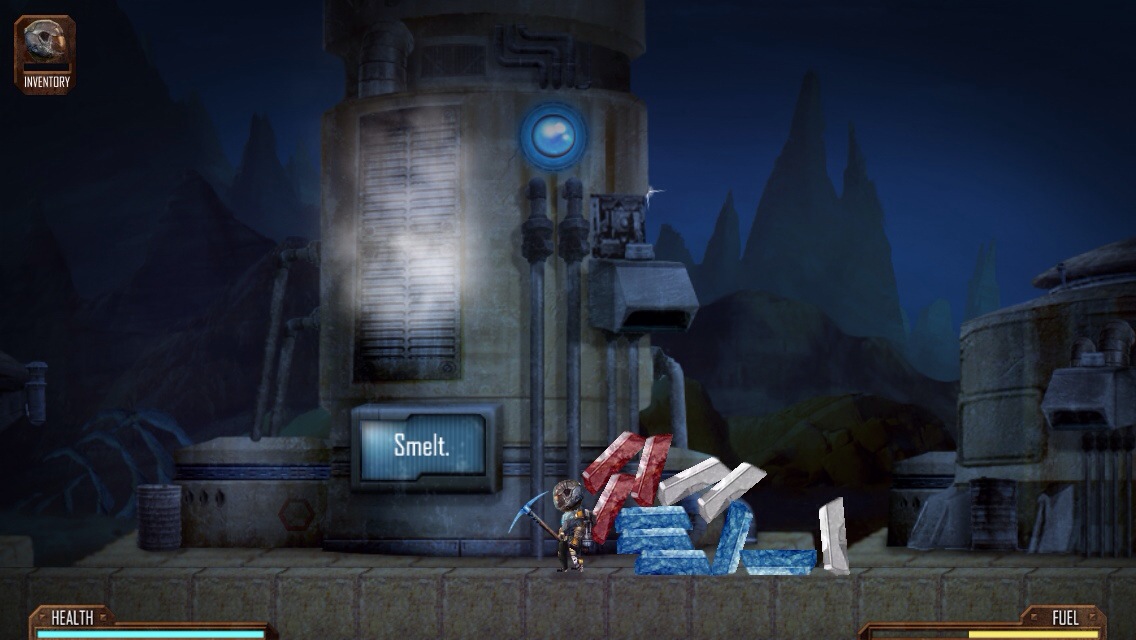
4. Smelting: Continue left and you see the smelting building, which refines ores into ingots.
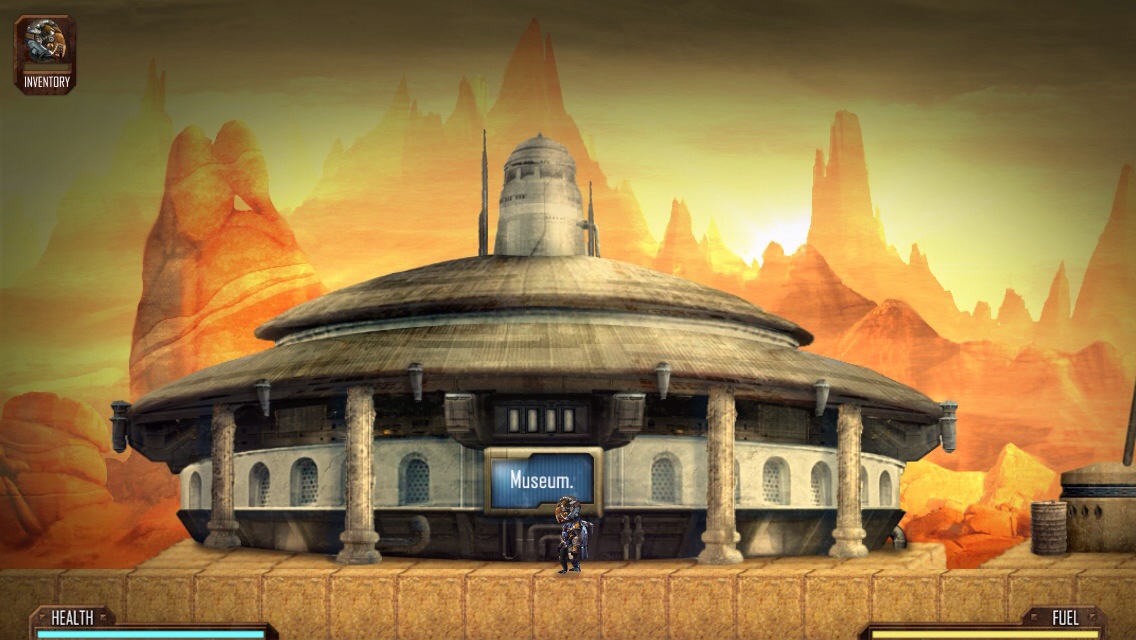
5. Museum: The last building on the left is the Museum, which will house your Offering Pit artifacts and key pieces.
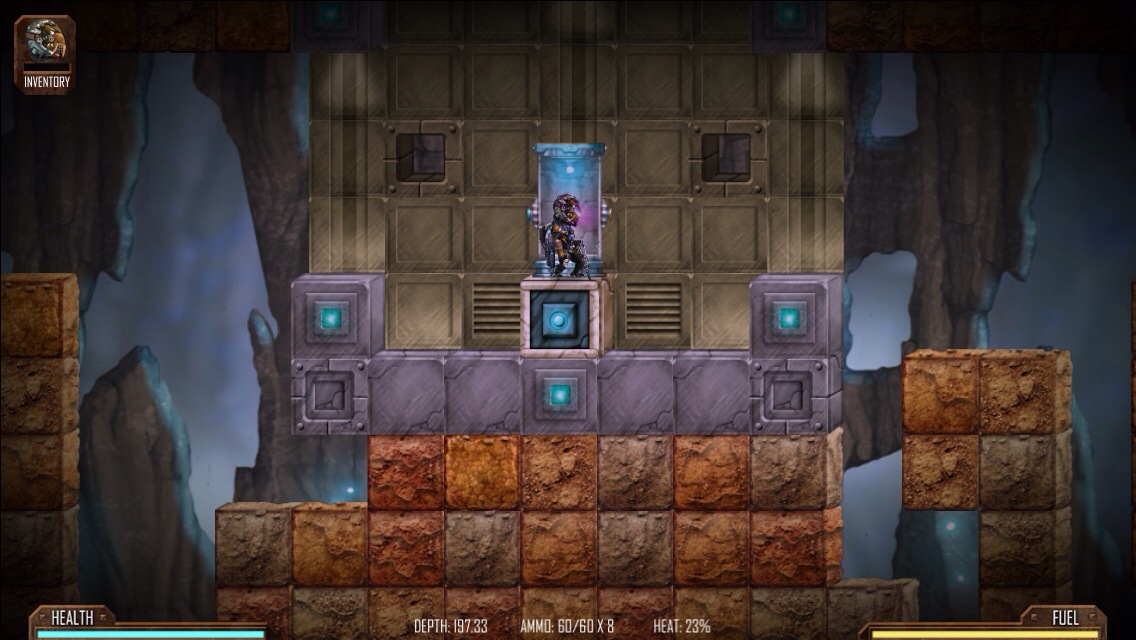
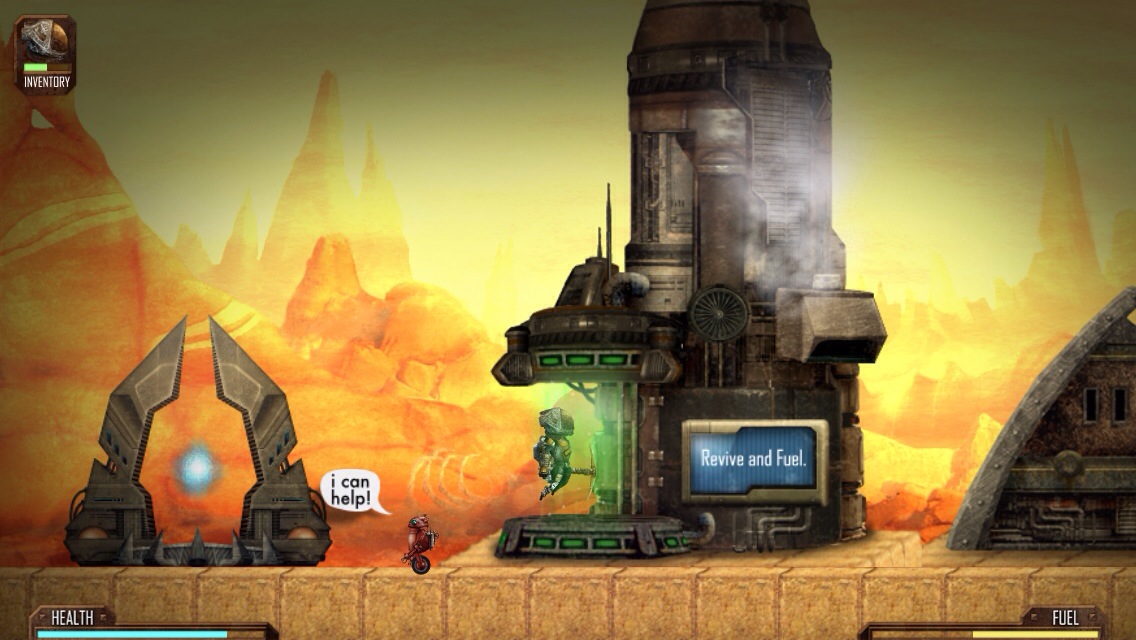
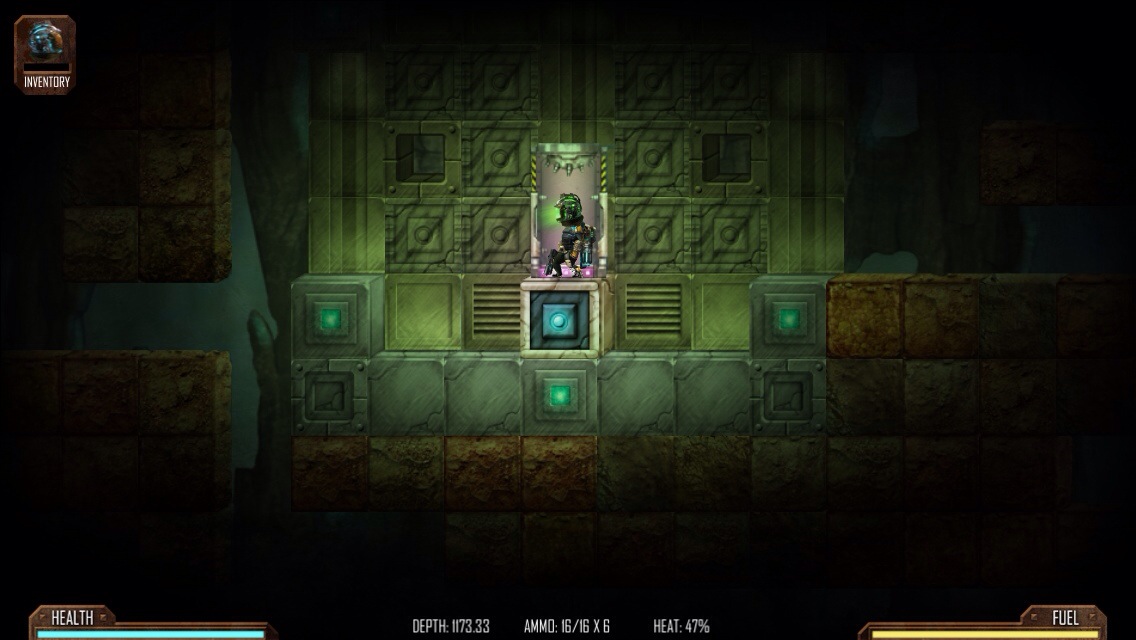
6. Revive & Refuel: Walk to the right of the portal to fill up your health bar in the green stasis chamber (just stand in front of it and it will pick you up). Also tap on the building to get fuel if you’re missing any. It will drop and you need to pick it up.
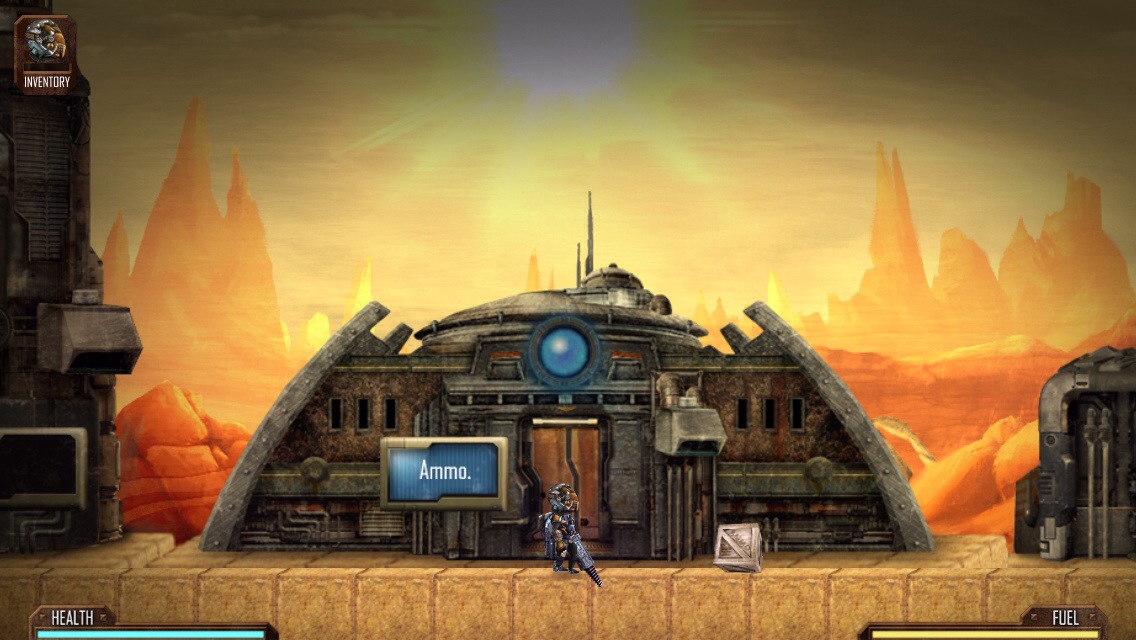
7. Ammo: continue right. This is where you can pick up more ammo for your weapons. It refills all your weapons’ ammo.
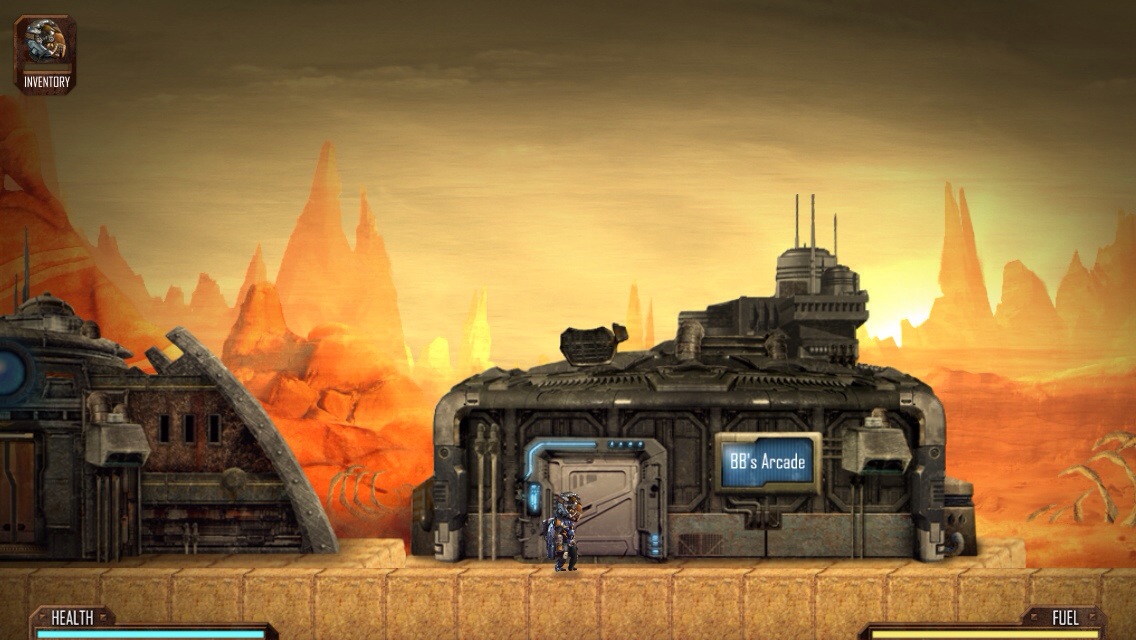
8. BB’s Arcade: Continue right and you get retro arcade games. Enjoy!
Tips:
1. When mining downwards, occasionally mine a bit to the left and right as you go down, in case you need to access an area a bit further up from where you are. That way you can easily go back up a bit and dig left or right. REMEMBER: In the beginning, you can always dig down easily, but digging up is much harder (you can shoot tiles with your gun, but it’s highly inefficient). Also, try to have a clear path downwards so you can free fall back down and fly up easily back to the portal. Once you get the Carbon boots (level 3), this will be less of an issue because they have anti-gravity capabilities. You can flip gravity by tapping the middle top of the screen.
**Pro tip: If you have the anti-gravity boots before you have your level 4 jetpack, you may be able to save on fuel by reverse-falling upwards back to the portal. Try it!**


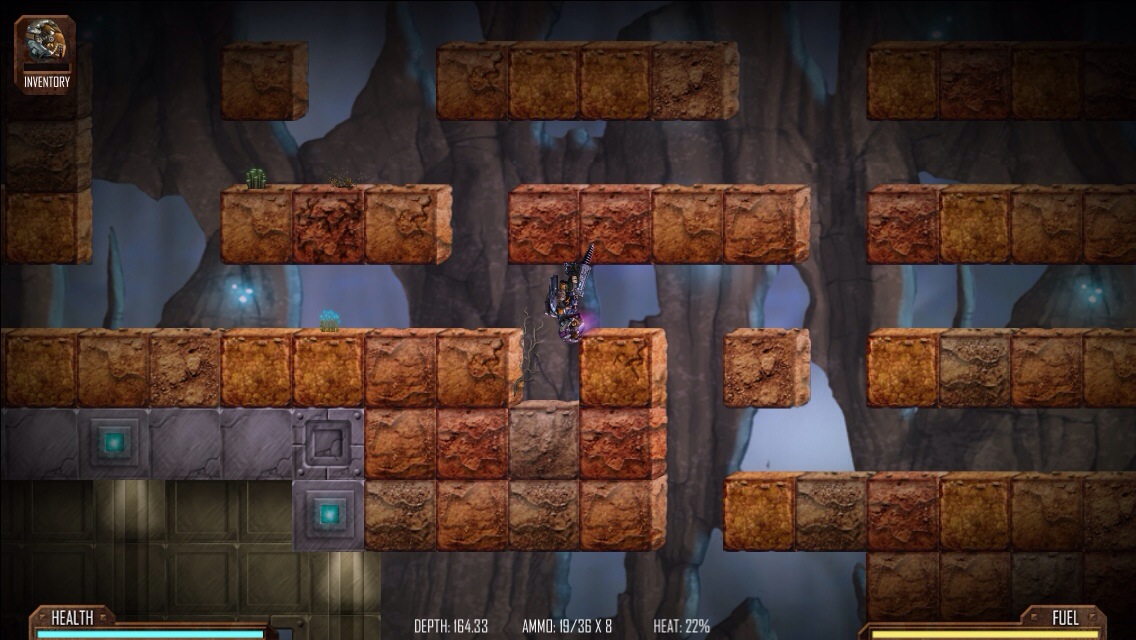
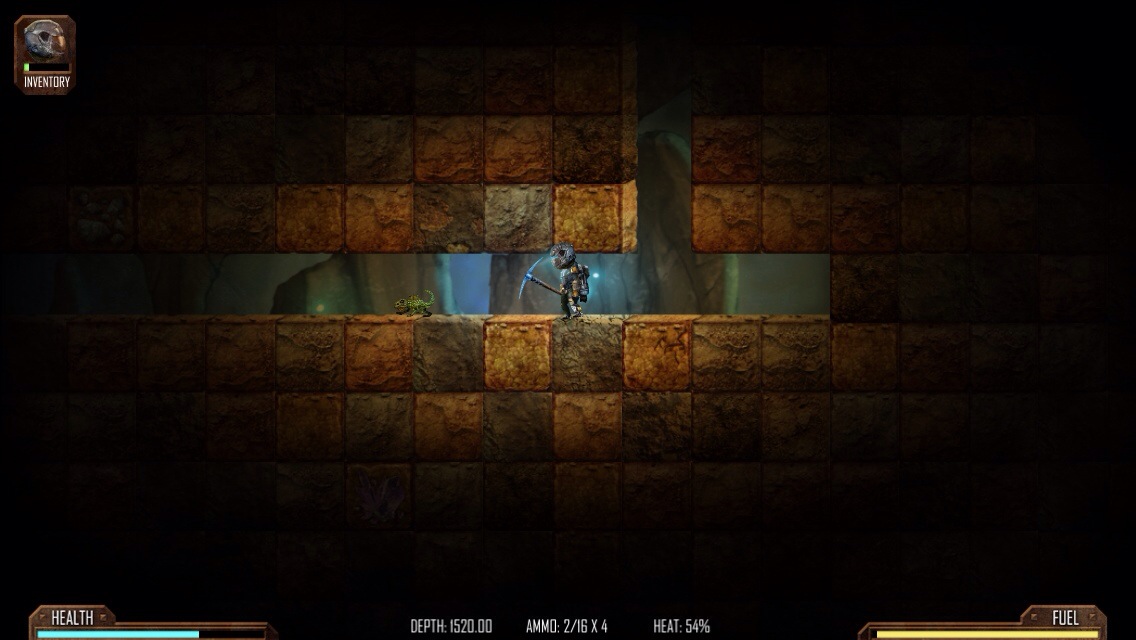
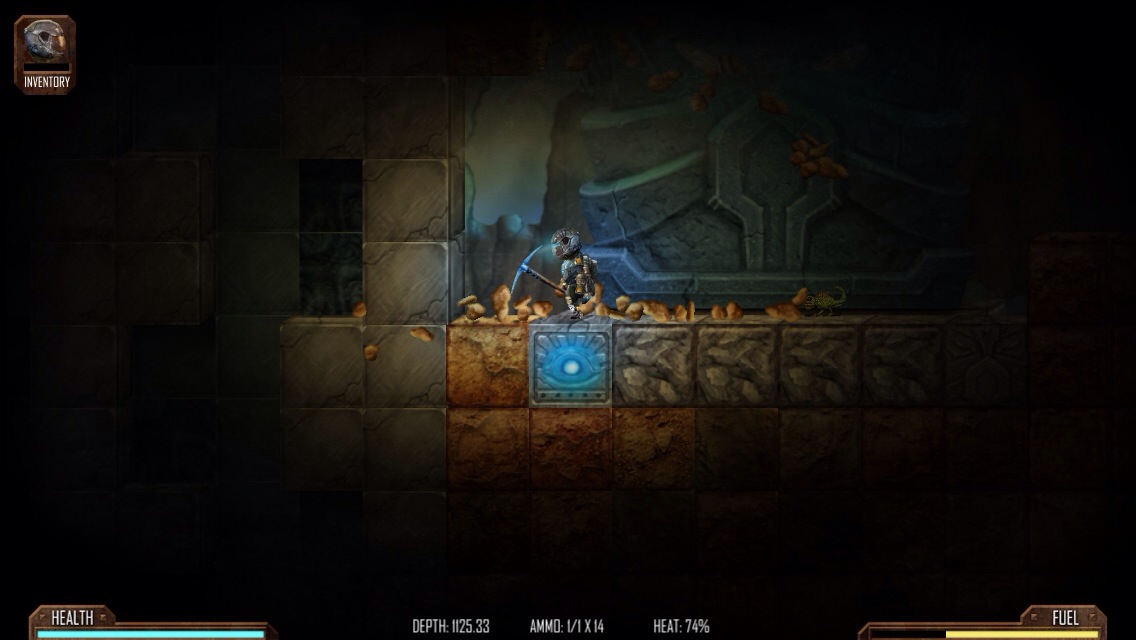
2. You can kill critters while they’re small, like this little lizard below, even though they seem harmless. (I’m not sure about this part: If allowed to live and grow, it seems they will turn into monsters that will eventually attack you if you encounter them.) Critters sometimes drop health (blue) or fuel (yellow), so it makes sense to kill them if you’re running low.
3. If you have more than one gun, you can swap between them by swiping left or right in the inventory menu. I kept trying to tap the arrows and nothing happened. So if you haven’t discovered that yet, now you know!
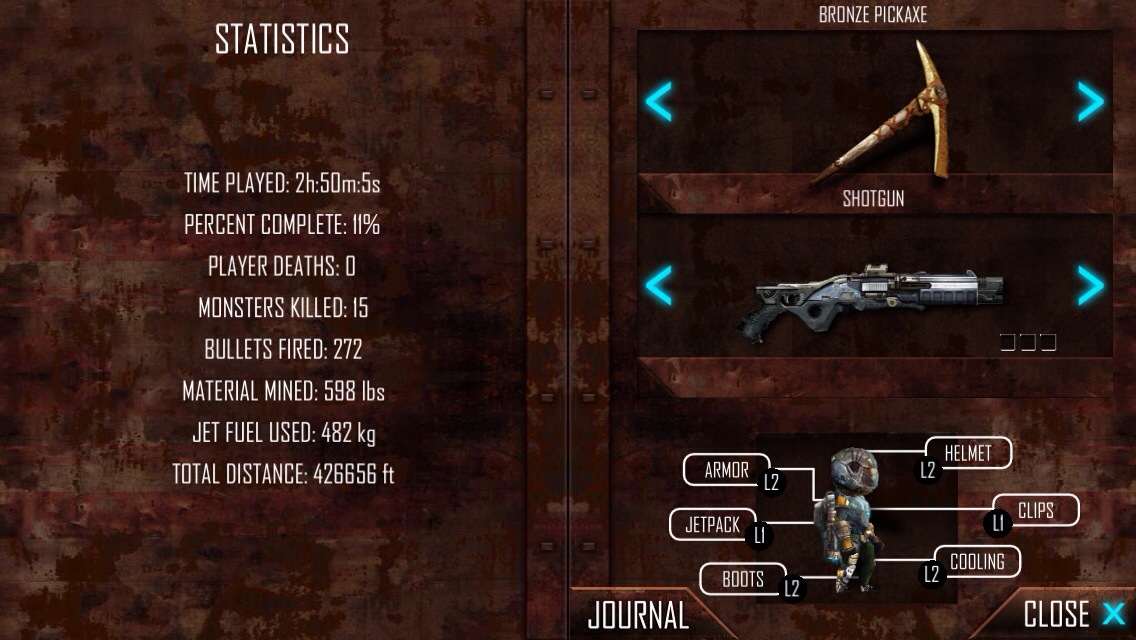
4. Upgrade your helmet (light), rockets (fuel), and boots as fast as possible. Fuel will allow you to go deeper without worrying about coming back up. The light will allow you to see a bigger radius, so you can dig smarter (and see enemies before they attack you). The final helmet (level 4) allows you to see everything, and the final jetpack allows you to fly as much as you want without ever needing to worry about fuel! This means you can also fly and shoot freely. The 3rd and 4th level boots give you antigravity abilities, which allow you to dig upside-down, and also walk on ceilings so you can shoot upside-down (great for dungeons!).
5. If you come across a statue, don’t waste your time digging to uncover it. Look for this eye stone and stand on it and all the blocks will clear out. The statue marks an opening of a dungeon.
6. Watch your fuel! Make sure you don’t go too deep for you to get back to a portal, because if you run out of fuel (or die), you lose all the raw materials you’re carrying. I lost a full bag of emeralds this way when I needed them badly! If you need to only make small jumps, try tapping the bottom right part of your screen. You can’t go very far in the beginning, but it doesn’t use fuel.
7. If enemies are giving you trouble, just focus on mining and getting your upgrades before taking on the bosses. It’s perfectly possible to get all upgrades before even fighting one boss!
8. Try to remember the depth for each of your portals, or take screenshots of them in case you get lost. It’s easier to find them if you know the depth. The same goes with any dungeon you want to come back to or even a pocket of ores and minerals that you don’t have room for at the moment.
9. Secret Pickaxe, the Alien Kick-Axe:
You can get this secret pickaxe from the Offering Pit. It’s incredibly fast, about as good as the Iridium Drill (best drill you can craft). To learn more about it, see our Offering Pit and Artifacts Guide.

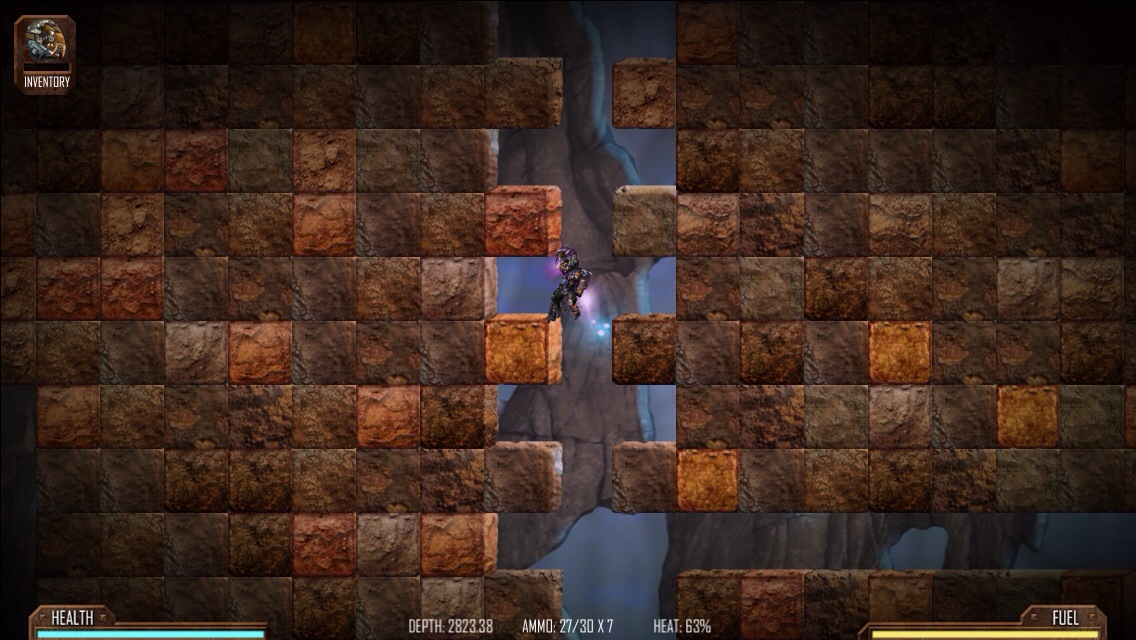
10. To mine a bit faster, stand on the seam between two blocks and mine down. You should mine two blocks in quick succession each time you mine downwards.
Ores/Ingots:
Iron — Mostly under 500 ft
Bronze — Mostly around 700 ft
Cobalt — mostly around 800 – 1100 ft
Steel — mostly around 1000 – 1200 ft
Rhodite — mostly around 1200 – 1800 ft
Gold — mostly around 2000 — 3500 ft
Platinum — mostly 3000+
Iridium — mostly around 3500+
Sadly, the mines are not infinite. The bottom is around 4400 ft.
Gems/Stones:
Opal — mostly under 500 ft
Amethyst — mostly under 1000 ft
Emerald — mostly around 1200 – 1900 ft
Ruby — mostly around 1500 – 1800 ft
Sapphire — mostly around 1700 – 2000 ft
Topaz — Mostly around 2000 – 3200 ft
Diamond — mostly around 3000+ ft
Obsidian — Mostly around 3500+ ft
See all our Mines of Mars guides here.
Dungeons and Bosses Walkthrough Guide
The Offering Pit and Artifacts Guide
If you like Mines of Mars, you might also like Battleheart Legacy.
Excellent guide, first time playing 24 hours straight through. It’s great fun!
How do I get to the next level, and how do I upgrade things. I don’t seem to be able to go low enough to get cobalt.
Here’s another trick I’ve picked up: You can’t stop monsters from spawning, especially at deeper levels. You can, however, with a little planning and careful mining, contain them to some extent. The ground monsters like long, flat stretches of tunnel that they travel back and forth over waiting for some miner to come wandering through. They can climb up at least two blocks of vertical dirt, possibly more, but they cannot go upside down. If they hit a ceiling, they will fall. Sometimes they will try to run across a gap and fall down on their own, but they will nearly always try to do so if it means getting to the miner. What you do is find a large patch of solid ground underneath one of your mine tunnels, dig two blocks down, and then clear out a small chamber, creating an enclosed cavern with a hole in the roof. Any monster that tries to run past the hole will fall in and be trapped there, to be disposed of at your convenience. It’s not a foolproof system by any means, but it does work pretty effectively. I’ve made it all the way to 3200 feet and haven’t died yet.
I got the boots of anti gravity but can’t activate them. What do I have to press to active the antigravity?
The top of your screen just tap to switch between up and down
The upper center of your screen. Not the direct center the upper center. Have fun.
I’m now a ghost but I still need fuel for my jetpack! I’m at 80% complete but I have no idea what to do next to reach the typical rolling credits when you beat a game. Any ideahs?
I’m their to bub don’t know what to do??
You need to fill the musemem with stuff from the offering pit. and do every upgrade.
i have all the upgrades for my character as well as all 12 items that you can get from the offering put but im only at 85%
i have problem in finding rhodite, i have found enough gold and diamond and even some obsodium but rhodite is very hard to find . what can i do 🙁 🙁 ???
You can find Rhodite between 1200 and 1500 ft deep usually. Go to the 3rd portal and cross the whole cave around; You should find some right in the middle.
I could not find topaz I found all the other minerals please help me
Matei o chef e fiquei invisível, ao entrar no portal, e agora, o que devo fazer?
Is it a normal part of the game for the main area with the smelters and fuel to be overrun with acid spitting monsters?
Is there a certain depth that chests spawn at or more frequently or is it just random?
Could you make a page for ore depths and stuff like that? That would help a lotnof people including me. Thank you.
So i was PLaying the Mini game thing and like To Meators fluw Past In The backround is that Mean Nothing or did somethinv happen?
pessoal eu estava falando com um robô do jogo ele falou que tinha um monstro em 9999 pés isso é verdade ??
hey guys, i think here need map chances and some advanced teleport closer 1000 ft and other level as well
How do I shoot