Level 14:
1. Find the first two gems.
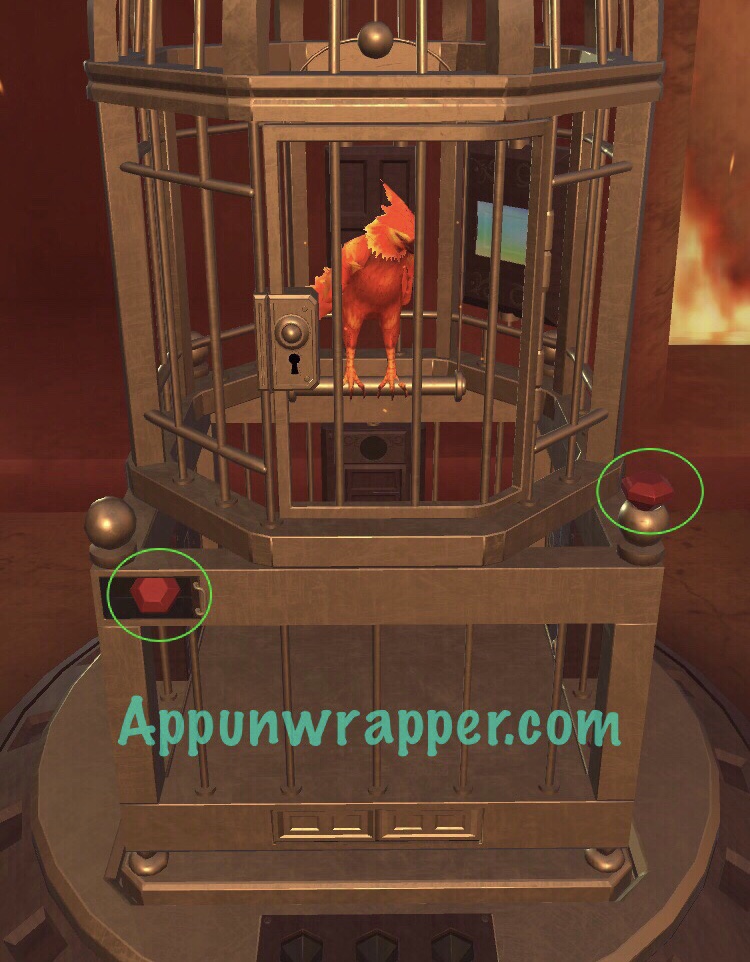
2. Turn right and find the third gem. You need to rotate the cage leg to access it. Also, notice the arrows. It’s helpful with a puzzle we’ll solve soon.
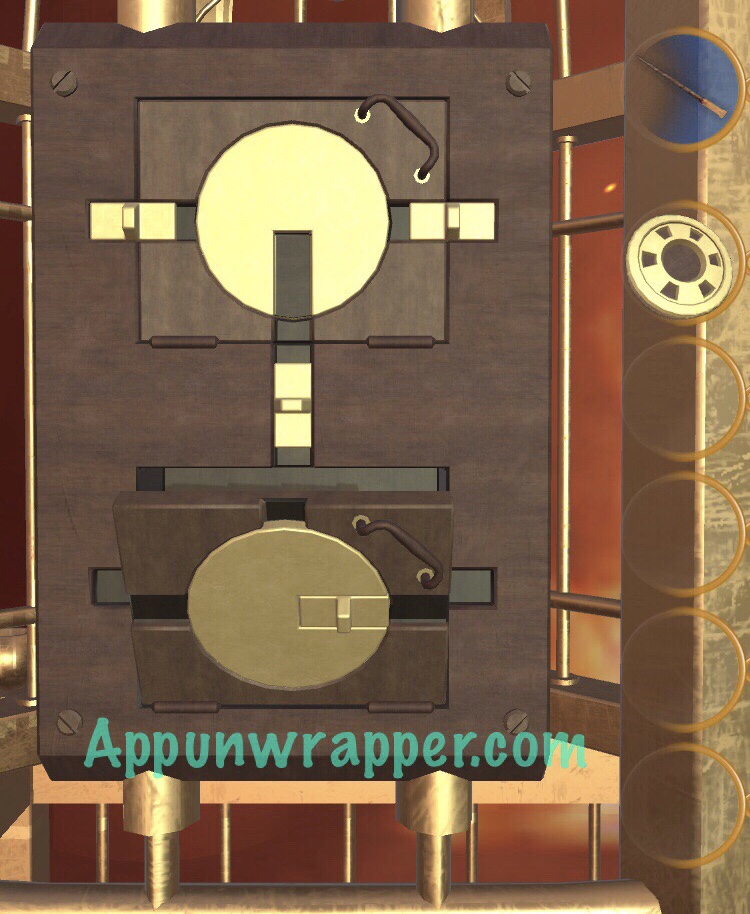
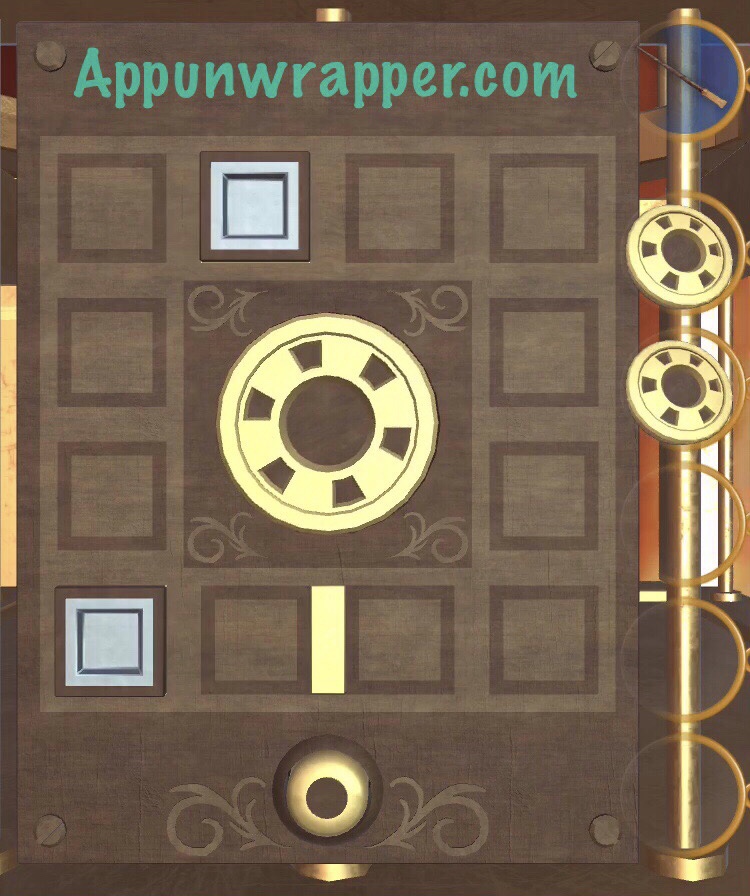
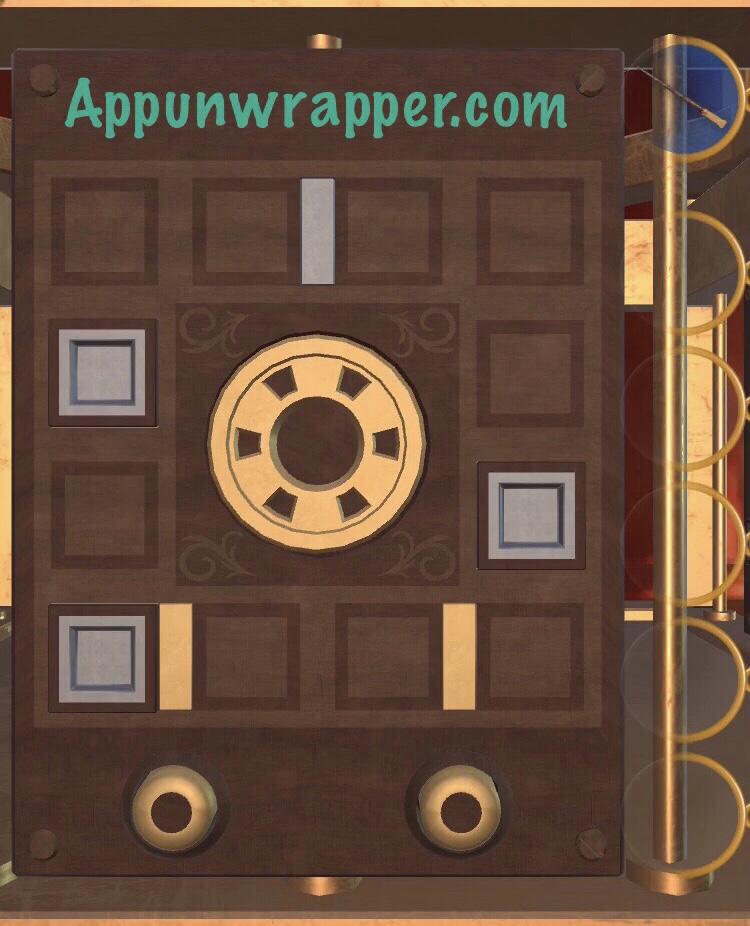
3. Continue right. For the top puzzle, rotate the disc and use it to move the two sliders out of the way so the flap can open. Take the coin. Then, move the sliders out of the way so the bottom disc has room for its own sliders. Get the second coin.
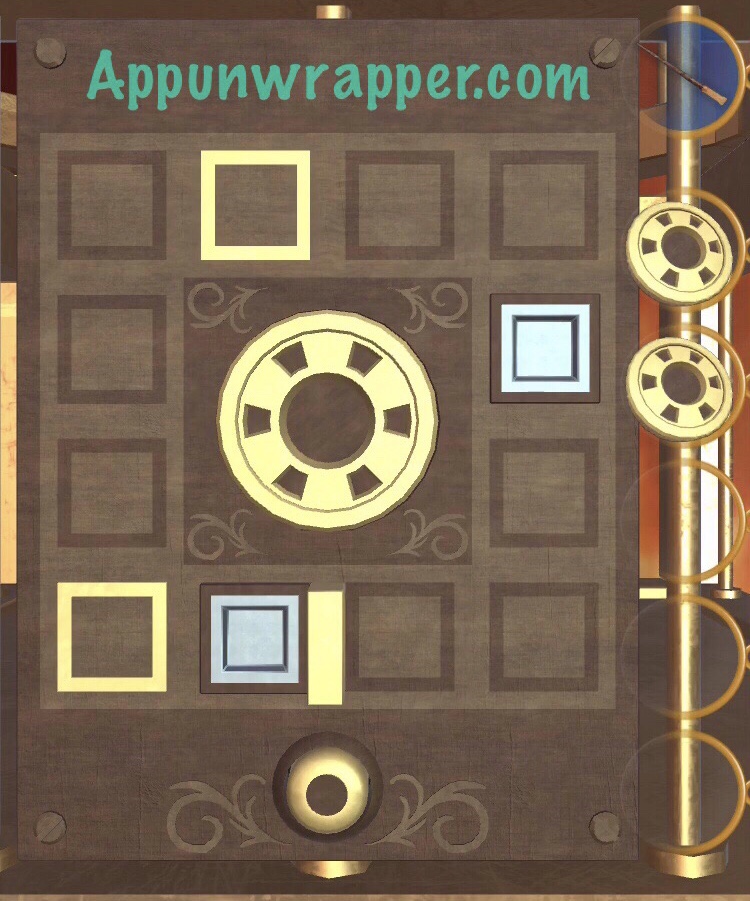
4. For the bottom puzzle, use the button to to put up a wall and keep some space between the two squares. Then use the wheel to move them to the gold spots.
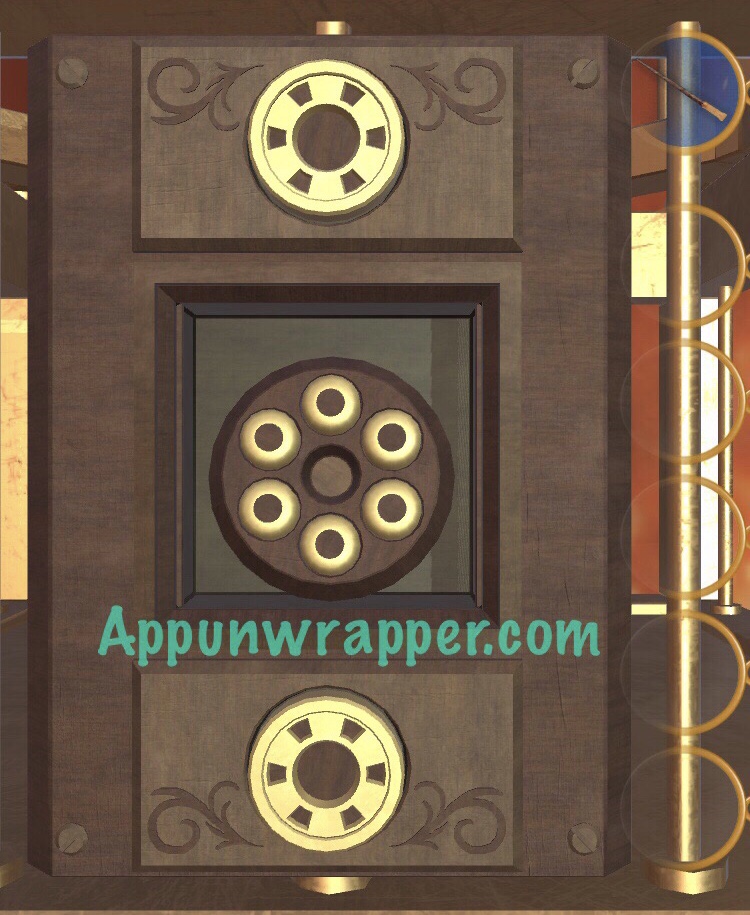
5. Place the two coins in the slots and rotate them. Take the wooden piece.
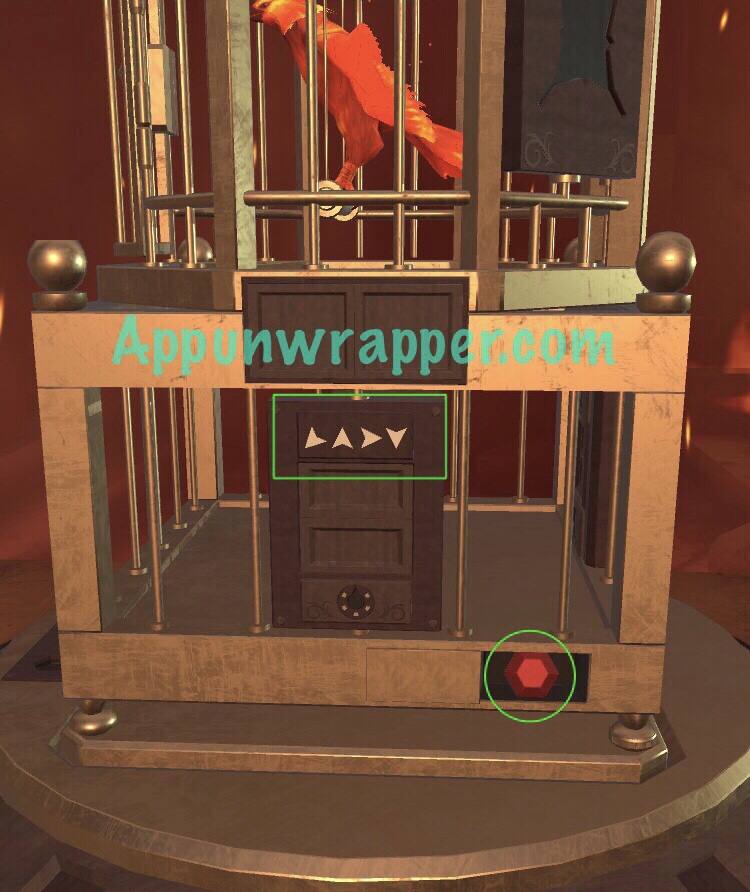
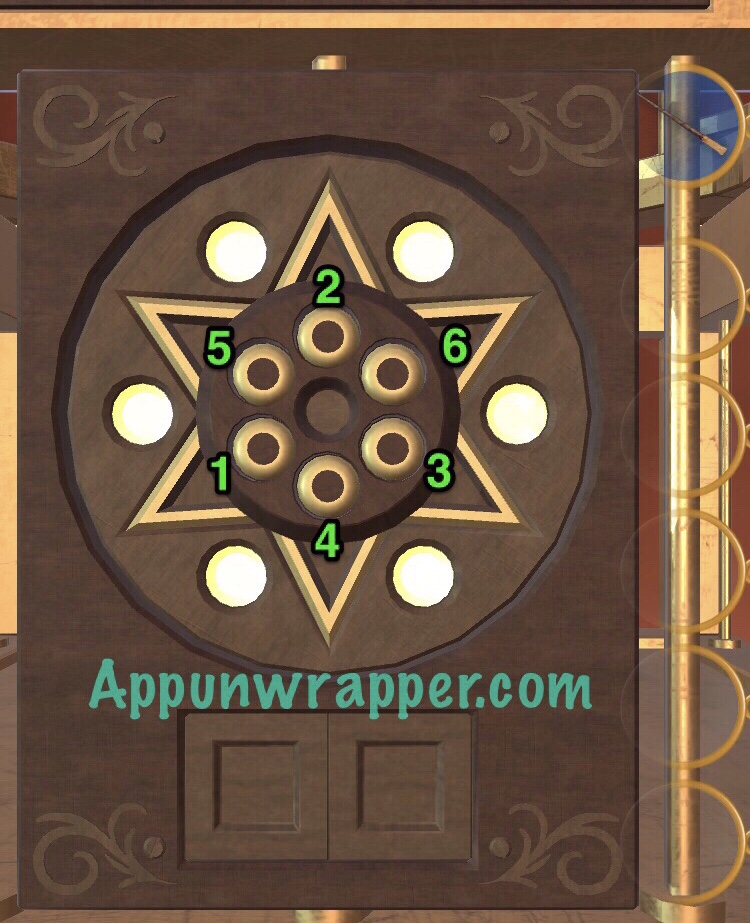
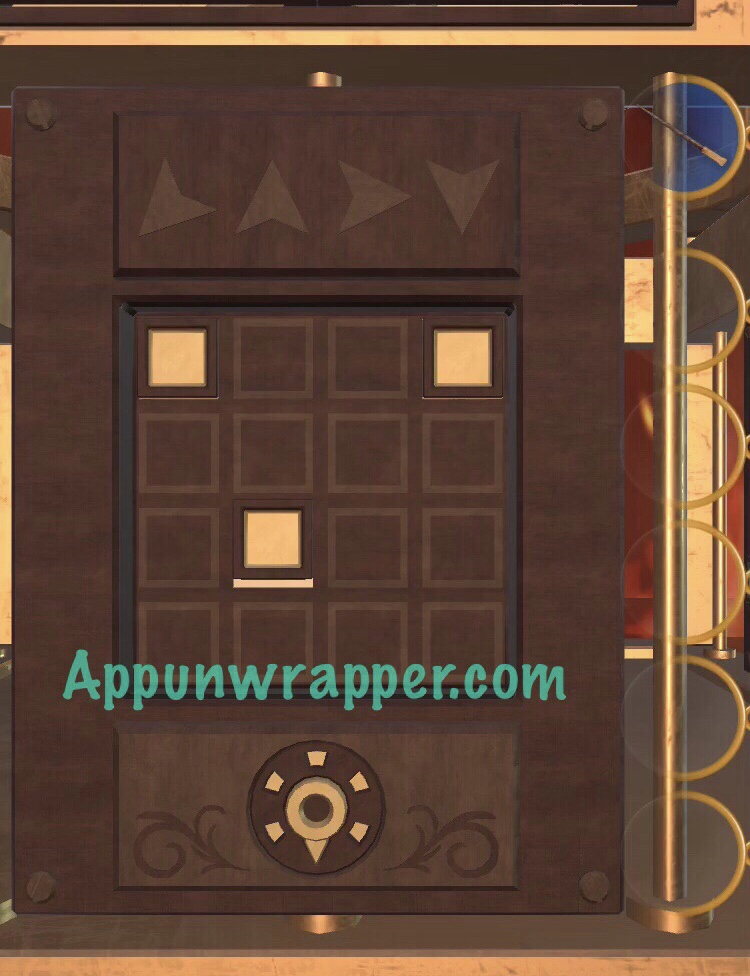
6. Turn right. This is where that arrow clue can help. Otherwise you need to solve it through trial and error. The arrows tell you the first four and then you only have two left. Press the buttons as numbered below. Then spin the wheel and a slider will appear. Pull the slider to access the puzzle on the other side.
7. Now you hav another puzzle where you have to get the square to the goal. It’s a bit more complicated this time but not too bad.

8. Slide the two sliders out and take the handle.
9. Find the slot for the handle below the arrows. Then use it like a safe lock and rotate it in those directions.

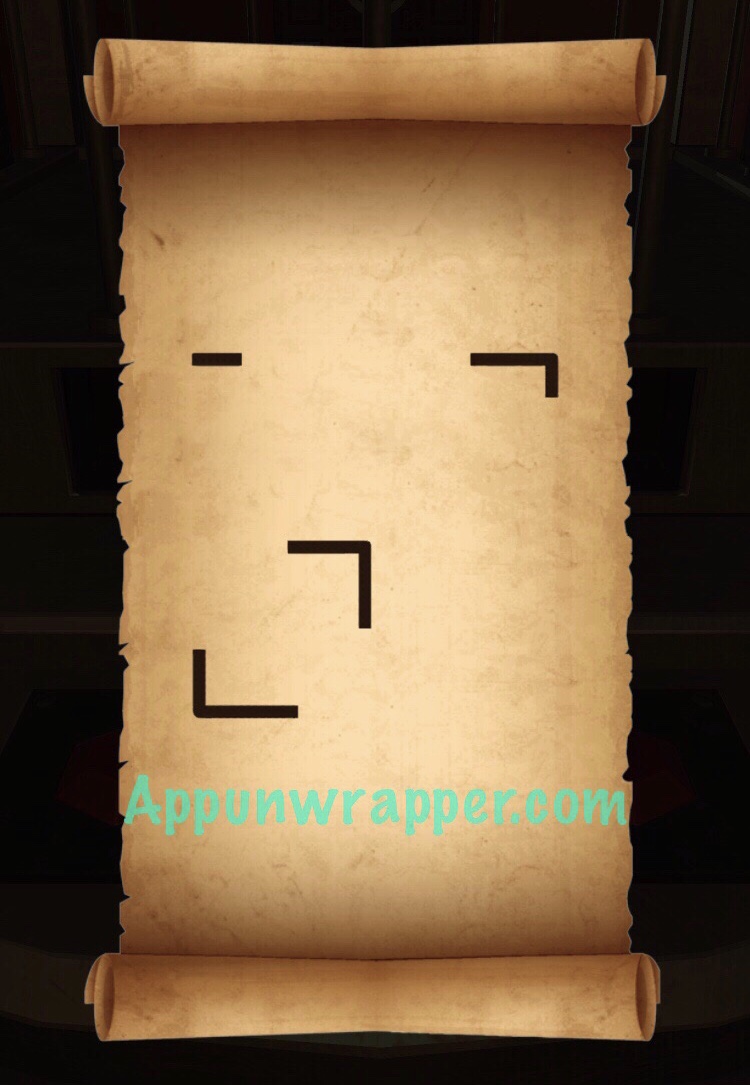
10. Use the Unlock spell to access another puzzle. This time, just drag the square pieces to the goals.
11. The last puzzle is tricky, but once you finish, take the wooden piece. Find the slot for it and pull the parts out to reveal a magic spot. Use the unlock spell on it and get the key.
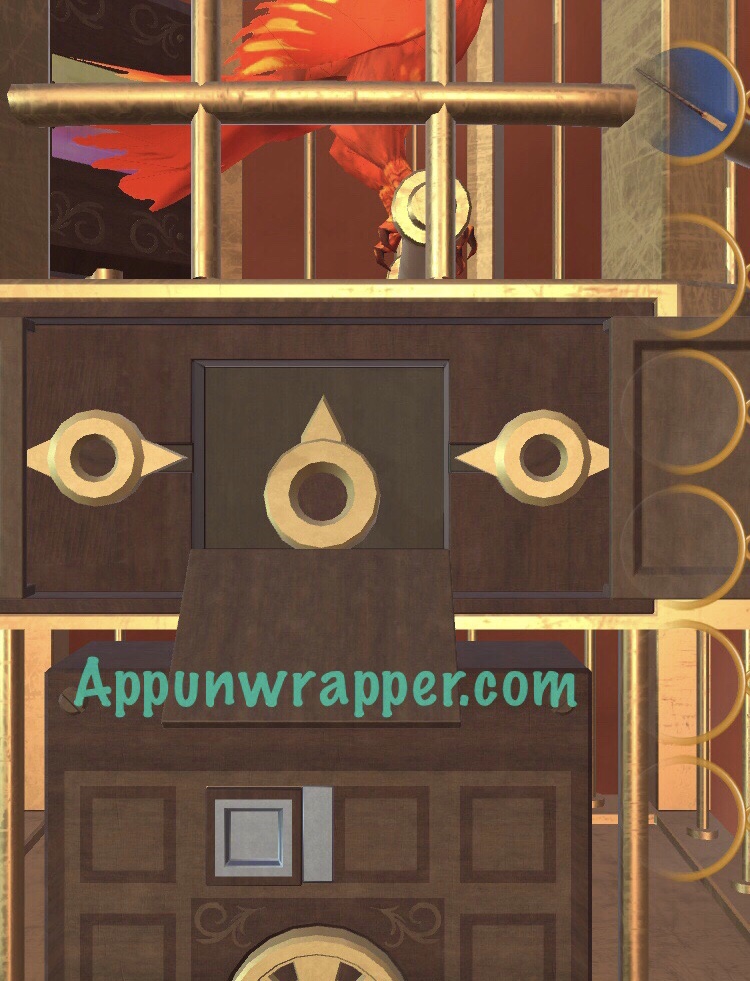
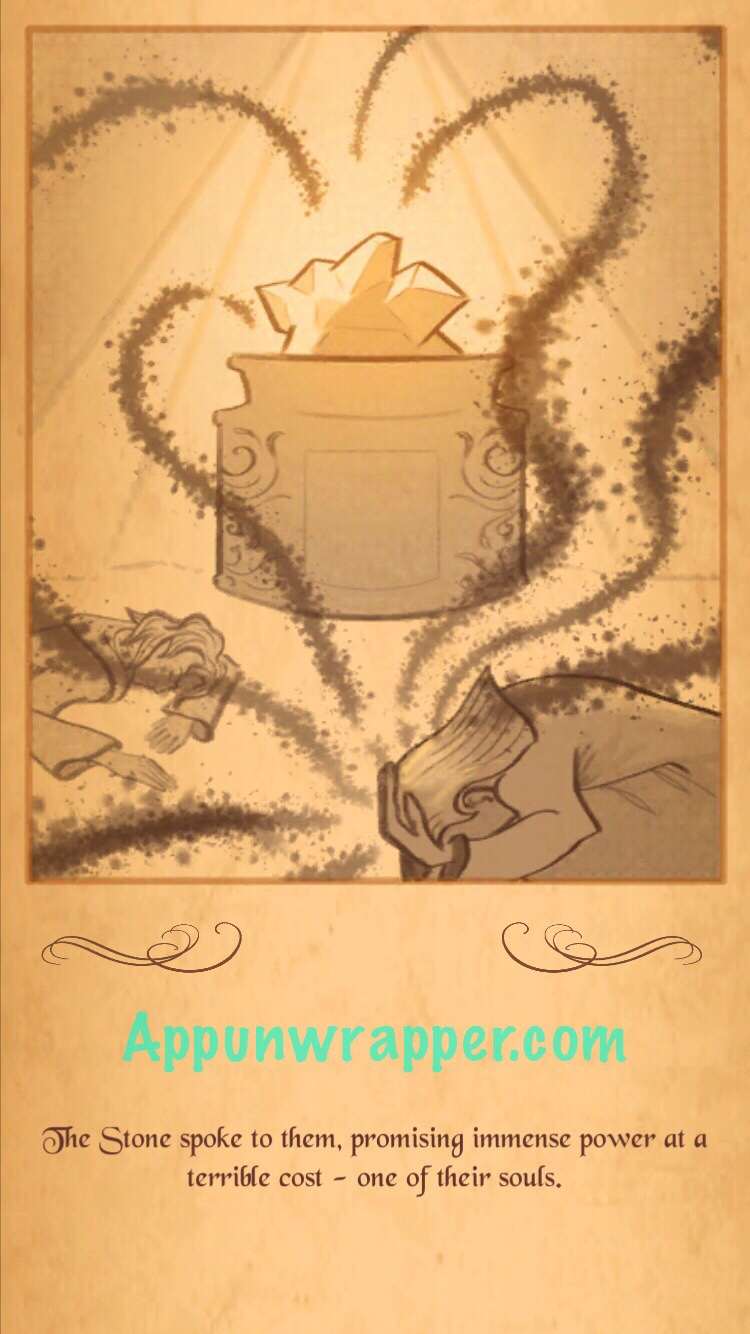
12. Read the secret scroll and use the key to free the phoenix.
Click on the level you need below or click hereto continue to the Level 15 walkthrough.