Adventure Escape Mysteries – Sweet Dreams
By: Haiku Games

Haiku Games is back with a new Adventure Escape game, this time about a 5-year-old boy’s dreams. You play as Revi, a Dream Manager who has to help young Arlo conquer his fears about starting school. This walkthrough guide should help you if you get stuck on any of the puzzles in Chapter 7 of Sweet Dreams. Feel free to ask for extra help in the comments section.
See all my other Adventure Escape guides here.
Walkthrough:
Chapter 1 | Chapter 2 | Chapter 3 | Chapter 4 | Chapter 5 | Chapter 6 | Chapter 7
Chapter 7:
You can watch my video for Chapter 7 or continue below for my step-by-step guide:
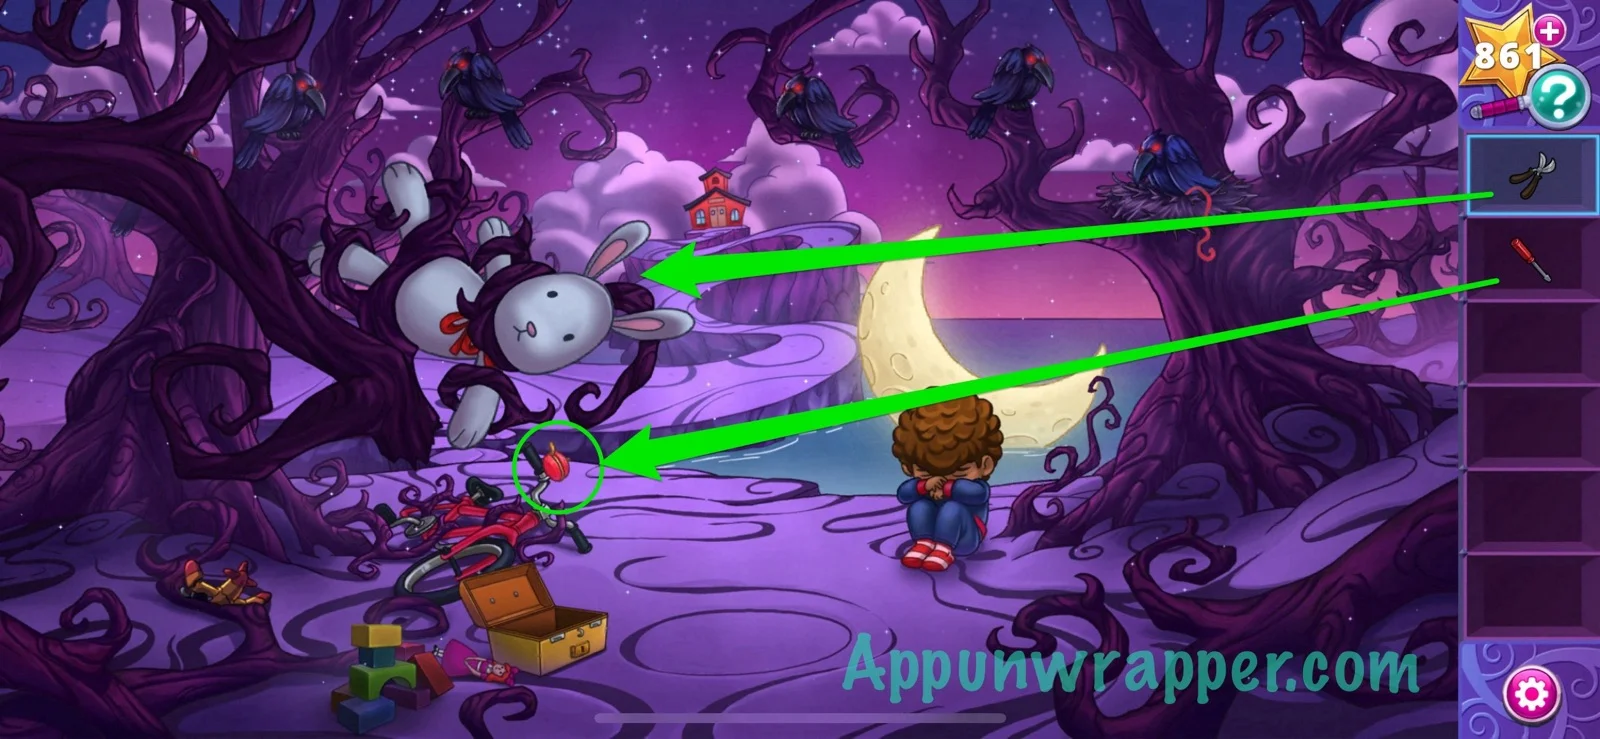
1. Arlo’s parents are finally starting to worry because he won’t wake up. Meanwhile, we’re trapped in Arlo’s nightmare. He’s sad because his bunny is stuck in a tree. First, grab the twig from the tree.
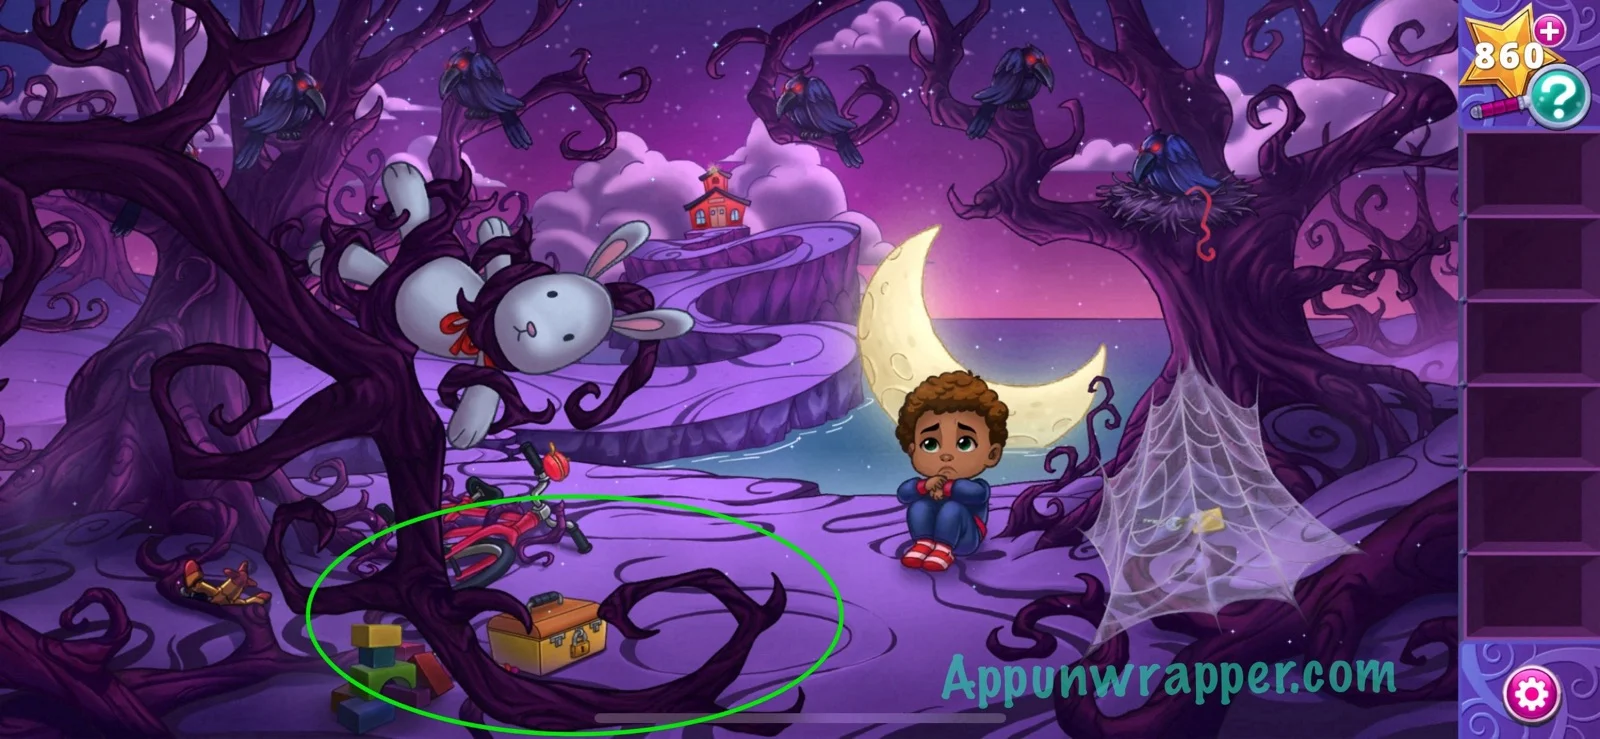
2. Use the twig to get rid of the cobwebs and then grab the key.

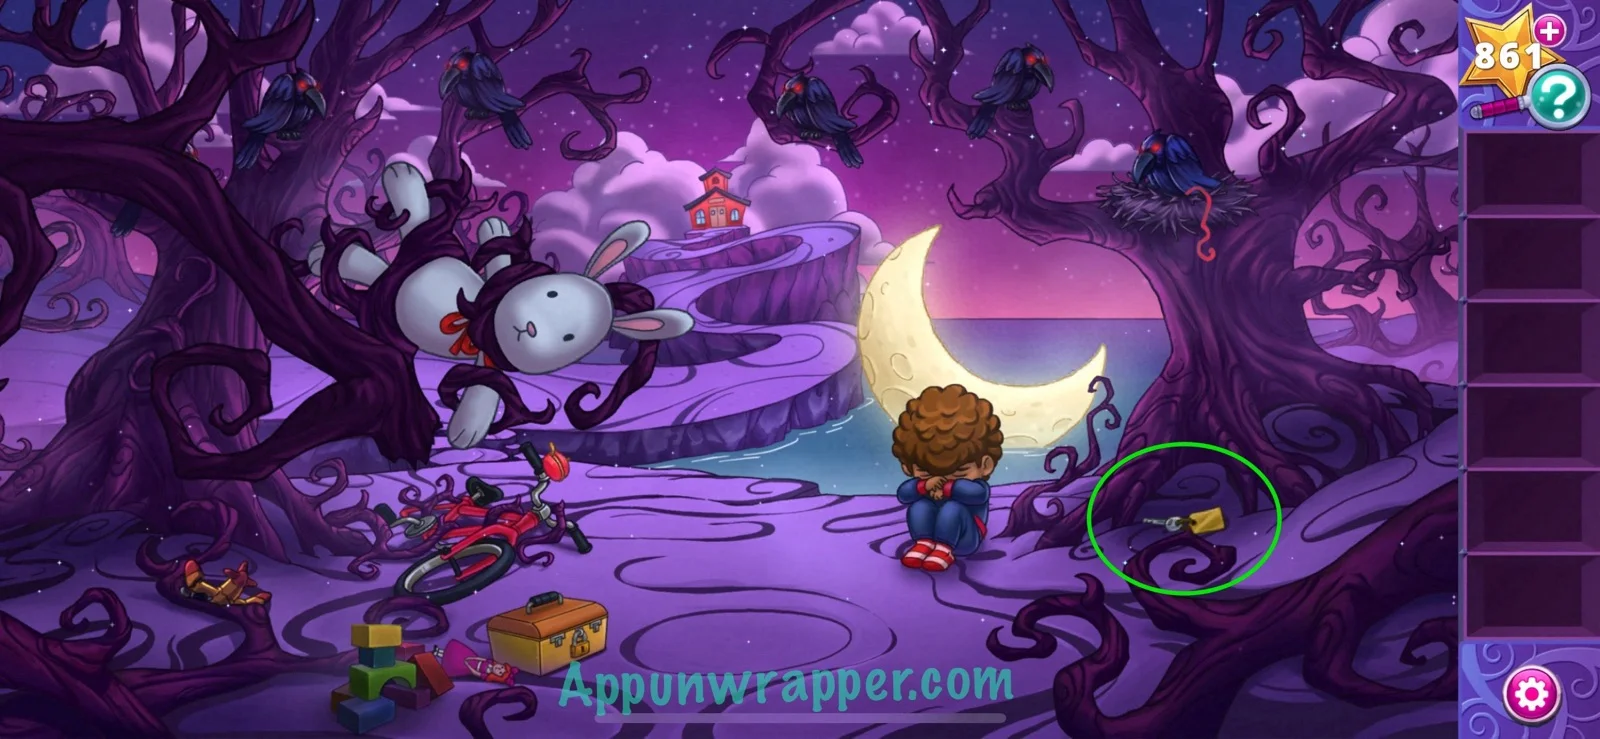
3. Use the key to unlock the toolbox and take the screwdriver and garden snips from inside.
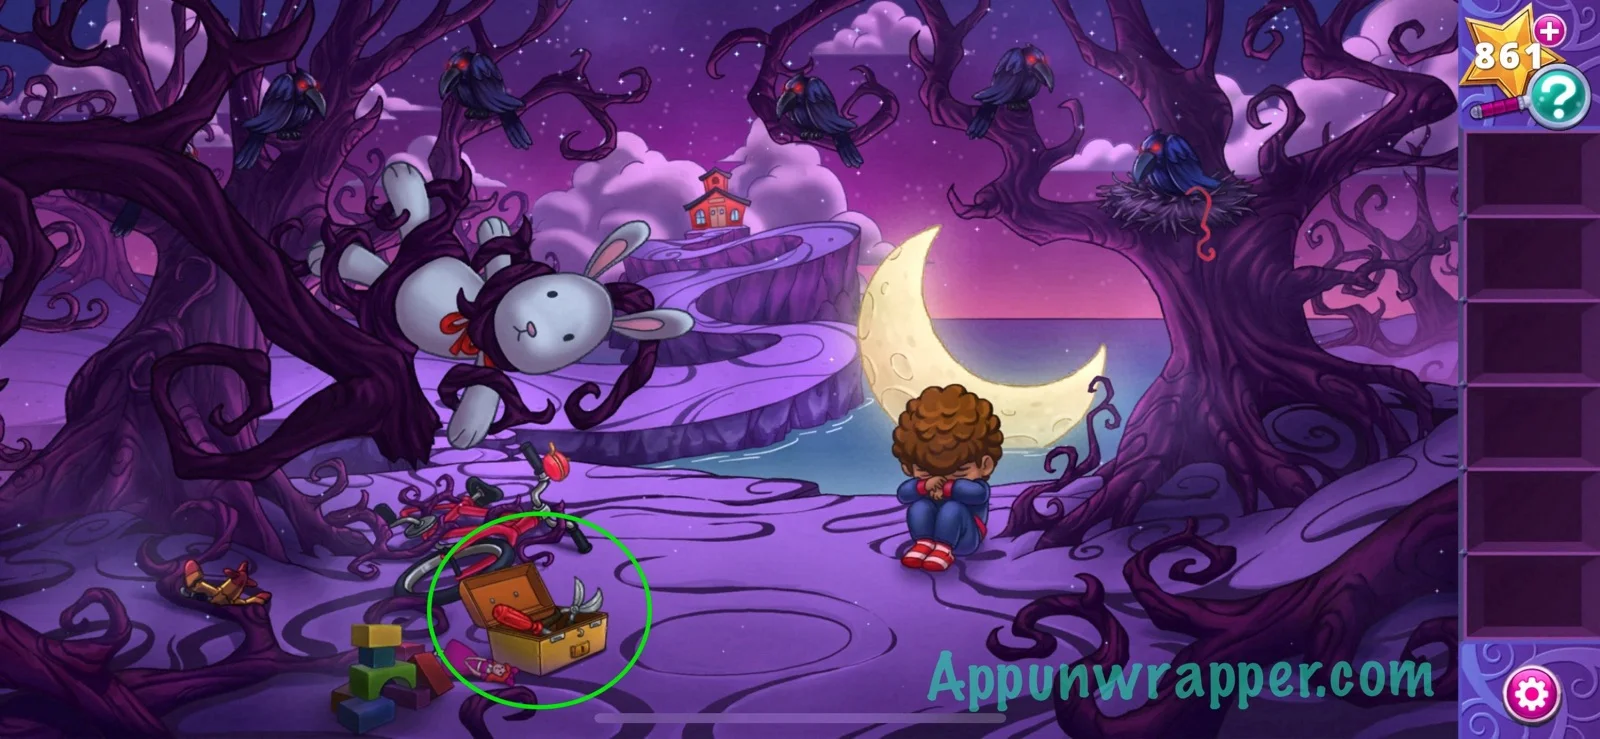
4. Use the screwdriver to remove the bicycle bell. Use the garden snips to cut the stuffed bunny out of the tree and then give it to Arlo.
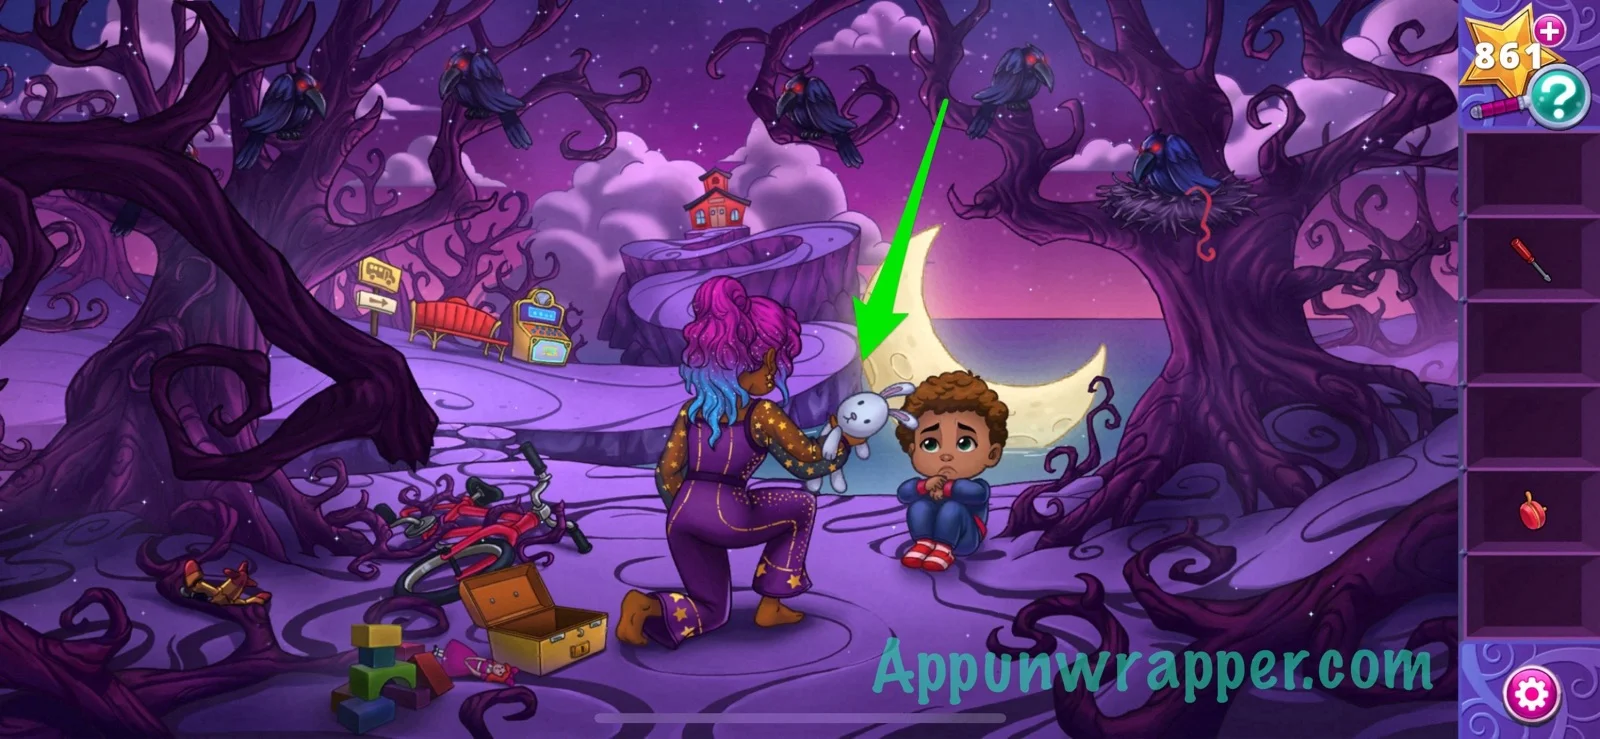
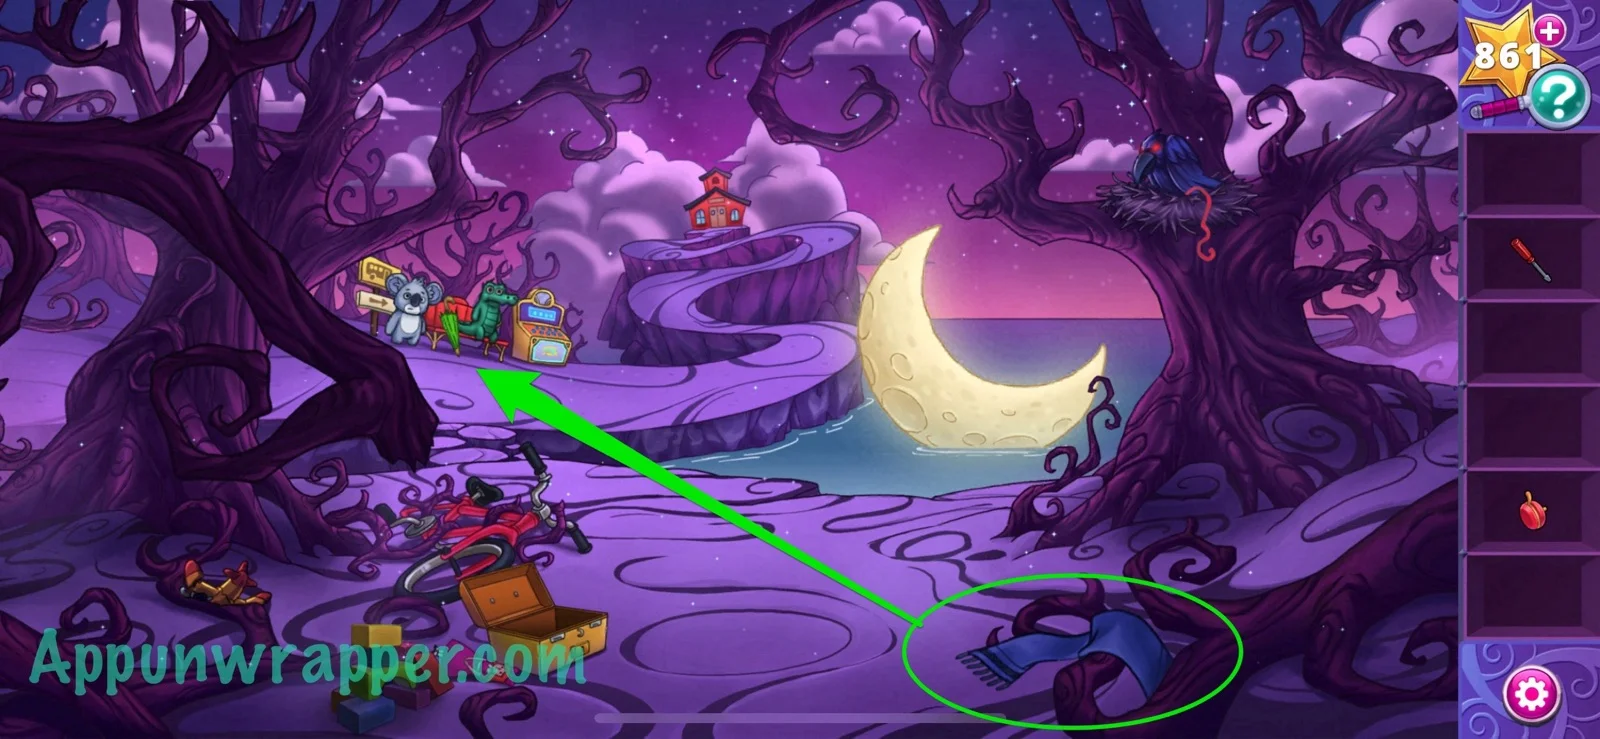
5. After talking to Carlos and Kevin, pick up the scarf and give it to them to get the green umbrella.
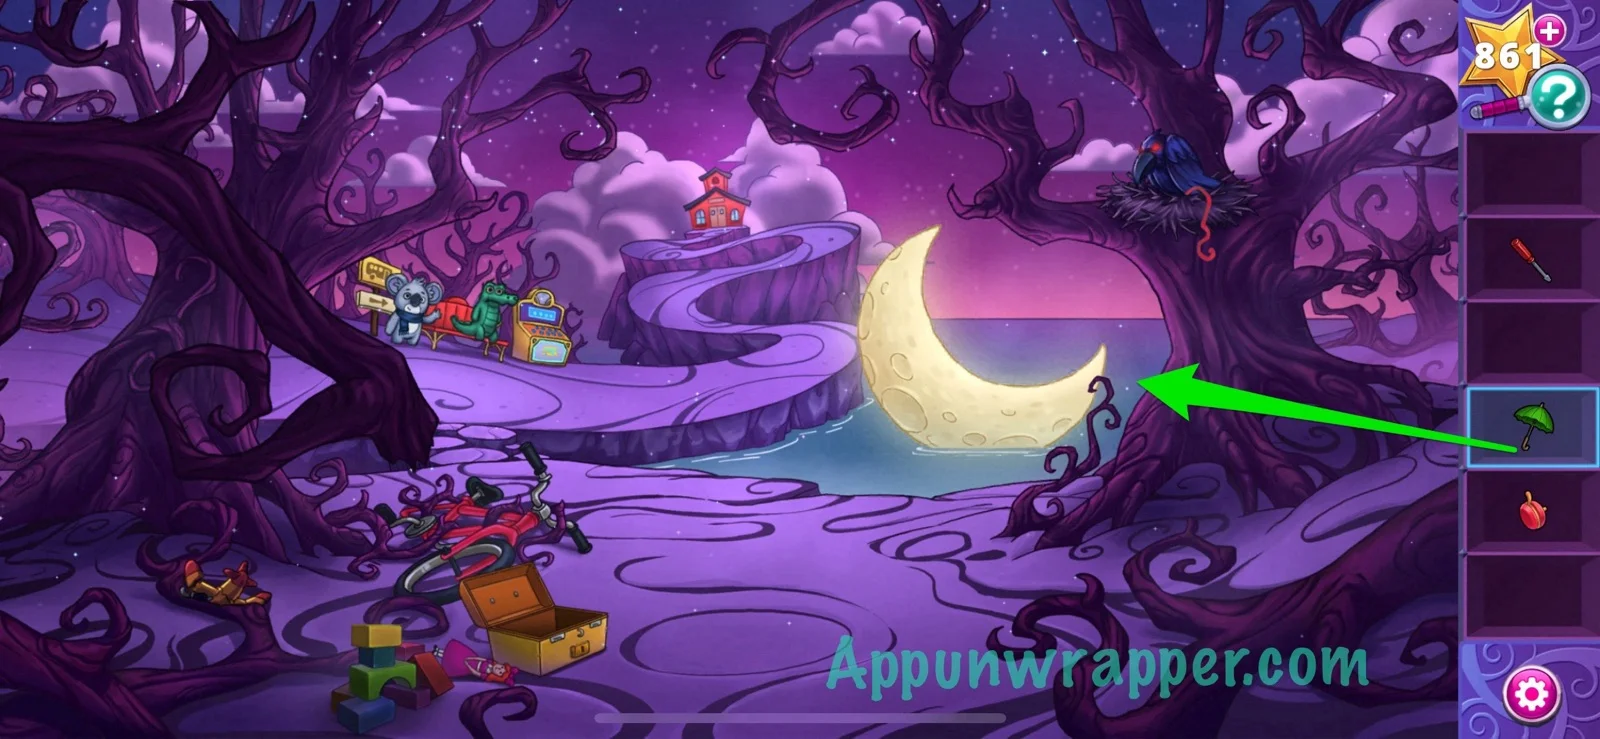
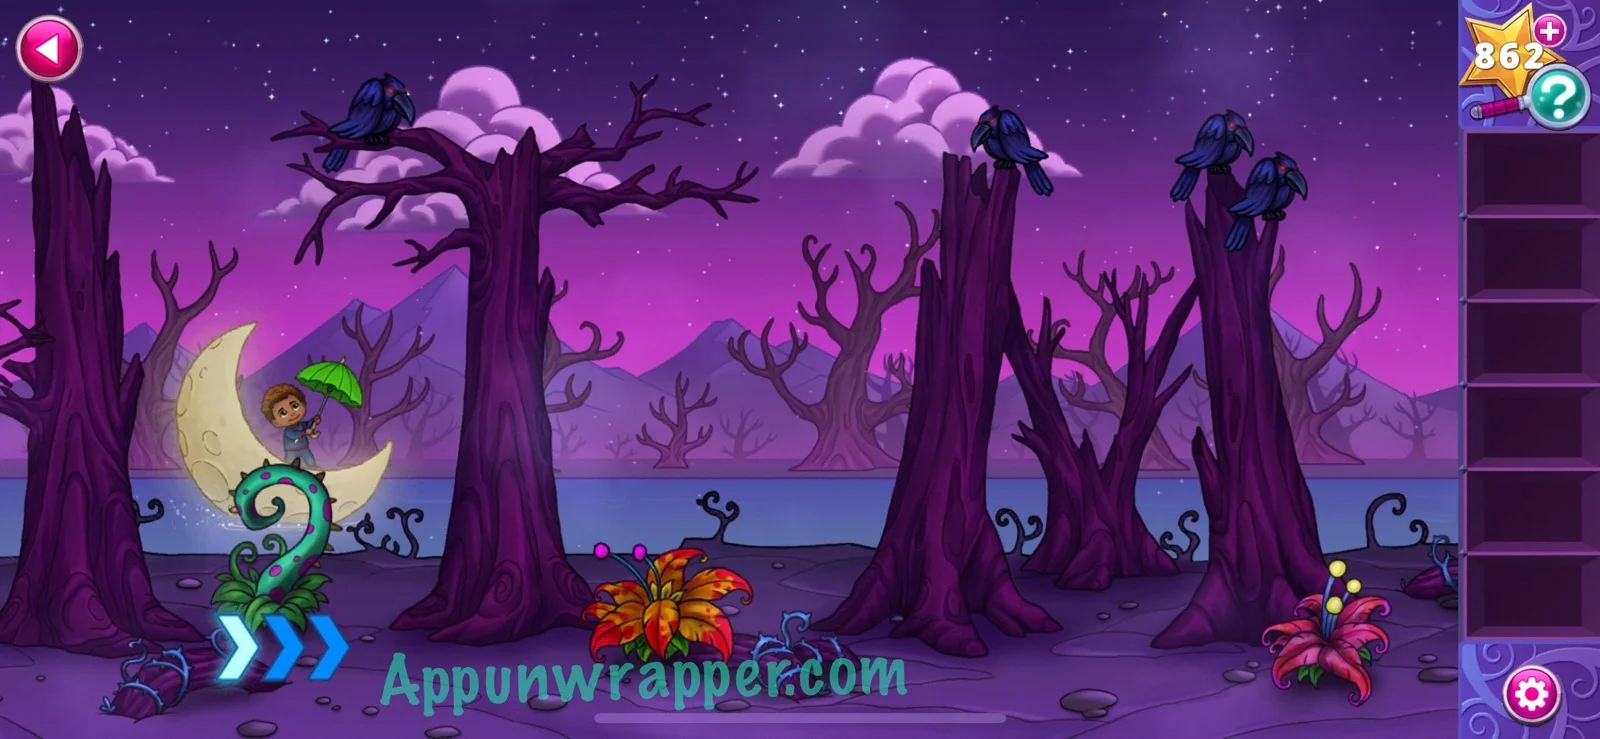
6. Use the green umbrella with the moon to turn it into a sailboat.
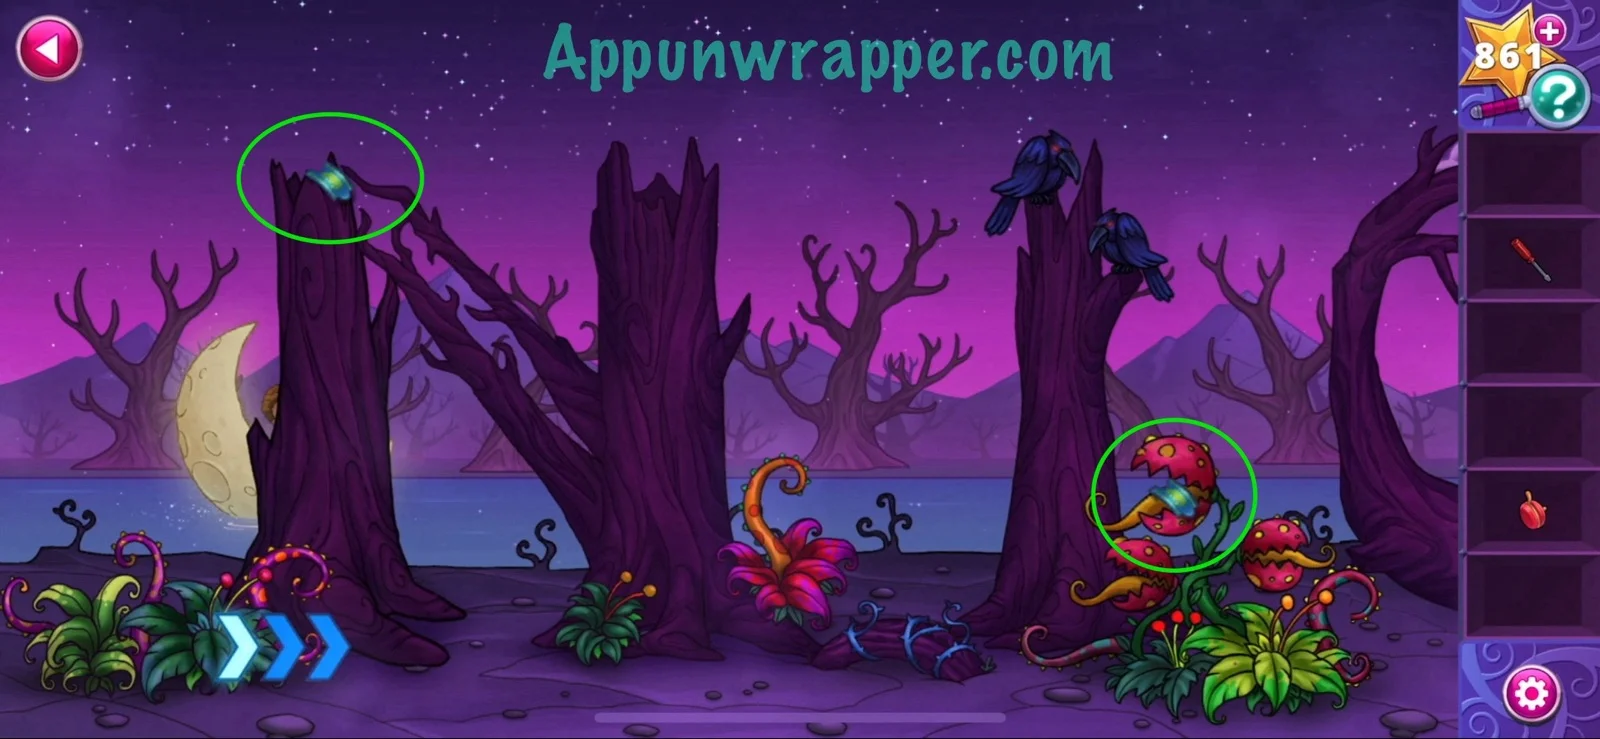
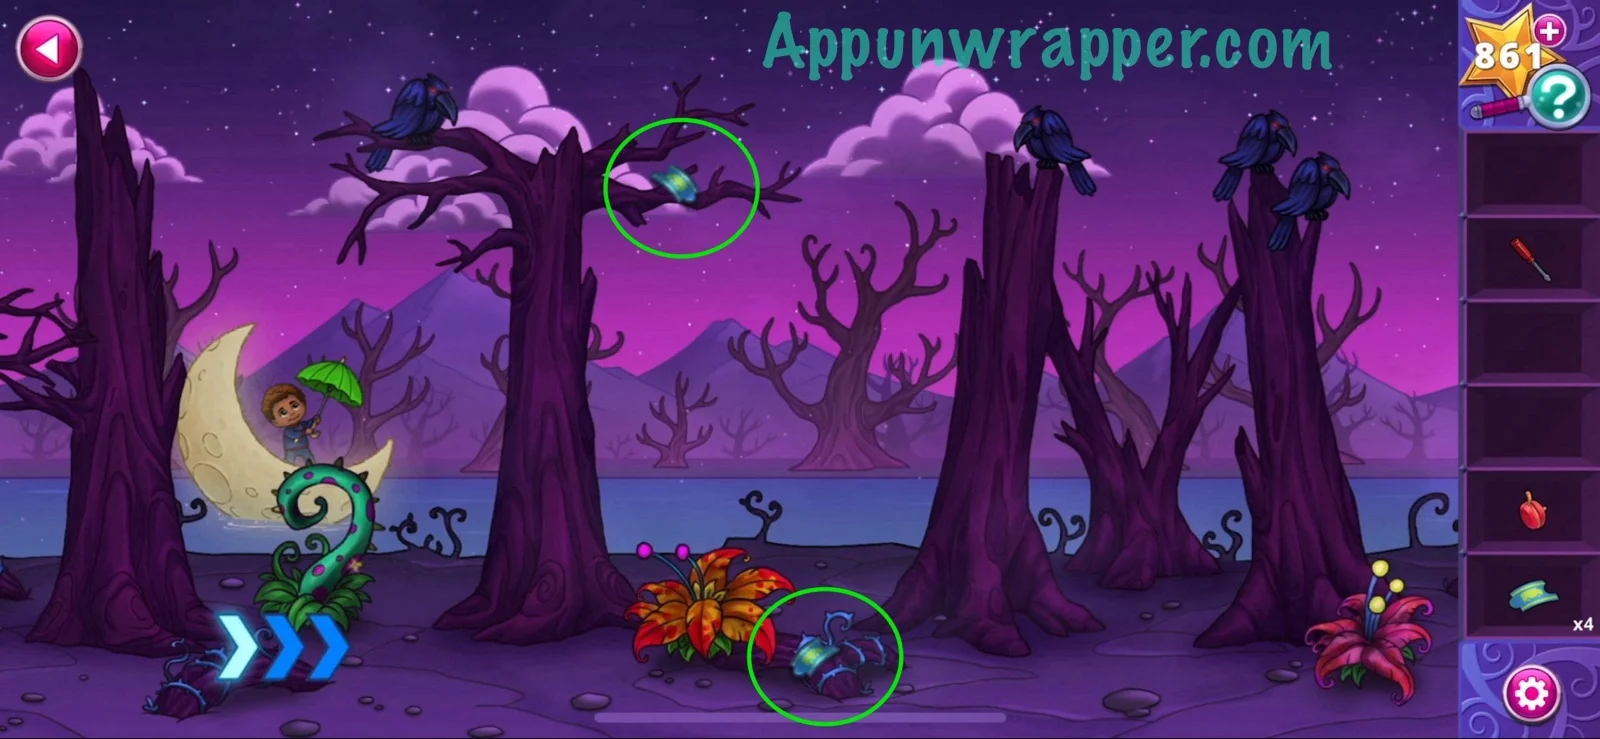
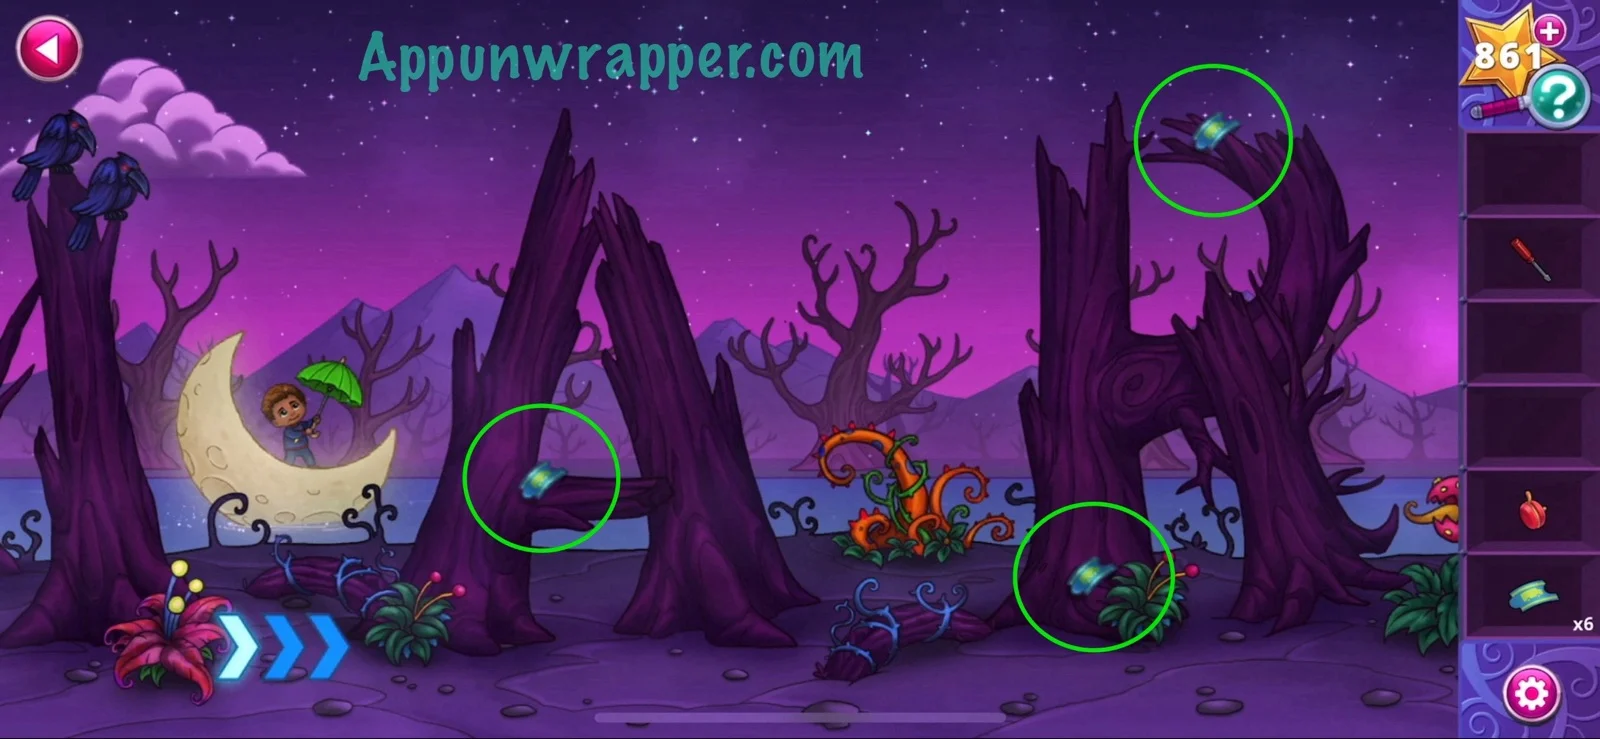
7. While riding the boat, pick up all the bus tickets you see. There are 10 in total. Also, notice the trees spell out the word NIGHTMARE. Also, make sure to get the bird seeds from the sunflowers at the end.


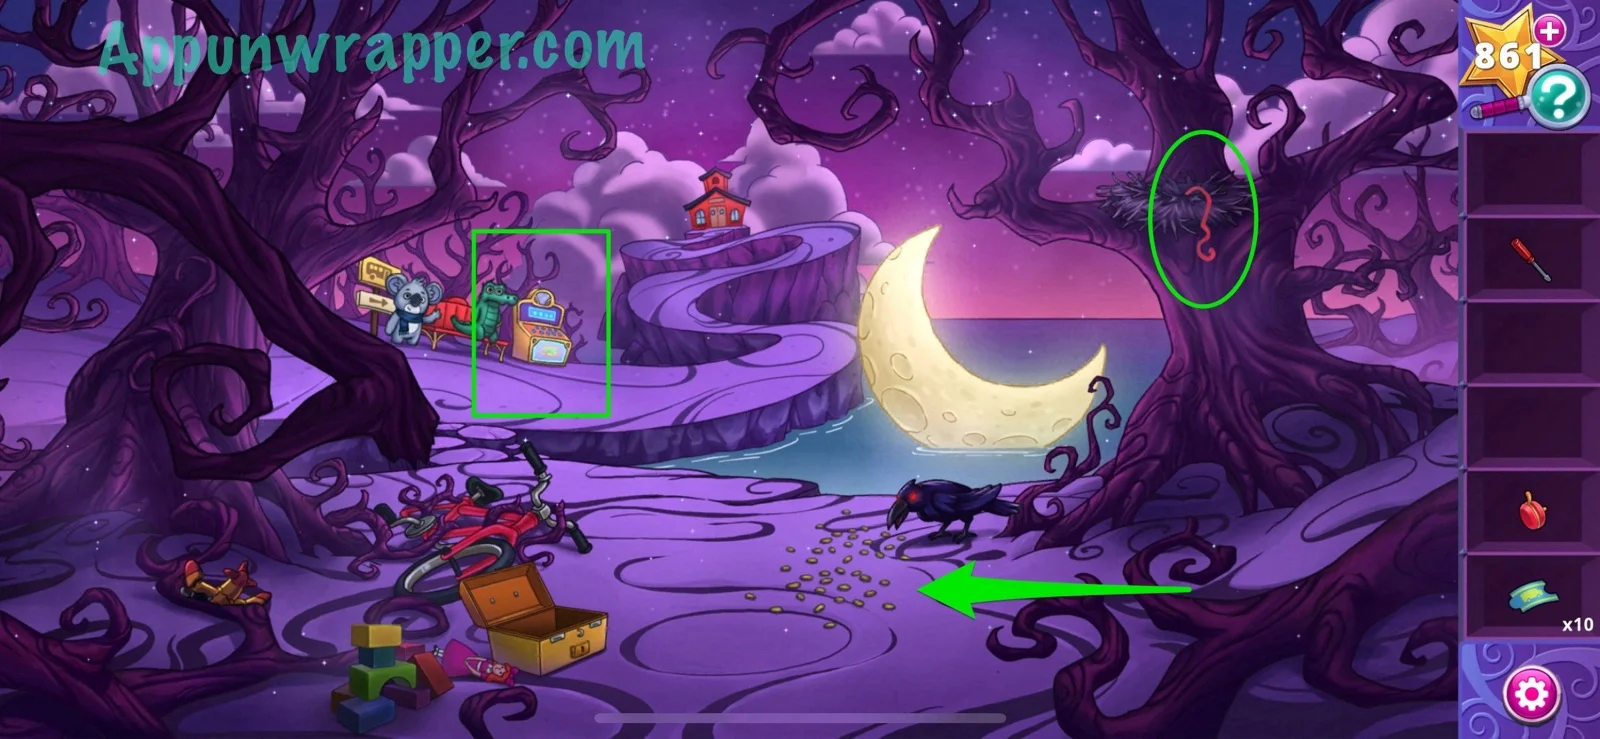
8. Feed the bird seeds to the crow and take the red wire. Also, take a look at the kiosk that’s broken.
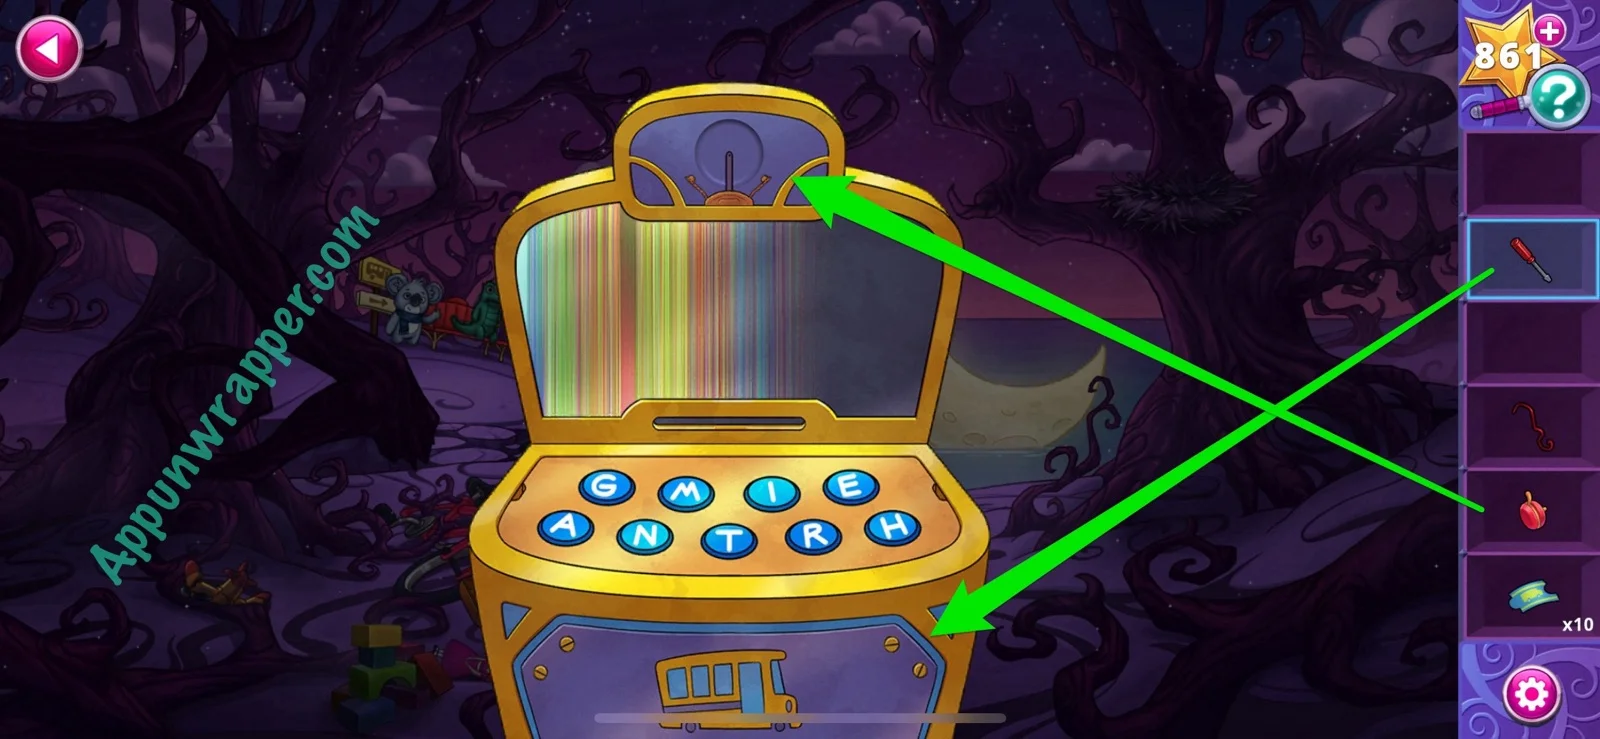
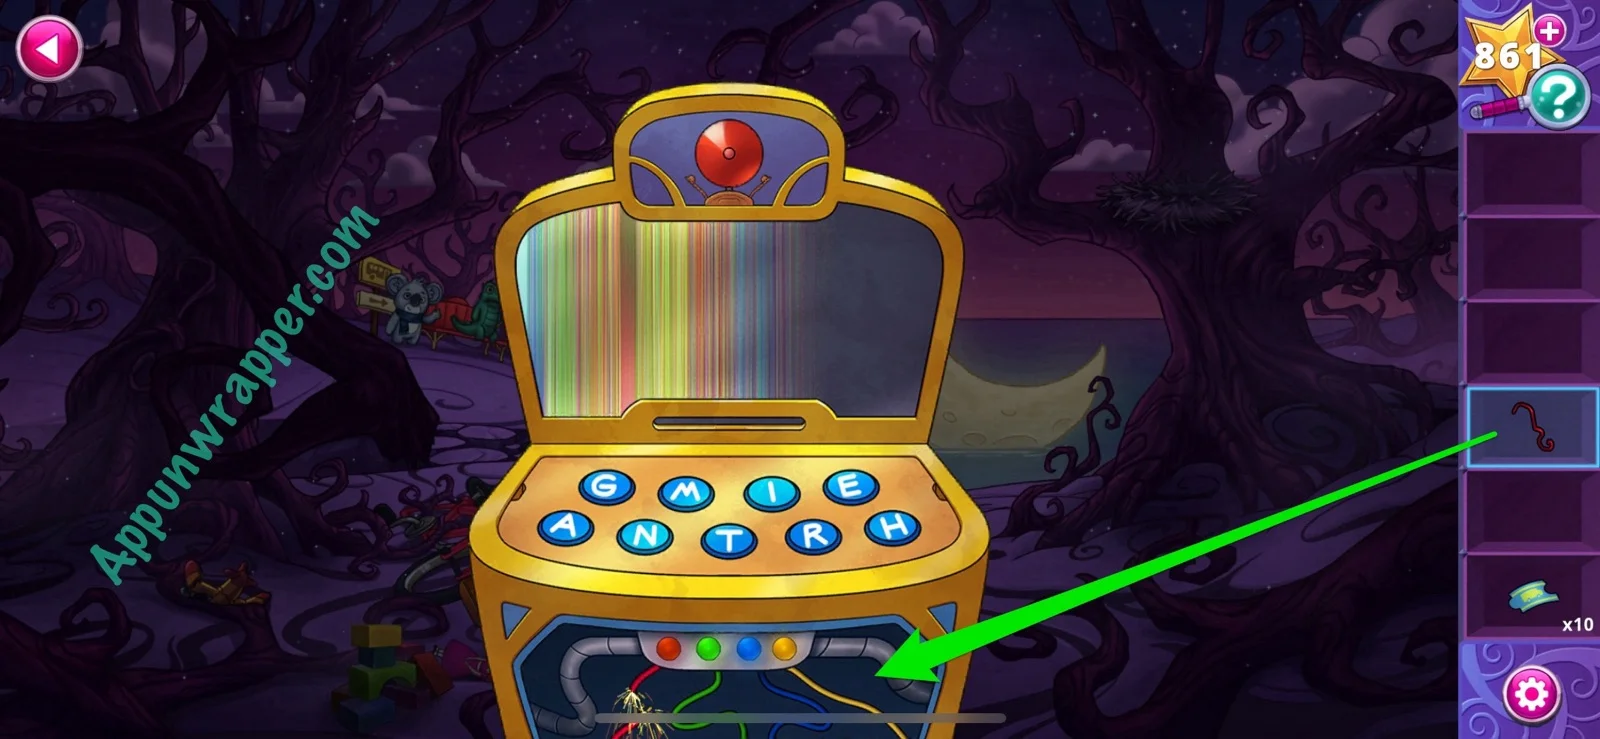
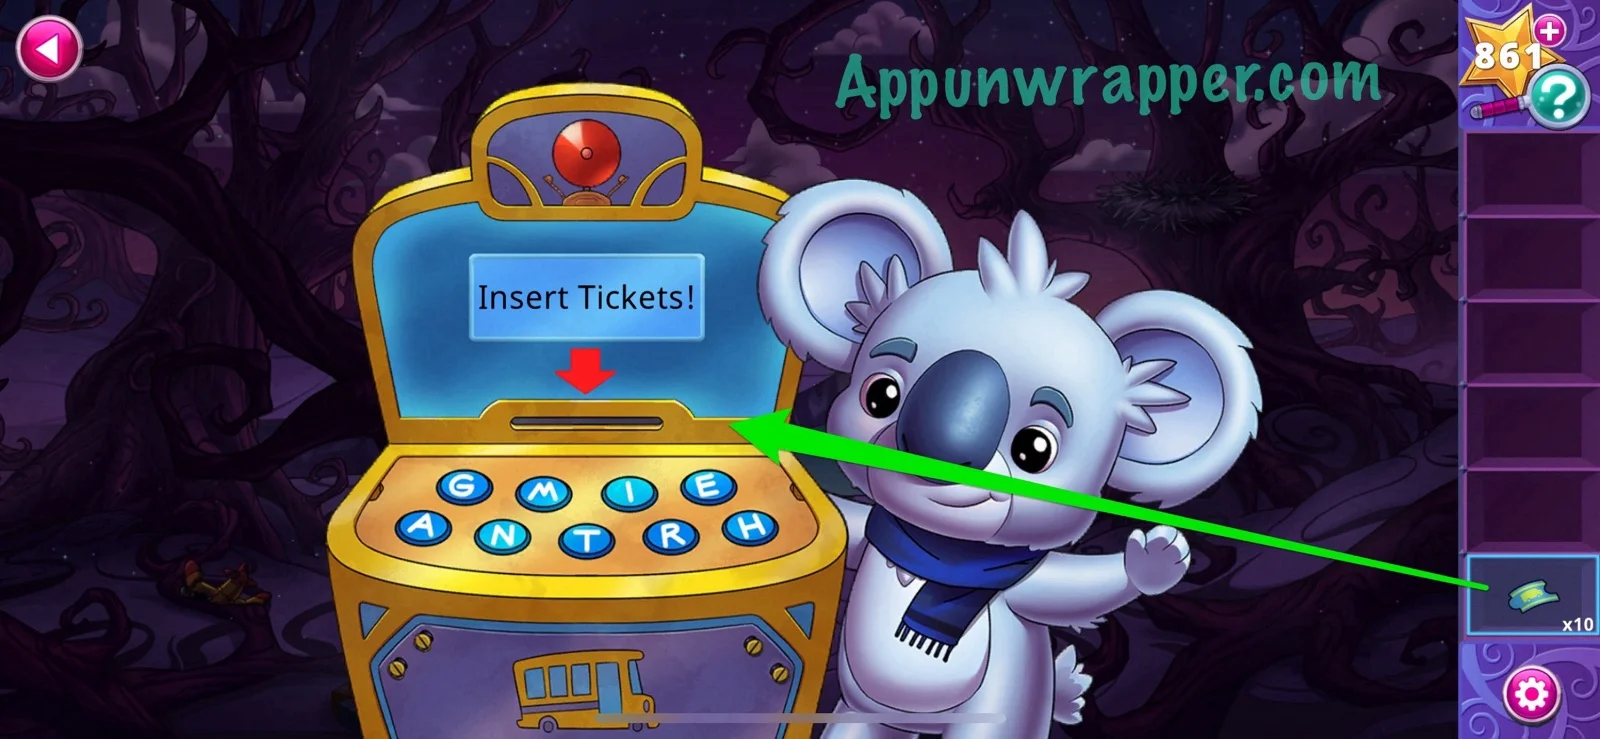
9. Place the bike bell at the top and use the screwdriver to open the bottom panel. Then replace the red wire. Insert the bus tickets.
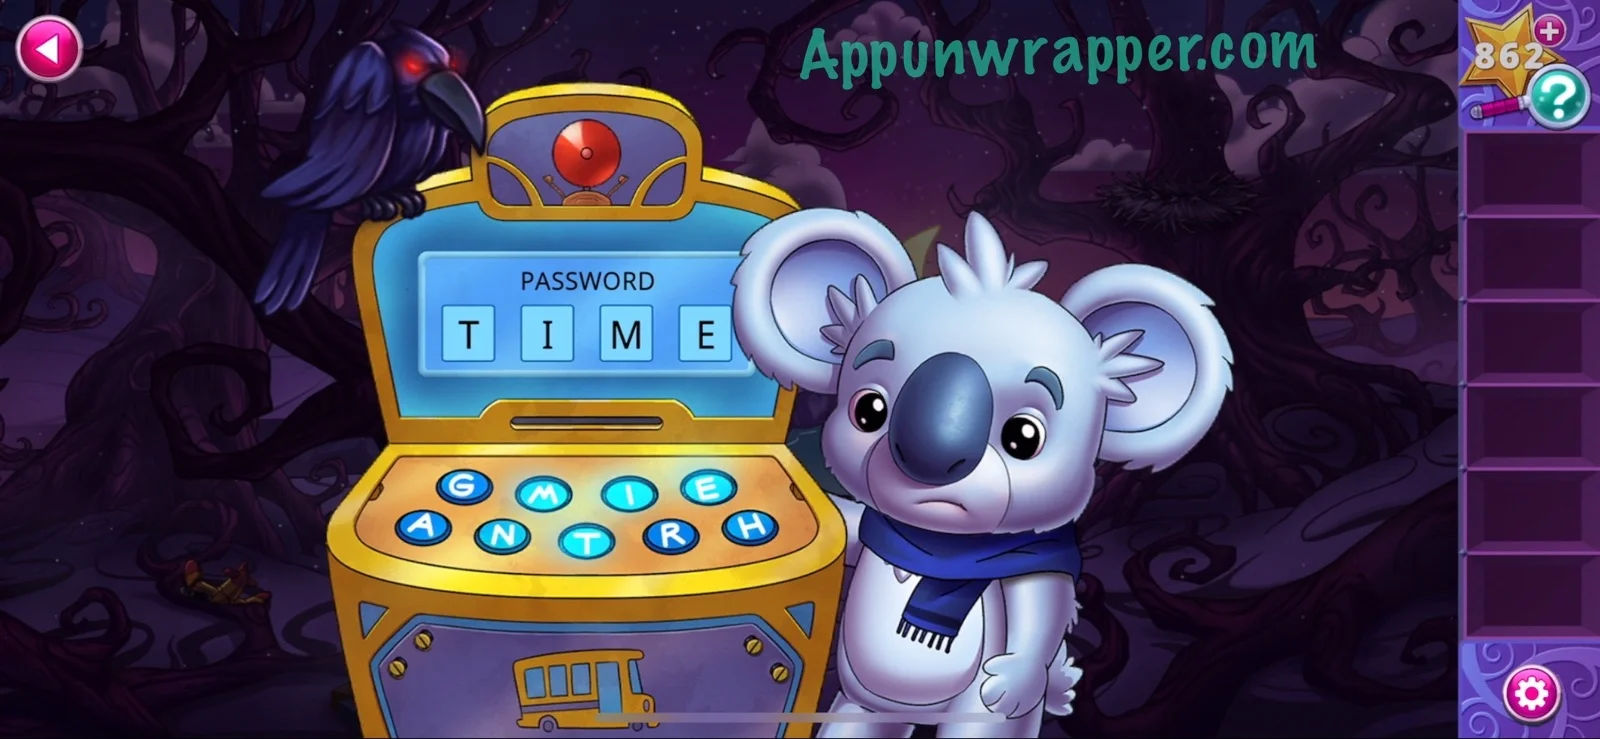
10. We need a 4-letter password. A crow lands on the kiosk as a clue.
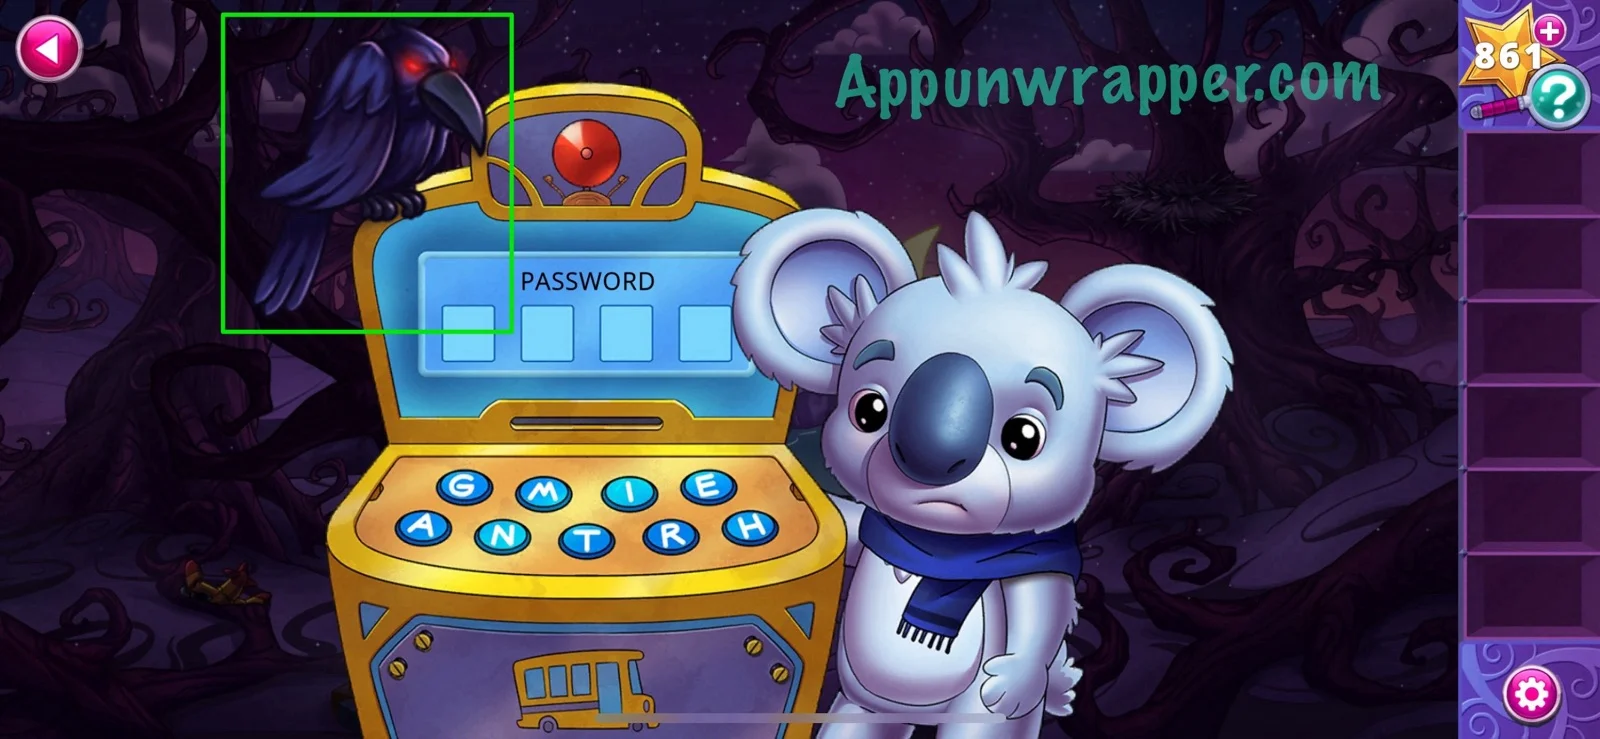
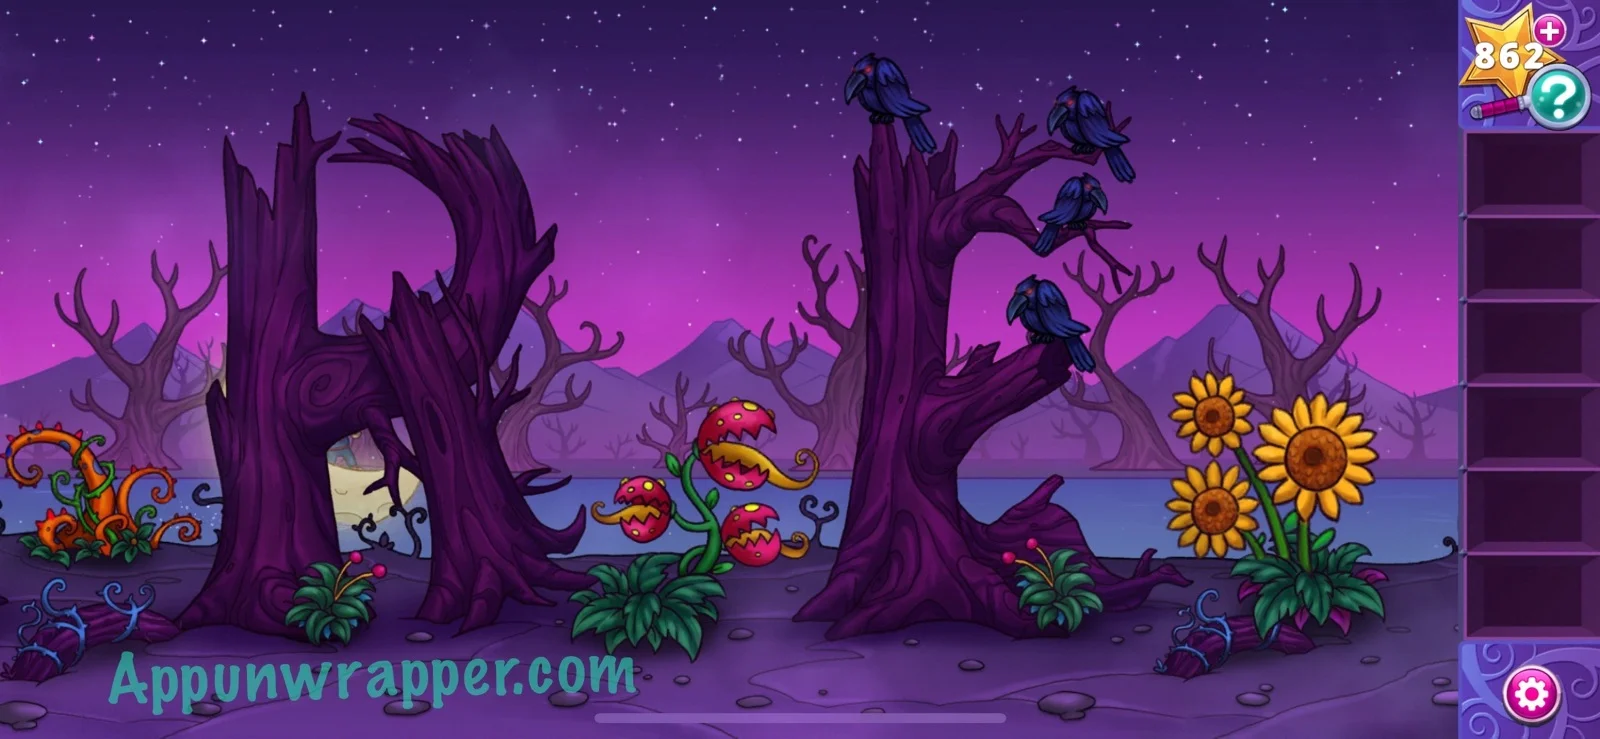
11. Go back to the boat ride and see which letters have crows on them. Also, count the number of crows on each letter. You end up with 2 on I, 1 on T, 3 on M, and 4 on E. Put them in order from 1 to 4 and you get TIME.

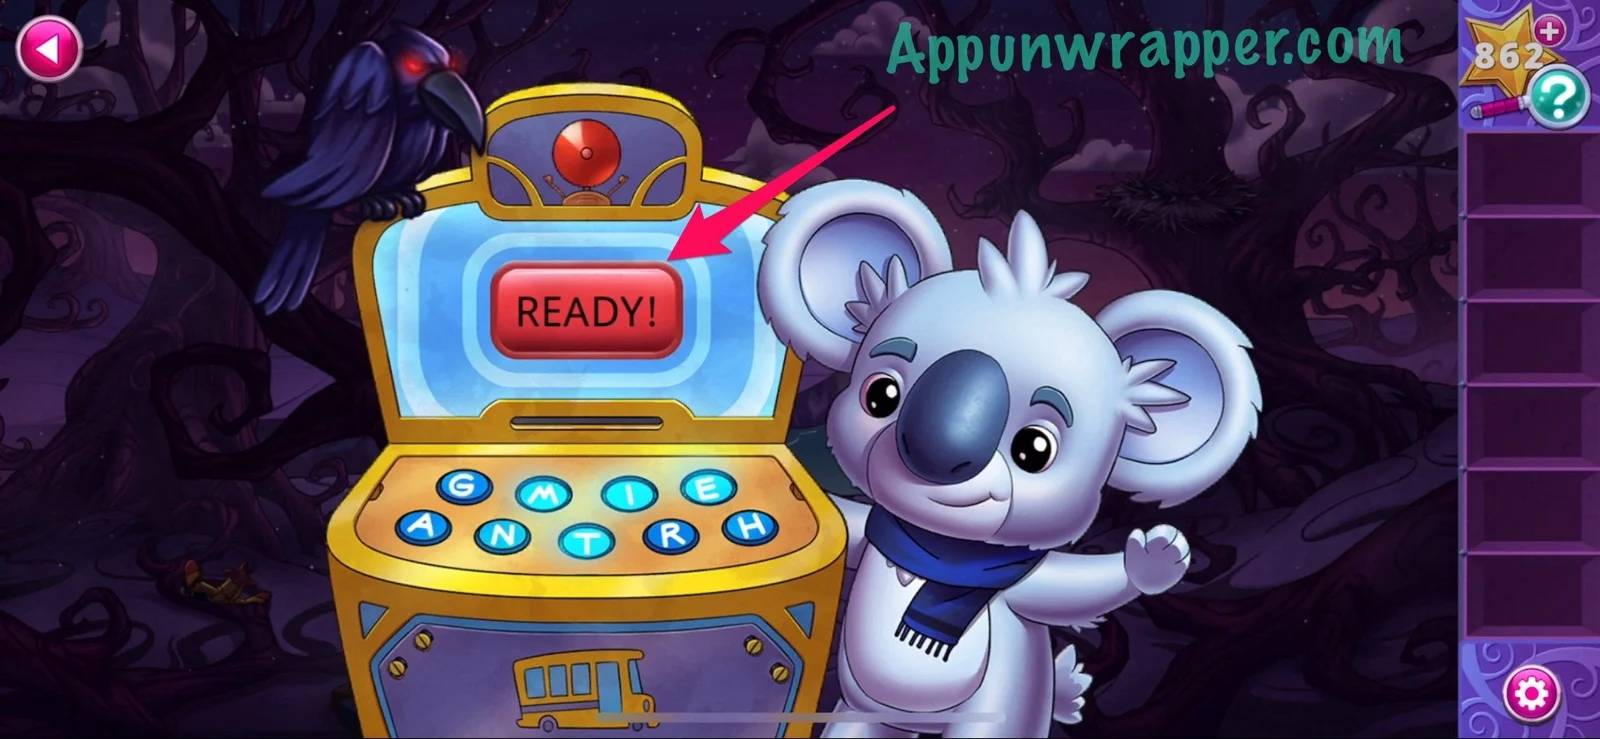
12. Press the letters TIME on the kiosk. Then press the big READY button to call the bus.
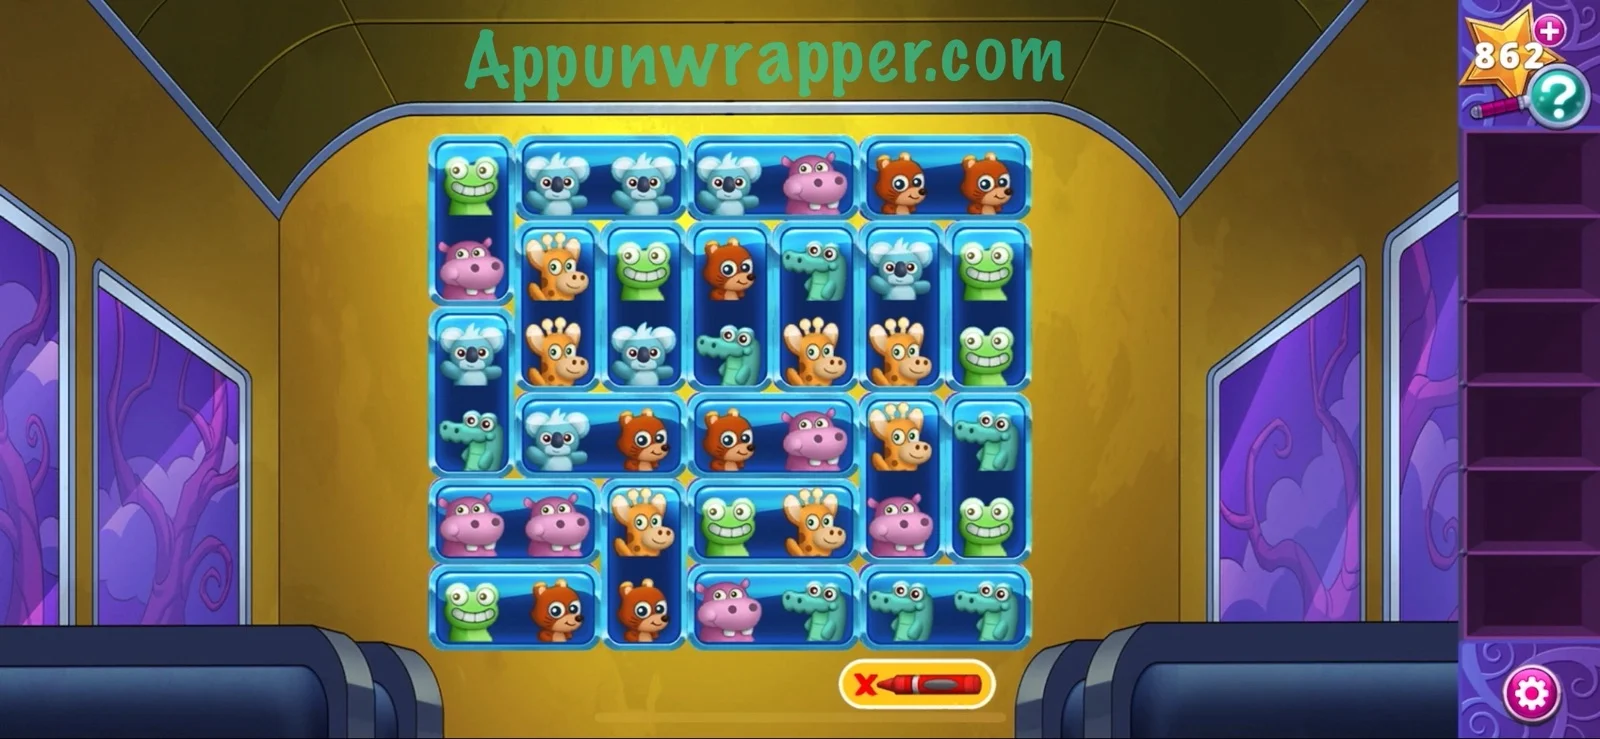
13. Get on the bus and meet everyone. Now we have to solve the Bus Friends puzzle. Look at the school bus seating chart. Use it to match up pairs of animals without creating any duplicate pairs. Select two adjacent animals to create a pair. As an optional tool, place X’s (from the bottom X button) between animals that you think can’t be paired together. Then the bus will head over to the school.

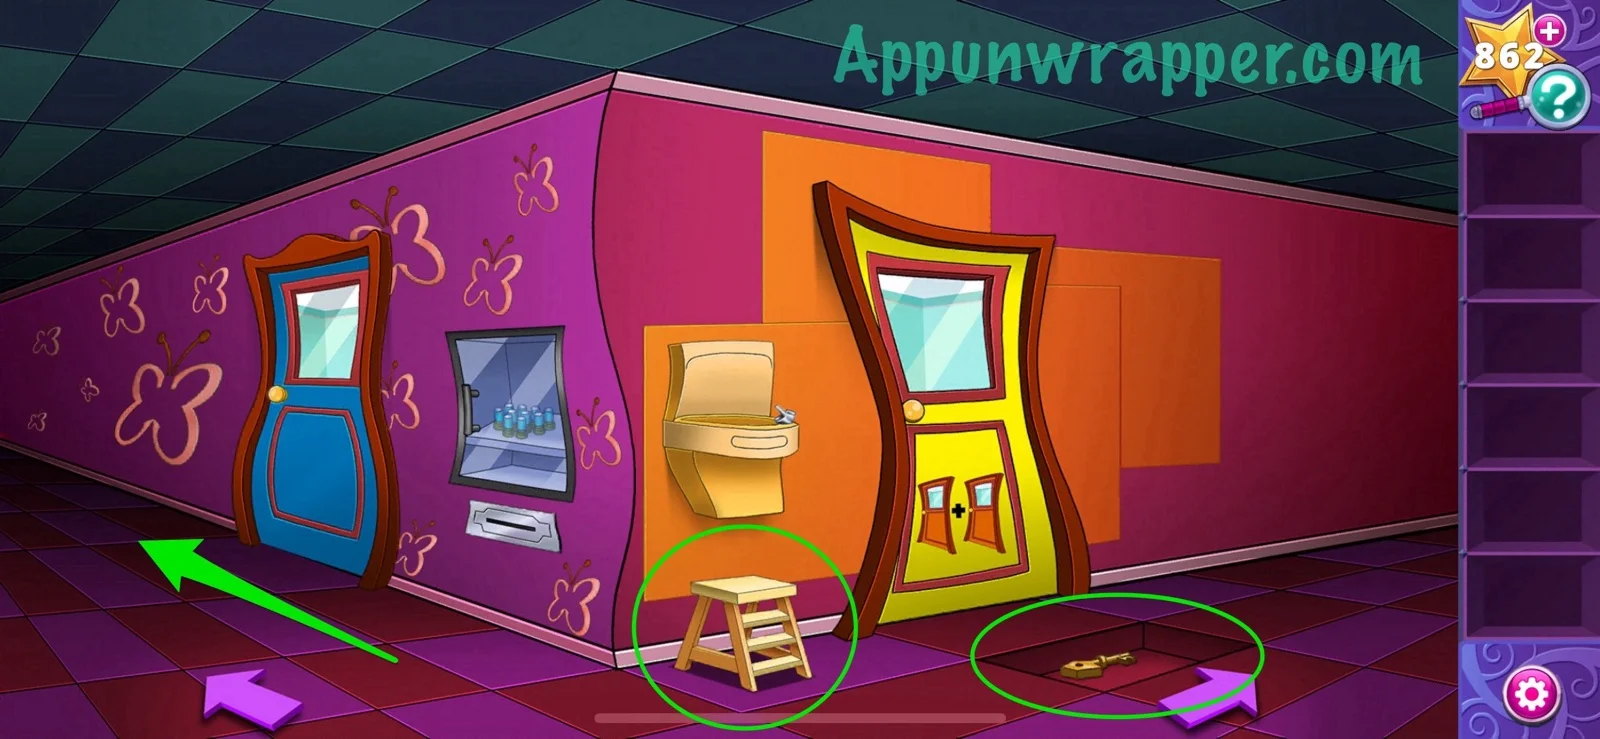
14. We’re in the school and Mr. Redpen wants us to fill out the map. We need to find stickers, stamps and crayons first. Head left and then pick up the stool. Also, lift up the blue floor tile and take the key. We can also turn on the water fountain but don’t need it right now. Then continue left.
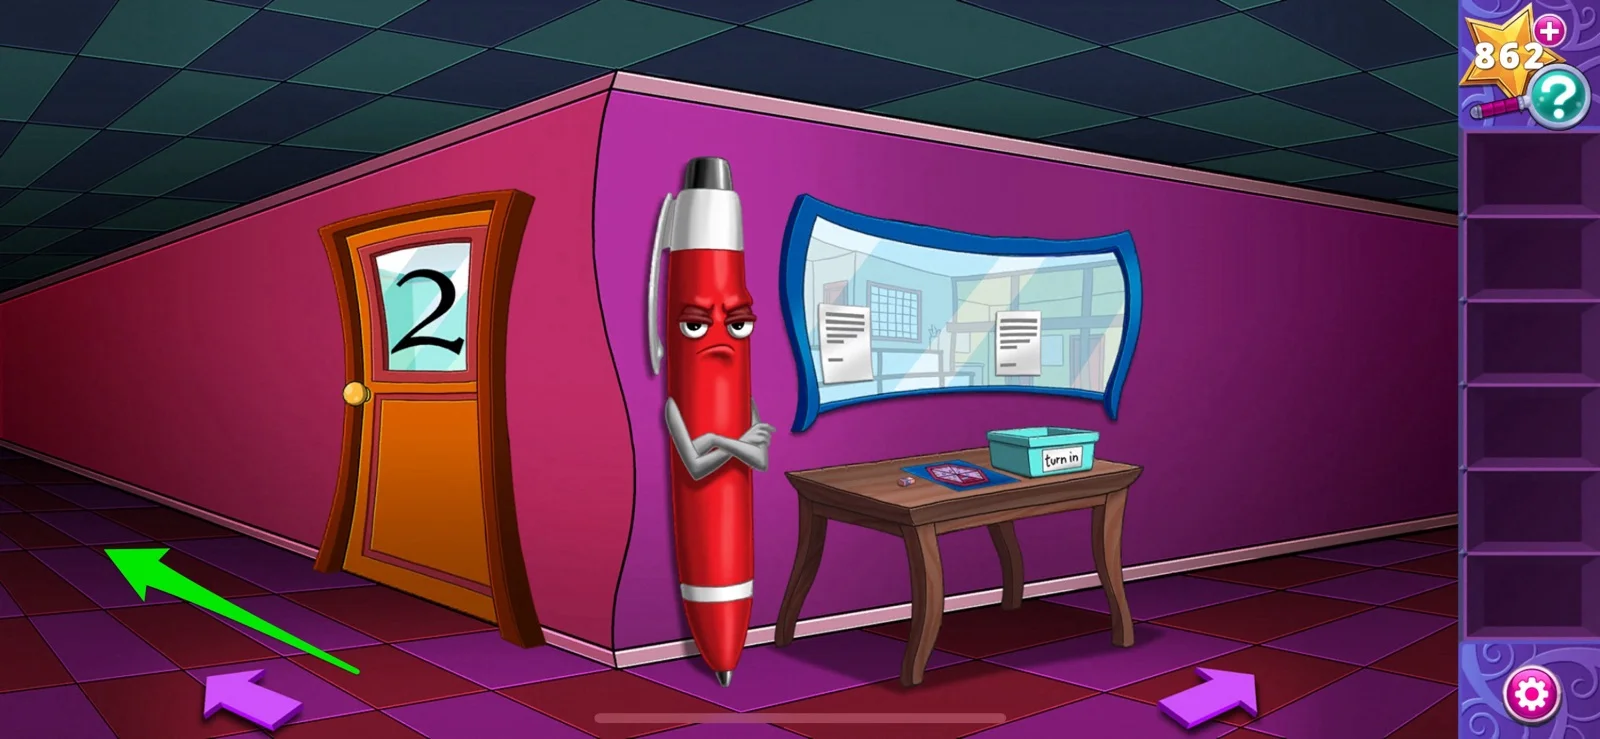
15. We don’t have a book to exchange for Arlo’s ID, so continue left.
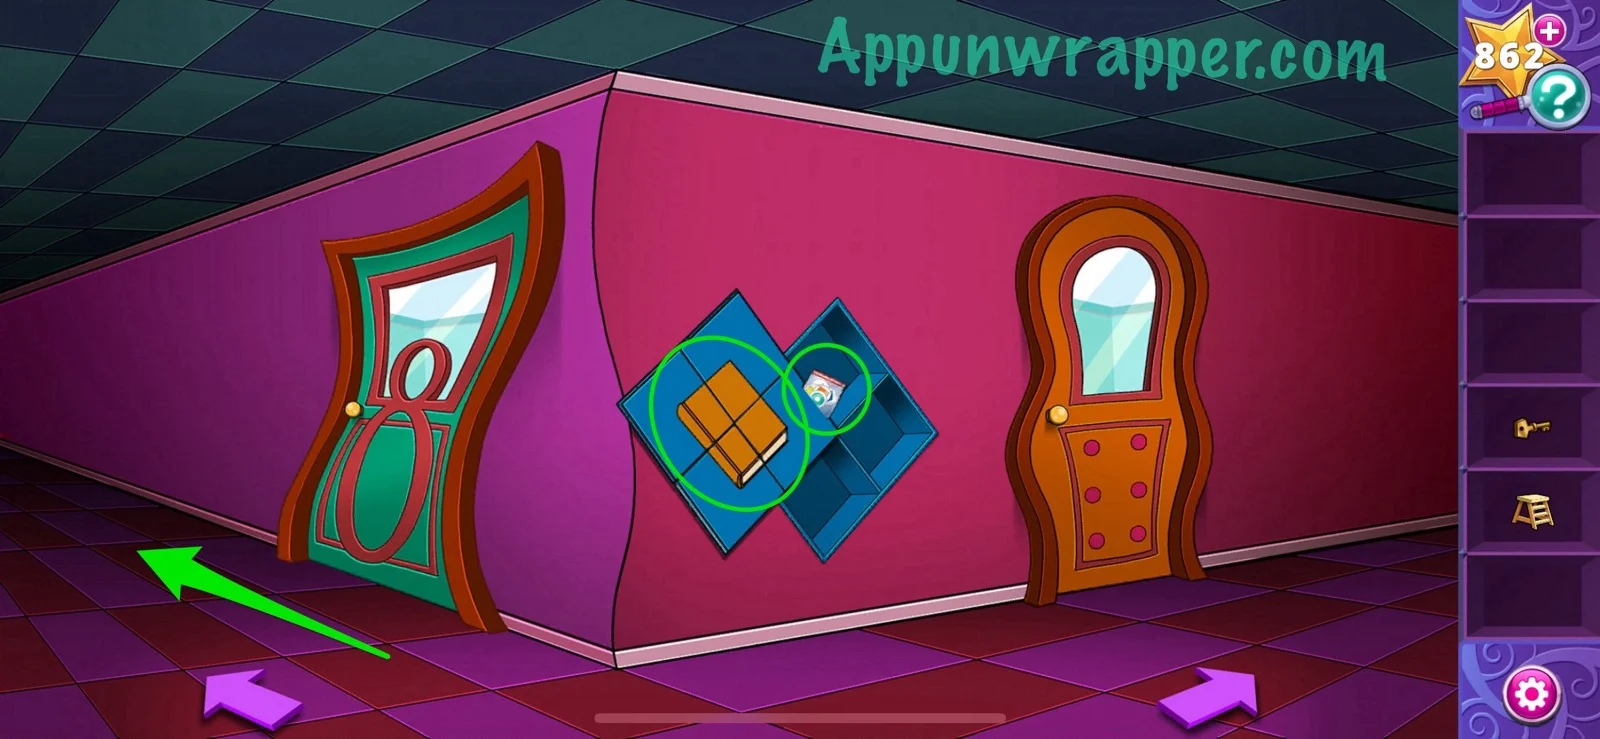
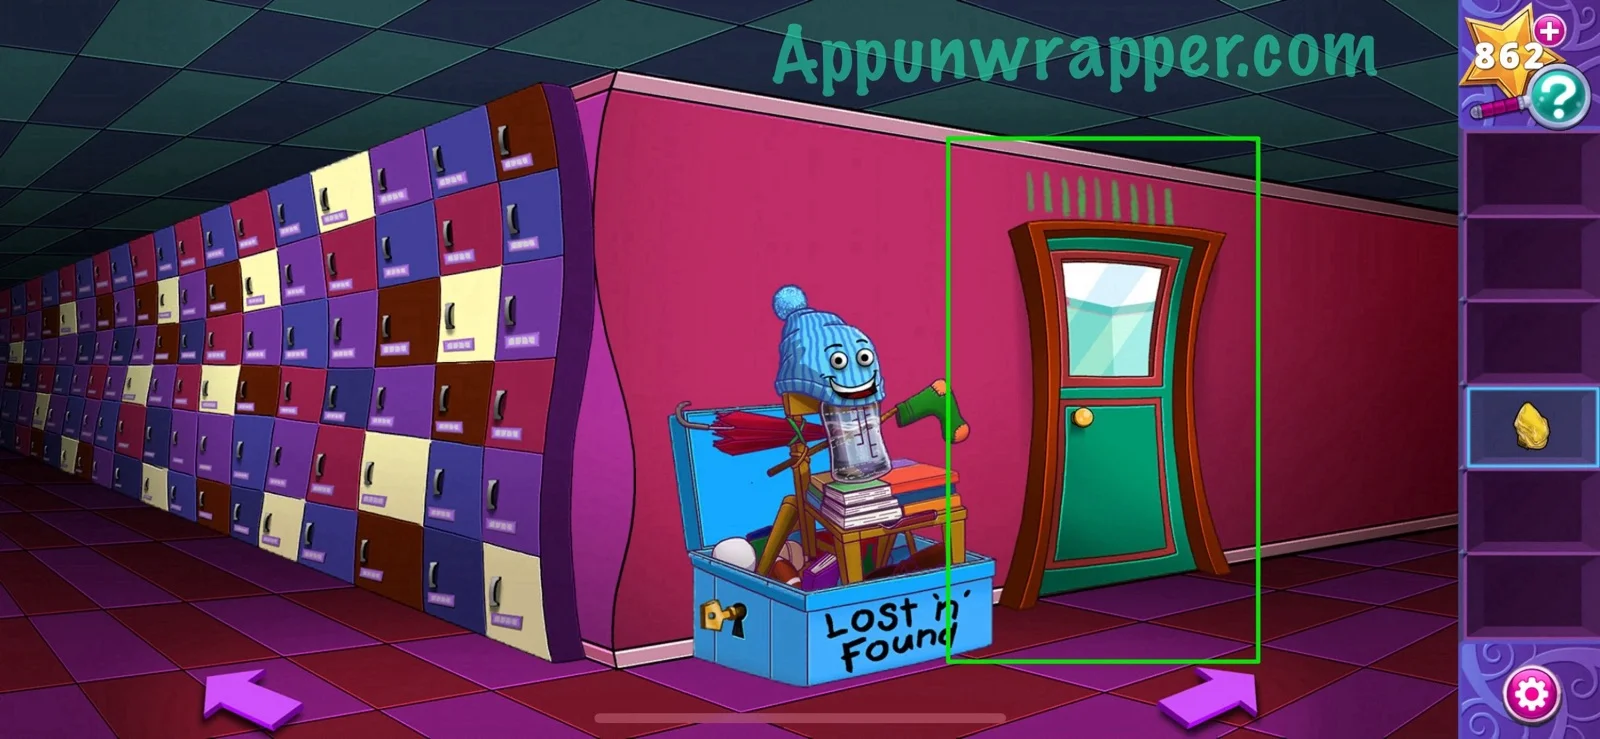
16. Open all four cubbies to get a book and some stickers. Then continue left.
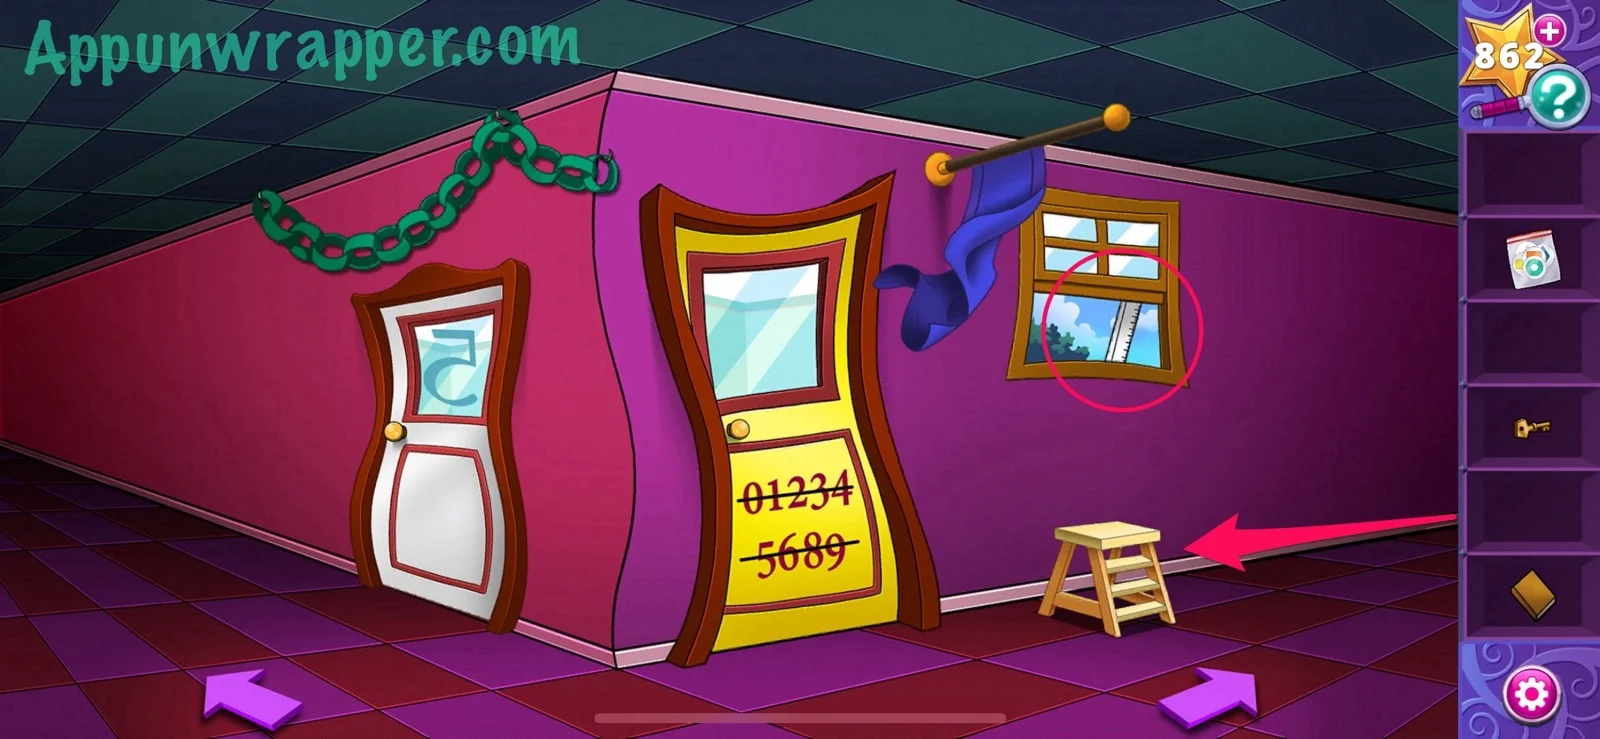
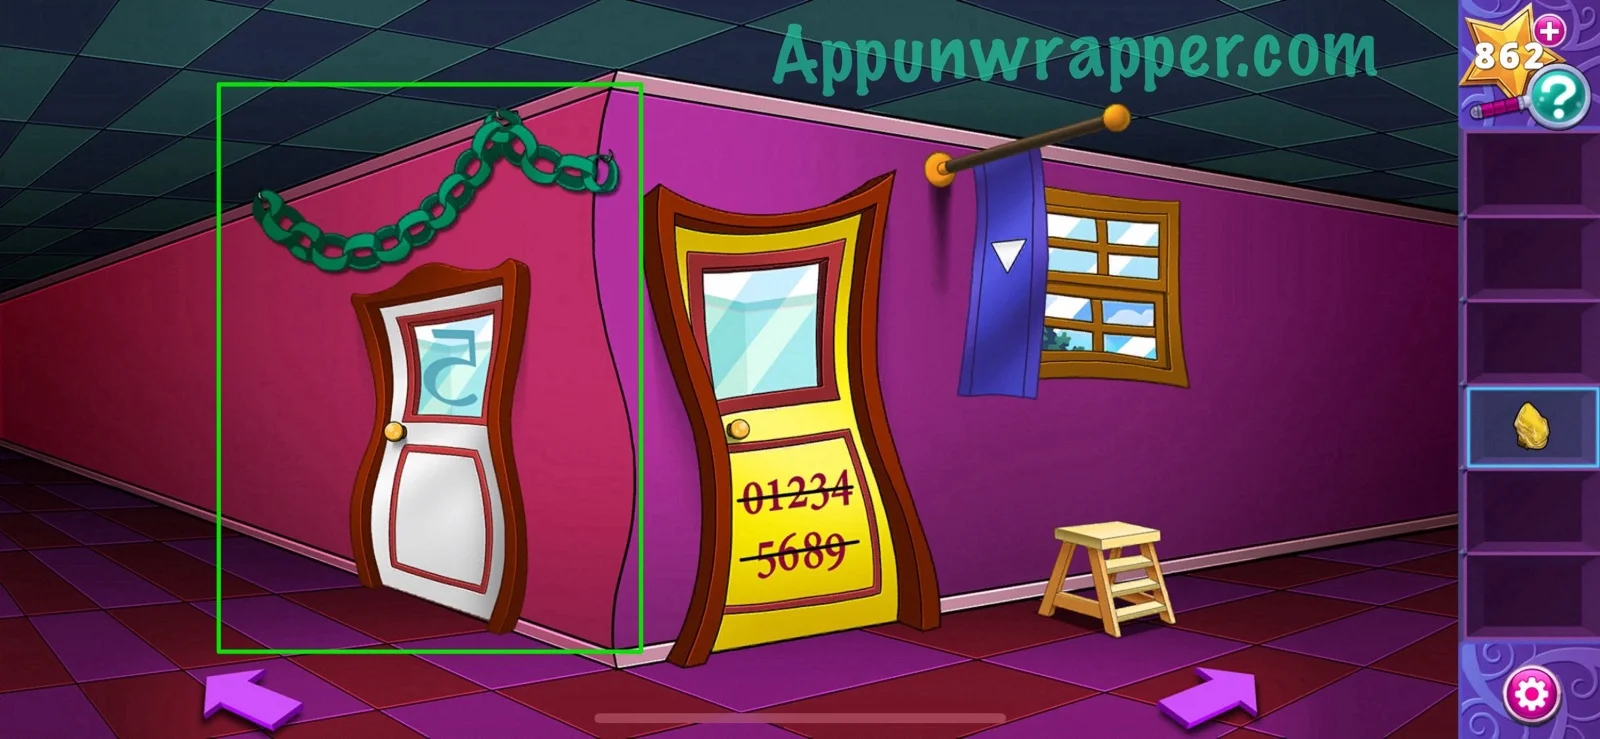
17. Place the step ladder down by the open window and then close the window. You’ll get the ruler and also the flag will stop blowing so you can see a white triangle on it. Then continue left.

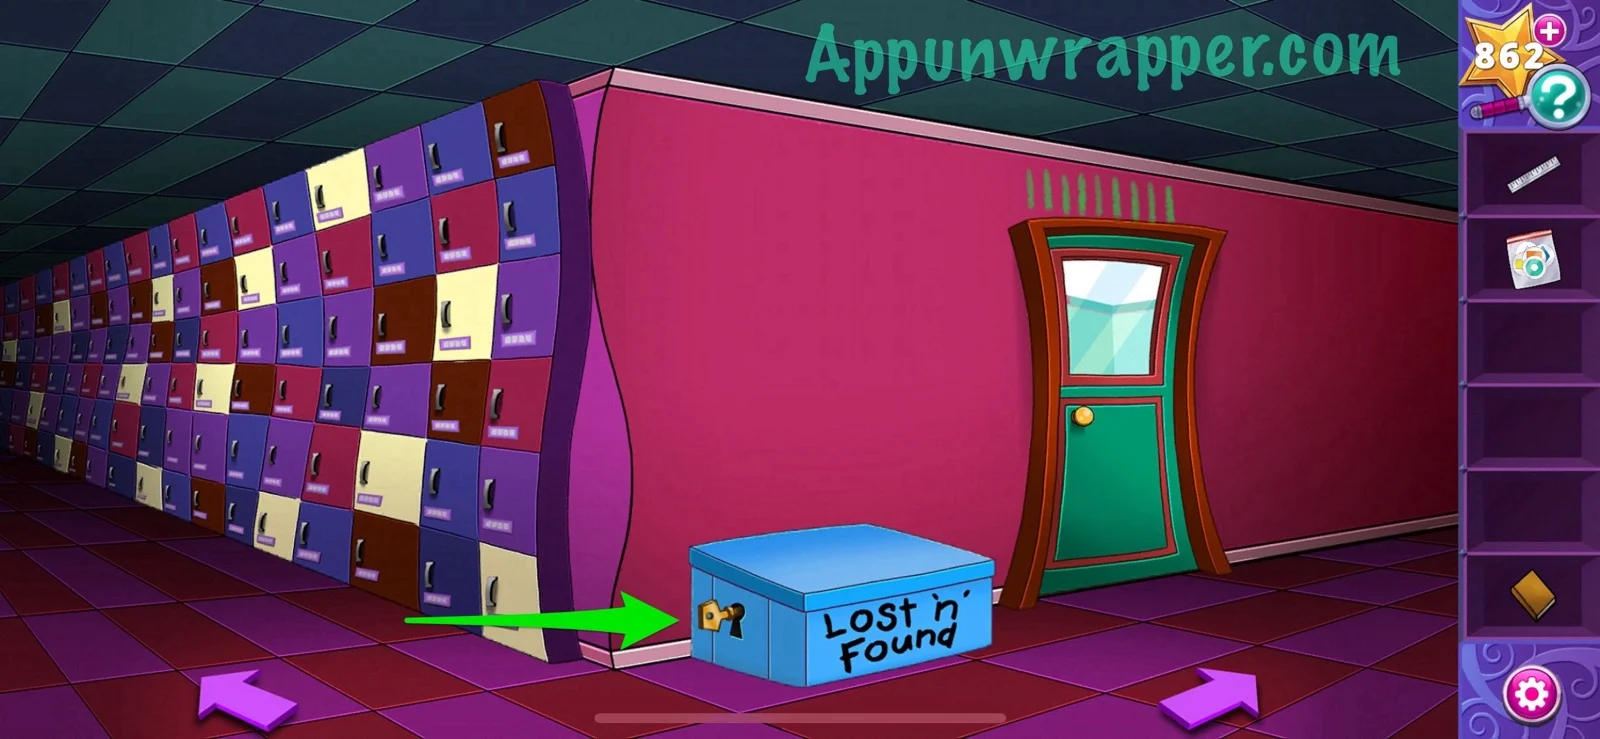
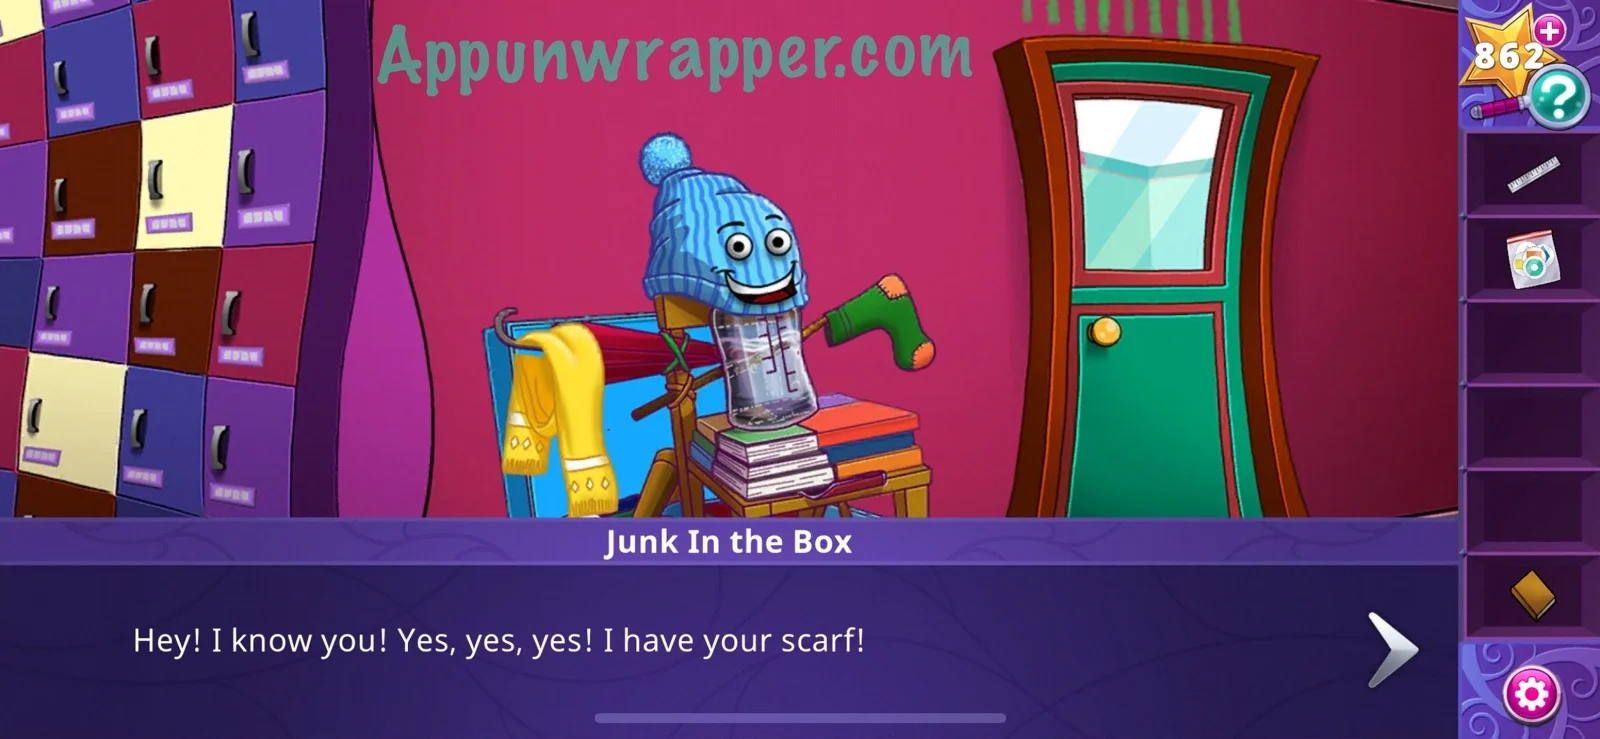
18. Use the key to unlock the lost ‘n’ found box and then get a scarf.
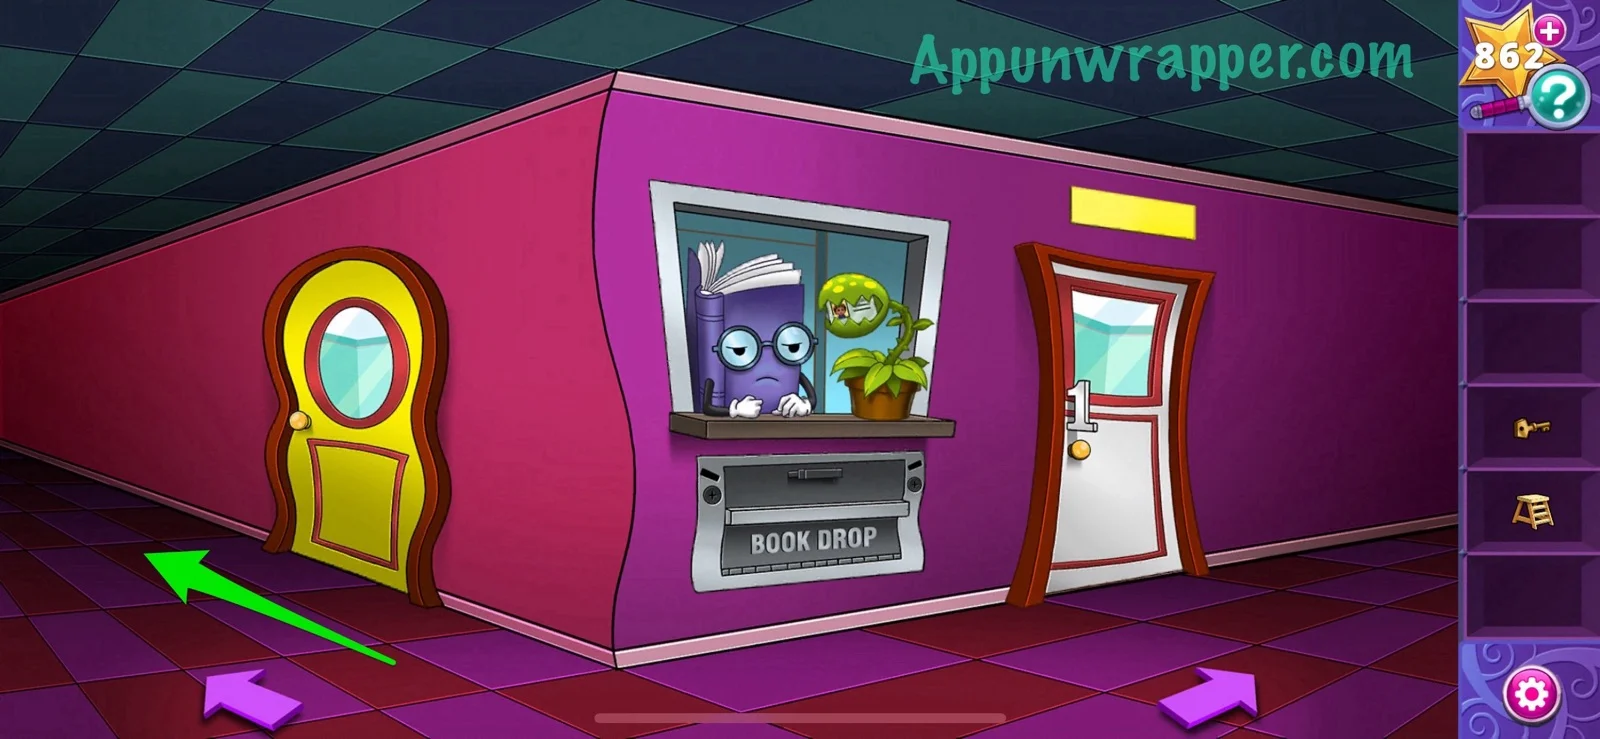
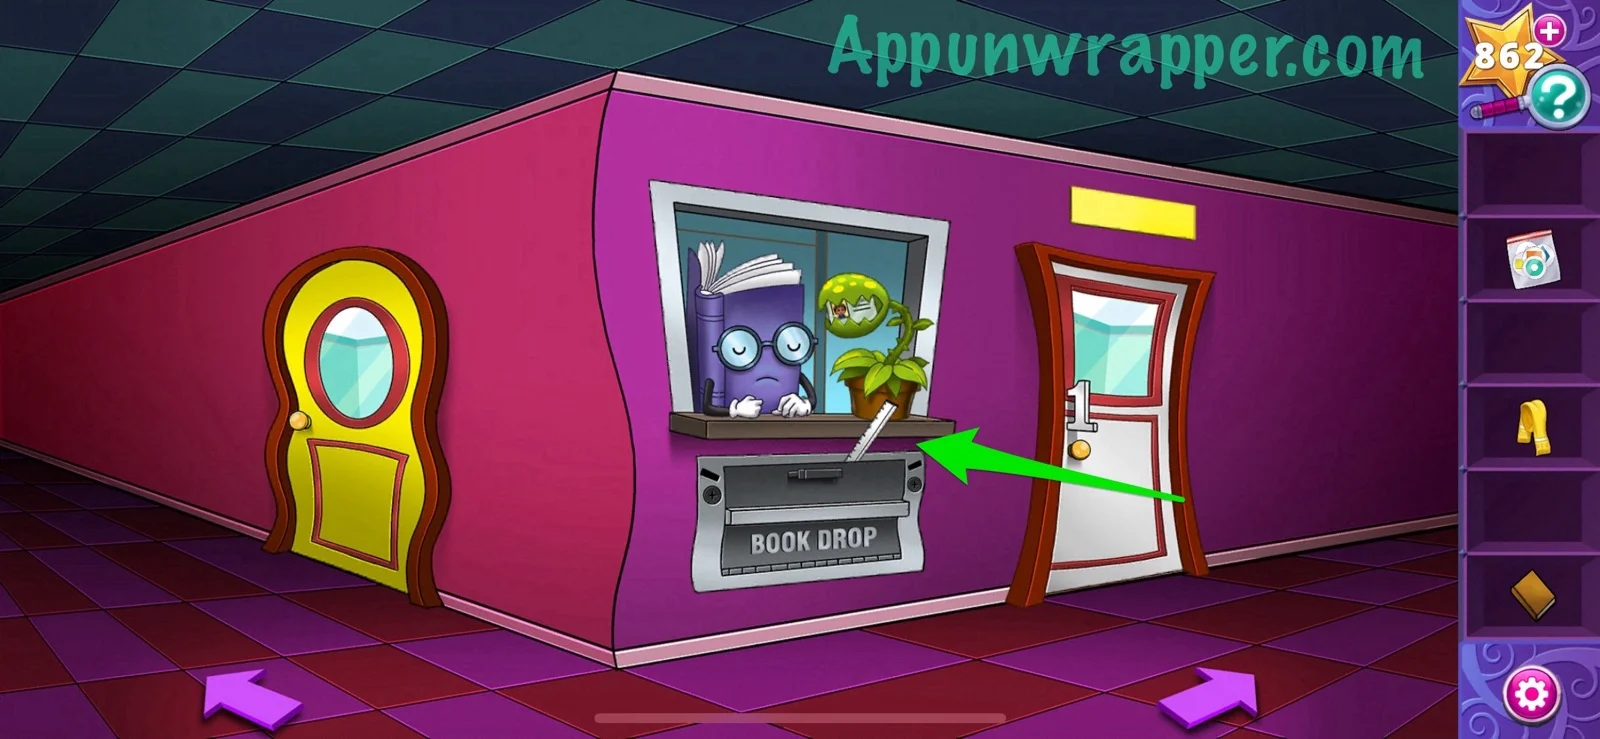
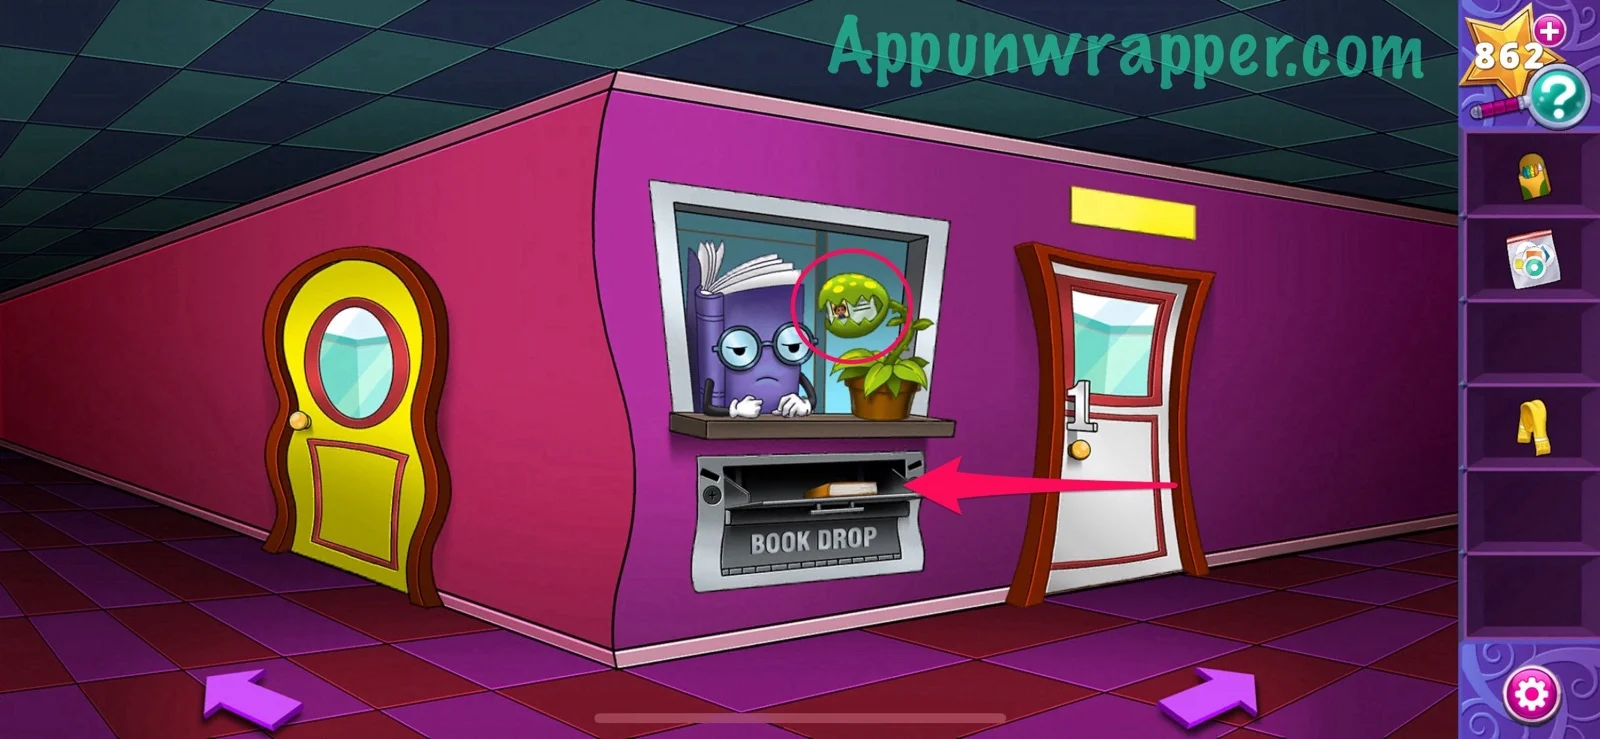
19. Go back to the book drop. Use the ruler to unjam it. Take the crayons and put the book in the book drop to get Arlo’s ID card.

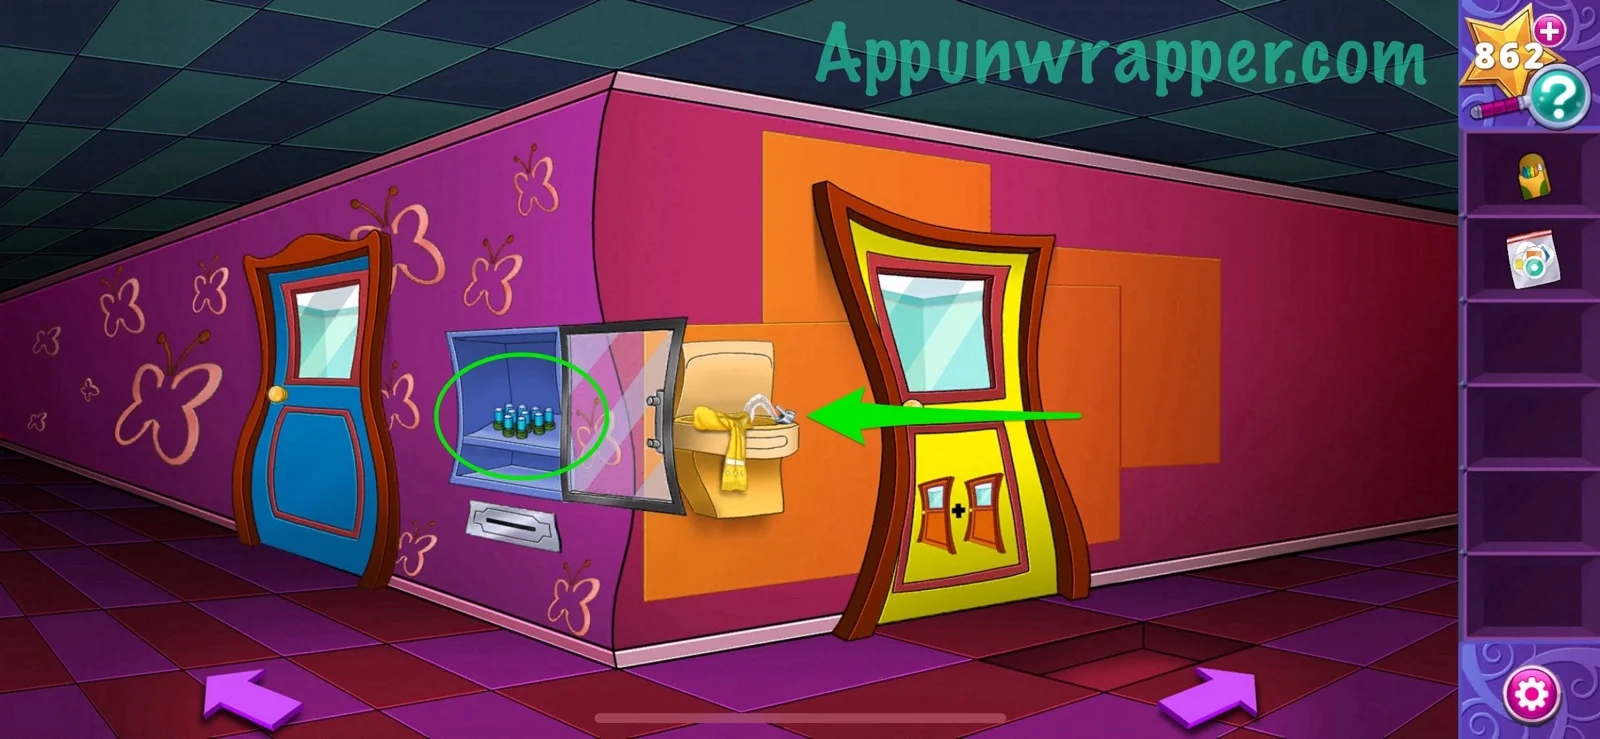
20. Go right again and use the ID card to get the stamps. Now we have everything we need for the map! While here, wet the scarf in the water fountain.

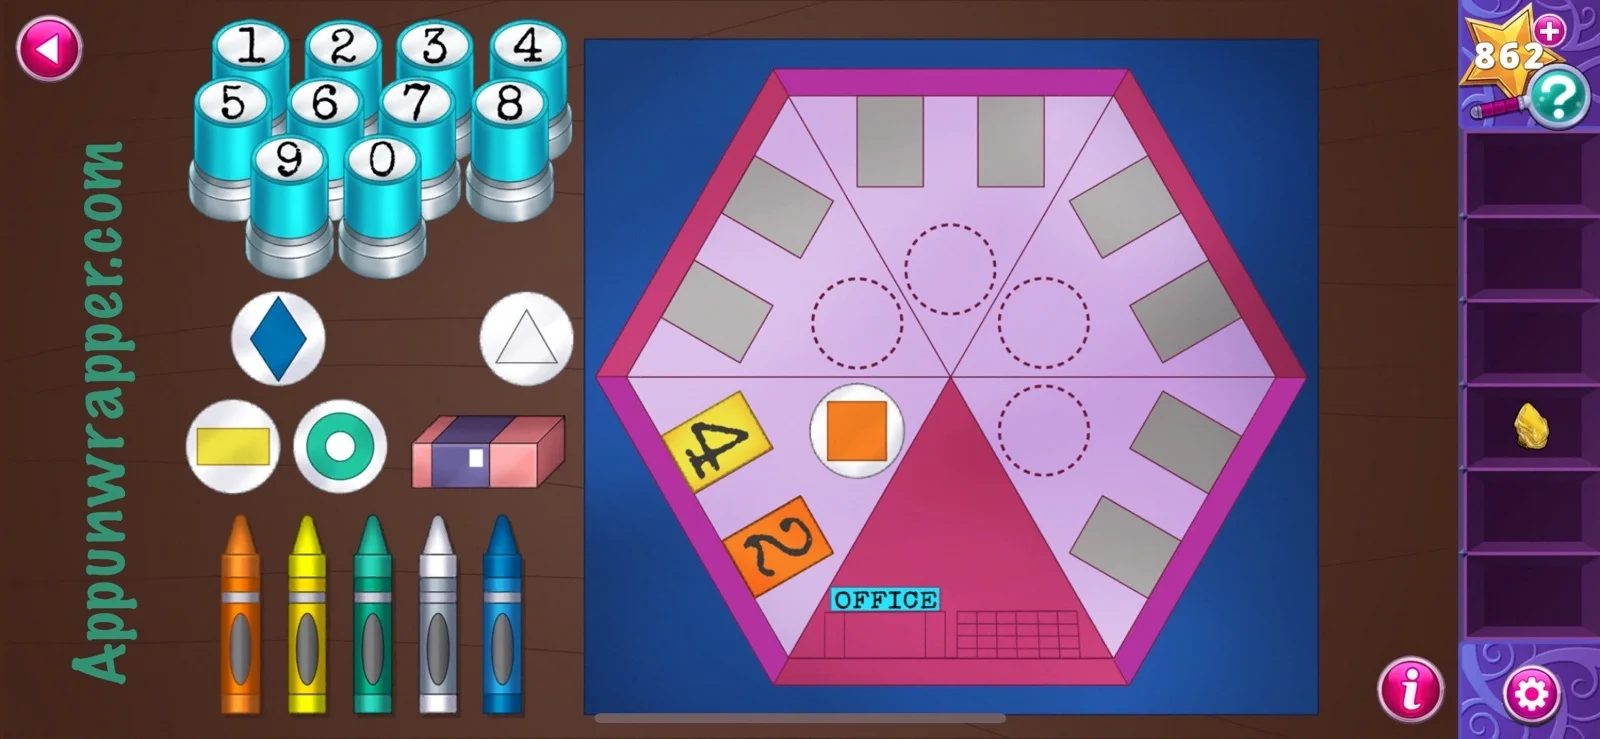
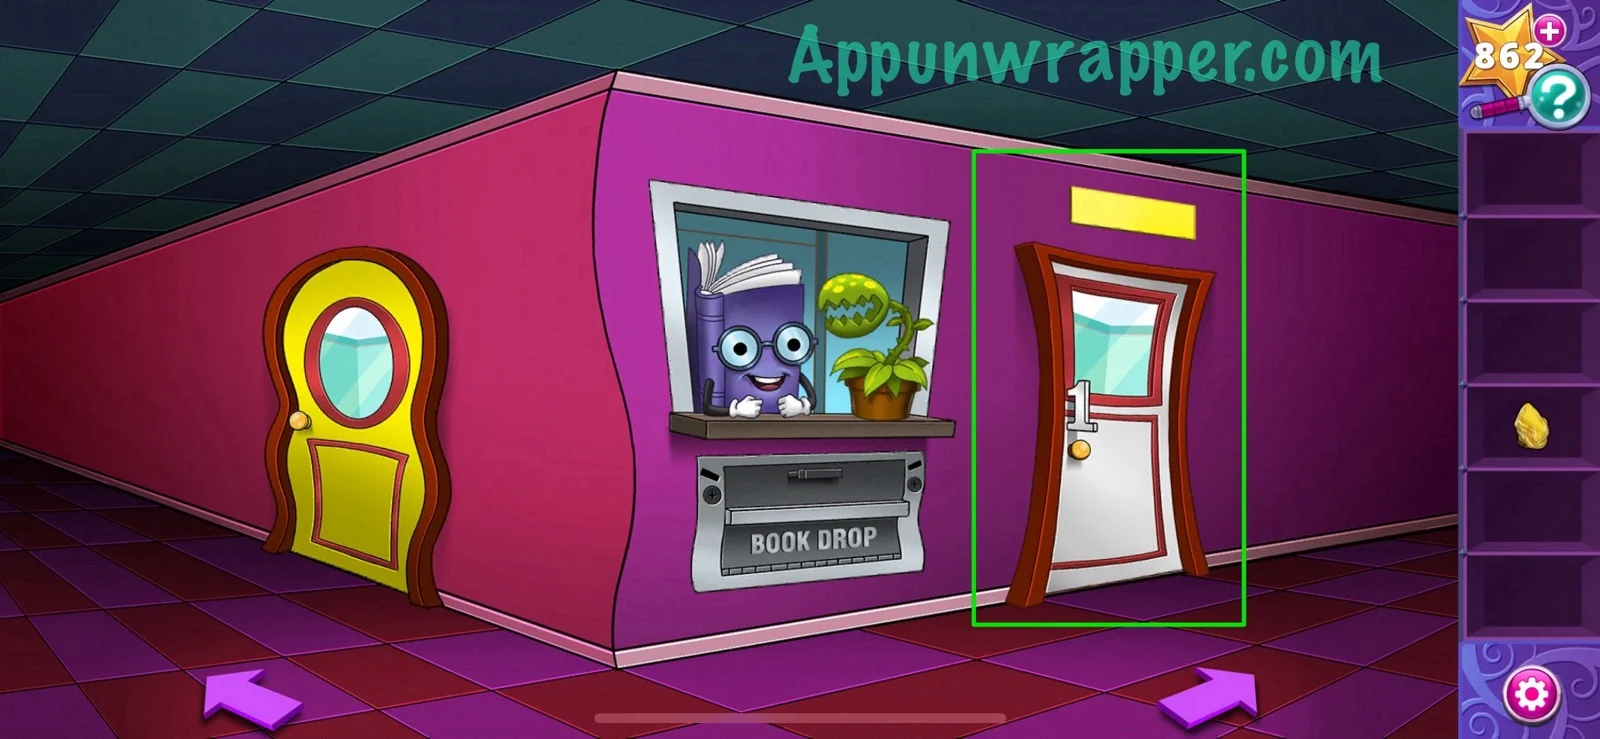
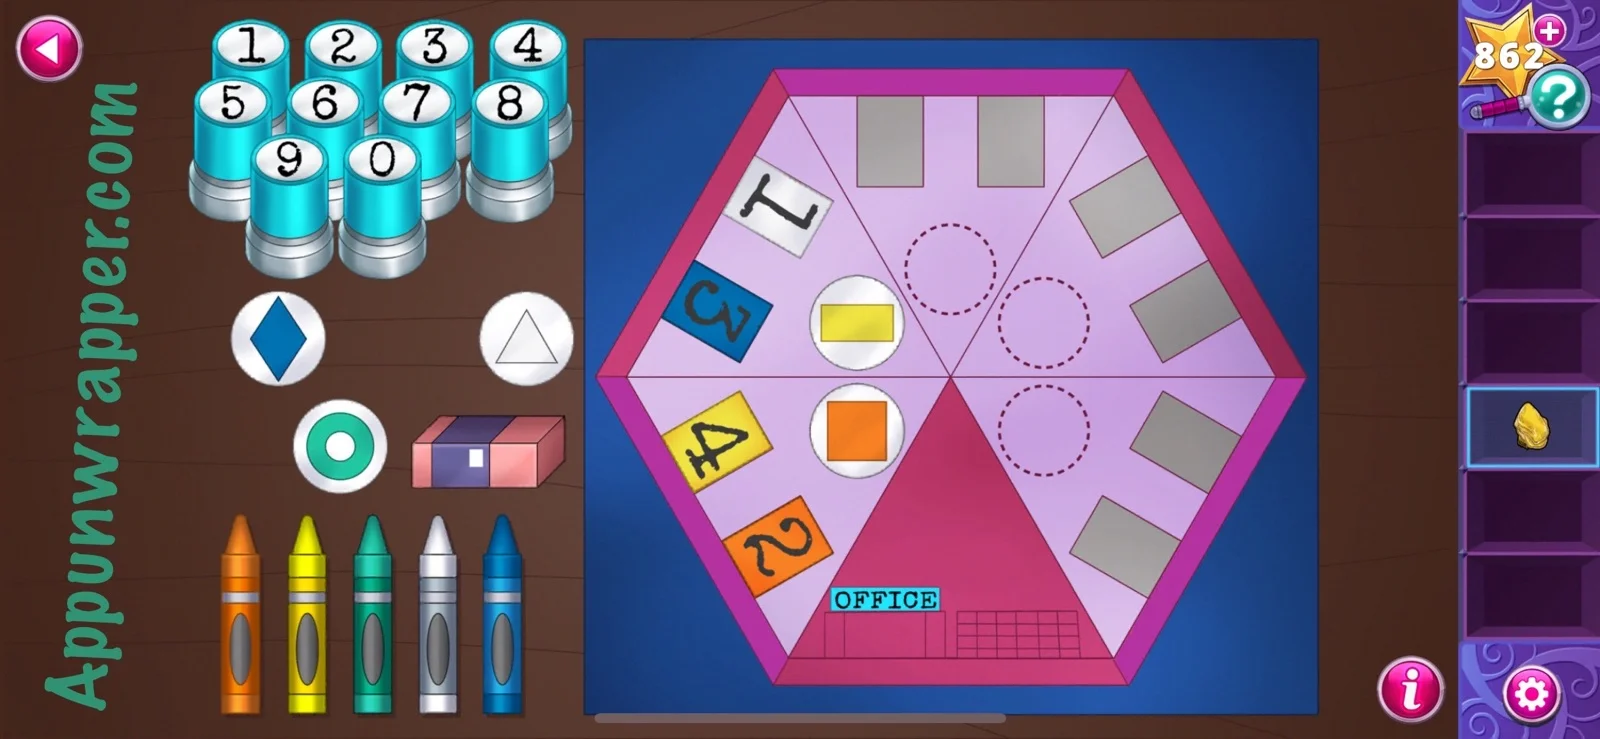
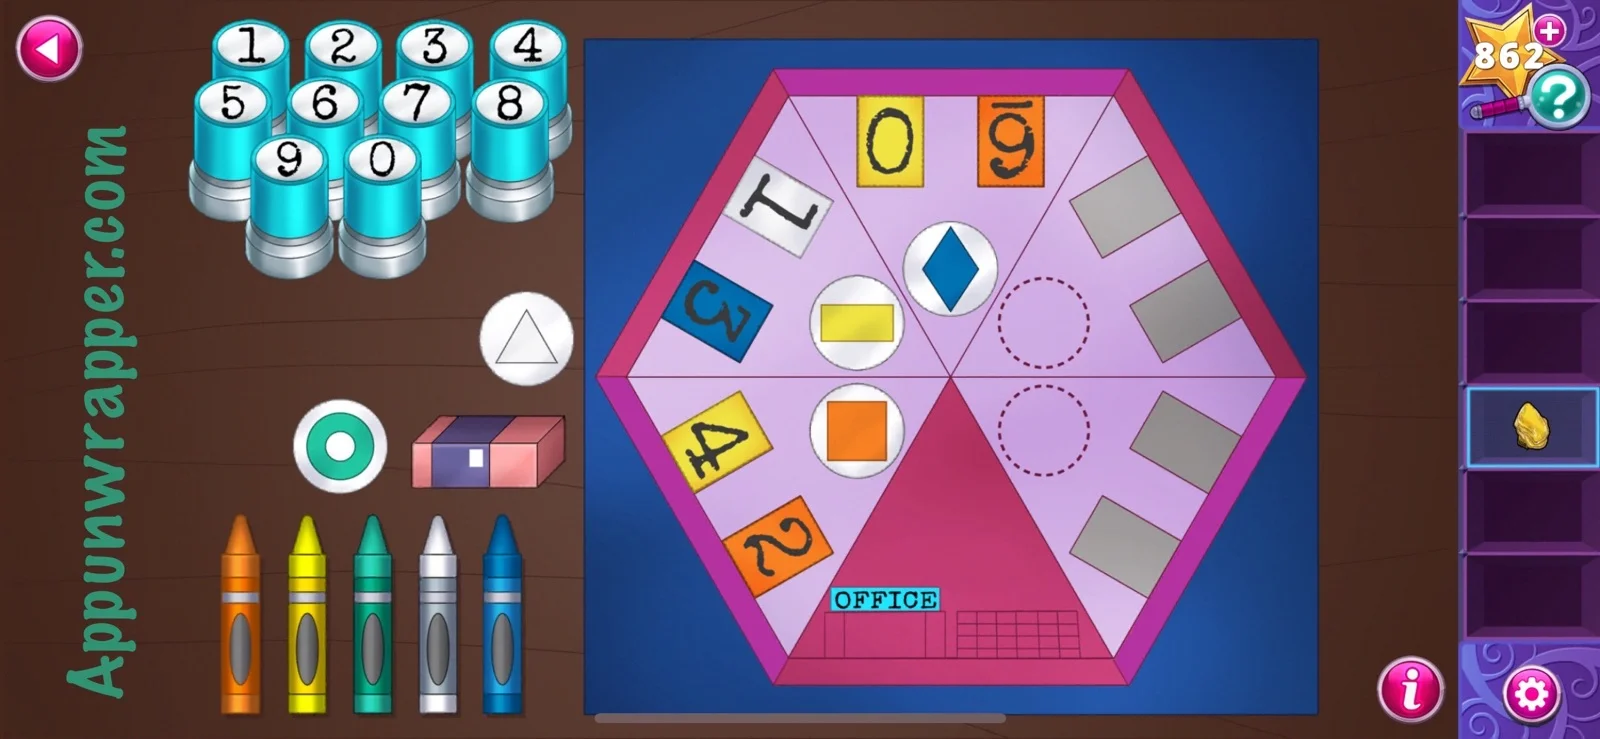
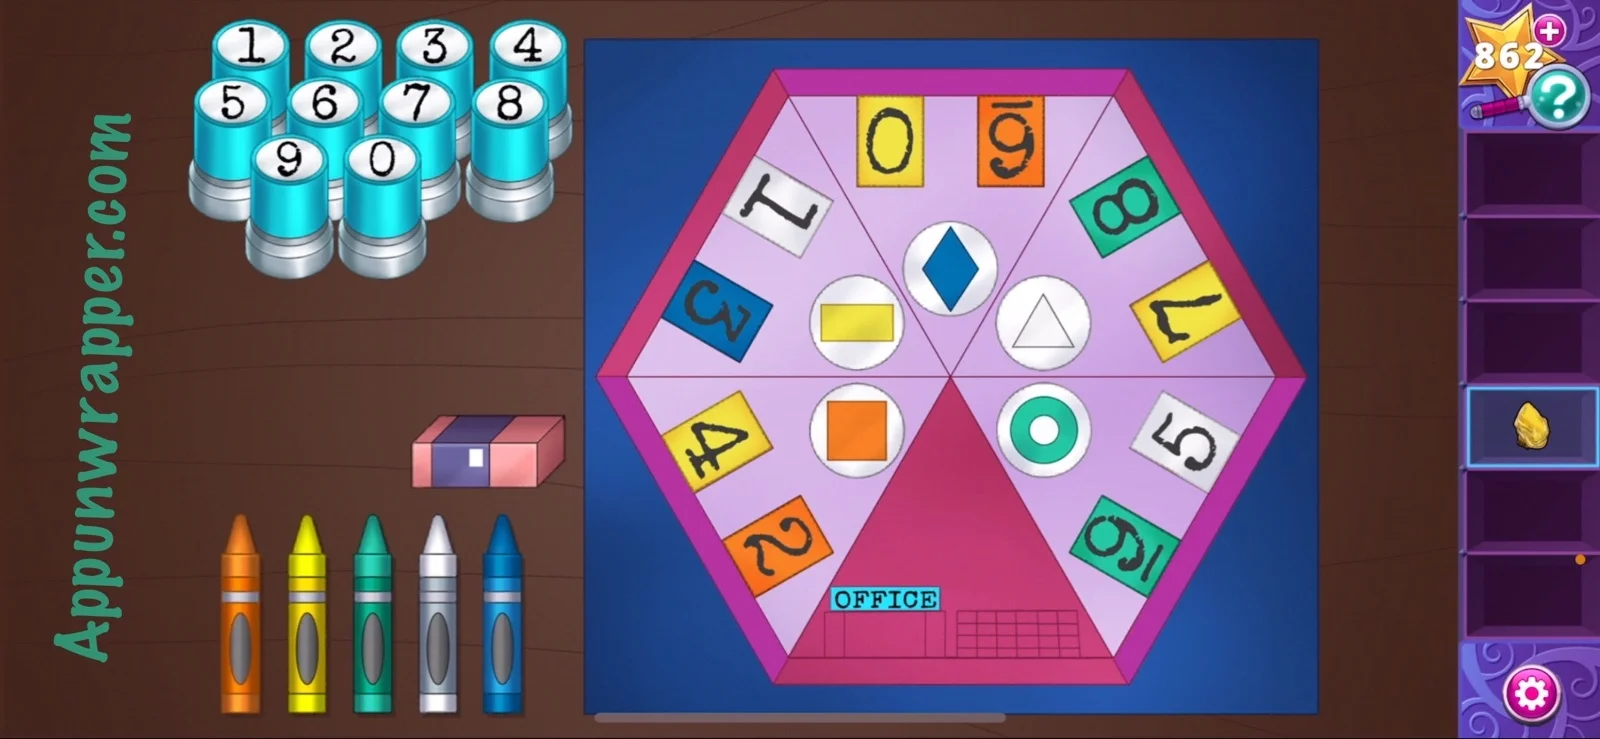
21. Go right again and place the crayons, stickers and stamps by the map. Now we have to fill it in and solve the Map Quiz puzzle using all the information around the room.
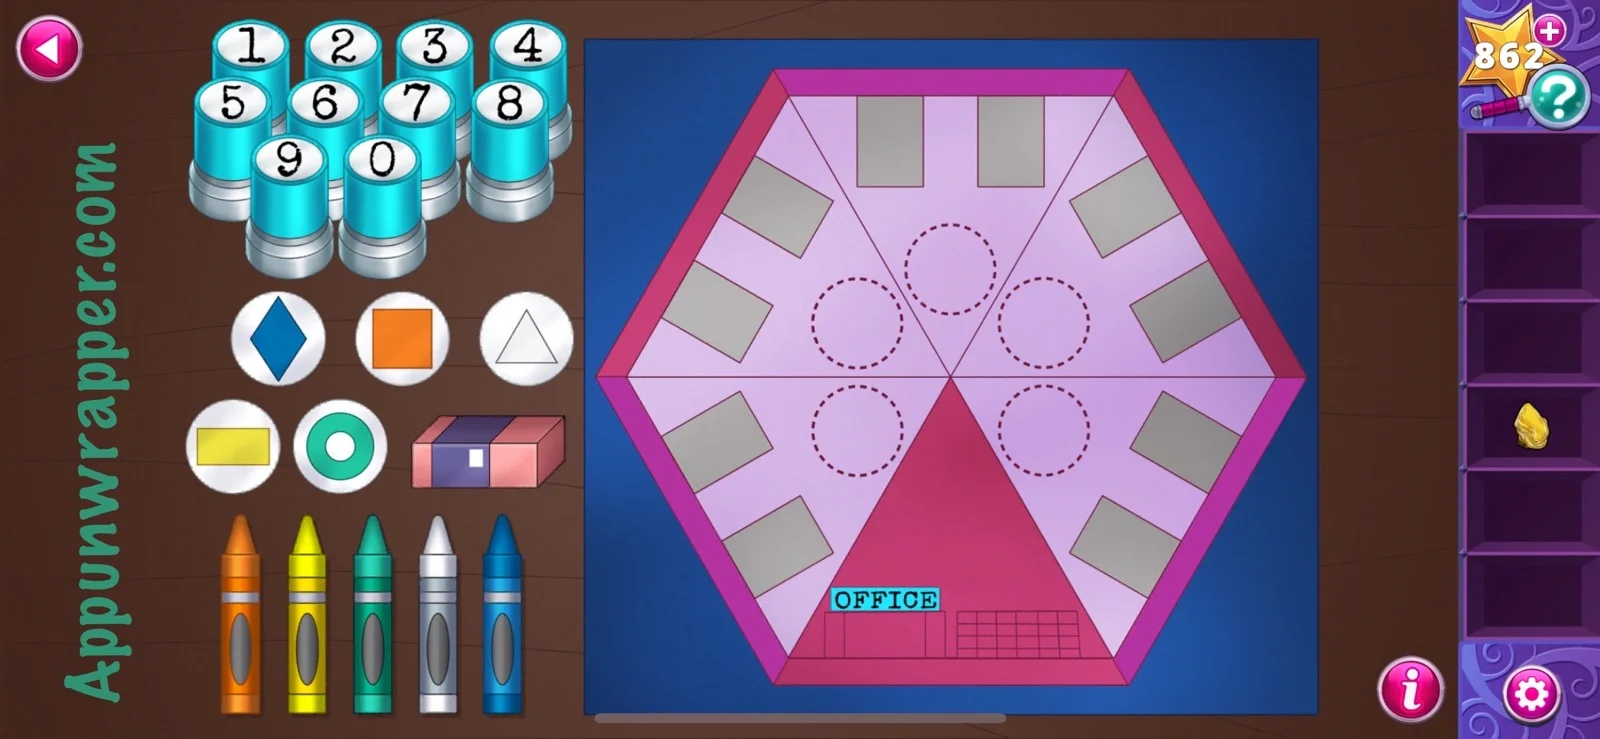
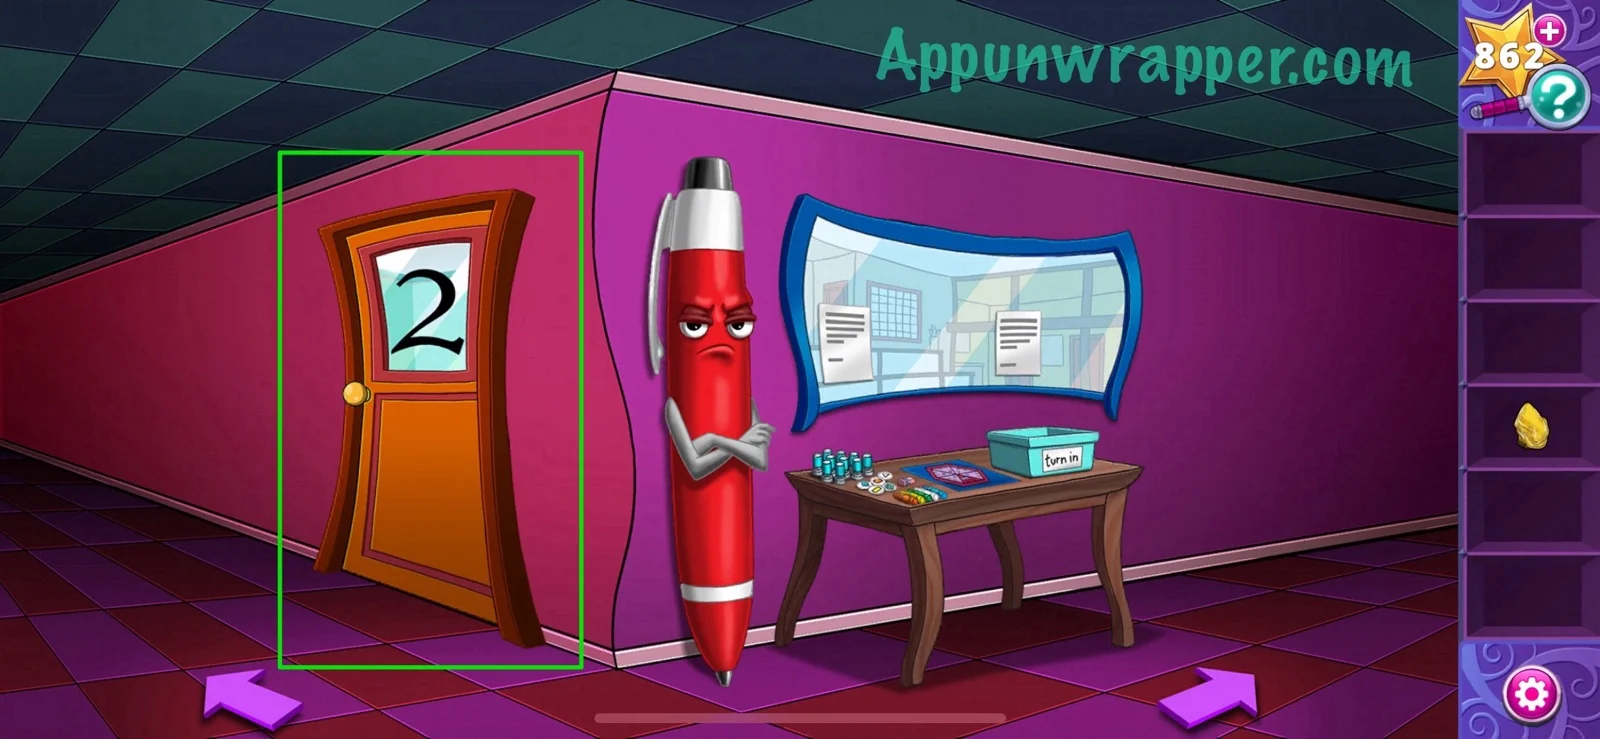
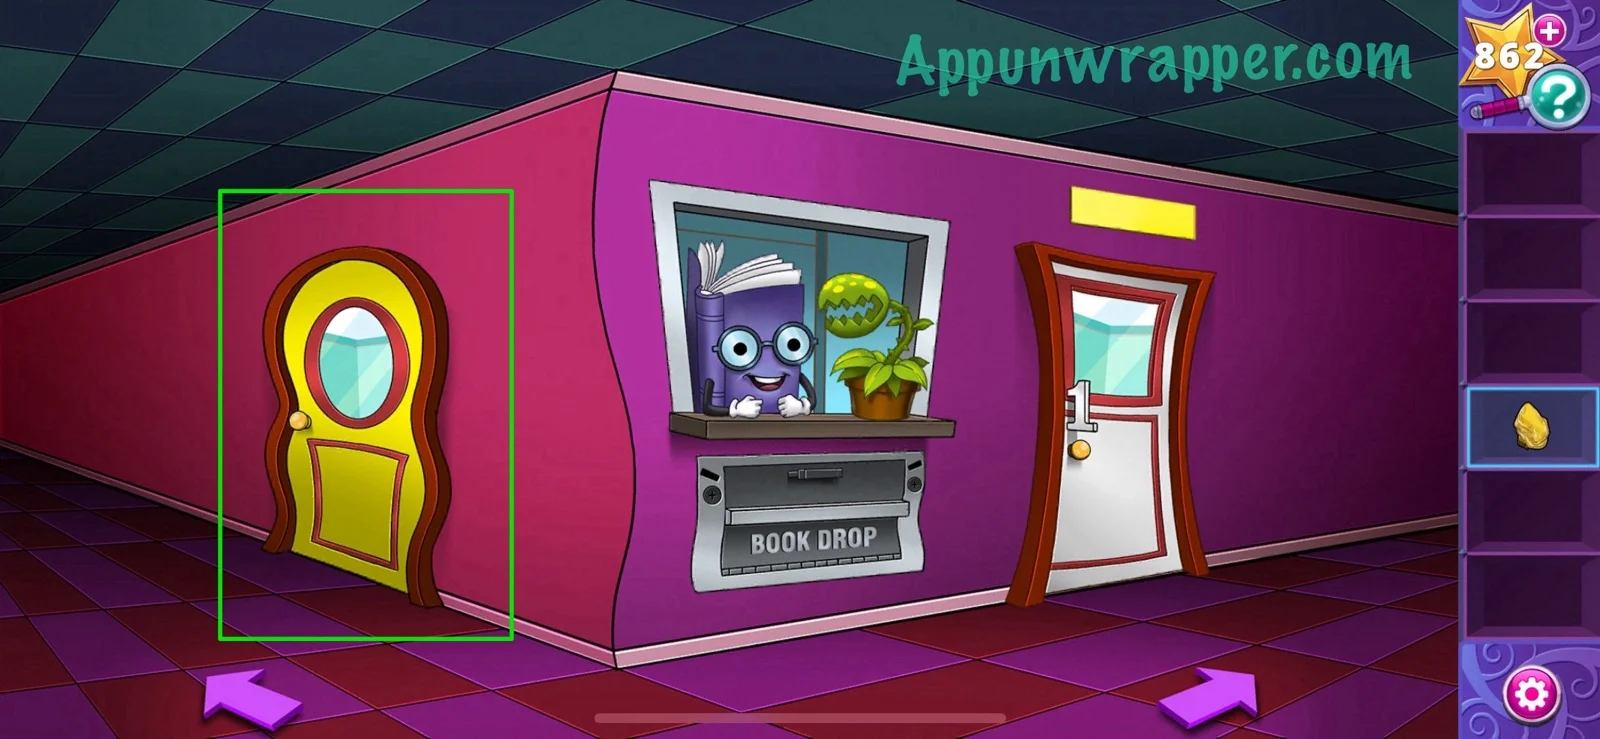
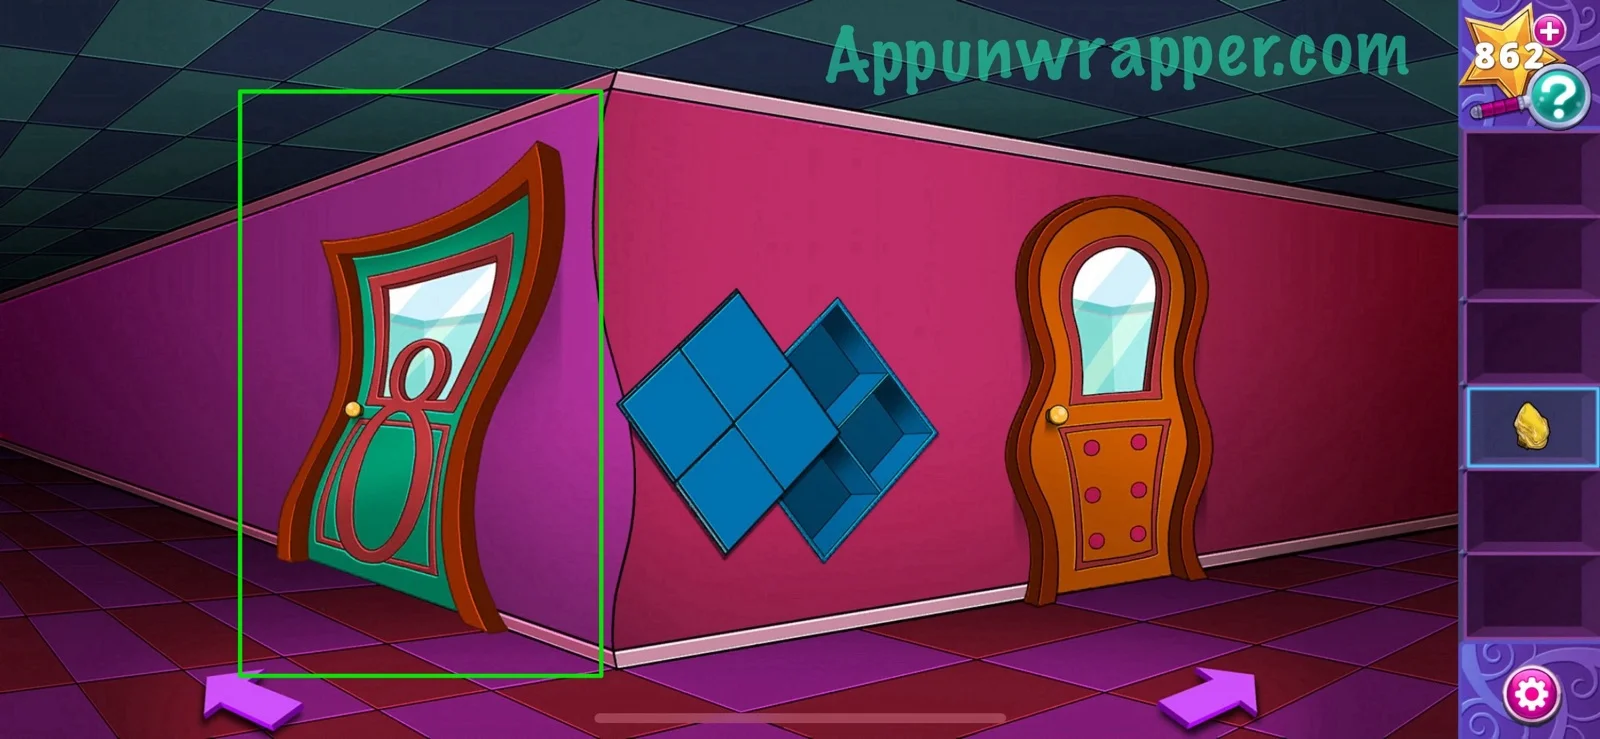
22. Let’a start with the doors to the left of the office. There’s an orange door with a 2 on it and then a yellow door showing two of those orange doors added together. There’s also orange squares on the wall. So stamp a 2 on one door on the map and color it orange. Stamp a 4 on the other door and color it yellow. Then add an orange square sticker, as shown below.
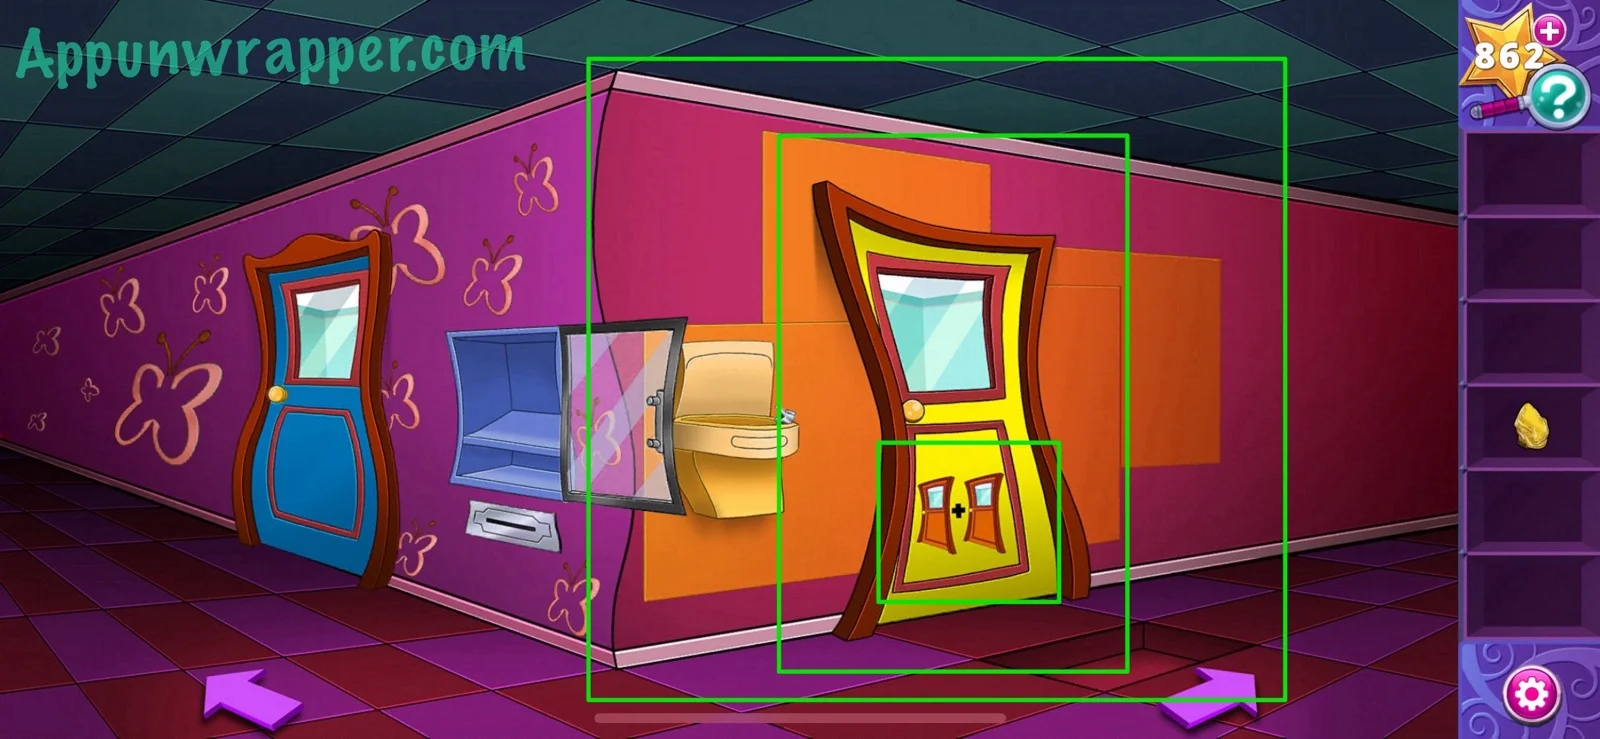
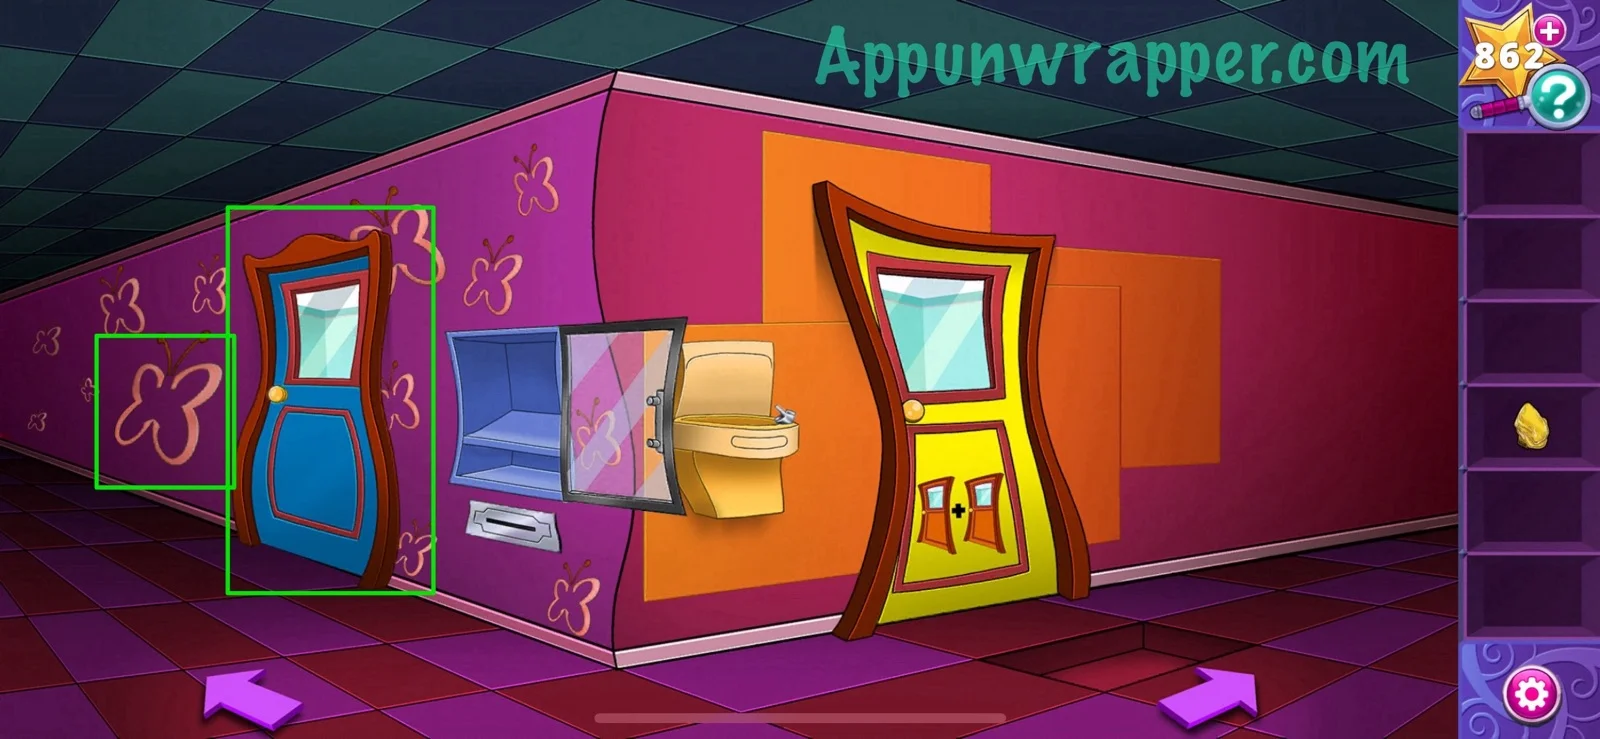
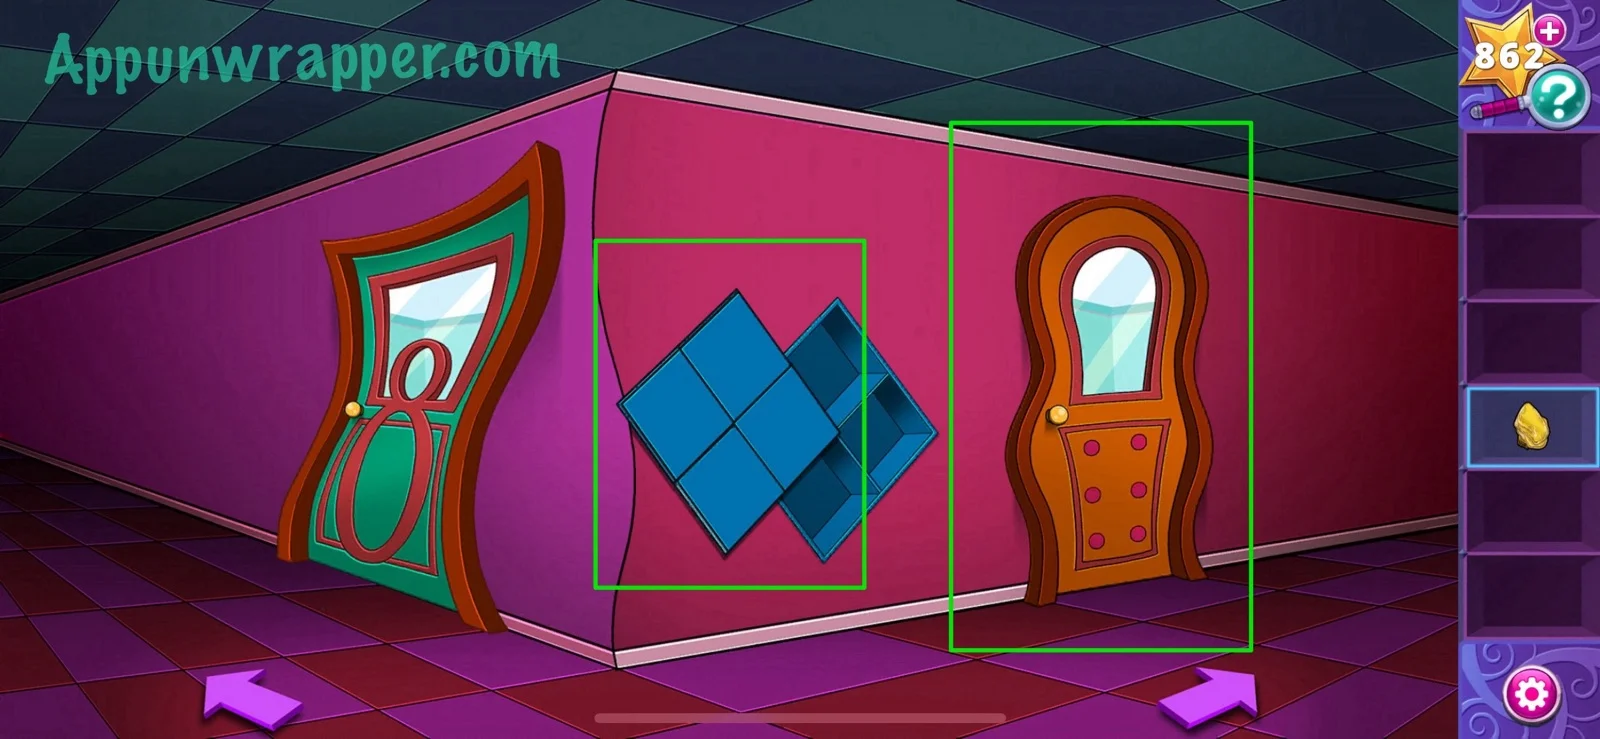
23. The next wall has a blue door. Also, notice the butterflies that look like two 3’s facing each other. So color the next door on the map blue and stamp a 3 on it. The next door is white with a 1 on it and there’s a yellow rectangle above it. So color that door white and stamp a 1 on it. Add the yellow rectangle sticker, as shown below.
24. Next, we have a yellow door with a 0 on it and an orange door with 6 dots on it. There’s also a blue diamond (the cubbies). So color the next door yellow and stamp a 0 on it. Color the door after that orange and stamp a 6 on it. Then add the blue diamond sticker, as shown below.
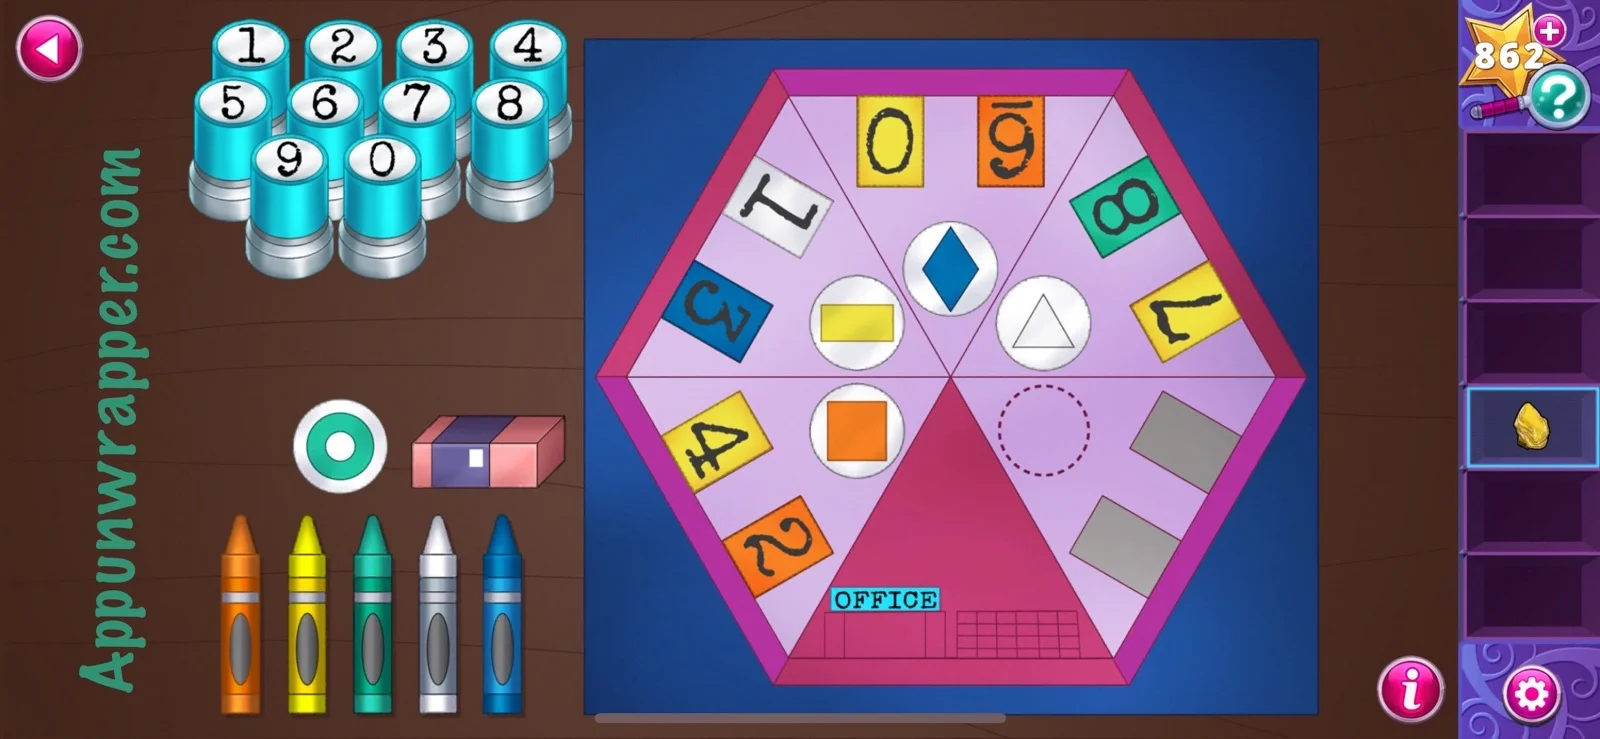
25. For the next wall, we have a green door with an 8 on it and then a yellow door with all numbers but 7 crossed off. There’s also the white triangle on the flag. So go back to the map and color the next door green and stamp an 8 on it. Then color the next door yellow and stamp a 7 on it. Add the white triangle sticker so it matches the image below.
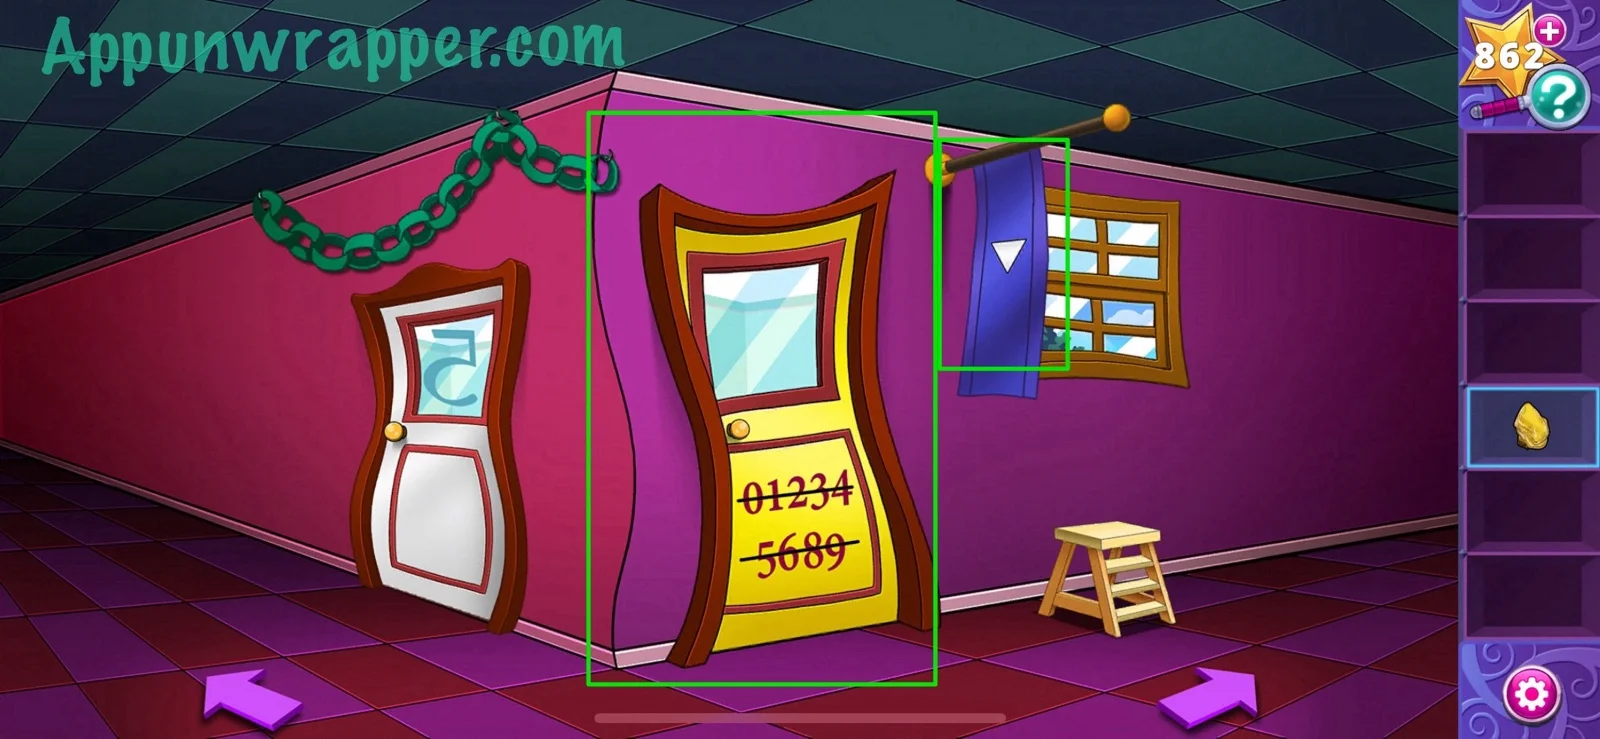
26. Now we have just one more wall left. There’s a white door with a 5 on it and also a chain of green rings above it. Then there’s a green door with 9 chalk lines above it. So on the map, color the next door white and stamp a 5 on it. Color the final door green and stamp a 9 on it. Then add the green ring sticker to complete the puzzle!
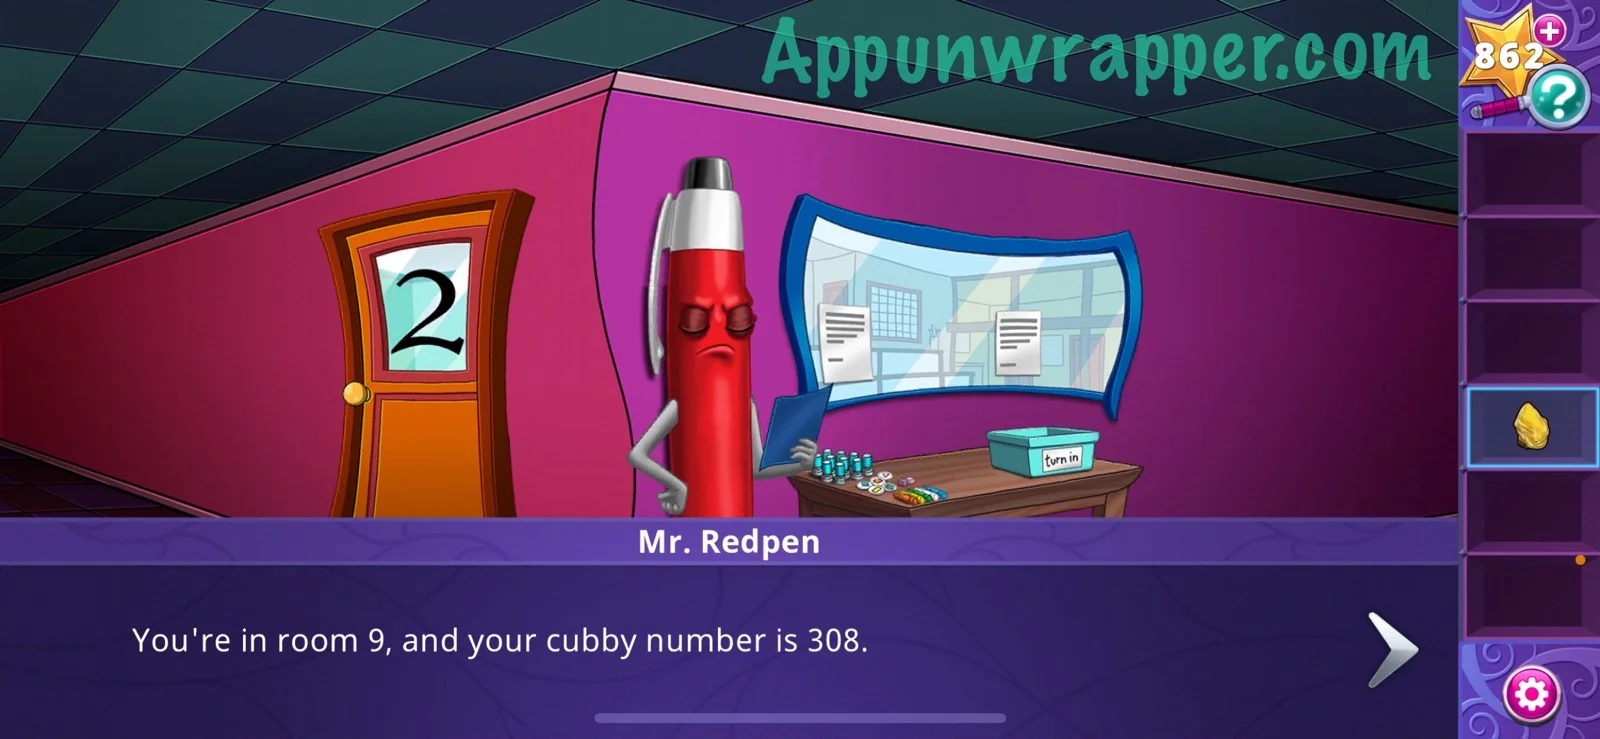
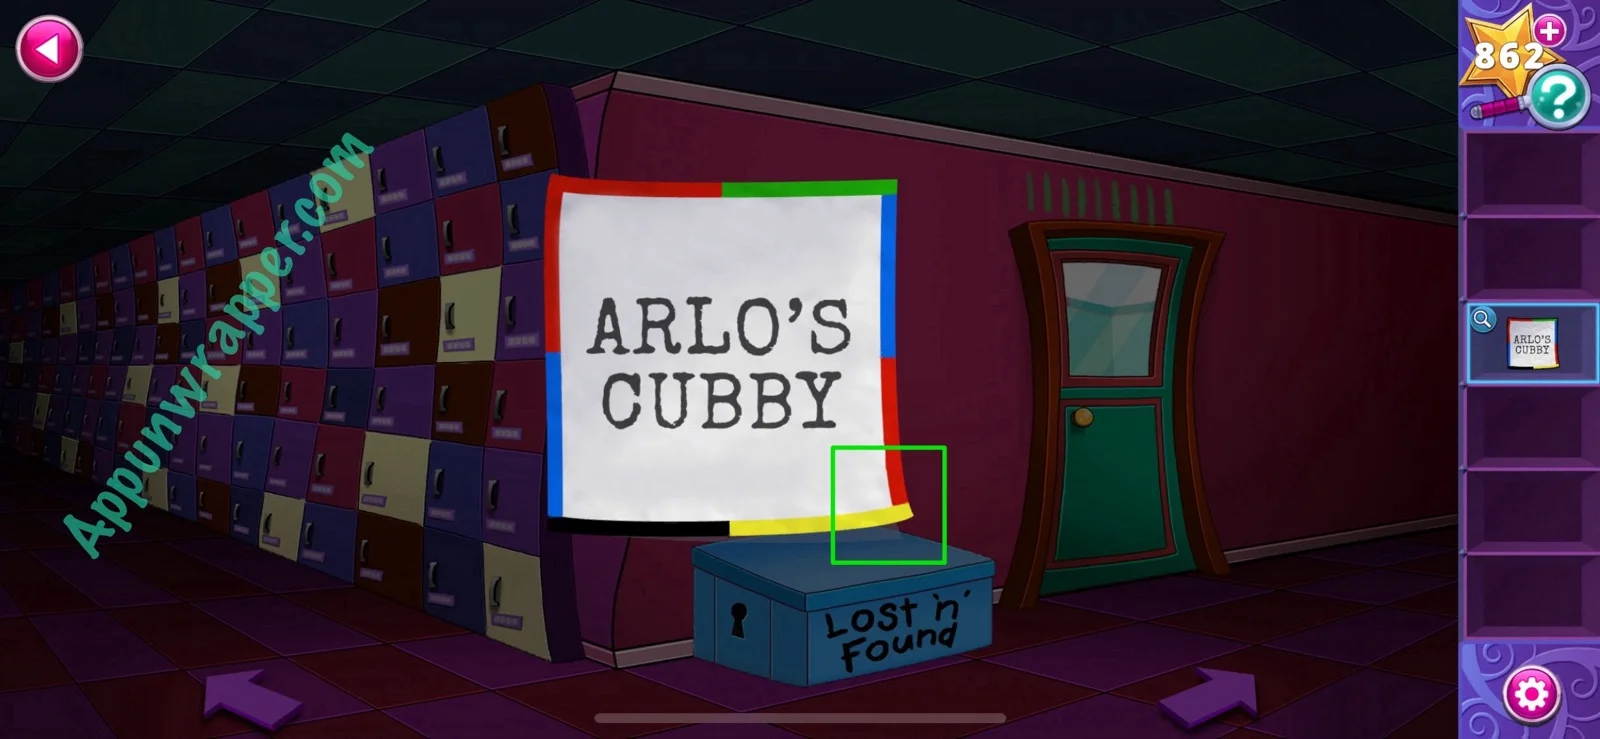
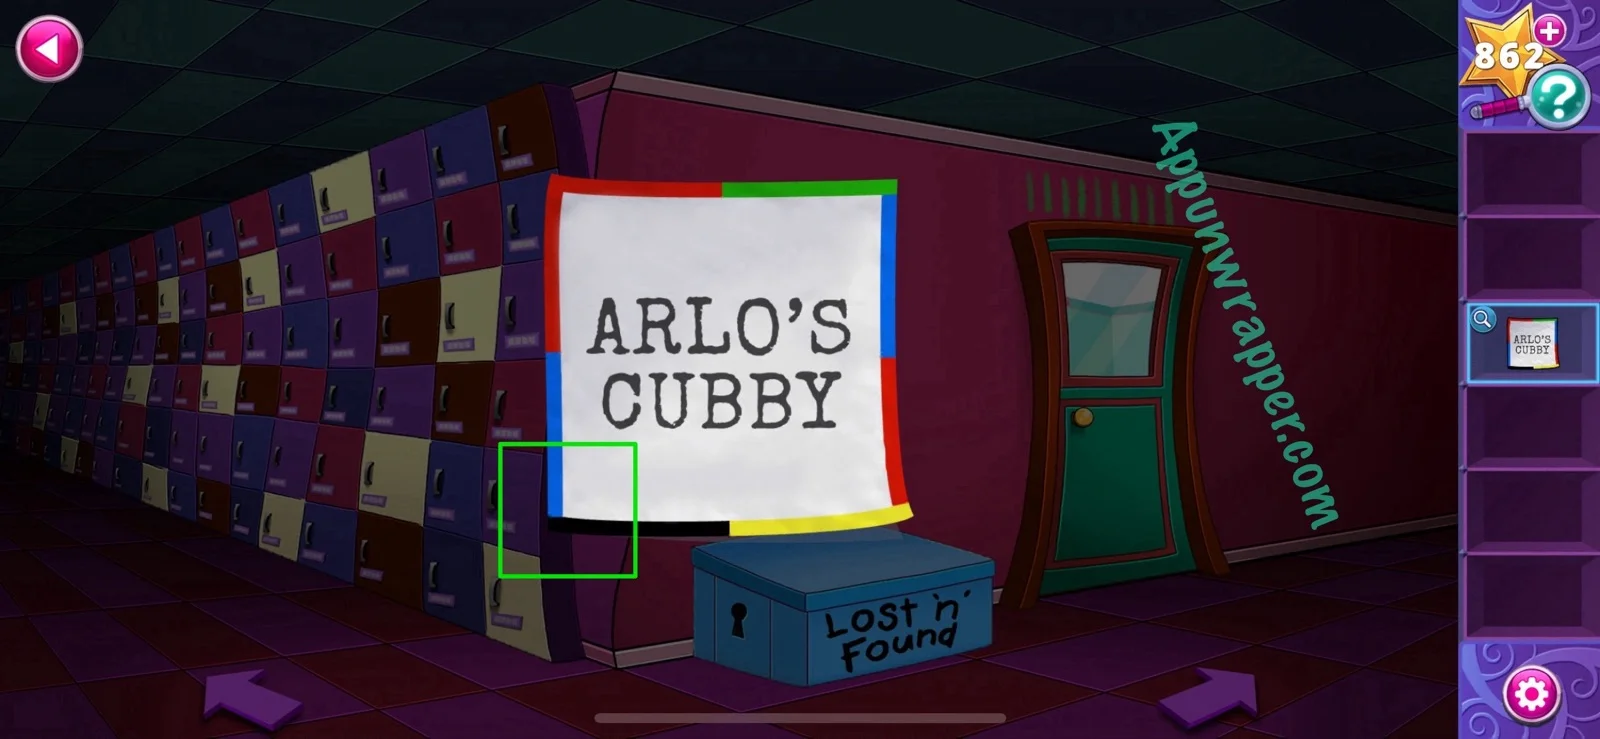
27. Mr. Redpen then tells you that Arlo’s in room 9 and his cubby number is 308. He then gives Arlo’s Cubby Clue to figure out how to open his cubby. Take a look at it.
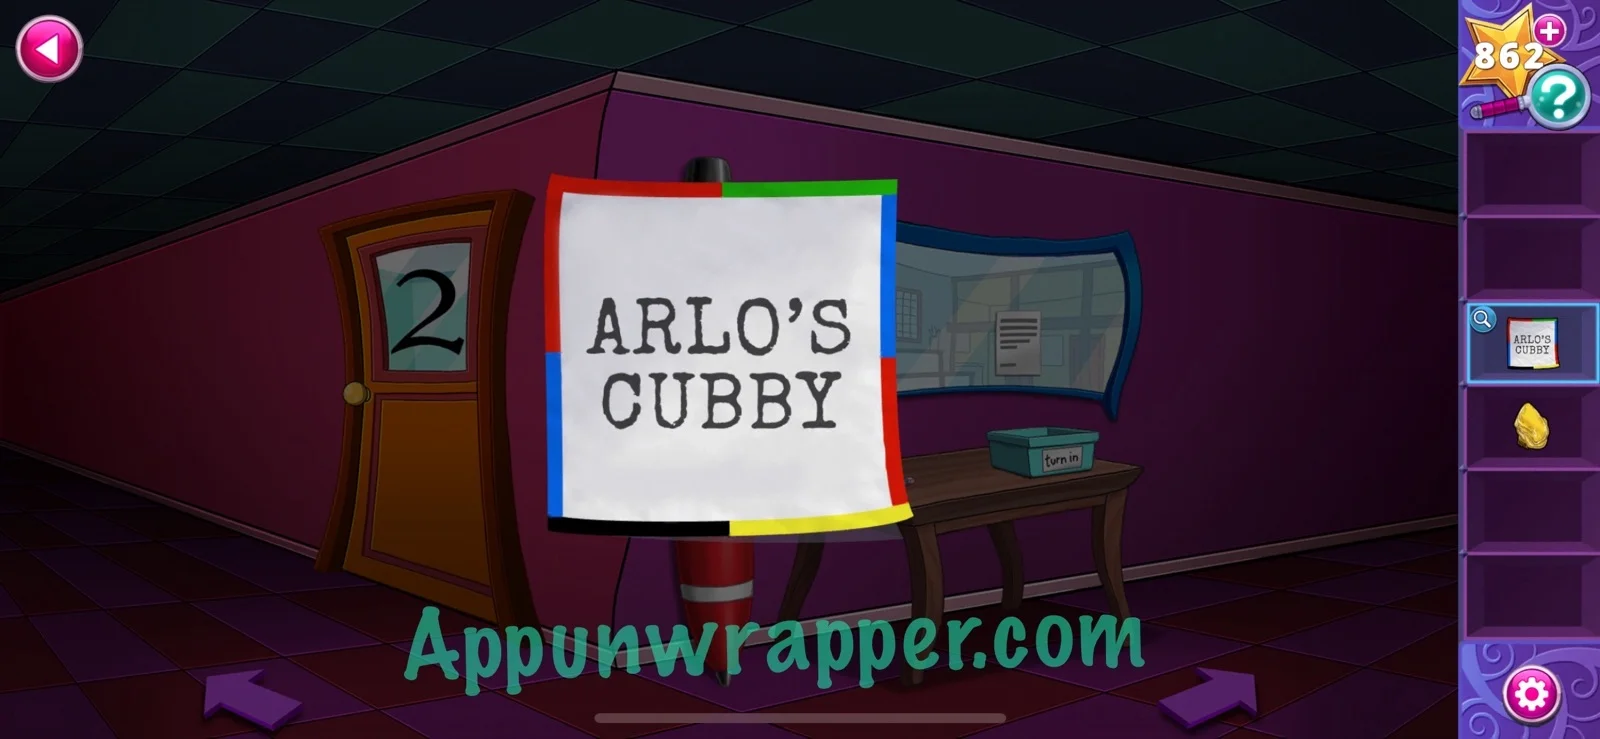
28. Find the library again to see it’s closed. The glass is dirty, so clean it with the wet scarf. Then take a look at it.
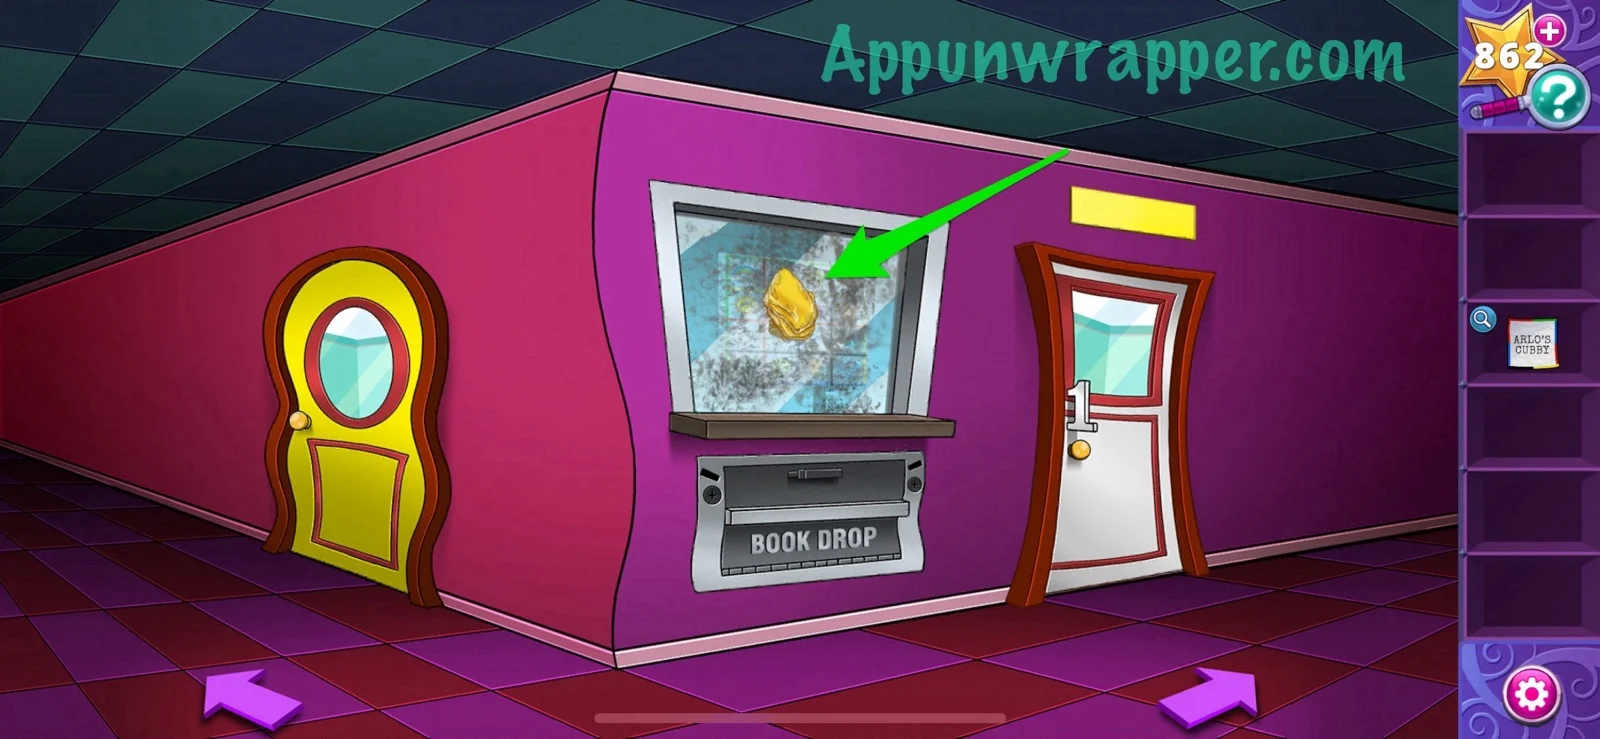
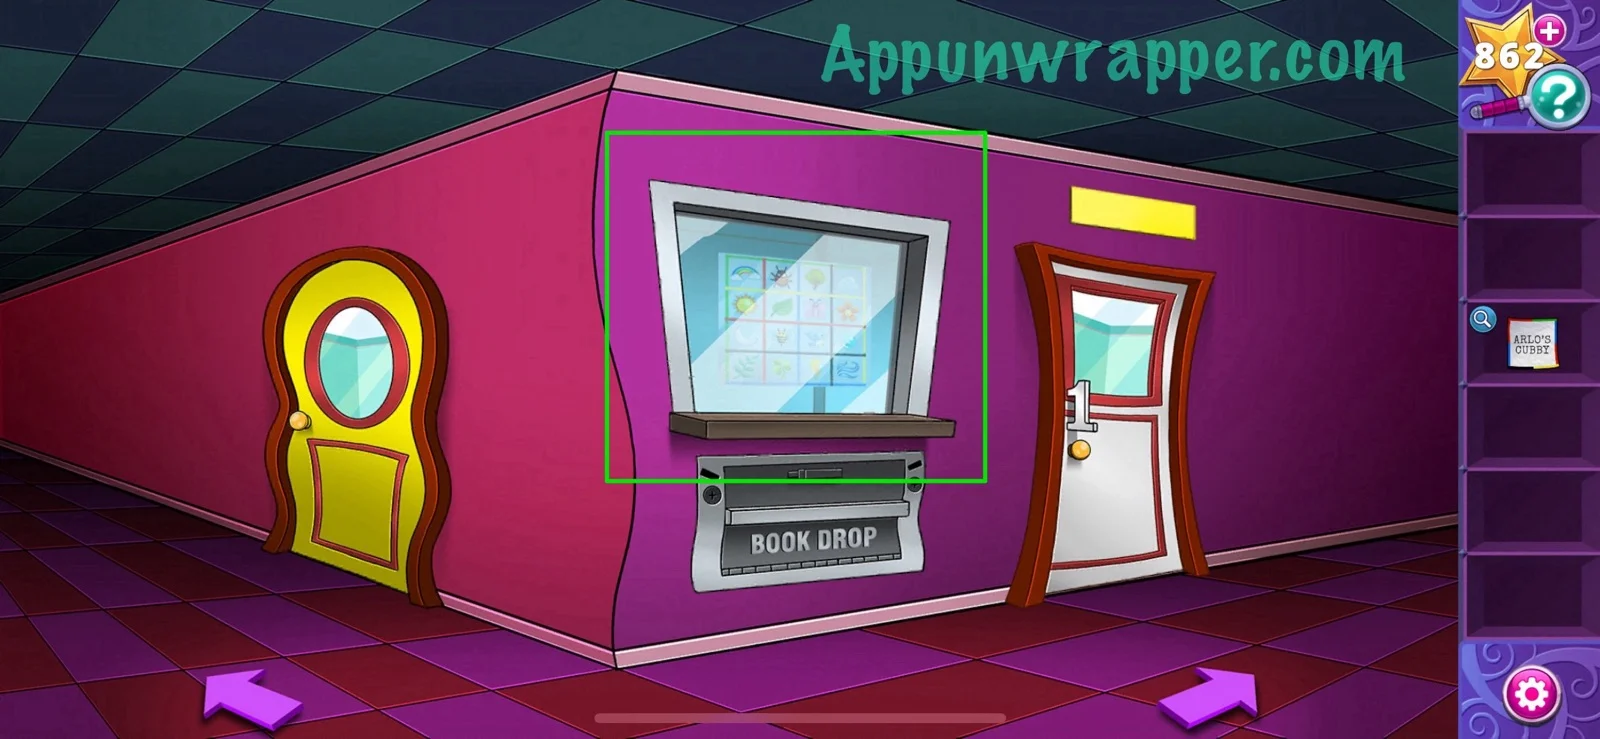
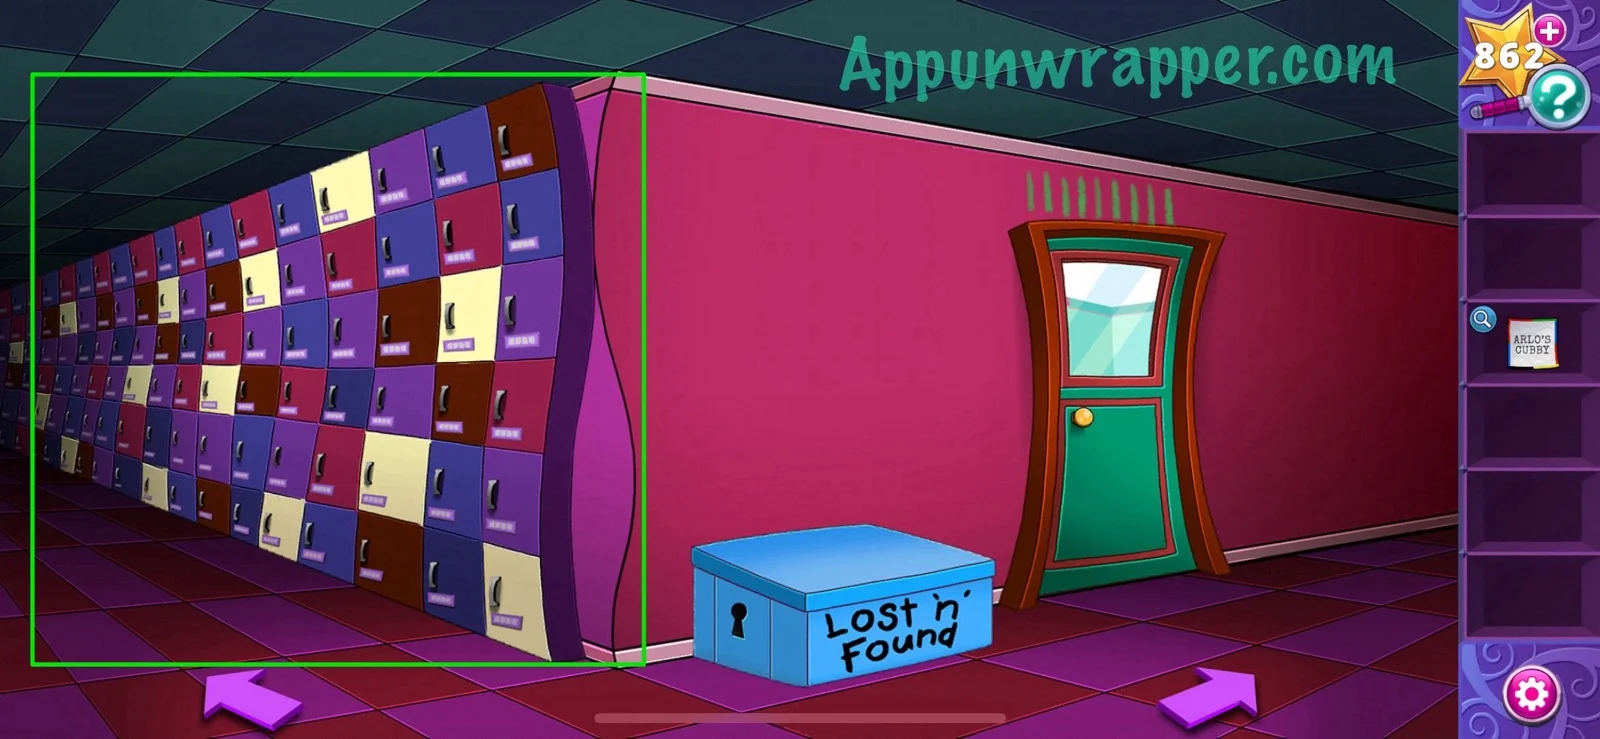
29. Now, find the cubbies. We’ll automatically locate Arlo’s, but it’s locked. There are four rectangles with one corner cut off. Basically, find that corner on Arlo’s Cubby Clue and see which two colors meet up there. Then find an image on the library window with that same color scheme in the same corner.
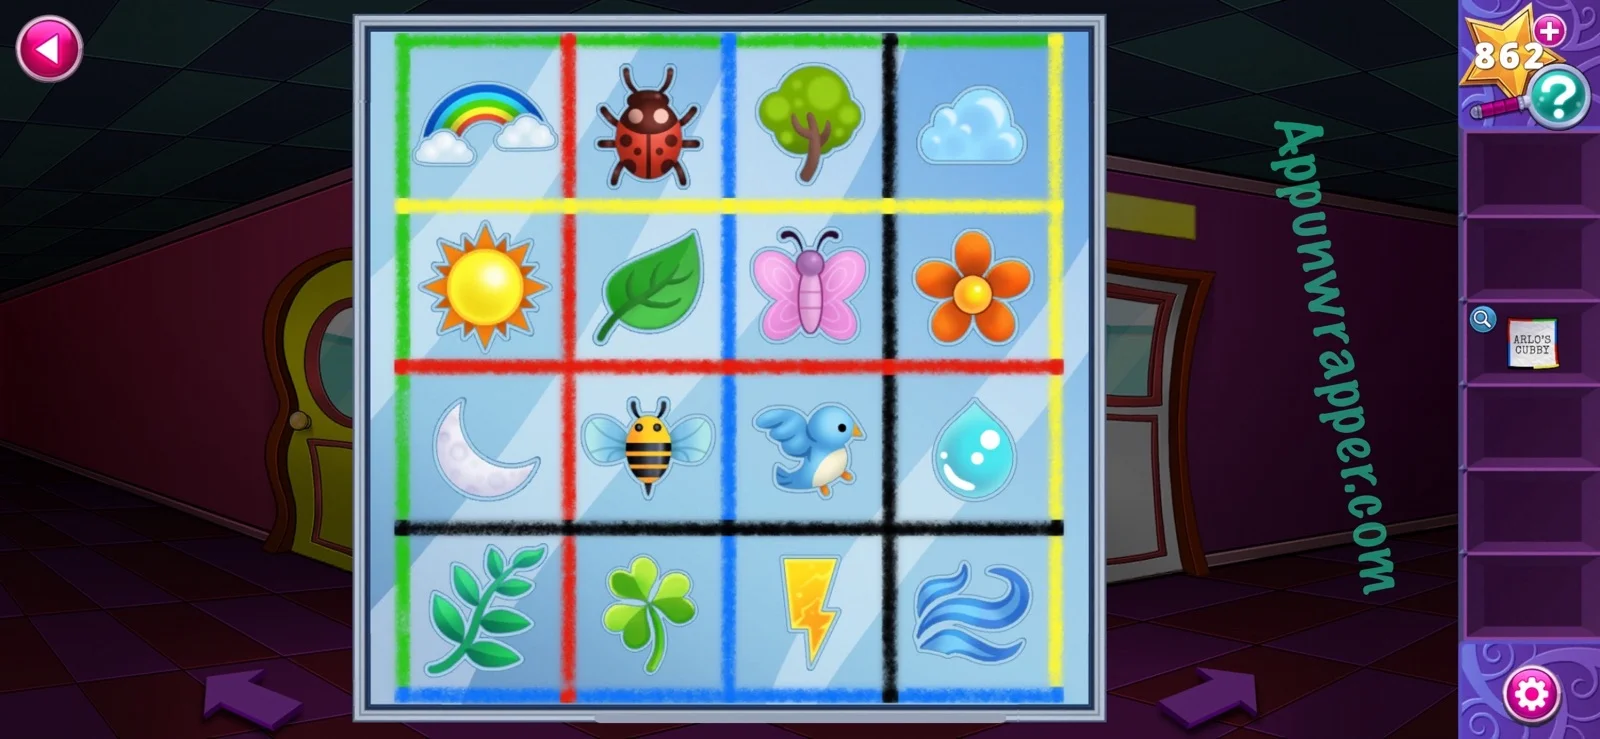
So the first is the upper left corner, which is red and red on the clue. Find that color scheme on the window and you get the bumble bee. I’ve highlighted it for you below.

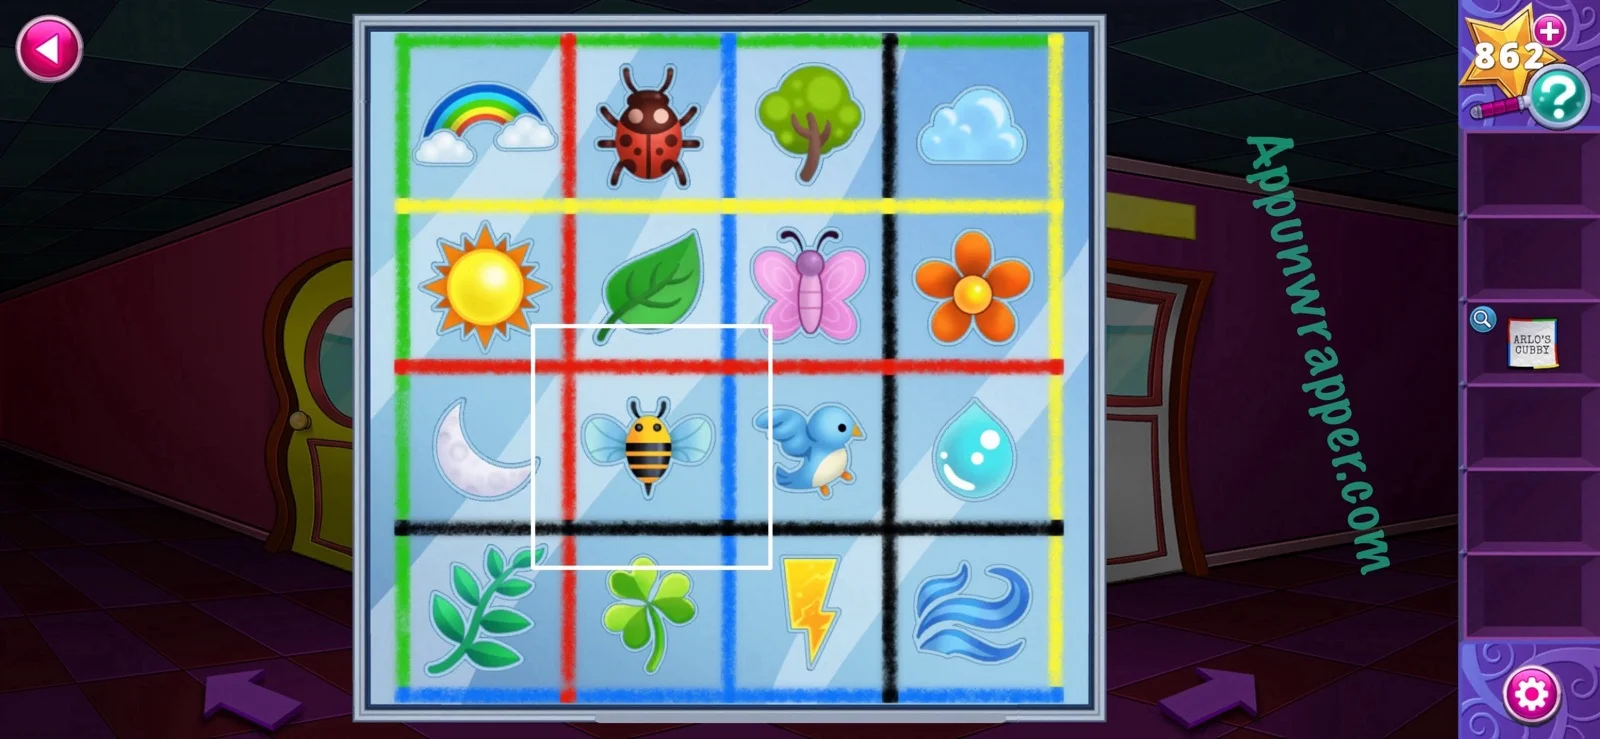
30. Next is the bottom right corner, which is red and yellow. So that matches the rainbow on the window.
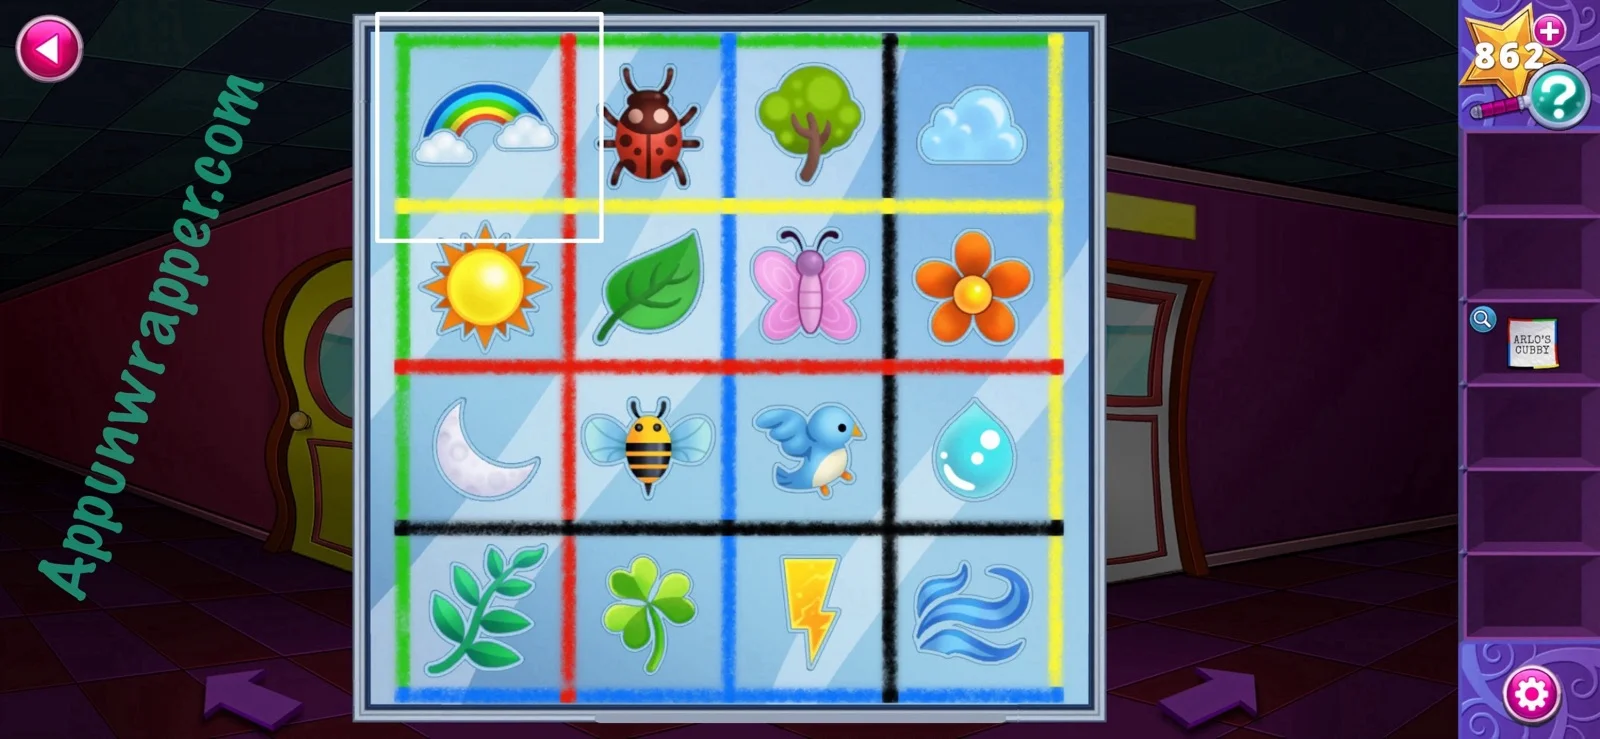
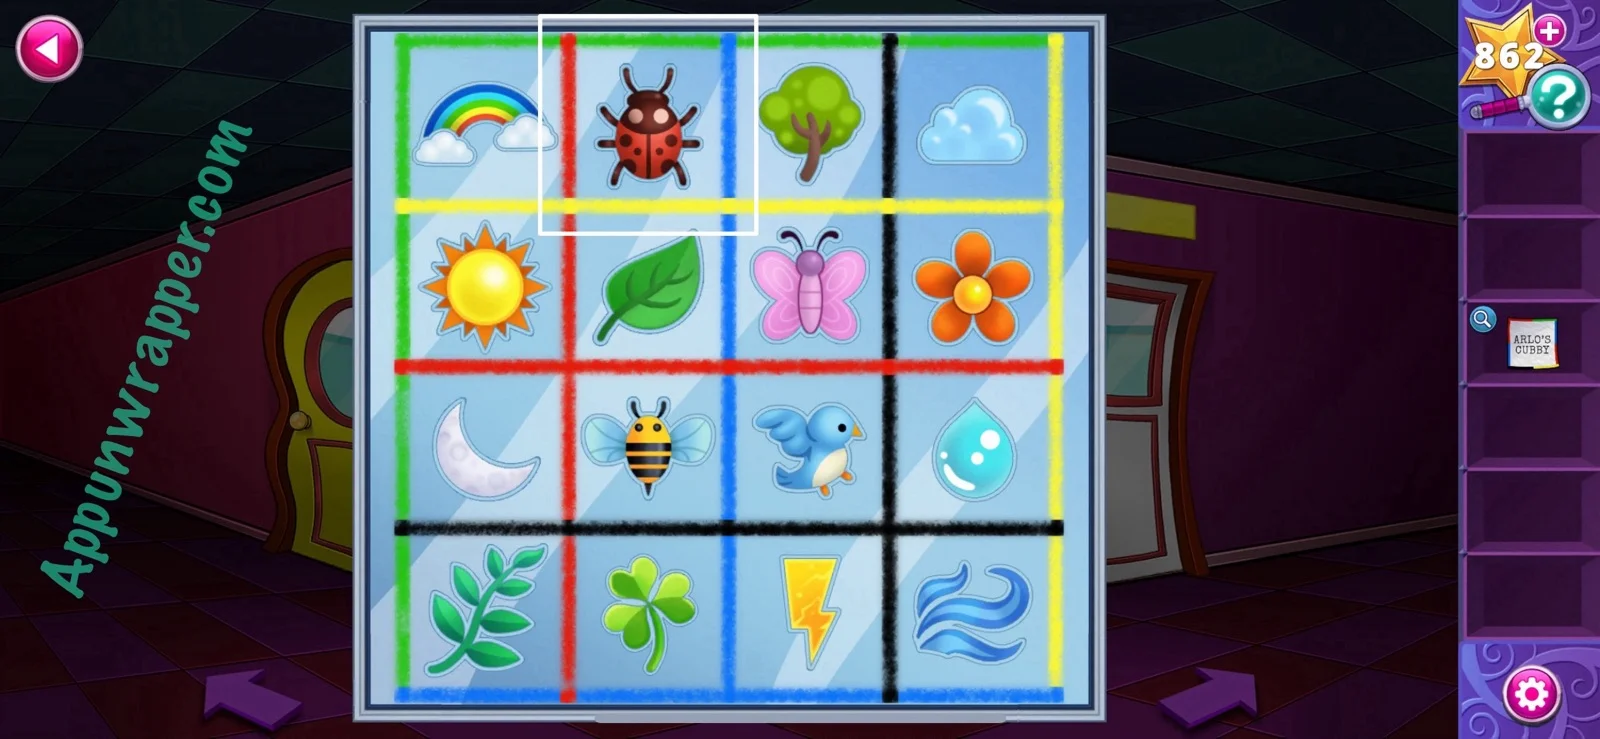
31. Next is upper right, which is green and blue. That matches the ladybug on the window.

32. And last is lower left, which is blue and black. That matches the bird on the window.

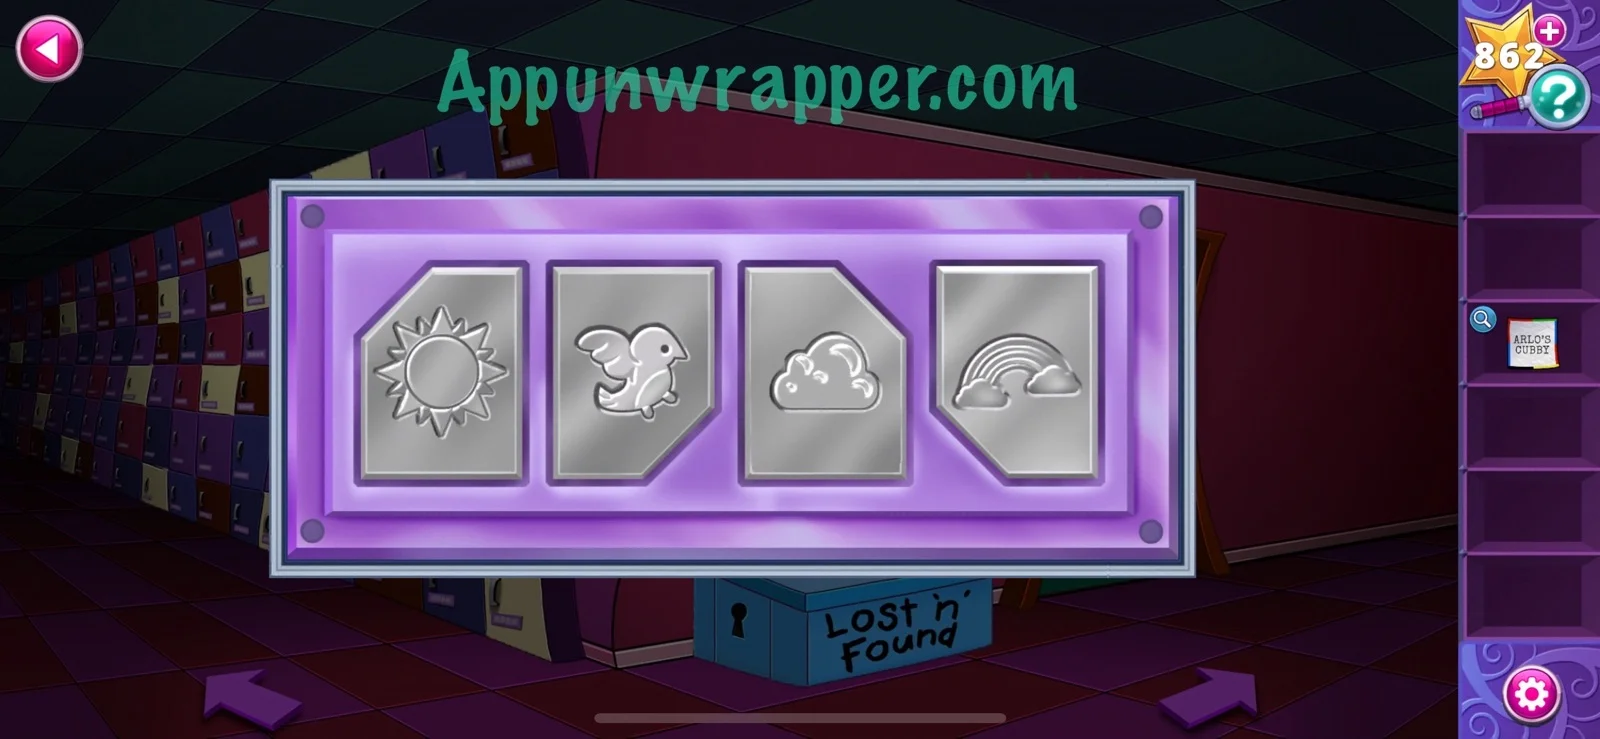
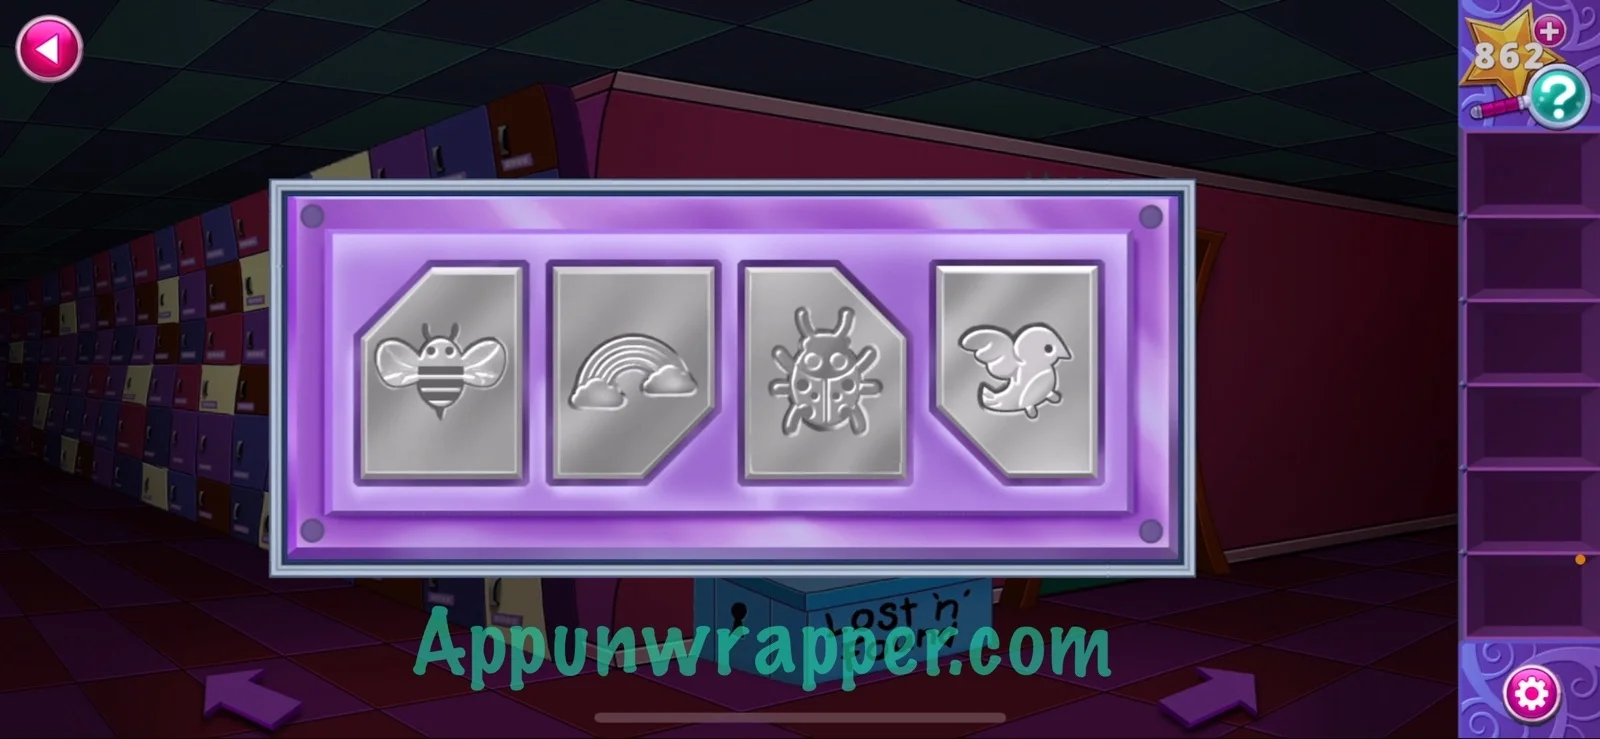
33. So now change the icons on the cubby lock to Bee, Rainbow, Ladybug, Bird. Then Arlo will automatically put his backpack away and enter the classroom.
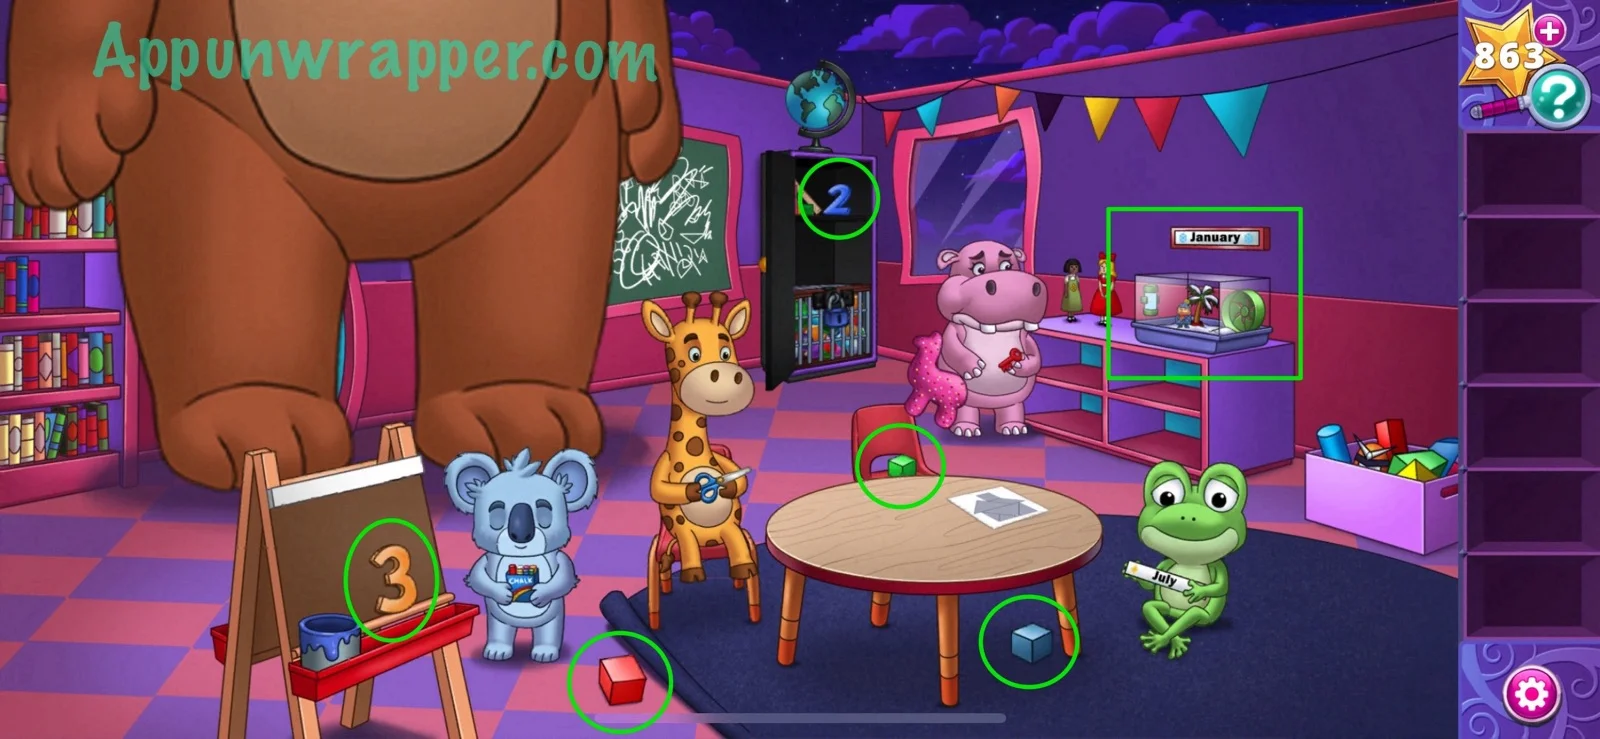
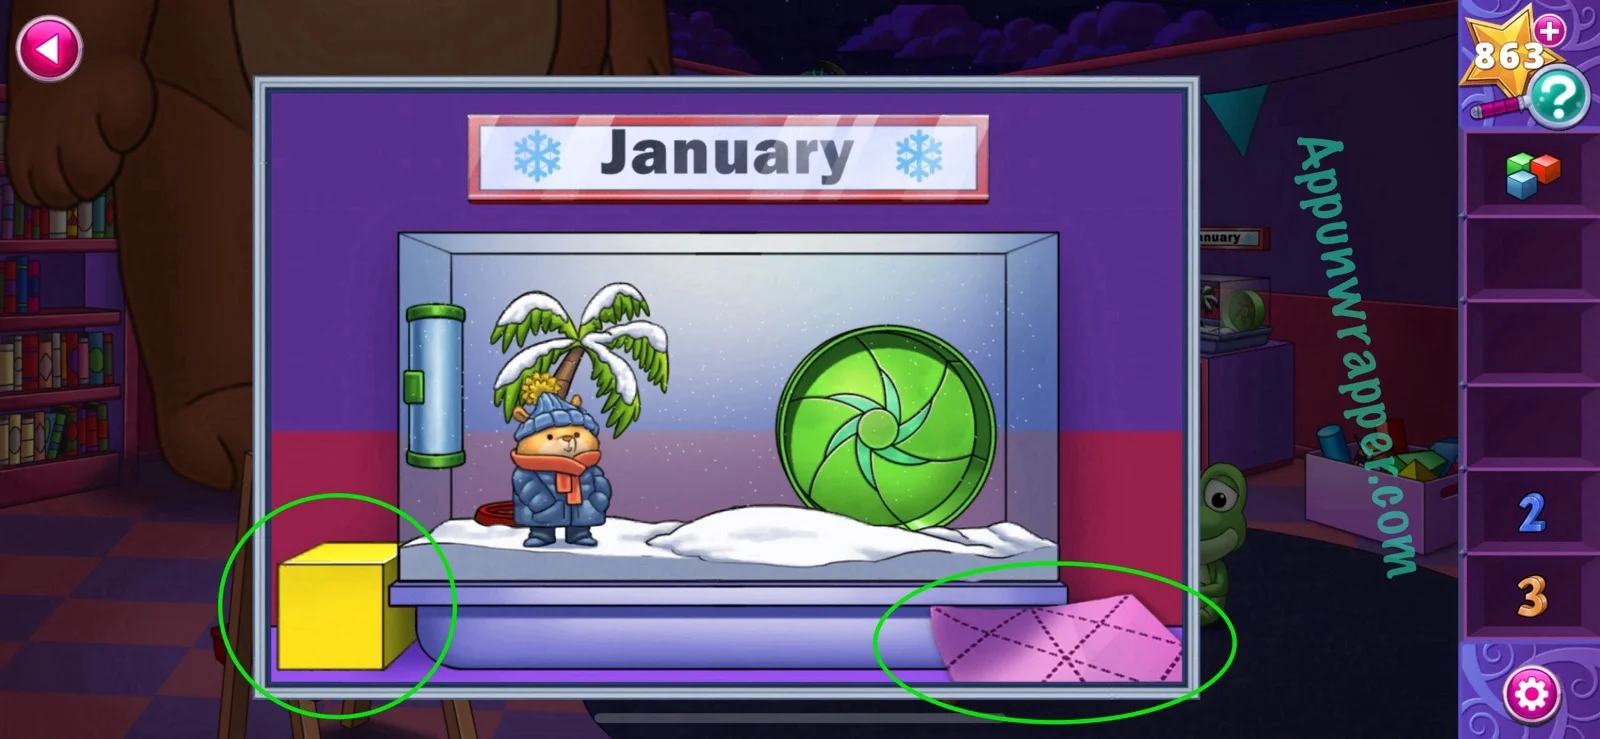
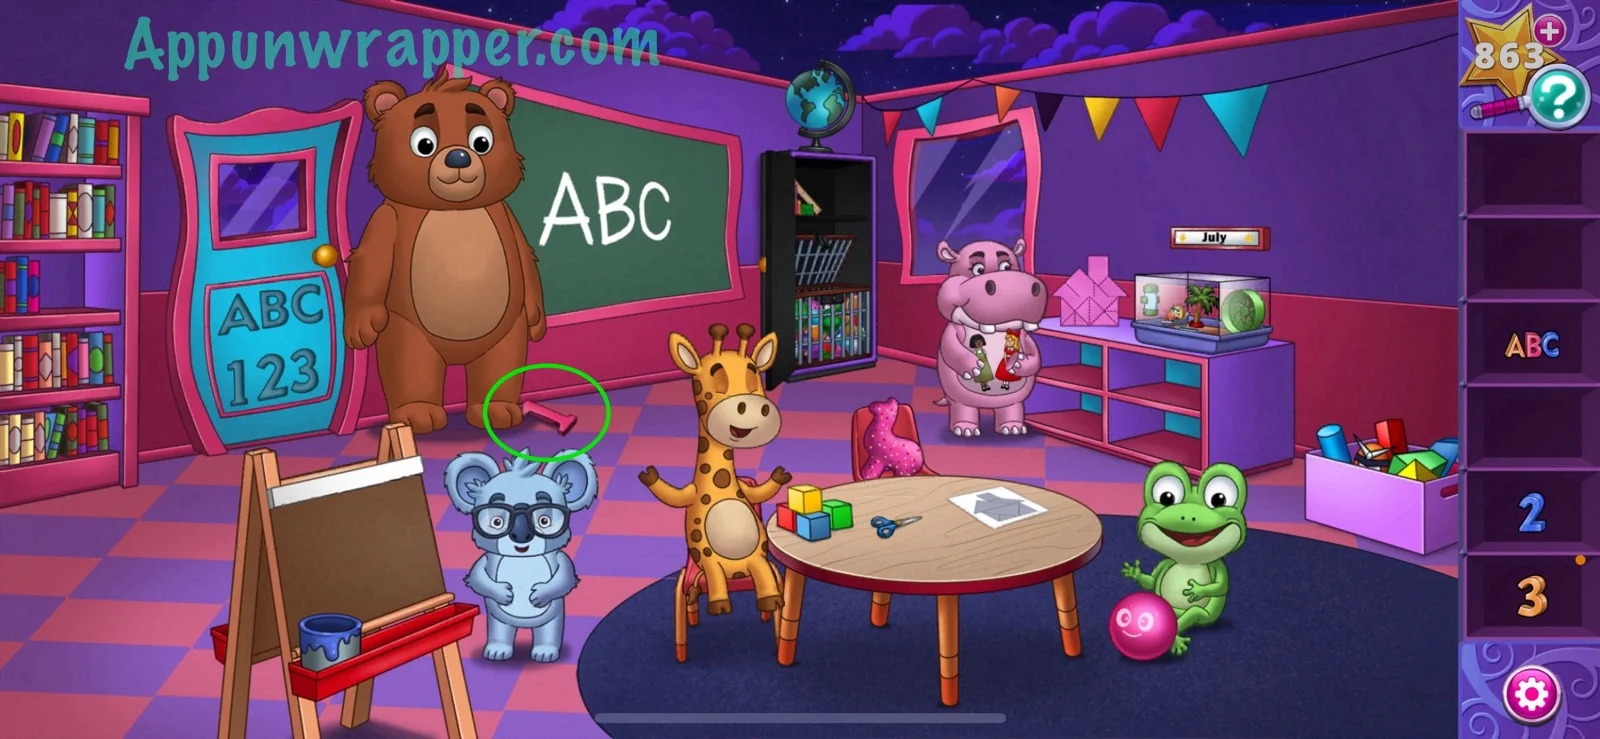
34. We’re in Arlo’s classroom. Find the two blocks, the number two and number three. There’s another block under the stuffed alpaca. Also, look at the hamster cage and grab a fourth block and some paper.
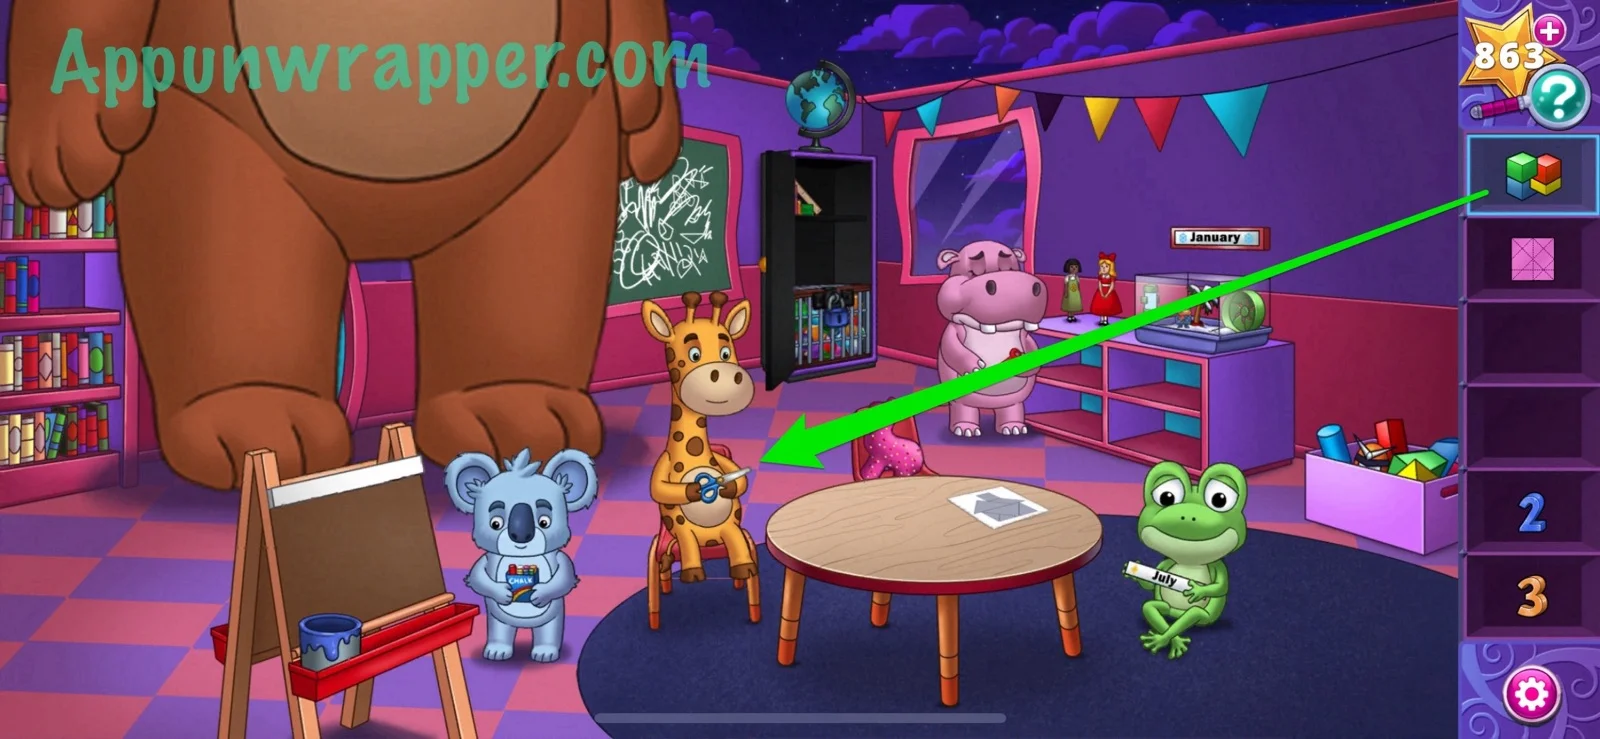
35. Give the four blocks to the giraffe to get his scissors.
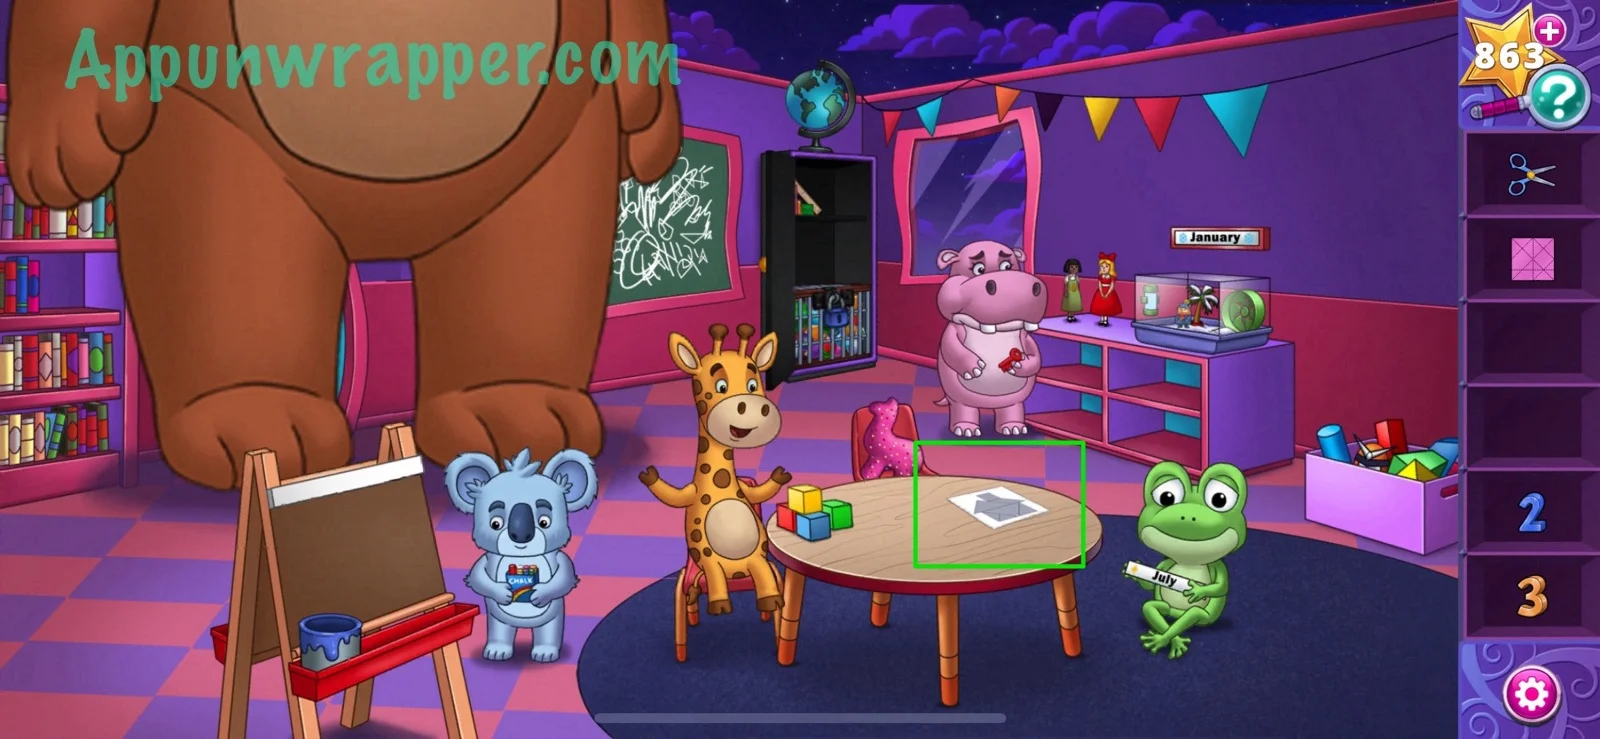
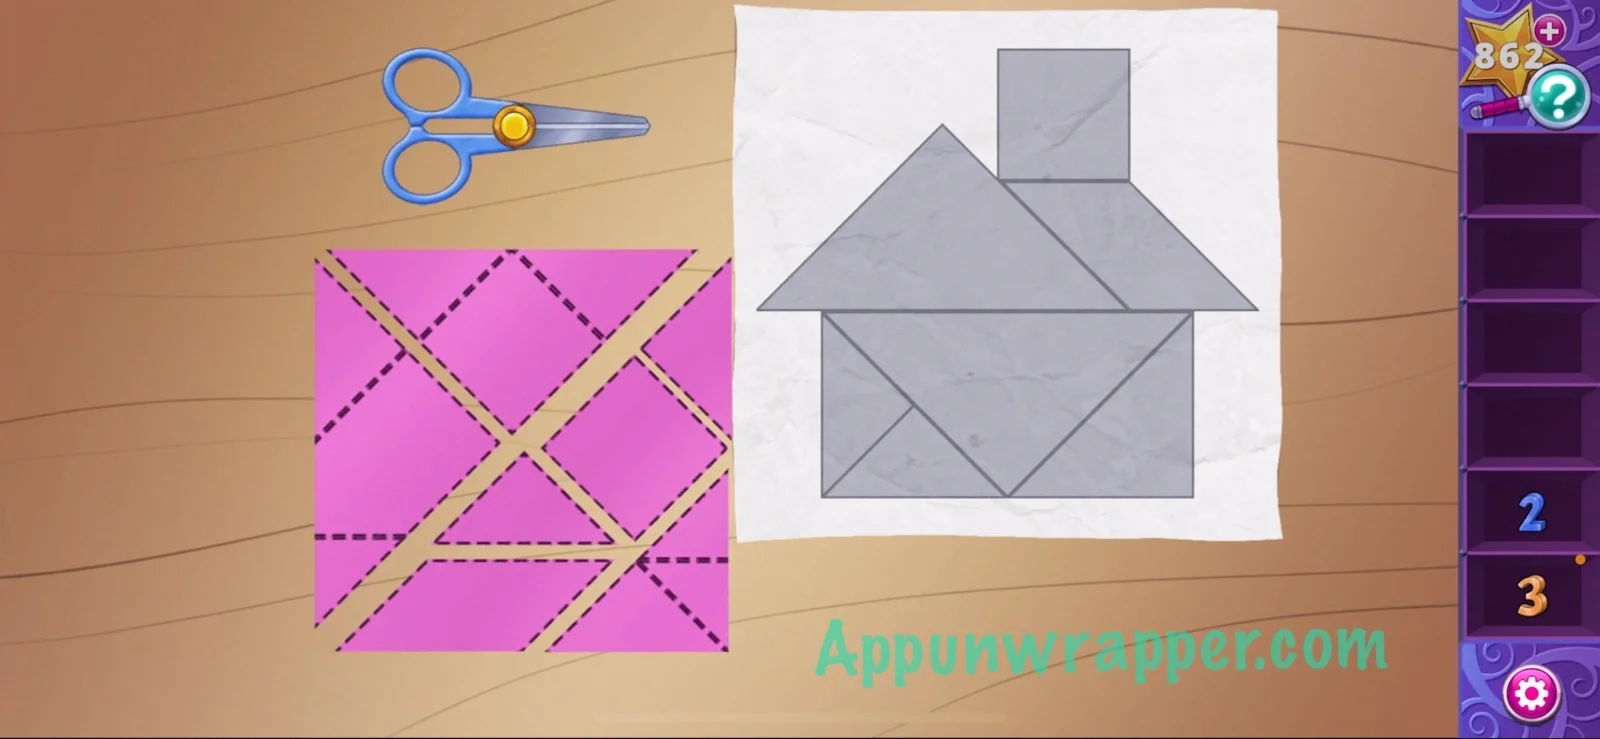
36. Place the scissors and paper on the table. We have to solve the Scissors Puzzle! Cut along the lines to make the shapes shown on the instructions. Cut it like in the image below and it will fit.
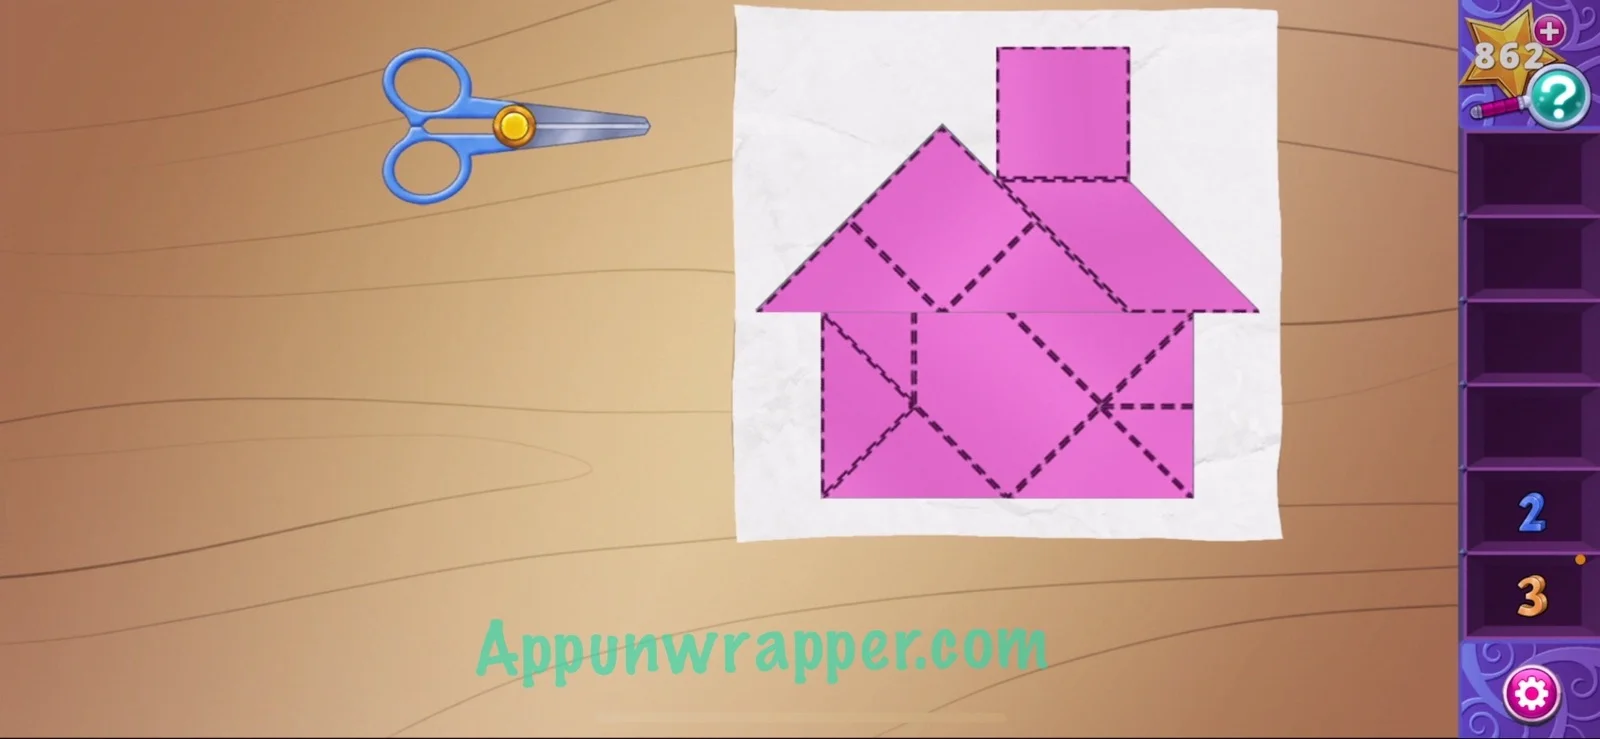
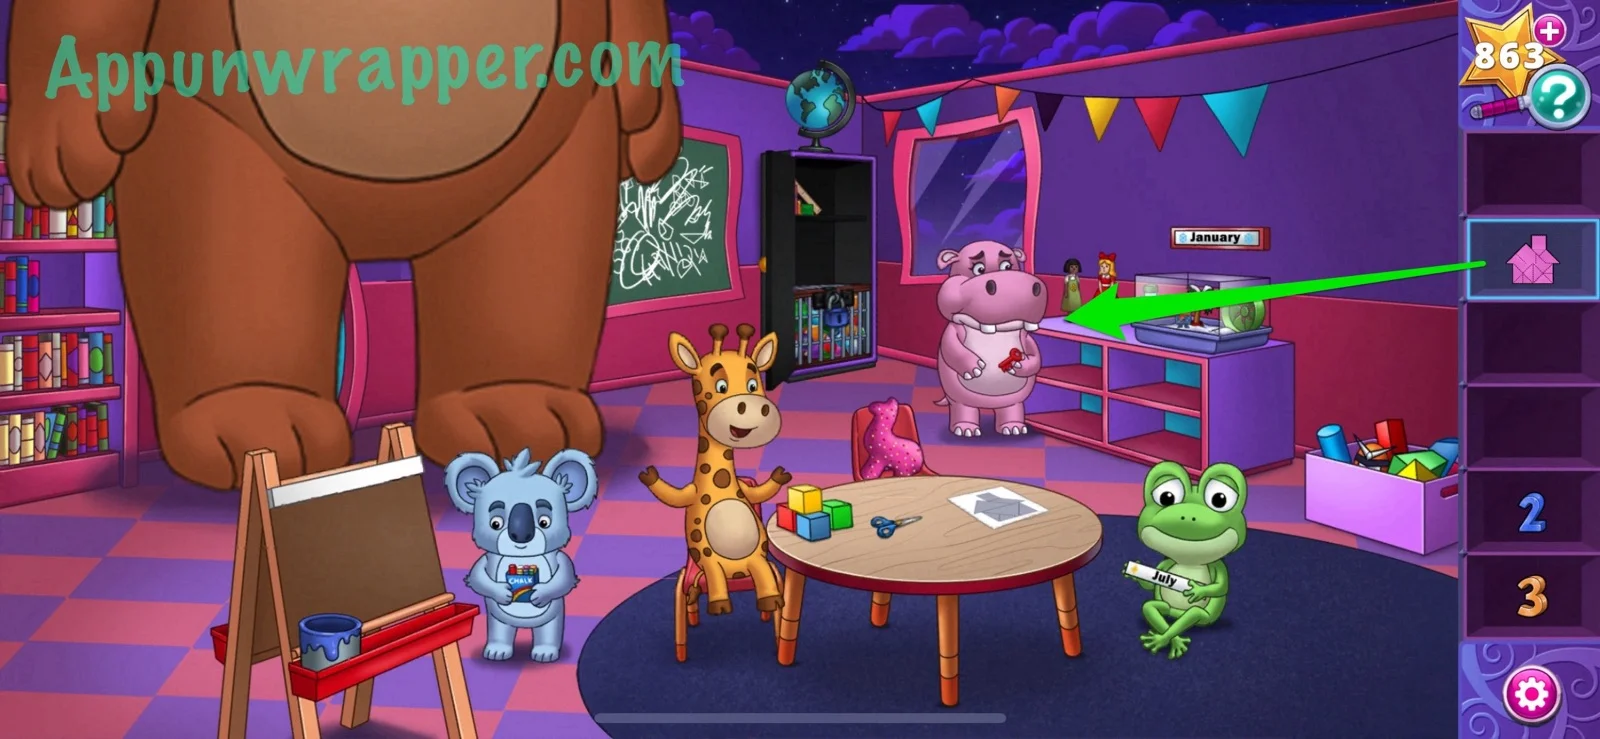
37. Give the house to the hippo and he’ll give you the red key.
38. Dip the red key in the blue paint to get a blue key.
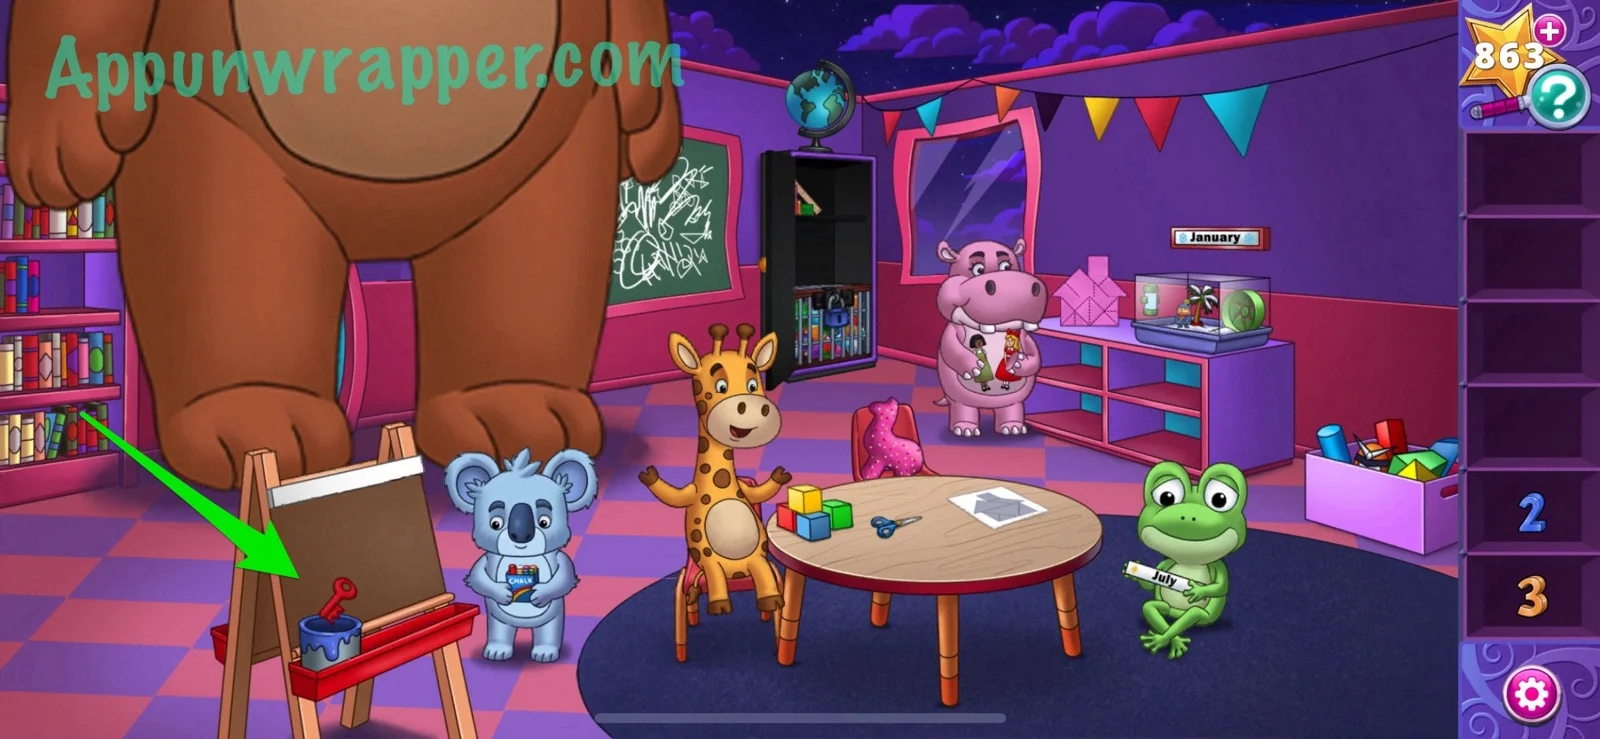
39. Use the red key to open the padlock. Look inside and match all the pairs of balls and grab the final ball that’s left.
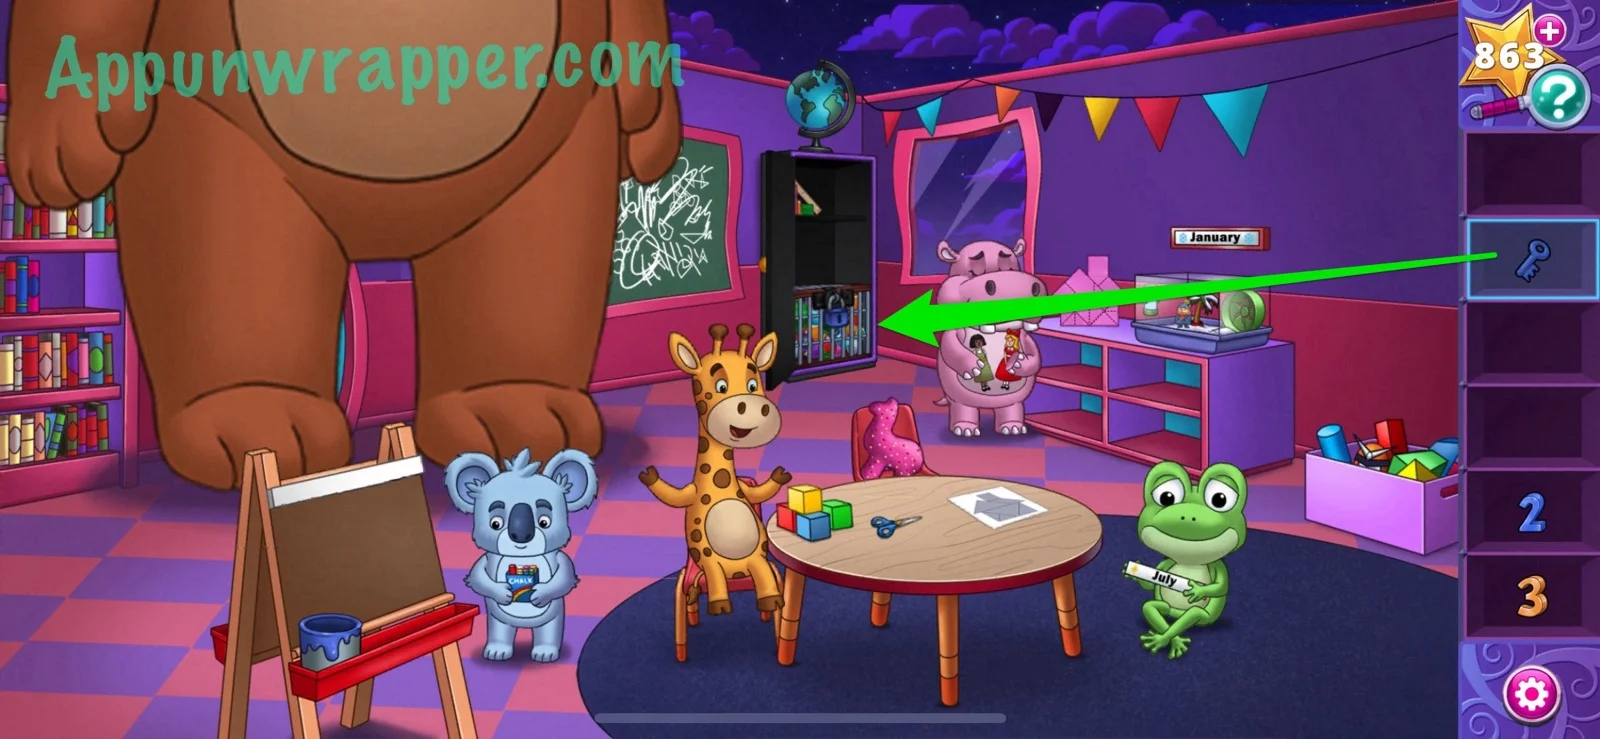
40. Give the ball to the frog to get the July sign.
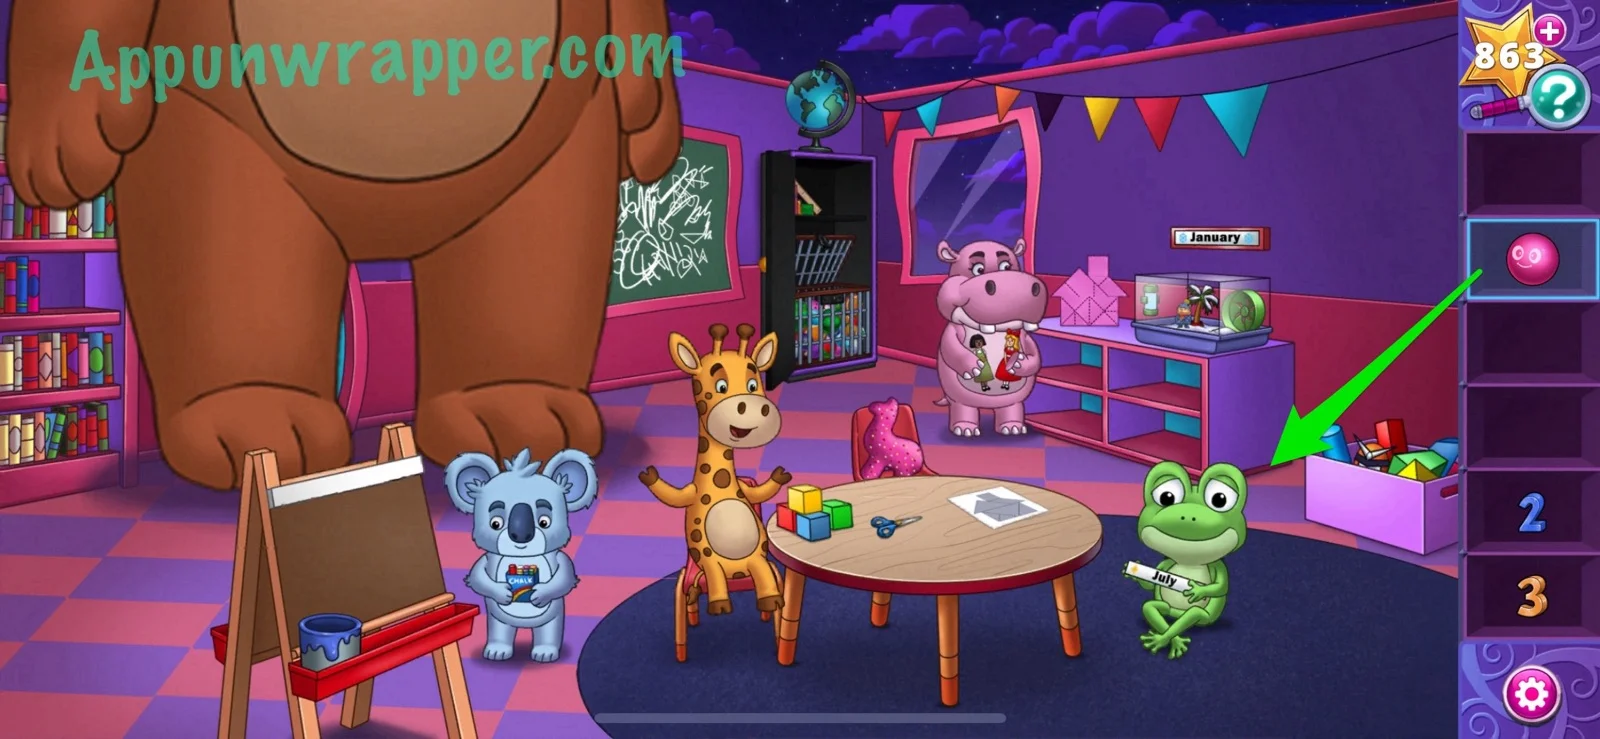
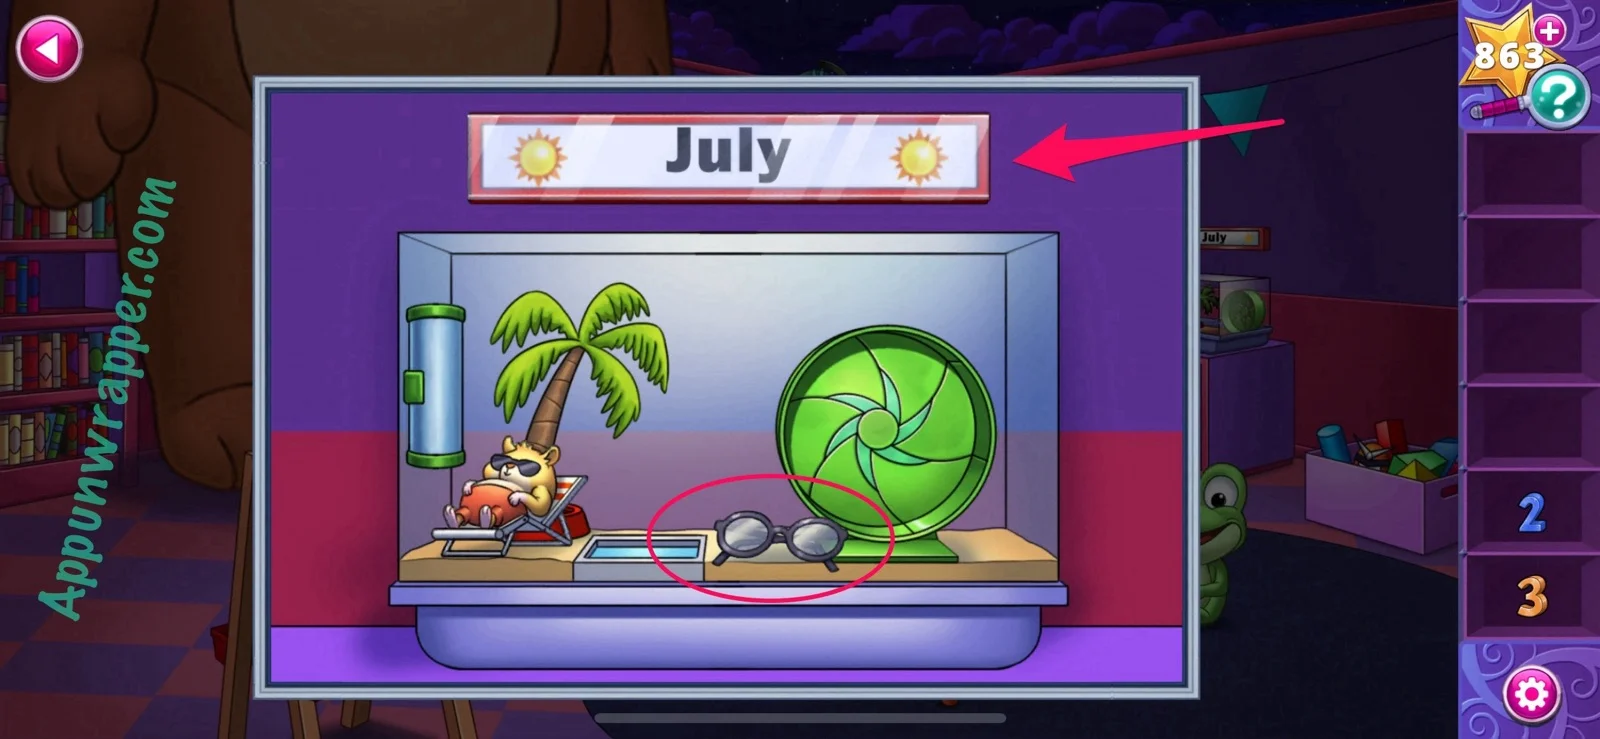
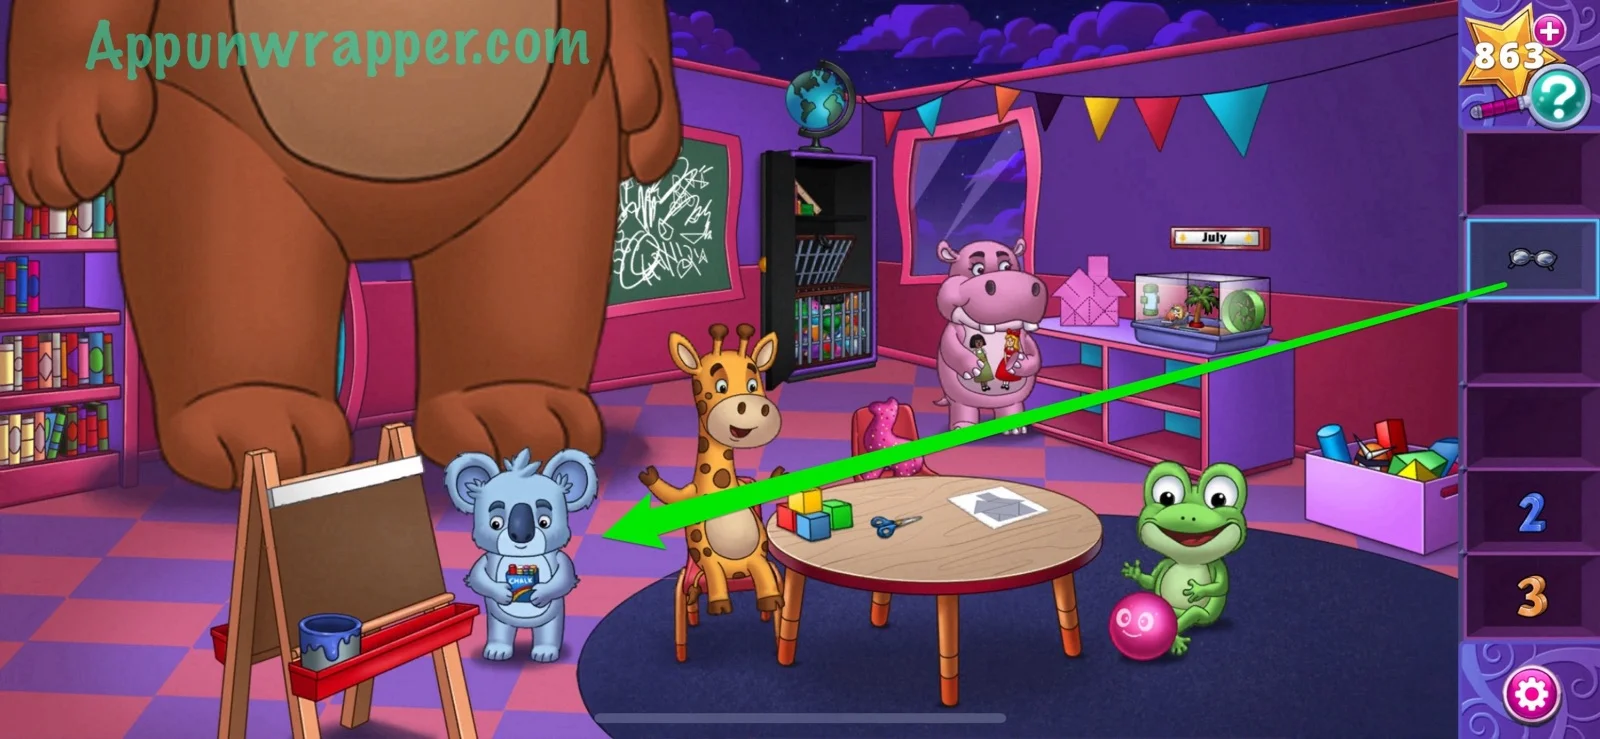
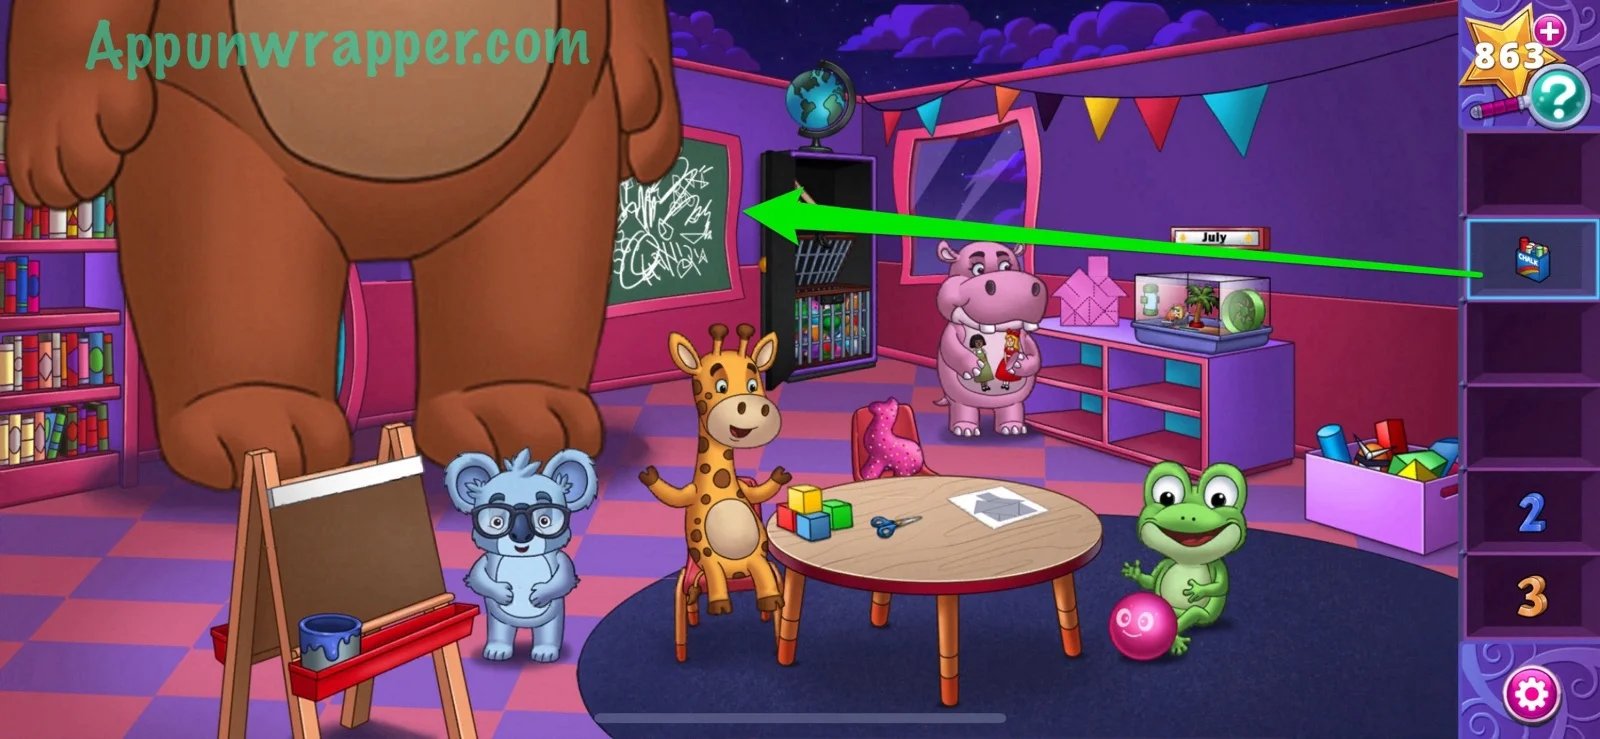
41. Go back to the hamster cage and place the July sign over the February sign. Summer will arrive and melt the snow! Take the glasses.
42. Give the glasses to the koala to get the chalk.
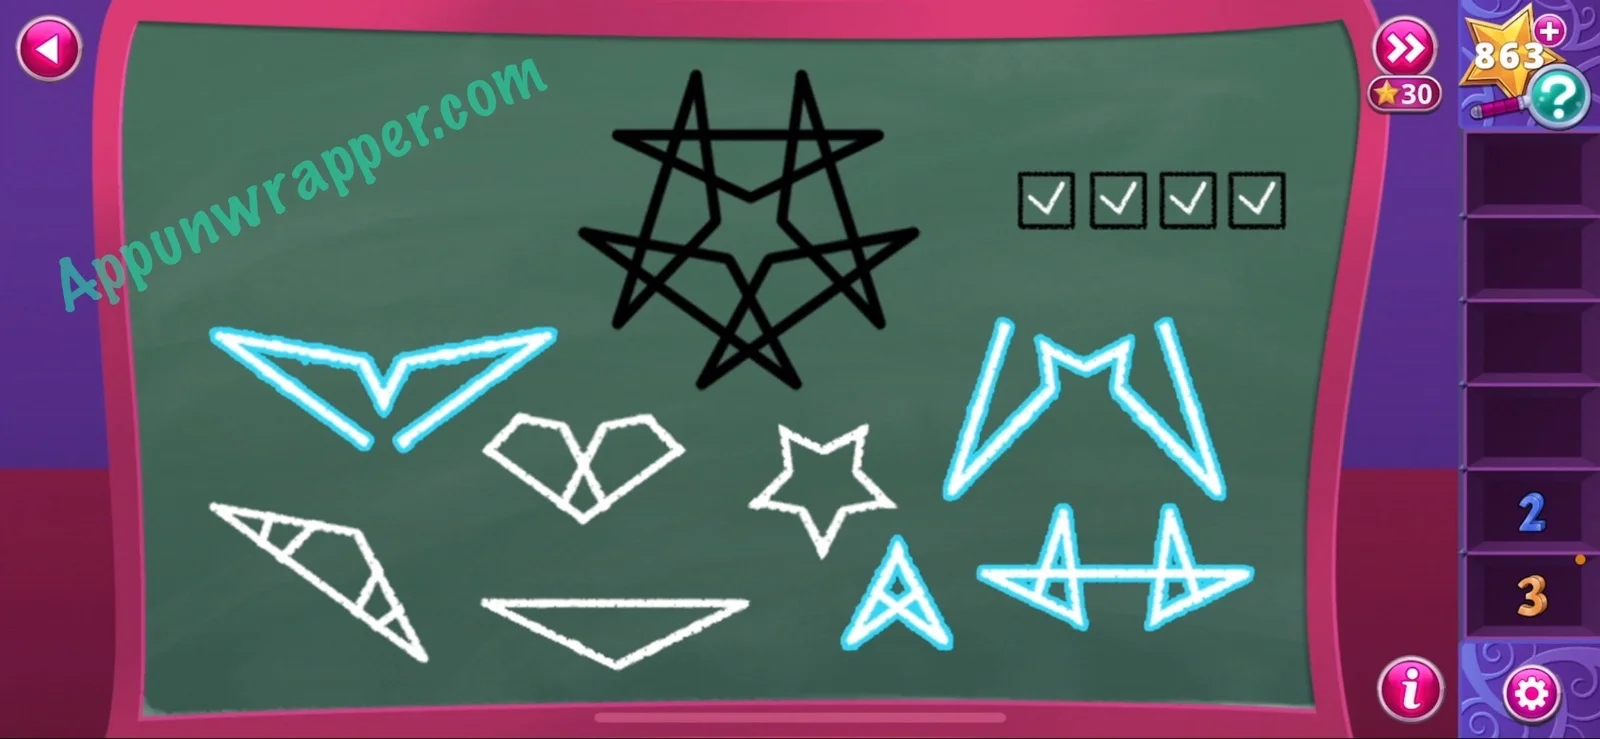
43. Use the chalk with the chalkboard and let’s solve the Chalkboard Puzzle. This one is made up of A’s. You need to select four white fragments that will make up the bigger black shape. You can copy my solution if you’re stuck.
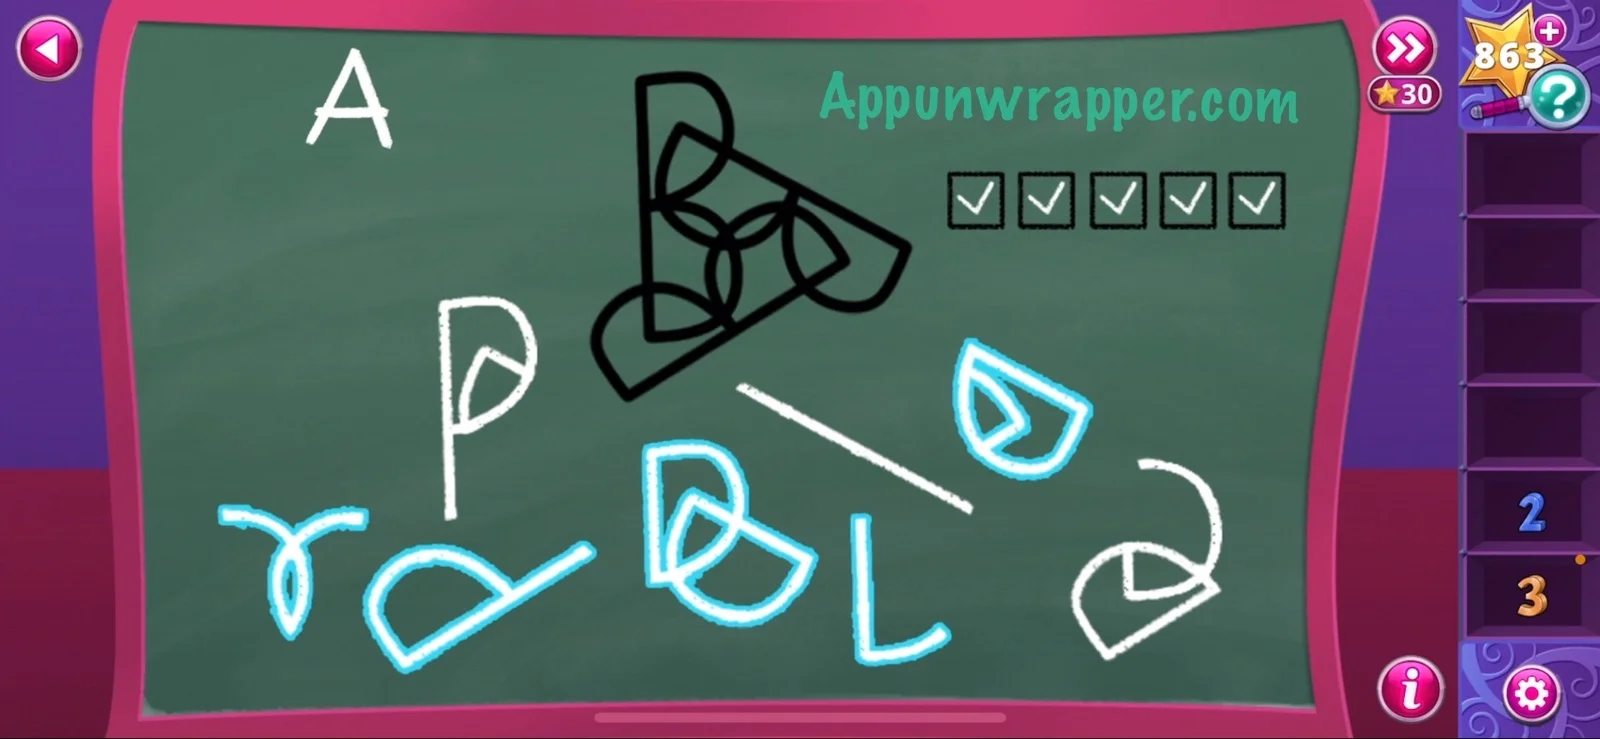
44. Now do the same with the next puzzle for B.
45. And now the C puzzle.
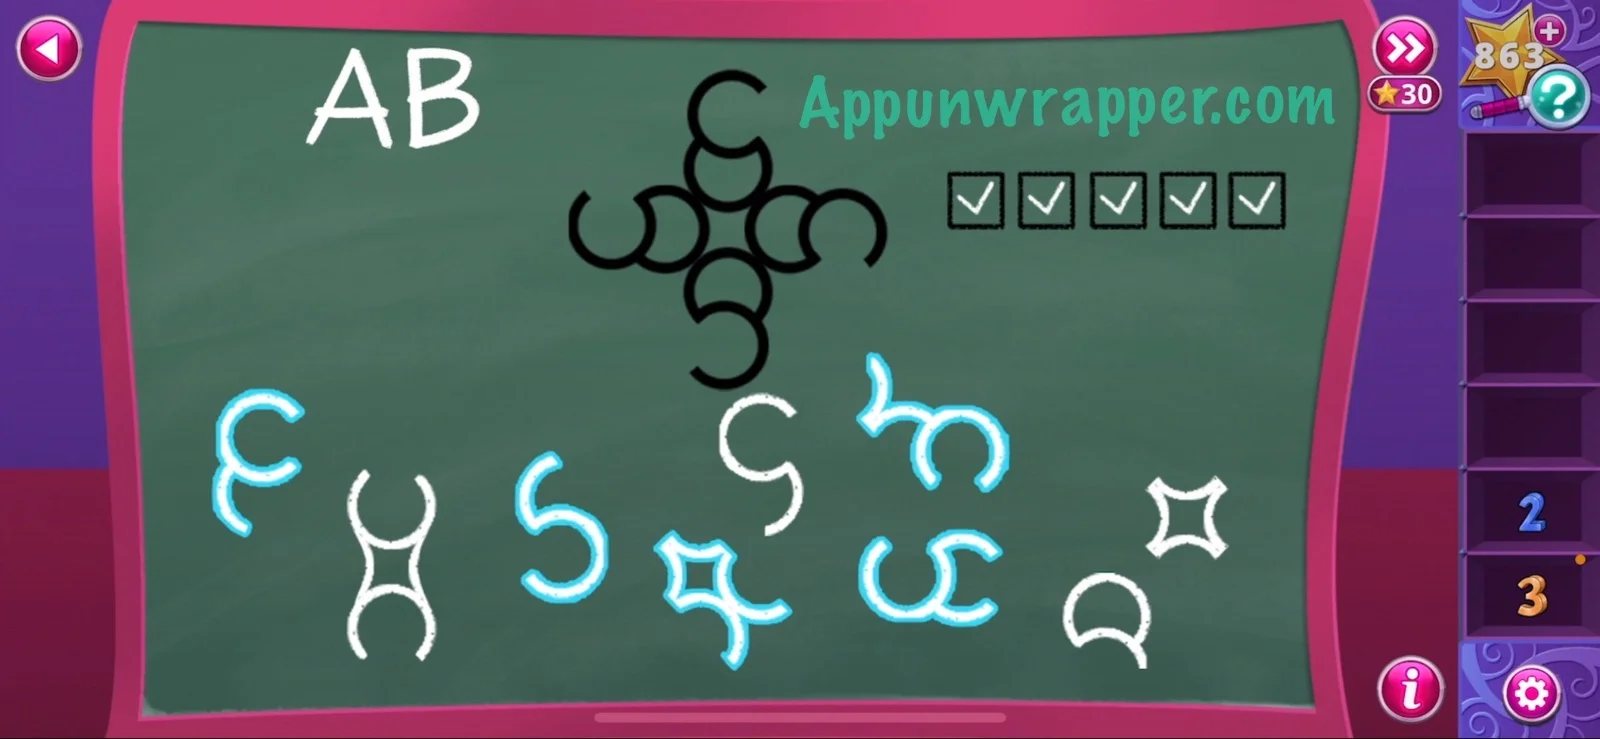
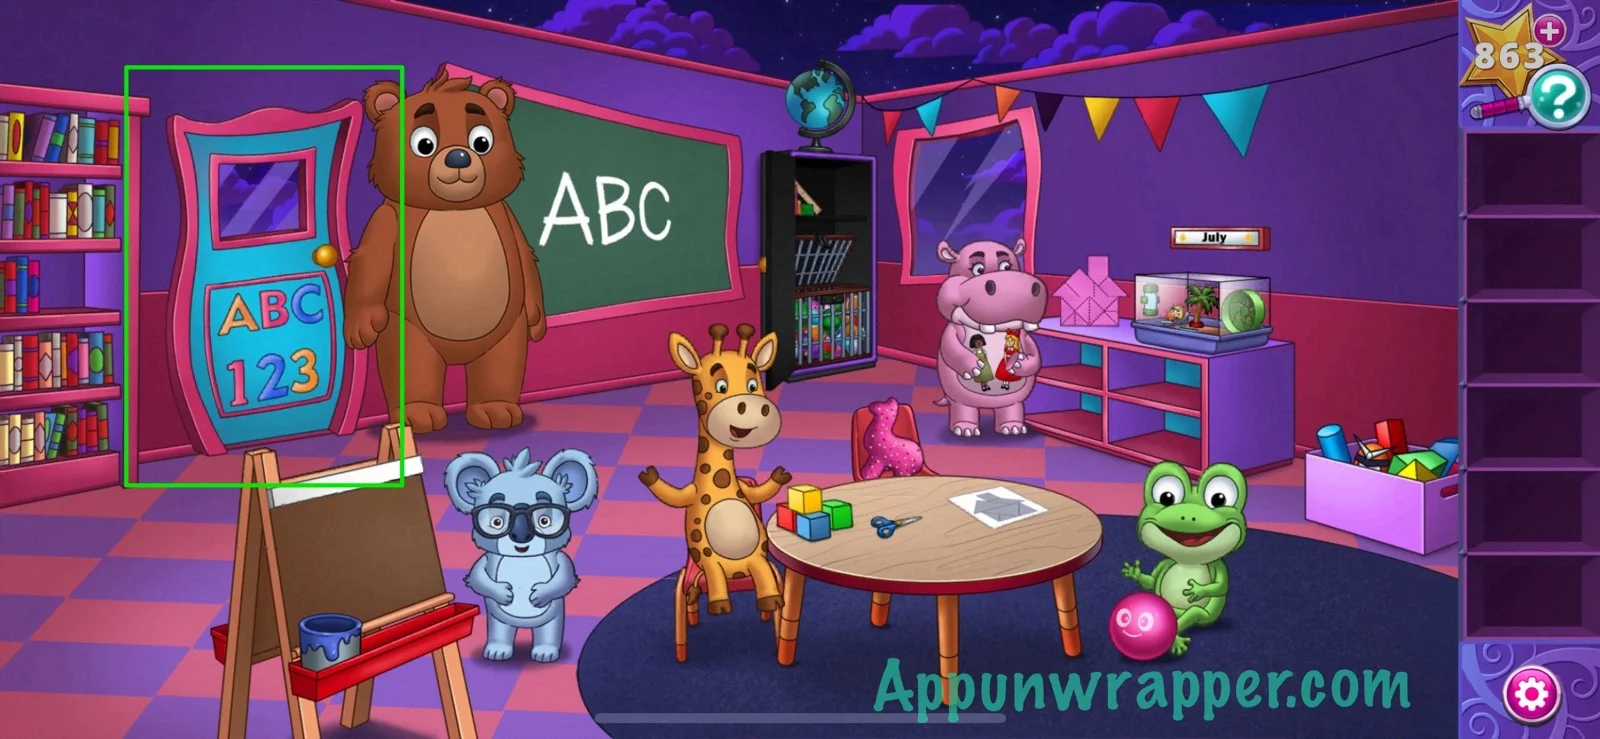
46. The teacher will shrink and give you the ABC pieces. Pick up the number one and then place the ABC and 1 2 3 on the door to open it. Then go through.
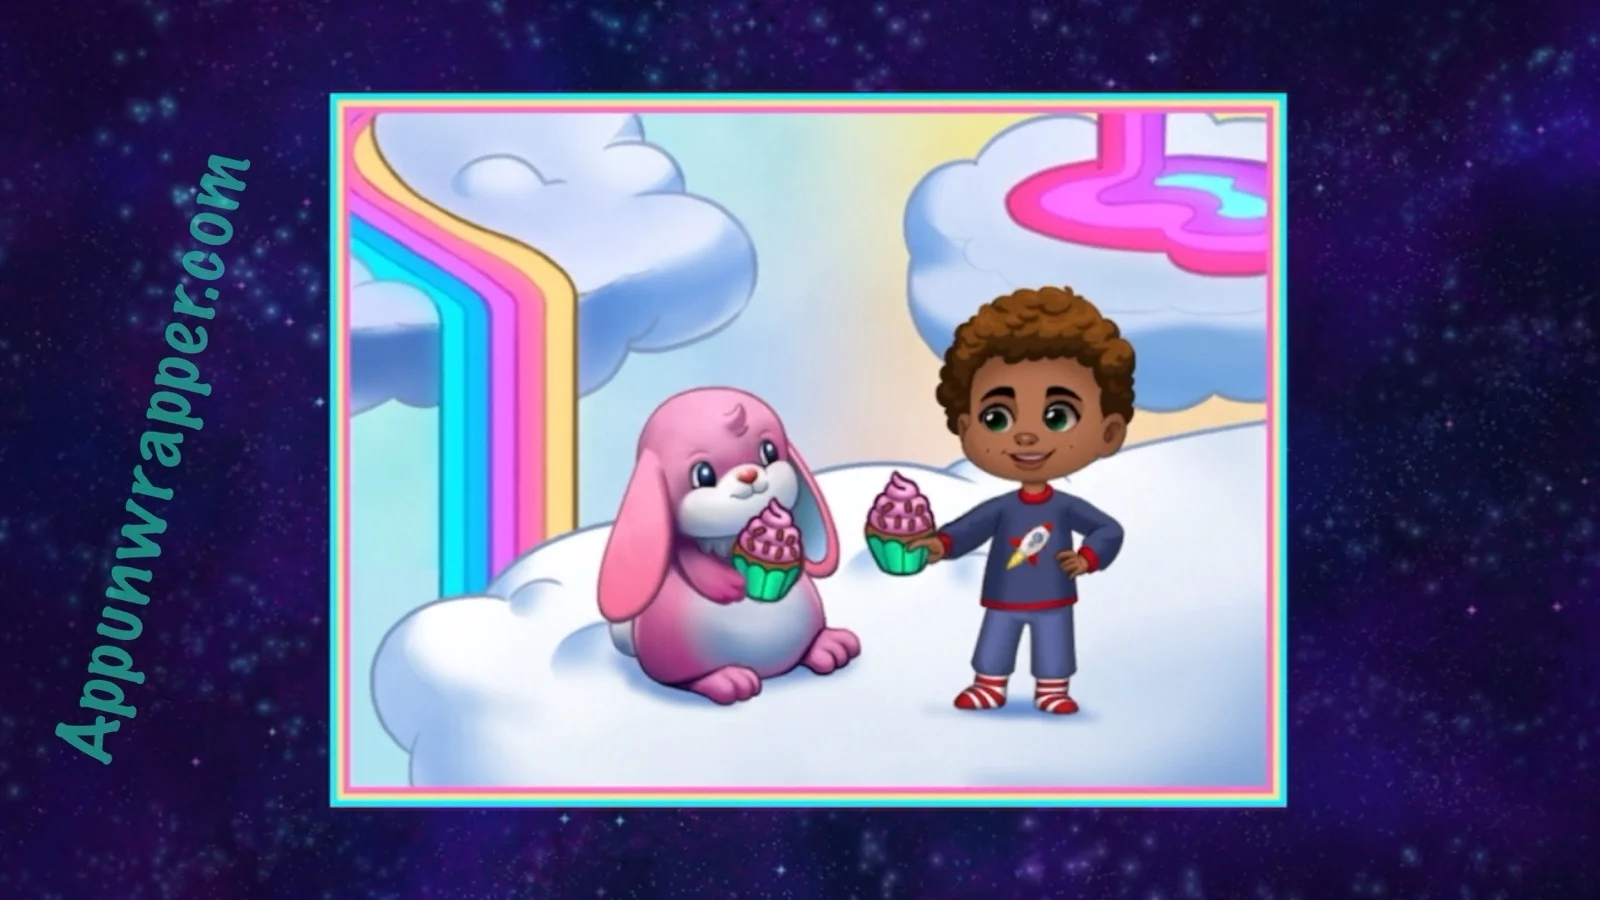
47. Now we have to solve some Dream Memory puzzles. Rearrange the pieces to create an image. Select a piece to reveal part of the image. Select a second piece to swap their positions. You can watch my video for the first one if you need help.
48. Now let’s work on the second one.
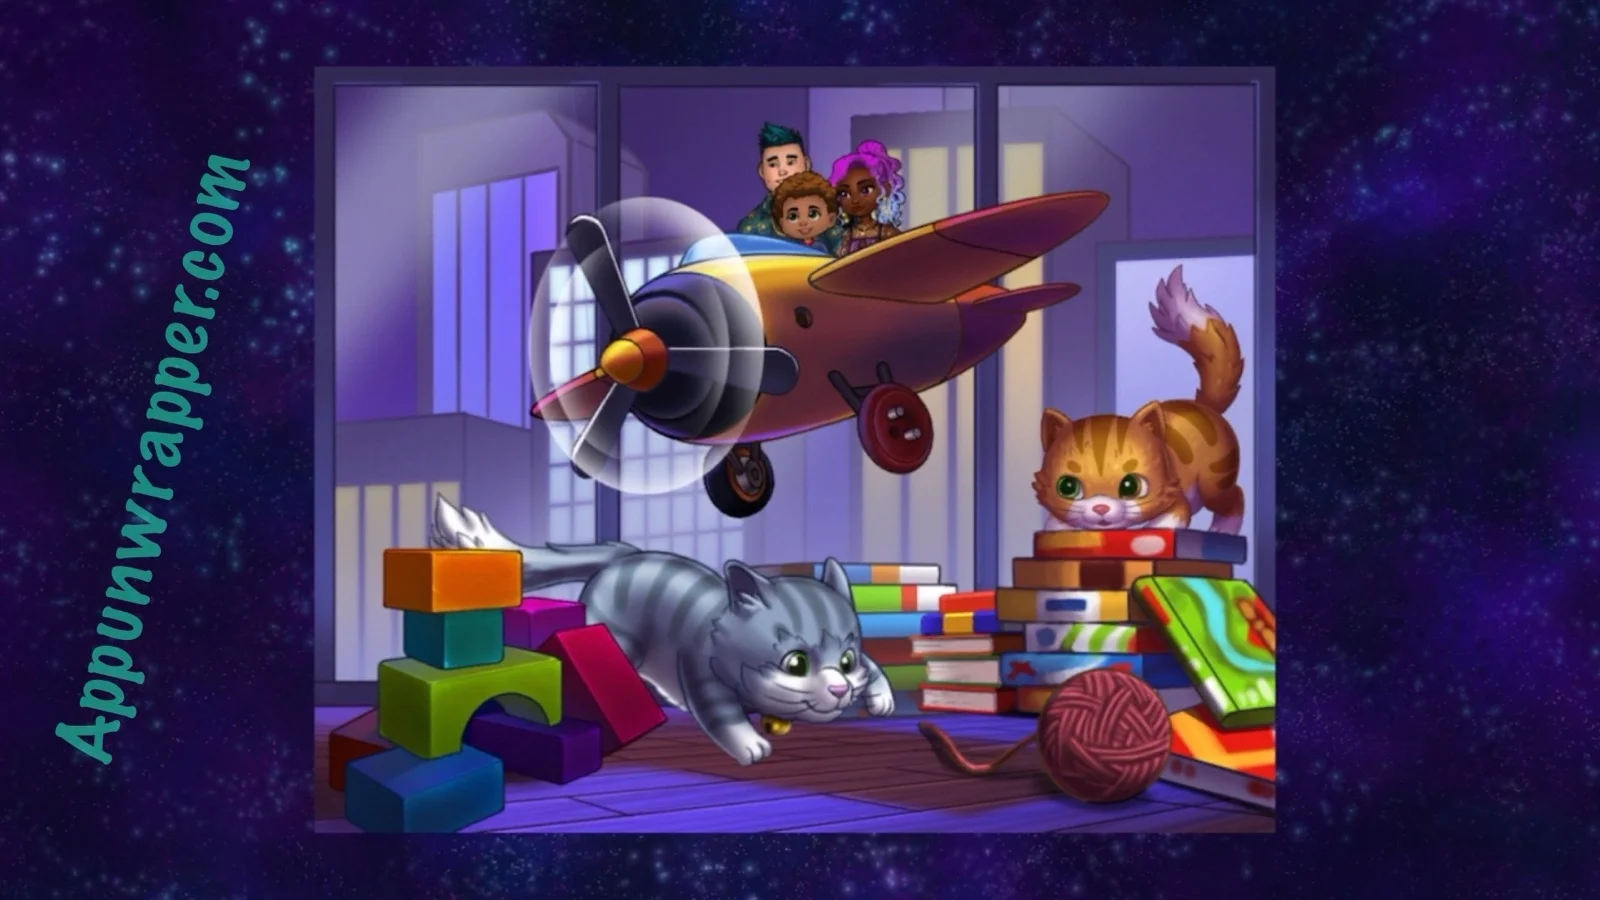
49. And now the third and final Dream Memory puzzle. Then watch the end of the game.
Chapter 1 | Chapter 2 | Chapter 3 | Chapter 4 | Chapter 5 | Chapter 6 | Chapter 7
I really liked this game. It was very creative and different from the other Haiku Games. I’ve played all of them and this is definitely one of their best – top 3 for sure. It is rated advanced but not overly difficult. I especially liked the part of the story with the cute little shapes. It was fun dragging them around when they shouted “Wheee!”. The one thing that is hilarious is you play as Arlo a 5 year old that probably is just starting to read. I have a college education and I was totally stumped by a couple of puzzles but somehow he is able to figure them out with your help. LOL!
The order of the letters “time” is determined by the number of crows sitting on the letter, 1 crow for first letter 2 crows for 2nd letter etc.
Yeah I forgot to add that. Thanks.
This was a hard game for me. Thanks for the walkthrough.
Welcome. 🙂
Fantastic game, and your guidance got me through a couple stuck points, as always and as you have done for years, Appunwrapper! You’re the best! But yeah, I was really impressed with some of the puzzles in this one. Most of the difficult ones were the perfect level of ALMOST too hard but still doable with patience. Most of the music was a bit annoying (music was much better in their other new one, Vanishing Act), but I understand that the tone of the game was also different here. Great storyline, too! I kinda needed that inspiration about facing one’s fears right now, Arlo! 🙂
(If there was a way to rate/review the individual games, I would!)
This story was great! Really a workout for the brain. I’m proud to say I got through the entire story without peeking at hints here, except for the classroom orientation cos the shape of the layout was technically incorrect and threw me off. Other than that, really love the puzzles here!
Thank you so so much, AppUnwrapper! Don’t know what I would do without you! Your blog feels like an old friend, and it enables me to play these games without getting too stuck! Best wishes, and I hope you’re having a lovely day!