Adventure Escape Mysteries – The Squire’s Tale
By: Haiku Games

Haiku Games is back with a new Adventure Escape game, this time an action-filled adventure in a fantasy world. You play as Martin, a squire who needs to help the knight Cedrick in their quest to find the legendary Sword of Light and put an end to the Monster King once and for all. This walkthrough guide should help you if you get stuck on any of the puzzles in The Squire’s Tale. Feel free to ask for extra help in the comments section.
See all my other Adventure Escape guides here.
Walkthrough:
Chapter 1 | Chapter 2 | Chapter 3 | Chapter 4 | Chapter 5 | Chapter 6 | Chapter 7 | Chapter 8
Chapter 1, Snare Mines:
You can watch my video for Chapter 1 or continue below for my step-by-step guide:
1. After hearing the story of the Monster King, you meet Cedrick the knight and Martin the squire. It turns out that Cedric is a bit of an idiot and he broke the statue. So we have to put it back together. Pick up the tunic, torch, monster horn and monster arm.
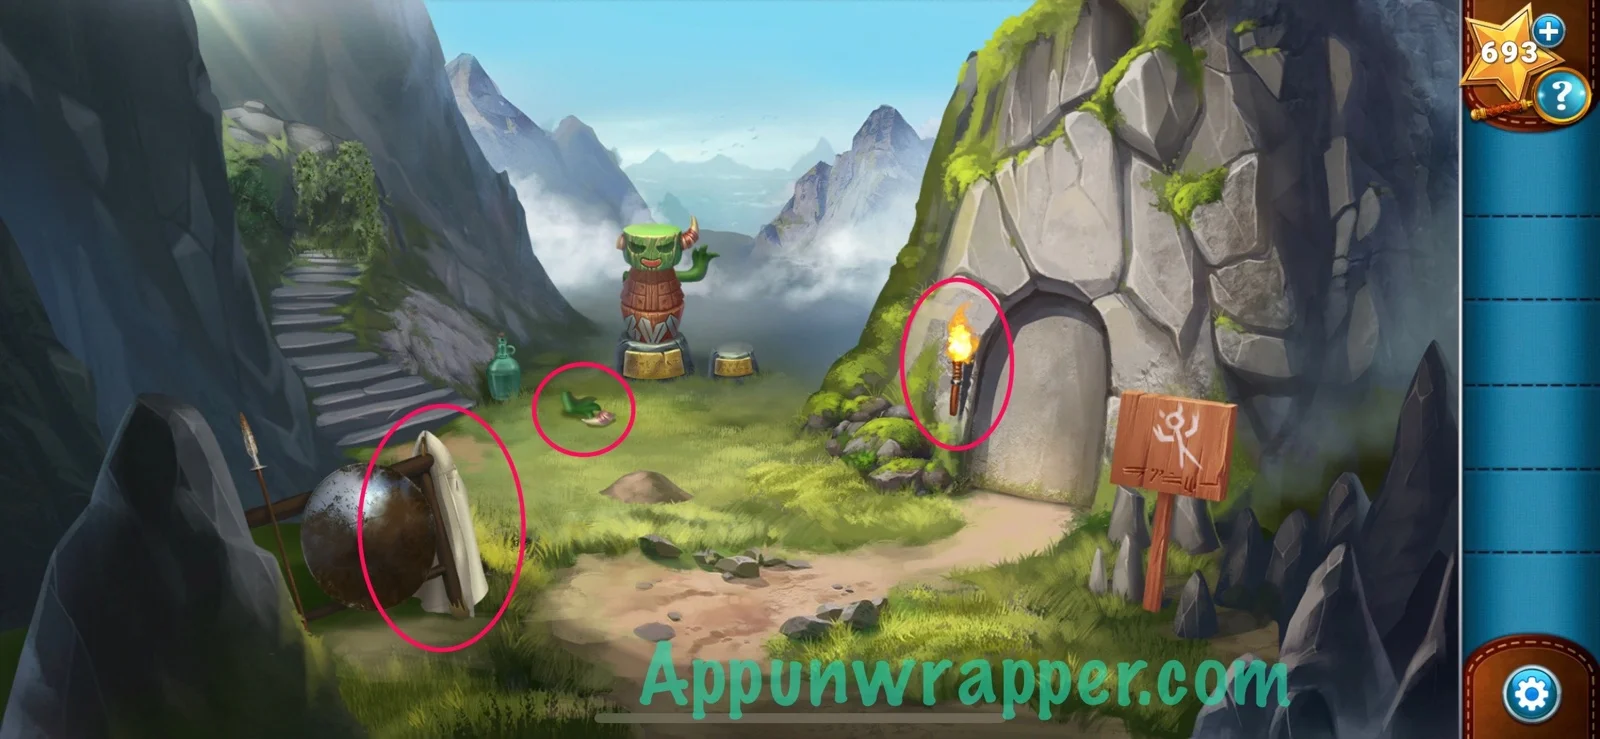
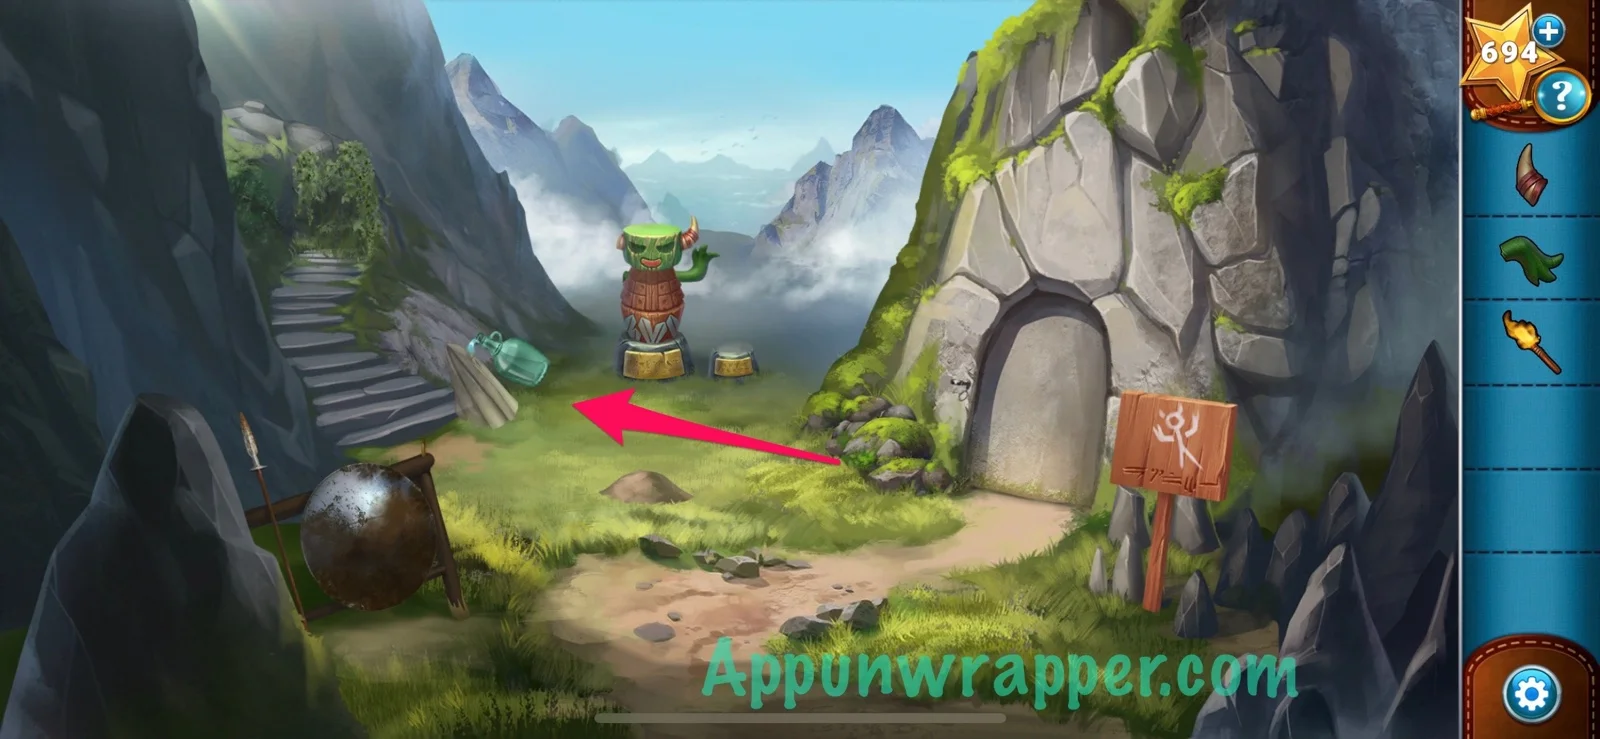
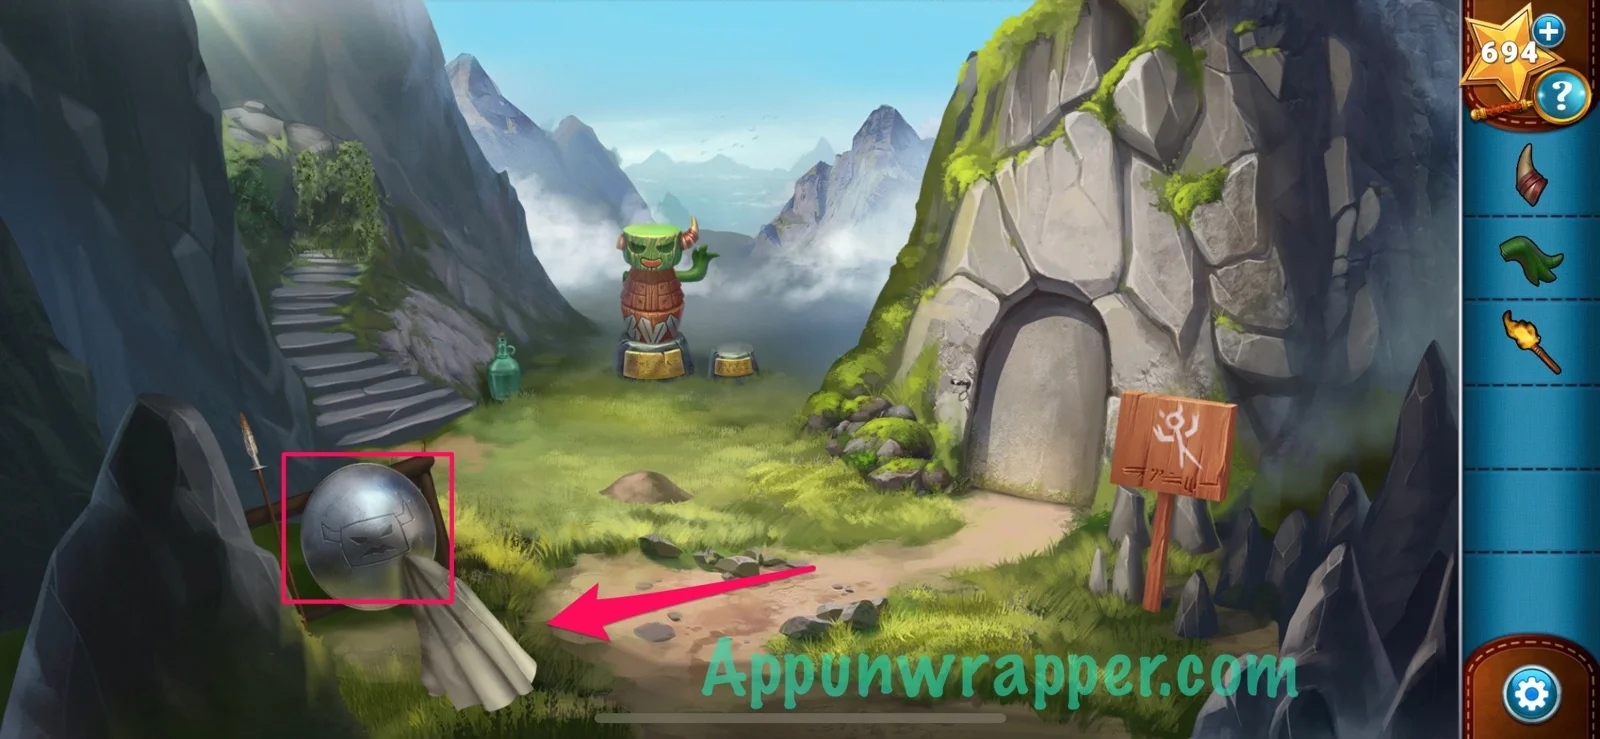
2. Use the tunic with the water bottle to wet it. Then use the damp tunic to clean the shield and reveal a goblin face. We’ll need that later.
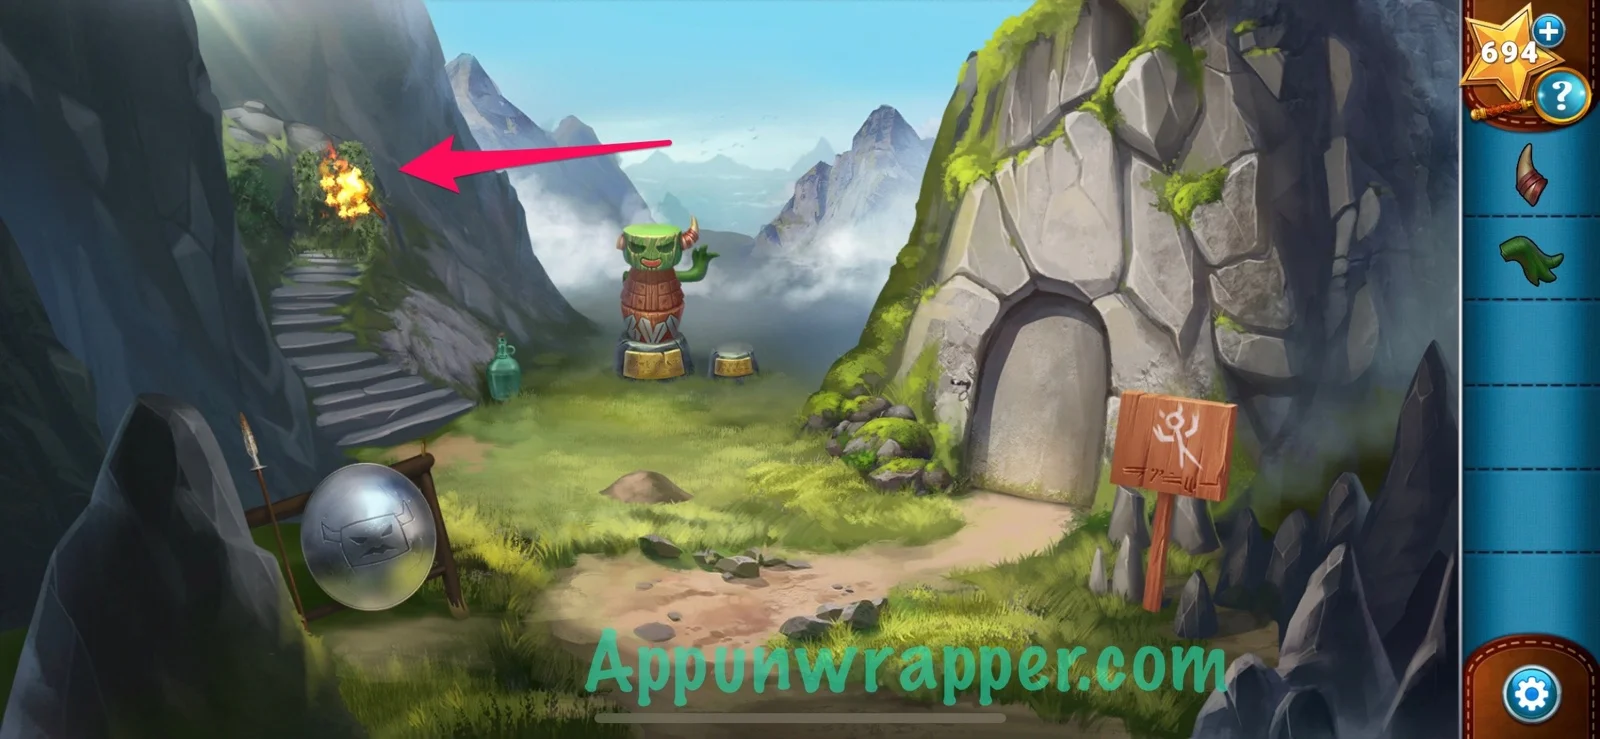
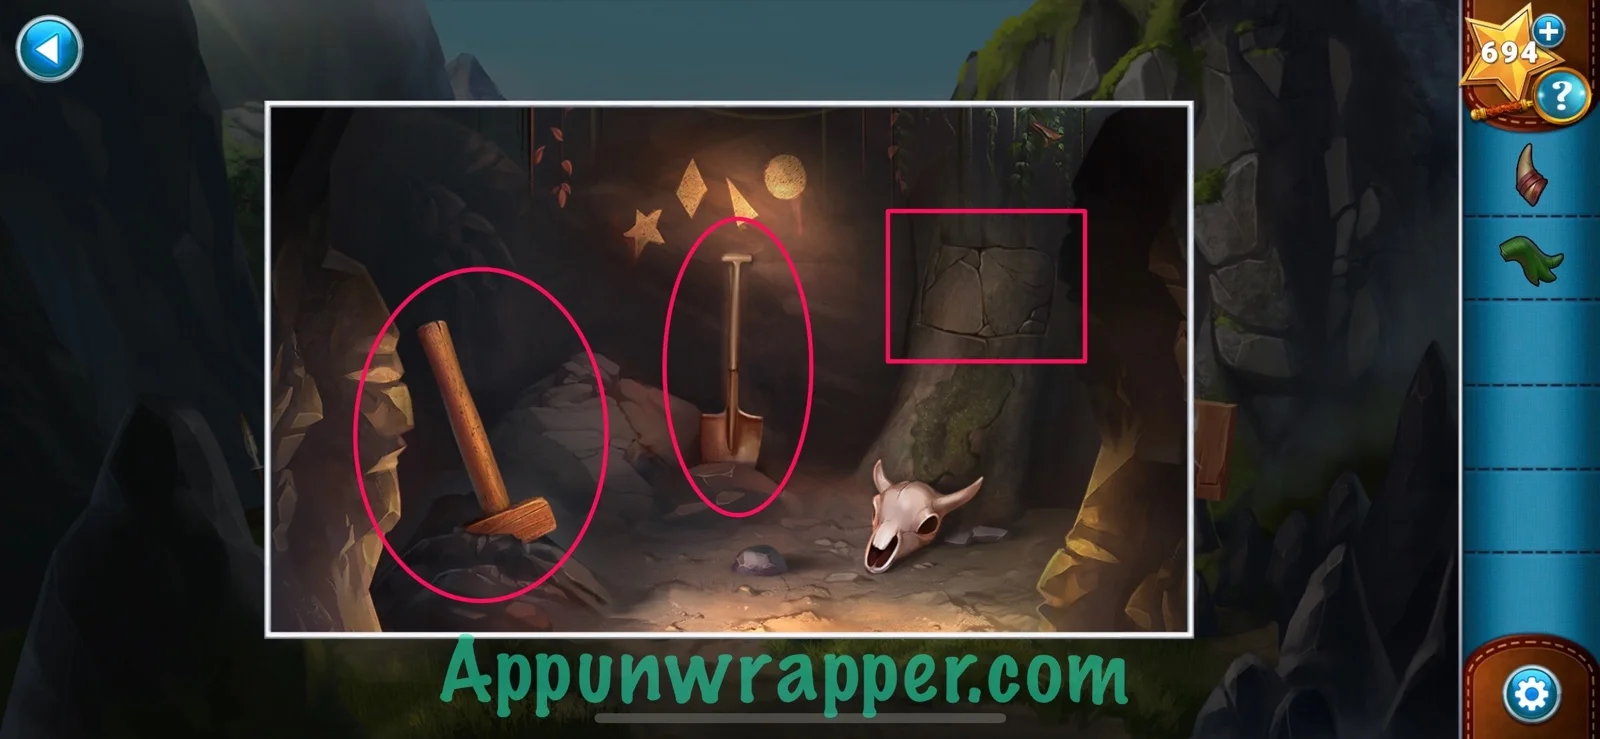
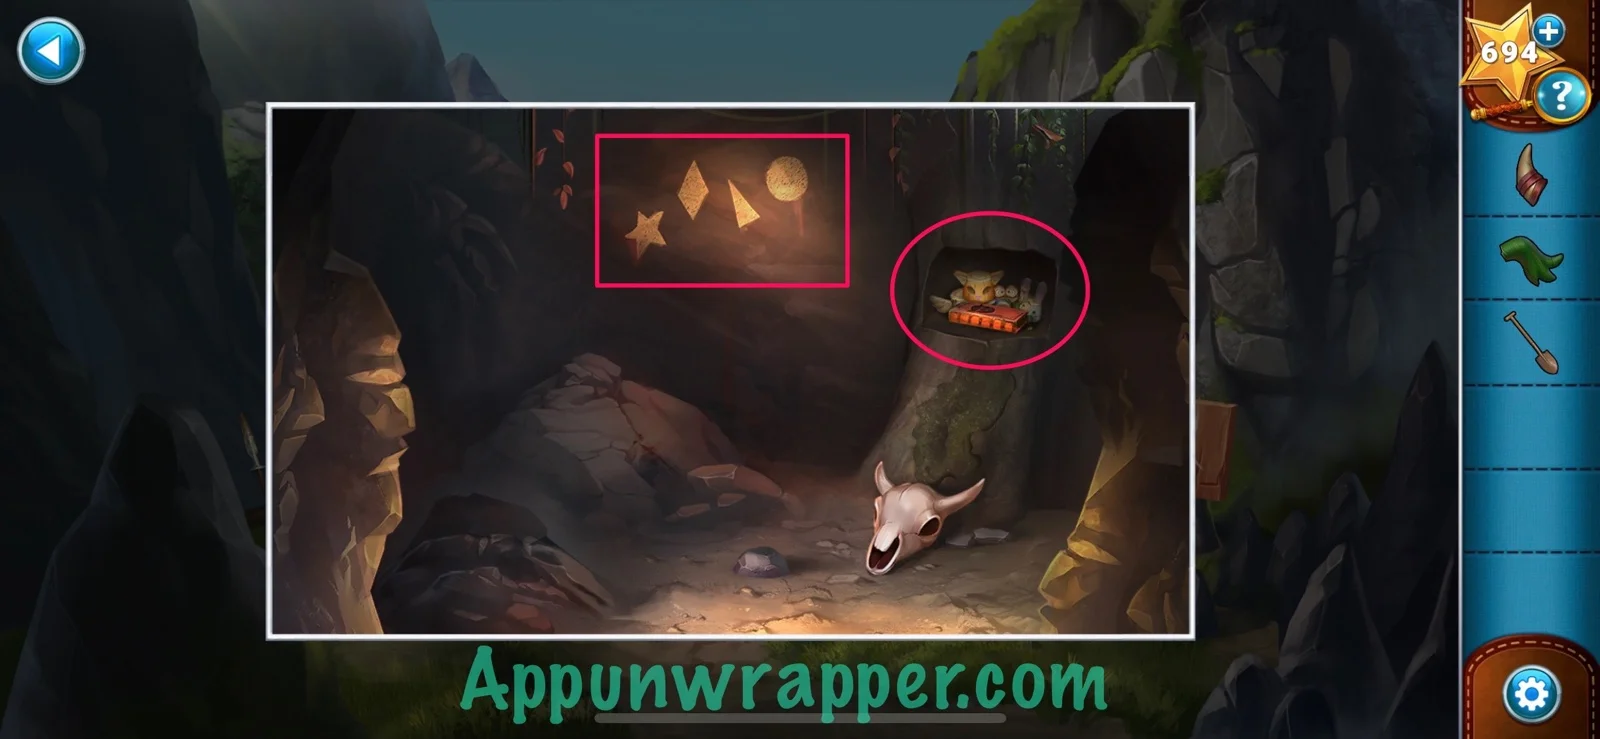
3. Use the torch to burn the vines on the left. Then look inside the cave and grab the shovel and hammer. Also, notice the shapes painted on the wall and also the cracks on the wall. Then use the hammer on the cracked wall and take the goblin dictionary and animal statues.
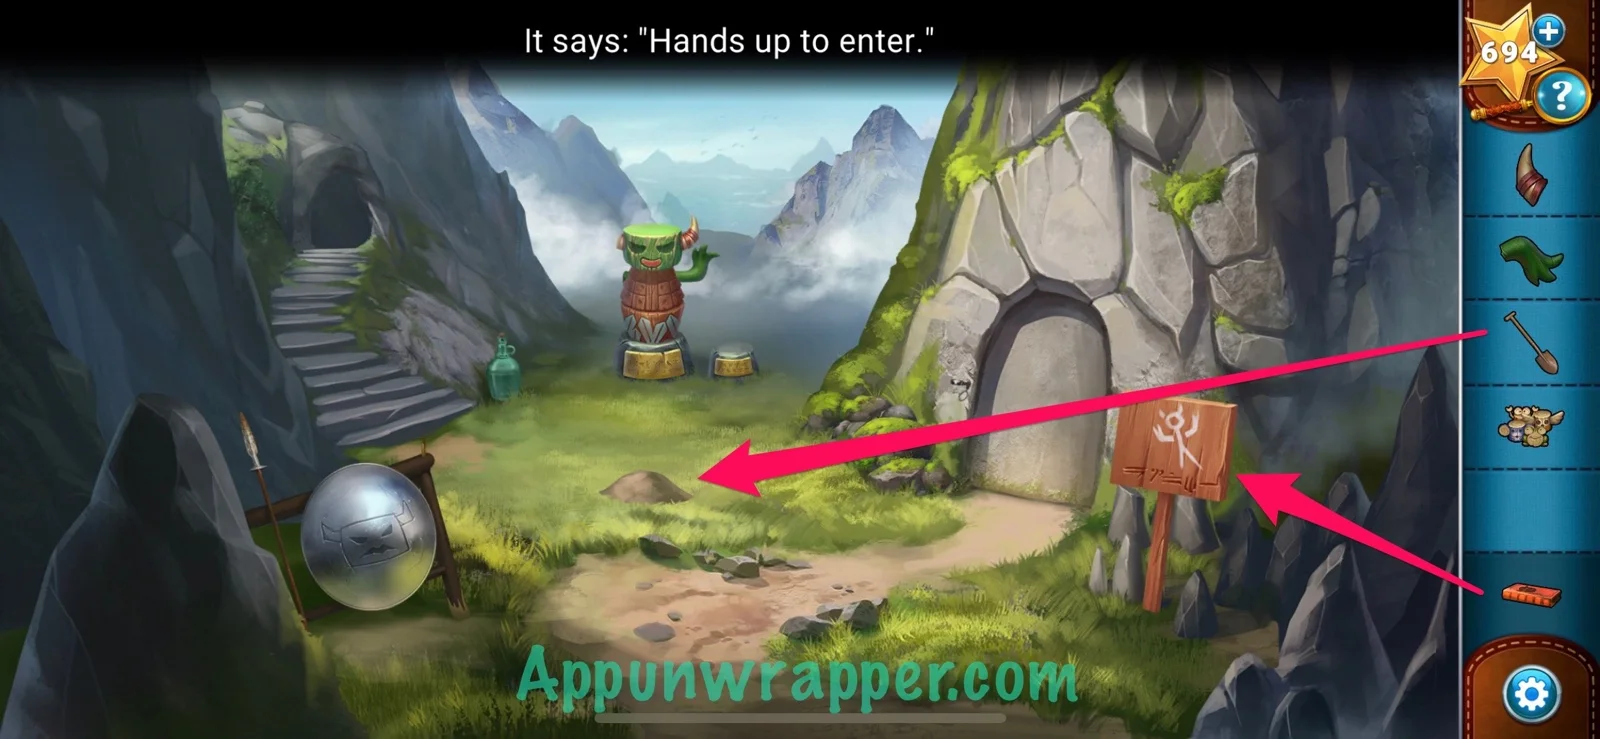
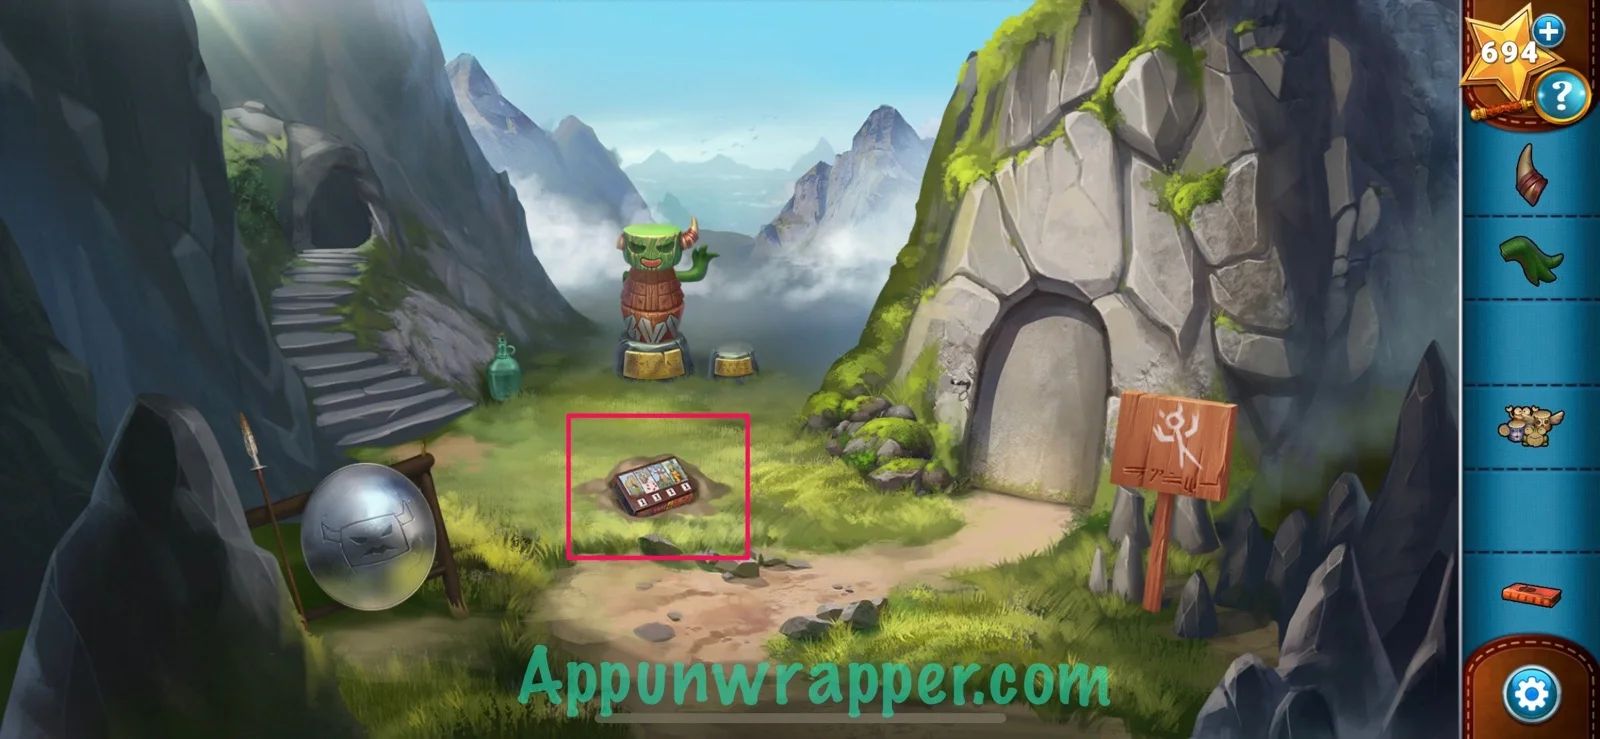
4. Leave the cave and use the goblin dictionary to decipher the words on the sign. It says, “Hands up to enter.” Then use the shovel to dig up the mound of dirt. There’s a locked box underneath!
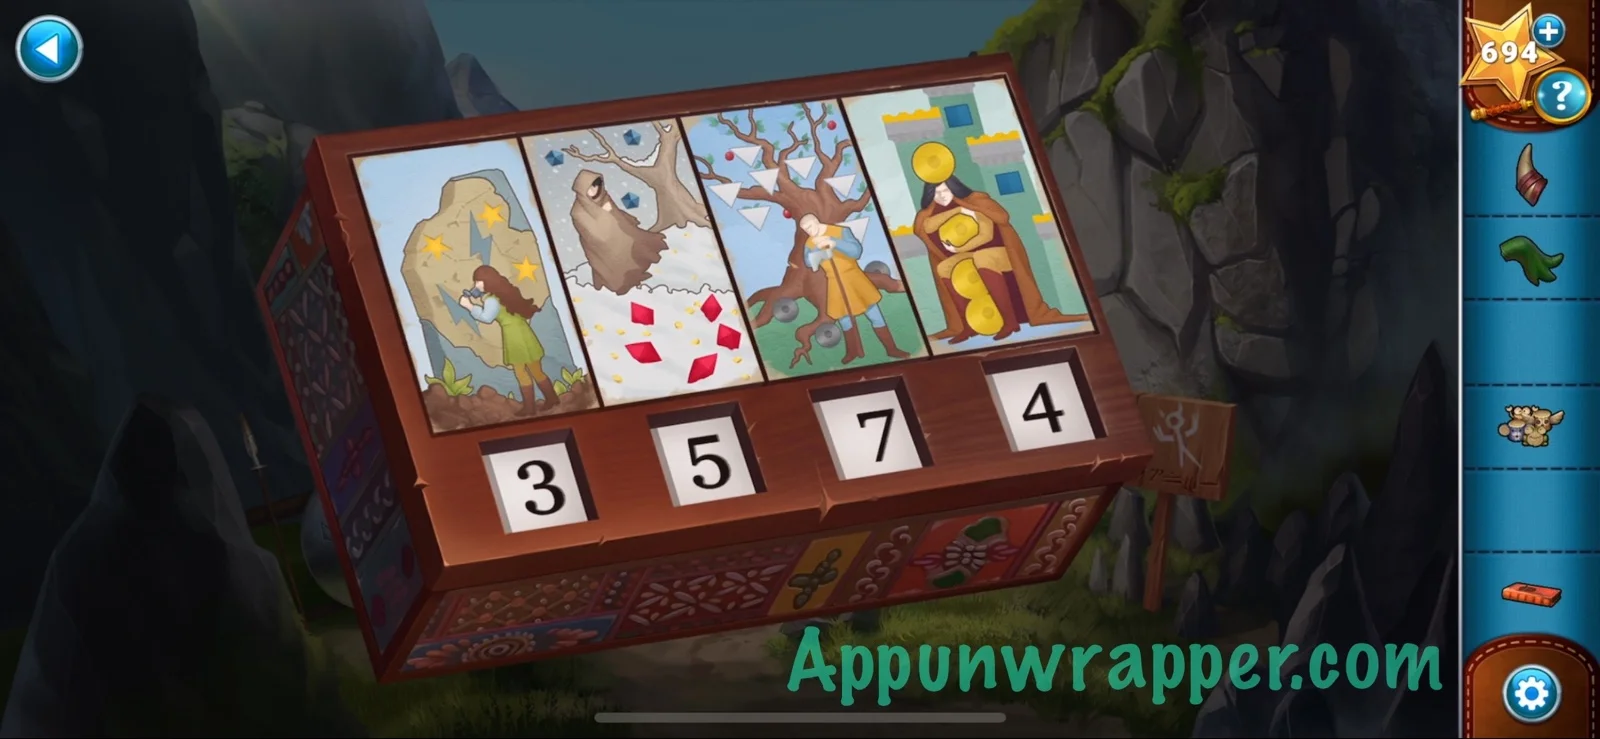
5. This puzzle is super simple. Just count how many stars you see, diamonds, triangles and circles. You get:
Stars = 3
Diamonds = 5
Triangles = 7
Circles = 4
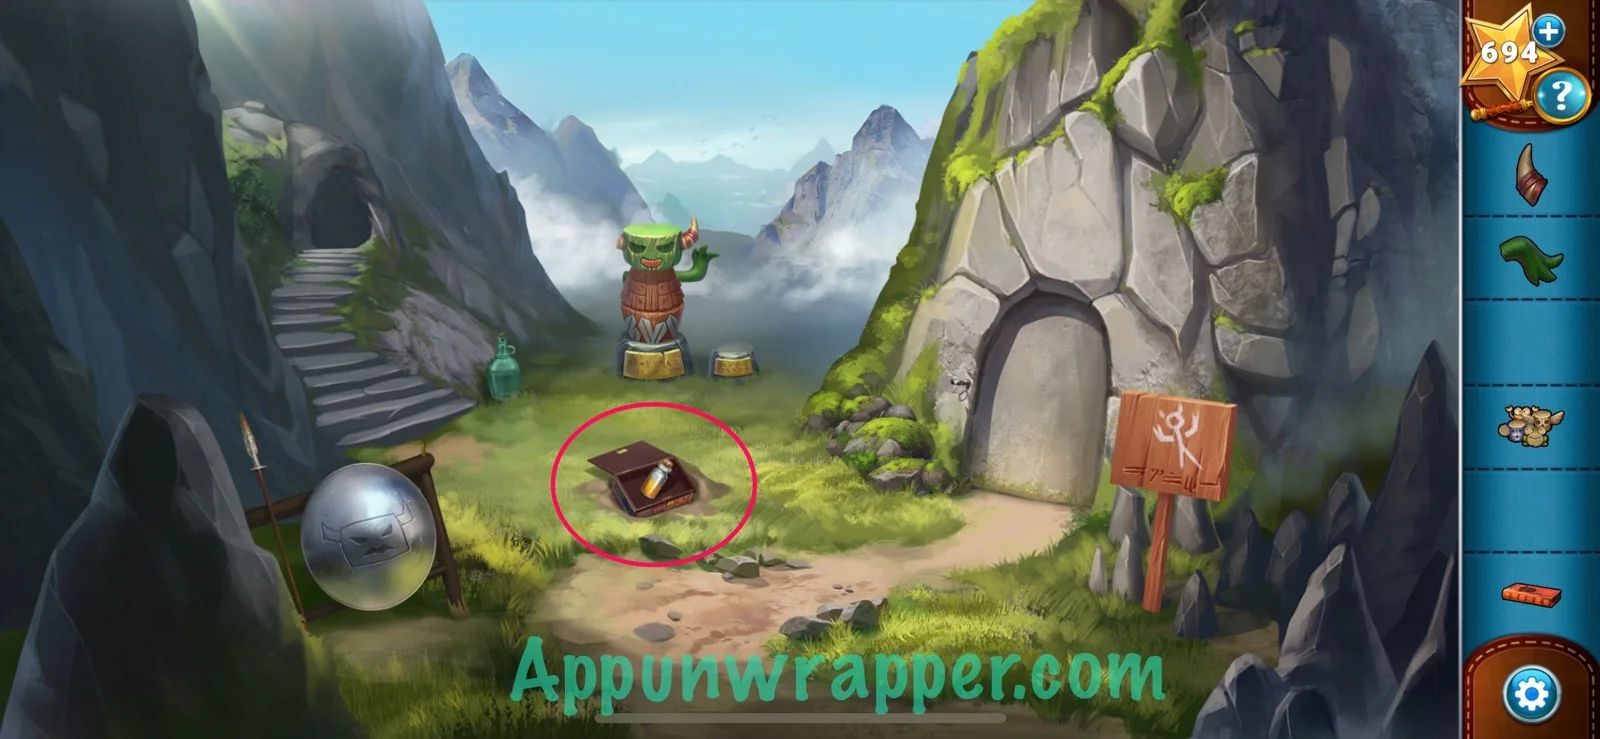
So enter 3574 into the locked box and then take the goblin glue from inside.
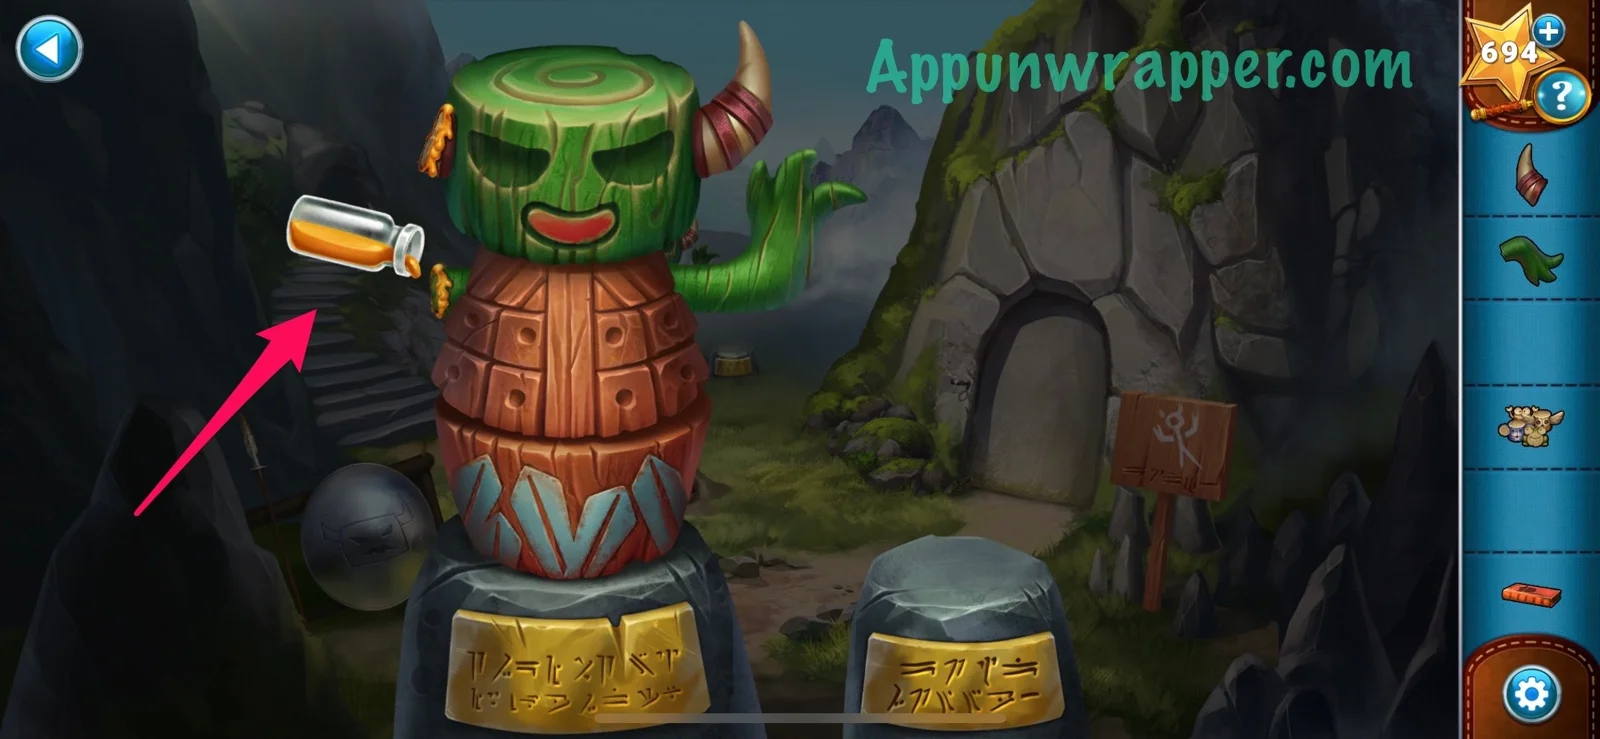
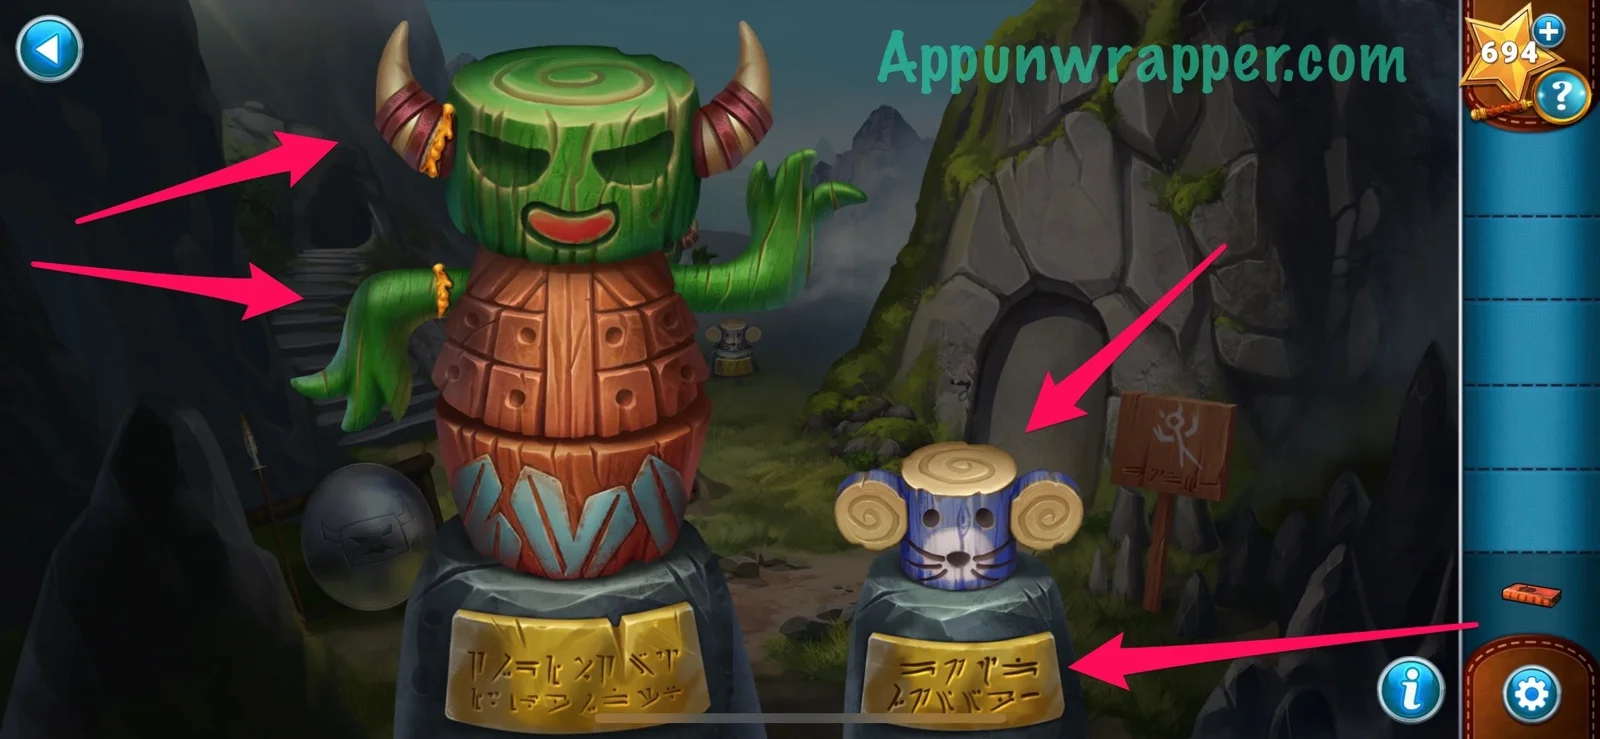
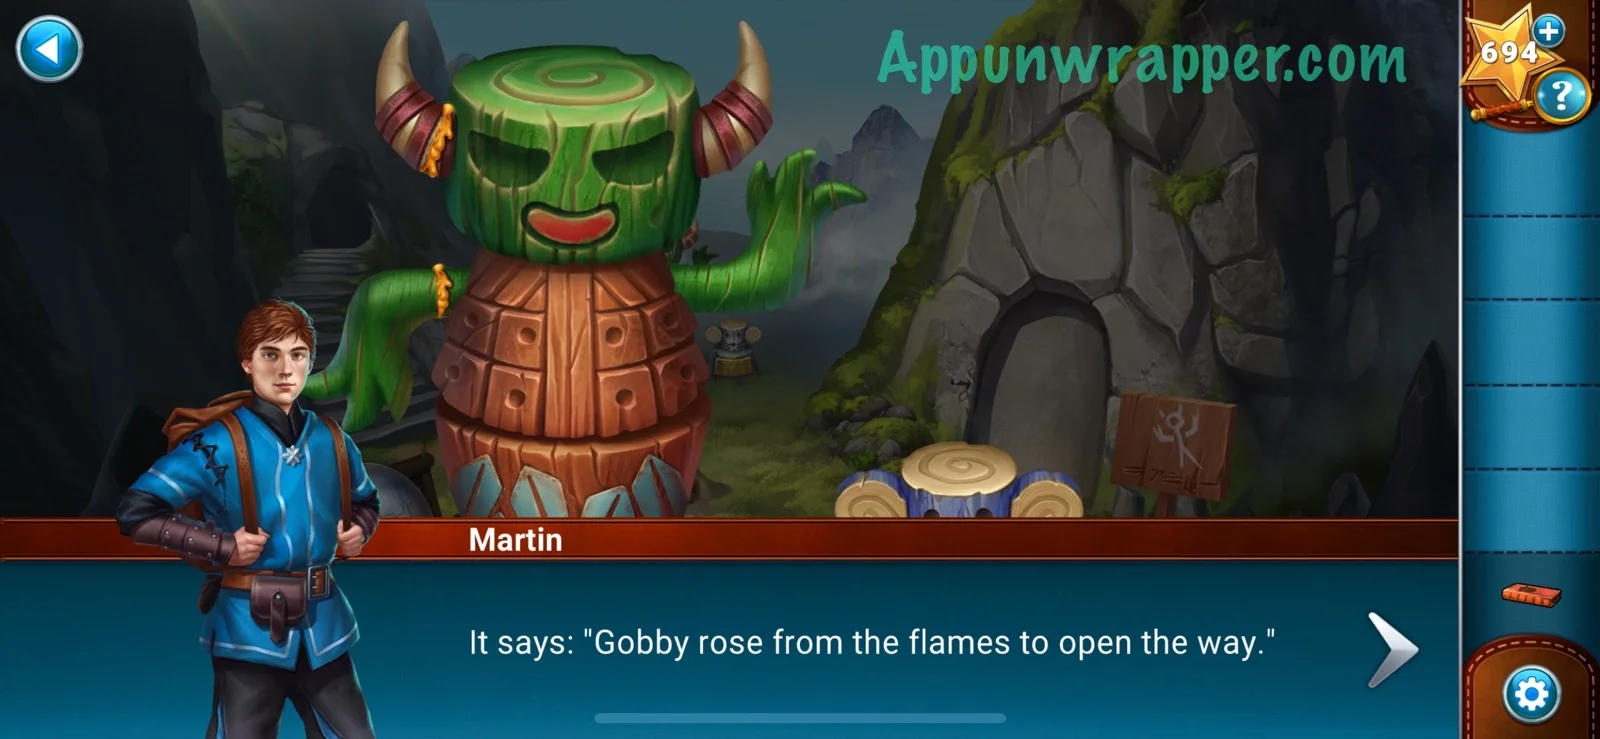
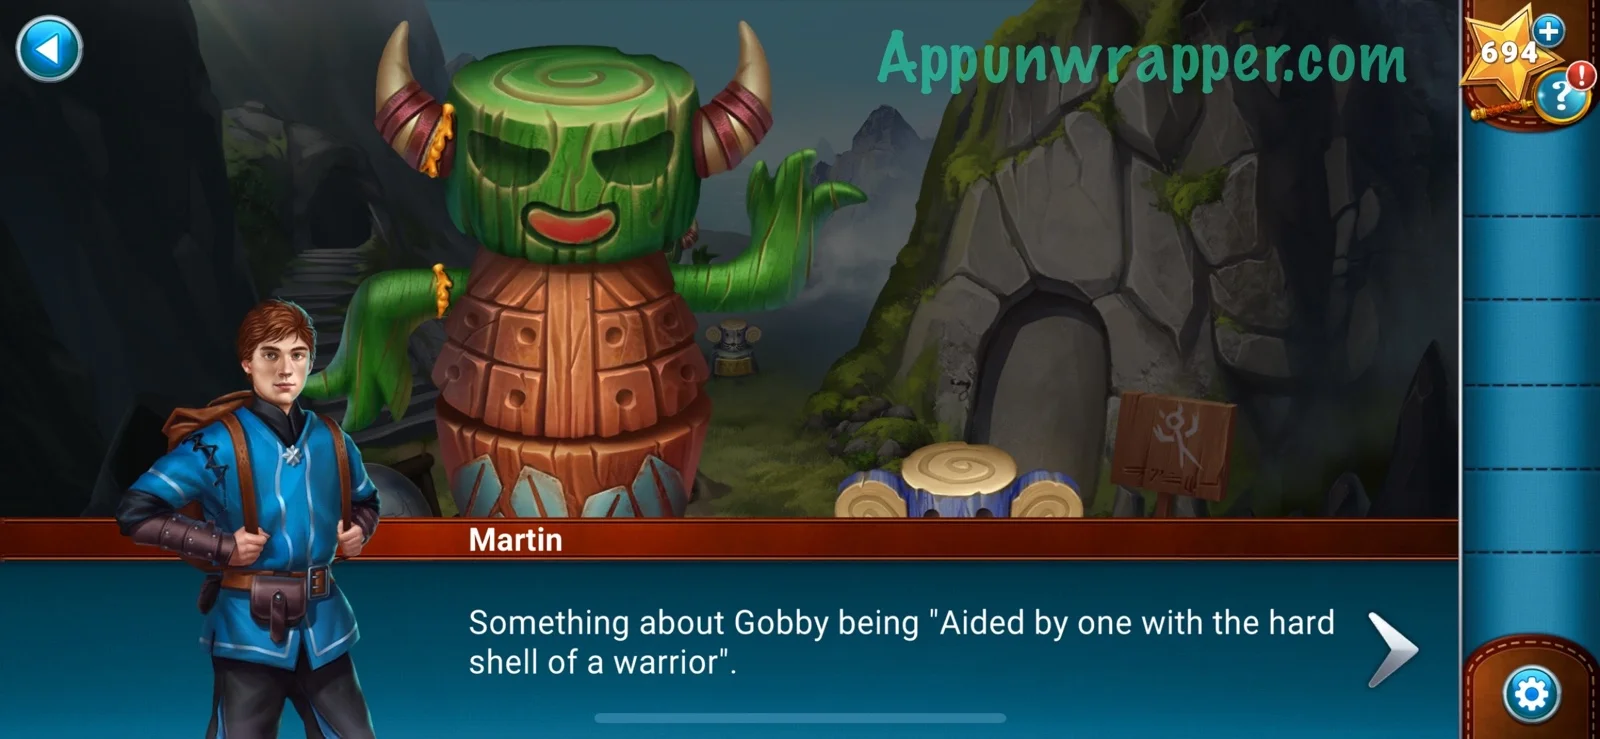
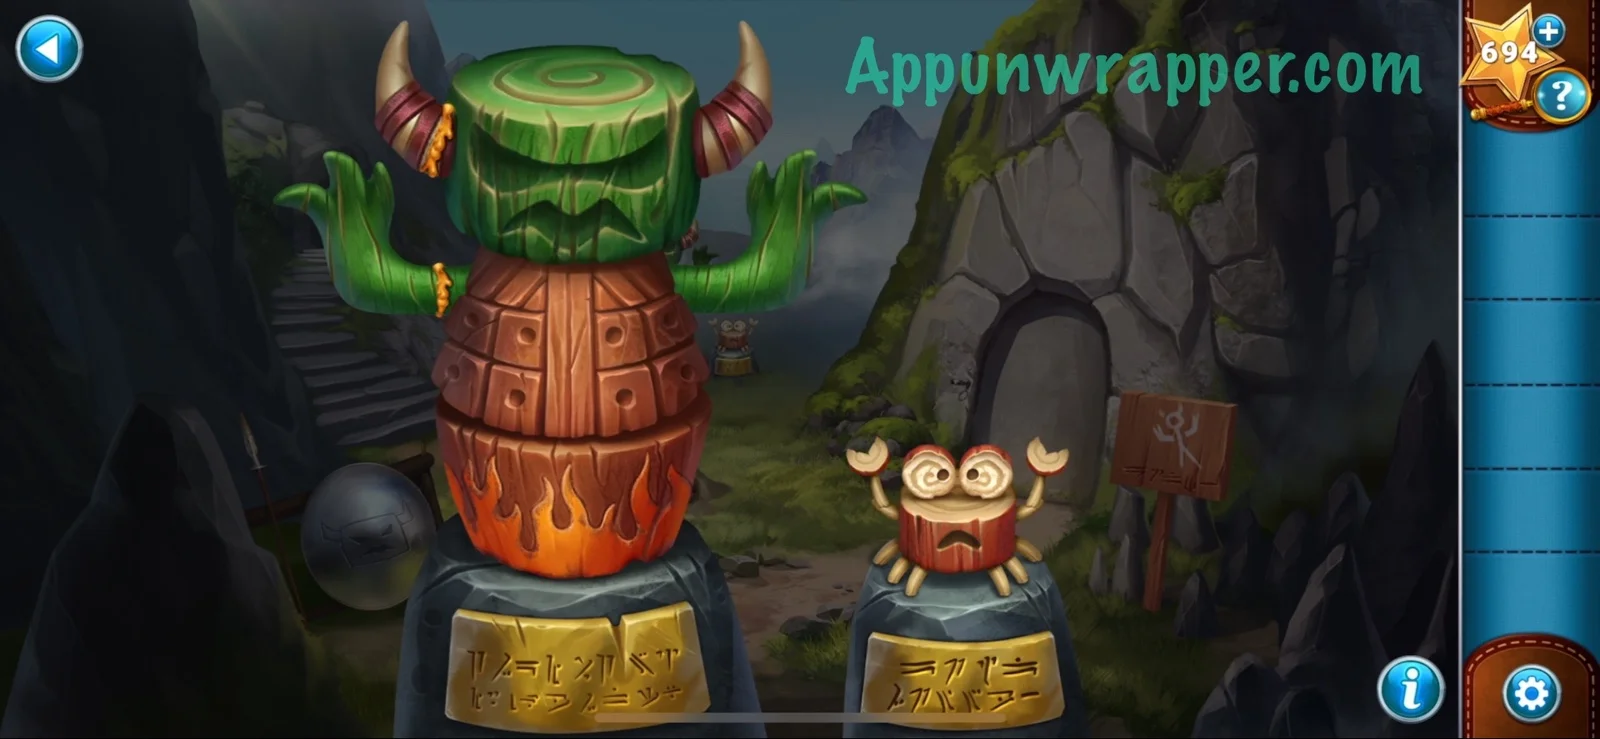
6. Now let’s fix the goblin statue. First, pour some glue on the statue and then attach the horn and the arm. Place the animal statues next to it. use the dictionary to decipher the two plaques. The first one says, “Gobby rose from the flames to open the way.” The second says something about Gobby being “Aided by one with the hard shell of a warrior.” So here’s how to solve it. First, choose the animal with a hard shell — the crab. Now, raise the arms up like the sign from earlier said. Also, add flames because he rose from the flames. And last, the face is on the shiny shield.
7. Now we’re inside the mine. We have to defeat the goblins and prevent them from reaching Martin. Select a blue square to move Cedrick. A red square means the goblin will be defeated. Use Cedrick’s whirlwind skill for a one-time special attack on all squares around him. The charge attack allows him to run along a straight line and attack a goblin. Select a red square to confirm the target. To cancel, select the X button. You can follow my video for all three rounds if you need help.
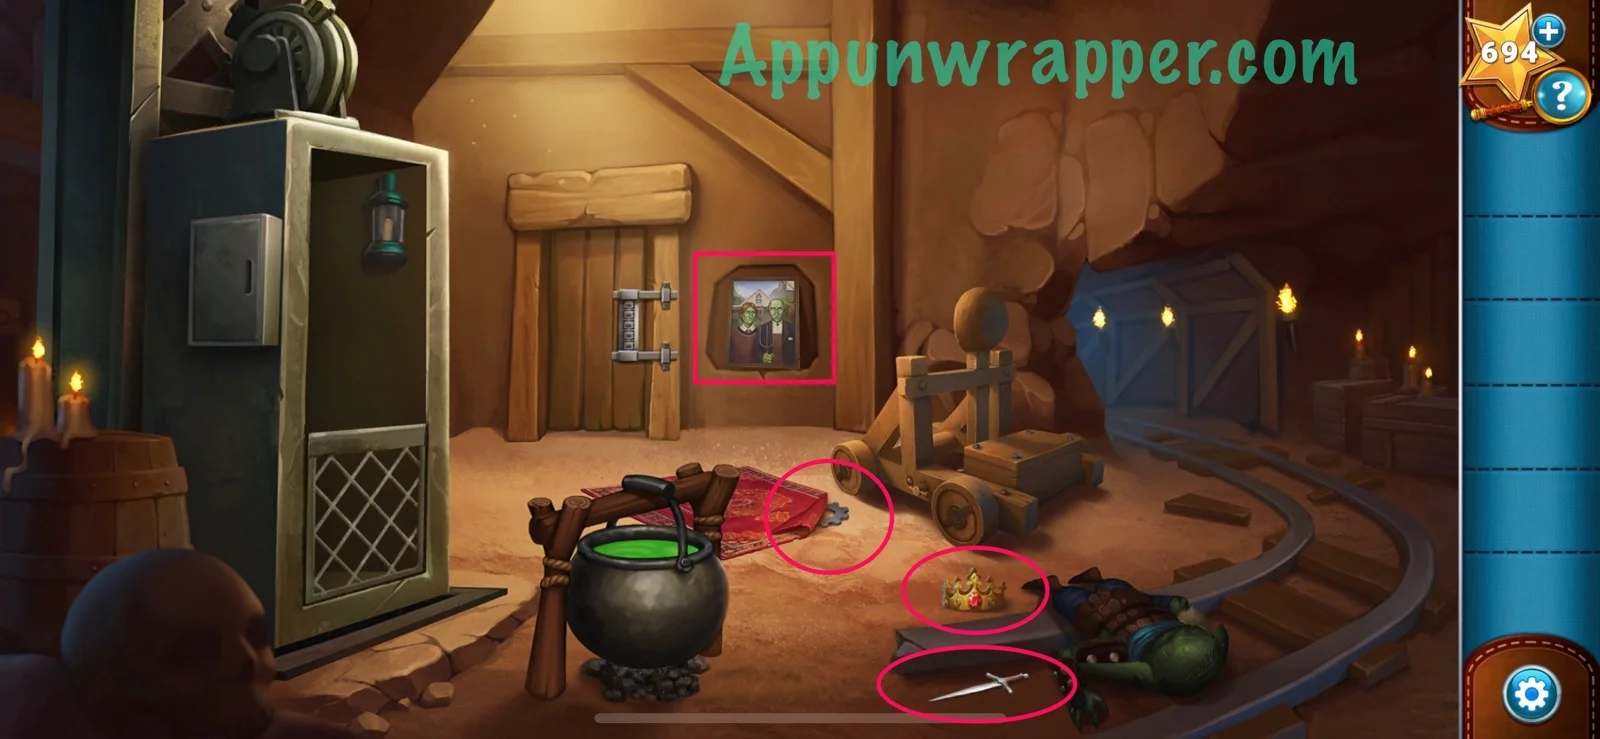
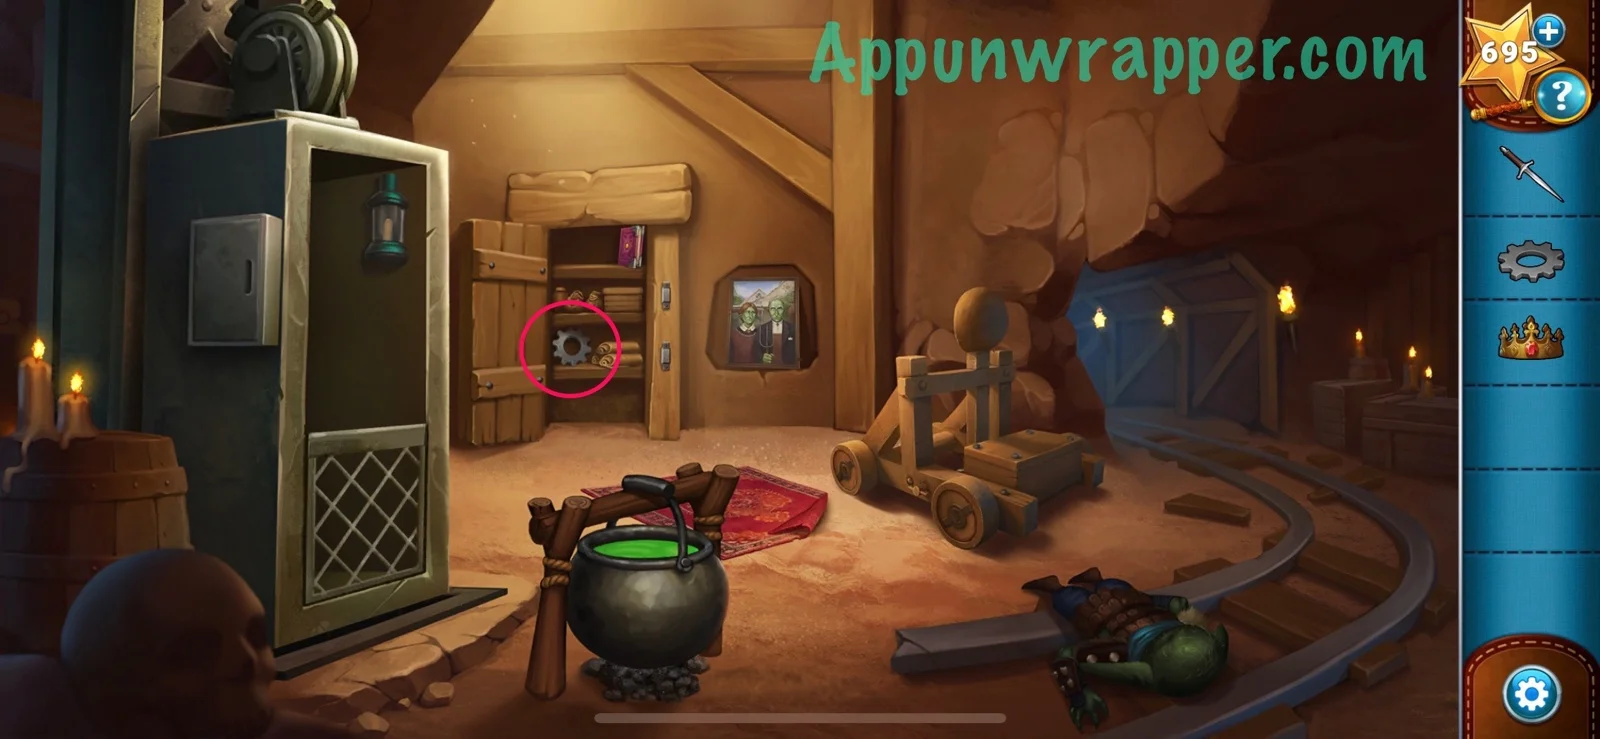
8. The goblins are knocked out. Pick up the crown and dagger from the floor and also the gear under the rug. Take a look at the painting. Tap on the corner and Cedrick will pull on it, revealing another symbol. Locate all five symbols.
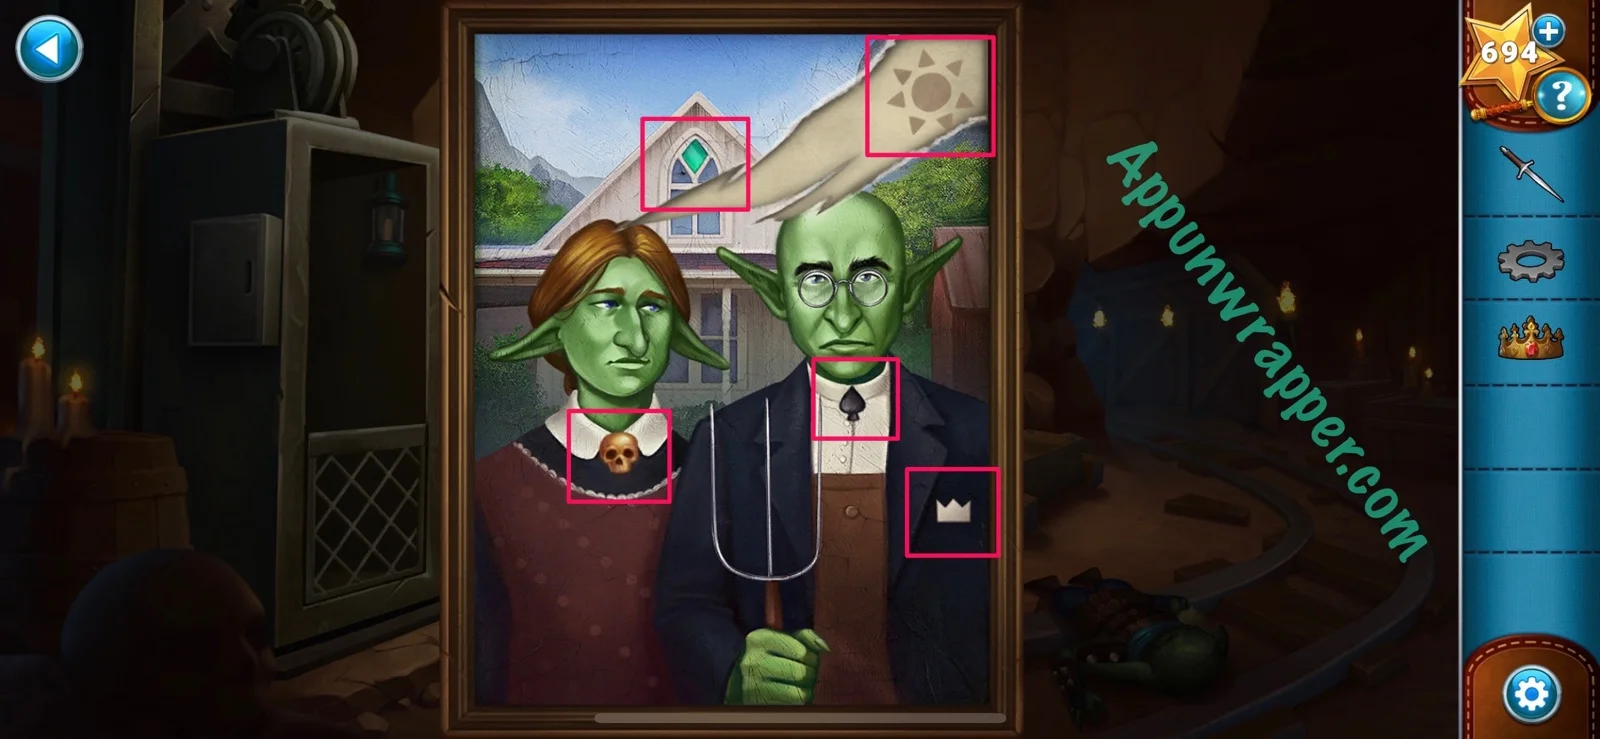
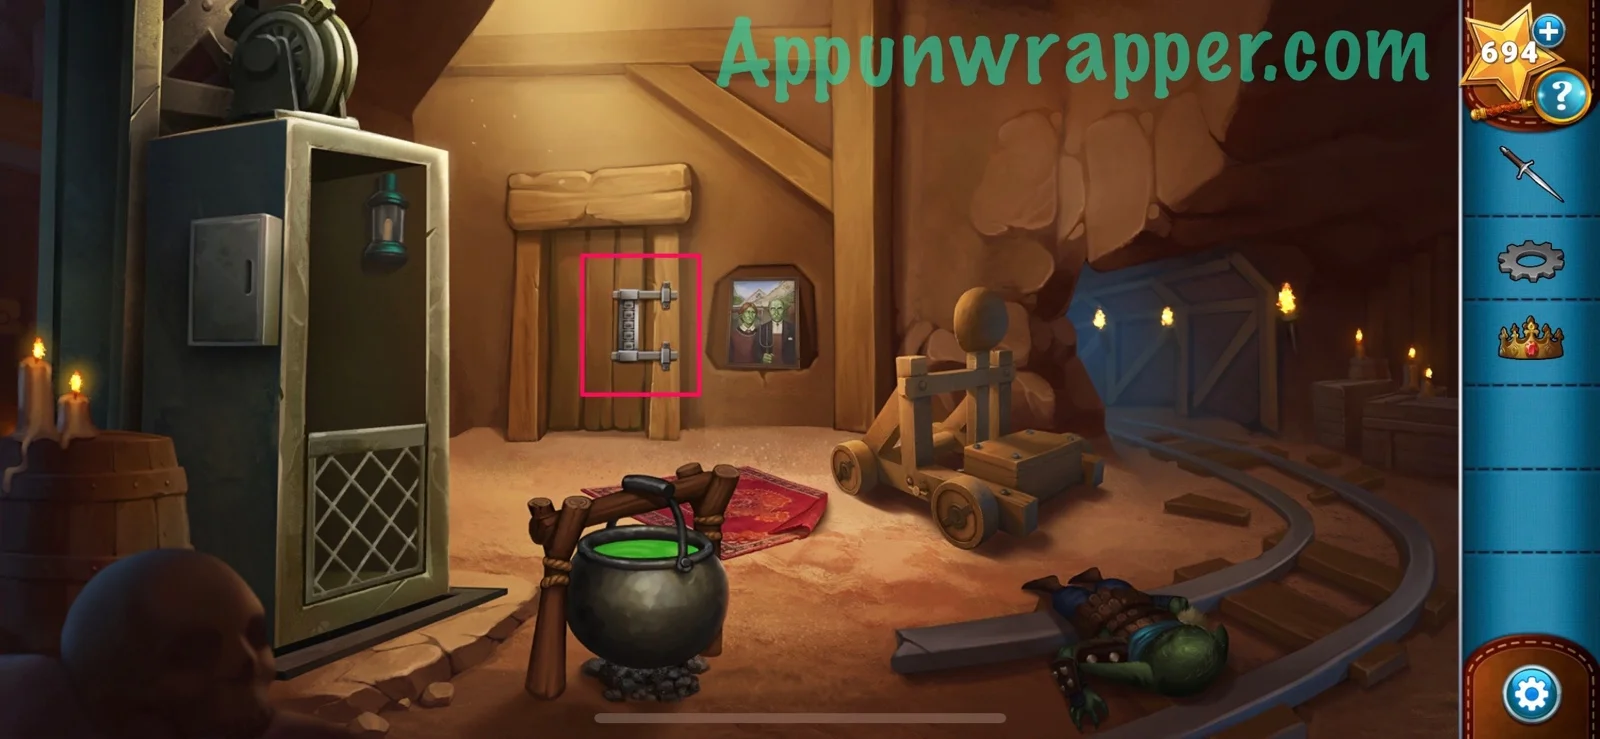
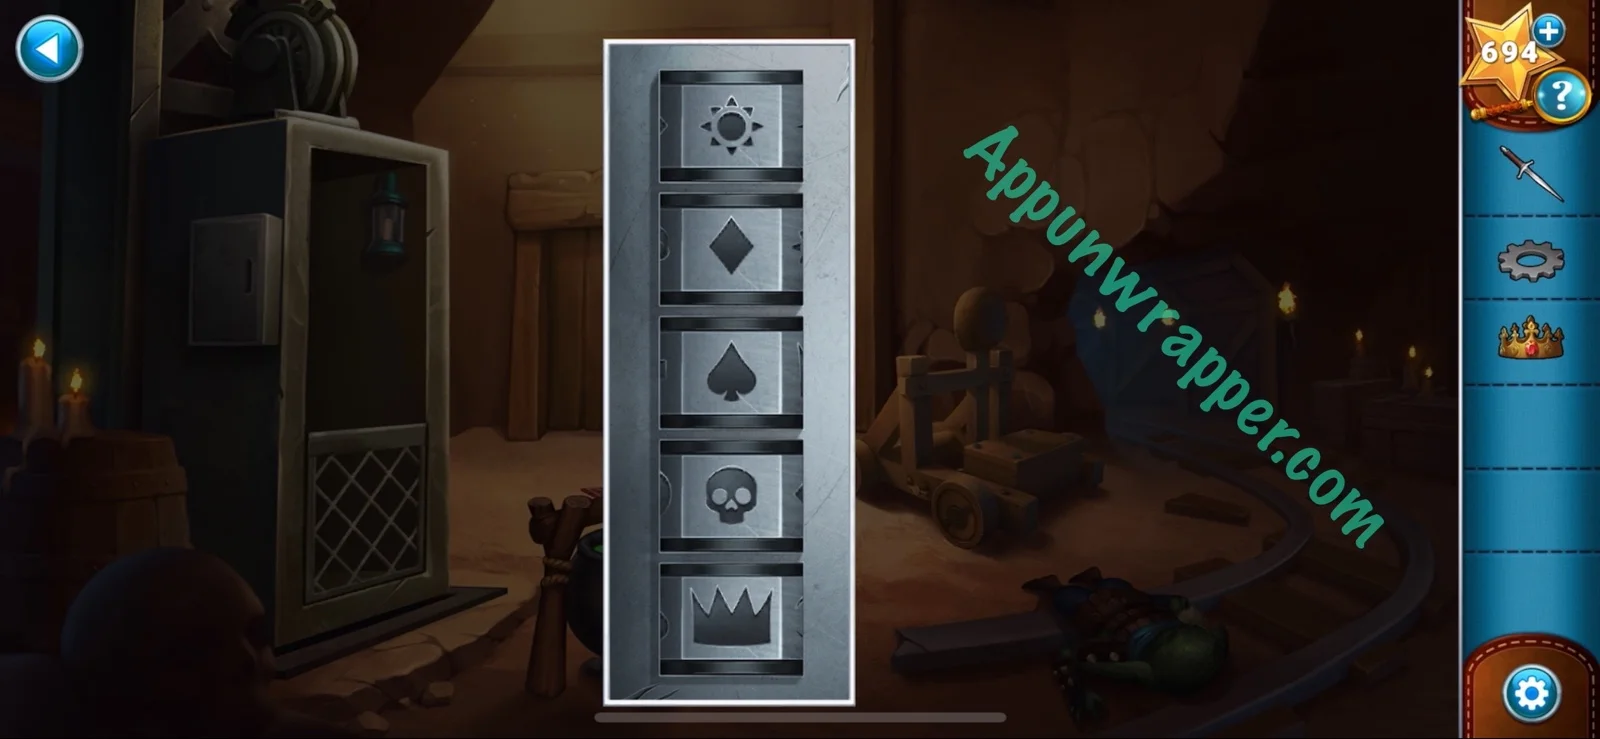
9. Now let’s unlock the closet door. Use the clues from the painting. Just go in order of how high they’re located on the paining. Then take the gear from the closet. There’s also a book inside but we can’t reach it yet.
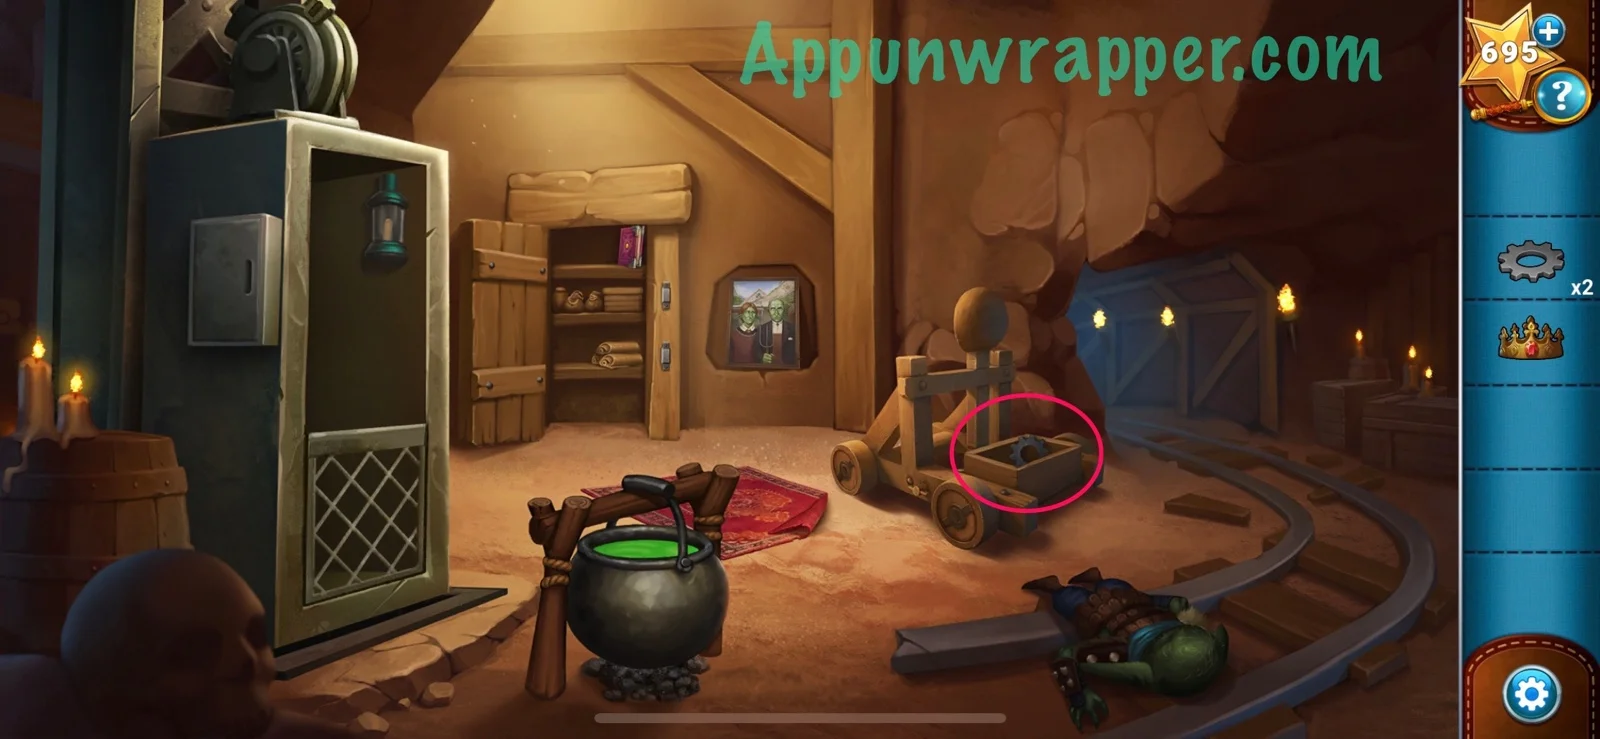
10. Use the dagger to unscrew the catapult and get a third gear.
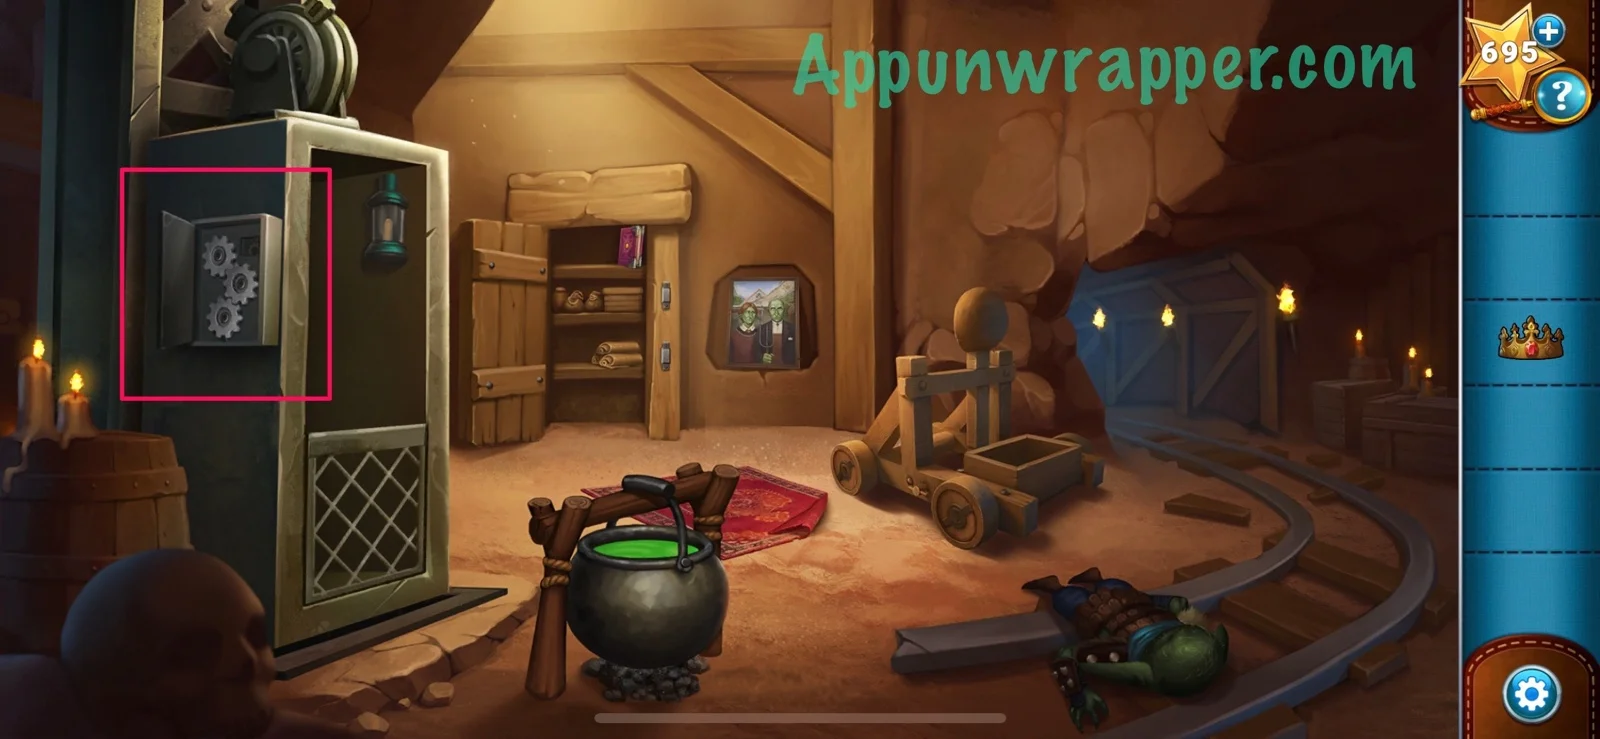
11. Open the panel to the left of the elevator and insert all three gears. Now the elevator is working and we can take it down a floor!
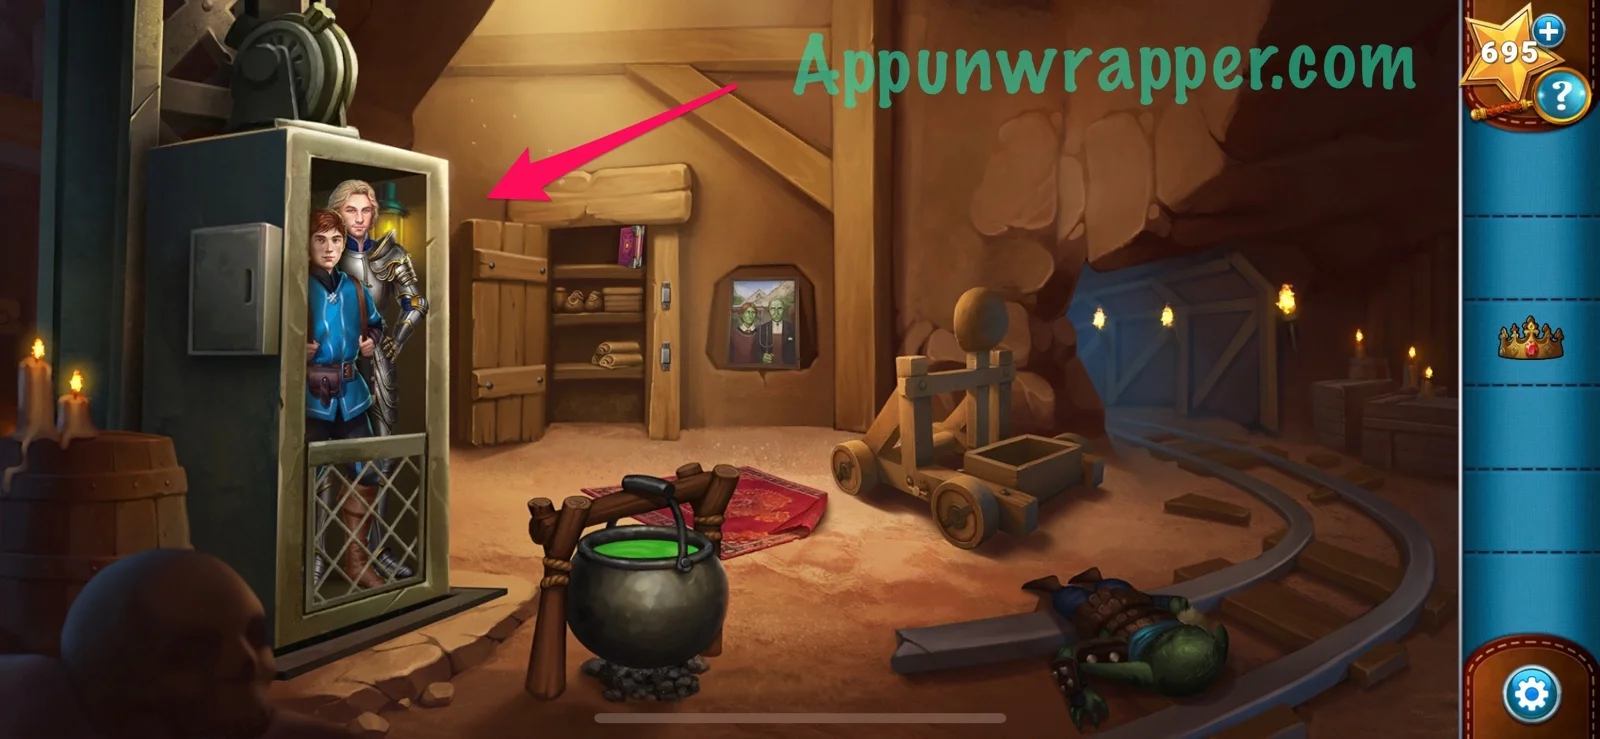
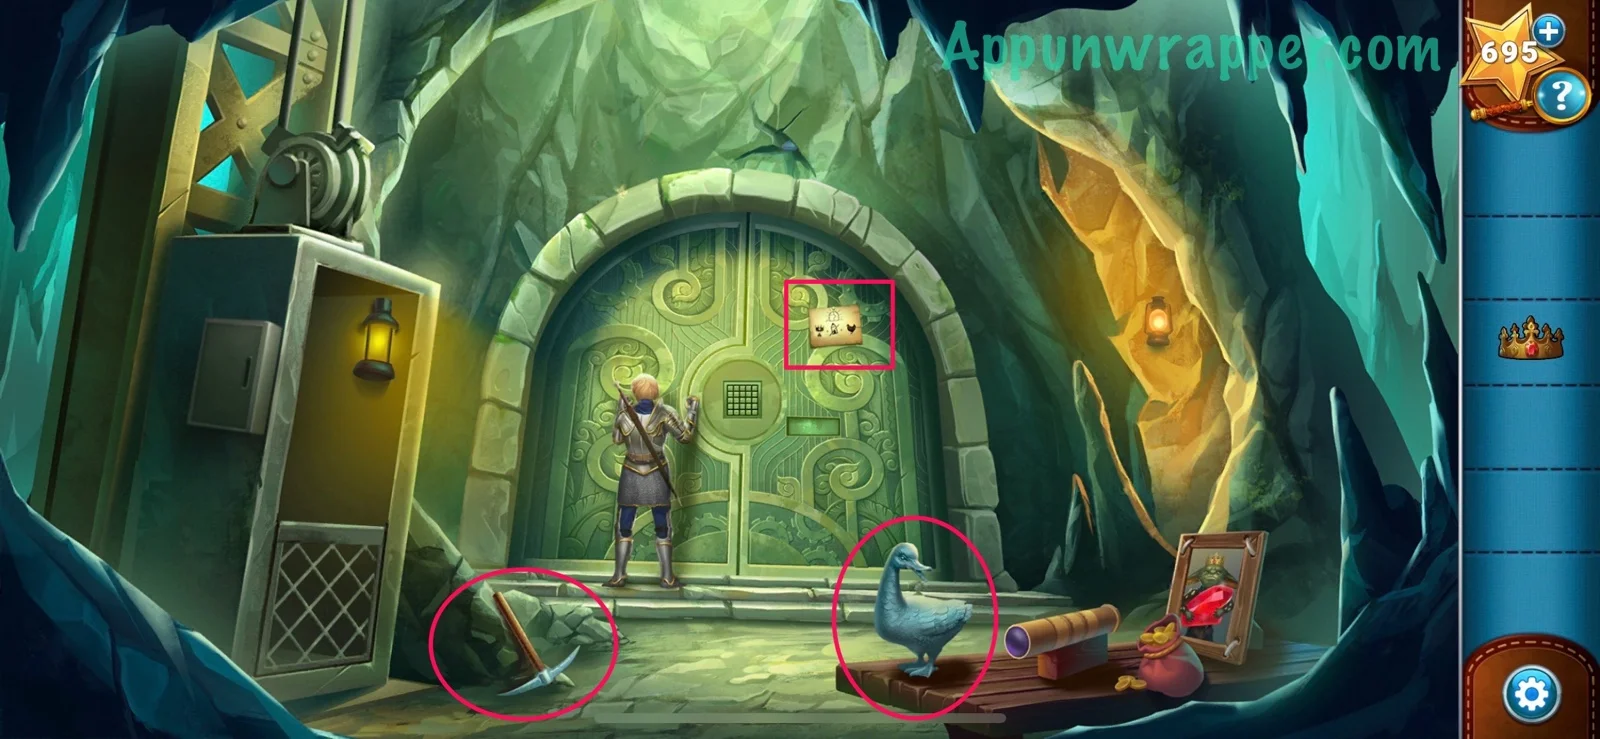
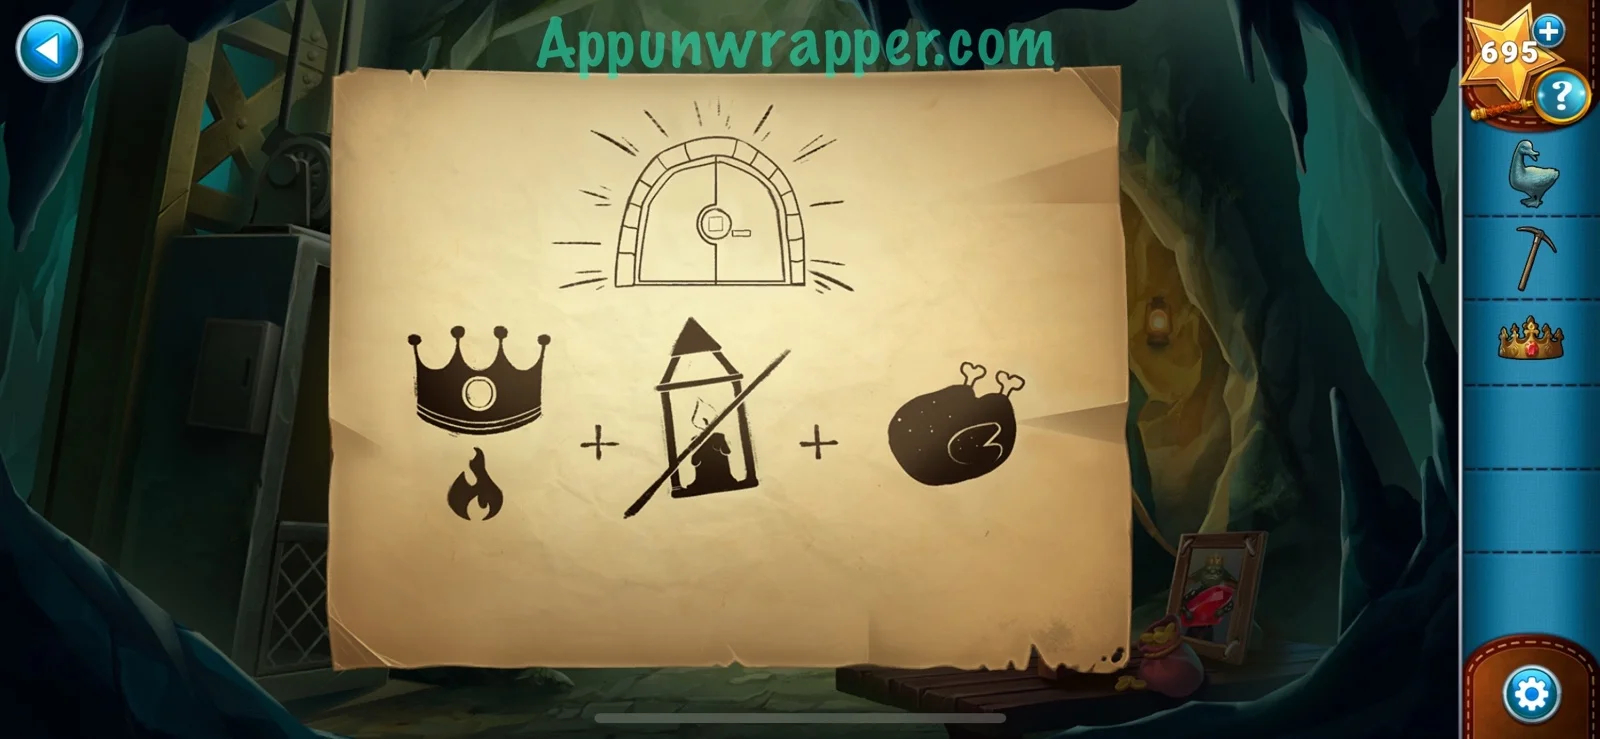
12. Now we’re downstairs. Grab the pickaxe and heavy duck statue. Also, notice the kaleidoscope with slots in it, the bag of butterscotch candies, and the photo of the Goblin Lord celebrating his 50th raid. There’s also a clue on the door.
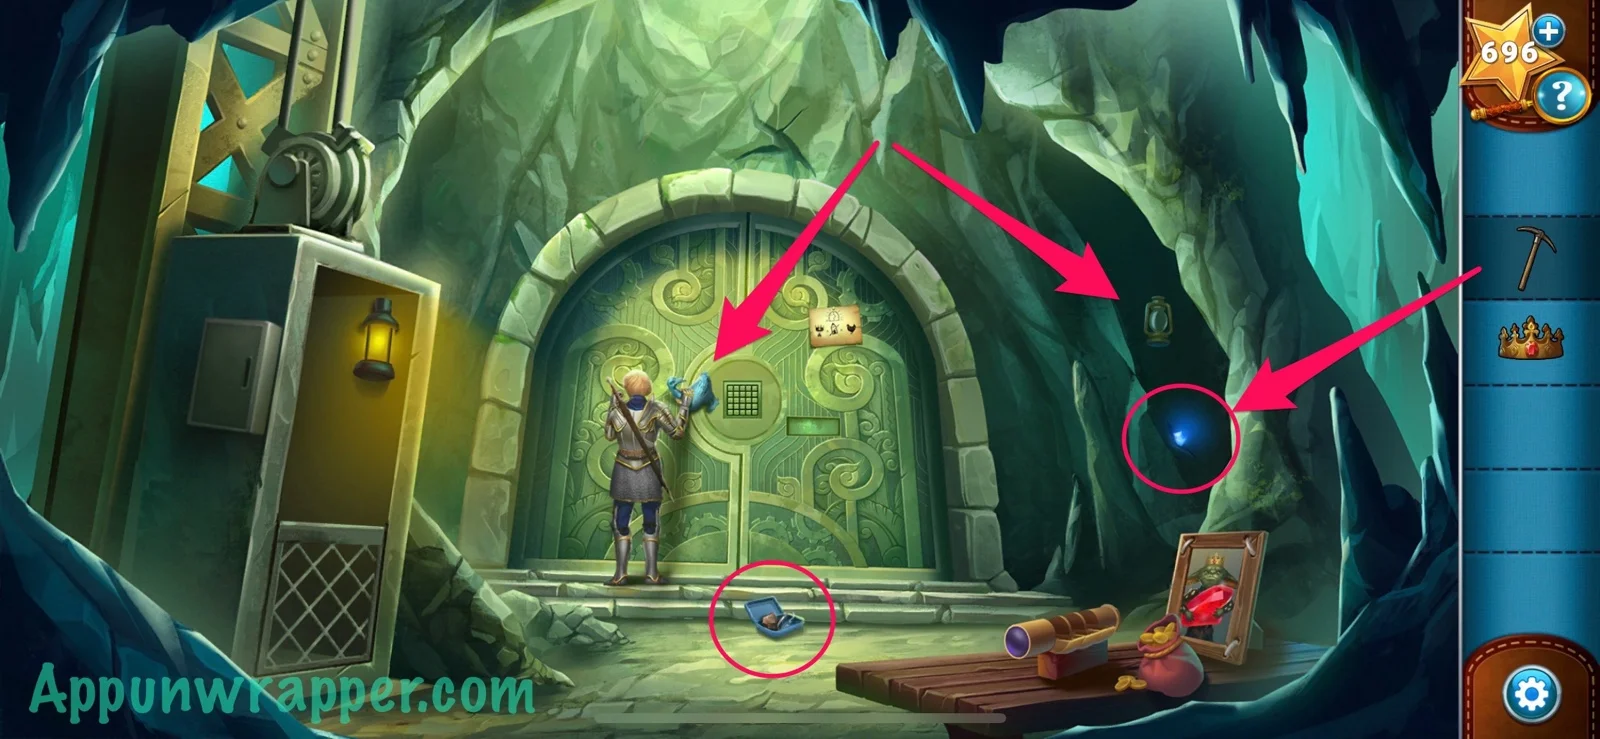
13. Give Cedrick the heavy duck statue and he’ll knock a box out of the ceiling. Pick up the flint and tinder. Also, turn off the light on the right to see a blue gem. Use the pickaxe to get it.
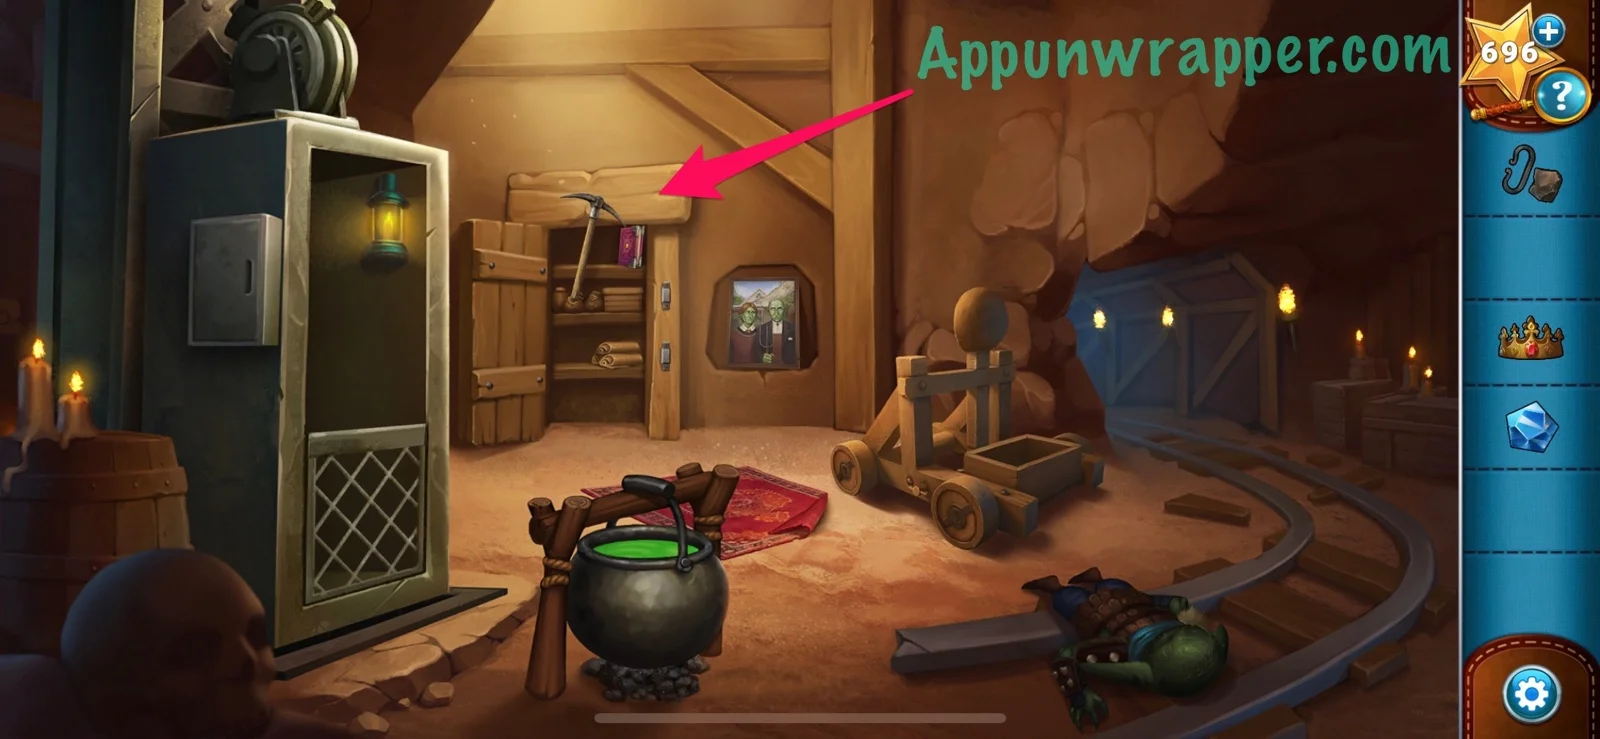
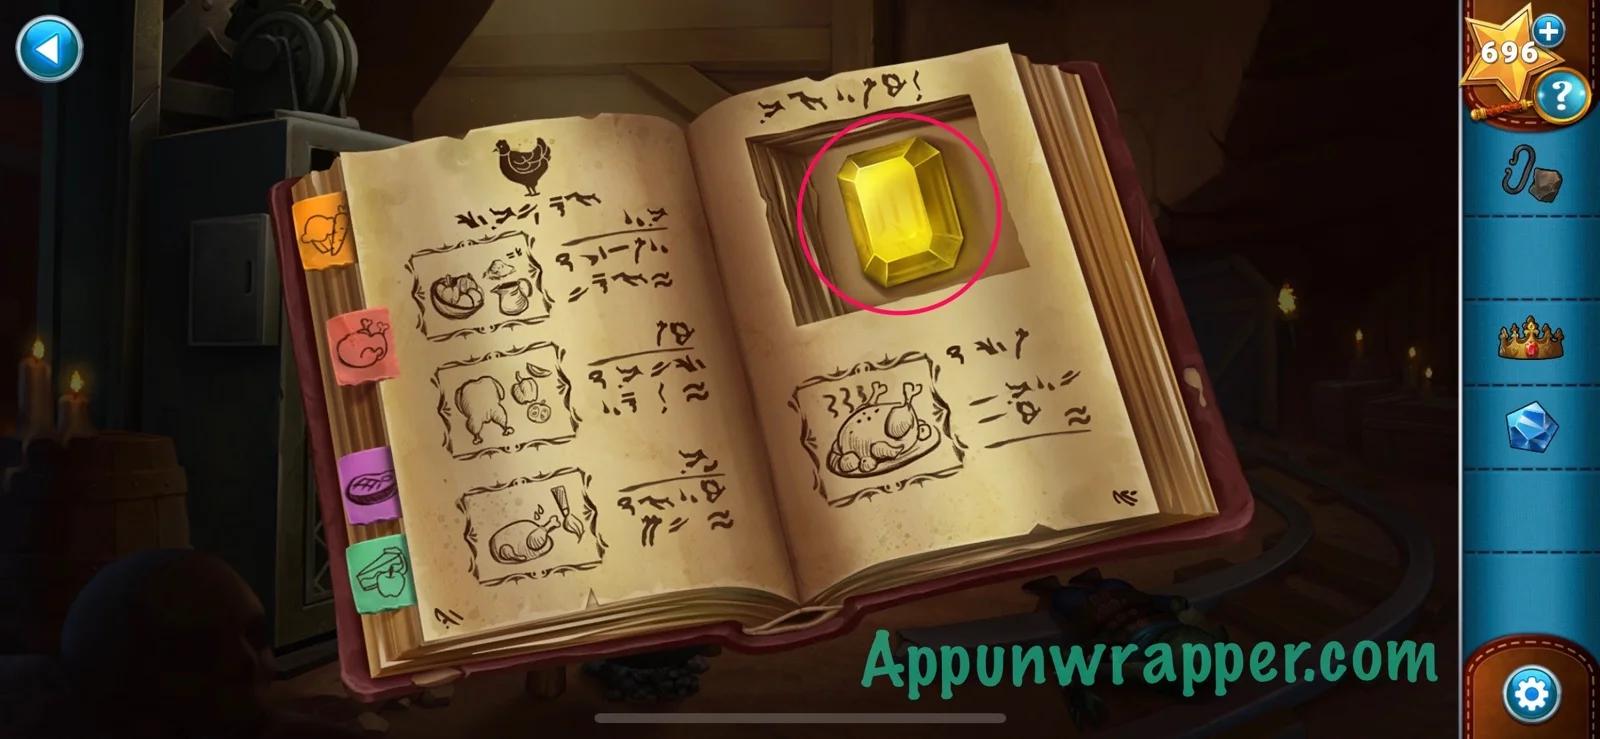
14. Take the elevator back up and use the pickaxe to get the book down from the closet. Look through the book and find the yellow gem.
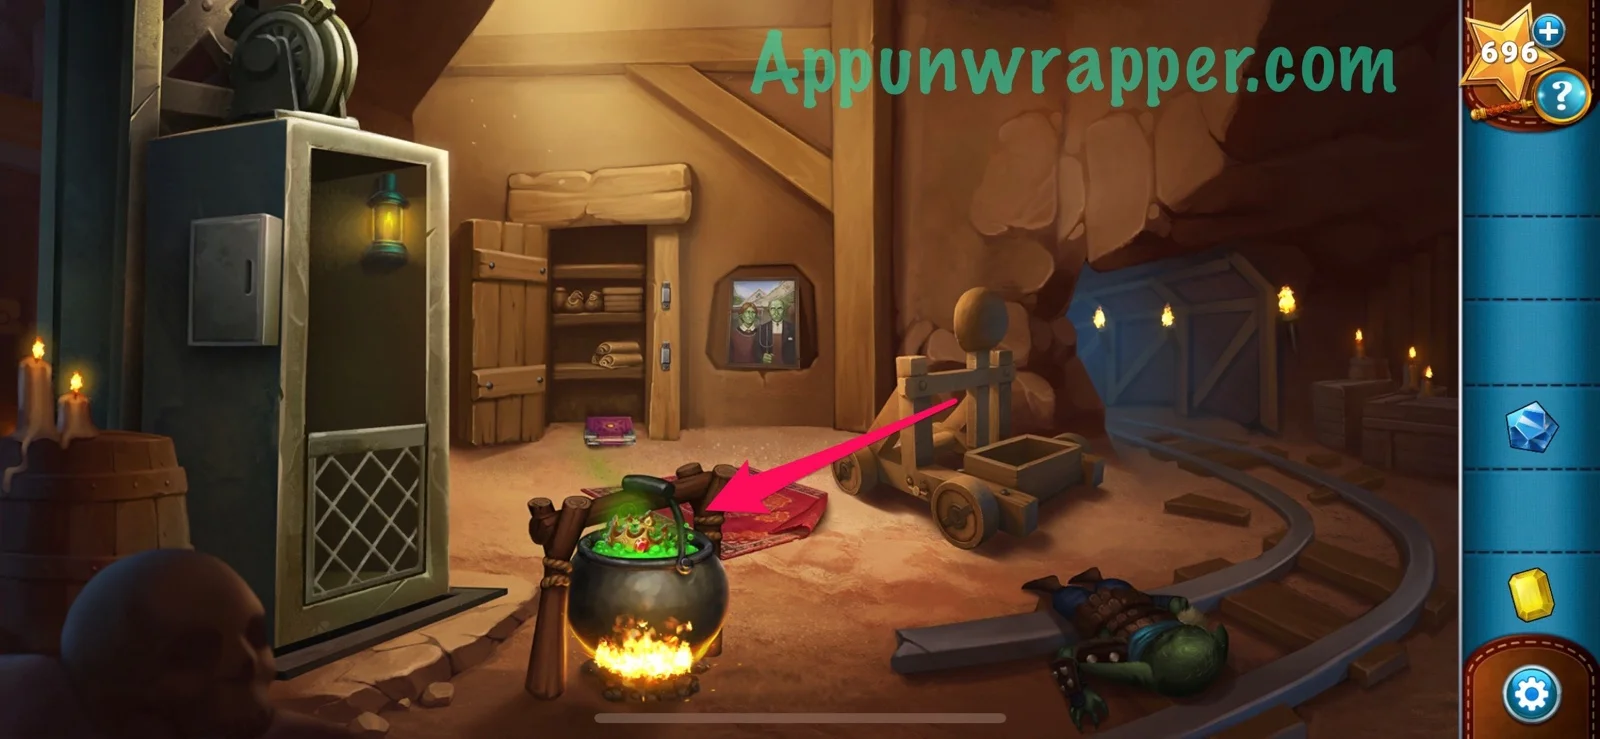
15. Use the flint and tinder to light a fire under the cauldron. Then throw the crown in to melt it and get the red gem.
16. Go back upstairs and place the three gems in the kaleidoscope.
17. Now let’s solve the Kaleidoscope Puzzle. Drag the tabs so the red, blue and yellow squares line up inside the gold grid. Now we have a clue!
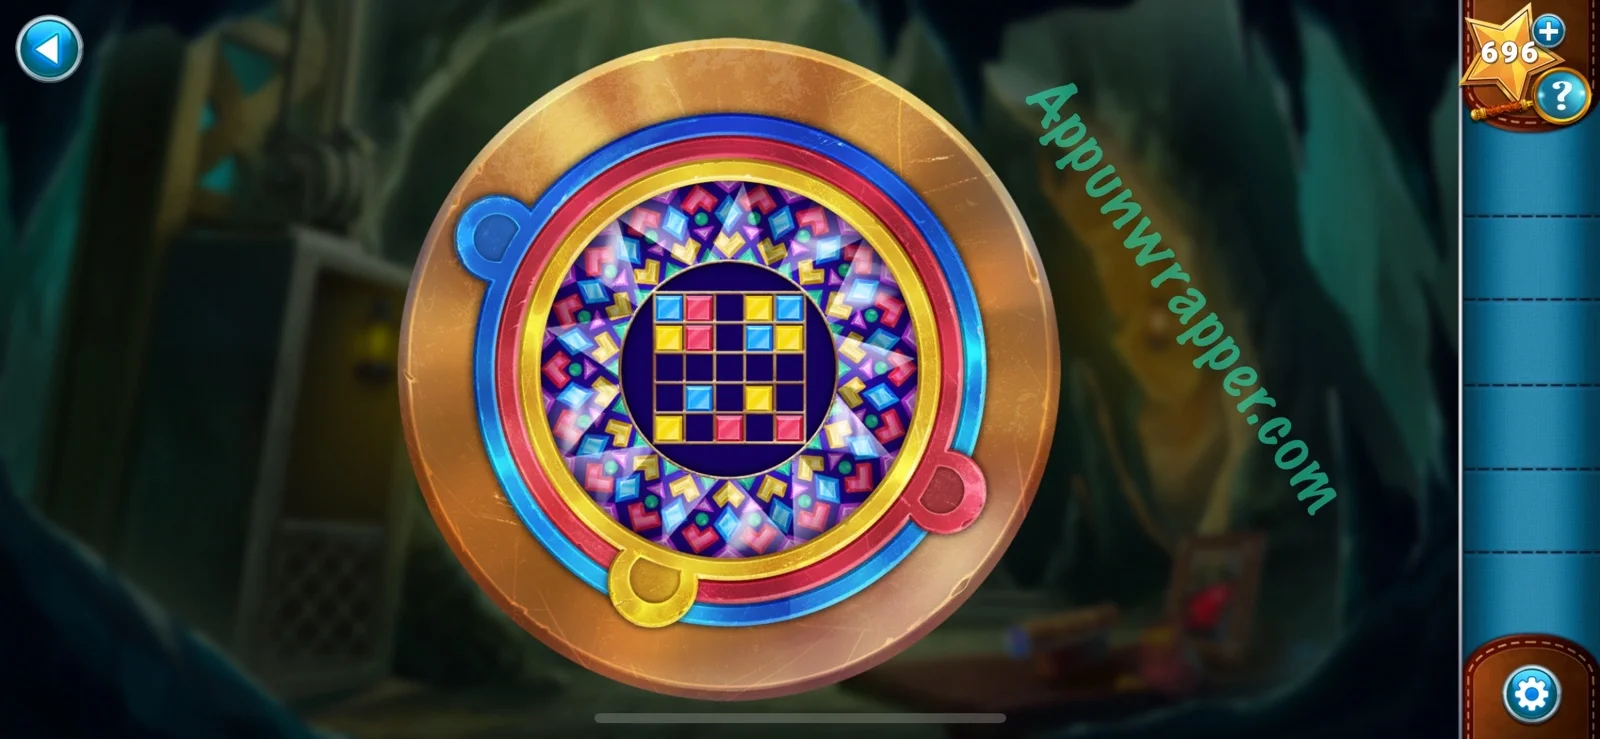
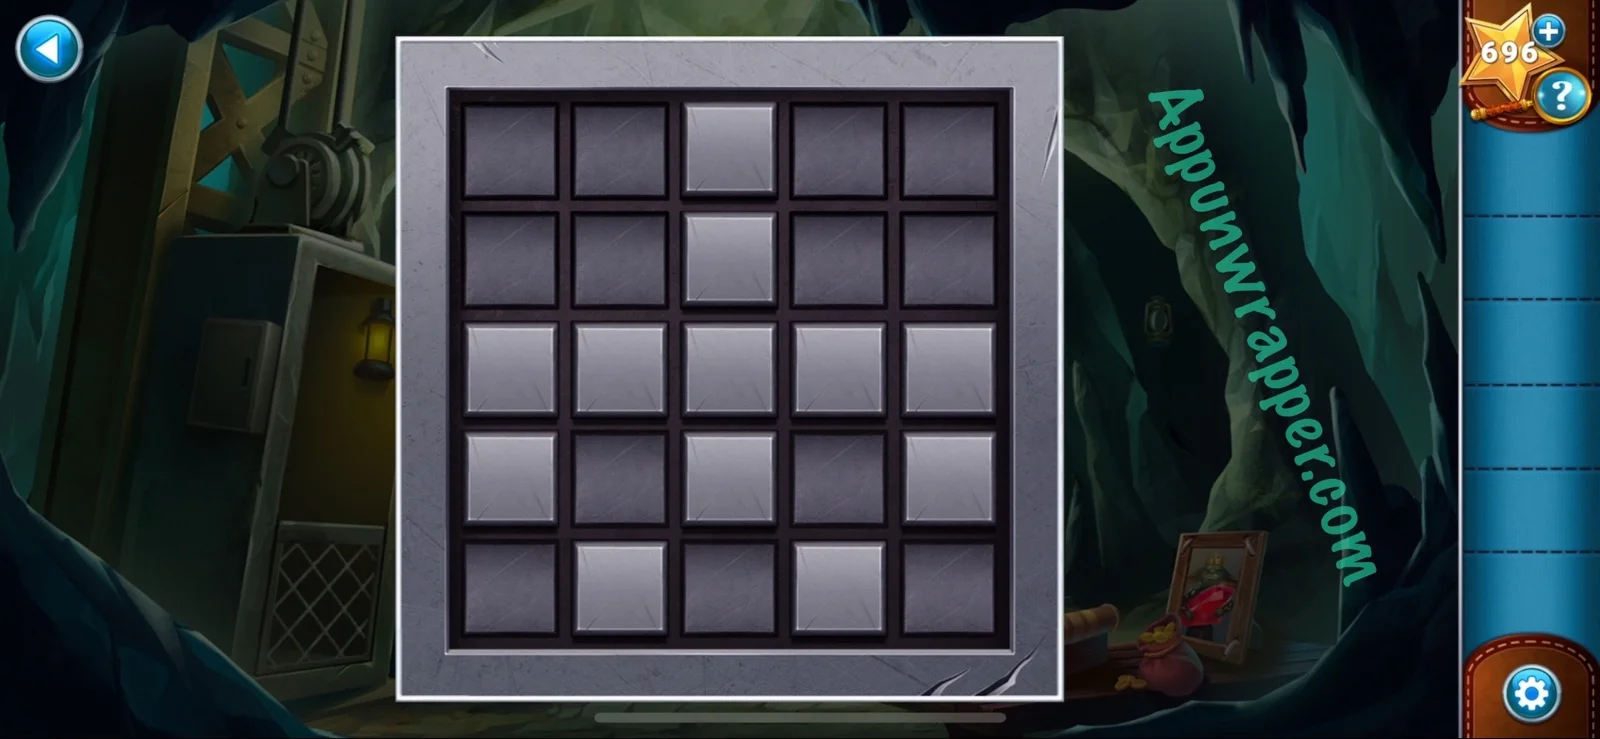
18. Tap on the grid on the door and press the buttons that were colored in on the kaleidoscope.

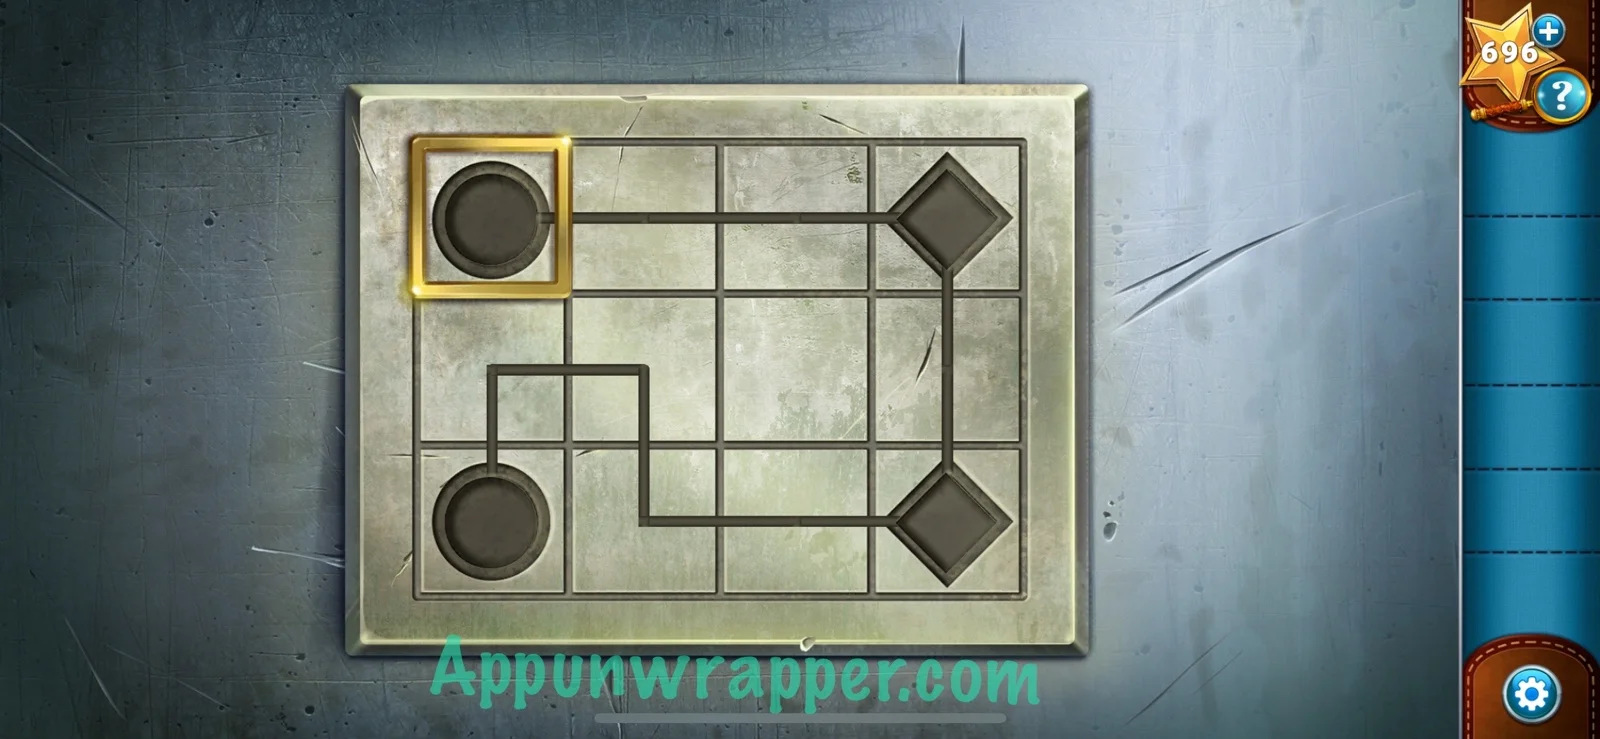
19. There’s another door to get through with another puzzle! This time, draw a path from one circle through the two diamonds and then to the other circle. You can trace my path if you’re stuck.
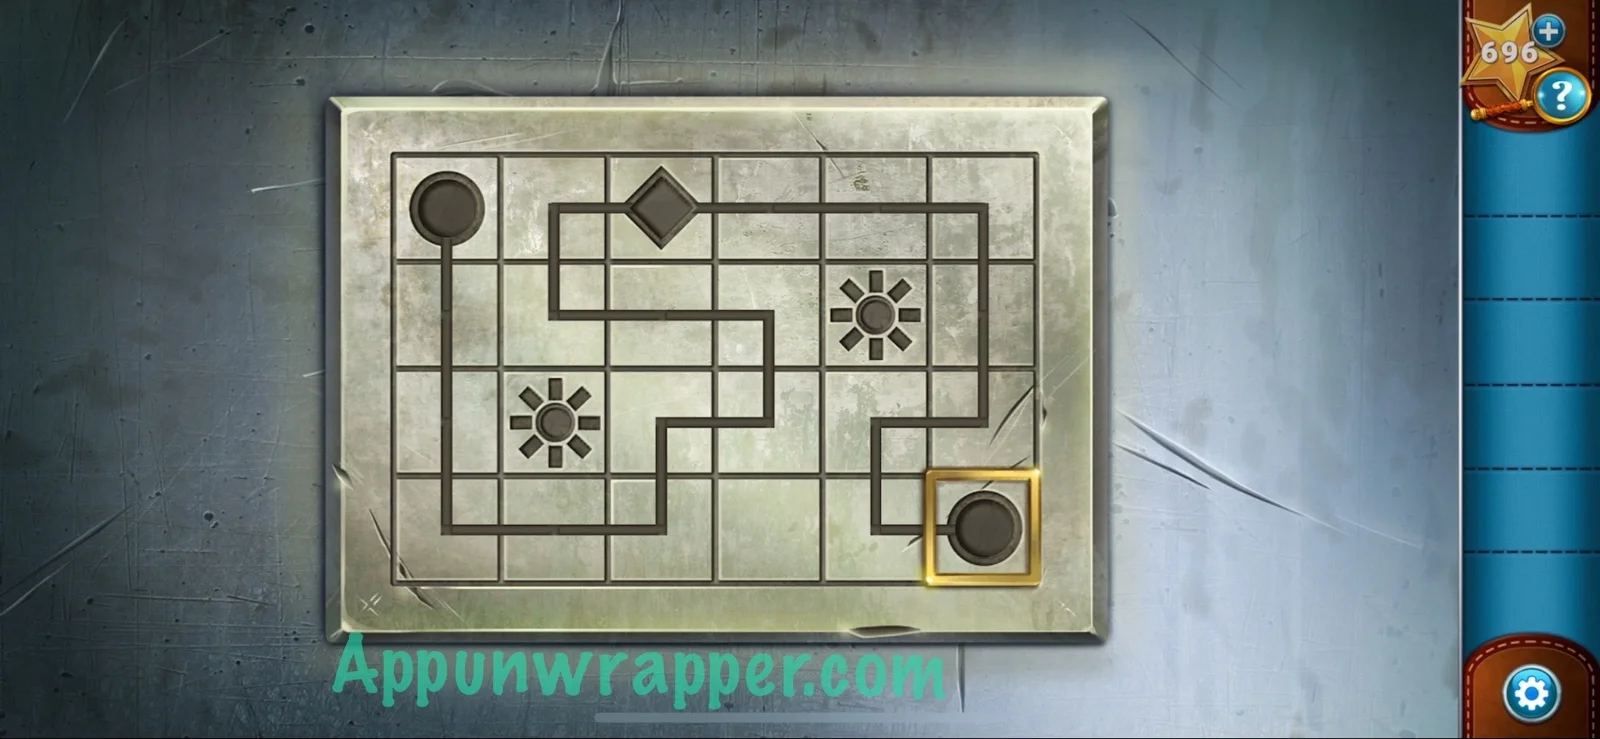
20. And yup, you guessed it! There’s another door and another puzzle. The way this one works is that you have to draw through the diamond, but also through every tile surrounding each sun before reaching the other circle.
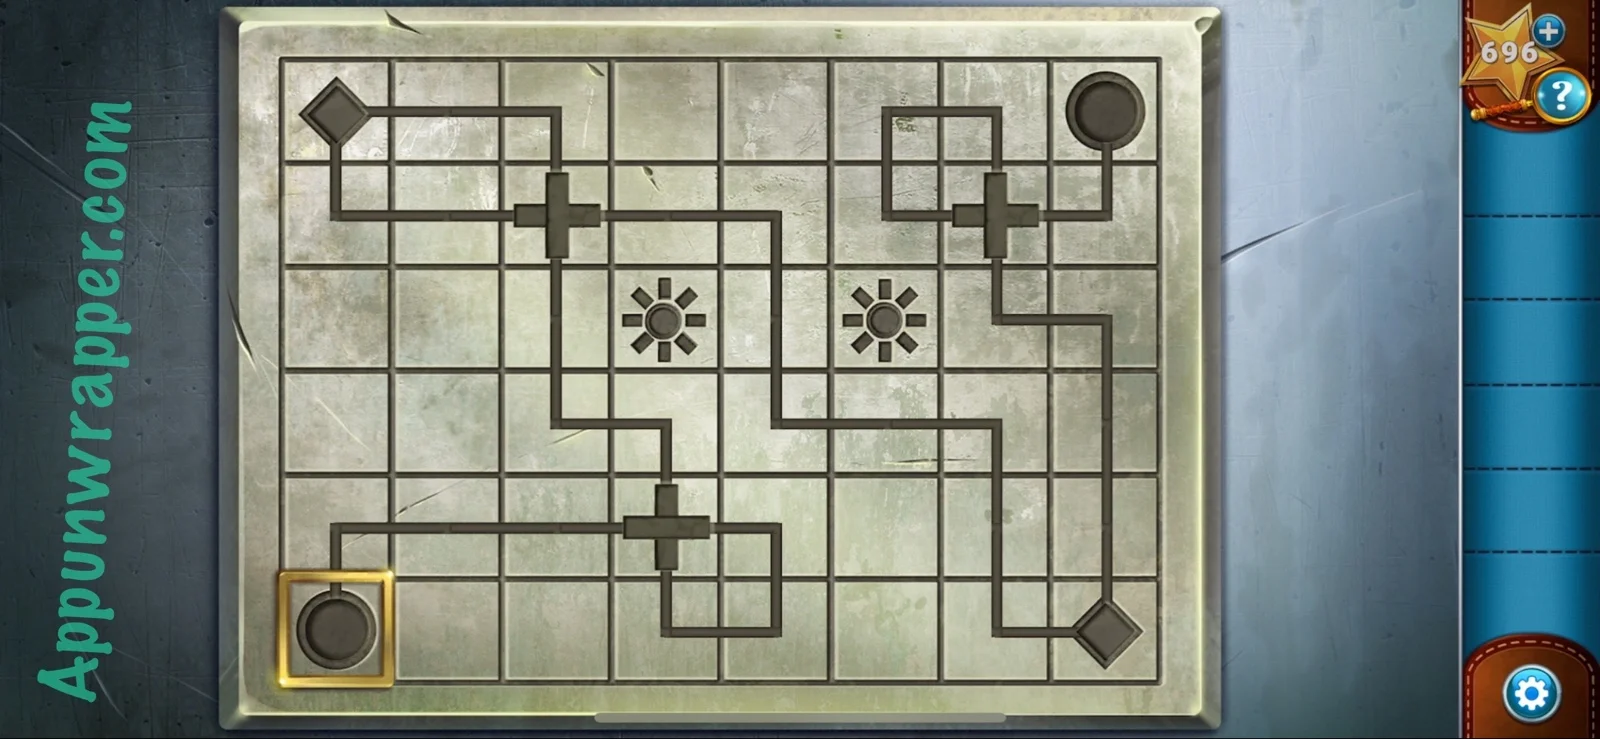
21. And there’s another door! This is the last puzzle. For the crosses, you need to, well, cross through them both horizontally and vertically.
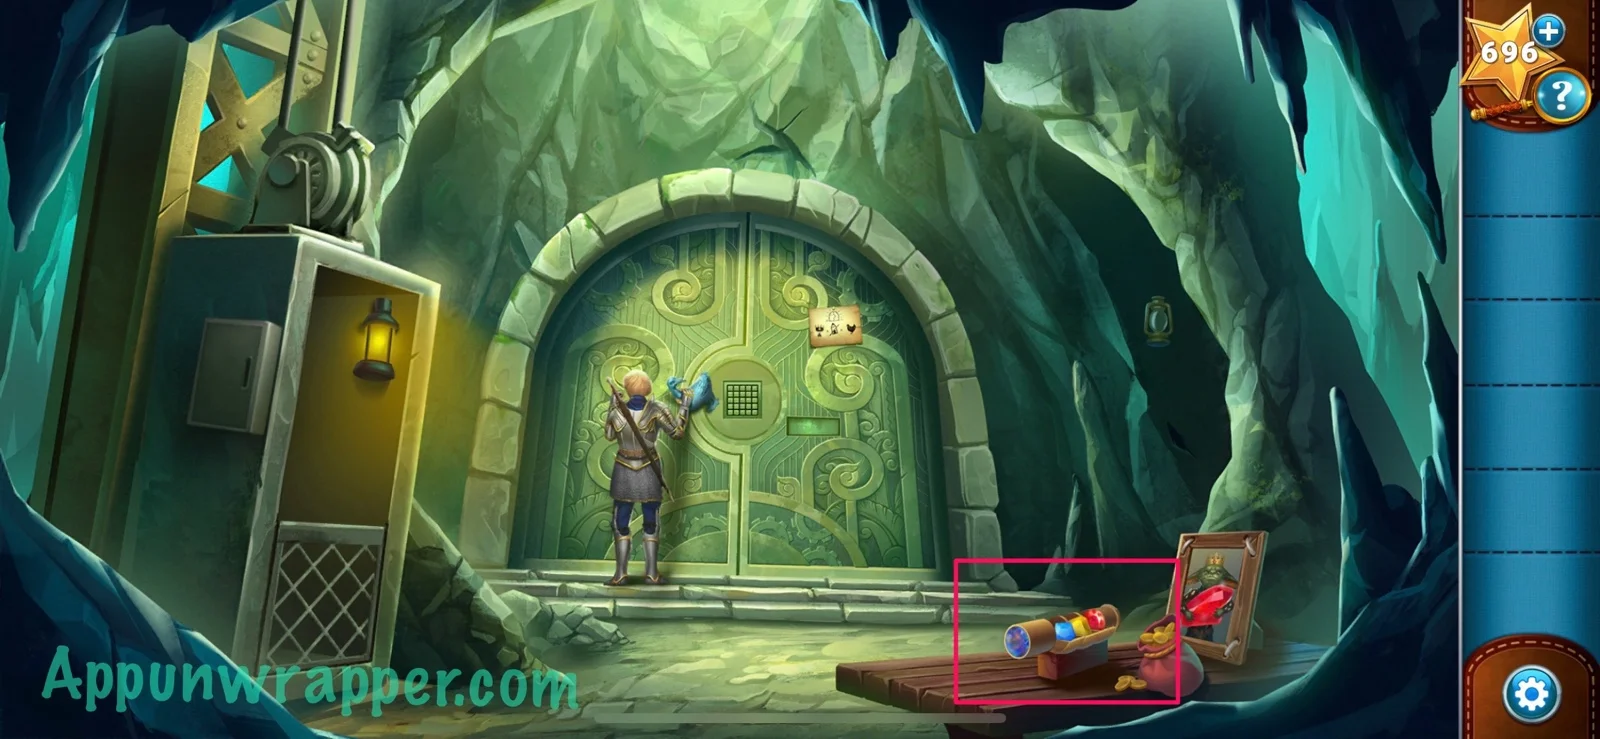
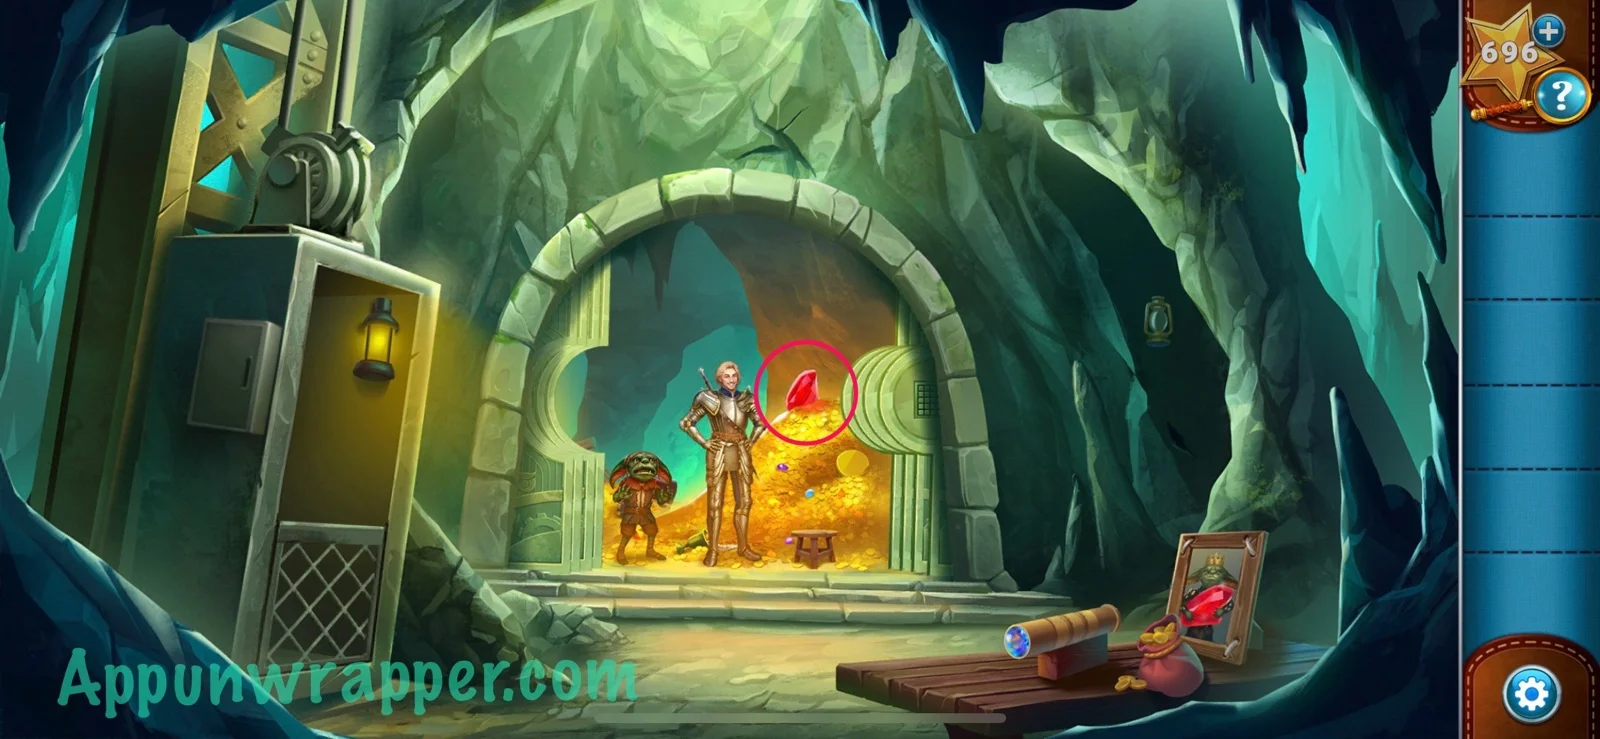
22. Now we can get through. Grab the royal ruby and then watch the ending of Chapter 1.
And that’s the end of Chapter 1! Click here to continue to Chapter 2 or choose a chapter below.
Chapter 1 | Chapter 2 | Chapter 3 | Chapter 4 | Chapter 5 | Chapter 6 | Chapter 7 | Chapter 8

Dammit, didn’t know that you didn’t need to use all the squares on the door puzzles. I was so stumped but had it right all along.
Thanks for all the help 👍